
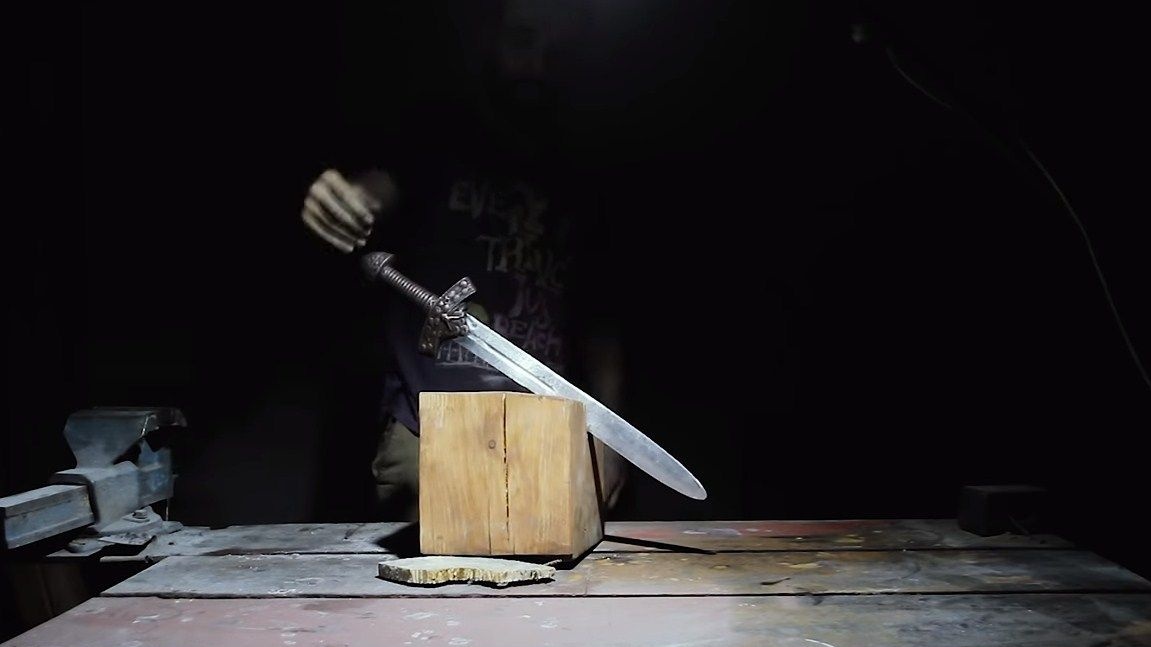
Greetings to metal lovers. I bring to your attention instructions for casting aluminum on sand. In this way you can cast various spare parts and other parts for homemade. The author decided to cast an aluminum sword as an example, which is a rather complicated option.
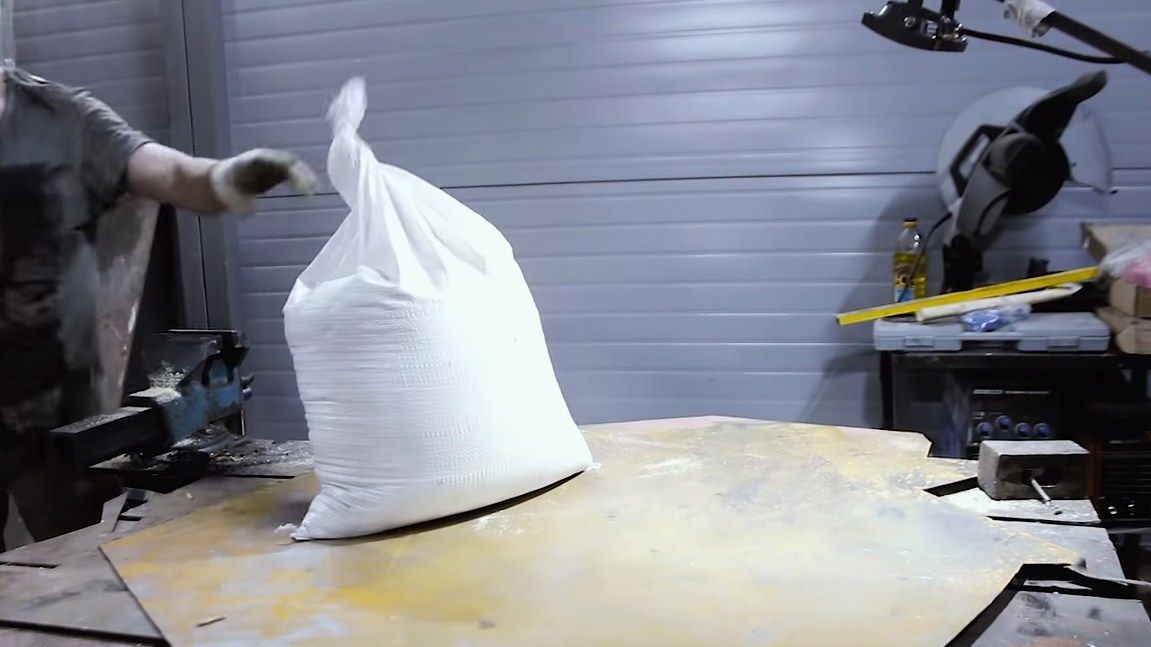
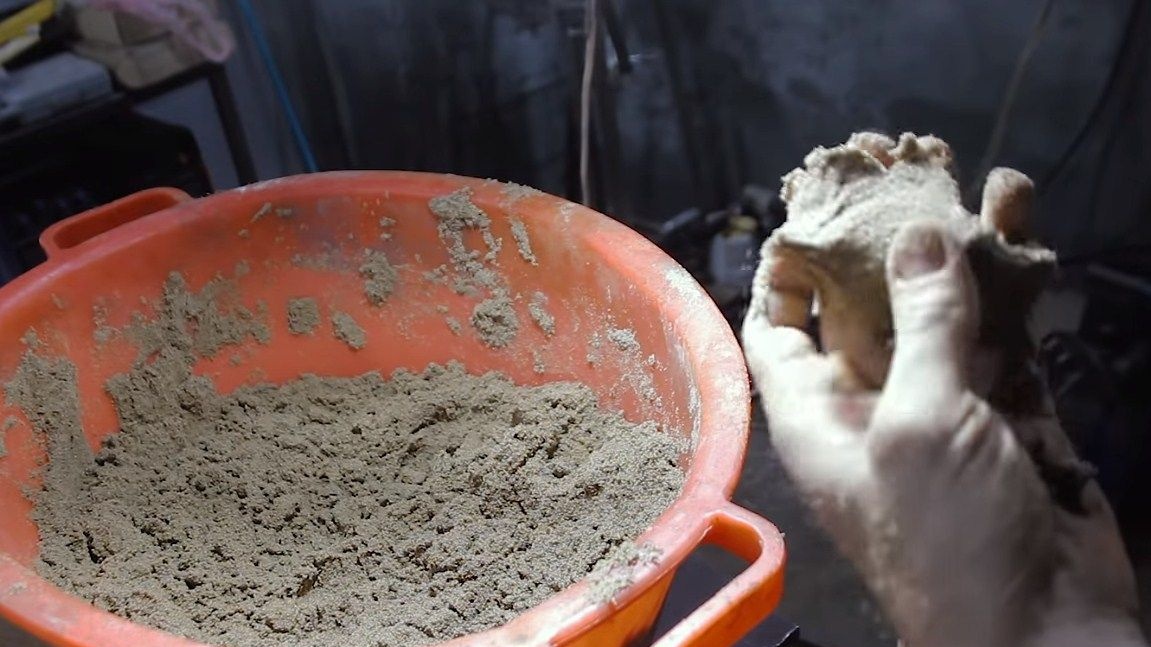
Sand for pouring is better to take quartz, it is perfectly formed, unlike ordinary river. Despite the fact that the author bought quartz sand, they still sold him river, nevertheless, even with him he managed to cast a sword. For high-quality casting, sand should be fine. Well, let’s take a closer look at how this is all done.
Materials and tools used by the author:
Material List:
- river sand (it is better to take quartz);
- source of aluminum;
- wooden boards;
- self-tapping screws;
- copper sulfate, battery electrolyte, distilled water and copper wire (for copper plating);
- talc;
- carbon dioxide;
- sulfuric ointment (to make the pen black).
Tool List:
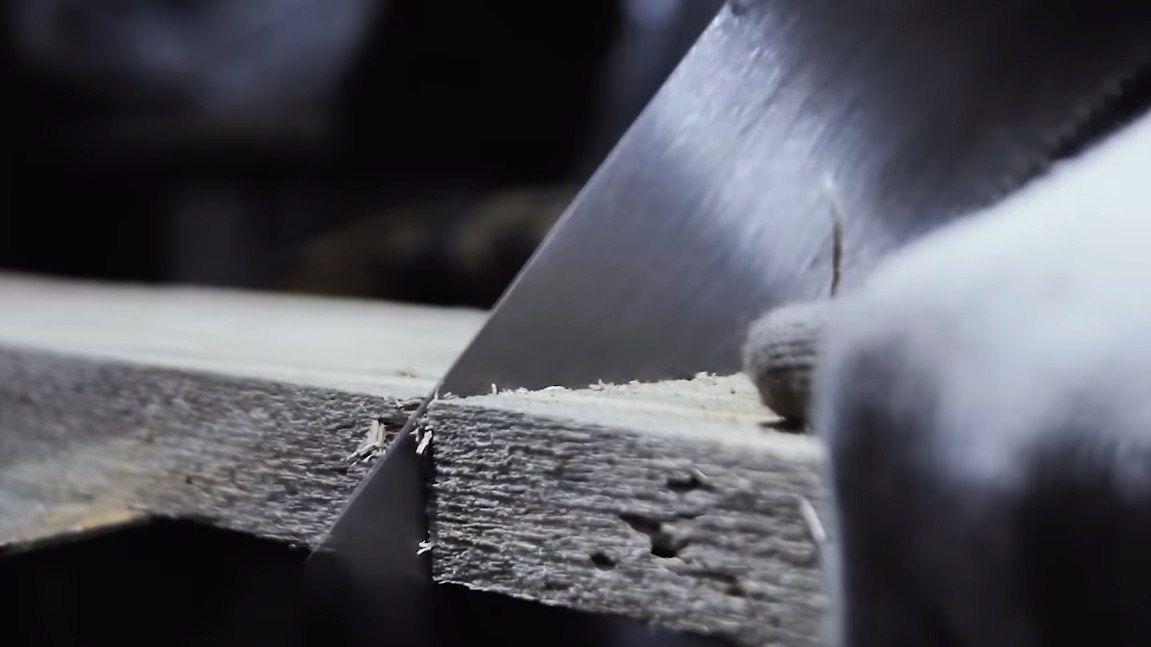
- a hacksaw;
- forge furnace;
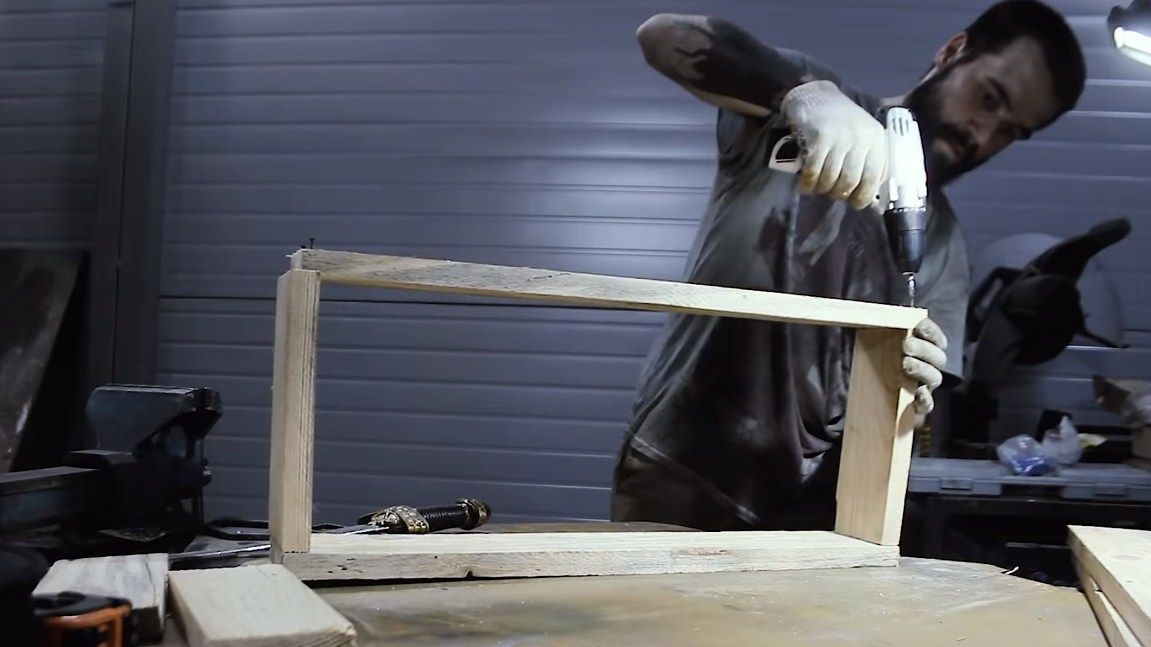
- screwdriver;
- grinder;
- vise;
- power supply (for copper plating);
- gas-burner.
Homemade manufacturing process:
Step one. Mold
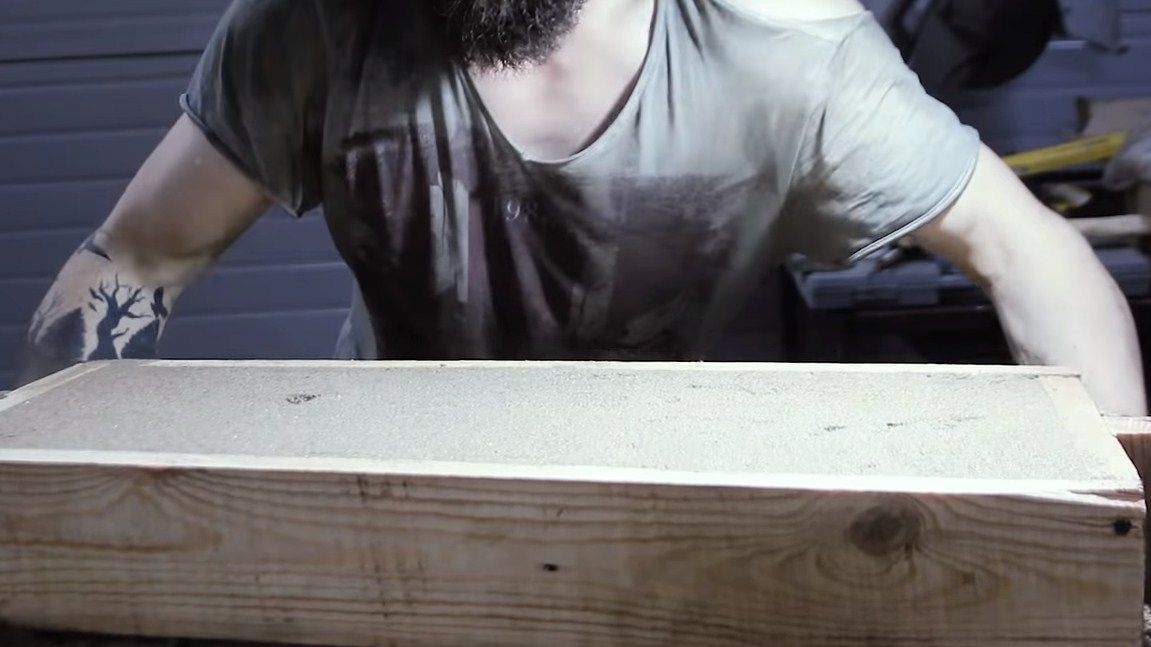
We proceed to the manufacture of molds. It is made of boards, and consists of two halves. We collect two forms using self-tapping screws. You should get two identical frames. They should be connected to each other and centered. For this, the author arranged a special wedge-shaped mechanism made of wood.
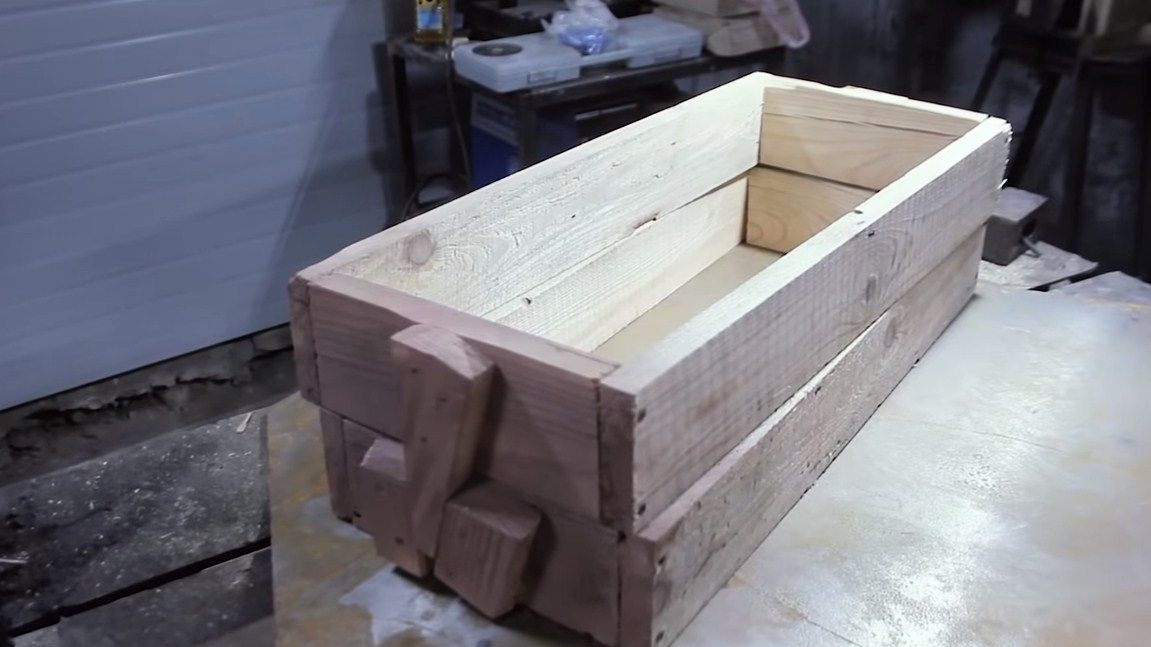
Step Two We fill in the forms
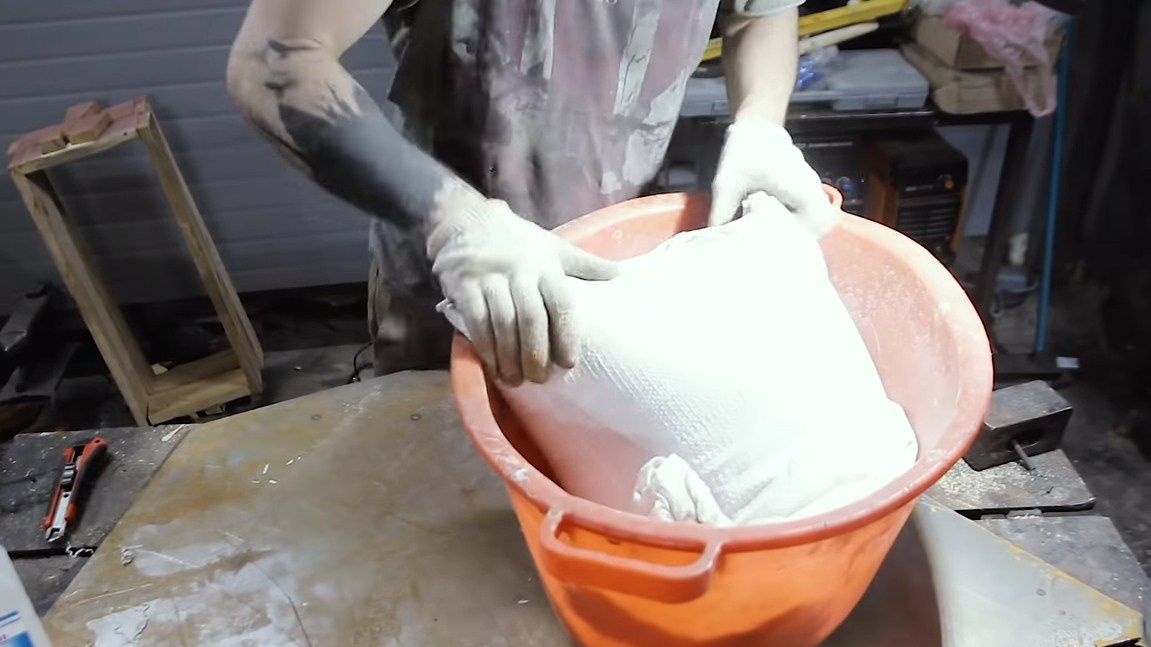
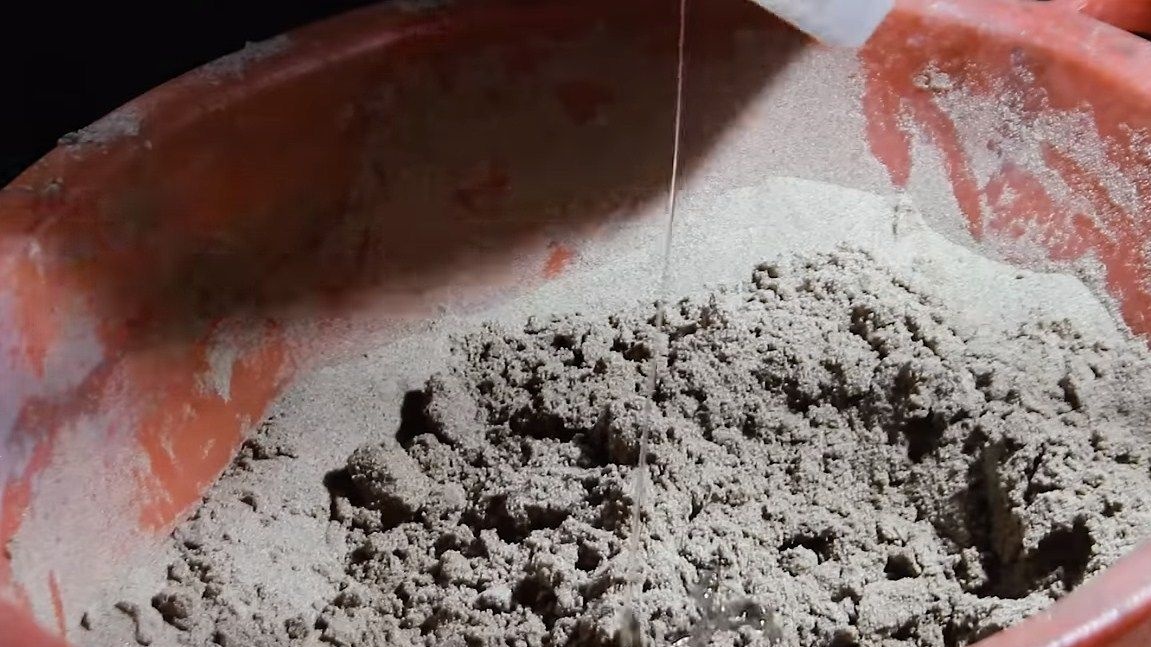
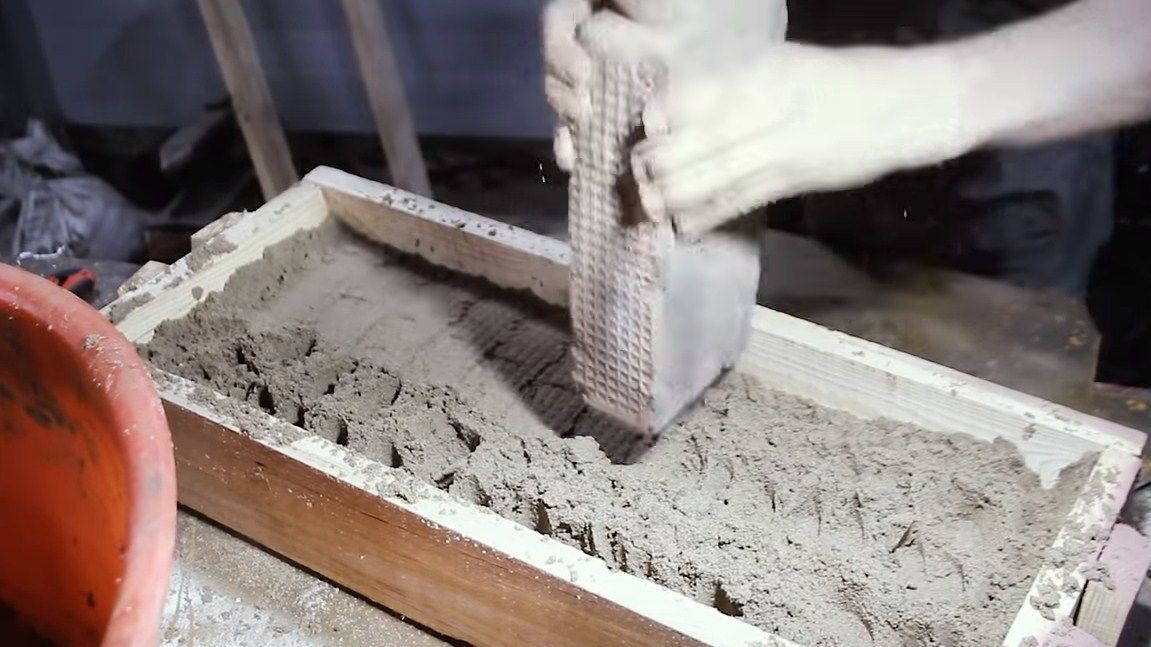
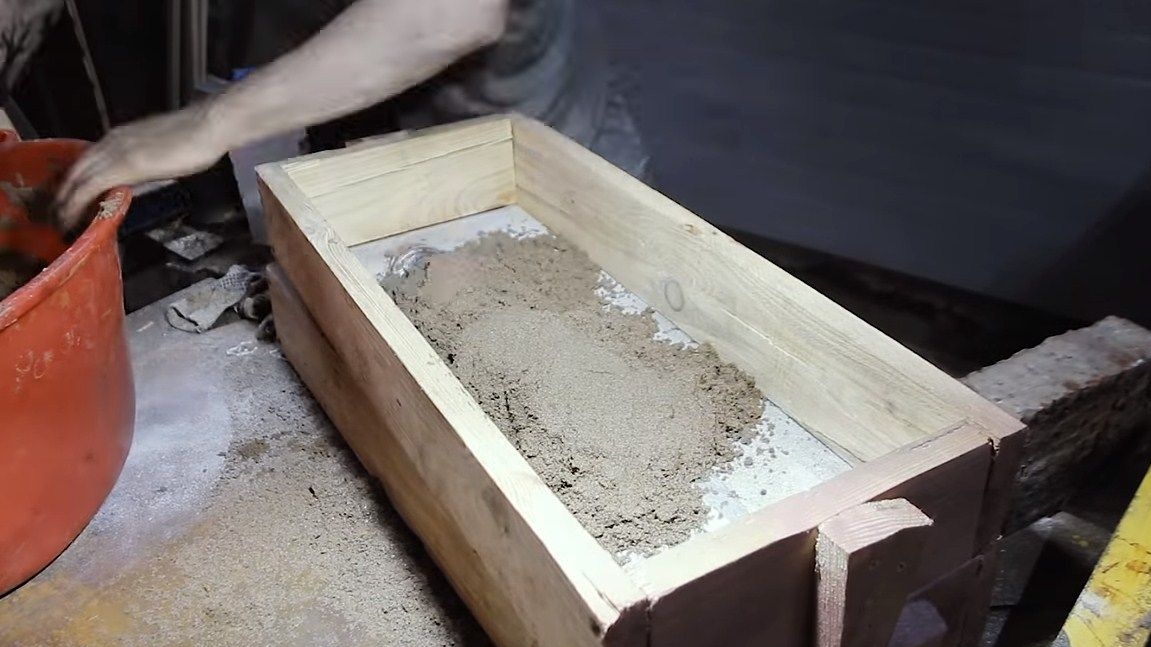
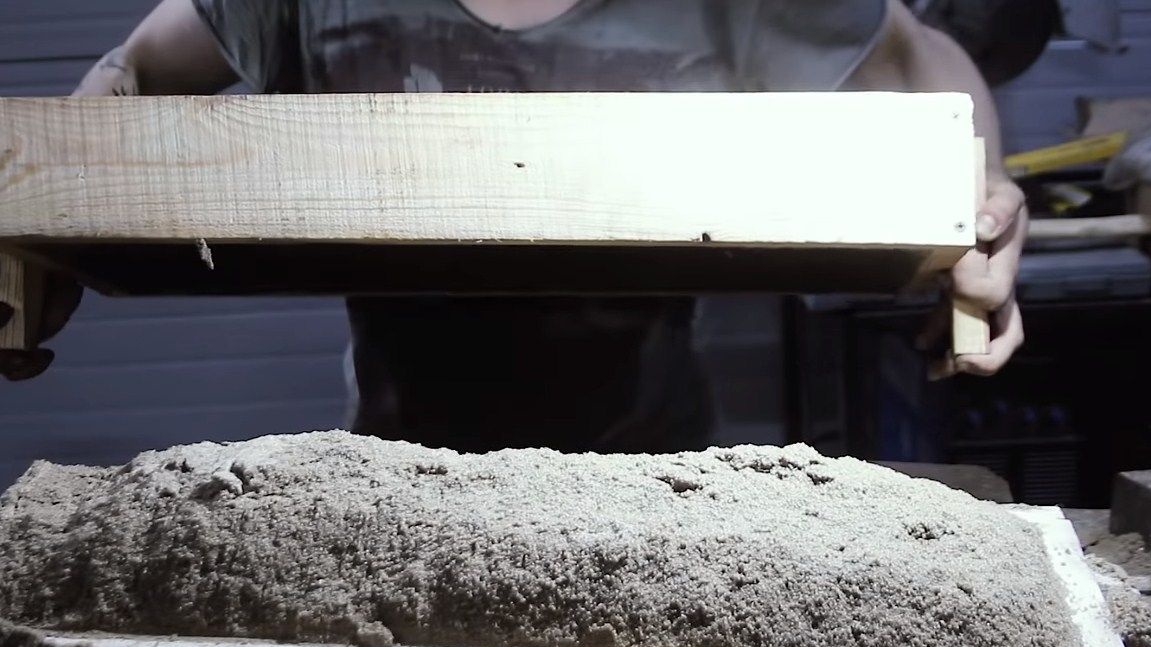
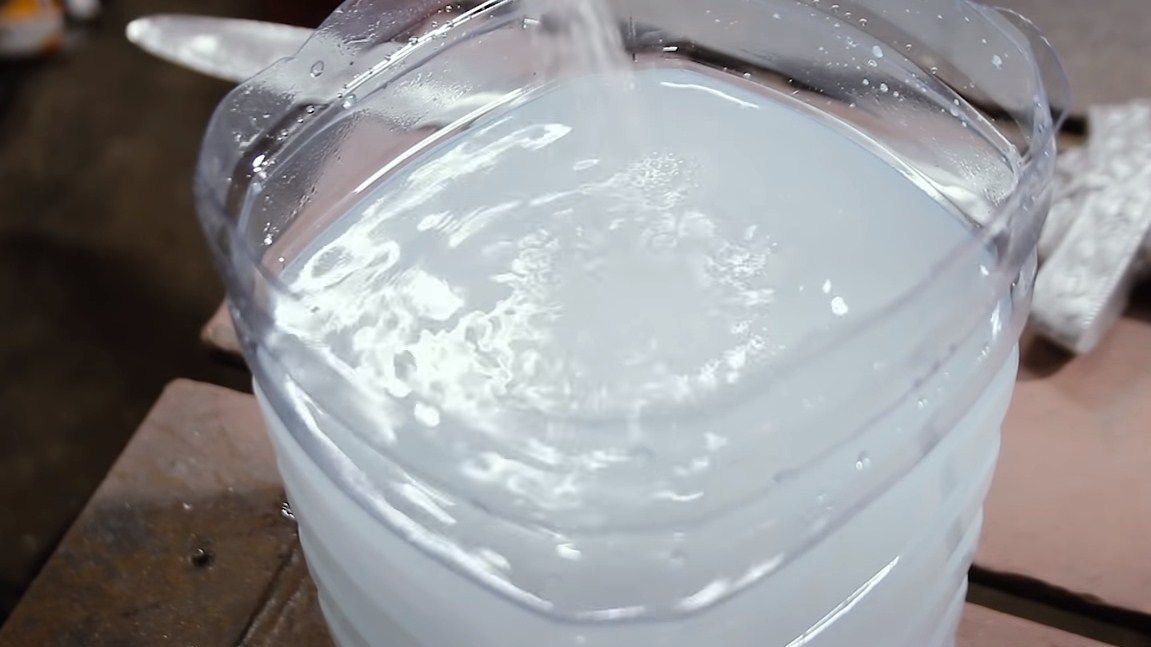
When the forms are ready, you need to fill them with sand. The workpiece will be in the middle, that is, between the two parts of the mold. We take our sand and stir it with water. The mass should be wet, but not fluid, it should be molded. If you blow carbon dioxide on the right solution, it should harden.
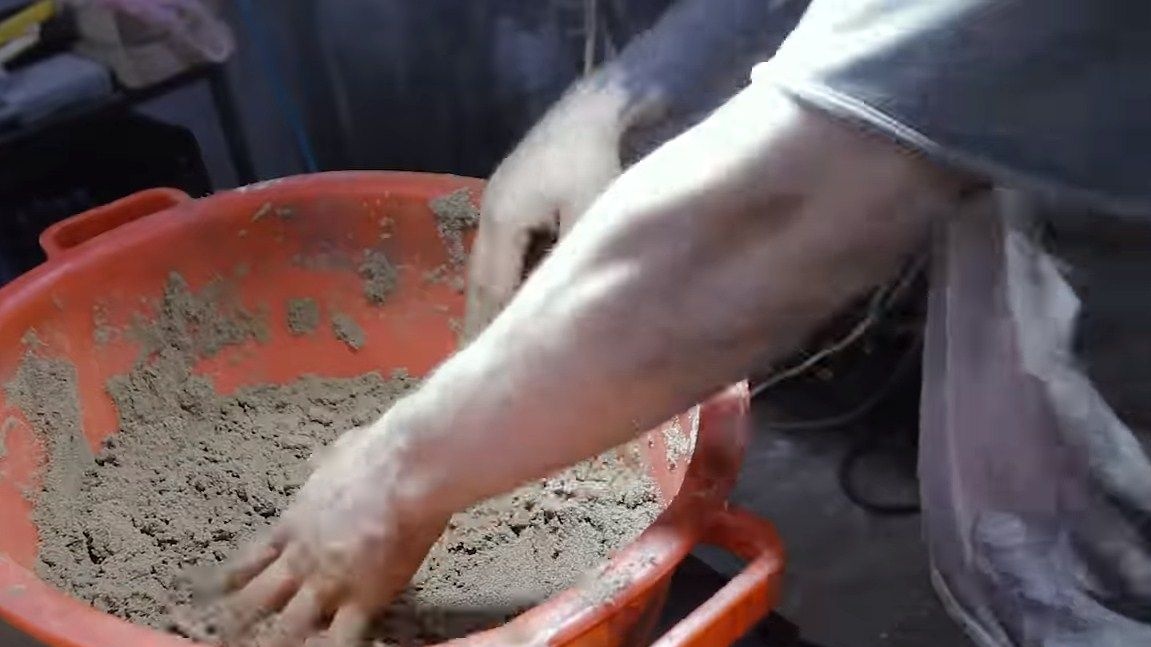
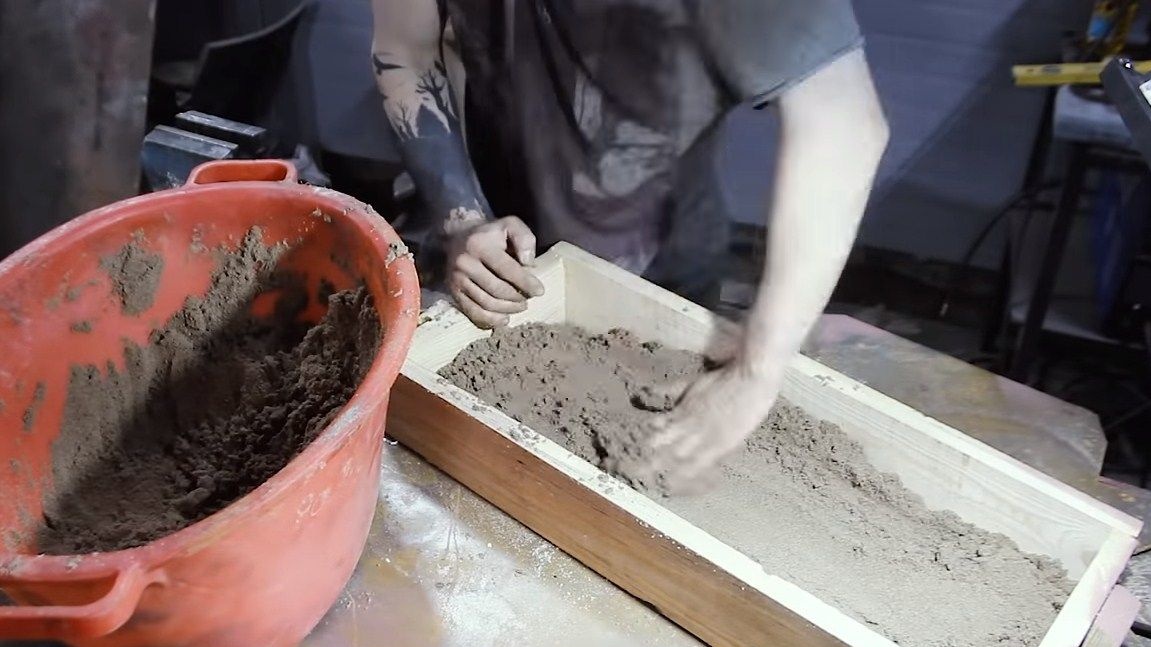
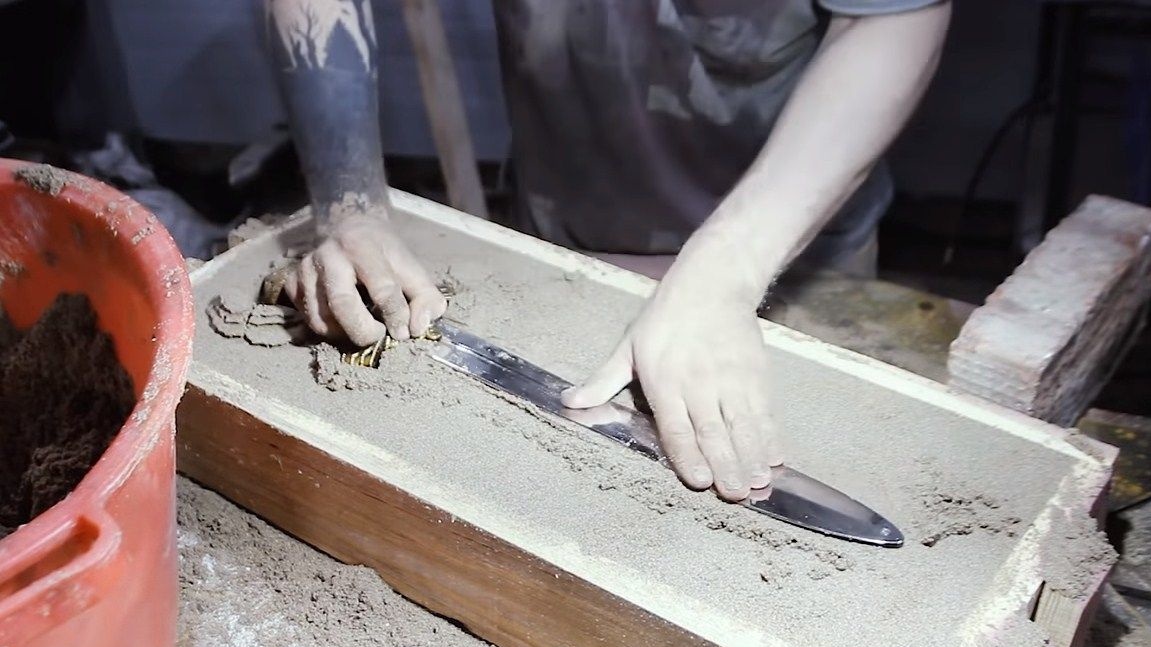
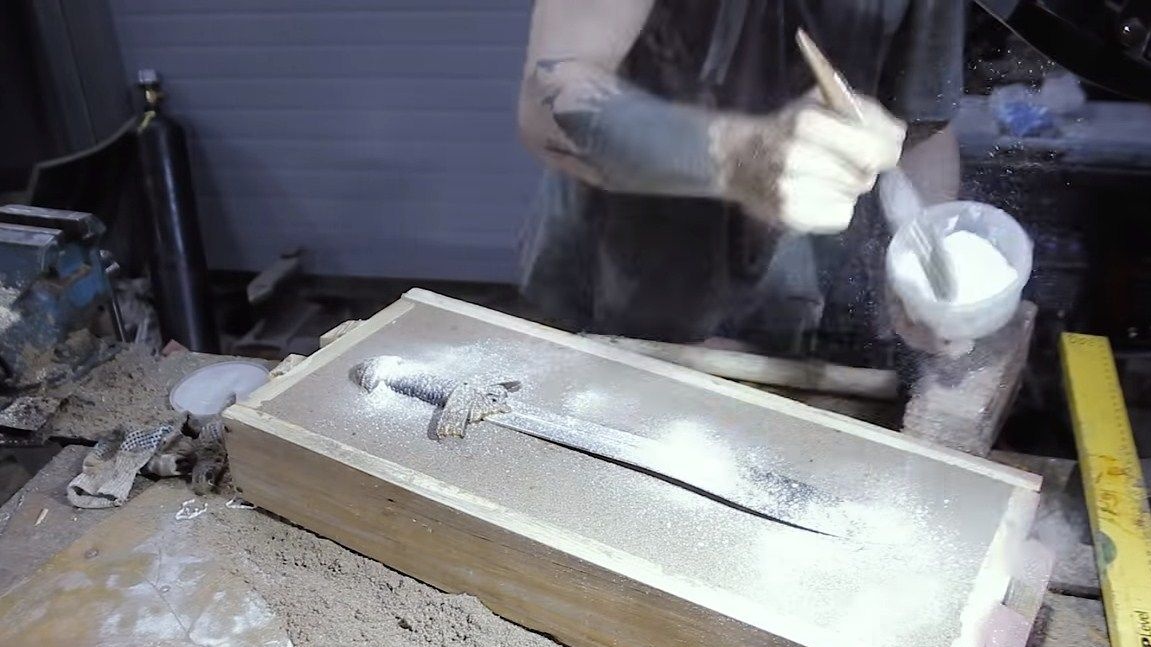
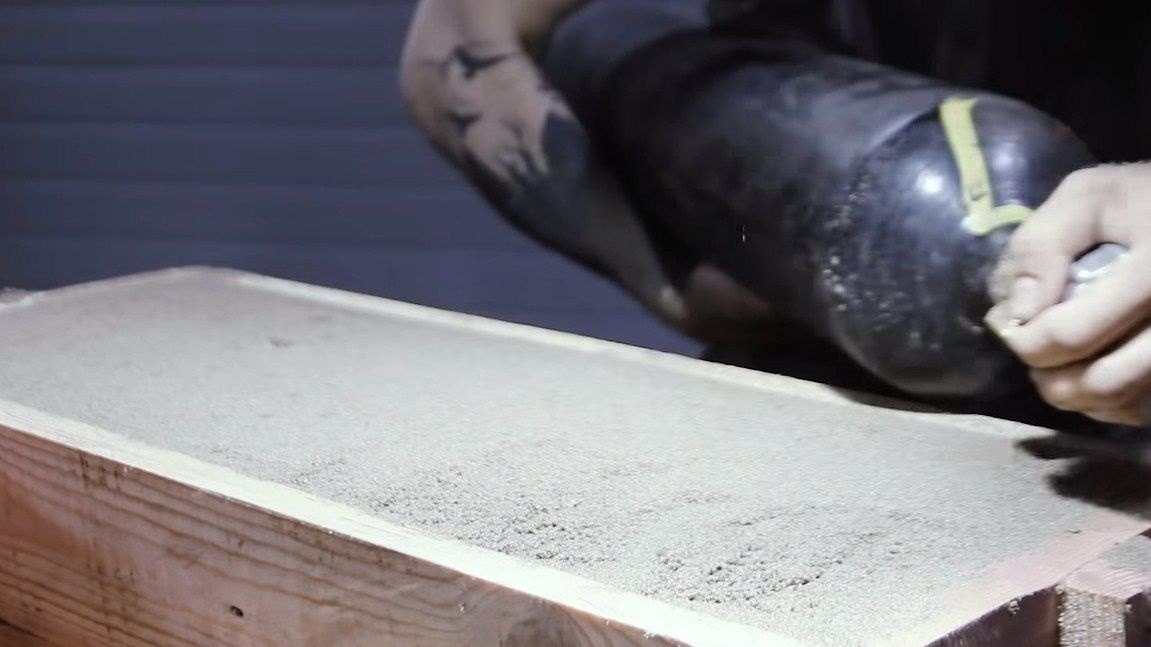
The solution can be stacked, first fill the first form. Sand needs to be compacted, put it in layers. Once this is finished, you can stack the copied item, in our case it is a plastic sword. We lay the sword, squeeze it a little and tamp in a circle with sand. When everything is ready, pour talcum powder on top, this will allow you to split then two halves. That's all, after that we set the upper part and fill the sand, not forgetting to compact it again well.
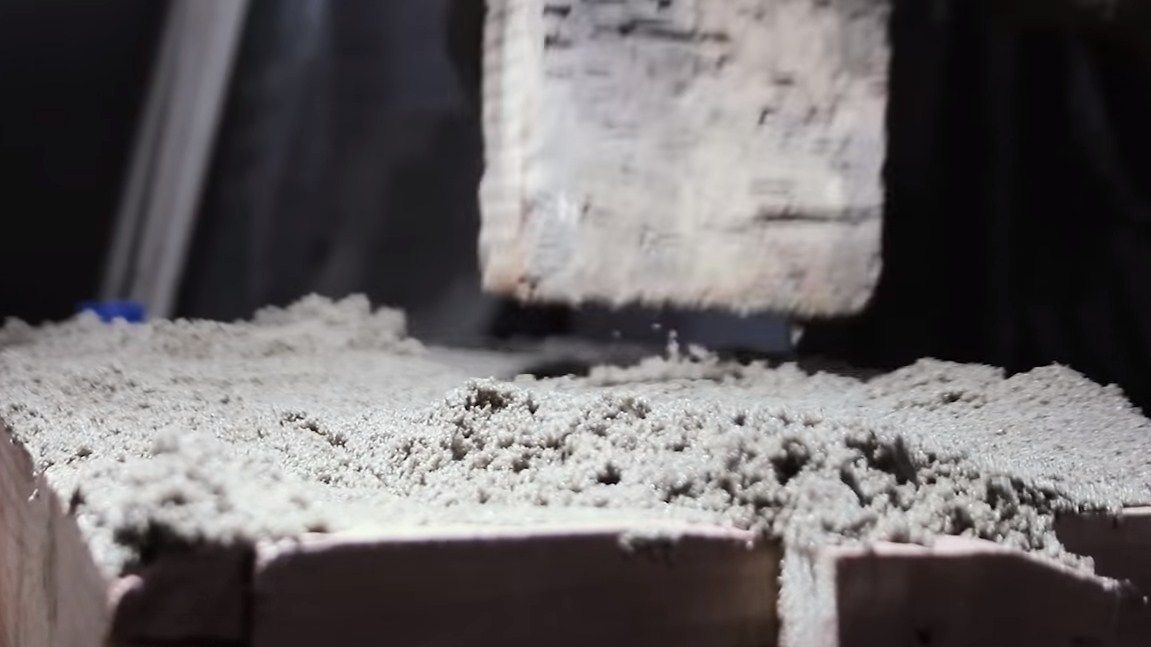
Next, we need carbon dioxide, it needs to blow sand from all sides, while it is stony.The author blows it directly from the cylinder.
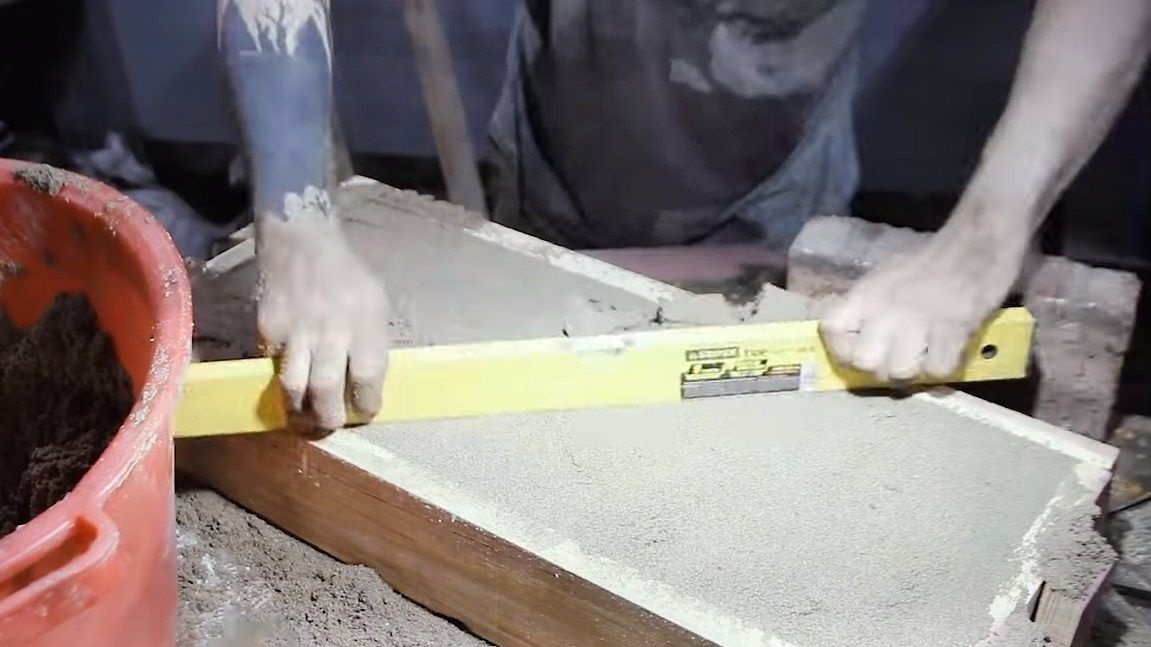
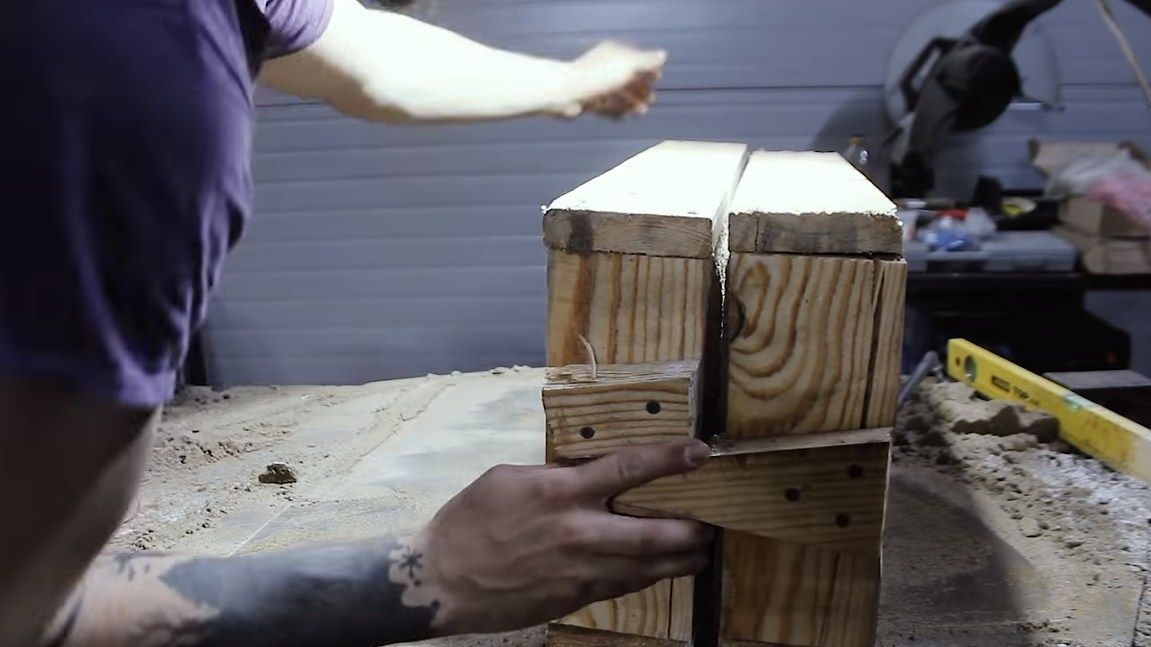
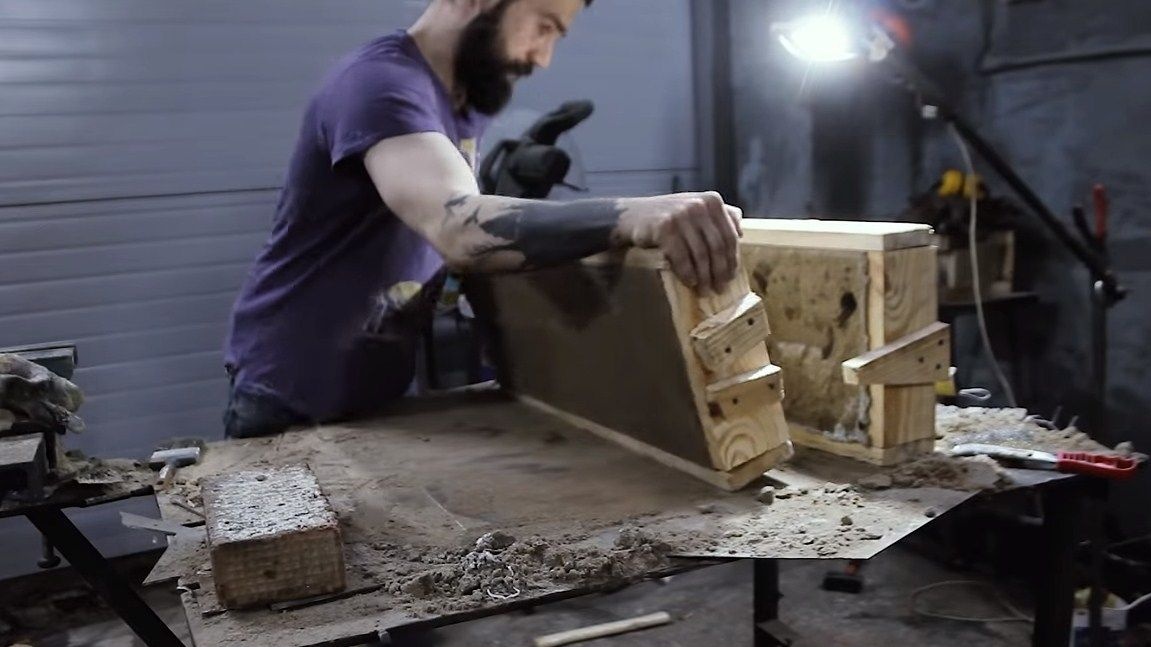
Step Three We split the halves
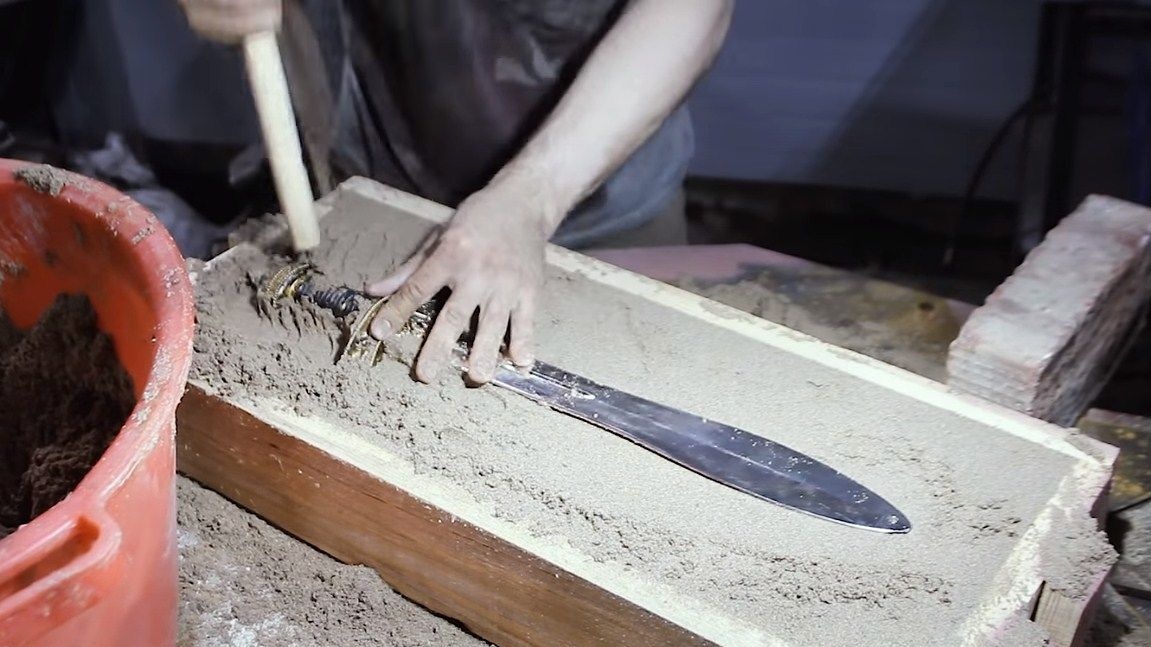
The author did not manage to separate the two halves the first time, since the sand was not what was required. As a result, the upper part had to be filled up again, and after that the author left it to dry for 15 hours. Then, again, all blowing carbon dioxide, the halves were neatly disassembled.

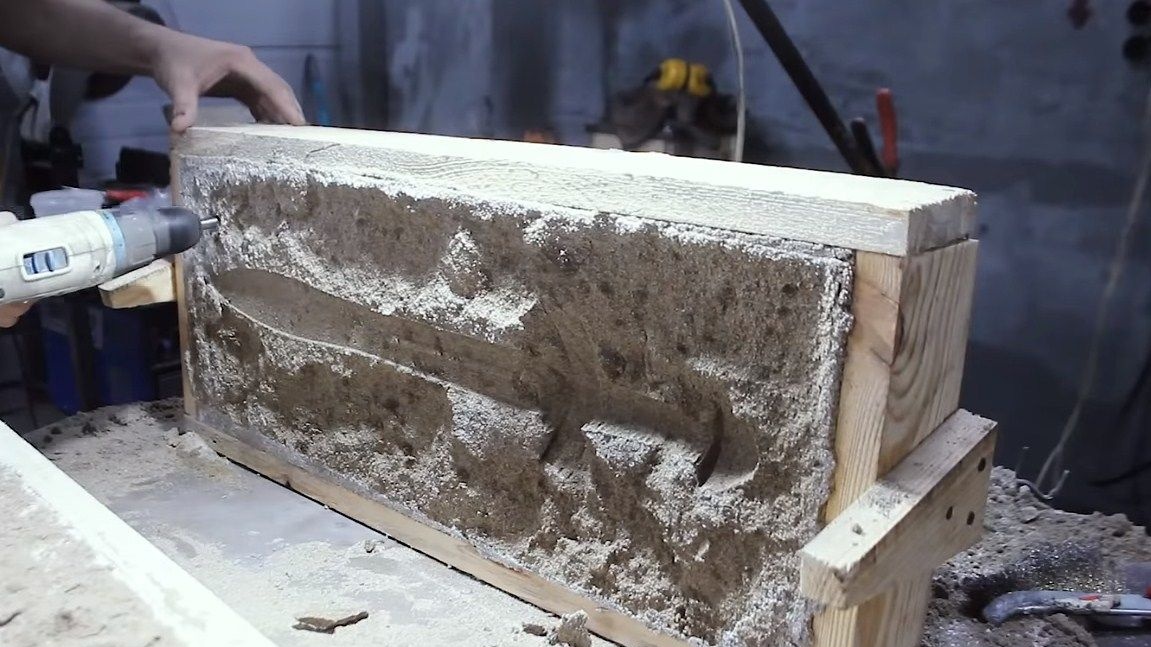
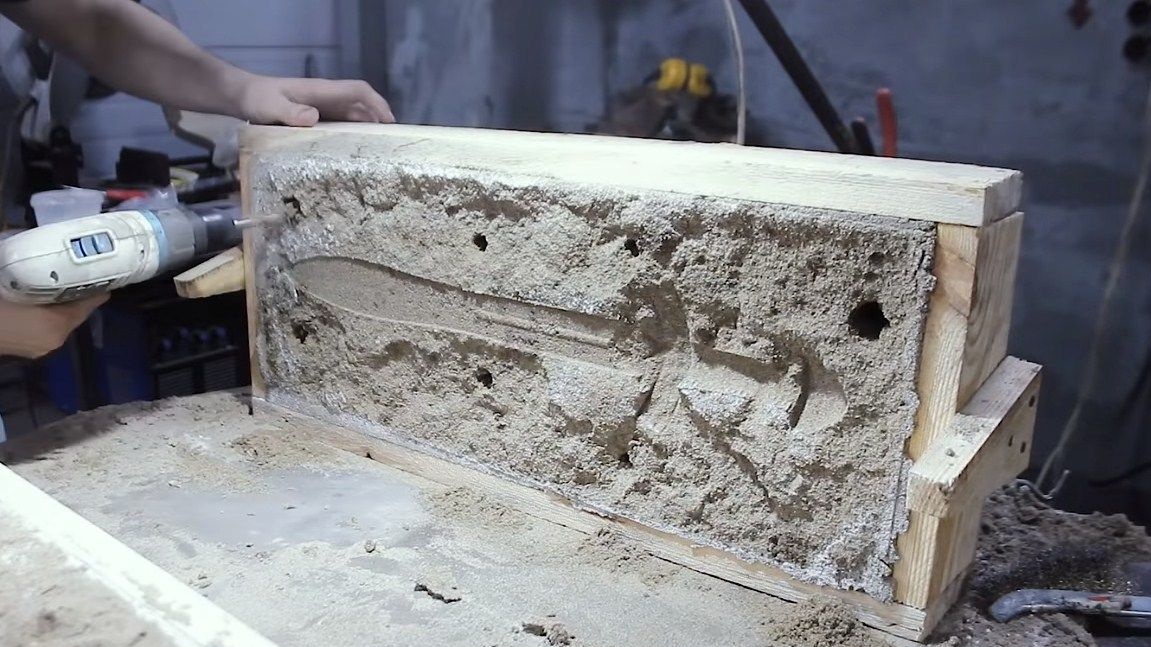
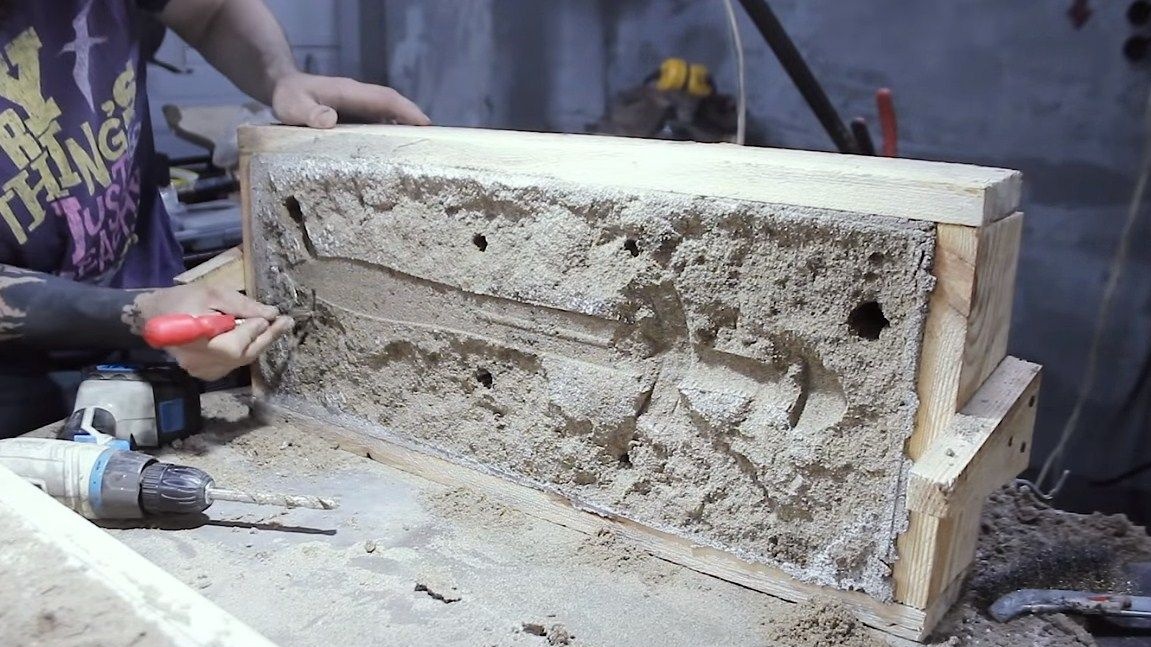

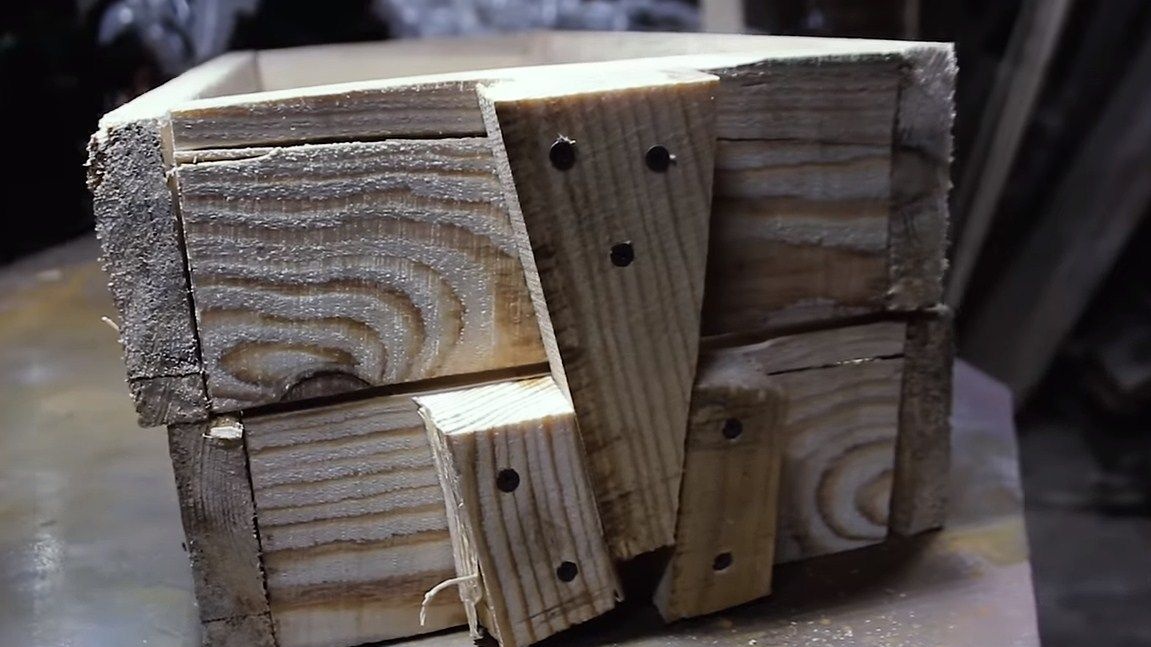
After the sword is withdrawn, you can make sprues. We have a rather large product, so we need to do more sprues, and the excess can be cut off. Gates carefully drill with a drill. We make grooves from the holes so that aluminum enters the mold. That's all, now reassemble the form back.
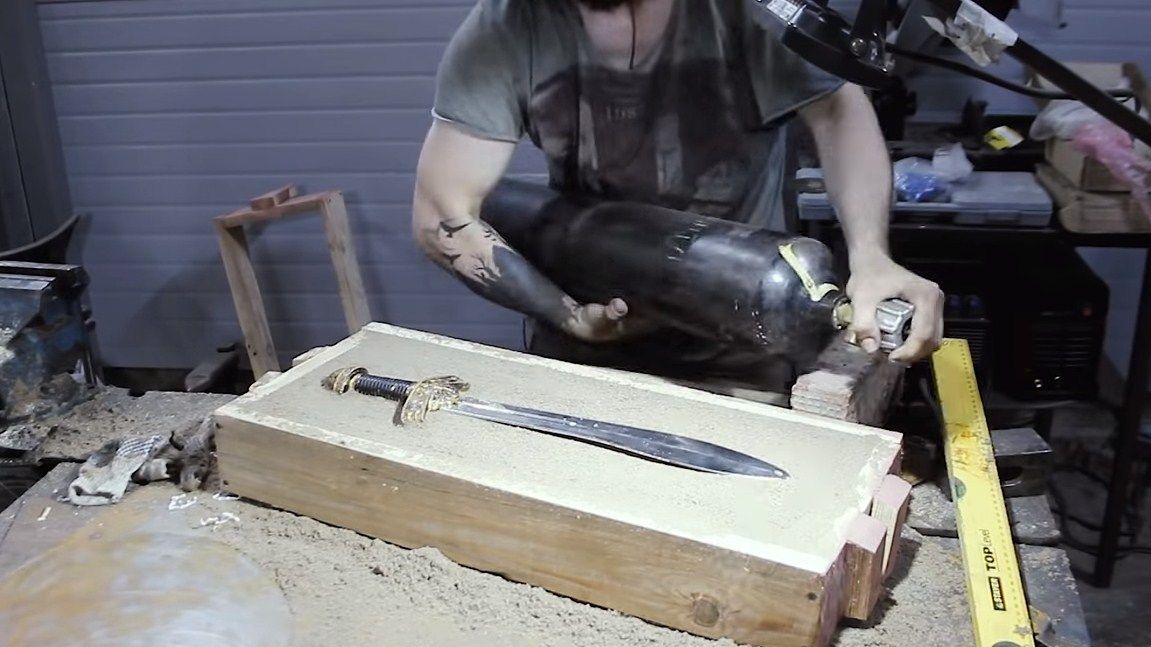
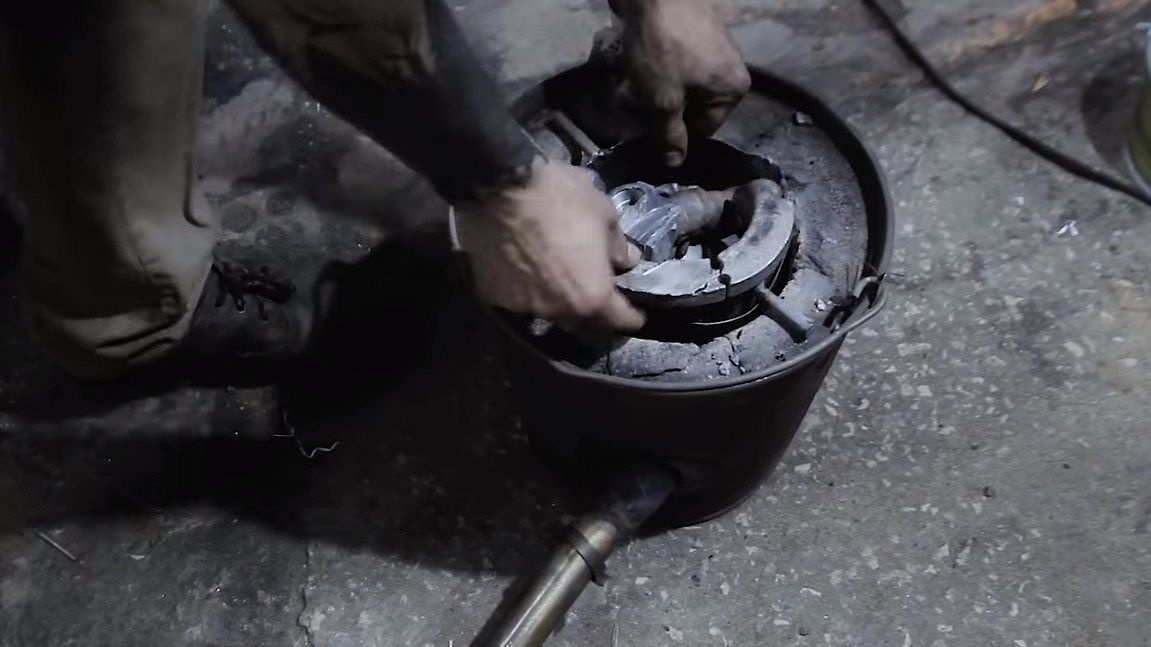
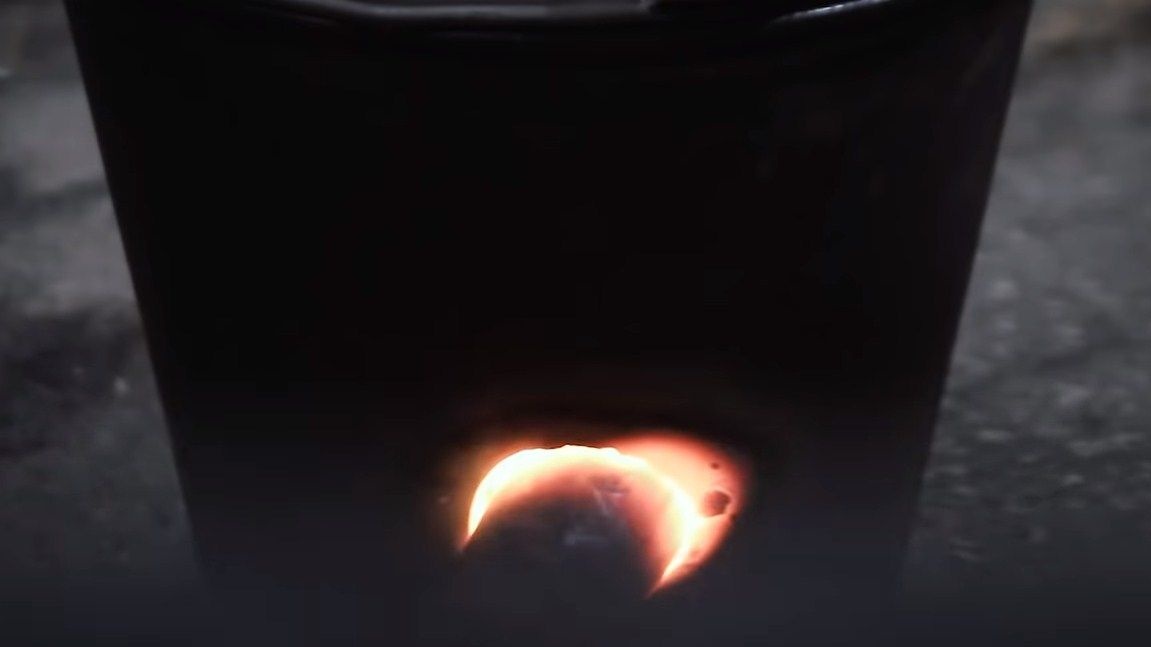
Step Four Fill aluminum
Getting to the smelting of aluminum, for this we need a furnace. Such furnaces are made of gypsum, but similar designs do not last long. It is best to make such a furnace out of kiln refractory clay; such a design will serve not a single year.
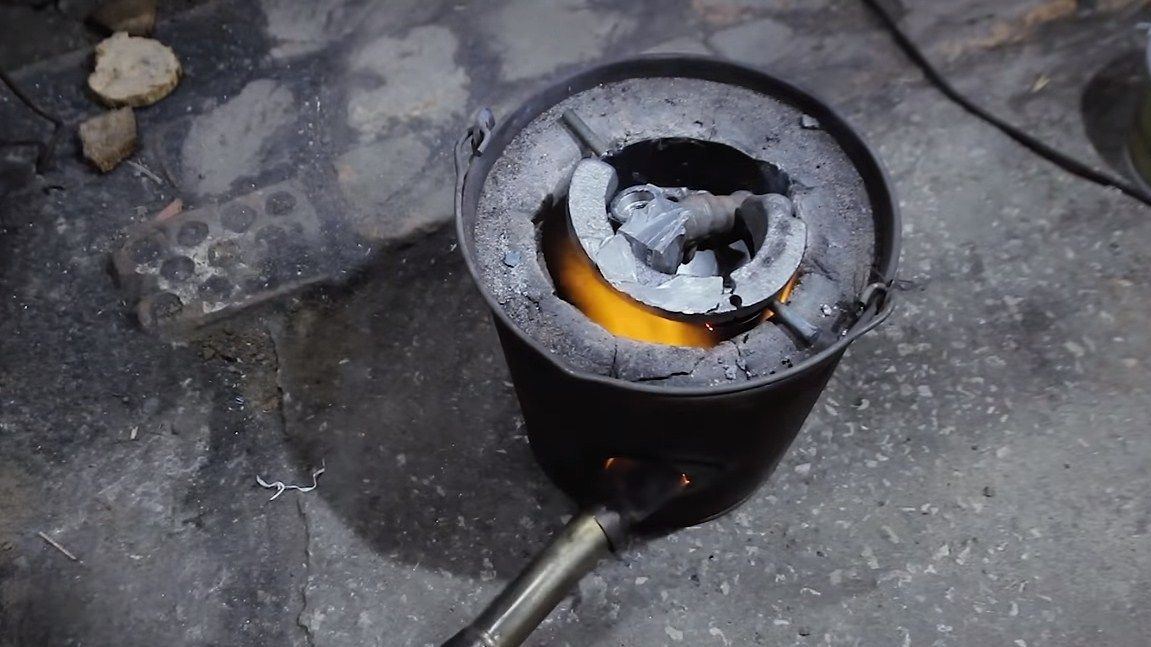


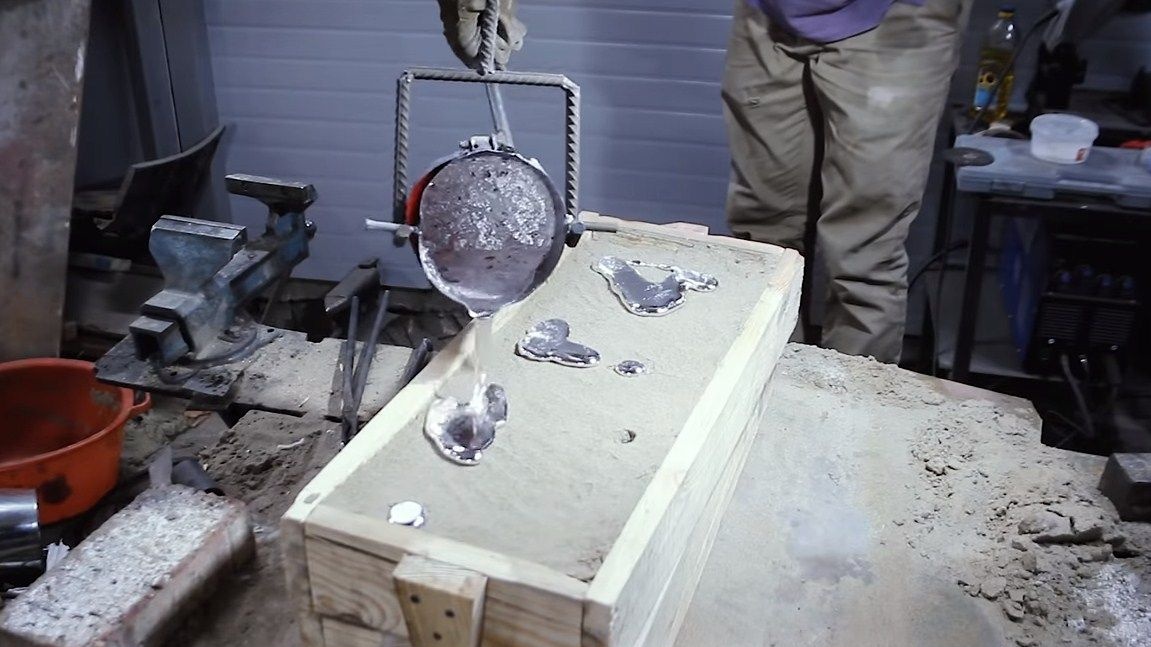
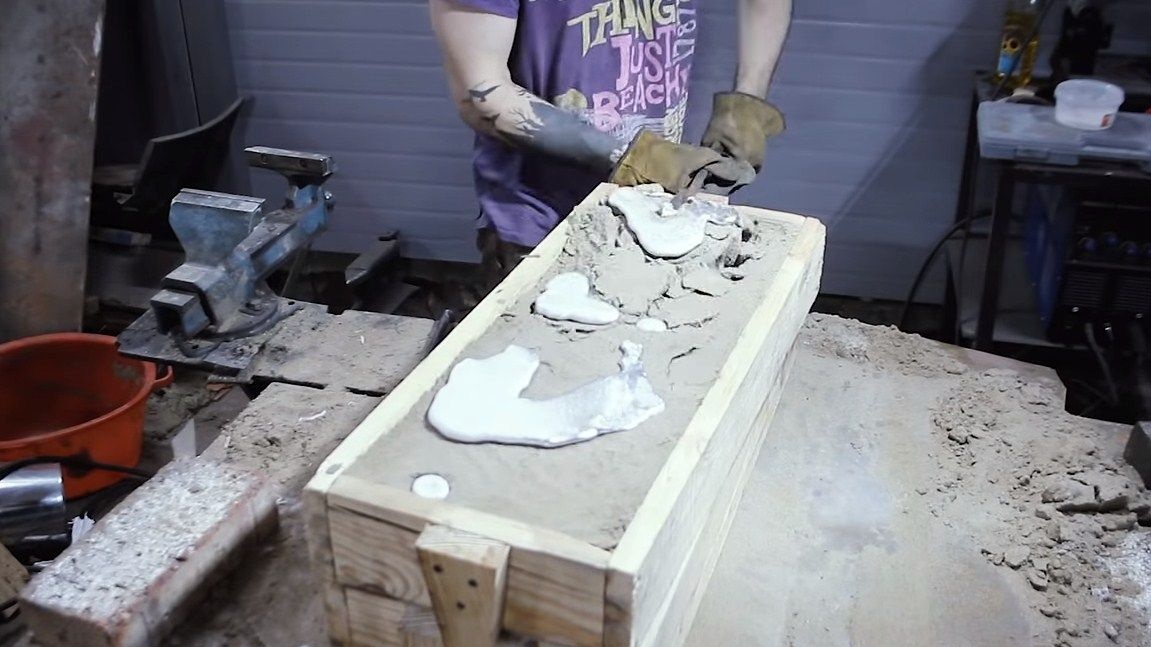
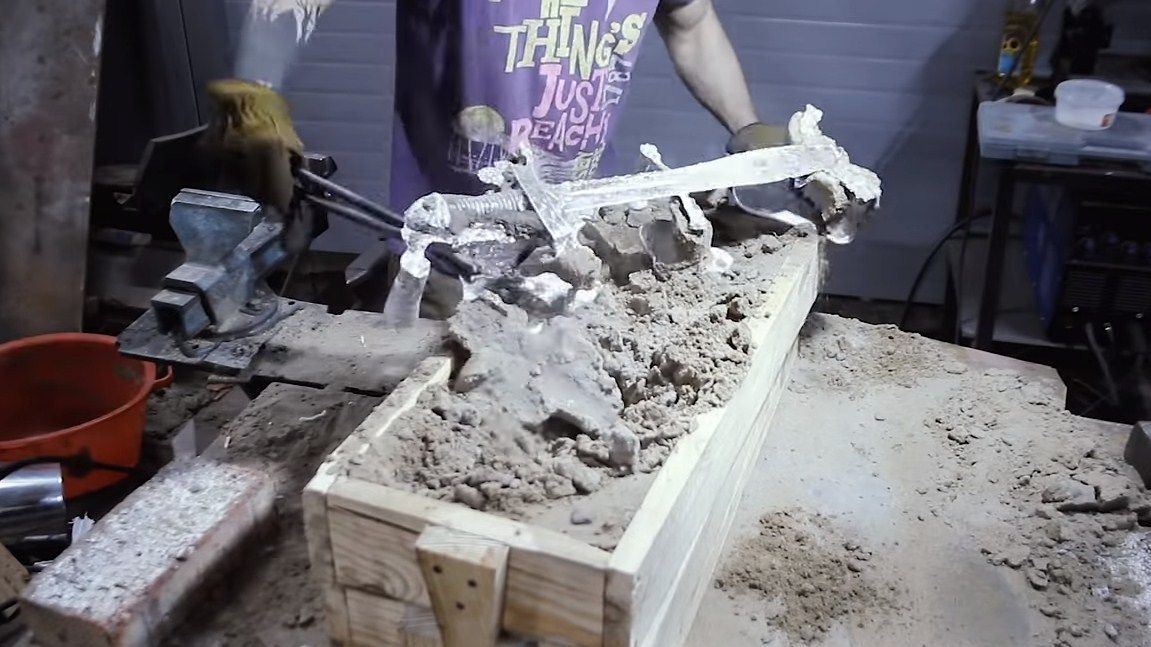
By melting the desired volume of aluminum, it can be poured. Fill with the part where aluminum is needed the most. Ideally, aluminum should then exit through another gate on the other side. If this happens, then the product is cast. But the author decided to pour aluminum into all other gates for reliability. In any case, cutting off the excess will be very simple.
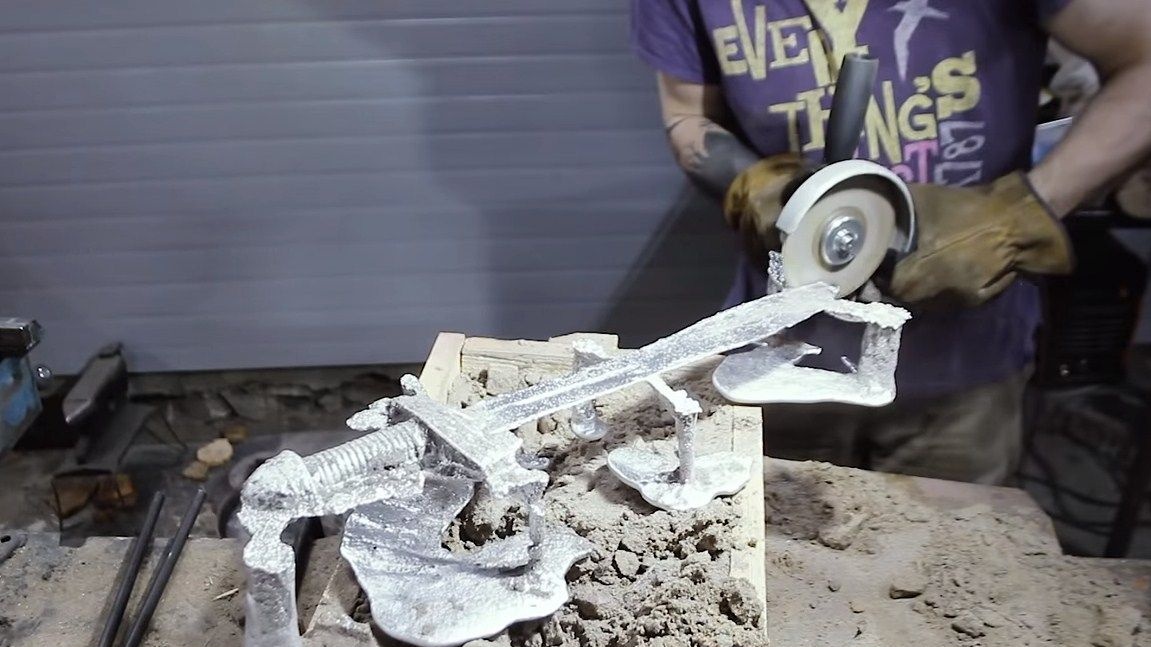
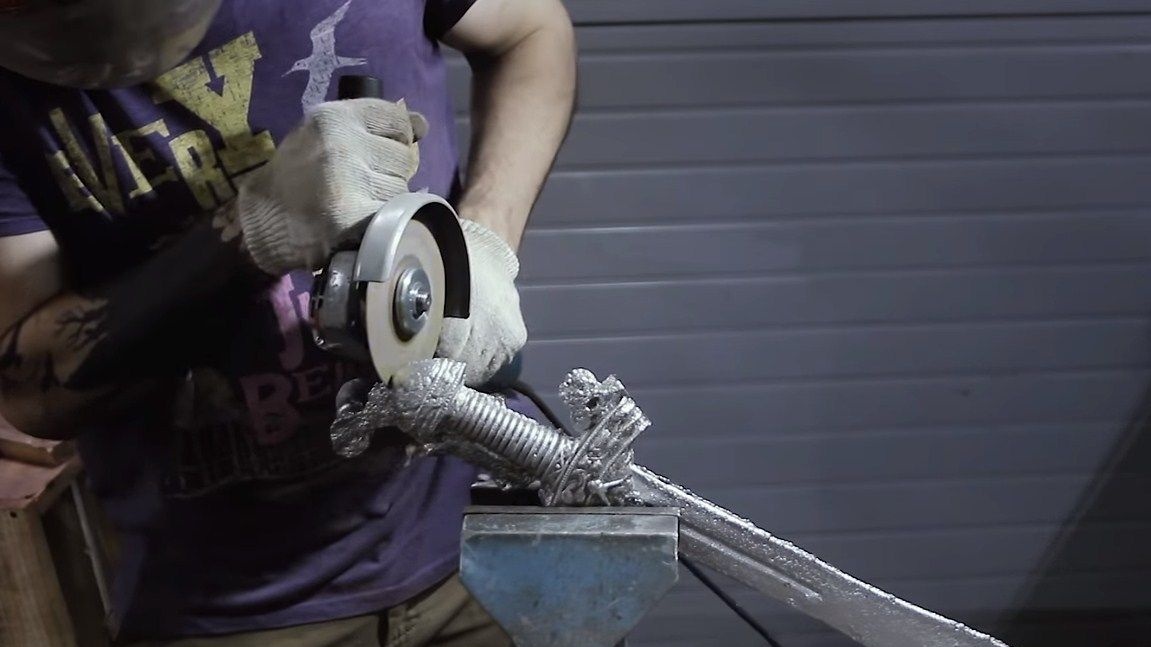
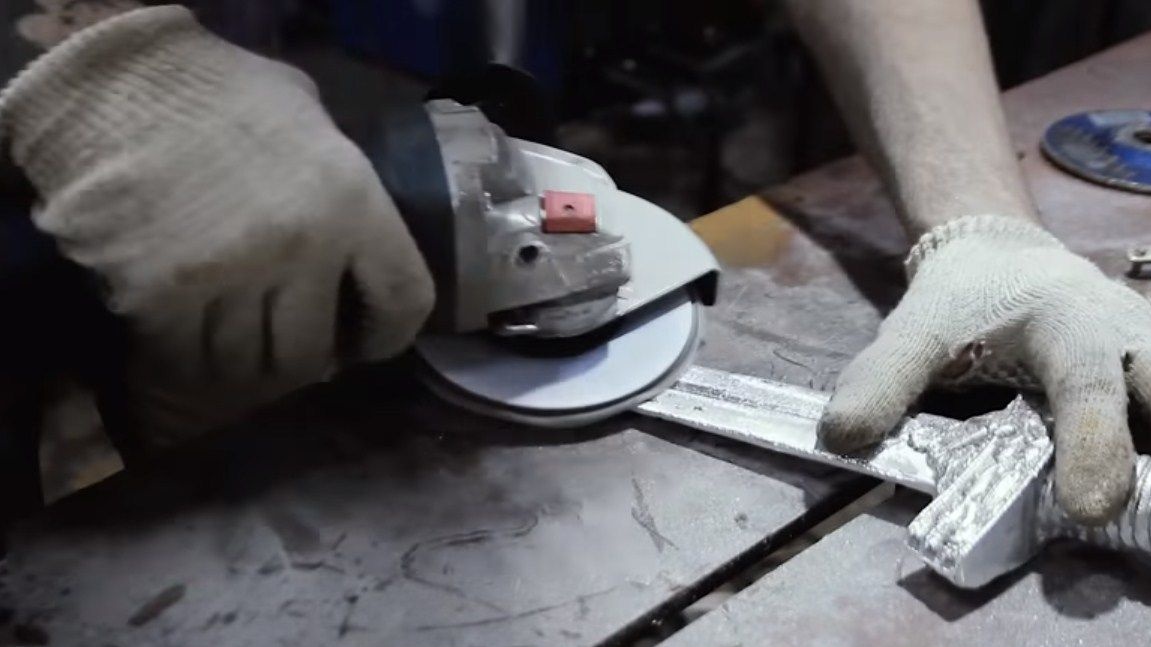
Step Five Mechanical restoration
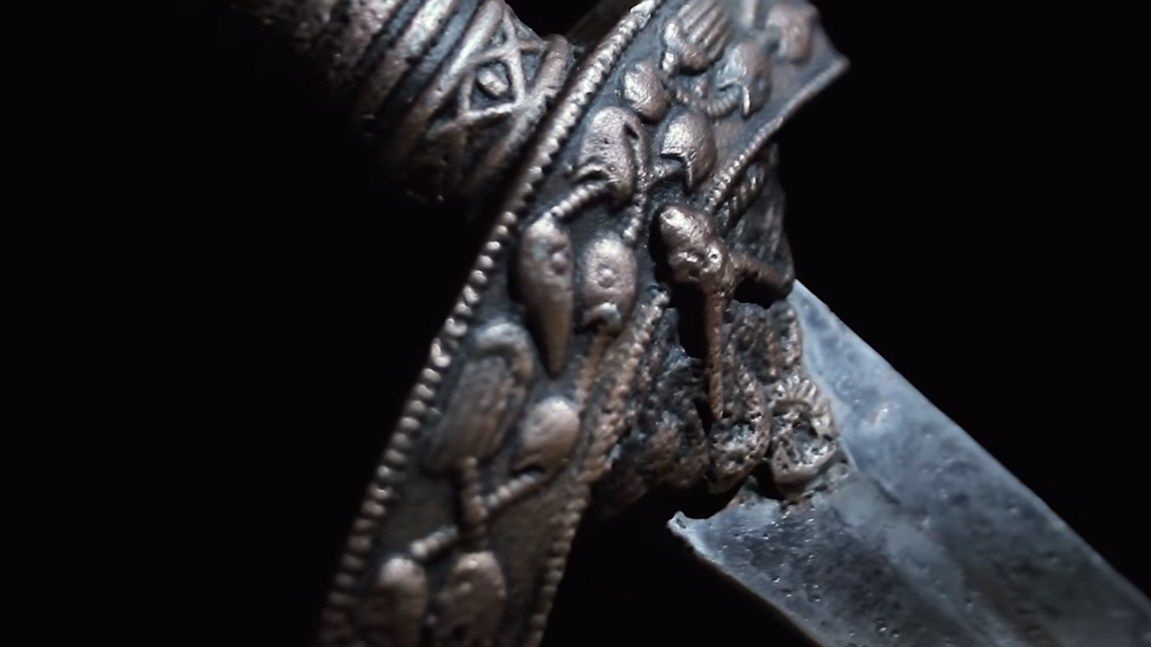
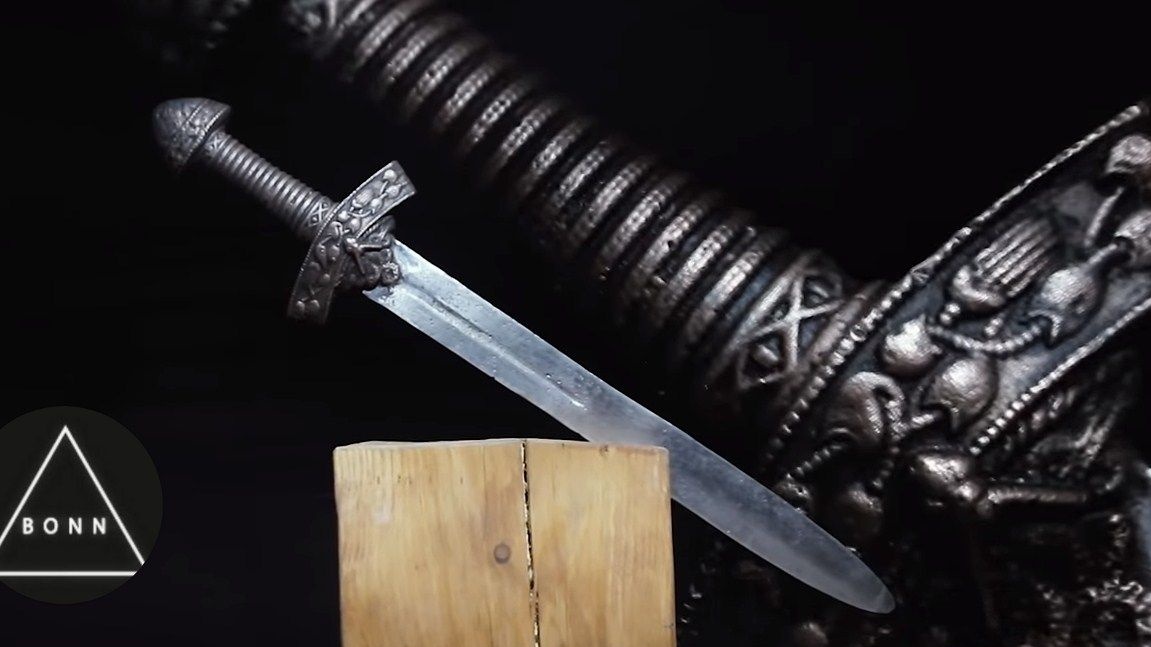
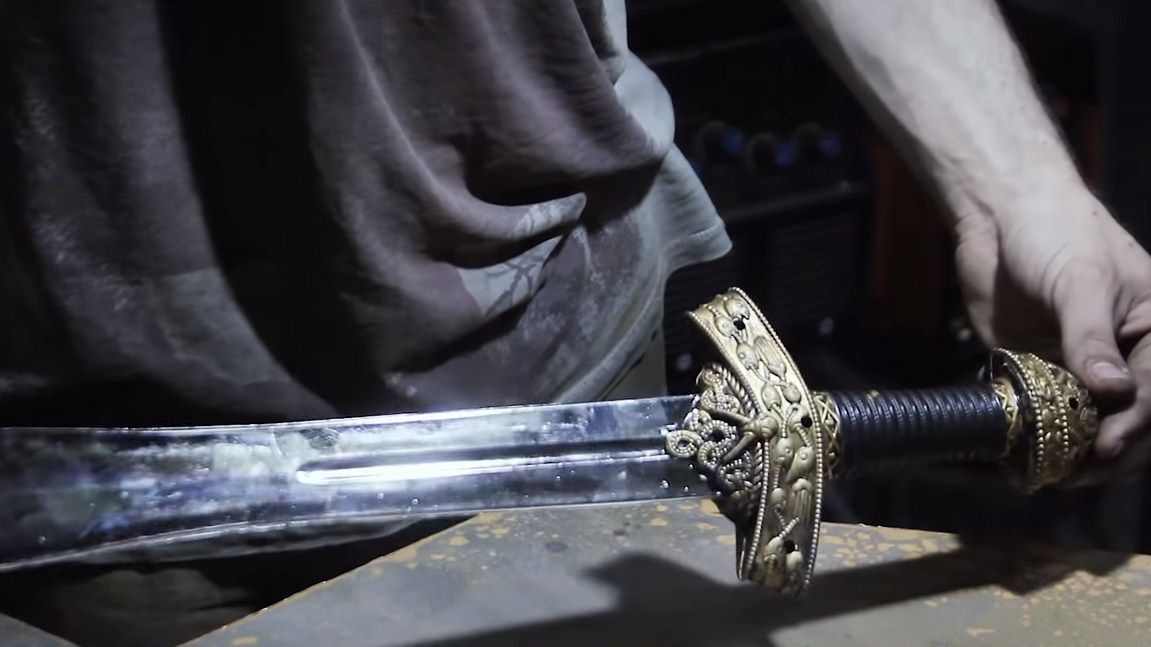
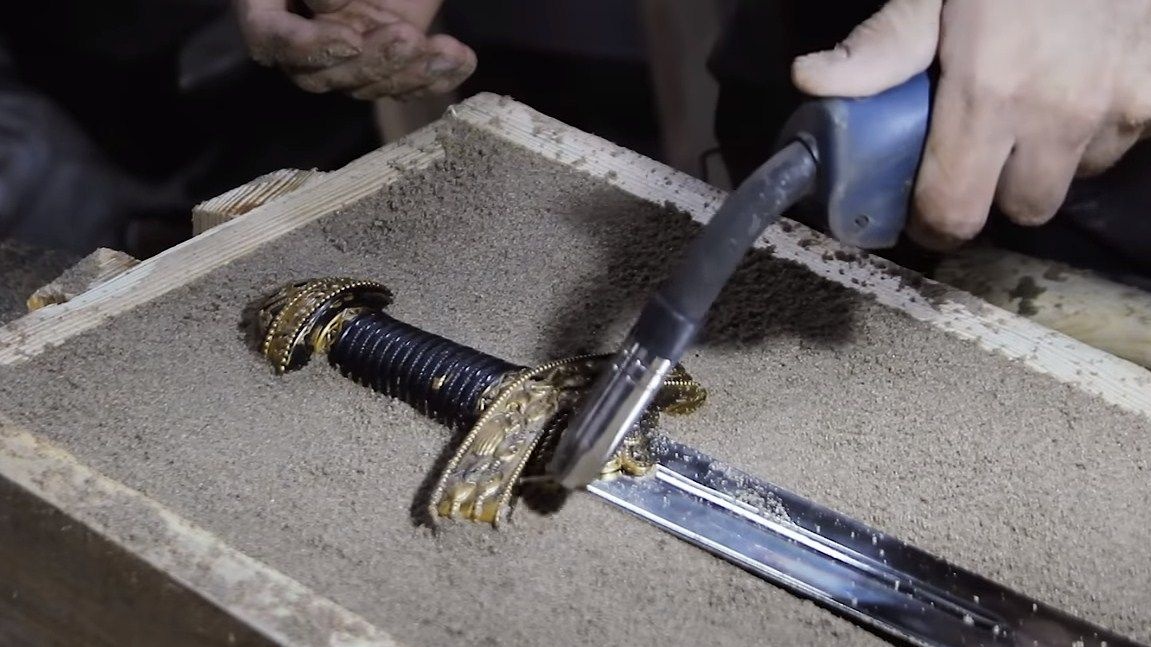
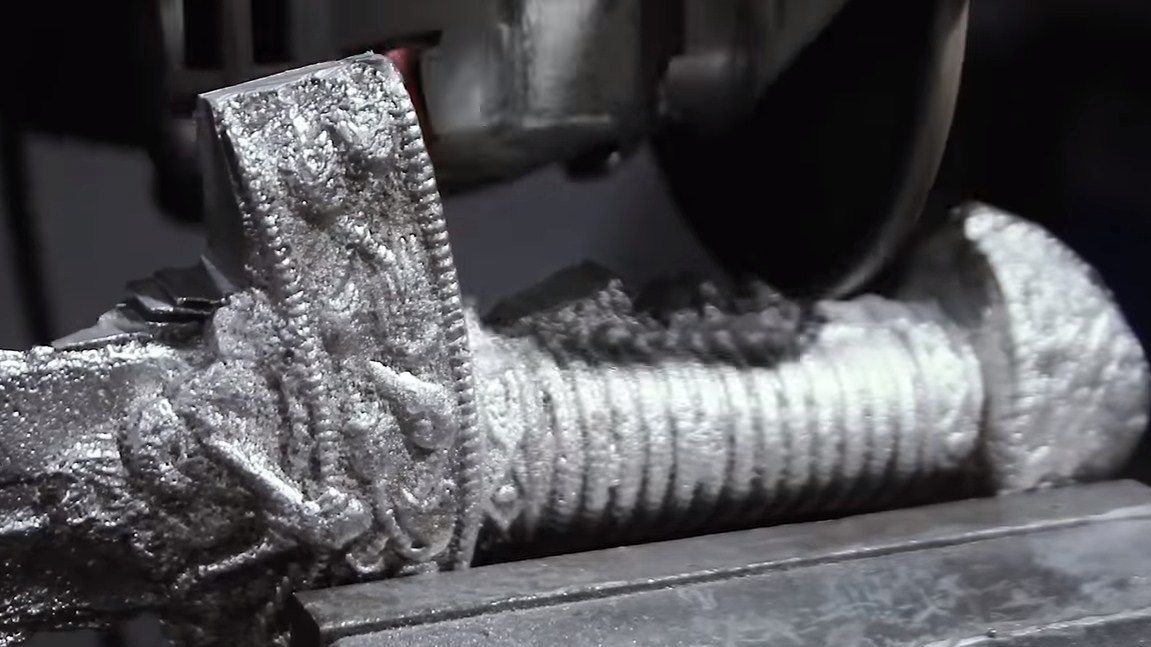
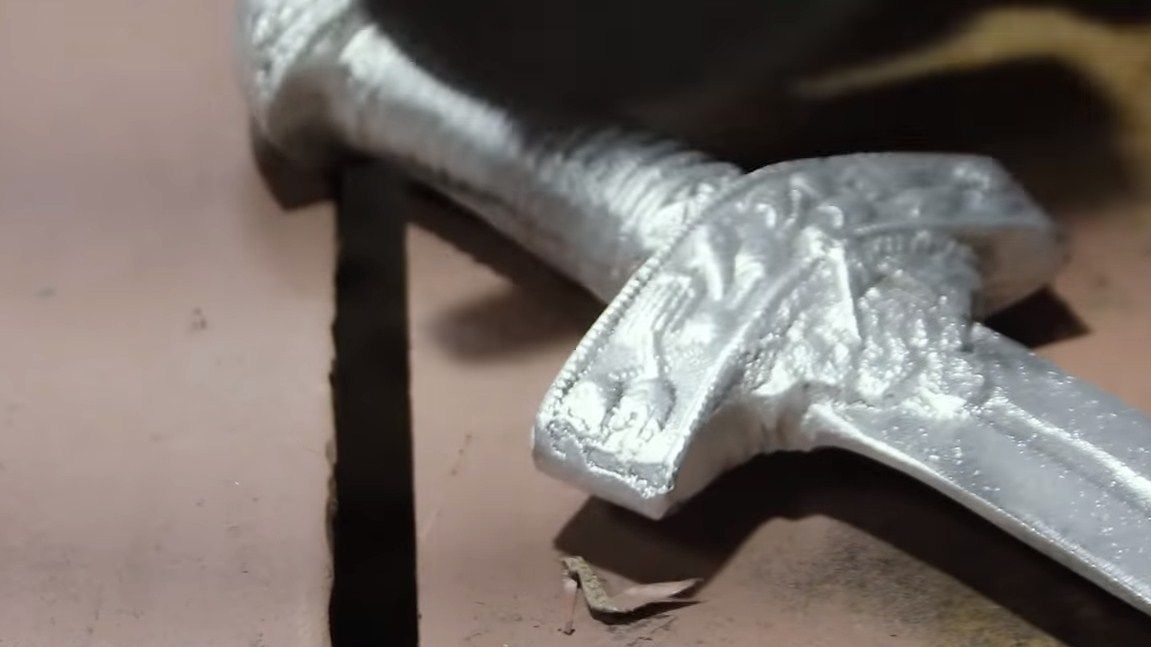
After casting, the product will have many defects, they need to be cut. First of all, we cut the sprues, this can be easily done with a grinder. Well, then similarly cut off all other casting defects. As soon as this is done, we produce a finer processing with a grinding disc. You can use the nozzle on the grinder in the form of a petal disk. If desired, the blade itself can be polished to a shine, but we will copperplate the handle.
Step Six Copper handle
For copper-plated pens, we need a DC power supply, some masters even use charging for phones, but with such a power source, the coating will grow very slowly. Before immersing the sword in the solution, clean it with the Mole or caustic soda, as the author.
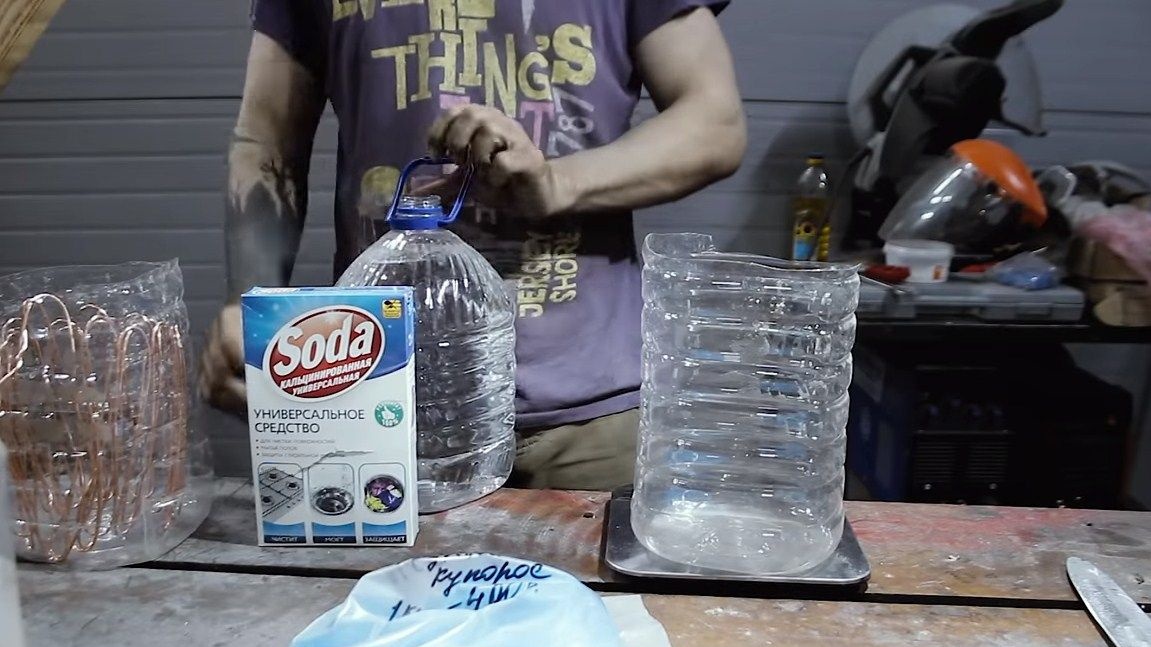
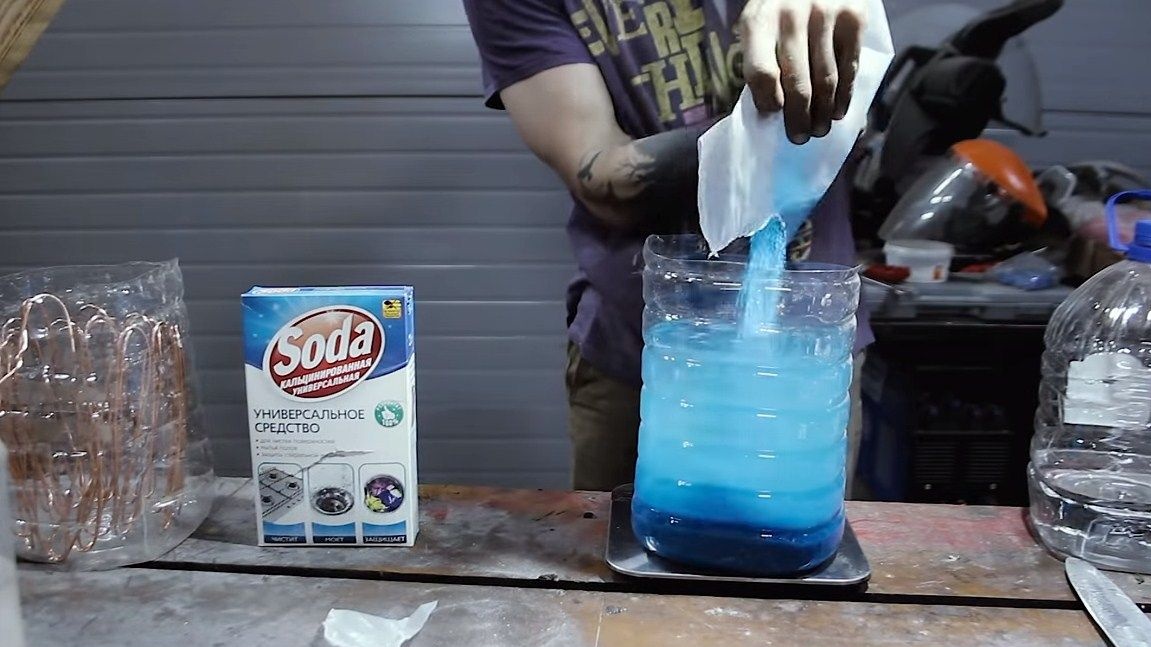
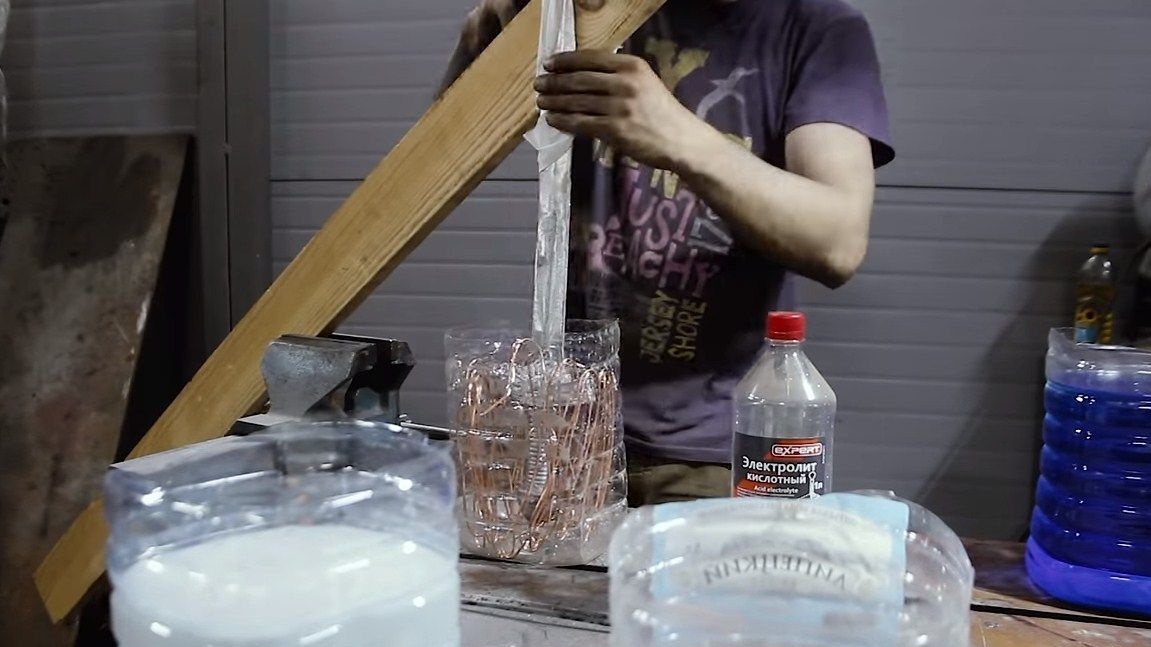
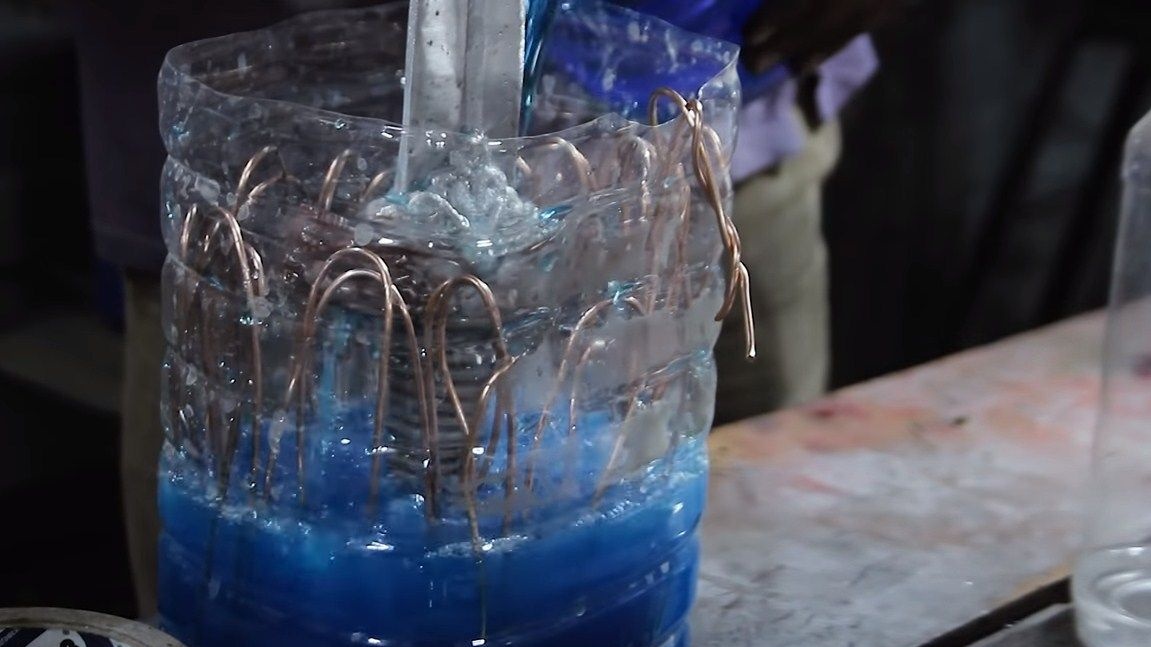
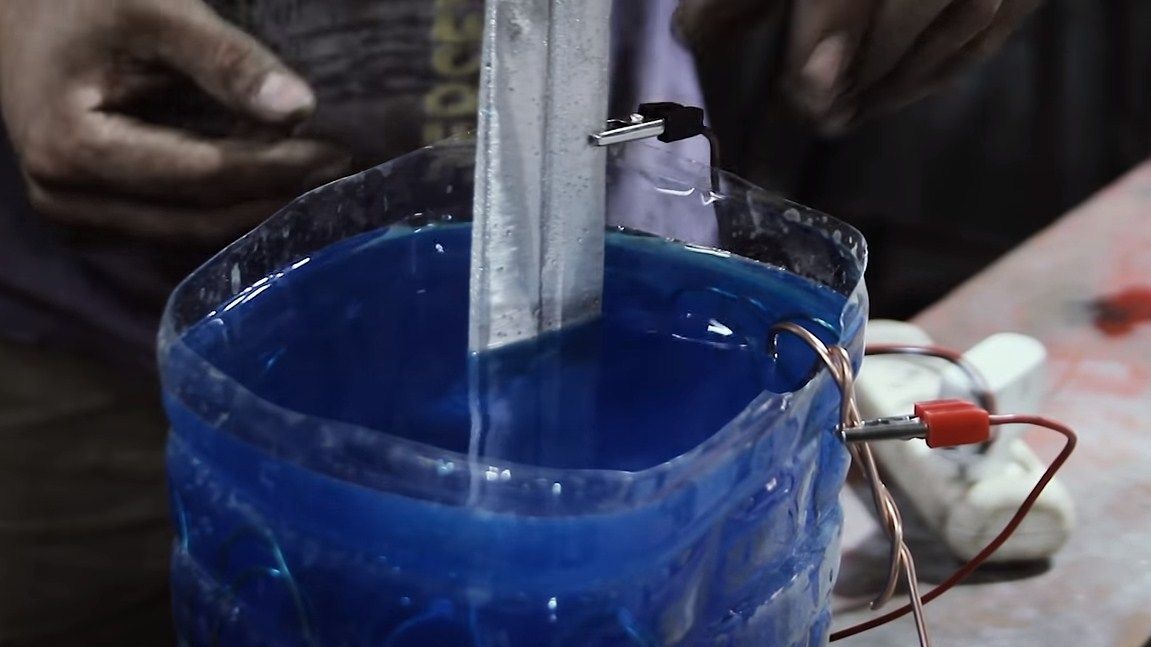
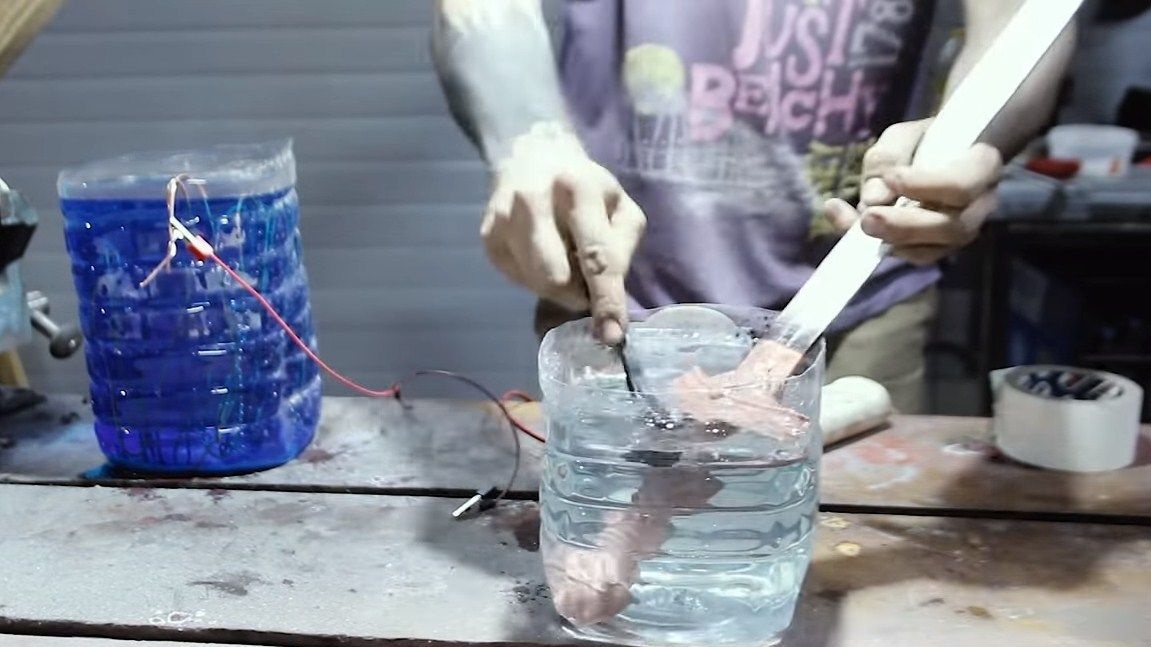
We also need to make an electrolyte, for this we take 3 liters of distilled water and fill in a kilogram of copper sulfate, and pour a liter of automobile electrolyte. That's all, the solution is ready, immerse the sword in it with the part that you need to copper. We fix the sword, the author fastens it to the board, which is clamped in a vice. Copper will still need to be immersed in the container; the author adapted copper wire for this. The wire must not touch the sword, otherwise there will be a short circuit!
That's all, it remains to connect the power source. We connect a minus to the product, and a plus to copper. It remains only to wait until the copper coating grows on the sword.
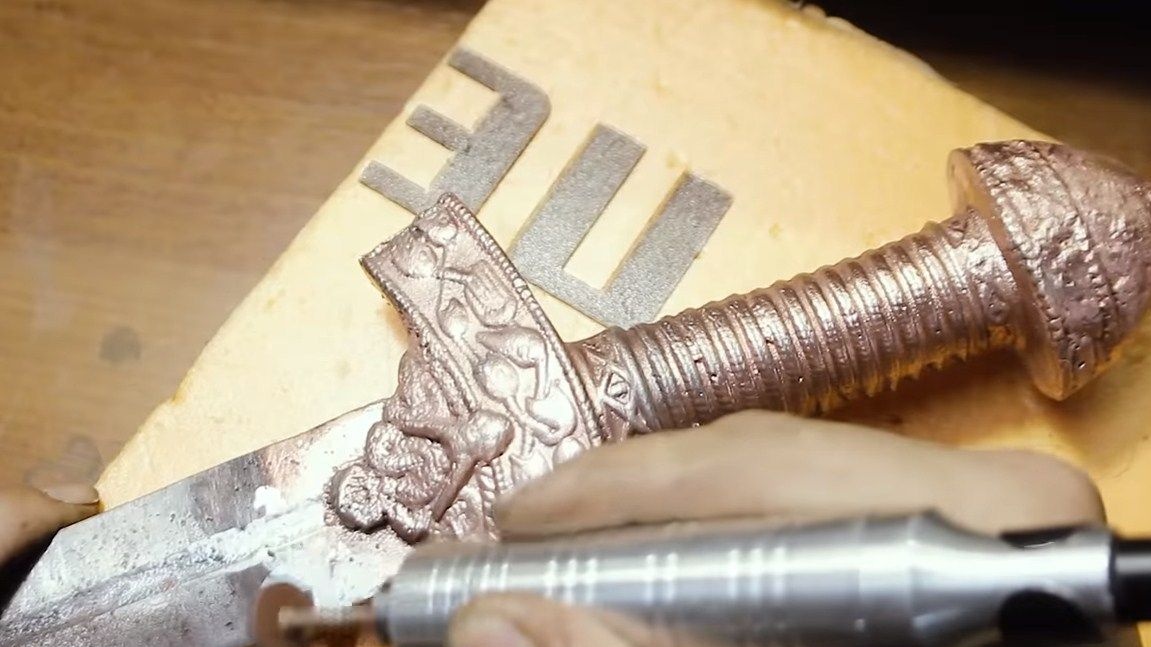
Seventh step. Finishing touches
When everything is ready, we clean the copper with a drill from those areas where it is not needed, as well as my product. You need to wash well, under running water.
As planned, the pen should be dark in color, to make it such, you will need sulfuric ointment, which can be bought at a pharmacy. After applying it to a copper coating, copper will immediately begin to darken. To speed up this process, the author warms up the handle with a gas burner, it is not necessary to warm very much.
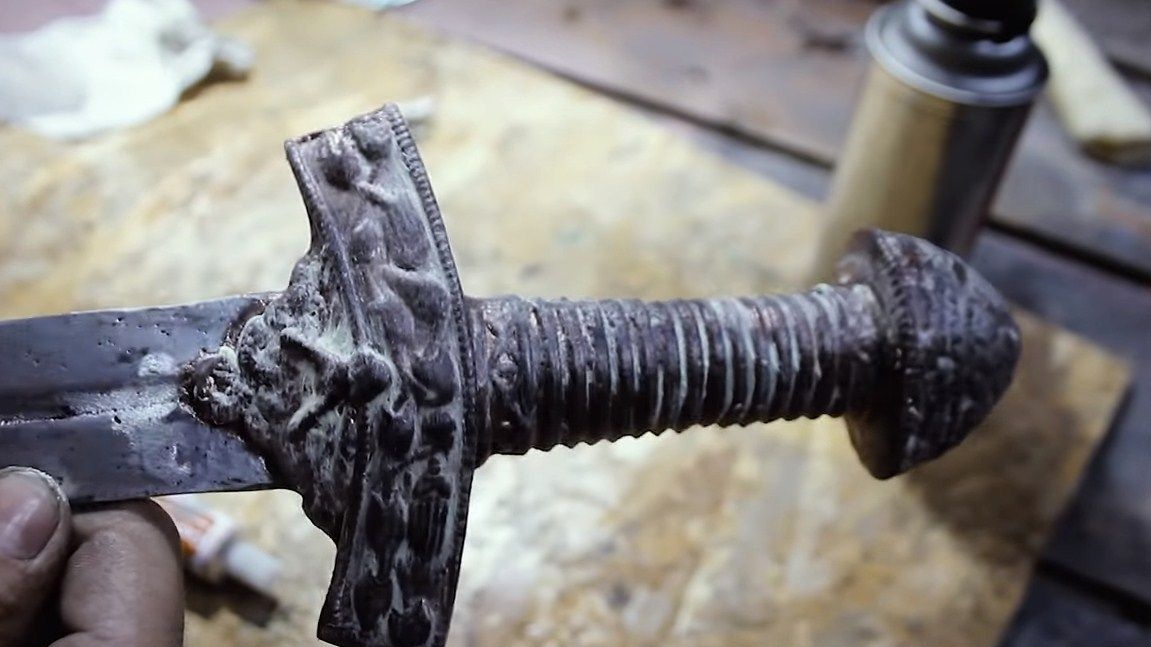

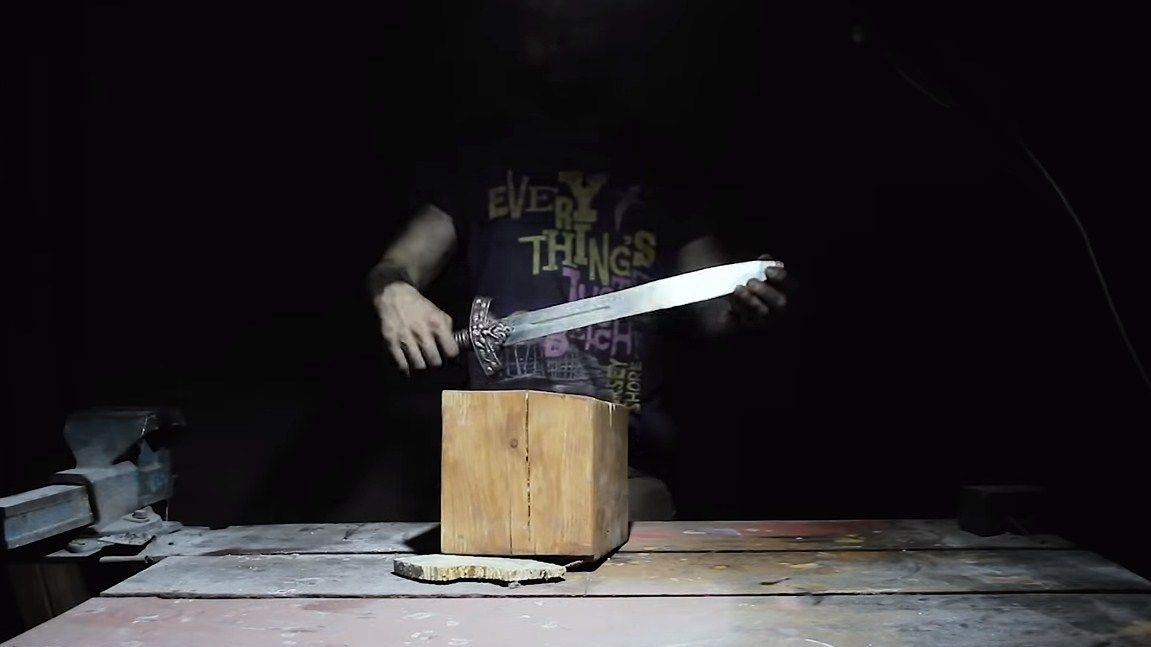
That's all, our wonderful sword is ready. If desired, you can polish the blade, it will shine like a mirror. That's all, the project is over, I hope you liked it. Good luck and creative inspiration, if you want to repeat it. Do not forget to share your best practices and homemade products with us.