
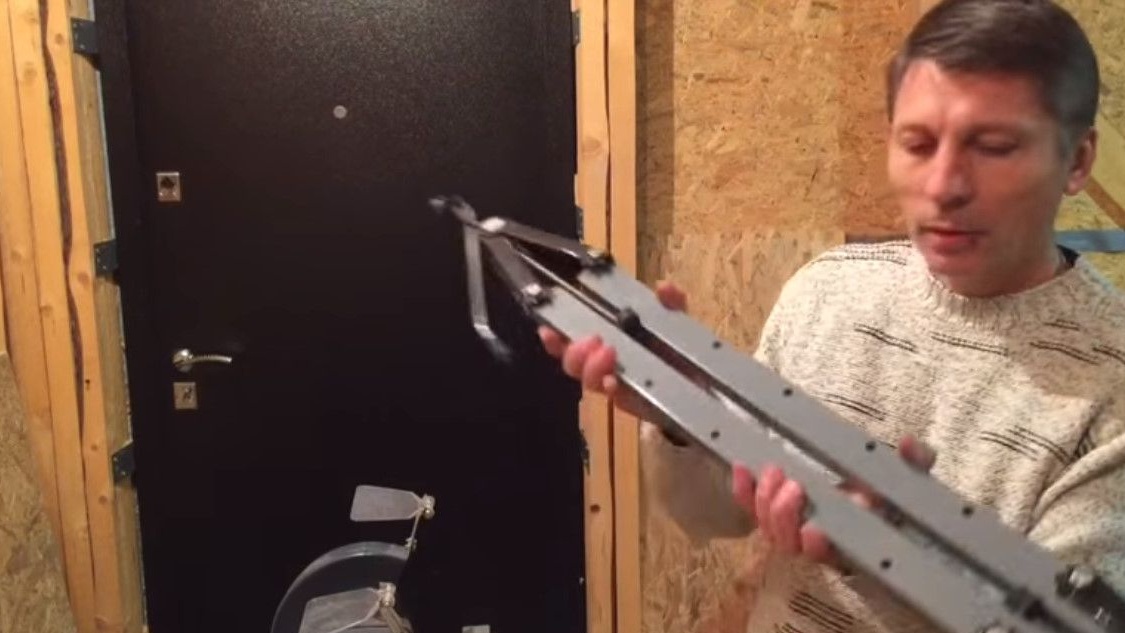
In this article, Igor, the author of the "Resolute" channel, will show in detail the process of making the wime.
It will be made from a car jack. To make a wime, the author used the jack of the Ulyanovsk plant.

The jack is designed for a load of one ton.
A very important part in this jack is a screw-nut pair with a trapezoidal thread. The trapezoidal thread, as you know, can withstand much greater loads than conventional thread. This jack has a thread of 12mm diameter.
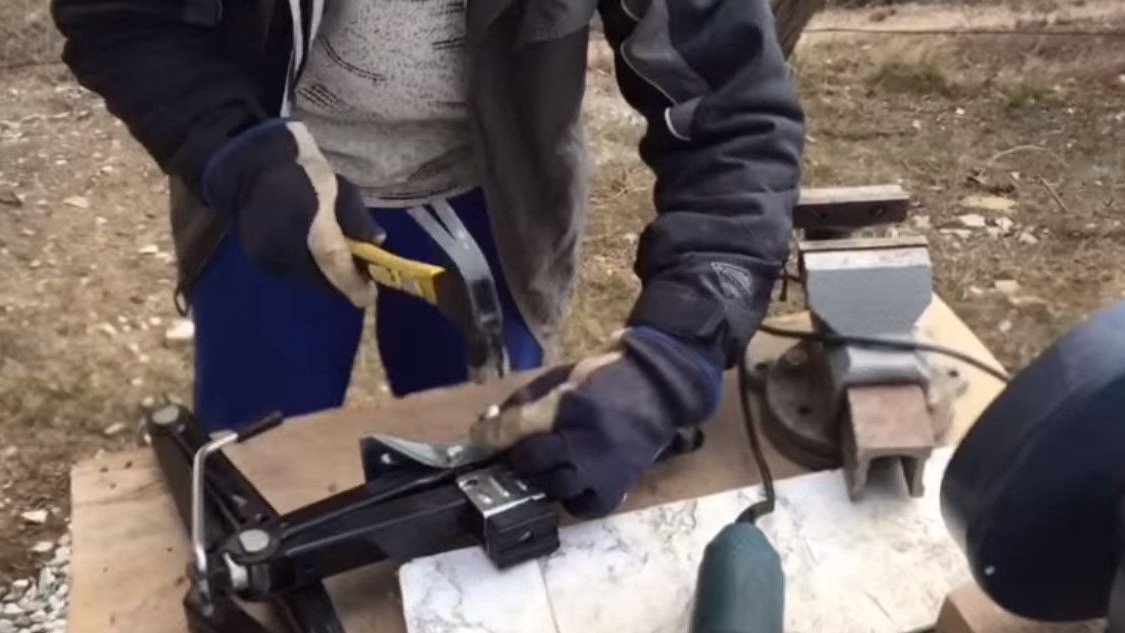
First you need to disassemble the jack on the part.
To do this, cut the rivets and knock them out.
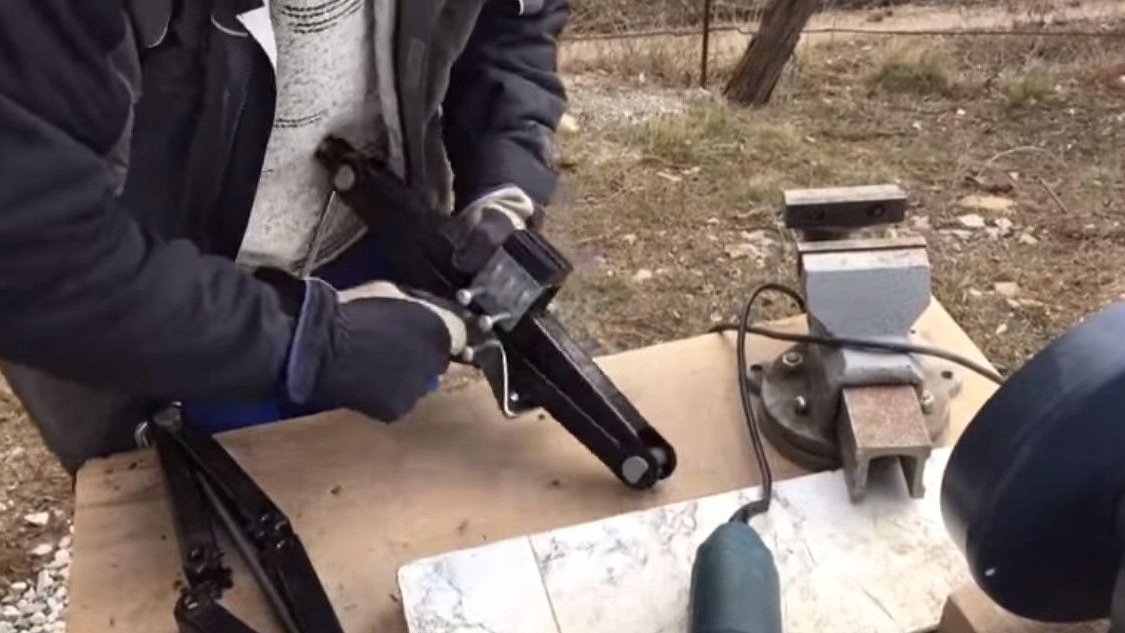

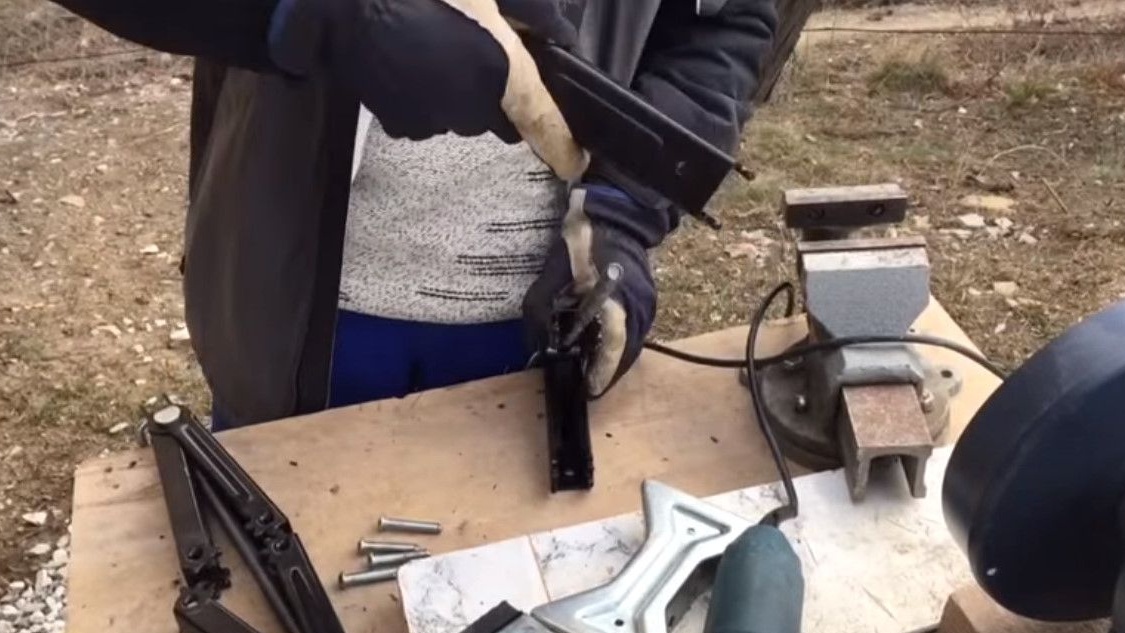
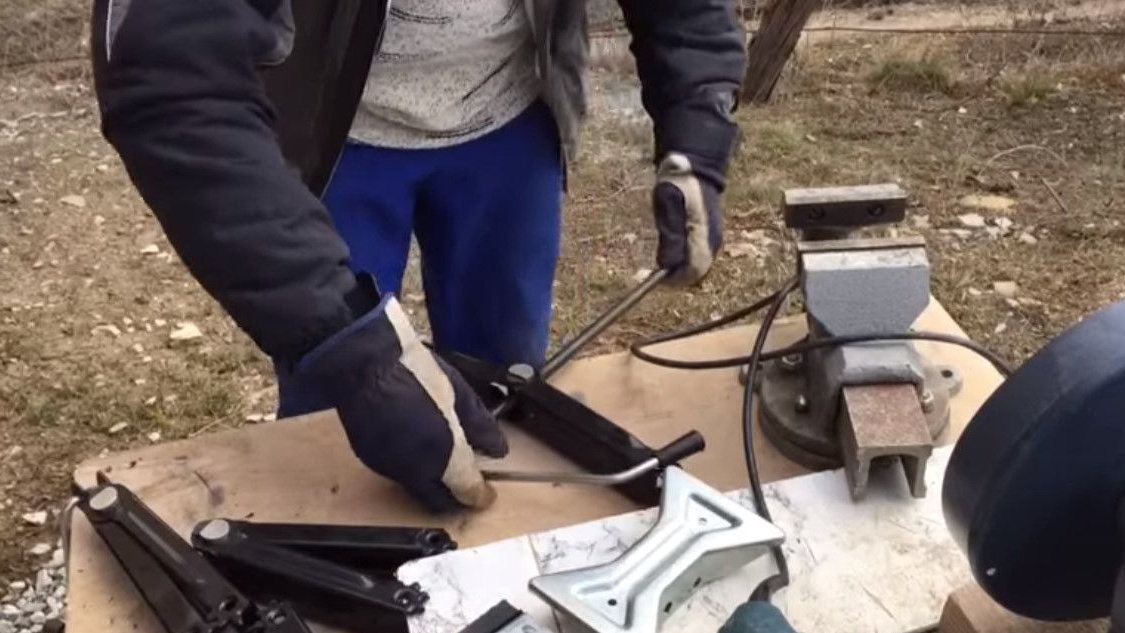
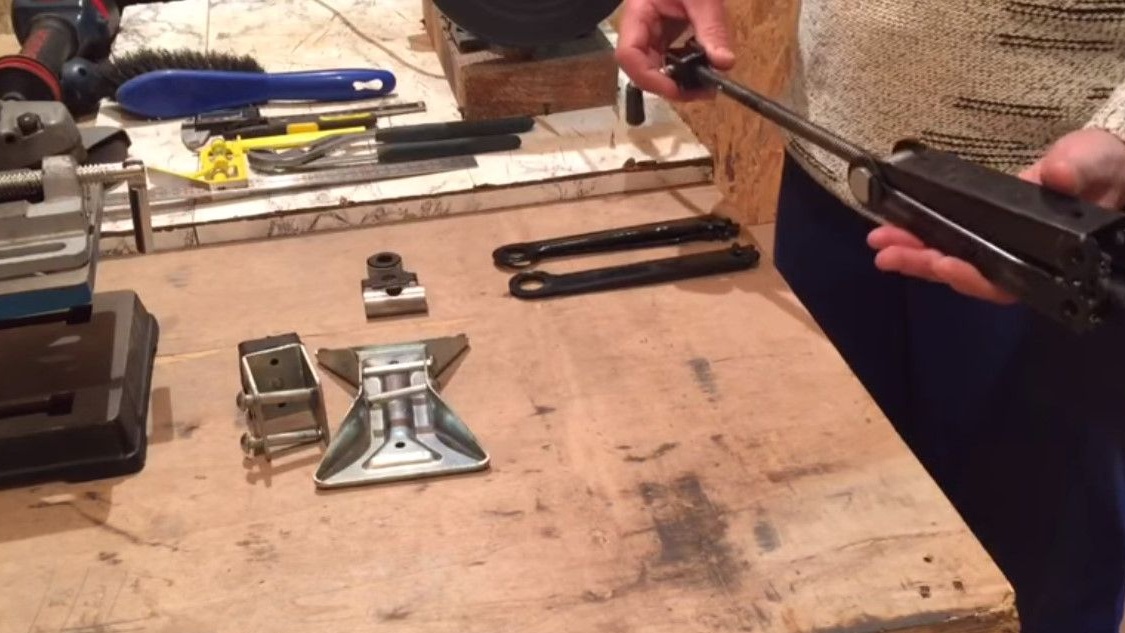
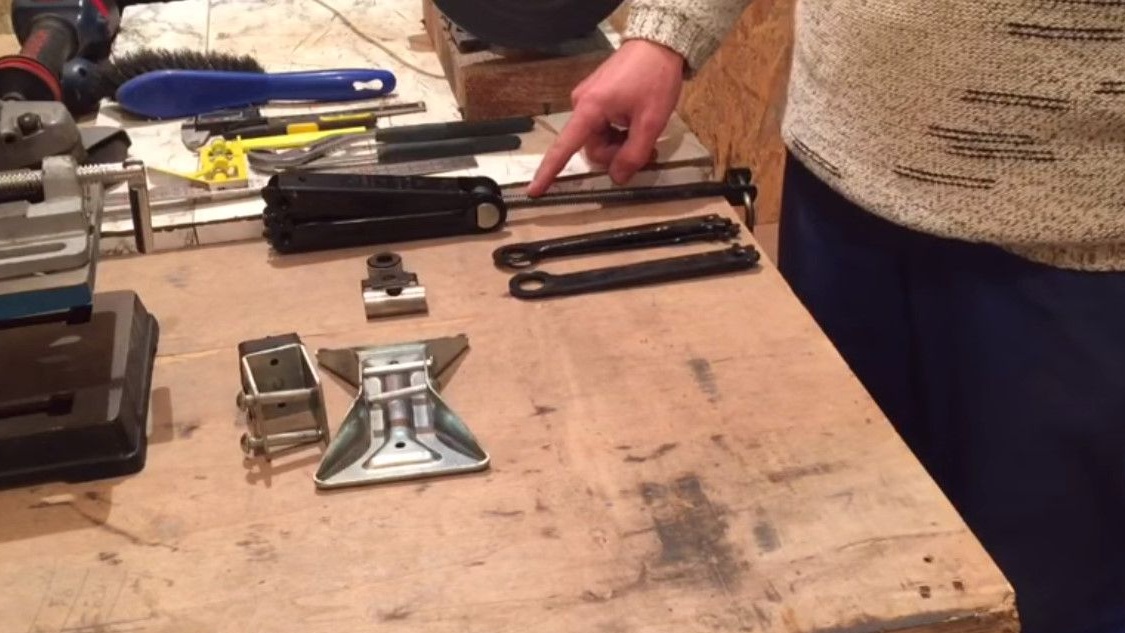
After the jack was disassembled, the author had the following parts:
One half of the jack into which the axle is already screwed.
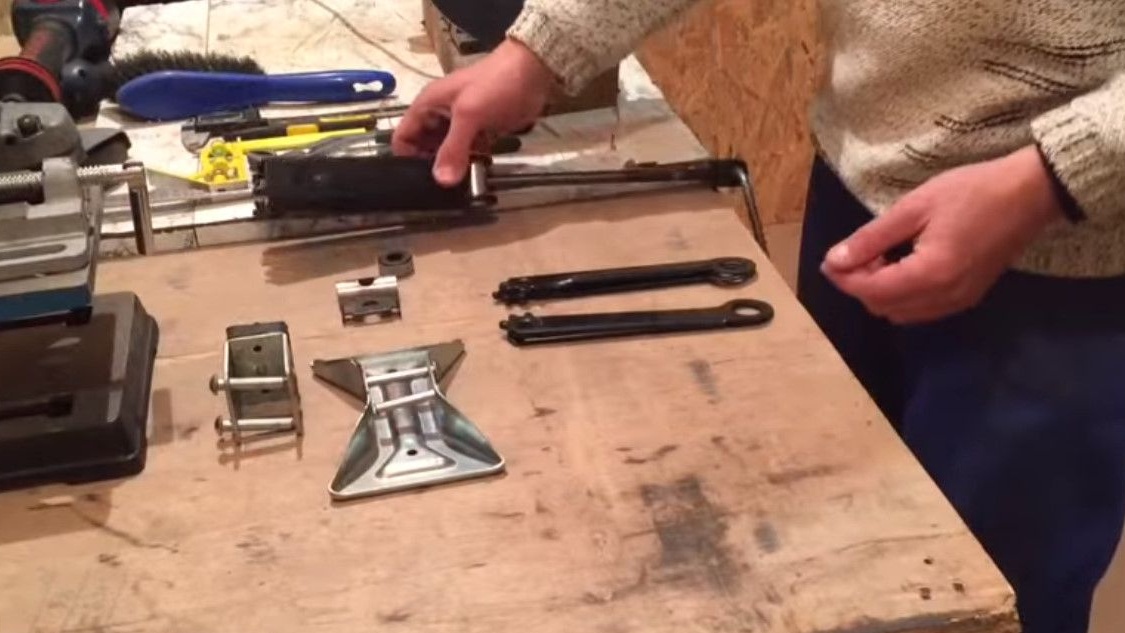
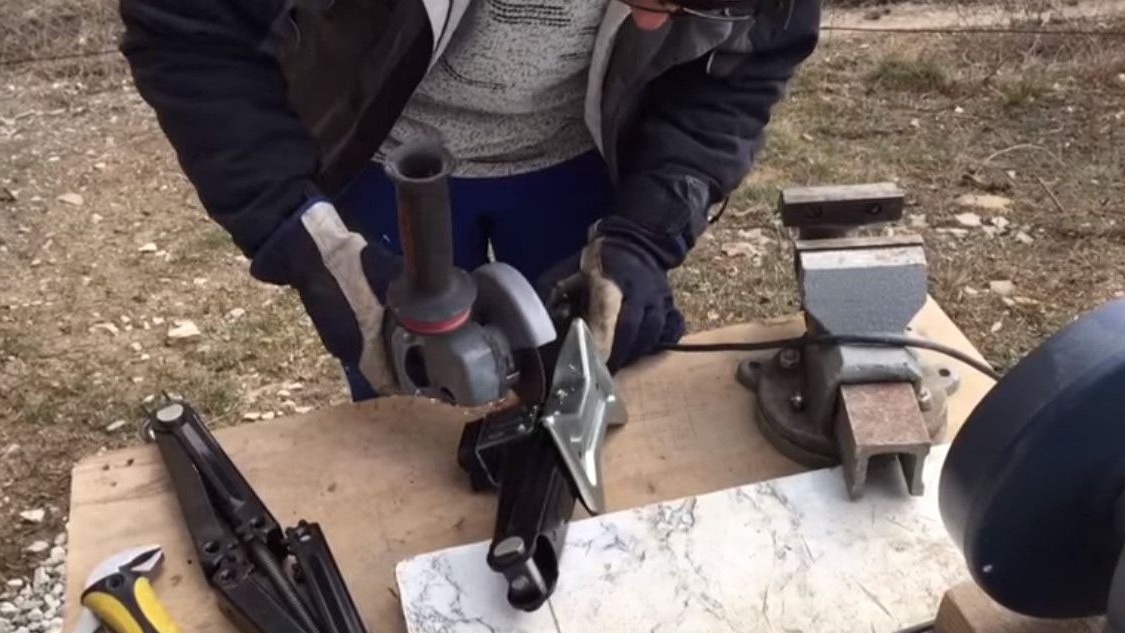
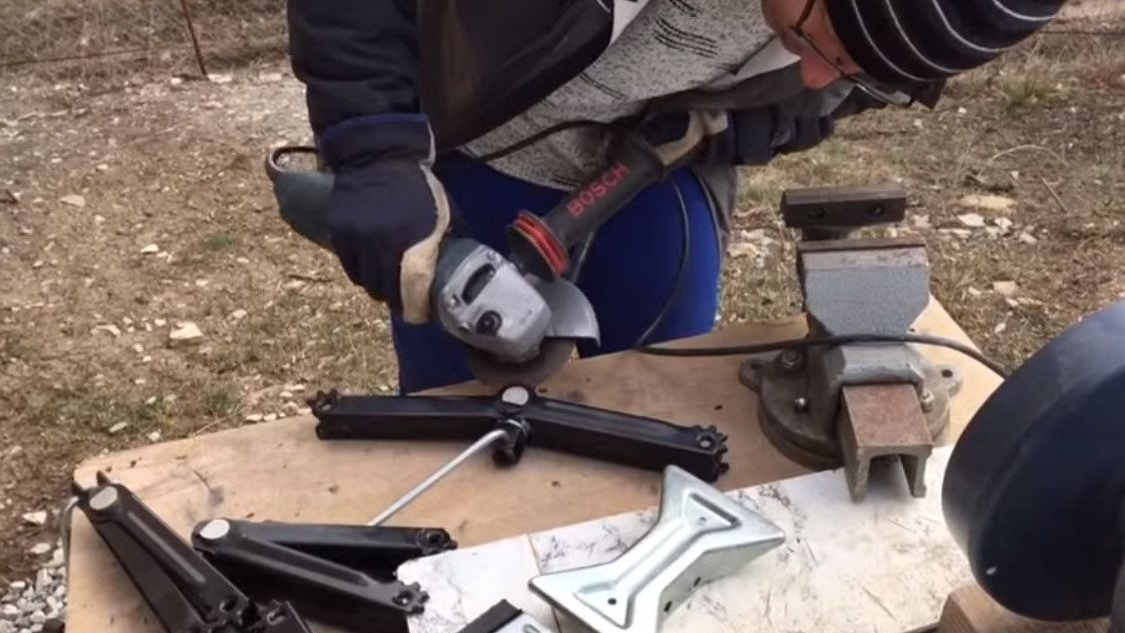
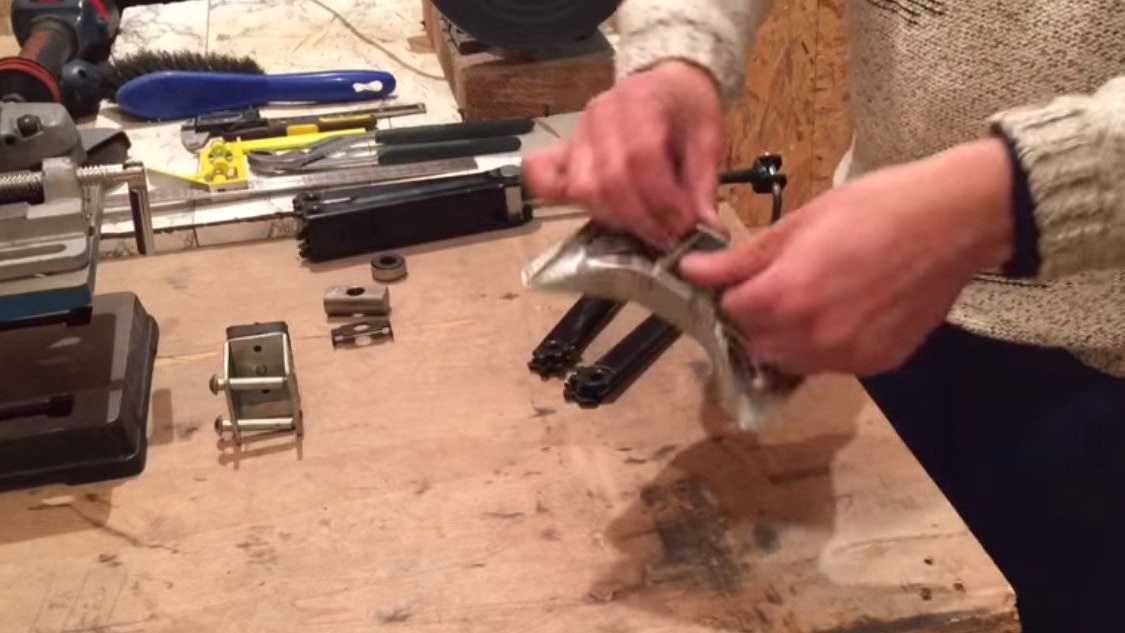
The second half of the jack, which must be cut into such details.
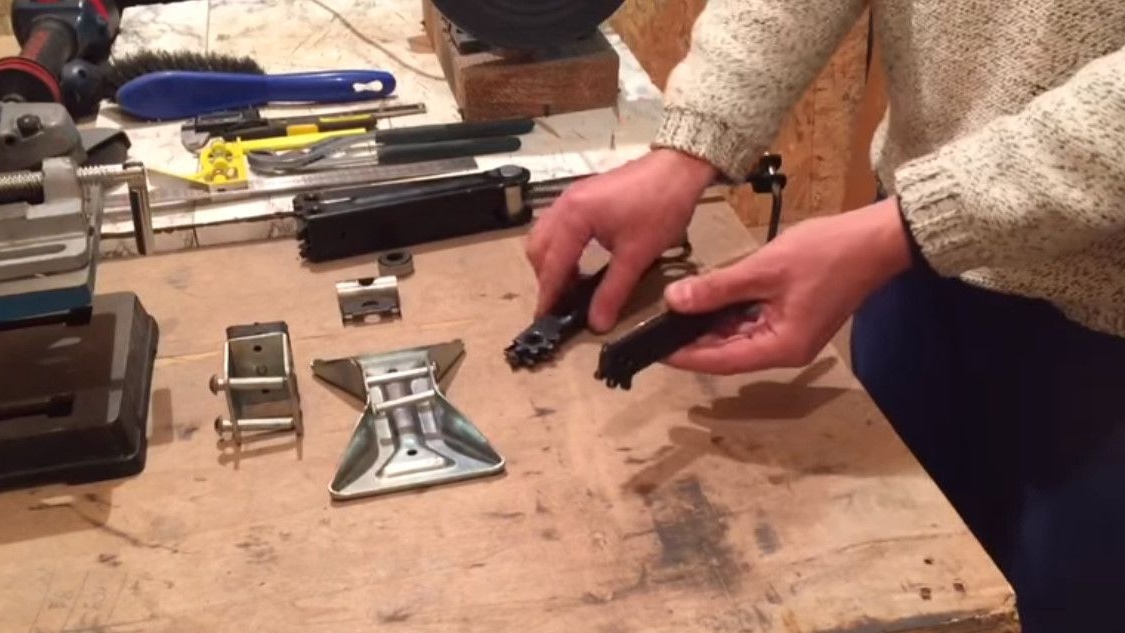
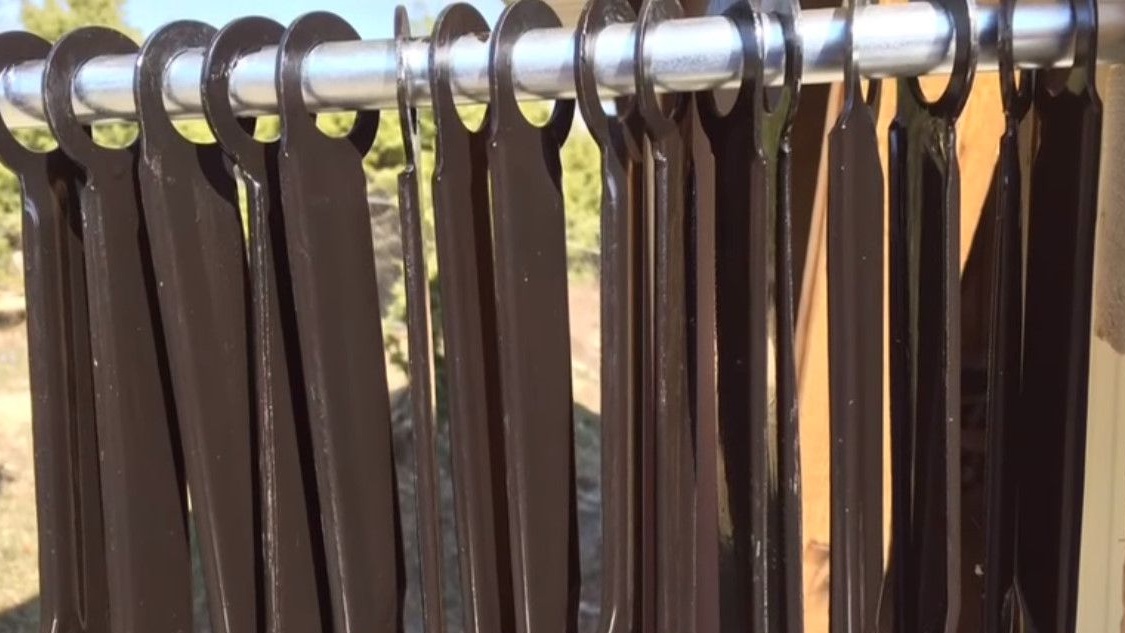
Details need to be painted and dried.
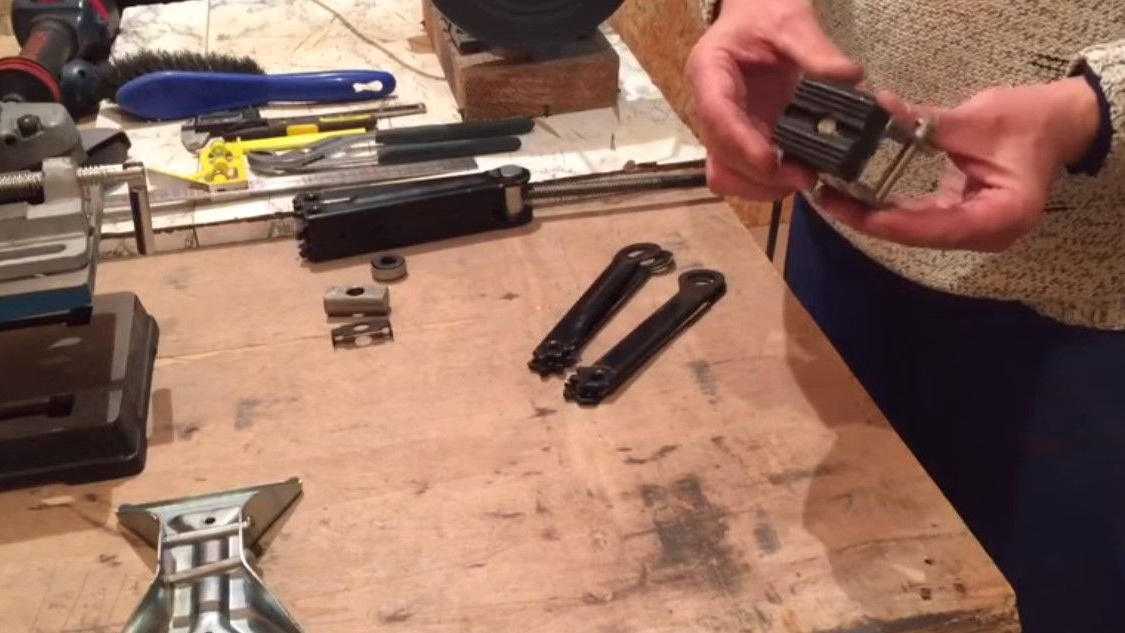
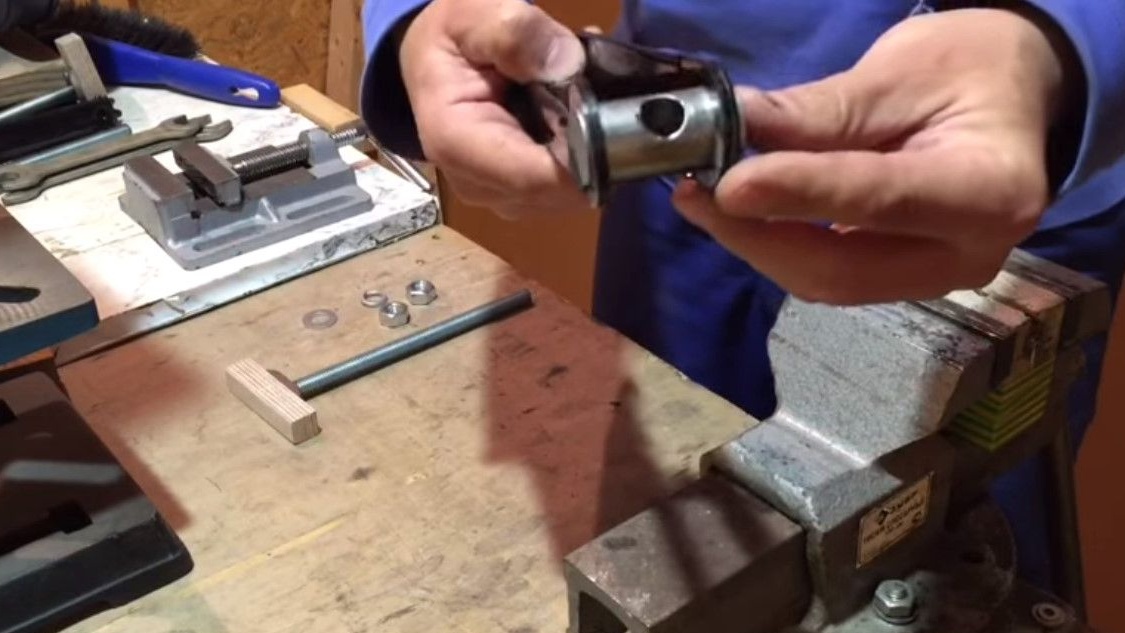
Pillow block bearing.

The axis, it’s the hub for the mate.
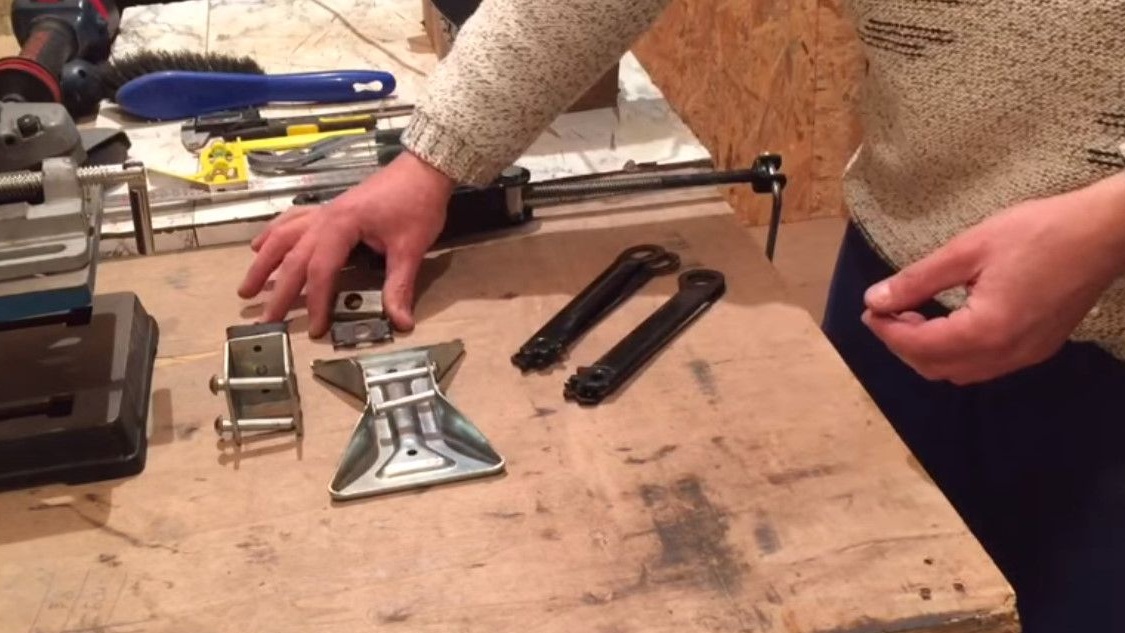
The base of the jack.
And up the jack, which will come in handy to make supporting heels for the wiring.
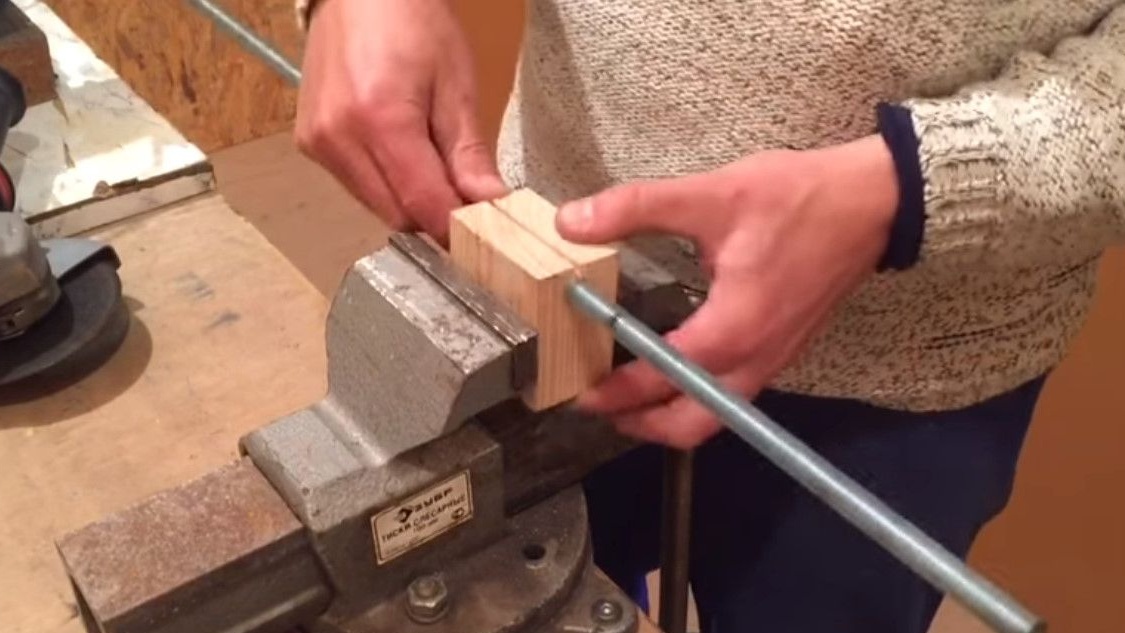
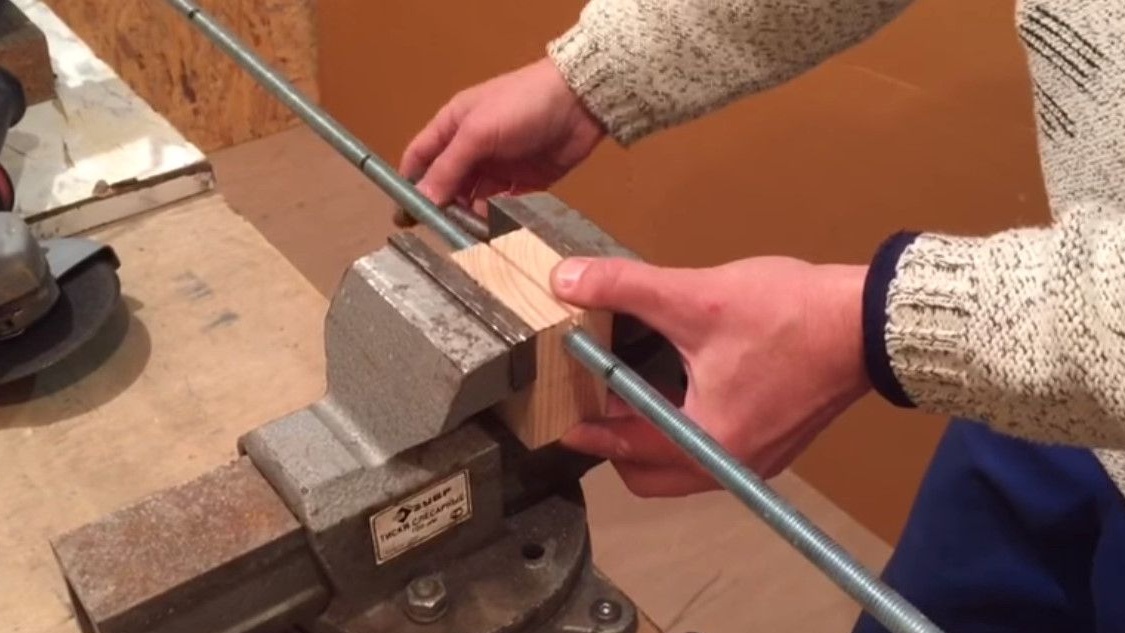
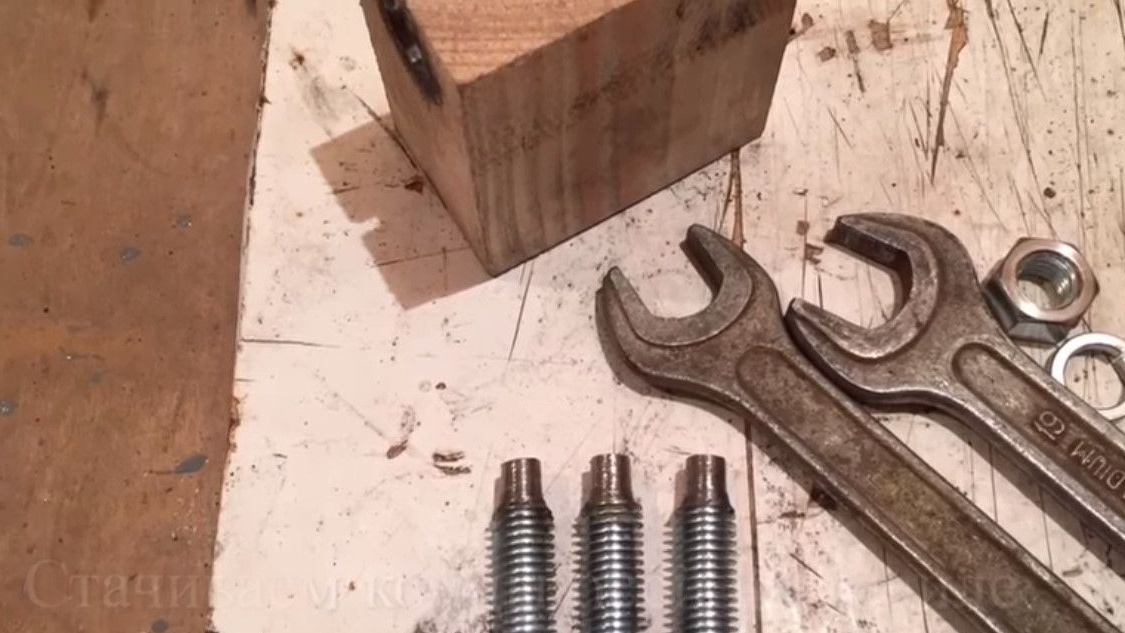
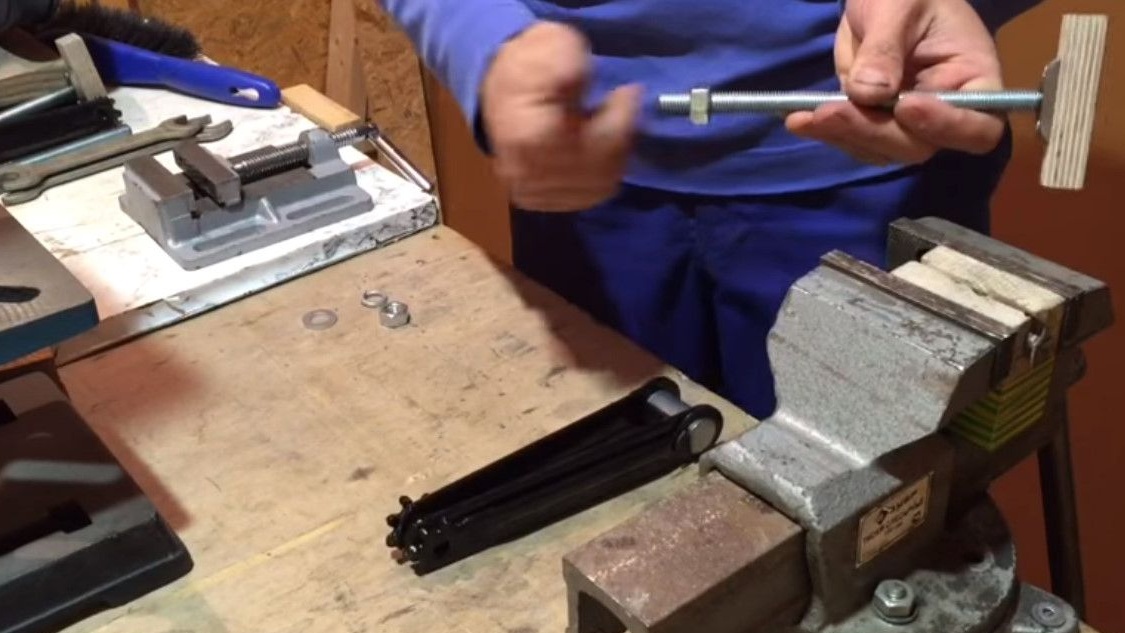
An axis with M12 thread 20cm long is also required.
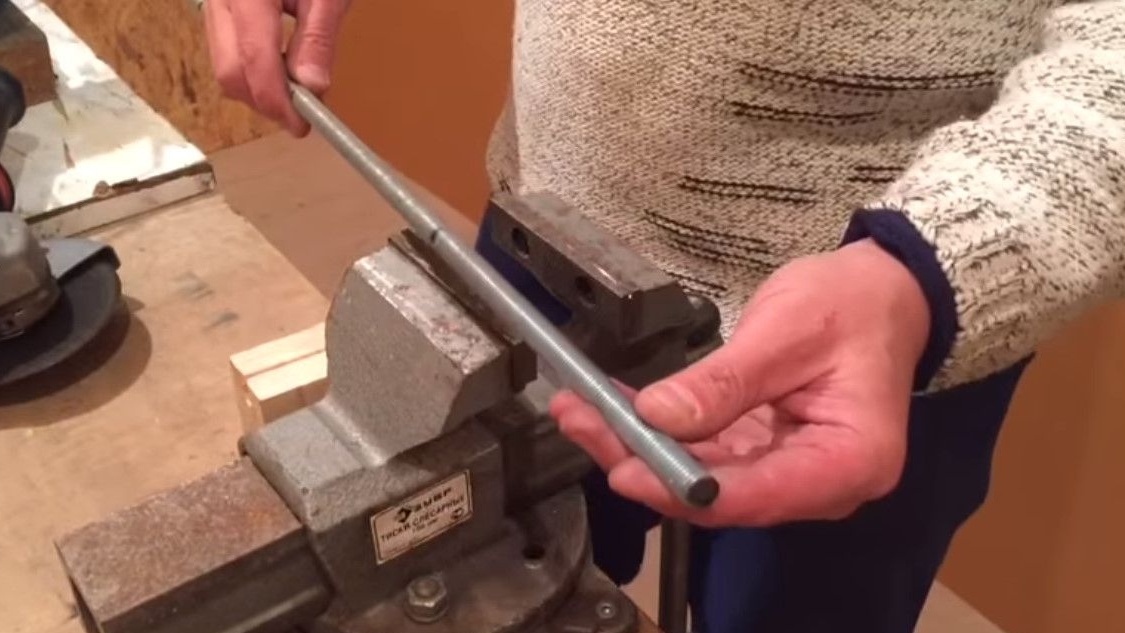
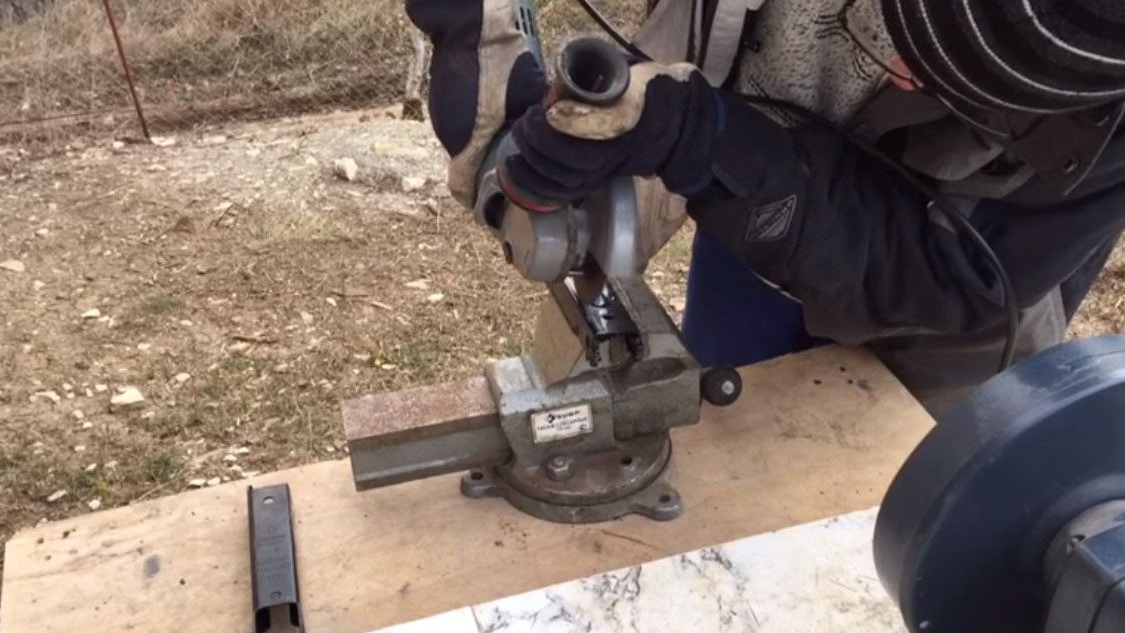
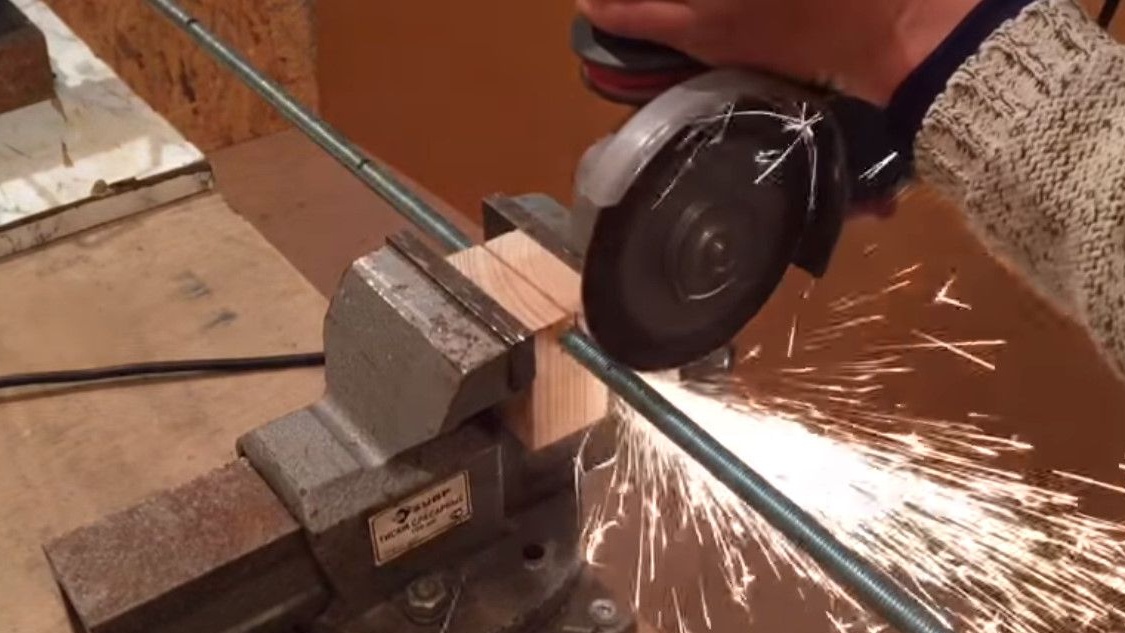
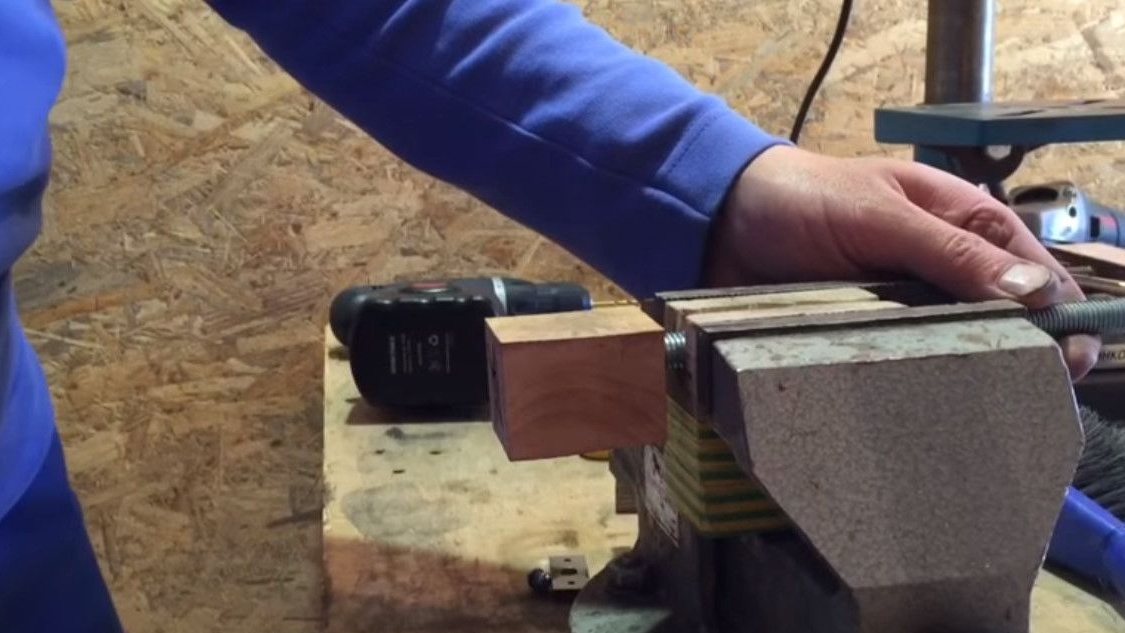
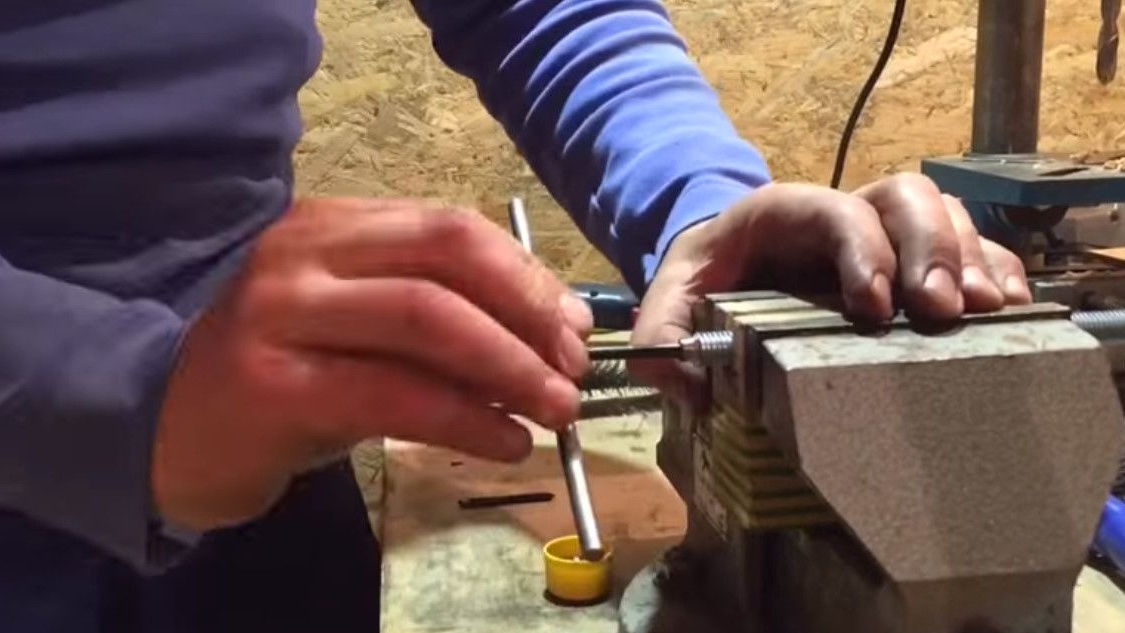
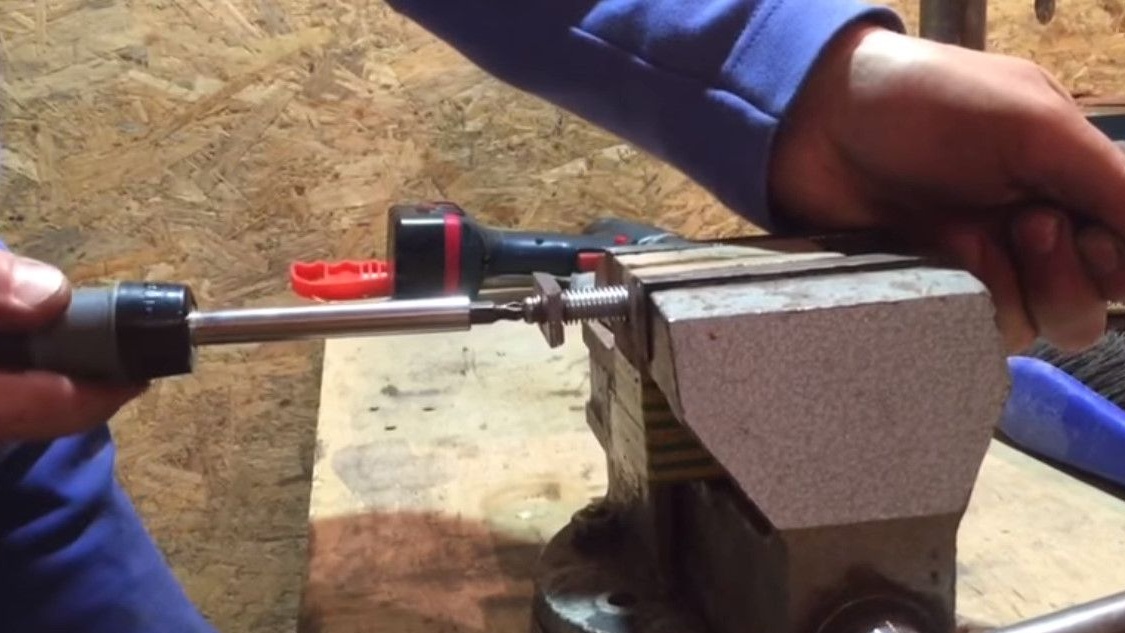
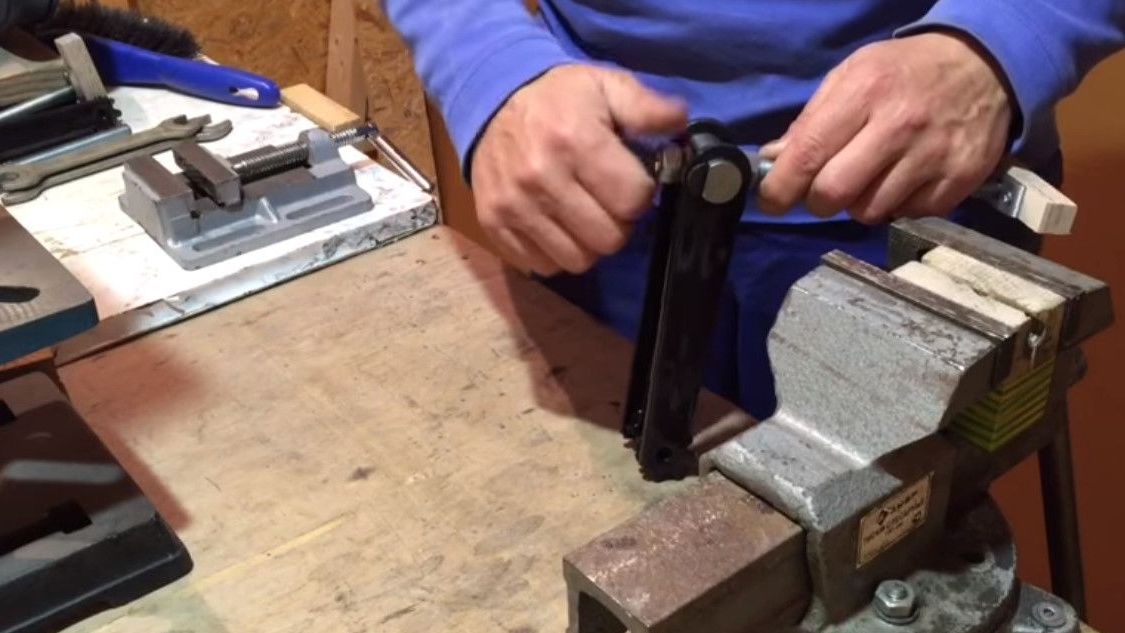
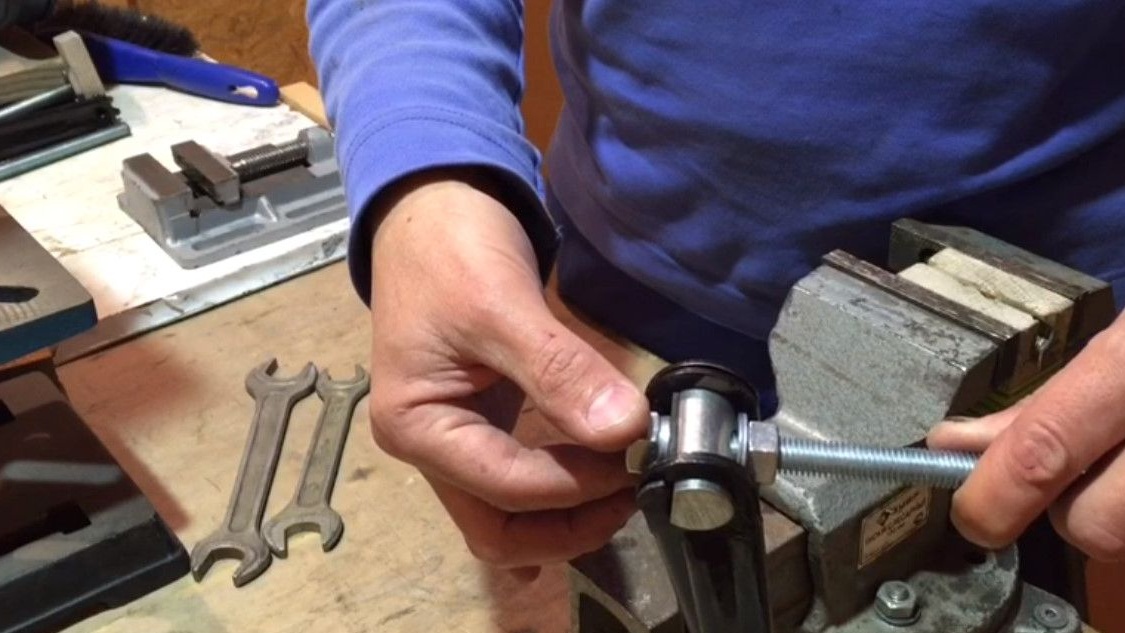
Cut off by a grinder, for this the author did a simple fixturesto clamp the axle in a vice without damaging the thread itself. Do not forget about safety - glasses, headphones.
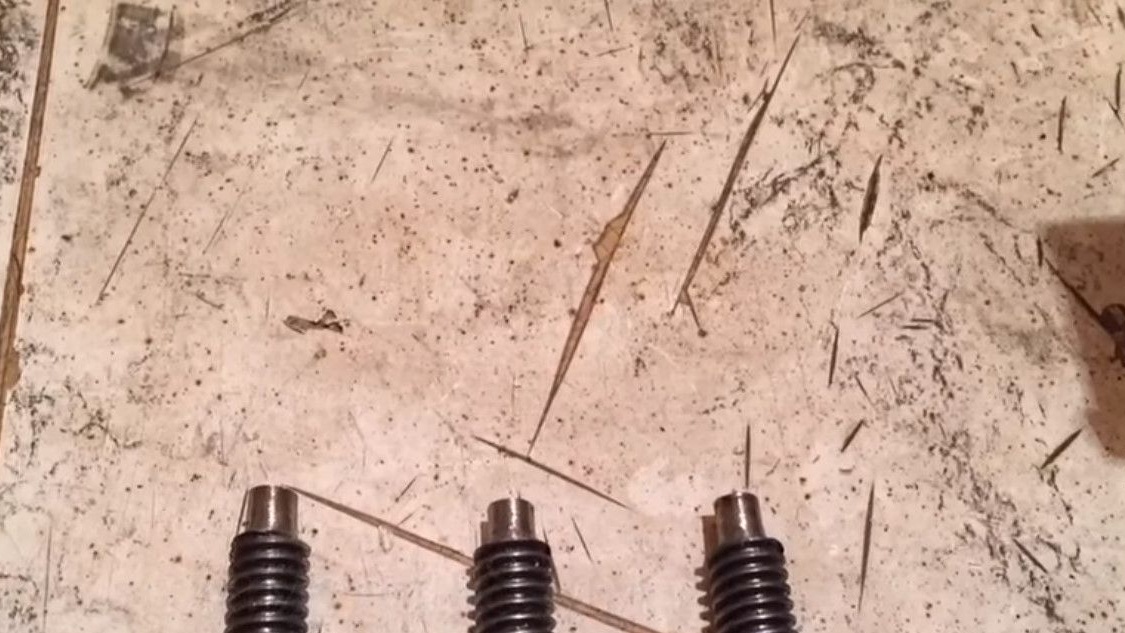
The ends of the studs grind to a diameter of 8mm on the grinder.
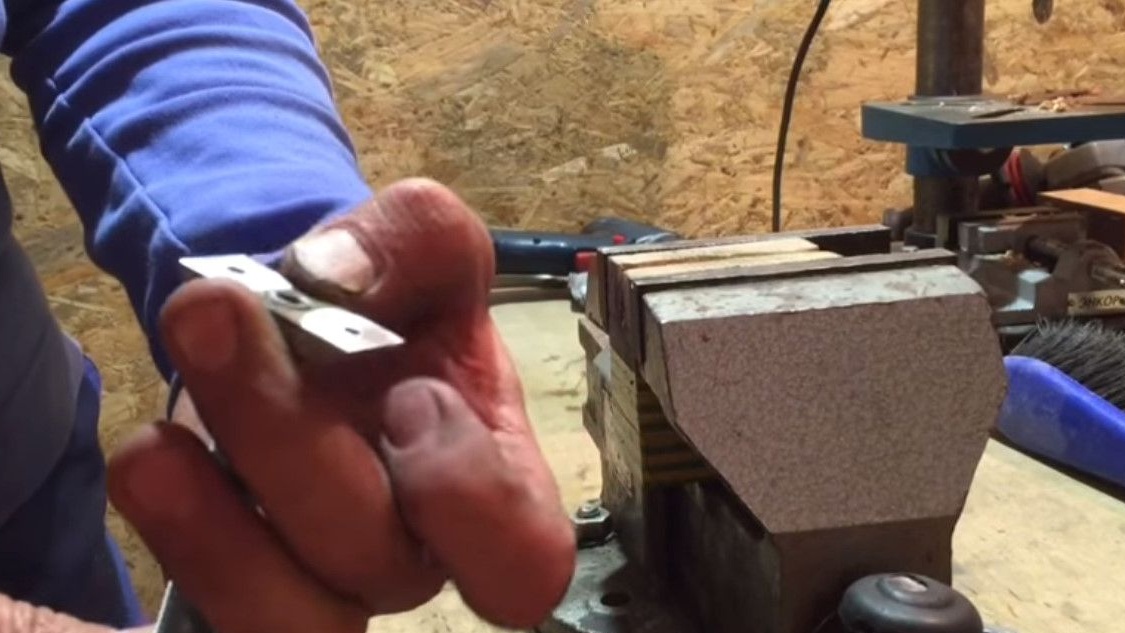
After a little machining, we got such a heel.
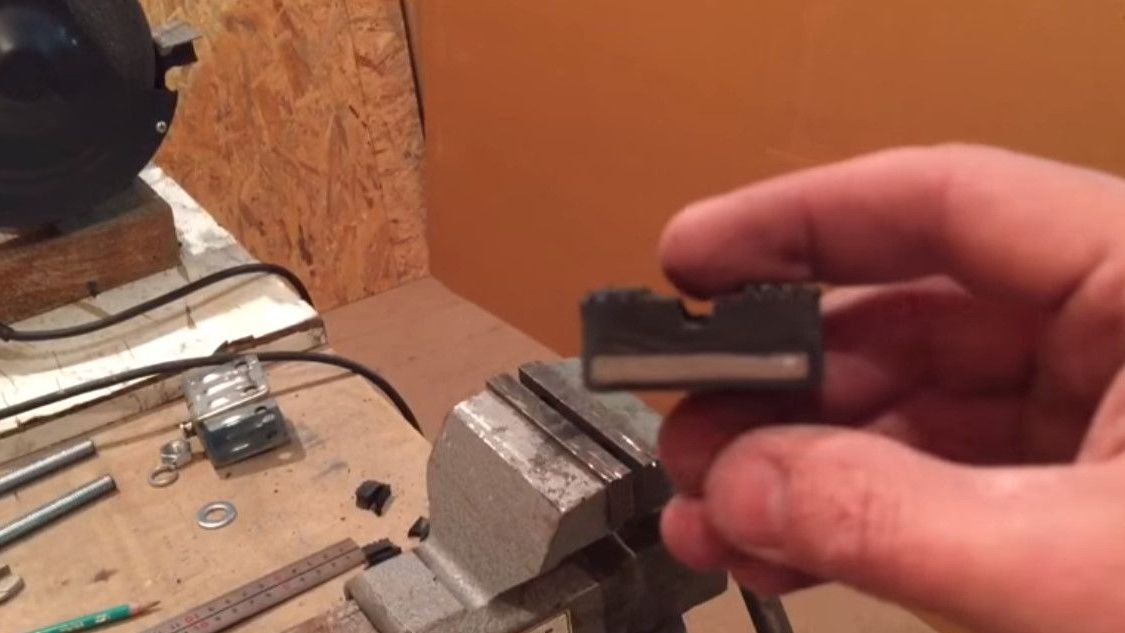
Inside it there is a metal plate 4 mm thick.
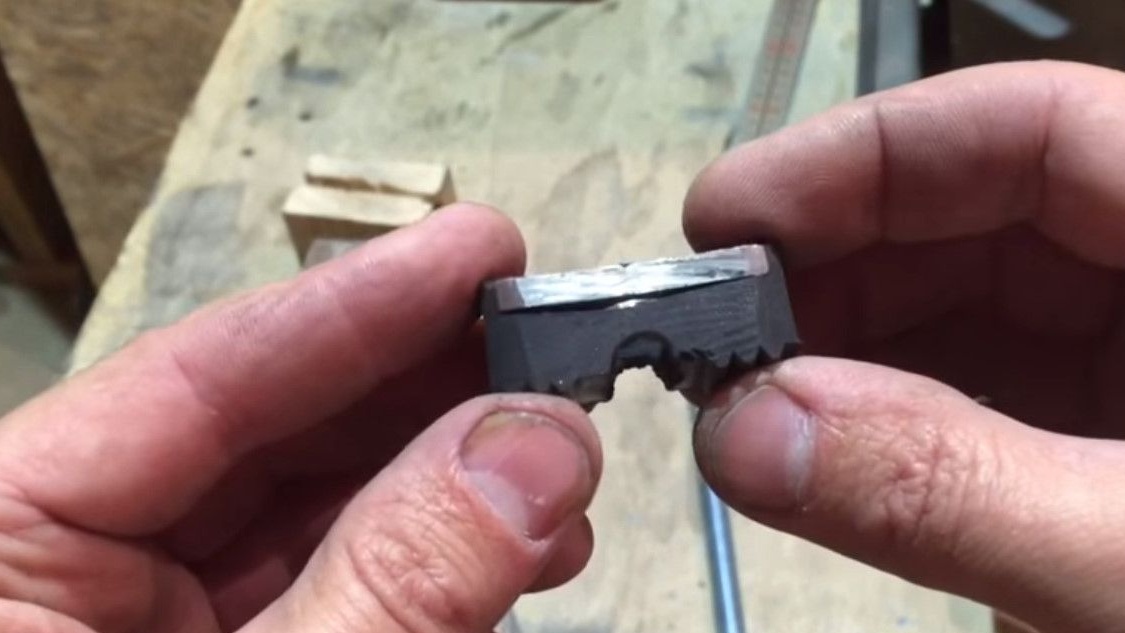
Igor rejected this heel made of rubberized jack support for the following reasons.
Firstly, the thickness of the metal is only 4mm.
Secondly, the metal almost does not rest on rubber, as a result, it will someday bounce from here.
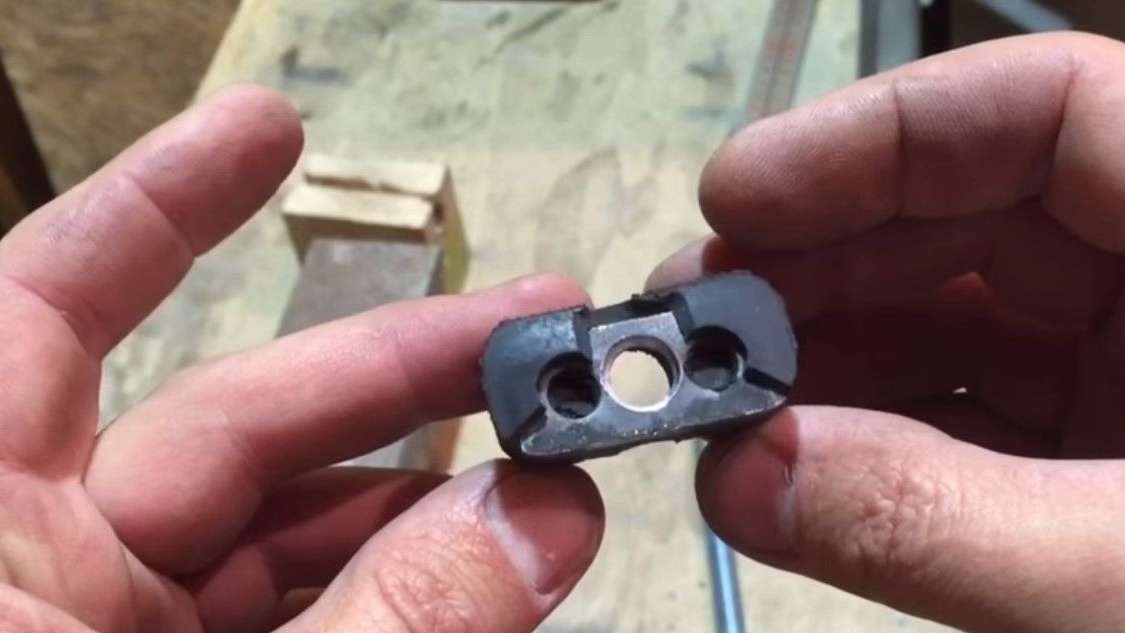
Thirdly, there are already two holes here, and another hole has been drilled for the axis.

Accordingly, this metal plate is already weakened.
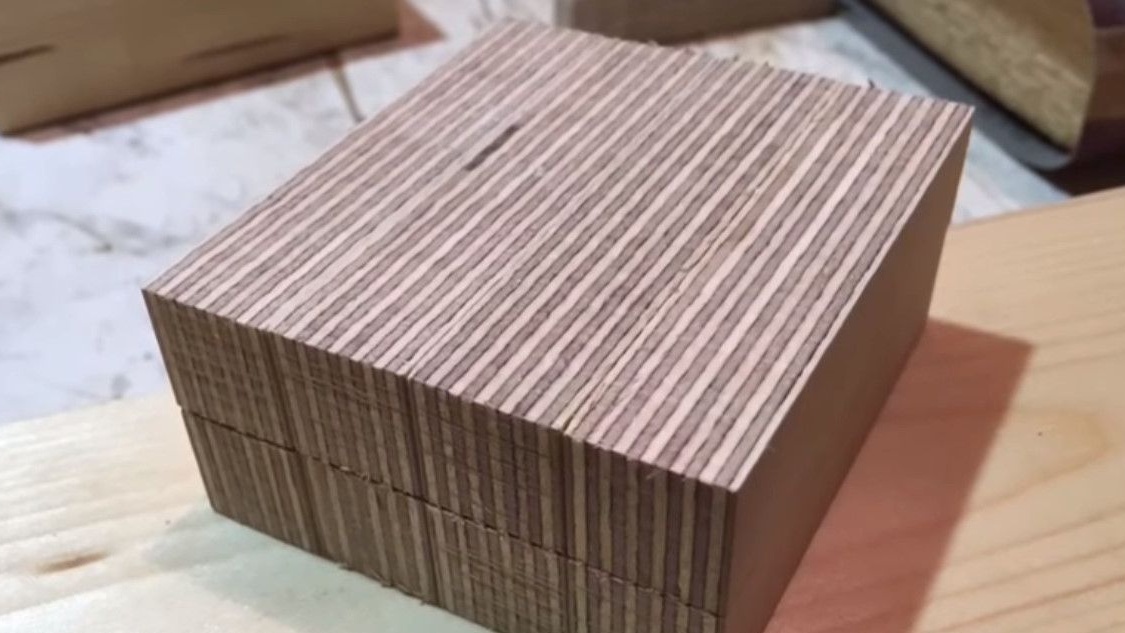
We'll have to make a heel for the hems of plywood and metal.
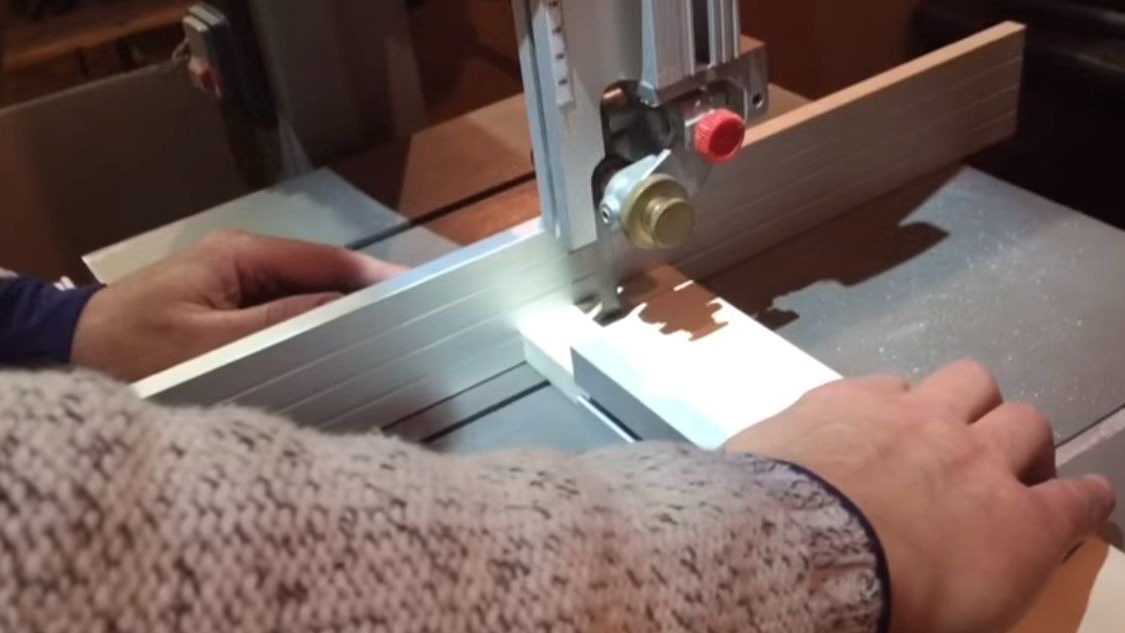
Cuts on a band saw whetstones for gaskets.
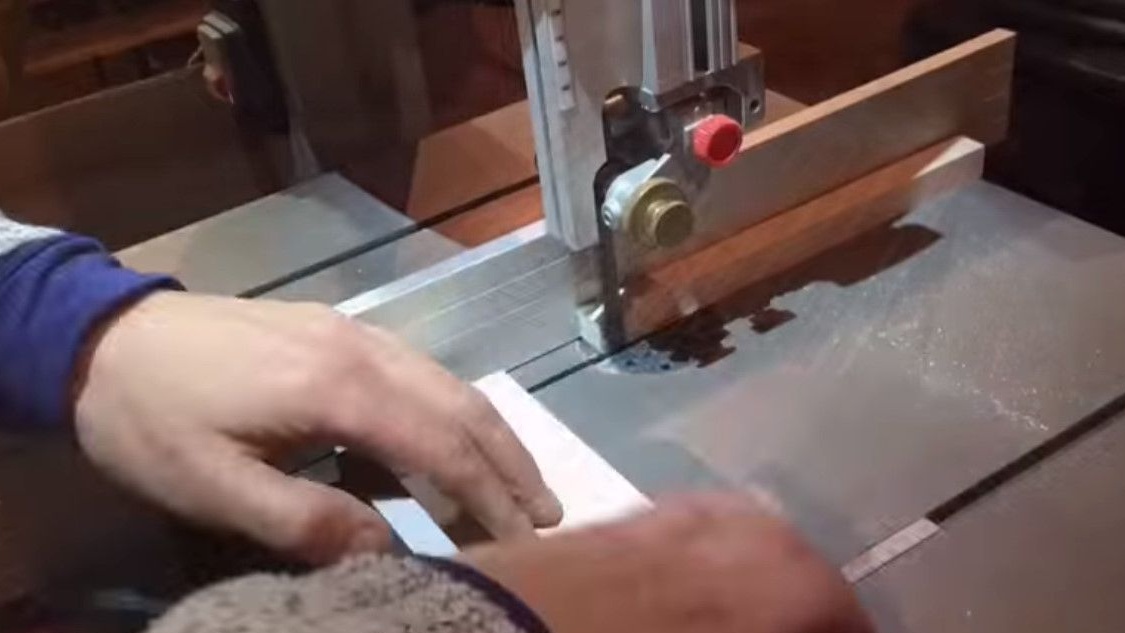
And it makes base plates from a steel strip 5.8 mm thick.
Drills holes for studs and plywood in them.

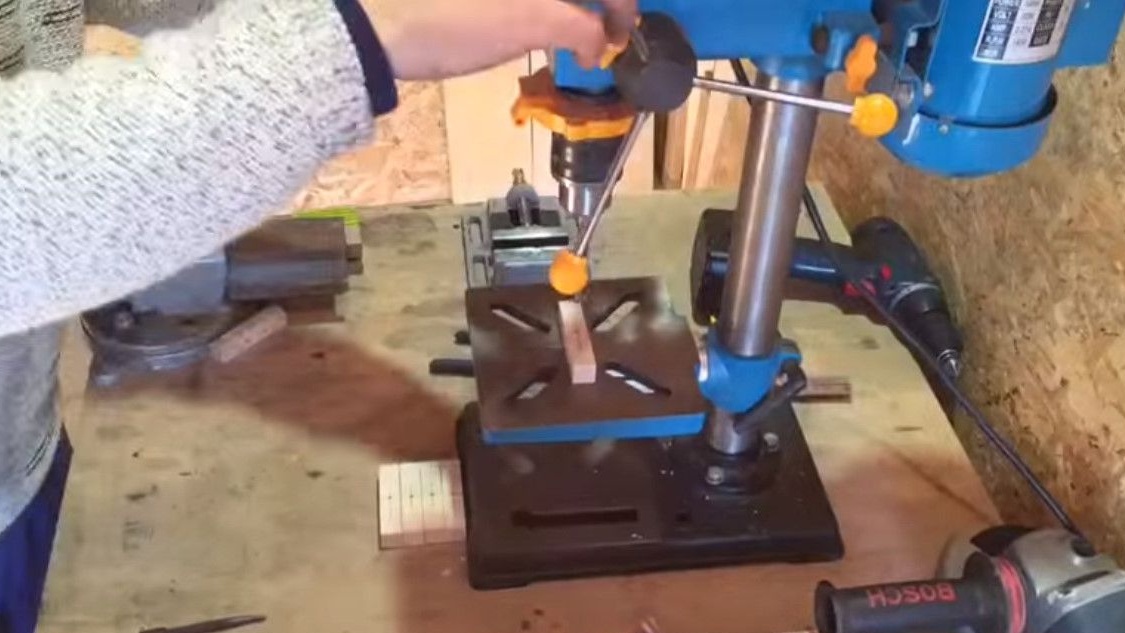
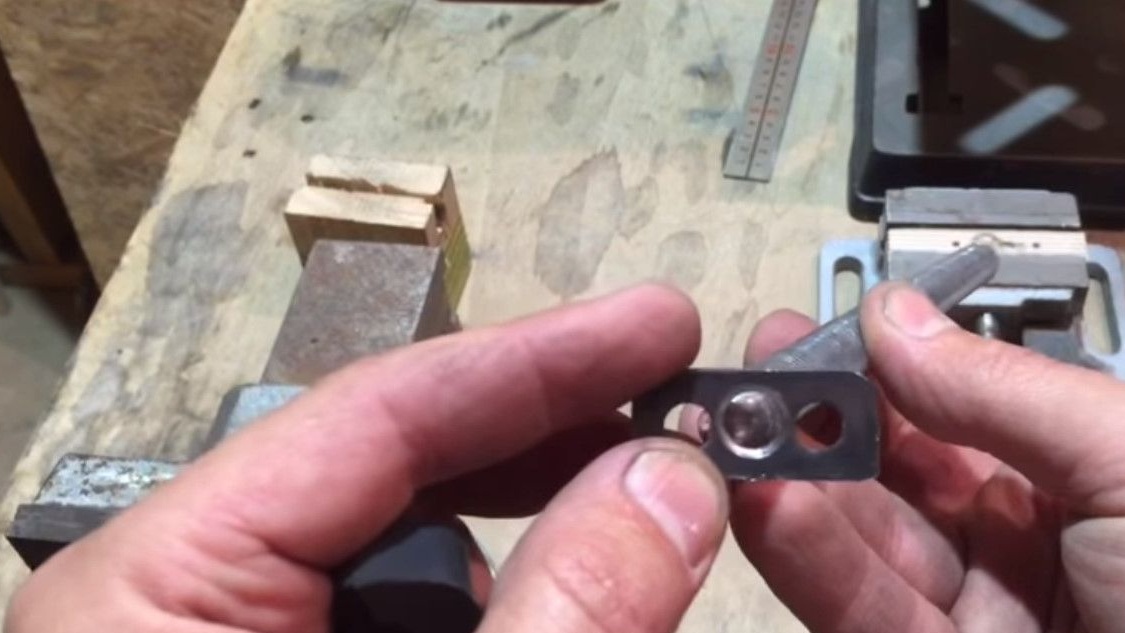
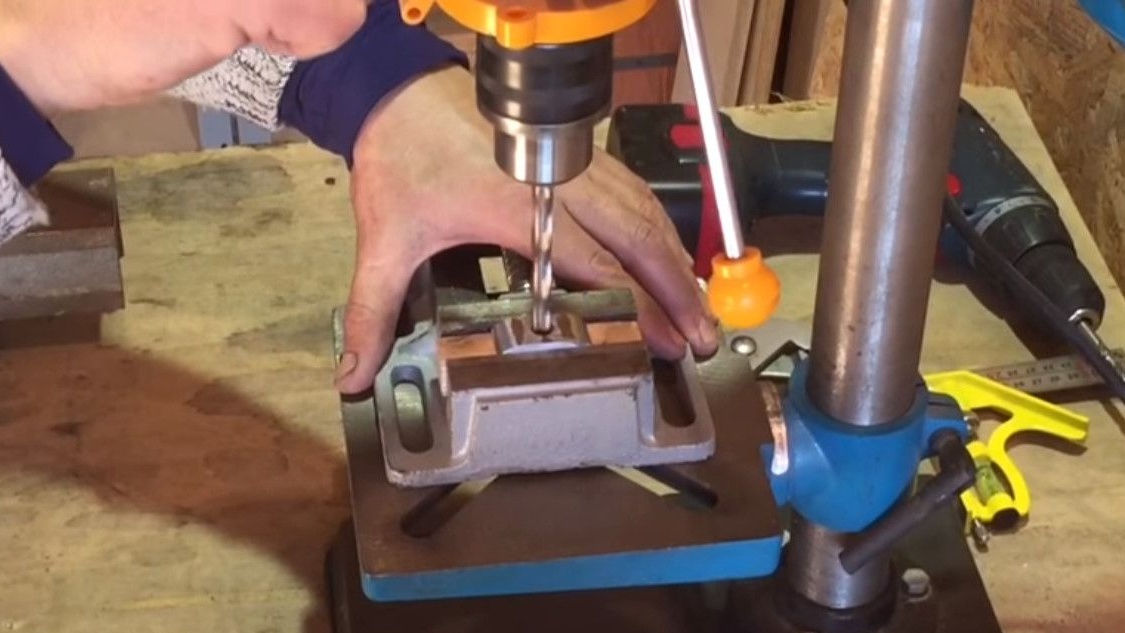
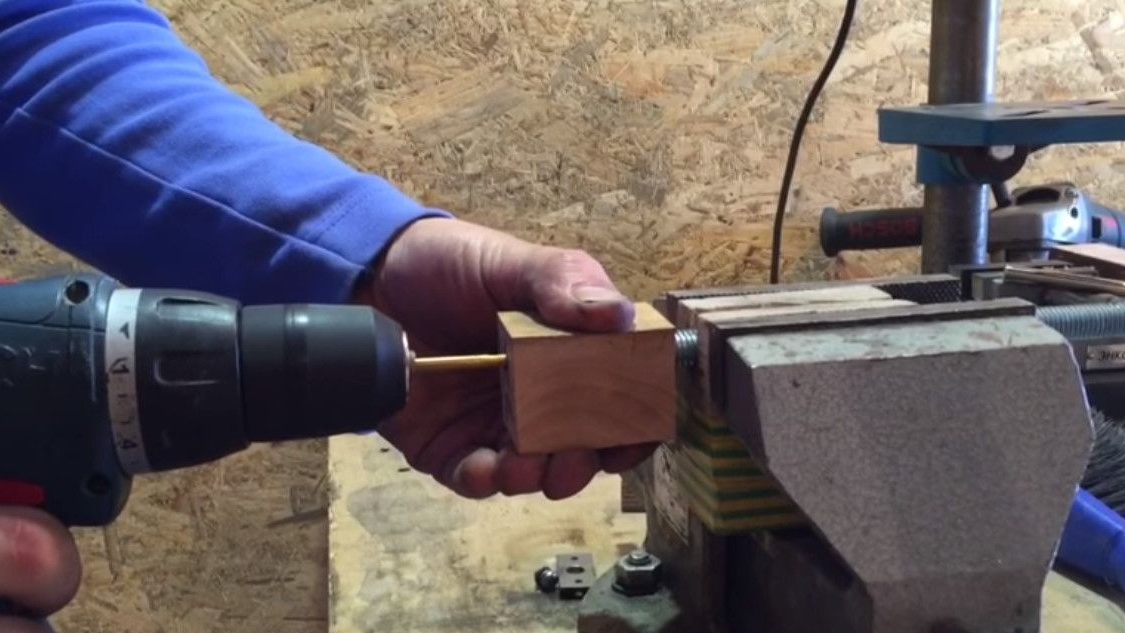
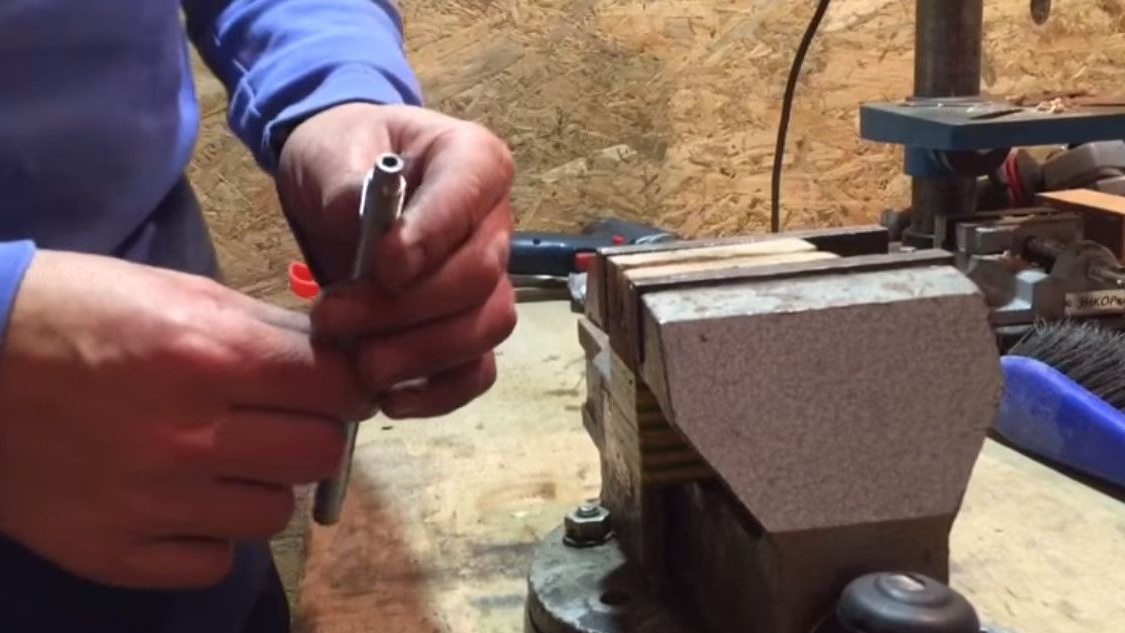
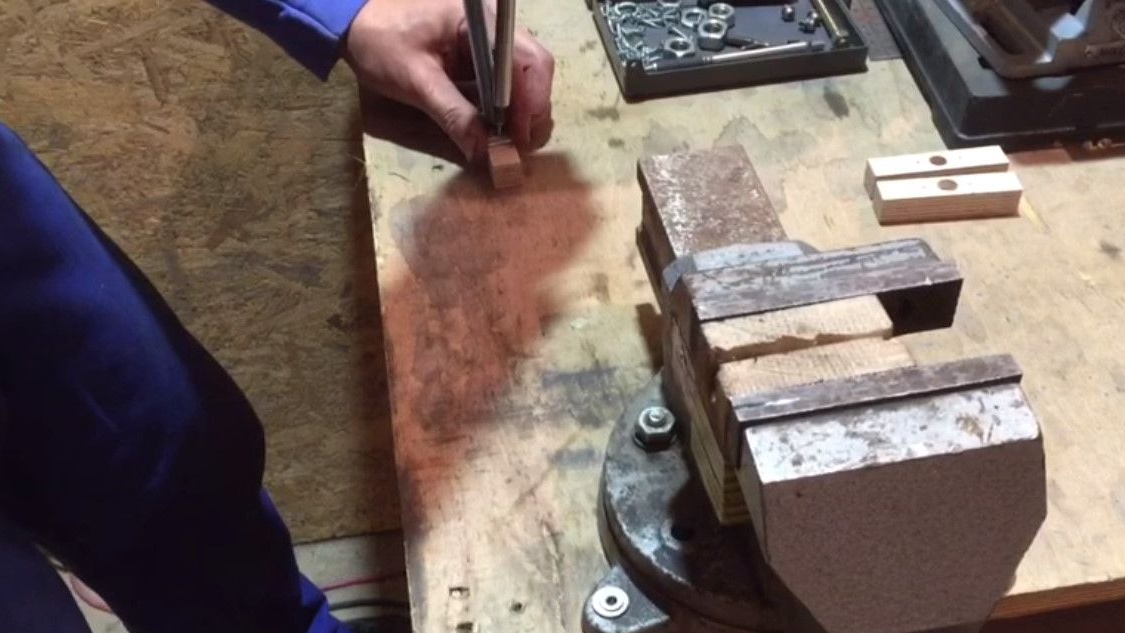
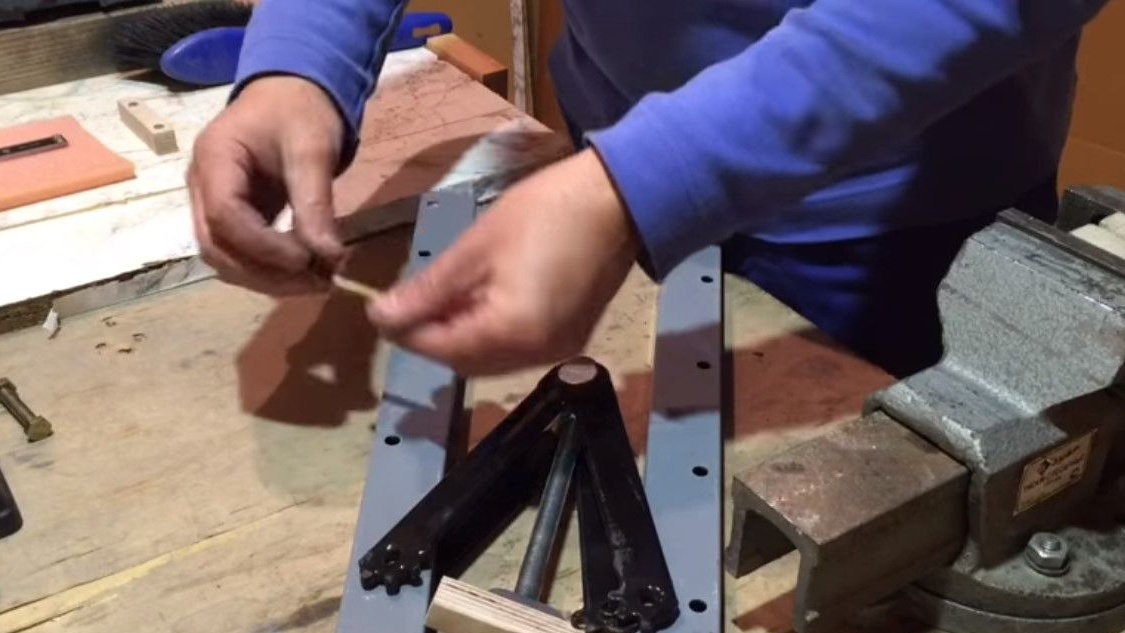
To fasten the support strips on the axis, it is assembled using the M5 screw, for this you need to drill 4.2 mm diameter holes strictly in the center in this pin.
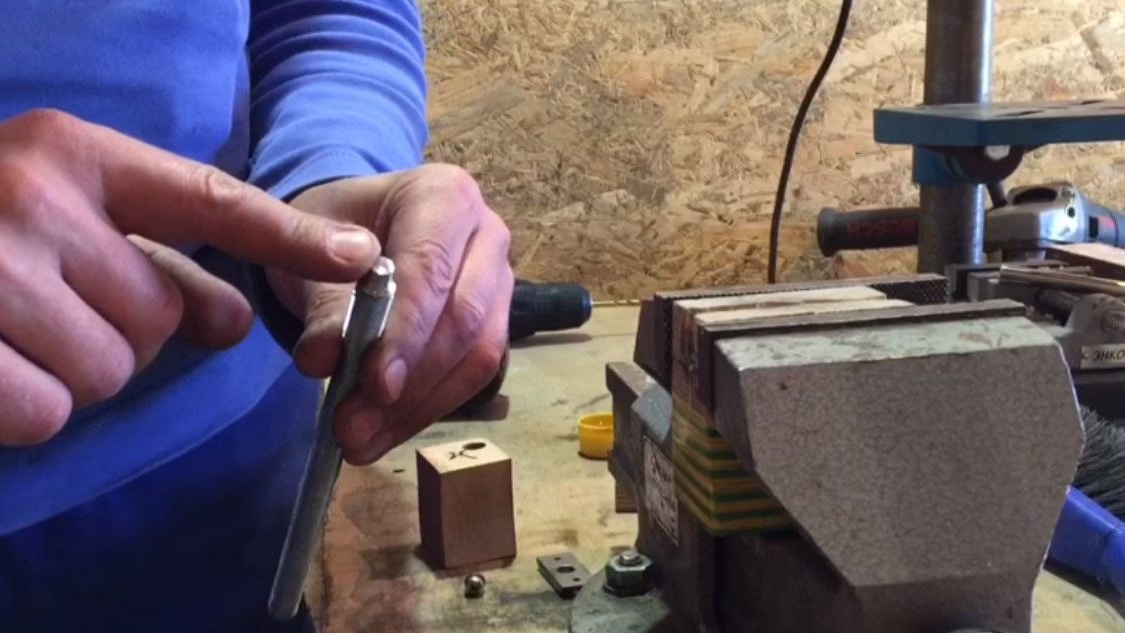
For this, Igor also created a conductor, on one side of which a 4.2 mm hole was drilled, and on the other hand, a 12 mm diameter hole. These holes are coaxial.
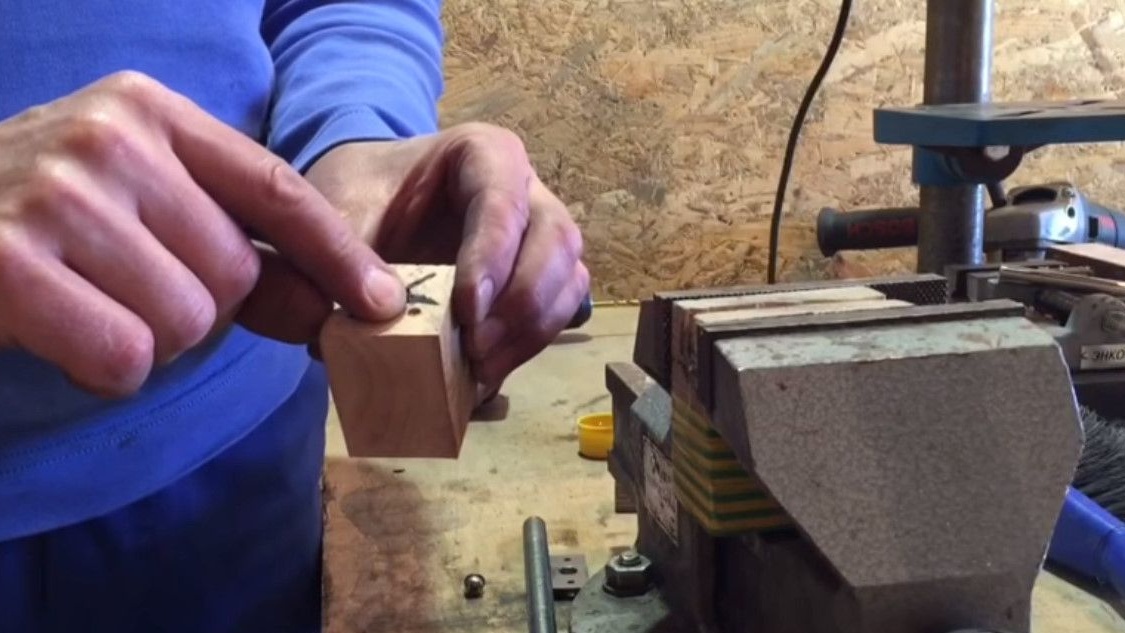
The conductor works as follows. A conductor is put on the axis, fixes the axis and begin drilling.
As you can see, the hole was outlined strictly in the center of the axis.
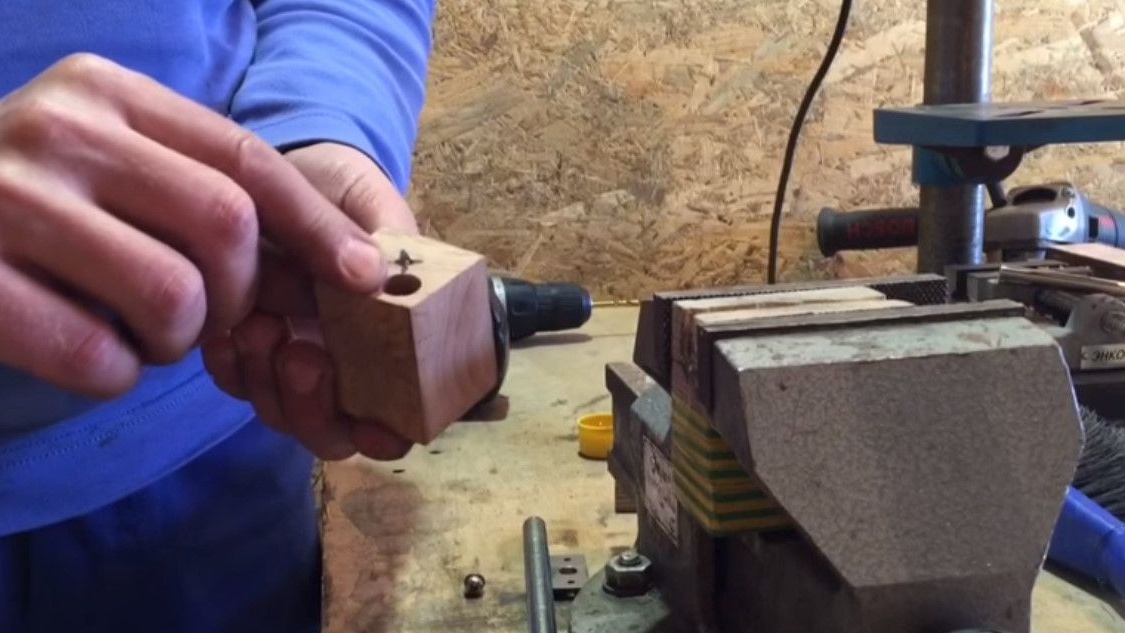
Then you can drill without a jig.
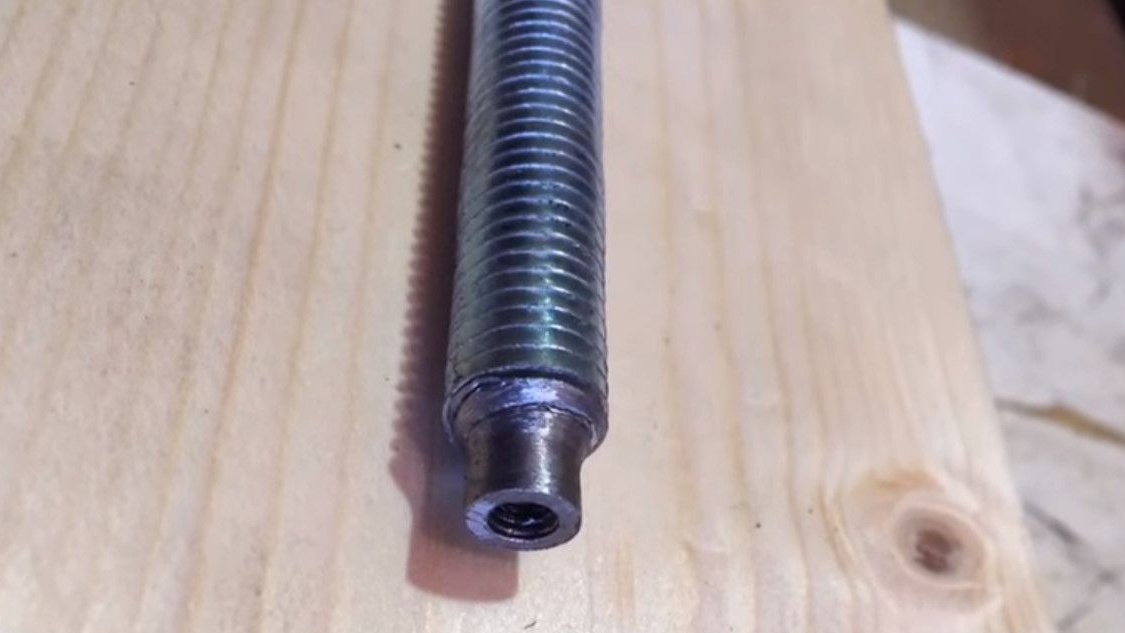
M5 thread is cut into a drilled hole.
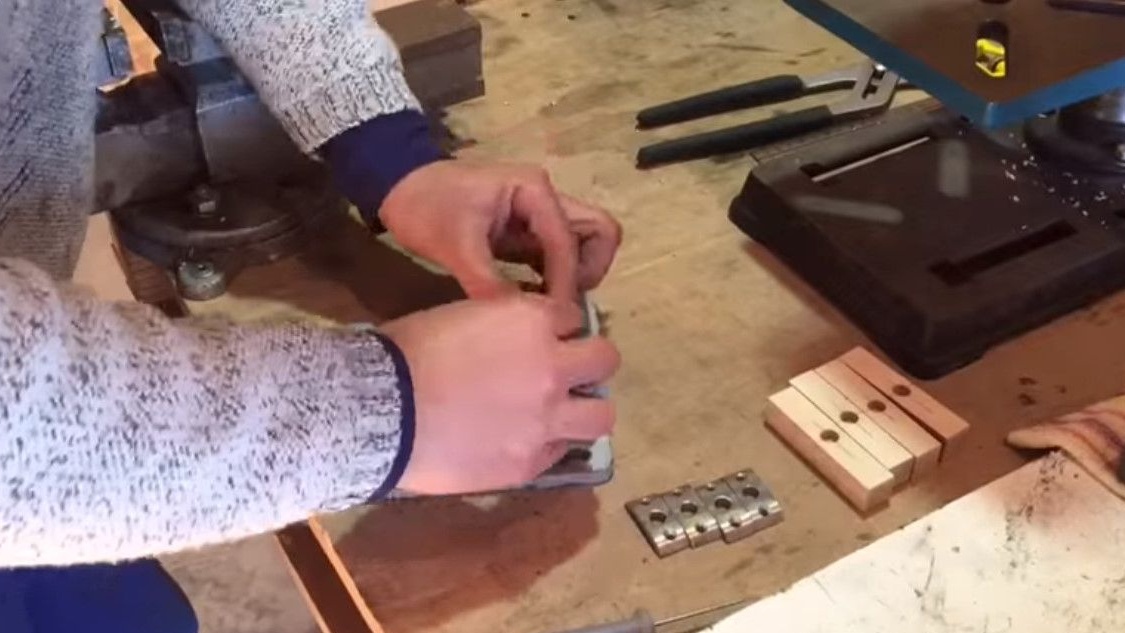
That's all, the thread is cut, it remains to put on the heel.
In this case, the sharpened axis should protrude slightly above the surface of the heel. This is done so that after the screw is screwed in, the heel can rotate freely around its axis.
Screws a bolt into a hairpin.

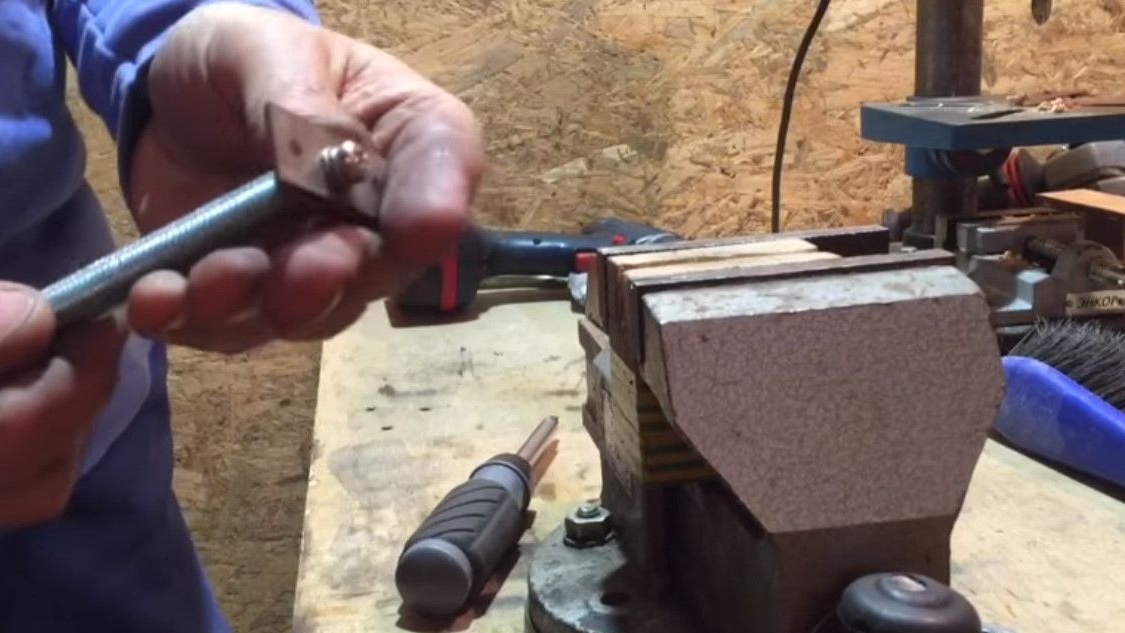
A softener made of plywood is screwed to the supporting heel.
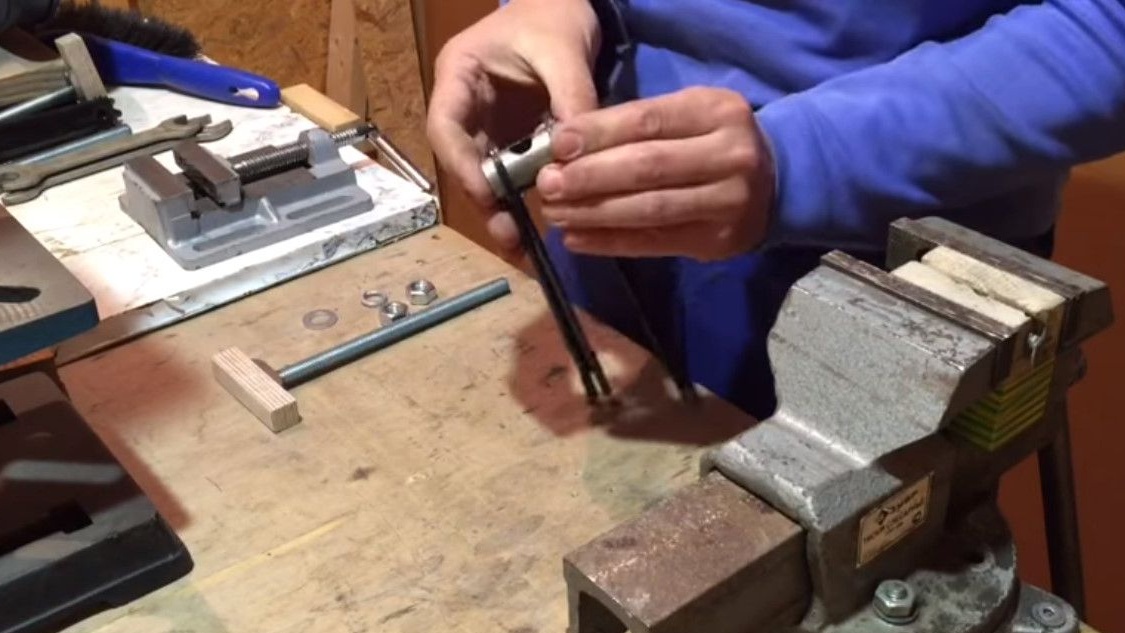
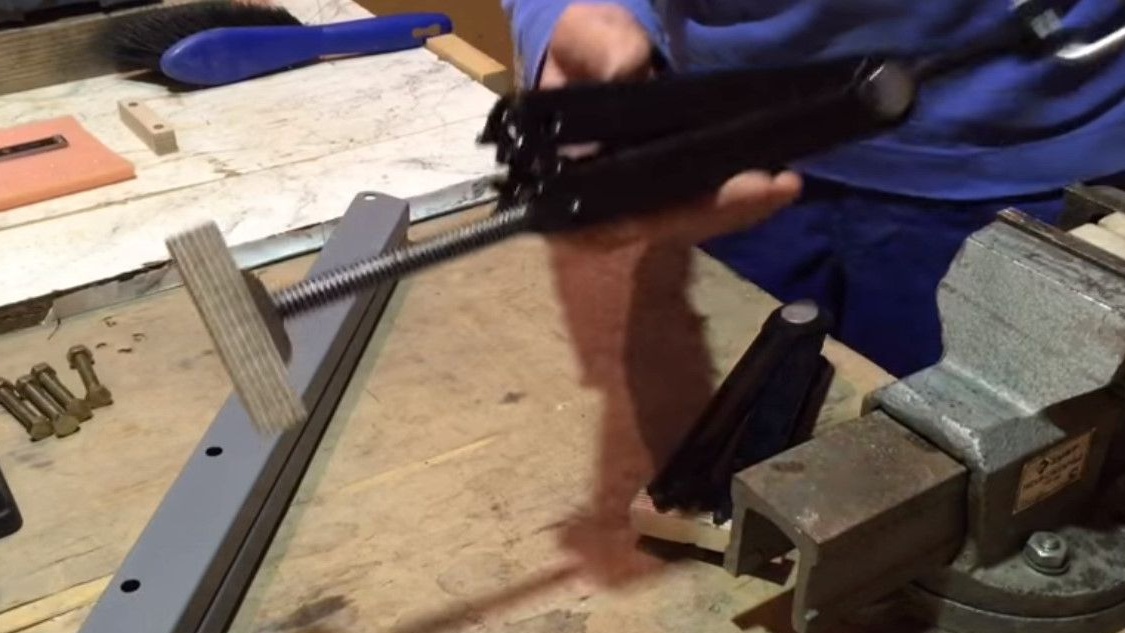
Screws the trapezoidal axis into its native sleeve.
And collects the pressure stop.

In order to assemble the fixed stop of the vaim, you will need the following:
Spare parts from the jack.
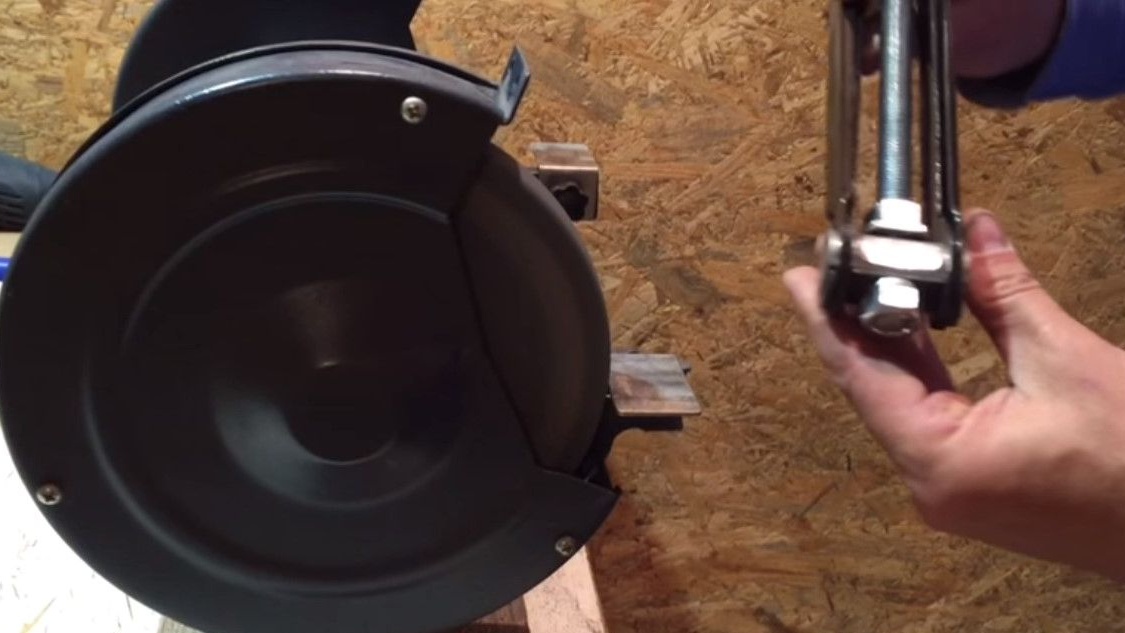
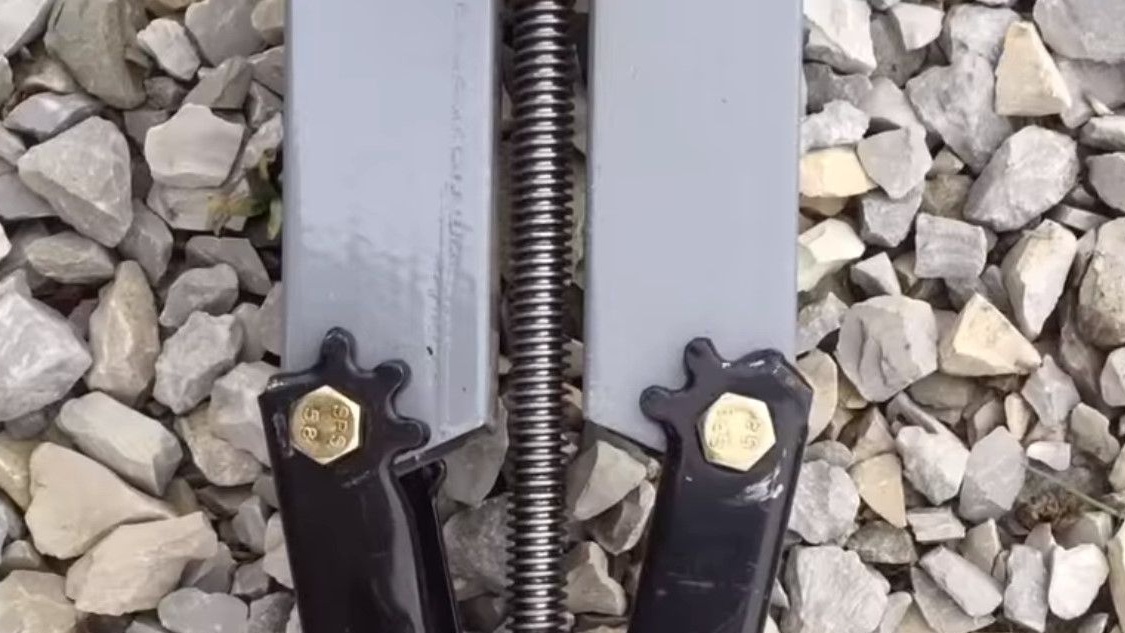
The heel itself, mounted on an axis
Two 19mm nuts, plain washer and Grover washer.
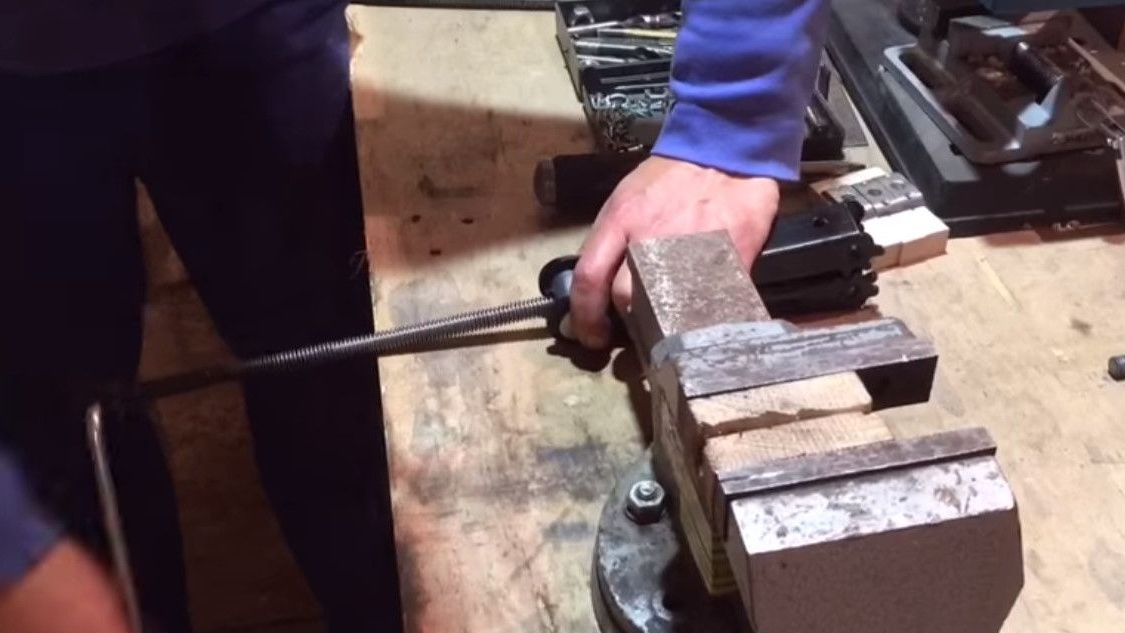
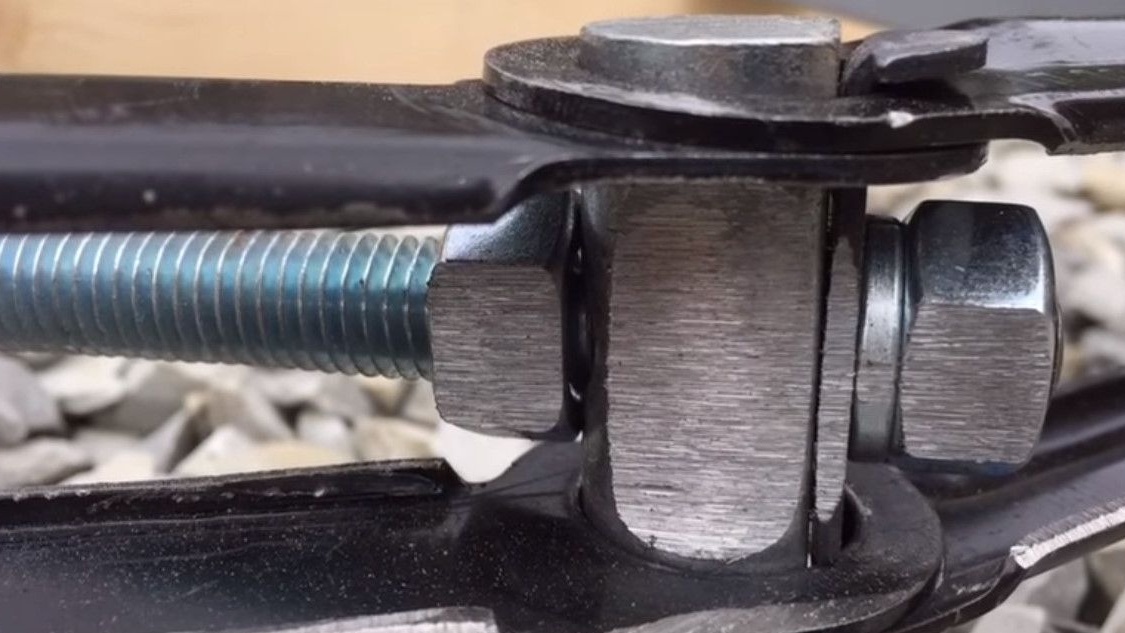
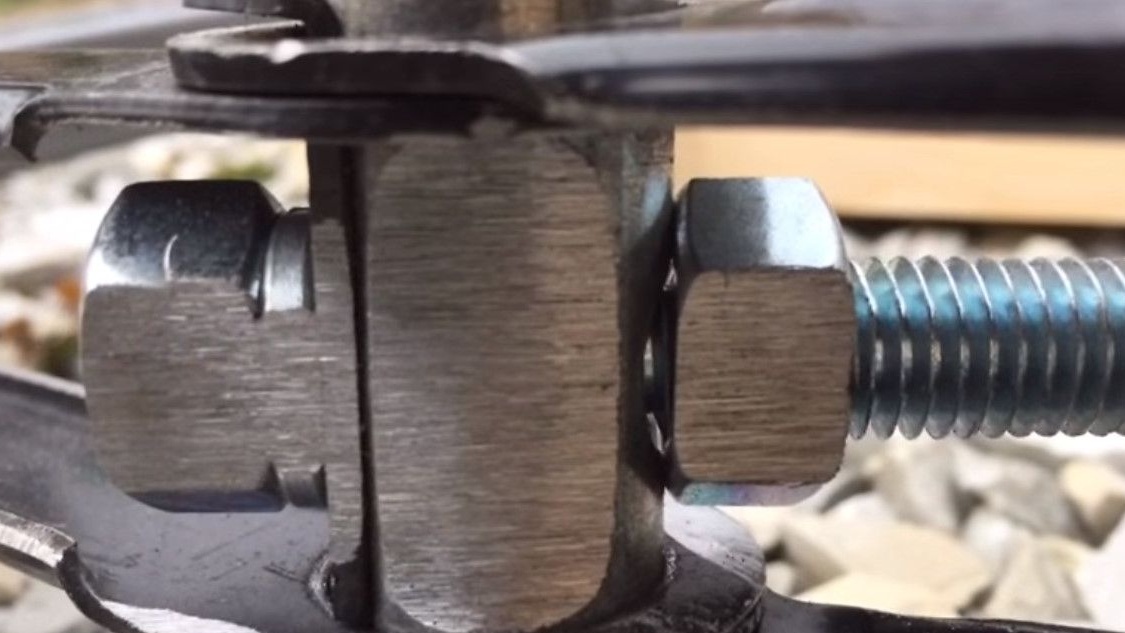
So, the author proceeds with the assembly.

There is one important point here.
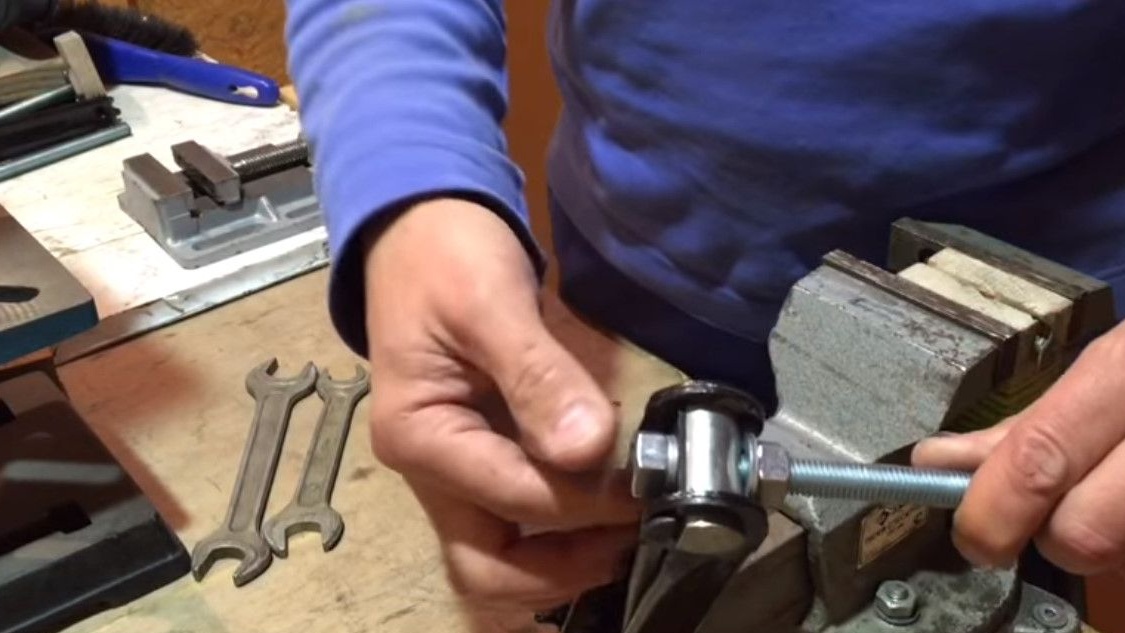
During tightening, it is desirable to make sure that the faces of the nuts are parallel to each other, and parallel to this plane.
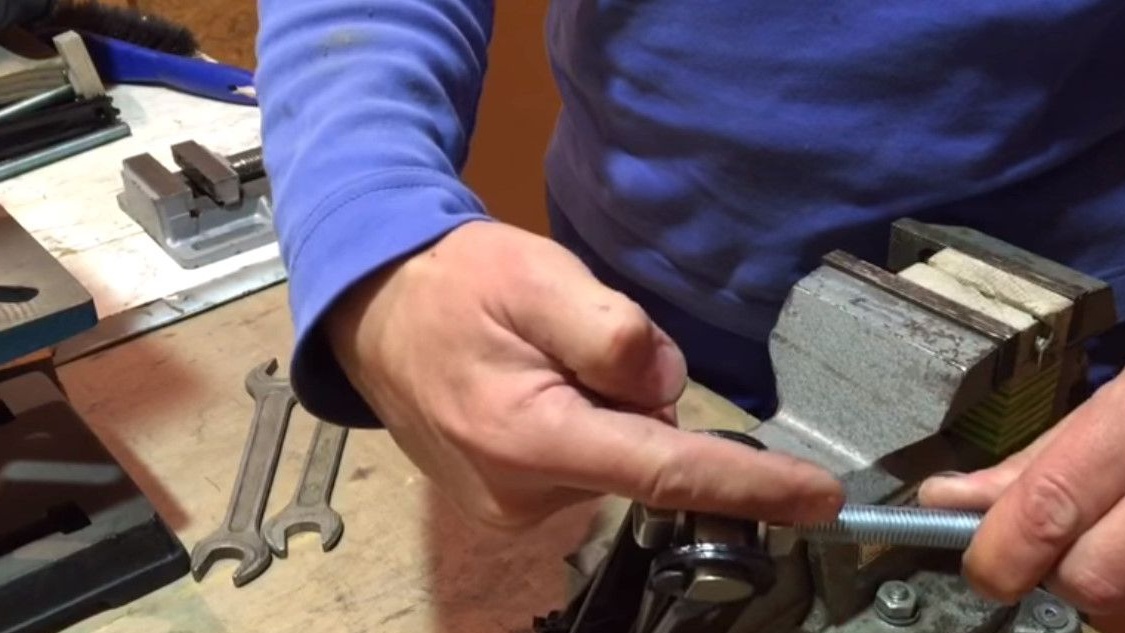
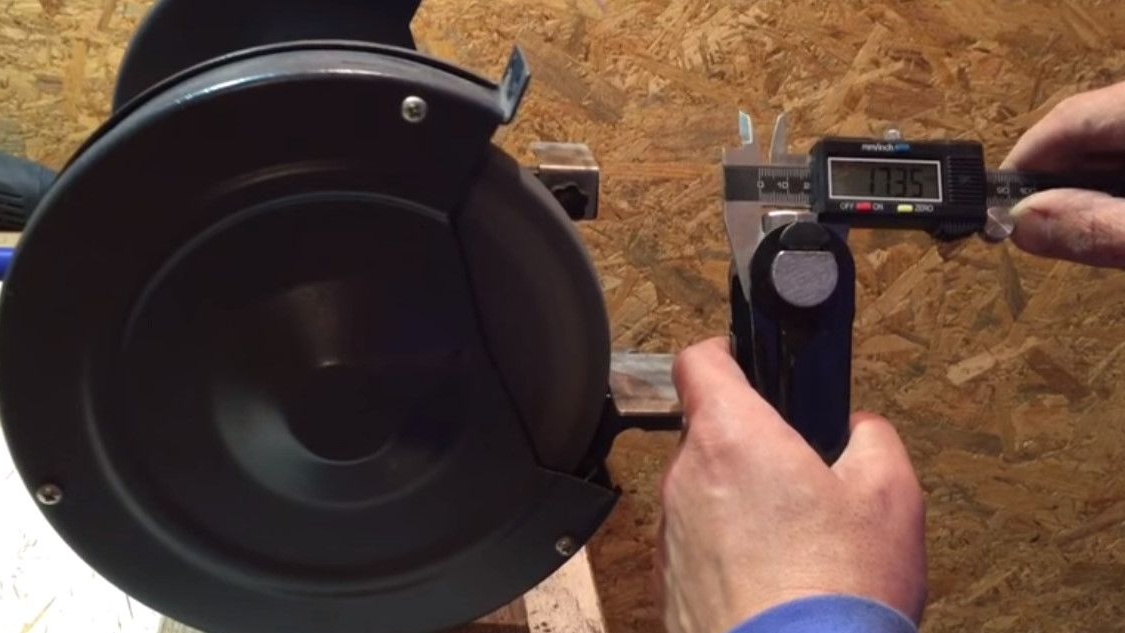
The point is - the width of the heel is 17.5 mm. This is the minimum distance between the jaw lips.
Accordingly, this node should also be 17.5 mm thick.
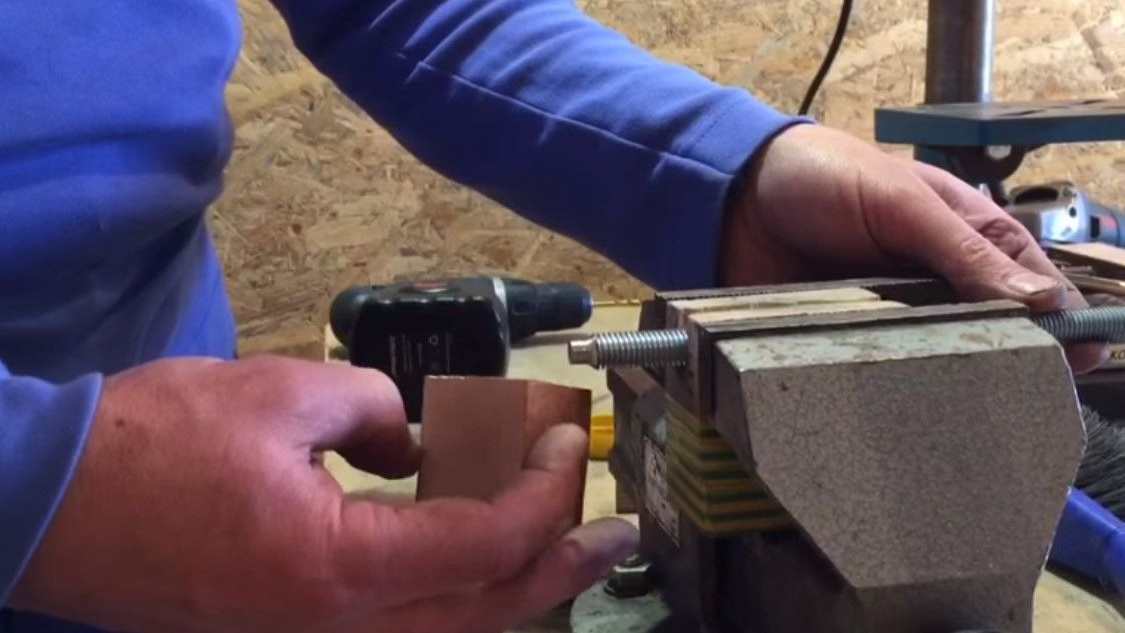
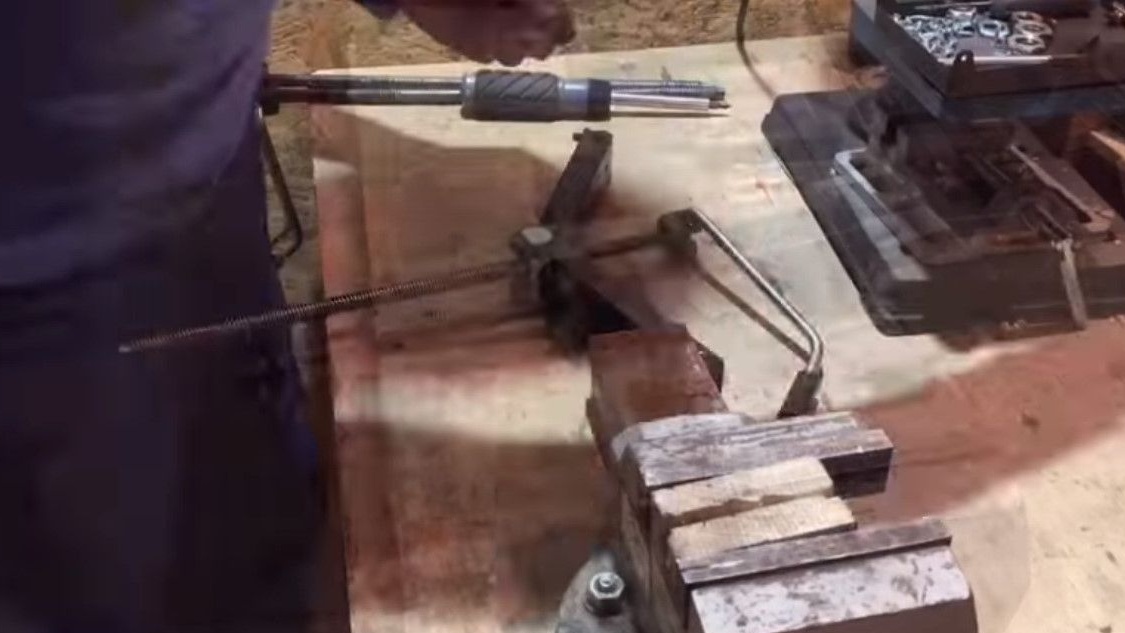
The width of the nut is 19 millimeters; the width of the sleeve is 22 millimeters. Definitely, all this will be turned on two sides on a sharpener. Turning will be carried out approximately in this plane.
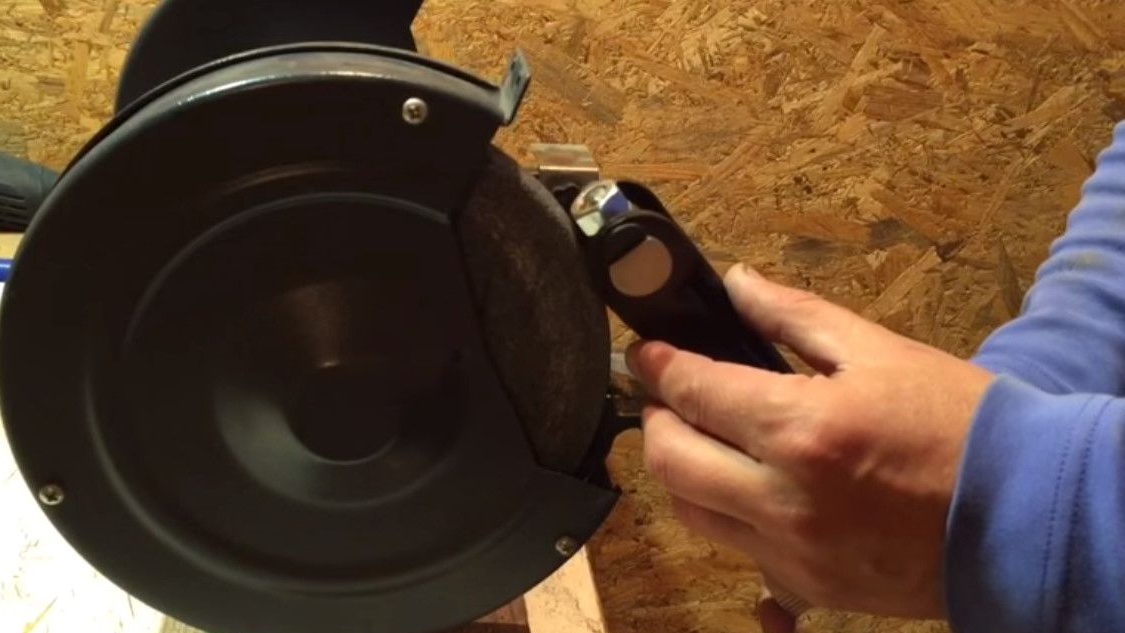
Igor even had to dismantle the protective visor, because he was in the way.

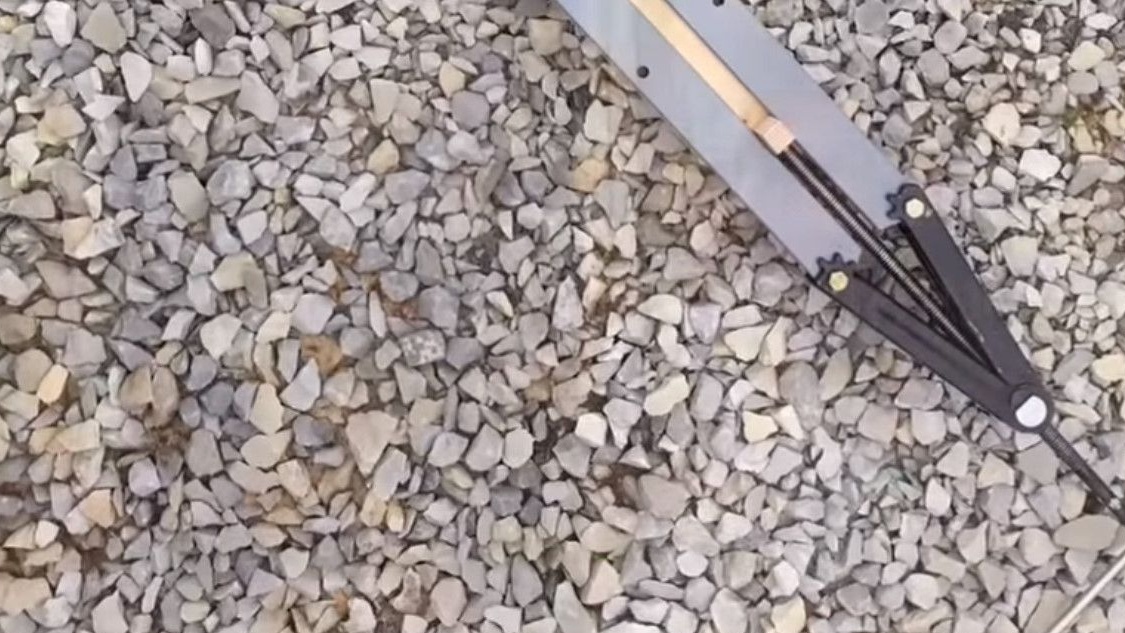
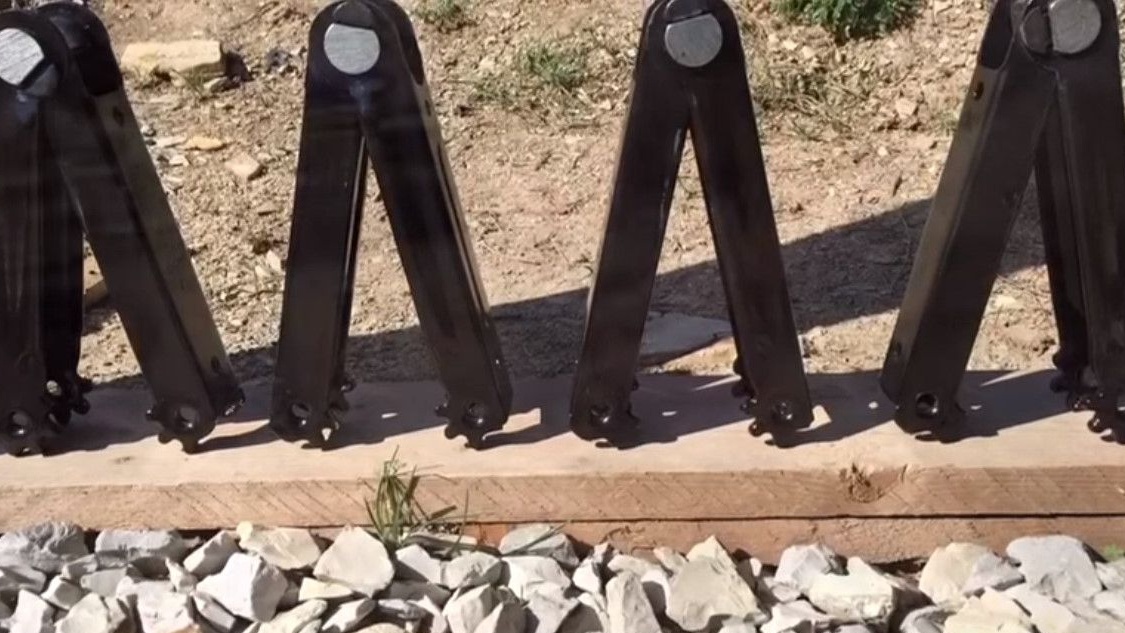
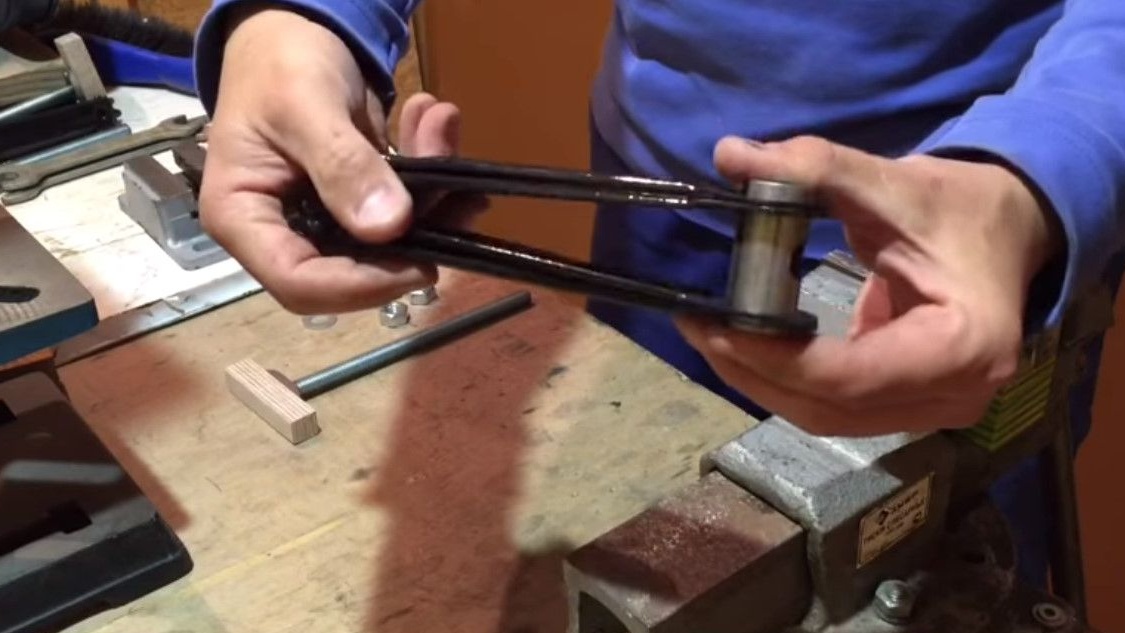
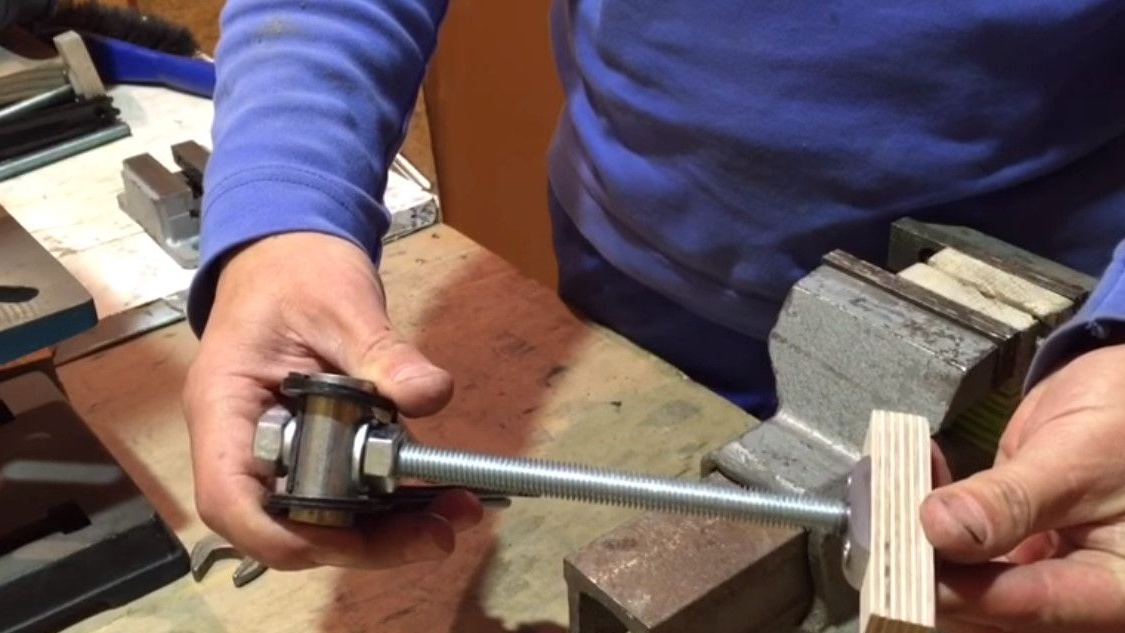
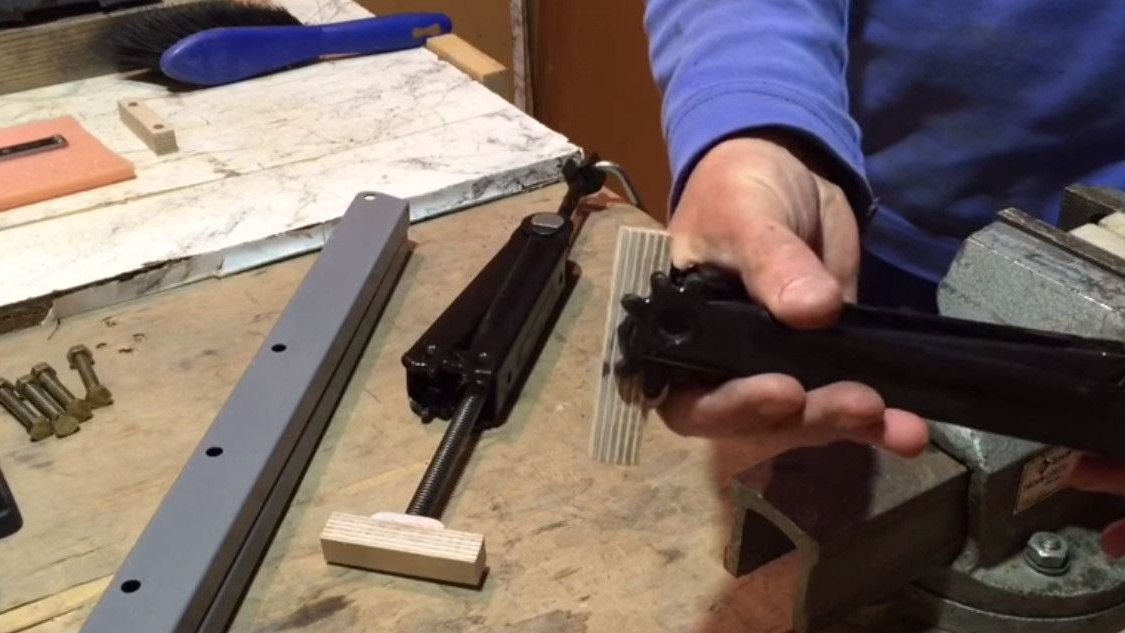
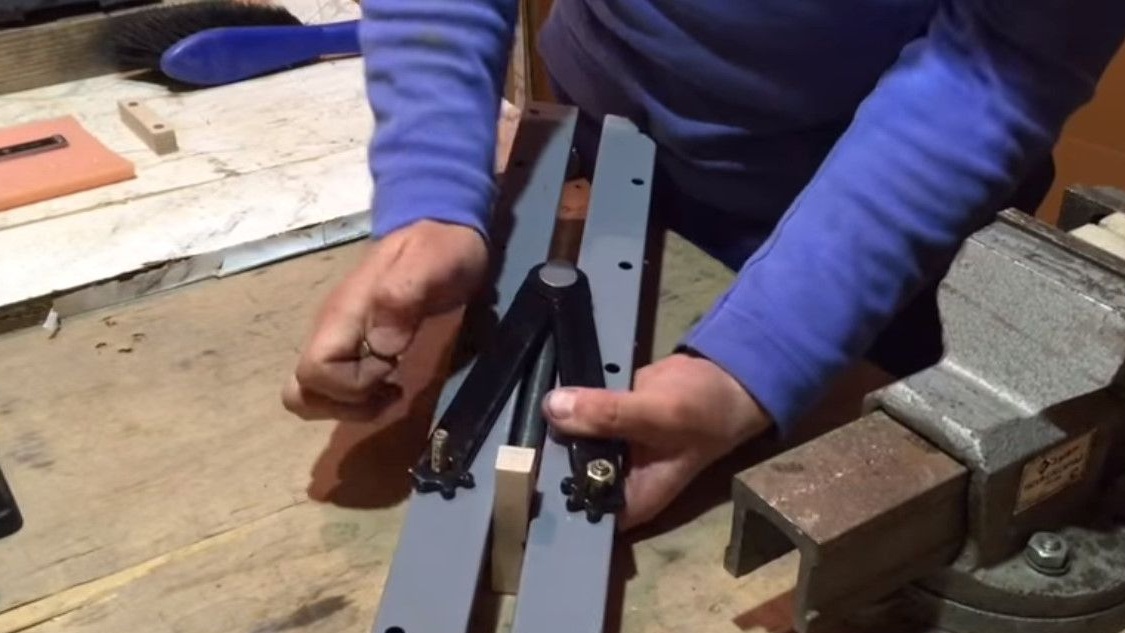
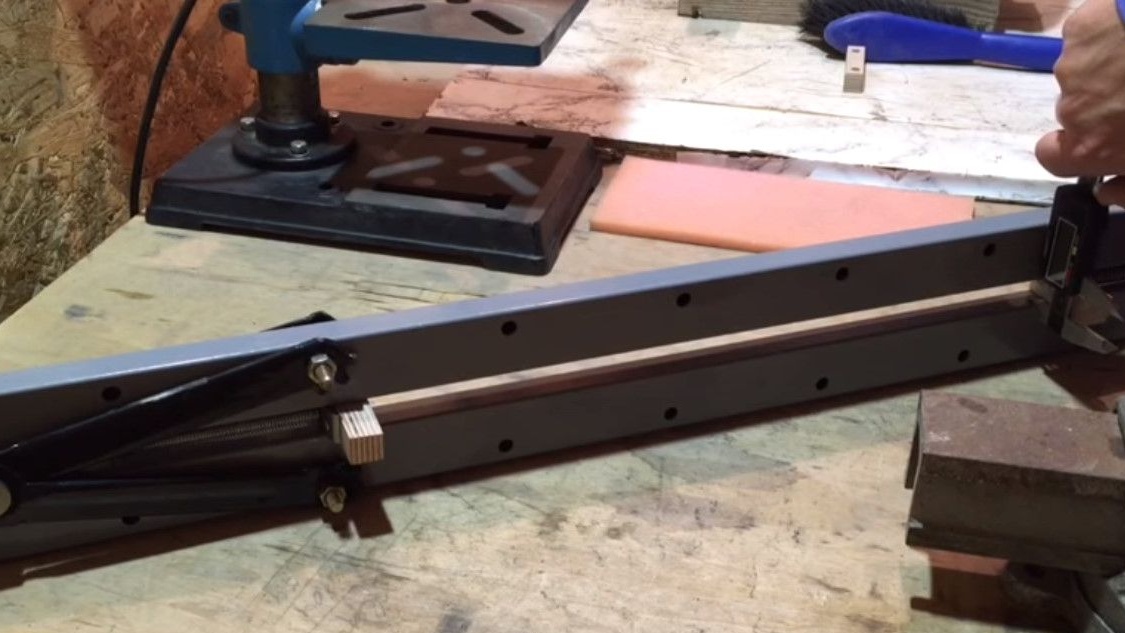
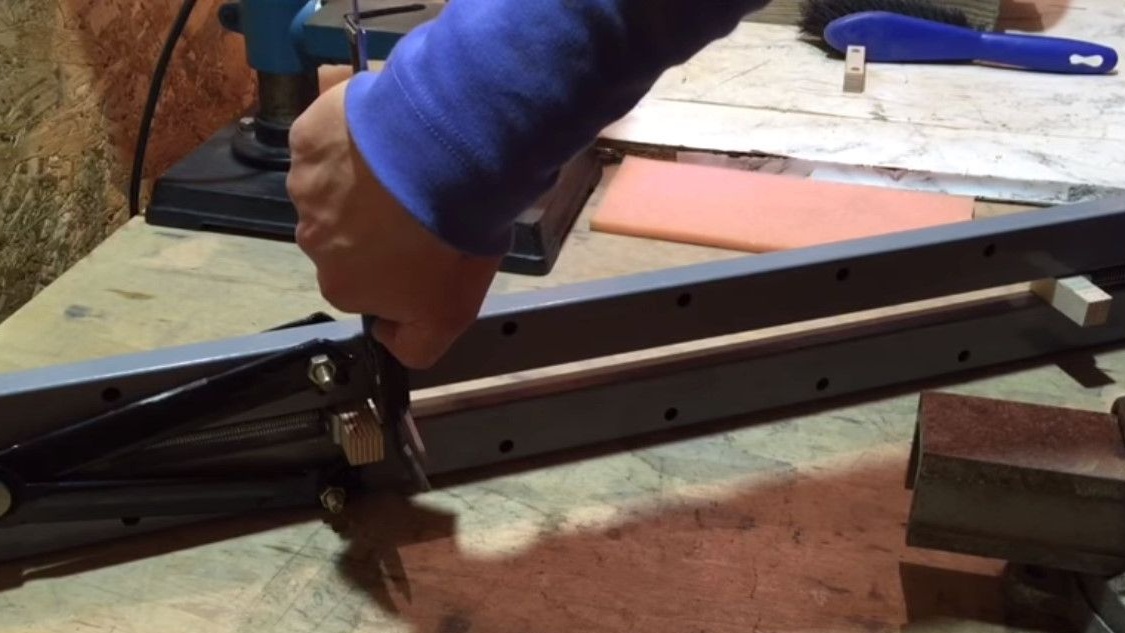
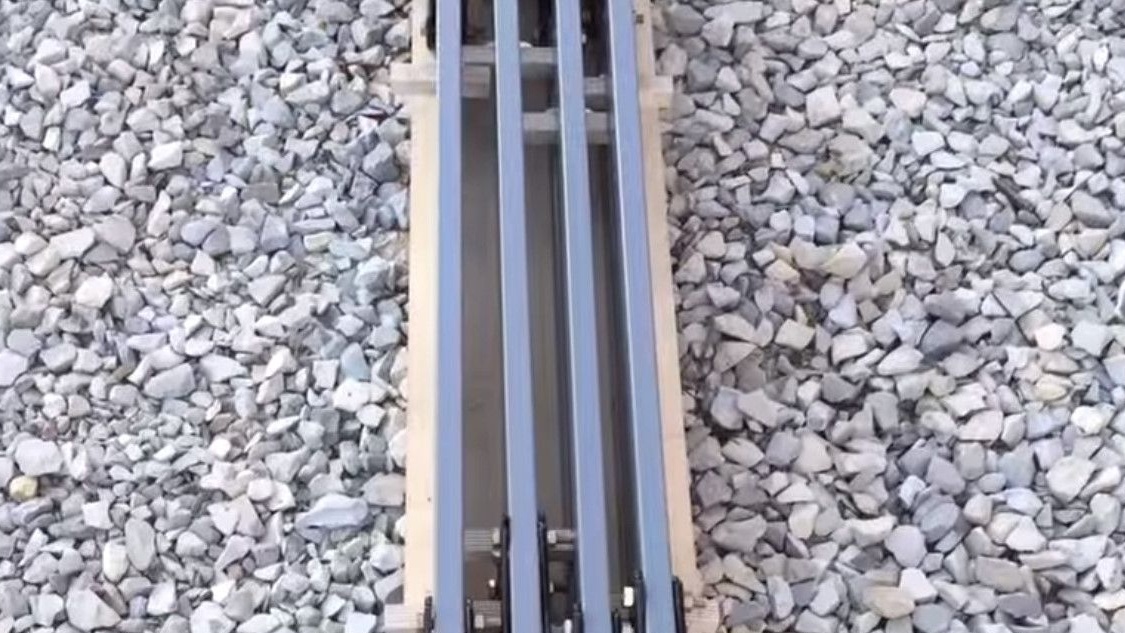
It remains to make the final assembly vaimy. For this, the author already has wyme sponges.
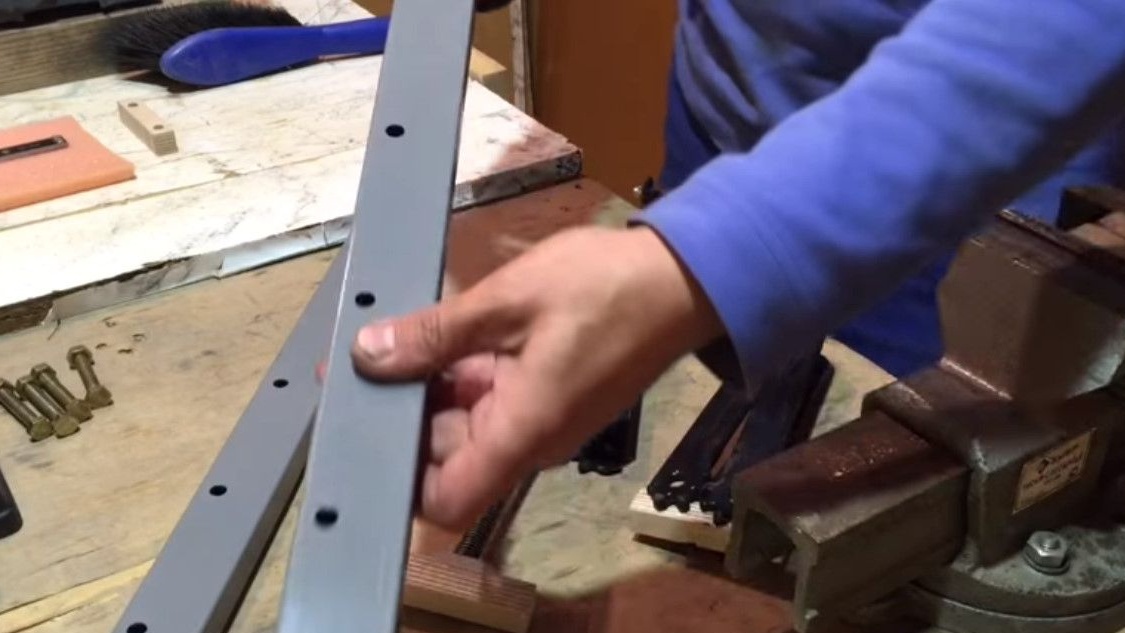
Movable, she’s a protracted heel.
And a stationary, fixed heel, just an emphasis.
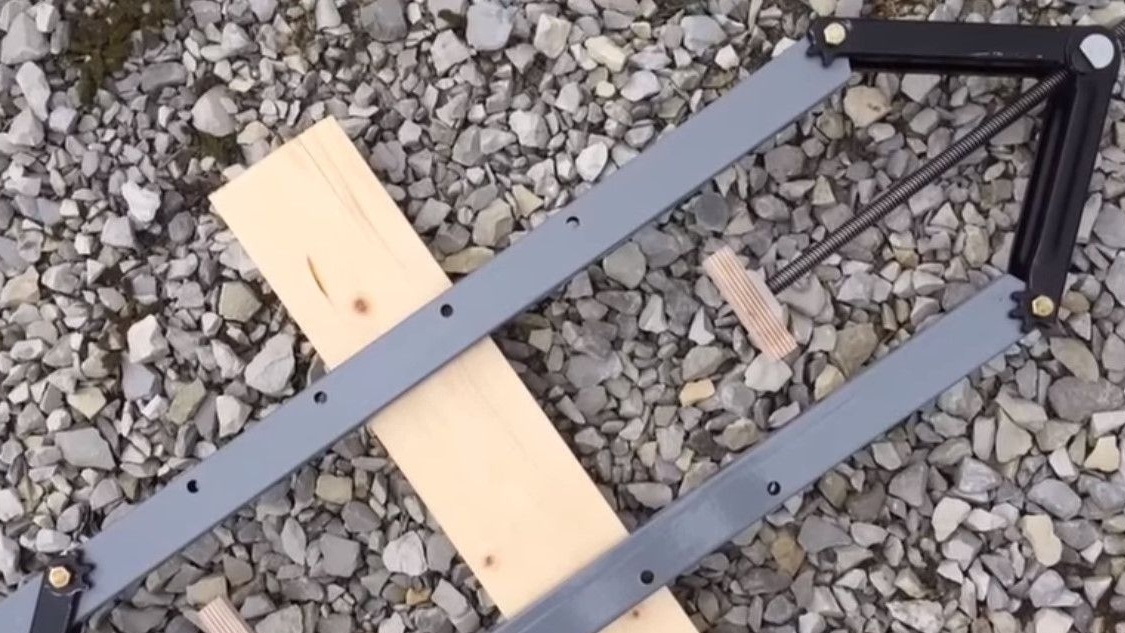
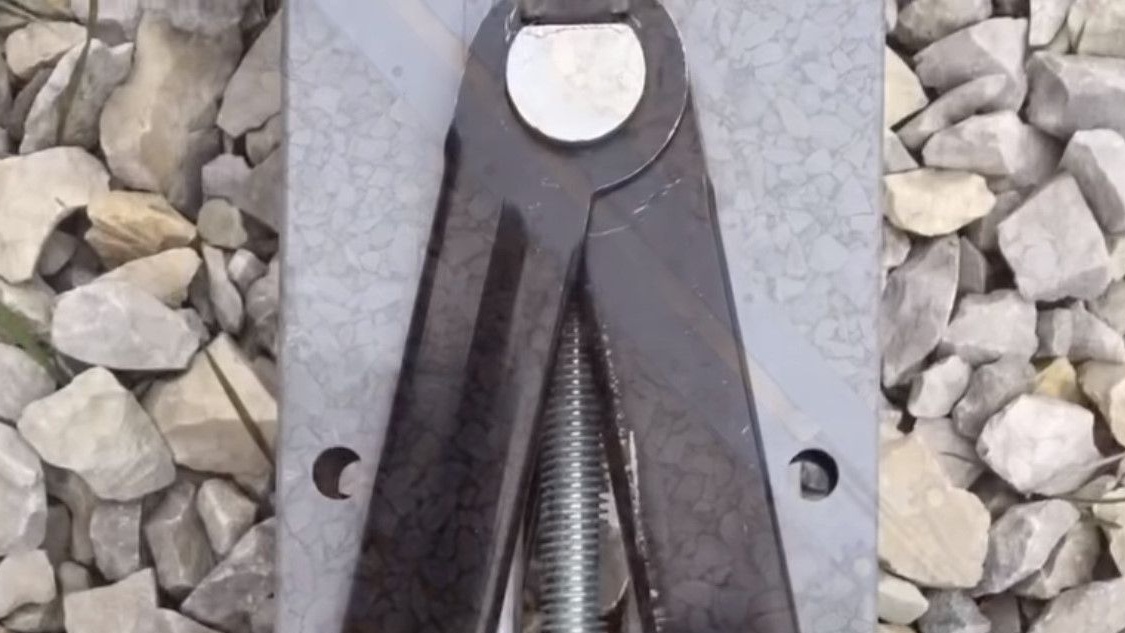
The stationary stop, that is, the fixed stop, will actually be movable in the sense that it can be represented in any of these holes. Depending on how wide the shield needs to be made.
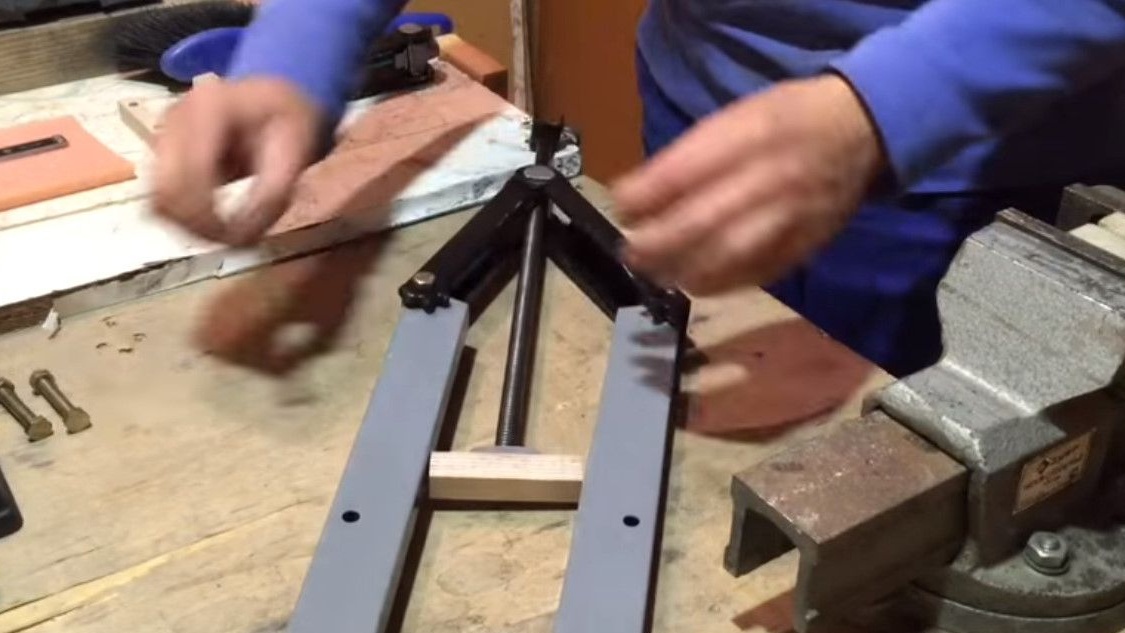
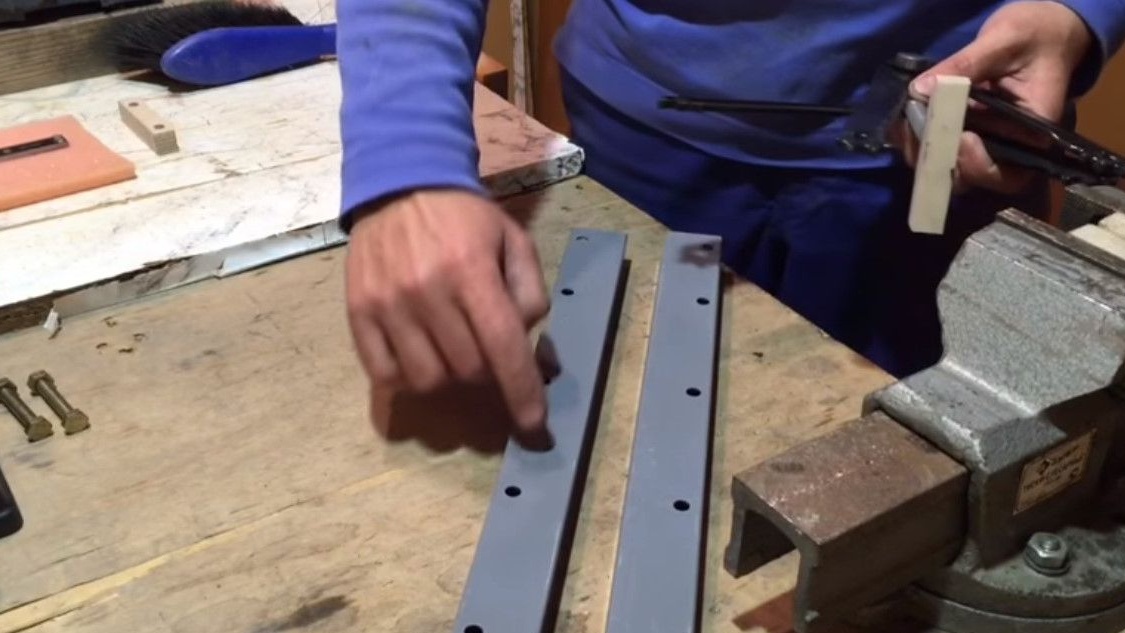
For example, installs here in these holes.
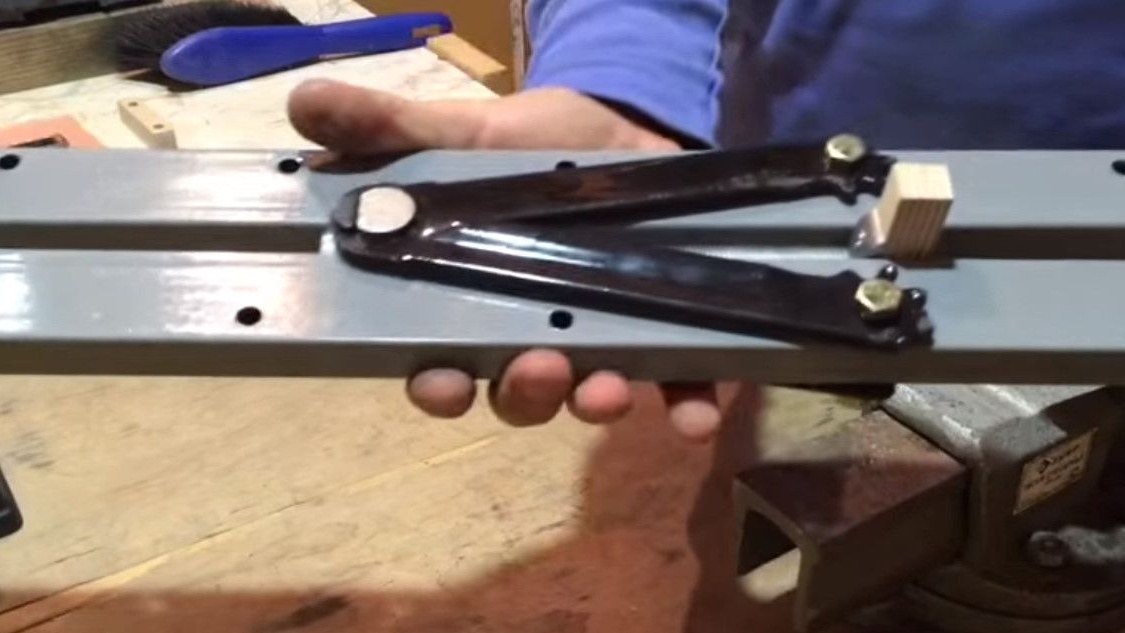
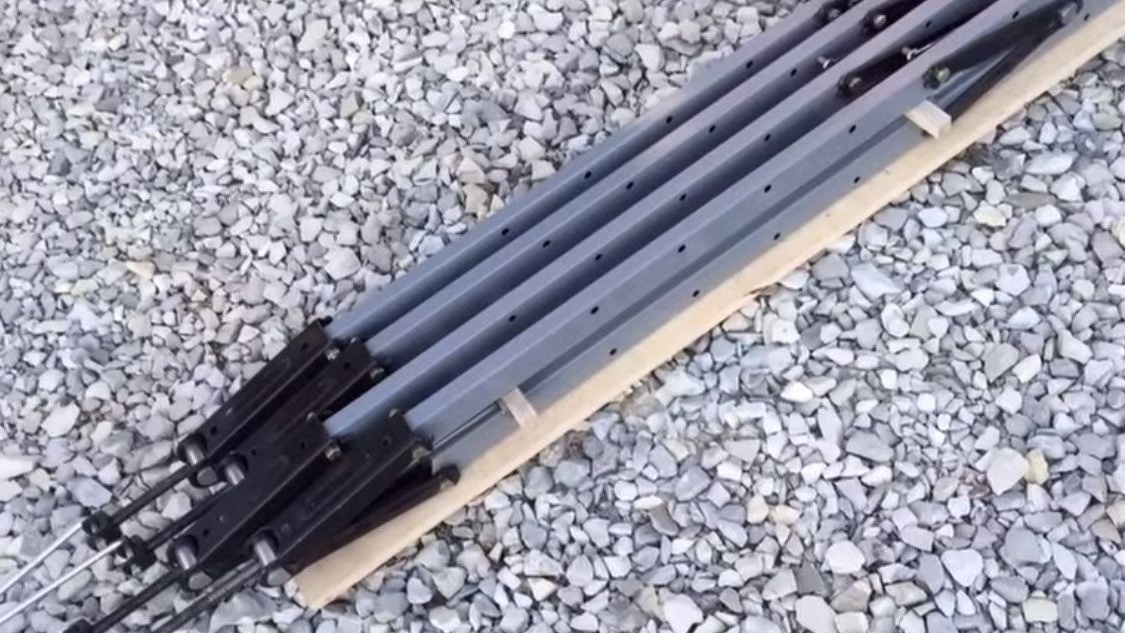
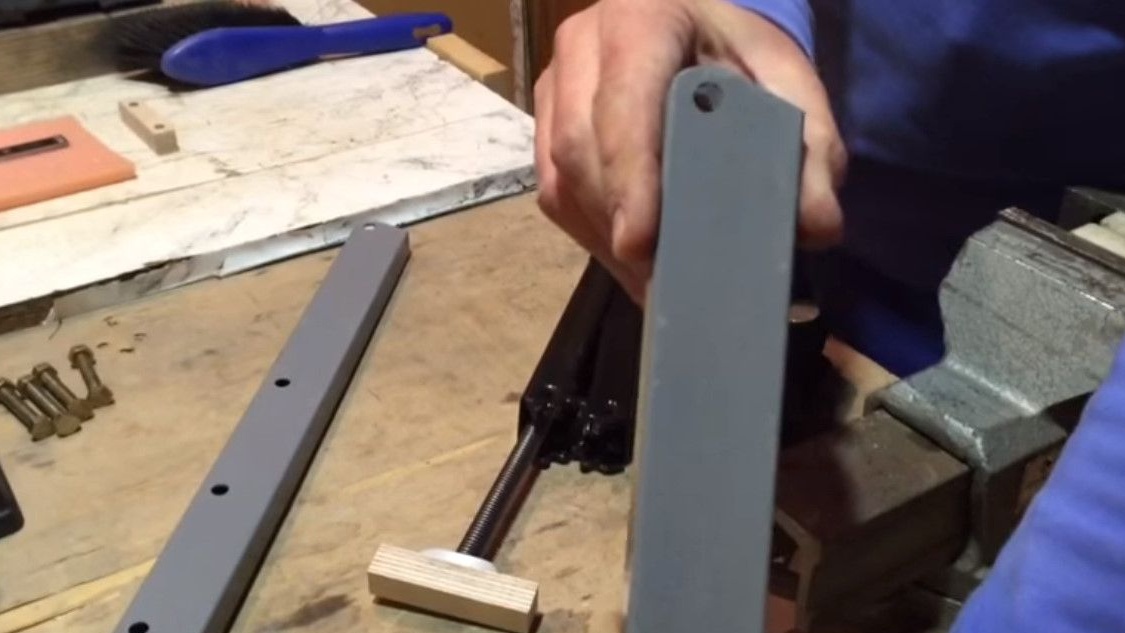
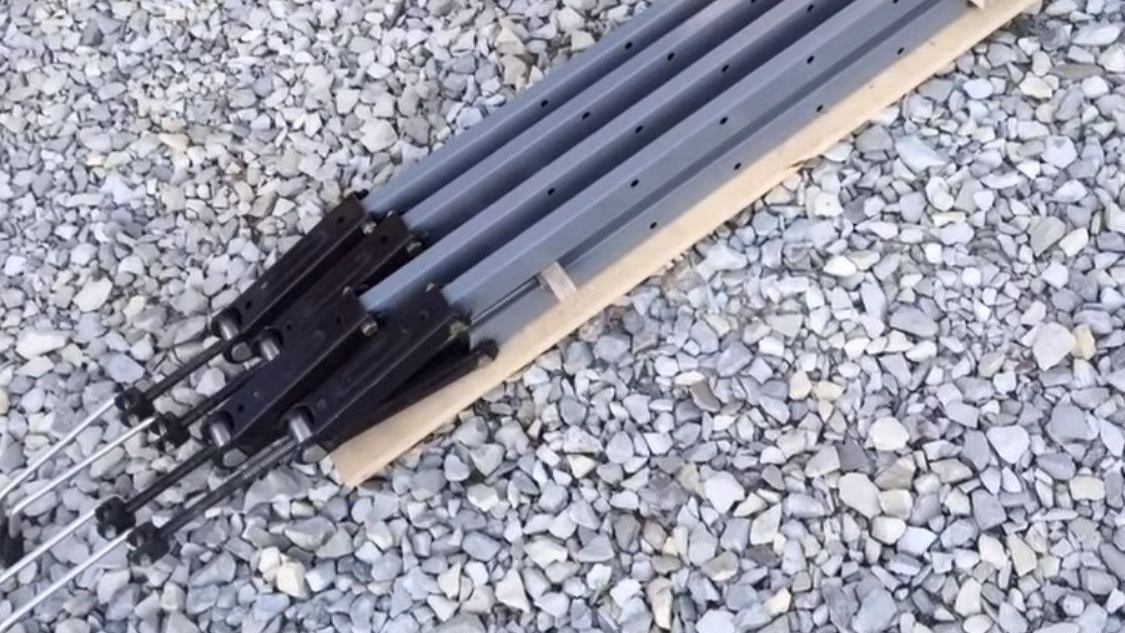
Here is the finished wime.
Will make a control measurement of the distance between the lips of the yoke 17.4 mm 17.3 mm.
Earlier, Igor said that the width of the sponges is 17.5 mm. A dozen to two dozen approximately went away while grinding the sponges.
The result is achieved, the minimum thickness of the furniture board, which can be made using these wimes is 18mm.
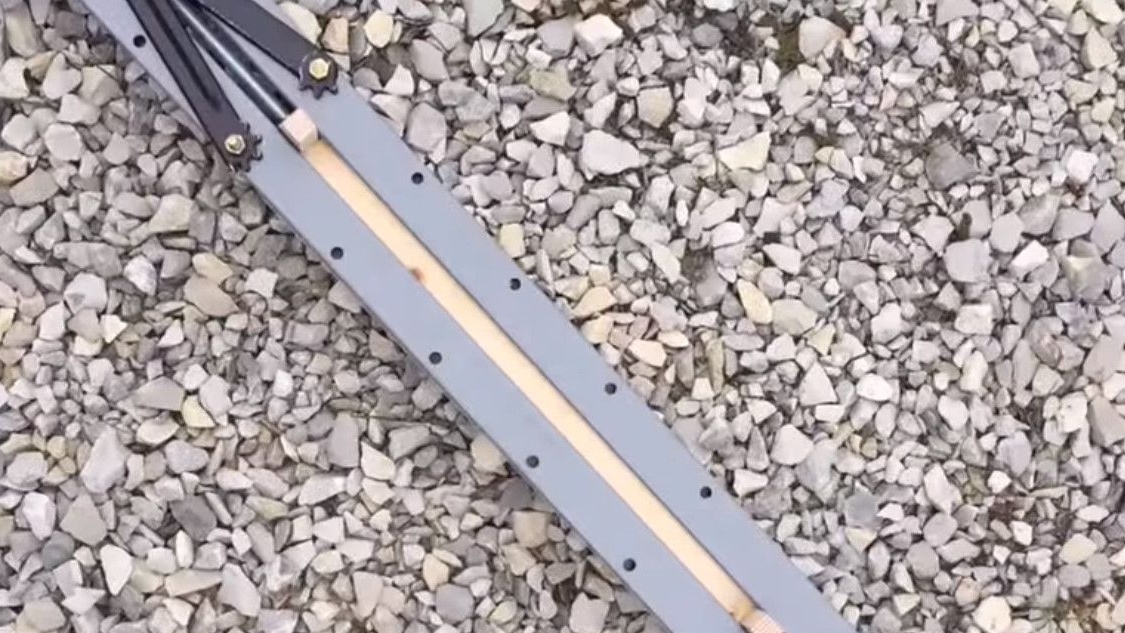
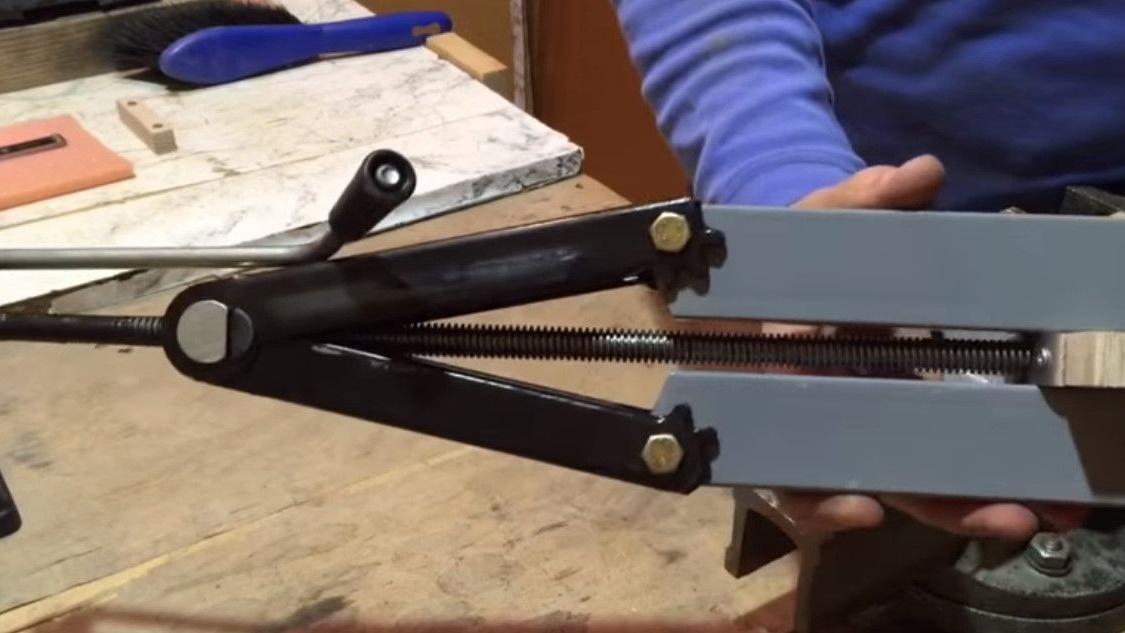
The length of the manufactured furniture board is limited only by the length of the profile pipe, which is used for the manufacture of the vime itself. In this case, it is about 95cm.
Thanks to Igor for the review of the manufacturing process of a very necessary carpentry tool! After all, it is very difficult to glue boards with ordinary single-sided clamps.
All good homemade!