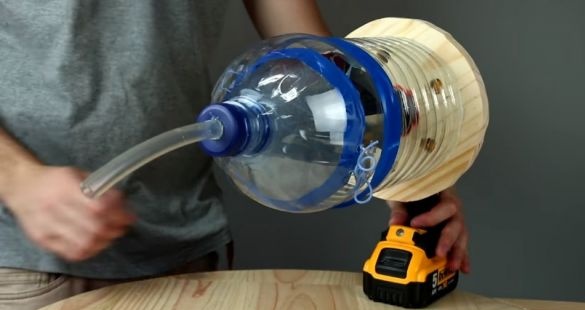
To make it you will need:
1. screwdriver himself
2. piece of thick plywood
3. rubber sheet
4. cookie box
5. Super glue
6. 5 liter bottle
7. a couple of nuts
8. threaded rod
9. piece of cloth
10. piece of hose (or any tube)
From tools - knife, scissors, marker, compass, screwdriver and drills of different diameters
Step 1
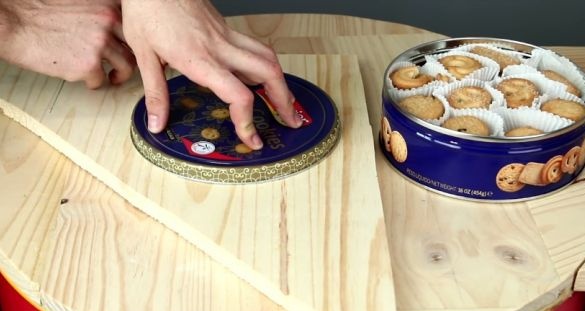
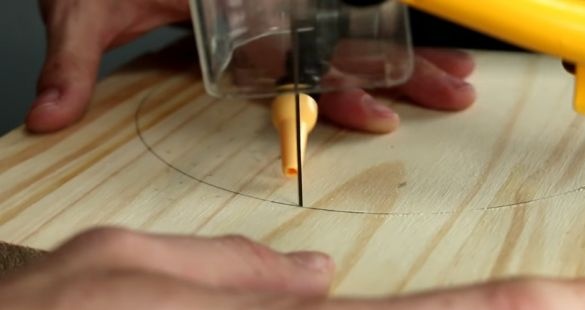
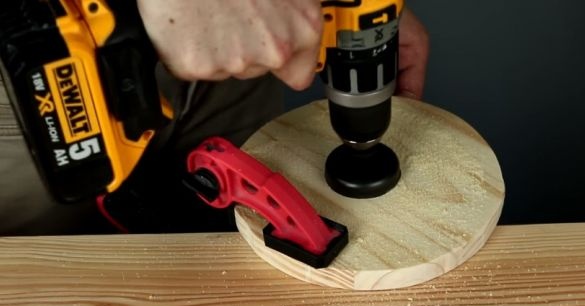
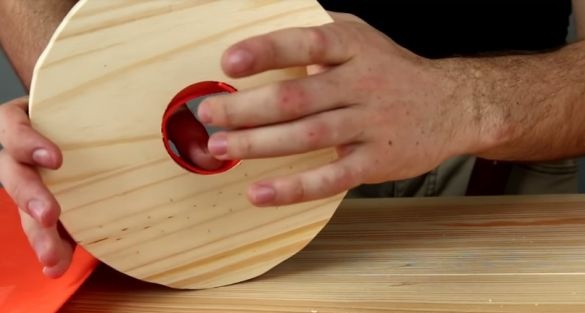
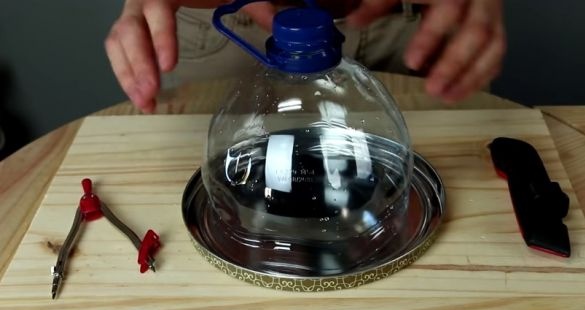
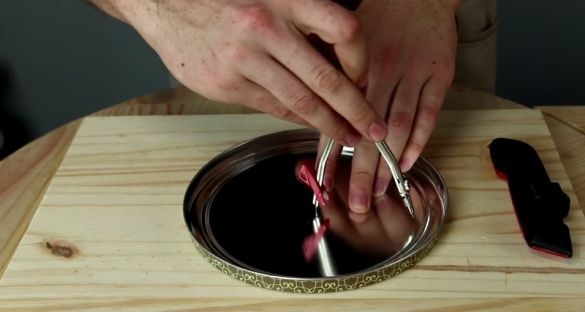
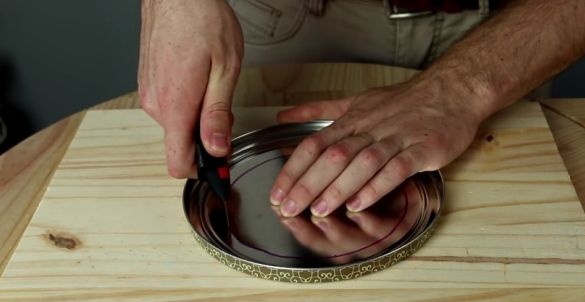
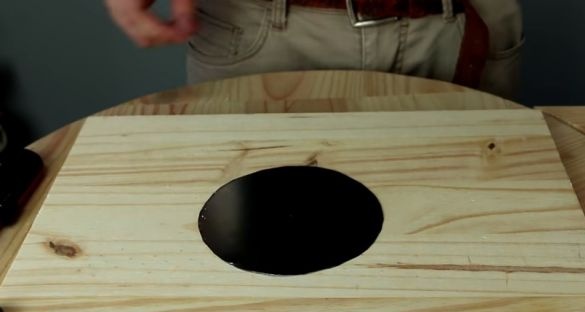
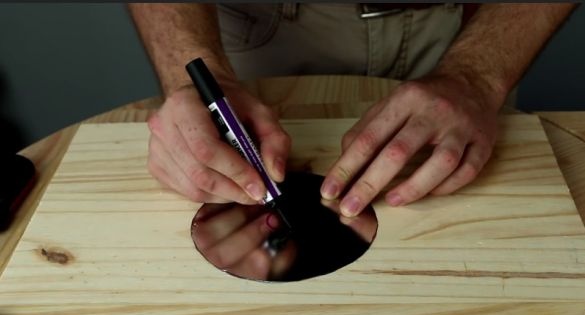
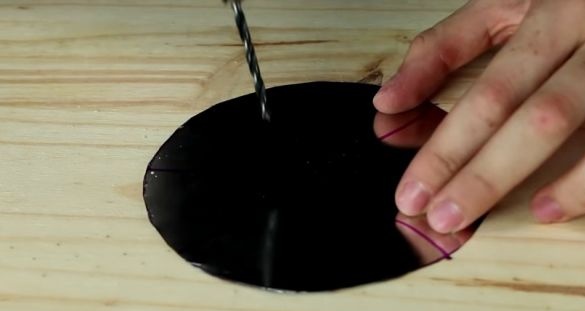
Cookie cover, put on plywood, circle and cut. After that, it is necessary to carefully process all the edges with a file and sandpaper.
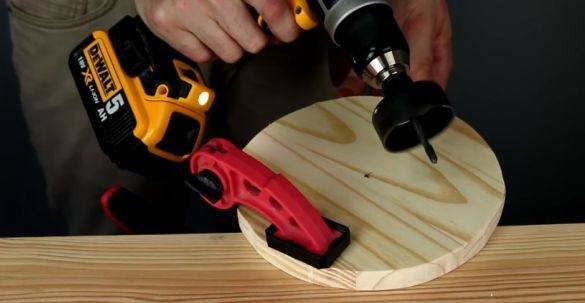
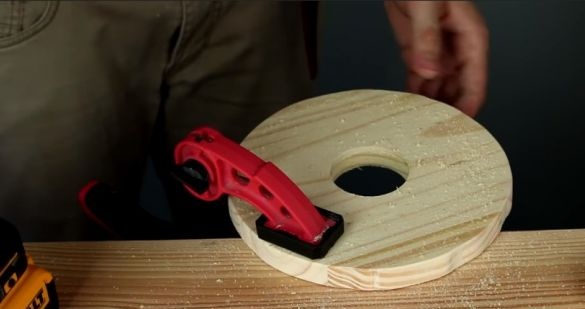
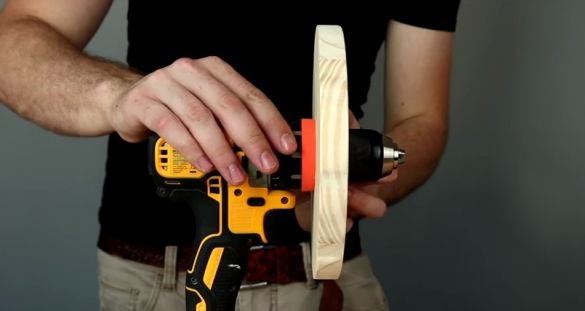
Now you need to take a screwdriver and measure the diameter of its fixed part (behind the cartridge). Then select the drill of the required diameter and drill a hole in the middle with a screwdriver.
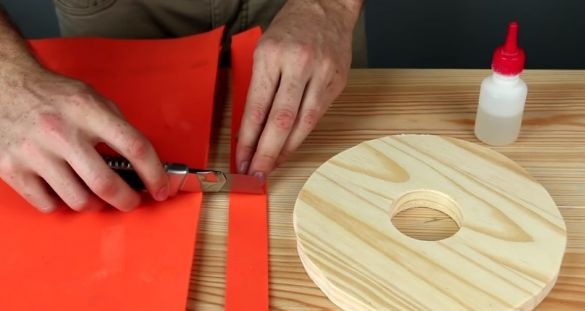
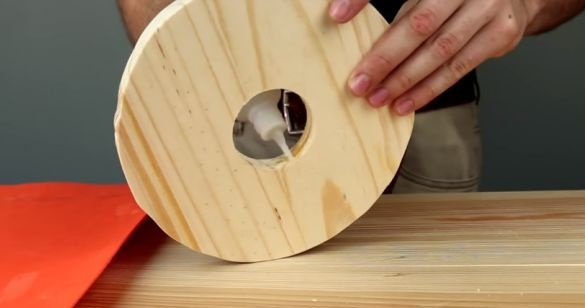
Now you need to cut a small strip from the rubber sheet, then fit it to the desired length (it will need to be glued along the edge of the hole in the middle). Now you need to grease the hole with superglue and glue the rubber.
After the glue has dried, it must be checked. The workpiece must fit snugly on the screwdriver.
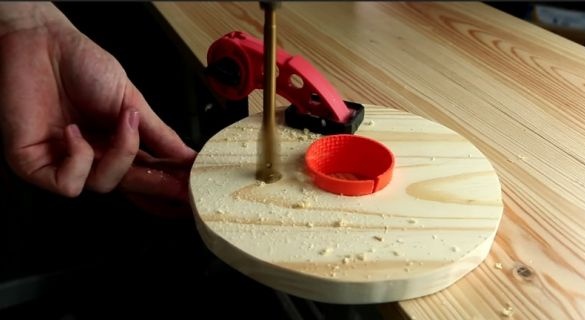
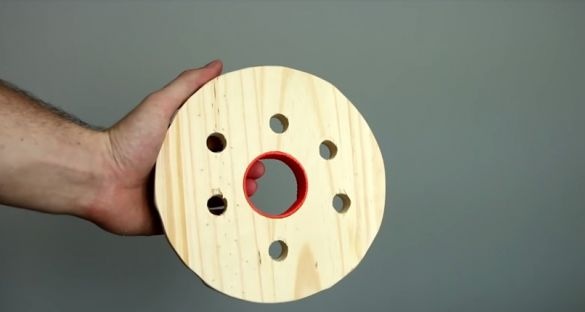
Now the author removes it and we make holes with a small drill on the tree.
For now, put the workpiece aside for now.
Step 2
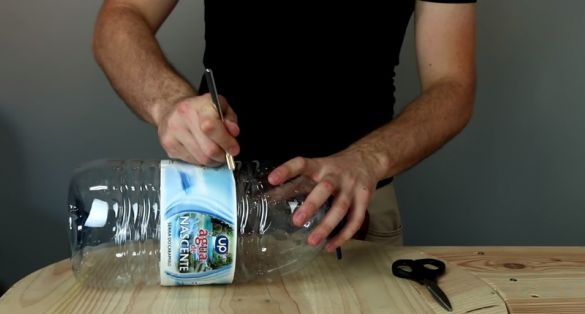
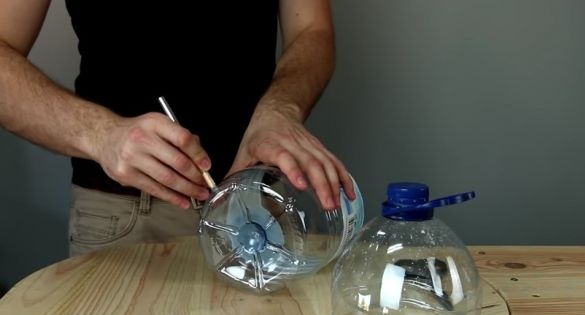
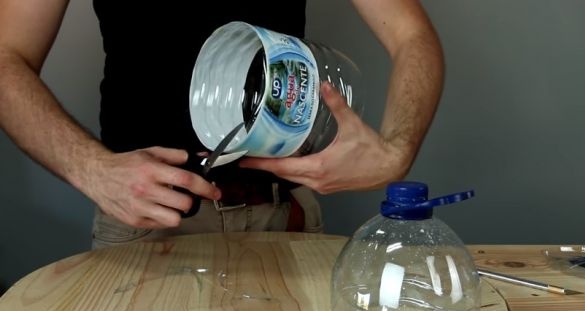
It will take a 5 liter bottle, which the author cuts off (exactly how - shown in the photo).
This will be the vacuum cleaner body.
Step 3
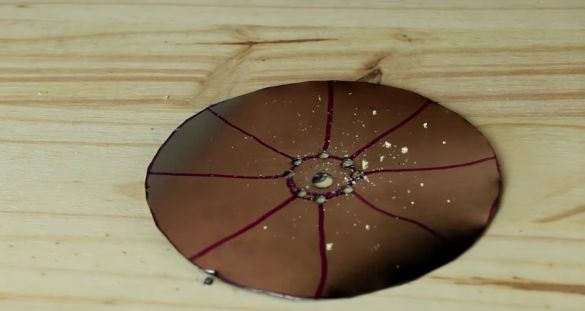
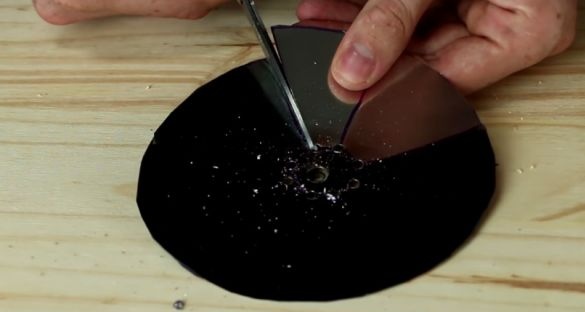
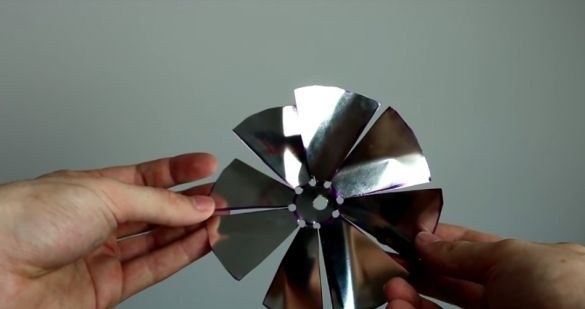
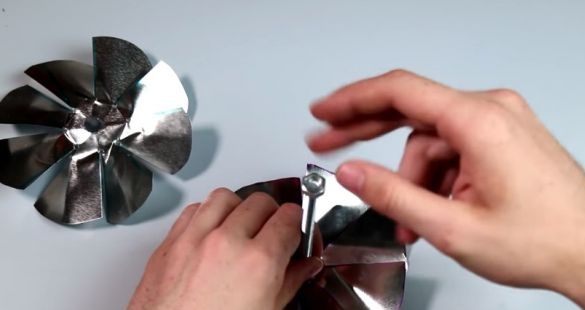
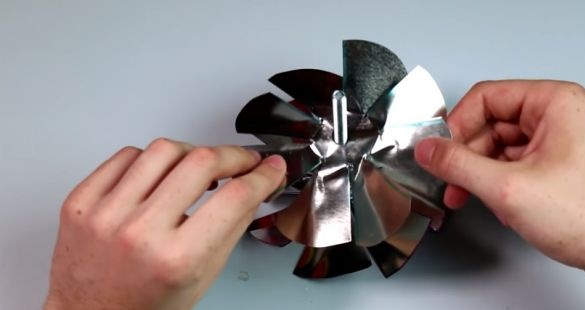
Now you need to make the blades, they will be made of the same cookie jar. A can is put in a bottle, circled and cut out. It is necessary to mark the center, and then draw a small circle. From the circle to the edges you will need to draw lines. The intersection of lines and circles must be drilled. After that, you need to cut the lines with scissors. Bend the resulting blades
Here is what should happen.
These will need 2.
Step 4
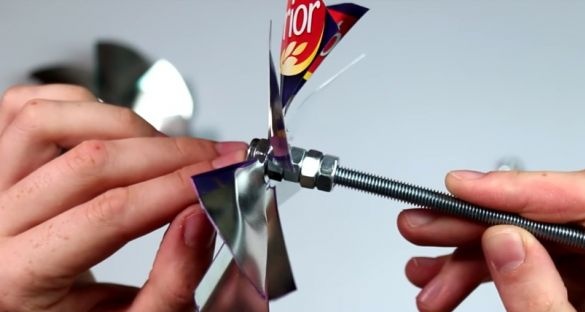
A small piece is cut from a threaded stick.Then you need to take the blades, fit them and fix them with nuts.
Step 5
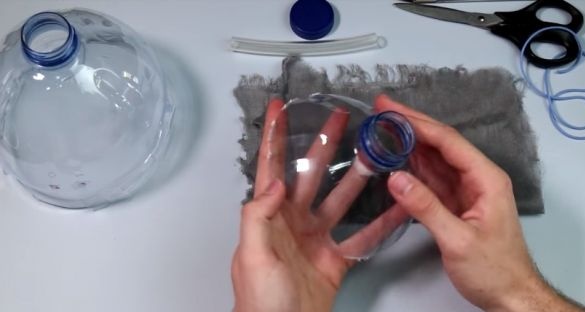
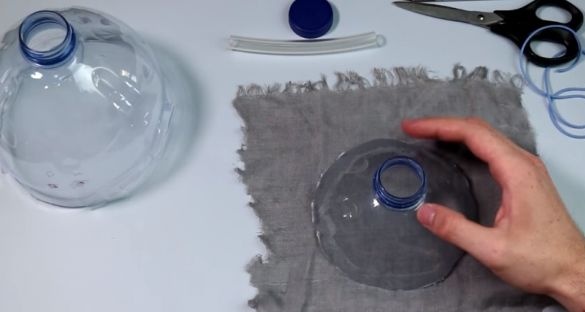
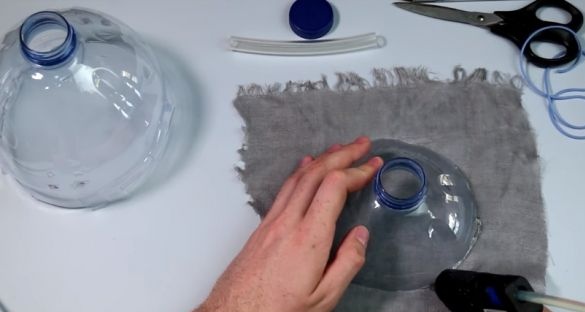
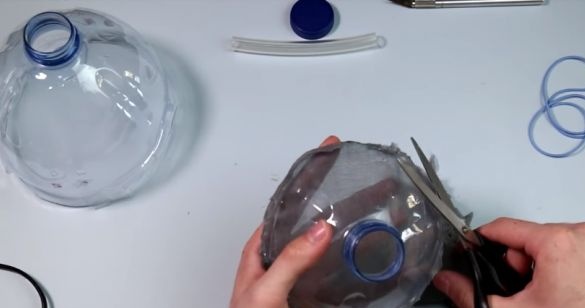
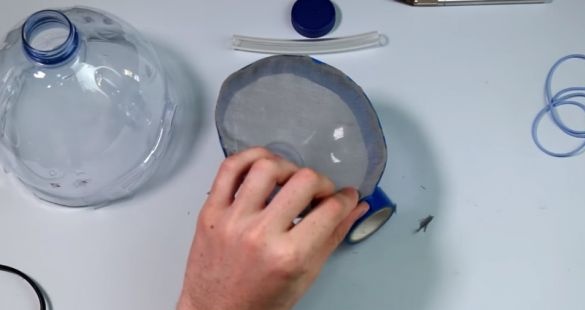
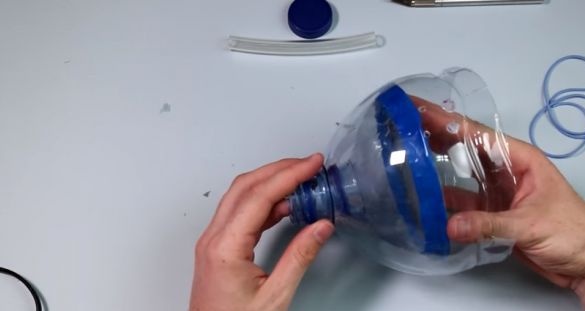
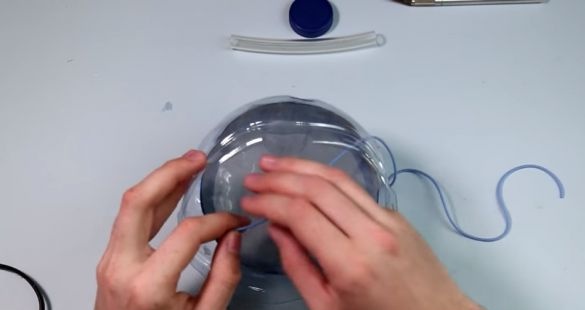
Now a filter is made, or rather, the place where dust and chips will settle. The neck is cut off from the second bottle, then we take a piece of cloth, the neck is placed on it and glued with hot glue. After the glue dries, we cut off the excess, and glue the joints at the blue tape.
The resulting design must be thrust into another neck, which was made earlier.
Now, holes are made around the edges and an elastic is pushed into it.
Step 6
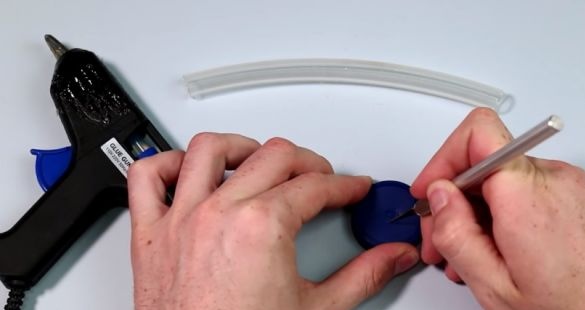
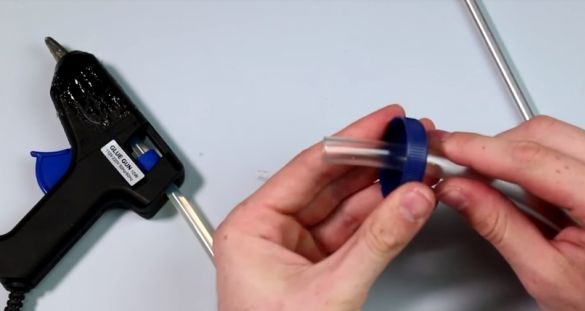
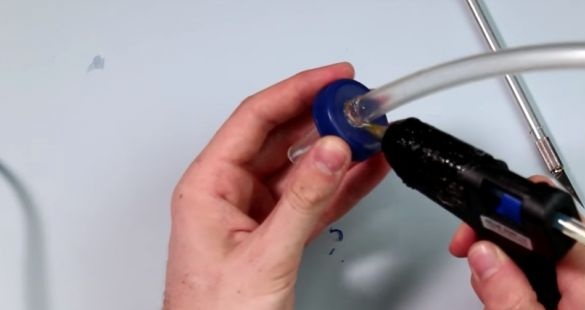
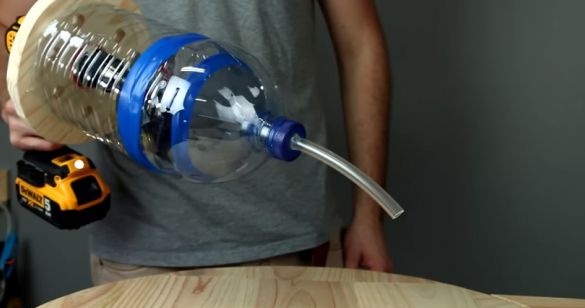
It remains to make only a nozzle. A hole is made in the lid and a piece of hose is inserted into it, and the edges are sealed with glue.
Step 7
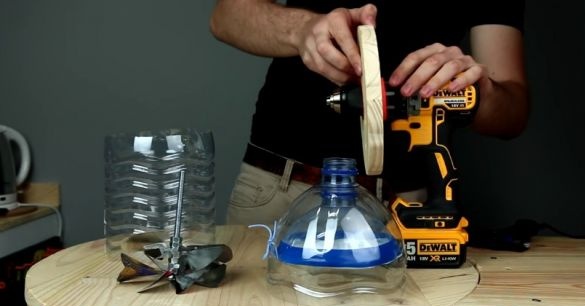
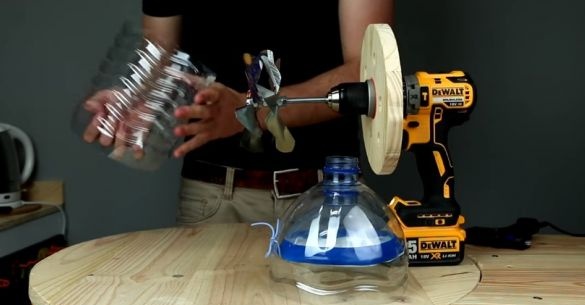
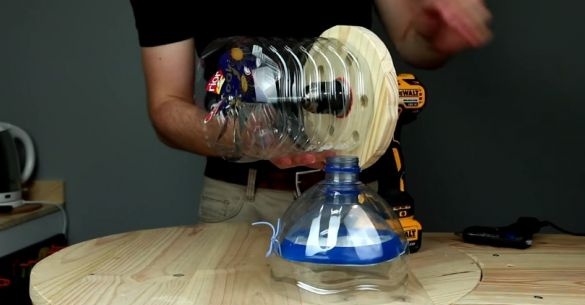
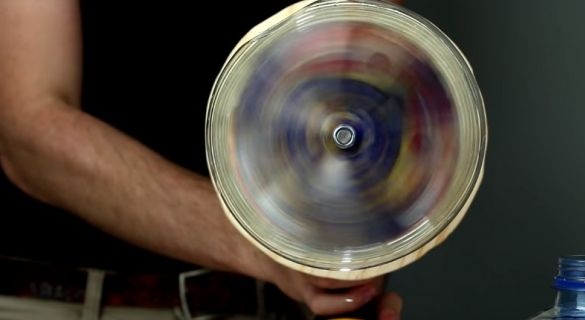
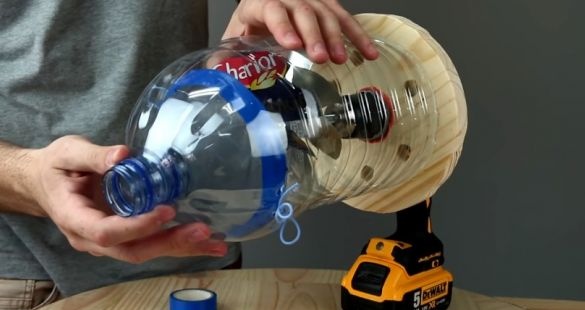
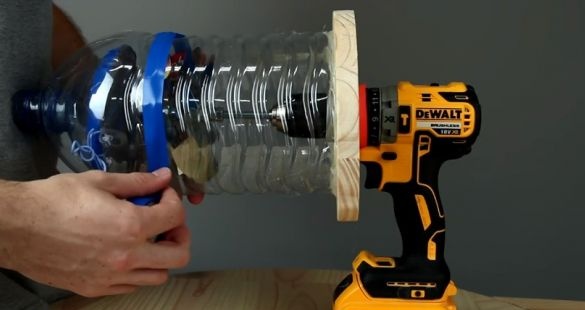
Well, that’s all, it remains only to collect. The author puts on a wooden circle, then clamps the blades in the cartridge, glues the case, attaches the filter with the help of electrical tape and puts on the nozzle.
That's it! Thank you all for your attention!
Original video by the author:

