I welcome all fans to craft unusual things. I bring to your attention an interesting homemade for culinary purposes or even research that you can do do it yourself! It will be about the vacuum chamber, which the author decided to make from the pan. The bottom line is that air is sucked out of the pan, the pressure inside becomes very low. At such a low pressure, water begins to boil even at room temperature. And this means that if you put an apple inside the pan, the water in it will boil at low pressure, and the steam will be pumped out by the compressor, in other words, it will dry out pretty quickly. For what purposes you can still use a similar device, you decide!
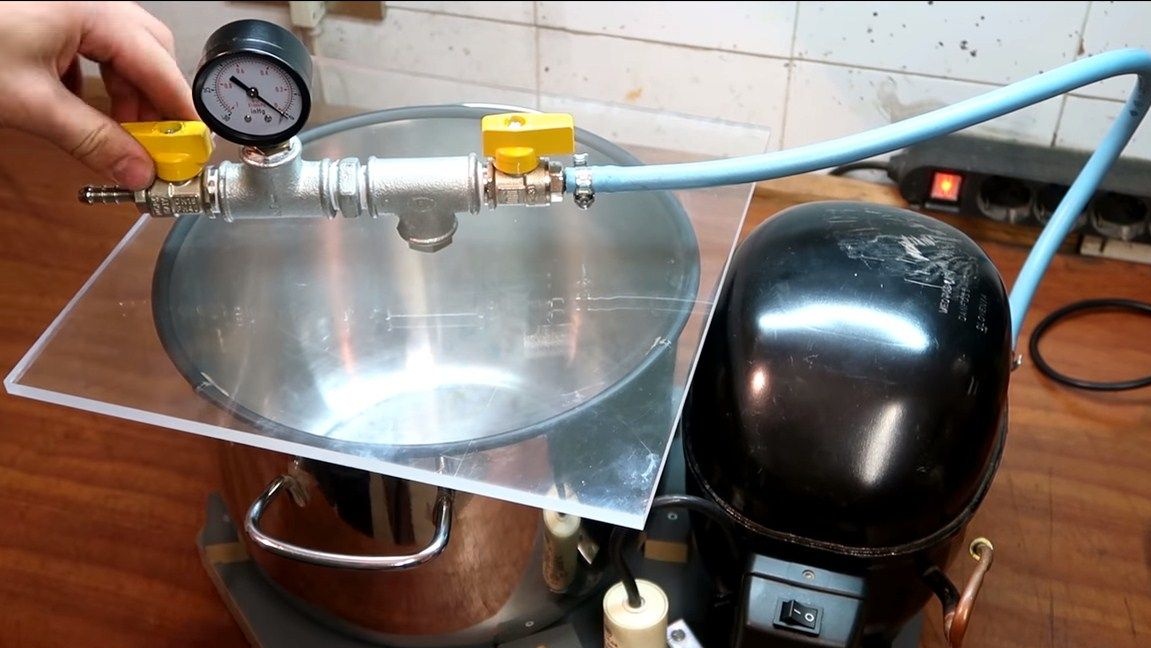
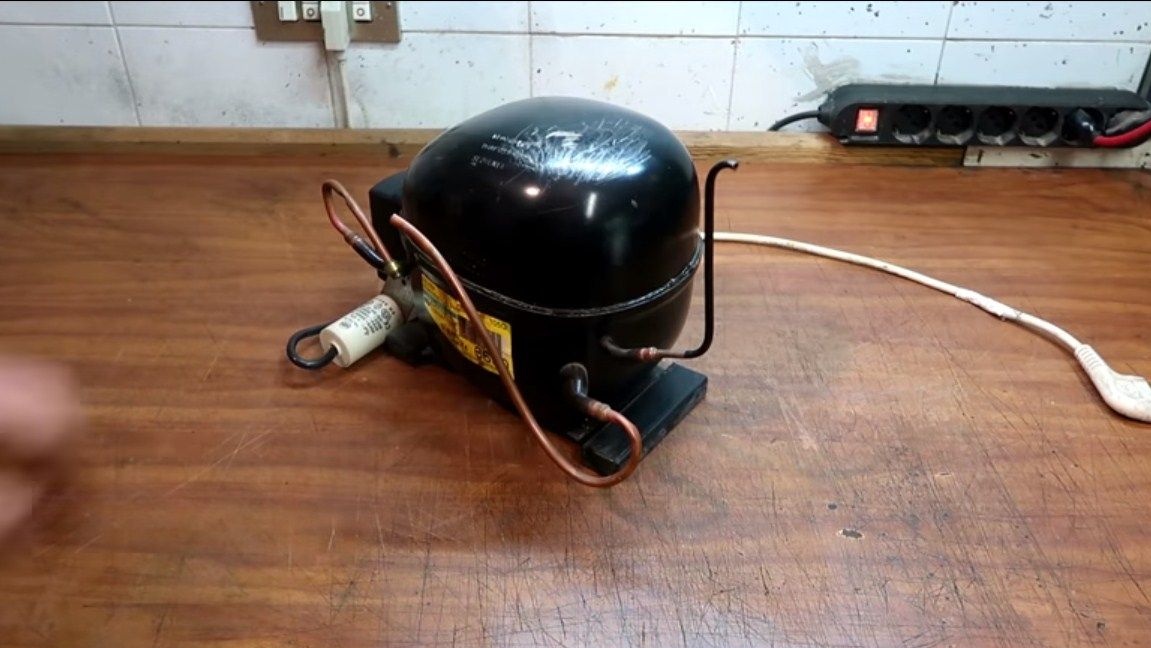
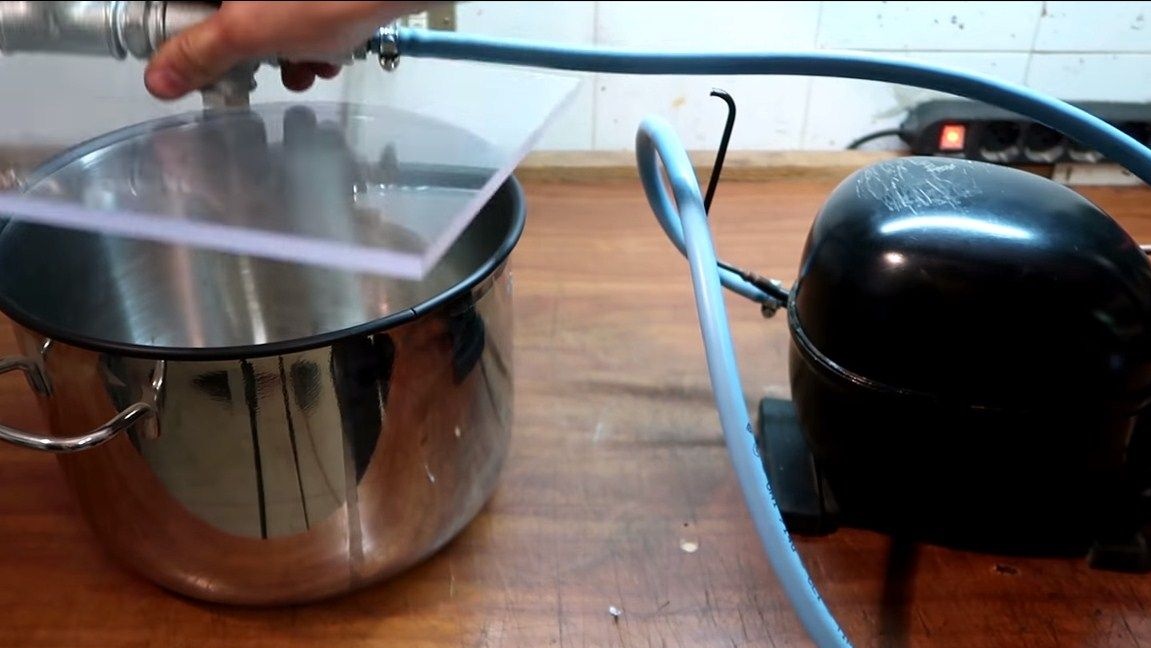
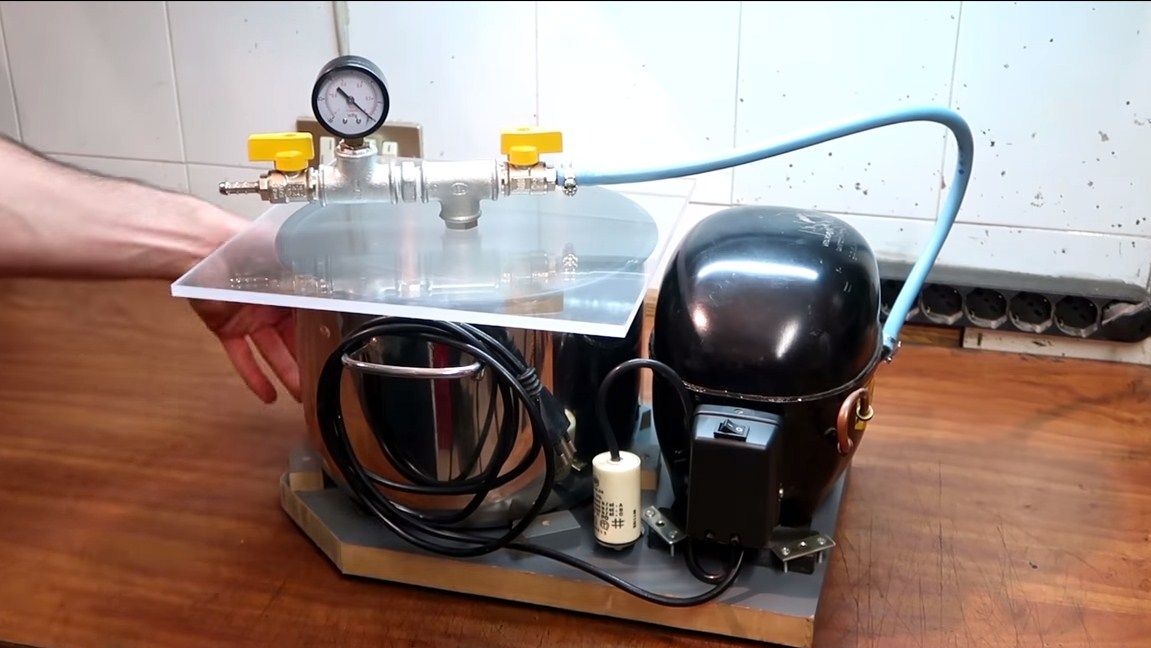
As the main working body, the author used a compressor from the refrigerator, it allows you to get a fairly low vacuum. The capacity, in our case this is a pan, is covered with a sheet of acrylic, which allows you to observe what is happening inside. So, we will consider in more detail how to assemble such a homemade product!
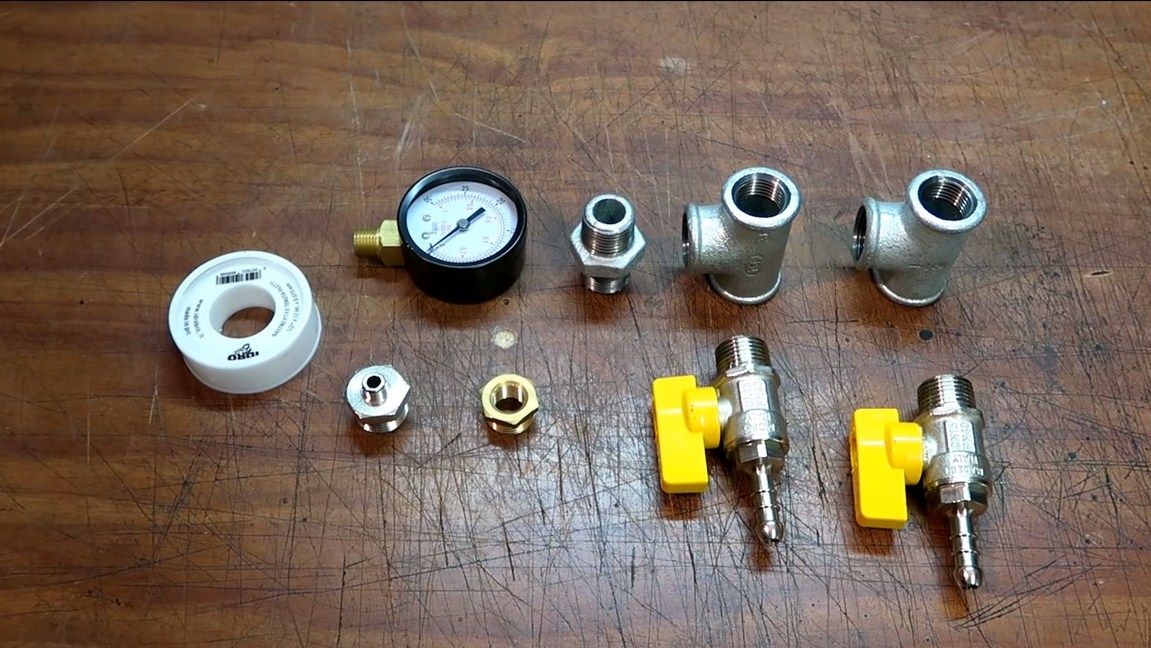
Materials and tools used by the author:
Material List:
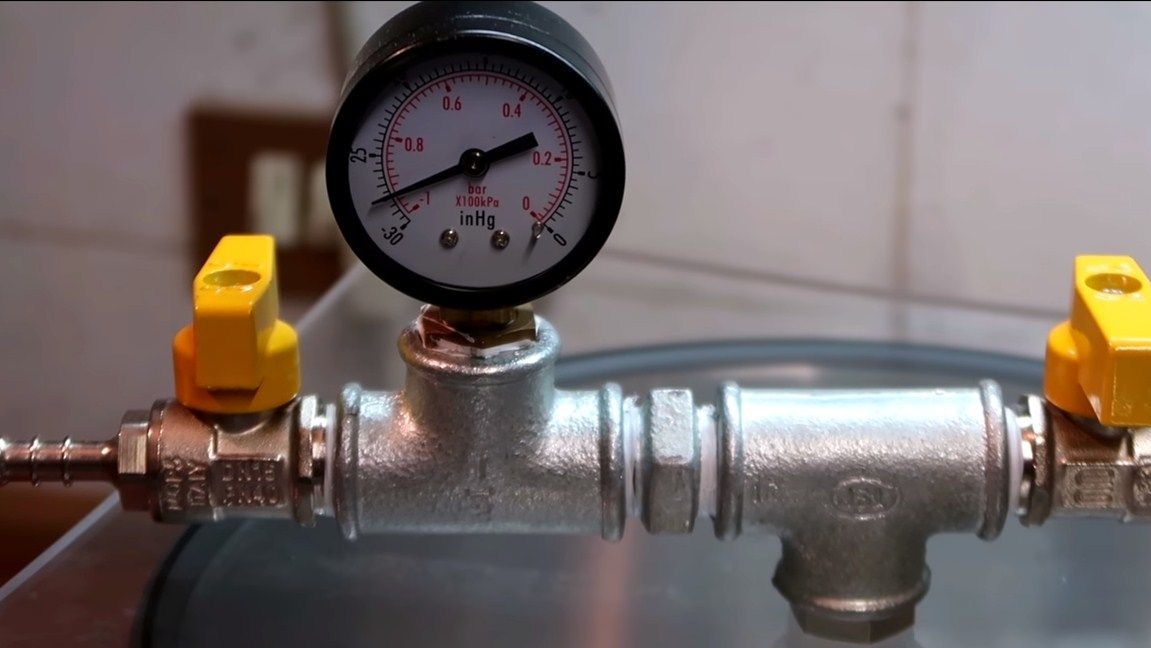
- a vacuum gauge (like a manometer, only measures the vacuum);
- two plumbing tees and parts for their connection;
- two cranes and fittings;
- fum tape;
- compressor from the refrigerator;
- hose (for high pressure, it should not compress during rarefaction);
- plexiglass sheet;
- metal clamps;
- switch and wire;
- pan;
- a piece of rubber hose or the like (to make a seal);
- plywood or board (as a basis).
Tool List:
- a hacksaw for metal;
- screwdrivers;
- vise wrenches;
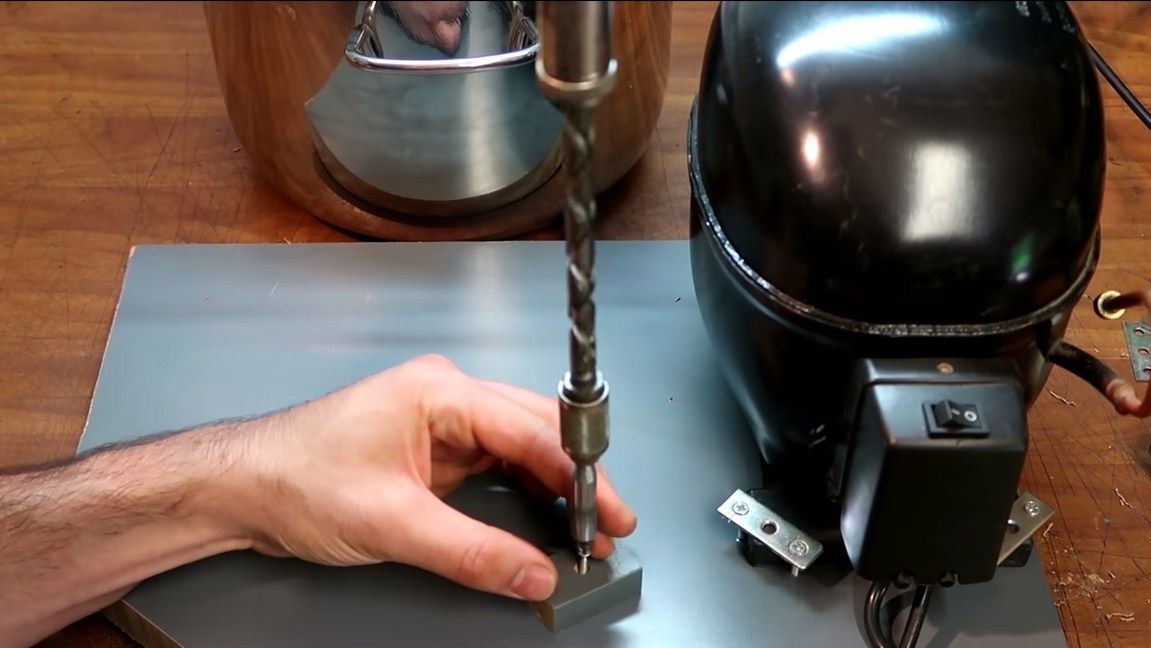
- drill with drills.
The manufacturing process of the vacuum chamber:
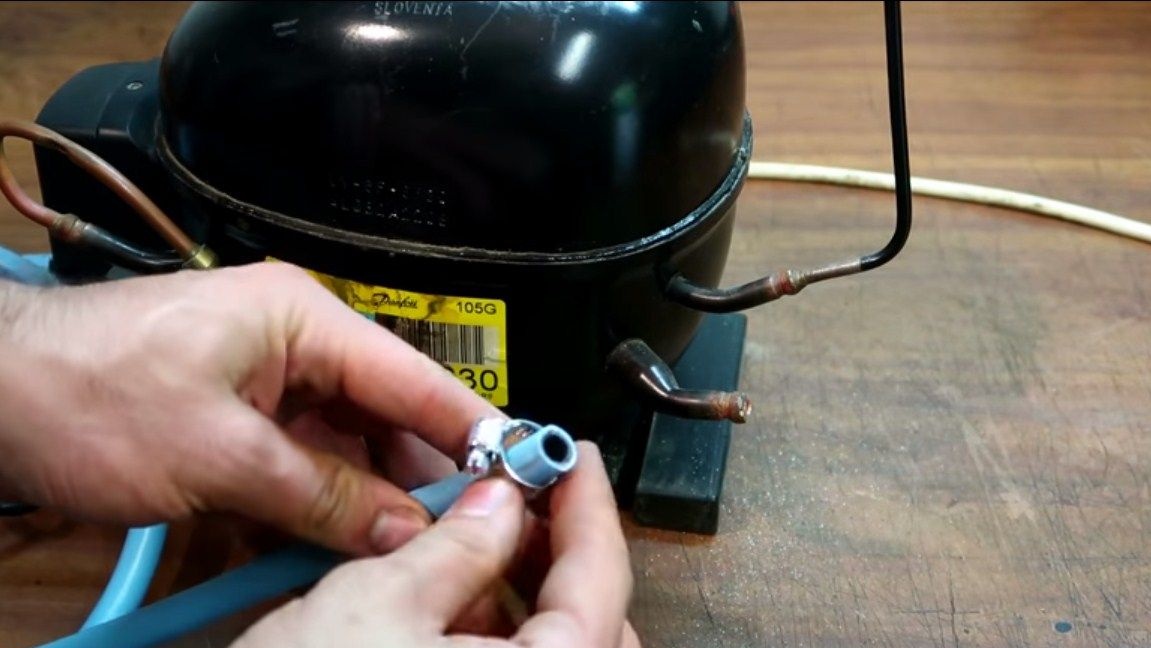
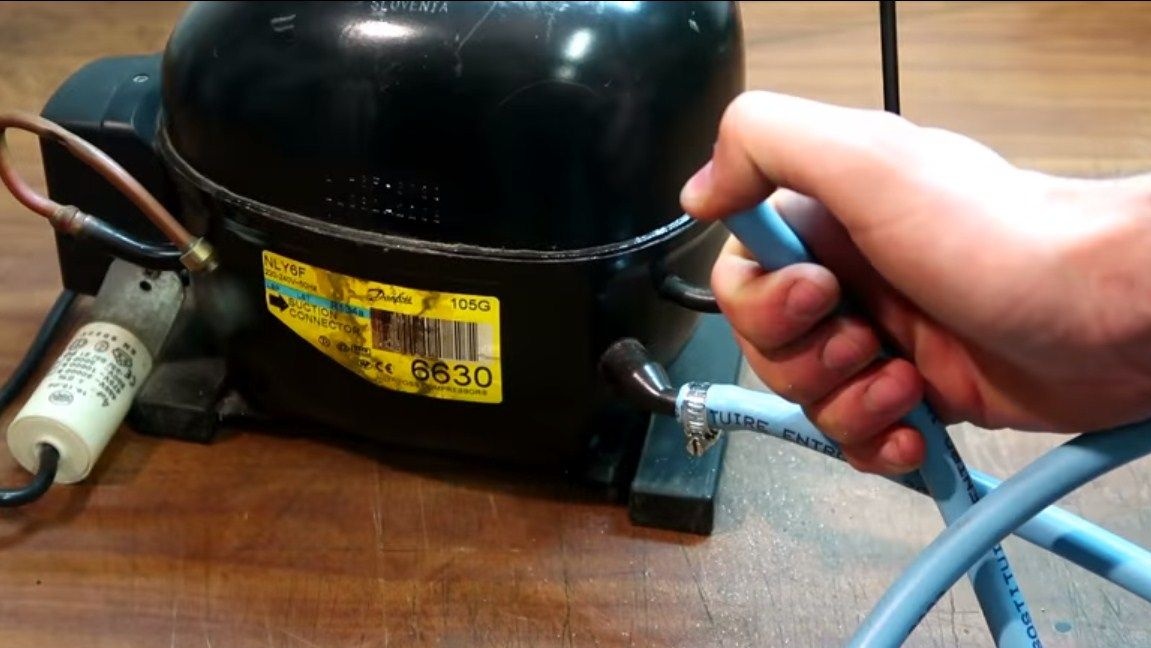
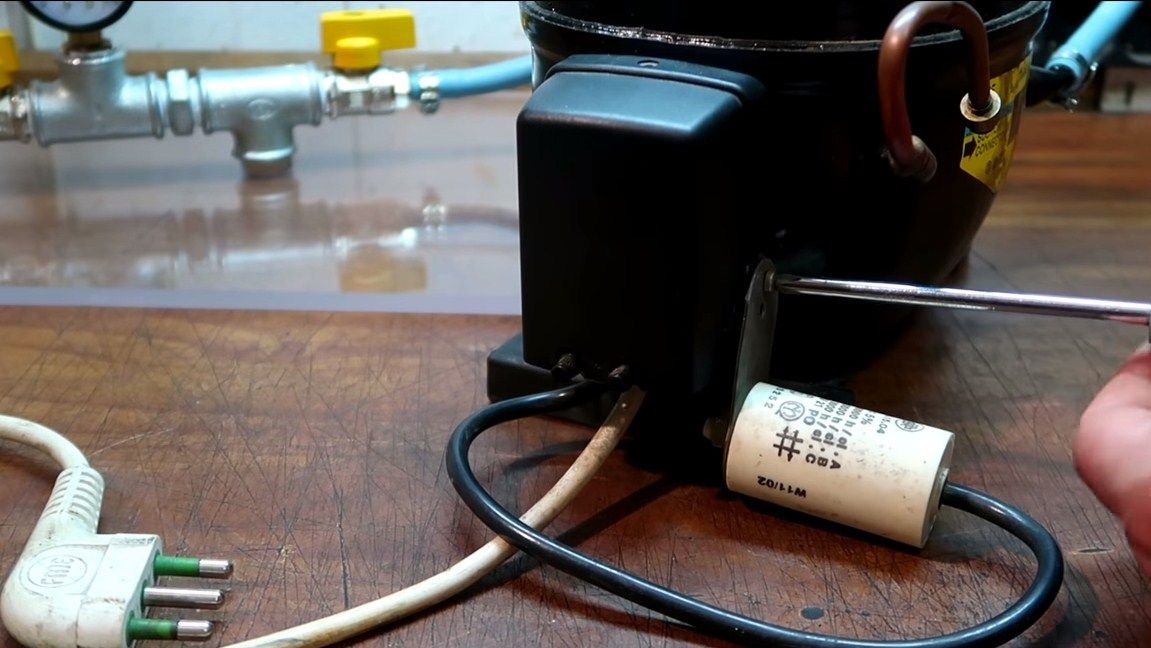
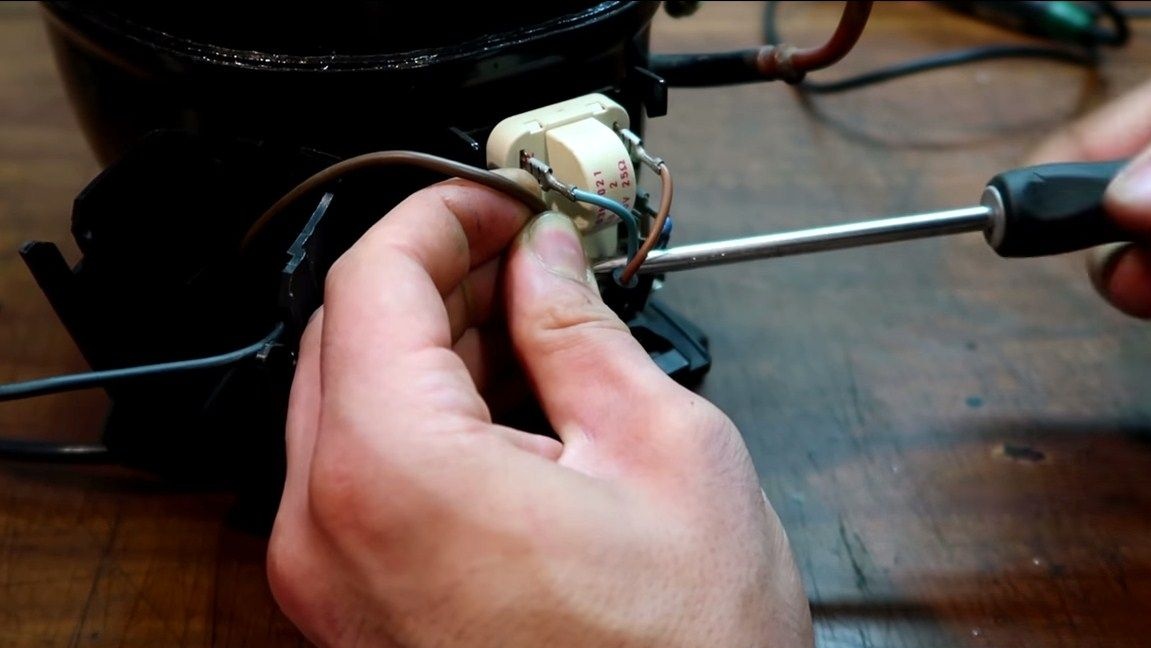
Step one. Connect the hose to the compressor
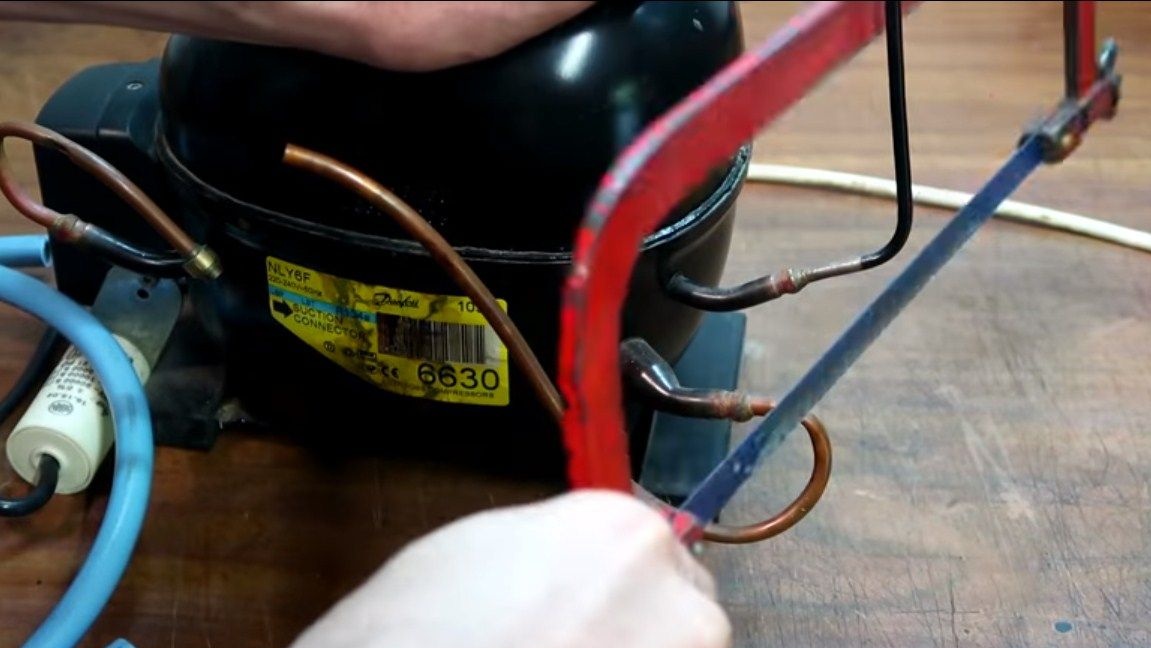
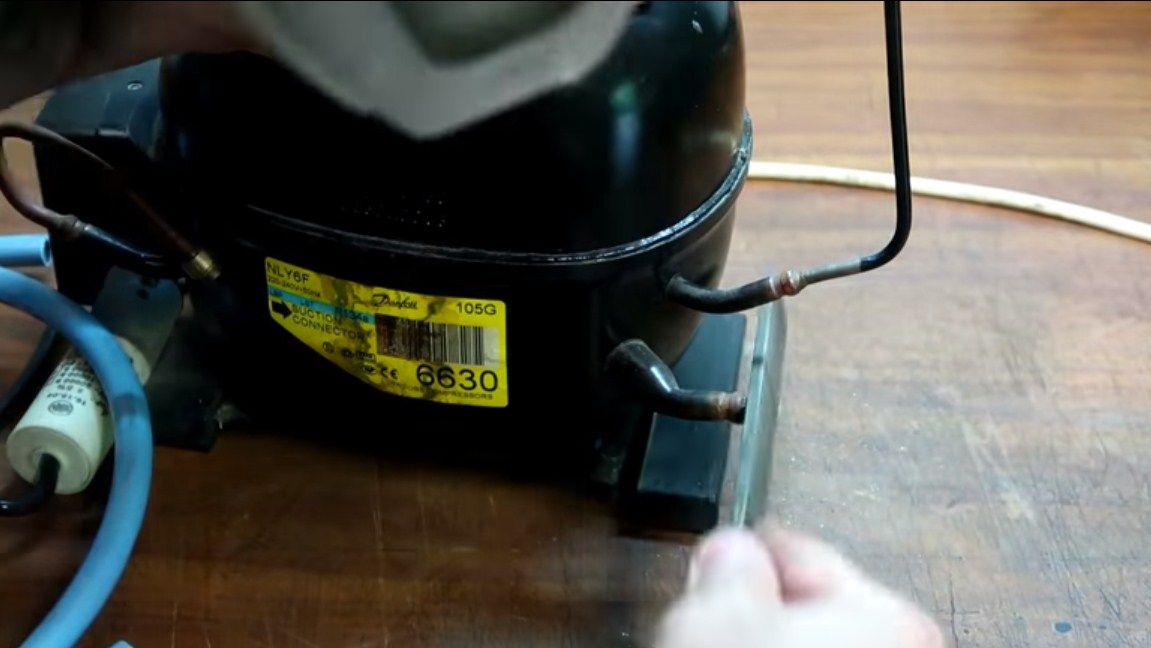
First of all, we’ll deal with the compressor, for this we need to find a tube through which air is sucked in. We take a hacksaw for metal and cut off excess from it. Next, we need to put a piece of hose on this tube. We install a steel clamp so that everything is tight.The hose must be multi-layered, it must not be compressed by the low pressure inside.
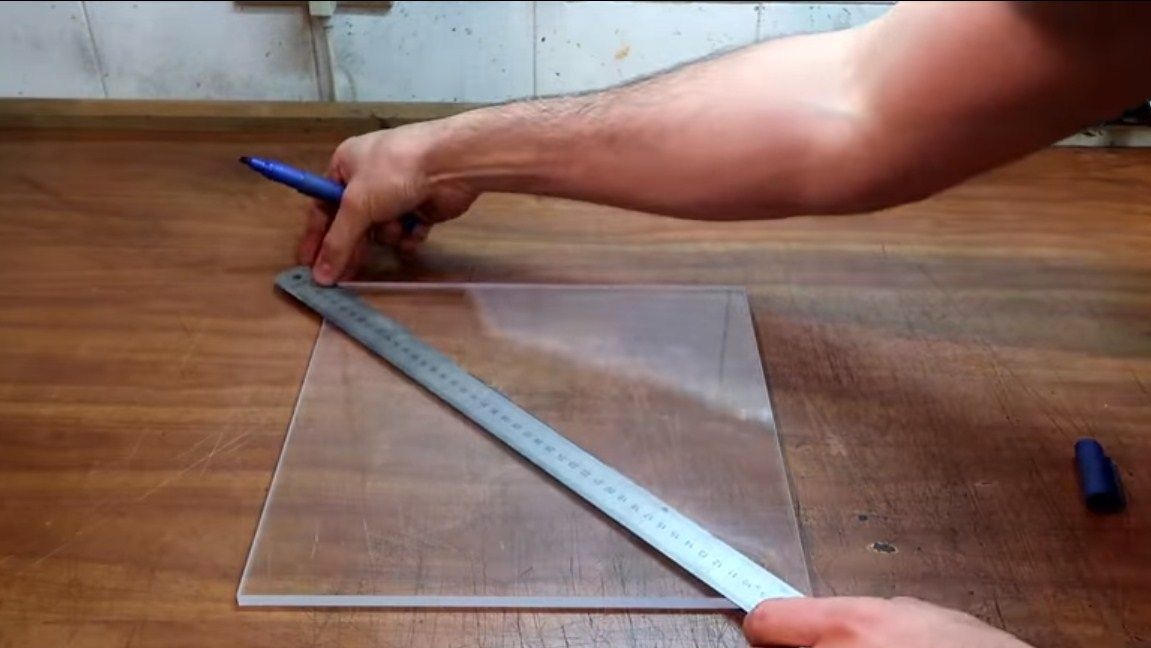
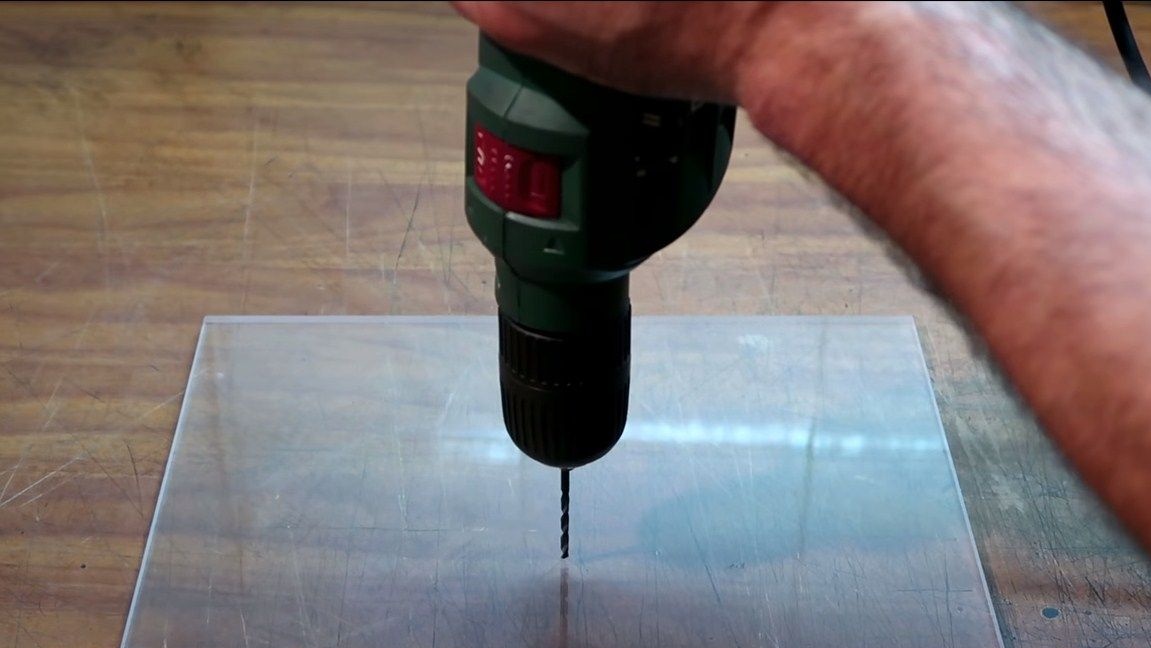
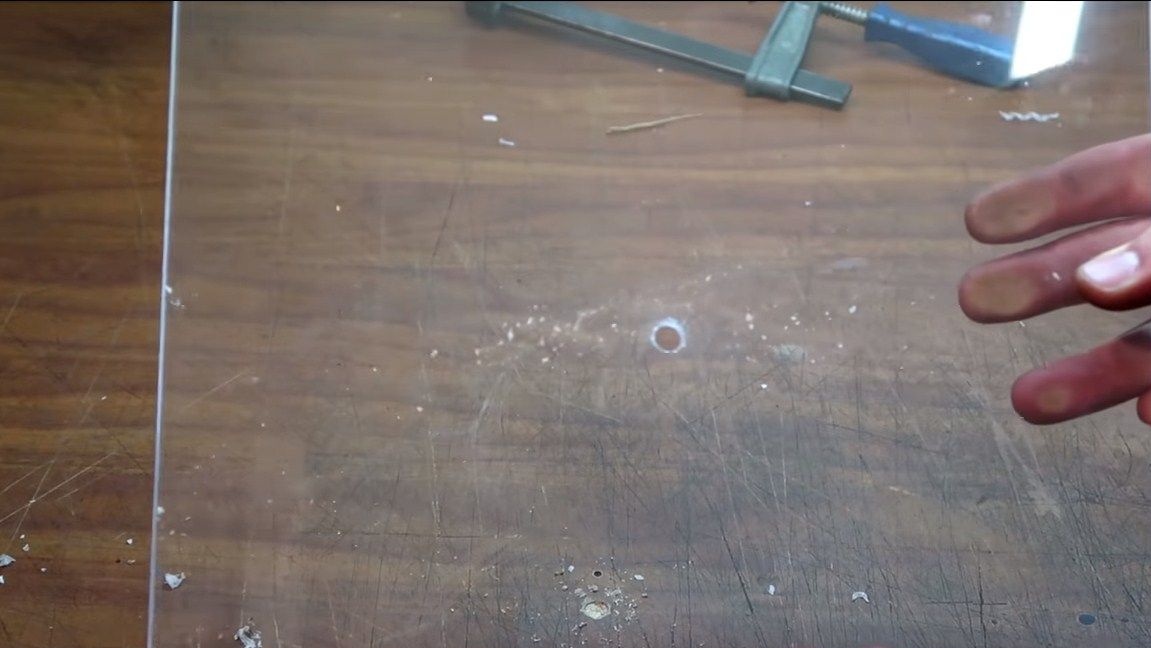
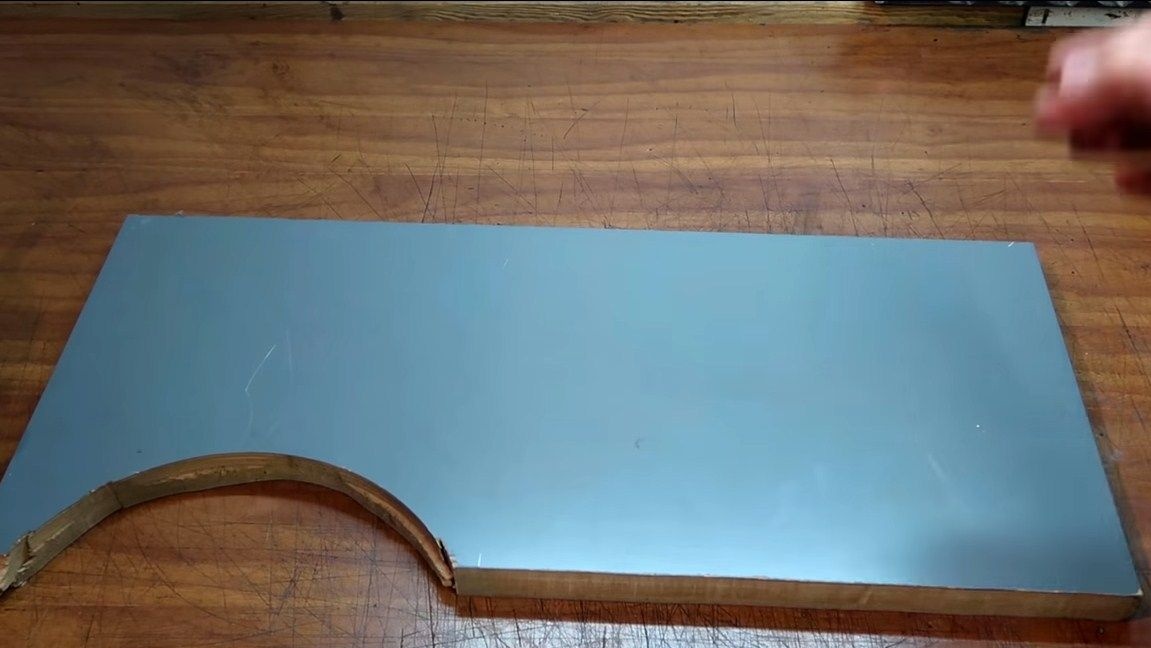
Step Two Acrylic sheet
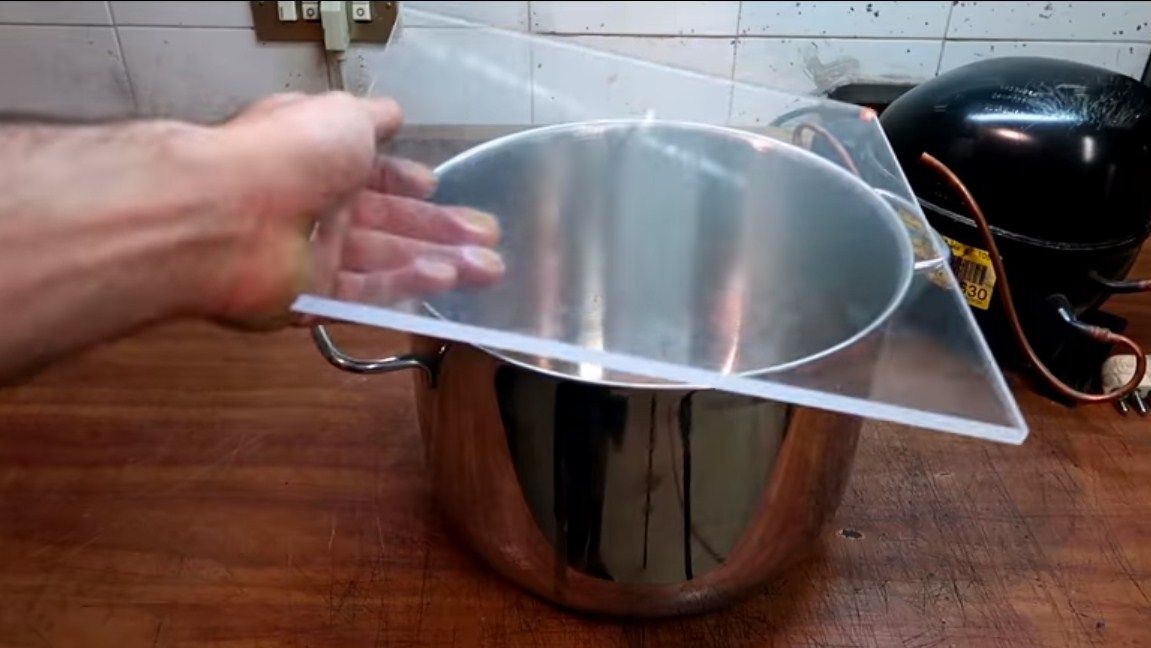
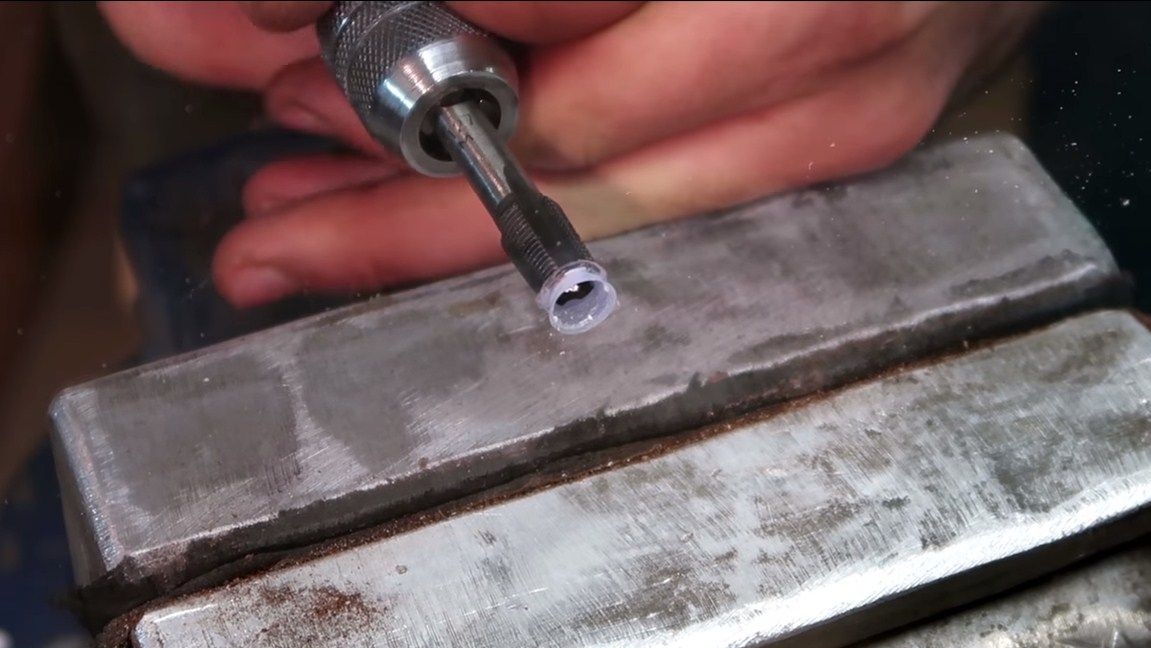
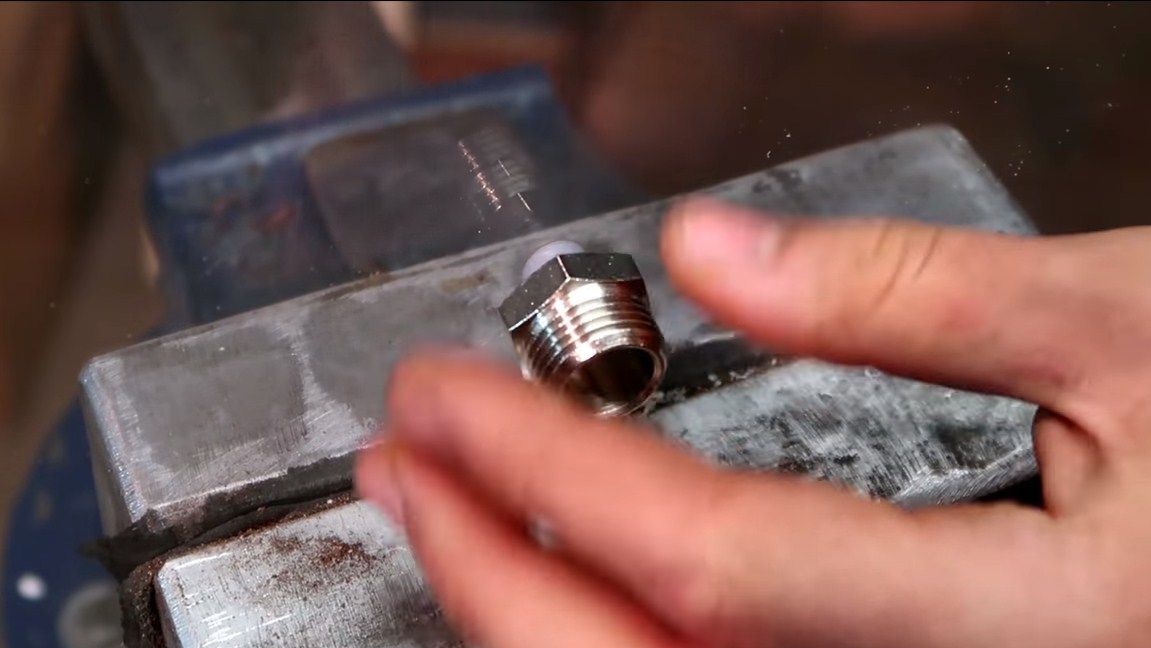
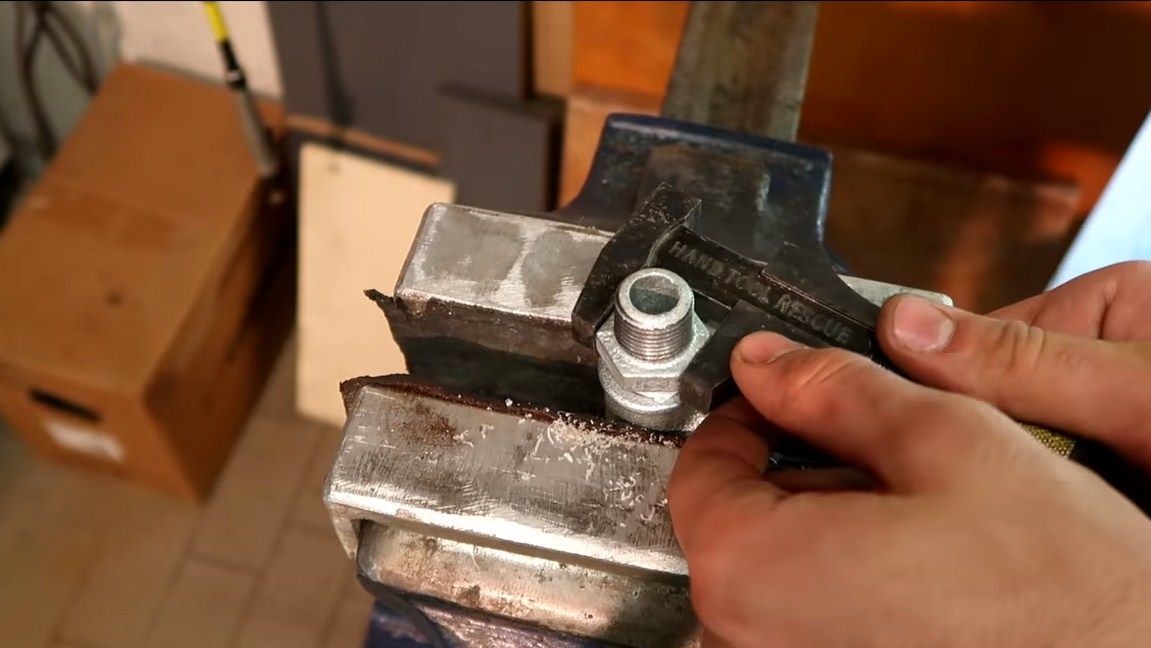
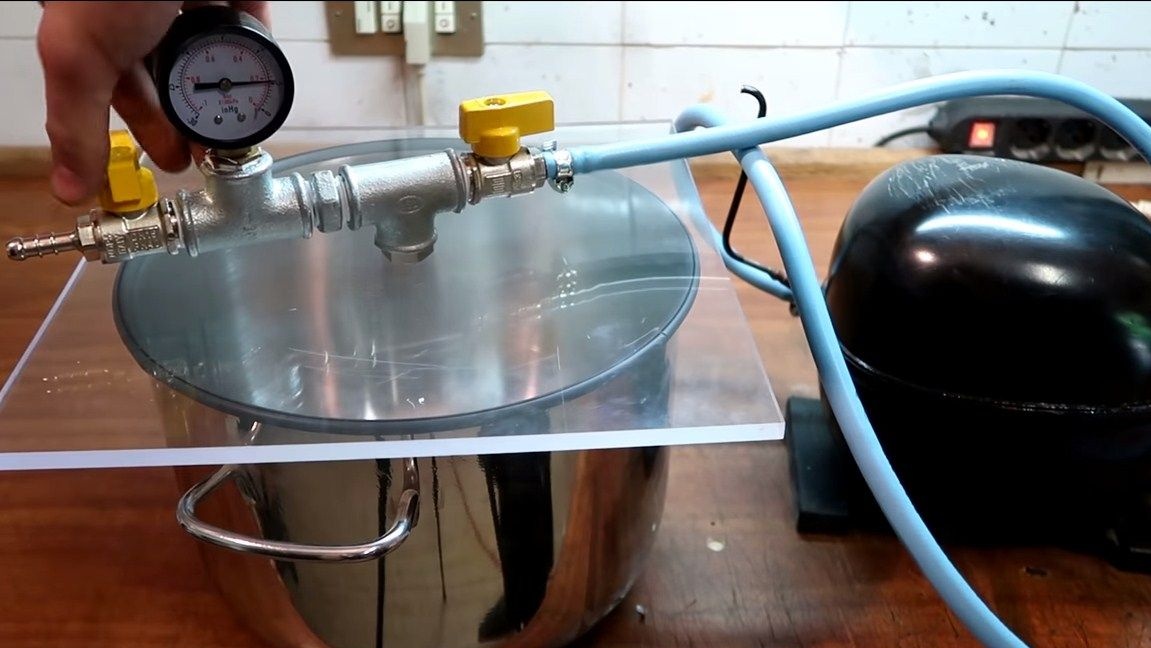
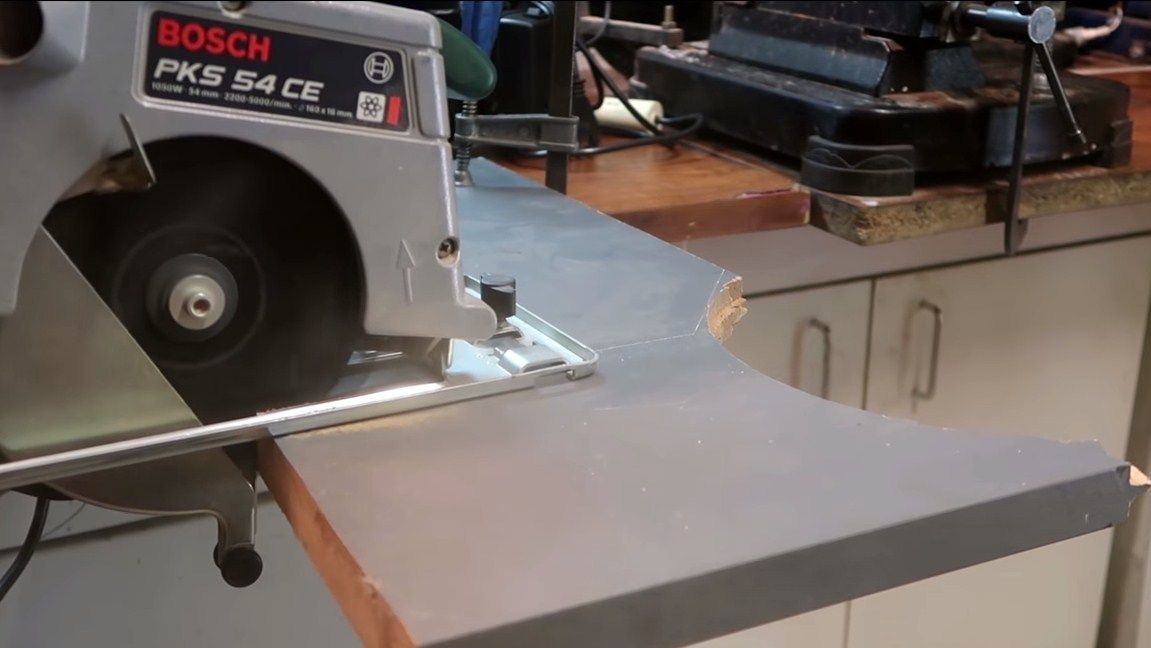
The author used an acrylic sheet as a cover for a vacuum chamber. This material is durable, it will not crack under the influence of high atmospheric pressure, and the acrylic sheet is transparent, which will allow you to observe what is happening. The material should be quite thick, since we have a large area, and loads are generally huge. In the center of the sheet, drill a hole for the fitting and then cut the thread. That's all, now you just have to screw in the fitting, we use fum tape to seal it. The connection is not required to be particularly strong, since the union will be pressed against the acrylic sheet during formation of a low pressure inside the vessel.
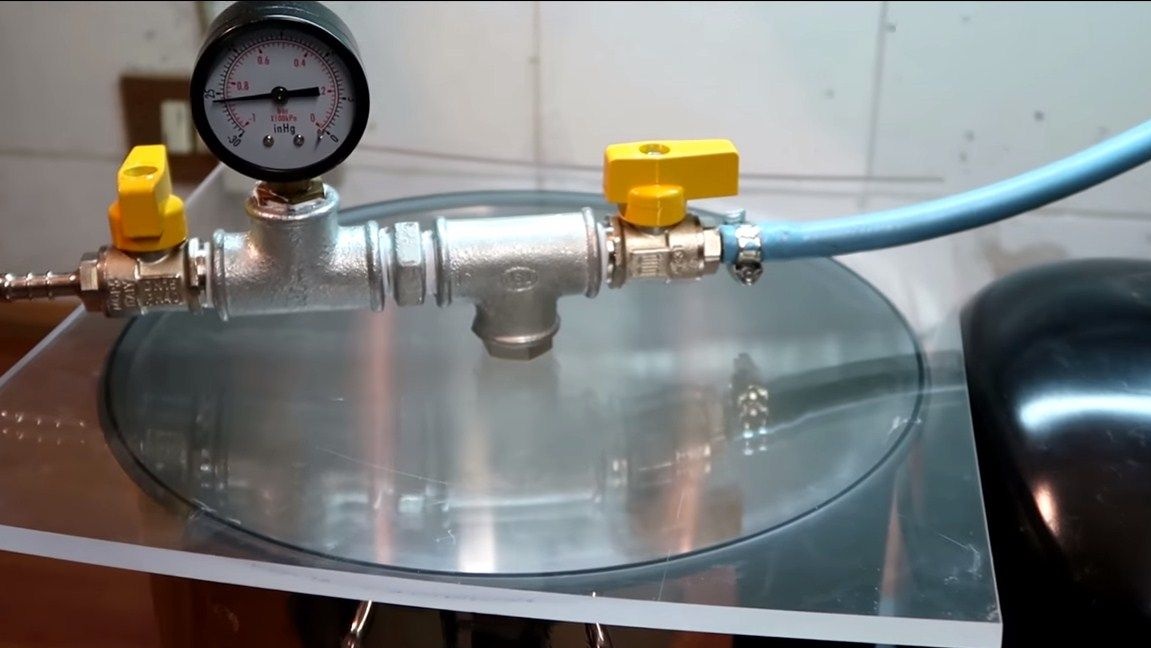
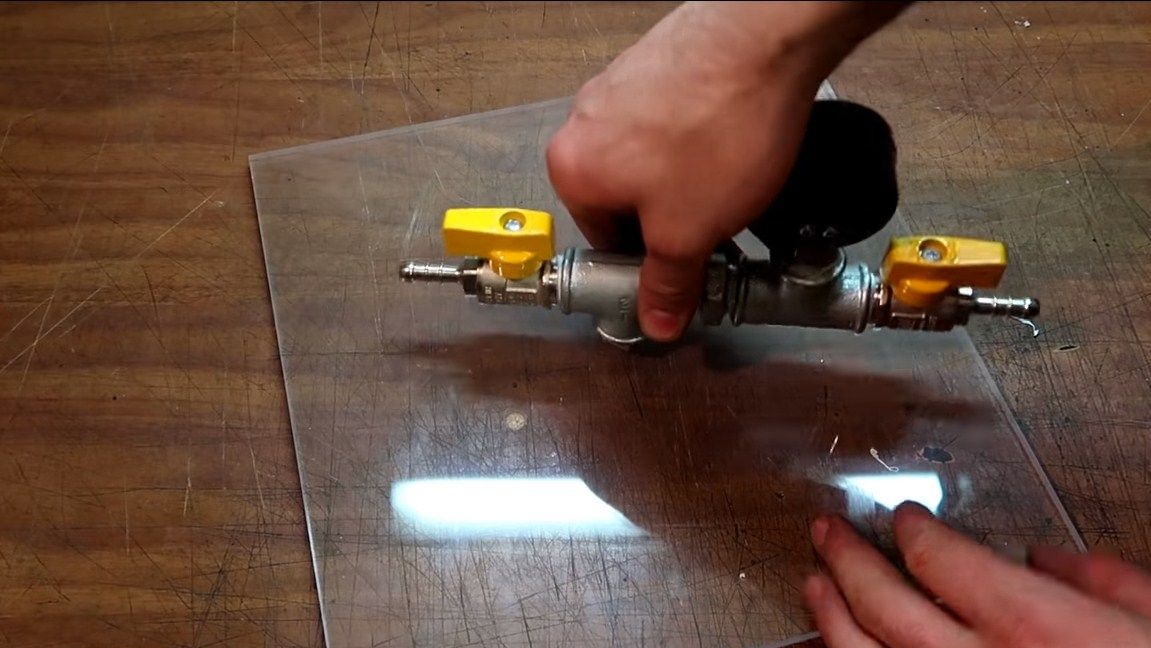
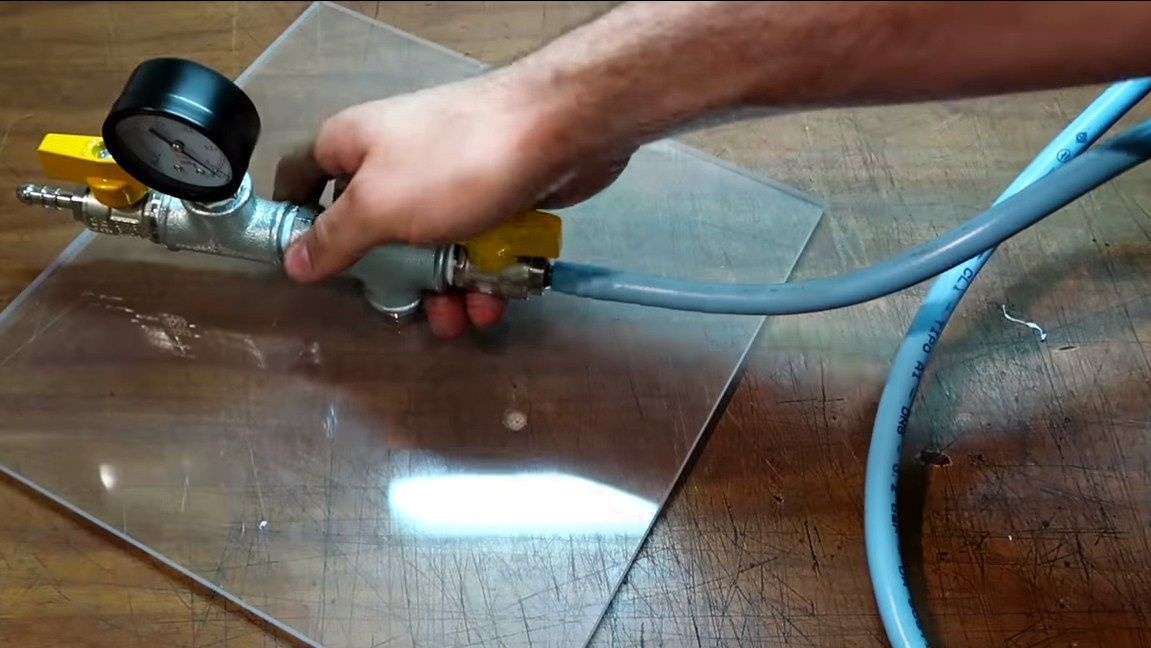
Step Three Assembly work node
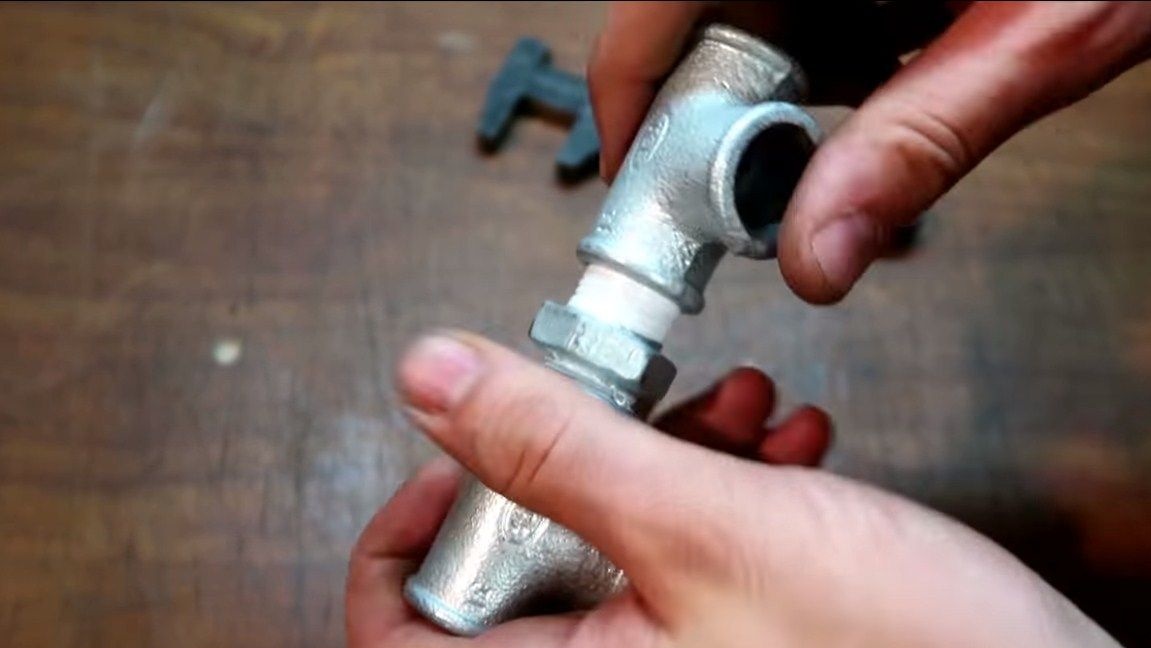
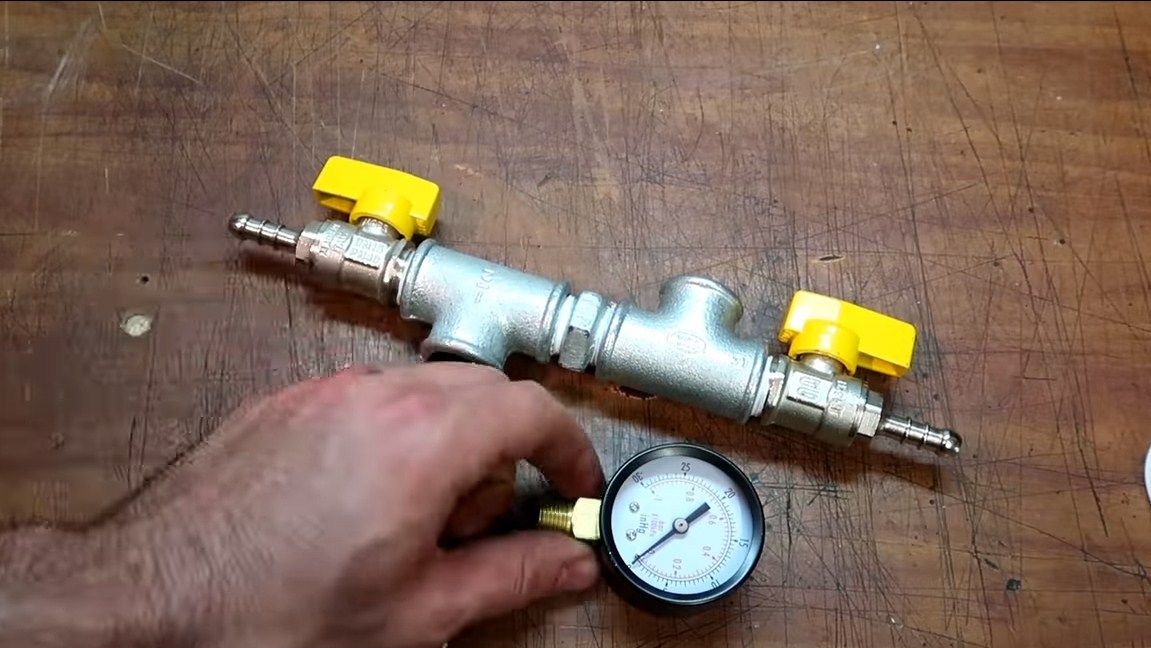
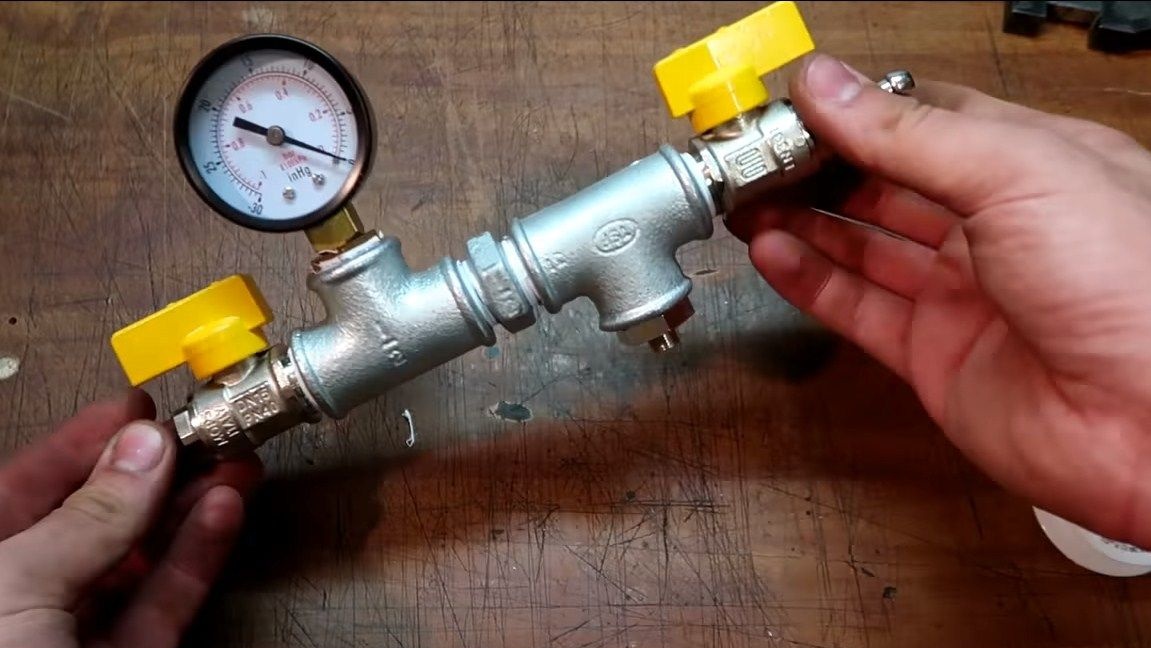
In the upper part of the device on the acrylic sheet is the entire working unit of the device. There are two taps, one if necessary delivers air inside, and with the help of the second faucet it is possible to block or open the air suction. We also have a vacuum gauge here to monitor the degree of rarefaction.
This assembly is assembled from two tees for plumbing and some fittings. All threaded connections are carefully insulated with fum tape. At the end, we connect the hose from the compressor, fix it with a metal clamp.

Step Four We collect the vacuum chamber
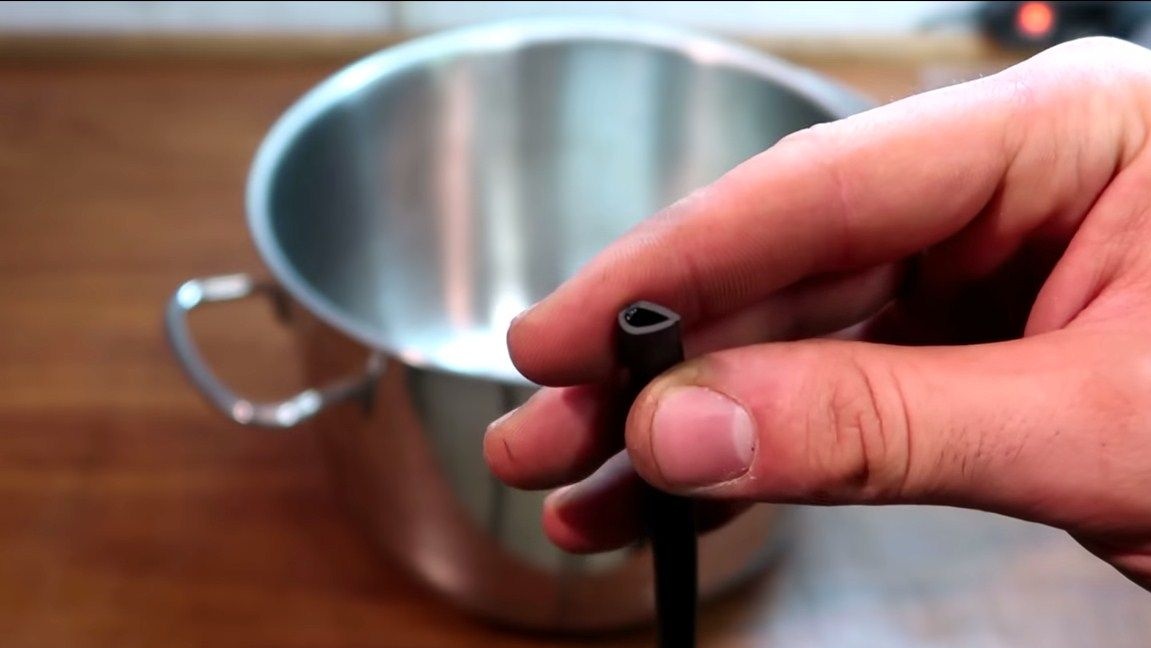
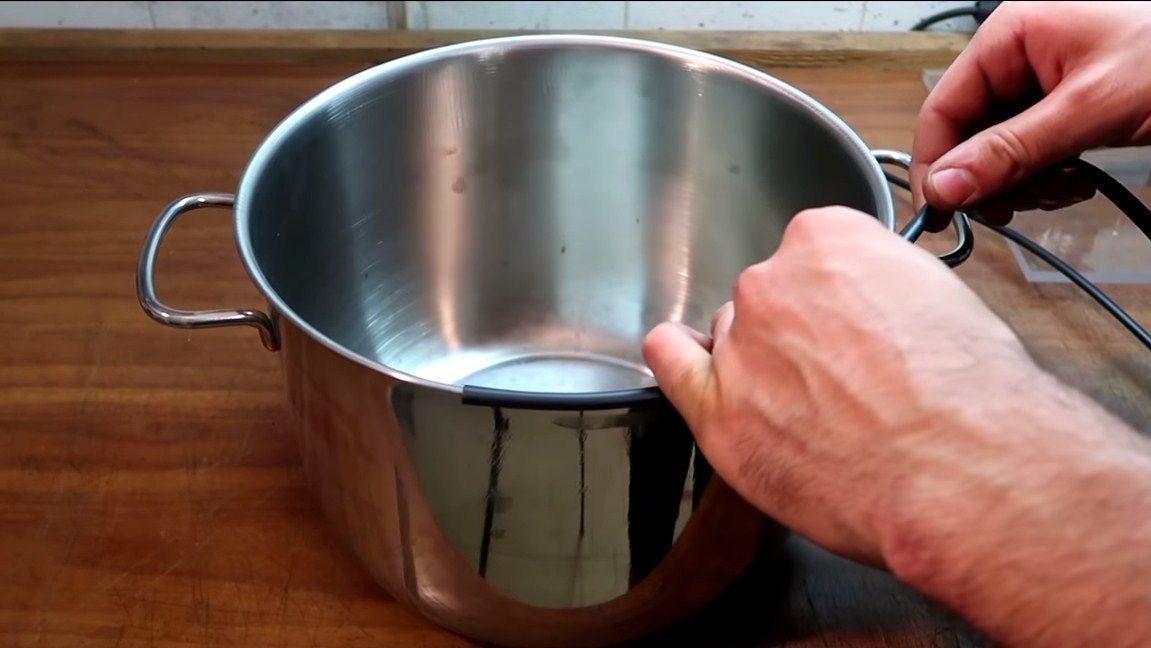
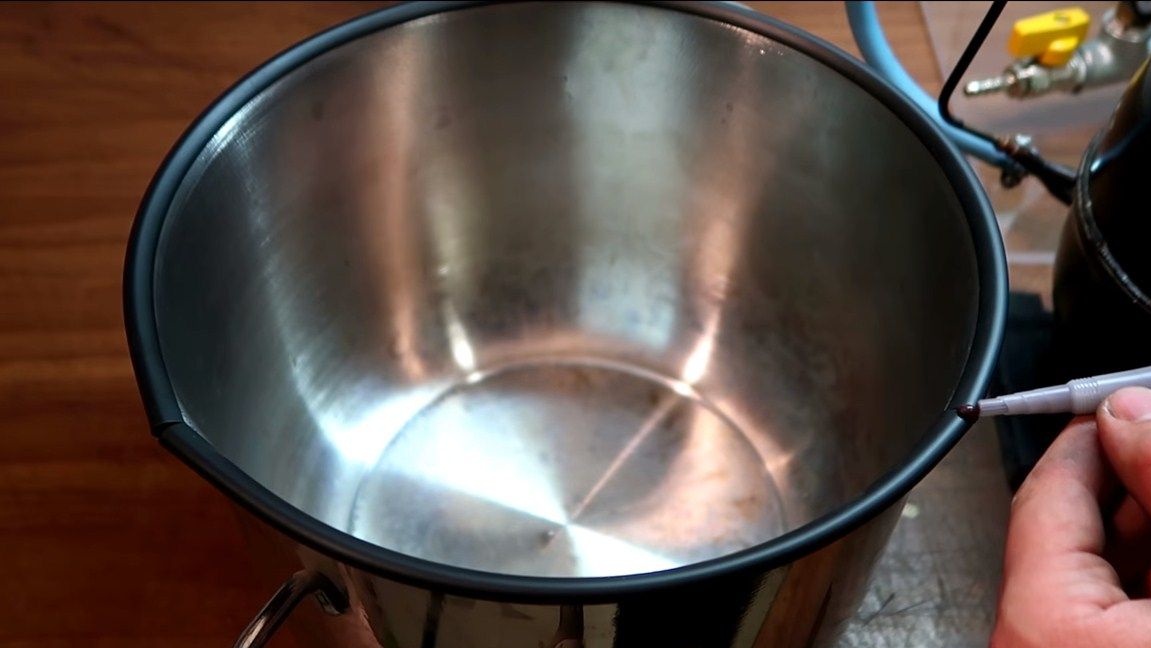
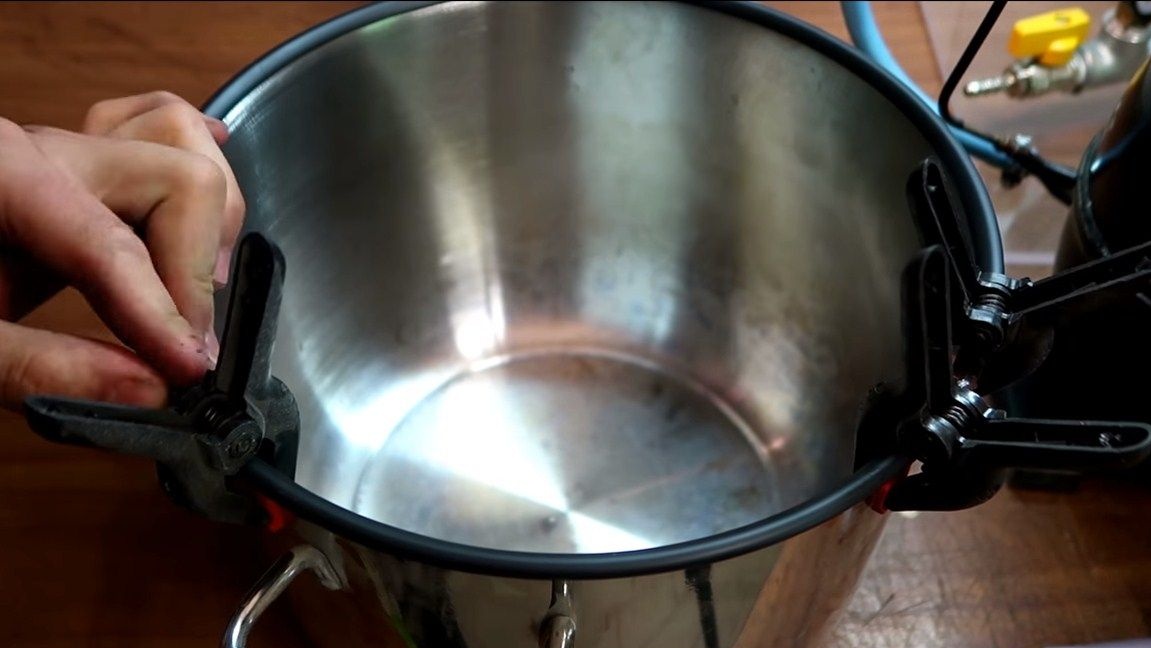
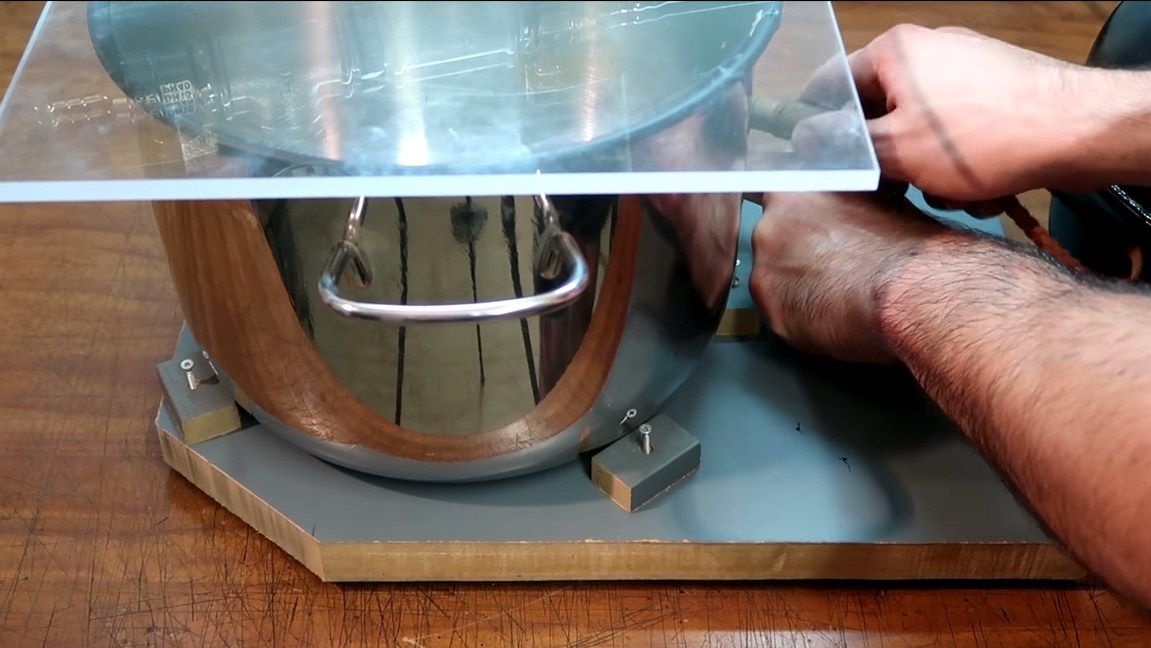
For the vacuum chamber, the author used a stainless steel pan, we need to install a seal on it, which will prevent air from passing between the acrylic sheet. For these purposes, a piece of rubber hose of small diameter, which can be cut lengthwise, may be suitable. We put on a sealant, as a result, we get one or even several joints. It is important to seal these parts. For this, we use glue or even silicone sealant.
That's all, you can turn on the compressor and see if a “vacuum” will form inside. In this case, the acrylic sheet will bend inward.

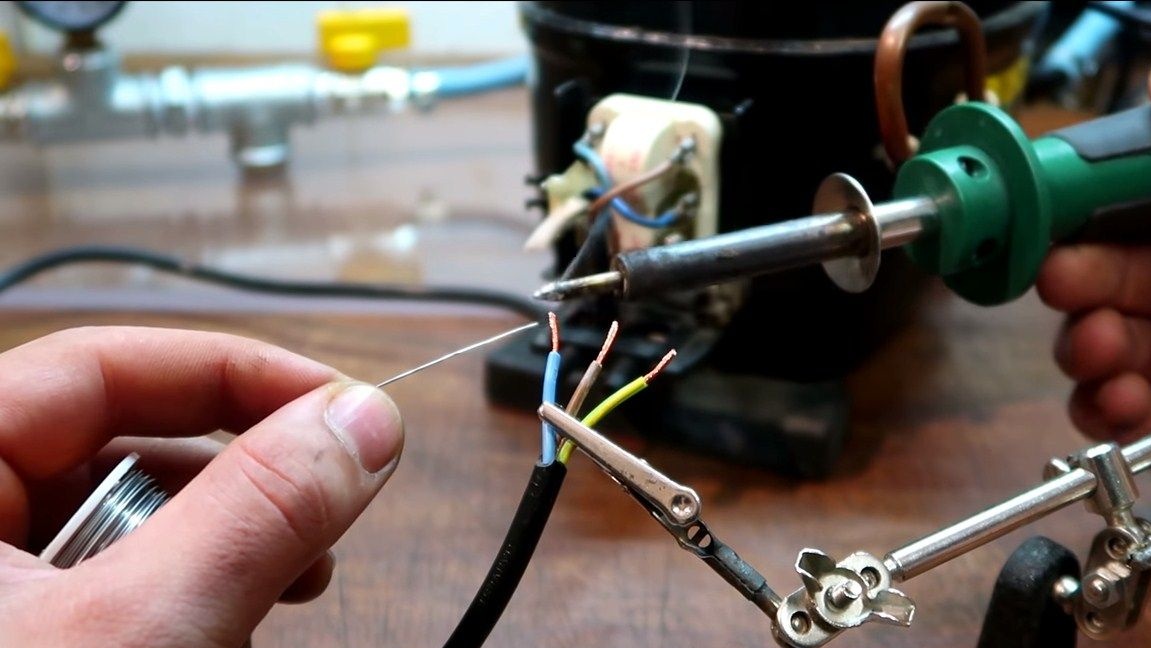
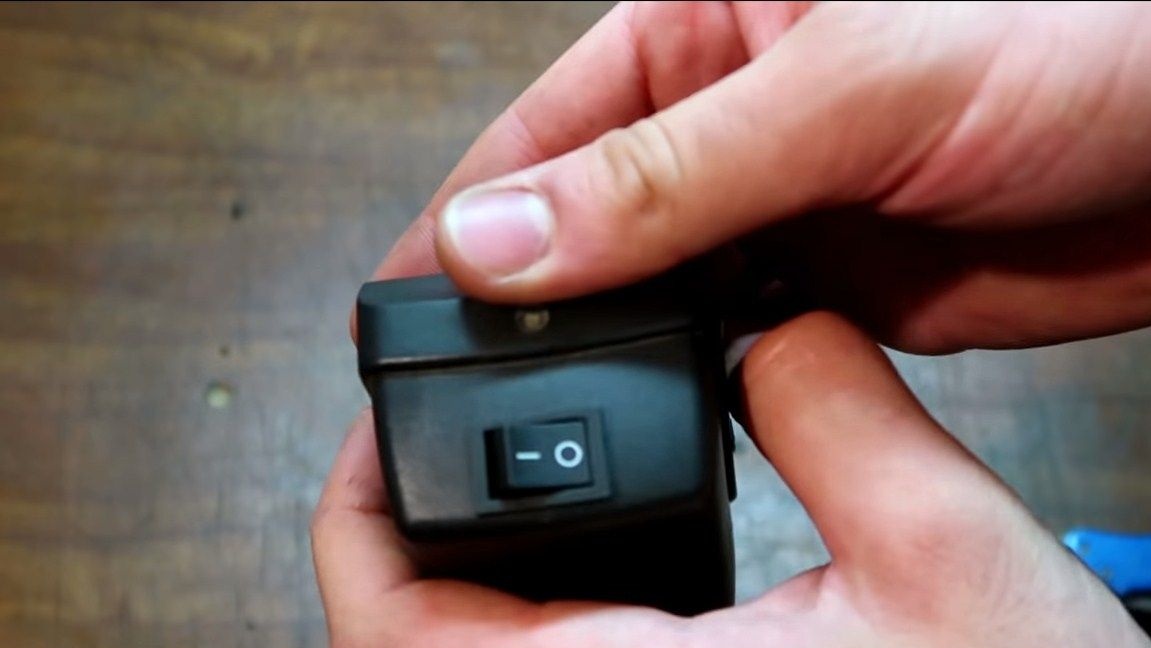
Step Five Governing bodies
To make it convenient to manage our home-made, we remove all unnecessary. We need a piece of cable with a plug and a switch. We install a switch in a suitable place and connect the cable. Now it’s very convenient to operate the compressor.

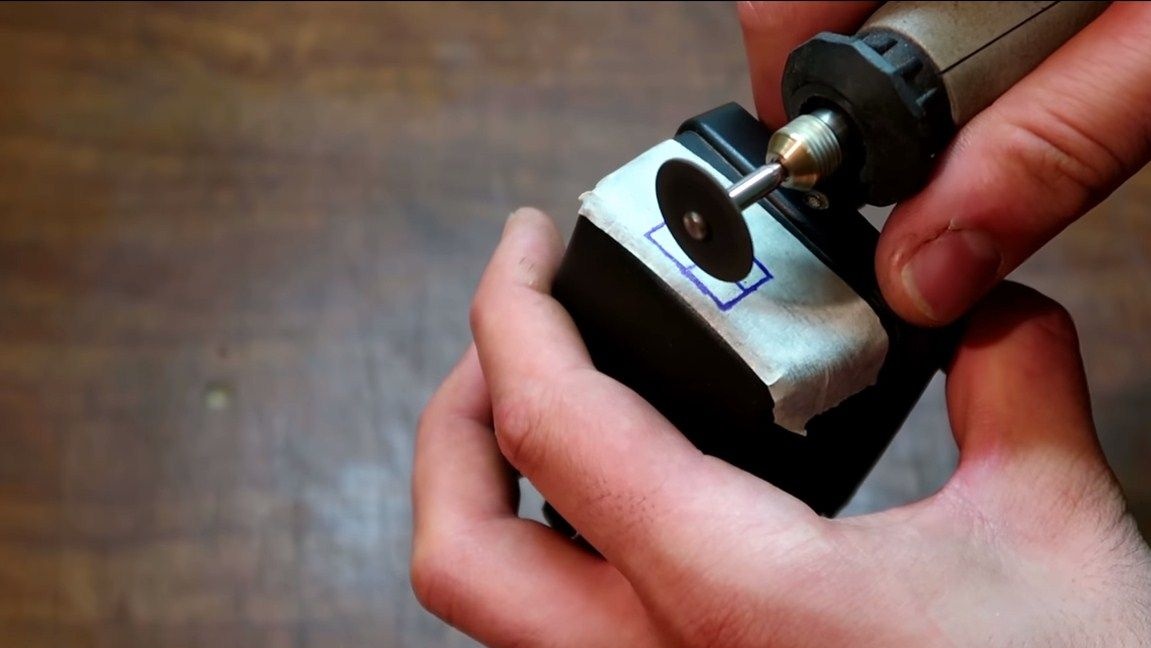
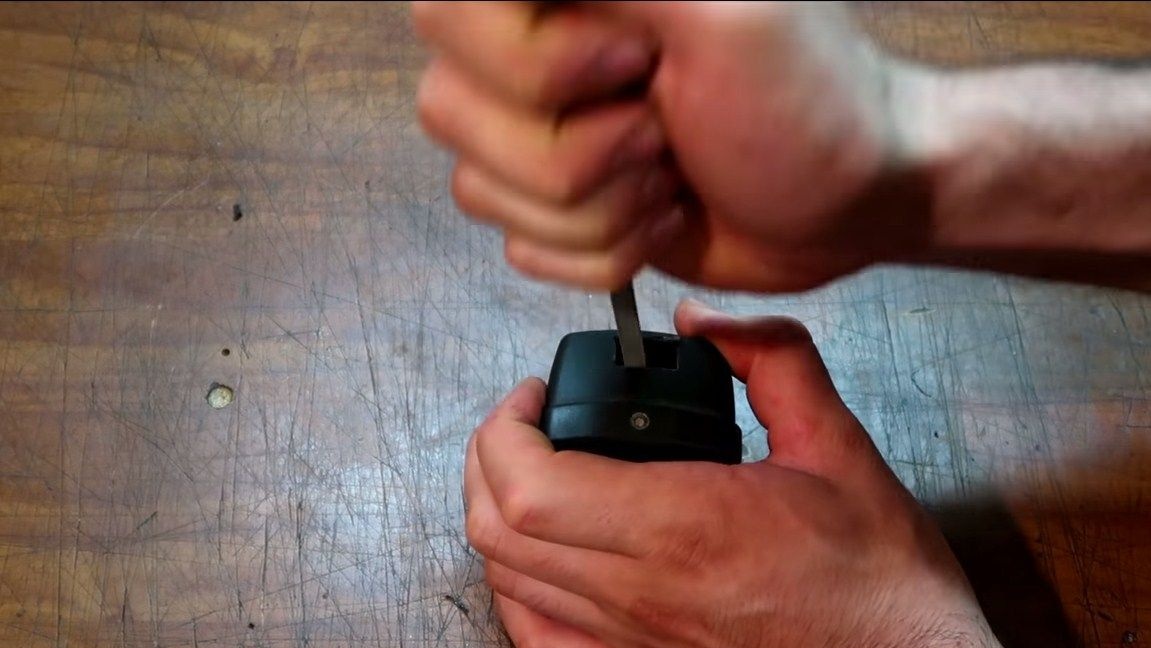
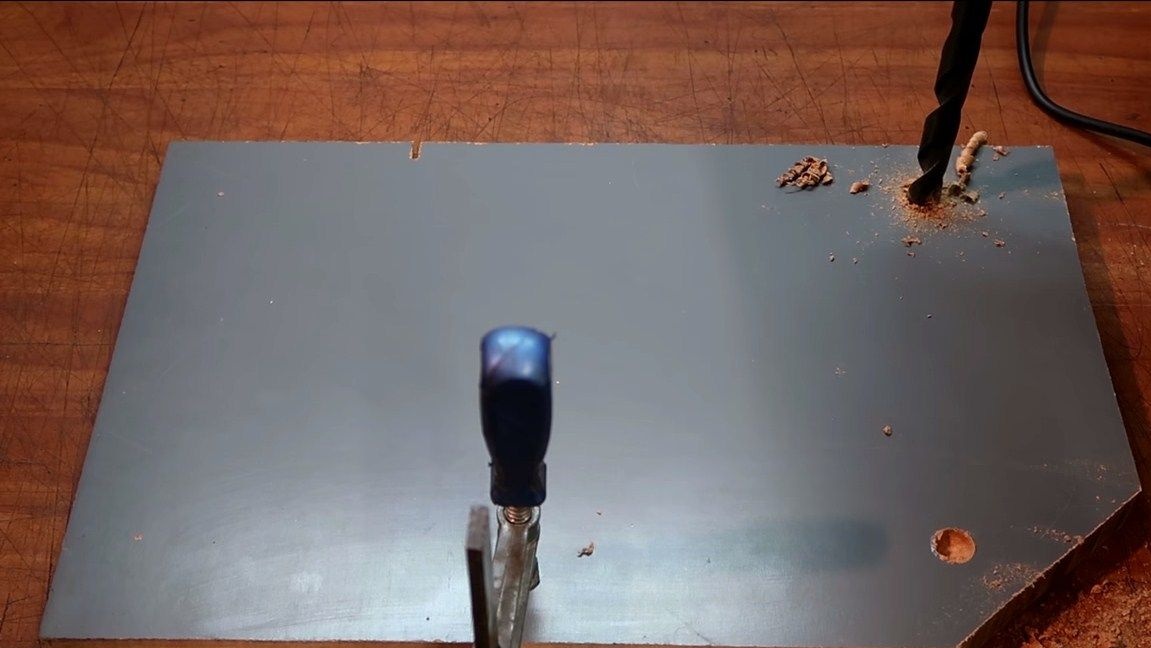
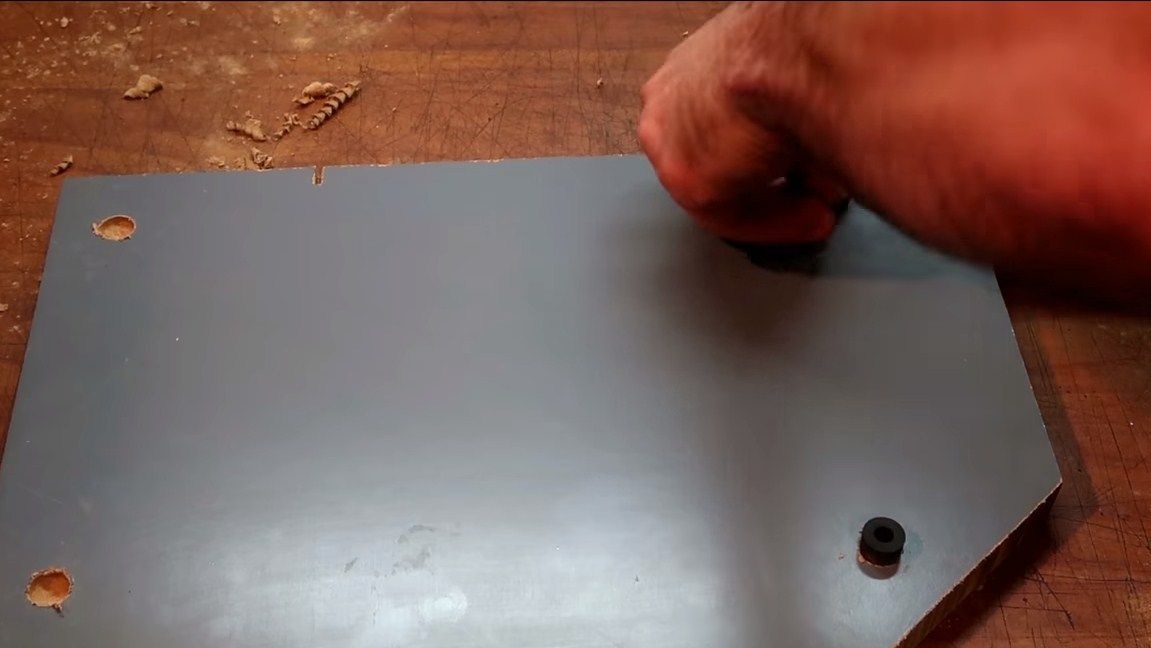
Step Six The basis for the device
The homemade product is almost ready, we just have to make a solid foundation for it. Here you will need either plywood, or a board, or something like that. Make rubber feet first to reduce vibrations from the compressor.
Well, then we fix the compressor itself, using screws or other fasteners at your discretion. And also make stops for the pan so that it does not go on the base when using the machine.
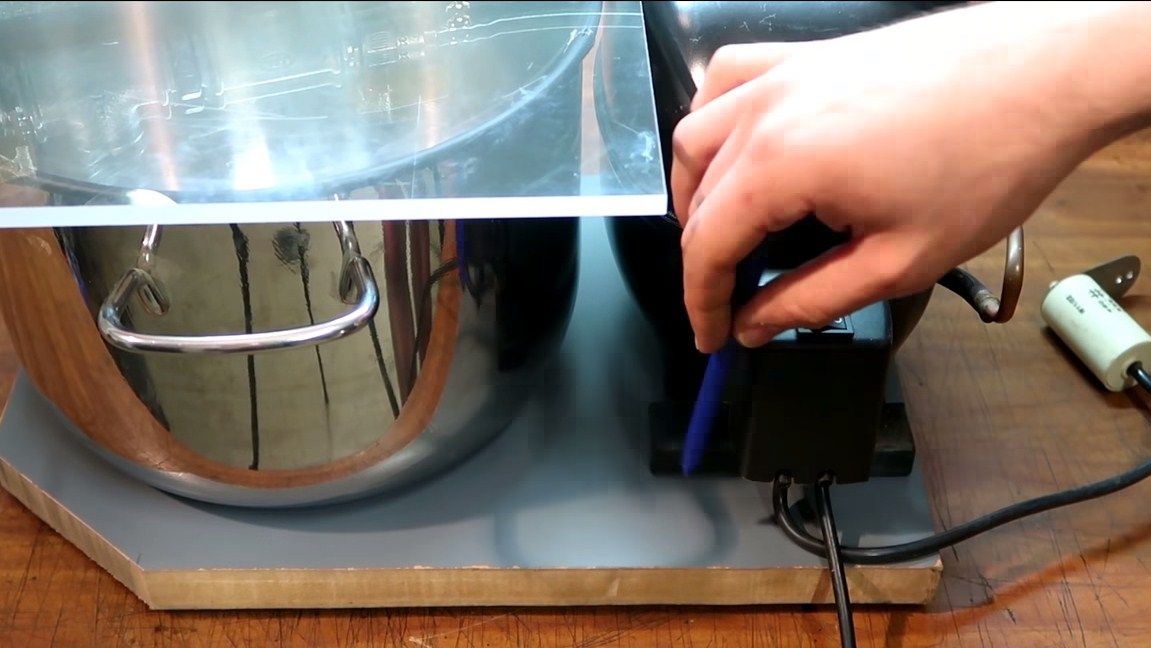
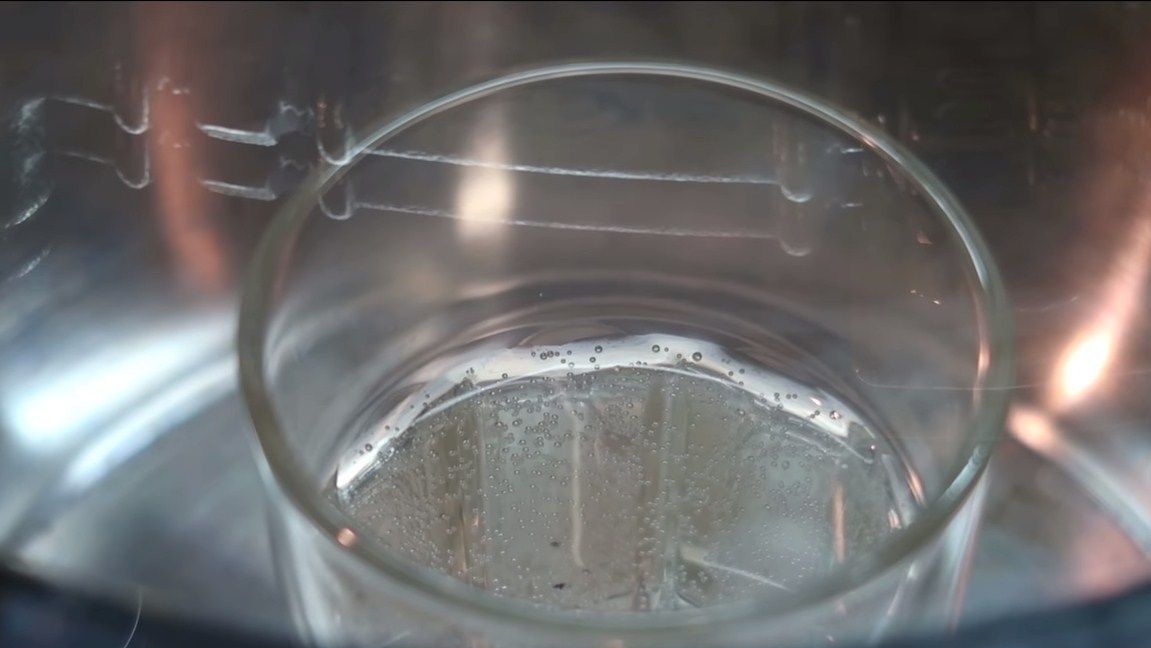
That's all. You can experience it. As a test, the author installed a glass of water inside the machine. Under the influence of low pressure, all air immediately came out of the water, this is a great example of degassing liquids. And if you make the vacuum even lower, the water can boil even from room temperature or so. This is a great way to dry fruits, vegetables, and so on. However, in this mode, the compressor piston system will not last long. But in general, show your imagination how to use such a device.
The project is completed successfully, good luck and creative inspiration, if you decide to repeat it. Do not forget to share your homemade products with us!