Greetings to fans of working with metal. In this instruction, we will discuss how to make a high-quality Japanese-style kitchen knife. This knife was made professionally, the correct hardening was carried out and a good grade of steel was selected, as a result of which the knife is sharpened to the state of the blade and holds the hardening for a long time.
The author used stainless steel of the brand X50CrMoV15 as steel. This is a quality German stainless steel that is used to make good knives. Steel is molybdenum-vanadium, not only knives are made from it, but even tools. So. Let's consider in more detail how to make such a knife!
Materials and tools used by the author:
Material List:
- stainless steel brand X50CrMoV15;
- wood, plastic and other (for overlays);
- brass rods or tubes (for pins);
- epoxy adhesive;
- oil for wood impregnation.
Tool List:
- belt sander;
- drilling machine;
- tape cutting machine;
- clamps;
- blacksmith oven and oven;
- polishing machine;
- files;
- sandpaper.
The process of making a knife:
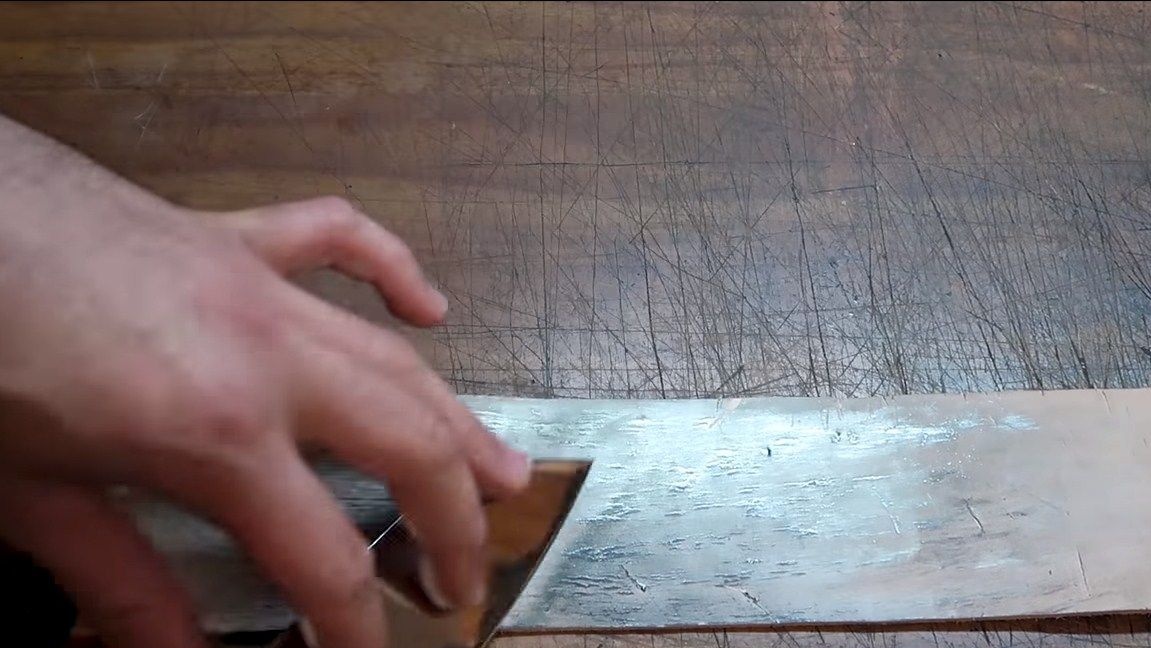
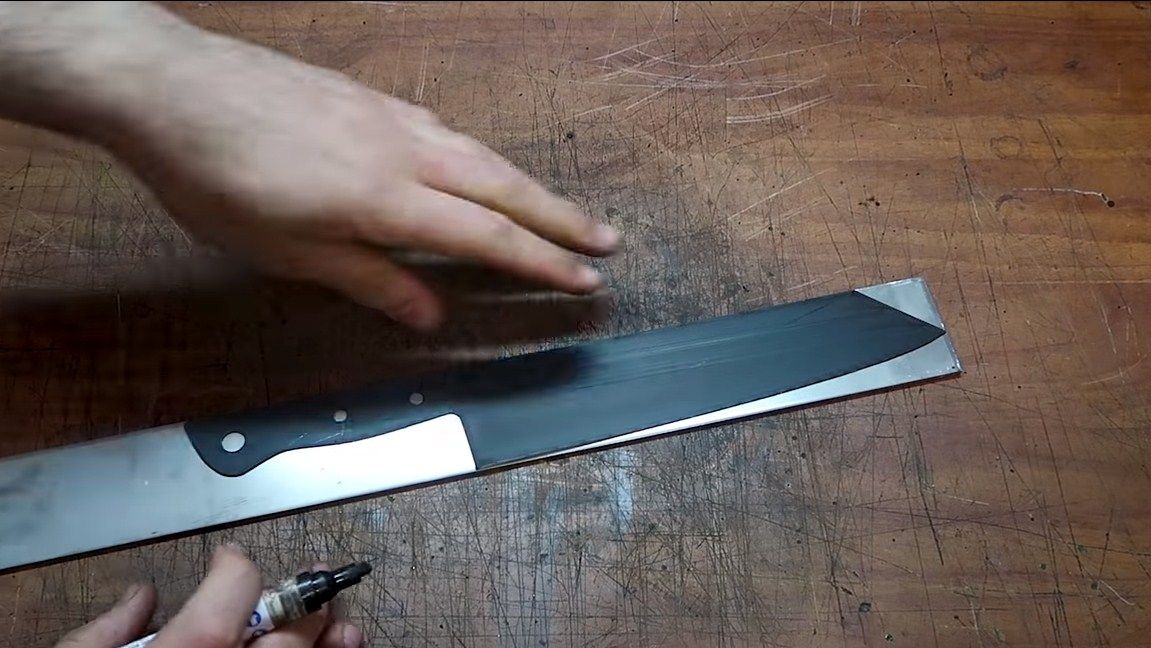
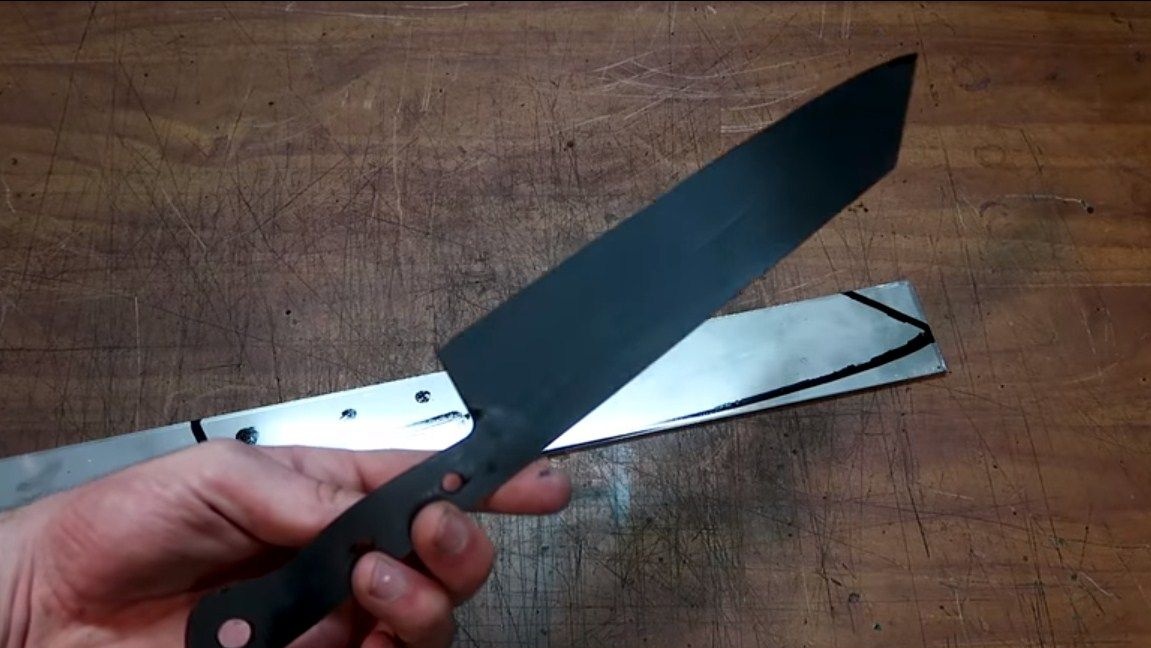
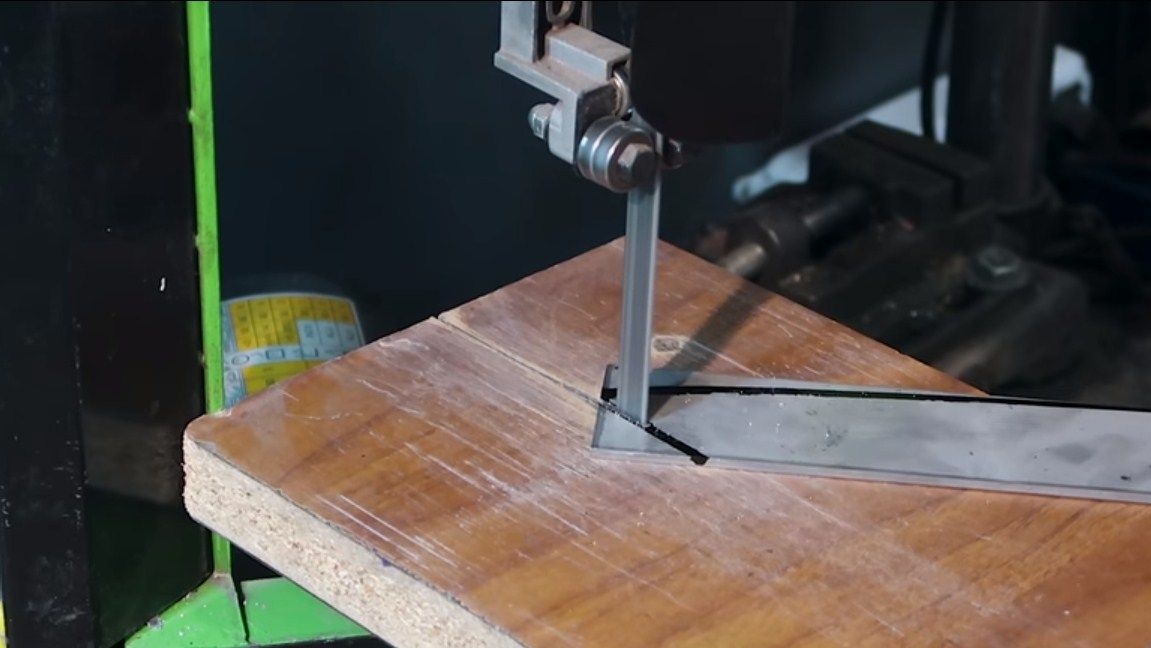
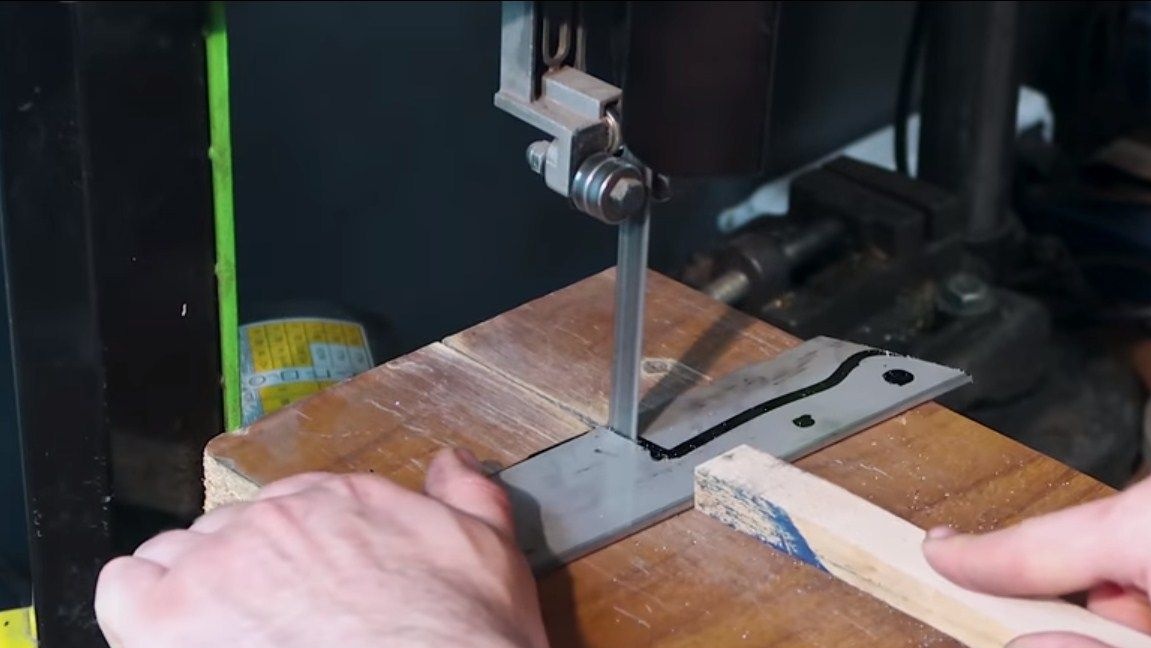
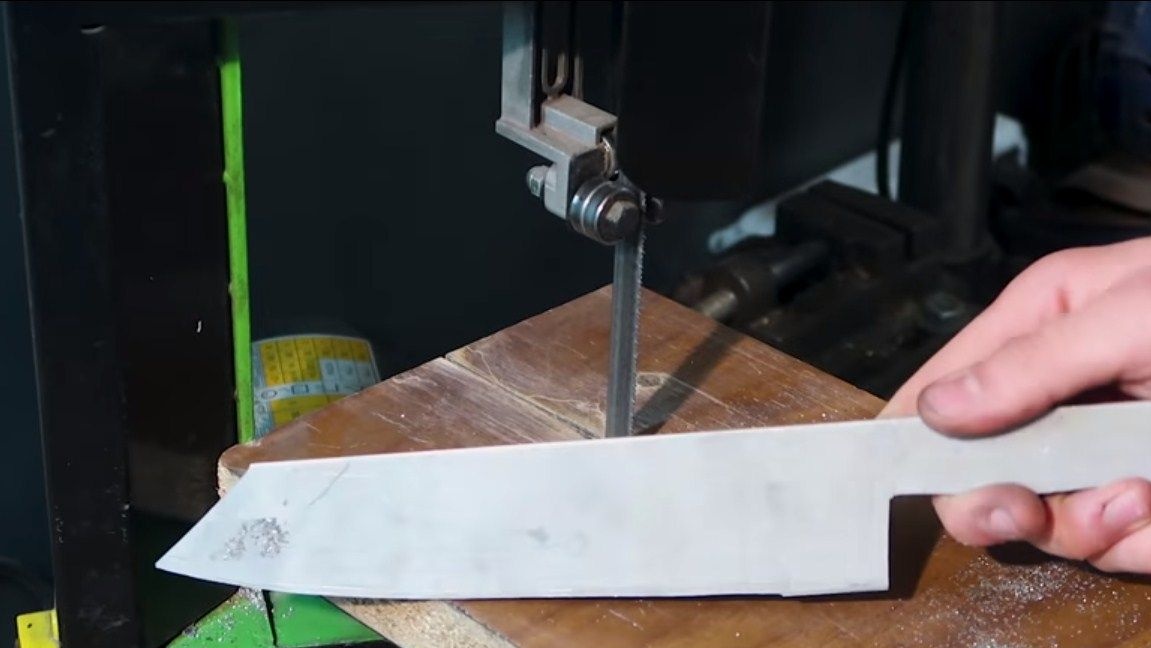
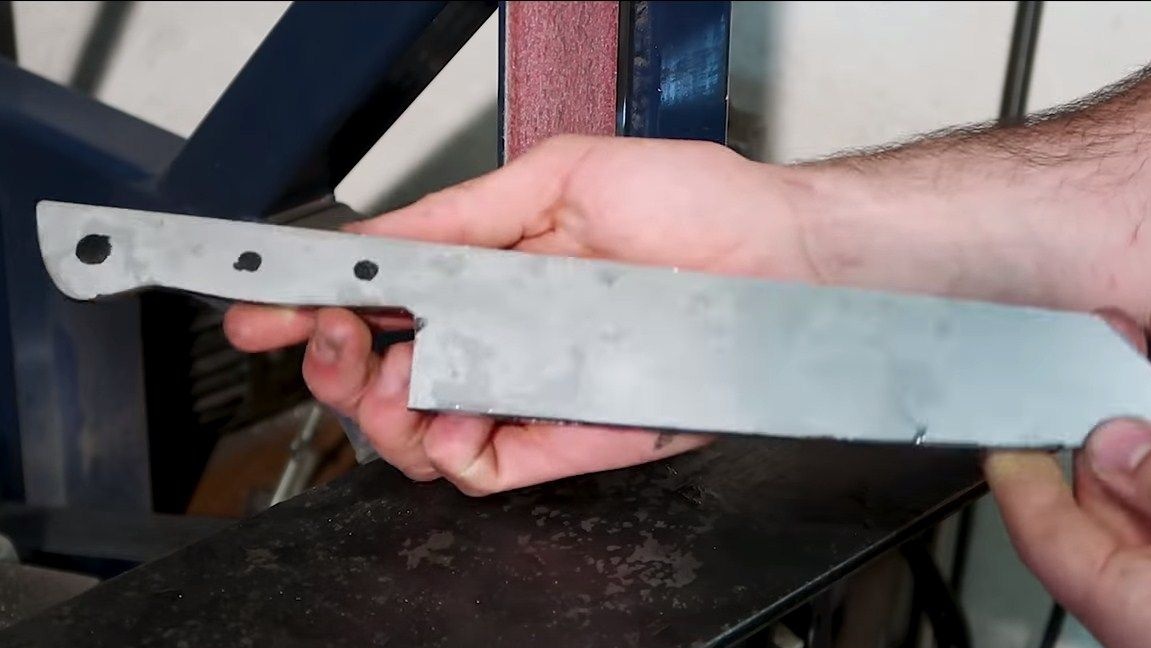
Step one. Cut the knife profile
The first step is to make a knife template, and if you are thinking of making several such knives, it is best to make a template from cardboard or thin plastic, so it will last a long time. We take the template and apply it to the workpiece, then circle the marker. That's all, now you can start cutting. For these purposes, the author used a tape cutting machine. It is most convenient to work on it, but if there is no such machine, then you can completely cope with the help of a grinder.
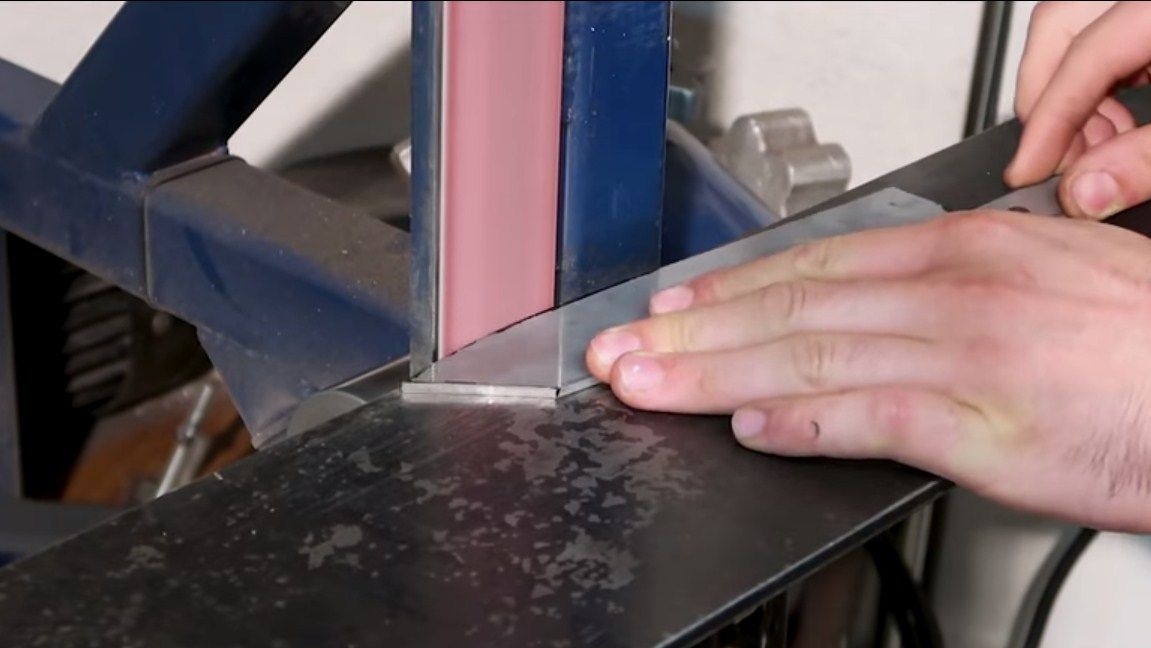
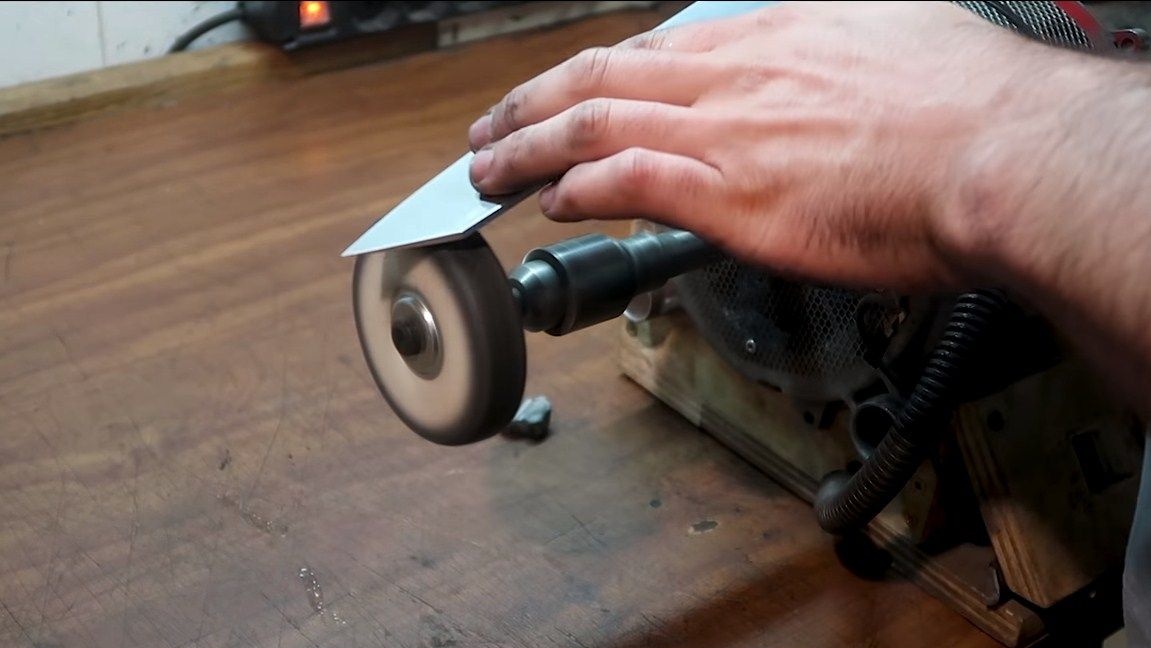
As soon as we cut out the main profile, we proceed to grinding it. For these purposes, the author used a belt sander. We carefully process the knife along the contour so that it takes on a finished look.
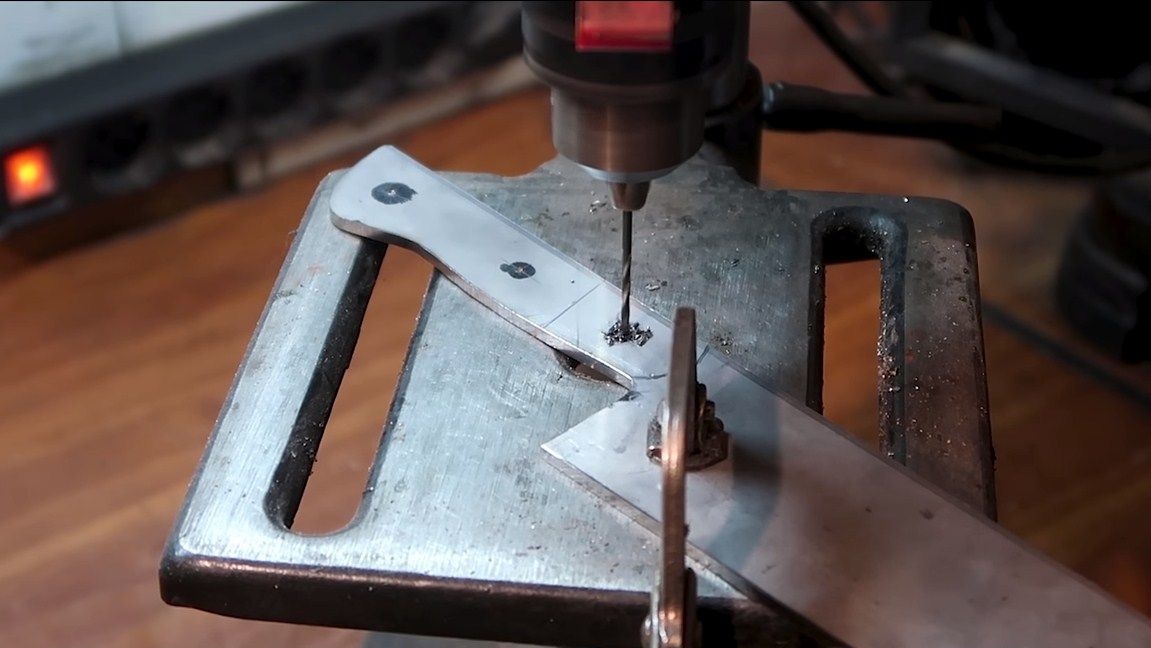
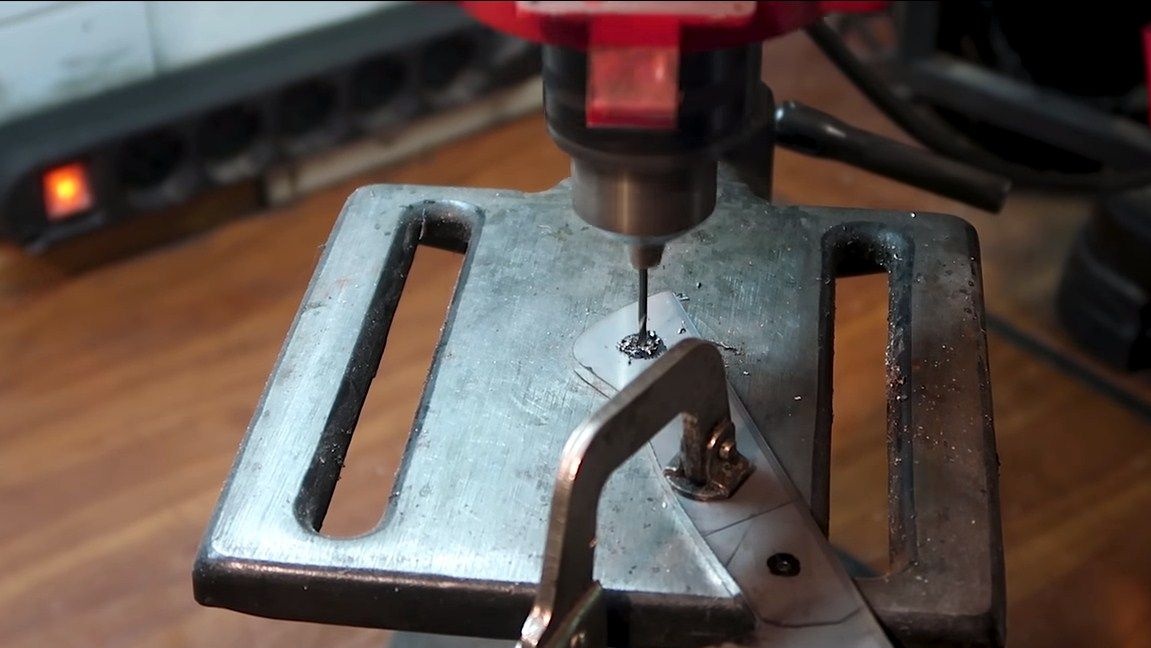
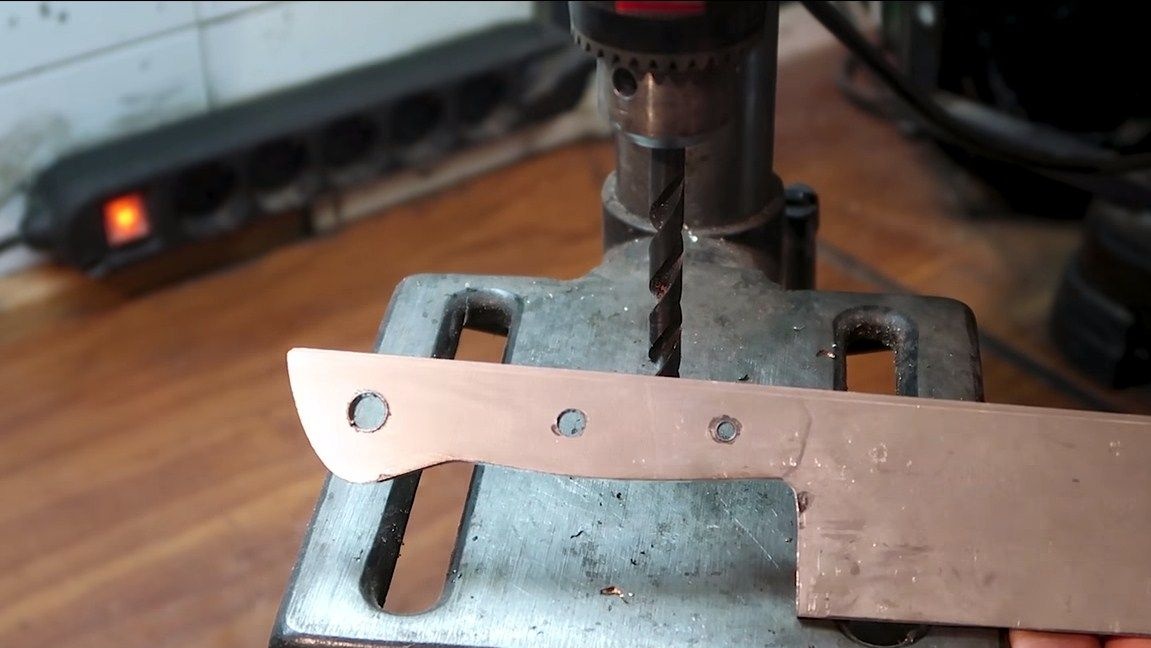
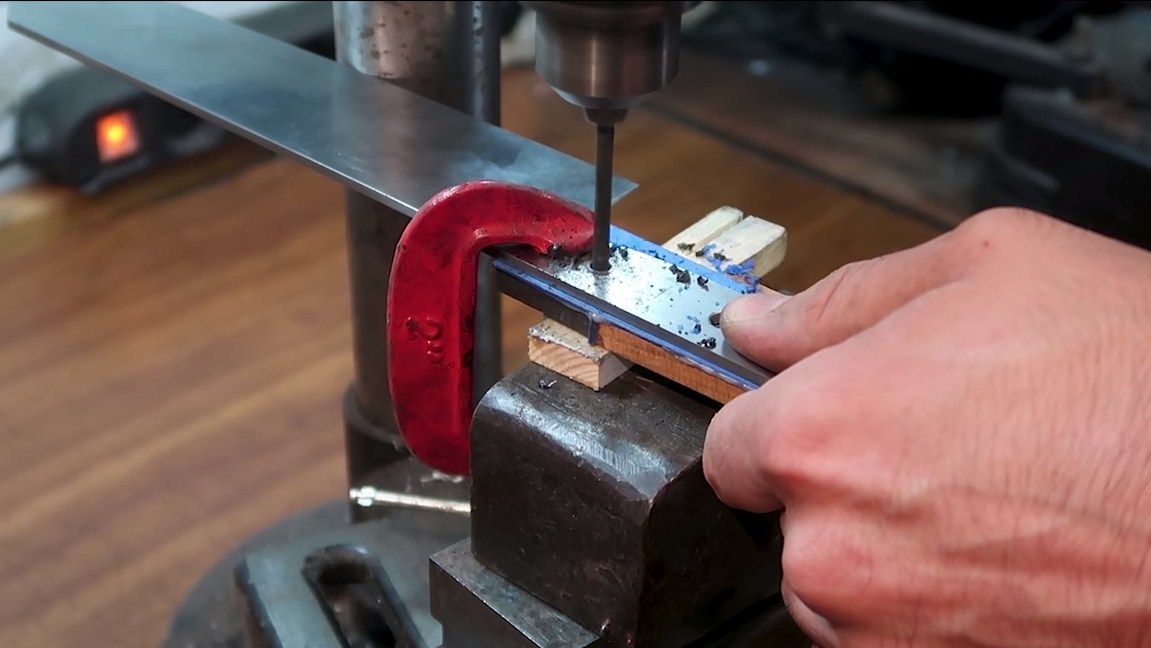
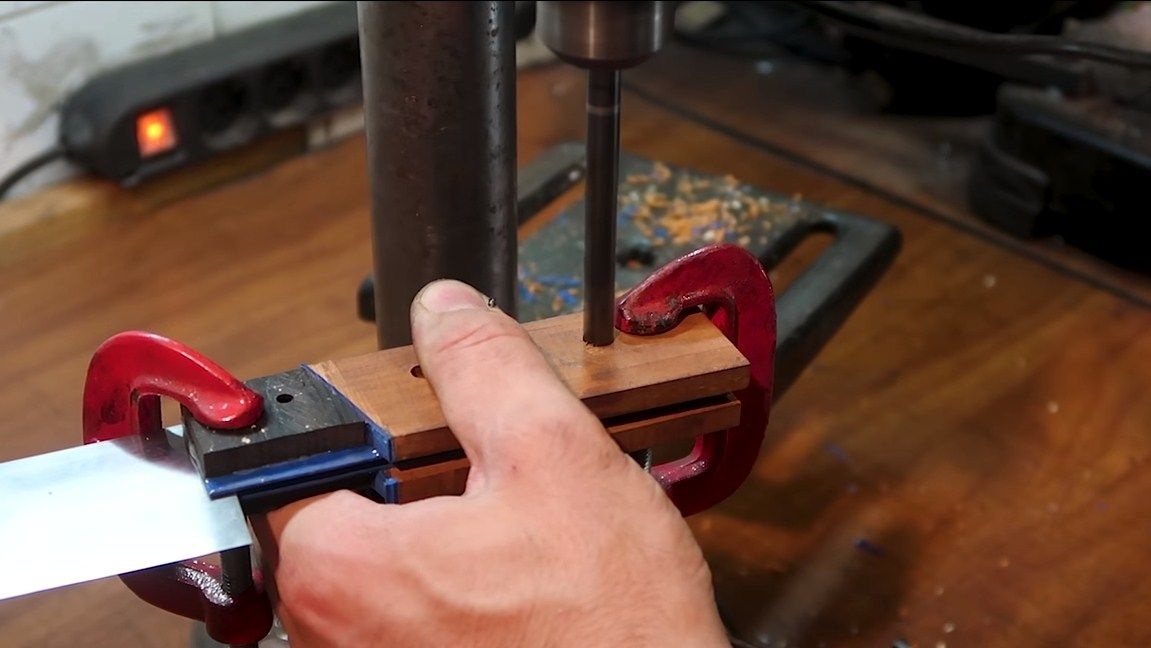
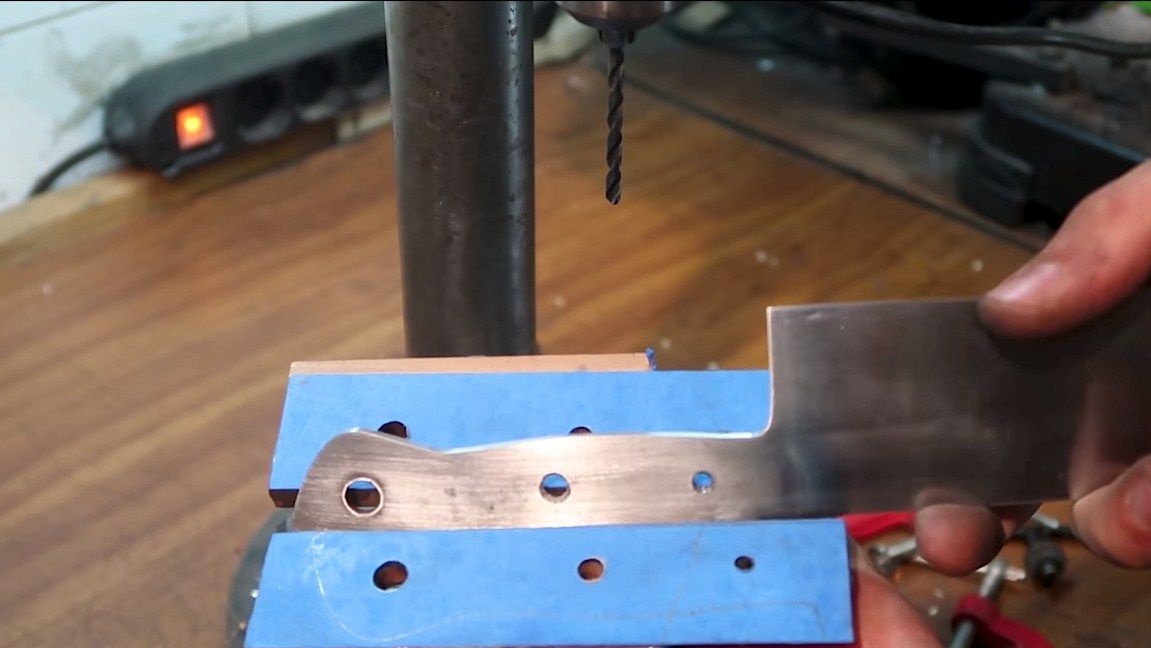
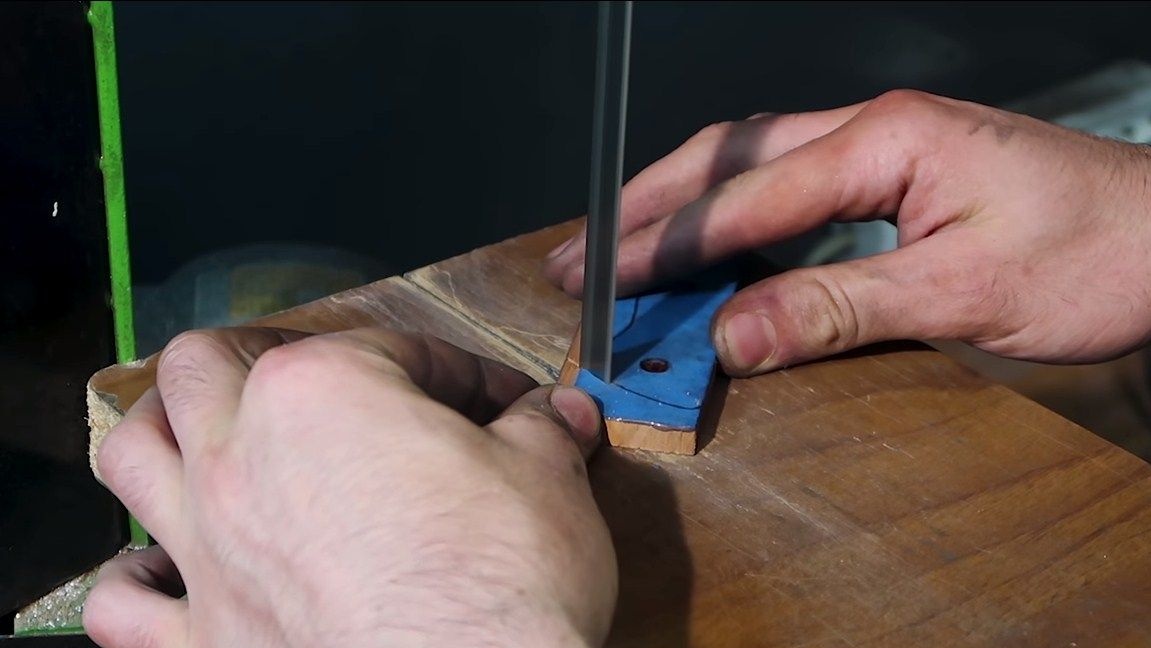
Step Two Drill holes
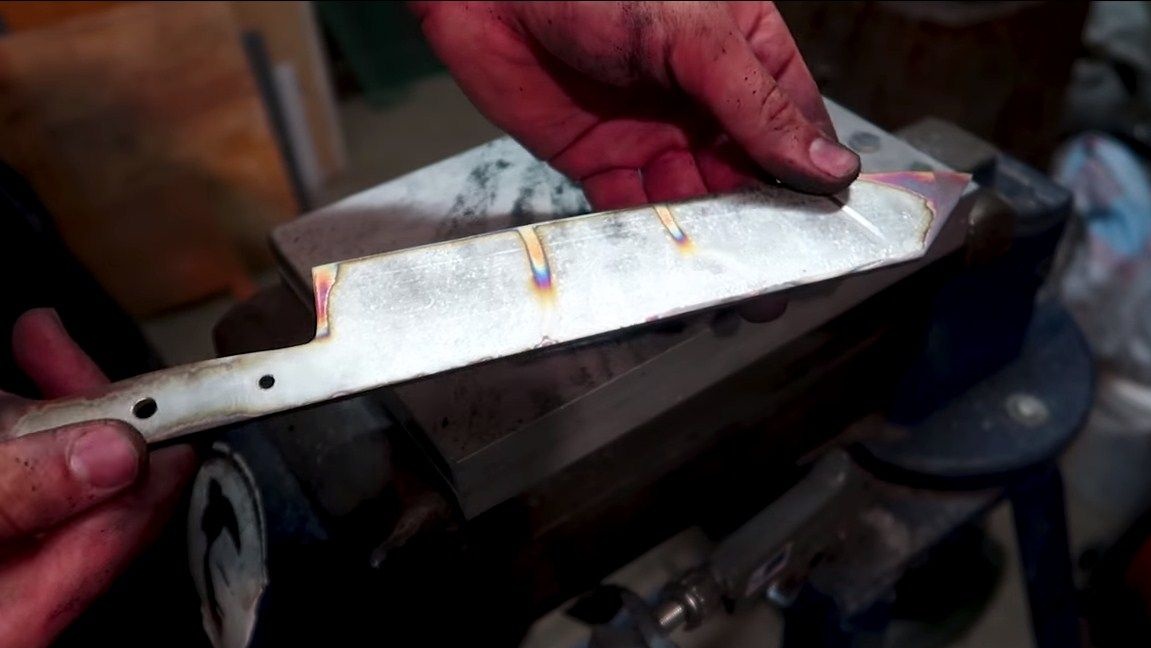
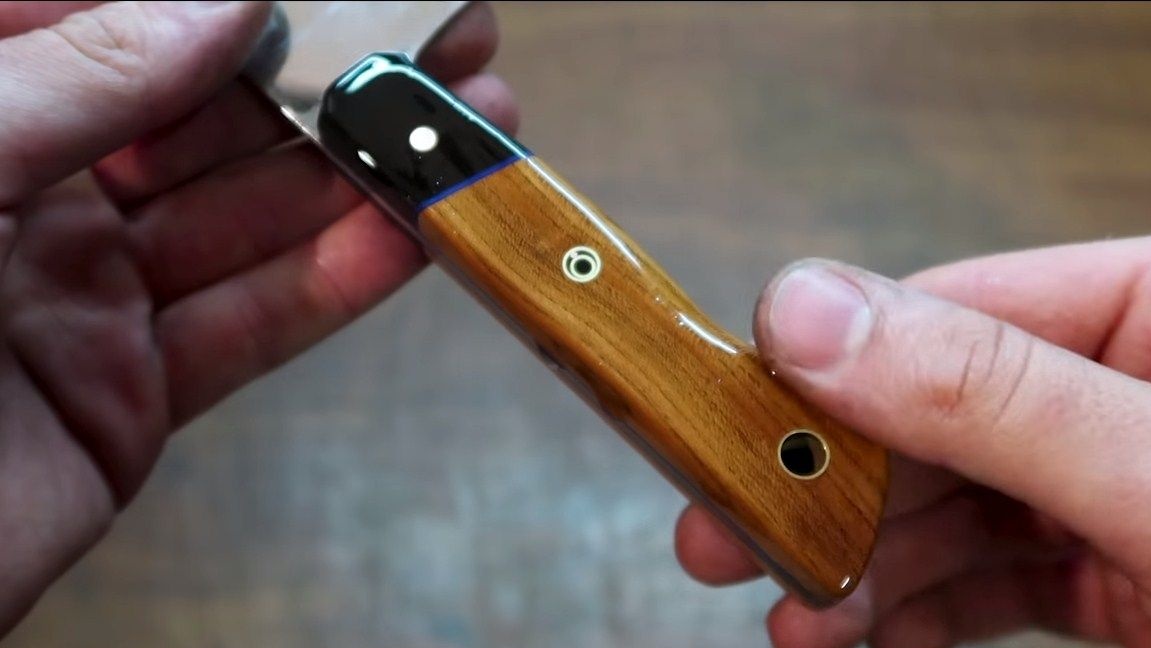
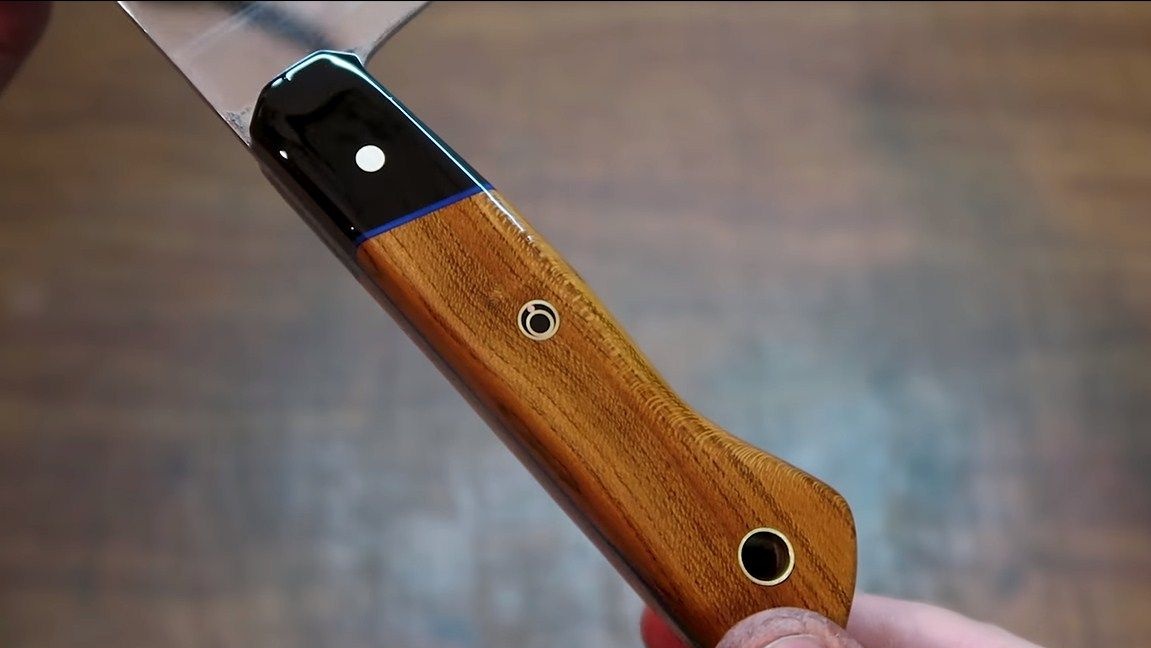
Now in the knife handle you need to drill holes for the pins. The author used brass tubes with inserts inside as pins. By the way, the author drills holes of different diameters in ascending order. In appearance, this whole thing is a bit like a parade of planets or something like that, it looks pretty interesting. We outline the places for the holes and drill. Steel can be quite durable, so it is better to drill a small diameter drill first, and then drill to the desired one.
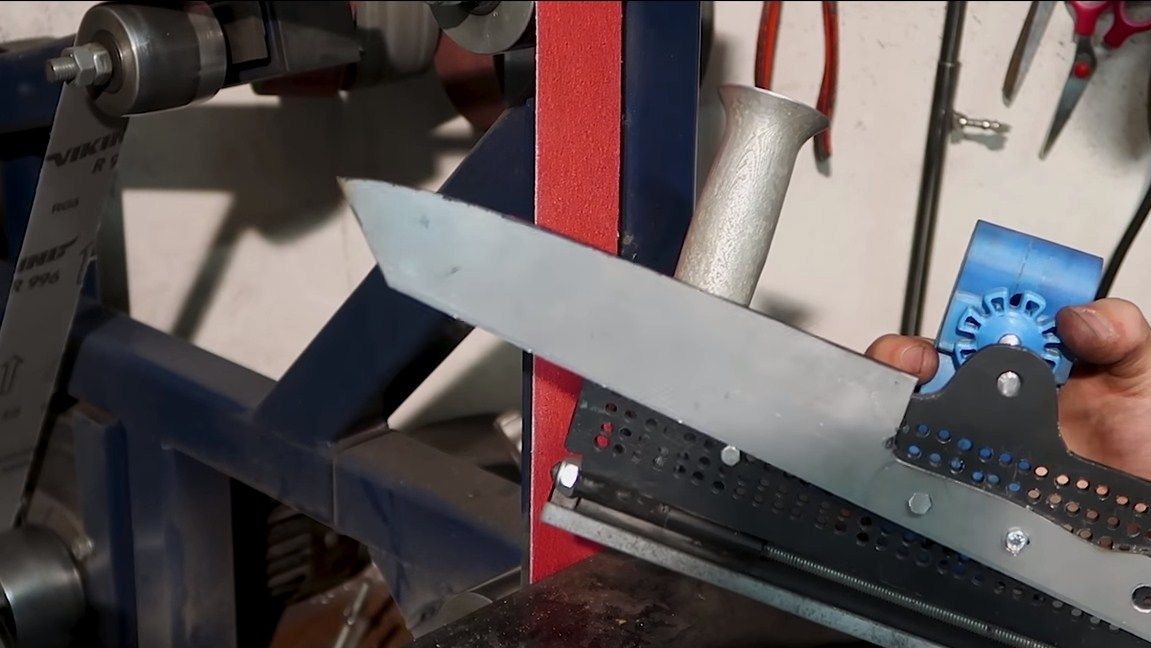
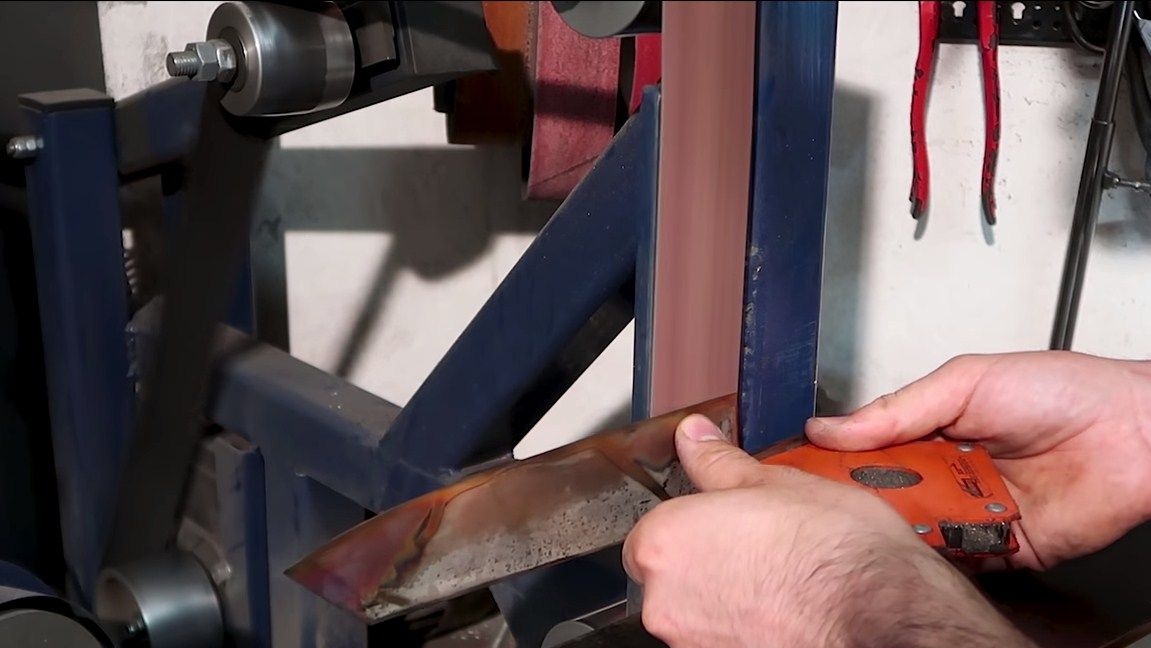
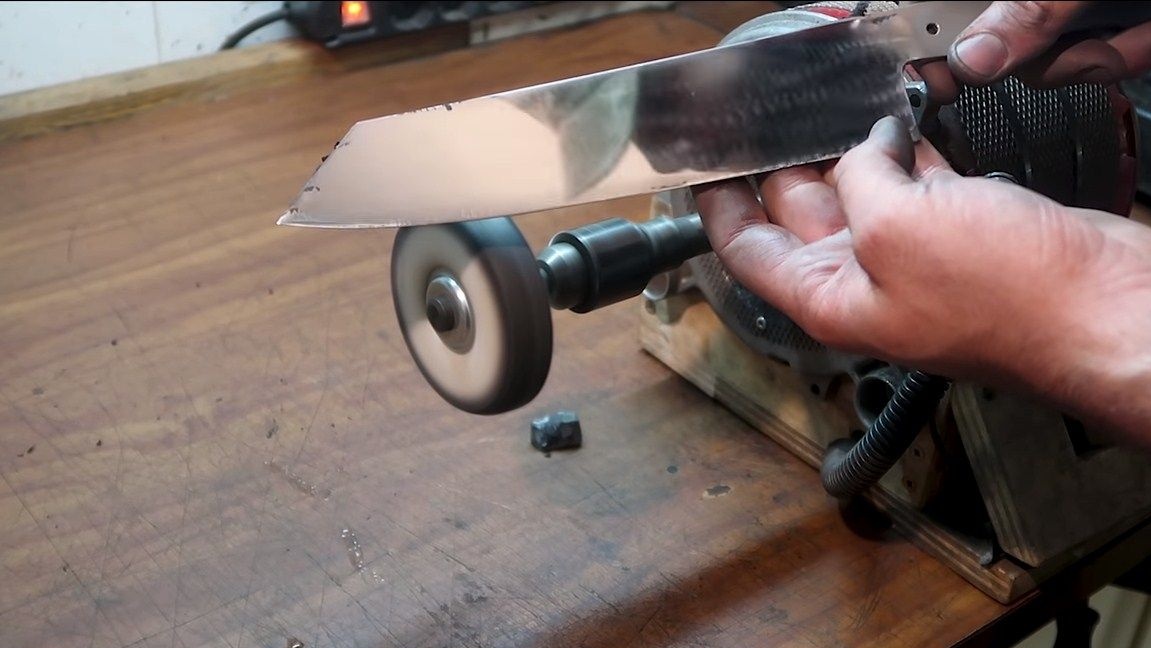
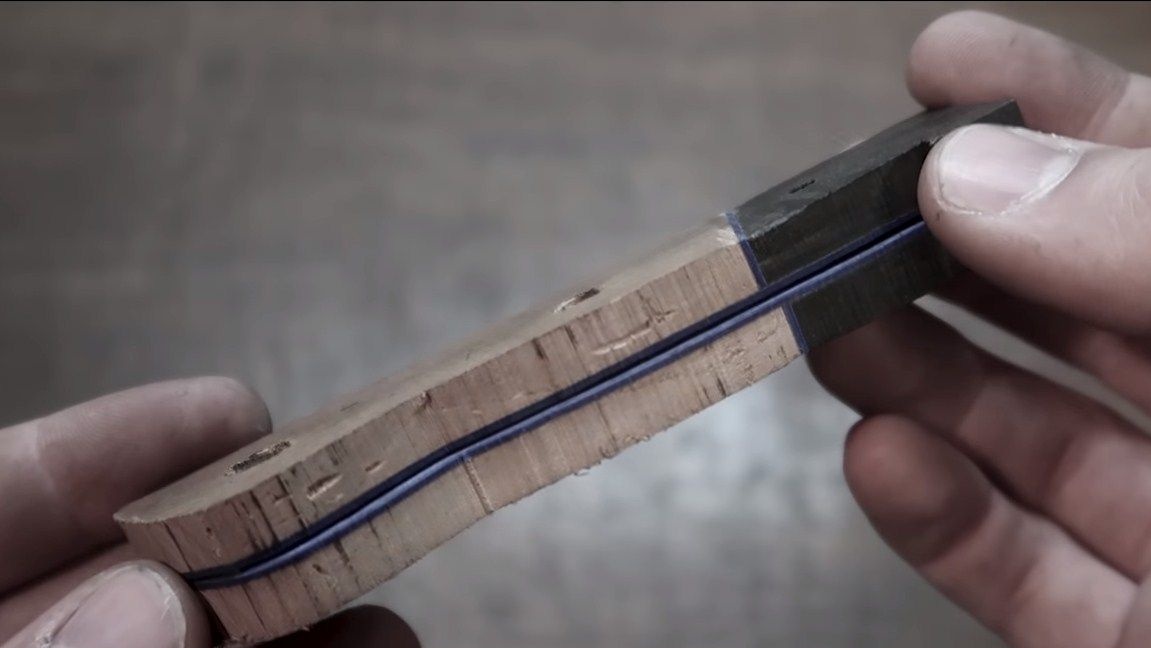
Step Three We form bevels
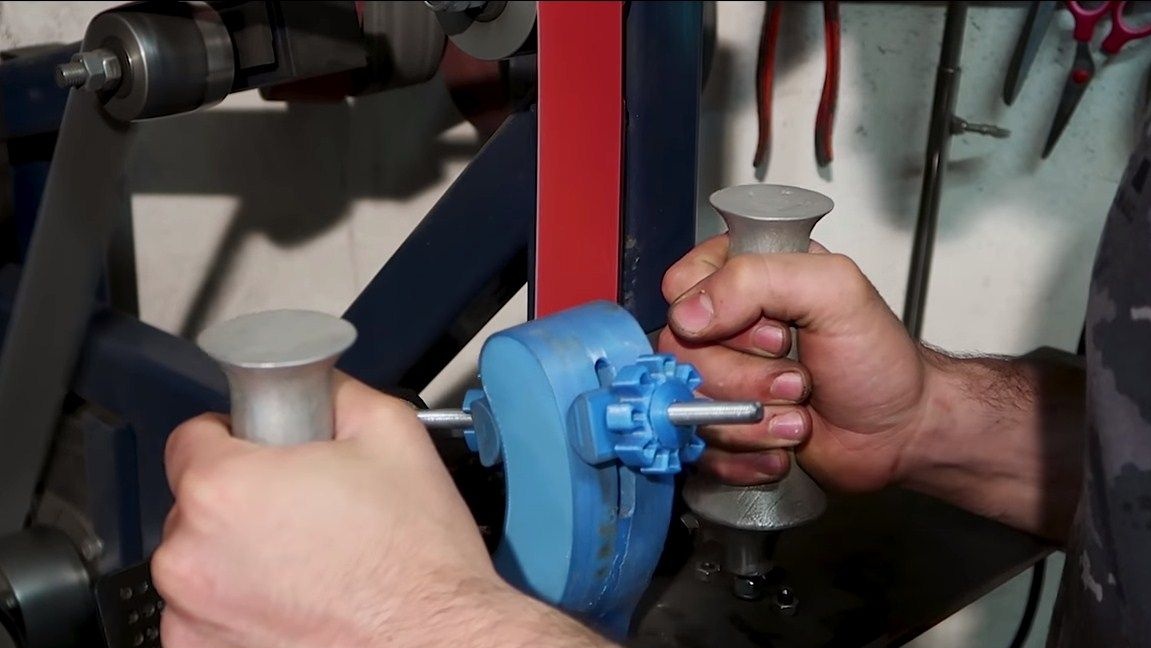
Correctly shaped bevels are very important for a kitchen knife. They should be as wide as possible, as smooth as possible, then the blade will turn out to be very sharp. To make the bevels symmetrical, the author used a special clamp that allows you to hold the knife at the right angle relative to the sanding belt. As a result, we get excellent, high-quality bevels. But at this step the blade does not need to be sharpened yet, it should be at least 2 mm thick. Otherwise, alloying elements may burn out from steel during hardening.
At the end, we walk along the blade with fine sandpaper to remove gross scratches.
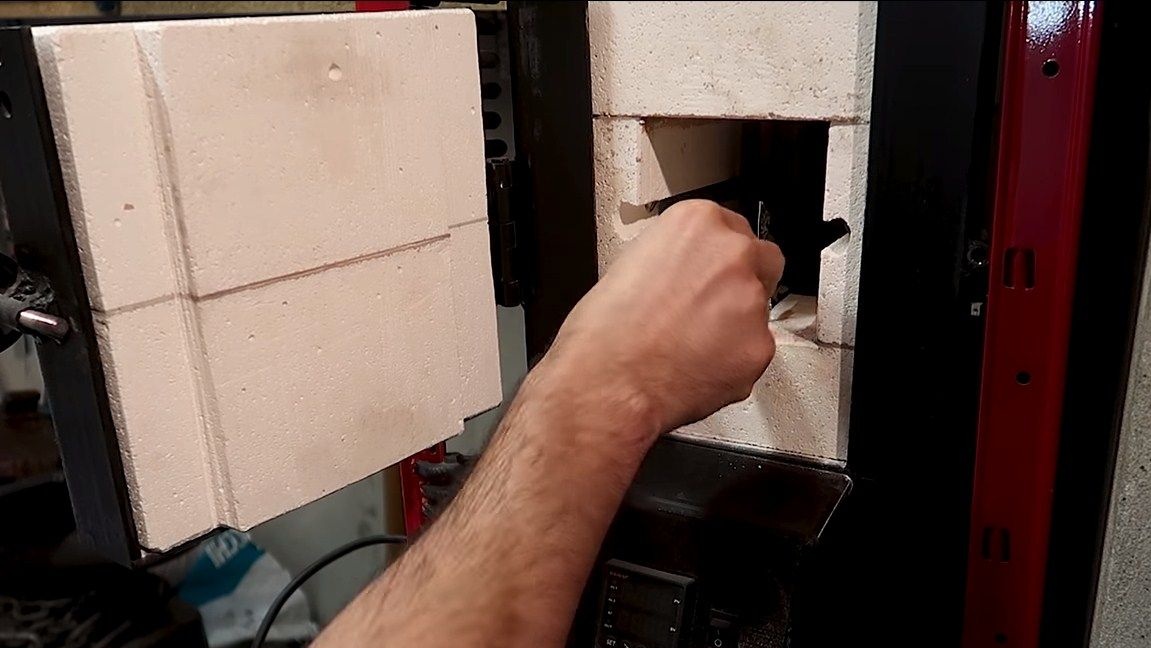
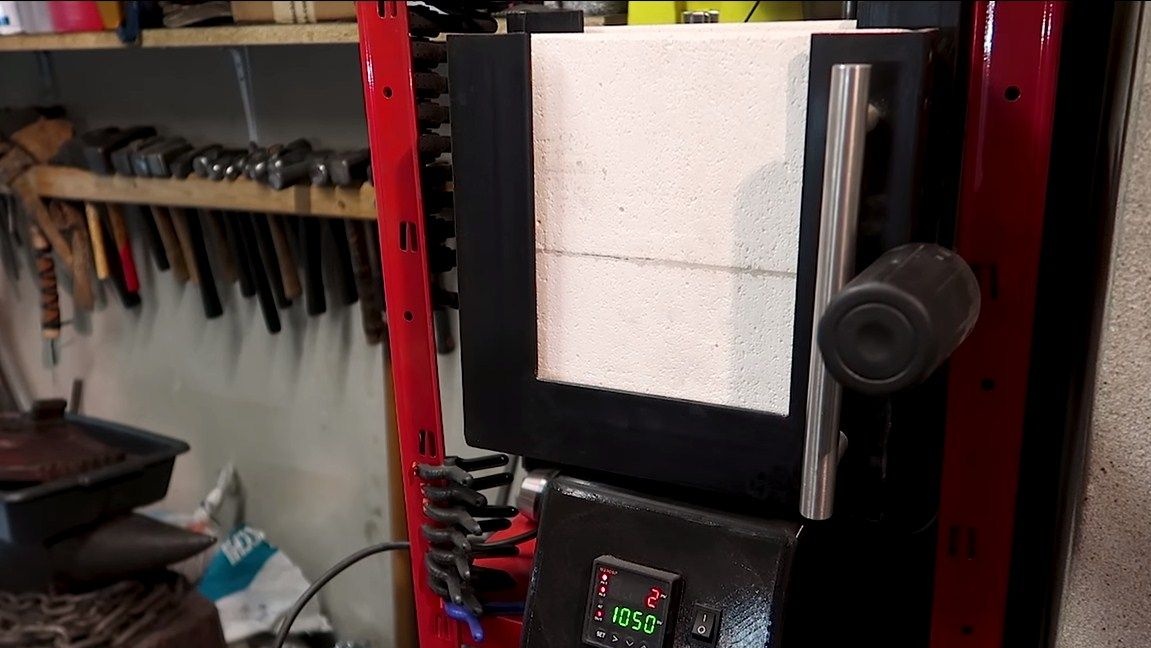
Step Four Quenching
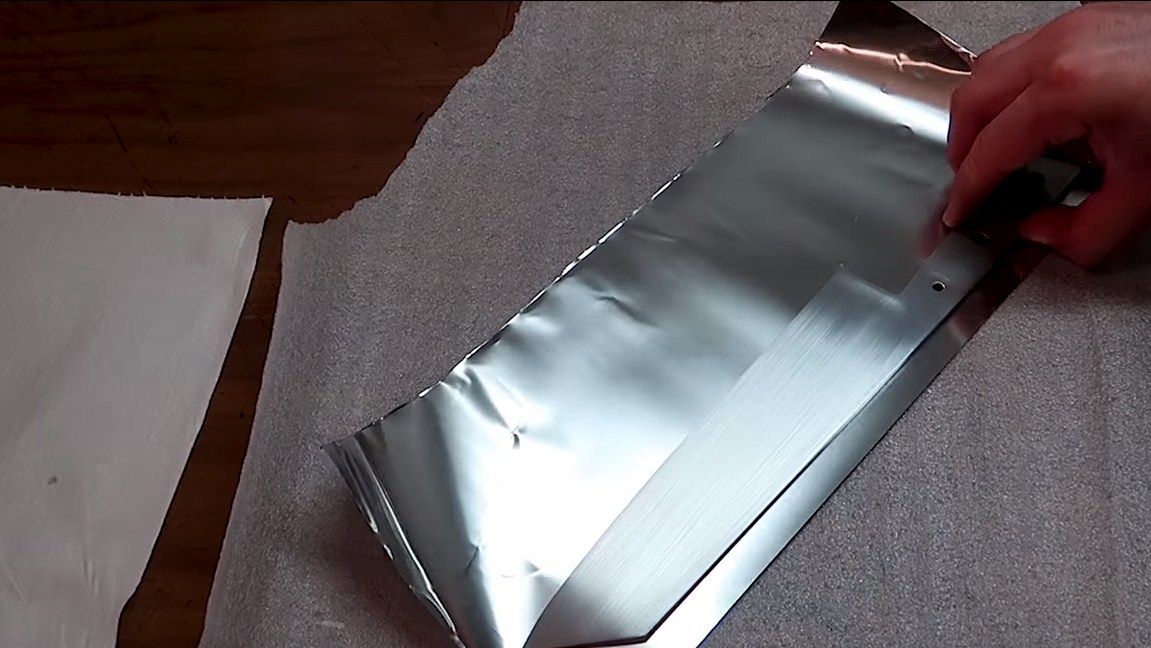
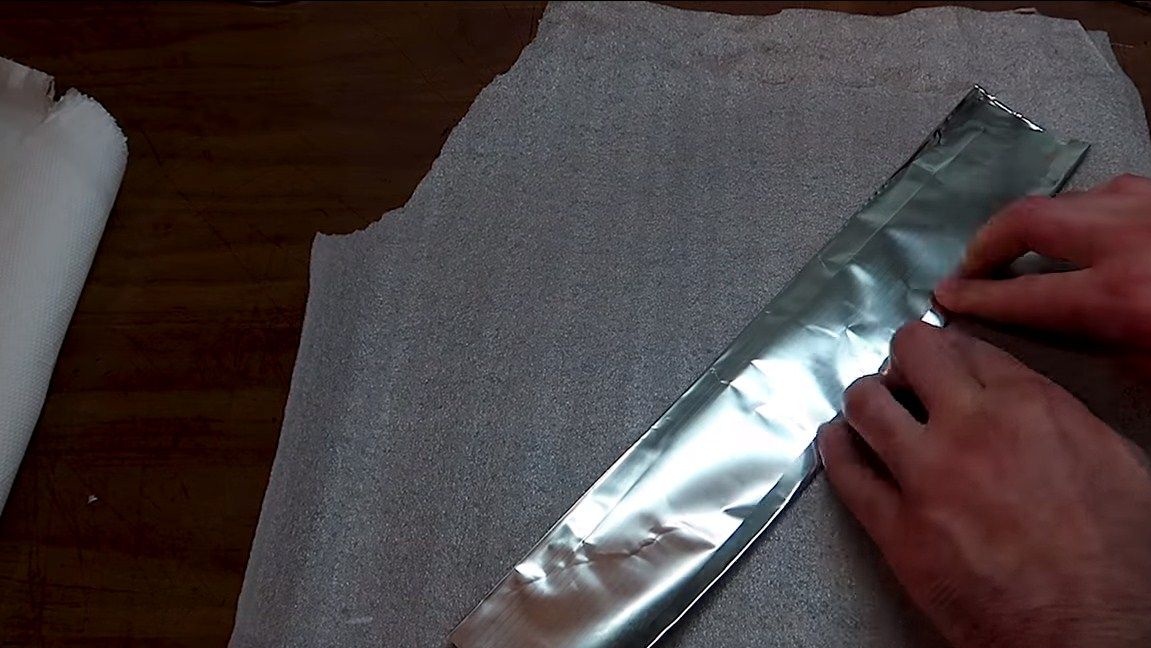
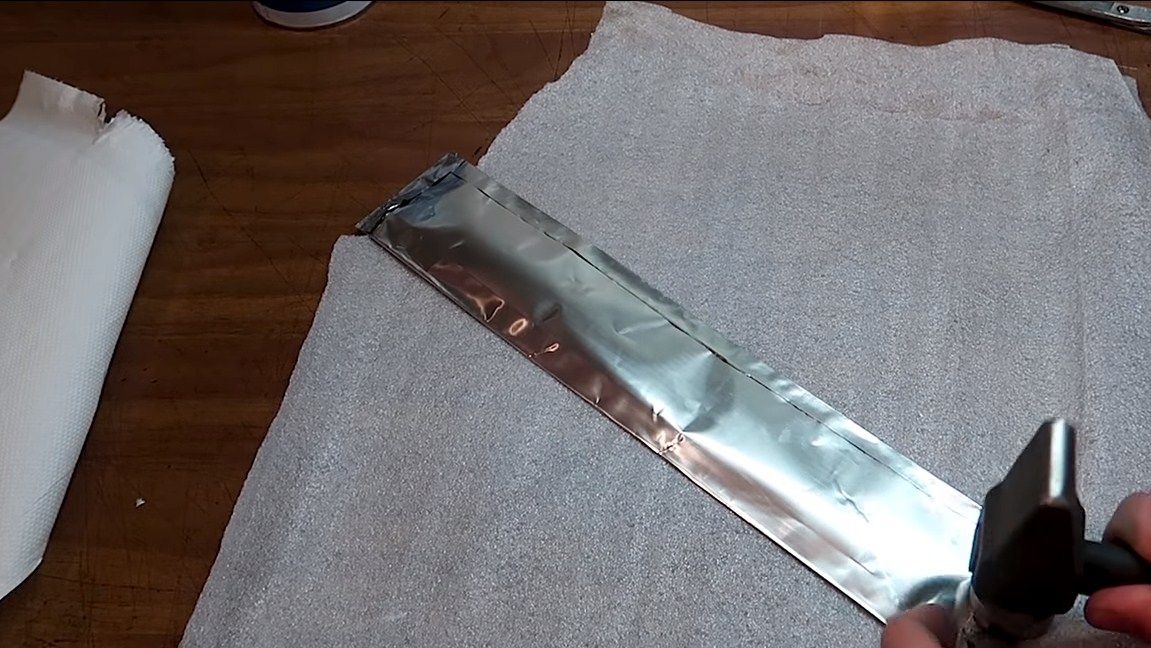
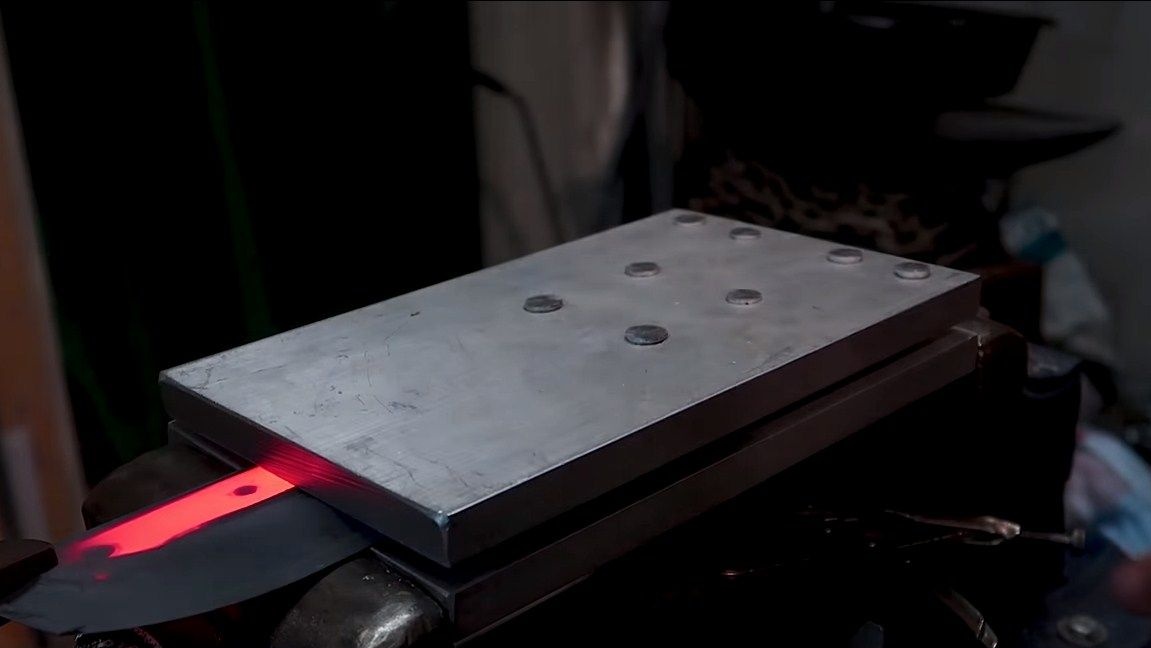
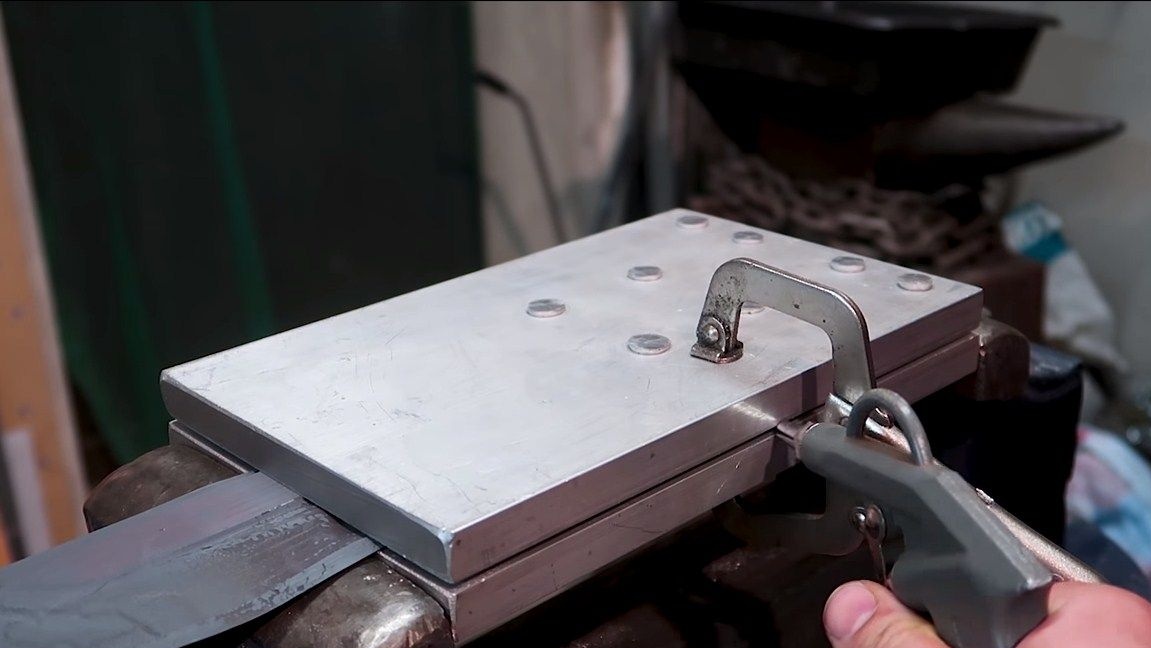
Hardening is a very crucial moment in the manufacture of a knife. It depends on how strong the knife will be, and how long the blade will keep sharpening. We select the quenching mode specifically for the steel grade used. First, the author wrapped the blade in thin sheet metal, probably also stainless steel. Then the blade was sent to the oven, then it warmed up at a temperature of 1050 degrees for 15 minutes. After that, the blade is placed between two aluminum plates and cooled by air from the compressor, as a result, the stainless steel is quenched.
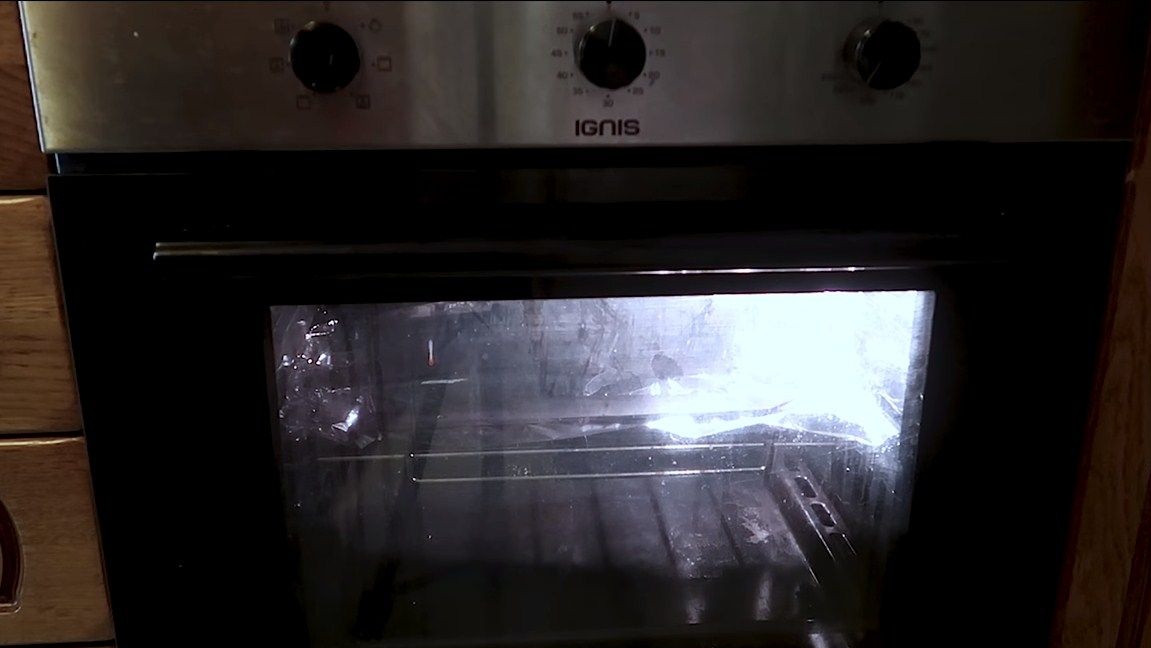
Next, we necessarily spend the vacation of metal, as it can be fragile. The author spends her vacation in a domestic oven at a temperature of 230 degrees Celsius. We heat the blade for 2.5 hours, and then let it cool together with the oven in the closed state. That's all, we get a blade of excellent quality.
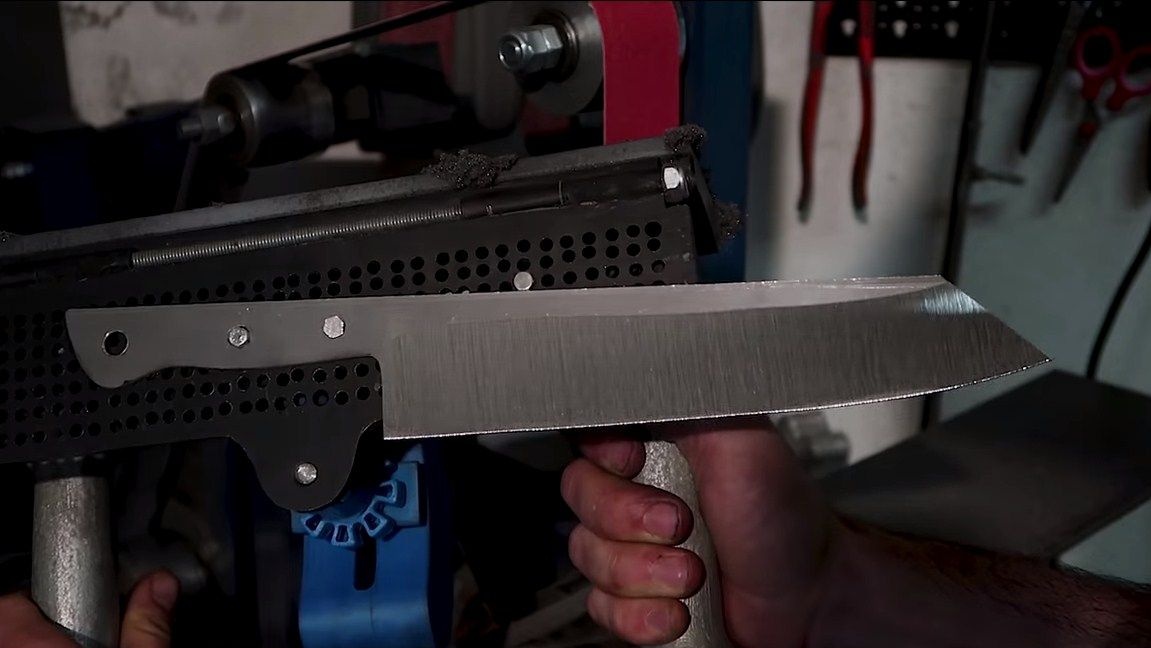
Step Five Cleaning and polishing
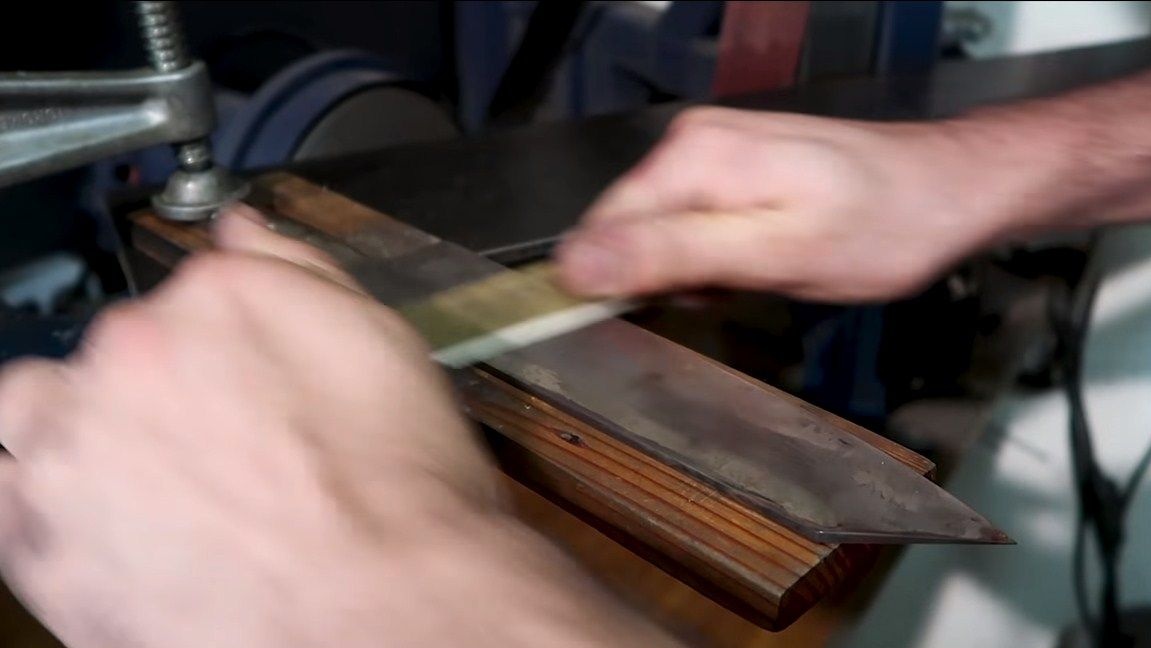
After hardening, the metal will have dark spots, these are traces of oxidation. We need to grind again using a tape with fine sandpaper. After that we take an even finer sandpaper and grind the blade manually. The paper is best moistened in water, so it will grind much more efficiently, since water cleans sandpaper.
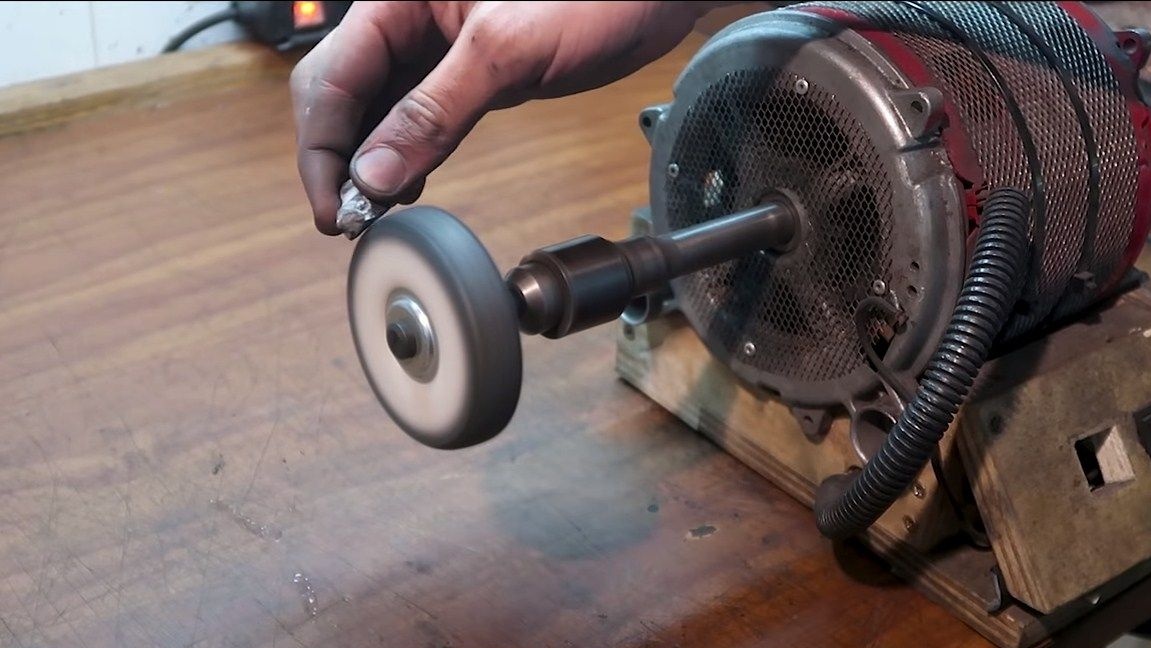
Well, then proceed to polishing. For these purposes, the author used a polishing machine. We apply the paste and polish the blade to a mirror shine! The author’s knife looks amazing.
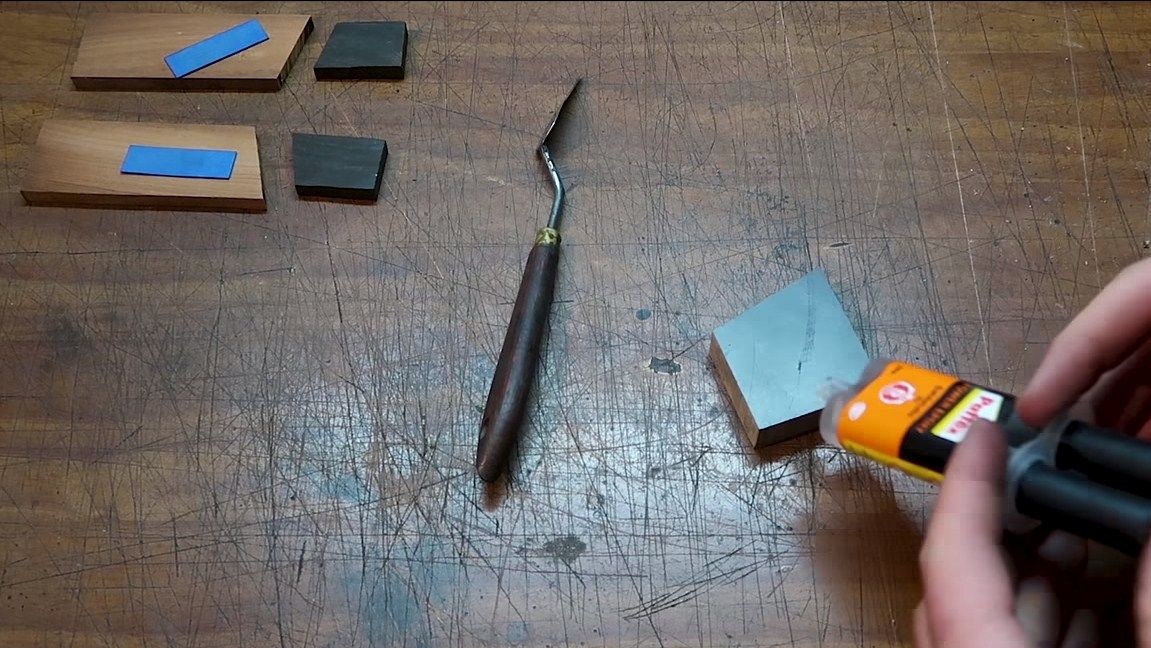
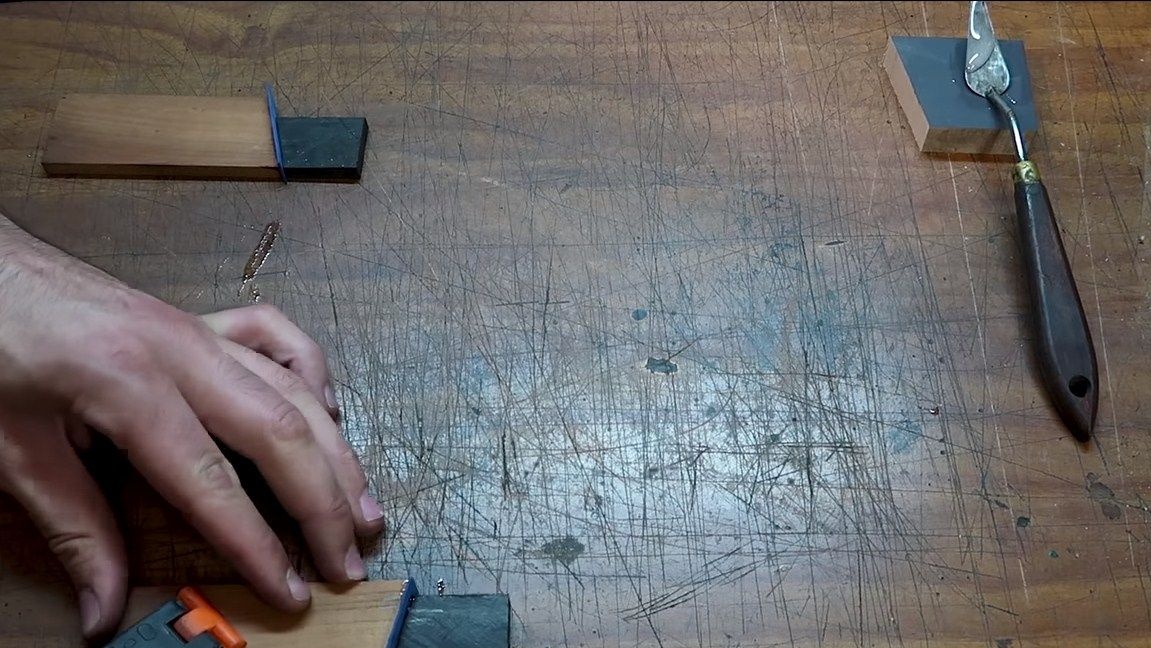
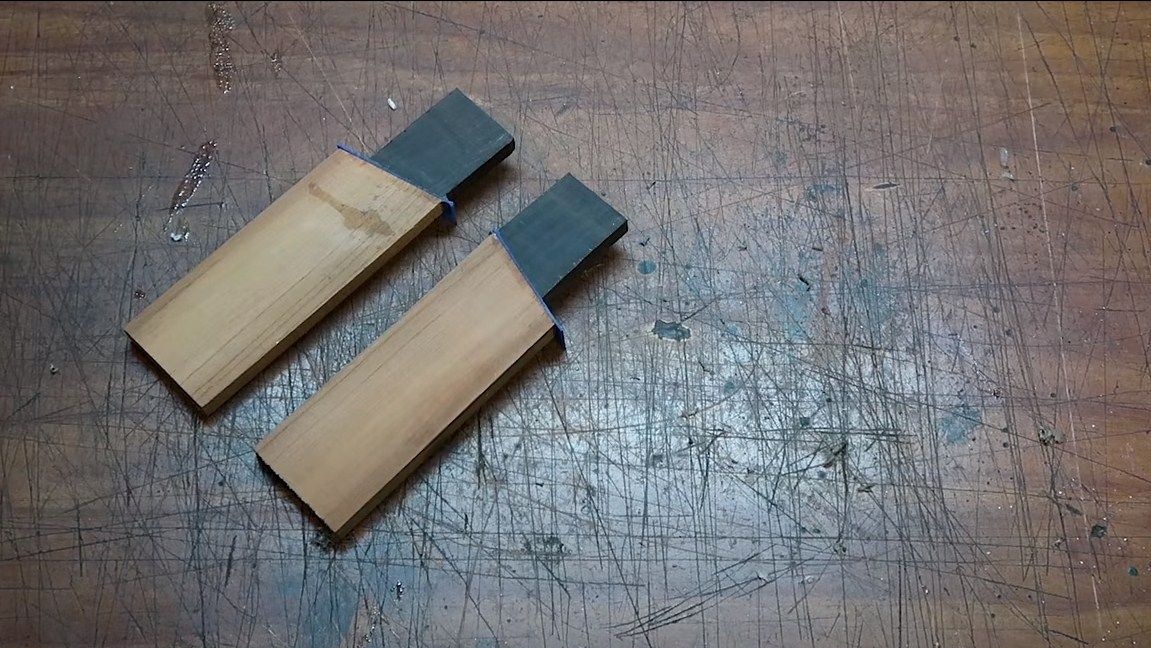
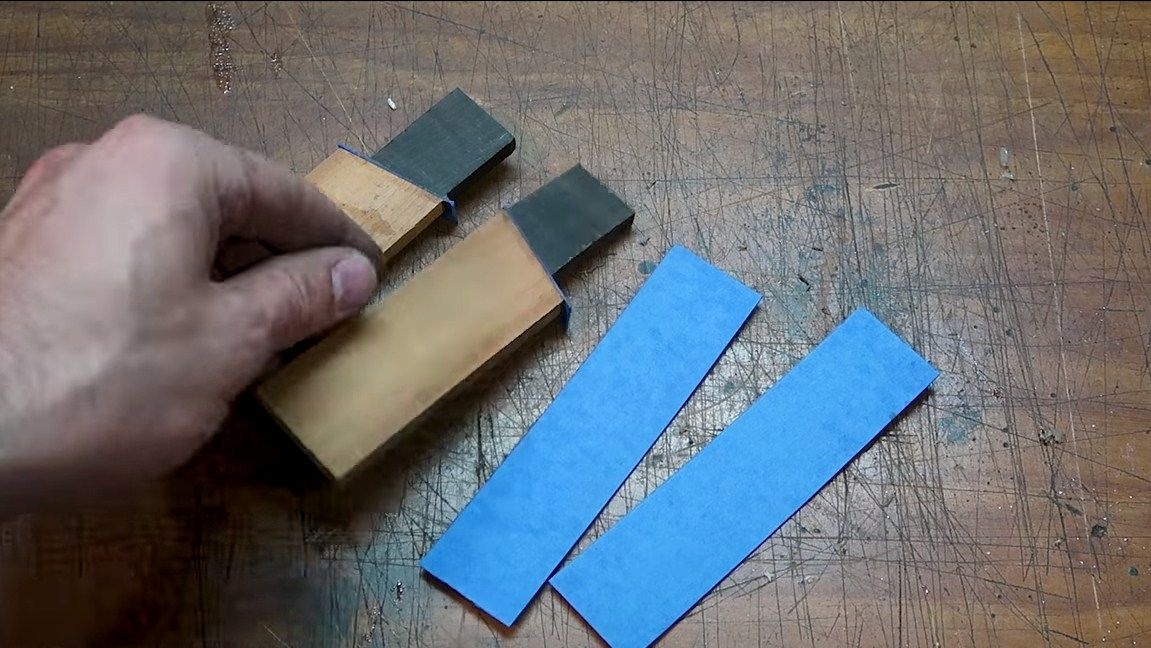
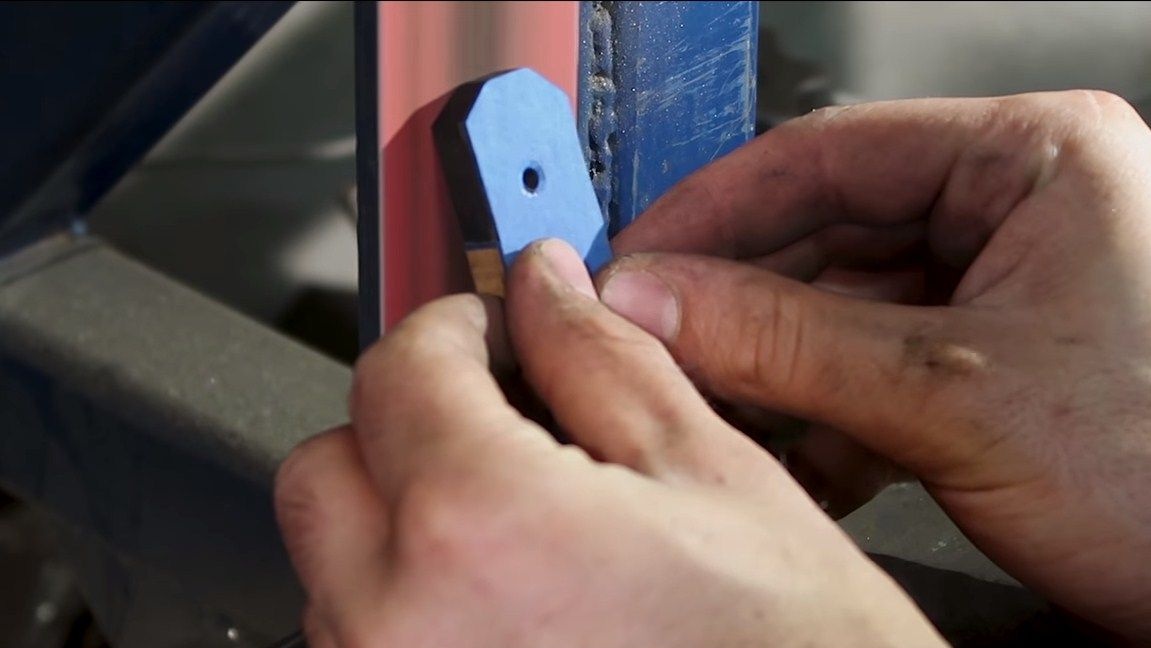
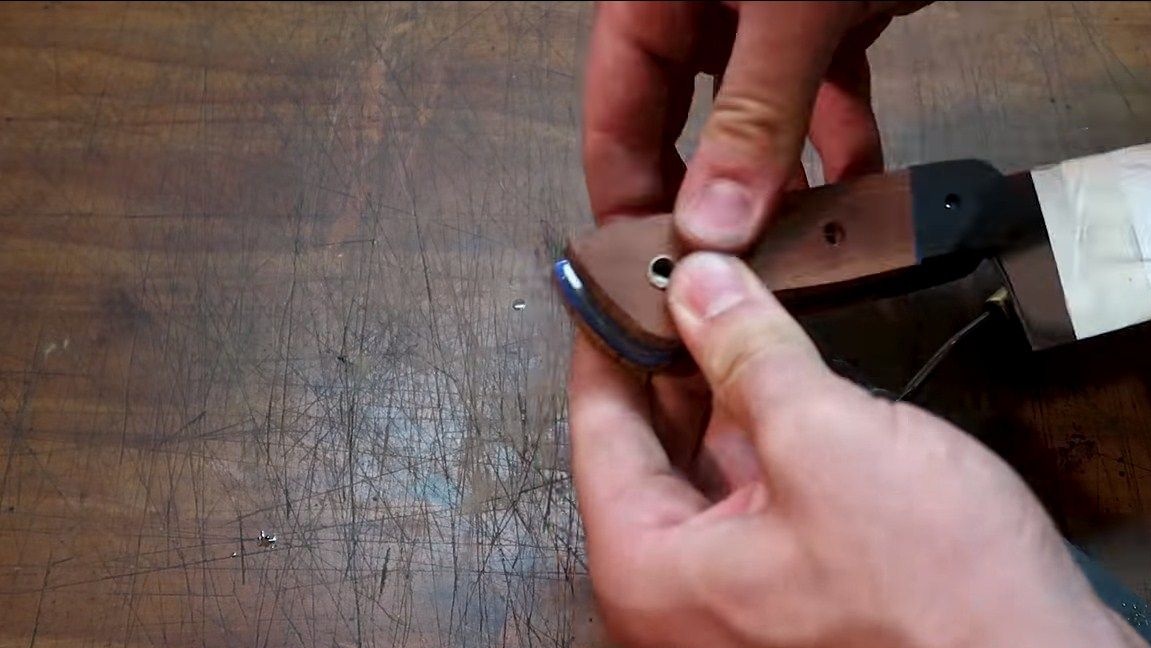
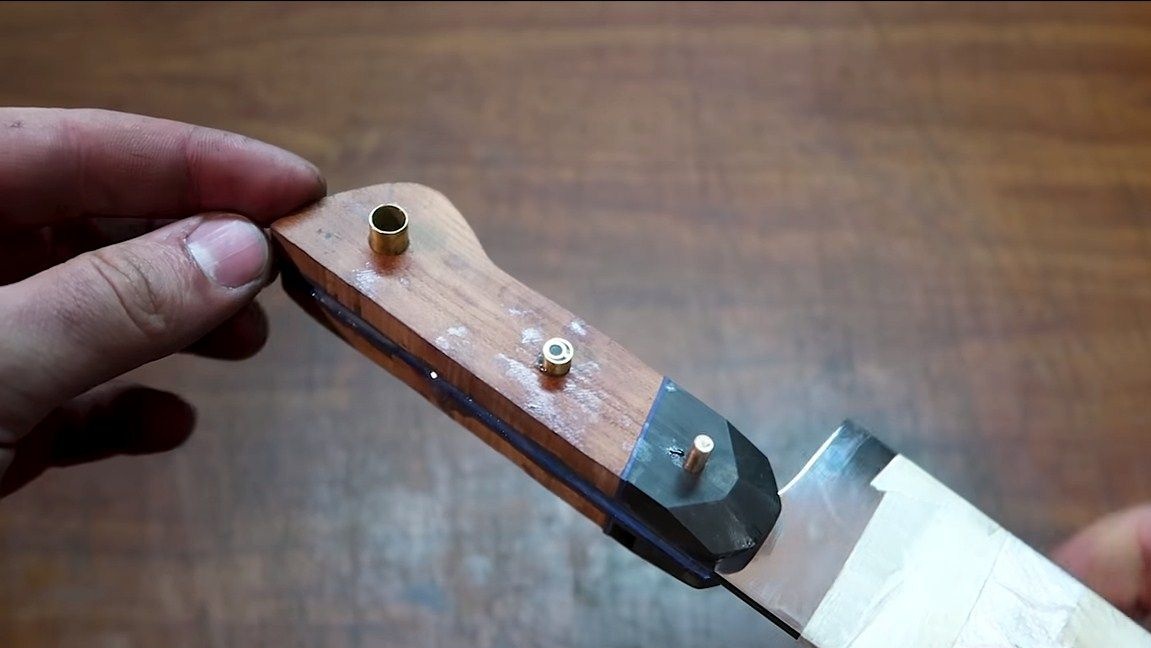
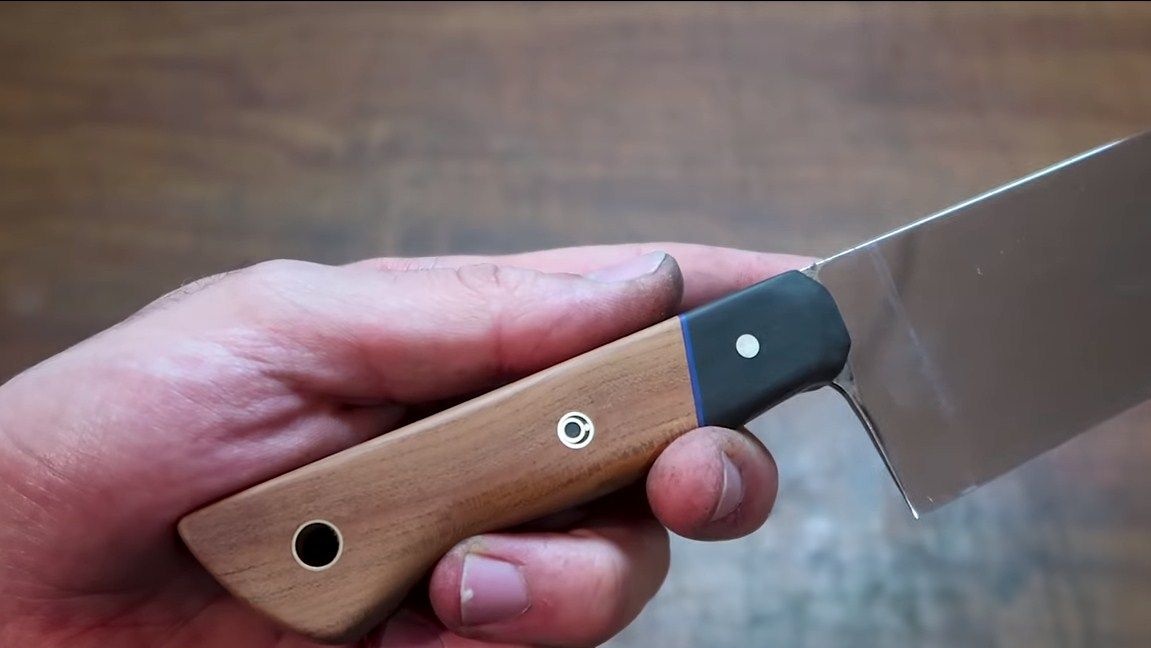
Step Six We make pads
The author's overlays are combined, partly made of wood, plastic and some other material. This whole thing is glued together with epoxy glue. In general, the combination of blue, wood, as well as the black element looks quite interesting.
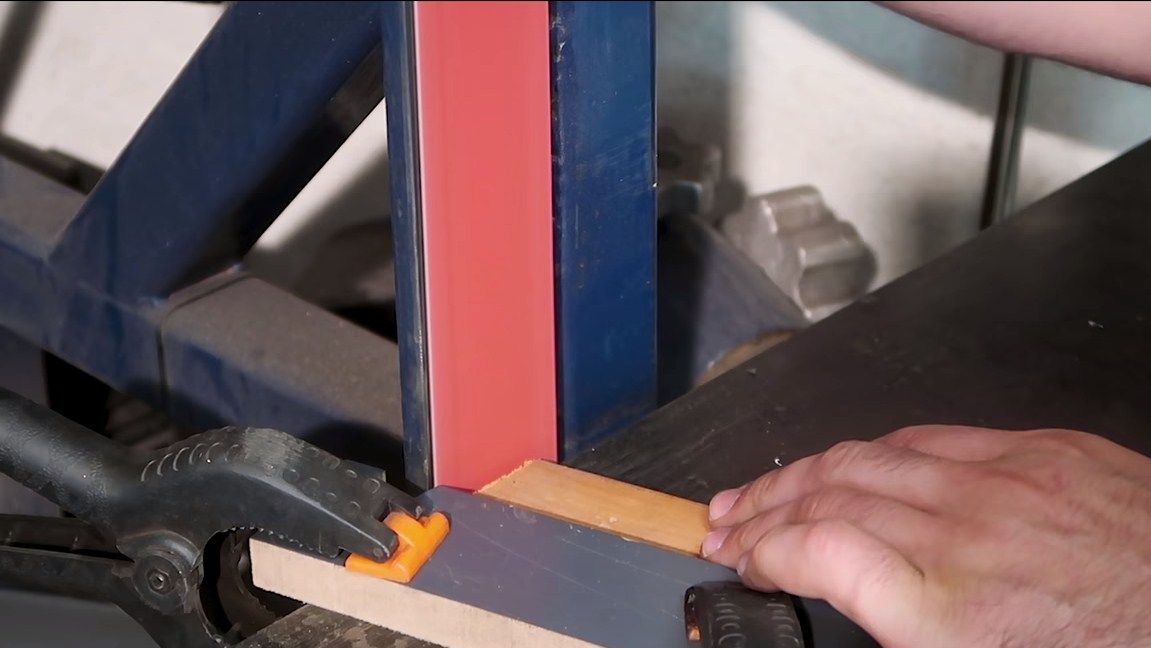
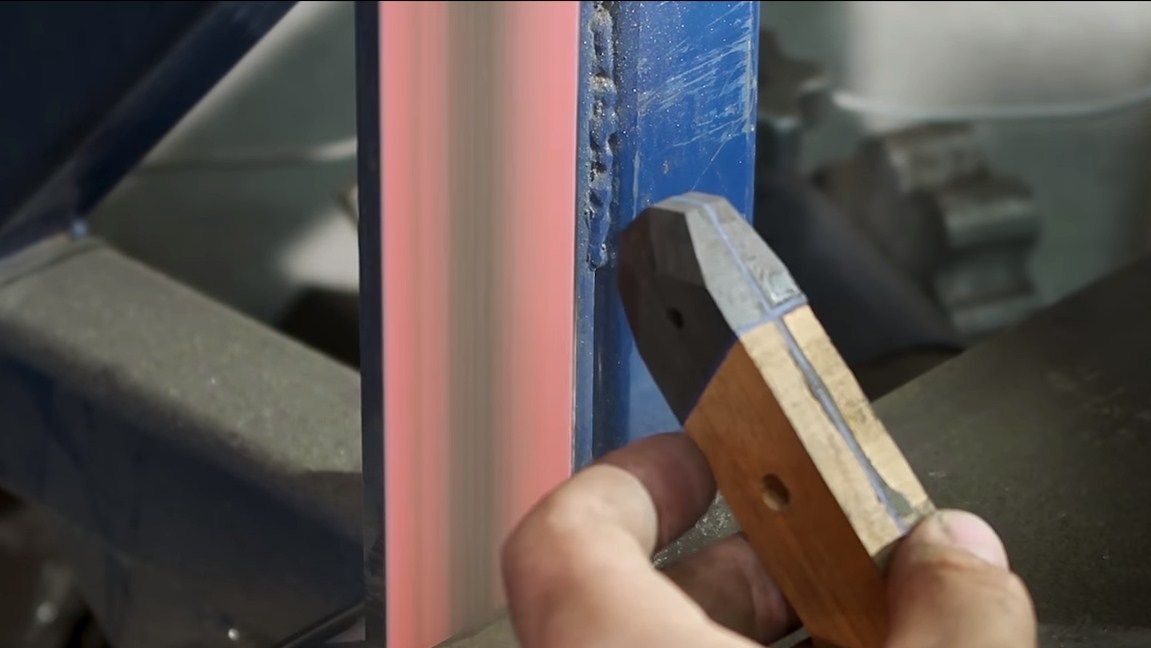
Well, then we cut out two overlays, based on the shape of the handle. We leave a few millimeters of stock, to then polish the pads directly on the knife. Then we grind the pads a little on the belt sander to get the main desired shape.
In general, lining for kitchen knives is best made from synthetic materials, they are durable, not afraid of water and so on.
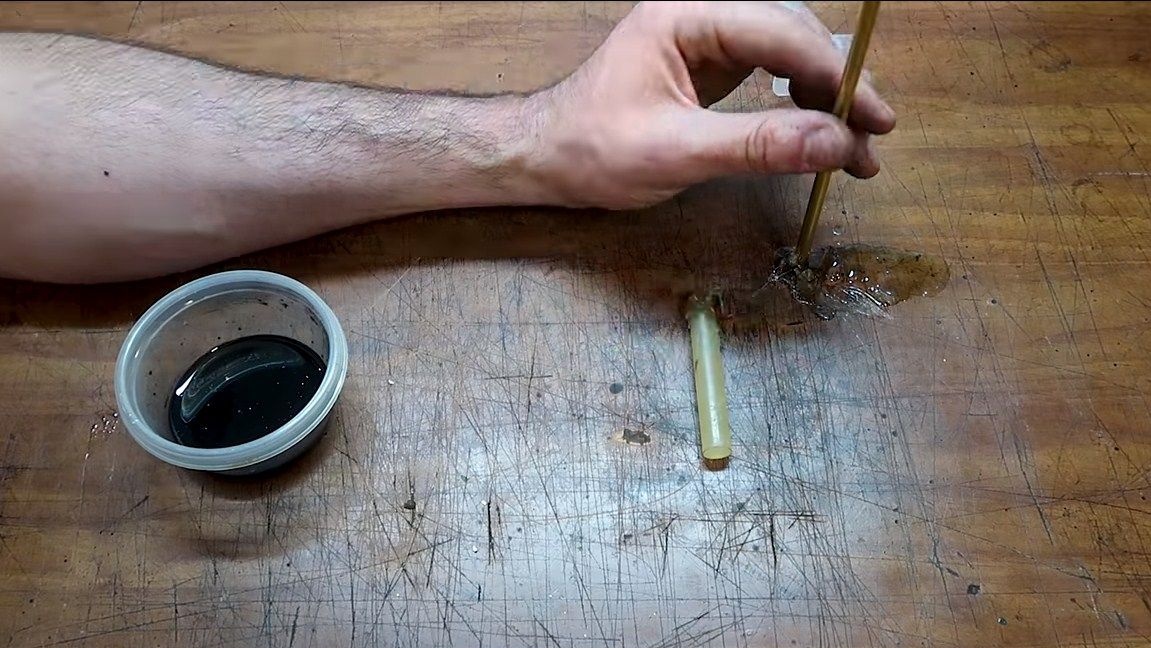
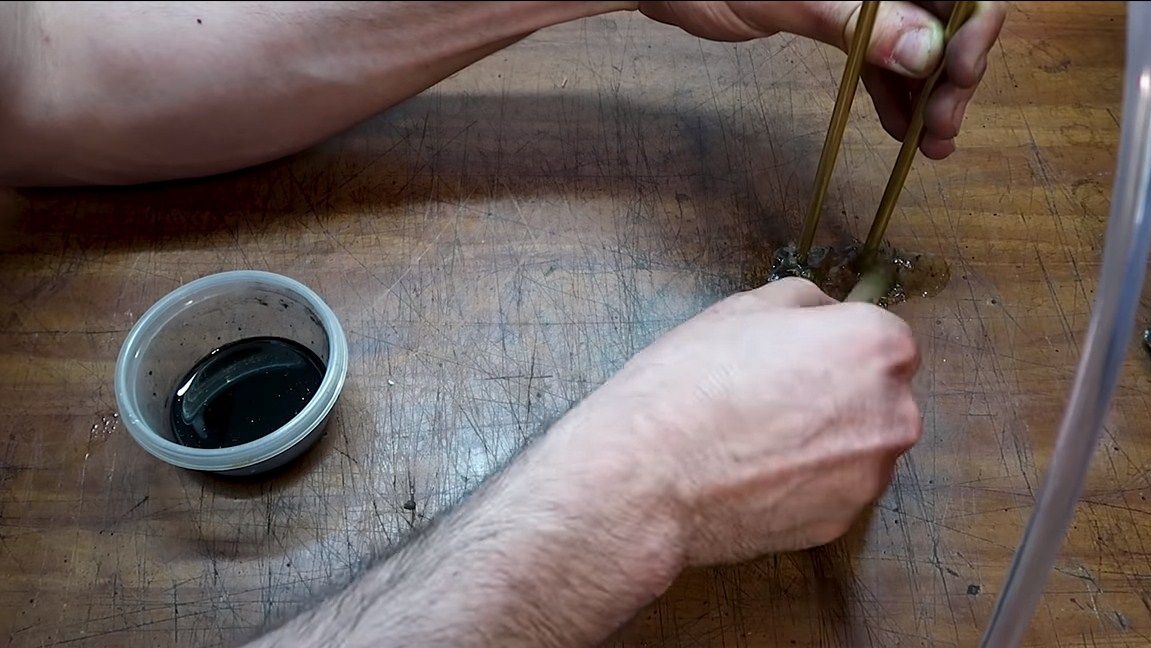
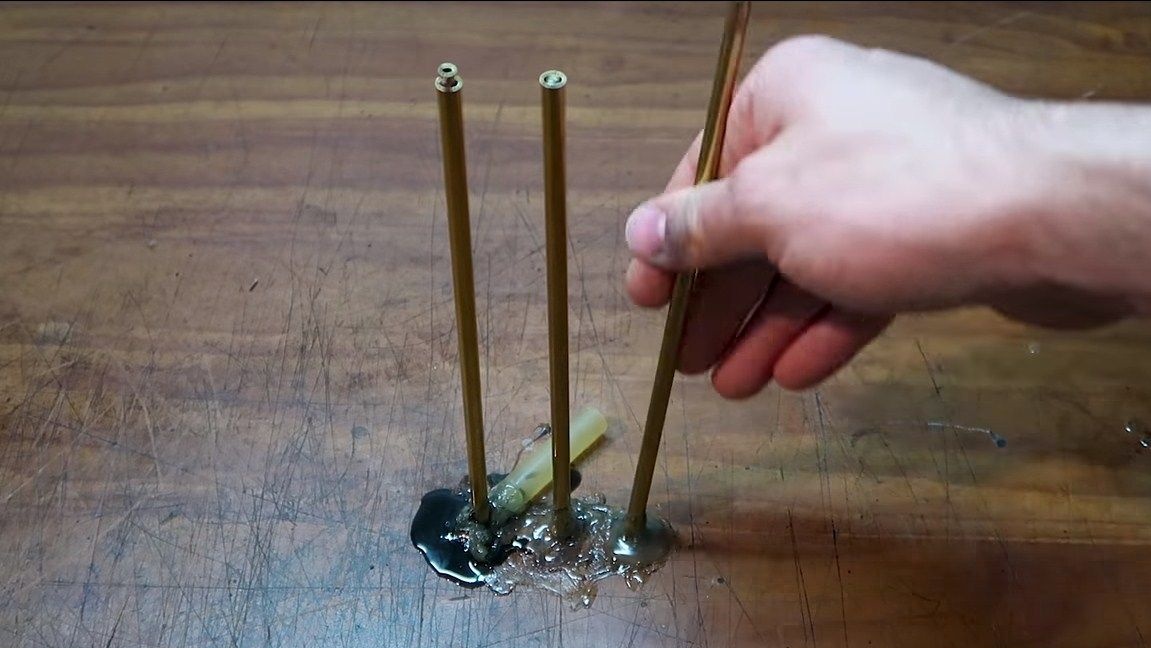
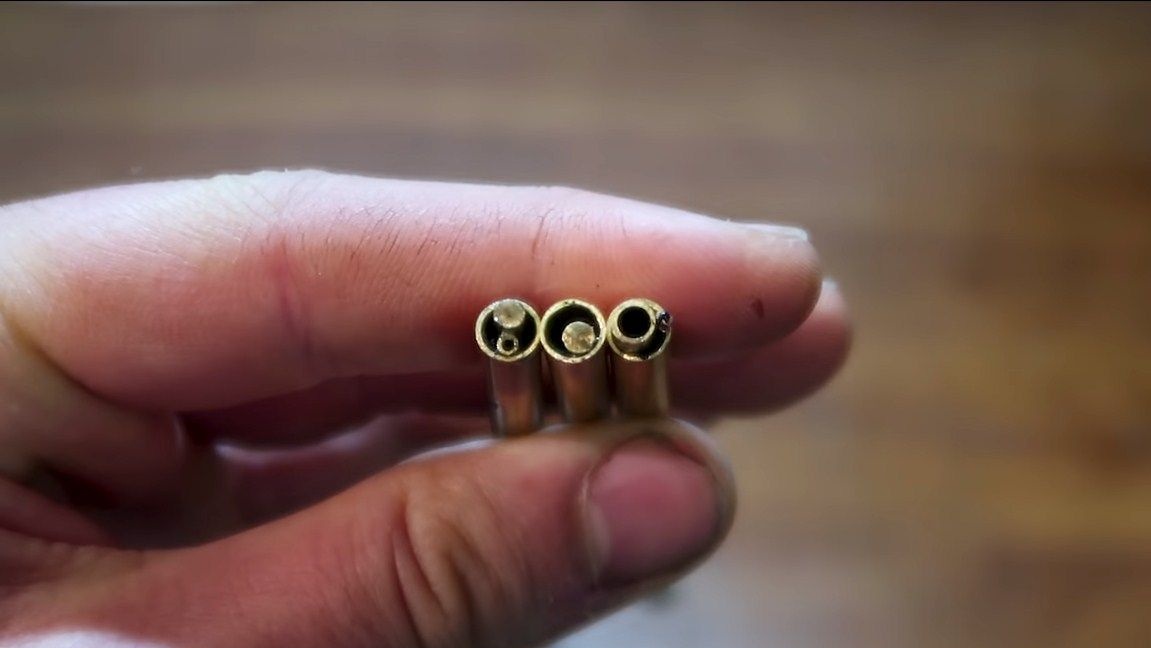
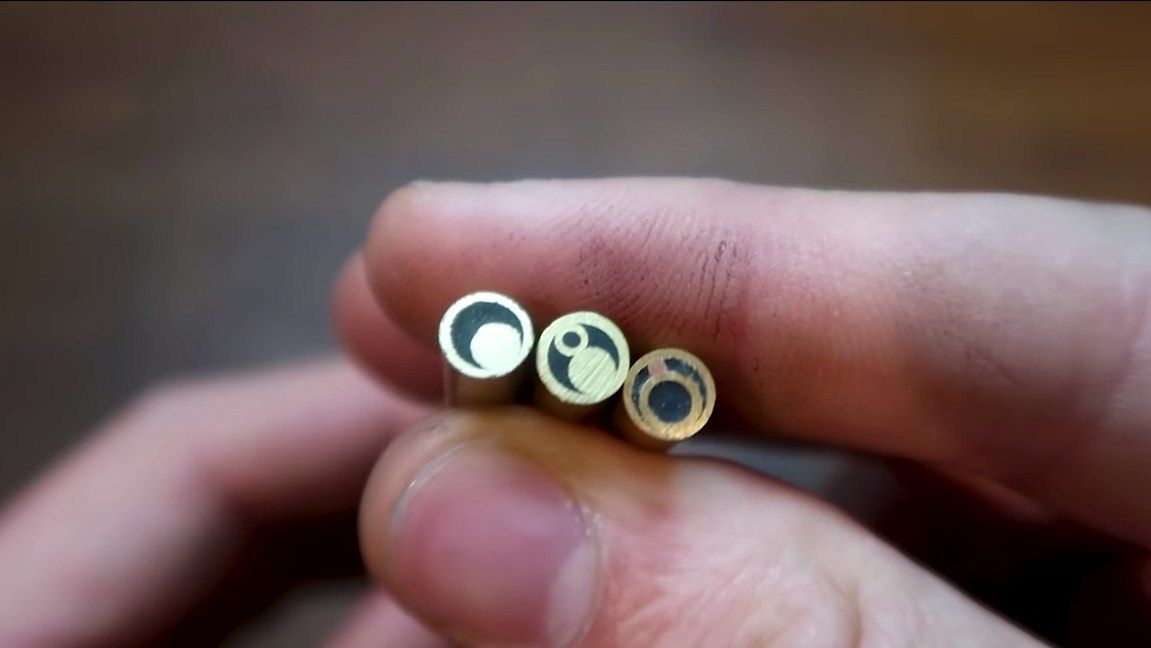
Seventh step. We make pins
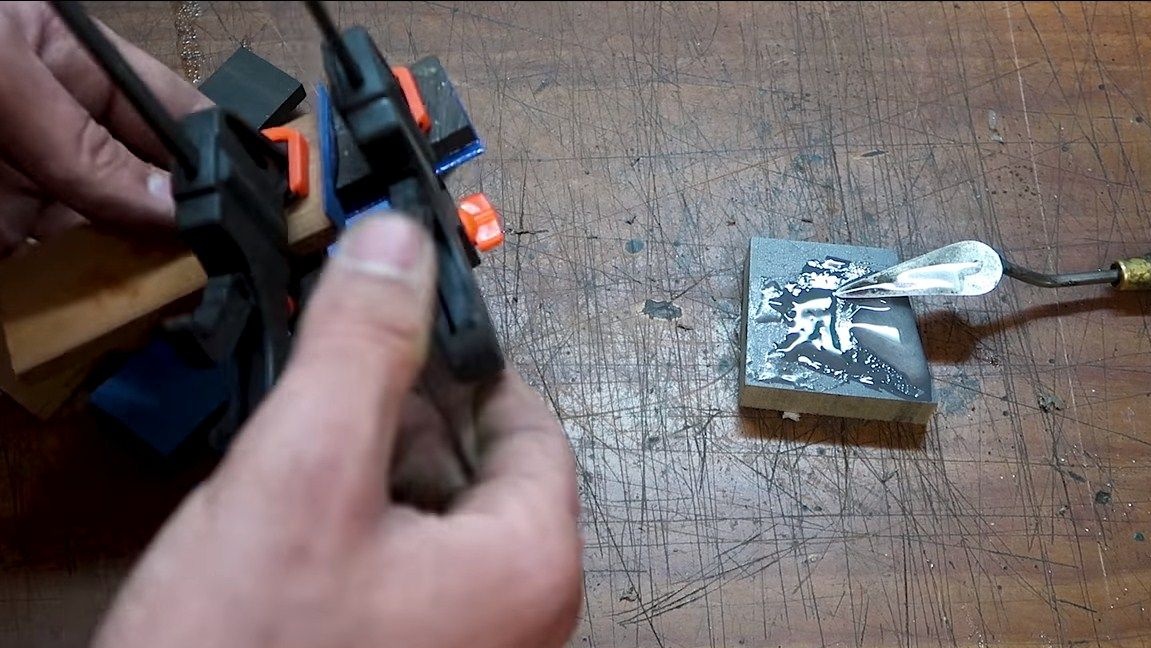
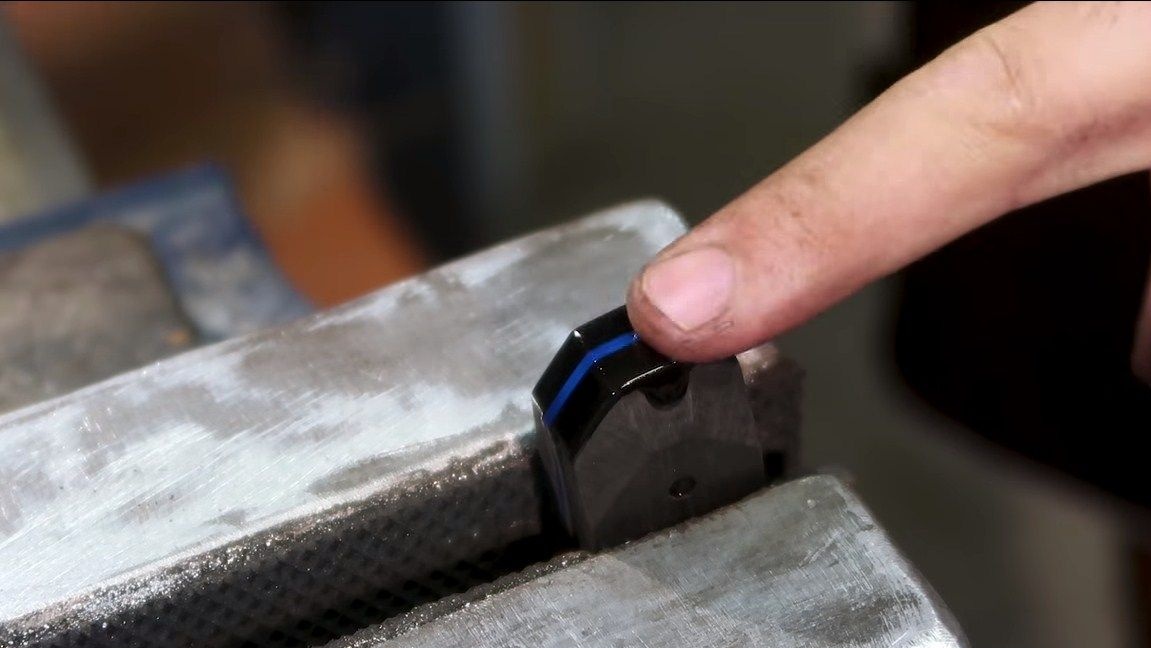
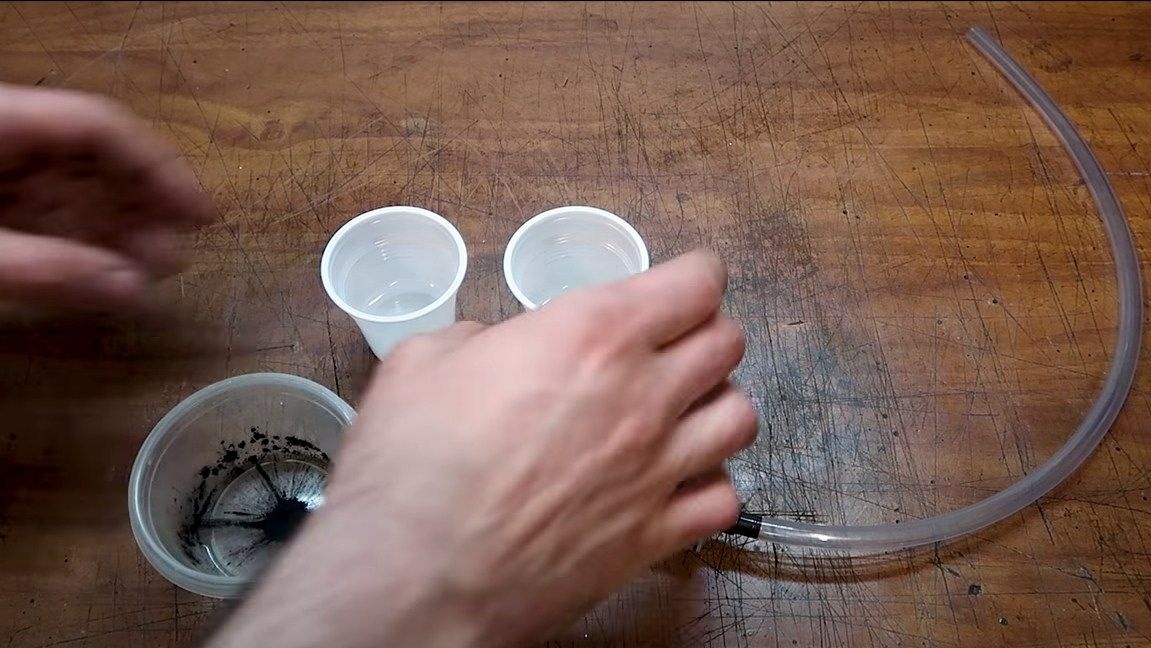
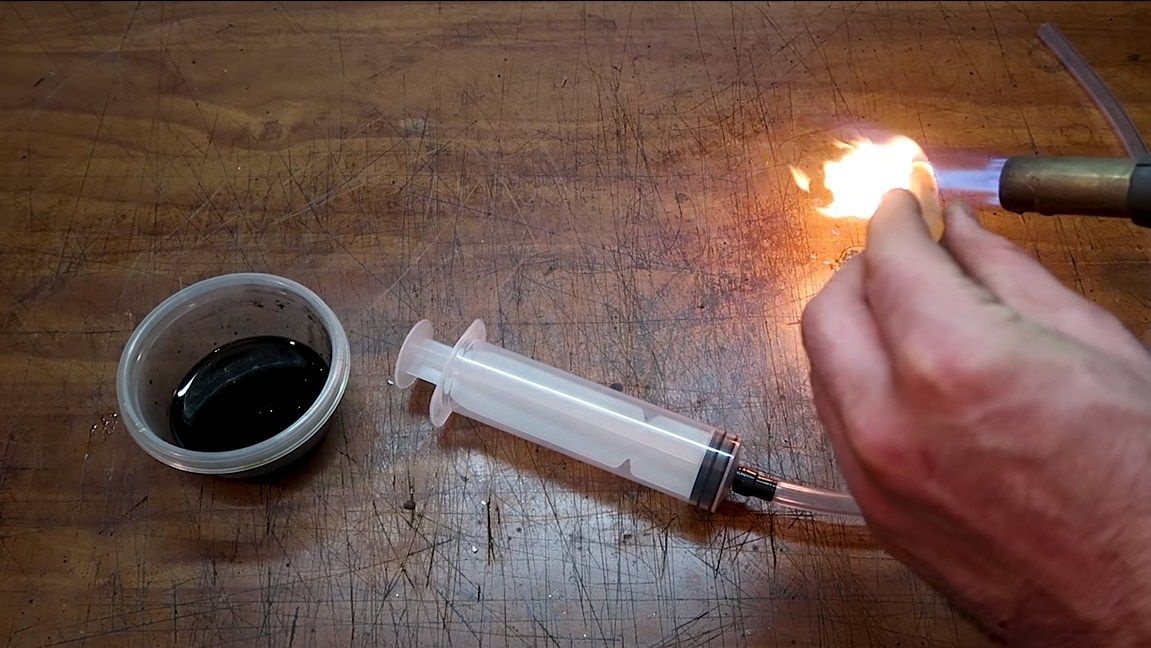
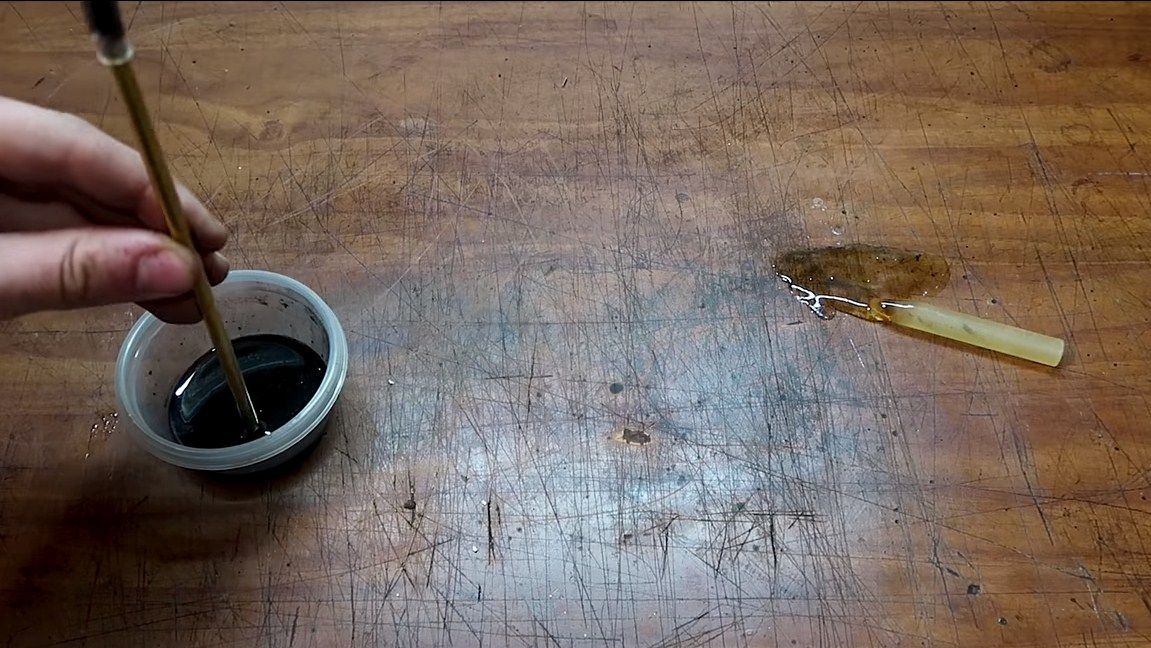
The author’s pins are made of brass tubes, inside of which there are still inserts. Select the desired patterns, and then fill them with wax, with the addition of dye. Instead of wax, you can use epoxy glue, this is a stronger material.
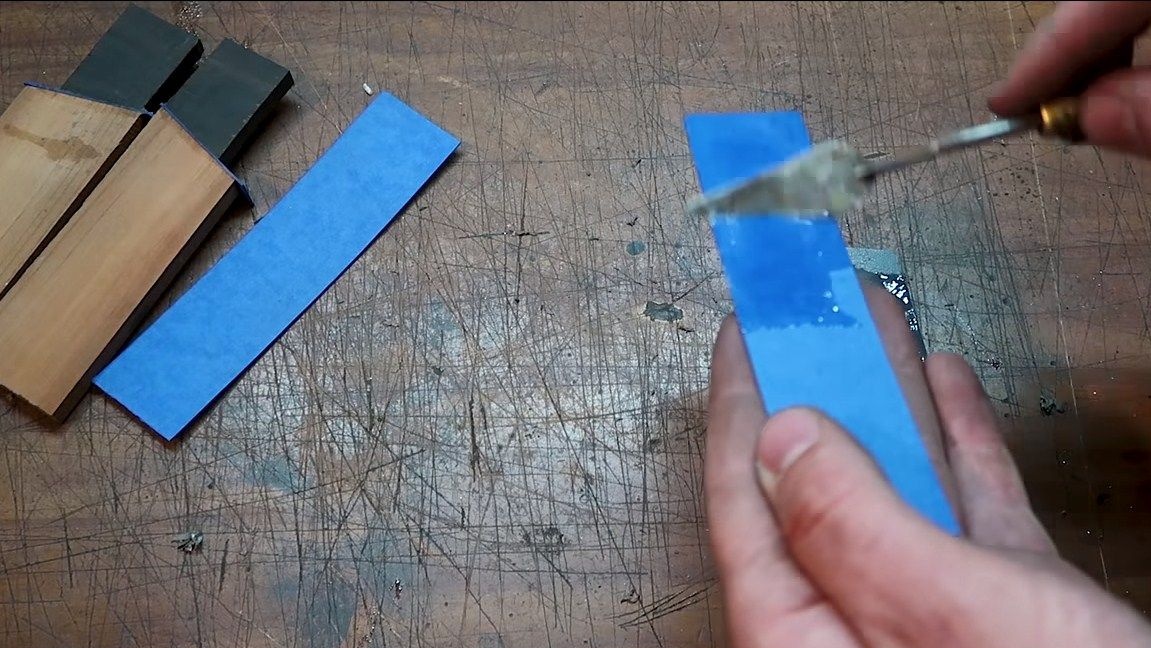
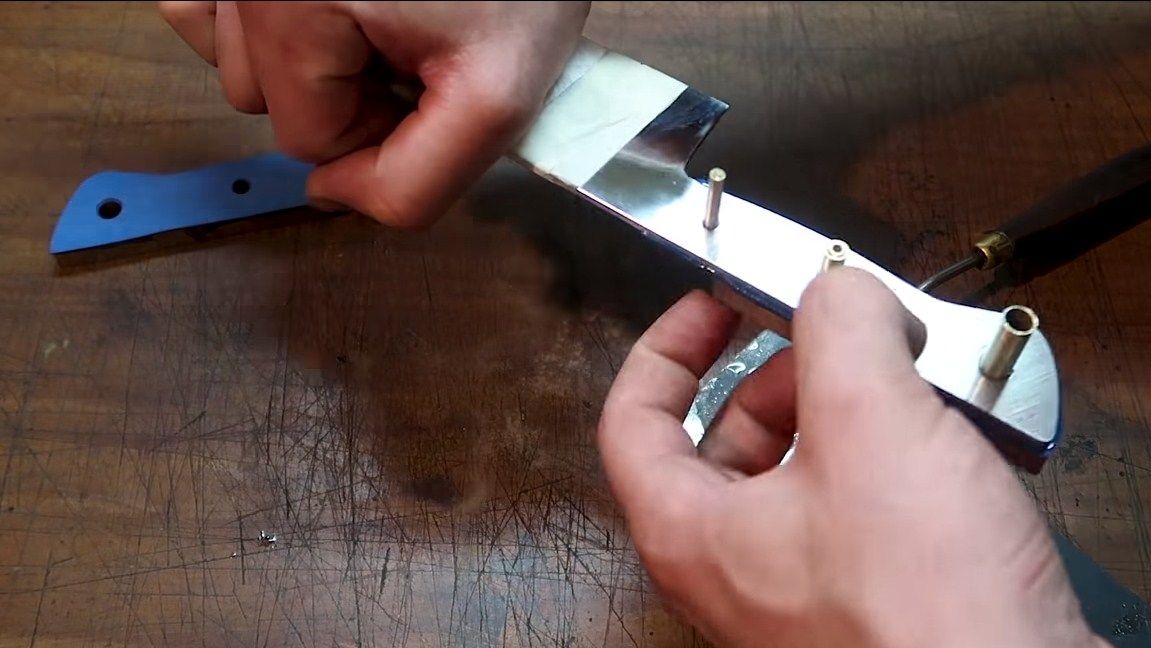
Step Eight. Glue the handle
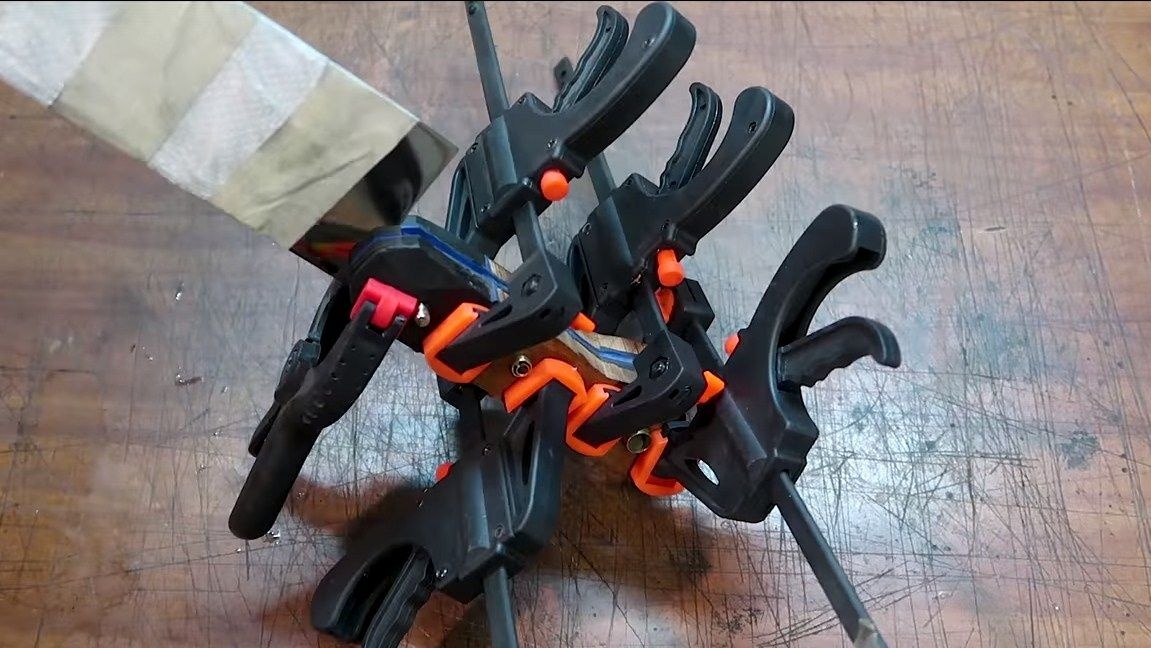
Lining can be glued on a knife. We install the pins, apply epoxy glue, and then carefully press the pads. The author used quick-drying glue from syringes for this. For ordinary glue, it is best to wait about a day. We place clamps along the entire length of the handle so that the pads do not form a gap anywhere.

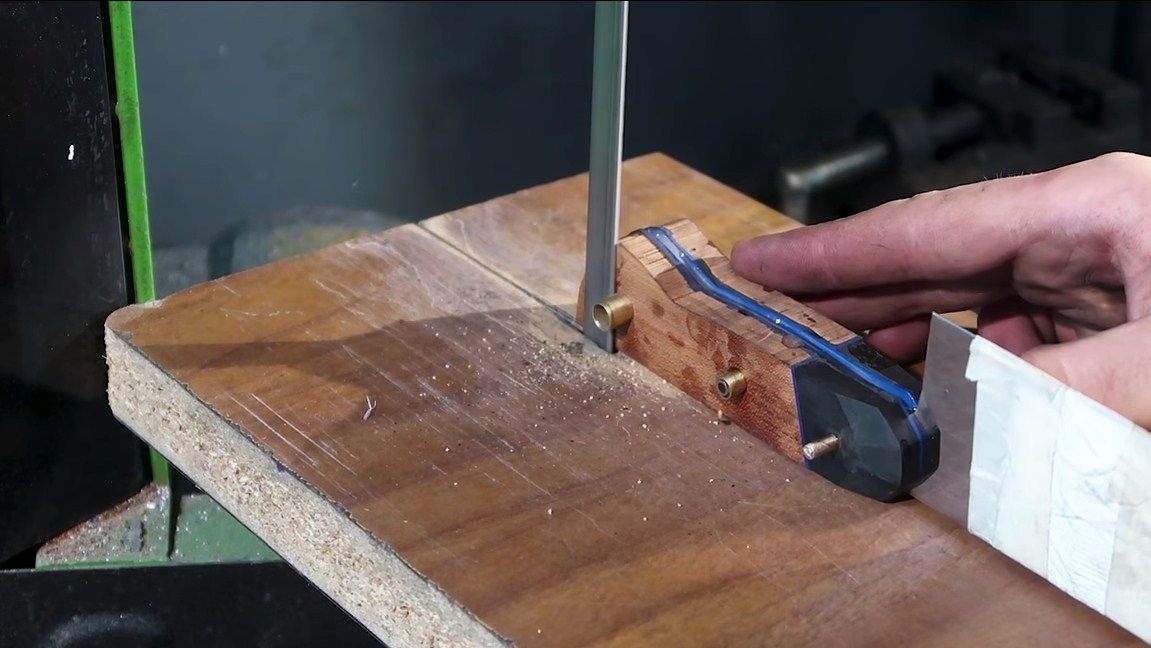
Step Nine. Getting started grinding the handle
When the glue is completely dry, you can proceed to grinding the handle. First, cut the brass pins. Next, we go to the belt sander and grind the plane of the handles. When the planes are aligned, we pass along the contour. Even in this form, the knife looks pretty pretty already.
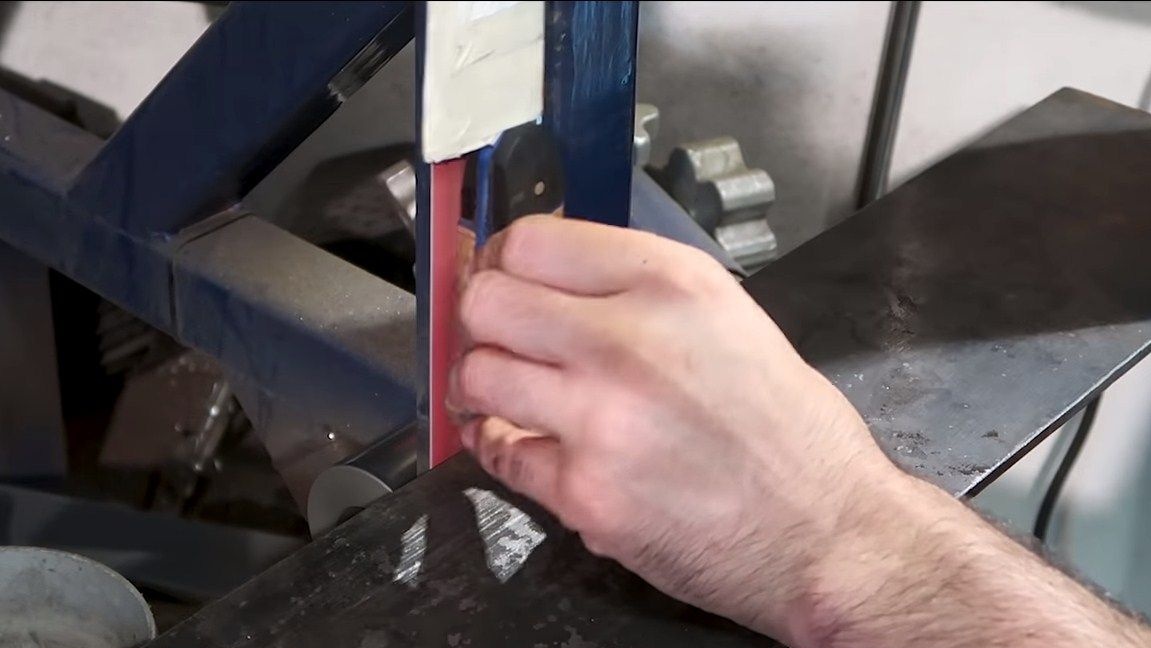
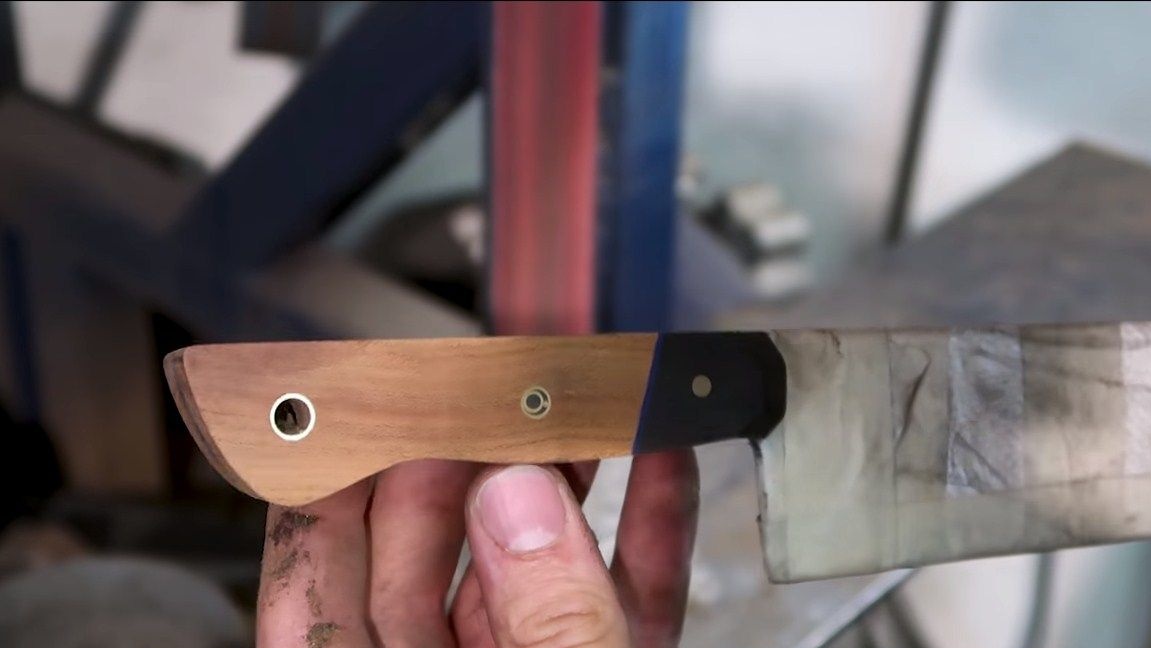
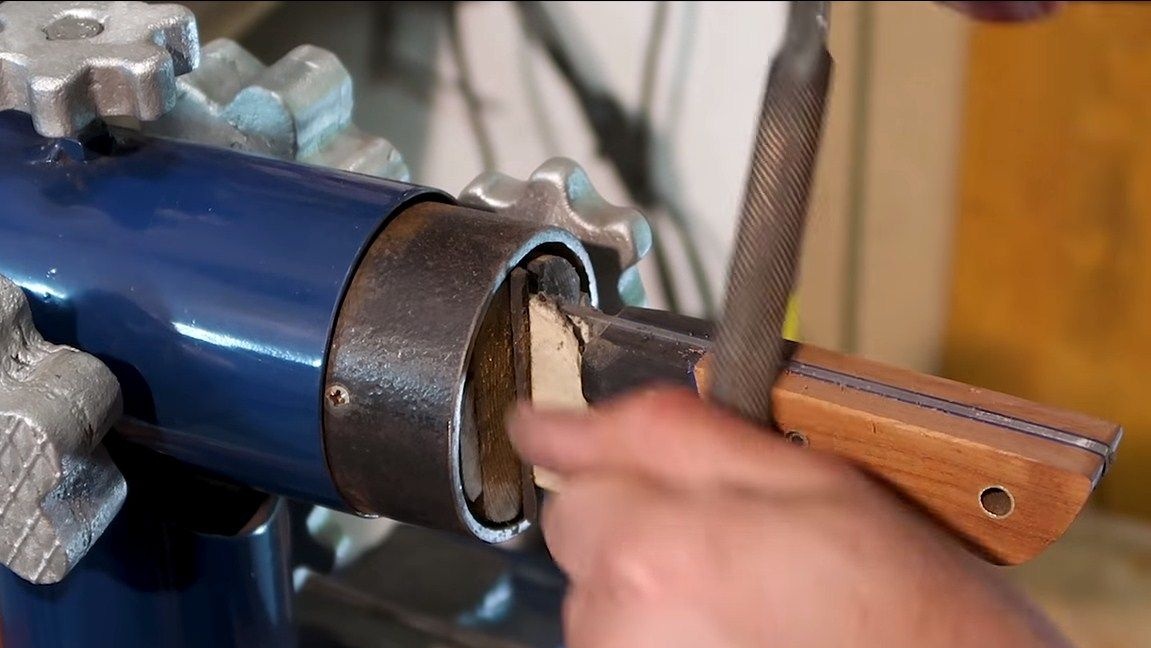
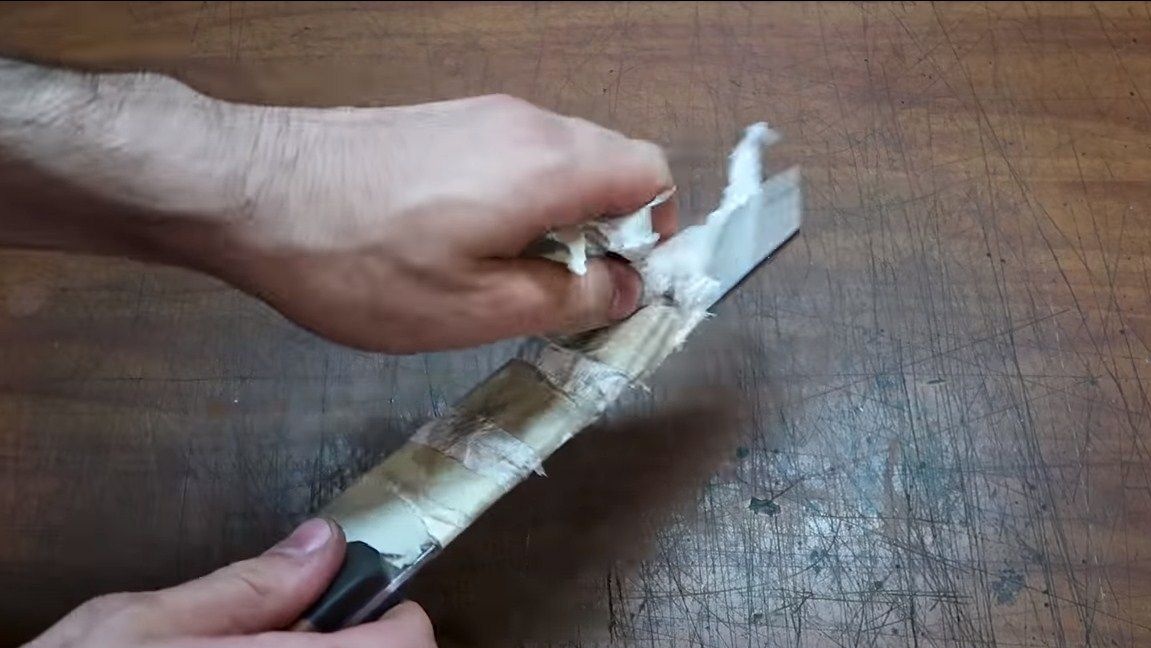
Well, then we are waiting for manual processing. The author sets the desired shape using a file.As a result, we perform manual grinding with fine sandpaper.
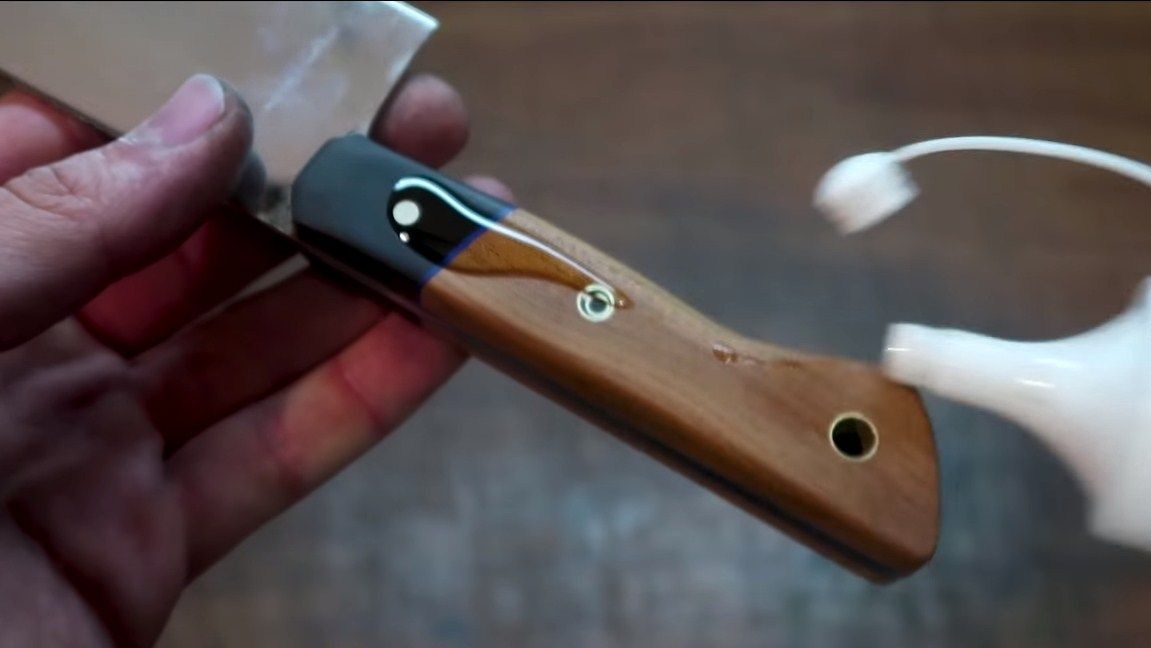
Step Ten Impregnate the handle
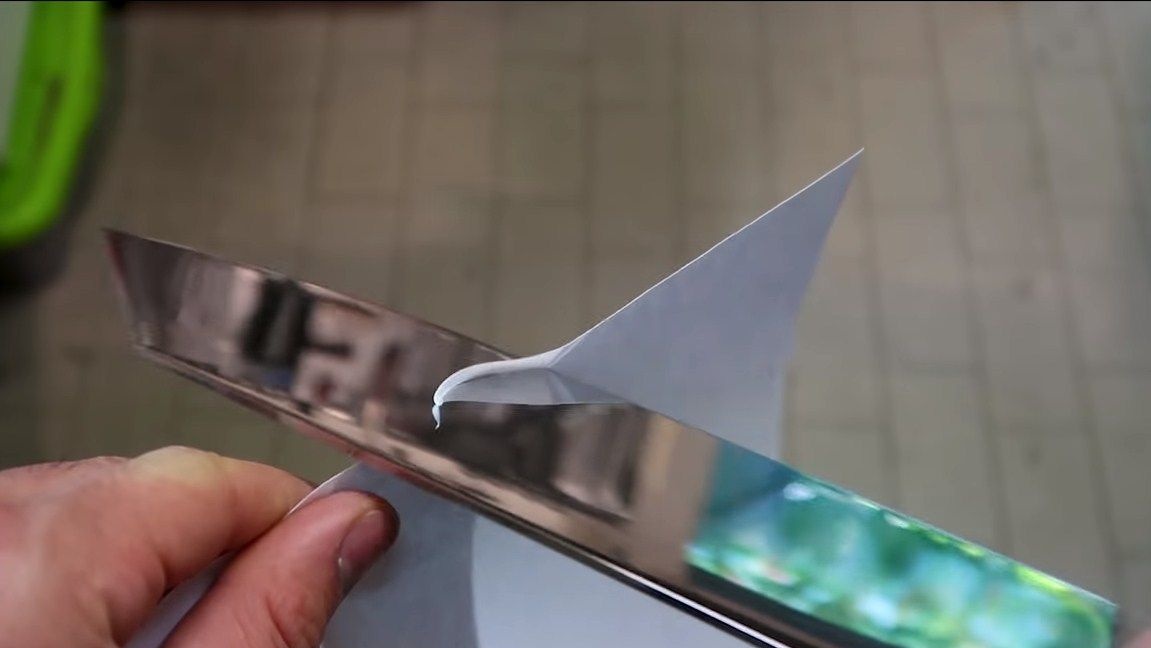
The knife is ready, now you can remove the protective film from the blade. We need to reliably protect the handle from moisture, as the tree will quickly deteriorate if there is nothing to be done. As a reliable protection we use oil, we impregnate it with wood. You can dip the handle in oil for several days. After that, the tree will no longer absorb moisture, and the handle will look very nice.
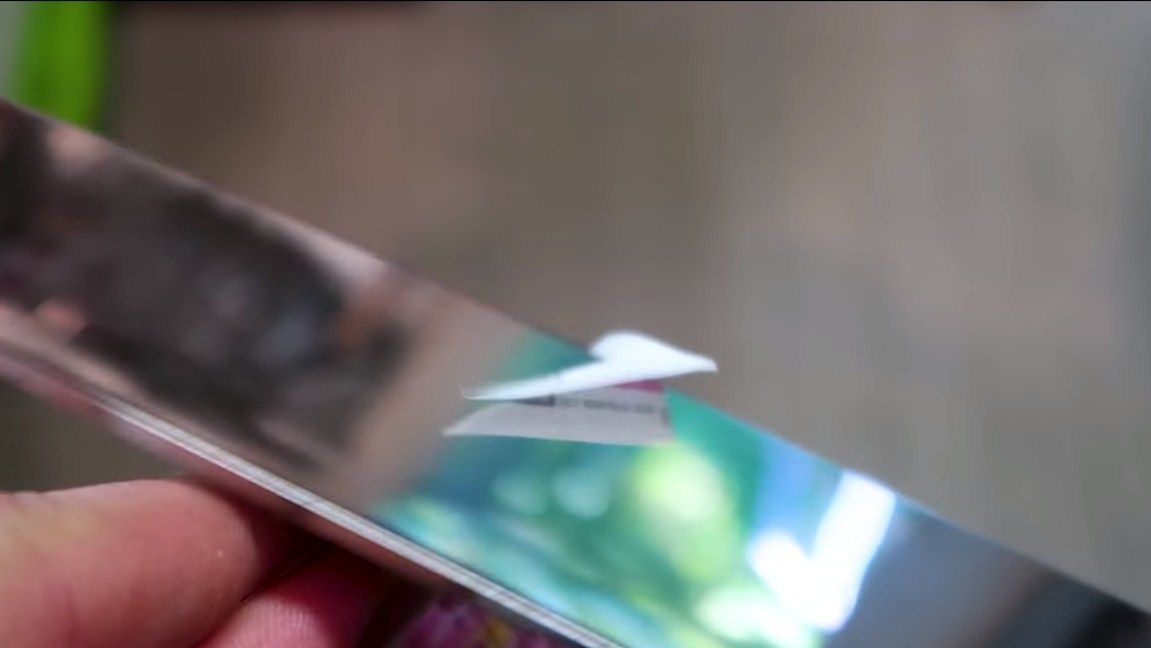
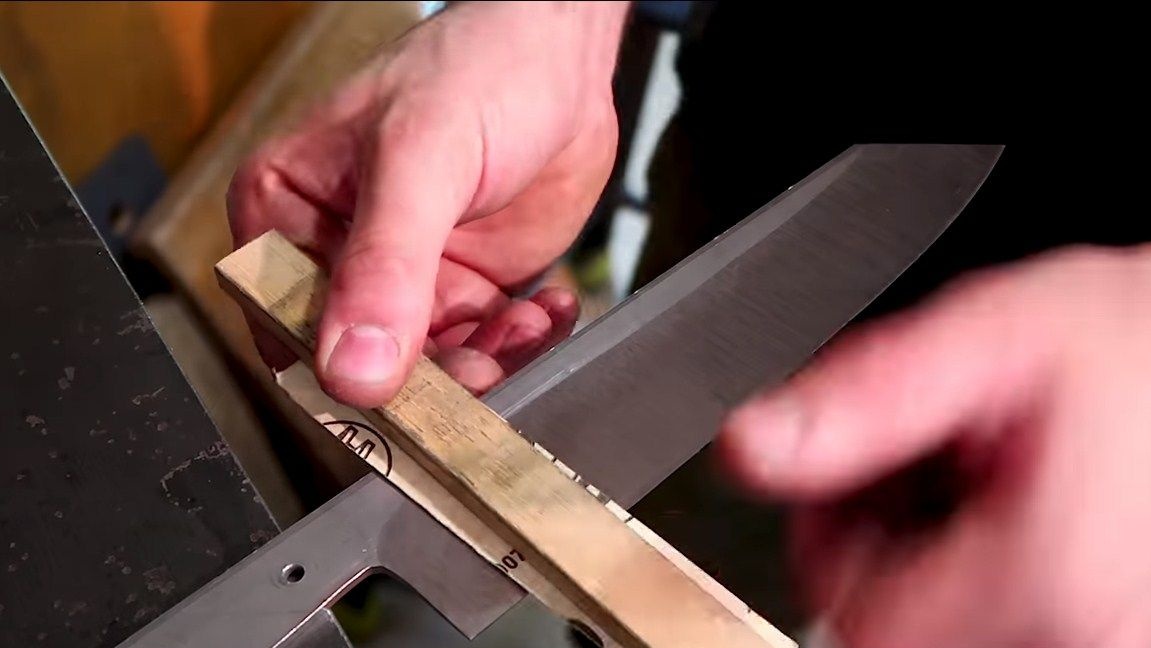
Step eleven. Sharpening and testing
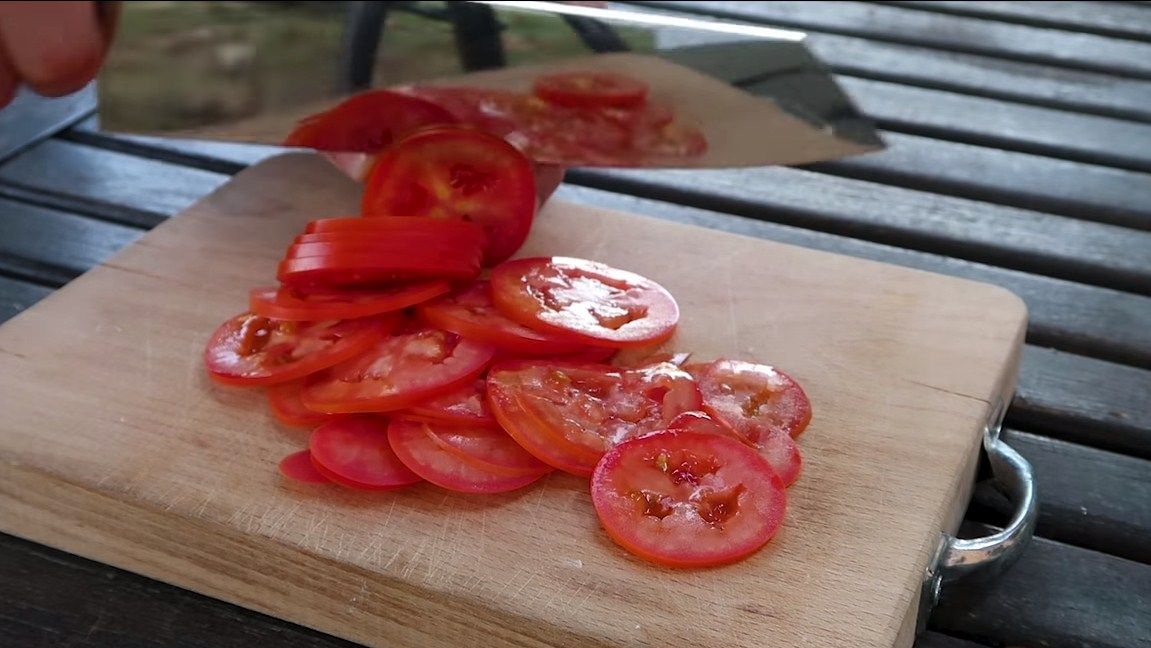
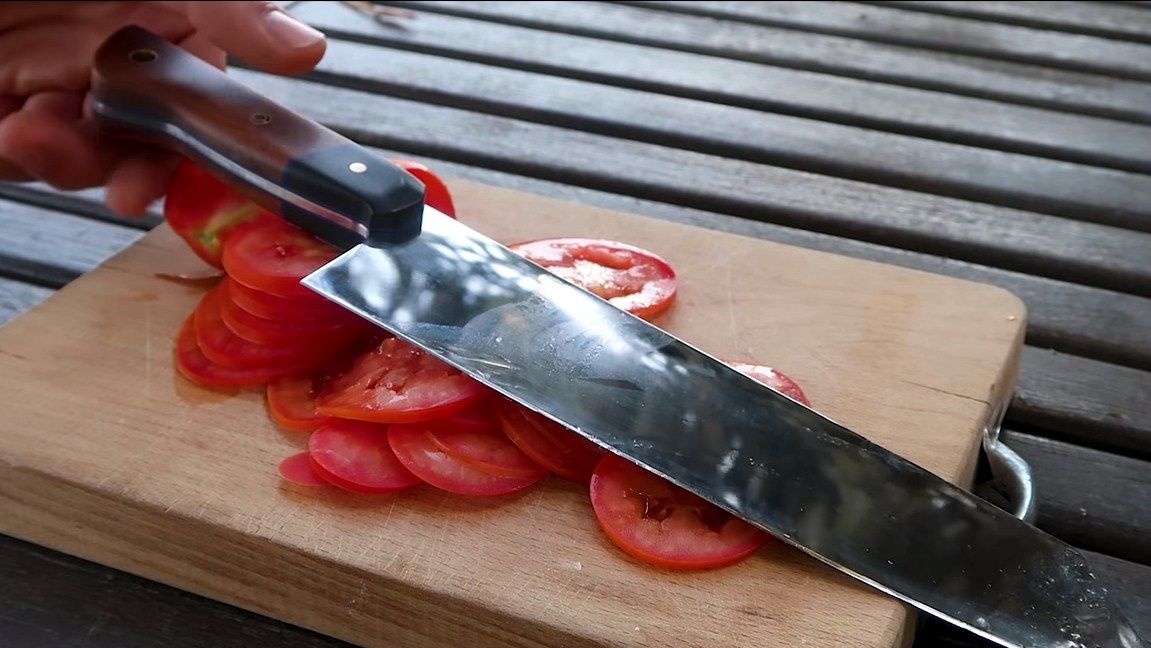
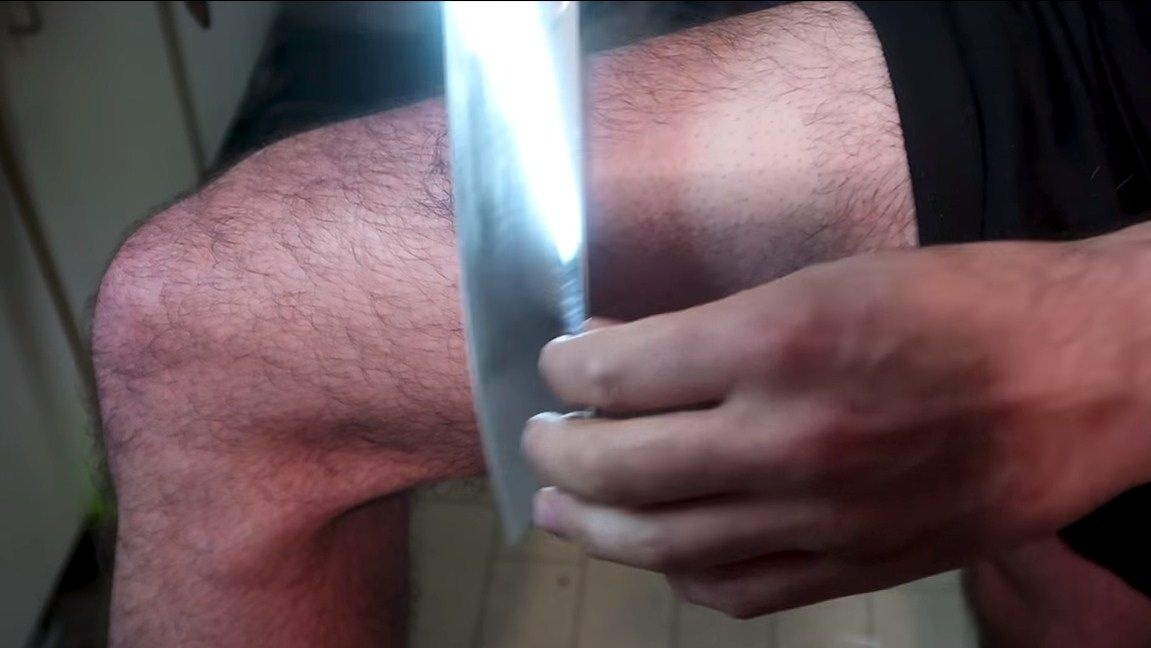
Proceed to sharpen the knife. To do this, use Japanese water stones, fine sandpaper or other sharpening tools. The author managed to sharpen the knife to a blade state. This knife not only cuts plain paper without difficulty, but also cuts paper from checks, which is very thin, into very thin pieces.
As a conclusion, we have a very reliable, strong, sharp and beautiful knife!