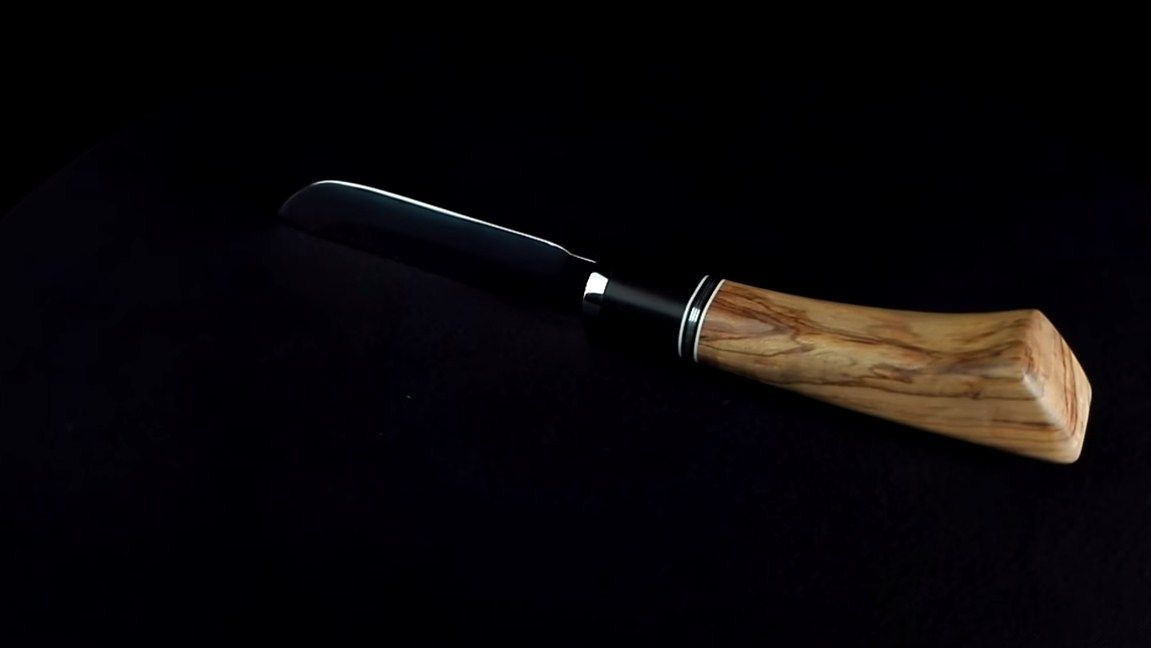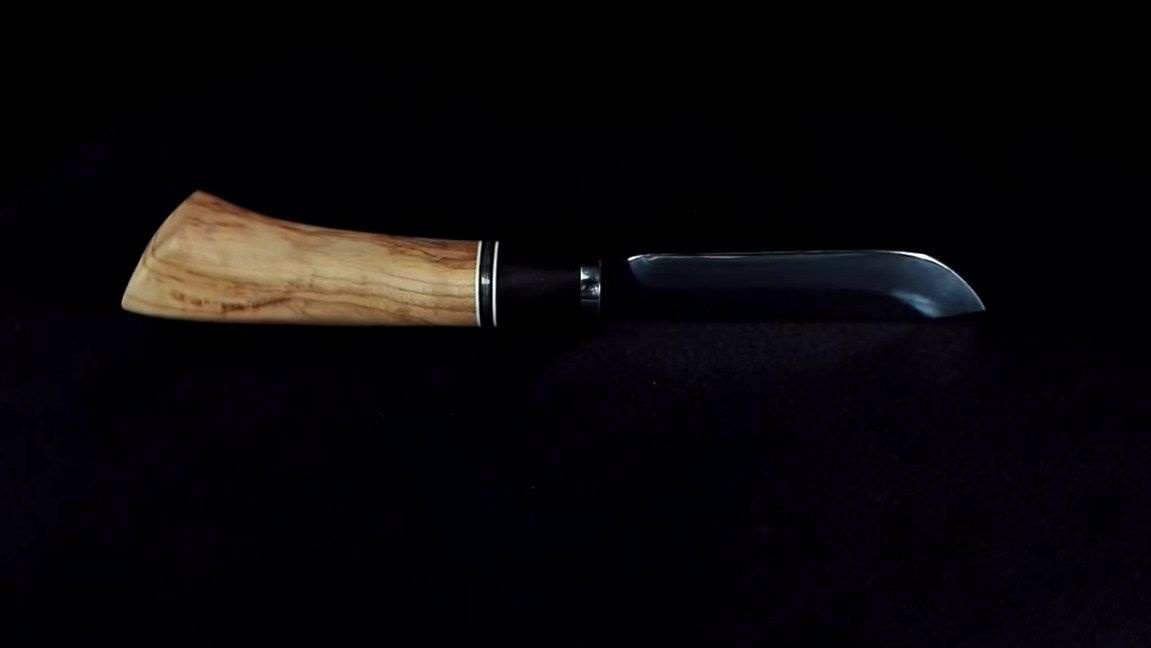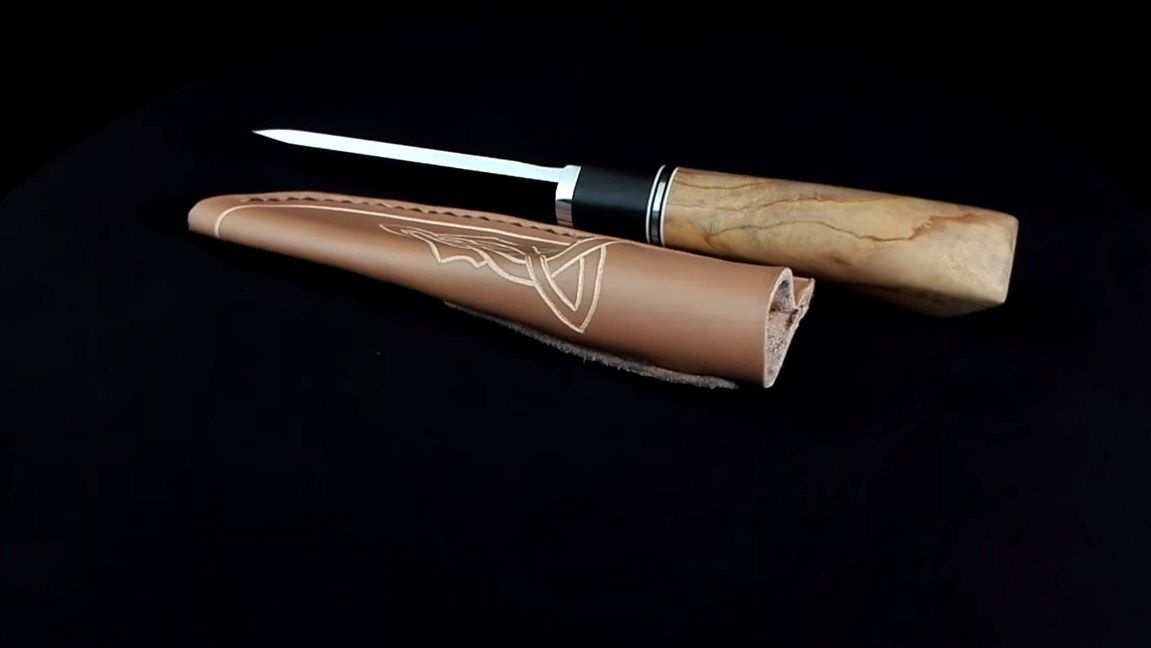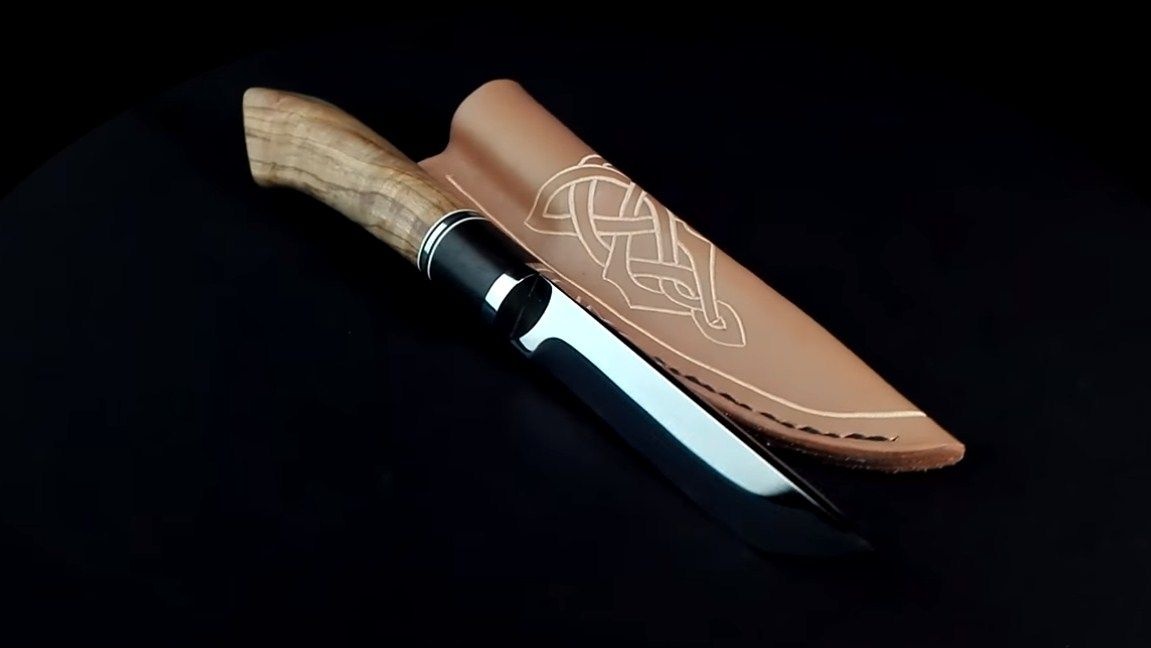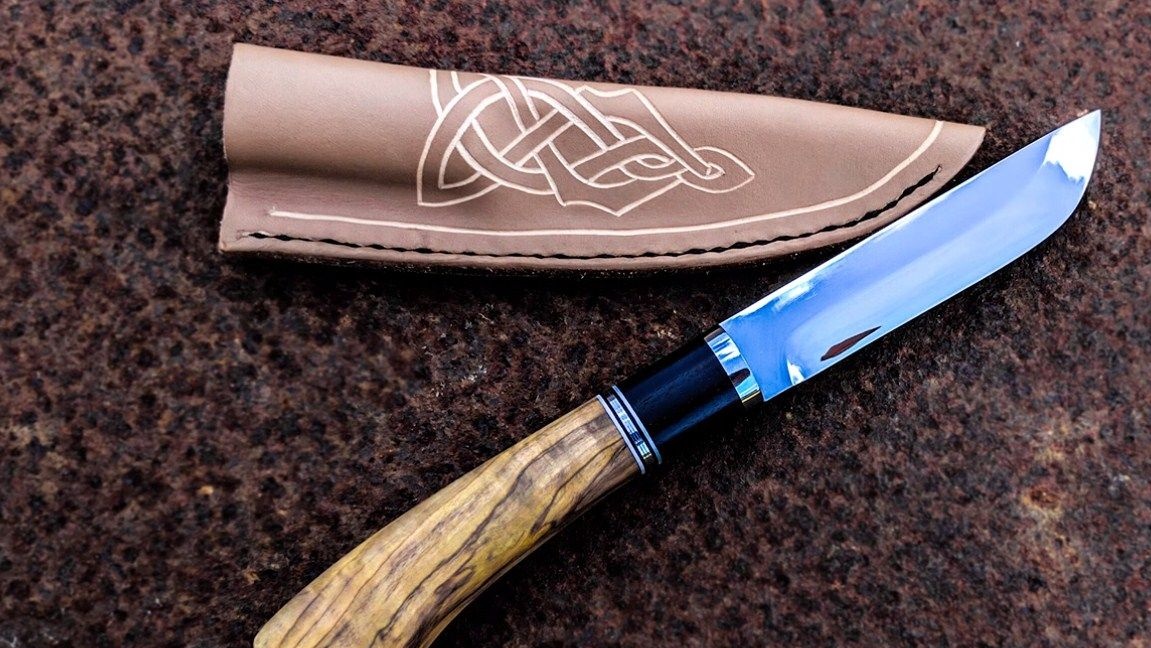
Greetings to connoisseurs of good knives. I present to your attention a high-quality and beautiful knife that can be made do it yourself. Such a knife can be completely used as a hunting knife, with the help of it you can easily skin game and not only. The blade is sharp, strong, resistant to rust, and the handle is comfortable, beautiful and not afraid of damp.
Such a knife is made of steel 1070 5 mm thick. This steel belongs to tool, it is distributed abroad. Metal is good because it is inexpensive, easy to get, and knives cut well. It is best to take steel 1095, it contains more carbon, the knife will hold sharpening longer. Still these became good in that they very easily harden on the eye in home conditions, oil is used for hardening. If you wish, you can choose a similar grade of steel with additives that will prevent rust, for example, with chrome. So, we will consider in more detail how to make such a knife!
Materials and tools used by the author:
Material List:
- steel 1070 (or similar);
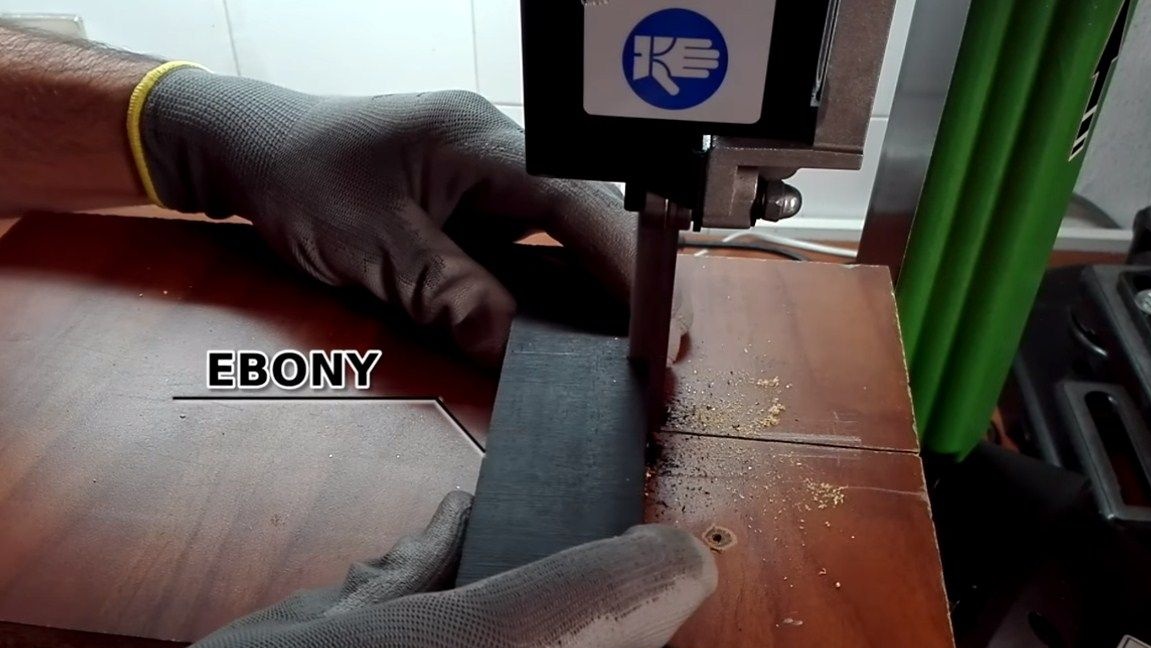
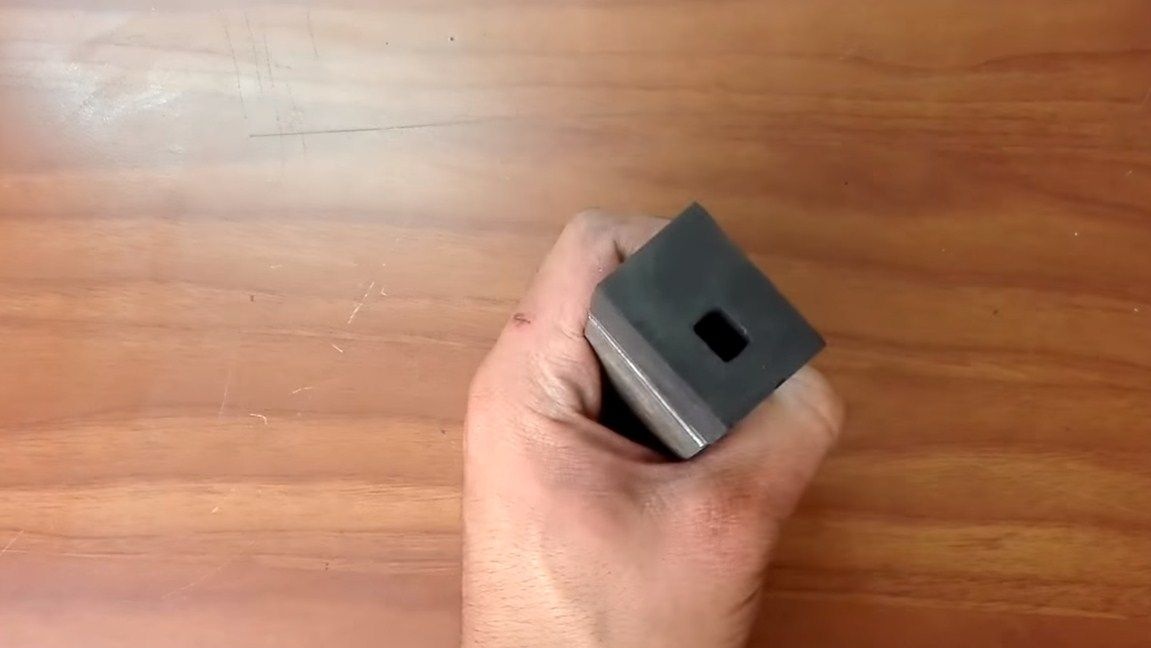
- ebonite;
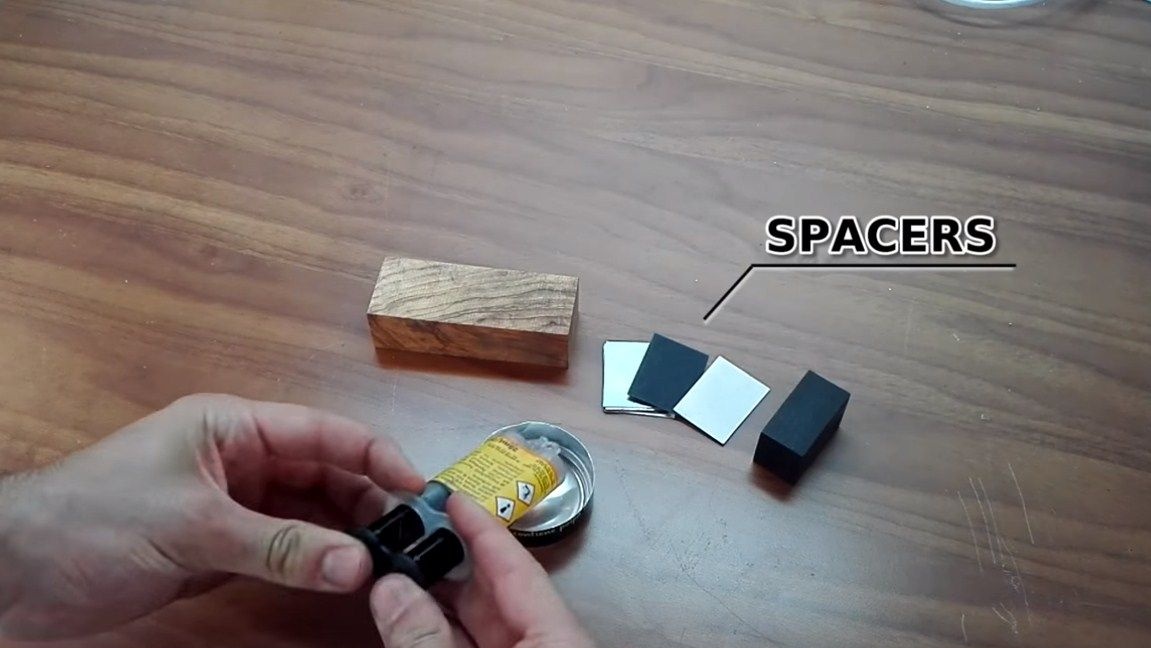
- plates of aluminum (or other metal for inserts);
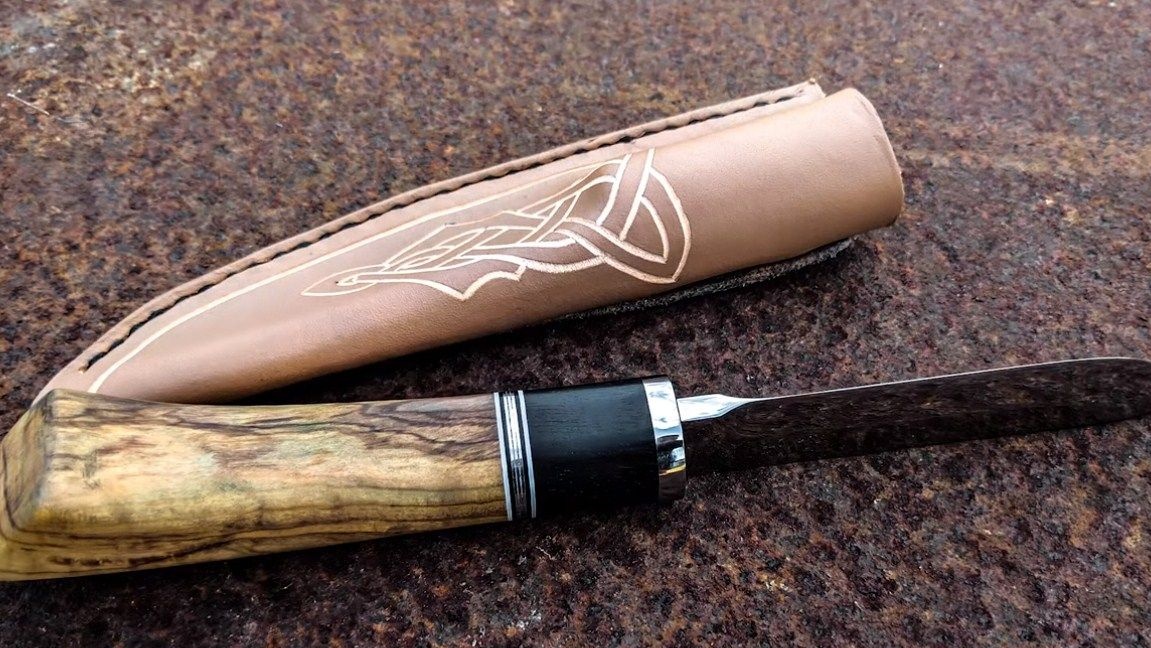
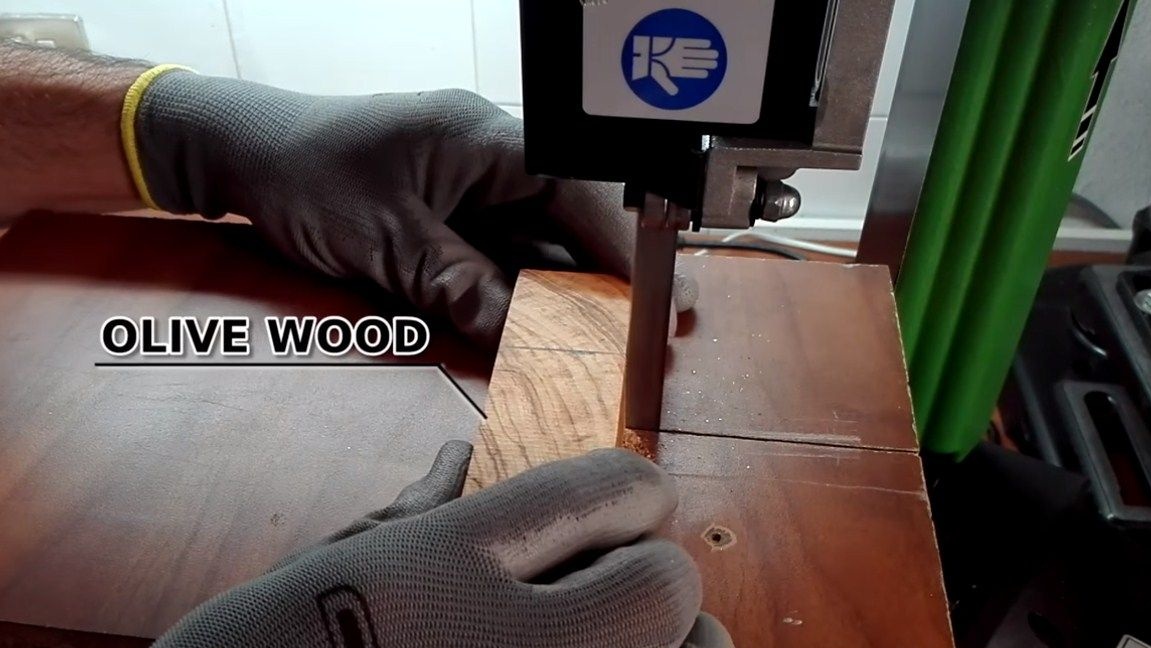
- a piece of wood for a pen (the author used an olive tree);
- sheet metal for the front of the handle;
- epoxy adhesive;
- oil for wood impregnation.
Tool List:
- belt sander;
- drilling machine;
- polishing machine;
- clamps;
- sandpaper;
- tape cutting machine;
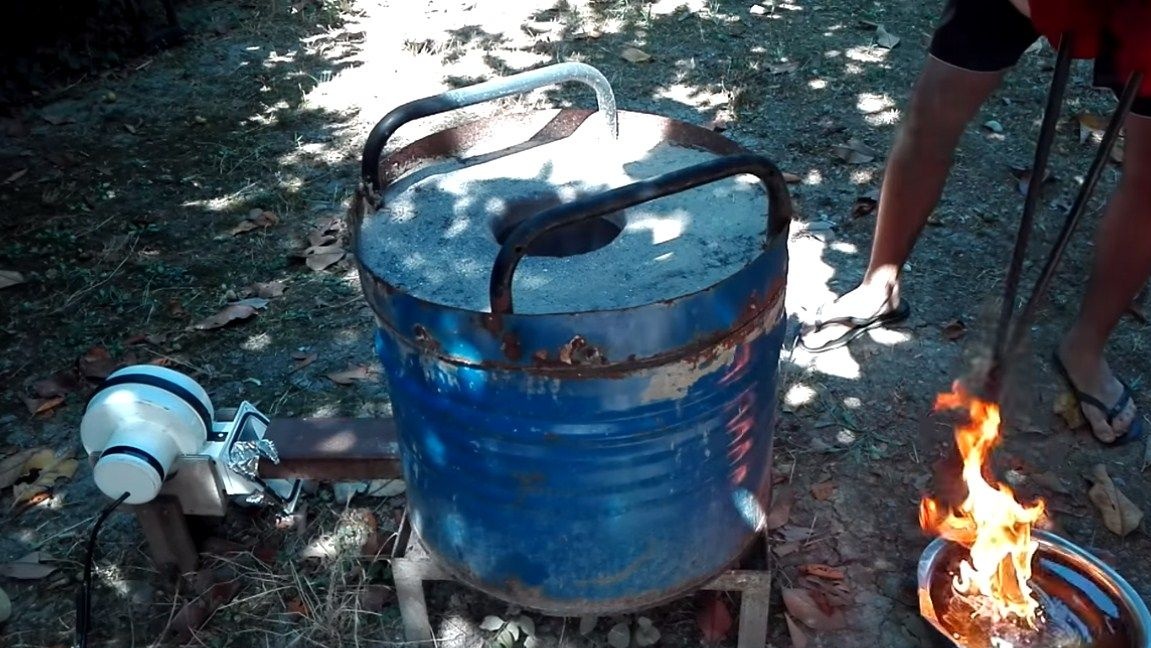
- forging furnace, oven, hardening oil;
- drawing accessories, paper (for a template).
The process of making a knife:
Step one. Cut the main profile
First, make a template for the future knife. The author first made it out of paper, and then made a similar one from cardboard. If you print templates on a printer, they can simply be glued to the workpiece. And if there is no printer, it is better to make one template from cardboard or other material for multiple use.
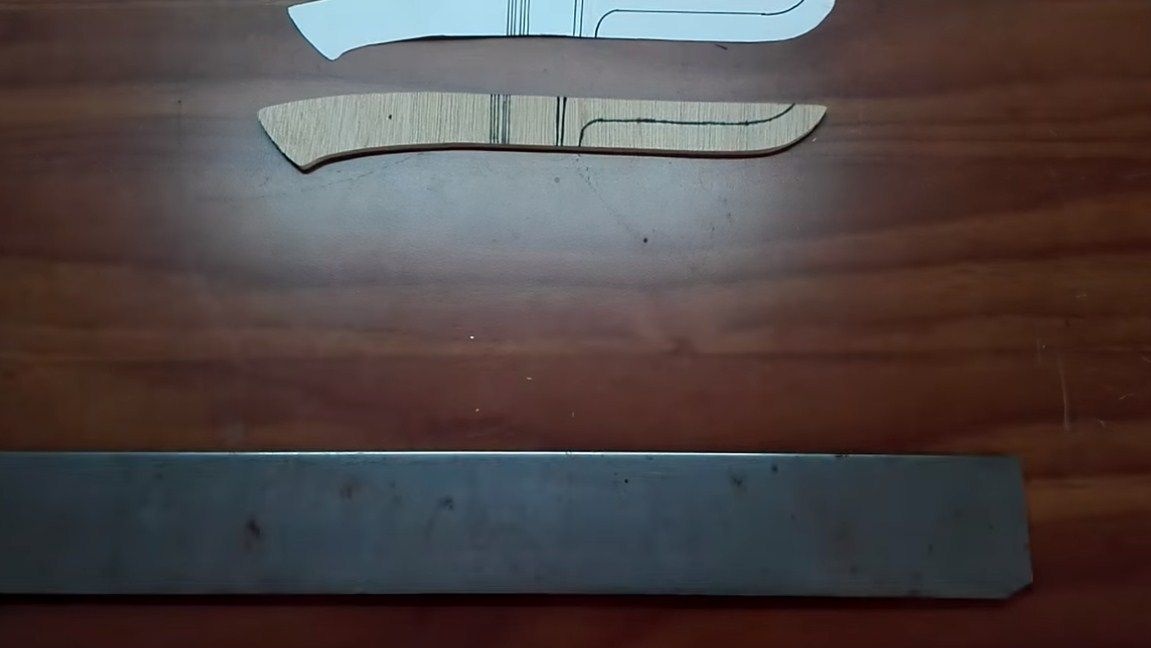
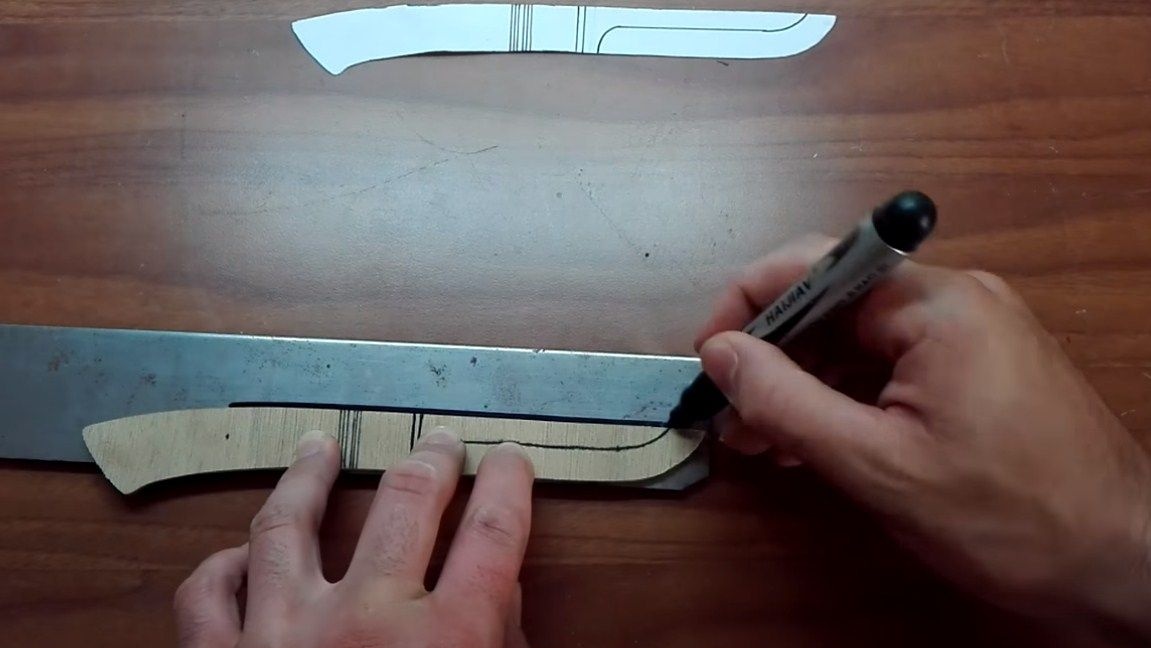
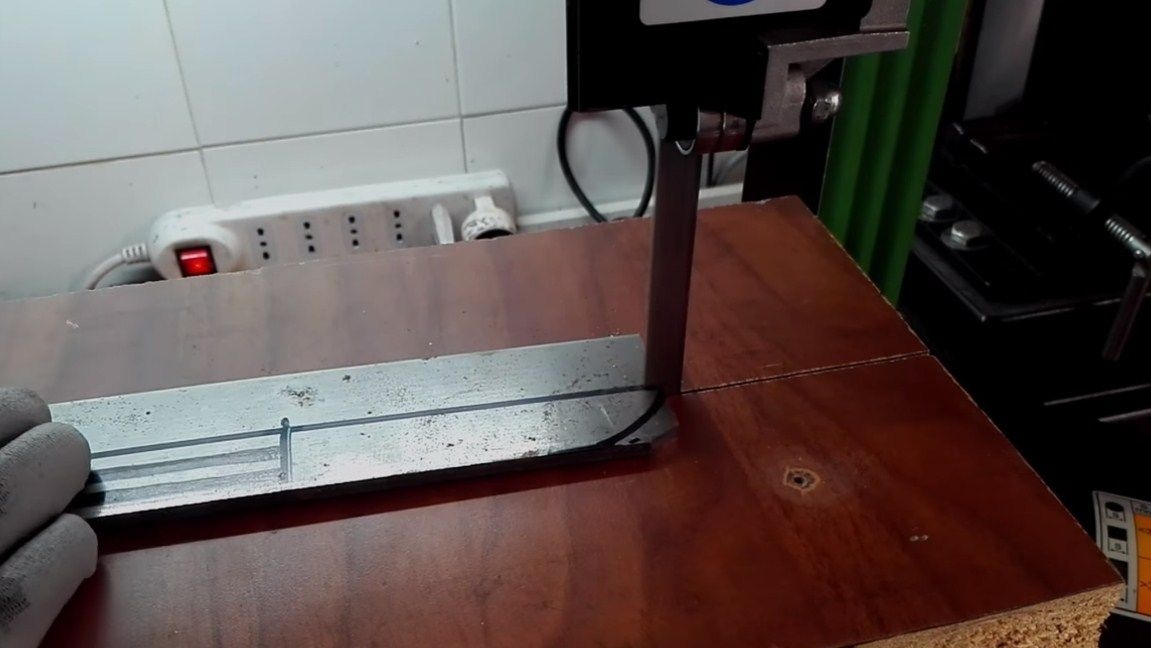
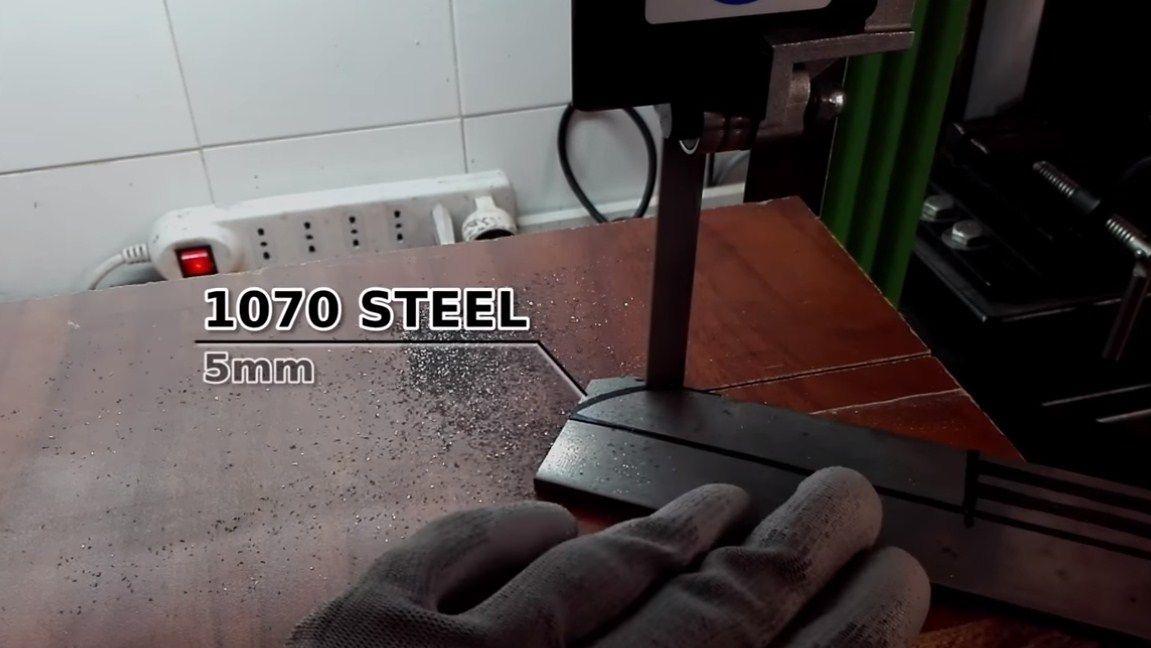
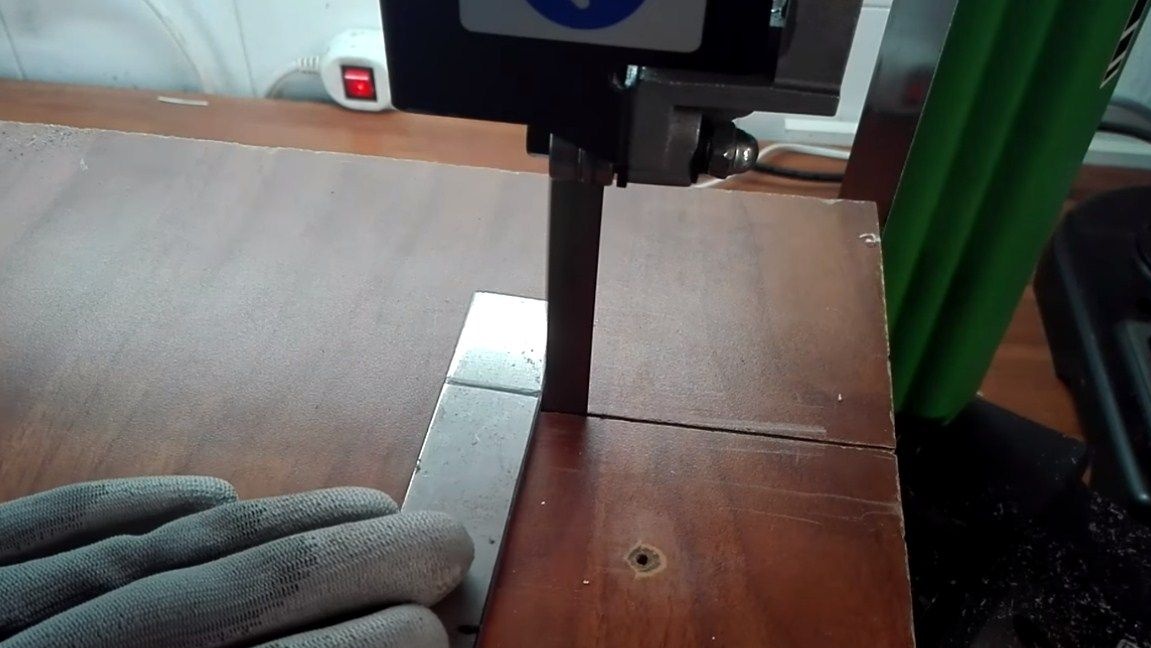
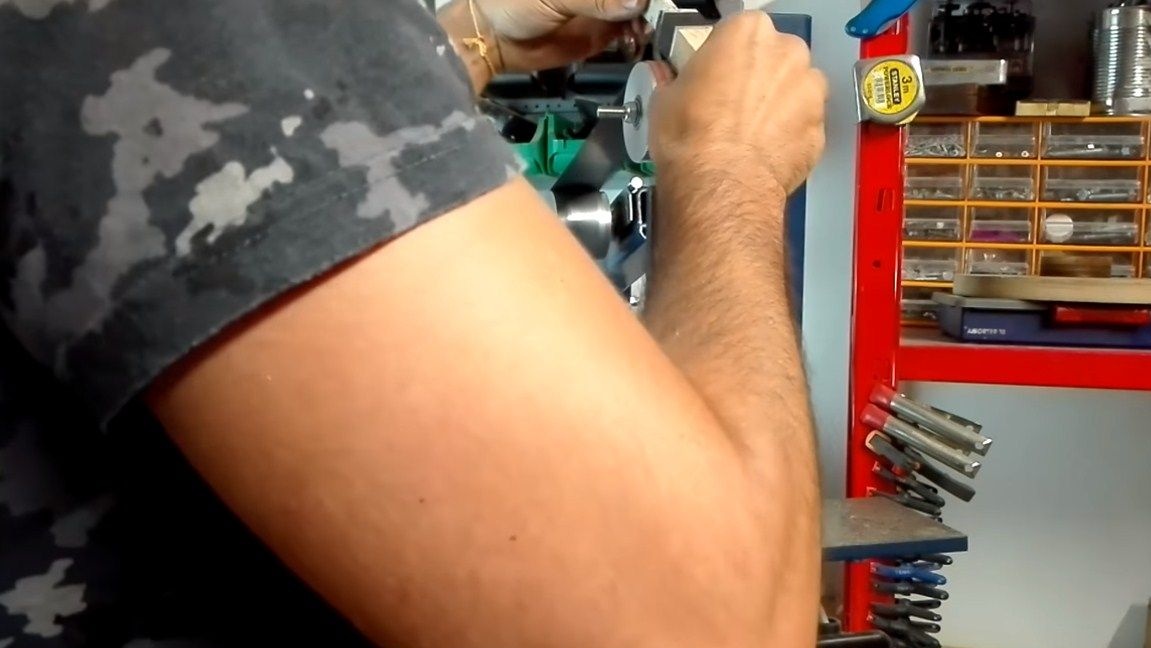
We circle the template with a marker and start cutting. A tape cutting machine is best suited for these purposes. It does not form sparks, does not overheat metal, and so on. In extreme cases, you will be able to cope with this task with the help of a grinder, but after that there will be a lot of grinding.
Step Two Grinding and beveling
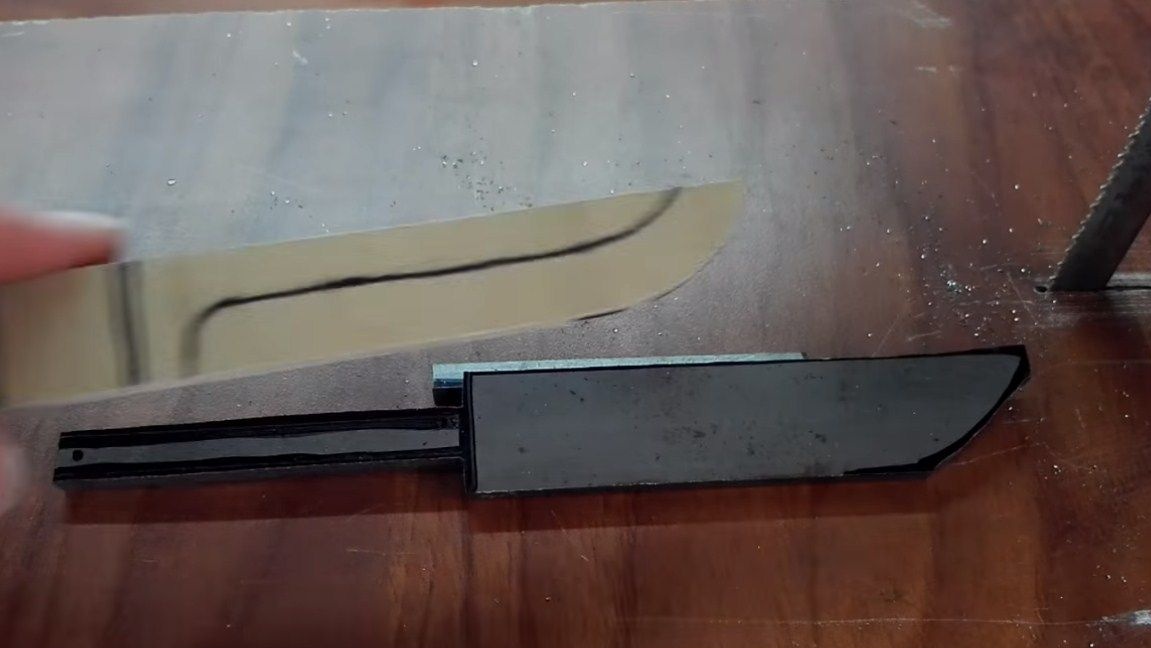
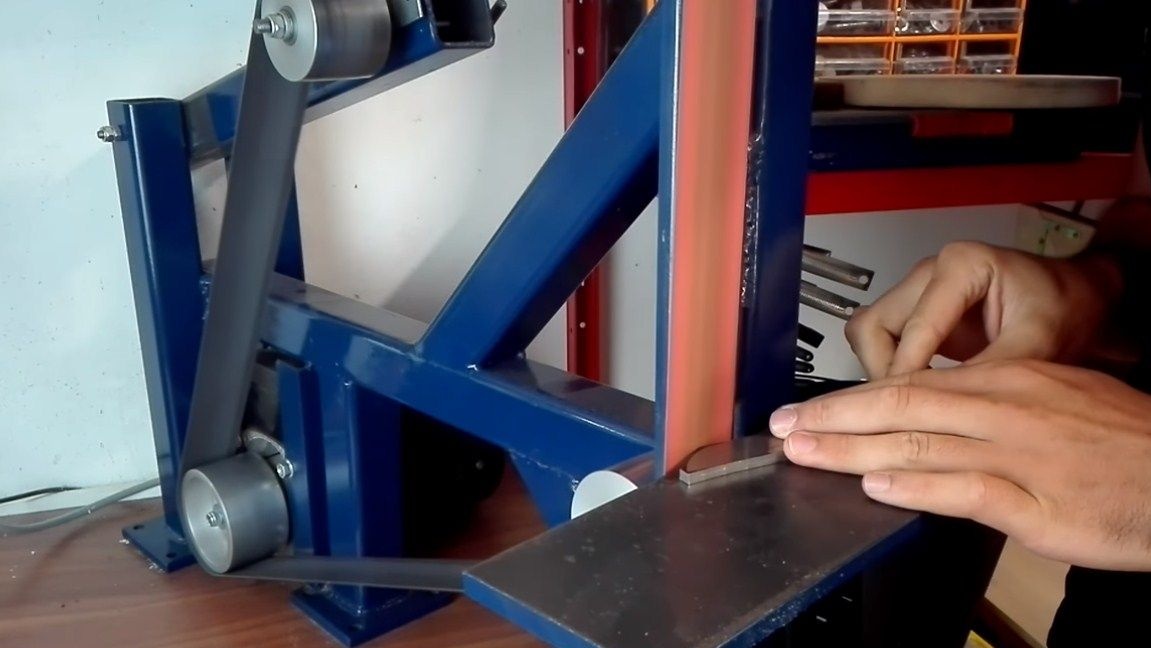
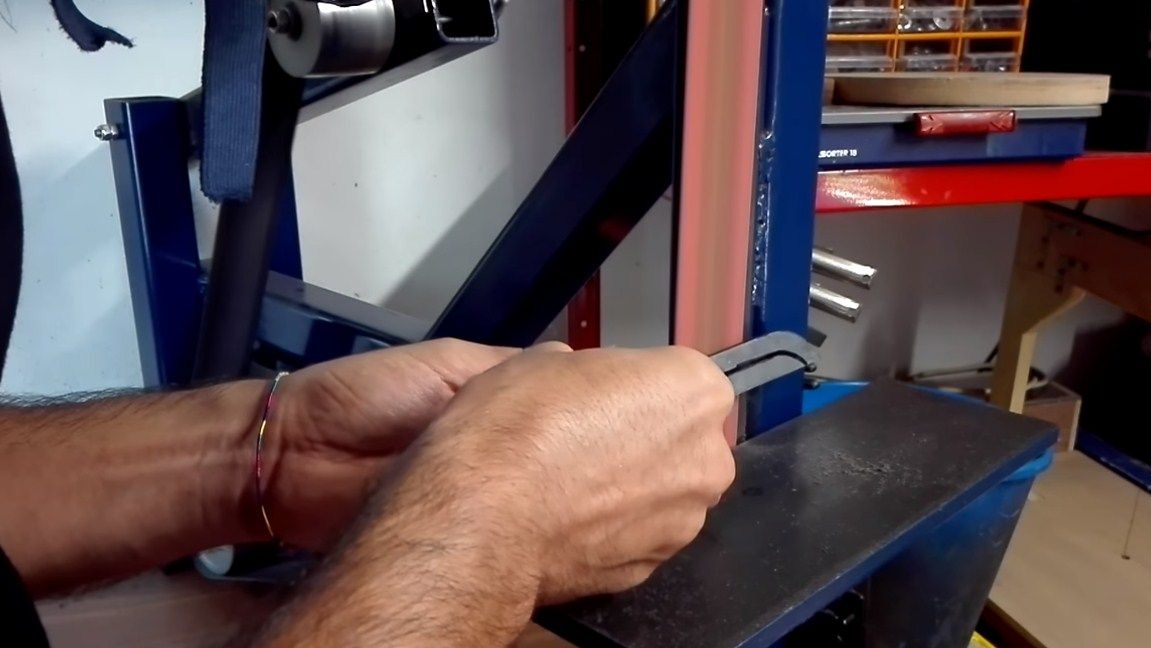
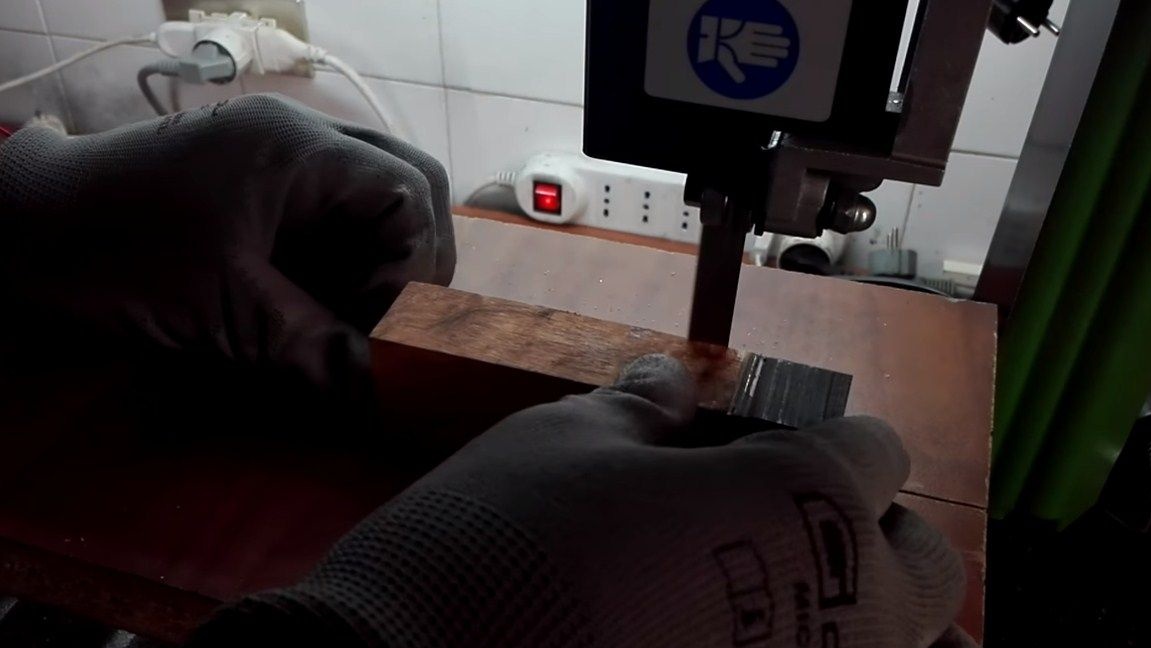
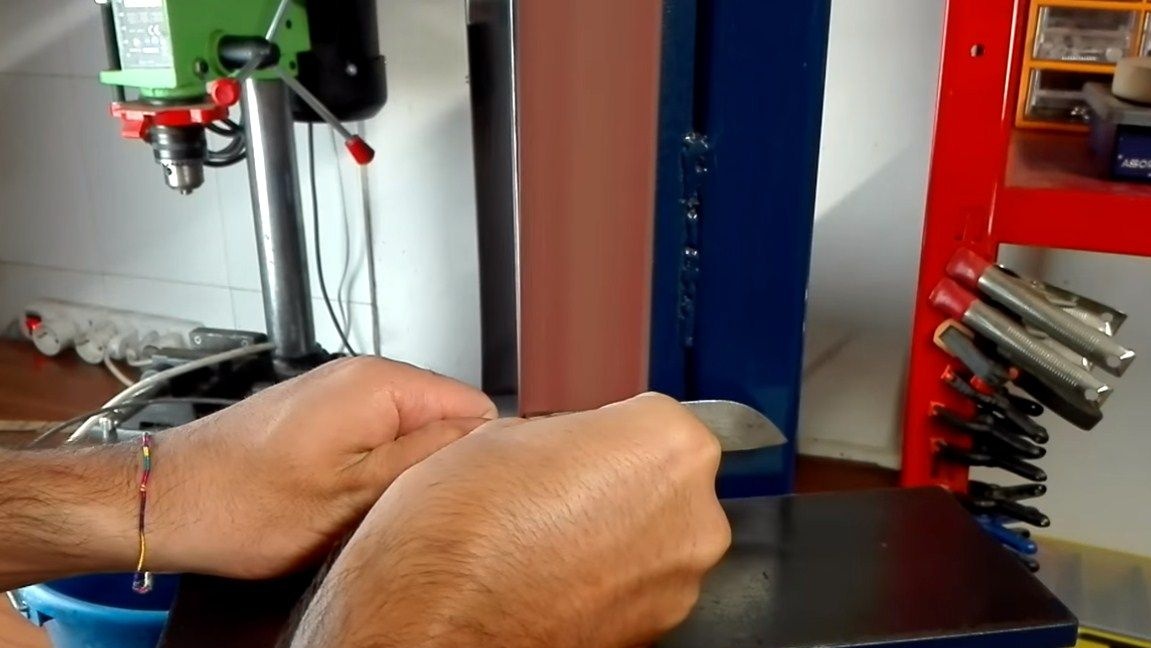
After cutting, the knife profile must be brought to the final version. We carefully process it along the contour with a belt sander. If this is not the case, go through files, a drill and sandpaper.
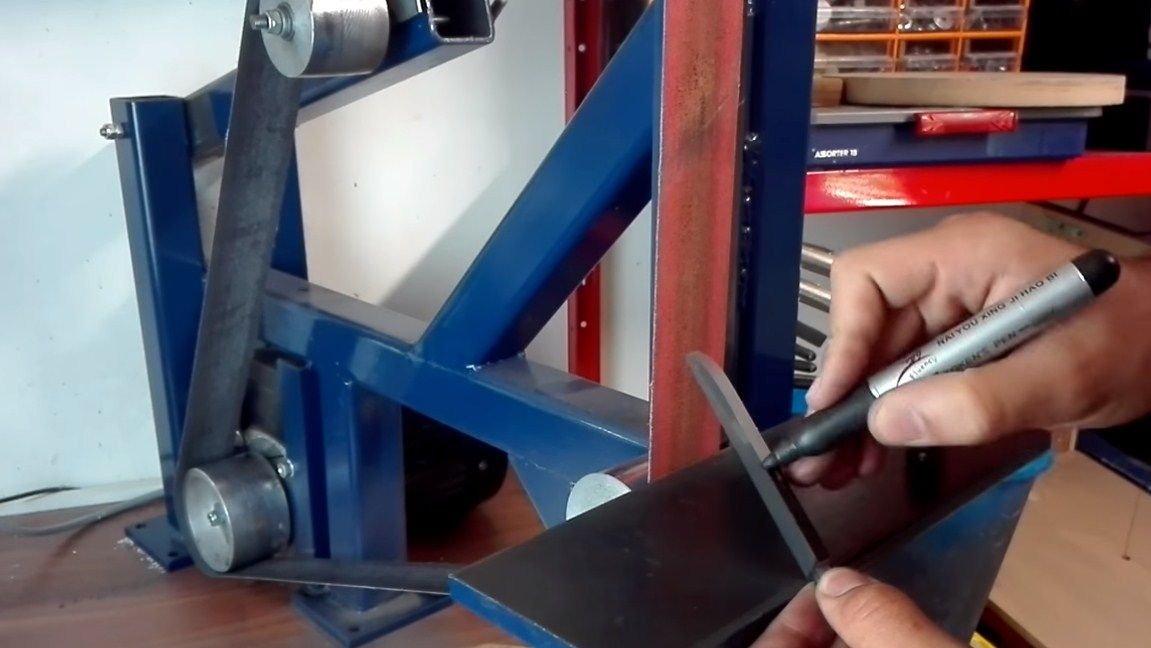
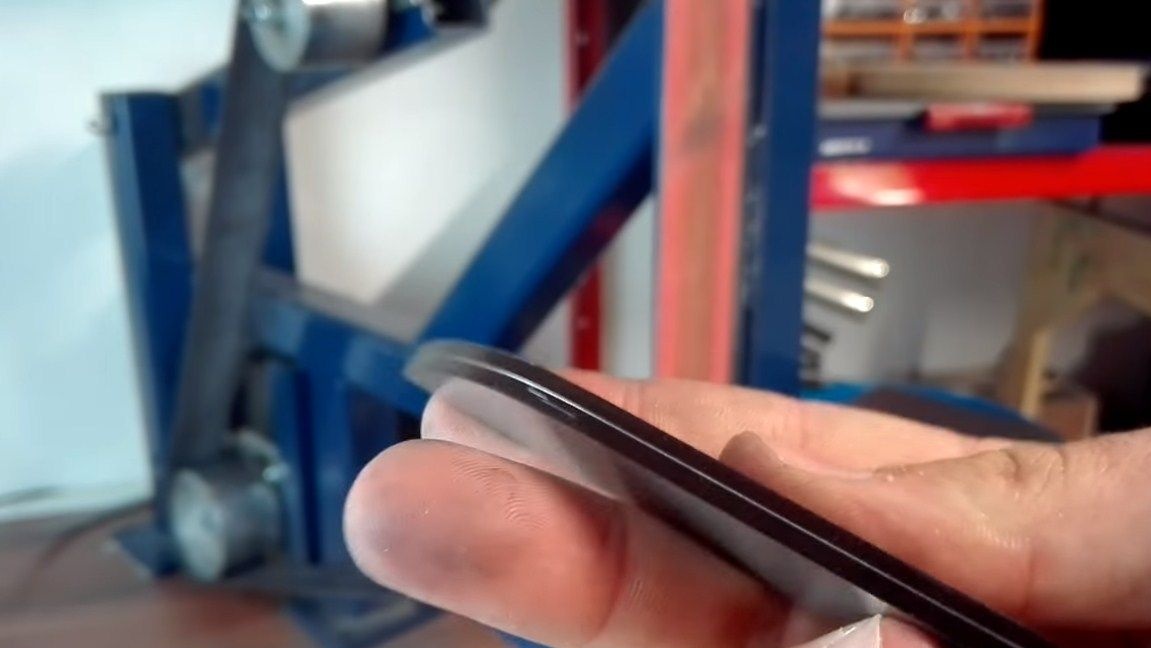
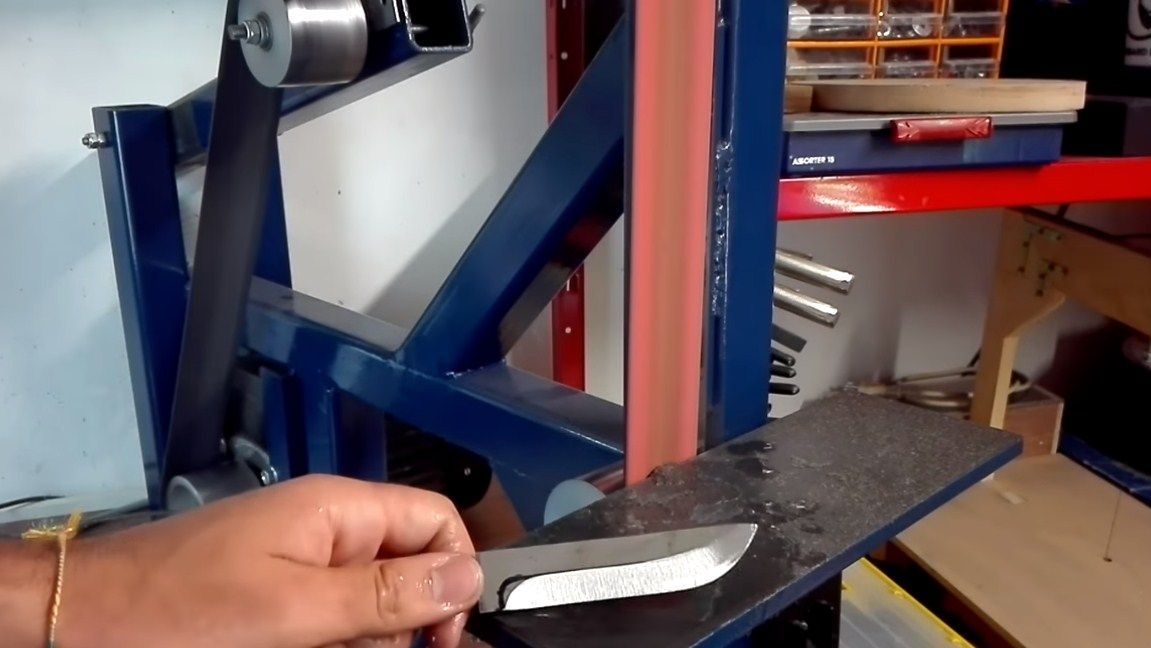
Next, it is time to form the bevels on the knife. Here it is important to remember one rule - before hardening, the blade should not be sharpened, because at high temperature alloying elements burn out in the region of a thin section of metal and steel turns into ordinary raw. Leave the blade thickness at least 2 mm.
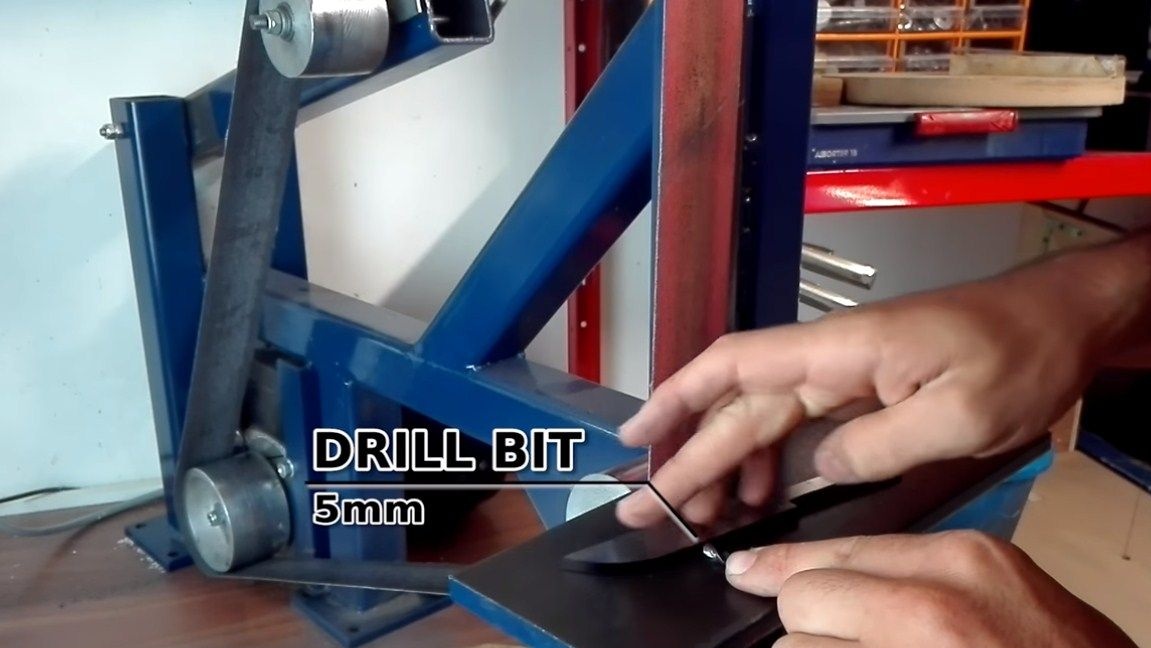
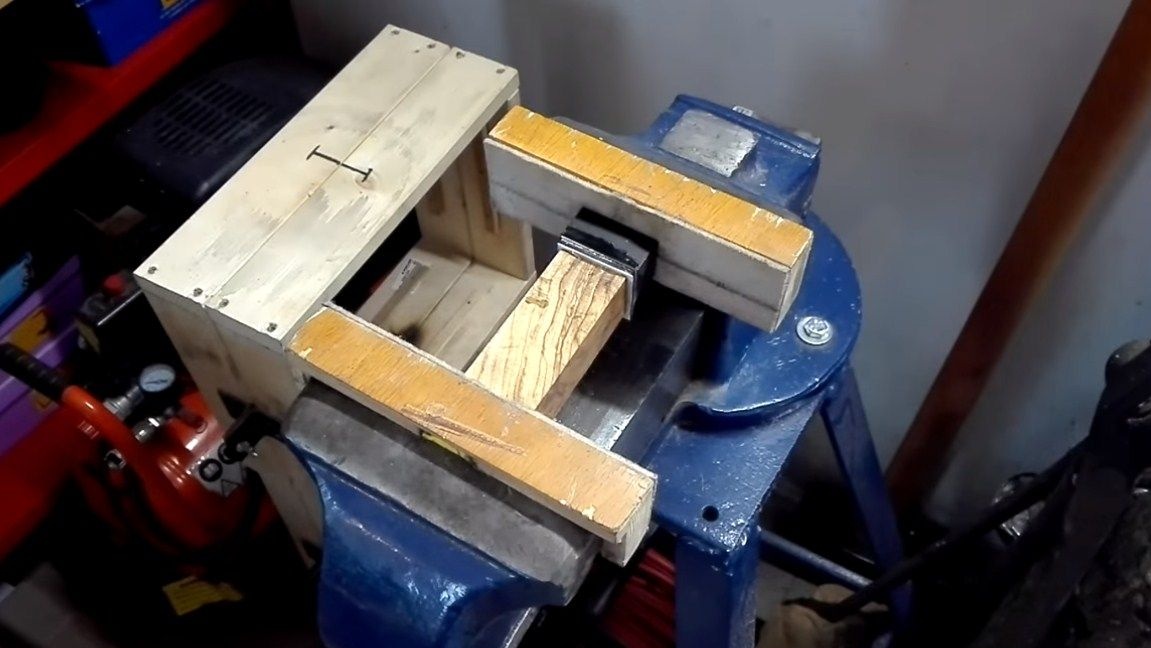
To make the bevels qualitative, determine in advance their width, usually the necessary lines are drawn using a caliper. We also draw a center line along the blade, eventually dividing it into two halves. To make everything clearly visible, paint over this area with a marker. And then we take a drill with a diameter of 5 mm (like the thickness of our workpiece) and draw a line. We start grinding, the author works on a belt grinder by hand, periodically cooling the blade in water. In general, for this they use special clamps for blades, which allows you to do the job faster and better.
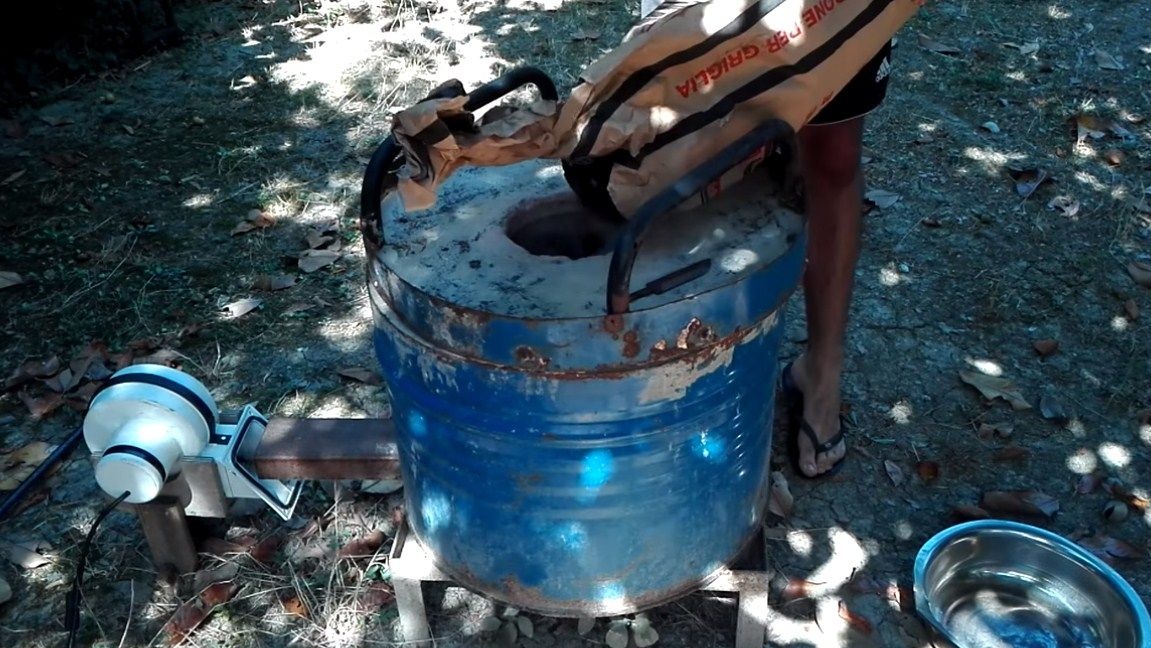
Step Three Quenching
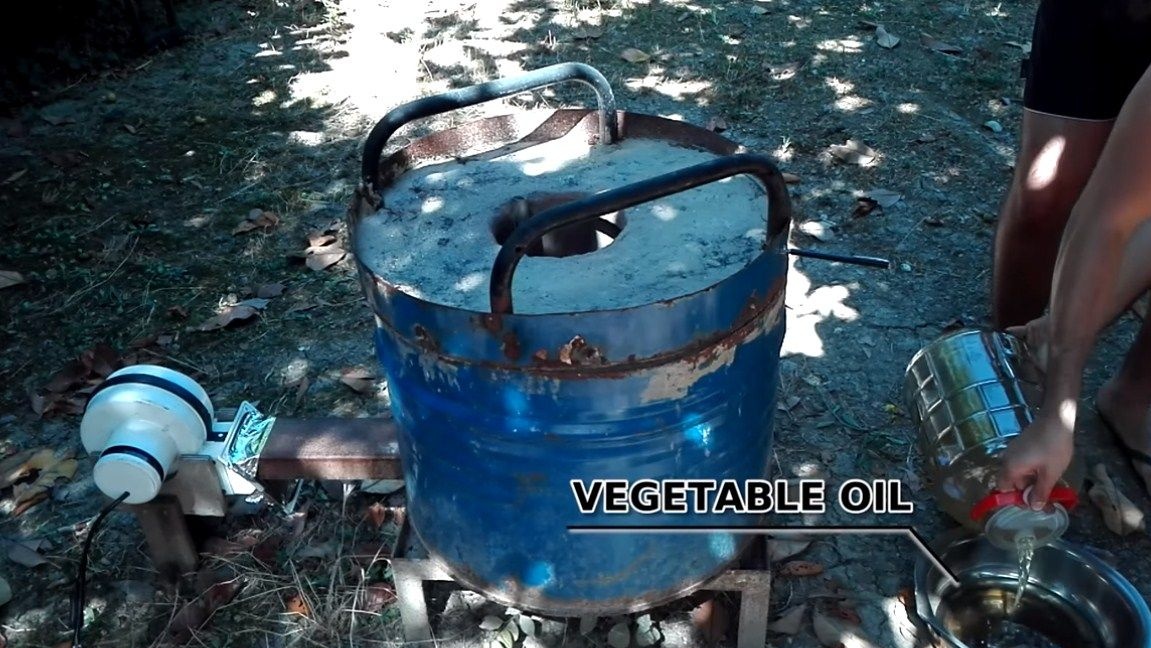
You can begin to harden the blade, for this we look at the hardening modes for the selected brand. The quenching temperature of 1070 steel corresponds to around 830 ° C, while the workpiece glows red. The author heats the blade by eye in his oven, and then cools the blade in oil. If hardening is successful, the metal should not be taken with a file. Handle the blade carefully at this step, the metal will be fragile and the blade can easily crumble if it falls on a hard surface.
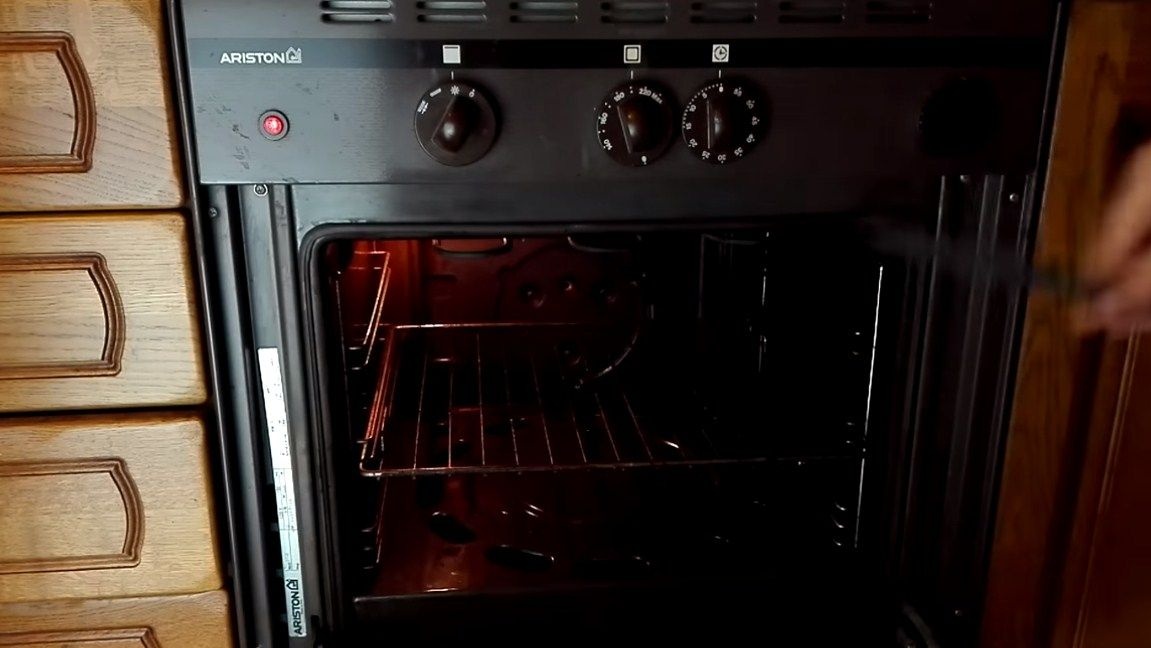
This is followed by a vacation, this procedure will make the metal flexible, it will no longer break when dropped, and so on. To do this, send the knife into the oven, select the temperature also depending on the grade of steel, usually in the region of 200 degrees Celsius. You need to warm the metal for about an hour or two, it all depends on the thickness of the blade and the brand. Next, turn off the oven and let it cool smoothly with the knife in the closed state. If the leave is a success, the blade will be a straw color.
Step Four Handle blank
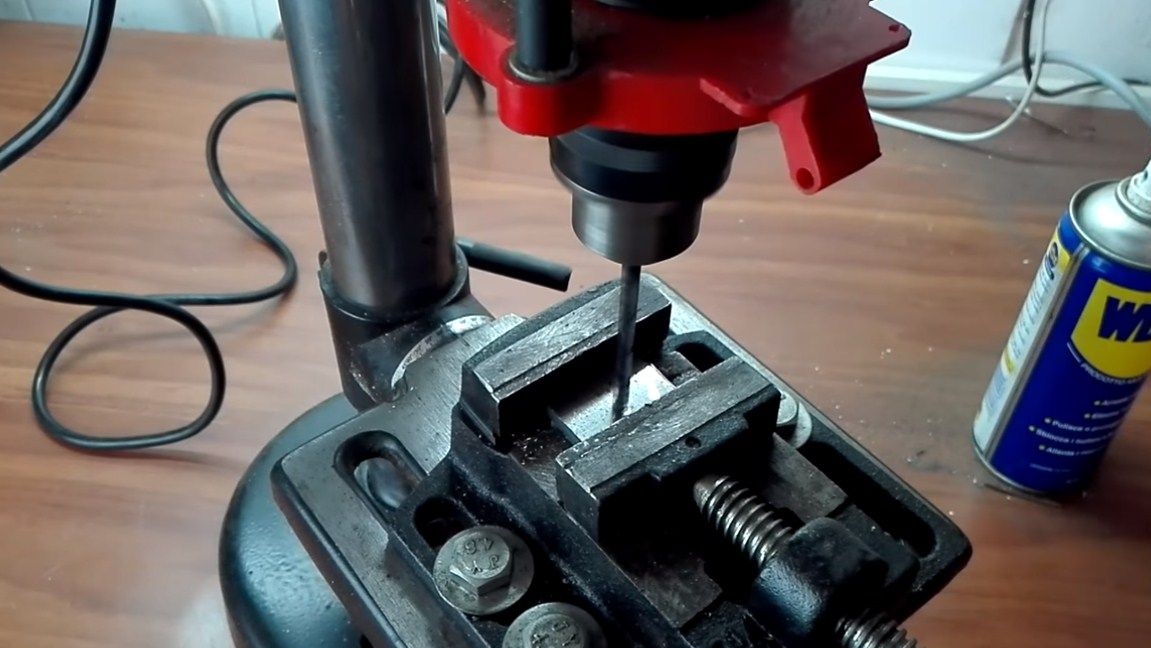
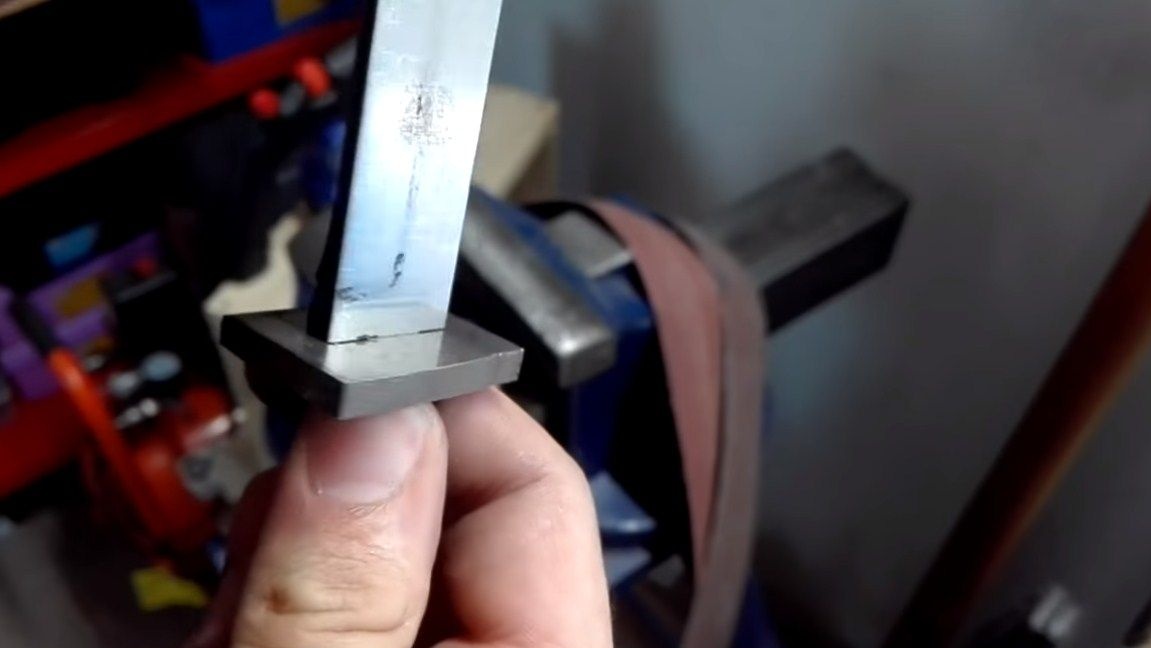
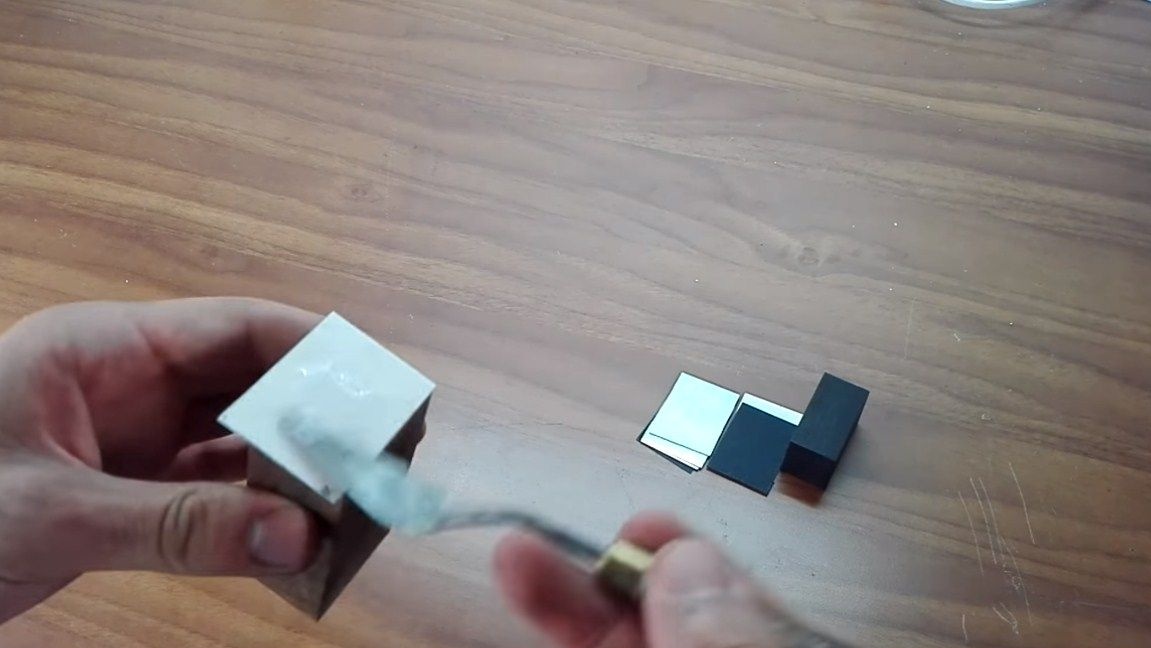
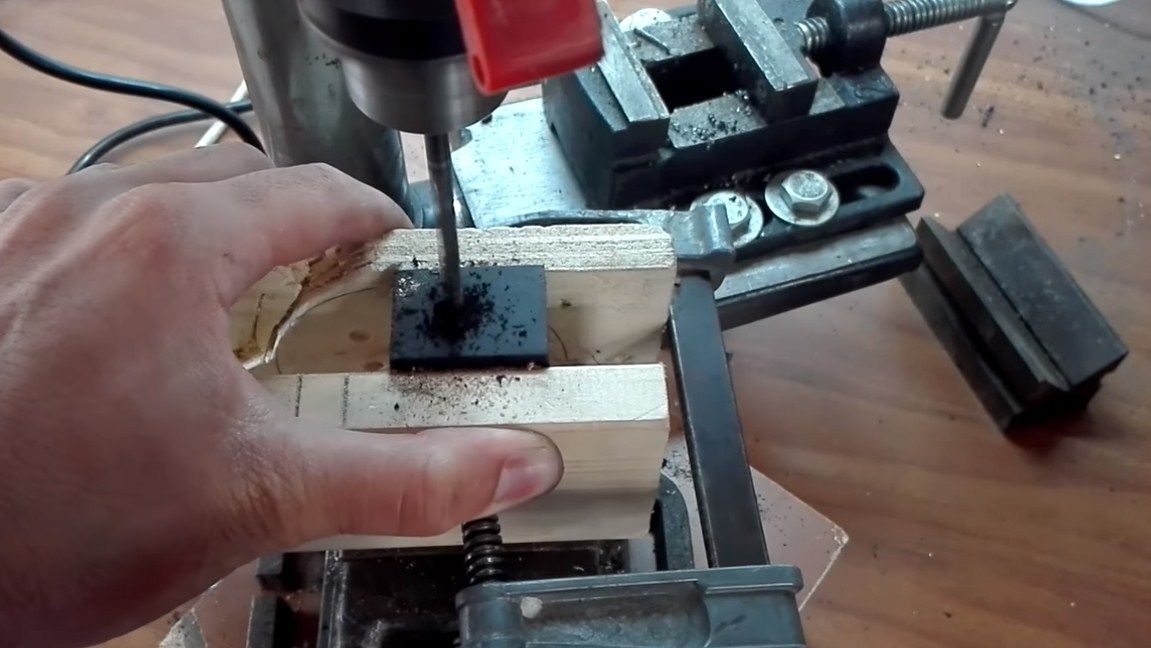
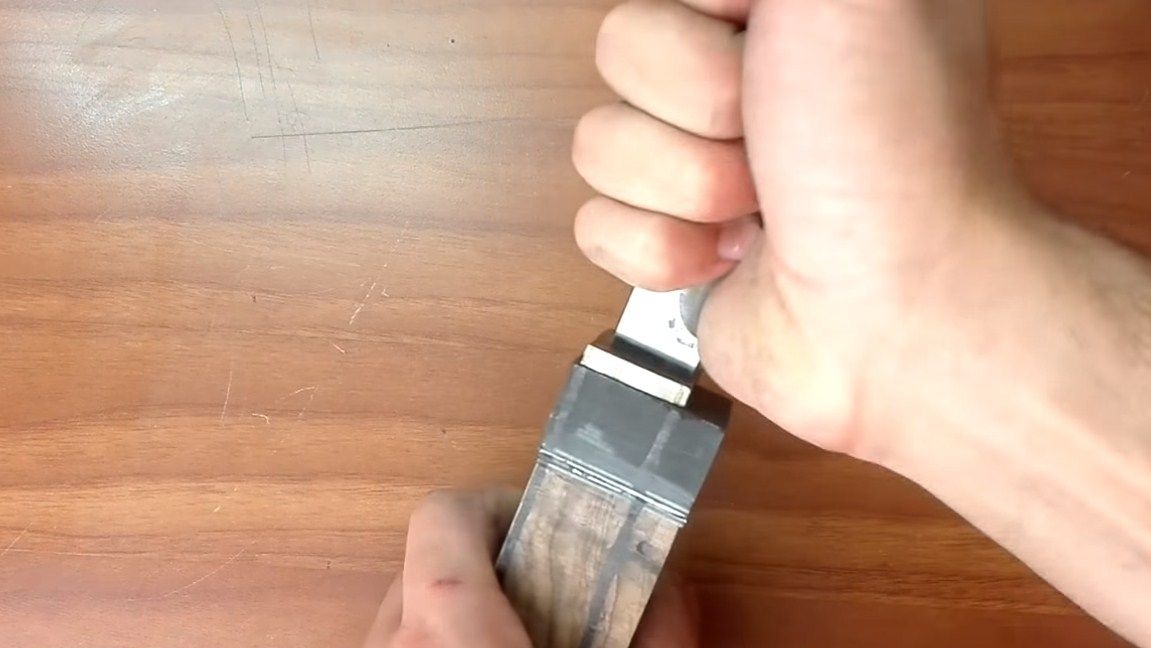
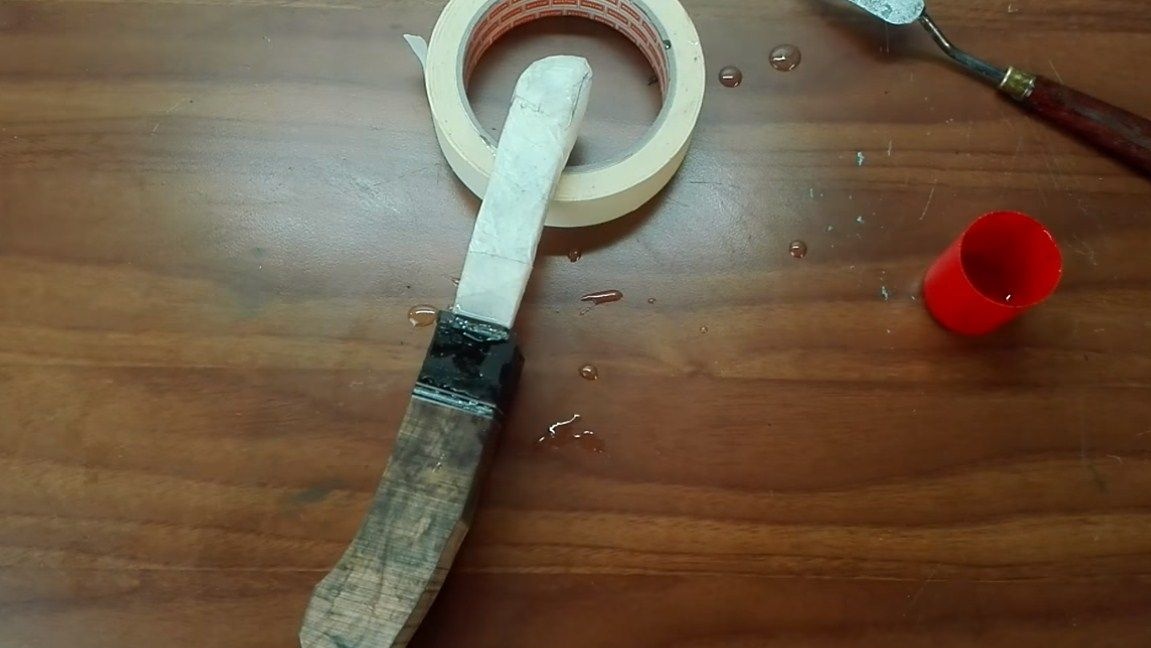
Getting to the manufacture of pens. The author has it combined and consists of at least four materials. In front of the handle there is an insert made of sheet steel, you can also use brass or something like that. Cut off the desired piece and drill a hole for the shank of the knife. Then this hole is bored with a file.
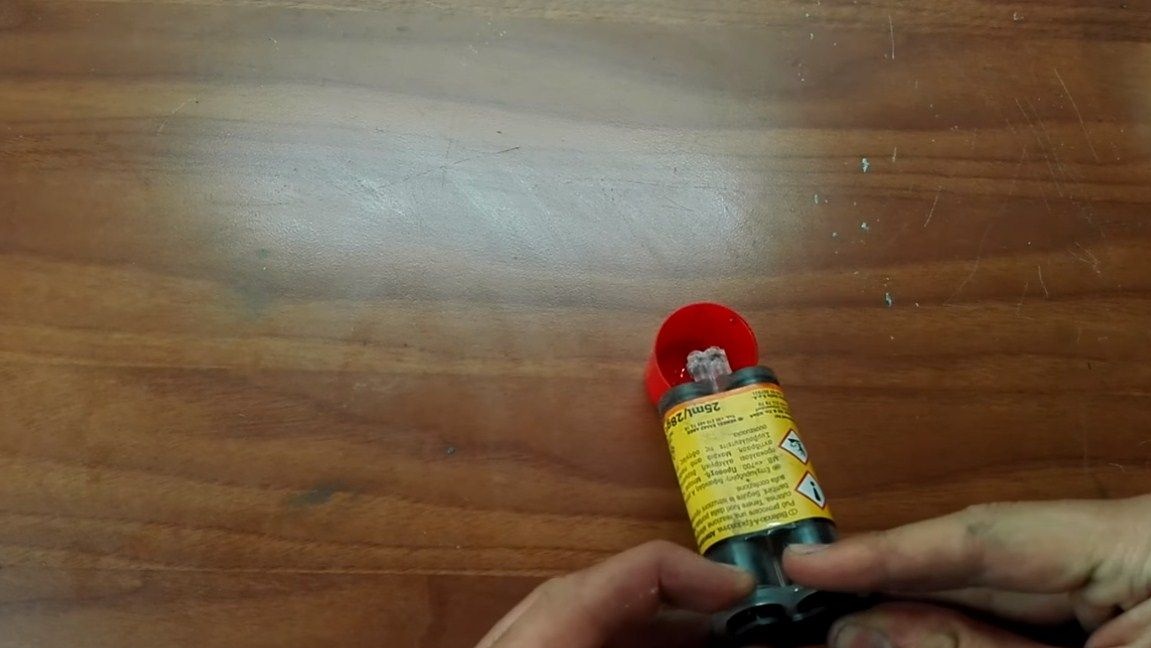
Then comes a part of ebonite, also cut off the desired piece. The final part of the handle is a tree, in our case olive, it is glued with ebonite through aluminum spacers or other material. We glue the workpiece with epoxy glue, clamp it in a vise and let the glue dry completely. Normal epoxy dries for about a day.
When the workpiece dries, we cut off the excess and drill a hole for the shank on the drilling machine.

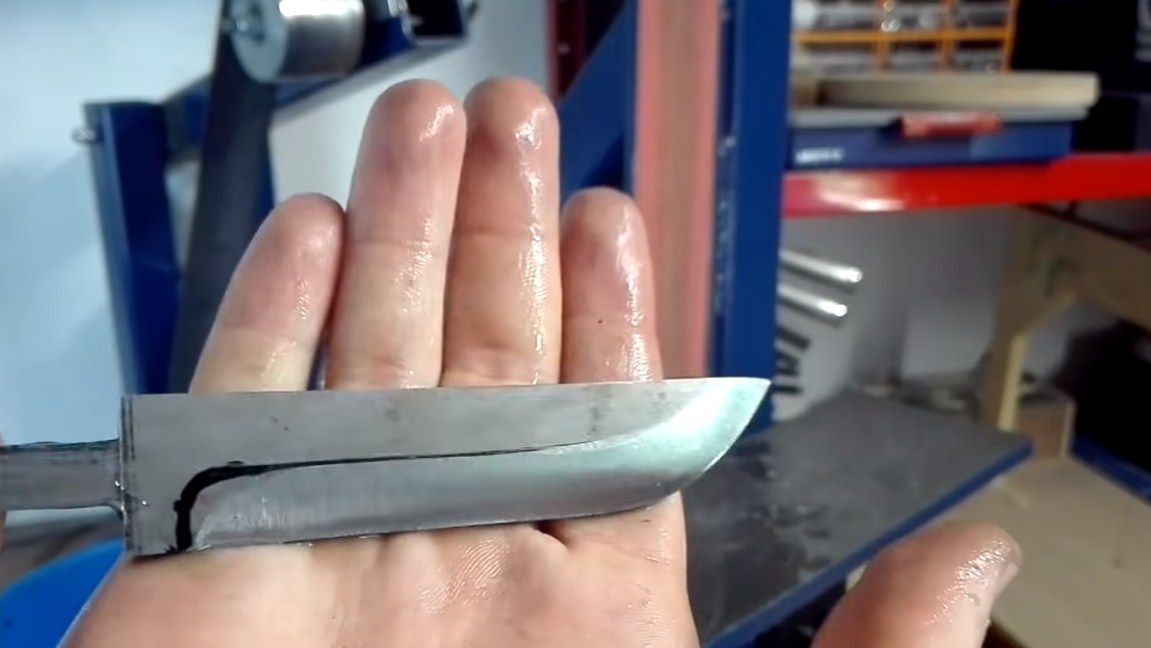
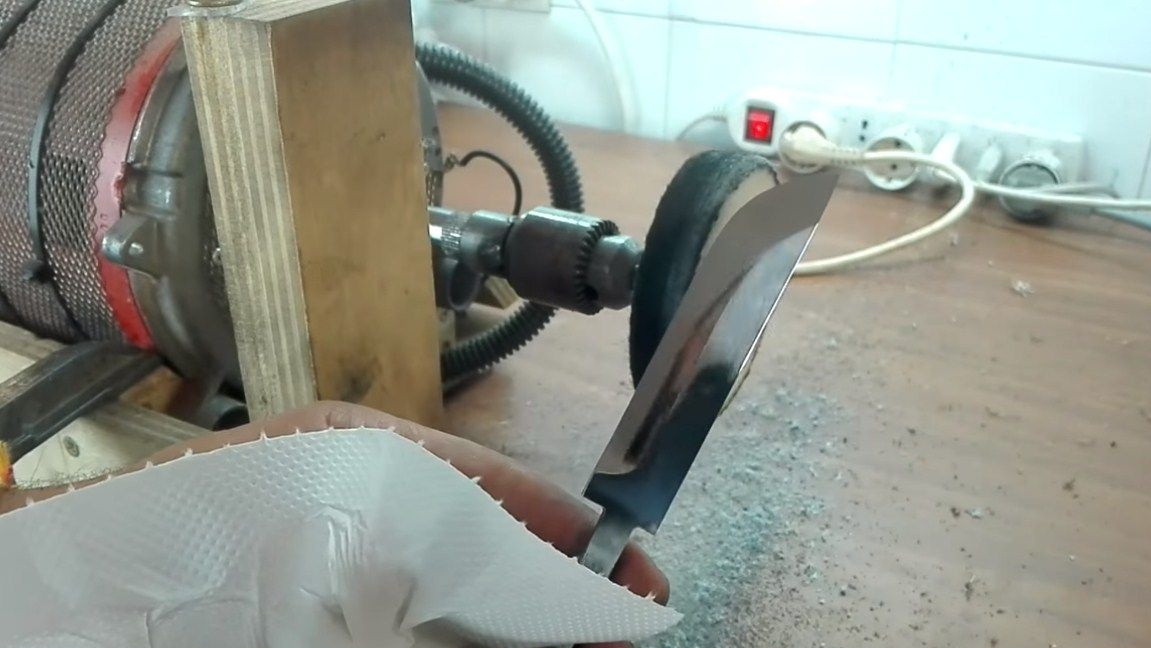
Step Five Blade revision
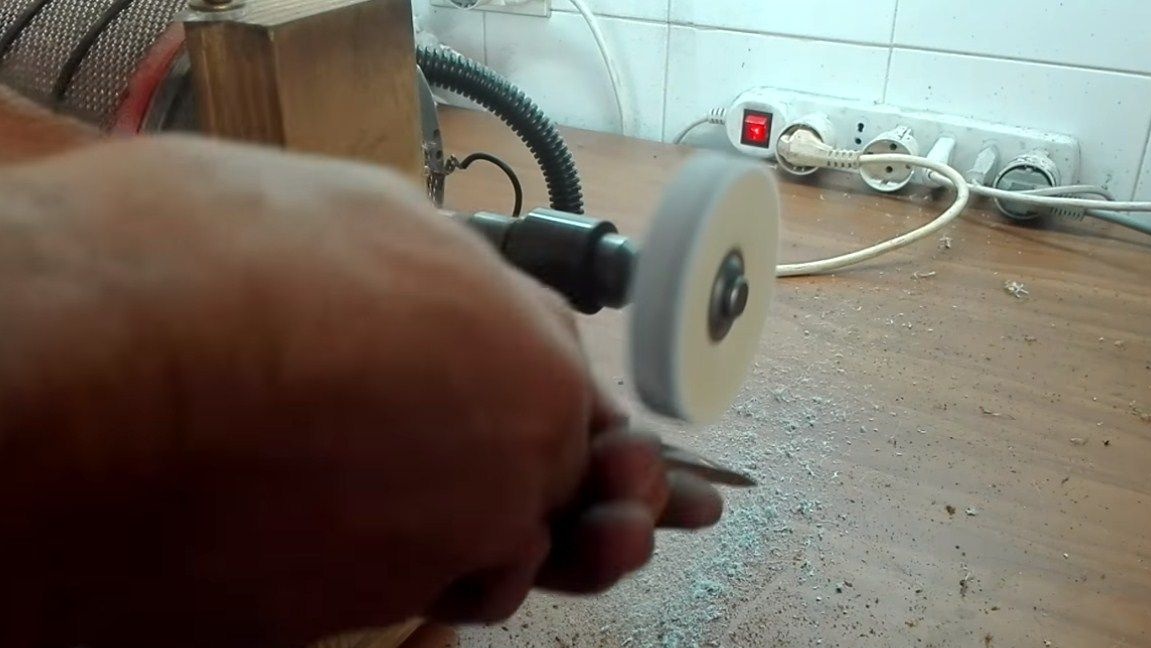
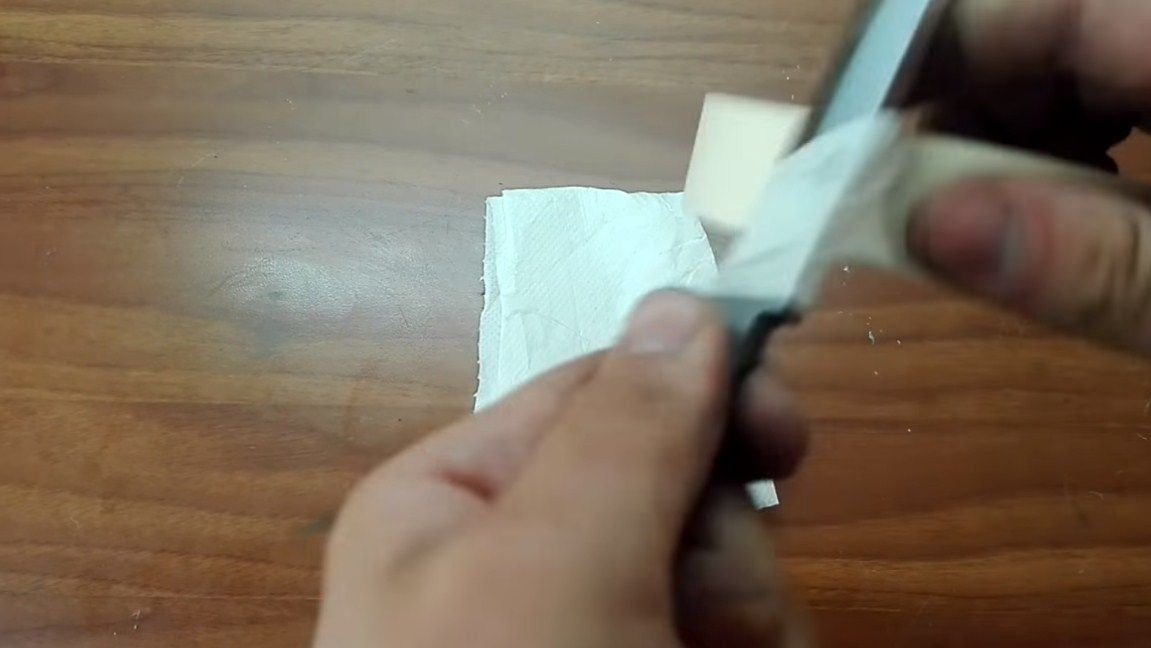
Our blade is hardened, now we have to clean it of scale. We grind on a belt grinder using a fine-grain belt. After that, we go through manually with a fine emery cloth, and then polish the blade to a shine. At the end, the blade can be sharpened, although it is better to do this when the knife is fully ready. Before installing the handle, glue the blade with tape, masking tape, and so on, so as not to get hurt and smear the blade with glue.

Step Six Finish the knife
It's time to install the handle, for this we dilute the epoxy glue and thoroughly coat it with the shank of the knife. It is desirable to clean the bonded surfaces well. The author used quick-drying epoxy from syringes. We leave the whole thing to dry.

When the glue dries, proceed to profiling the handle. This is done on a belt grinder, as well as files. When the main form is formed, we perform fine processing using fine sandpaper manually.
In conclusion, we need to soak the wooden part of the handle with oil. This must be done so that the wood does not absorb moisture.Otherwise, the wood immediately absorbs moisture, and with it the dirt. After impregnation, the wood will look very beautiful. As a result, we sharpen the knife to the state of the blade using special grinding fixtures or fine sandpaper.
For such a knife, do not forget to make beautiful scabbard from leather, this makes its transportation safe, and the knife will last longer.
That's all, the knife is ready, I hope you liked the project. Good luck and creative inspiration, if you want to repeat it. Do not forget to share your homemade with us!