
Today we will try to make an unusual thing out of improvised materials.
Well, for today's project, a worktop with a size of 60 by 80 cm was purchased.
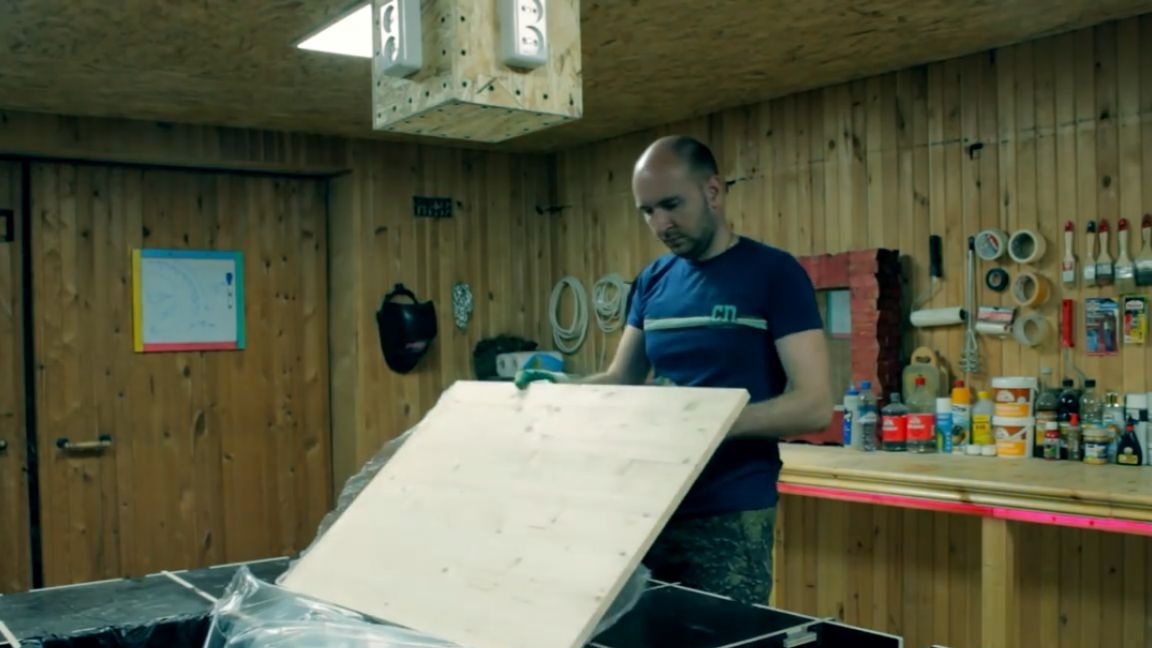
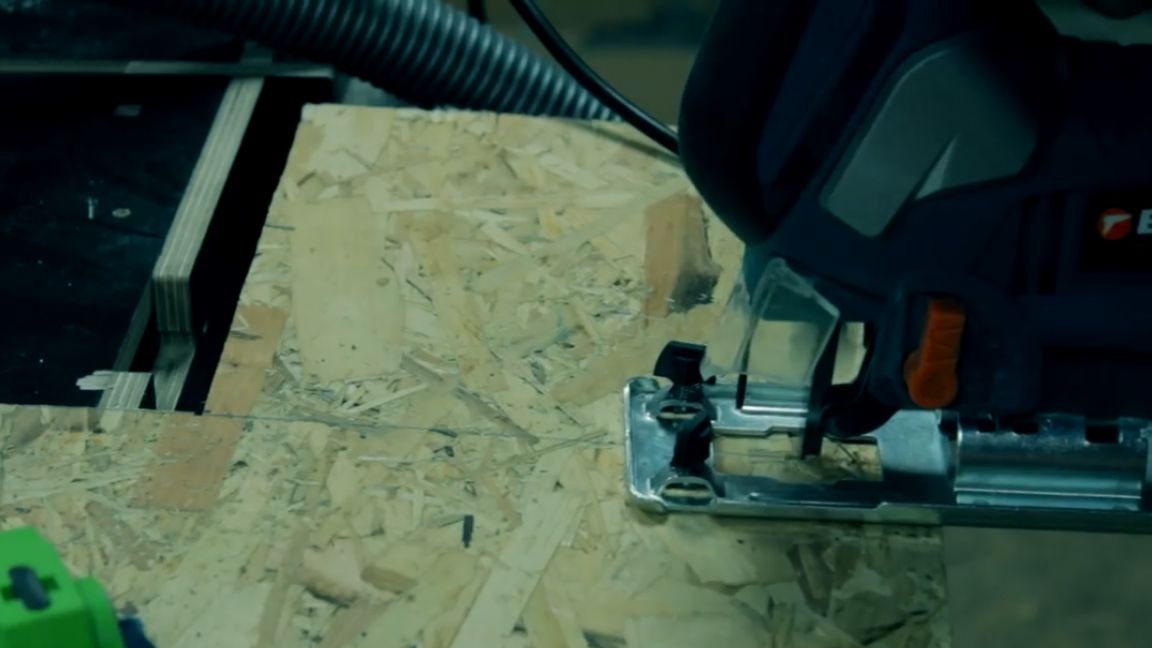
In this countertop, you will need to cut 2 perfectly even circles. Cutting such circles with a jigsaw is simply an ungrateful task, since they don’t try to get crooked anyway. Therefore, the author decided to cut circles using a mill. But for this we will need to make a special fixture from a piece of the OSB plate. Cut off a piece of OSB piece about 50 cm long and a width in the size of the milling cutter. We turn off the milling cutter base and in place of the regular m5 screws we screw in the extended m5 screws, and grease the caps abundantly with a marker.
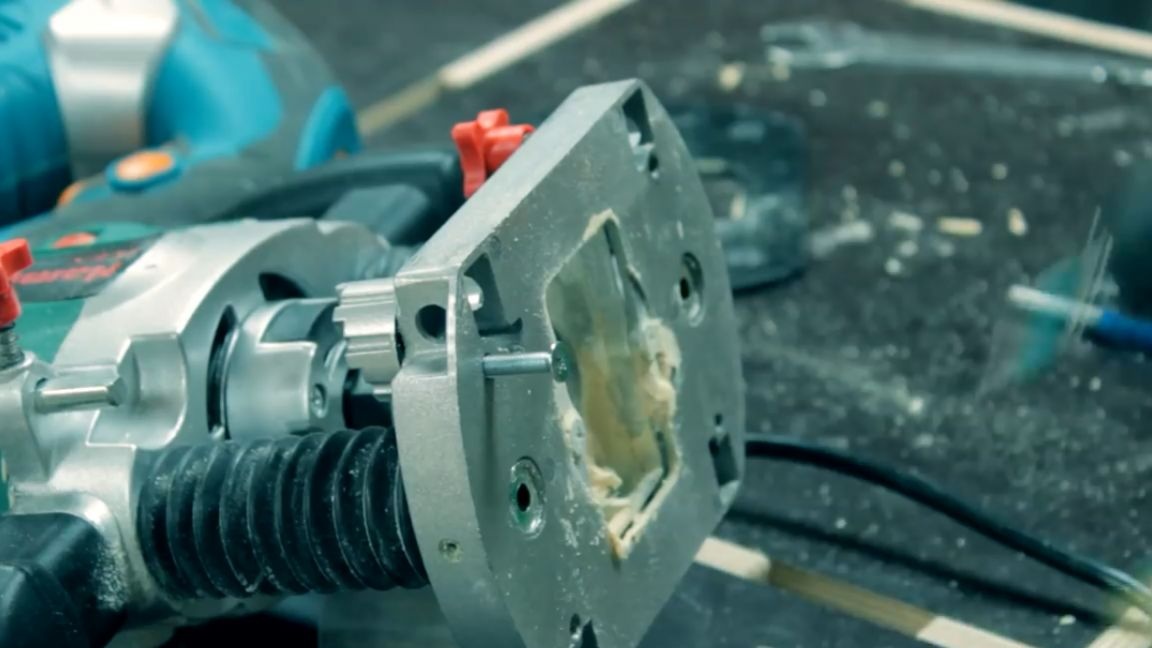
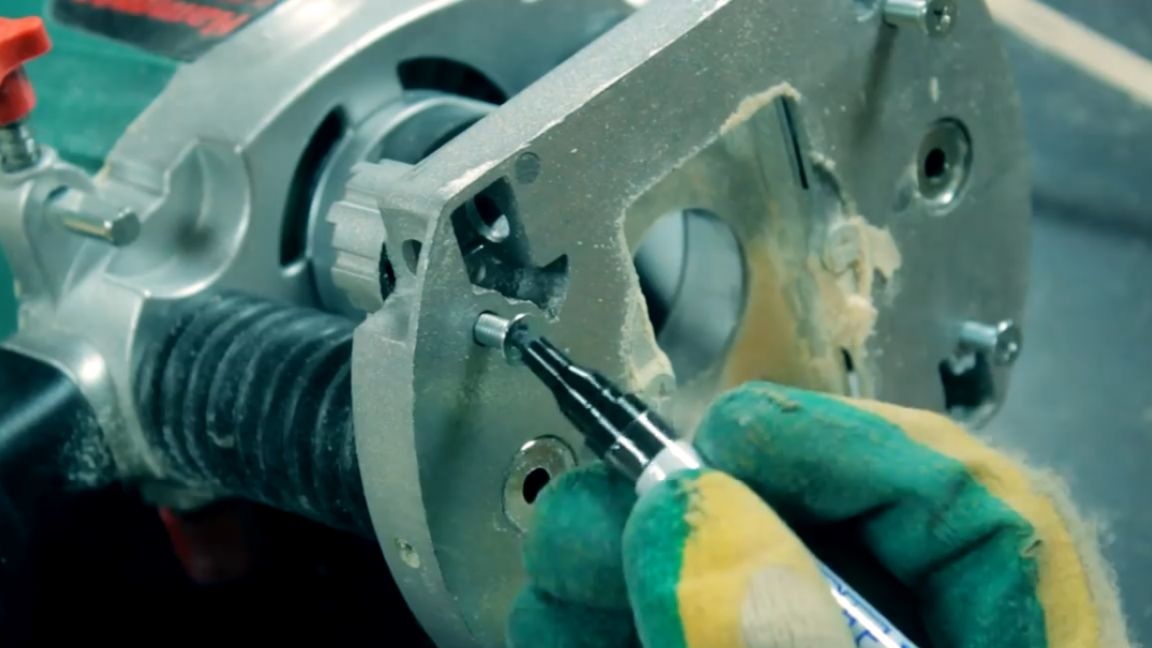
After that, we make an impression with a milling cutter on the OSB and drill holes using the resulting marks. On the reverse side with a zinkan drill, and in the center we drill a hole with a pen drill with a diameter of 30 mm.
Next, we fasten our entire structure to the milling cutter and get just such an adapt:
Now, using it, it will be easy and simple to cut circles of various diameters. With the help of a milling cutter, we needed to cut a circle with a diameter of 30 cm. First, the author with a smart look measures the distance of 30 cm from the center of the cutter and screws a screw into this place.
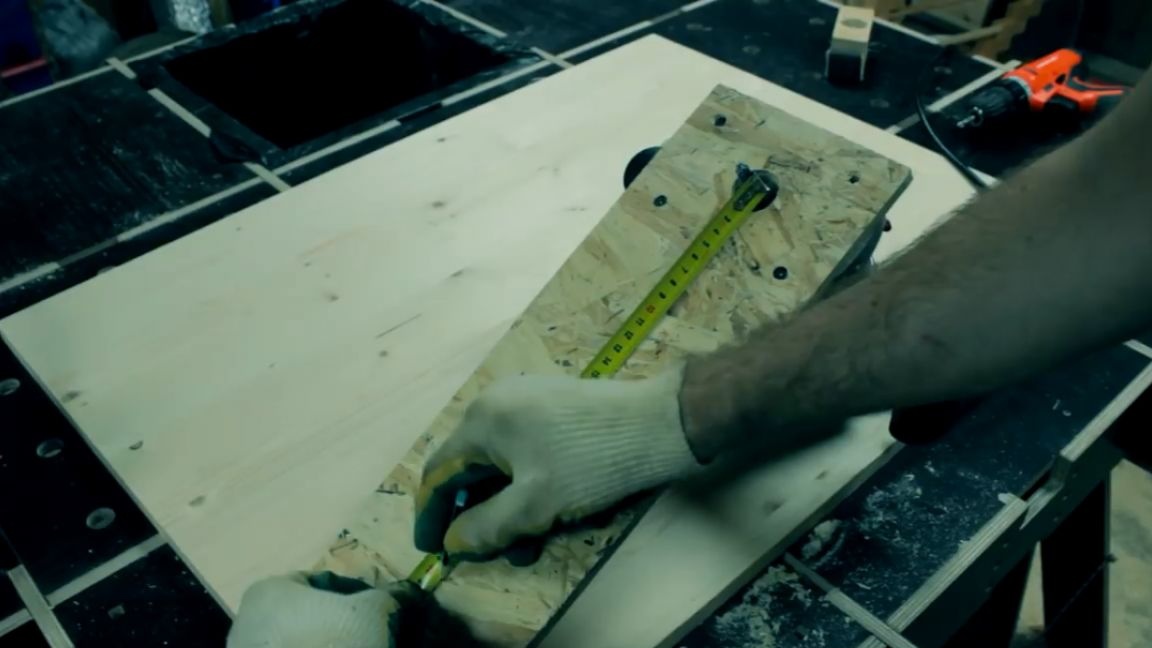
After that, the author, realizing that he had bluntly blunted and received a radius of 30 cm, which means a diameter of 60 and redid everything by 15 cm, which means that now our diameter will be just 30 cm.
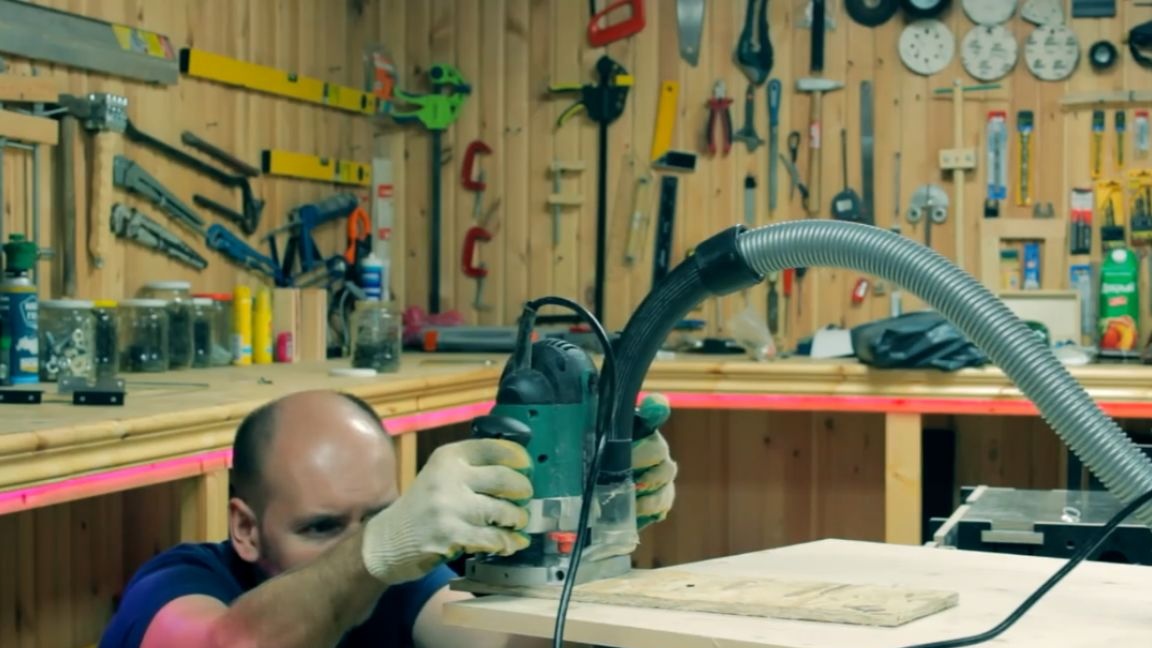
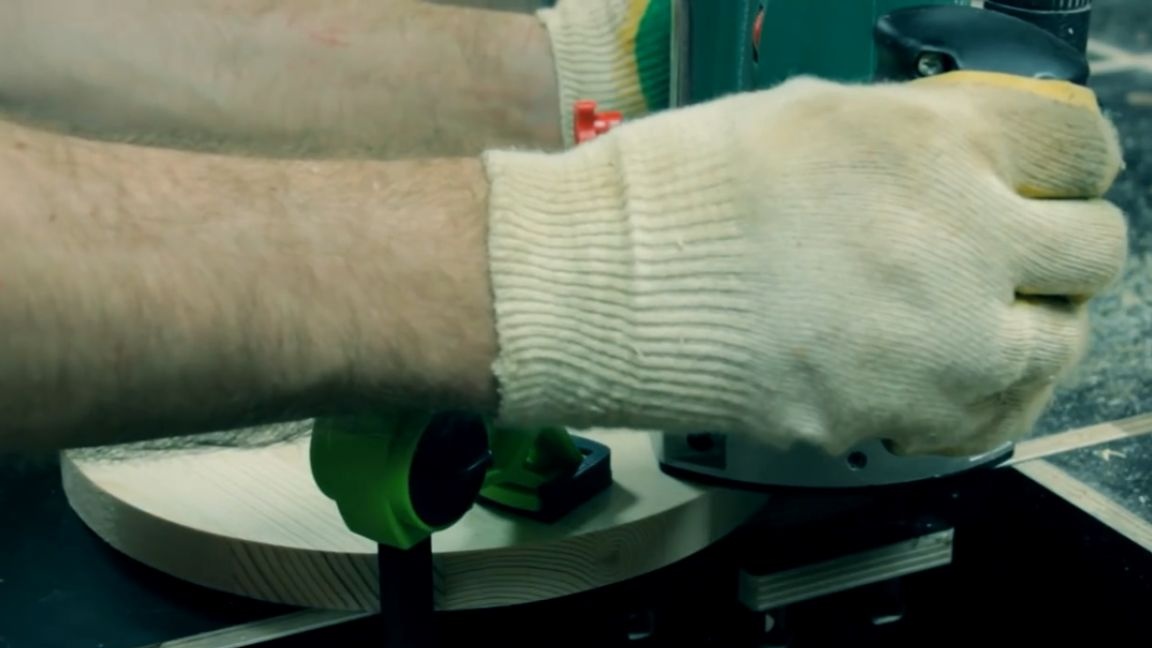
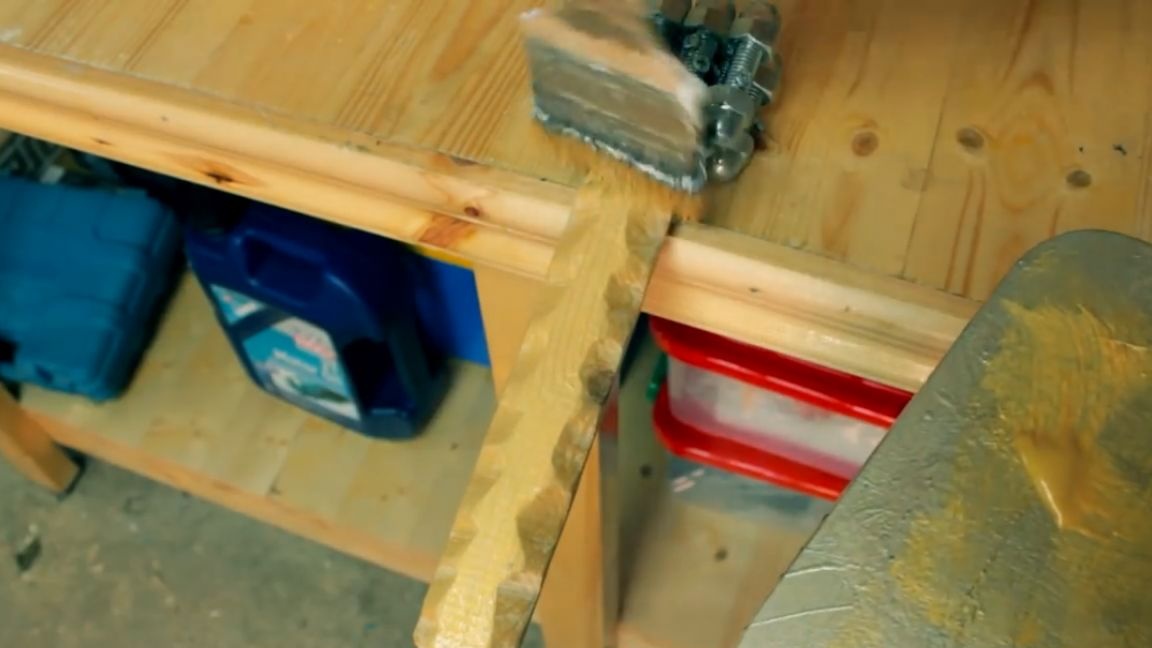
We substitute the milling cutter to the edge of the countertop, twist the self-tapping screw and milling a circle with a slight movement of the hand.
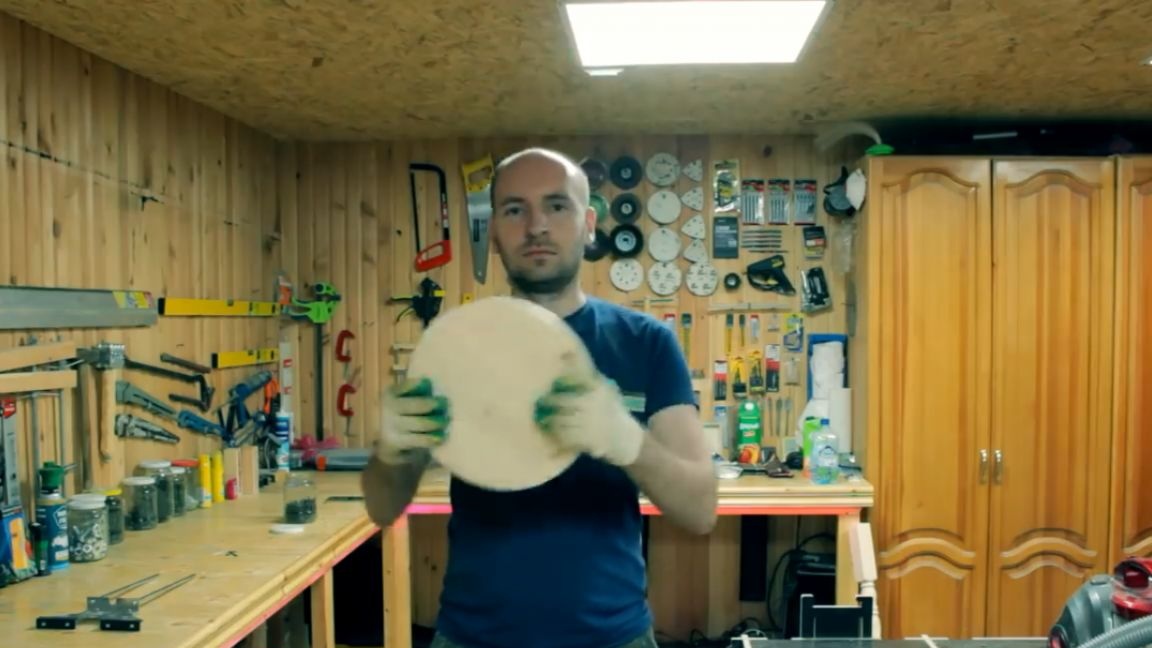
At the output, we get the perfect pancake, which can be used as a cutting board, for example, but we do not need it for this.
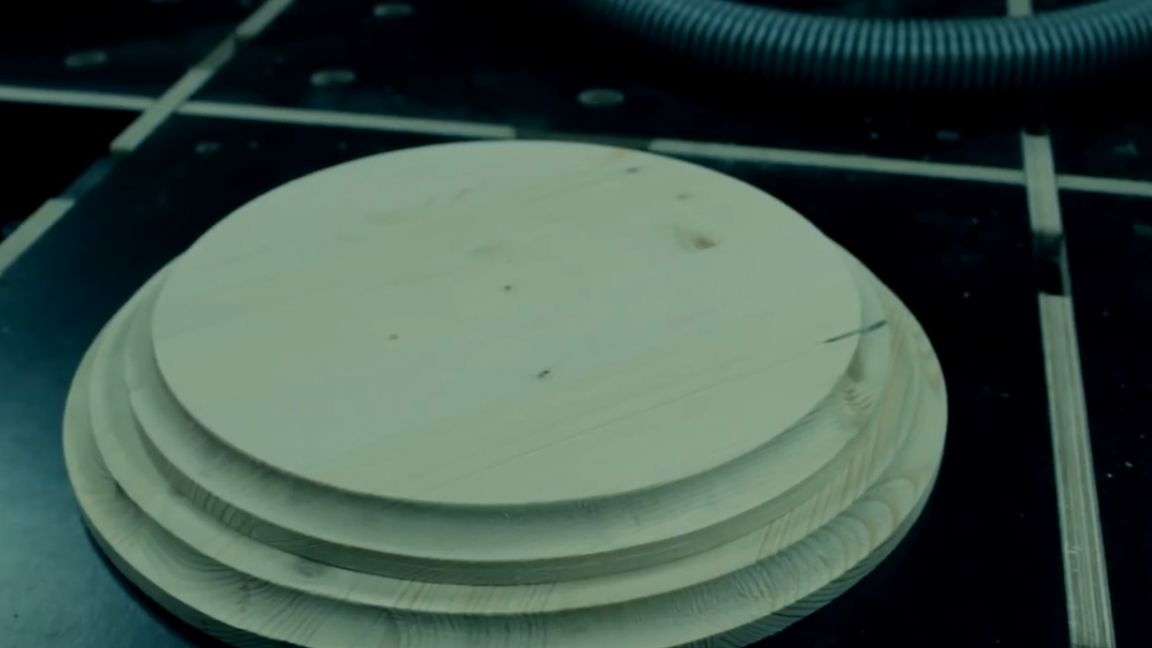
We rearrange the self-tapping screw a couple of centimeters closer to the cutter and cut another circle of a smaller diameter. Clamp the circle with a clamp on a workbench and process the circle with an edge mill. At the output, we get such a cute pie:

In the next step, take 2 pieces of organic glass, which the author found on the street.
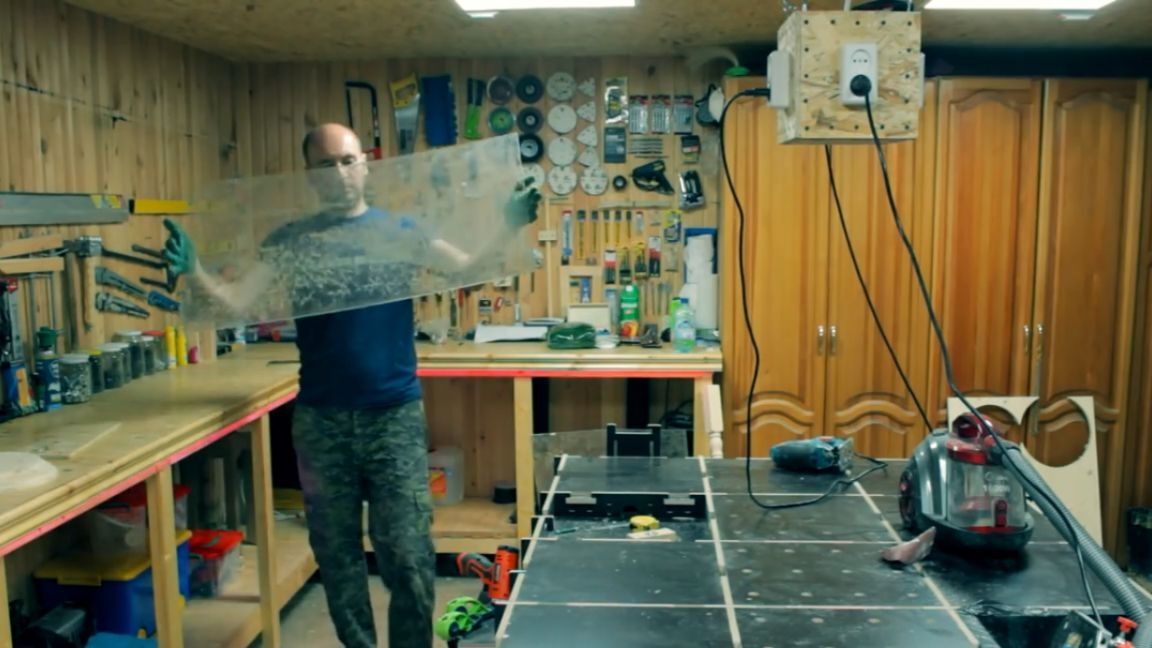
We clean and degrease the surface with white spirit and lay out the stencils previously printed on the printer on top of the plexiglass.
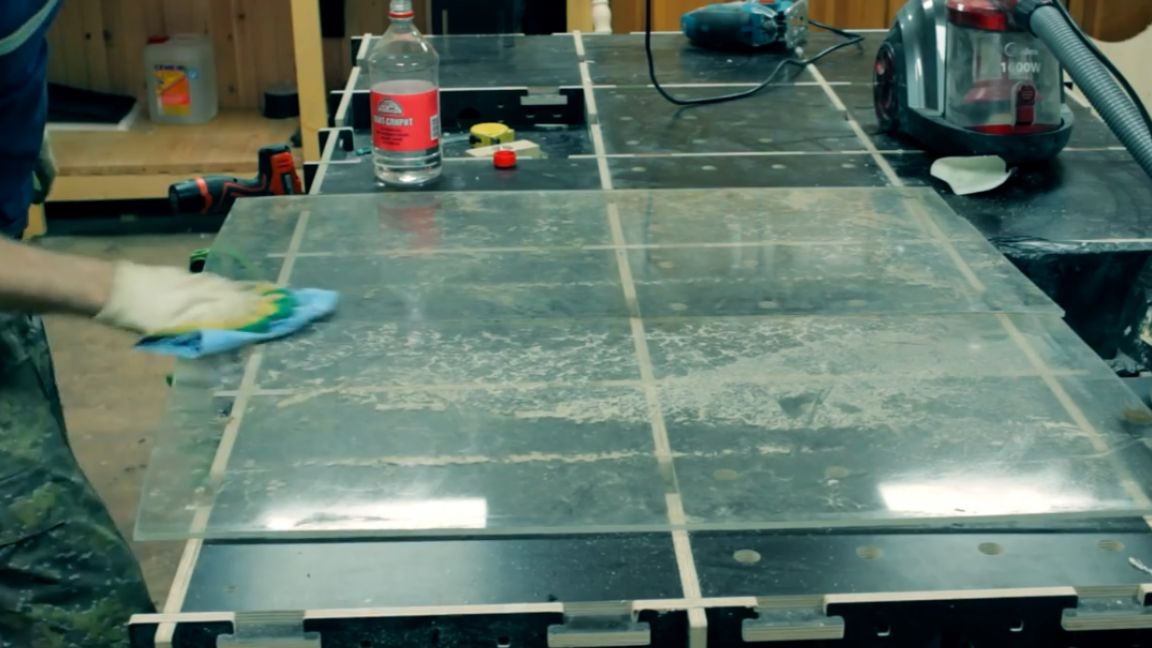
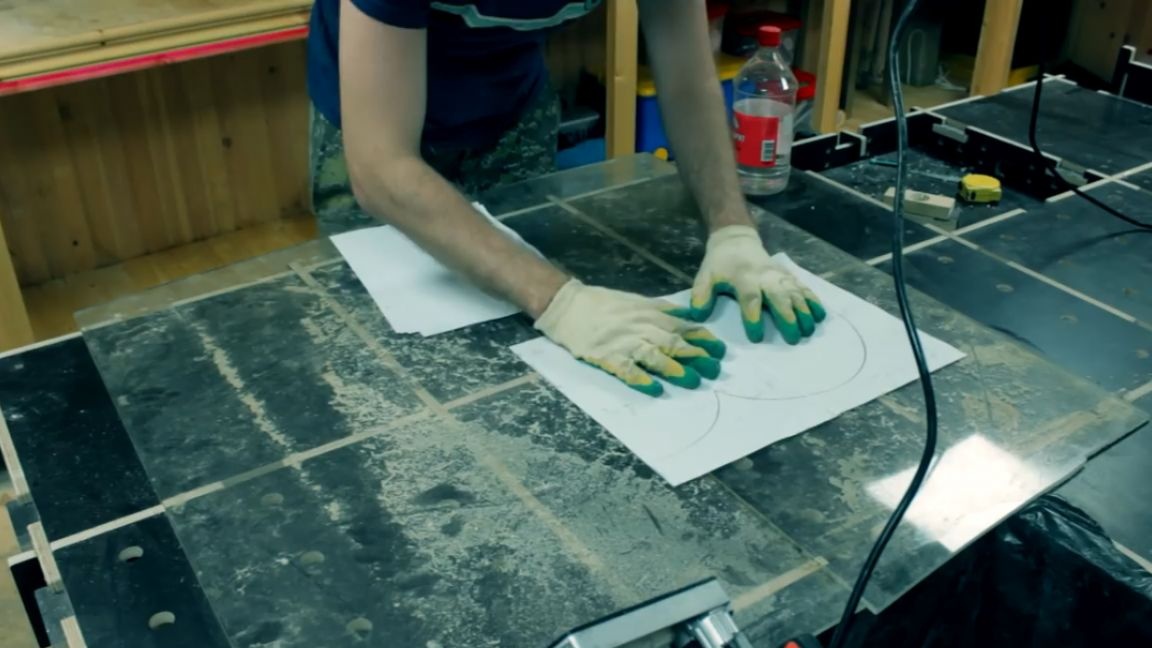
All sheets of A4 size are glued and glued to the glass using ordinary transparent tape.
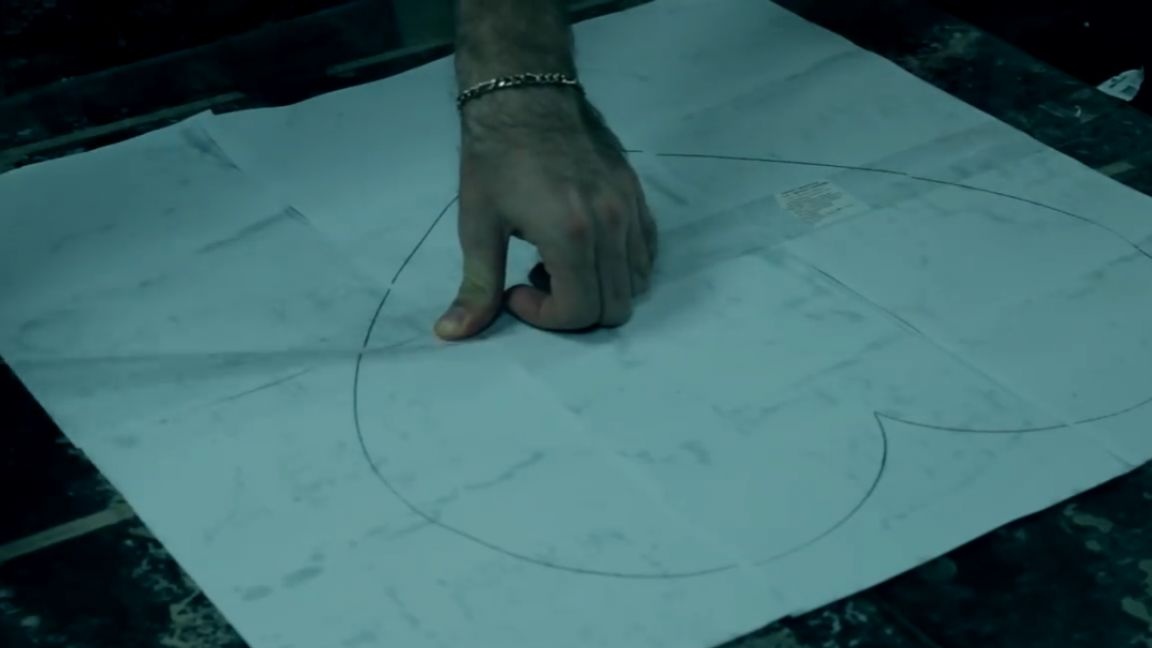
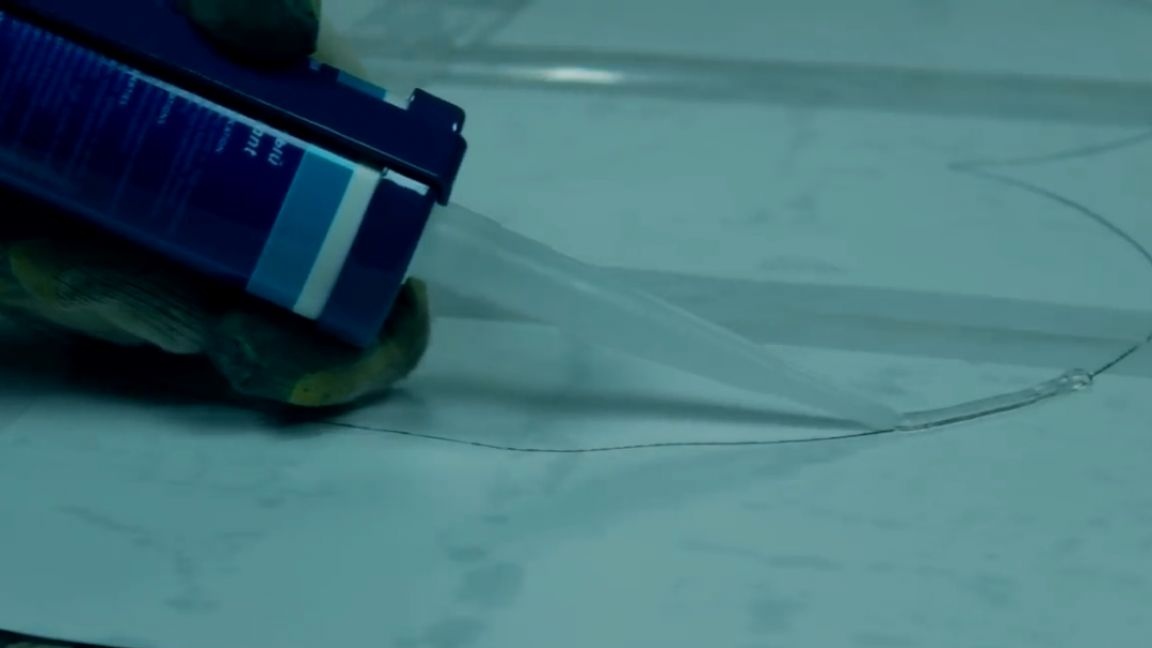
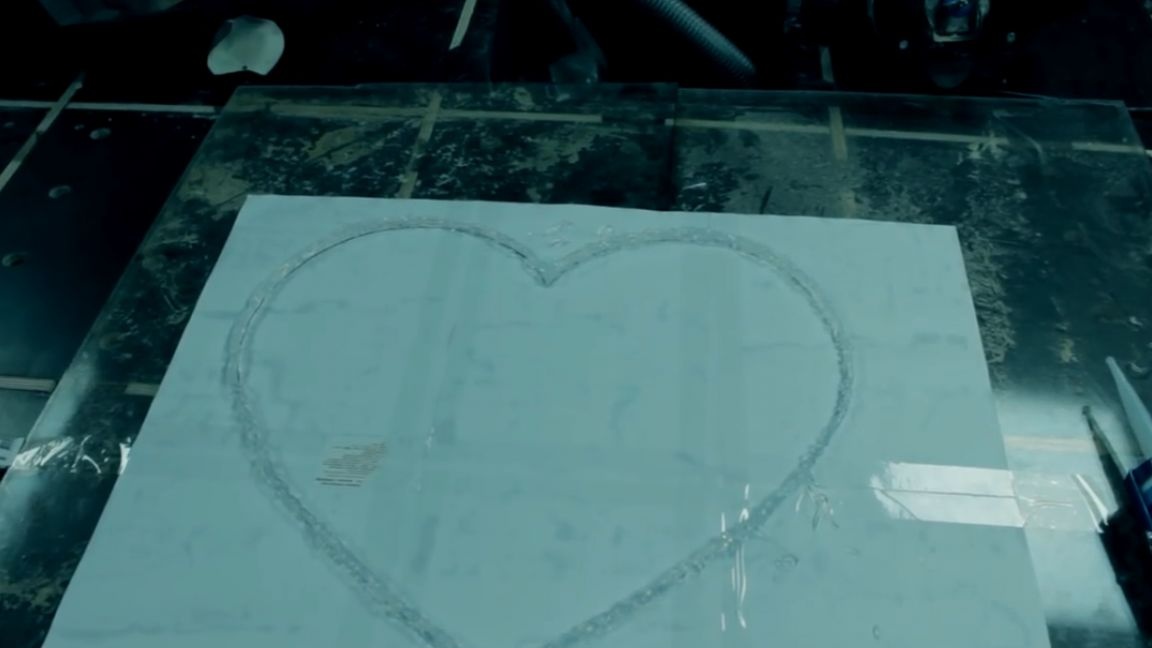
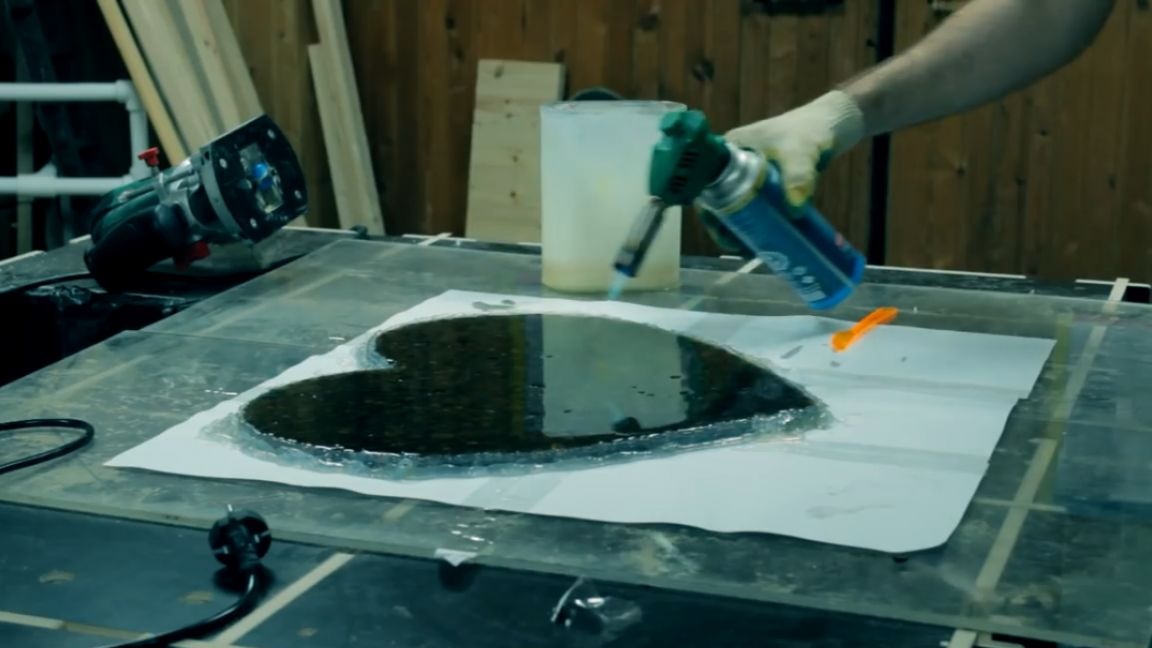
Then we apply a heart-shaped sealant, forming a border about 1 cm high to make it something like this:
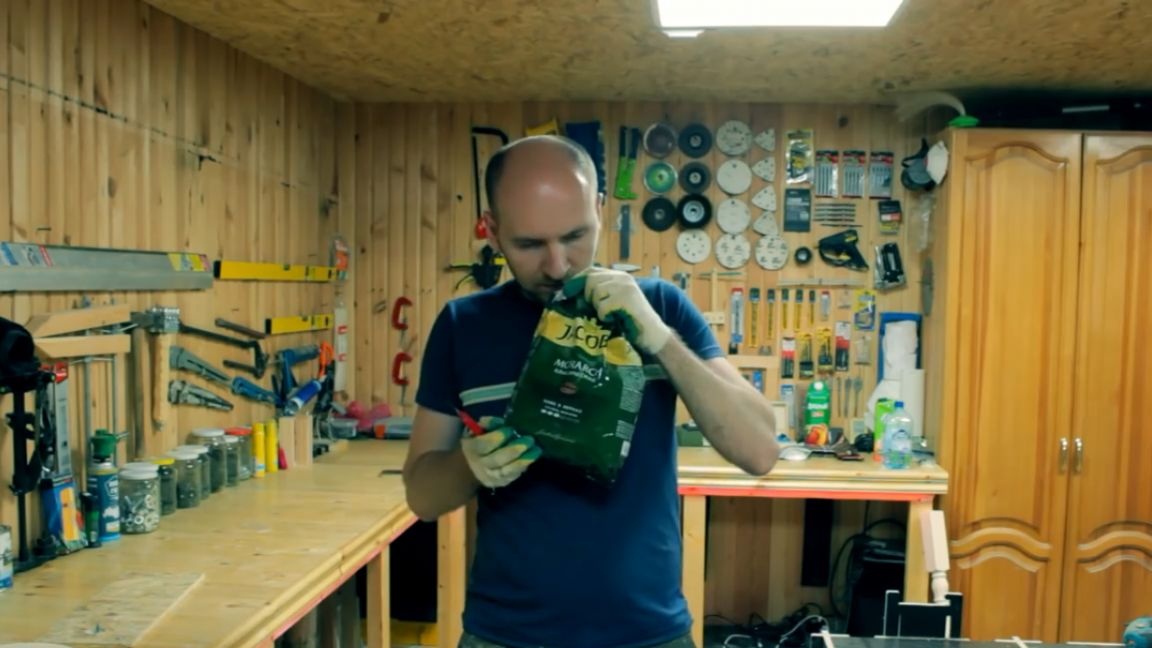
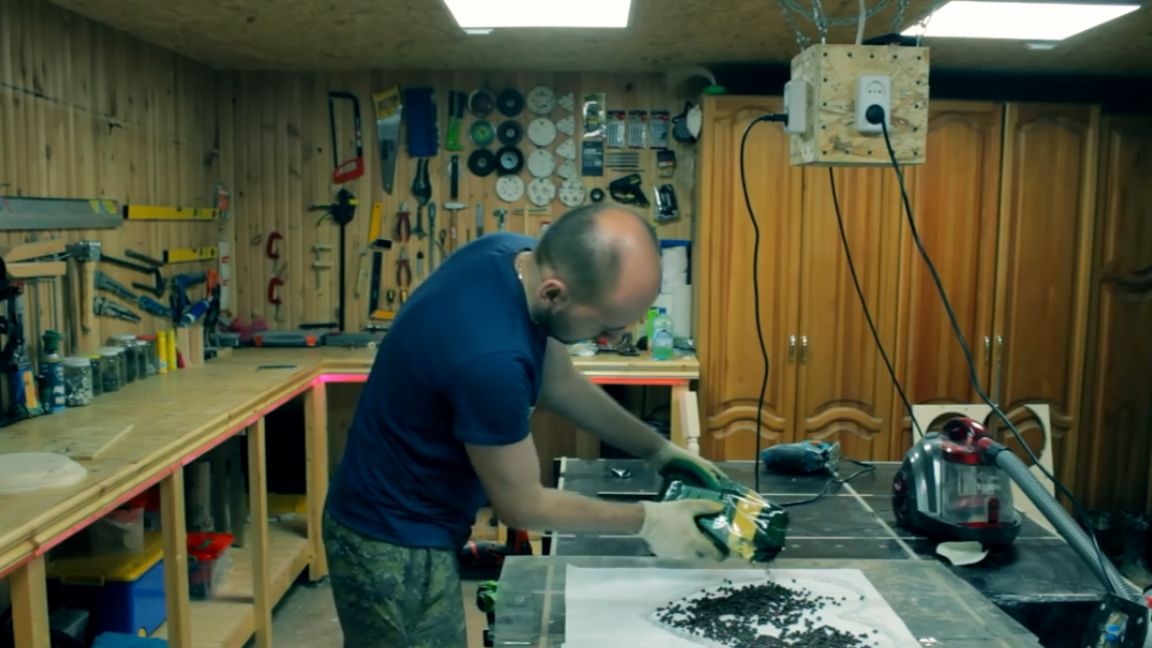
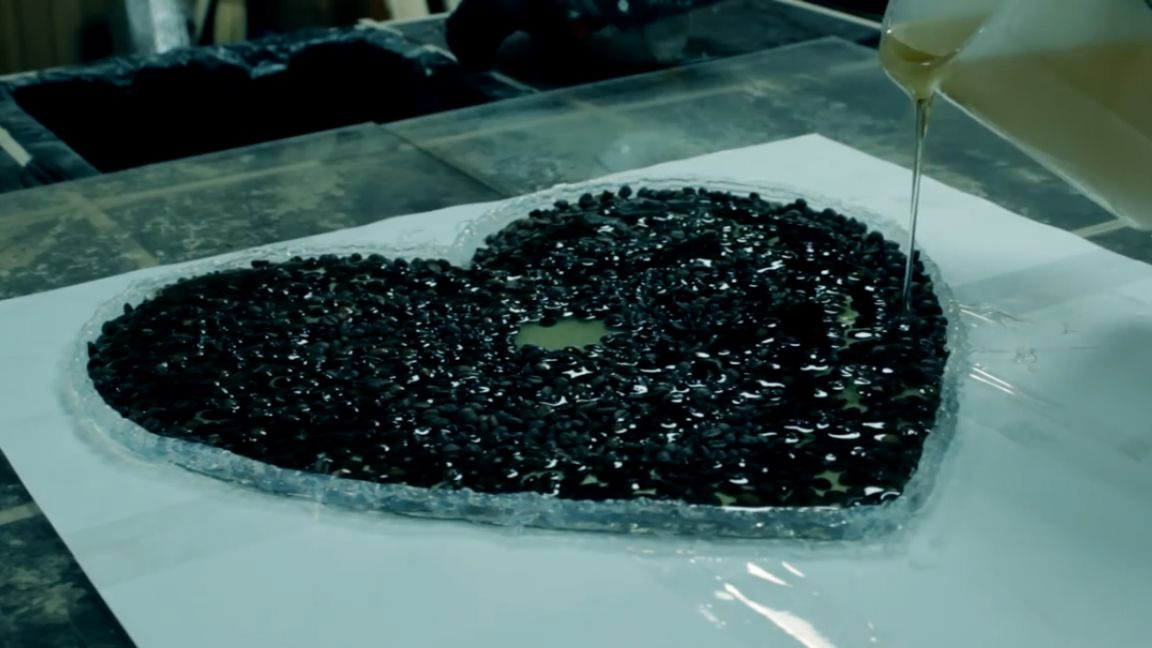
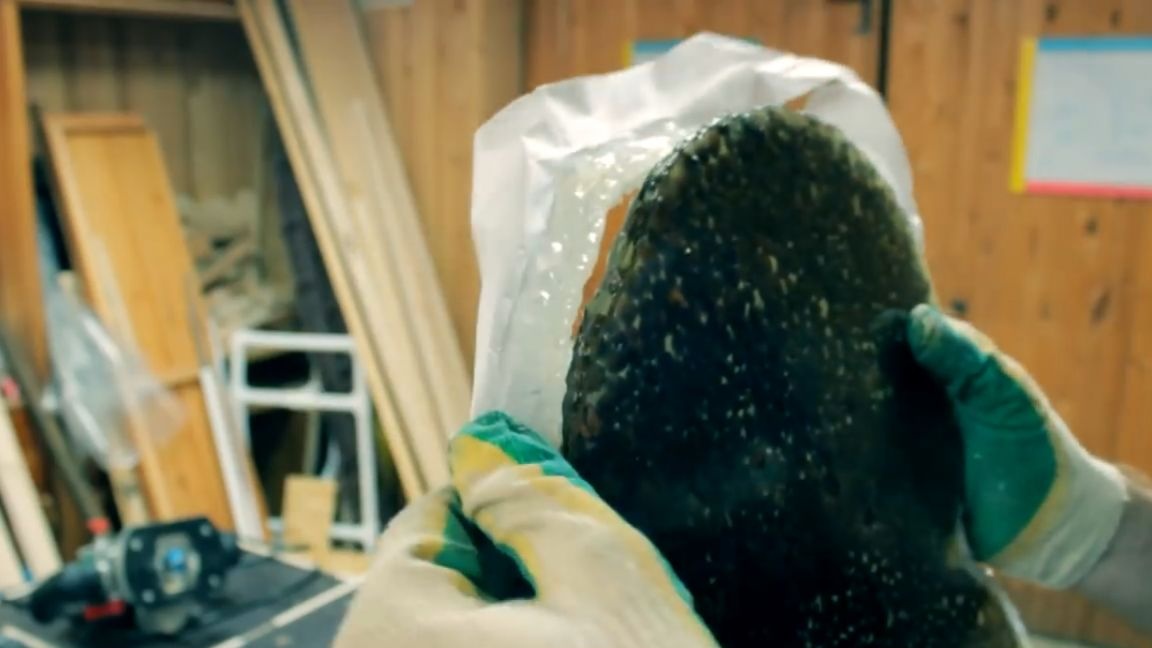
Now we take a packet of whole coffee beans, cut off the crown, sniff and rejoice that now in the workshop, in addition to glue, sealant, epoxy and pine, coffee grains also smell. Pour the coffee beans inside the improvised shape in one layer.
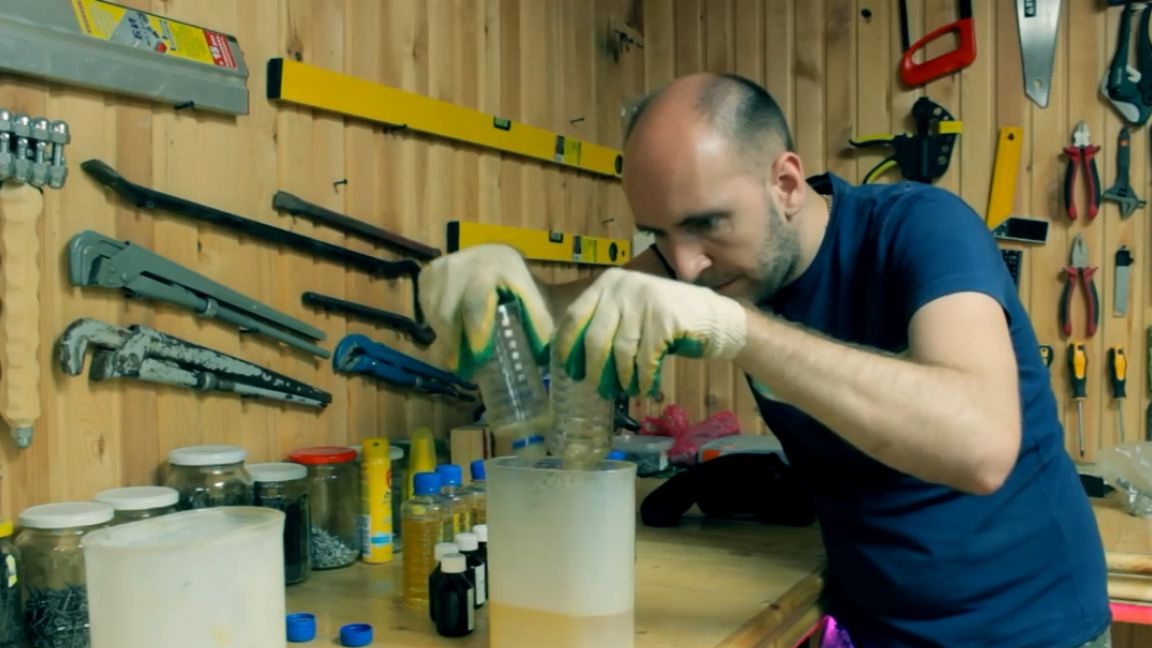
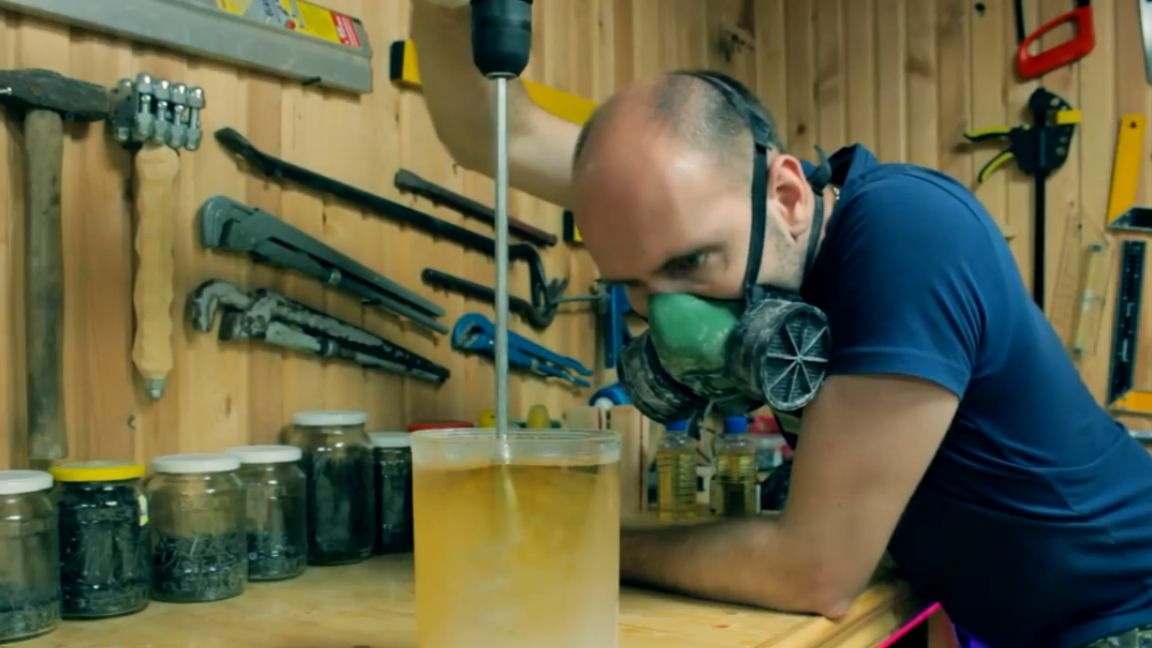
Then we prepare one and a half liters of the cheapest epoxy glue. Everything is standard here, pour the resin and hardener into the container, and slowly mix.

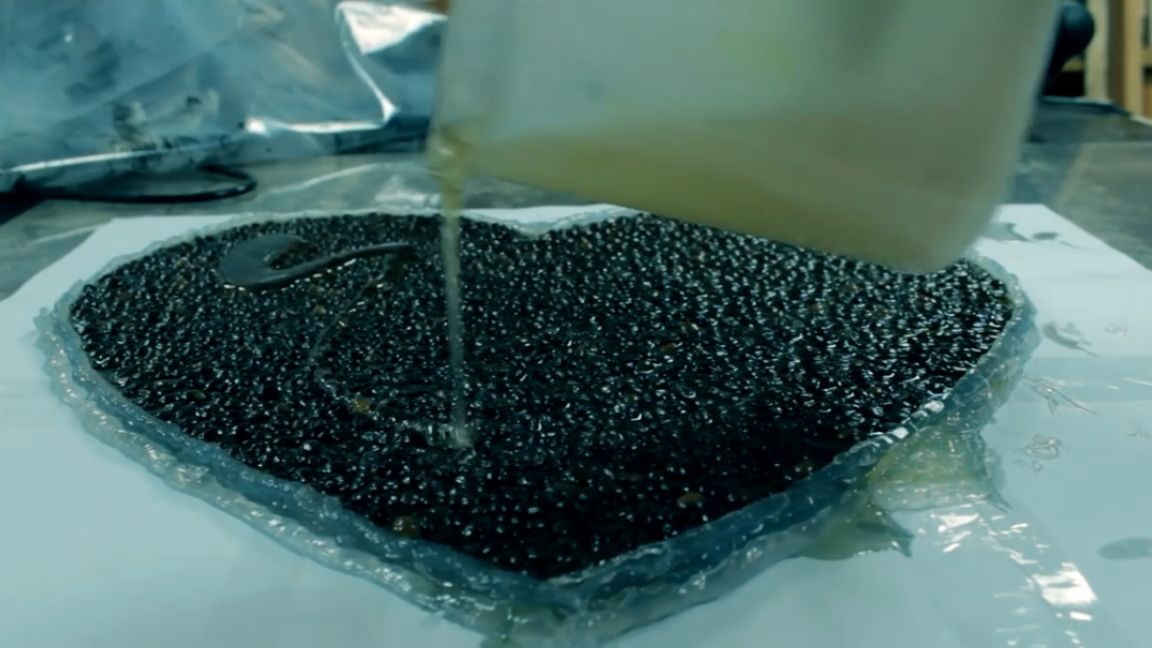
After that, again carefully fill the mold and hope that the sealant will withstand the pressure and will not leak or leak. In places where the sealant was adjacent to the adhesive tape, the resin nevertheless leaked a little, but just in case, the author walked a thick layer of sealant around the entire perimeter.

Arriving at the workshop the next day and inspecting the previously drenched uniform, the master was a little disappointed.

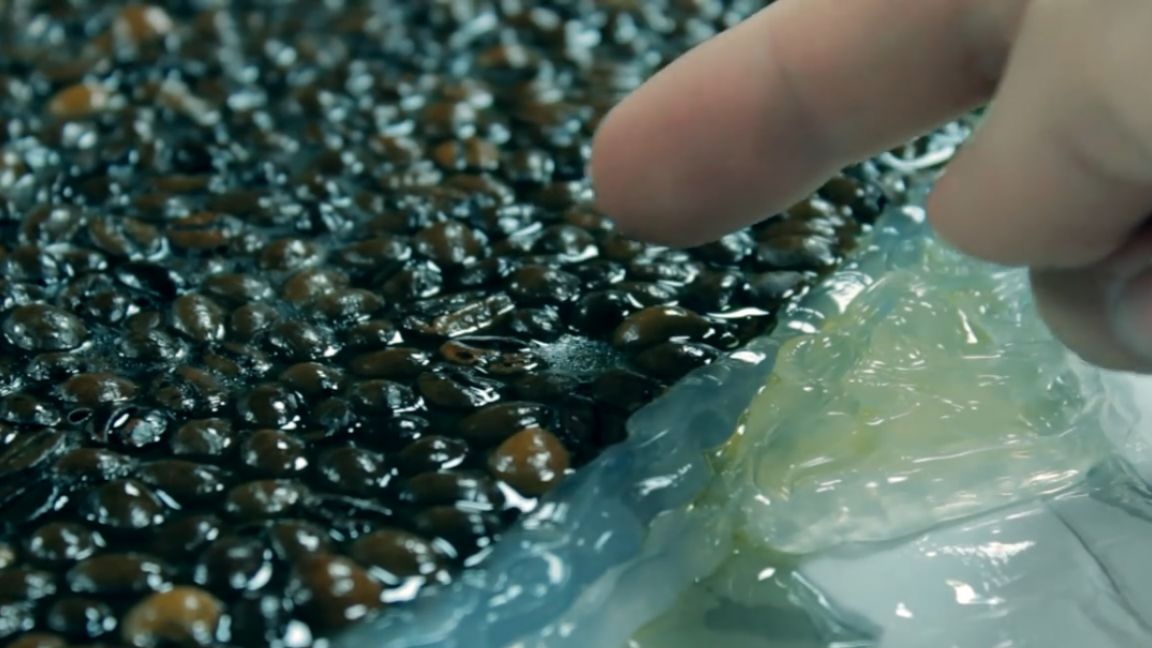
The thing is that the resin did not solidify to the end and it is generally not clear why this happened, because mixing took place according to the technology with pouring from one container to another. There is an assumption that somehow the coffee beans might have reacted with the resin and were not allowed to harden completely. Therefore, the author mixed a little more epoxy and poured another 1 layer of resin. Then he went through the burner from the bubbles and left the whole thing to dry.
Next, we need a simple screw baluster, which the author bought for 150 rubles. A screw baluster was bought only because if you twist it, you can stick a little.
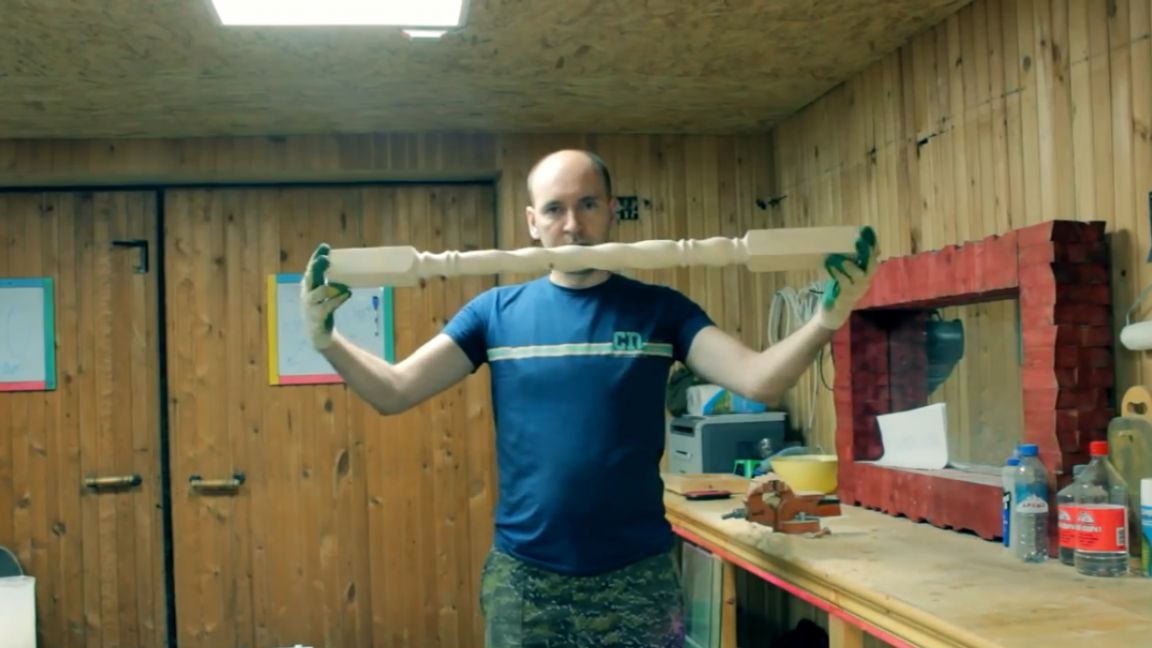
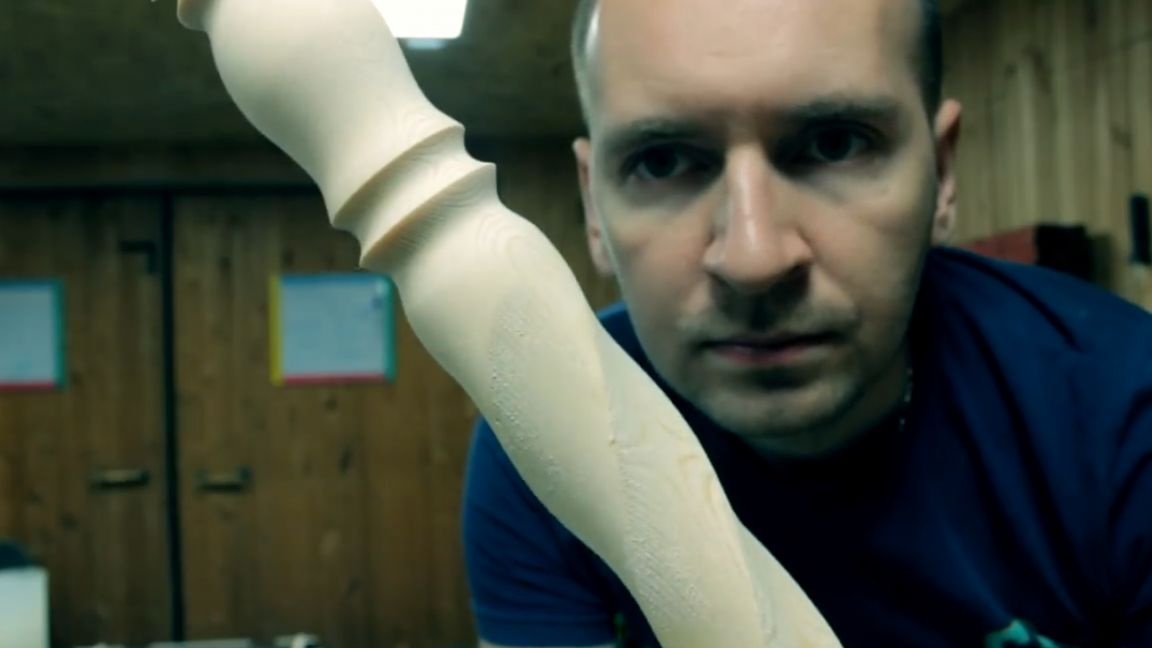
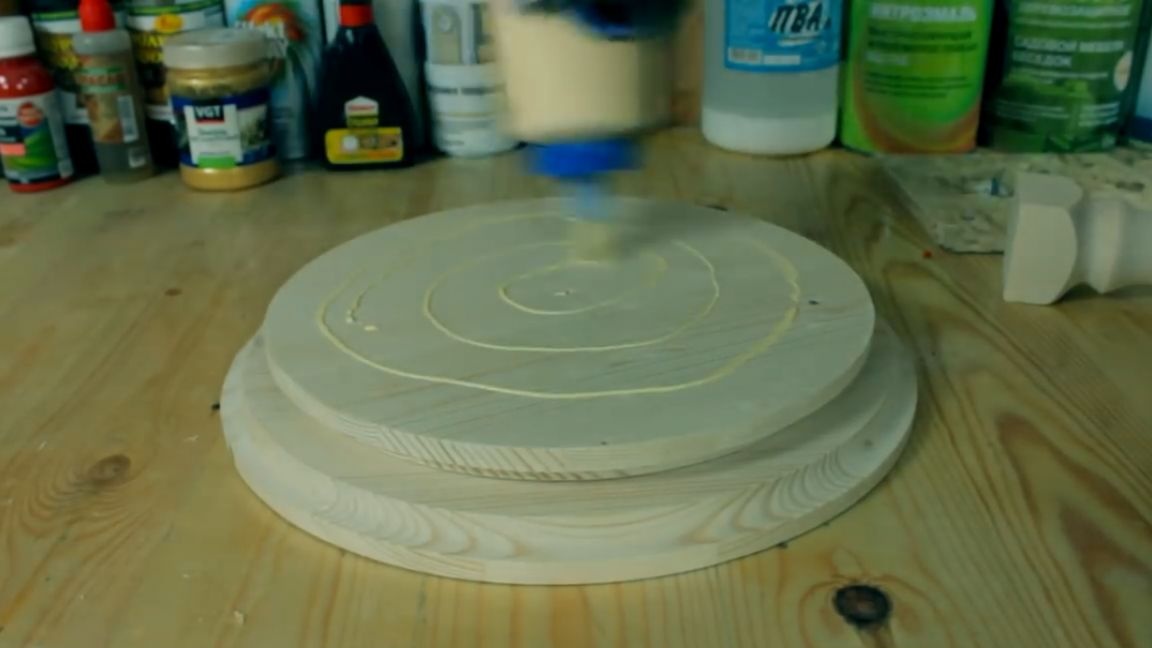
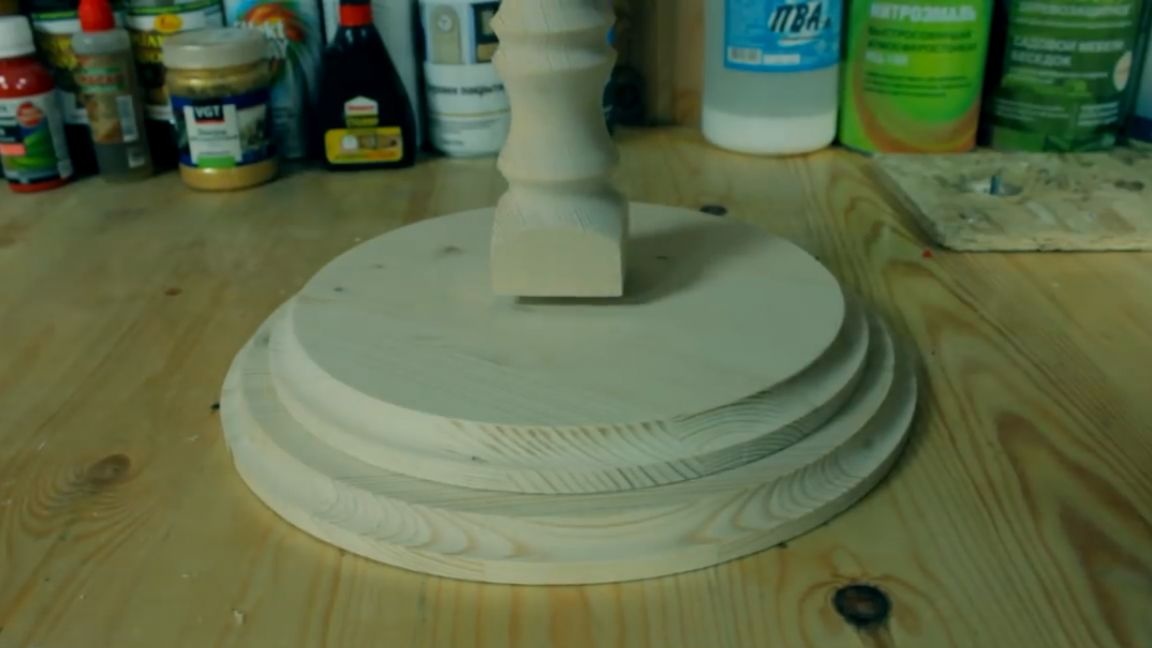
Using a miter saw, cut off about 15 cm on each side of the baluster so that almost one screw pattern remains. Next, we take our pancakes and glue them together using wood glue. We also glue the baluster with glue and apply it in the center of a wooden multilayer pancake.
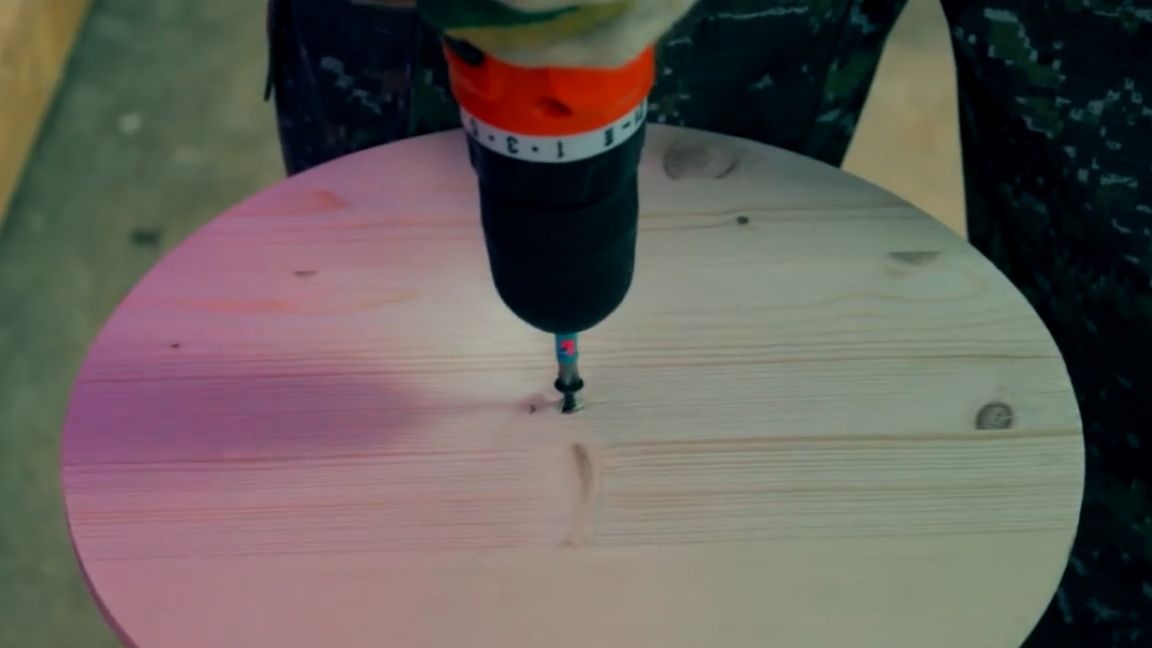
We tighten the entire structure with self-tapping screws on the reverse side.
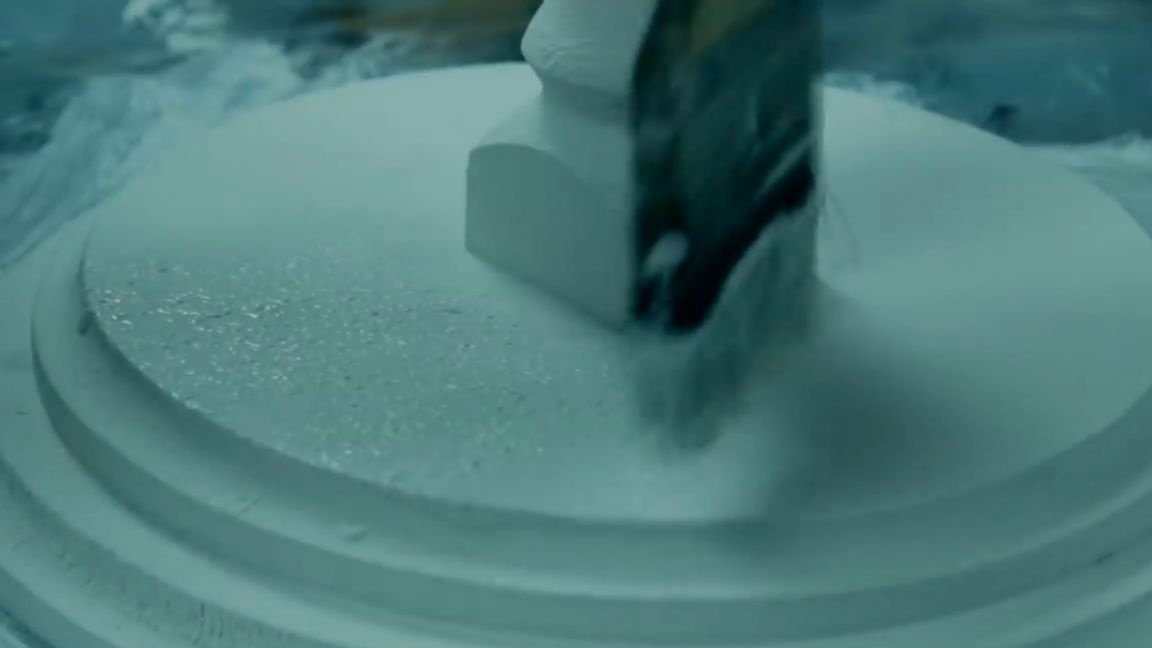
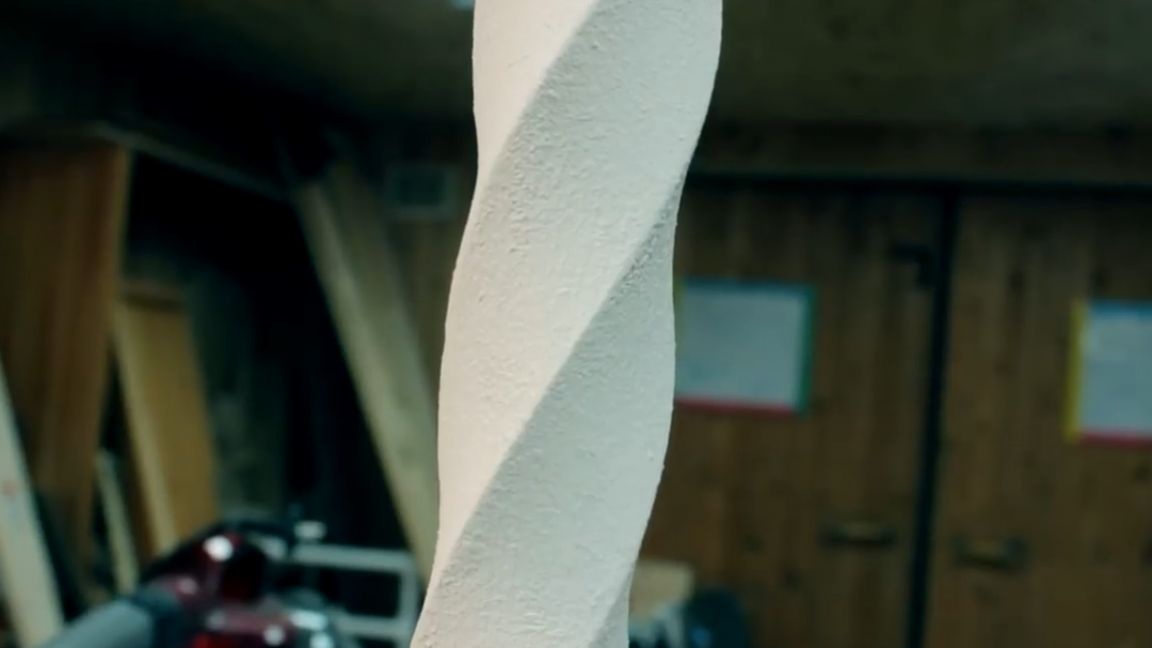
Well, now we paint over the entire structure with white acrylic paint. This time, the author decided that this homemade product this time would not be painted like a fence, but would poke right on the surface, forming small tubercles. As a result, I got a very cool texture at the output, so you won’t immediately say that this baluster is wooden.
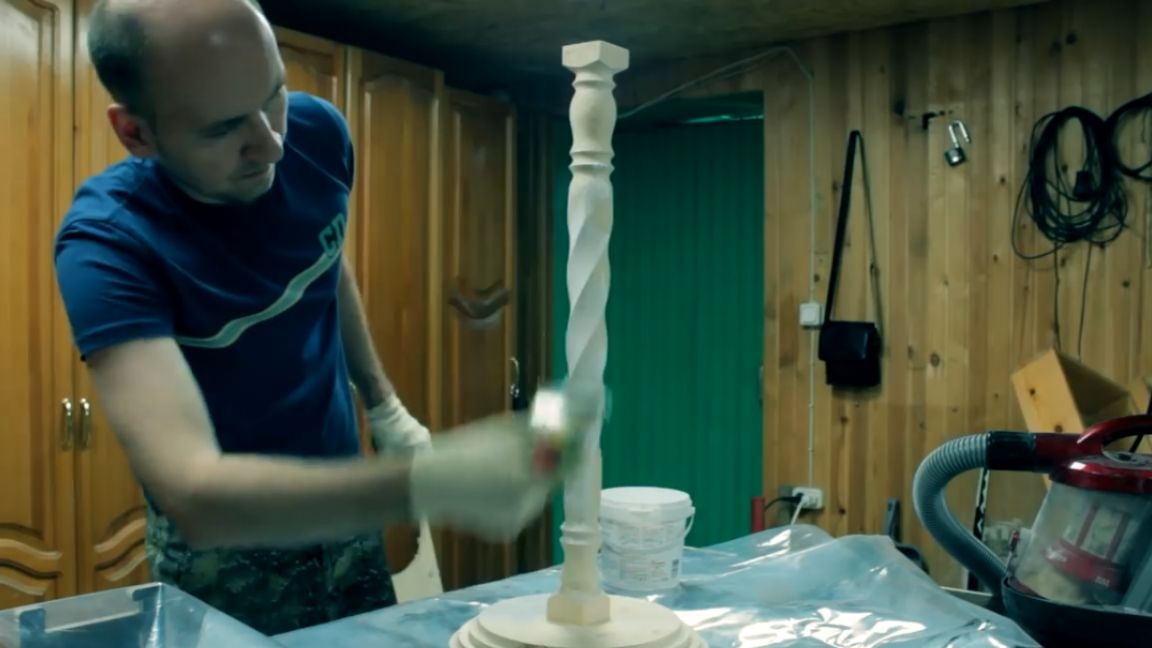
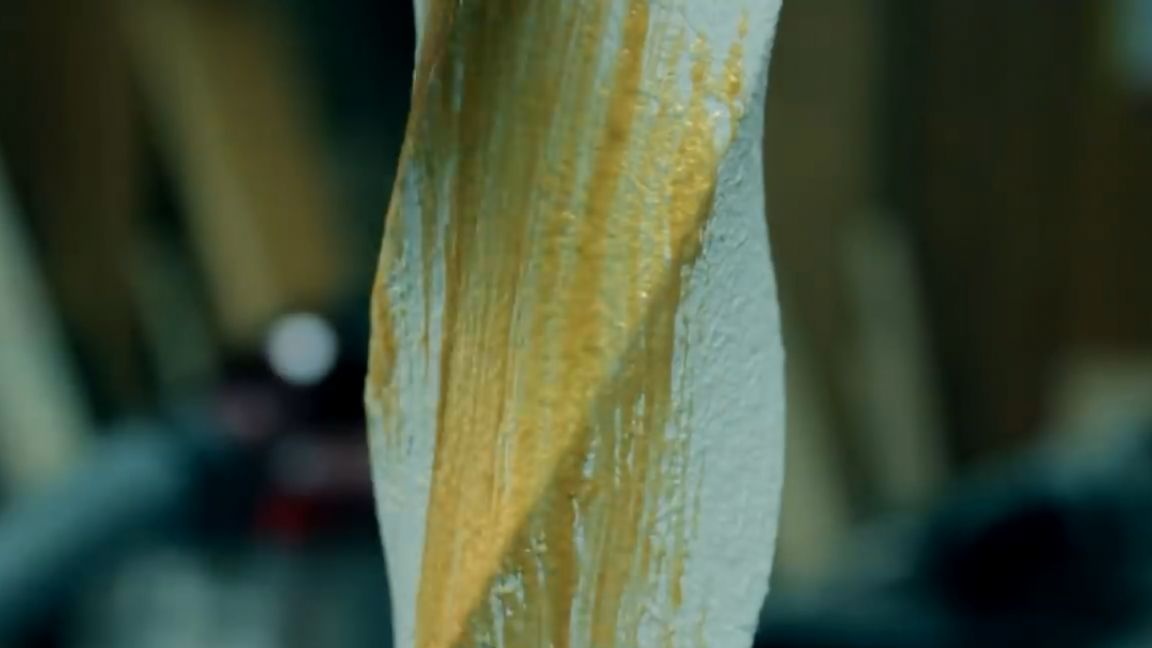
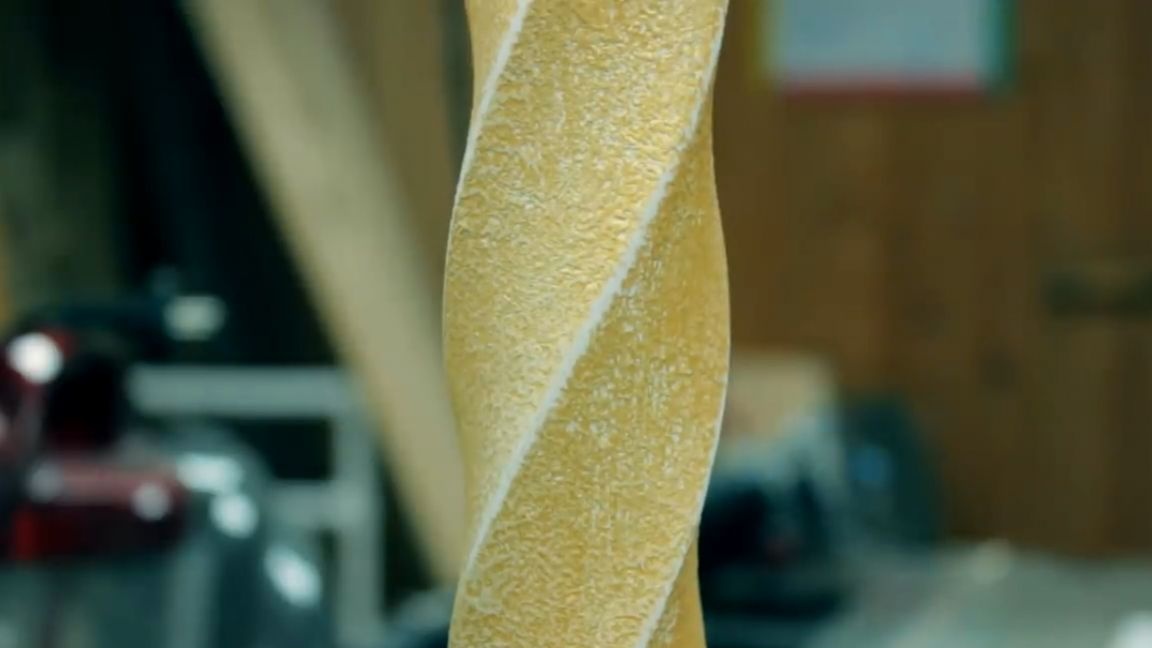
When doing things in a classic style, it would be nice to emphasize them with gold paint. Therefore, we blur a small piece of paint and apply on the entire structure directly on top of white. The edges, forming an obtuse angle, pass through with sandpaper to highlight them and give contrast to the entire structure.
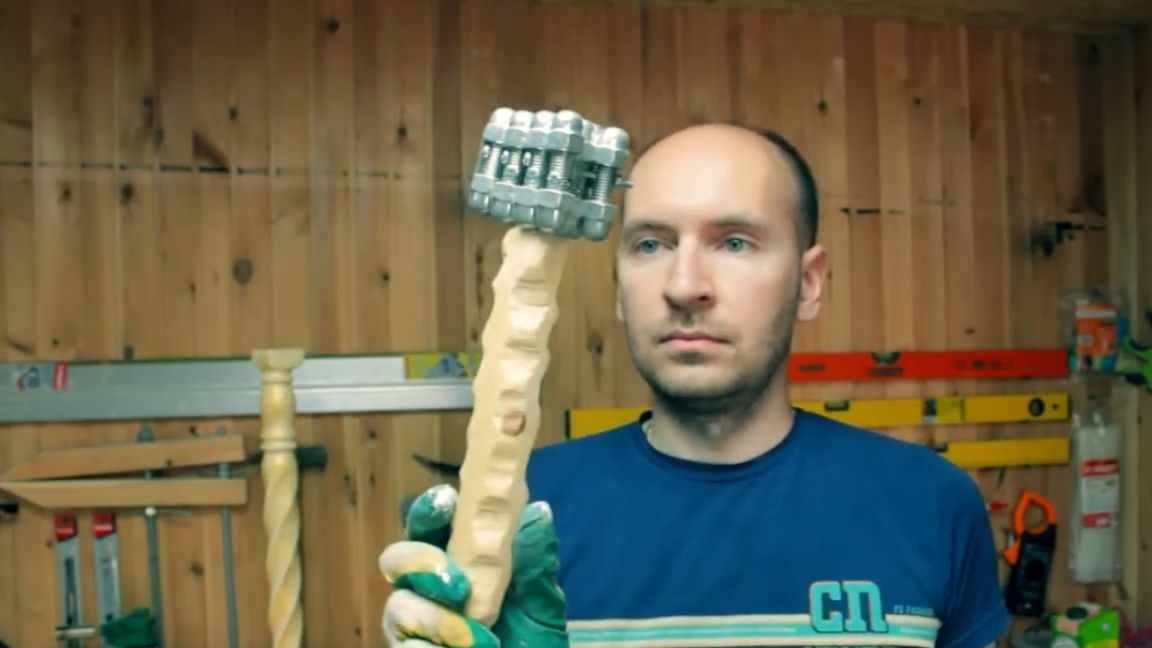
After all the procedures, the author had some paint left, and he decided to paint her the wooden handle of the hammer of Thor, which he had been doing for some time.
Now it looks good. The next day, the form with the heart dried out and, in principle, without any problems separated from plexiglass. Even, by the way, the sealant separated from the epoxy resin quite easily. The result is this form:

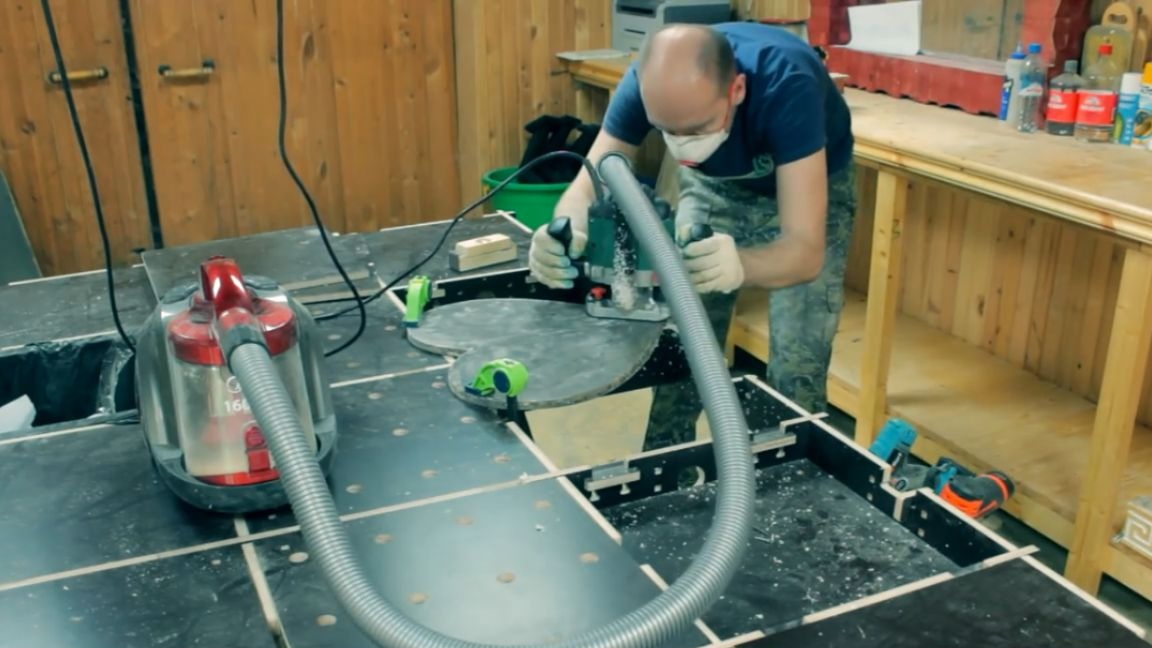
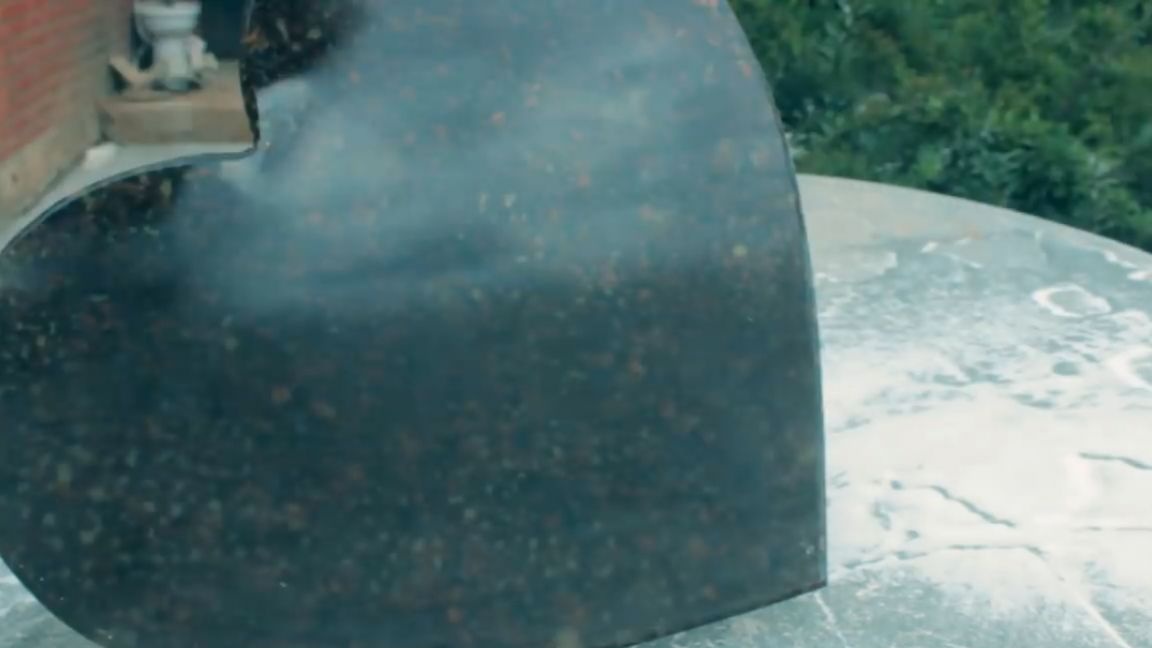
But unfortunately, the second time, I think, it cannot be used. Therefore, there is nothing left just to throw it away. We do not trim the edge with a vibrating machine.
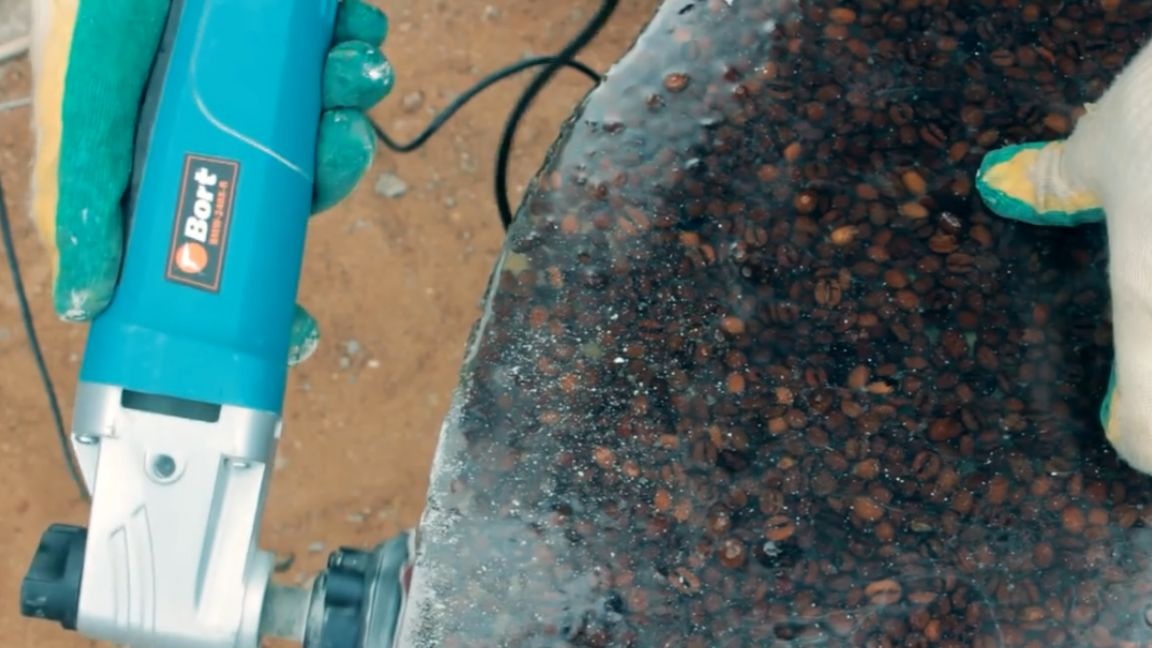
What the master really likes when working with this machine is that it does not dust very much. But still you have to spray anyway, grinding 2 surfaces with a grinder. After polishing both sides of our heart and stopping at the 400th grain, we remove the edge using a milling cutter.
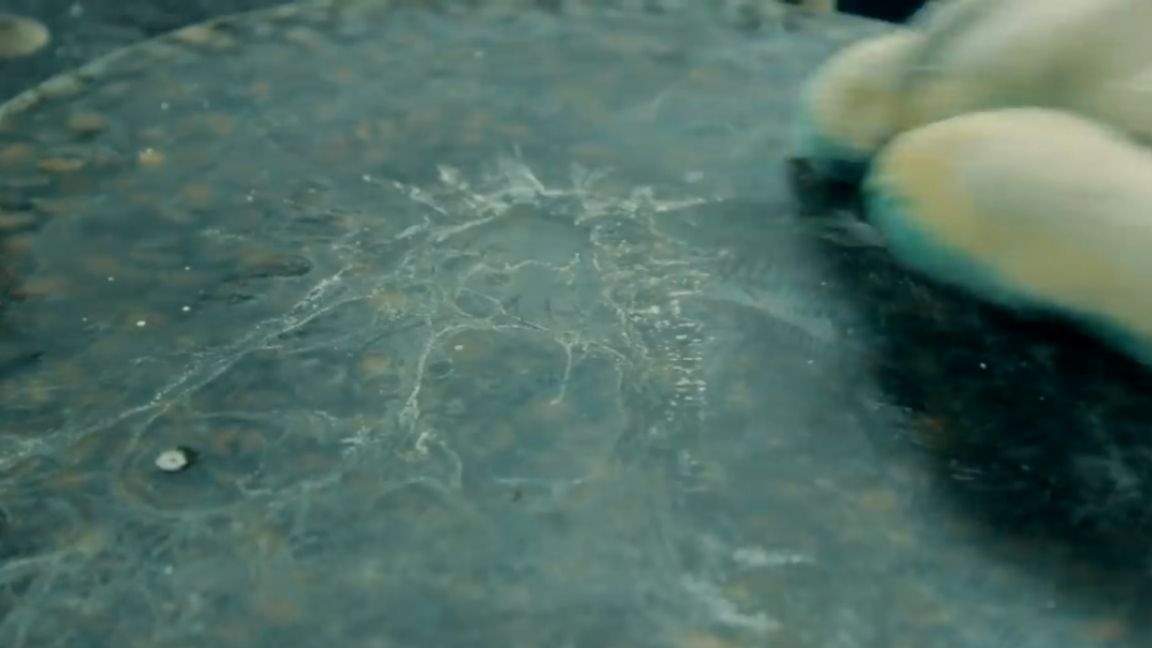
Having examined the surface in more detail after grinding, the author realized that even when pouring the second layer, the epoxy did not want to harden completely, but not on the entire surface, but only in some places. Therefore, it was decided to use the back as the front, because no matter how surprising it was, it looked an order of magnitude better.
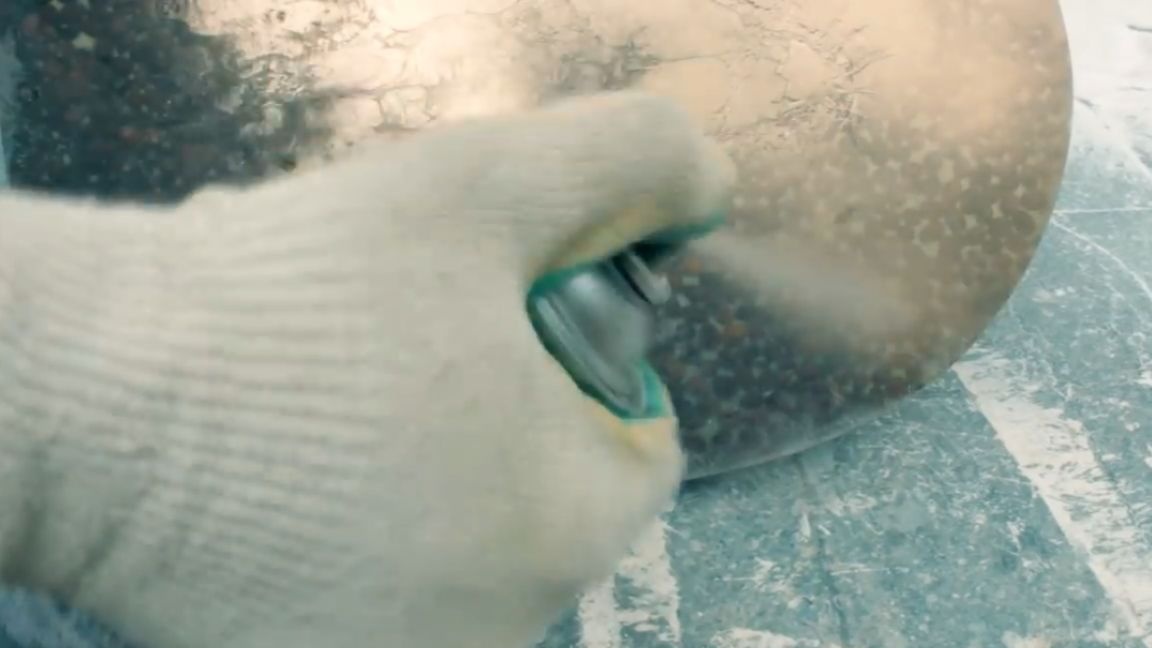
Wipe our heart thoroughly with a dry cloth to remove dust and move on to painting. The lower part of the heart, which, incidentally, was until recently the upper one, the author decided to paint in gold. Well, what can I say, it turned out pretty well.
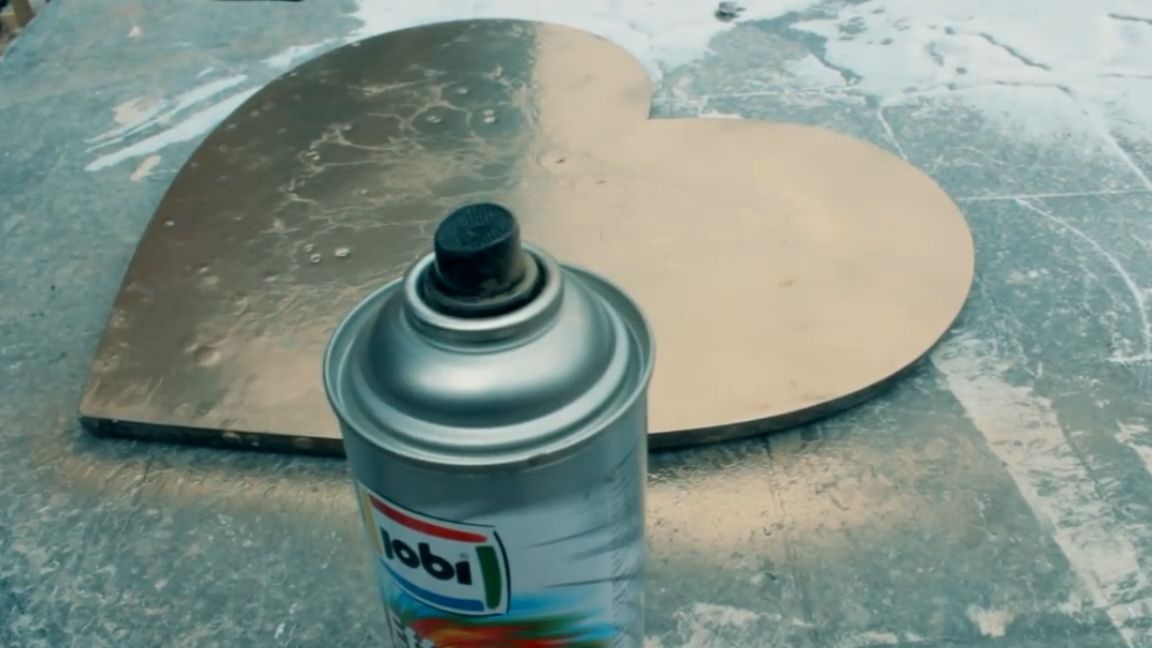
All semi-frozen shoals of epoxy turned into some pretty interesting pattern, but in general it turned out beautifully. After the paint dries, we cover it on top with a layer of acrylic varnish.Also, the upper front part is also covered with a layer of the same varnish. As you can see, literally before our eyes, the matte surface becomes glossy.
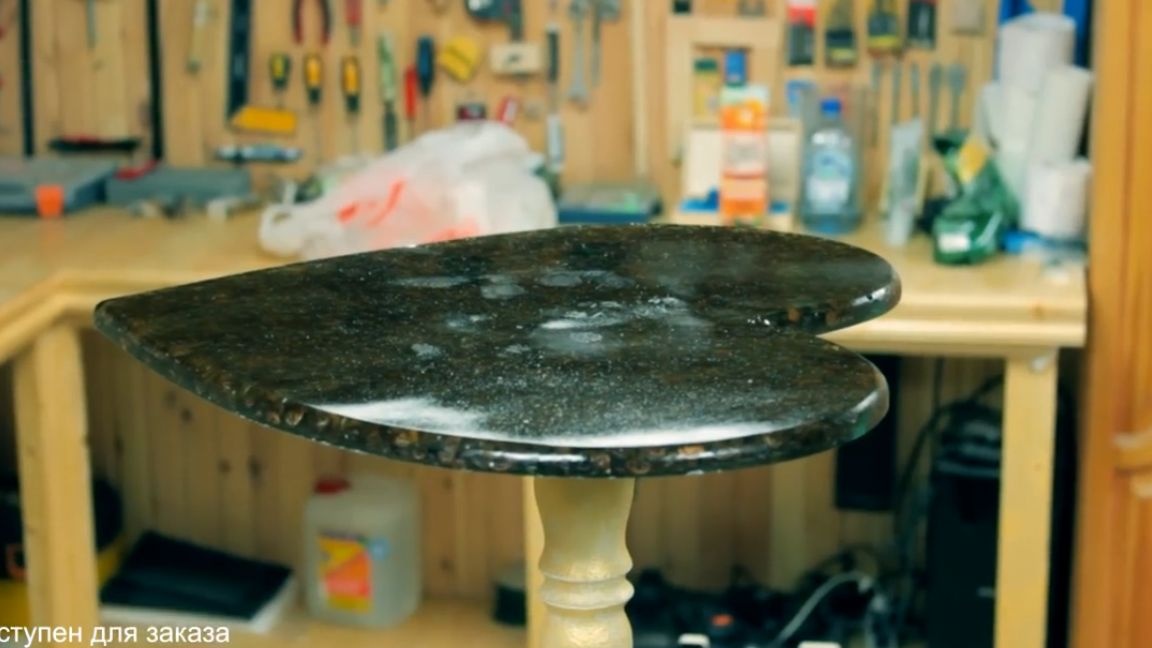
After a couple of hours of drying, we will need to connect the lower structure to the upper. We will do this with the help of glue Titan, which, in principle, has already proven itself quite well. We lower the countertop and press it with our fist.

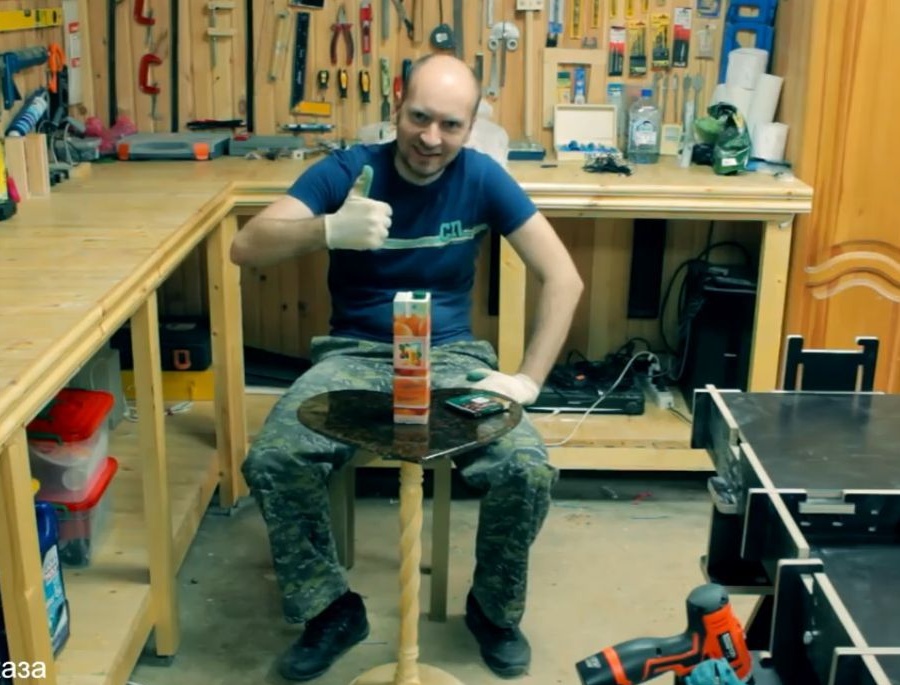
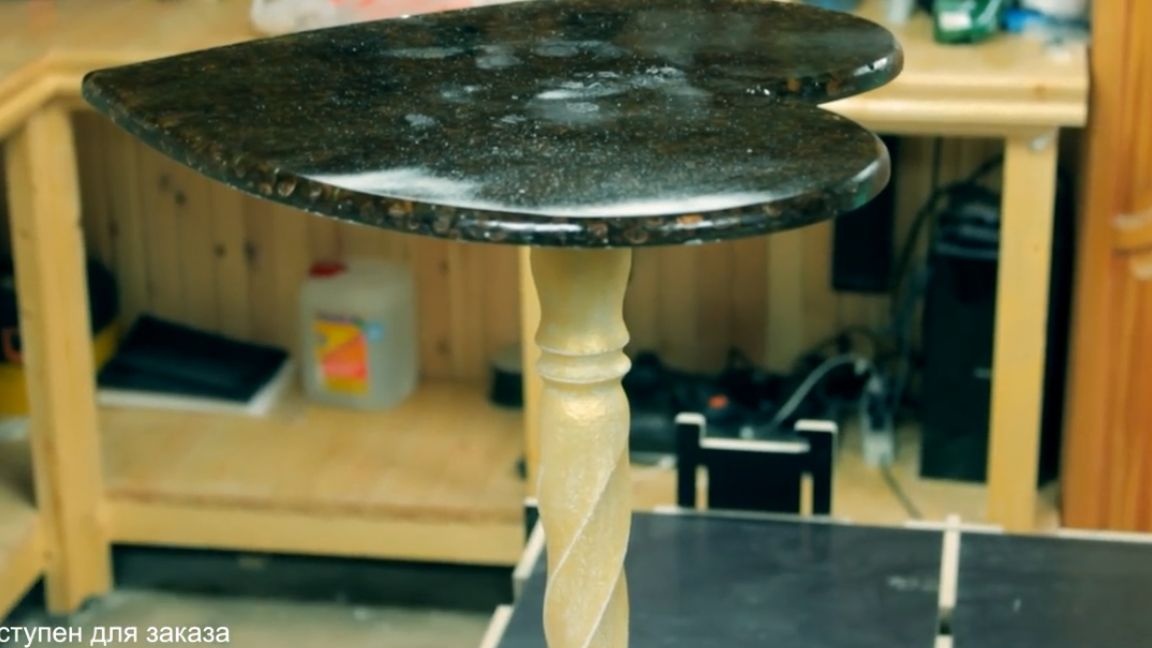
Well, at the exit we get such a cool coffee table made of coffee, on which coffee will be even more coffee.
Also, this table can be used as a bedside table, a table, or just put there, for example, a vase of flowers. Well, or some cup, for example. In general, the functionality of this thing is simply huge. The surface of the countertops turned out to be of fairly good quality, not counting the pair of prints that the author accidentally put on the not completely dried varnish and dust that sat down during drying. But this is easily fixed with a polishing wheel.

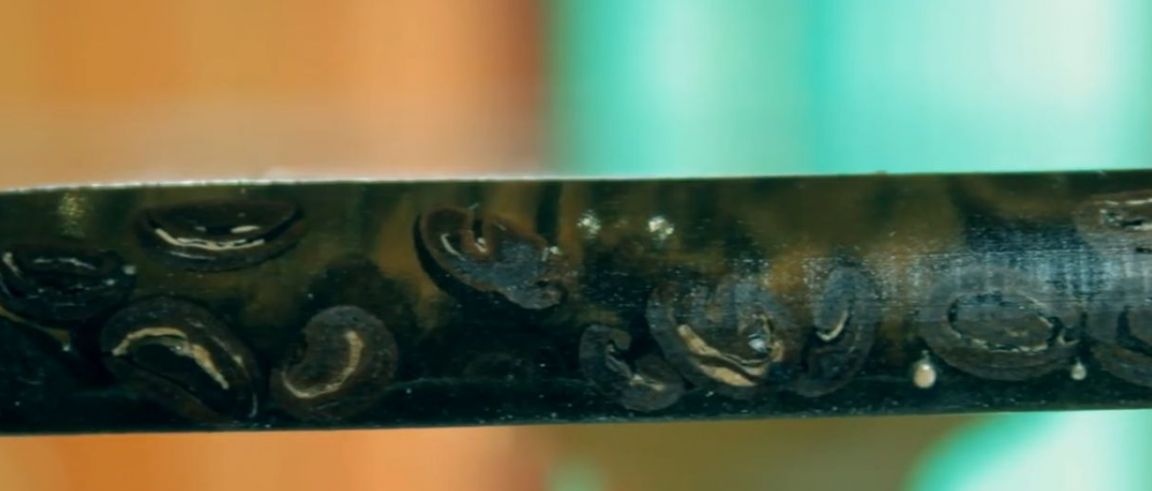
The edge of the countertop was also very cool, and you can see how the coffee grains border a layer of varnish.
In general, all the good, good luck and more creative solutions in your life, as well as invigorating coffee for this and next work week. Thank you for attention. See you soon!
Video: