Despite the high reliability of the car’s electronics, one has to deal with repairs. Sometimes lights, headlights, side lights stop working. The malfunction can be like a burnt out bulb or a fuse.
Finding the cause of the breakdown is not easy without a tester.
So, what do we need:
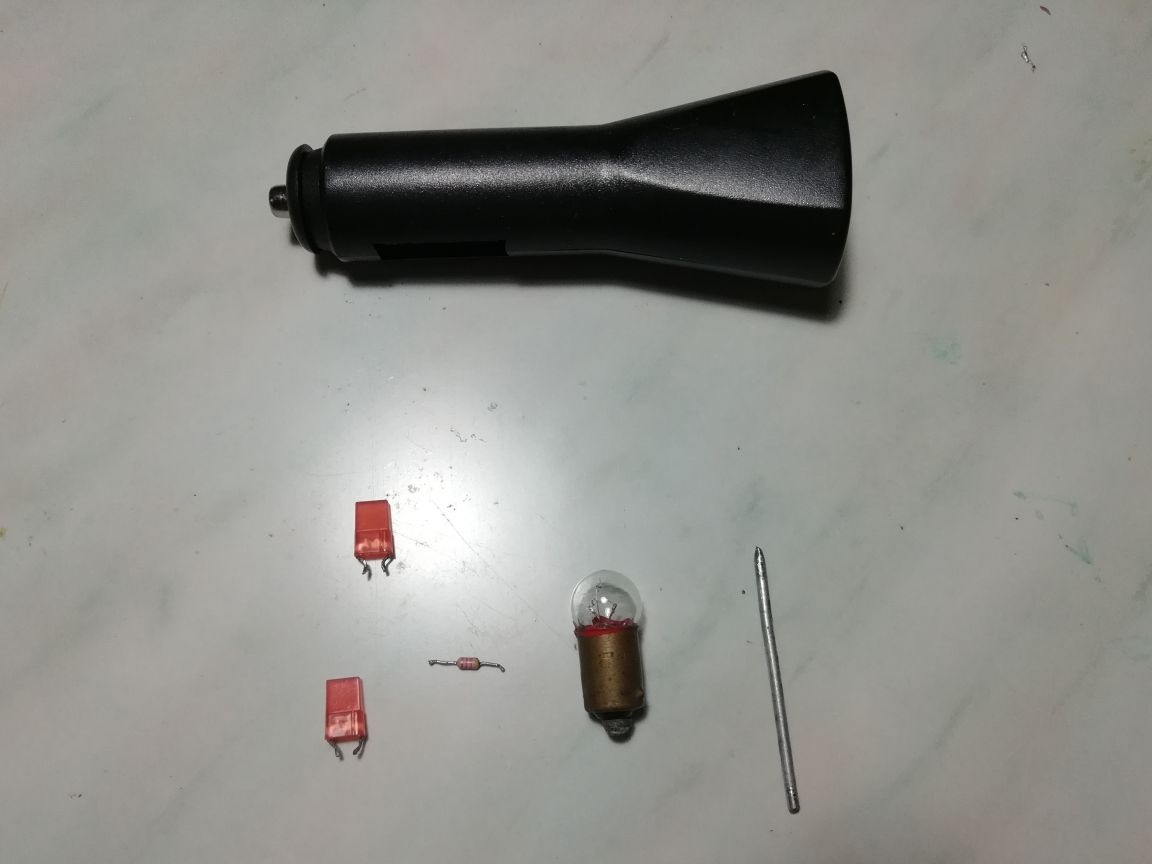
- Any plastic case;
- LEDs 2 pcs;
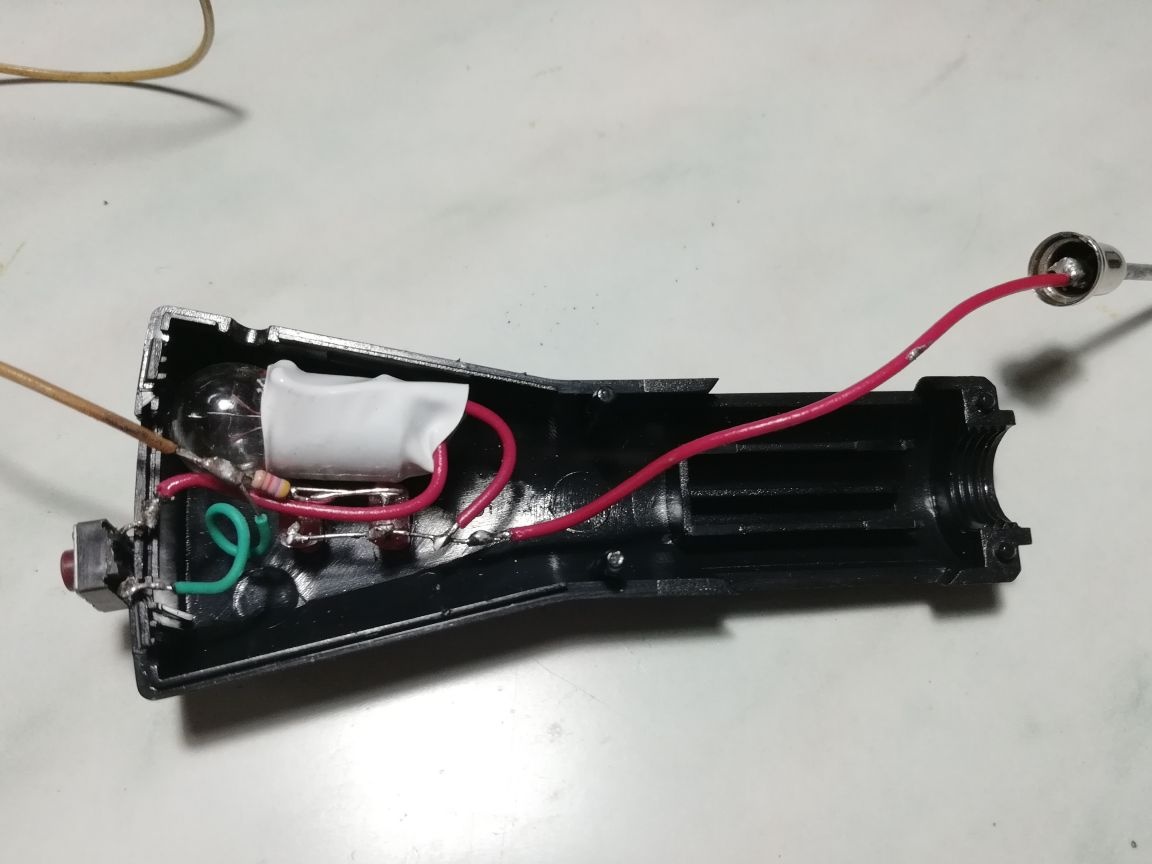
- a bulb on 12 V;
- button;
- 1-2 kOhm resistor;
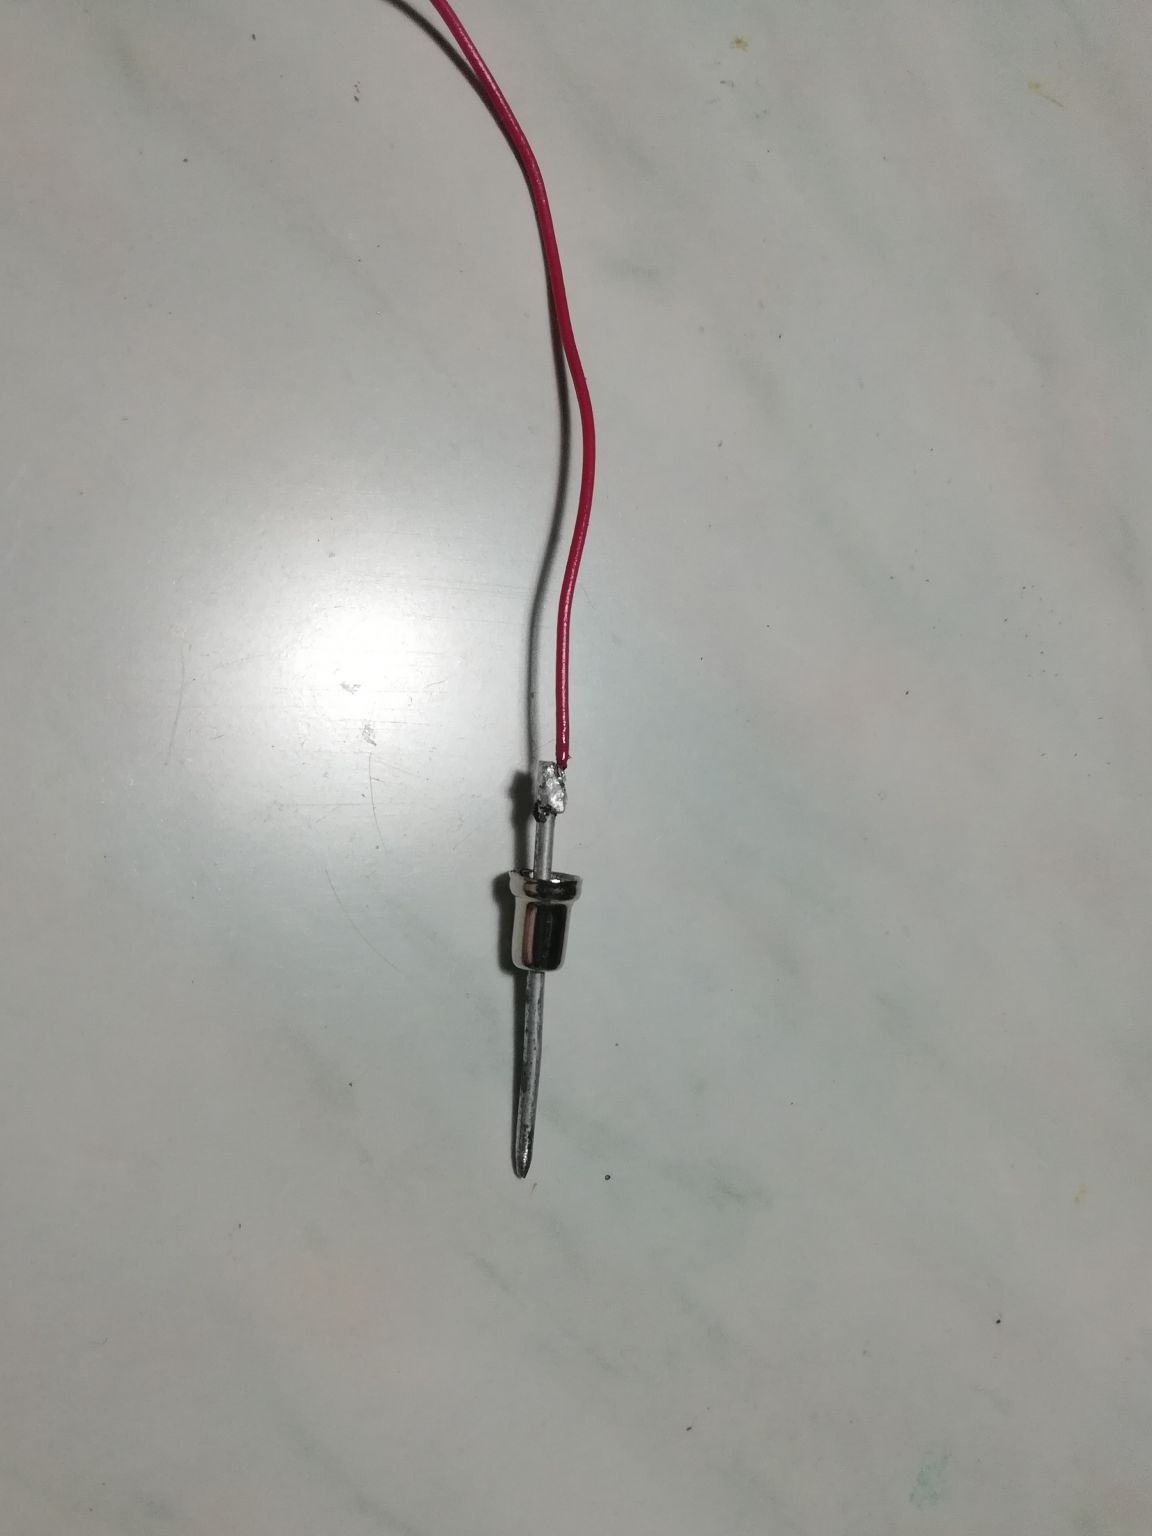
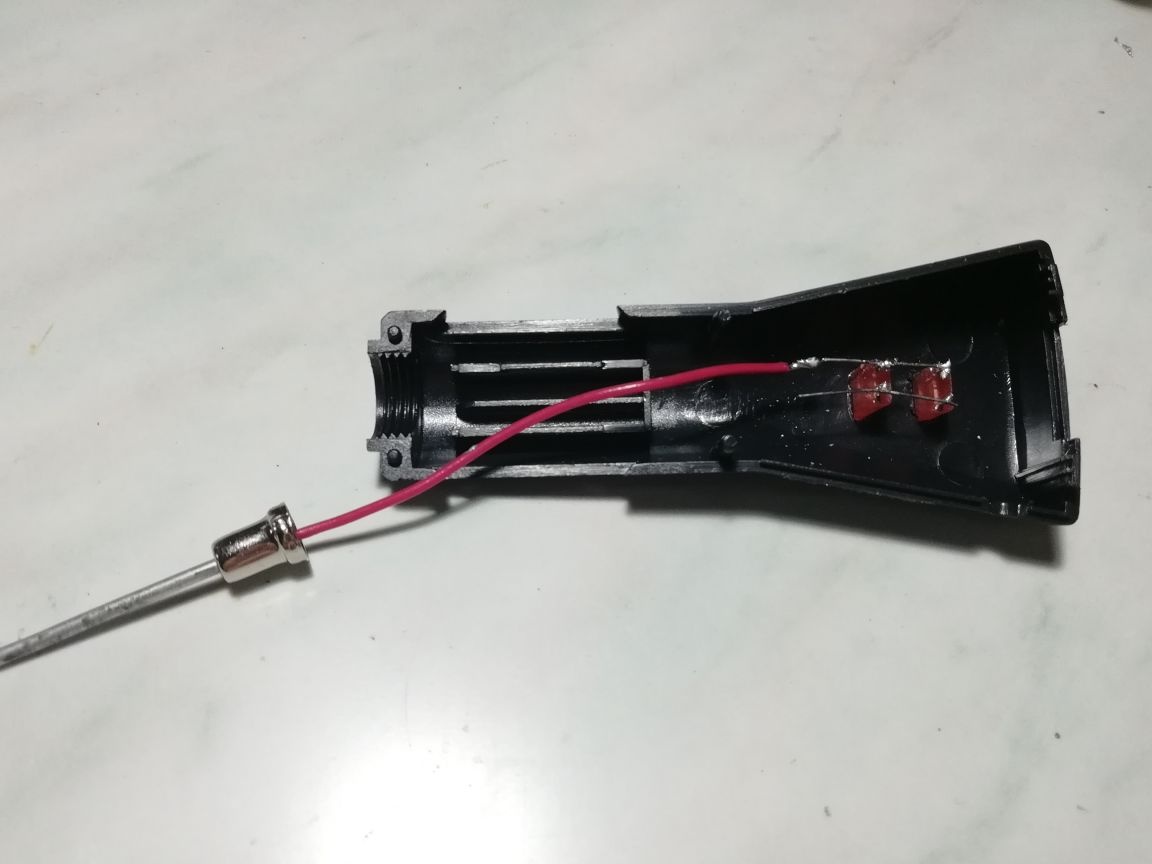
- acute contact;
- wires;
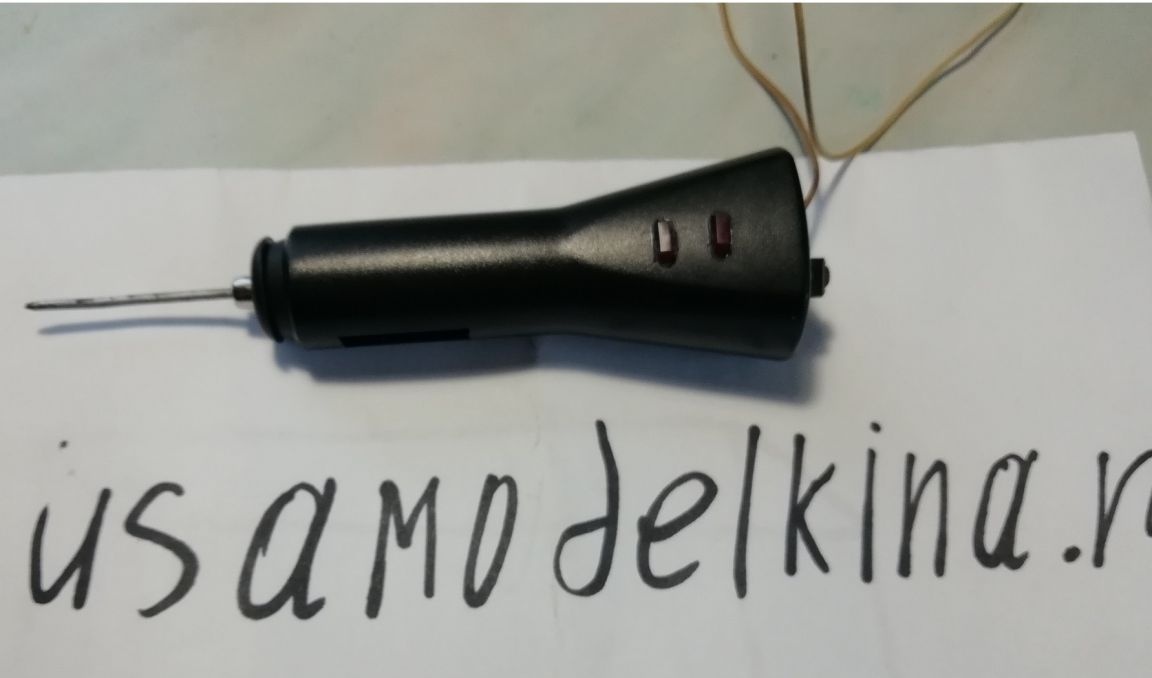
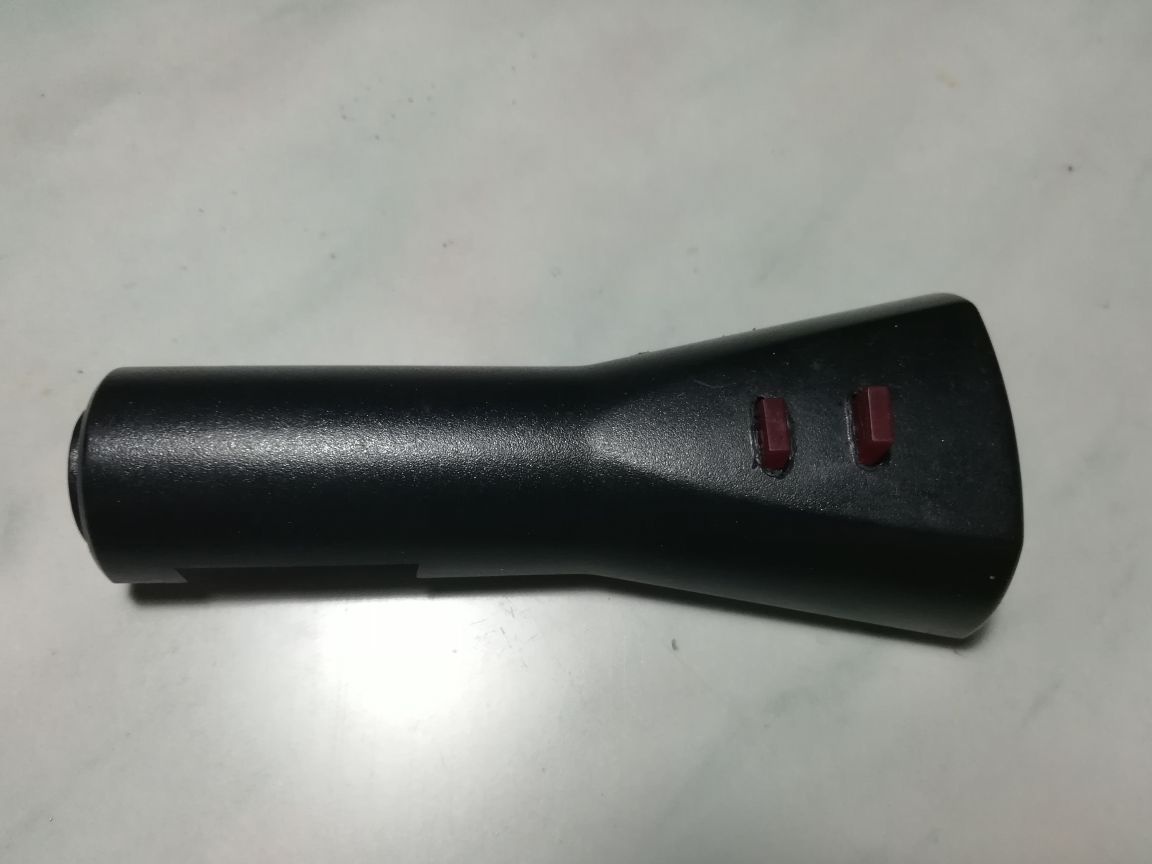
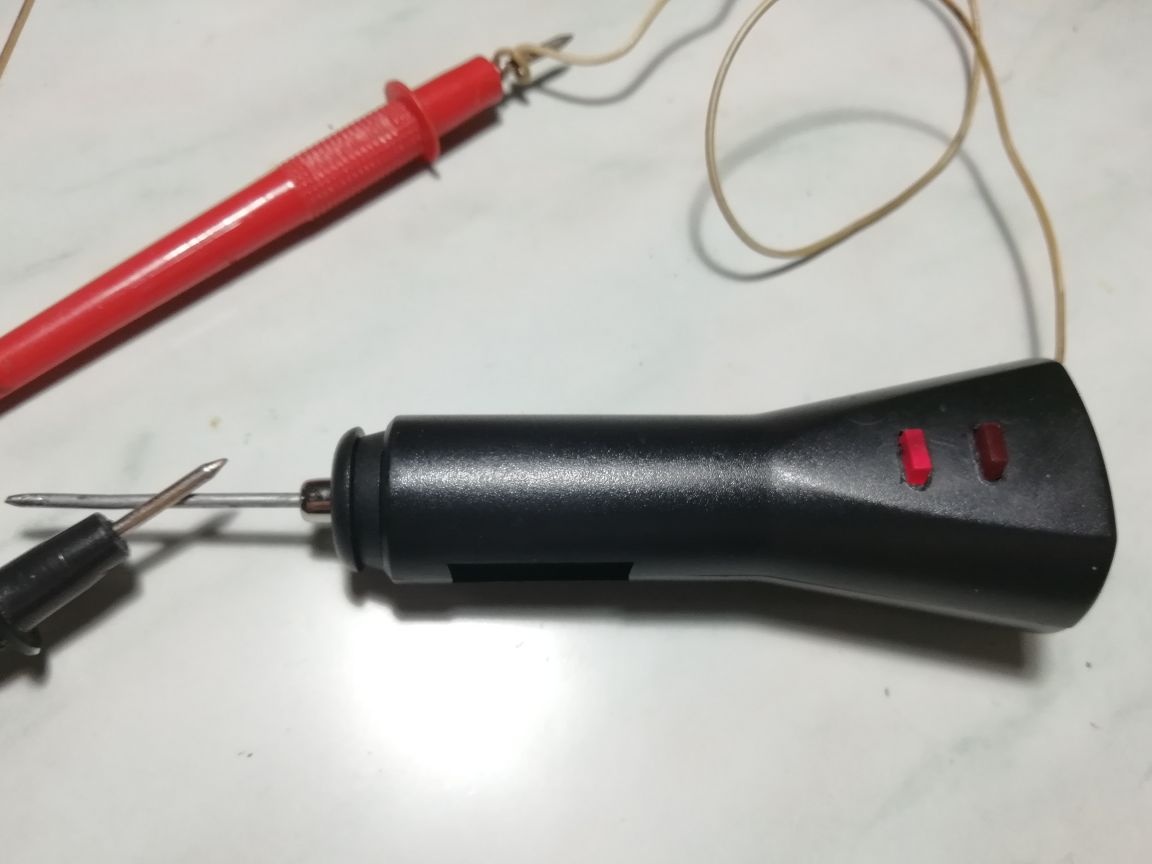
As the case, I used a phone charger from the cigarette lighter
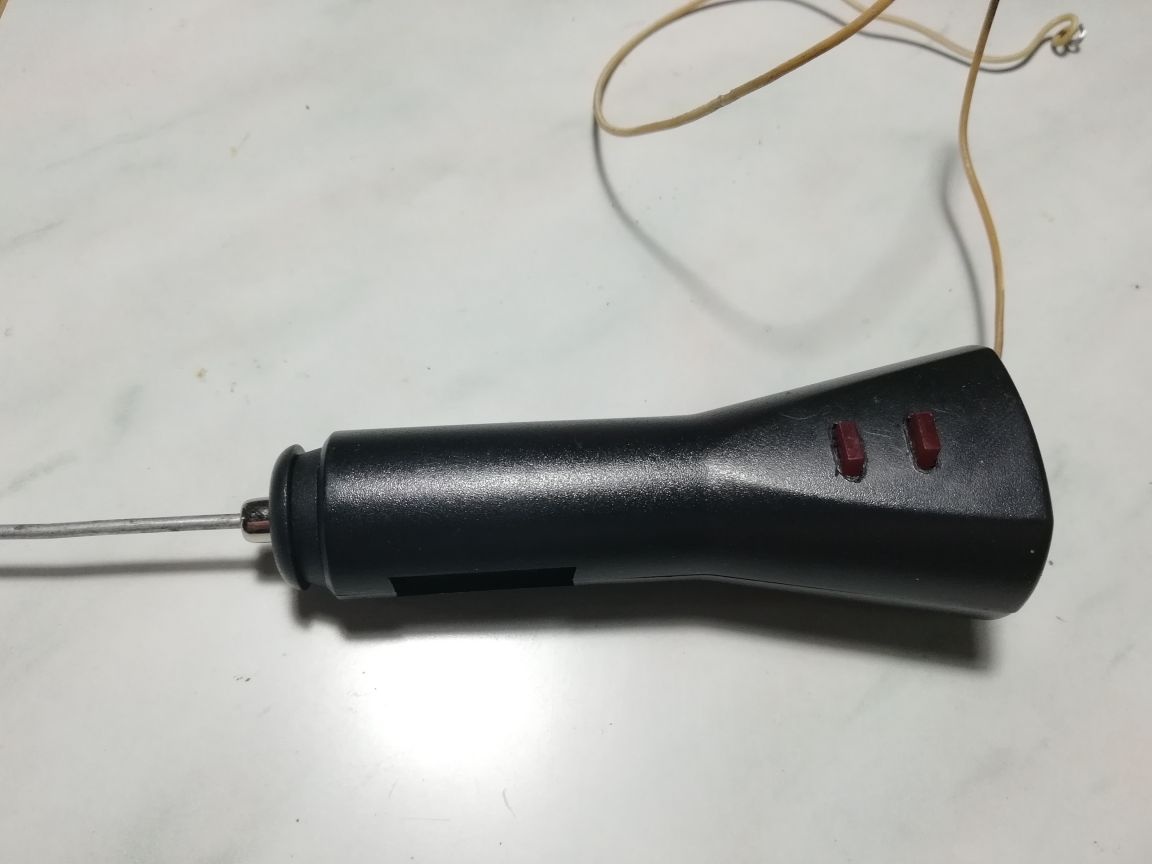
we make holes for the LEDs in the case, it is desirable to use LEDs of different colors, but I only have red, I will use them.
We solder the wire to a sharp contact with them, we will pierce the insulation of the wire.
We solder everything as shown in the diagram; the light bulb is designed to check a low-current wire or not.

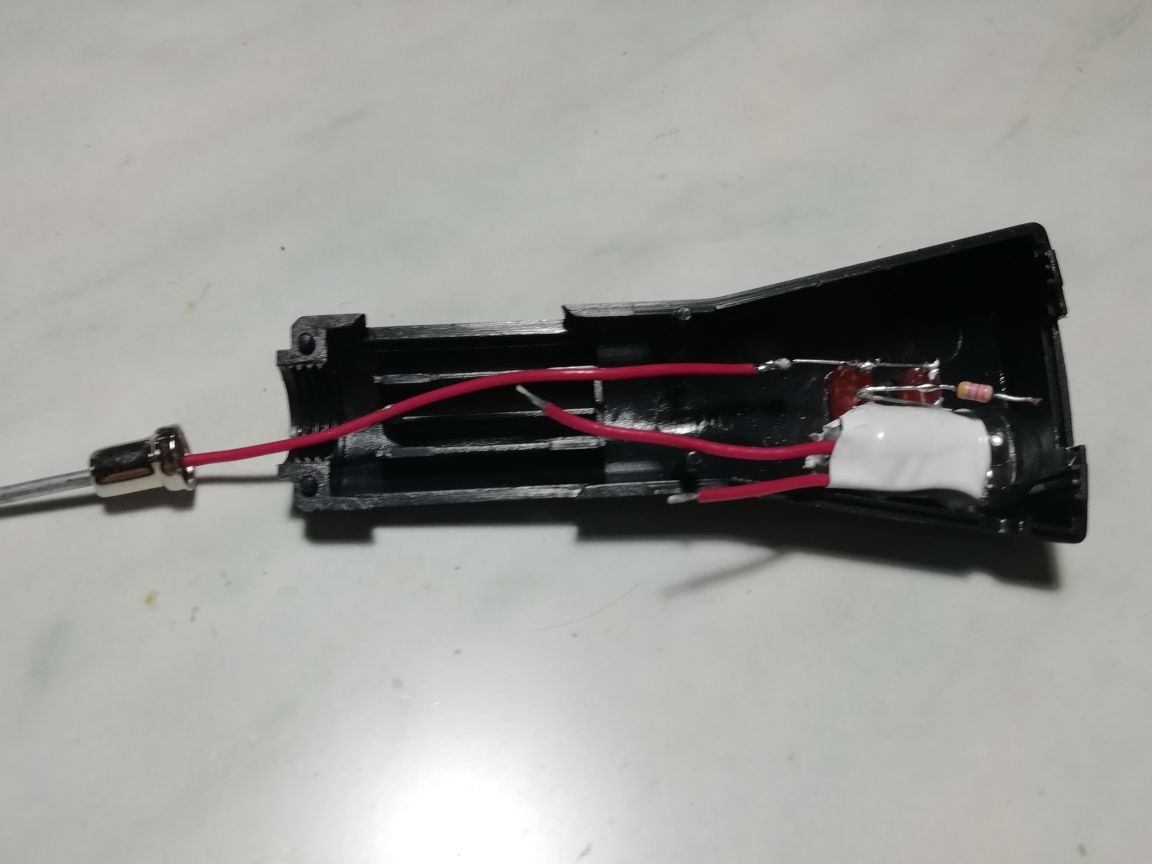
The light bulb was installed inside the case and it will be so visible, but you can make a hole under it.
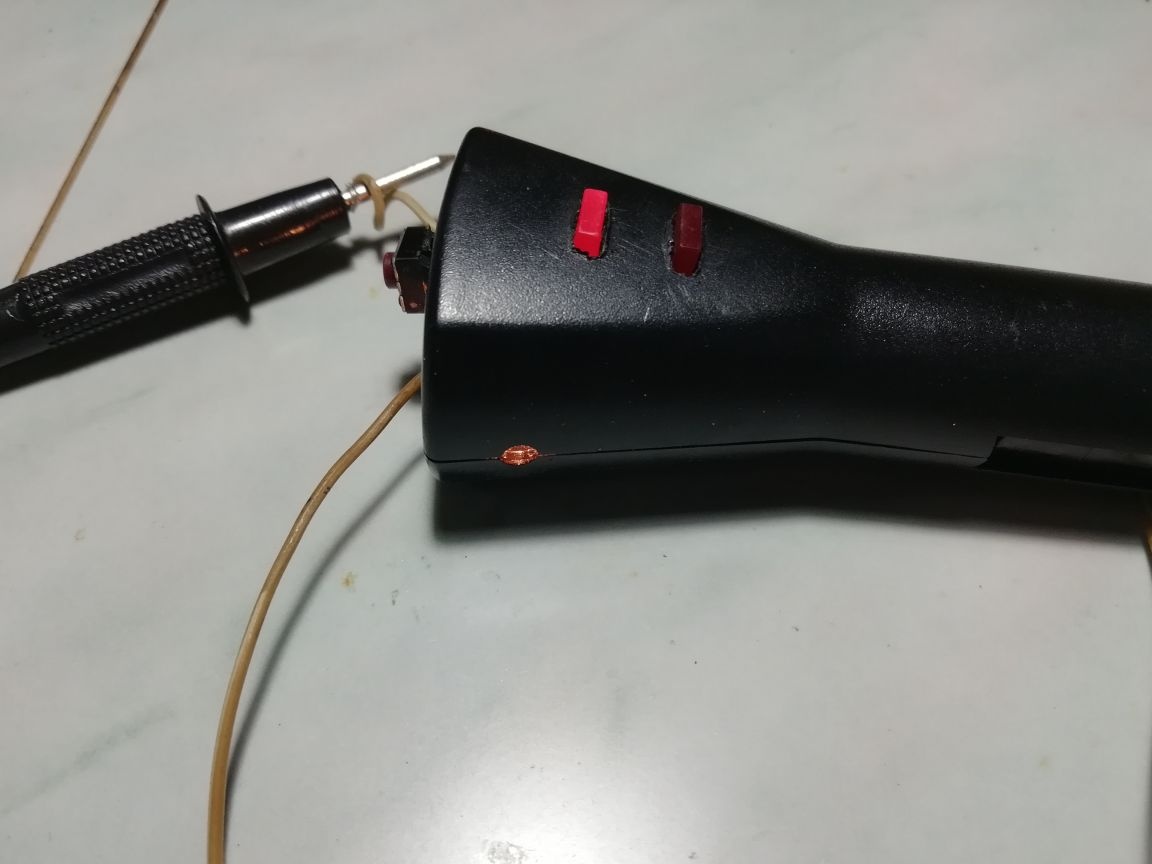
The first LED is on.
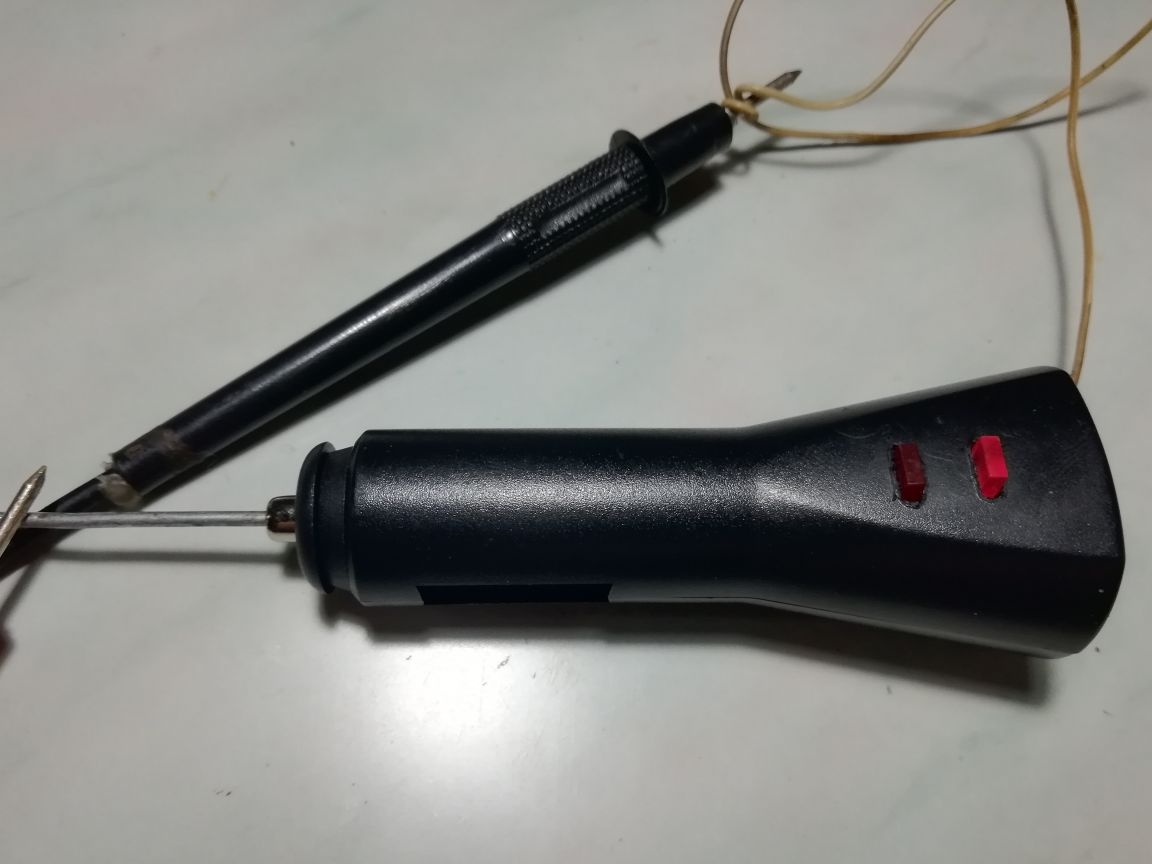
The second LED means minus.
I closed the button so that without clicking on it to check the light bulb. The light bulb is designed to test a low-current wire or not.
This device is very convenient to check the fuses for one minute and the fuses are checked.