
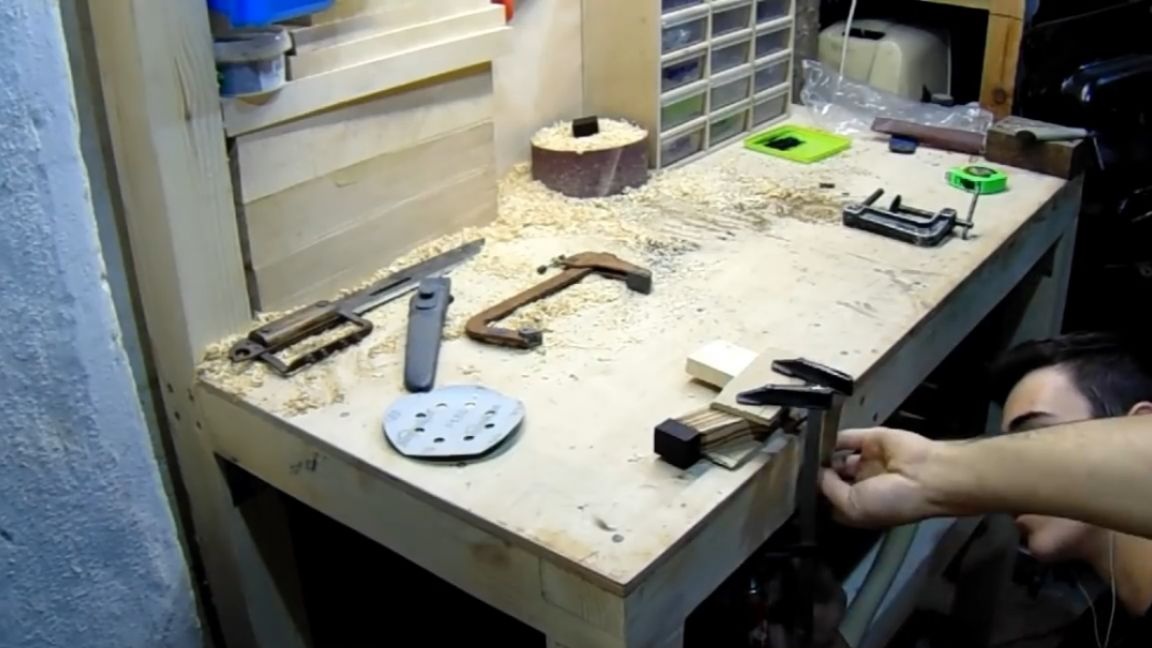
Greetings the inhabitants of our site!
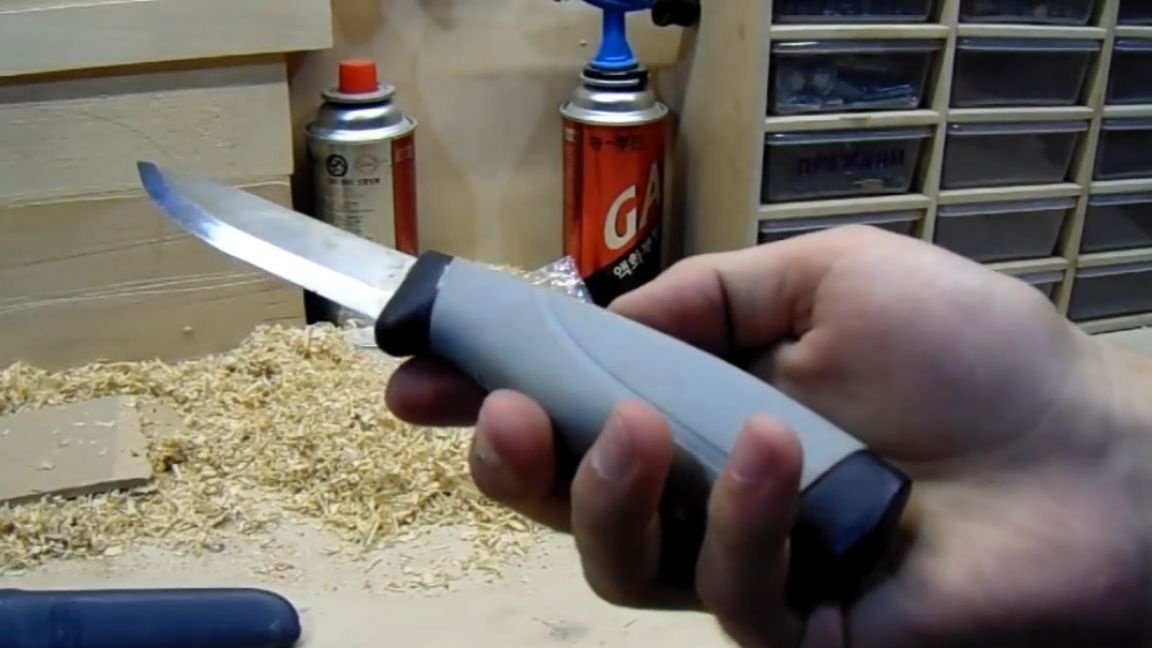
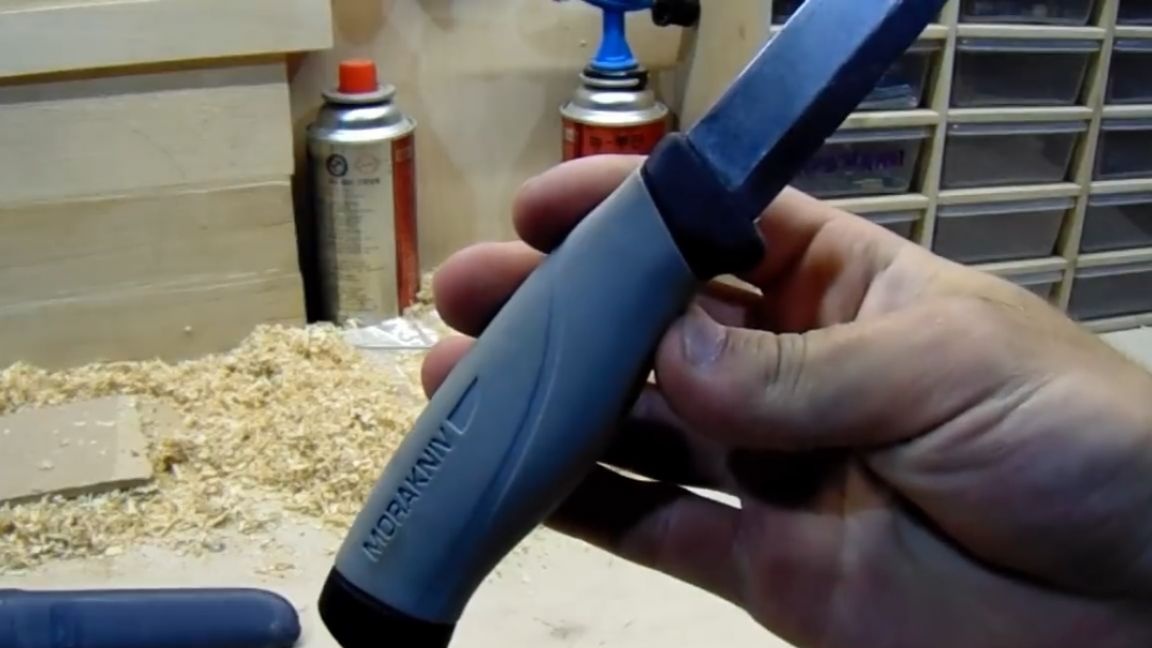
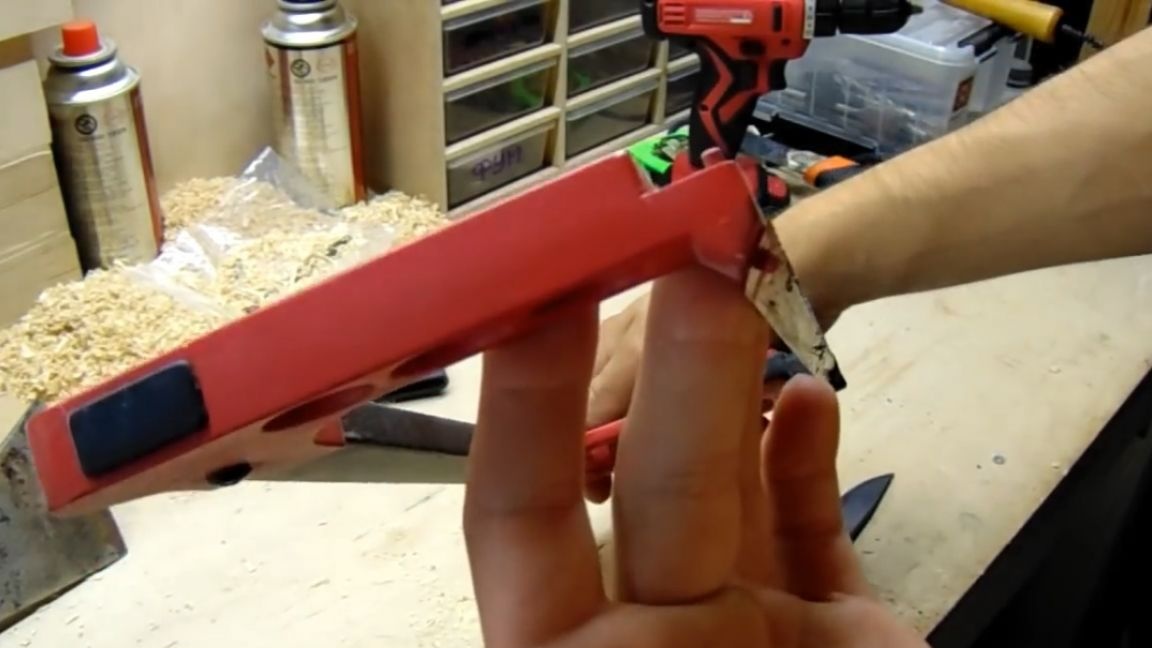
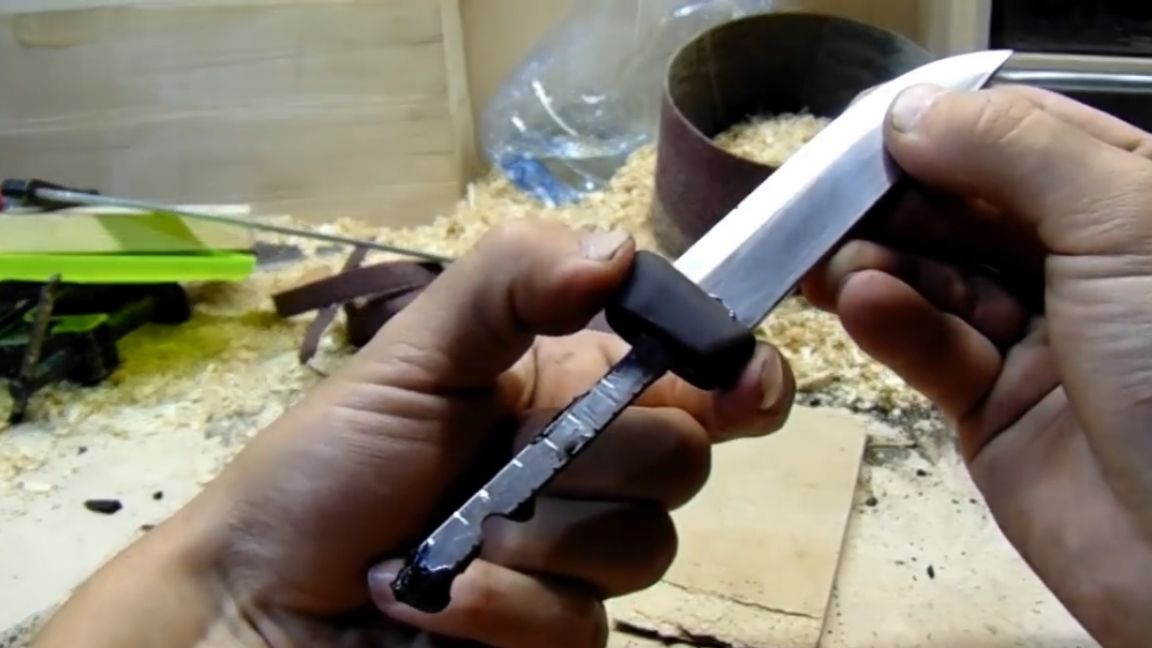
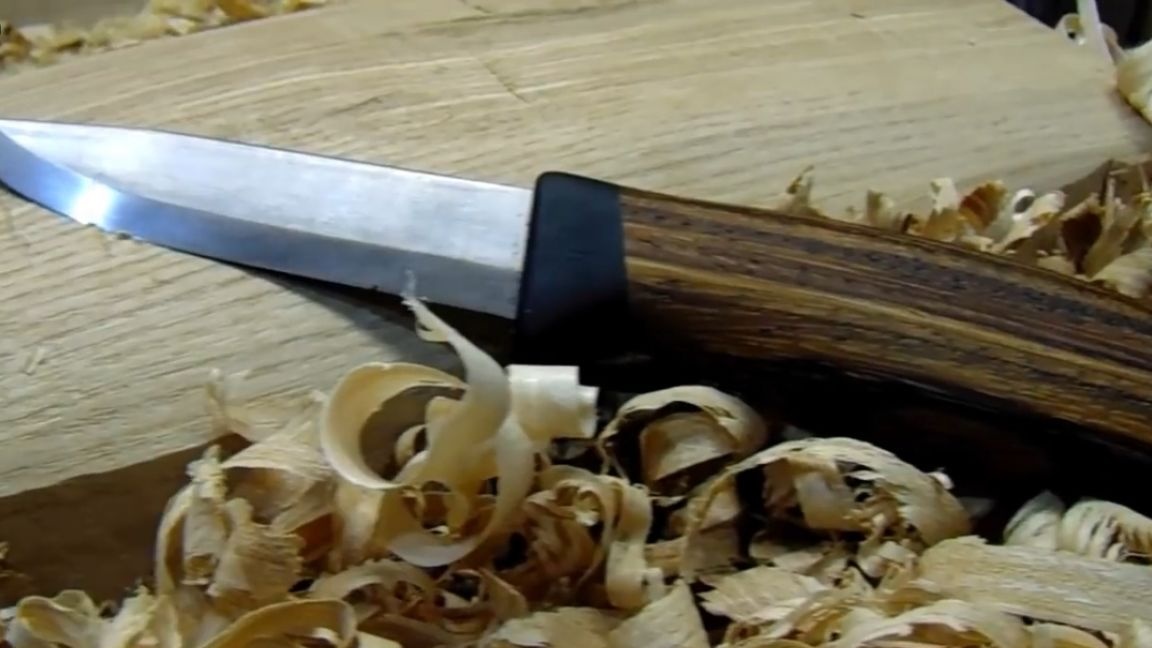
Here is an old version of Mora Robust. Now it is already out of production, and the author cherishes it, because such a knife is really cool, especially for working with wood.
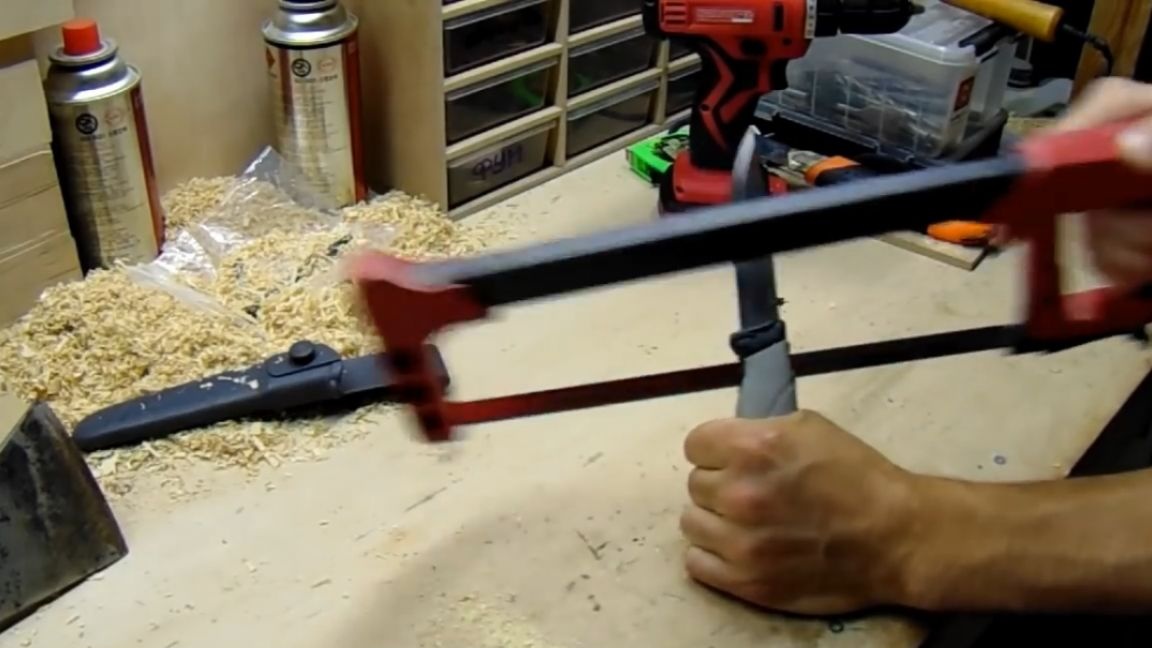
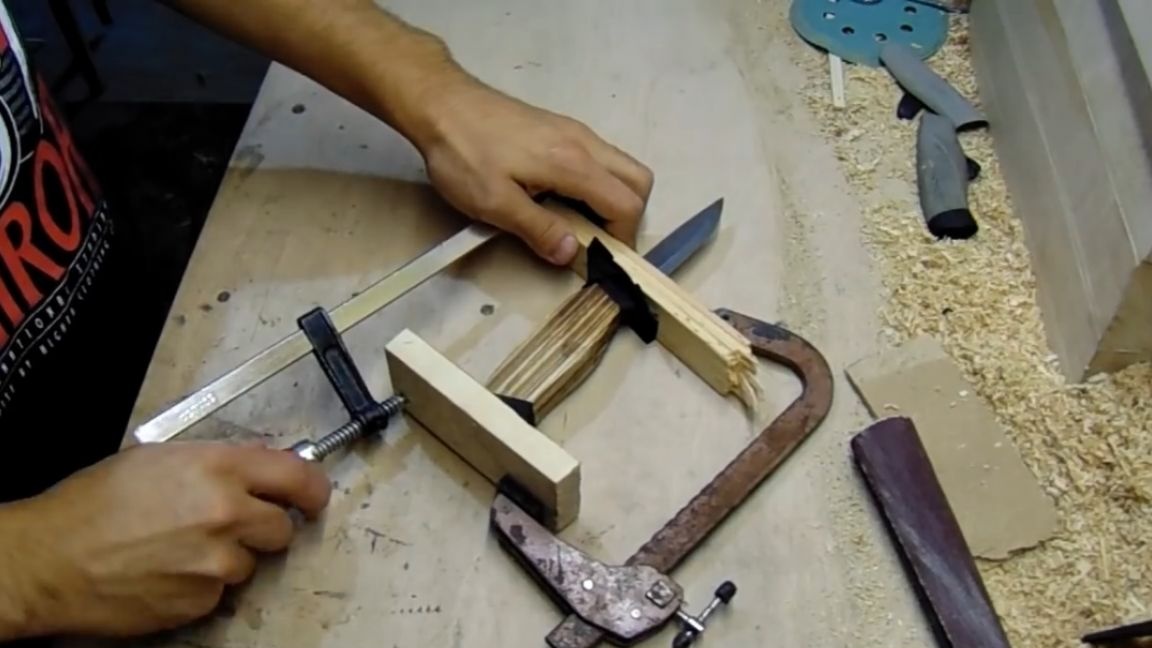
But there is still one minus in it, over time, the rubber on the handle has become very nasty and sticky. In general, it became unpleasant for them to work. The author did not dare for a long time, but still it would be necessary to redo it. Friends advised just to cut off the old rubber, and instead tightly wrap the twine. But this is somehow wrong, if done, then done as it should, the author thought, and began to cut off the old hilt. In this case, the function of turning the blade on the hacksaw was very useful, otherwise the author was wondering why it was needed here.
But even having exposed the shank, it simply did not work out to get the blade. However, before the slotted screwdriver and the genius of the author (according to him), of course, nothing can resist.
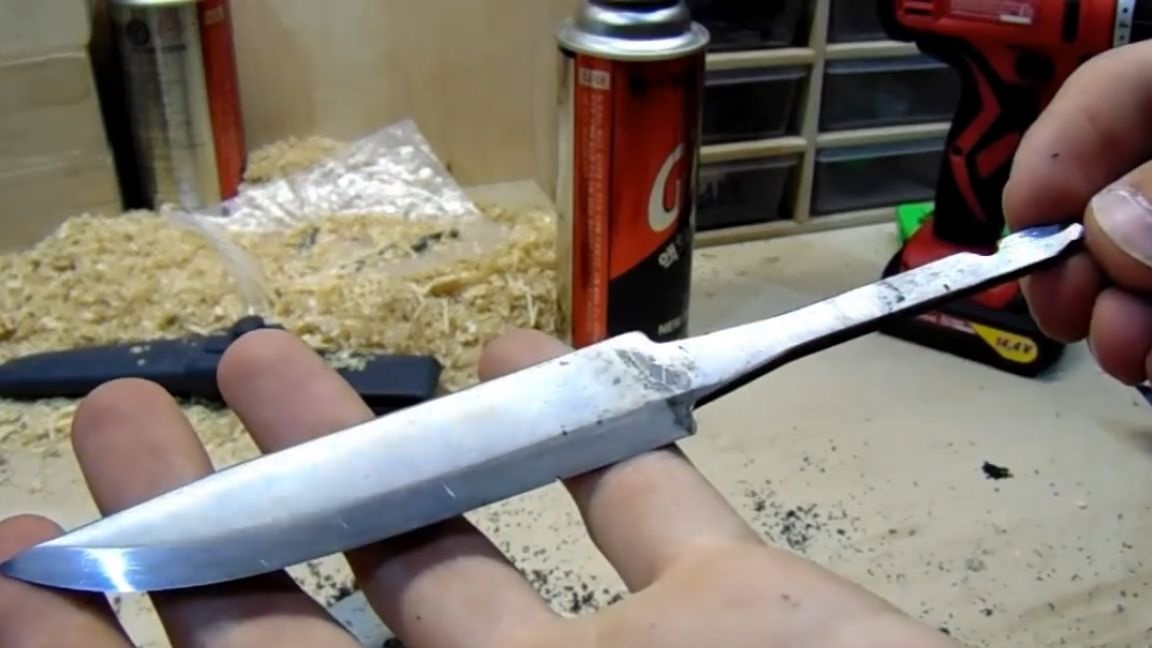
So, the blade is removed. We will use the old handle, or rather, what is left of it, as a template, and try to make an exact copy of the handle. So, and what will we actually make the handle from? And from some foreign species of trees.
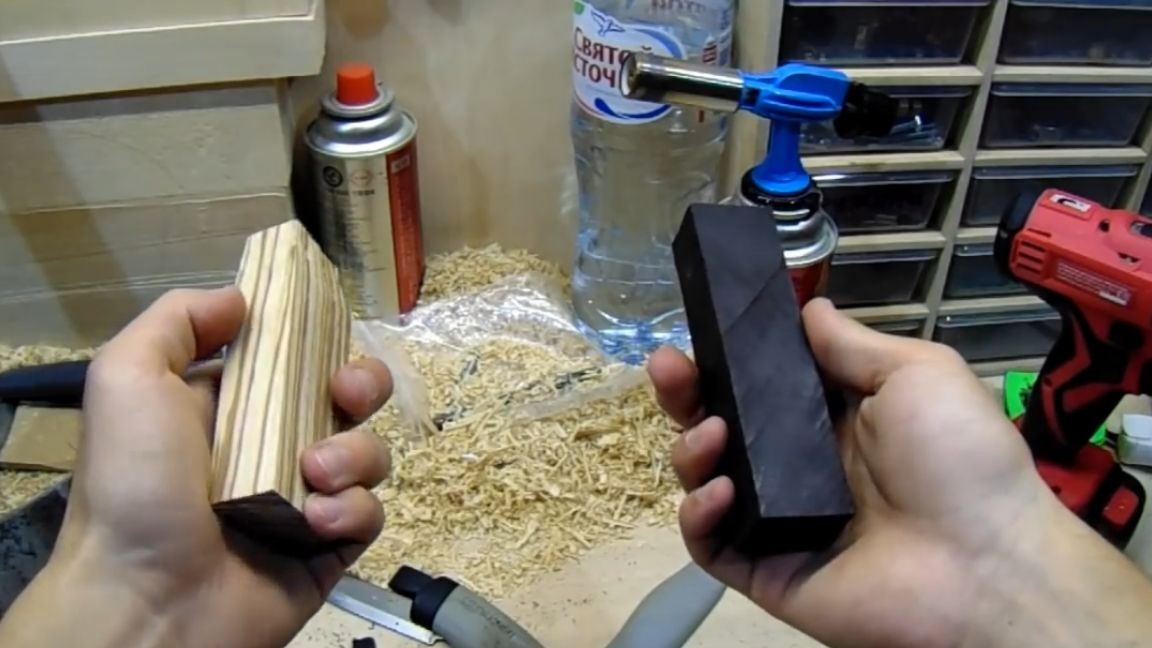
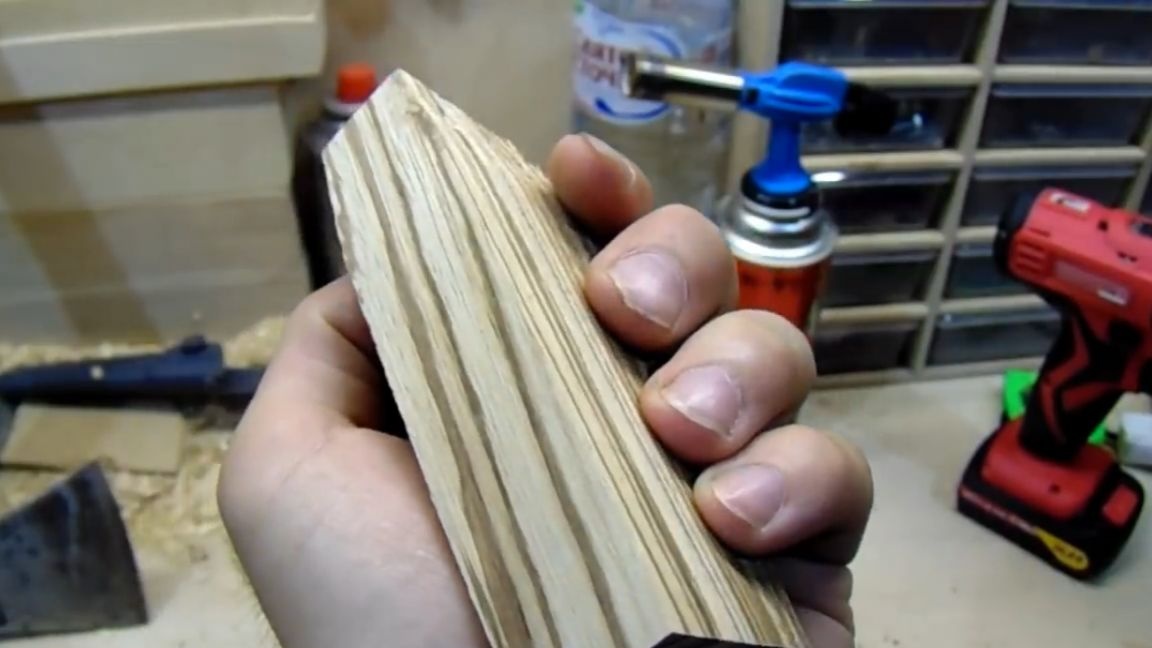
In short, these trees are called zebrano and hornbeam (black hornbeam, without a hint of racism). The whole core will be made of zebrano, therefore we will dissect one of the halves of the old handle and transfer the shape to the bar. This is done using a ballpoint pen like this:
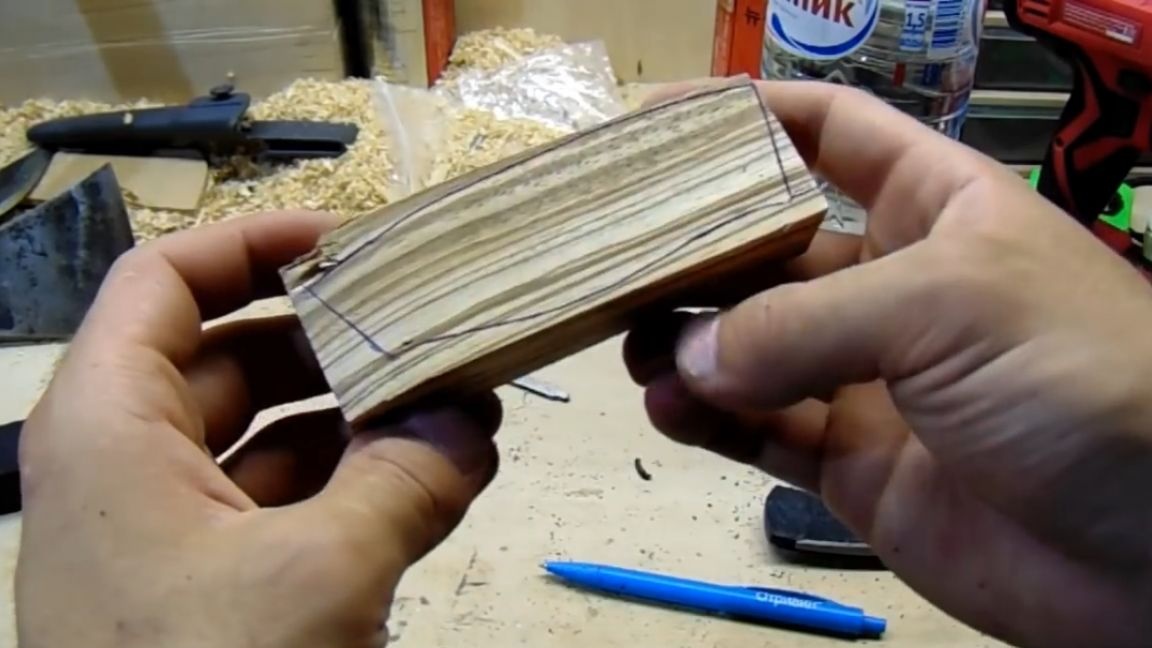
It is very important that the adjoining planes with the hornbeam are as even as possible, so you need to saw very carefully and preferably with a saw blade, it will cope perfectly with this.

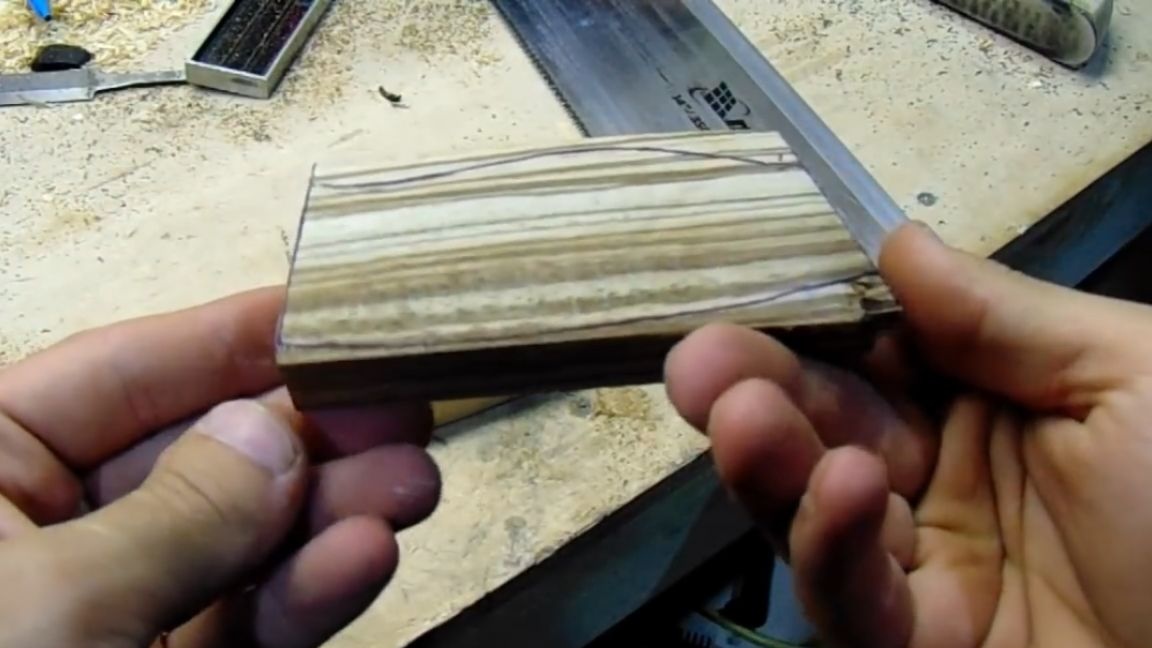
In order to make it easier to work with it further, the author decided to display the profile on a belt grinder.
Thanks to the video, it’s extremely convenient to grind the inner radius, that's straight at all.
On this, I think, while you can stop and do "coal" (hornbeam). From it we need only a couple of small rectangles. These will be the bolster and the heel of the handle.
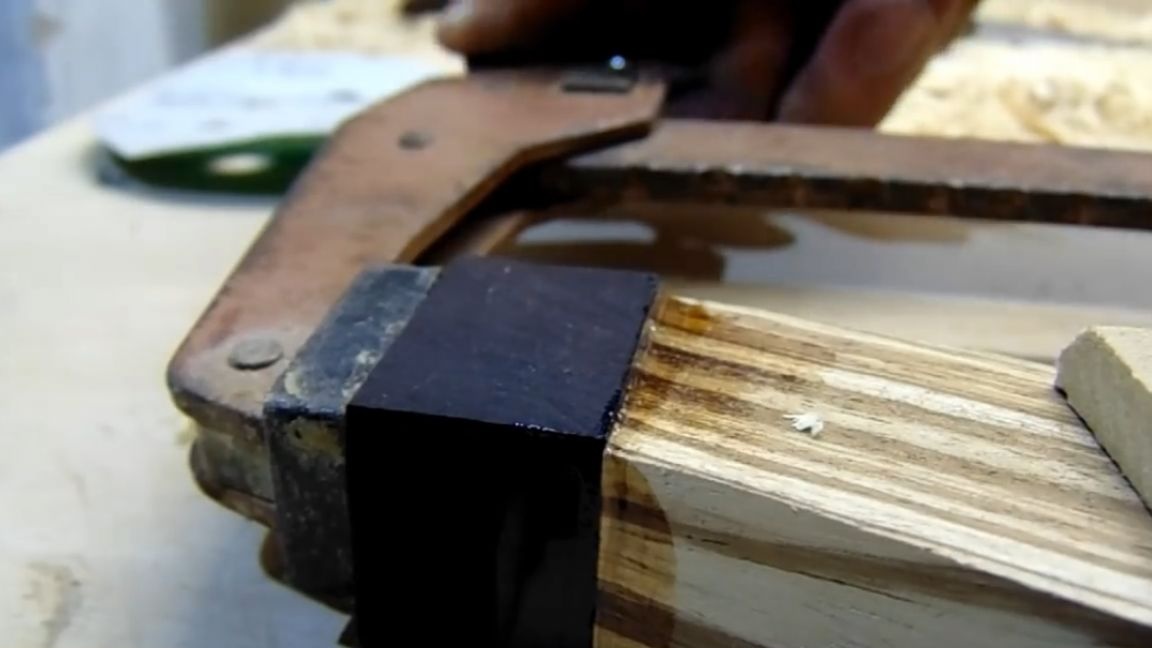
We immediately glue the heel of the handle to its rightful place using the freshest epoxy.

Compression guarantees the reliability of the adhesive connection, so somehow, but the author still managed to somehow press the glued distances to each other. We leave it for a while (until the epoxy resin completely hardens and hardens).
In the meantime, the epoxy is drying, we will manufacture wooden bolster. To do this, take the second remaining rectangle and with incredible accuracy (by eye) mark the footprint for the blade.
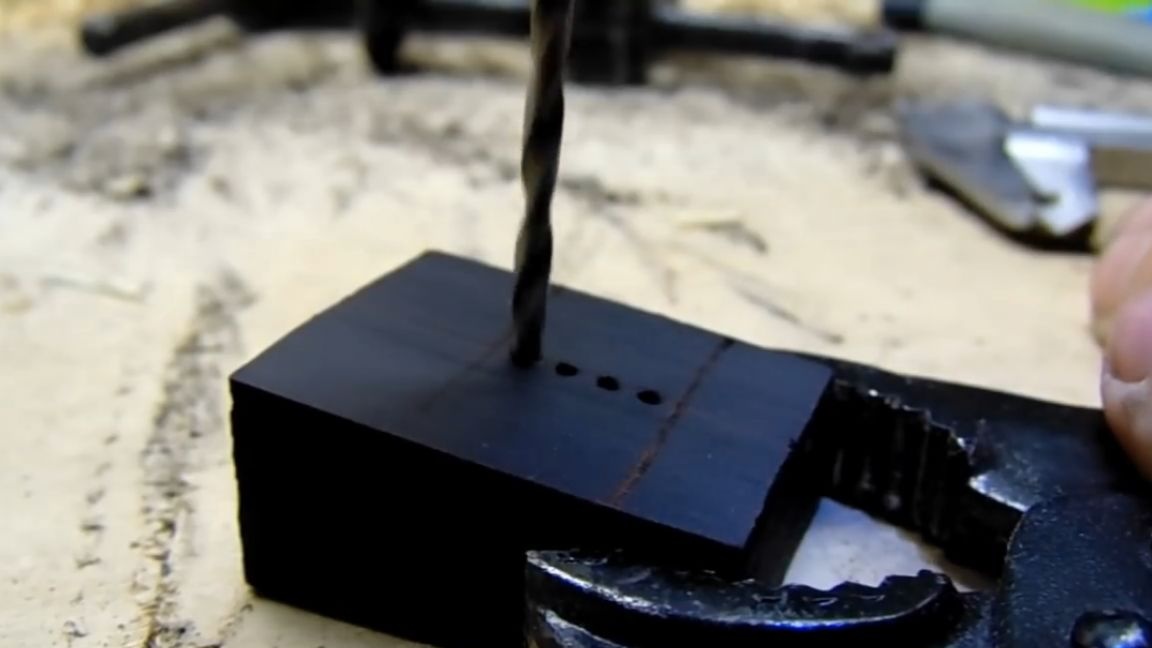
With the same success, in a couple of minutes 4 curved holes were ready. A little more boring and finally ruining everything, a Chinese drill with a drop dead thin milling cutter went into battle, which, in principle, managed to correct the mistakes of the past.
The blade sits in its place, but it is too early to glue it, first you need to finish the bolster.
The author decided to give the original shape to the bolster not with a grinder, but with the usual round file. Motion control is many times higher and there is no fear of cutting too much.
Grind a bit more and can be glued. This time, it was decided to pour a little wood dust into the epoxy, and as you can see, it’s not in vain.
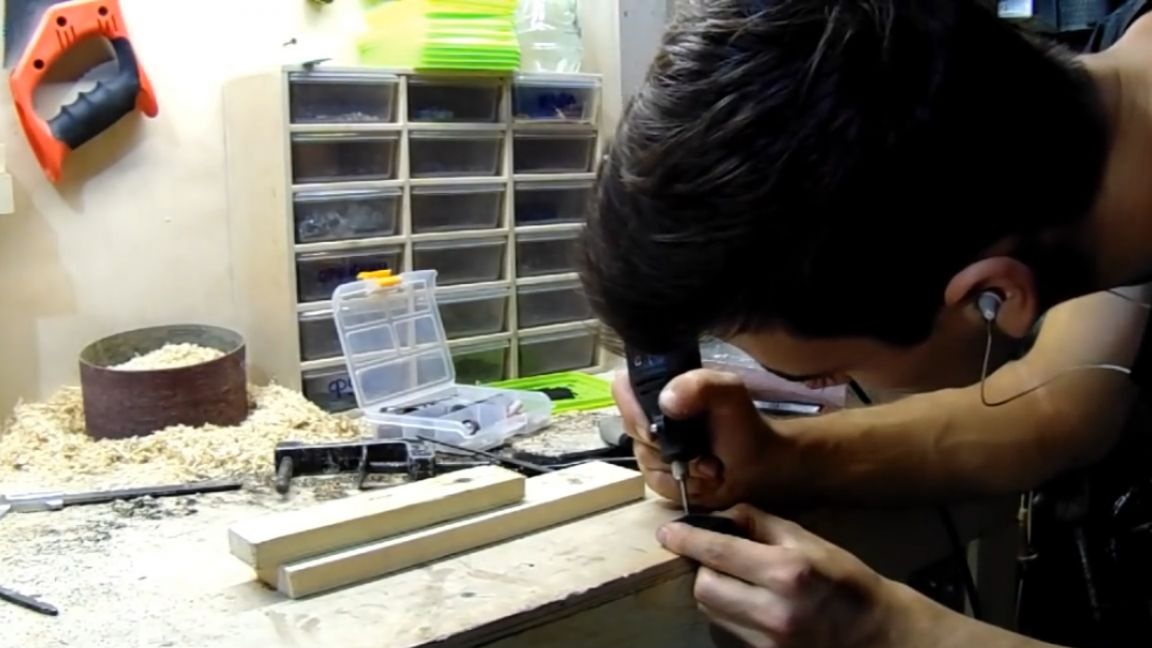
During this time, the first part of the handle managed to dry and, as in any average first part of the handle, we need to make an opening for the blade shank.
Finally, the time has come to combine both parts of the most ancient weapons, thereby completing the prophecy and bringing peace and harmony to the Russian lands. Just kidding, let's stick together.
After that, we leave it in an upright position for 40 minutes, after which the epoxy will thicken and it will be possible to harvest harder, without fear that the blade will skew.
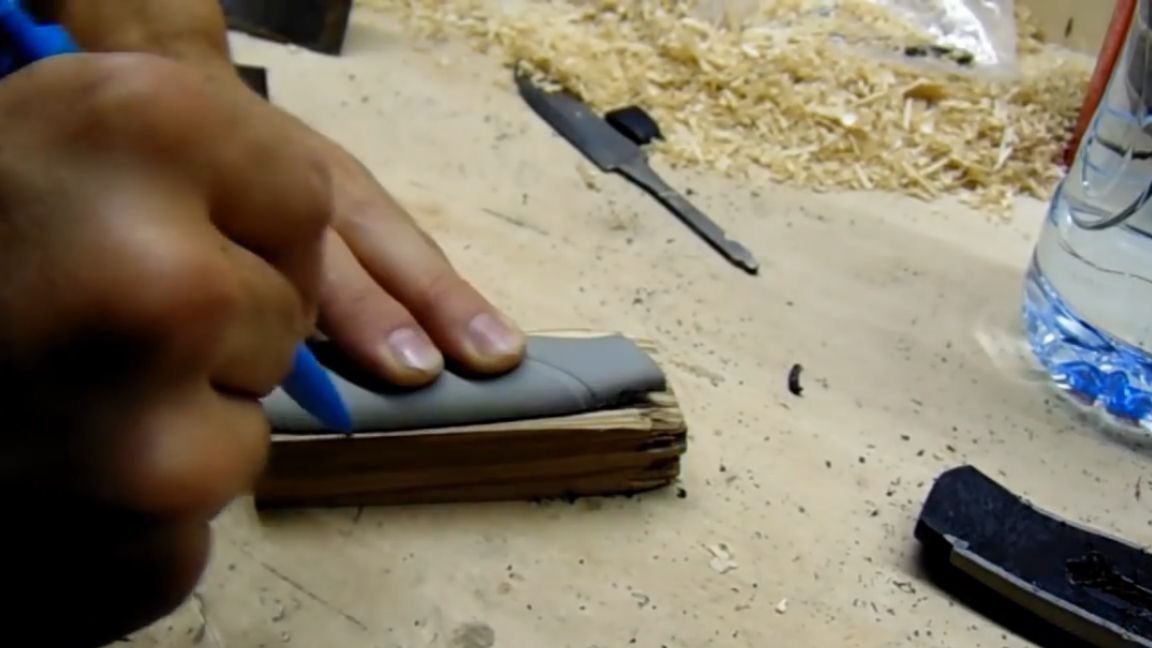
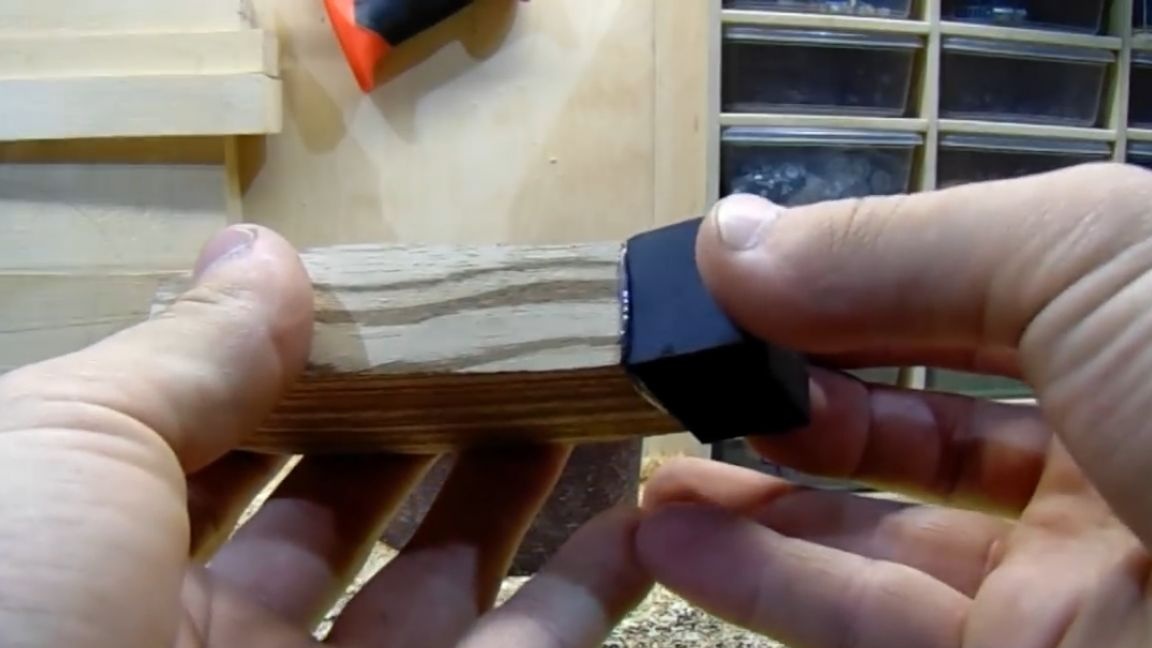
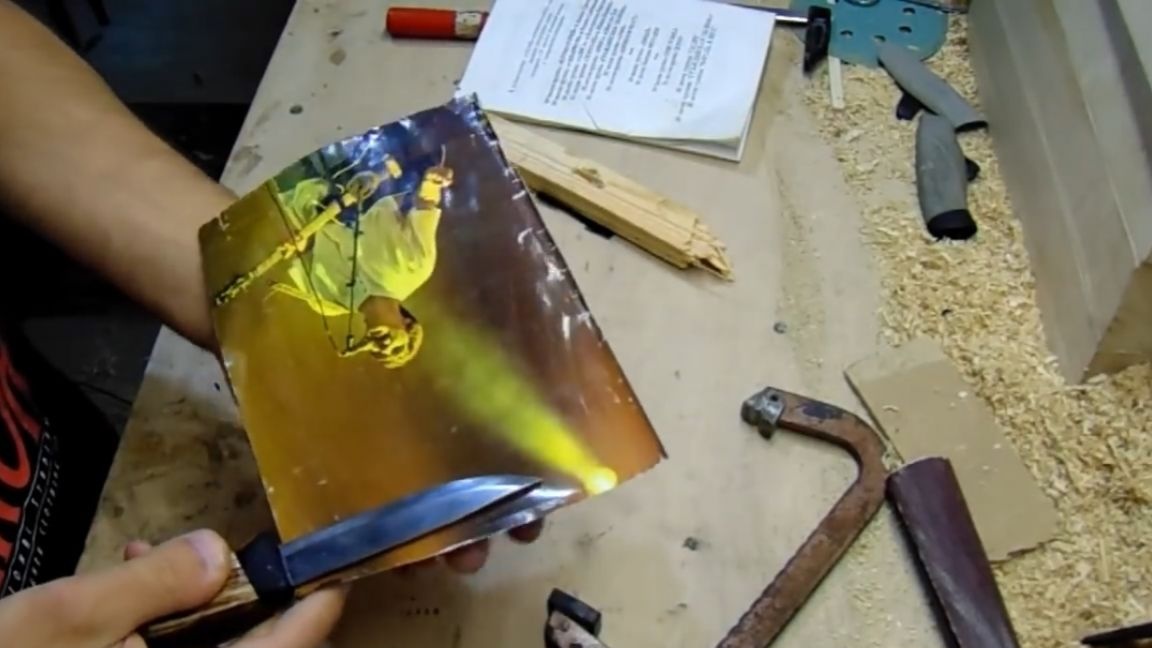
After a day, the glue had to harden, and if it did not harden, then it was improperly prepared. Well, let's not talk about sad things, now we will handle the handle, and so, God forbid, ditch the blade, it must be isolated from accidental mechanical stress. An ordinary insulating tape and a piece of paper will do, in this case this is a page from the collection of songs “Splina”, from there it’s definitely “no way out”.
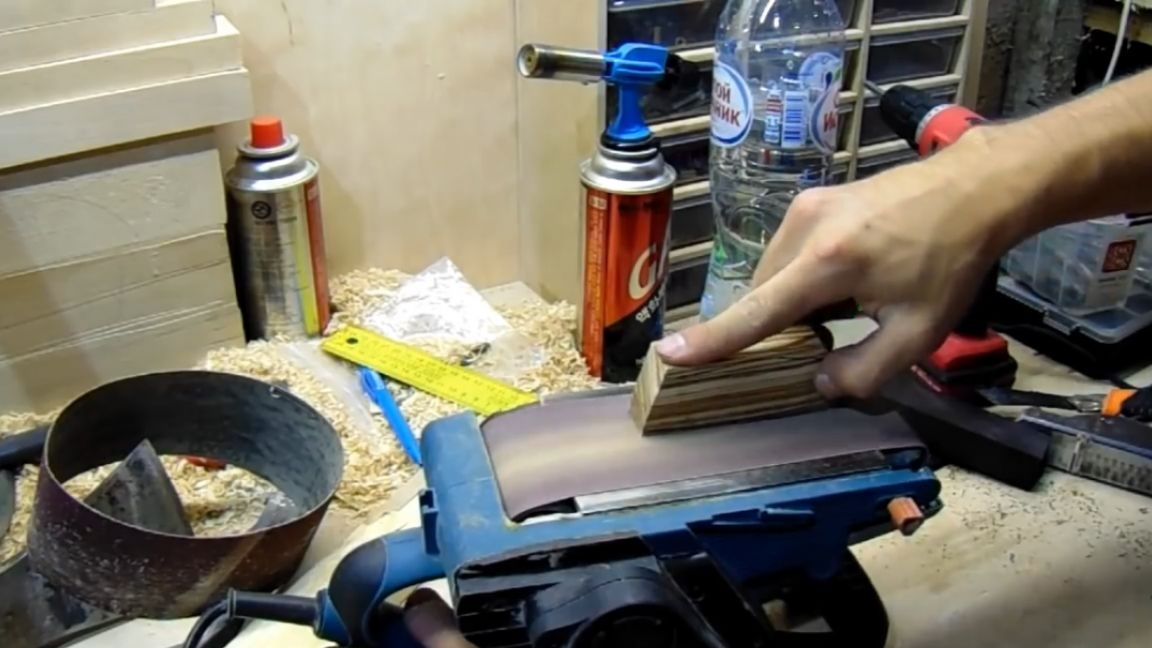
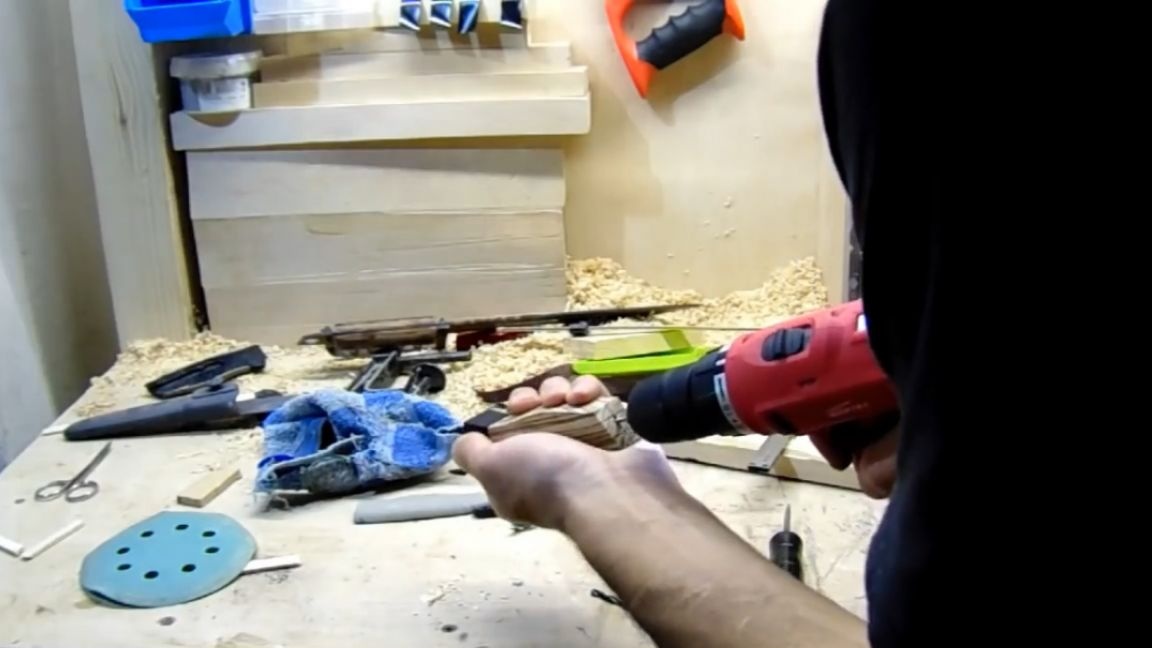
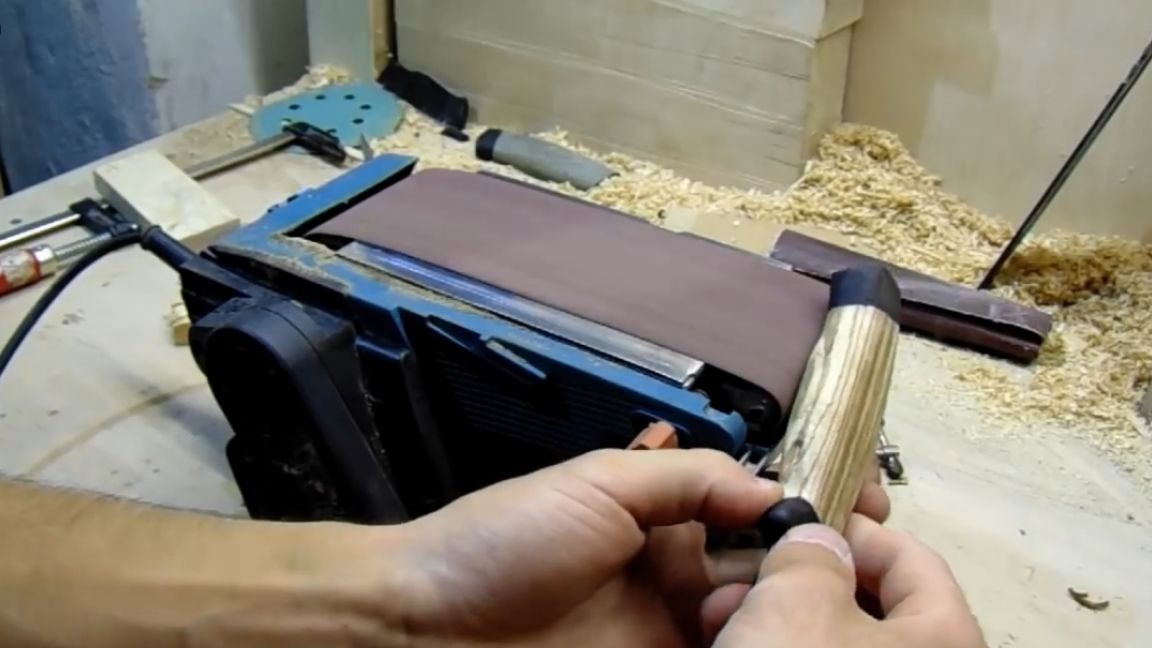
We grind the main form with a grinder, sometimes checking with the remains of the original. This is a rather crude tool, and it is well suited for such manipulations, although it would be nice to probably grind the grinder too. Well, this is the author’s plans so far, he just has the old engine from the washing machine.
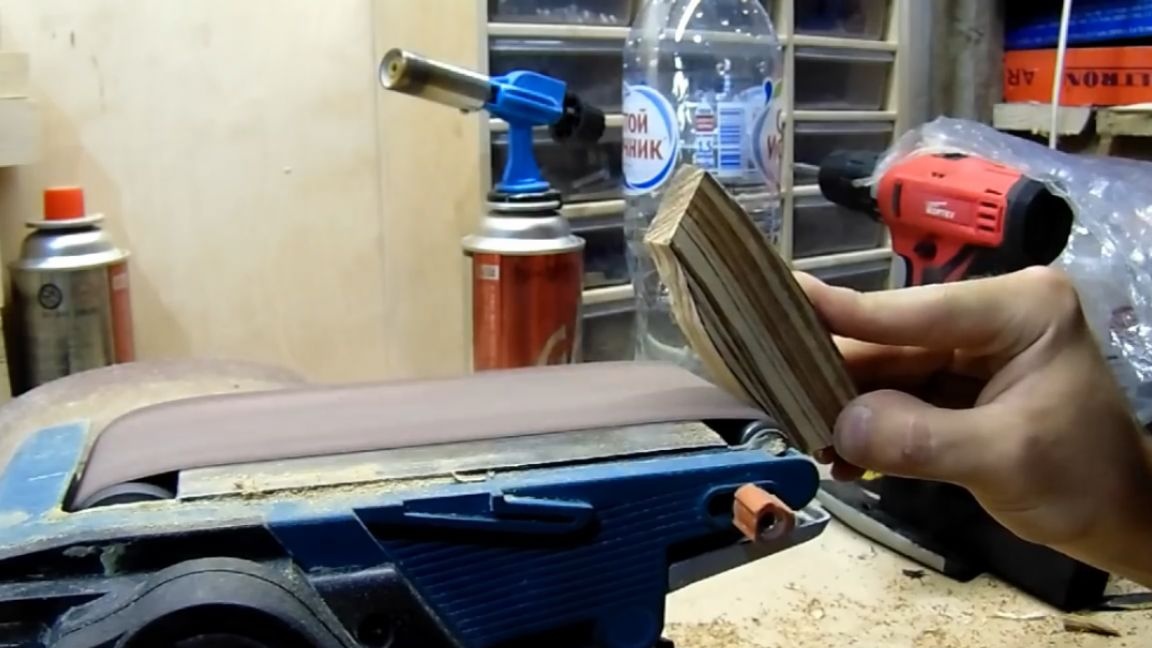
Next comes the finer sandpaper processing, but by hand. It does not take as much time as it might seem.
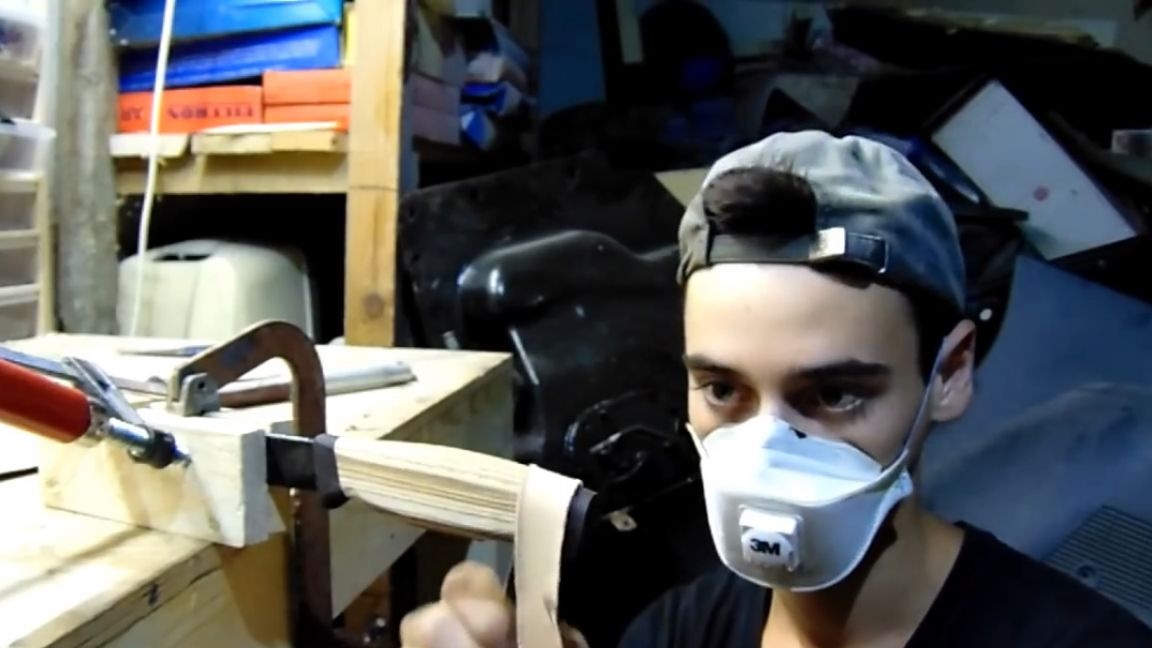
The main thing is to wear a muzzle (respirator). Wood dust with this method of processing stands out just dofigischa. Especially in rooms with low humidity, such as the garage.
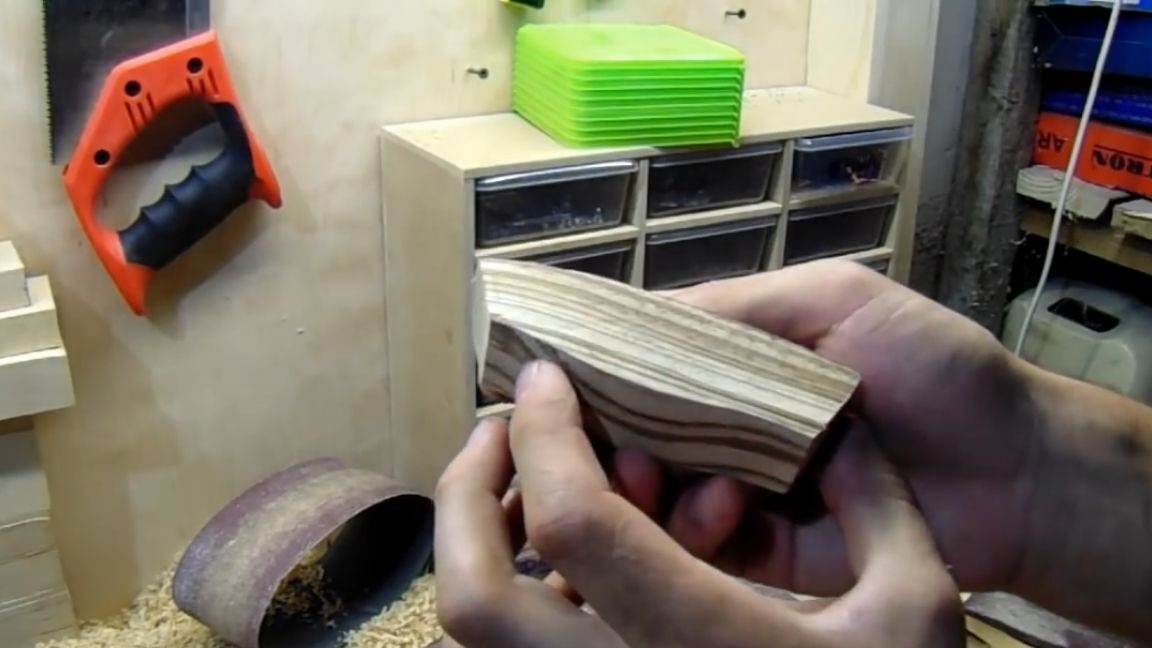
And if the dust from the hornbeam settles rather quickly, due to its weight, then with zebrano everything is much worse. It (dust) can hang in the air for hours, and when you try to remove the respirator, you most likely just start to cough wildly, in fact, like the author of this homemade product. Wood dust is said to even contribute to the development of cancer. But what is there to scare you, just wear respiratory protection (a respirator) and preferably also a closed eye mask (or glasses), that’s all you need to know. Here is what we have at this stage:
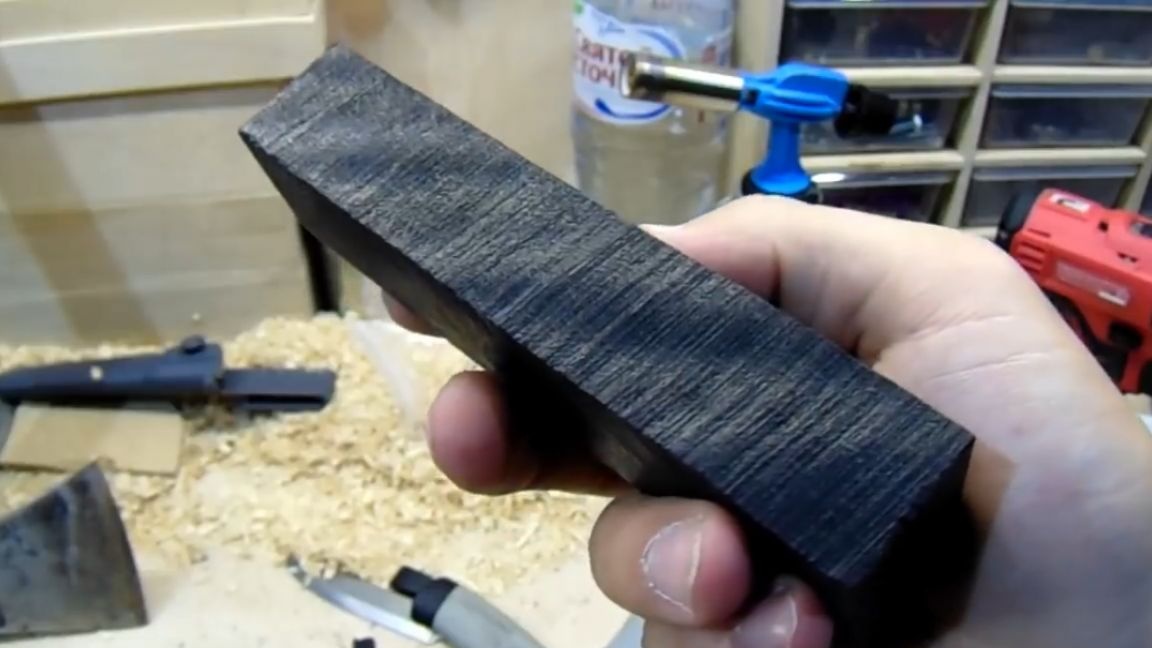
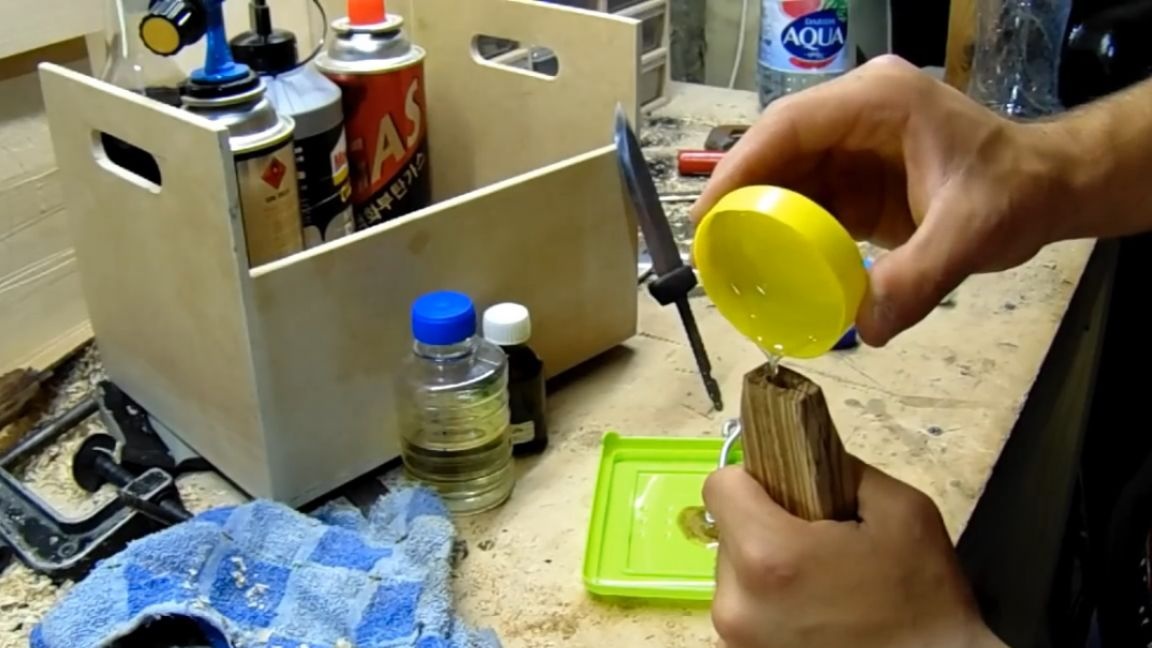
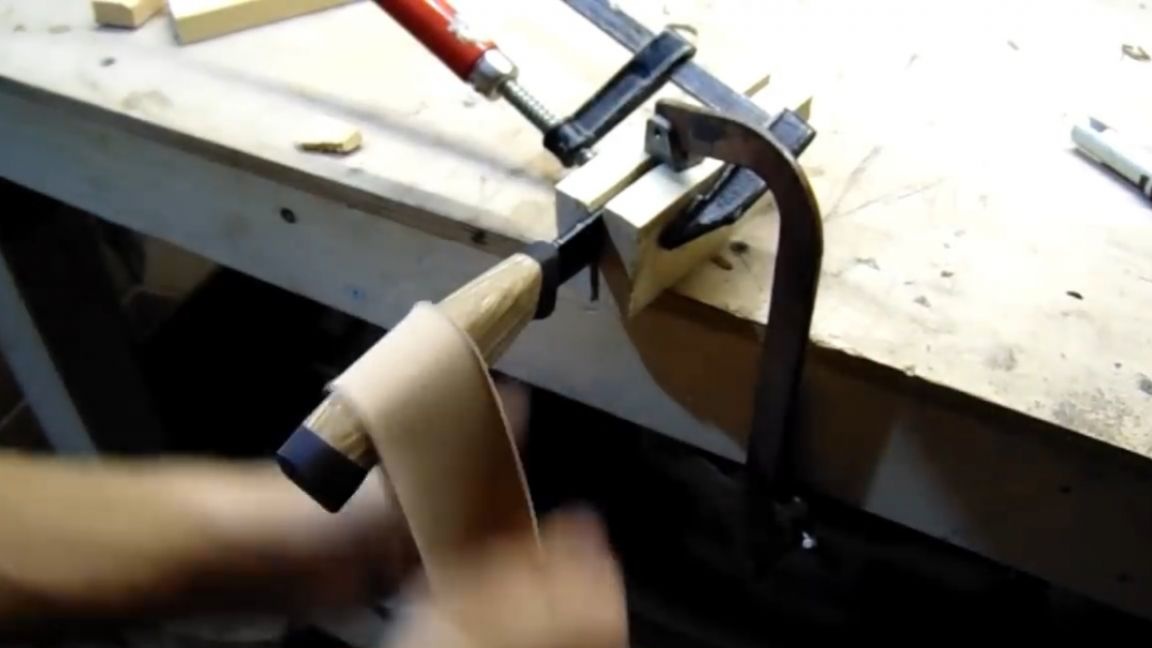
And of course, the product should taste the blood of the owner. Trying to push it back into the case, the author missed a bit and cut himself. Well, it’s no matter how scary, there is also a second hand. After grinding with sandpaper with finer grain, we throw the knife into the freezer, and heat the linseed oil in a water bath to about 60 degrees. The oil author took the usual food table. After it has warmed up enough, we lower the handle of the knife there.
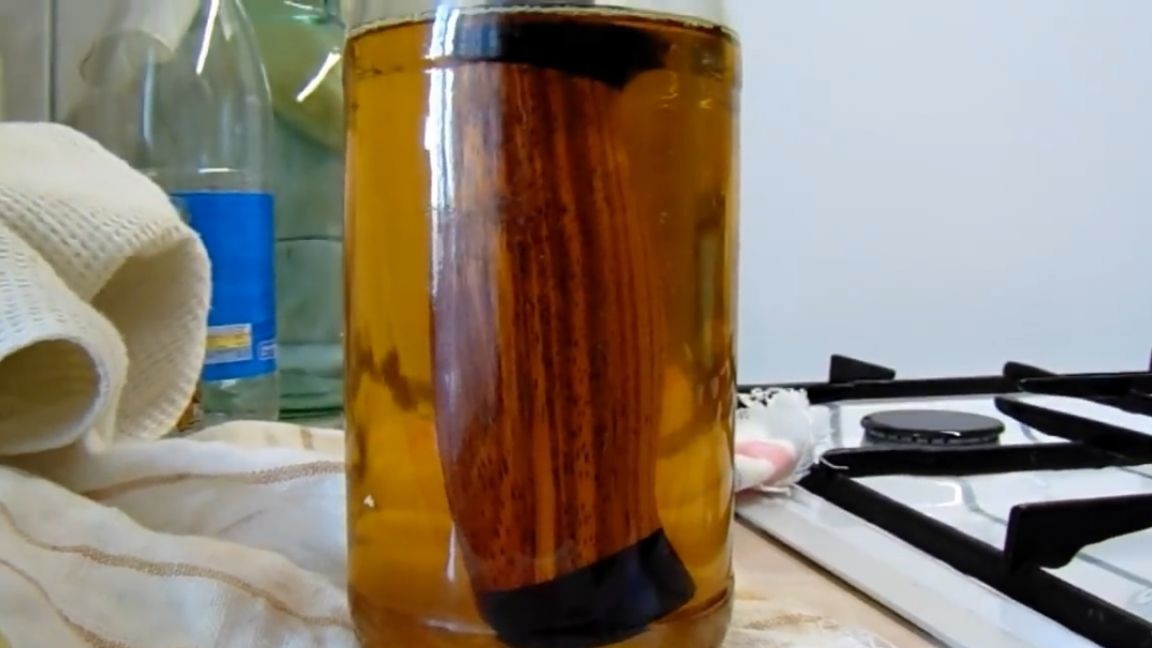
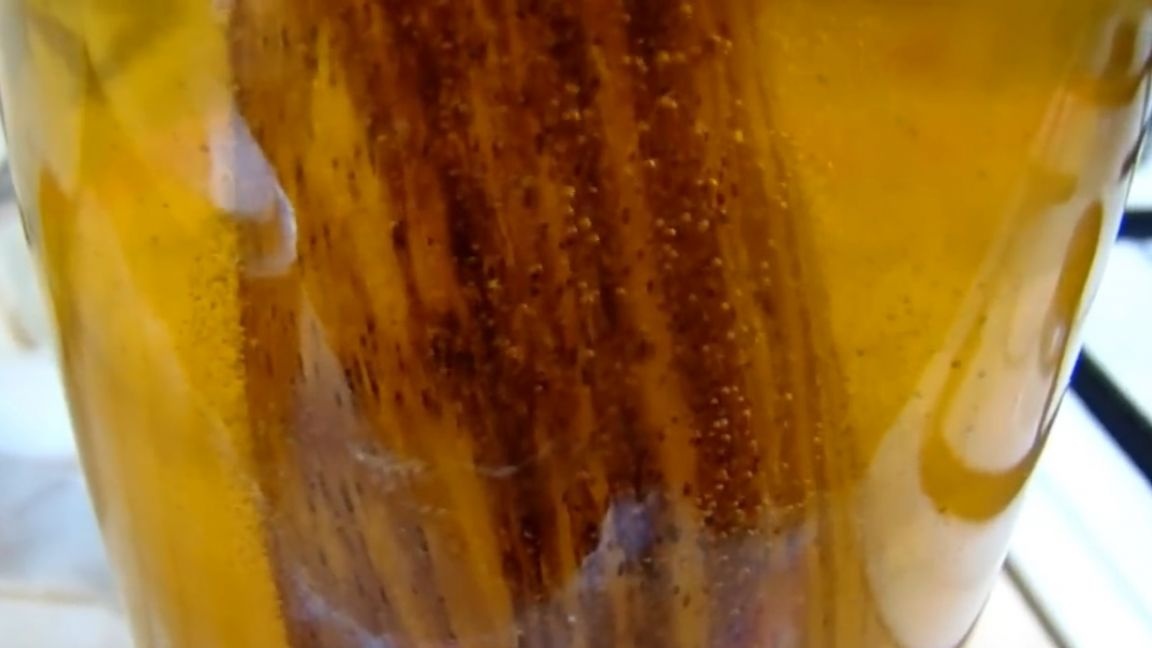
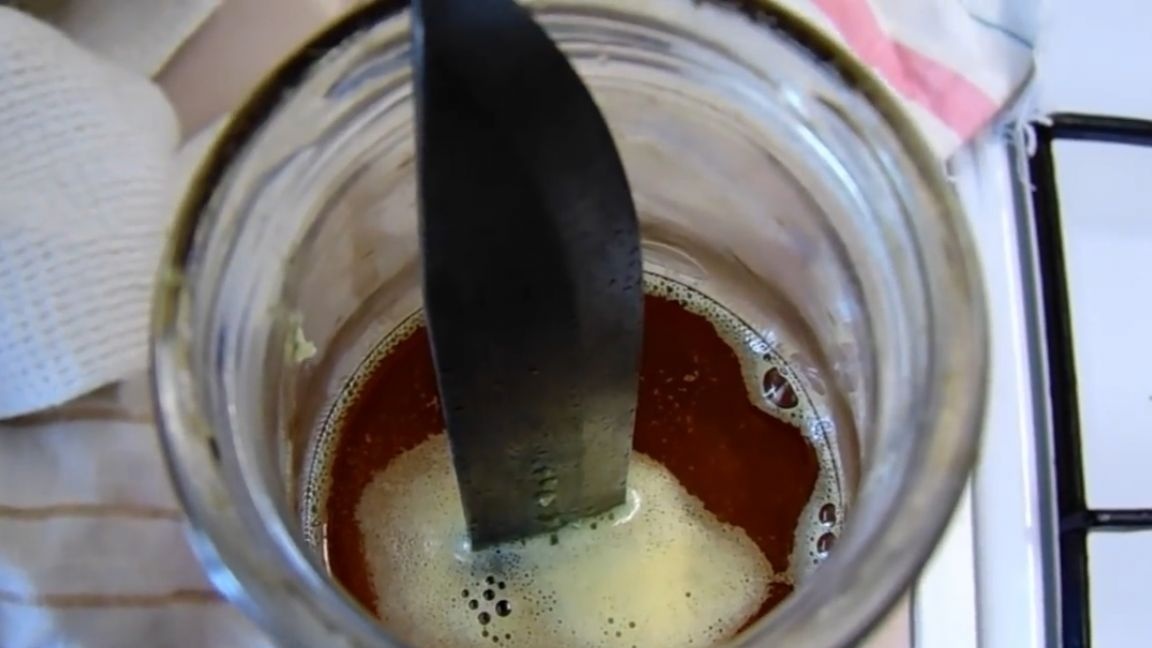
We observe the following picture: as air starts to come out of the handle in the form of small bubbles, being replaced with oil. At least it should be. Although go and see what happens inside. Ideally, of course, use Danish oil (Danish oil) or stabilize with anacrol, but where to get it somewhere. If you (like the author) have a very limited budget, then we’ll try it some other time, but for now it’s not so bad.

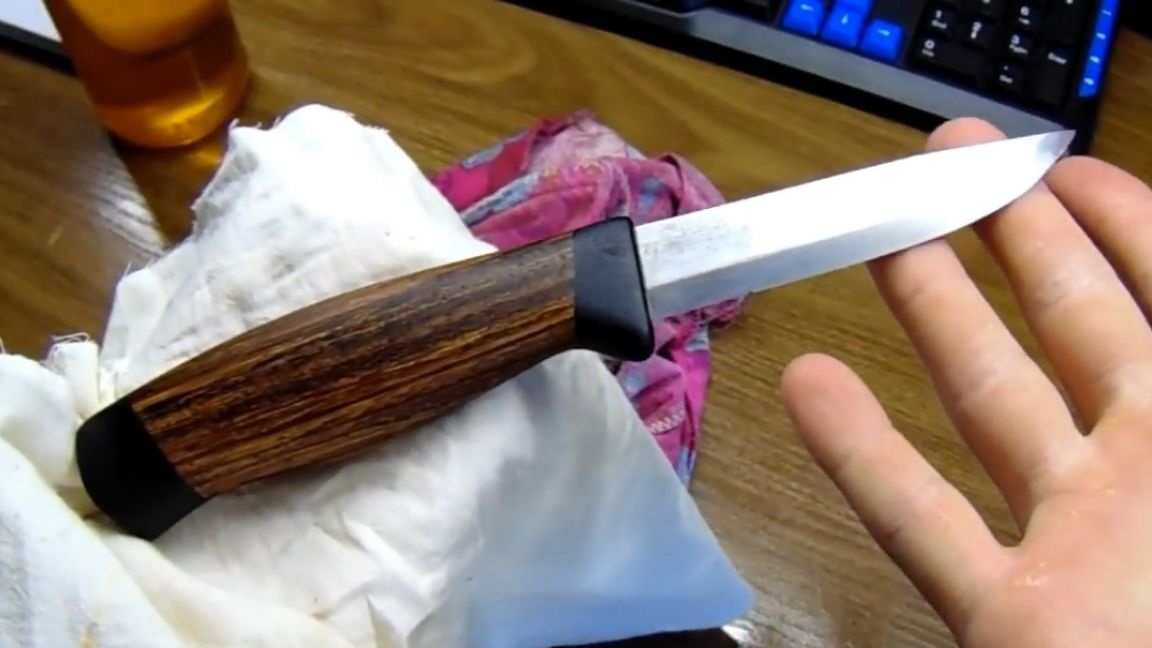
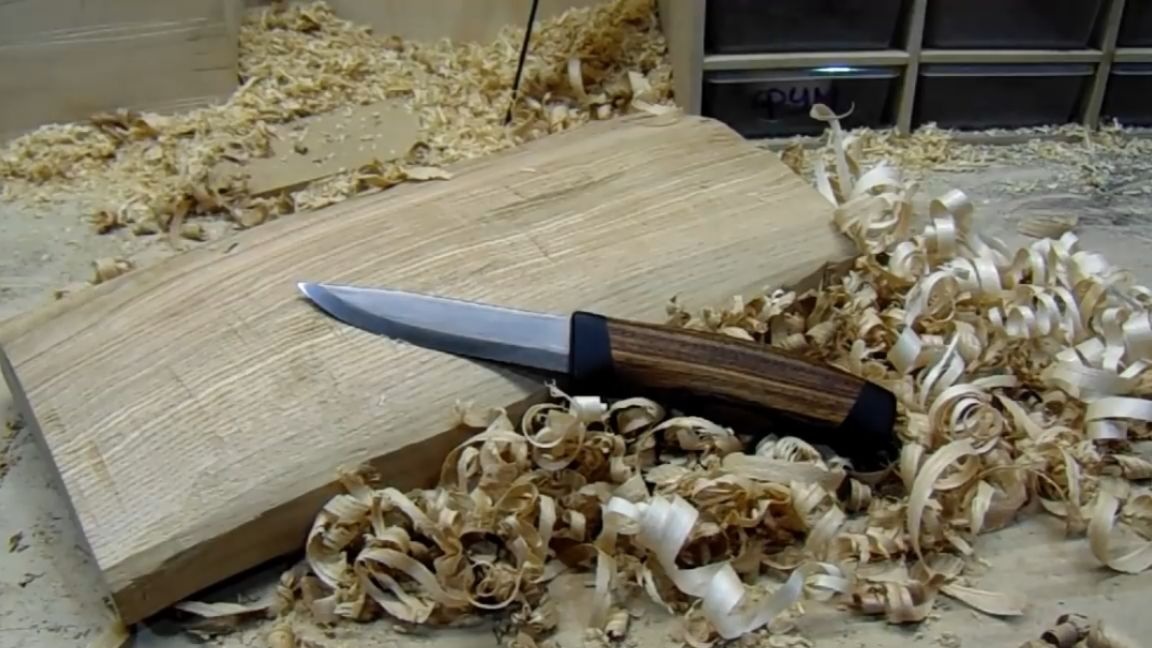
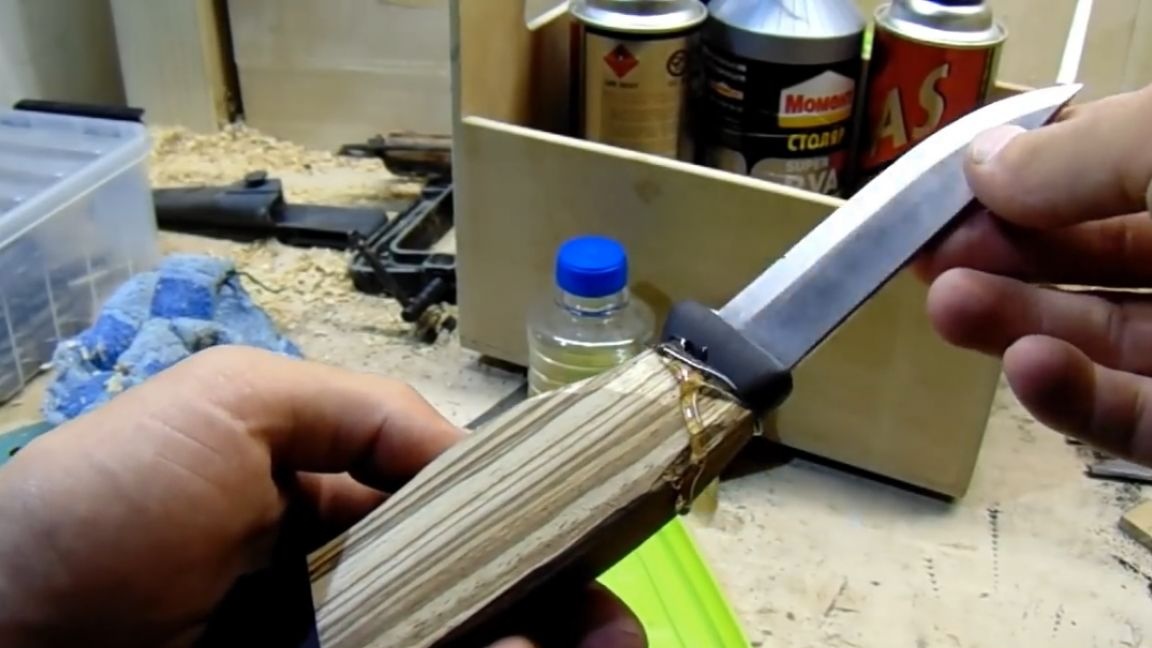
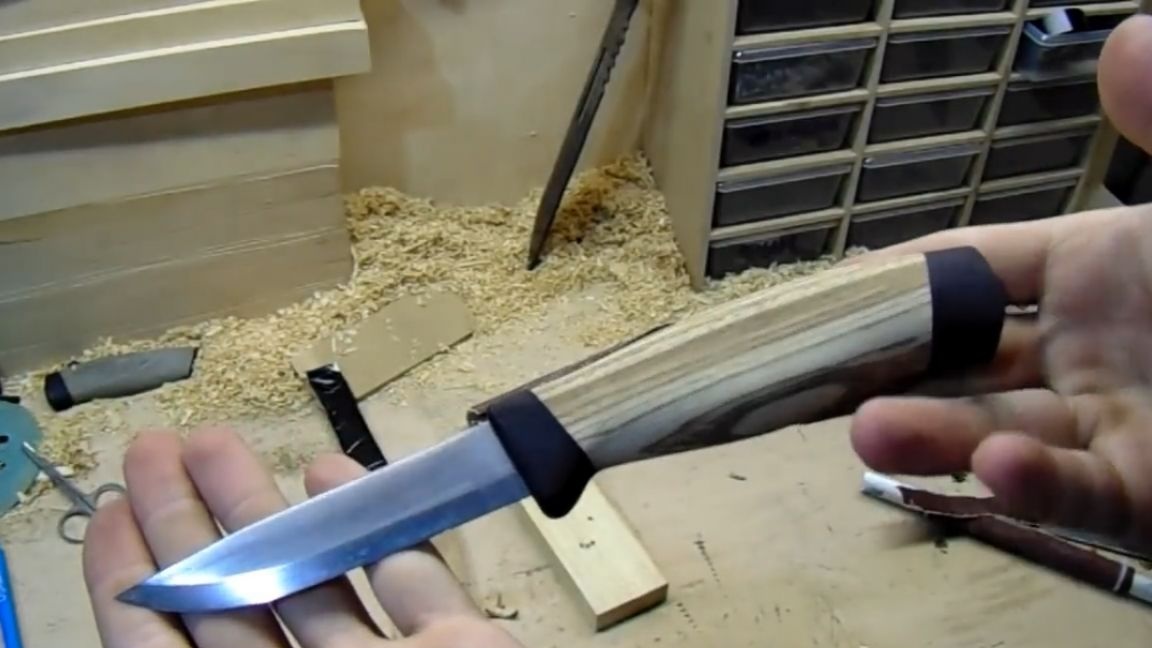
After a few days, we take out a knife and you can see that the zebrano has darkened. In principle, the author knew that this would happen. Well, what to do, in any case, it turned out cool. The most important thing is that now he (the knife) is finally nice to hold in his hands. It is not sticky and it seems even beautiful, well, and should be durable.
Well, that’s probably all. Good luck to all! Thank you for attention. See you soon!
Video: