Often we encounter such unpleasant phenomena as constantly fogging windows and a black fungus on the wallpaper, which in addition to its repulsive appearance is also dangerous for our health. As a rule, the cause of these troubles is the increased humidity of the room, which favorably affects the development of negative processes. In this article I will share my experience of draining rooms using a homemade electronic devices based on the Peltier element.
So, as mentioned above, we will deal with the increased humidity of the room using electronics. We will create homemade, which will draw water from the air and collect it in a special container, periodically subject to replacement. Since the basis of the device is the Peltier element, let's figure out what kind of curiosity it is and what it is eaten with.
The Peltier element - This is a thermoelectric converter, which is a plate with two leads. In order not to delve into the physics of all processes occurring in the element, I will explain in simple terms: when a constant voltage is applied to the element, one side of it heats up, and the opposite side becomes cold. This effect will be used in the project to collect moisture. Photo No. 1 shows the appearance Peltier element.
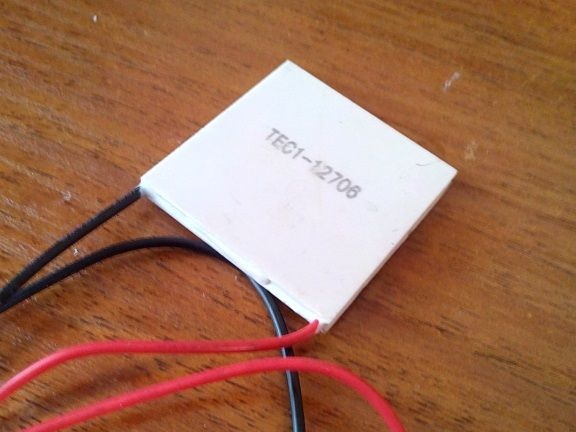
Photo No. 1 - the appearance of the Peltier element
As you can see from the above photo, the wires have a different color. Red - plus power, black - minus. The item is very gluttonous. The one I used is powered by 12V and consumes current about 5.5 amp. So I advise you to stock up on a powerful power supply. I just had a similar impulse power supply (12V / 10 Ampere) and was waiting for its finest hour. What happens if the polarity is reversed, I don’t know who wants to - can check and unsubscribe in the comments. Photo No. 2 shows the block I am using.
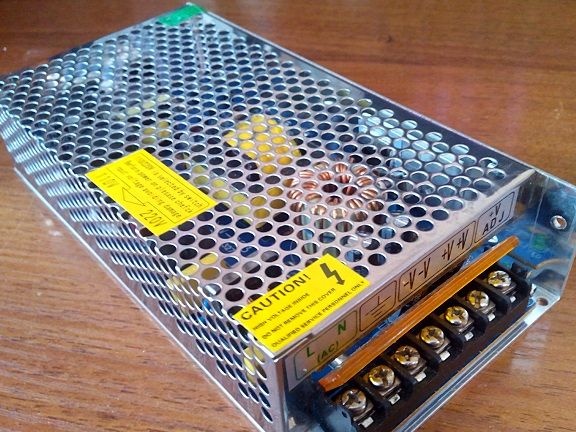
Photo No. 2 - power supply for a dehumidifier
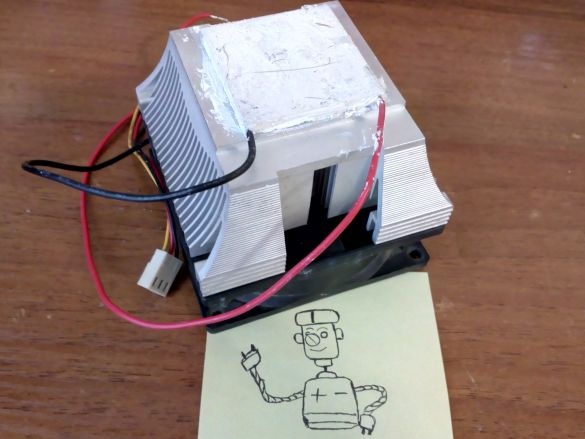
At Pelt element There is one feature: in order to achieve the lowest possible temperature on the cold side, it is necessary to remove heat from the hot side as efficiently as possible. For this, my project used a radiator with a cooler, which in a past life cooled the computer processor. We apply thermal grease on the hot side of the element with a thin layer, cling to the radiator and get about this (photo No. 3):
Element and cooler consume 12V, which makes it possible to power them directly from the power supply without the use of extra converters. As for the cold side, then leaving it as is also wrong. When turned on, it will simply be covered with ice and there will be no effect. To collect moisture, it is necessary to hang a radiator with a large number of ribs on it. As air passes through the cooled radiator, condensation will form on its ribs in the form of small drops of water. Gradually, the drops will merge with each other and drain into a special container. Ready, packaged in accordance with all the rules Pelt element shown in photo No. 4.
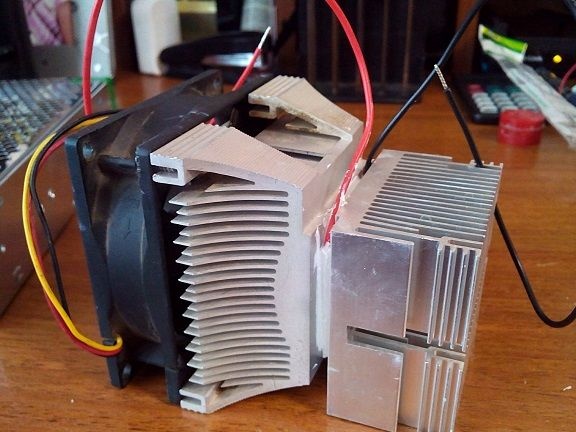
Photo No. 4 - the main module of the project is completely ready for work
Test tests showed a good result. About a minute after turning on, a rather large amount of condensate began to form on the radiator from the cold side. Photo No. 5 clearly demonstrates the magical mystery of getting water from the air.
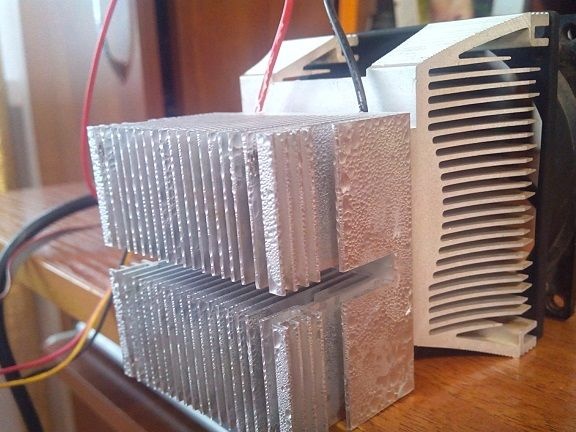
Photo No. 5 - trial run
As we see everything works and this is a good reason to move on. Although the connection scheme is primitive, just in case I bring a general photo, which more accurately reflects the completeness of the picture. In photo No. 6, the element itself and the cooler are directly connected to the power supply unit through a white cable, since its wires seemed too short to me.
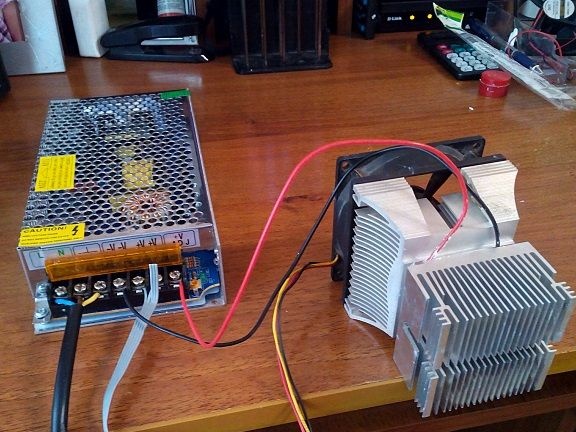
Photo No. 6 - connection diagram
In principle, the bulk of the work is done and you can leave it as it is. But who wants to keep an incomprehensible wet thing with dangling wires on a table or window sill. I think it would be nice to cultivate the device a bit and stuff it into some kind of housing. But first you need to take care of a container for collecting water. I didn’t find anything better than to take and “modernize” a food container for this business. The whole modernization consisted only in cutting a hole in the container lid in the dimensions of a cold radiator. Here's what happened (photo number 7):
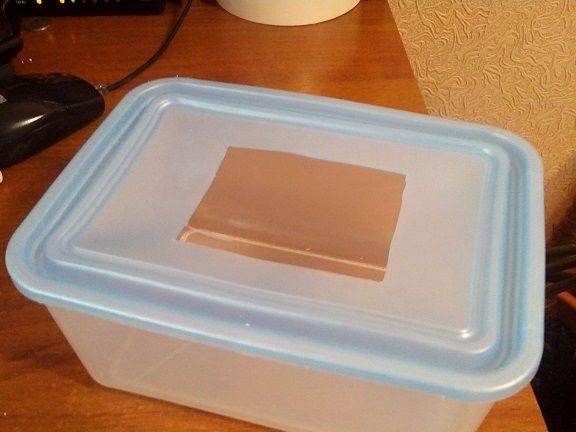
Photo No. 7 - a container for collecting moisture
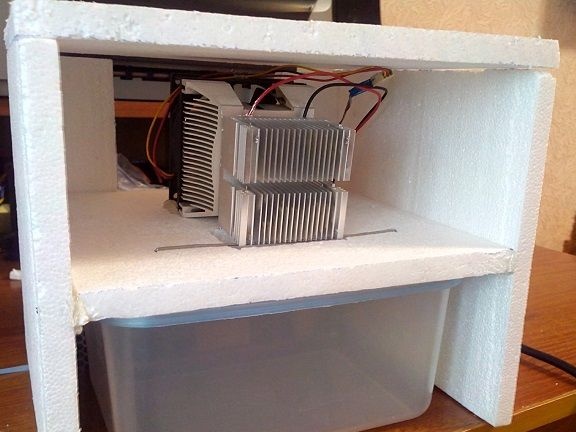
Cut a hole is necessary in order to leave the main part of the container closed, thereby preventing moisture from evaporating back. The housing itself, in my opinion, is easiest to make from pieces of foam, which is left over from the packaging of previously purchased household appliances. It is easy to process and it’s not at all a pity to spoil it. For this device, you do not need a super design - the main thing is functionality, so we cut the foam into pieces to get a semblance of a box. It is convenient to fasten pieces between themselves with usual shoe nails. A little creativity and the light is born electronic fighter with moisture in the room. Photo 8 shows the final result of my short efforts.

Photo No. 8 - the finished device
I want to note that this device really saved me from a constantly foggy window and black wallpaper in the bedroom. The main thing is not to forget to pour out the container, otherwise flood the neighbors :-). Those who decide to repeat this experience - share your impressions in the comments to this article. Good luck to everyone and creative success !!!


