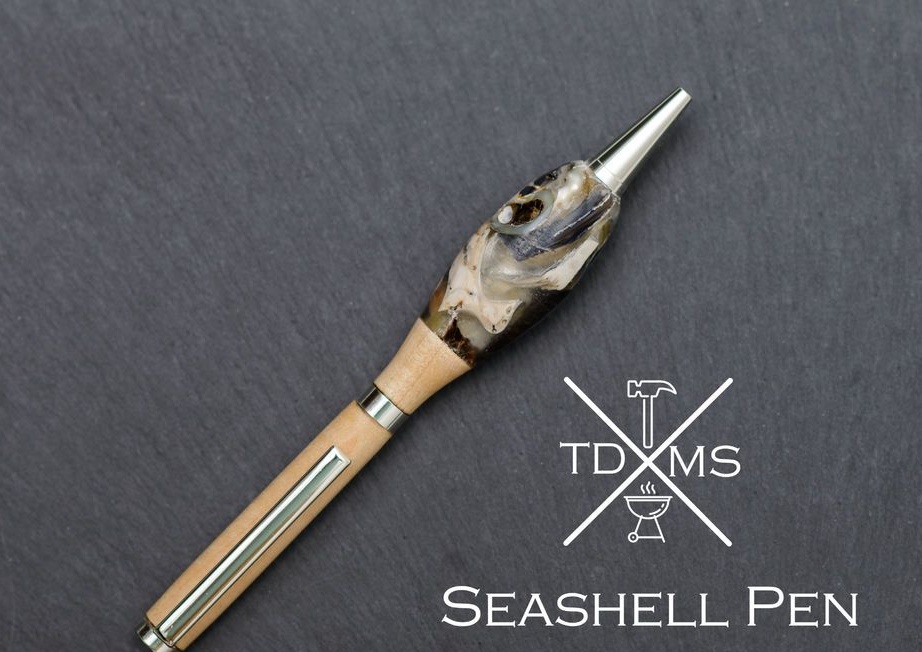
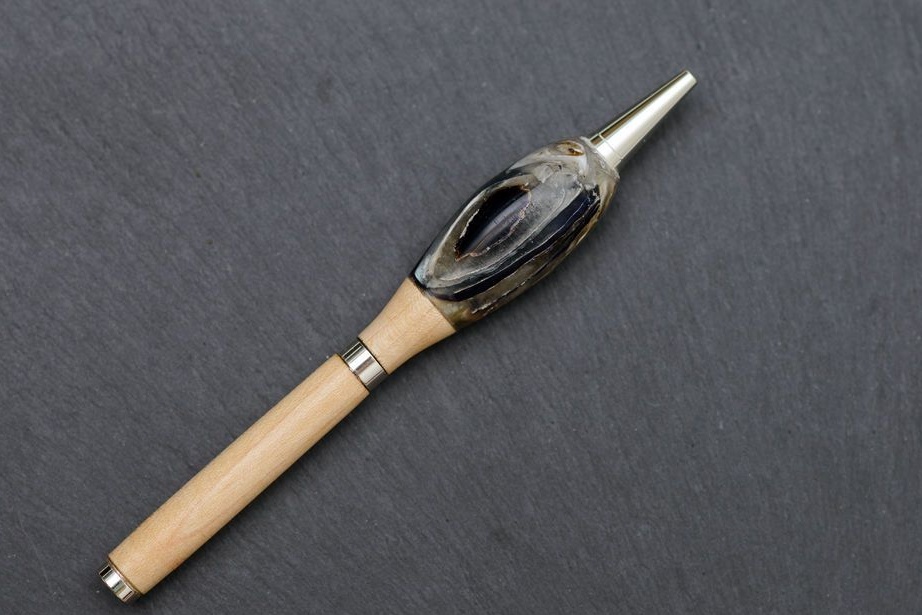
Want to make an exclusive gift? Then this article is just for you. The wizard will show us how to make a pen yourself. Using shells for inlaying gives the pen an unusual look. So, to make a pen, the master needed the following
Tools and materials:
-Shells;
-Writing pen;
-Drill;
-Drill;
-Metal tube 7 mm;
-Tubes from cardboard (from toilet paper);
Epoxy resin;
-Super glue;
-Vacuum chamber (preferably);
- Lathe with turning tools;
-File;
- Foil or wax paper;
- Paint tape;
-Sandpaper;
- Dowel 2.5 cm;
-Personal protective equipment;
-Knife;
-Hammer;
Step One: Prepare
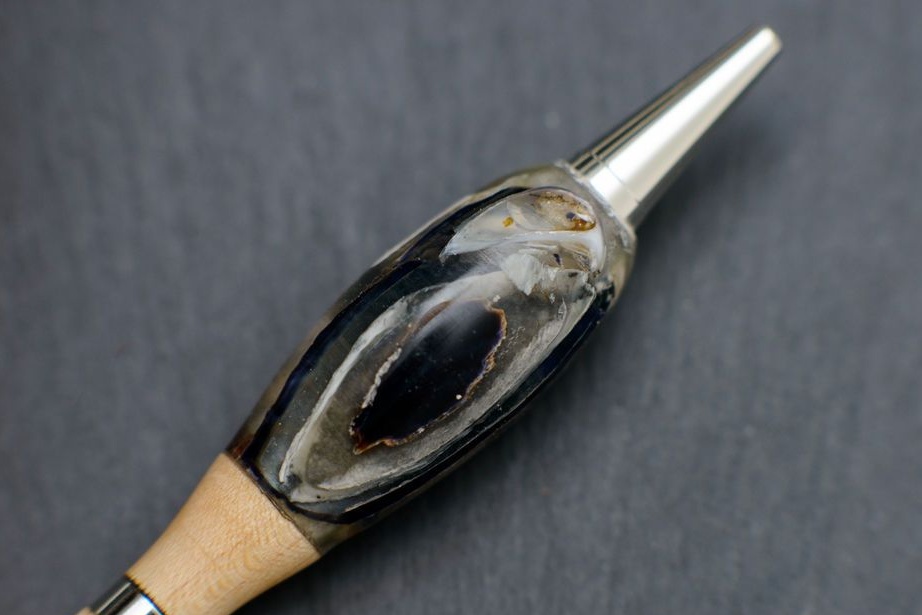
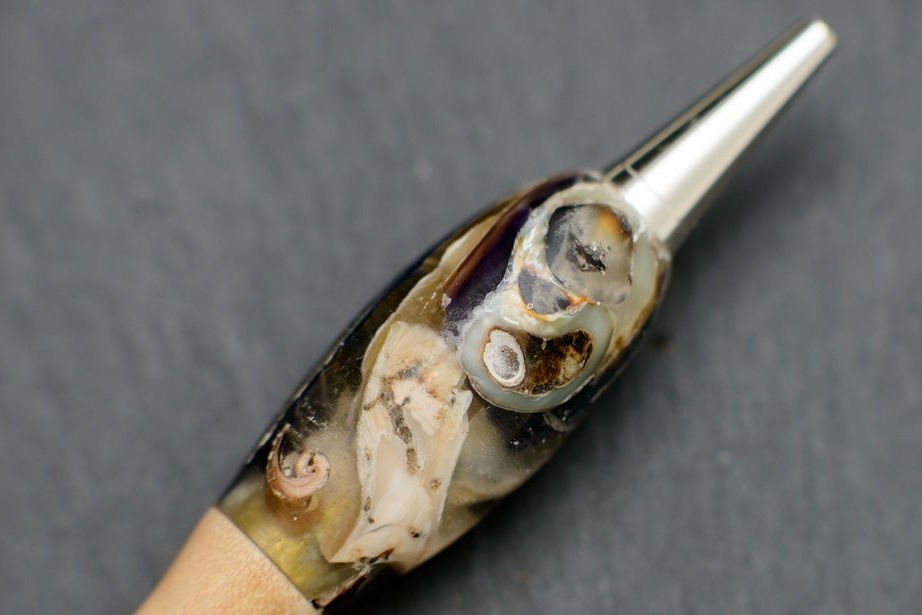
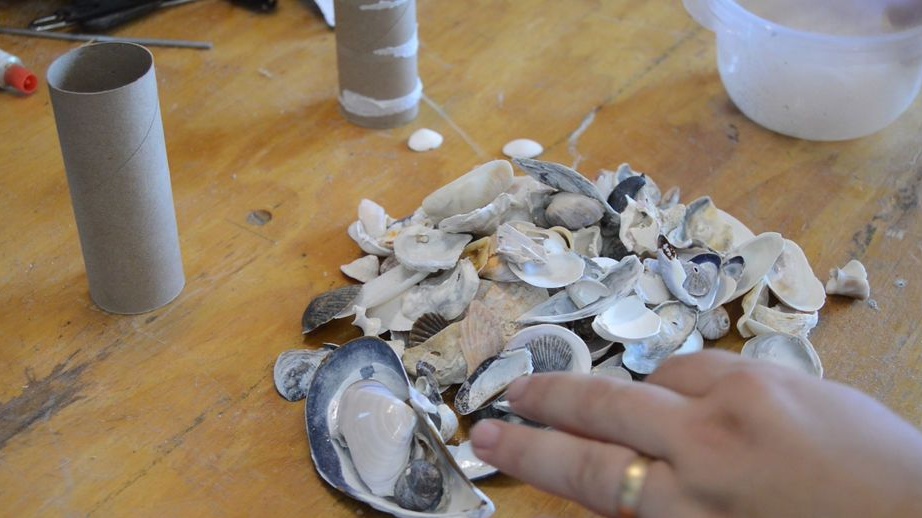
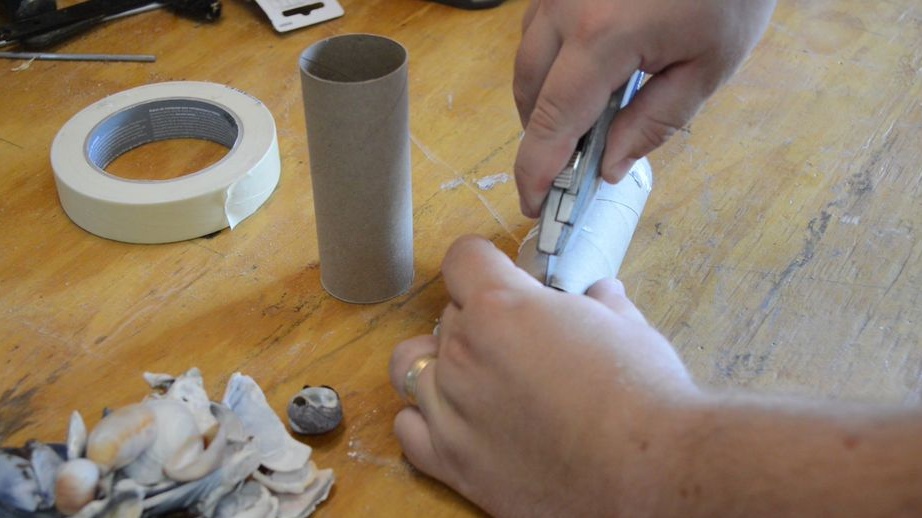
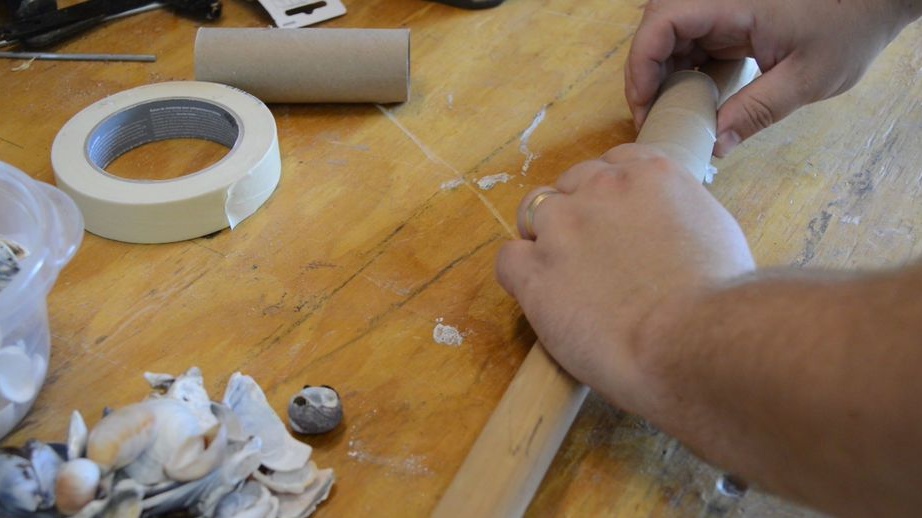
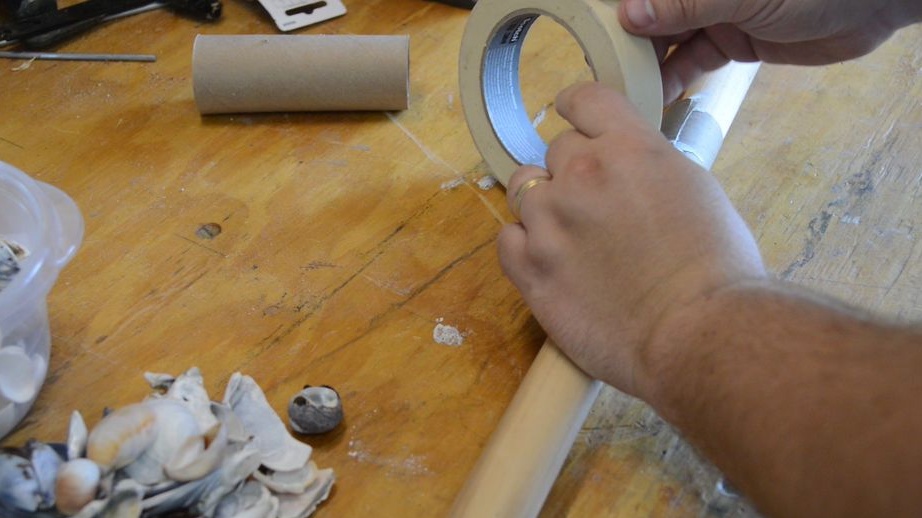
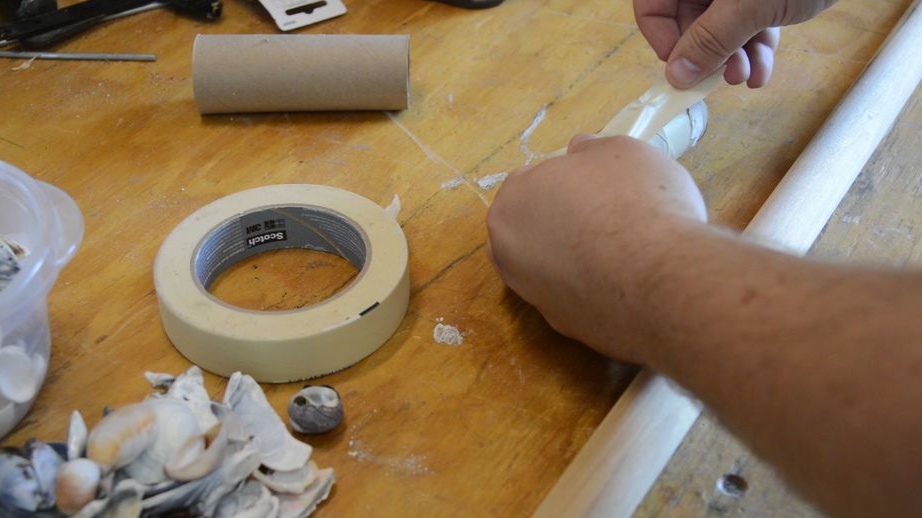
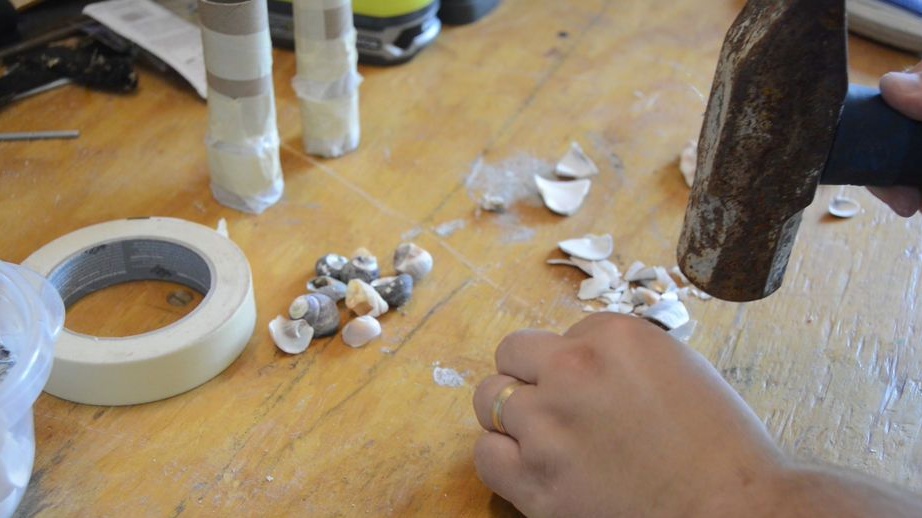
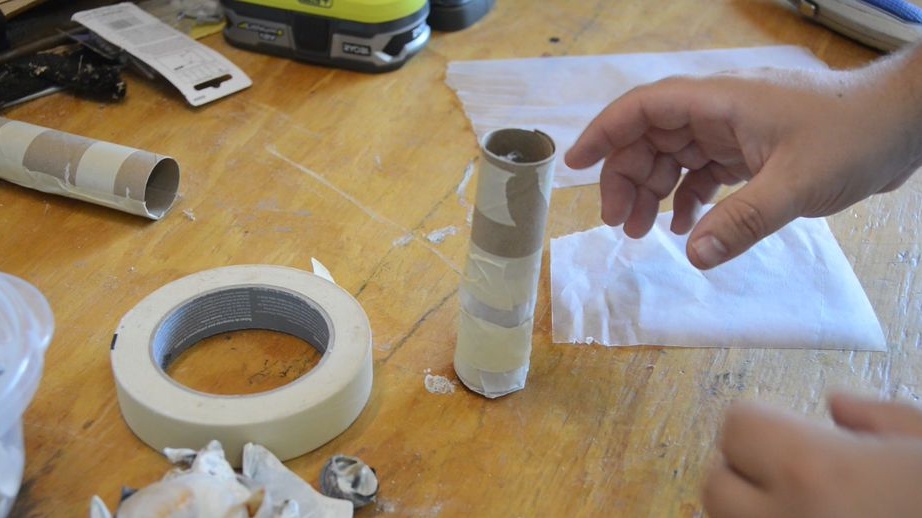
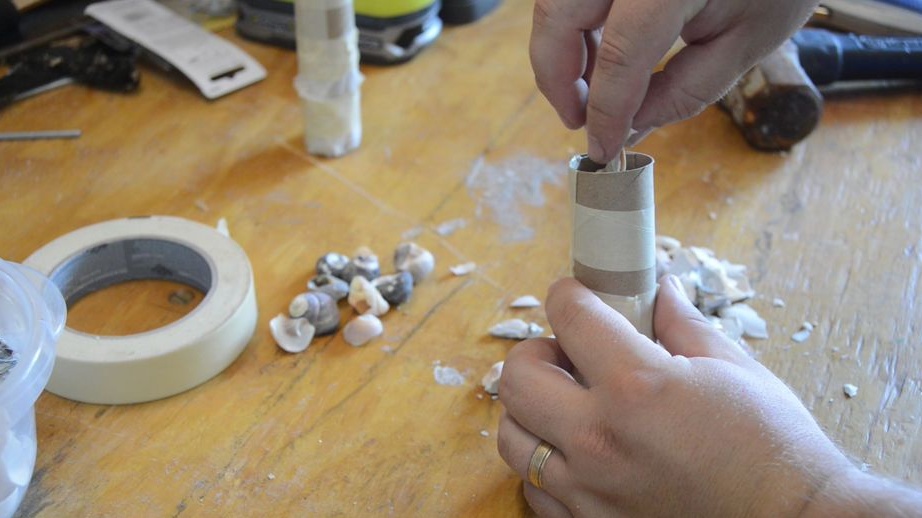
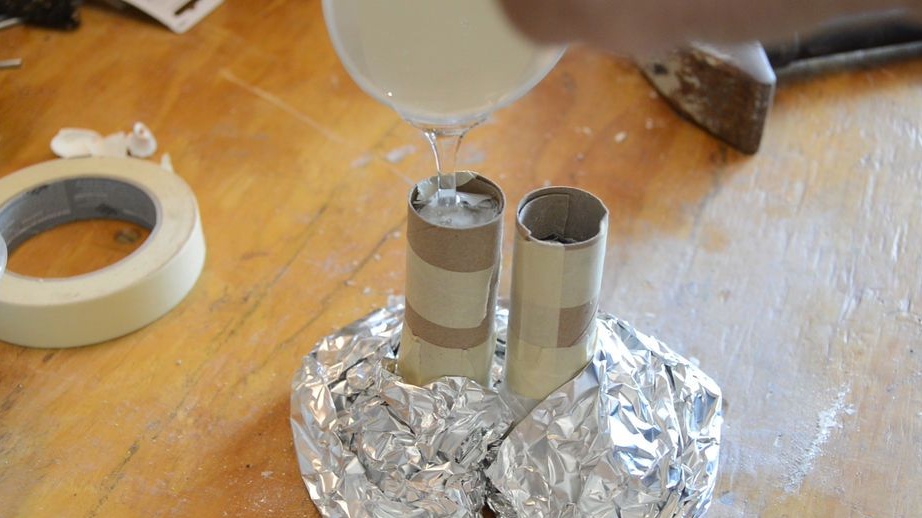
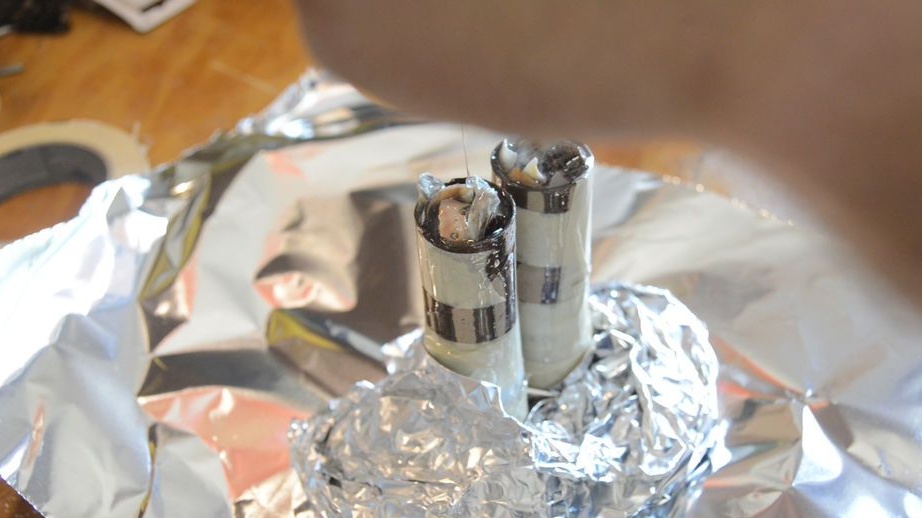
Master collected seashells on the seashore. For the handle shells with thin walls are suitable. Swirling shells when filling leave voids, even when evacuated. After the master selected the right amount of shells, he chopped them with a hammer. Now you need to prepare the tube from the toilet paper. The diameter of the tubes is too large, so the master cuts them along, tightens up to 2.5 cm and fixes with masking tape. Then it fills the tubes with shells, leaving a little free space on top.
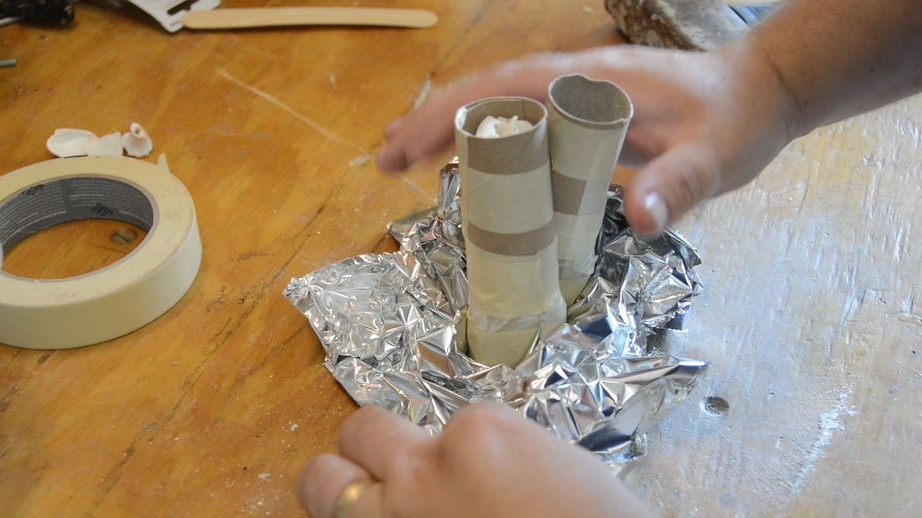
Step Two: Fill
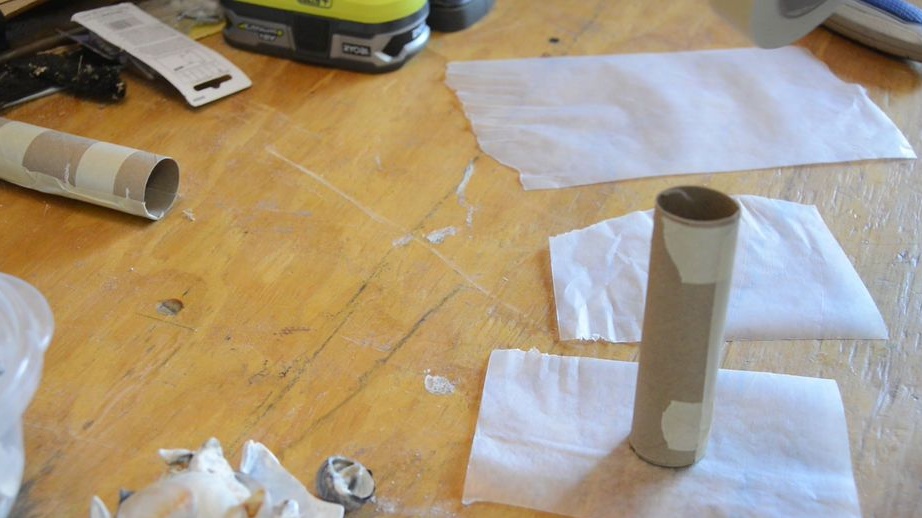
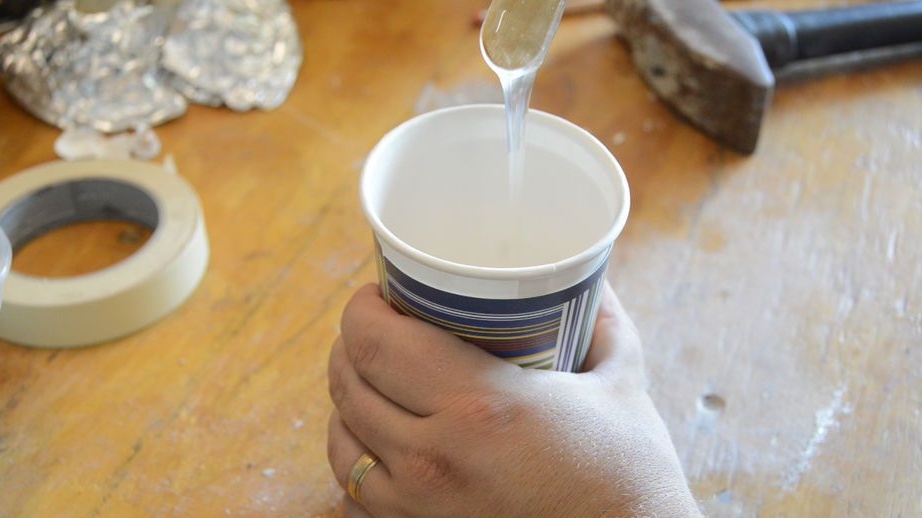
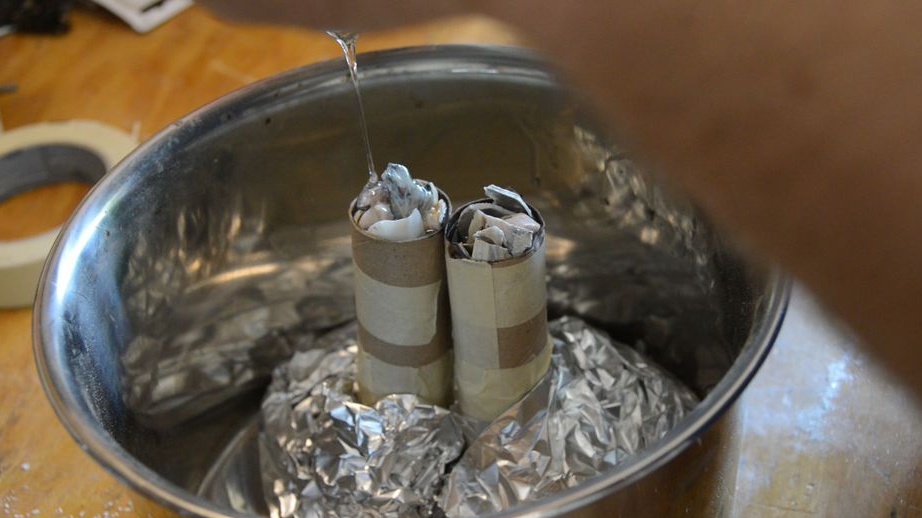
Wraps the bottom of the tubes with foil (you can use wax paper). Prepares a solution of epoxy resin and fills in the tubes.
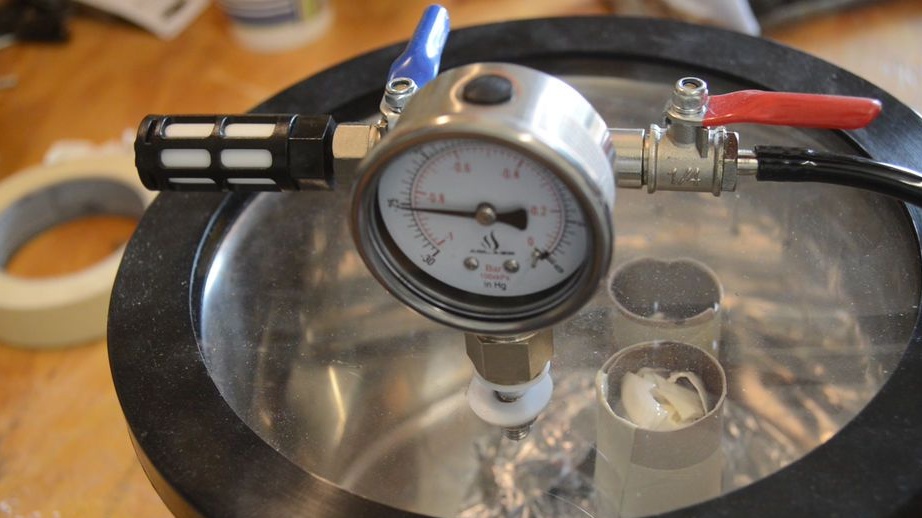
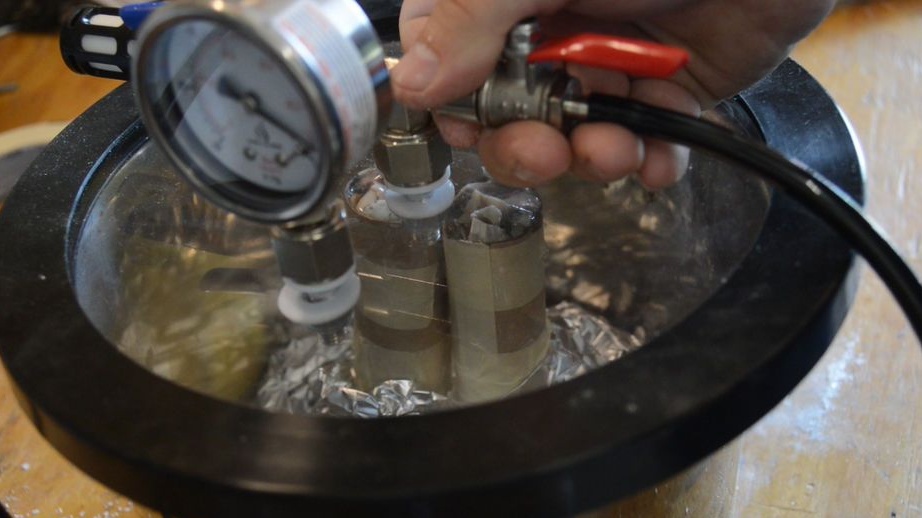
Step Three: Evacuation
Puts the tube in a vacuum chamber. After a short period of time, the resin is added to the tubes and again placed in a vacuum chamber. The wizard repeats this procedure several times. When the amount of exhaust air has decreased, the master removes the tubes and leaves them to dry.
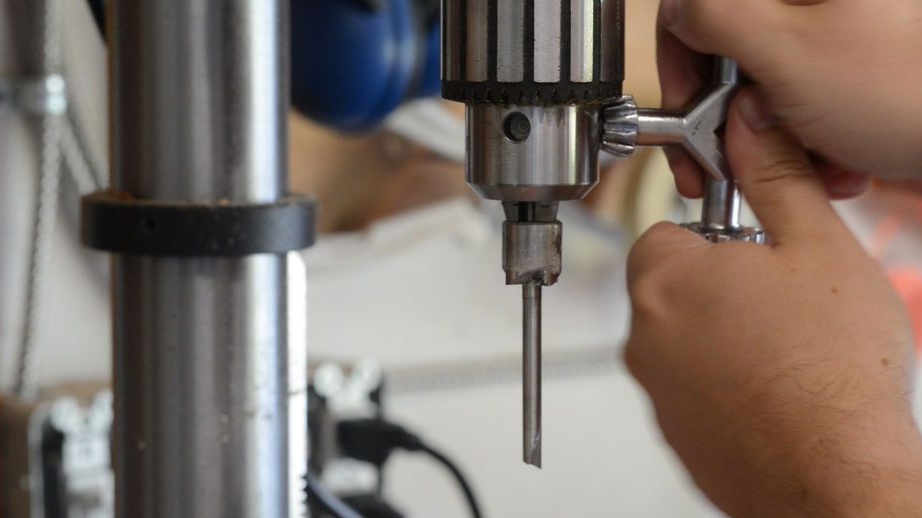
Step Four: Install the handset
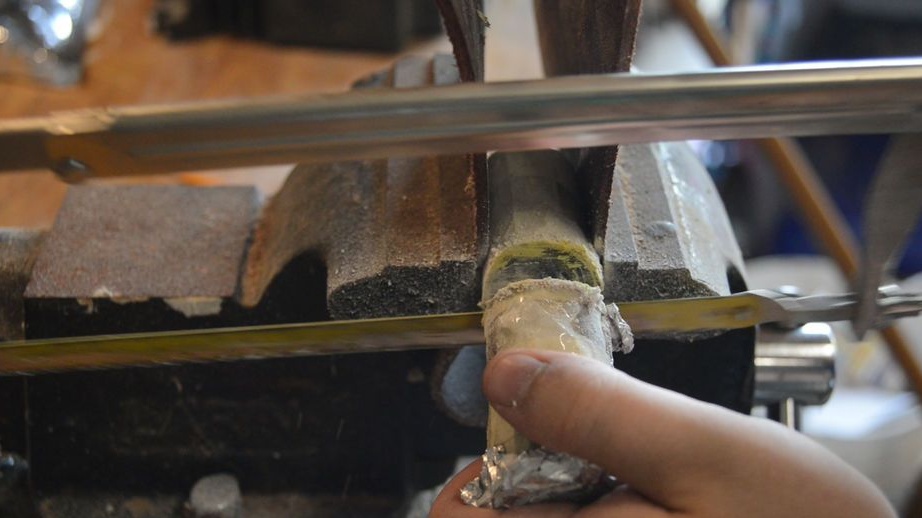
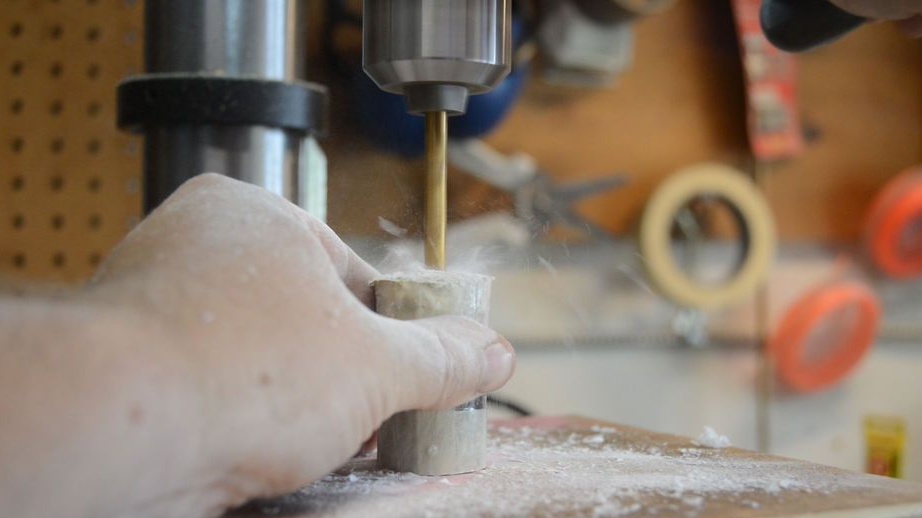
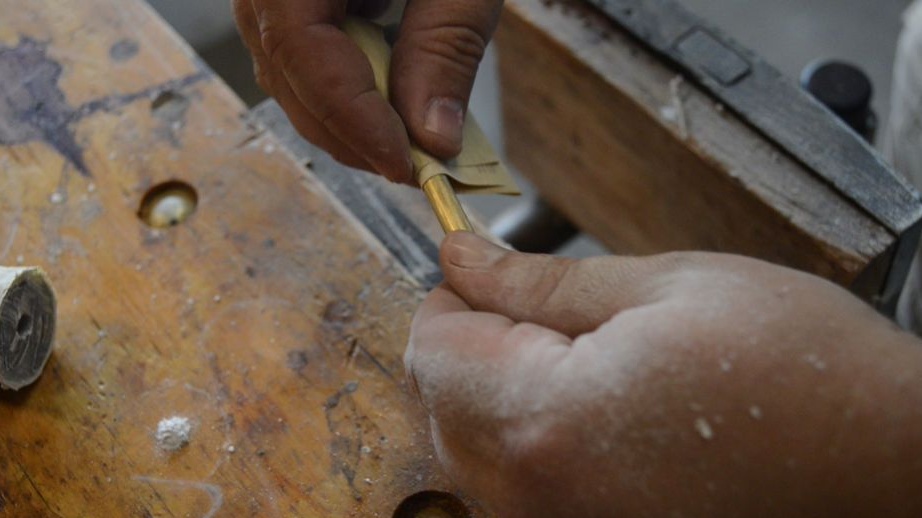
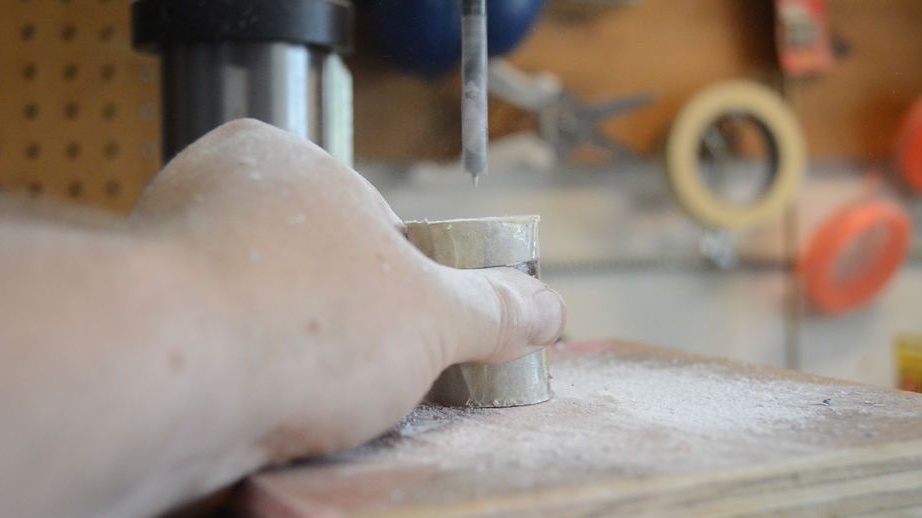
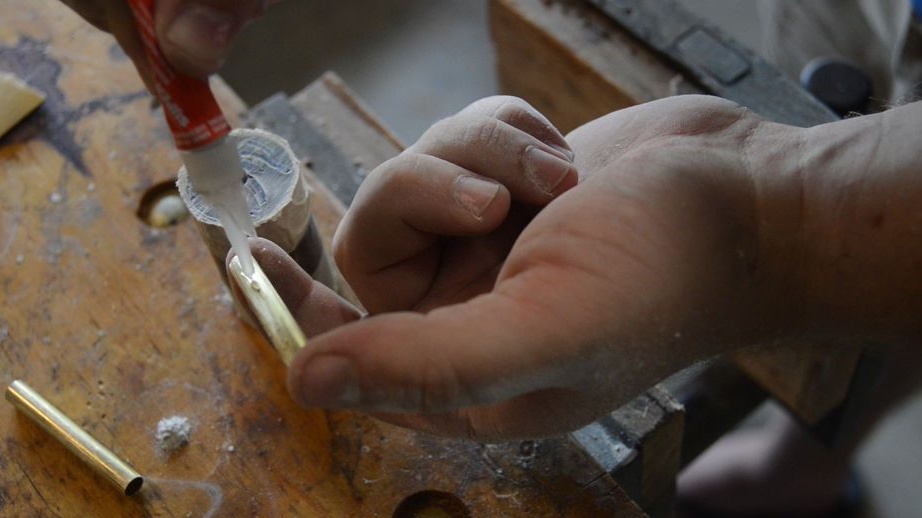
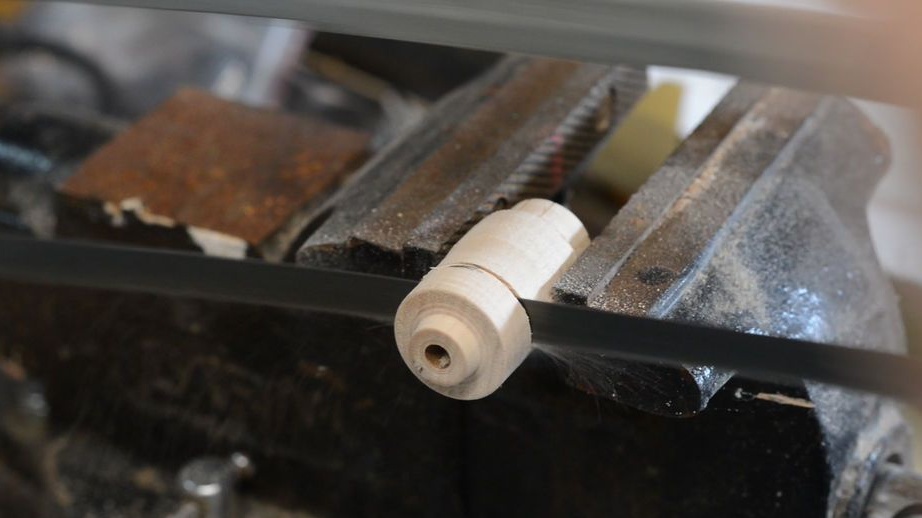
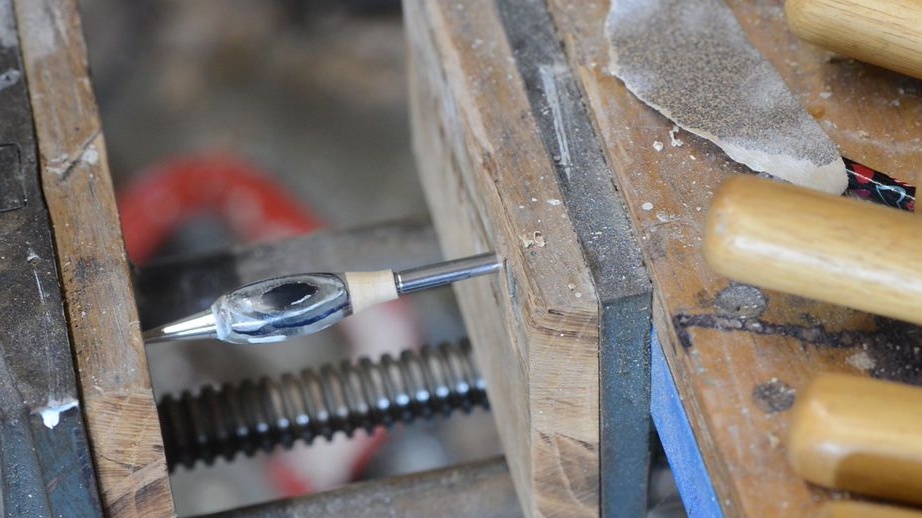
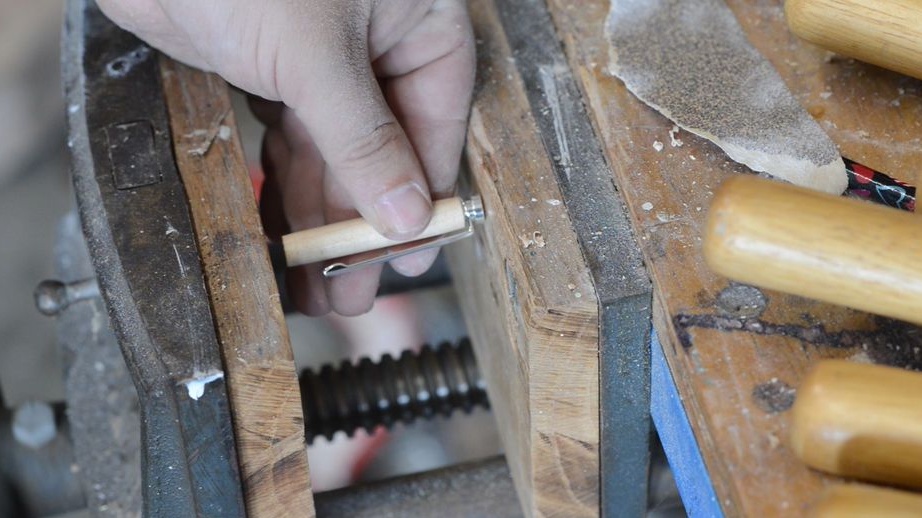
After the resin has hardened, the master cuts off the lower part (evens). Saws workpieces into two equal halves. A hole is drilled in the center of the workpieces. Apply a few drops of super glue to a metal tube and install it in the holes.
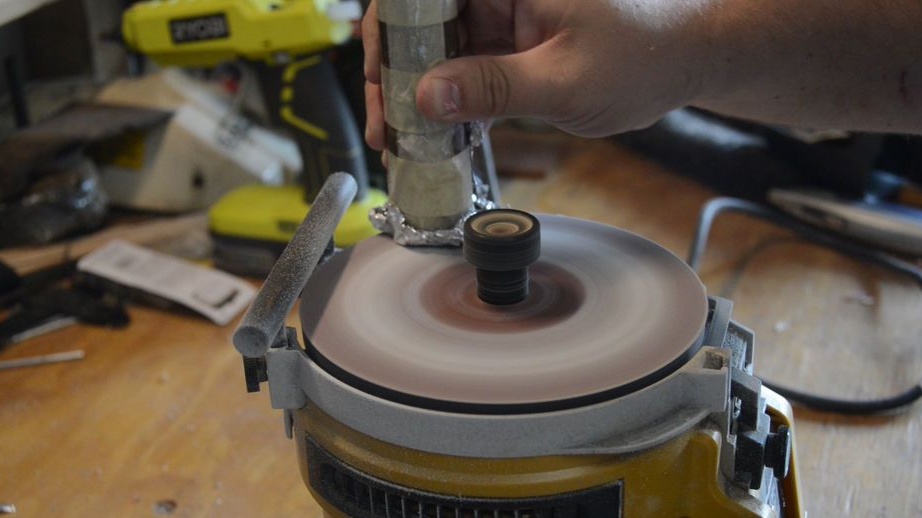

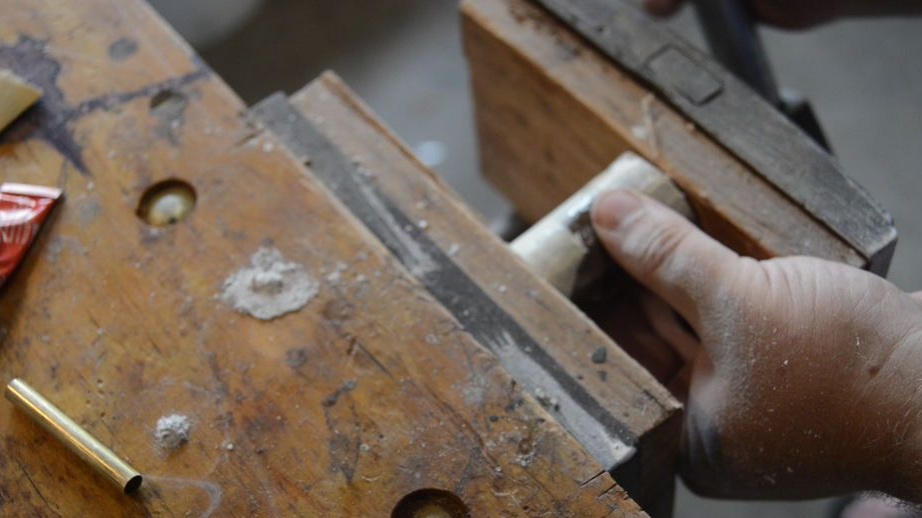
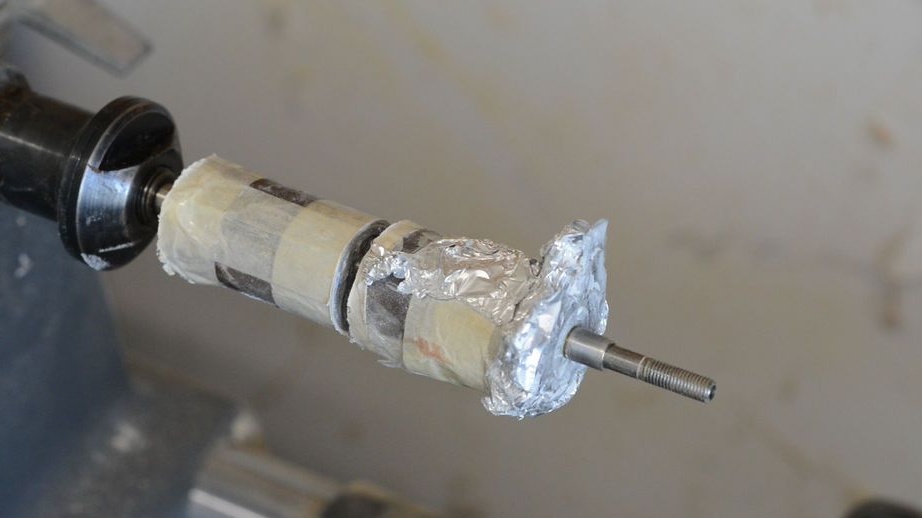
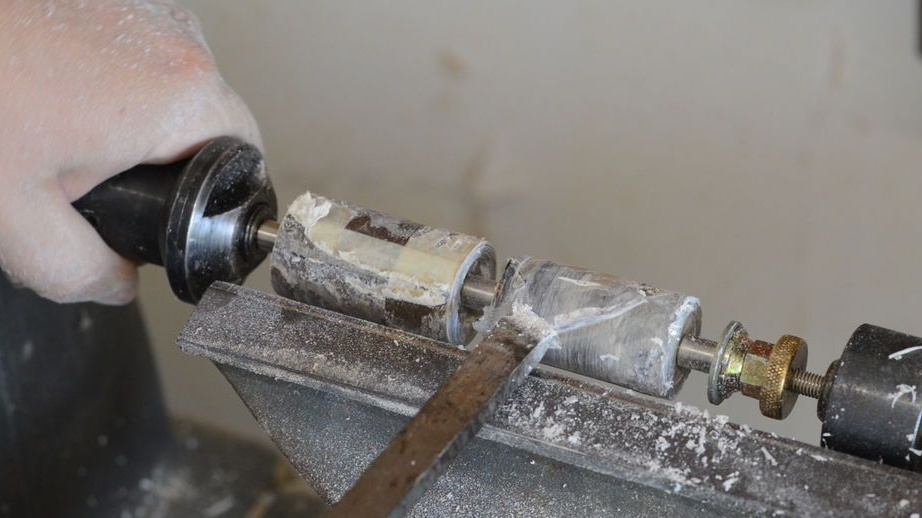
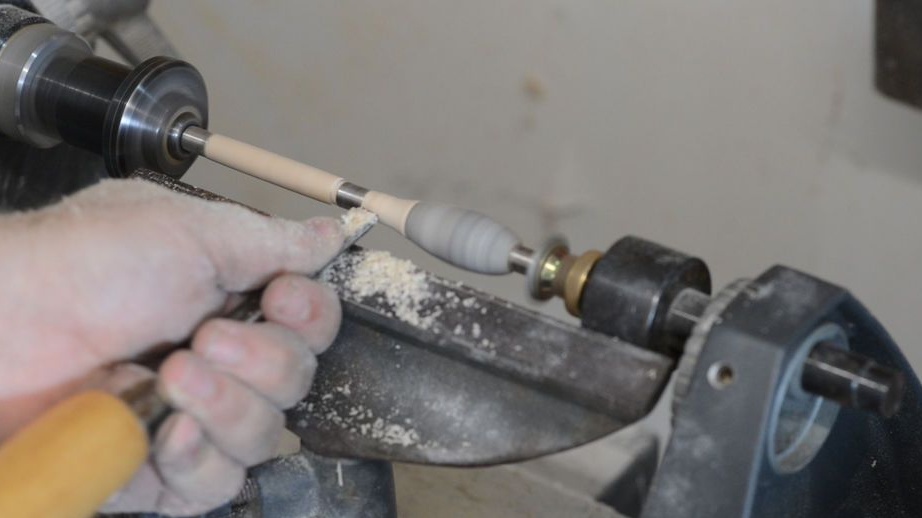
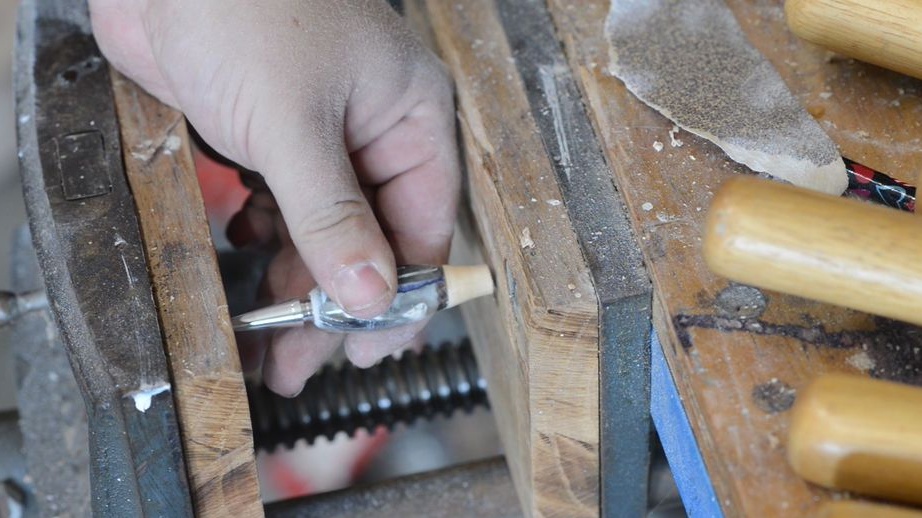
Step Five: Lathe Processing
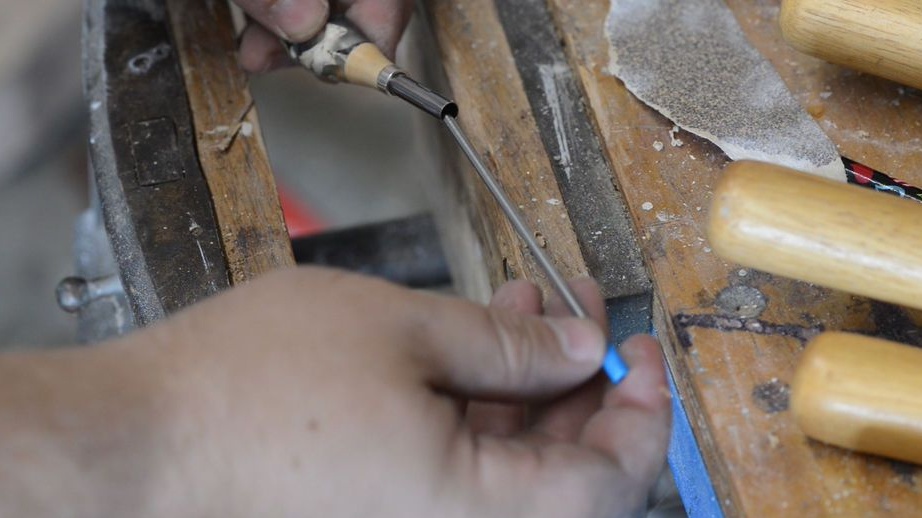
Sets workpieces on a lathe and processes them. First, the master removes the top layer from the workpiece.Then he polishes with a file. After polishing, some unfilled voids were revealed. The master breeds tar, putsty caverns.
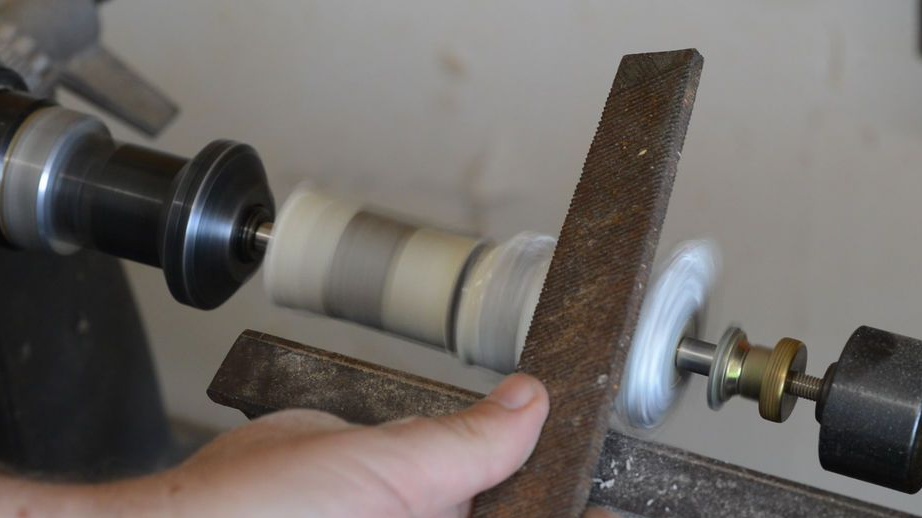
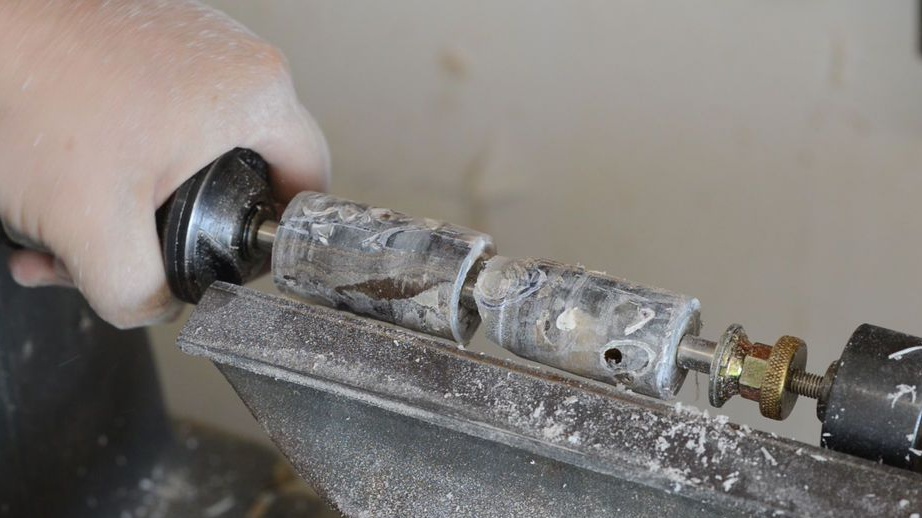
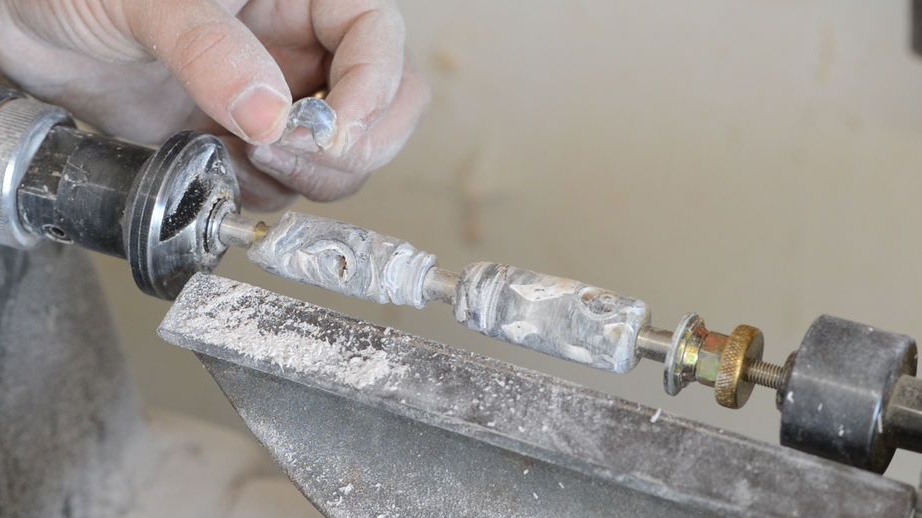
After drying, the resin continues processing. Using the tool forms the desired shape. Unfortunately, during processing, one of the blanks broke. The master replaces it with a maple bar.
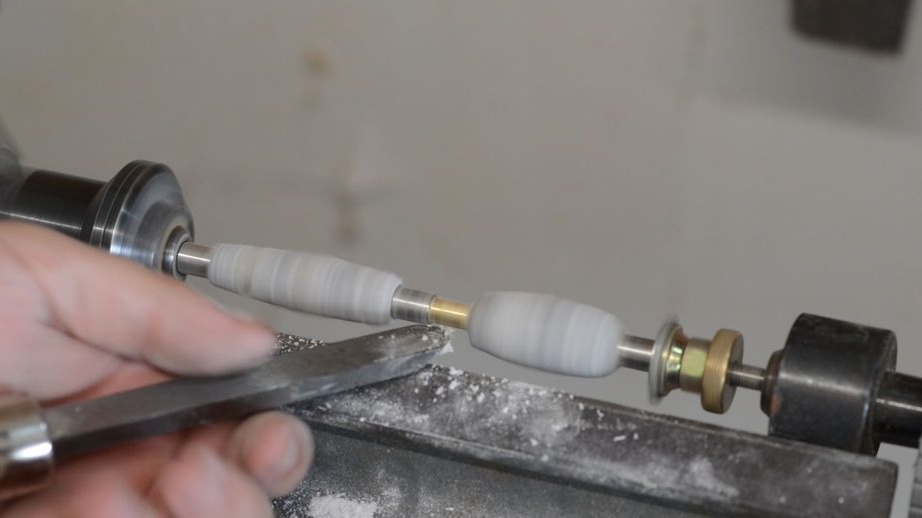

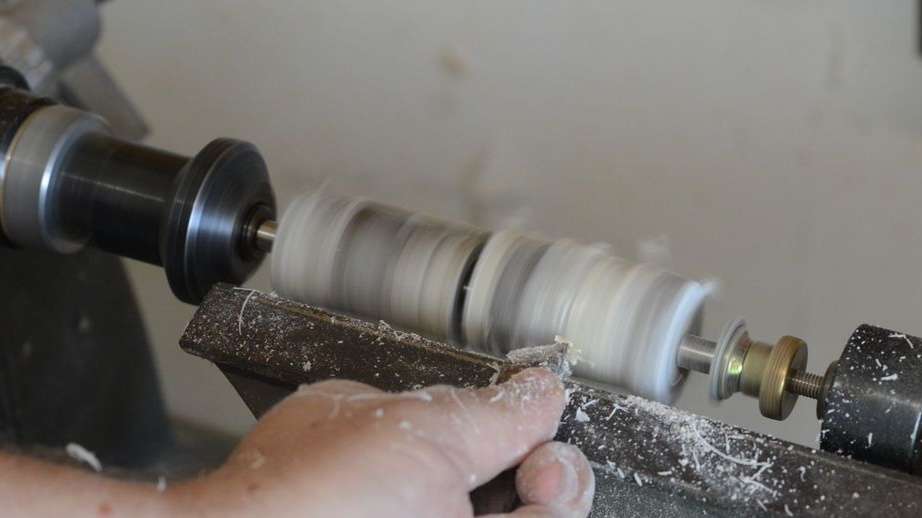
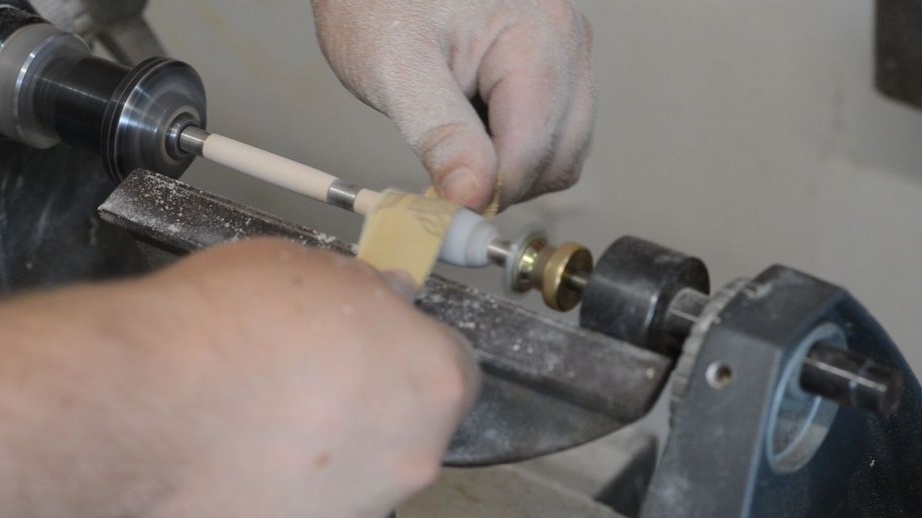
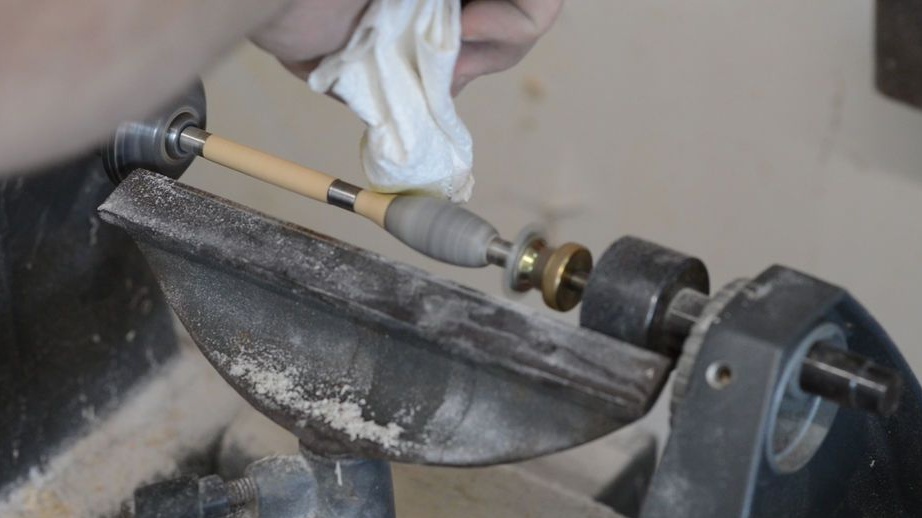
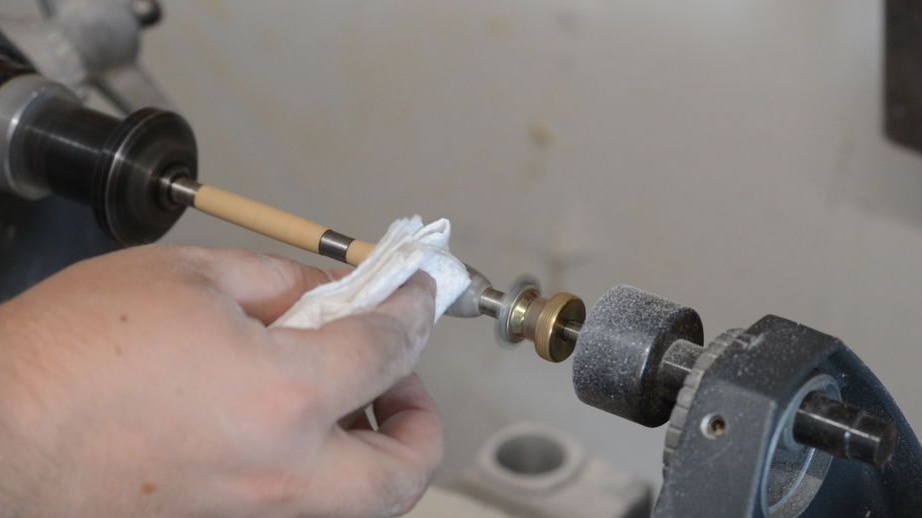
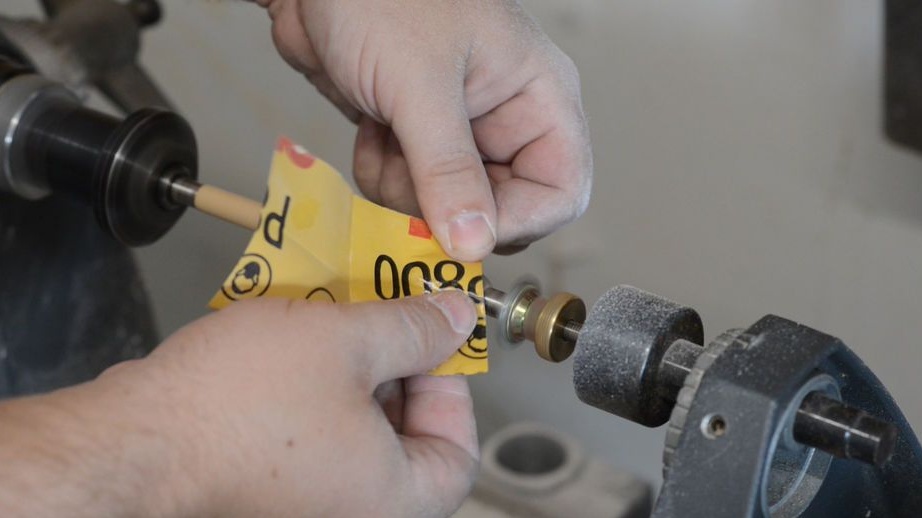
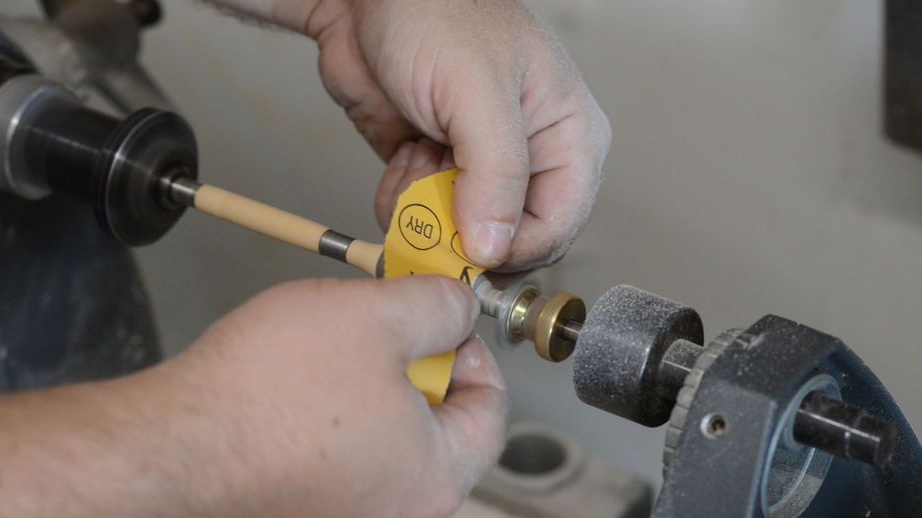
Step Six: Grinding
Now you need to grind the surface of the handle. Grinding the master begins with 220 and ending with 2000 with sandpaper. After polishing, it applies a finishing coating (oil, stain, etc.) to the wooden part. After drying, the coating covers the handle with five layers of super glue. Finally polishes the surface with wet sandpaper with grit from 800 to 2000.
Seventh step: assembly
Gathers two halves of the handle together. Installs the rod.
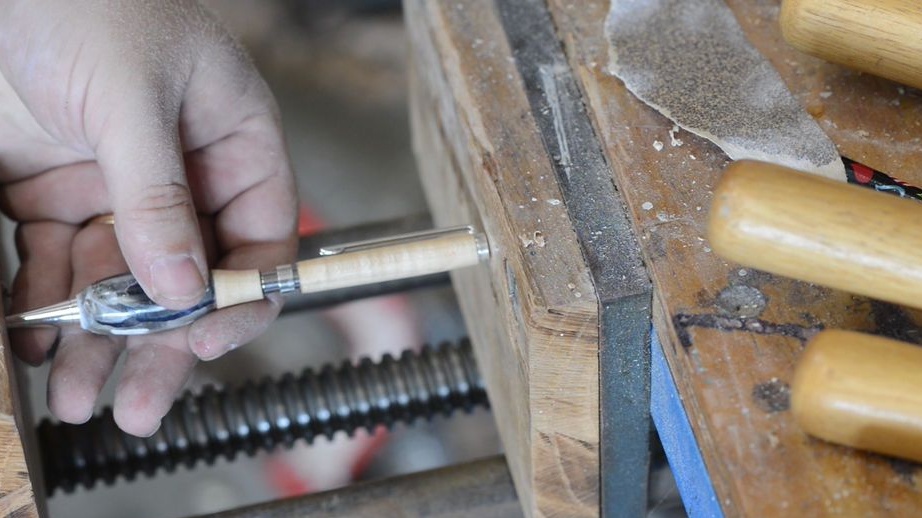
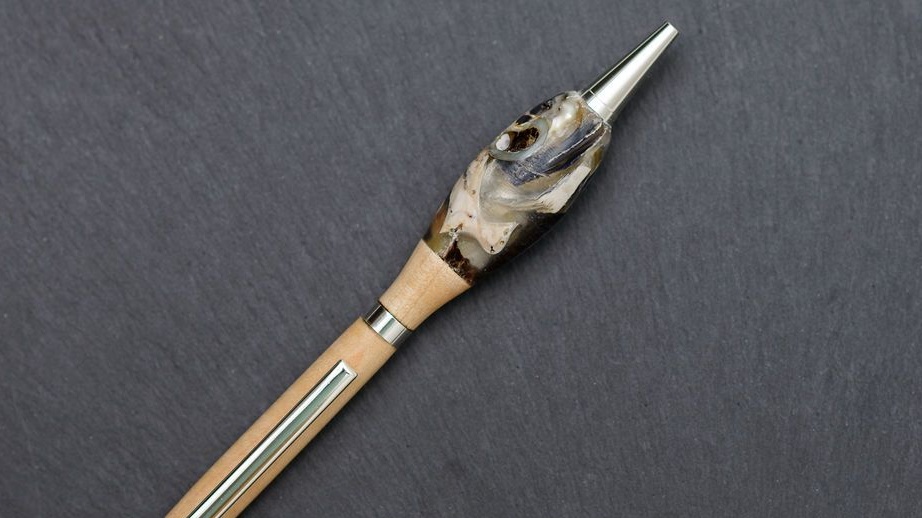
The pen is ready. Great gift in a single copy.