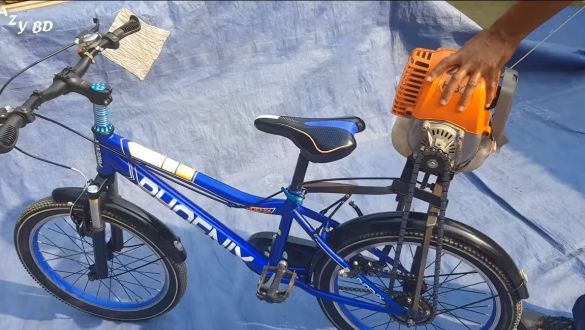
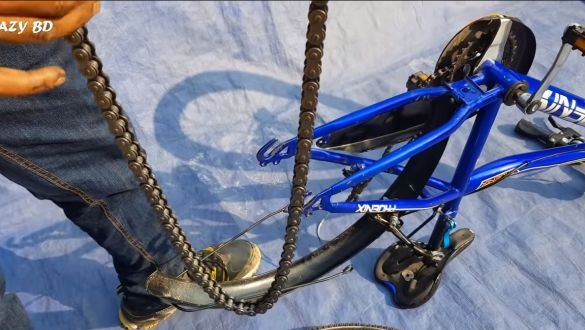
Hello everyone, in this instruction we will look at the easiest way to turn your bike in a moped. Homemade it turned out to be not perfect and still requires a lot of improvements, but overall this is a demonstration that such an assembly has the right to life. If you want to assemble something like this, take care of safety, make a protective shield for the chain. And you also need to make some kind of dampers for the chain, because at high speeds it dangles too much. Also, the author only has a front brake, there is no emergency shutdown of the engine and other things, which makes this vehicle very unsafe.
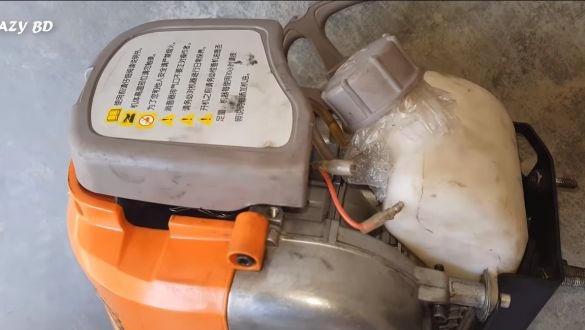
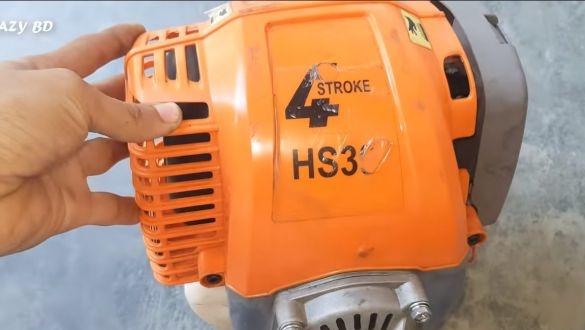
Everything is done quite simply. As an engine, the author used an engine from a 80-cubic meter petrol scythe. But such a volume is too large for homemade work, and the widow will have enough for you. The design of the bike itself does not change much, that is, in the event that gas runs out, you can get by transport like a regular bike. So, we will consider in more detail how to assemble such a homemade product!
Materials and tools used by the author:
Material List:
- engine from a benzo-braid;
- corners, steel plates, etc.
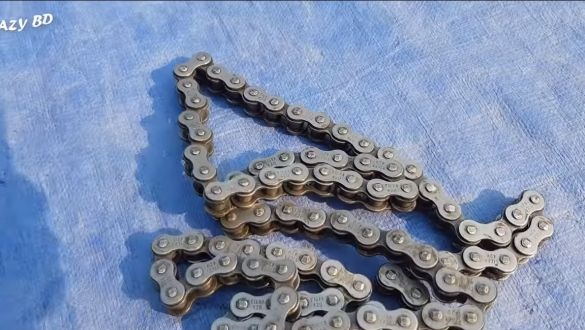
- small and large asterisk + chain (from a moped or the like).
Tool List:
- a lathe (to make an adapter under the drive sprocket);
- drill with drills;
- welding machine;
- a grinder with grinding and cutting discs.
Homemade manufacturing process:
Step one. We prepare the engine
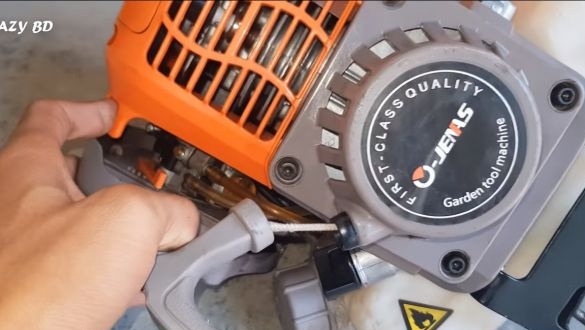
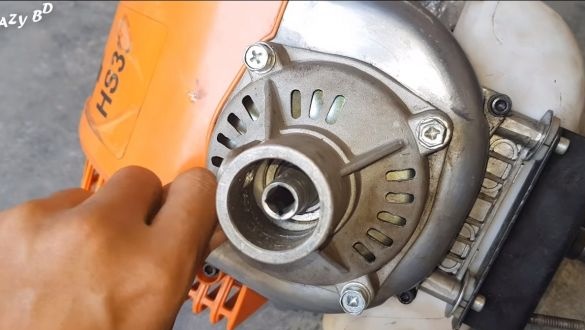
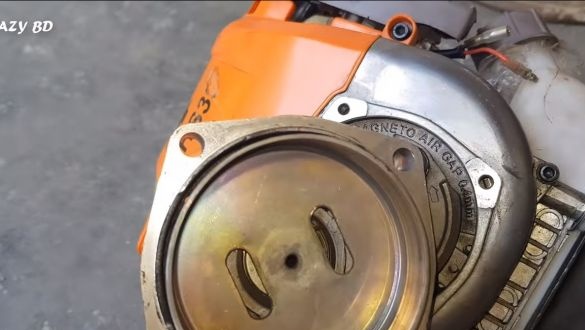
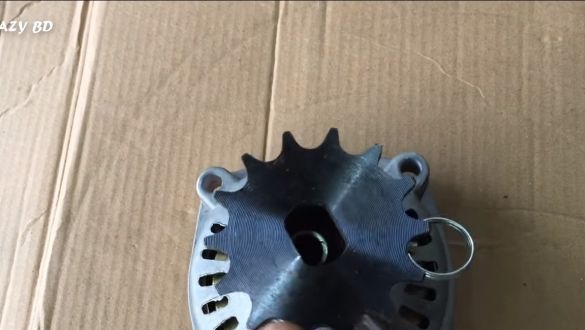
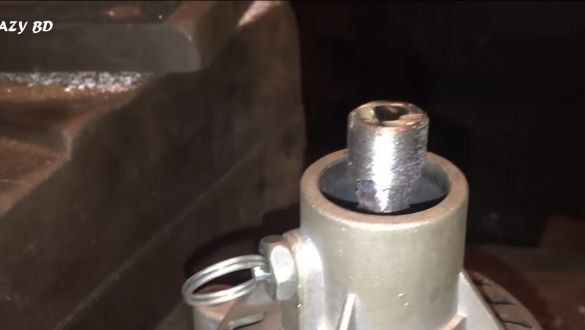
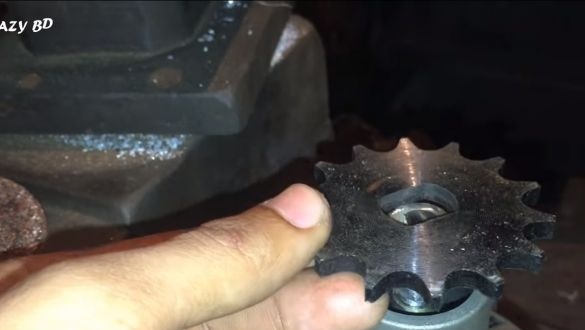
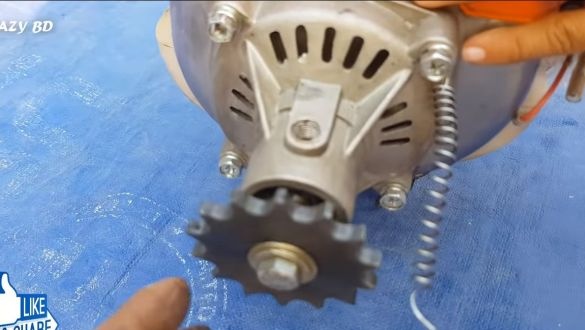
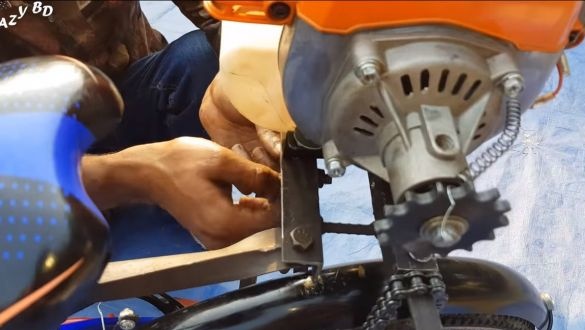
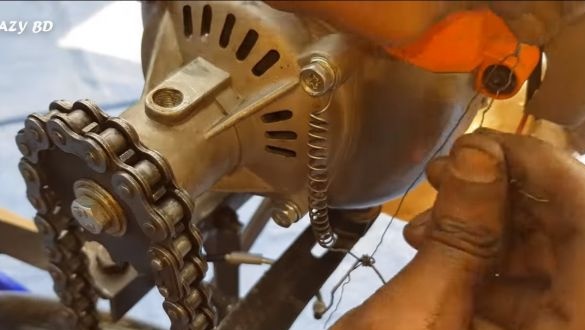
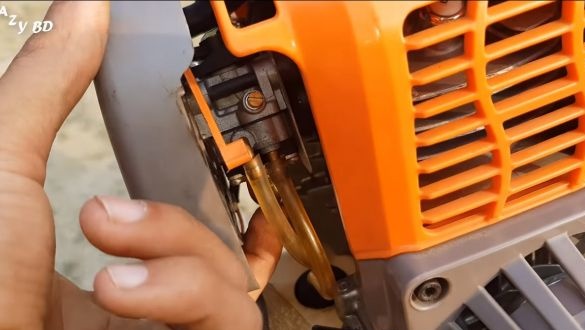
First, prepare the engine. We will need to remove the front where the grip is located. The advantage of the design is that the clutch is centrifugal type, that is, the clutch is automatic and works depending on the speed, it is very convenient. All we need to do is install a drive sprocket, we have a small value to get increased torque.
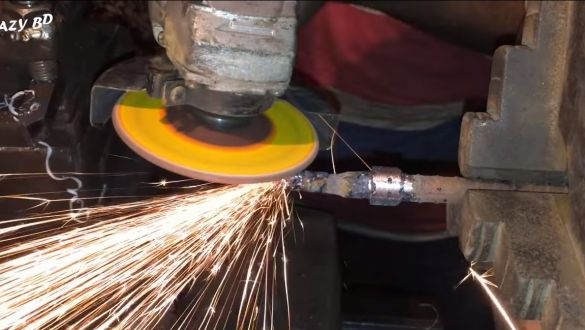
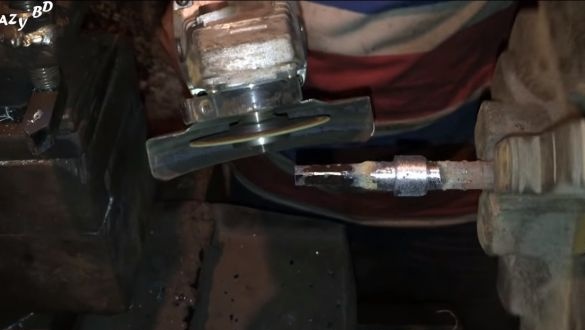
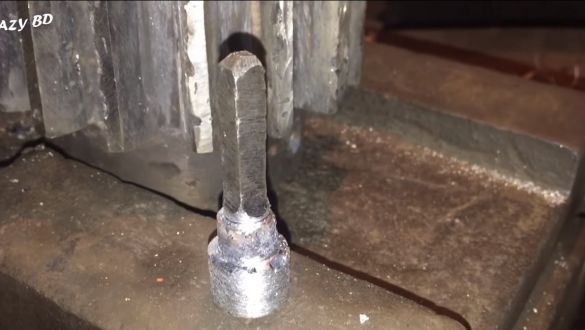
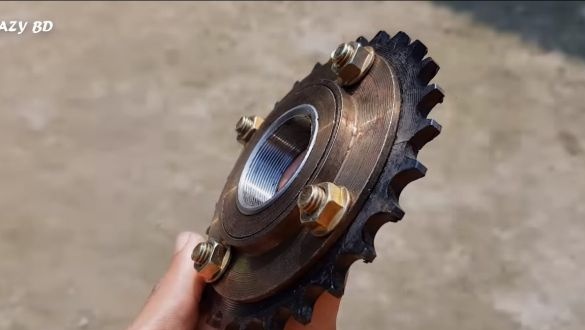
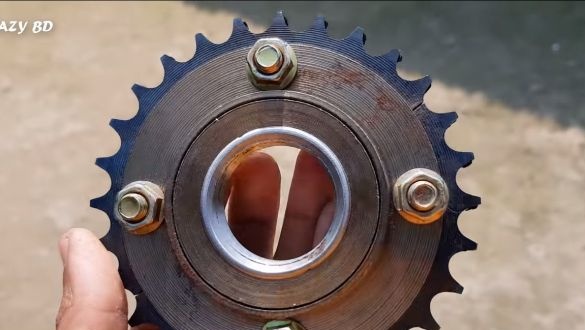
It’s not possible to weld an asterisk just like that, you will need to make an adapter for it.To do this, we turn to the help of a lathe. We take a piece of reinforcement and grind the desired part. The product must have slots, in fact it is a square. To grind these same slots, the author uses a grinder with grinding disks, and at the end it goes through cutting ones. You will also need to make slots to install the sprocket. We will fix the sprocket with a bolt, drill a hole under it and cut the thread.
Step Two Driven asterisk
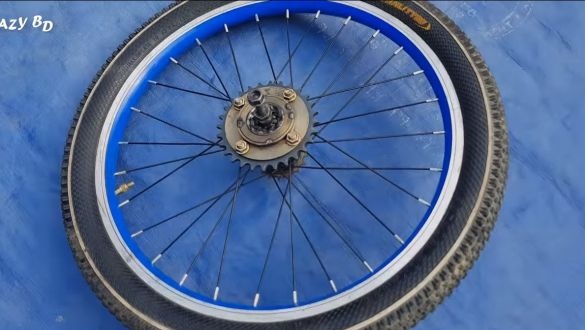
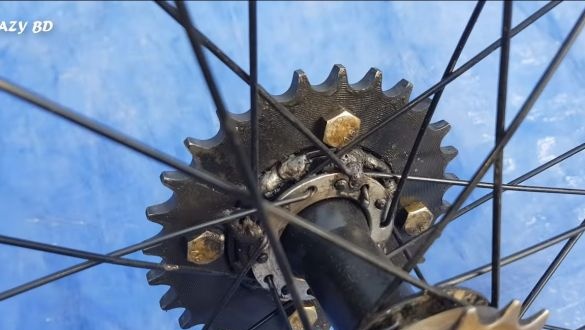
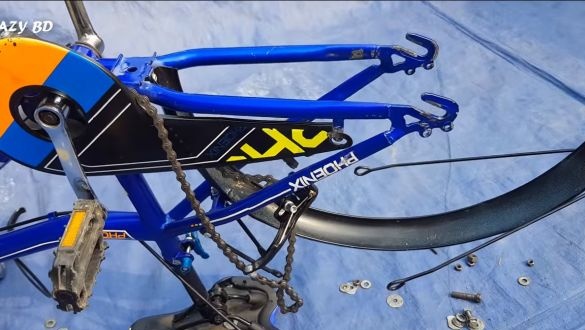
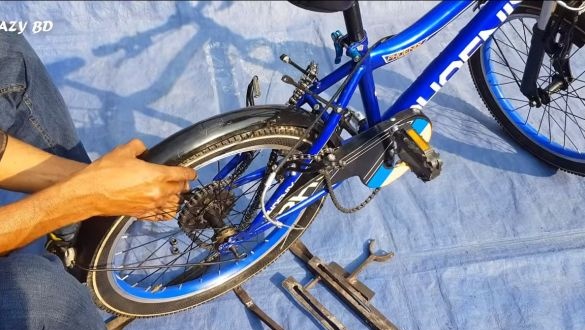
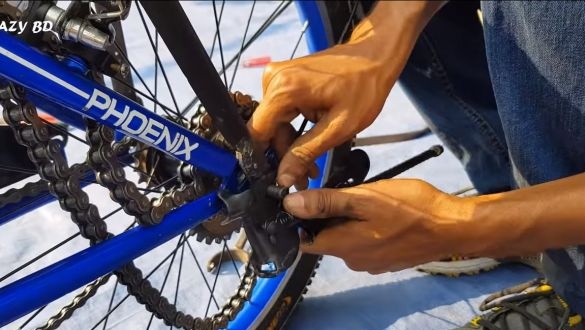
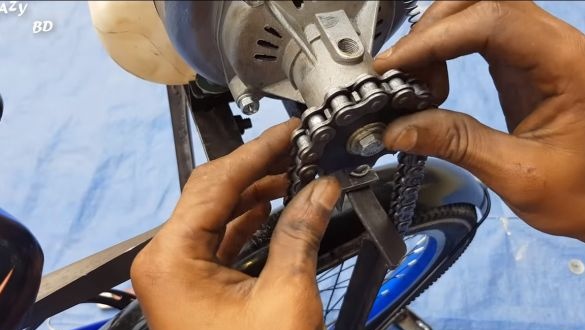
We proceed to install the driven sprocket. You will have to experimentally select an asterisk for engine power. It is best that the engine runs at low speeds, then the fuel consumption will be minimal, and the engine will not overheat. Now fix the sprocket on the wheel. The author grabbed it by welding.
Step Three Install the engine
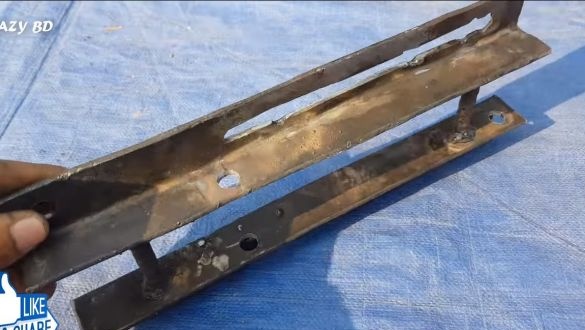
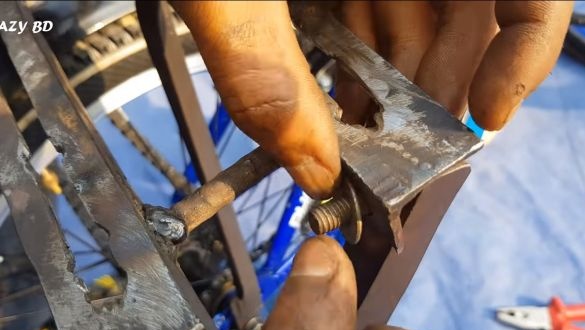
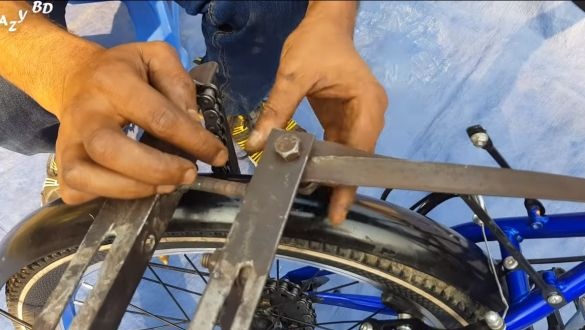
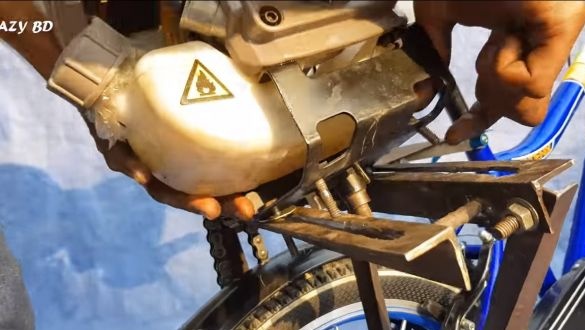
To install the engine, you need to weld a simple frame resembling a rear trunk. All this can be done from improvised trash, corners, plates and so on. On the basis of the engine there is a plate with bolts, it is with them that we fasten the engine to the frame. In the end, you just have to install the circuit. It must be pulled so that it does not hang out, like the author. The danger of a weakened chain is that it can fly off and fall into the knitting needles, as the result of the rear wheel will instantly jam.
Step Four Finishing touches and testing
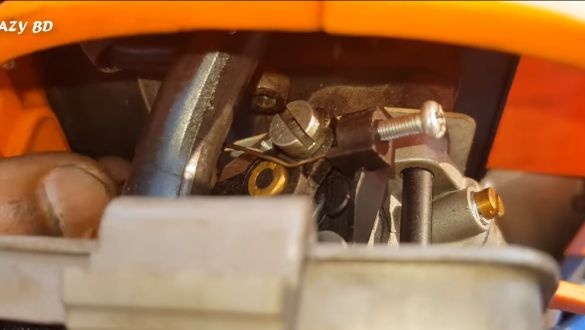
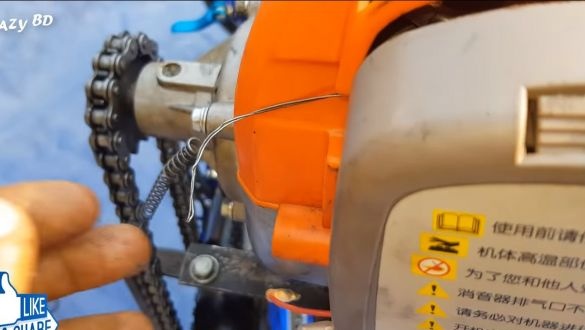
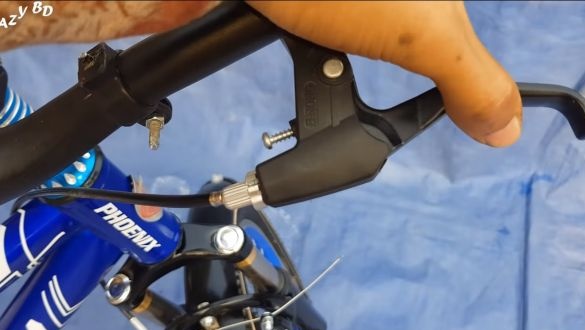
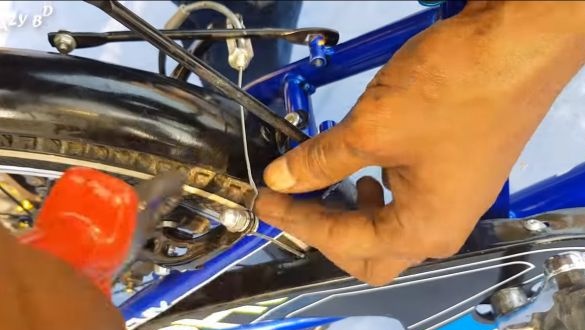
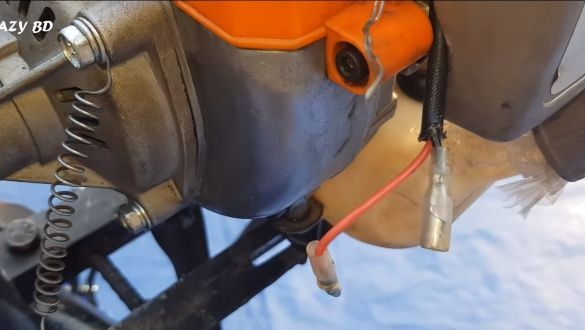
At the end, we take a suitable wire and attach it to the throttle control lever. The author used the rear brake handle as a gas pedal. We unscrew the brake cable on the rear wheel and connect to the engine throttle. It is important to make a good spring, because if the throttle sticks in the open state, you can leave for the next world.
That's all, our moped is ready, fill the fuel and start the engine. The author set off without problems, the engine power was enough with his head. This miracle of technology travels at low speeds, due to which economy is achieved, and there is no overheating. That's all, the project is over. Good luck and creative inspiration, if you decide to repeat it. Do not forget to share your homemade products with us!

