
And how do you like this idea: what if you add a little romance and quite a bit of magic and at the same time do such a thing that will definitely surprise your wife or girlfriend, well, if you have it of course.

Well, for today's homemade work we will need:
1. a pair of three-meter bars measuring 50 by 50 mm;
2. spray can of acrylic varnish;
3. marble chips;
4. brush and white acrylic paint;
5. 40 mm Forstner drill;
6. a screwdriver or drill;
7. saw;
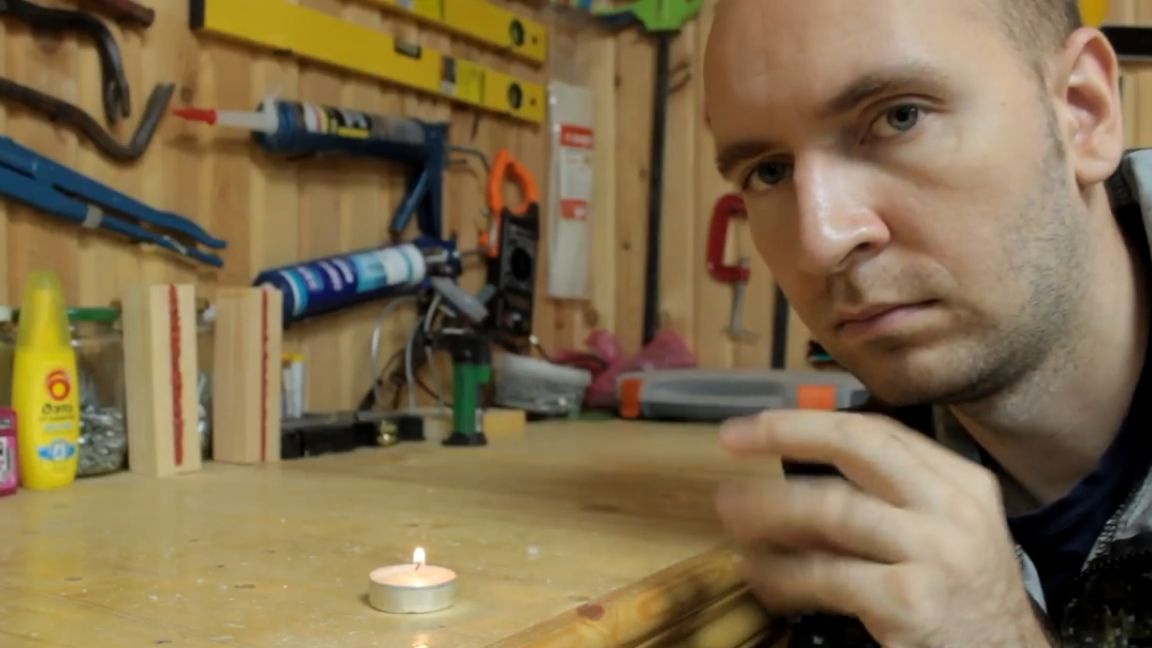
8. candles;
9. vise;
10. glue.
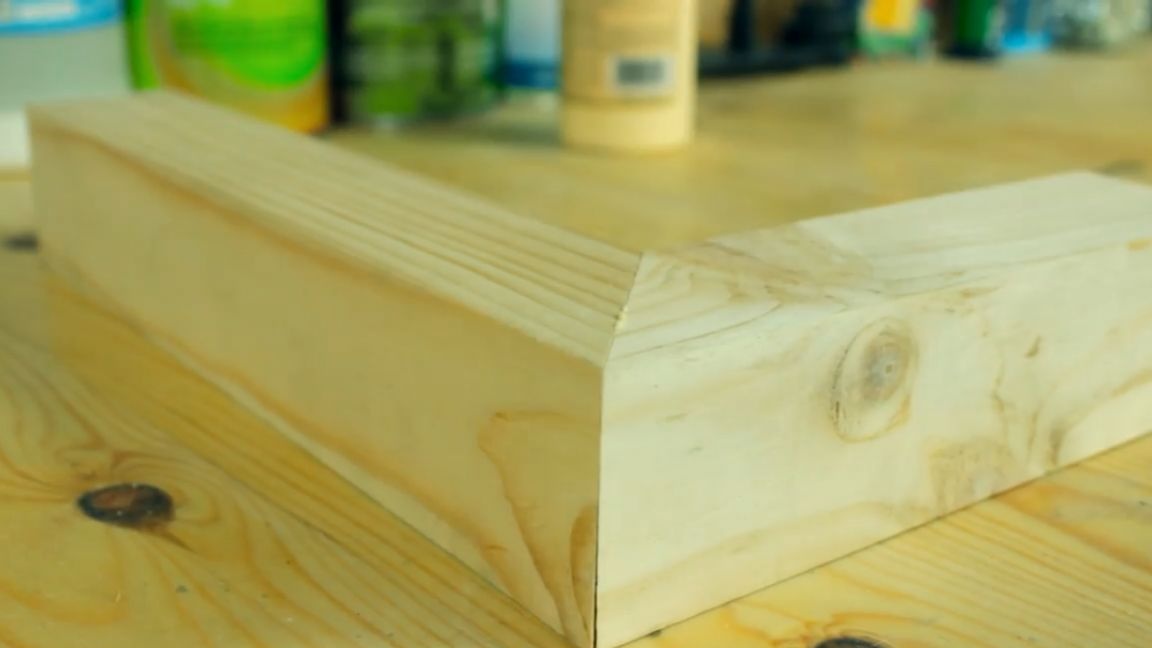
And now, together with the author of the YouTube channel “GruzdoV”, let's try to create something fun from this bar. This happens quite rarely, but this time the author was most likely lucky as he came across a well-cut beam, which does not need further grinding. One less operation. Therefore, we immediately transfer the miter friend to the workbench and proceed to cutting.


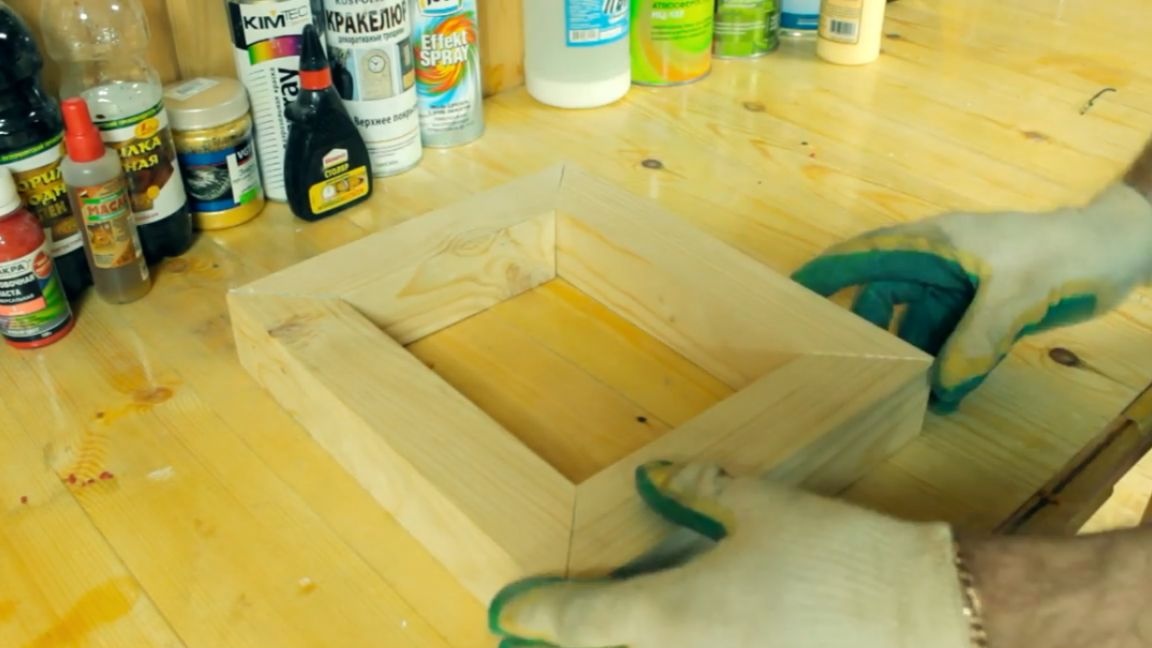
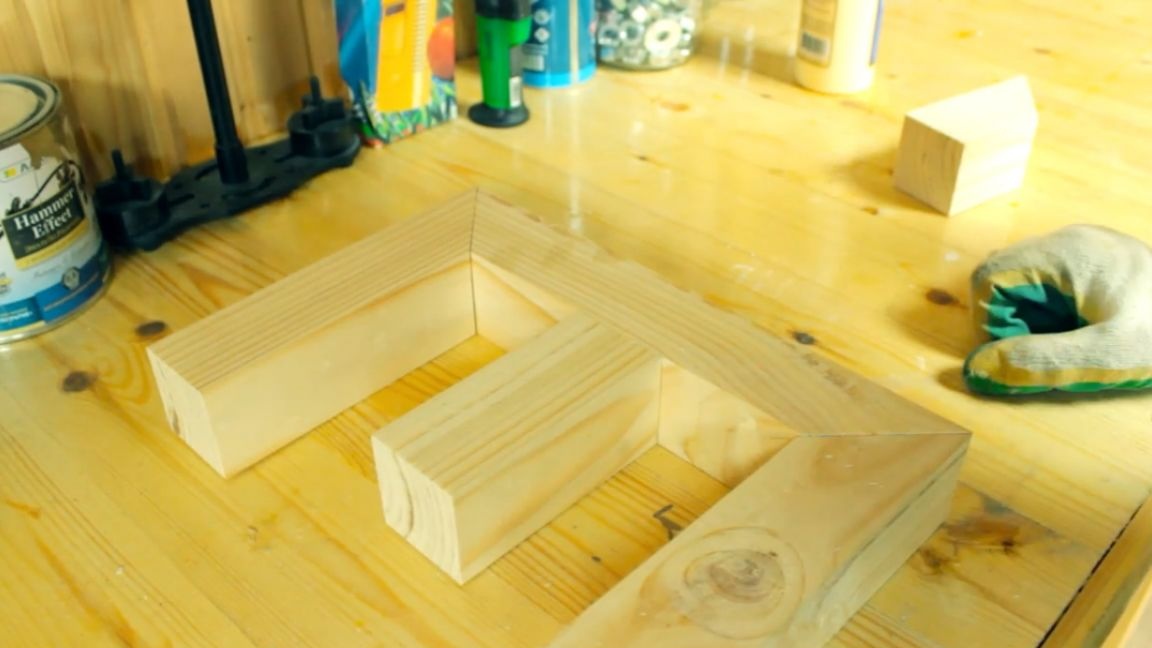
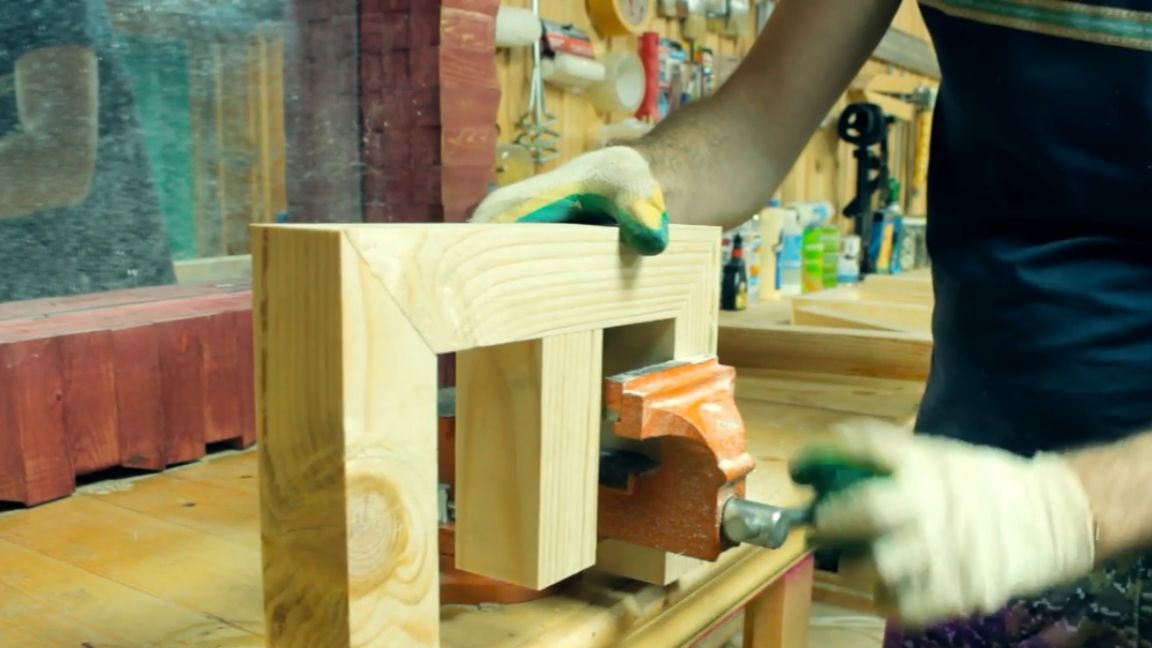
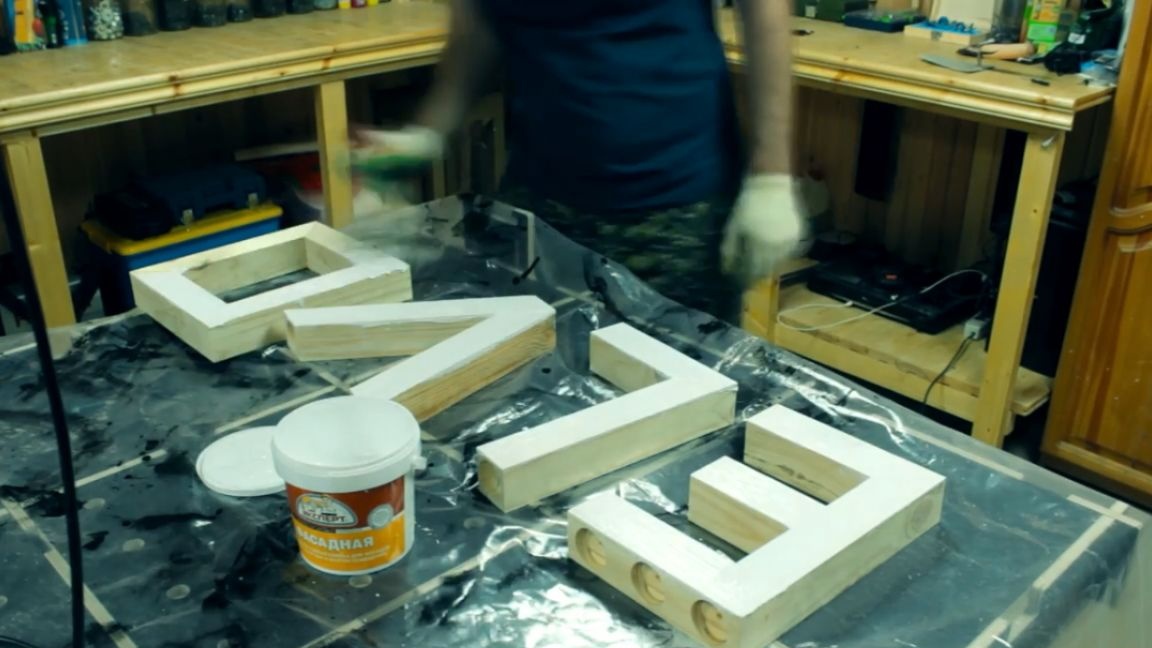
Today you will have to cut it from different angles, but let's start, perhaps, from 45 degrees. We measure the workpiece with a length of 25 cm and cut off 2 such pieces. Also, we cut a couple of blanks of a slightly longer length - 30 cm. Then we gently spread all the details with glue and connect them so that we get something like a frame. As you might have guessed, it will be the letter “O”.
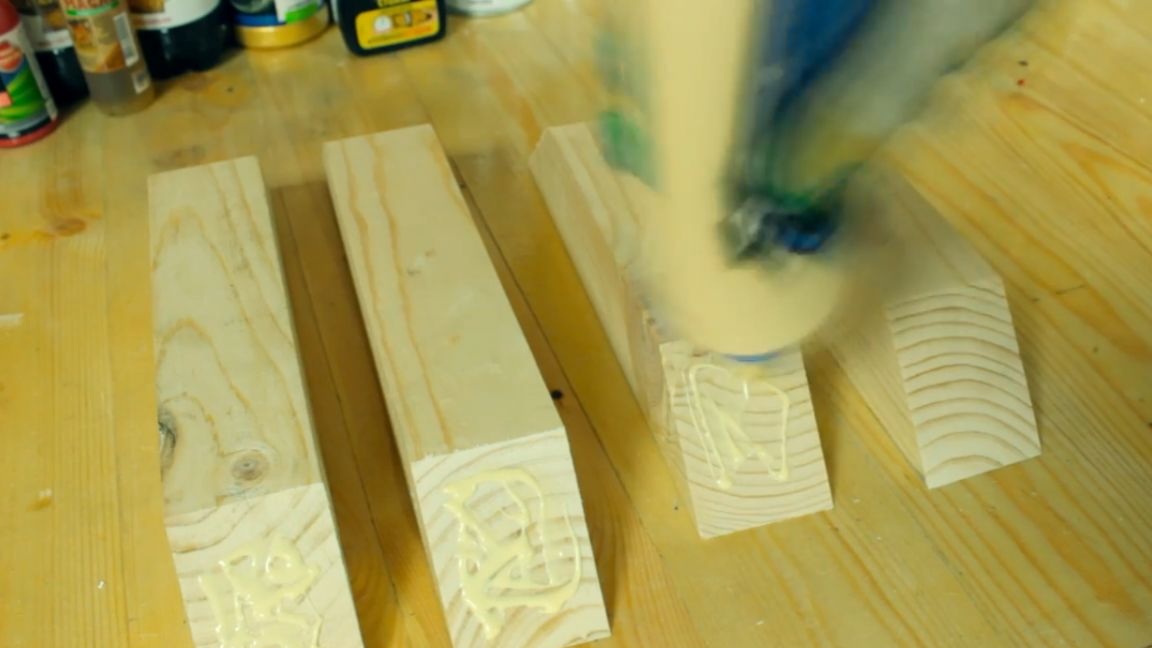
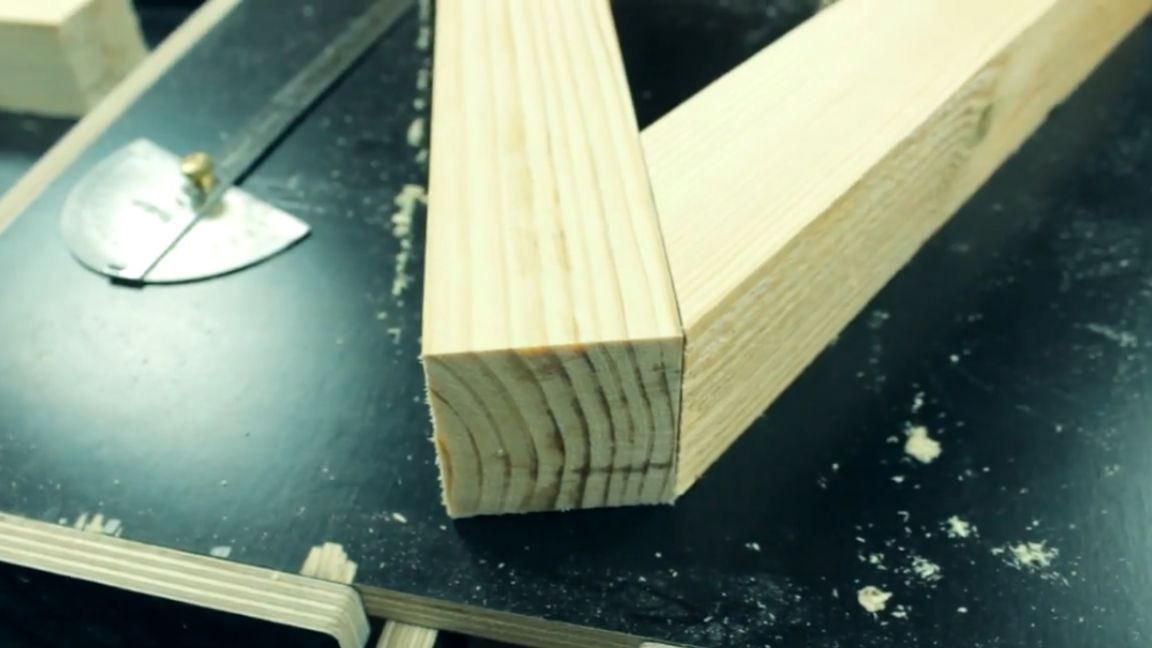
Next, we cut a part with a length of 20 cm and another part with a length of 30 cm so that on one side of each part the cut angle is 90 degrees, and on the other 45 degrees. We smear with glue and connect these two parts together and also put them aside for now. This will be the first letter of our candlestick - “L”.
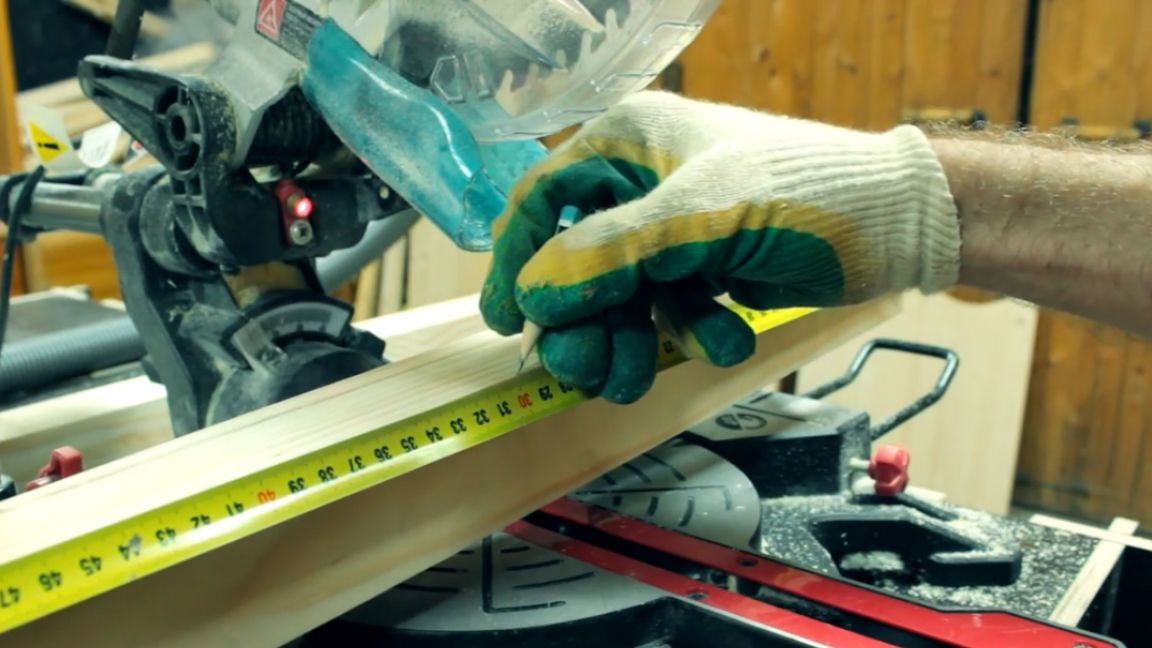
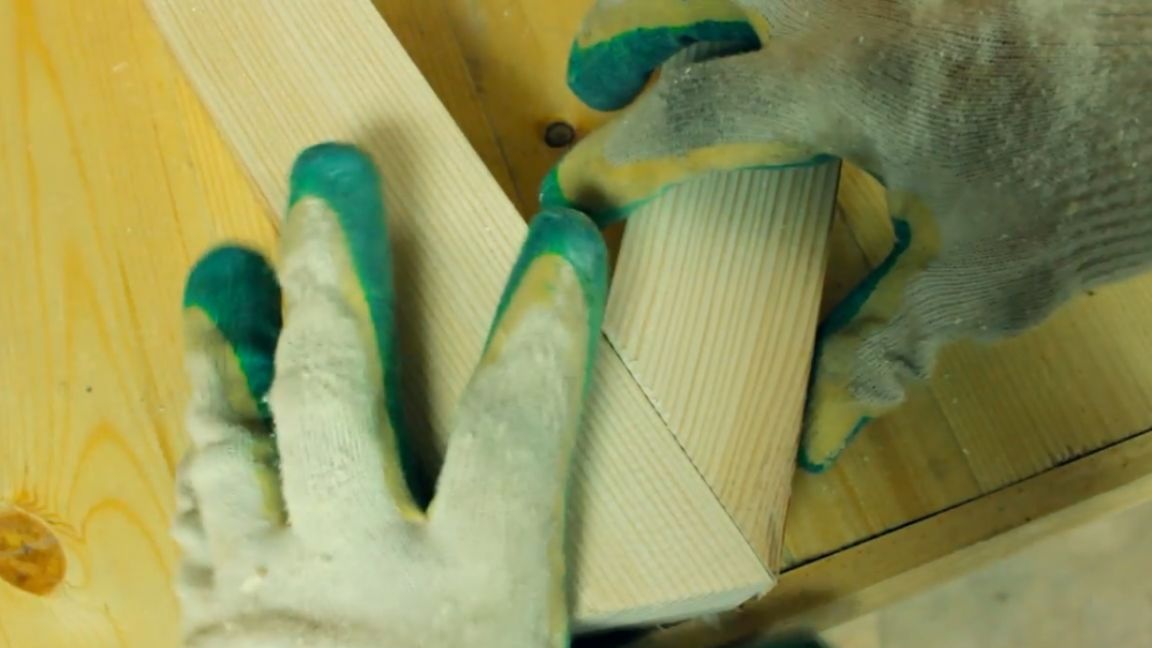
Next, measure out the detail 12 cm long and cut it at a right angle. In the same way we measure out a pair of parts 20 cm long and cut it off too. And of course, do not forget to cut off another piece 30 cm long. After that, we cut some parts at an angle of 45 degrees, and as always, we glue and connect it well.
We connect all the details so that we get such a figure - this will be the last letter of our romantic candlestick in the form of the inscription “LOVE”, that is, the letter “E”.
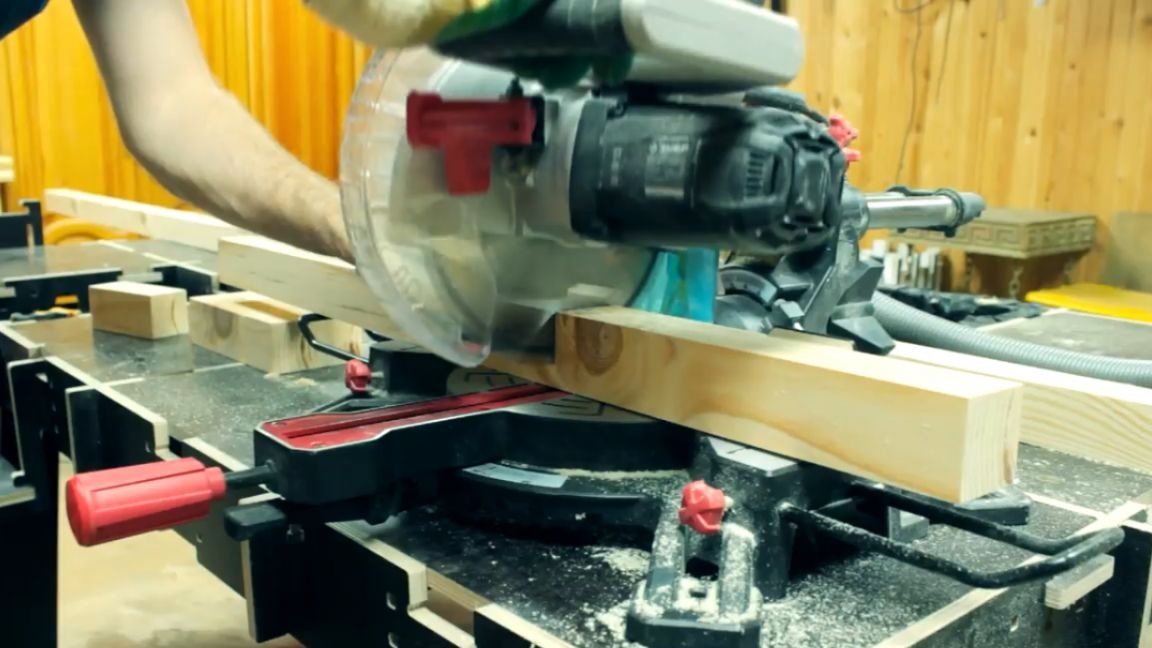
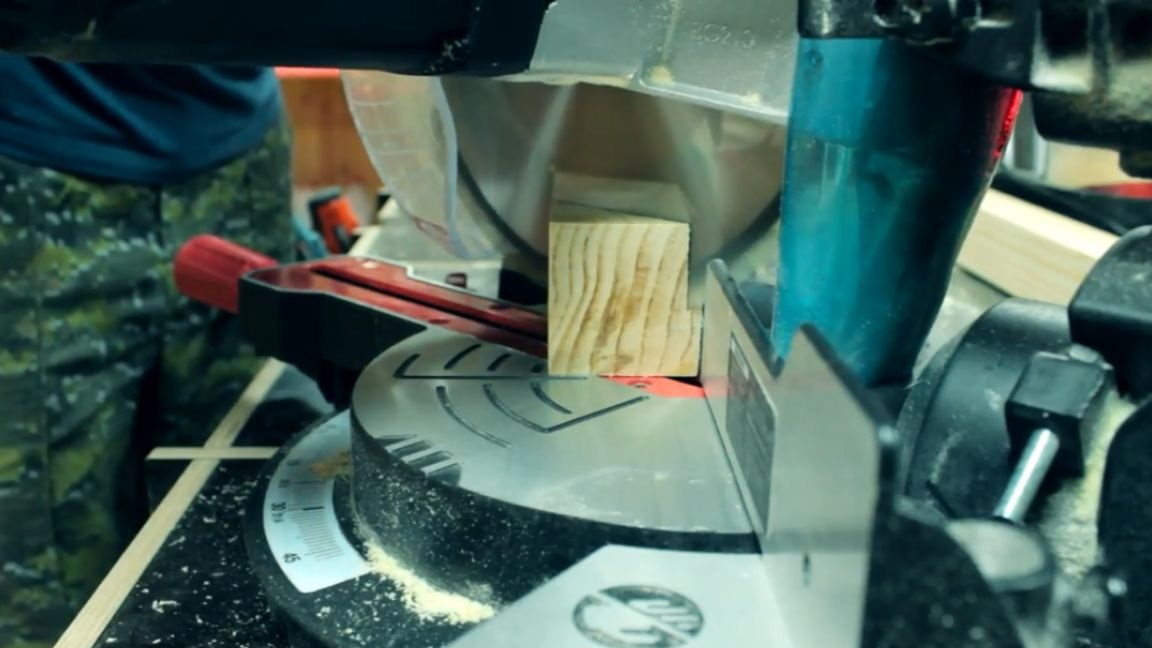
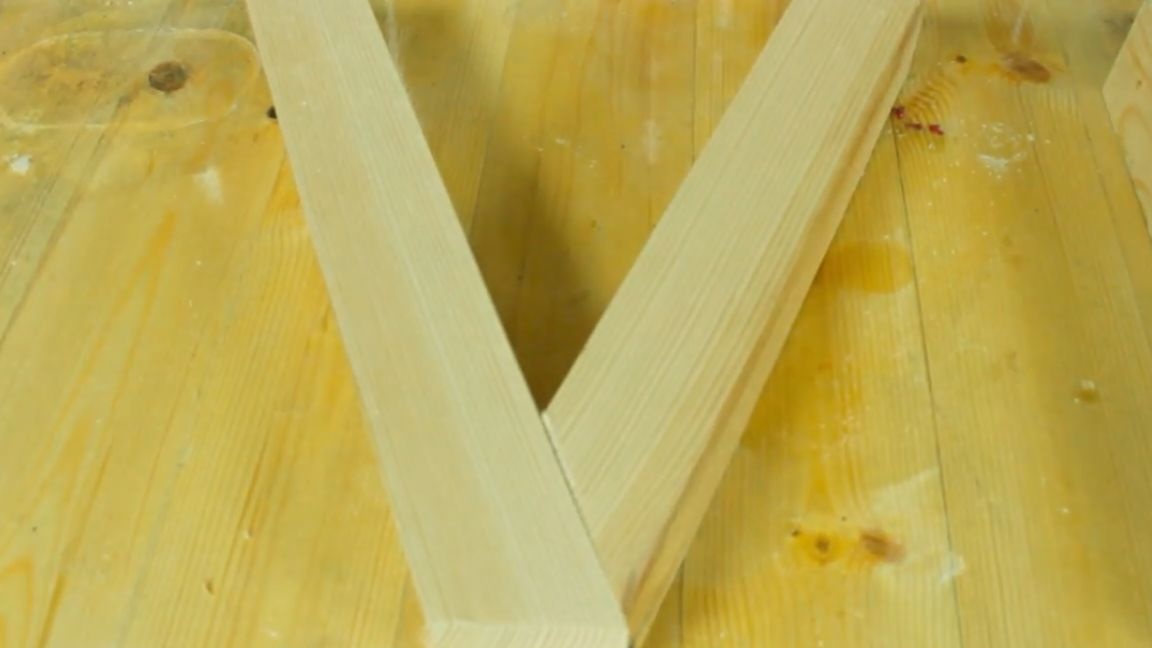
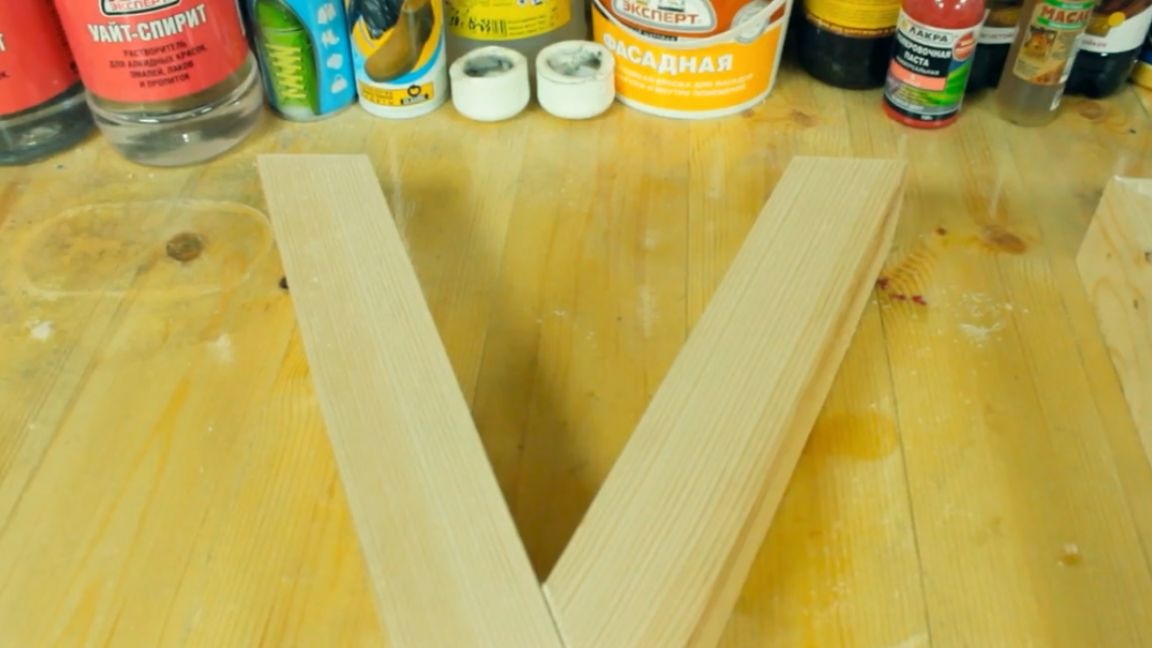
Now we are trying to kill a couple of bars so that the checkmark appears on the output (we need the Latin letter “V”) and it seems that the author did everything correctly, but the output does not give a direct checkmark, some kind of, to put it mildly, crooked checkmark.
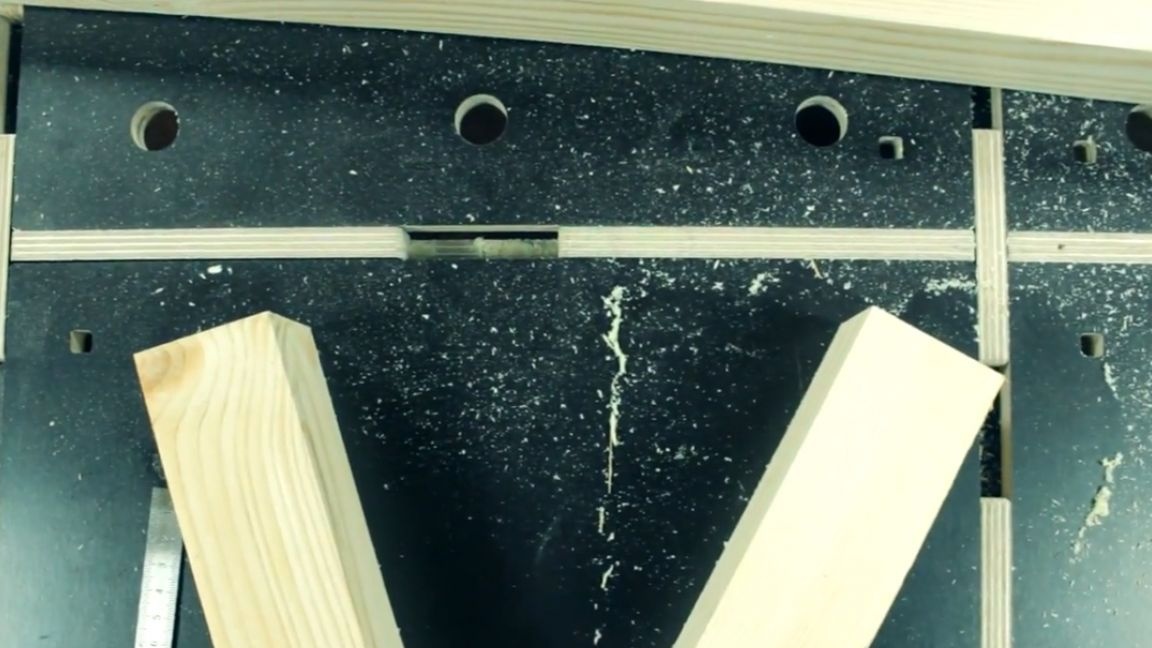
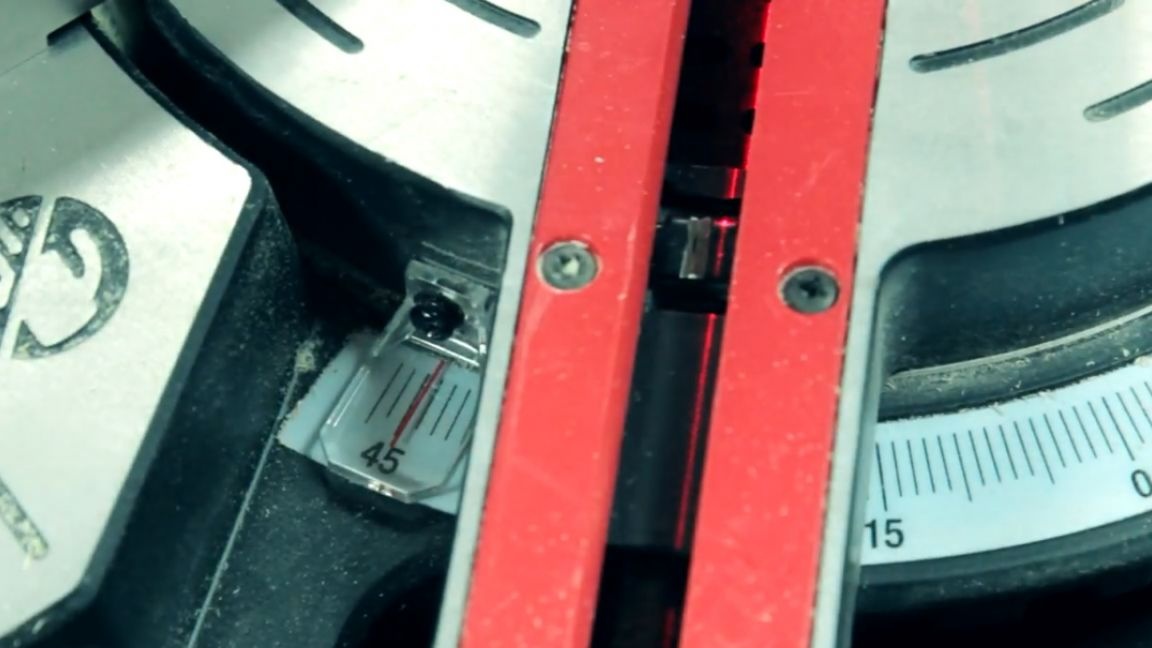
Measuring the necessary angles with a protractor, the author realized that the corners of the checkmark need to be cut at an angle of 22.5 degrees.And now, after all the manipulations and sizing, we get just such a beautiful tick.
All parts are left to dry for a day. The next day, having arrived at the workshop, we see that our parts are well glued and that we can proceed to further processing. Let's start with the first detail in the form of the first letter of our romantic inscription.
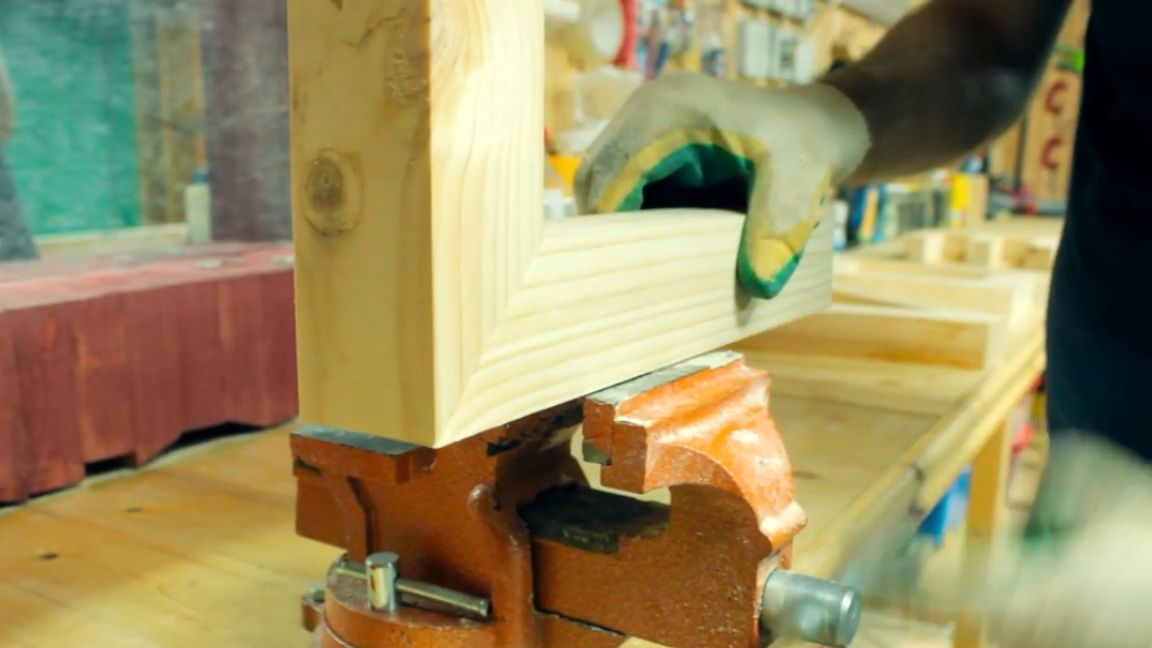
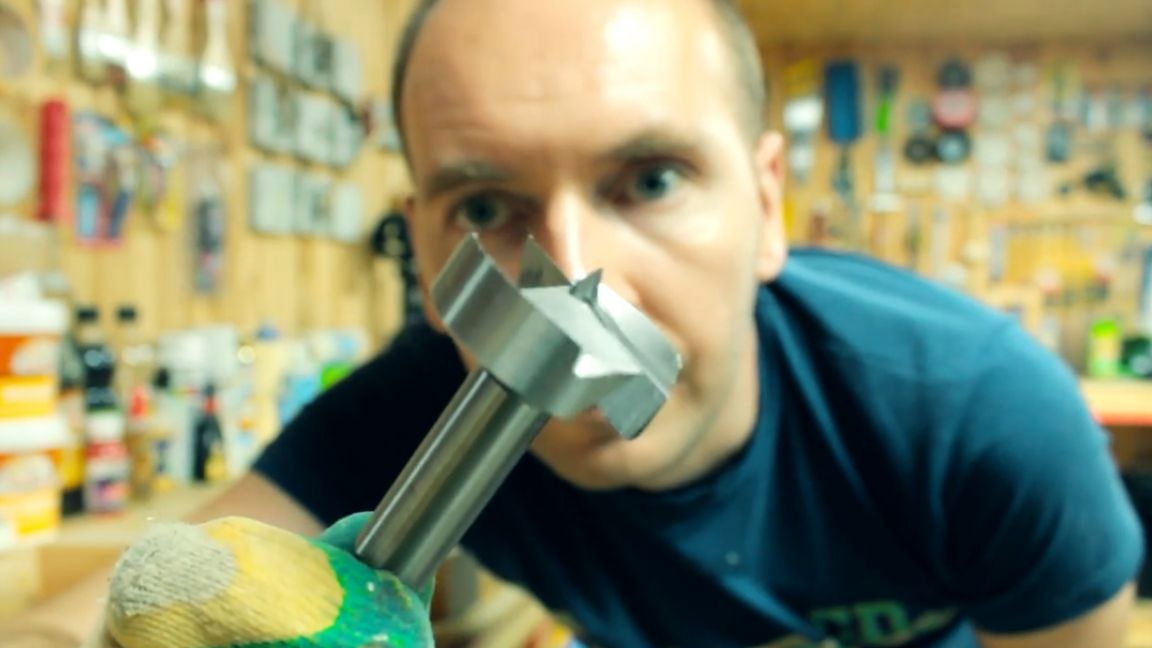
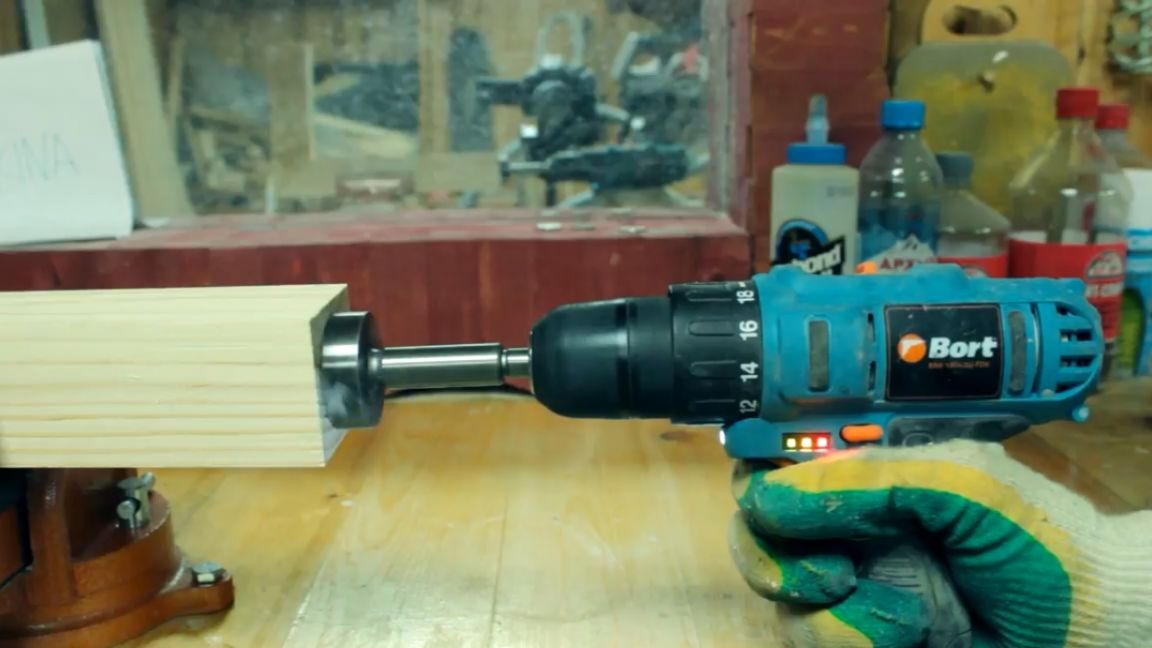
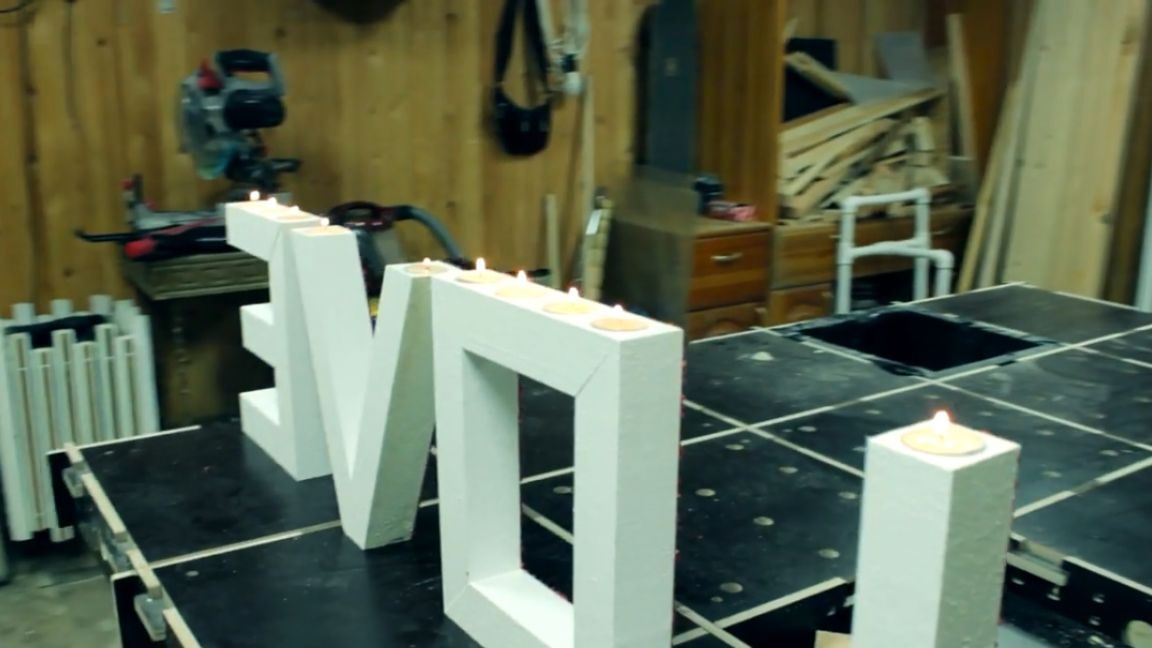
Clamp the letter “L” in a vise and take a 40 mm Forstner drill. We put it in a screwdriver and shoot a hole about a couple of centimeters deep in the end of the bar to fit such a candle:
No matter how strange it may seem, but a screwdriver even at a second speed confidently drills a hole, well what can I say, 18 volts is always better and more powerful than the same 12 volts in such screwdrivers. Next, hold the next part in a vice. But in this detail we are already drilling not one, but 3 whole holes.
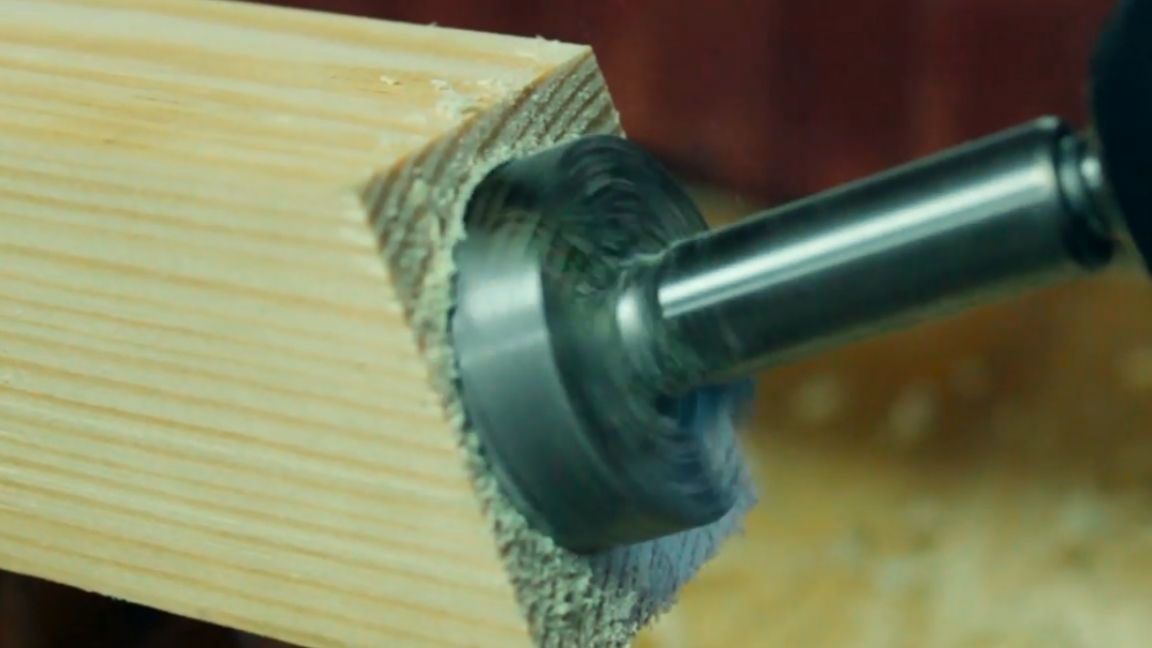
The same procedure must be done with the two remaining parts. In a part in the form of the Latin letter “V” it is necessary to drill 2 holes, and in a rectangular part (we have the letter “O”) we drill 4 holes, one hole more than in the last letter of our candlestick.
After that, we take an already experienced film and spread it over a workbench so as not to stain it, because the next step will be painting. We lay out the letter details on top of the film and paint it with acrylic paint.
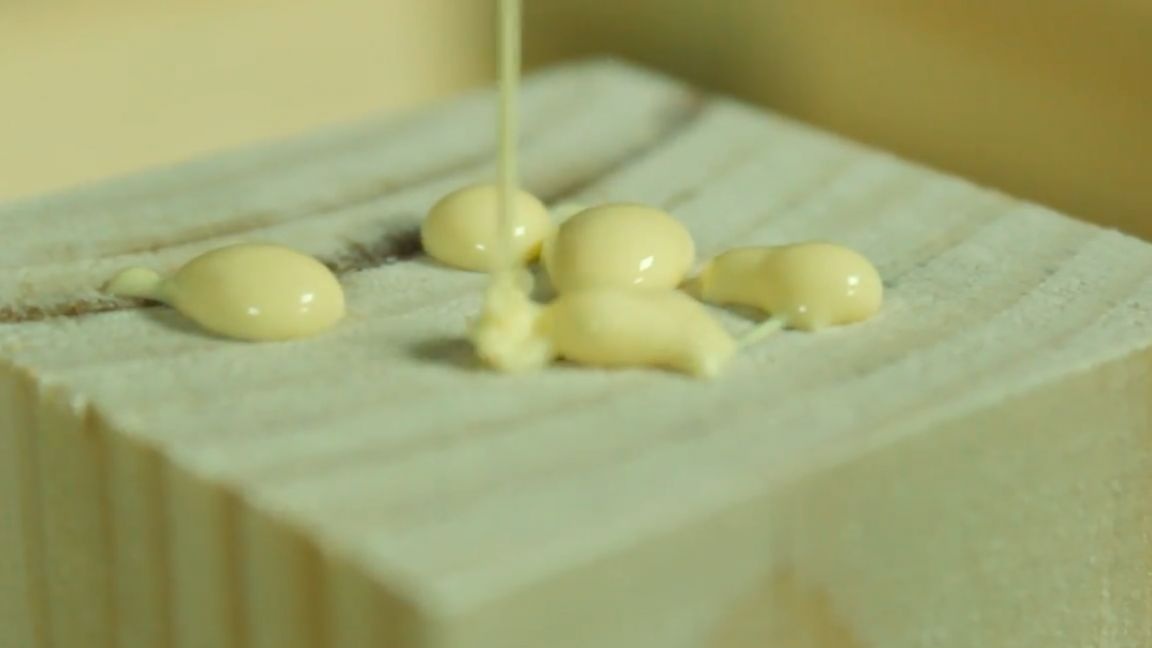
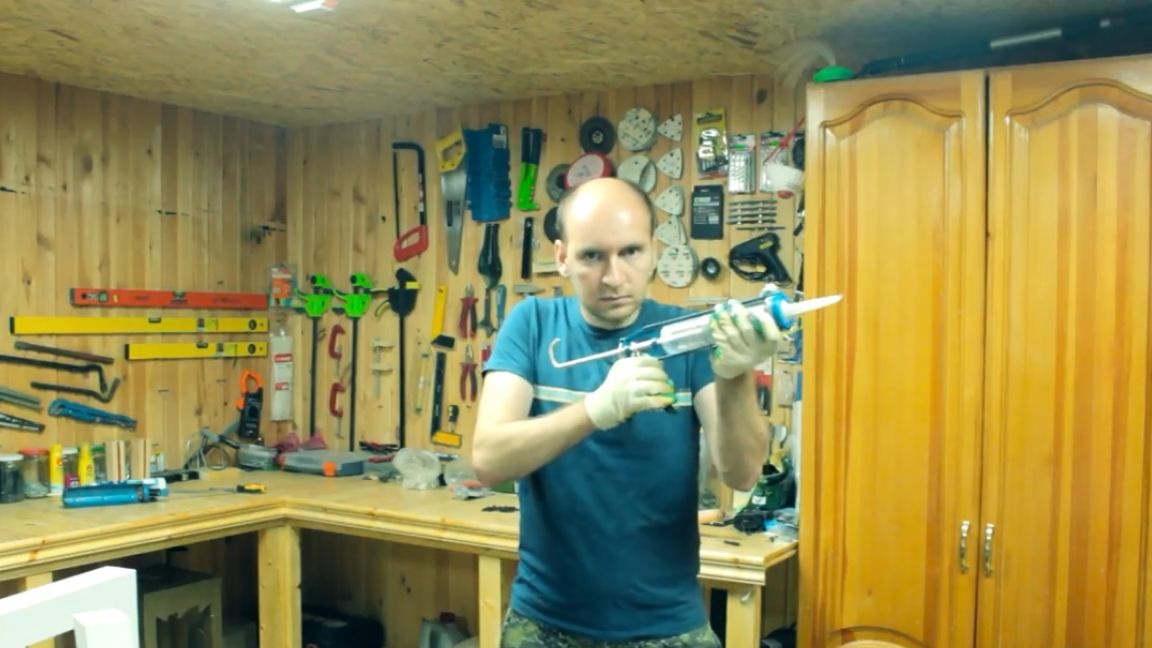
After painting, the author wanted to leave it this way, but thought that it would be too simple and not interesting, so we load the glue into the glue gun and apply it to the front of our blanks.
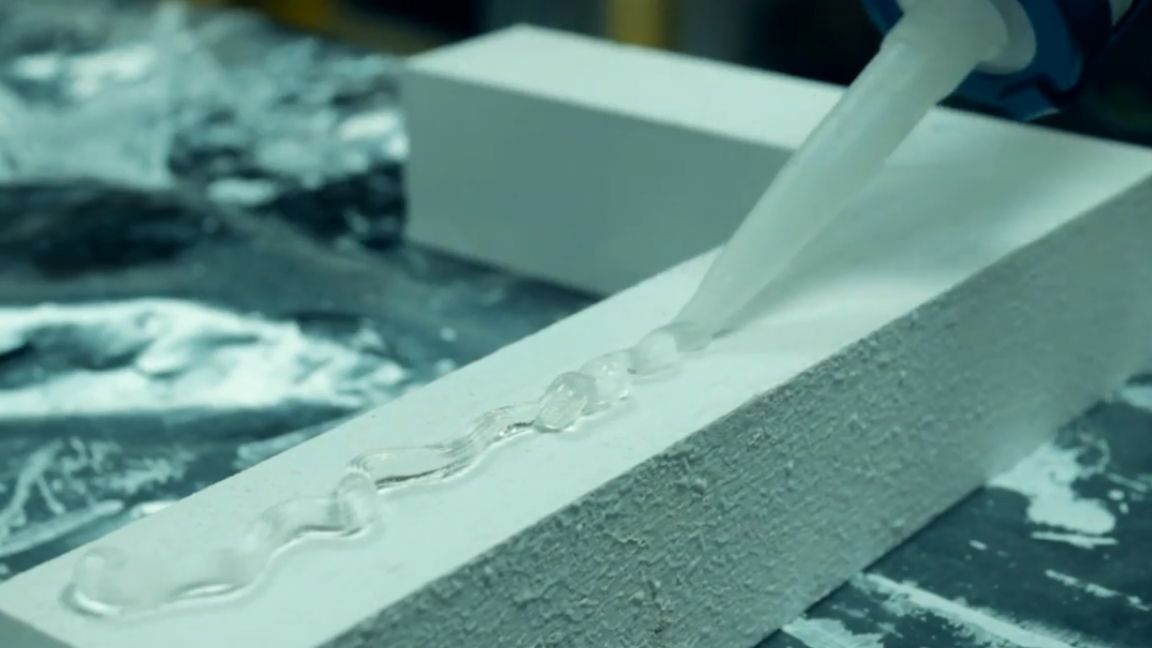
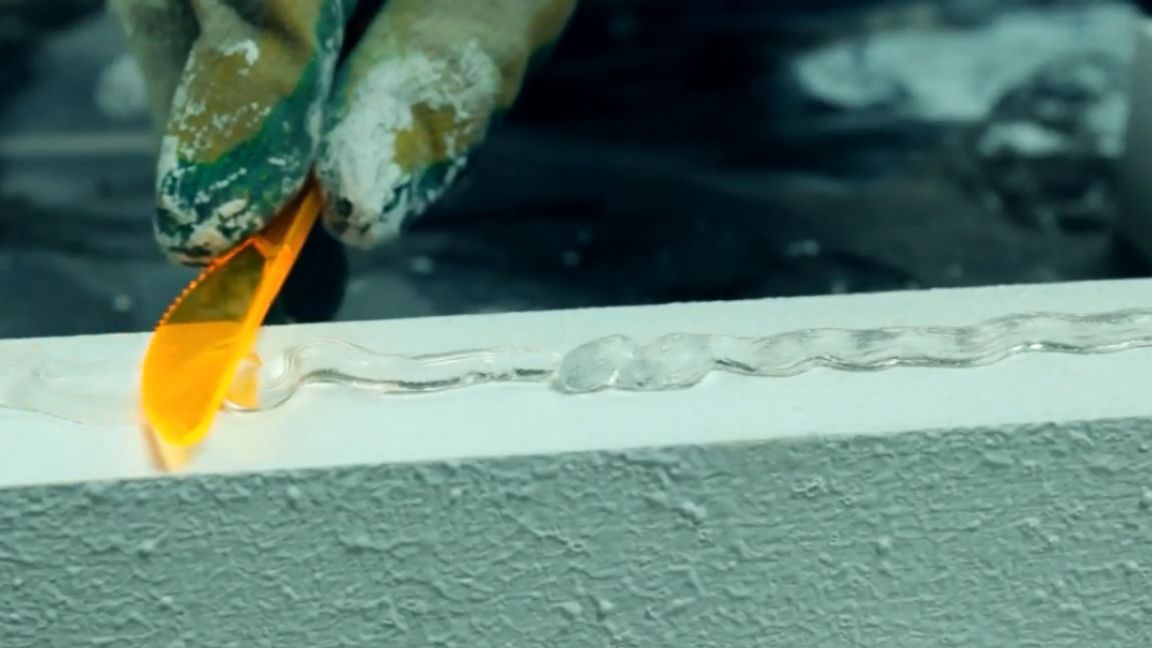
After that, evenly distribute the glue with a plastic knife so that it completely covers one of the planes of our workpieces. Well, after that, on top of the glue, add a little red marble chips, which the author left from the production of one of the previous homemade products.
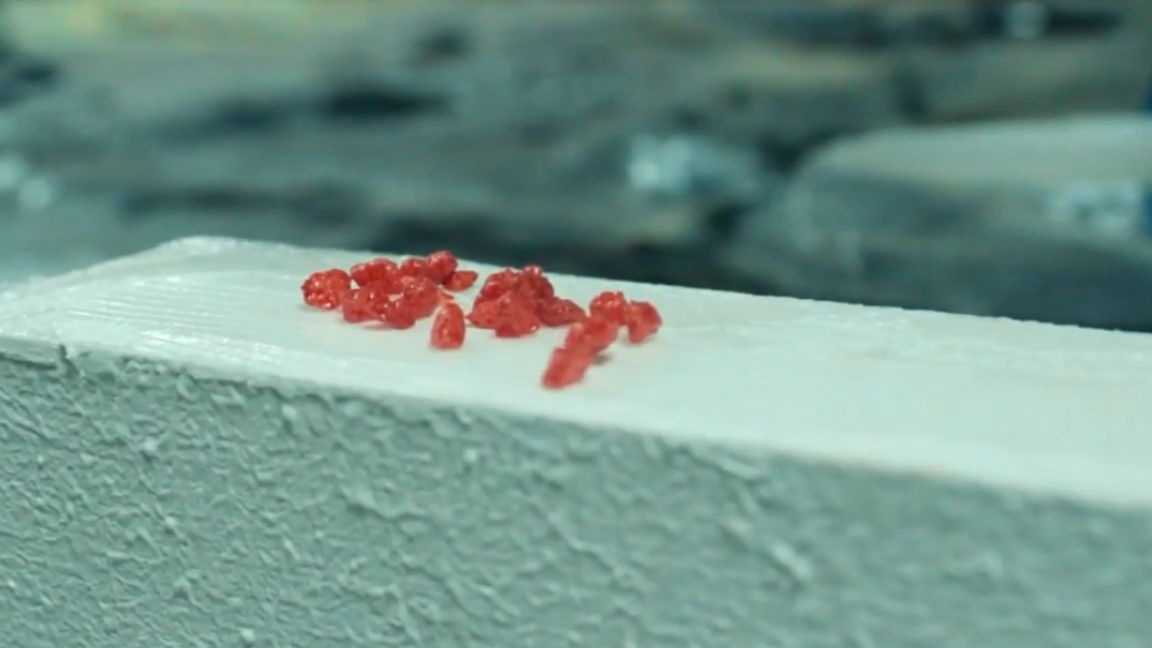
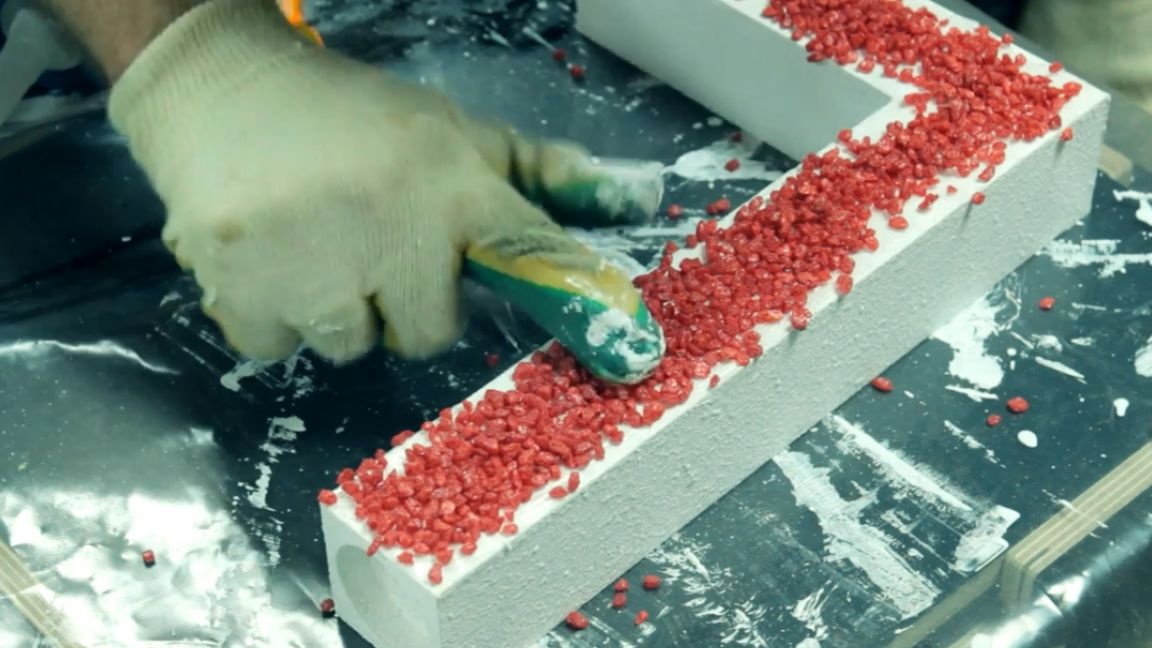
Gently distribute the crumbs and try to fill the entire plane of the workpieces. And of course, we leave the whole thing to dry for a day. The next day, the author jumped into a hardware store and bought some epoxy and acrylic varnish in a spray can, as well as in a can (well, just in case), because he still did not know how to fix the final layer of crumbs. After a little thought, the author decided that the resin, most likely, without a retaining structure would leak and leak somewhere in the wrong place. Therefore, he decided not to stick marble chips to the wooden surface with an acrylic varnish.
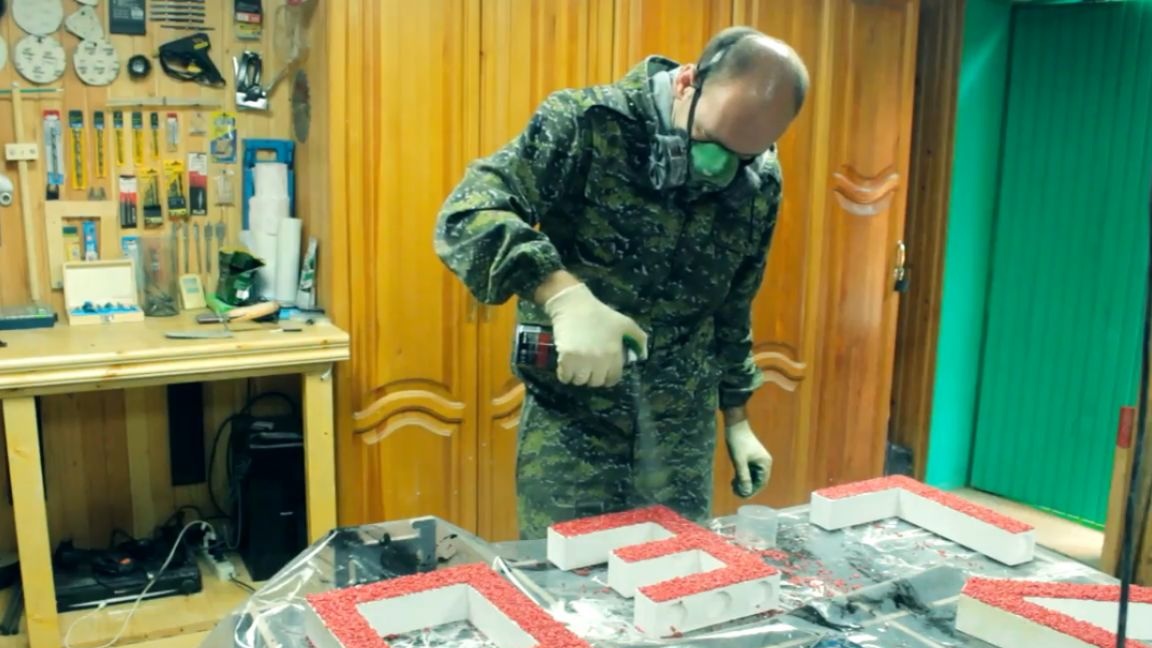
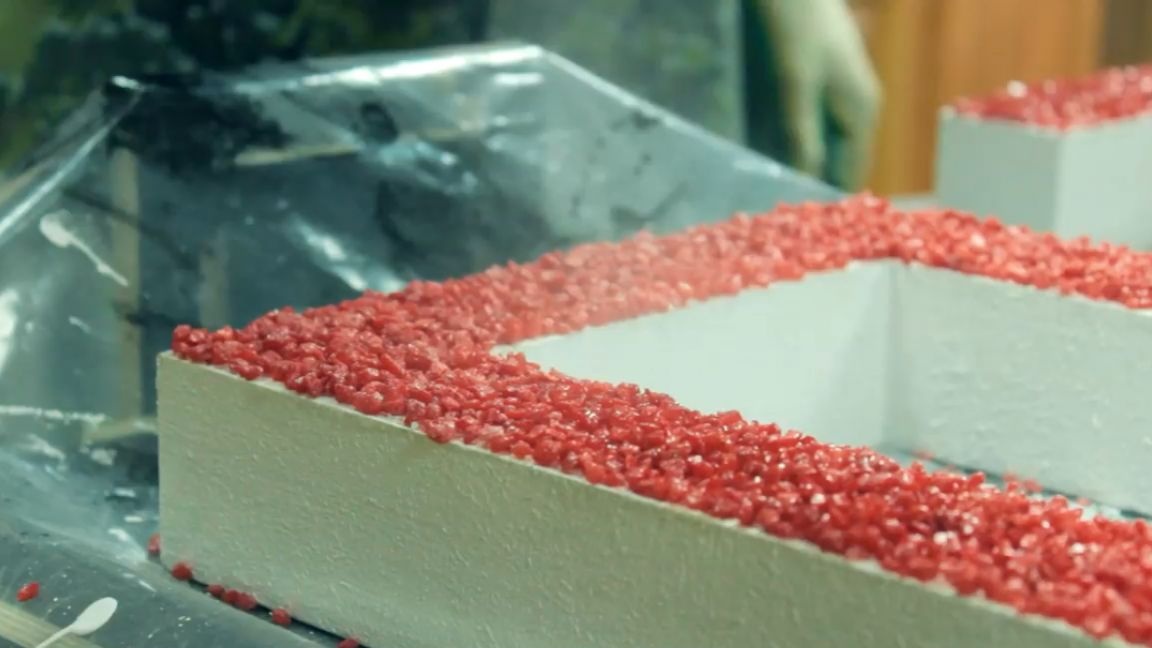
It is clear that one layer of varnish was not enough to firmly fix the marble chips on wooden products. But after four layers it was the most.
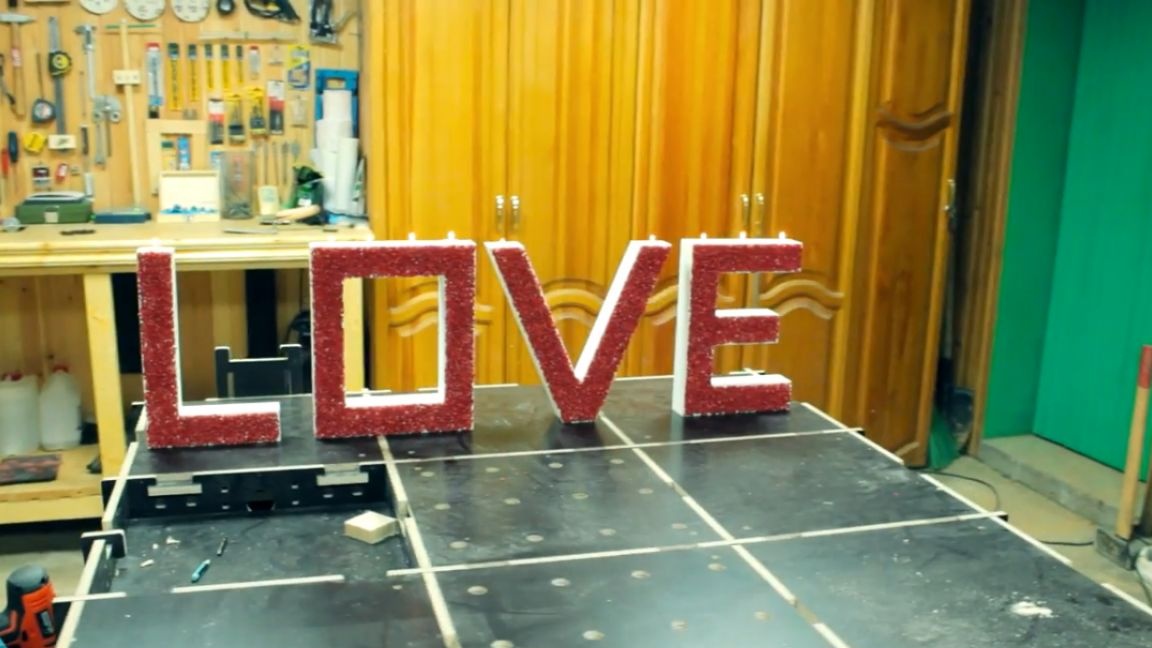

Well, today we have got such a powerful XXL candlestick that your wife or girlfriend, well, or someone else will definitely appreciate. The author admits that he initially wanted to make the design a little bigger, but then he thought that many might not like it, that he again does a gigantic size and decided to choose some medium size for this homemade product.

In the dark, this candlestick also looks pretty cool, it's a pity that it can’t fit everywhere. Well, this, perhaps, is over. Thank you for attention. See you soon!
Video: