
You will only need oak blanks, a rubber gasket, a steel ruler, a bolt and a furniture nut.

Of the tools - a miter saw, a circular saw, a belt grinder, a drill or a drilling machine, a milling cutter. From the little things - clamps, glue, drills, oil or wax for processing wooden surfaces.
The drawing is not particularly needed, you can select the thicknesser at your discretion and needs.
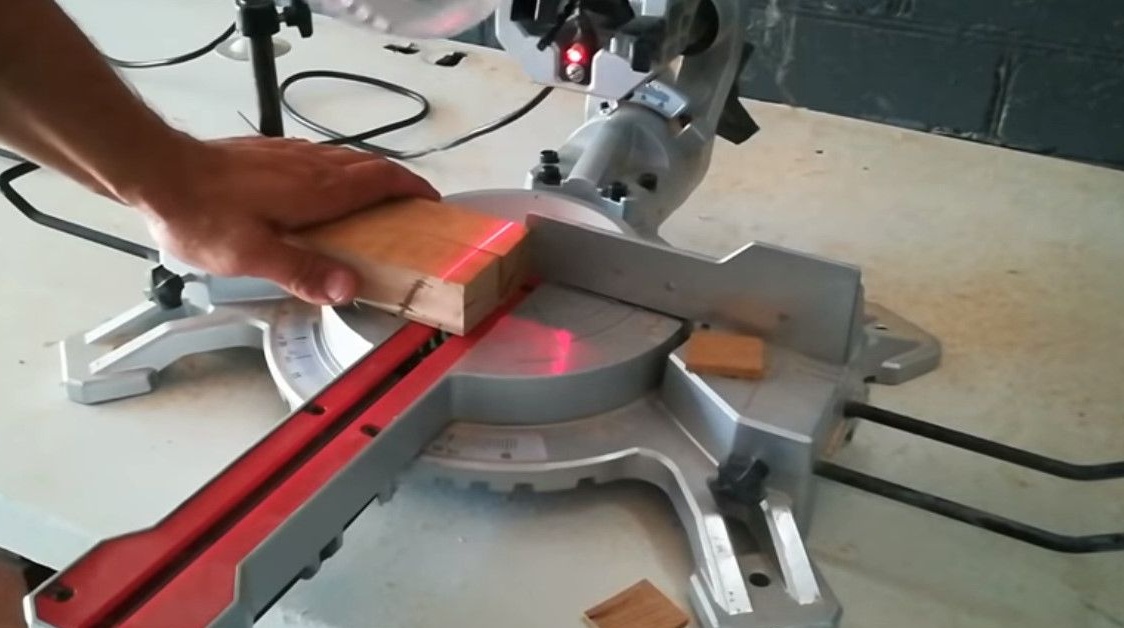
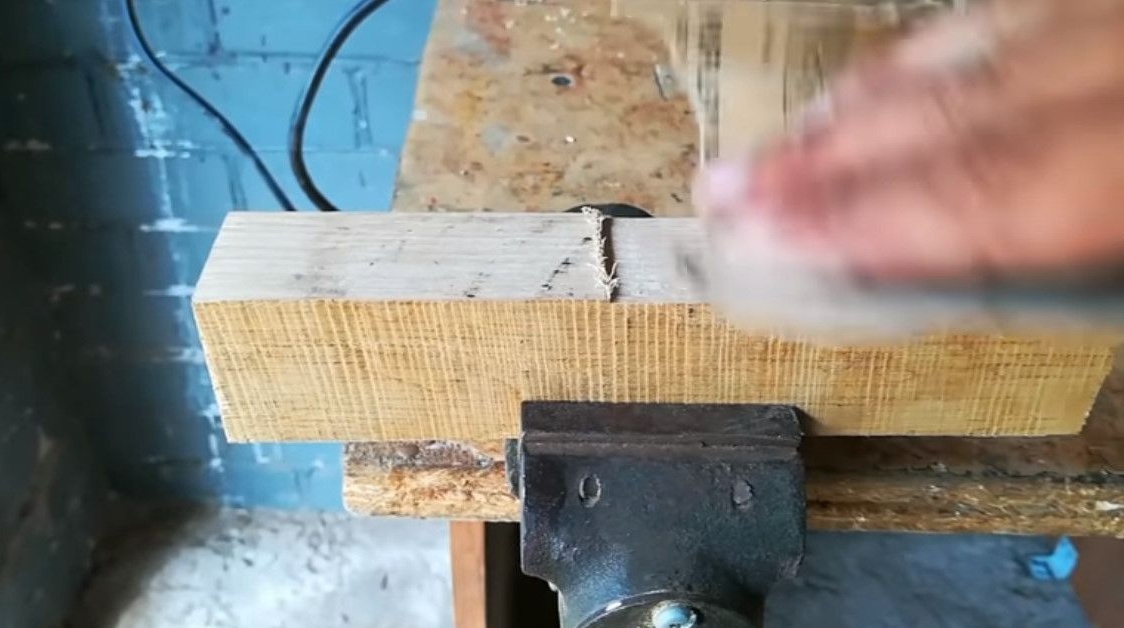
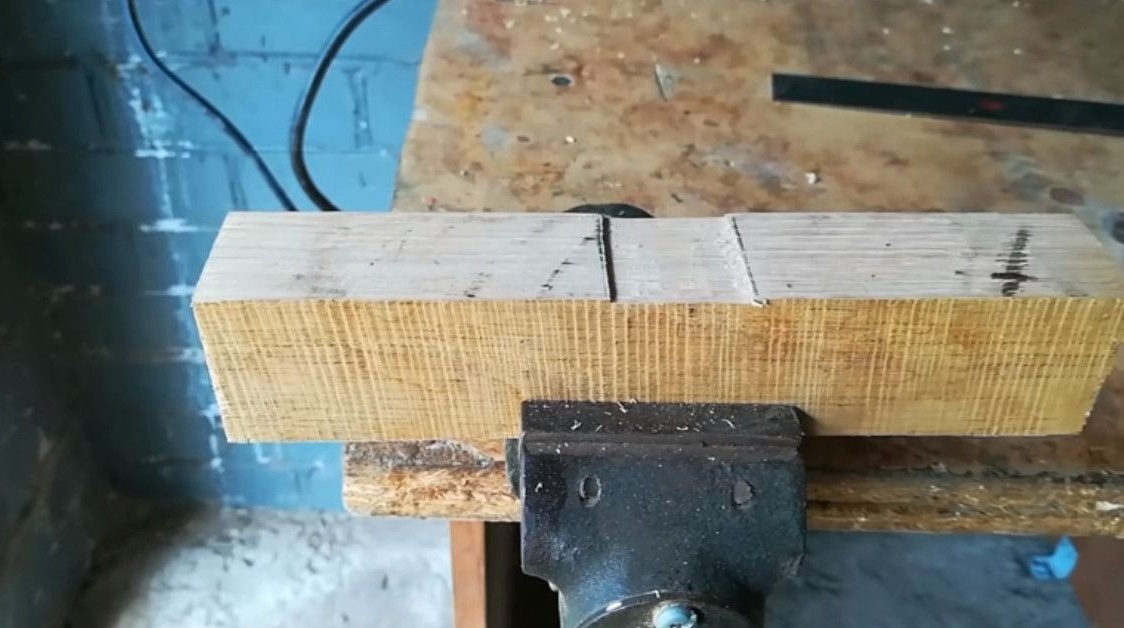
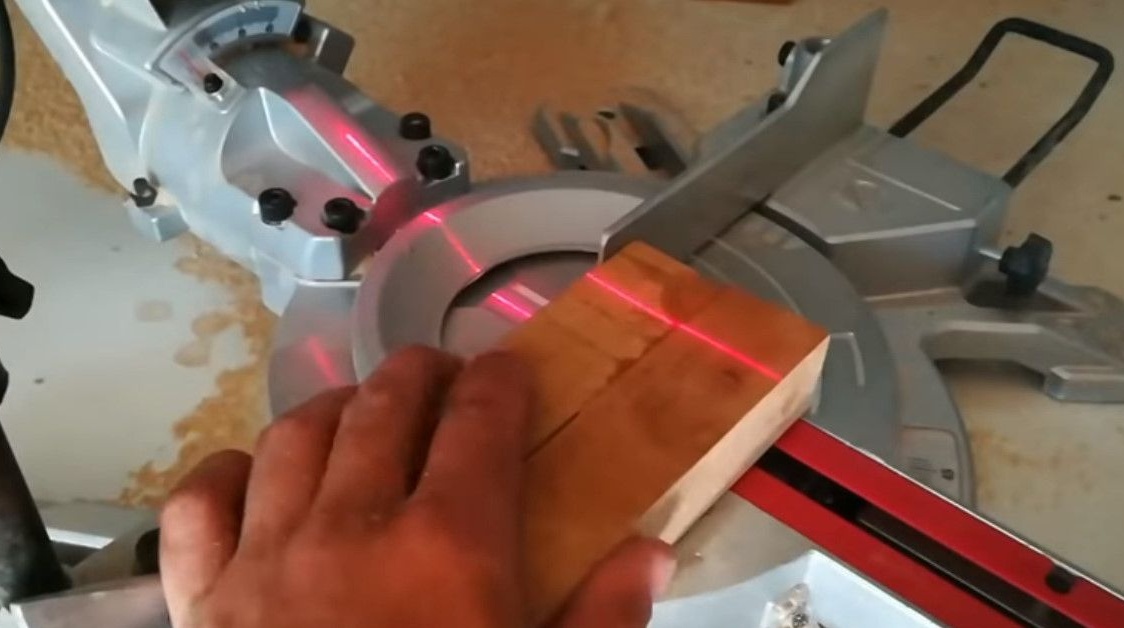
So, let's begin. Vladimir has such oak bars, but since they are uneven, he needs to process them on a circular saw and a face saw.
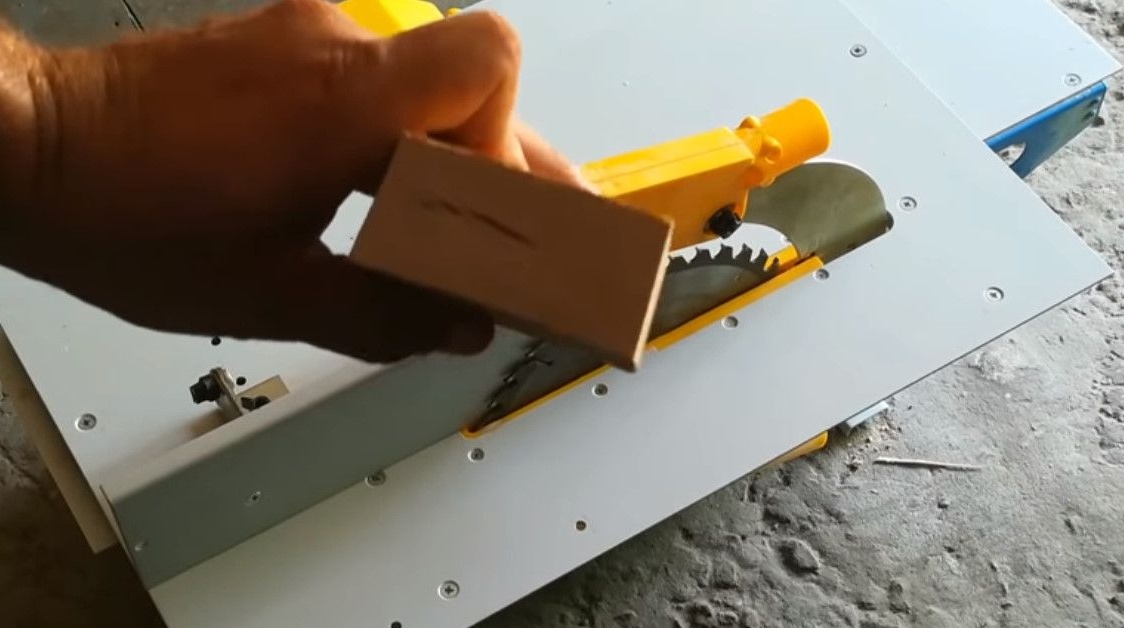
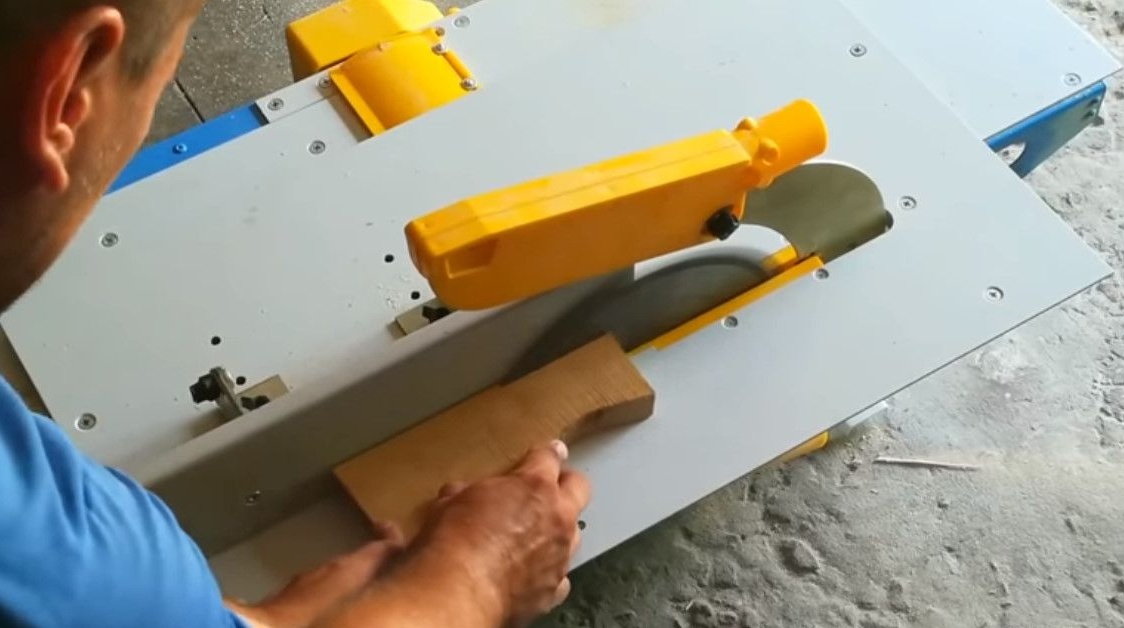

Now, from two bars will make the basis of a surface gage.
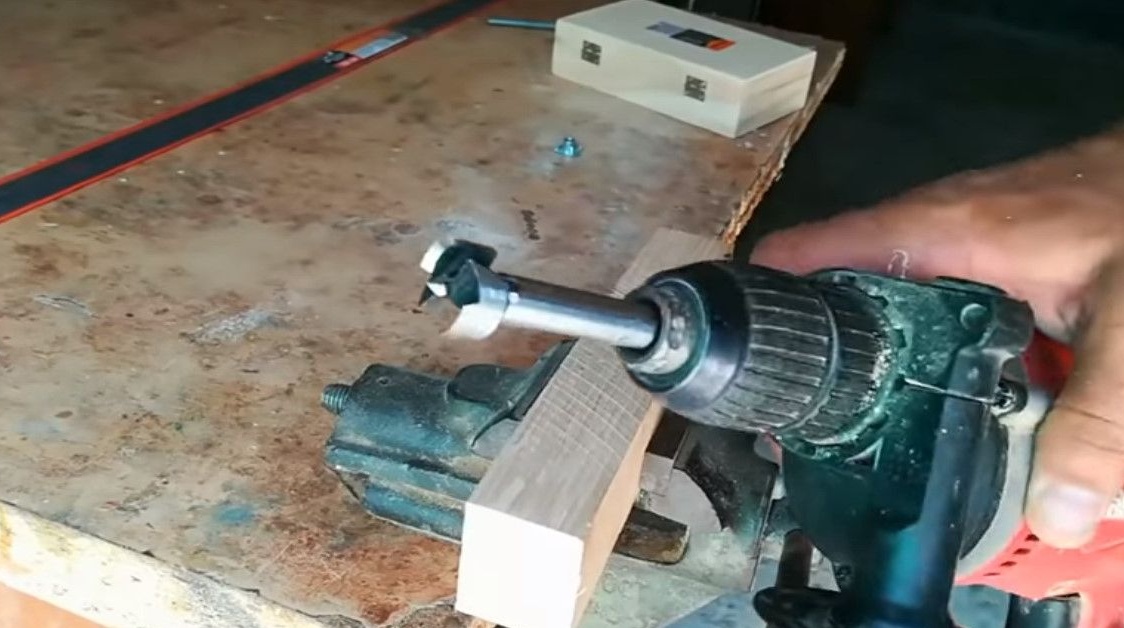
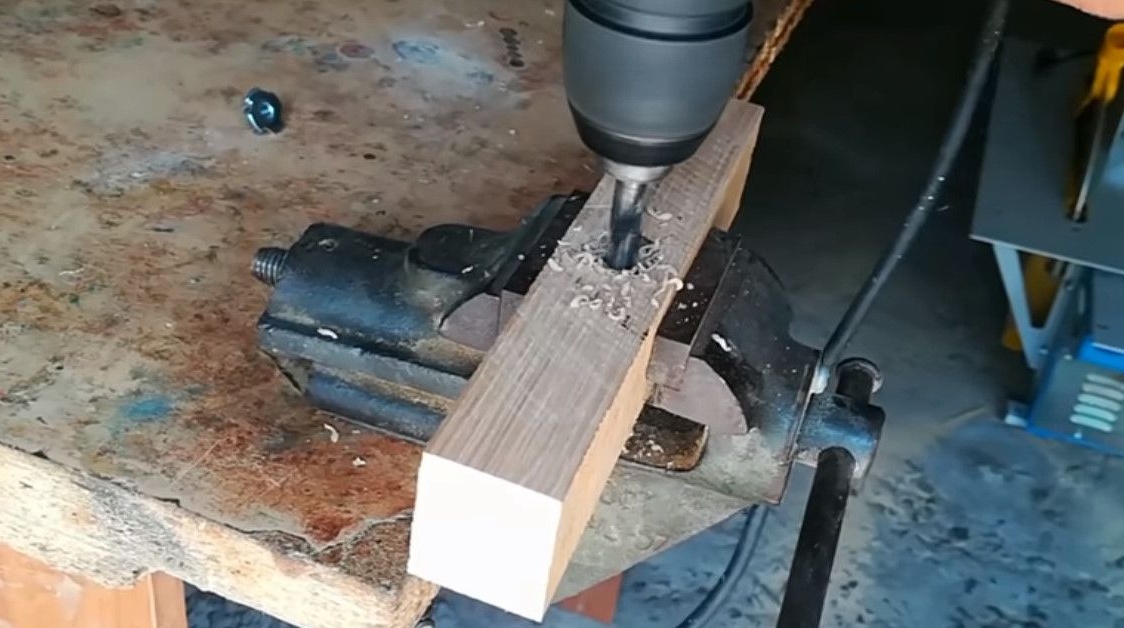
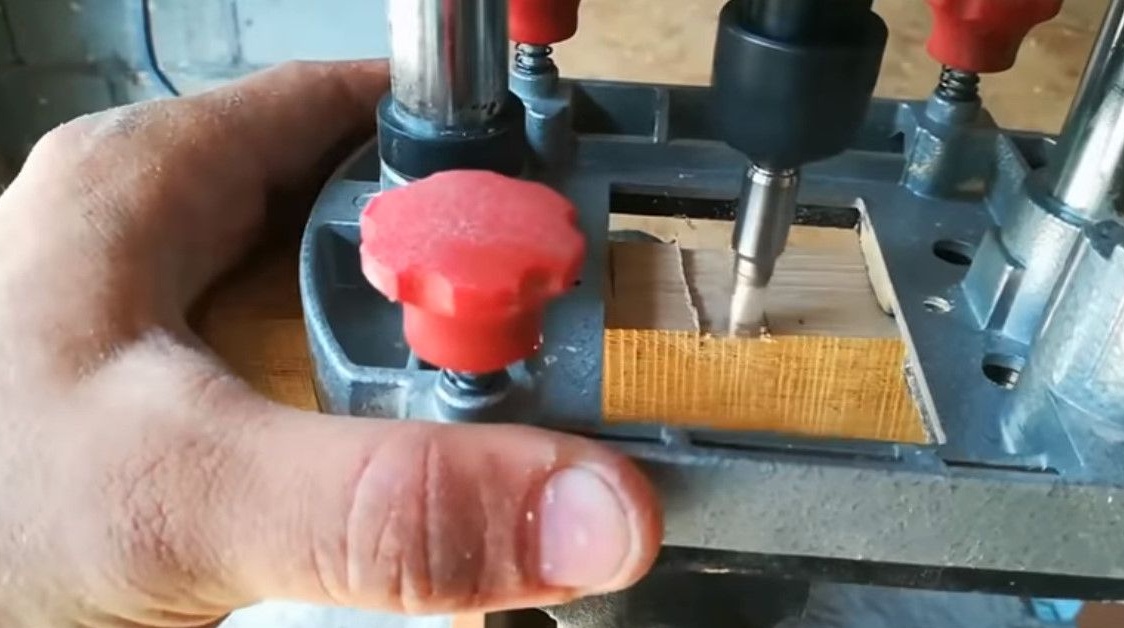
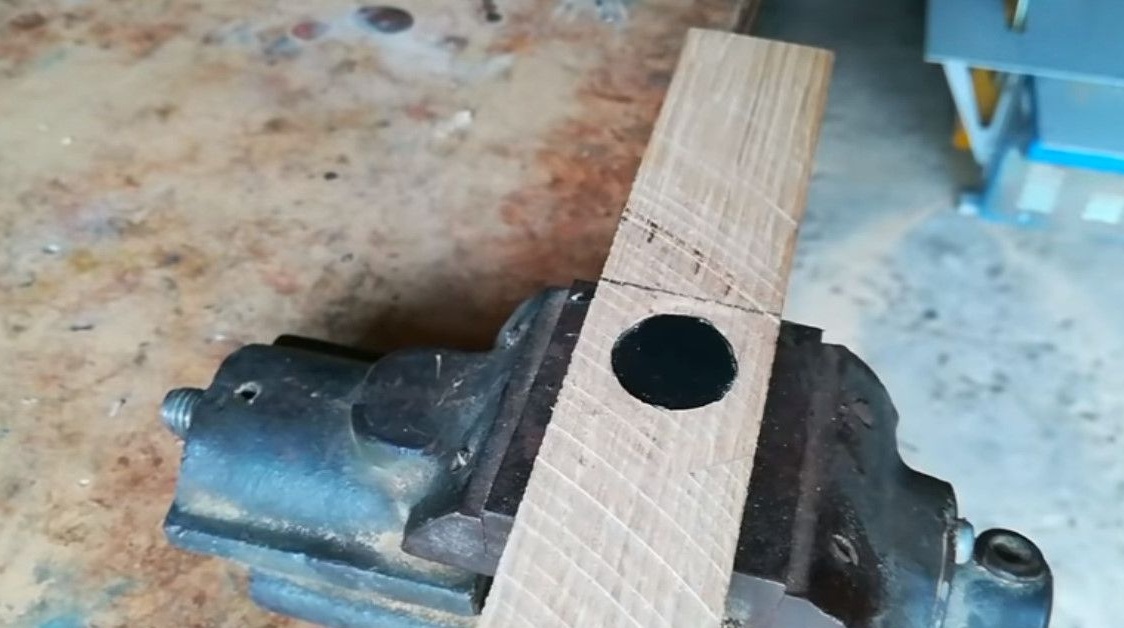
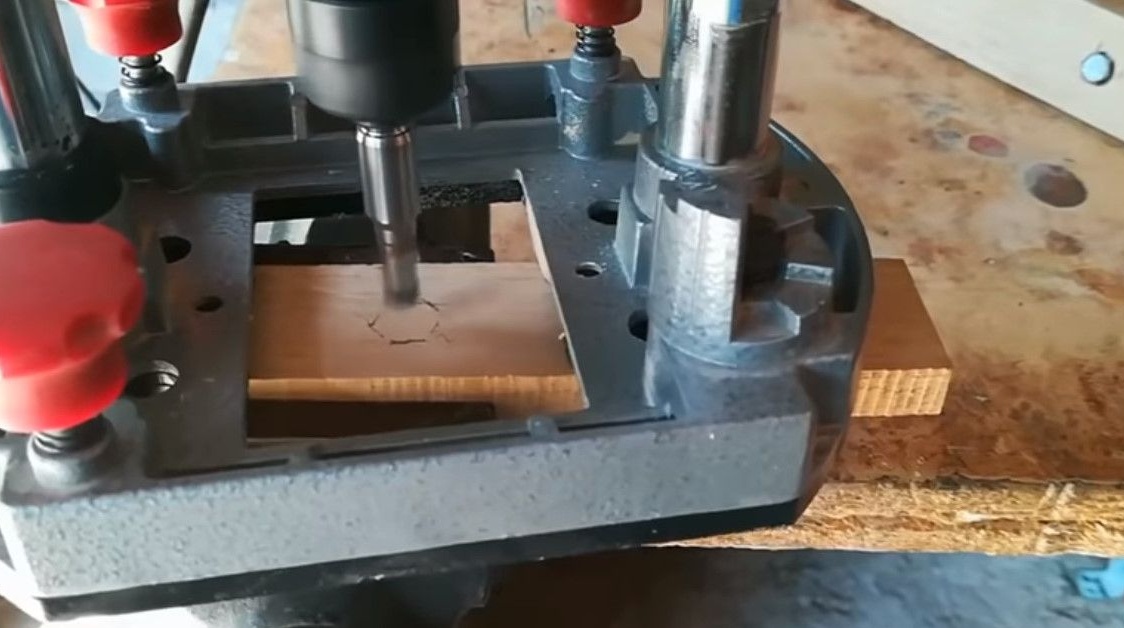
In the first bar, for a furniture nut, drills a seat with a Forstner drill.
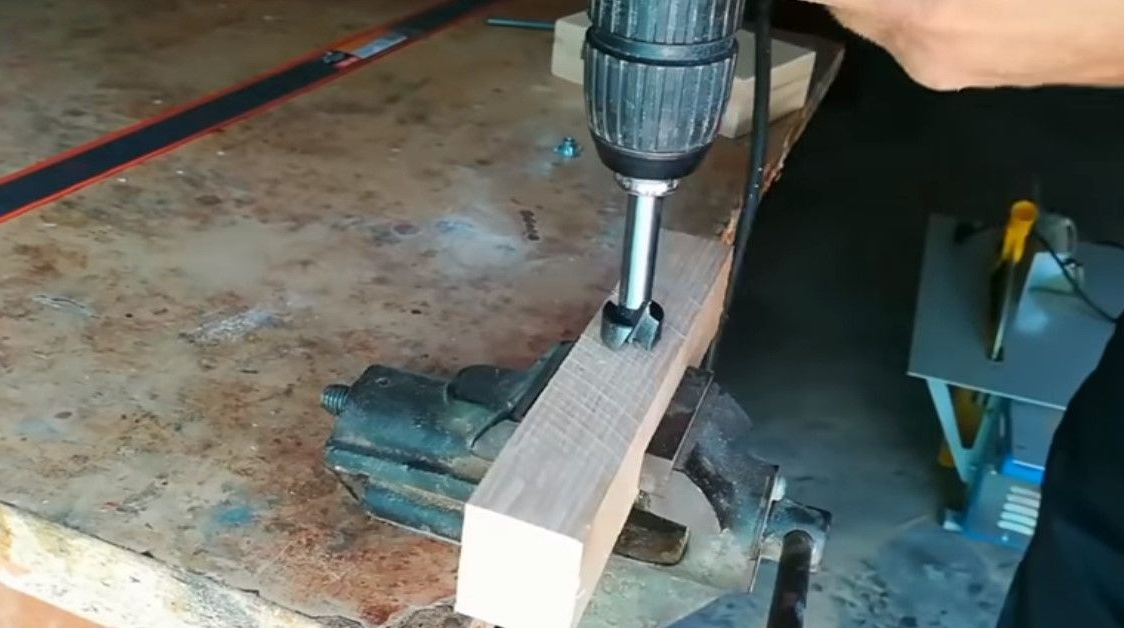
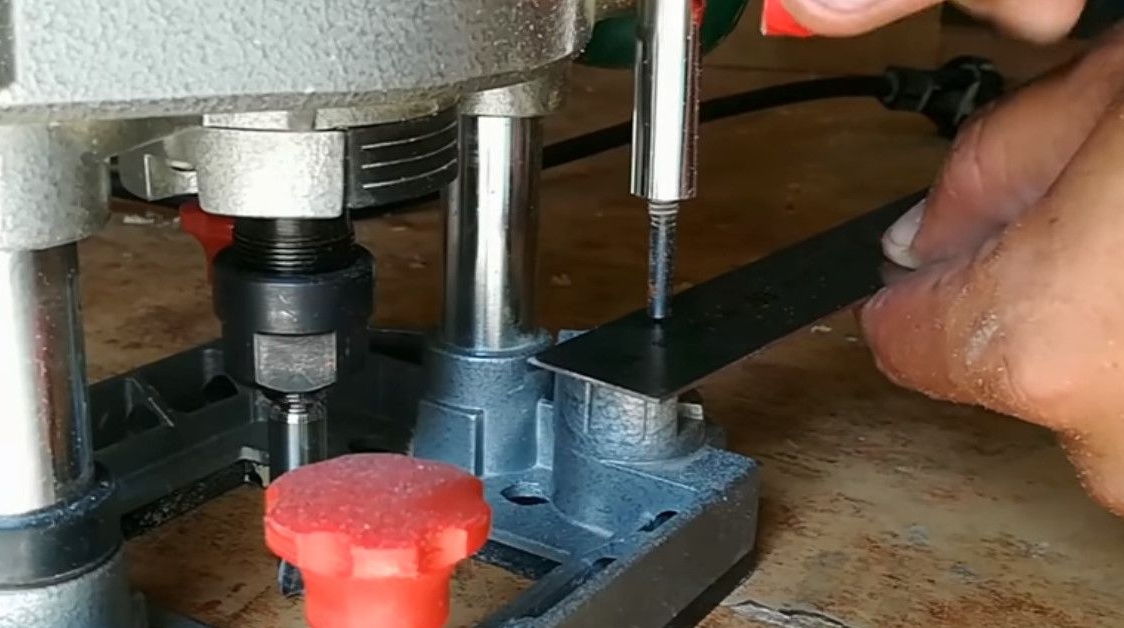
Since the nut also has a protrusion for threading, you need to make a small deepening for it with a drill, measuring the diameter.

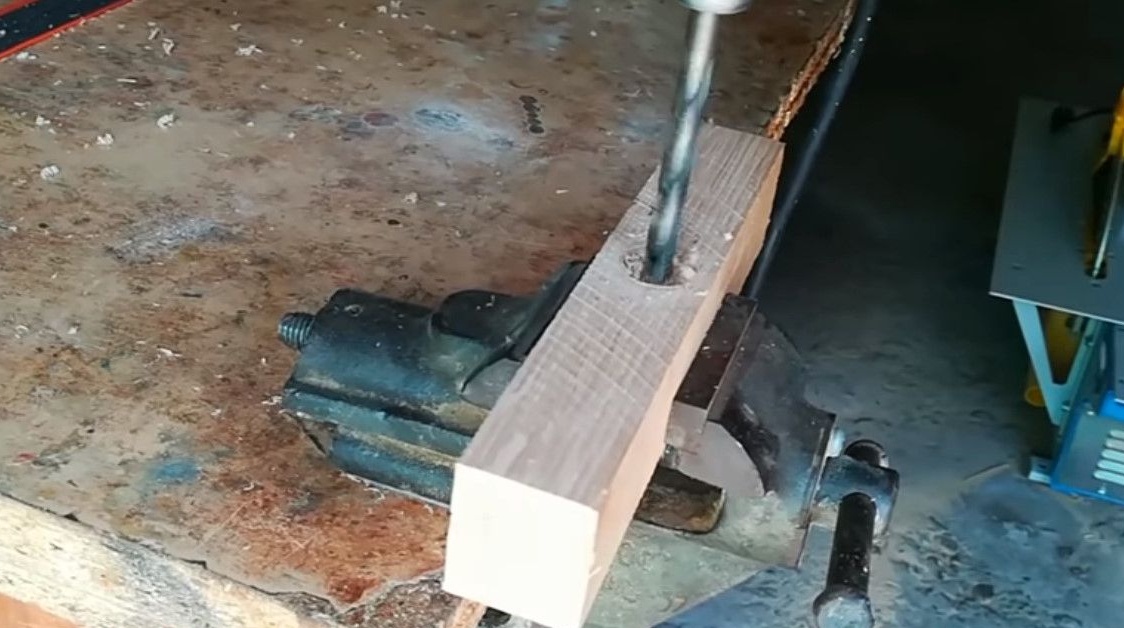
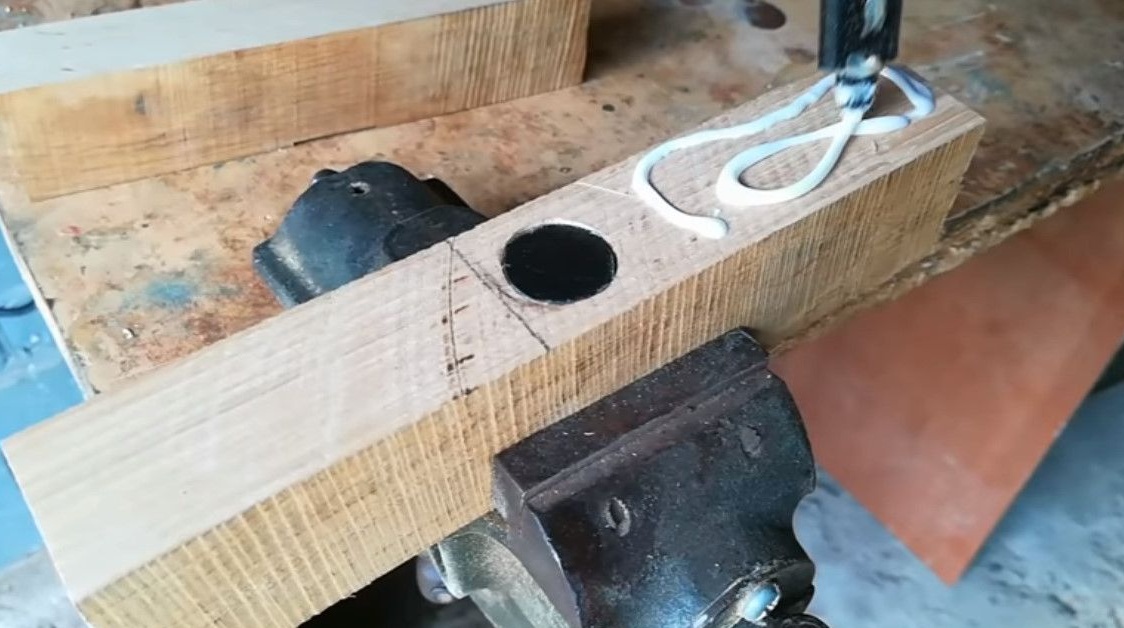
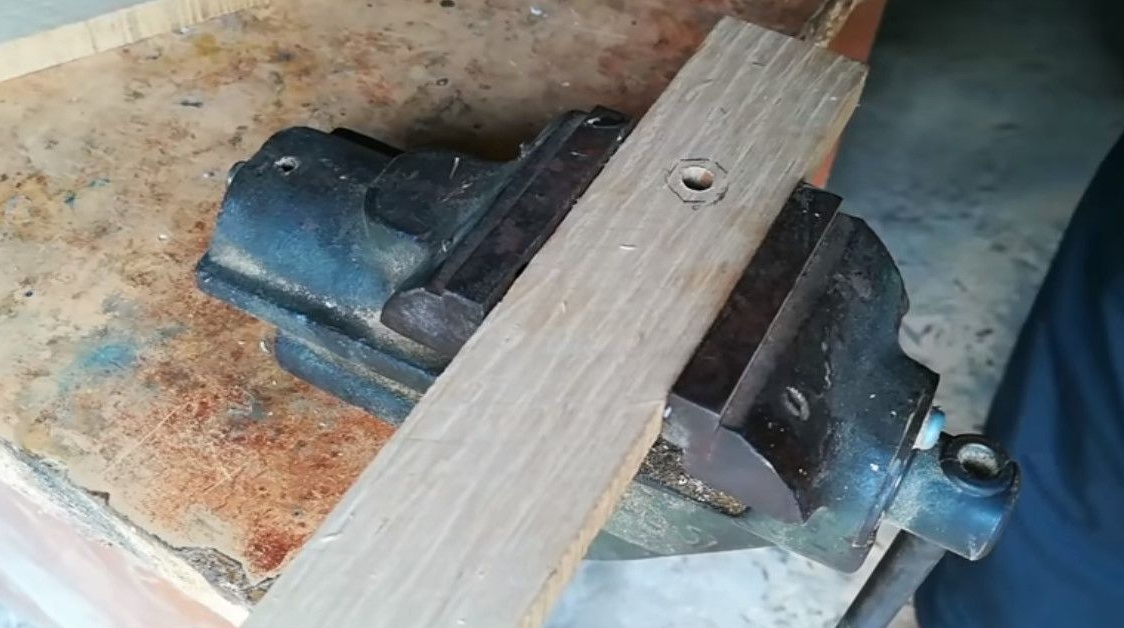
And for a tightening bolt, a through hole with a diameter of the bolt is already drilled.
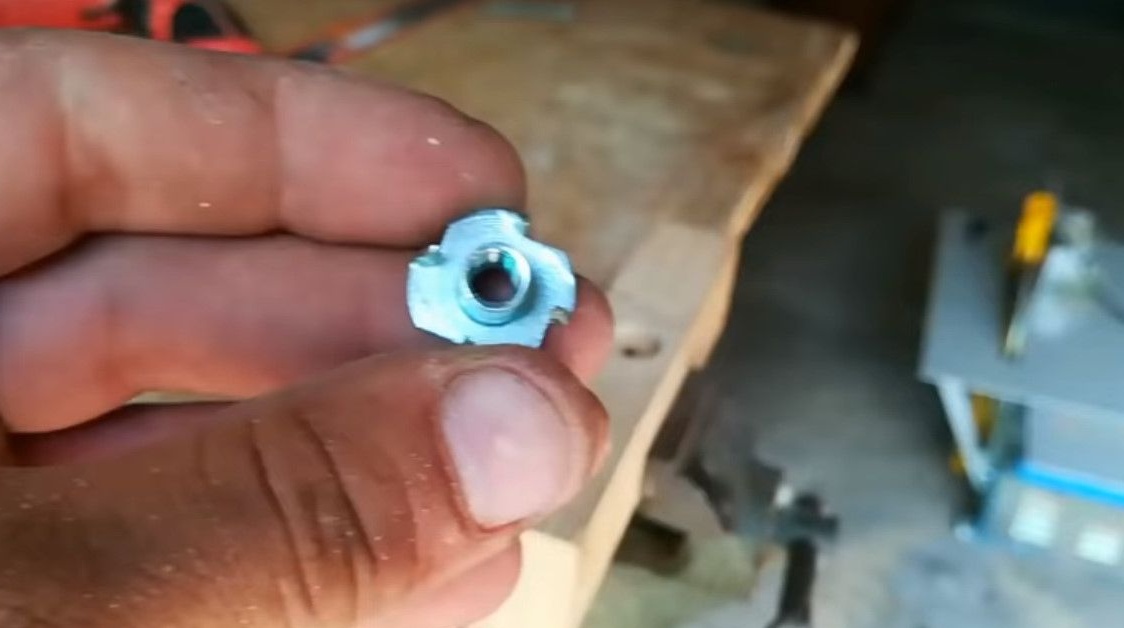
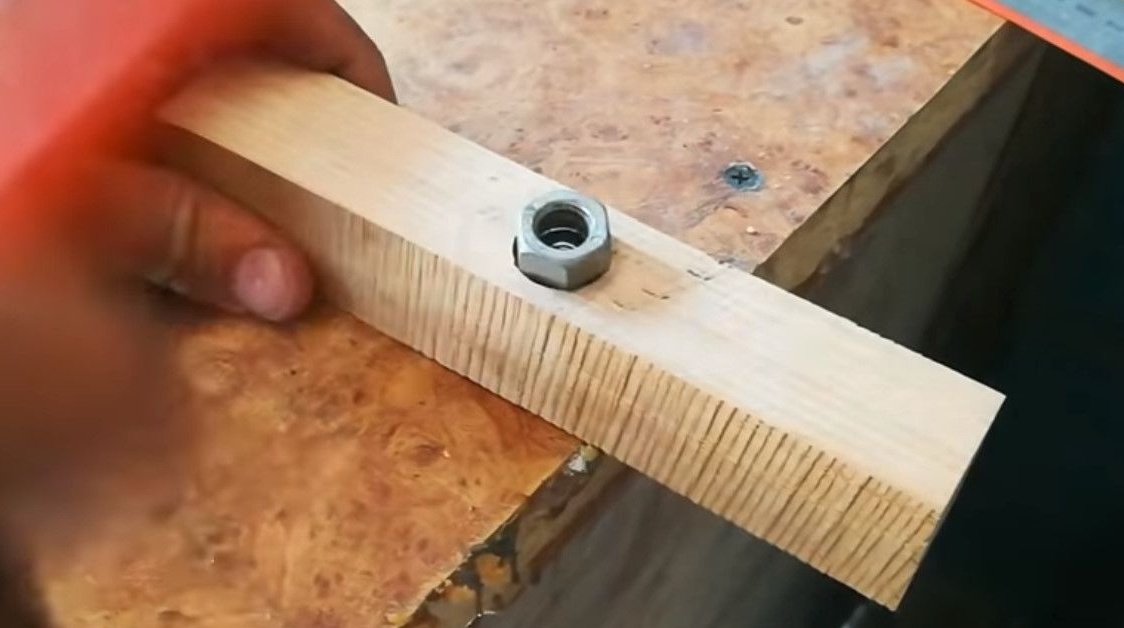
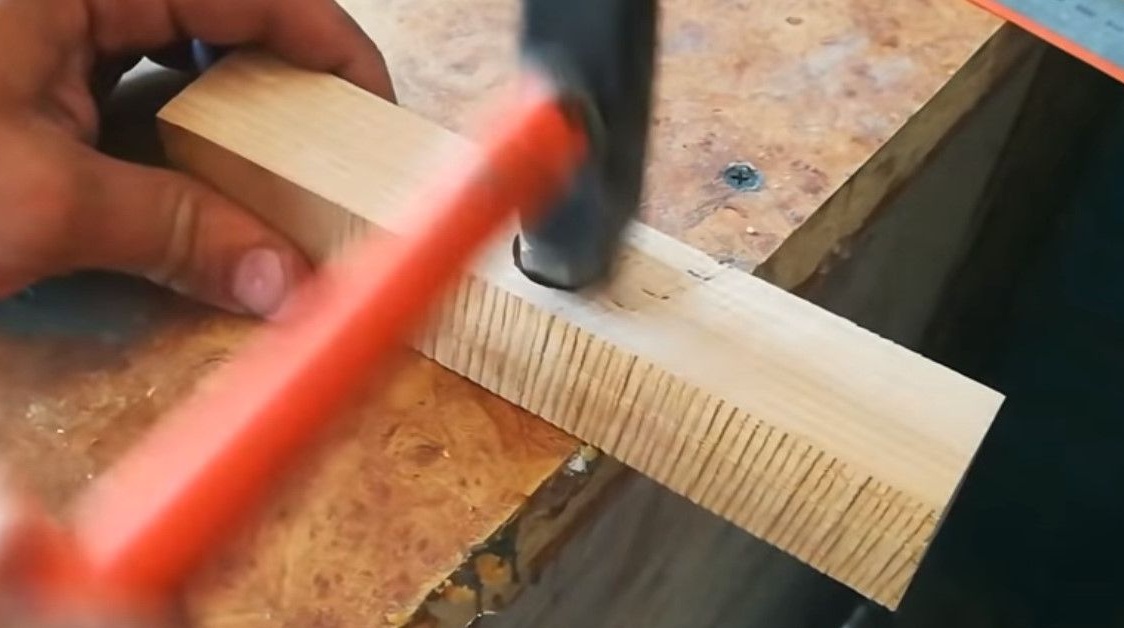
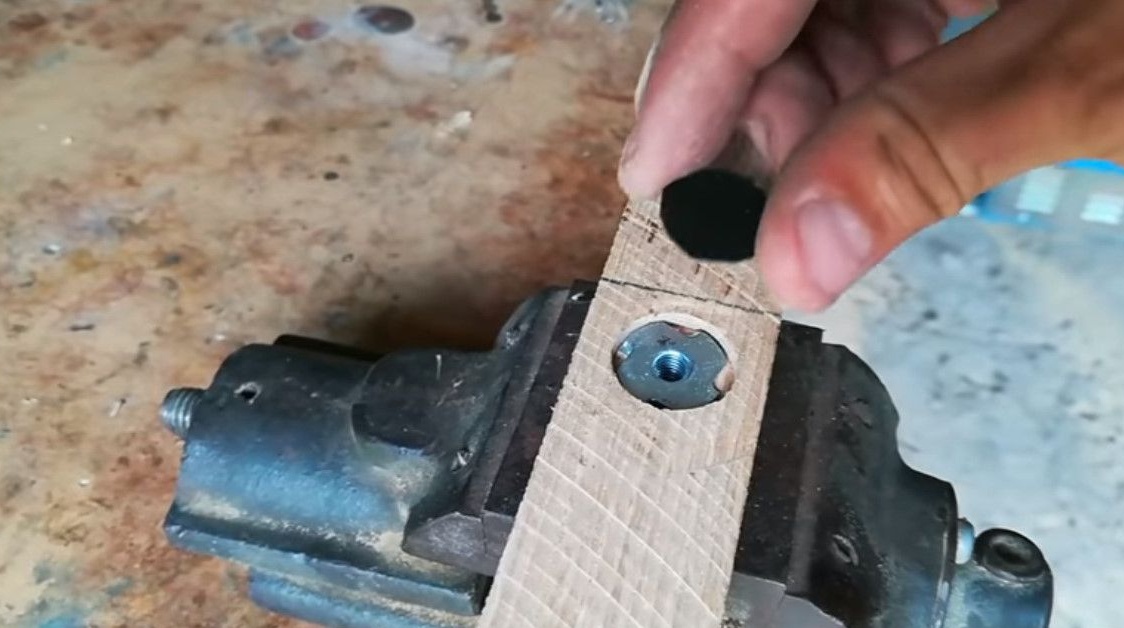
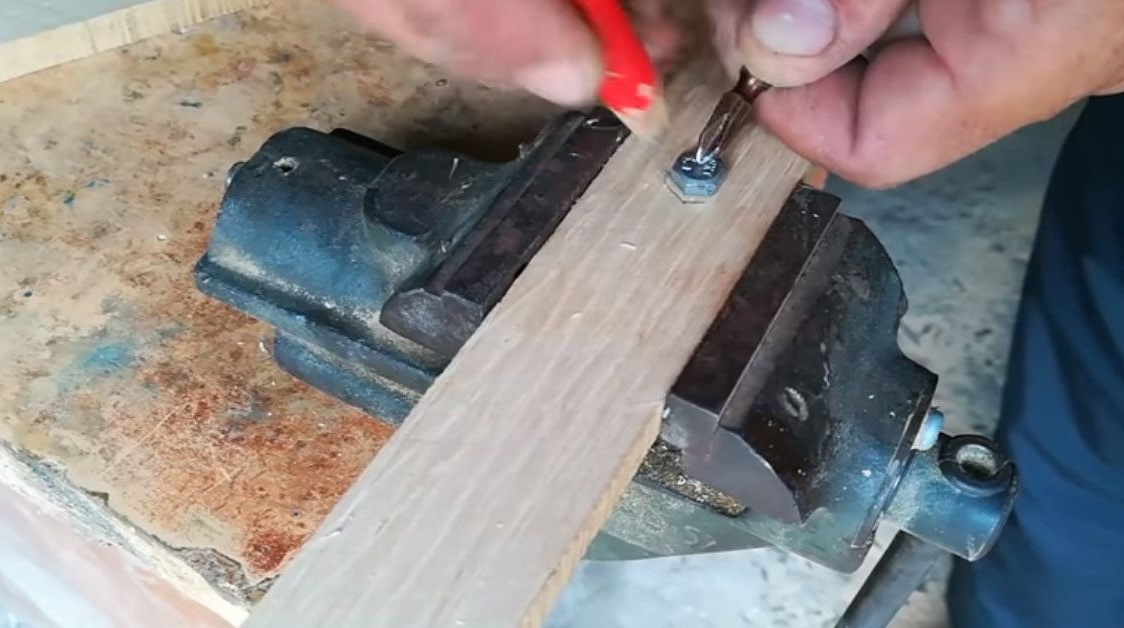
Now clogs the nut with a hammer.
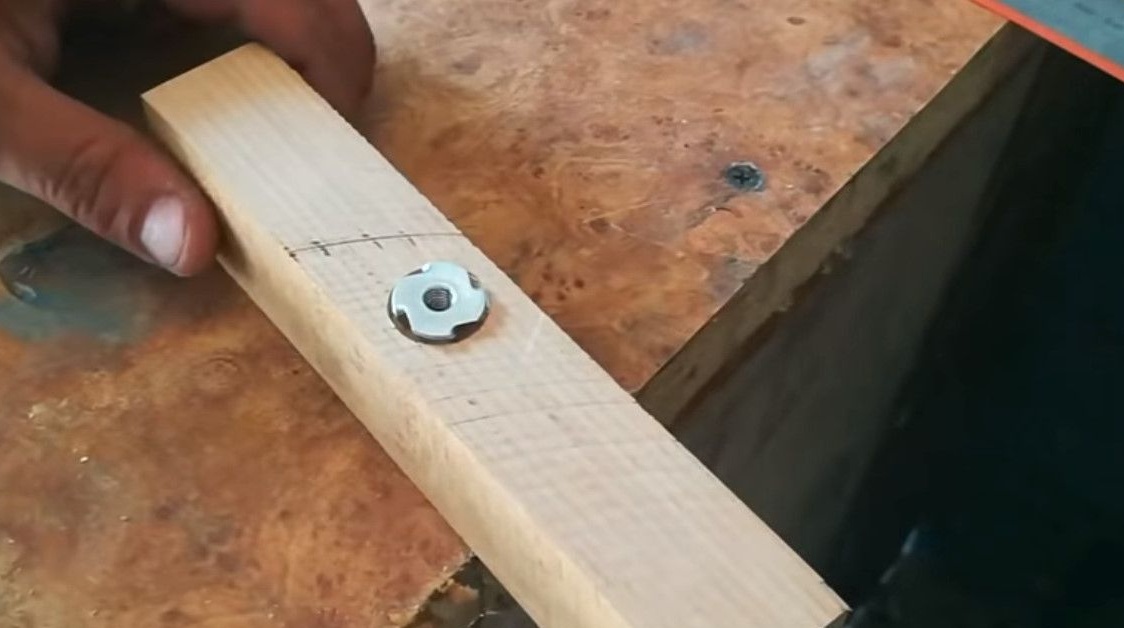
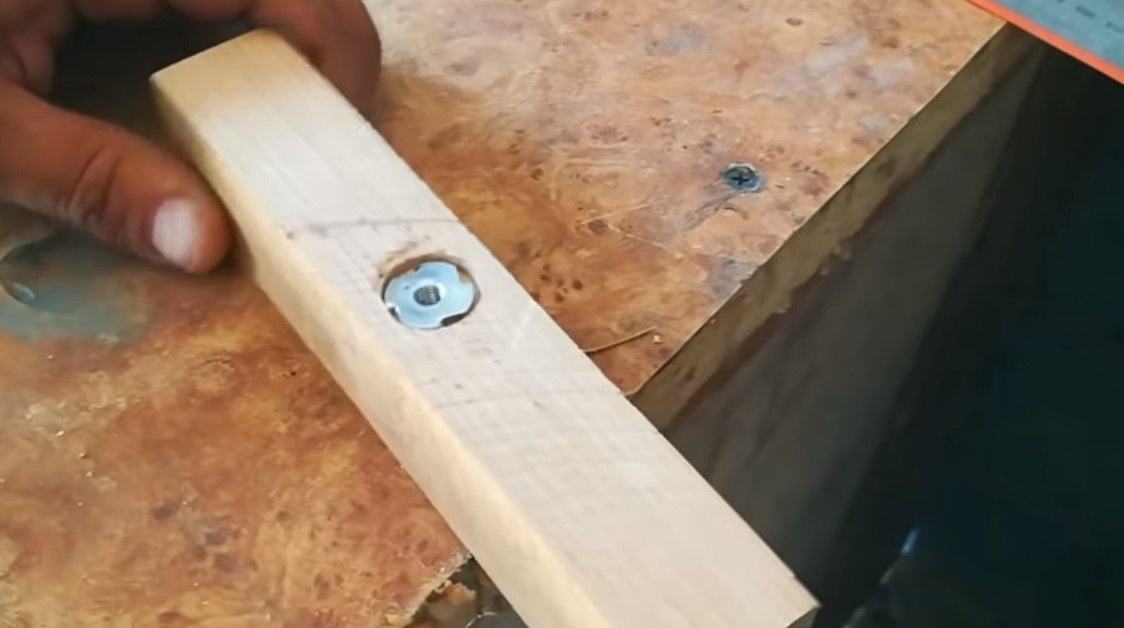
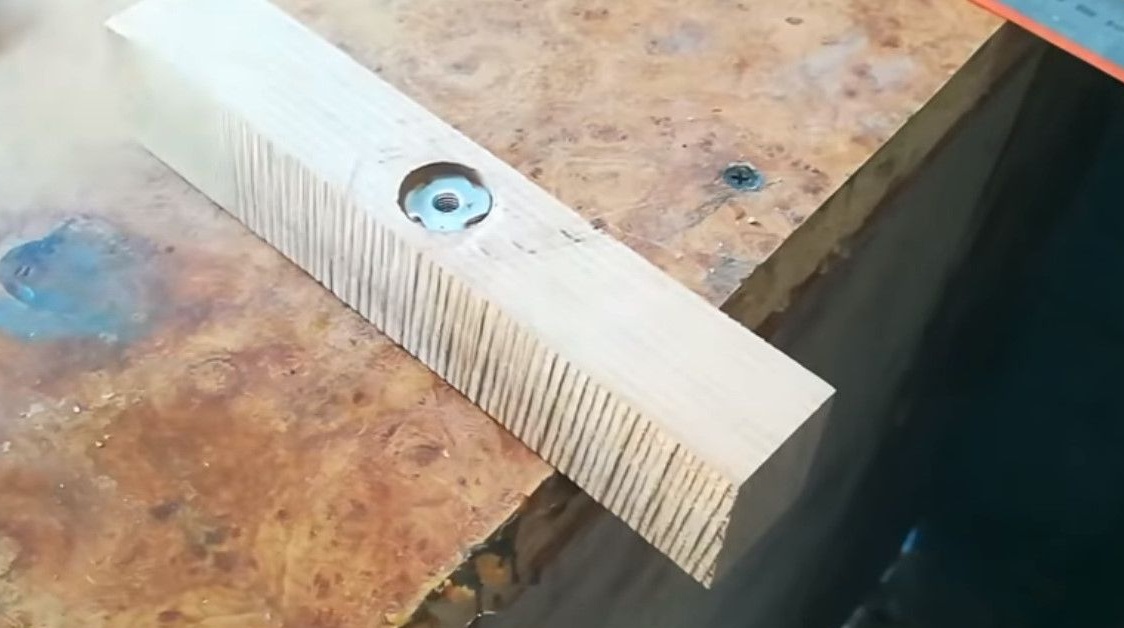
The nut should sit with a margin of depth, for the clamping rubber gasket, for this it places the nut.
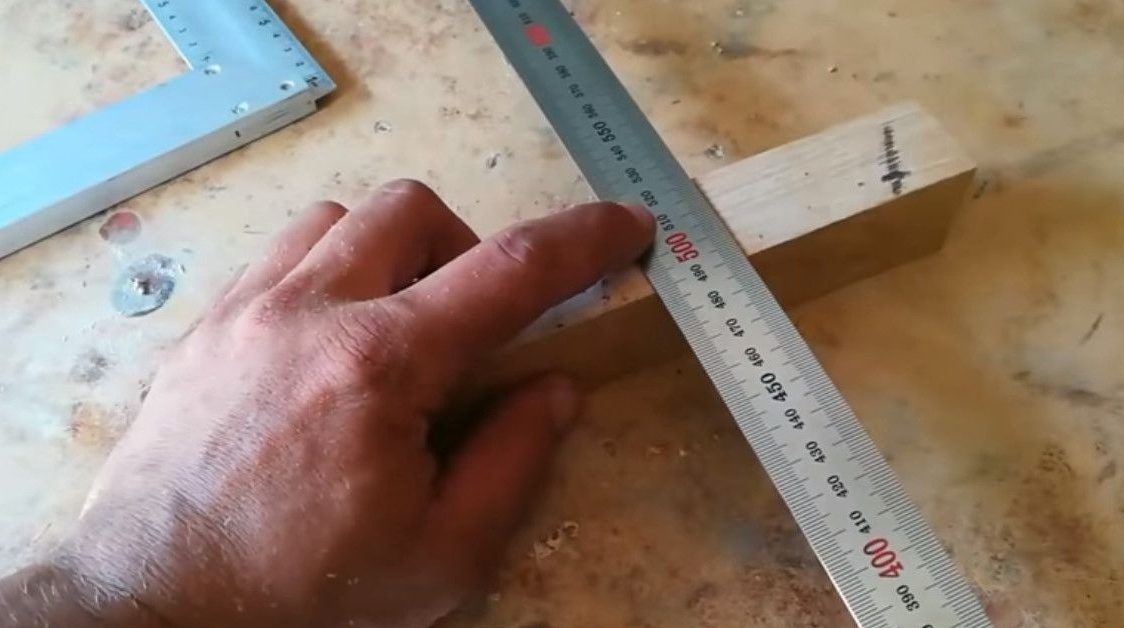
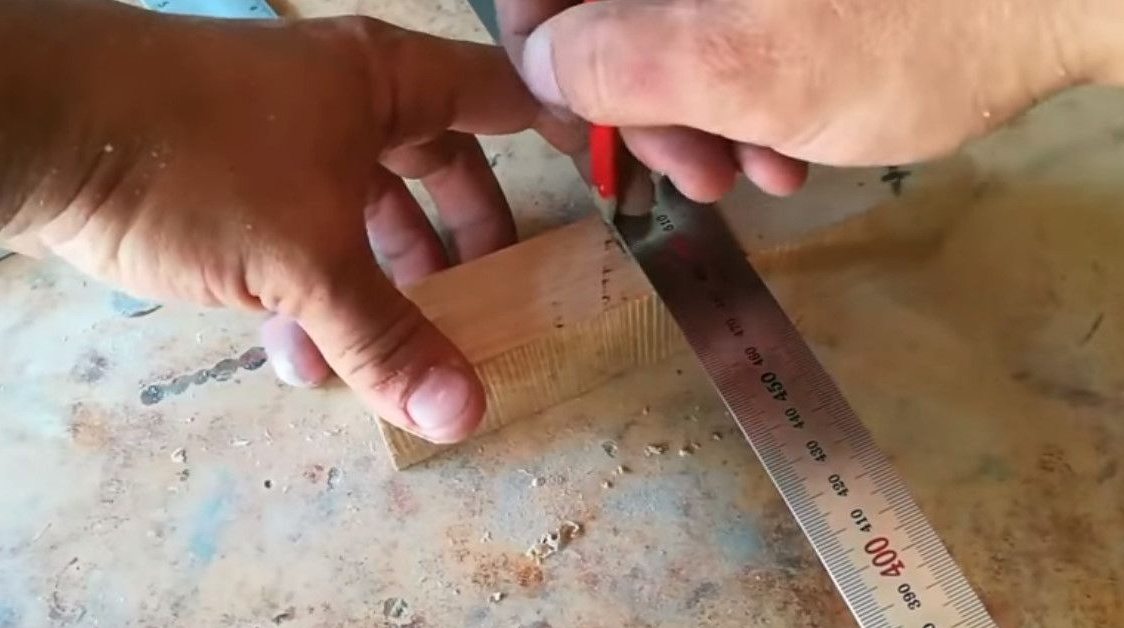
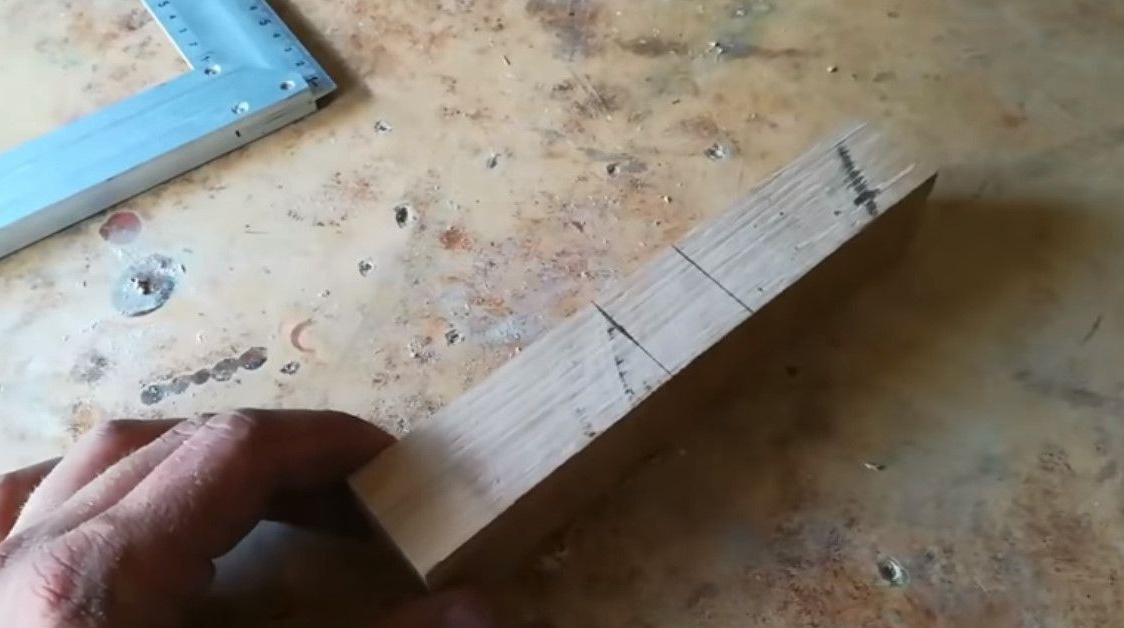
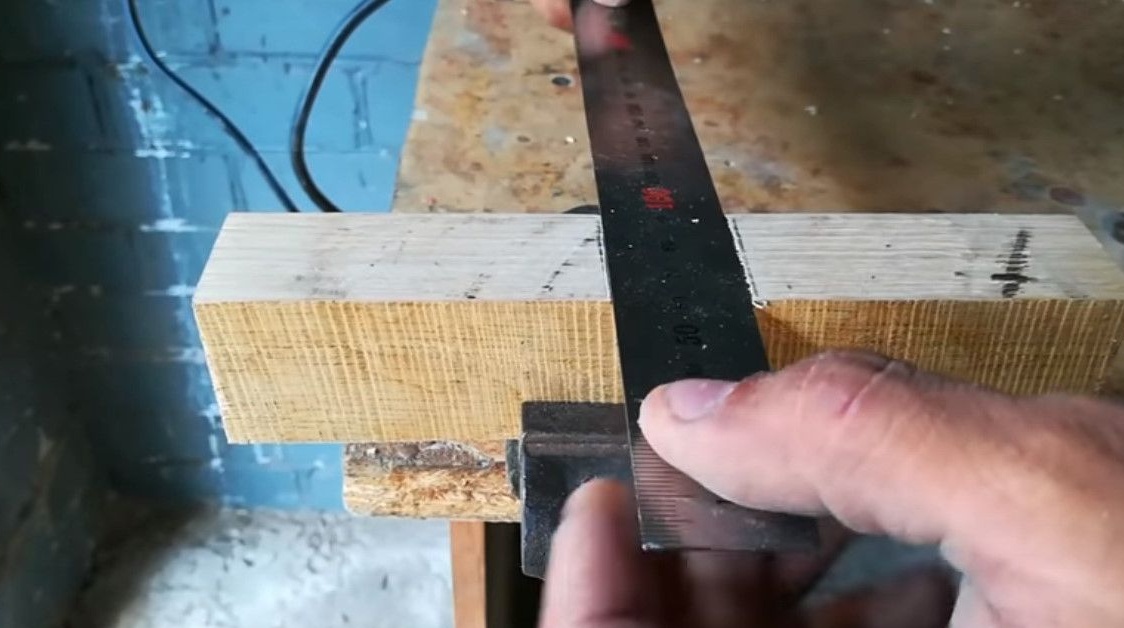
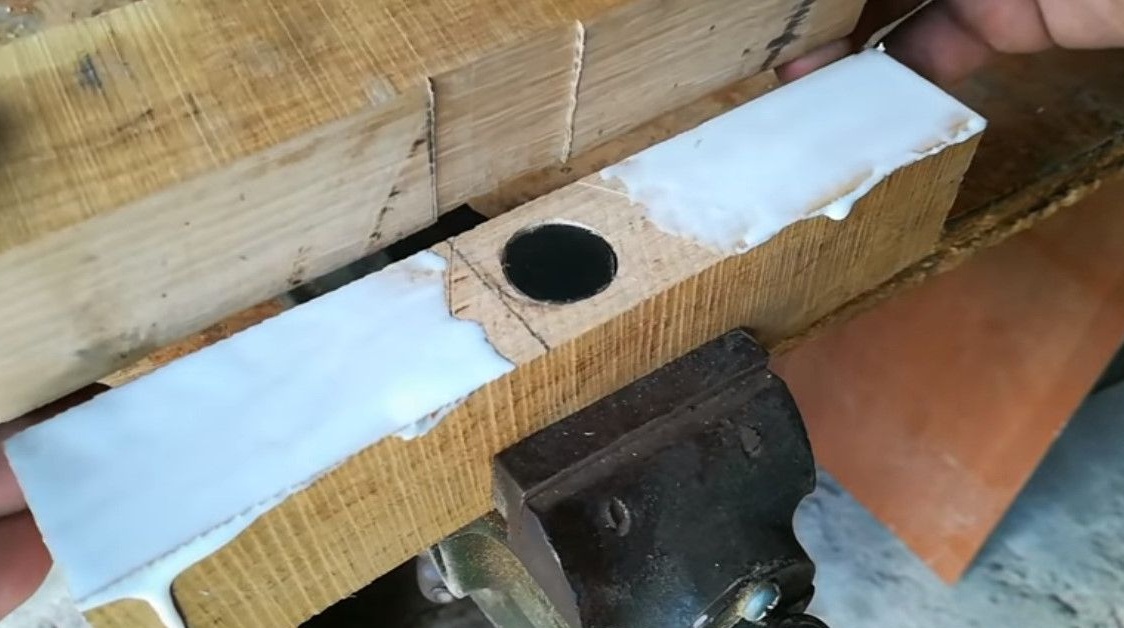
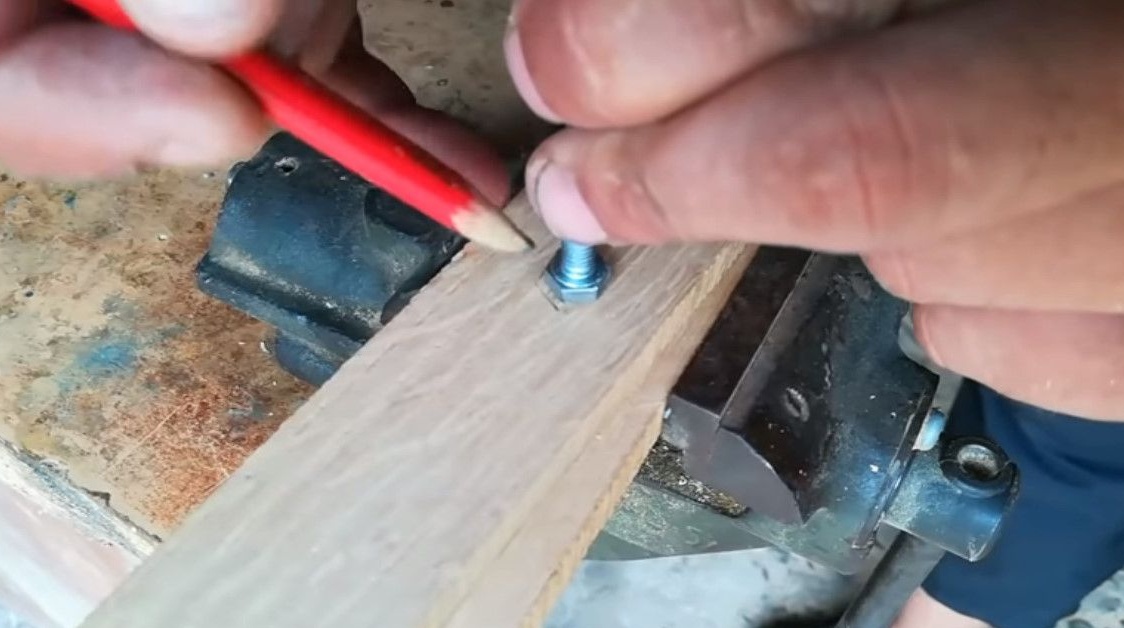
In the second bar marks the footprint for the ruler.
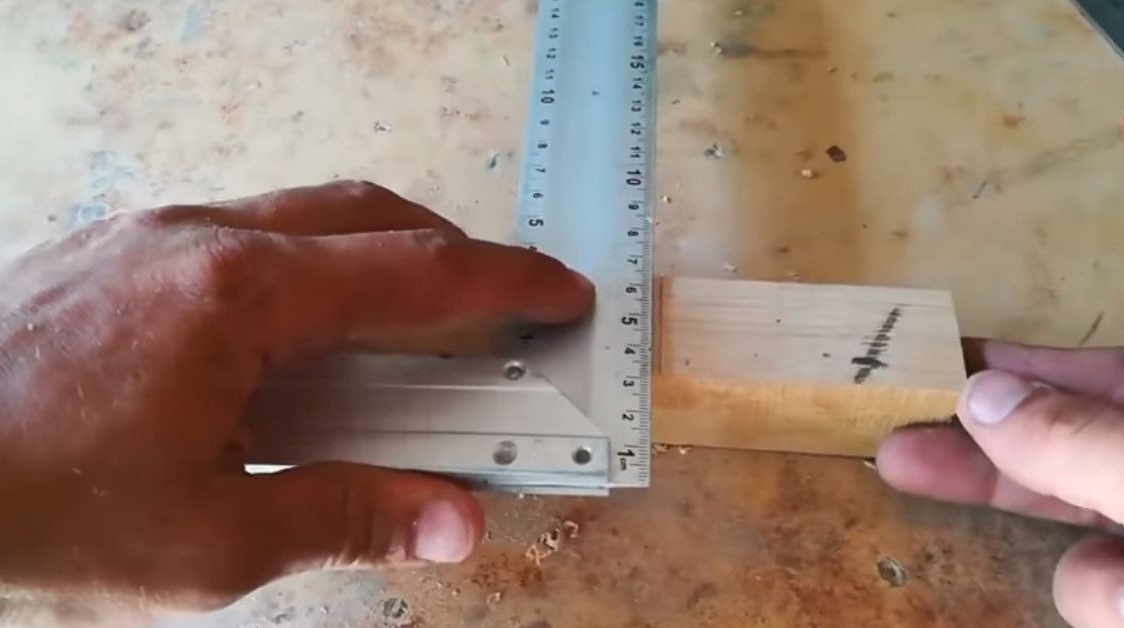
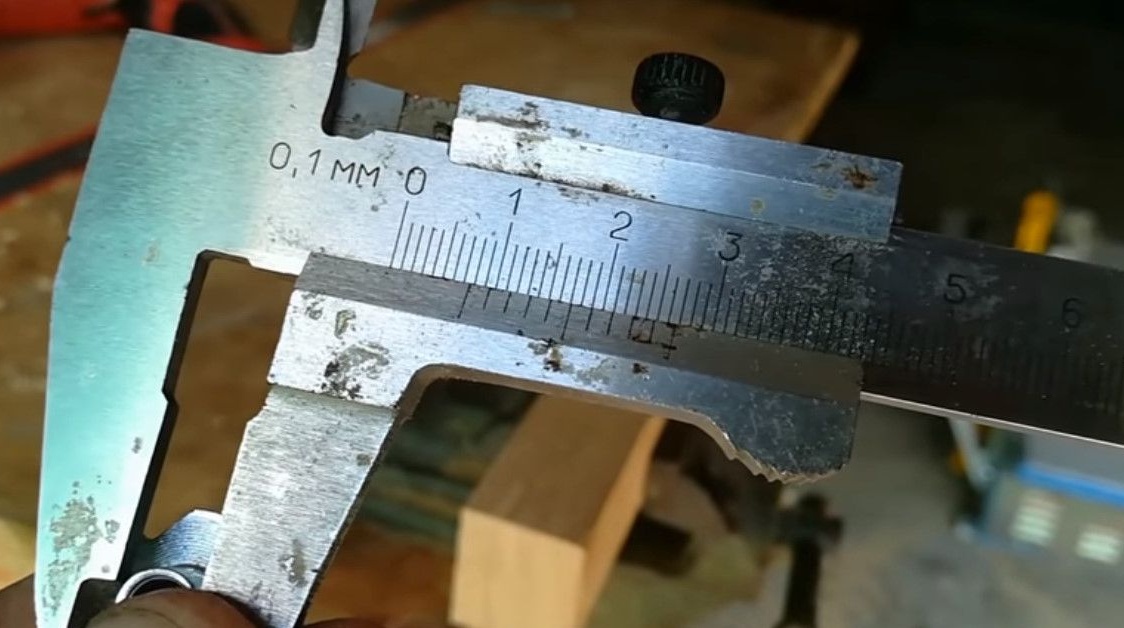
Measures the thickness of the canvas of the ruler directly on the router, this is necessary so that the ruler exactly sits in the groove and does not hang out.
And cuts it out with a mill. You can use the chisel.
Roughness removes with ordinary sandpaper.
Now the line sits perfectly tight.

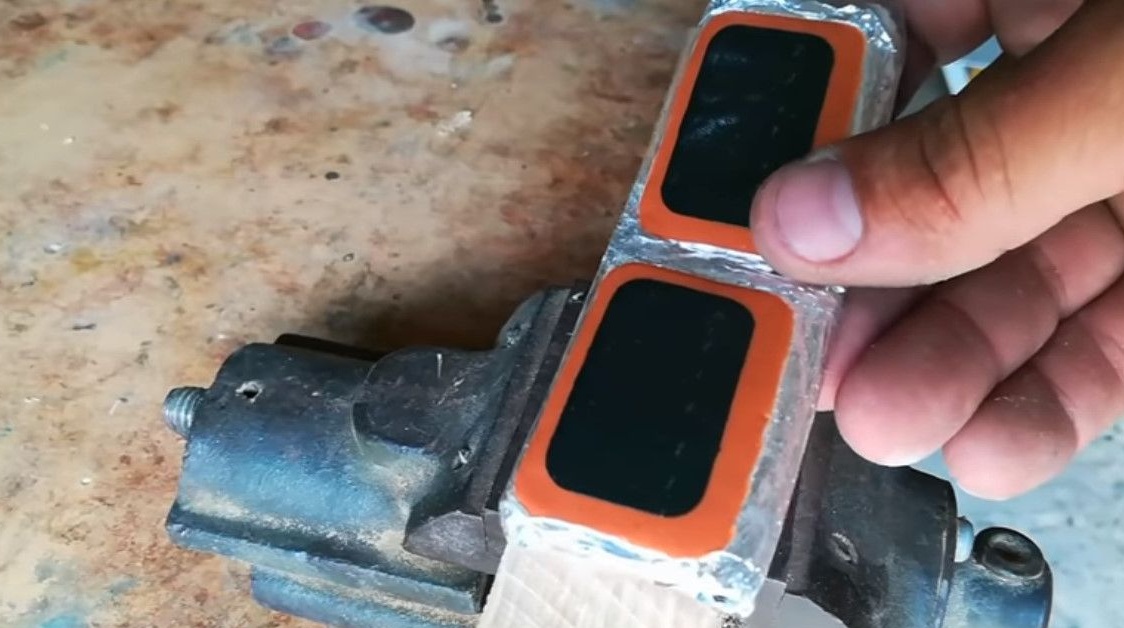
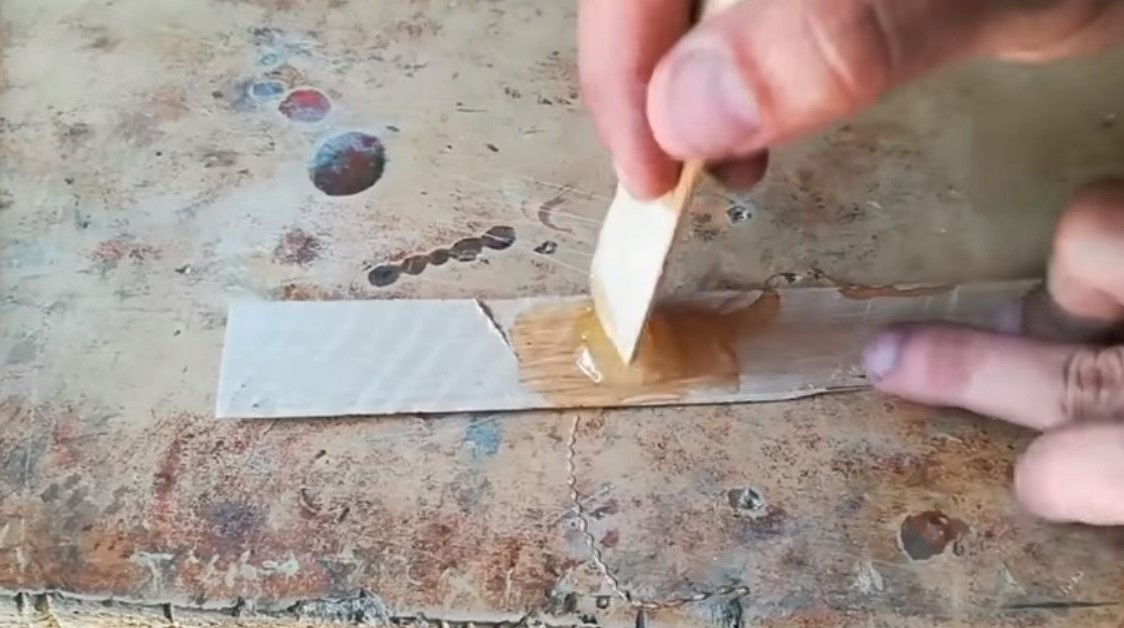
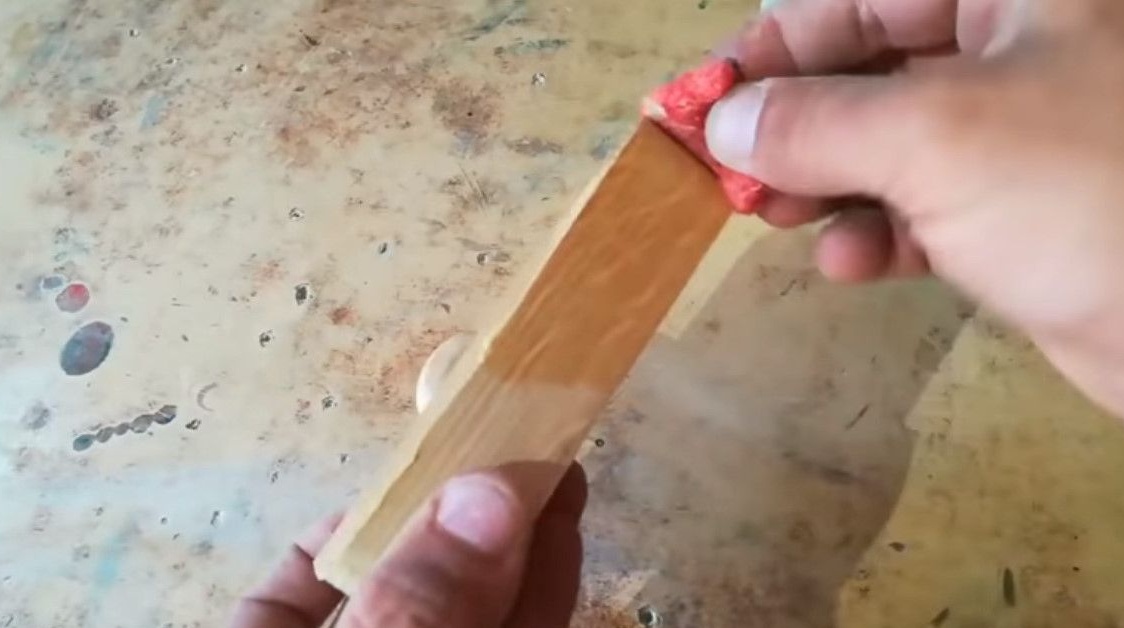
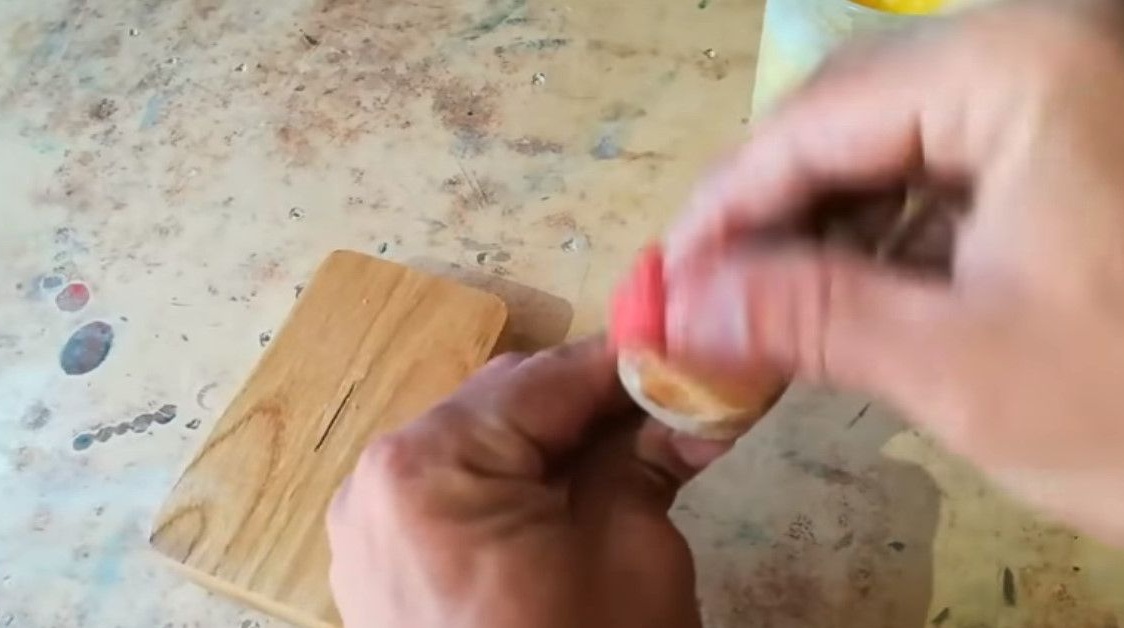
Now she cuts out a small rubber washer - a gasket, she will press the ruler with a bolt. As far as I understand, the author uses a kit for repairing bicycle cameras for this, he has just an adhesive base, and it will stick to the furniture nut. This will prevent the gasket from falling out and prevent the glue from falling onto the thread.
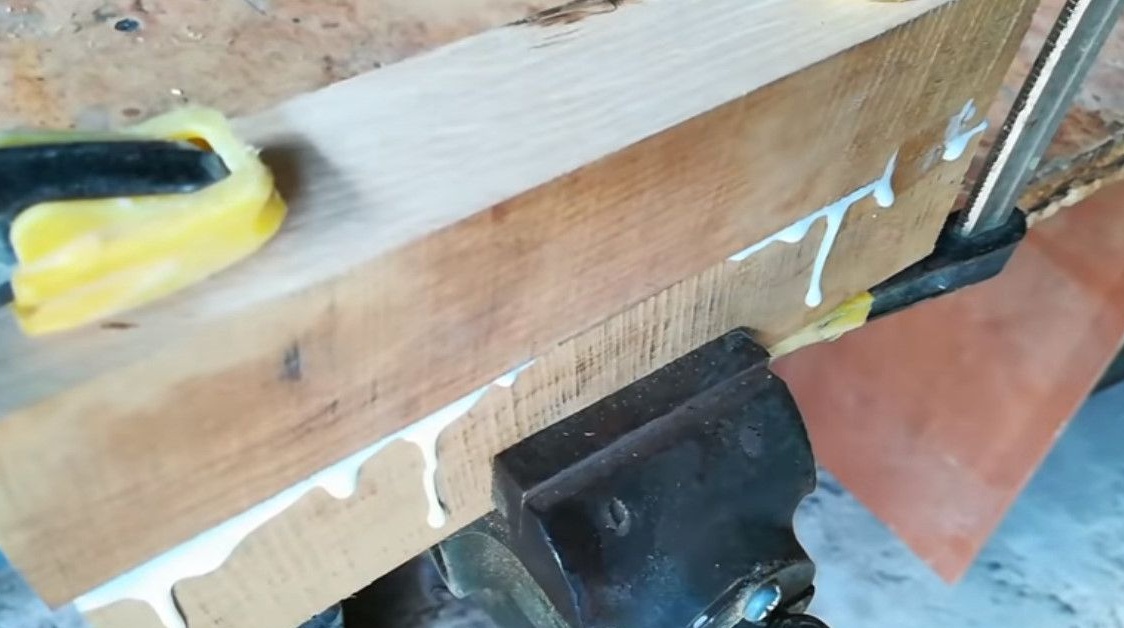
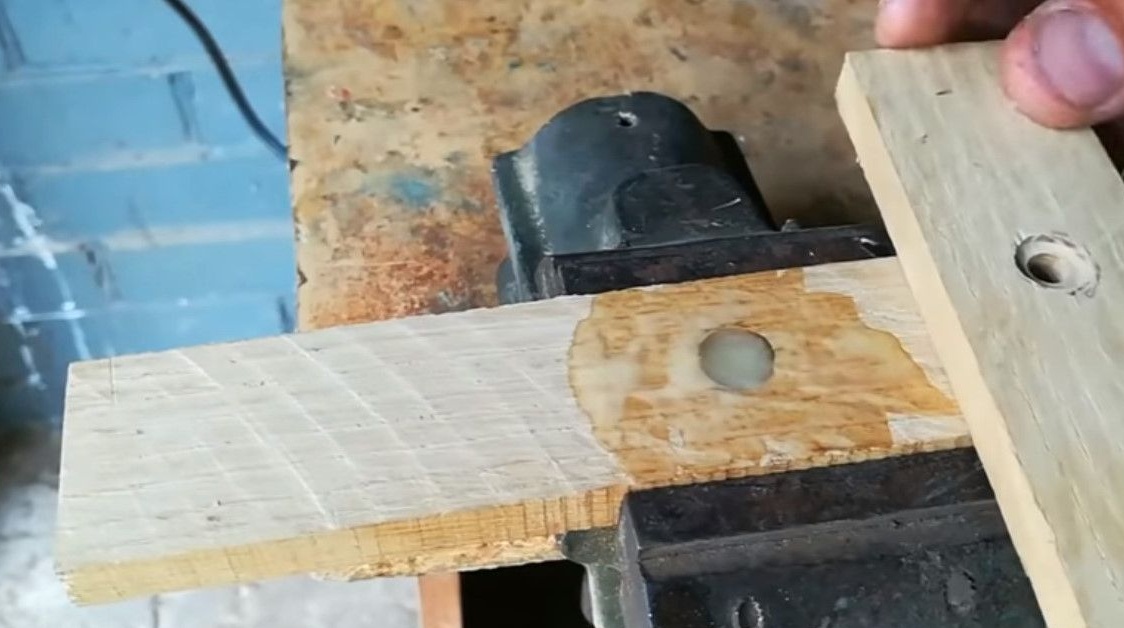
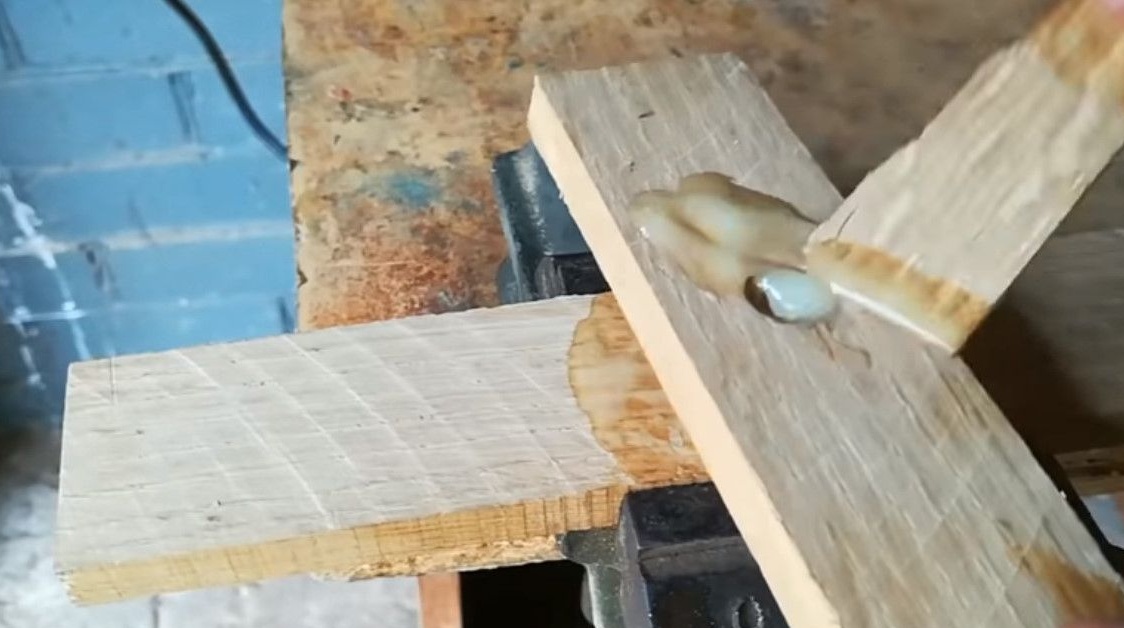
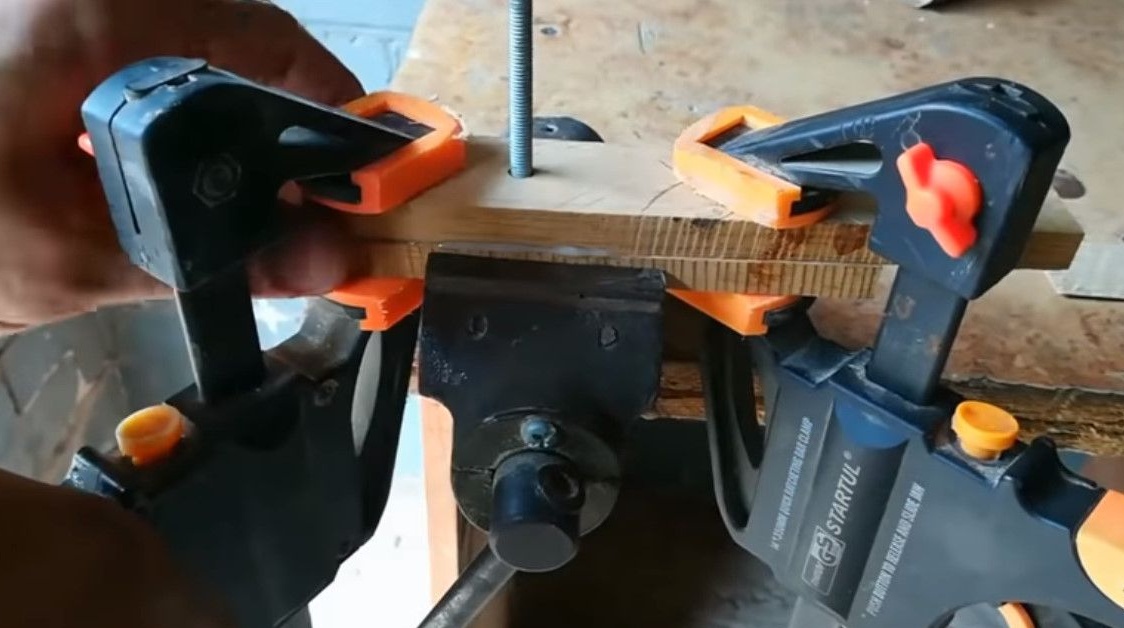
It's time to start gluing. It is abundantly oiled with glue, but without going into the seat of the ruler.
And clamps both blanks with clamps.
While the glue will dry, you can make a screw head for the bolt. You will also need two bars, but already small. Drills a hole for a bolt.

In order to hide the bolt head, marks immediately on both workpieces.
And cuts out the recesses under the hat with a milling cutter.
It is important to firmly glue the cap of the bolt with solid wood. It is better to choose an epoxy glue that will grip metal with wood well.
It also tightens both blanks with clamps, holding the bolt head in them.
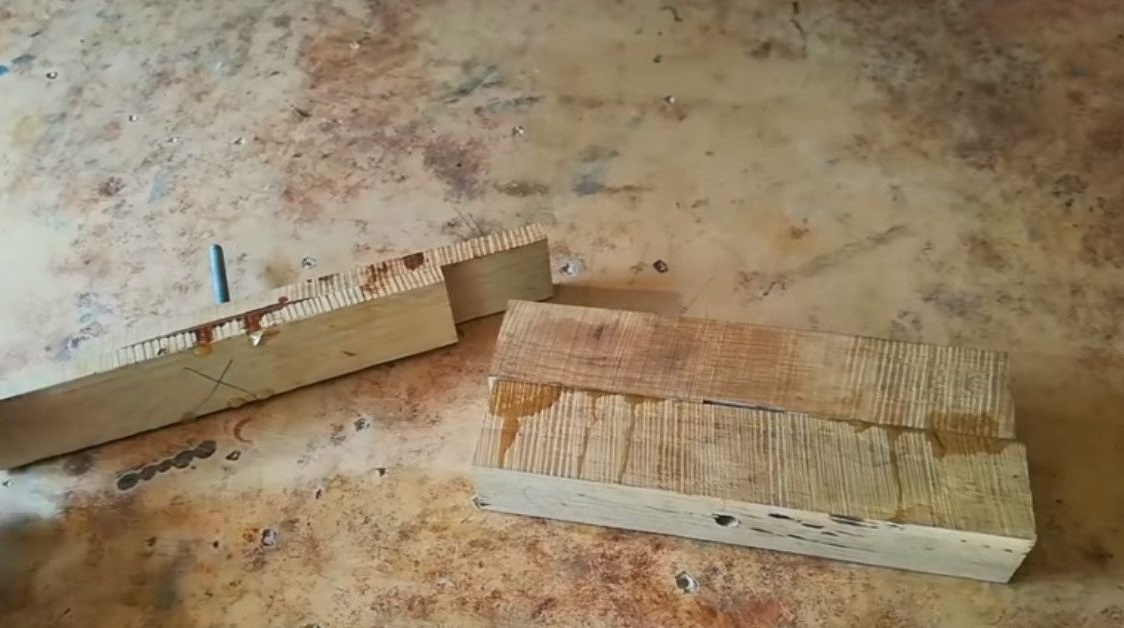
After drying, these are the two parts that need to be processed.
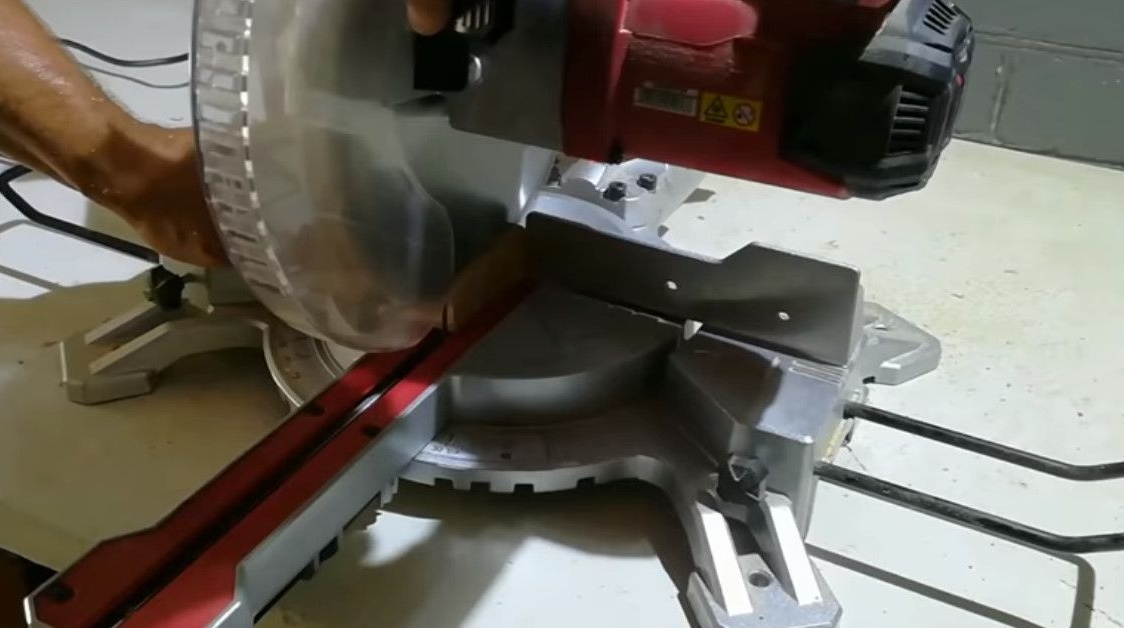
On the end saw cuts off excess.
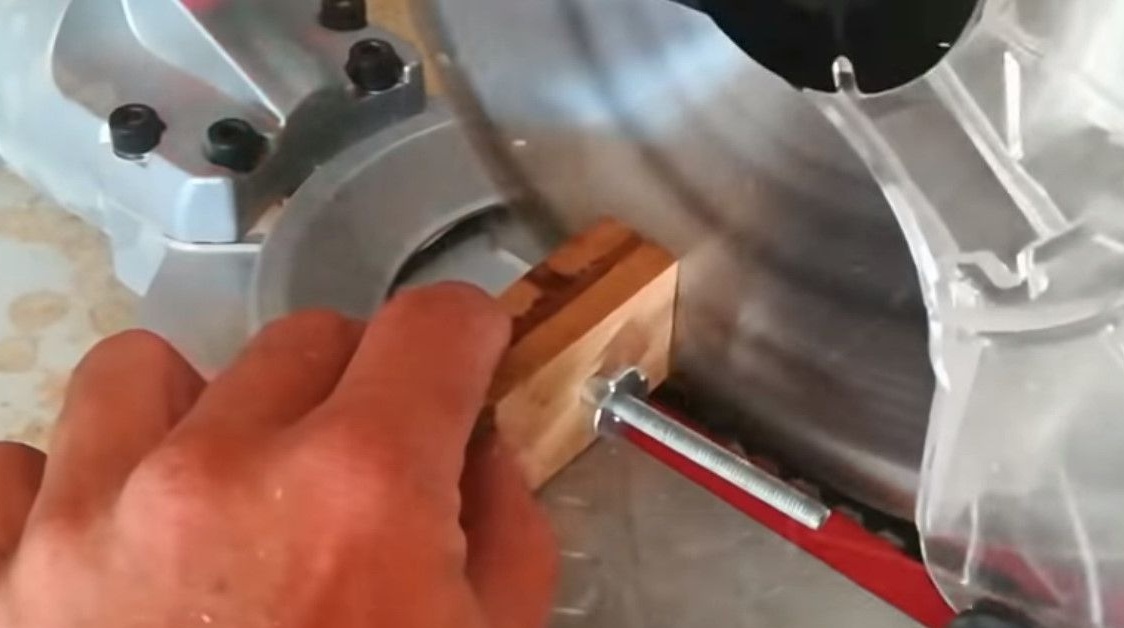
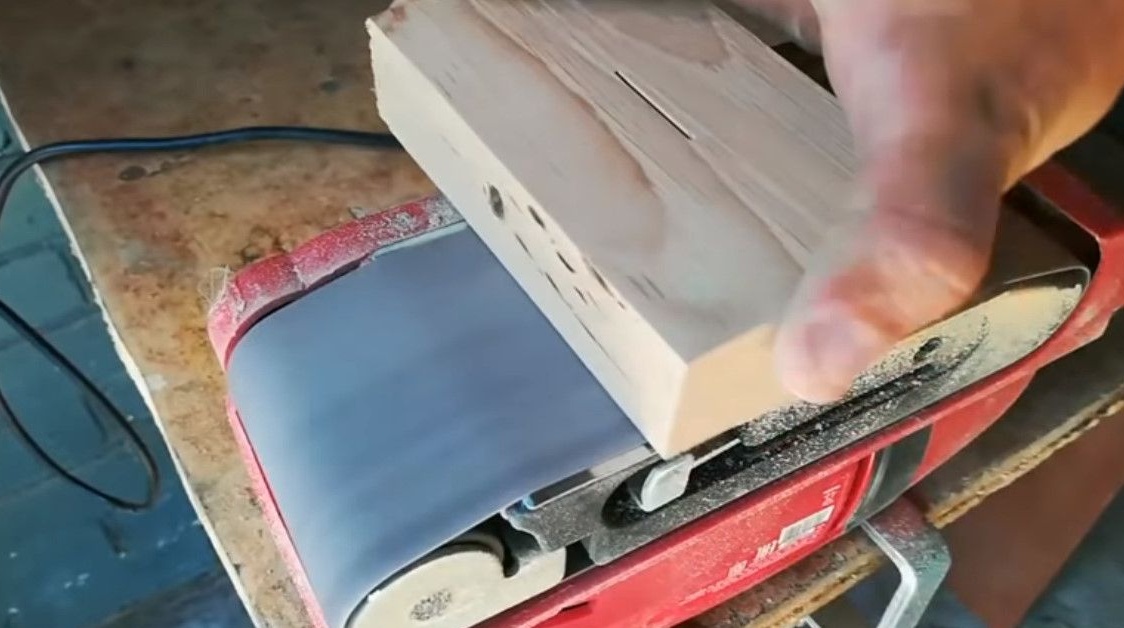
And it first processes with a belt sander, leveling the surface.
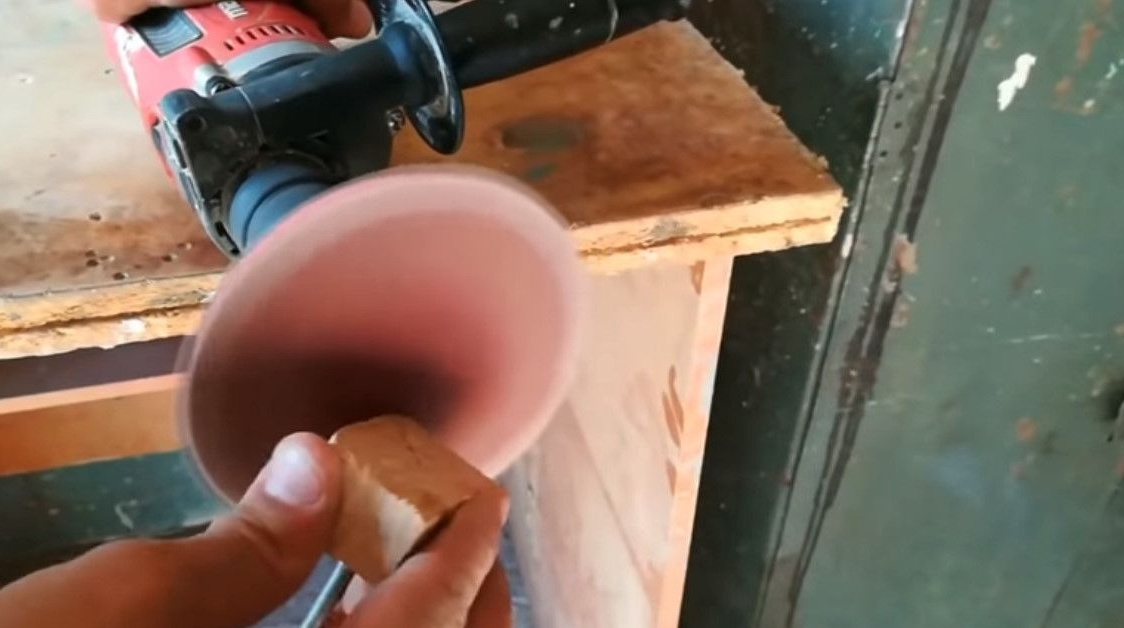
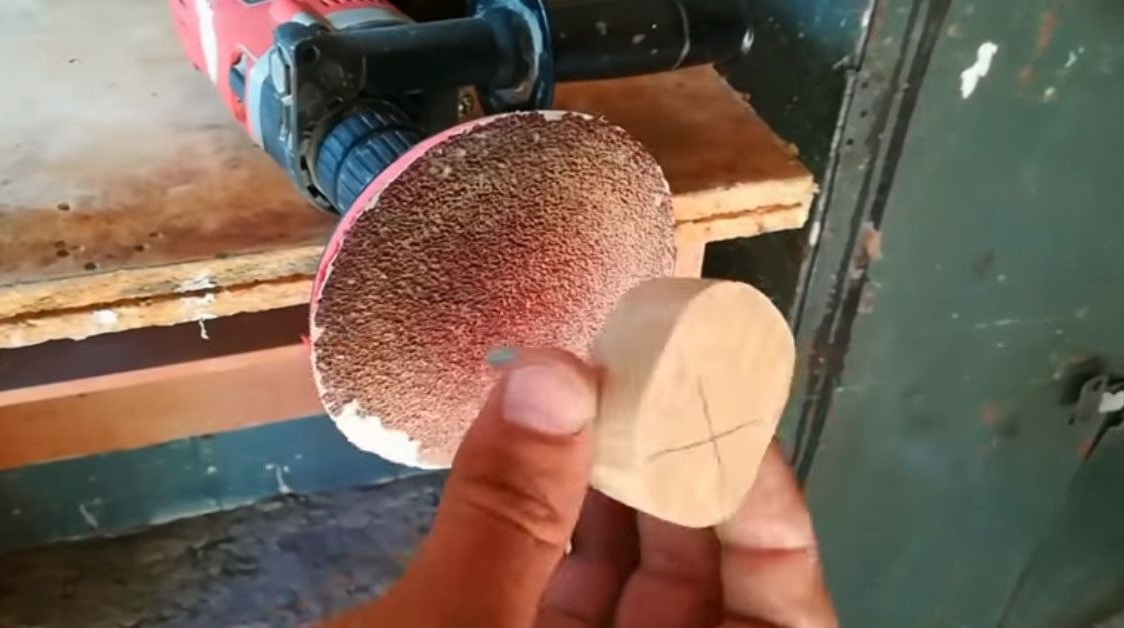
And now rounds the corners of the base and the handle with a circular disk.
It remains to treat with oil or wax, dry.

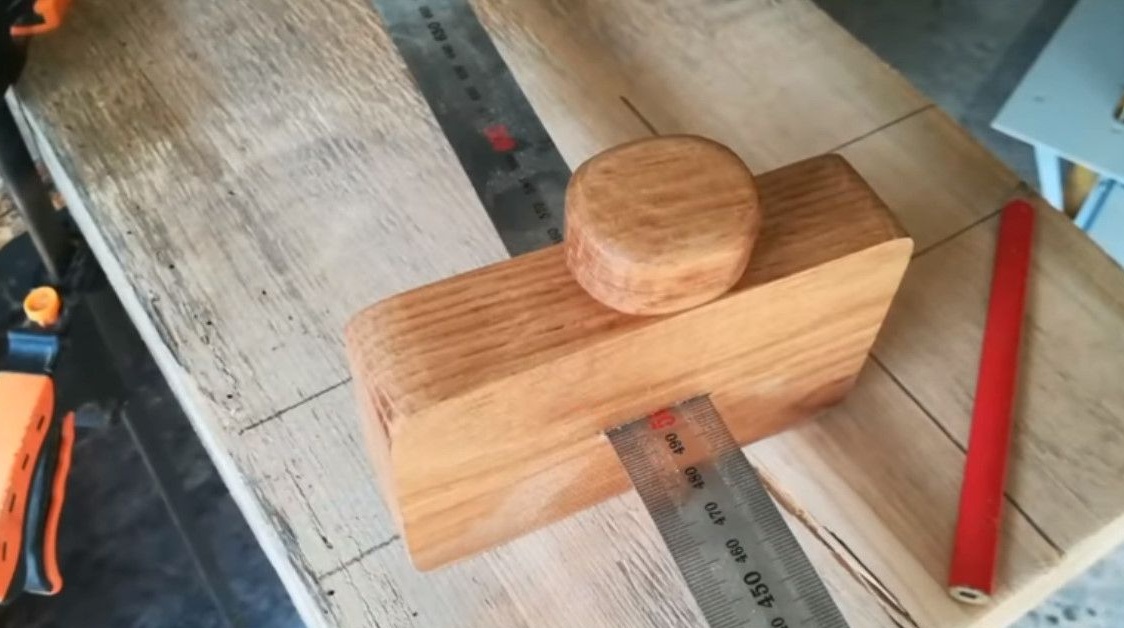
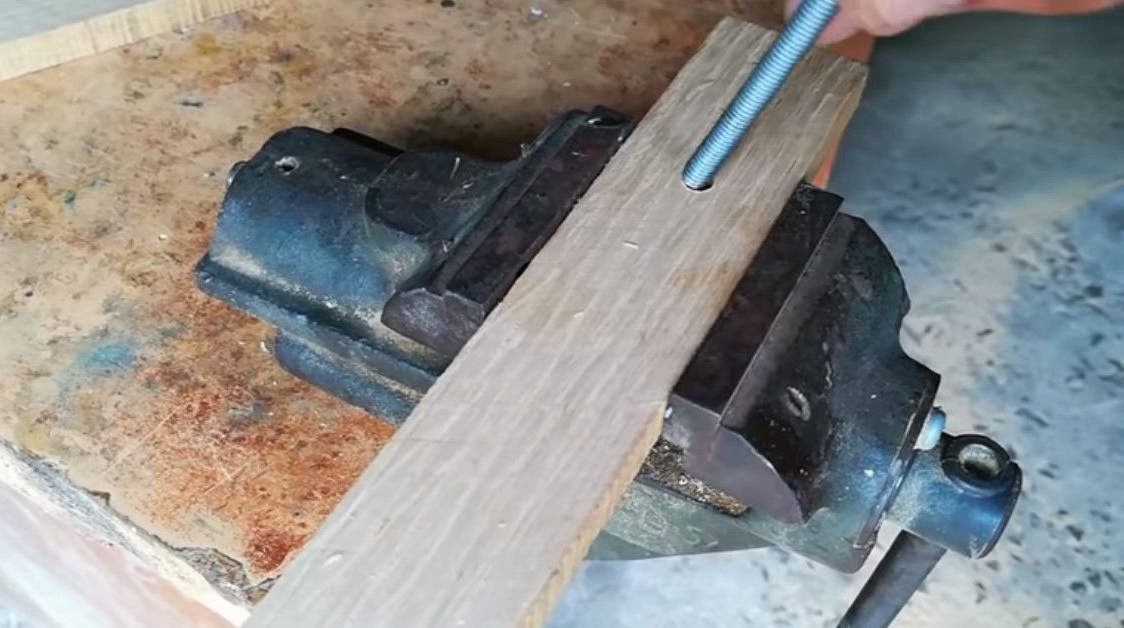
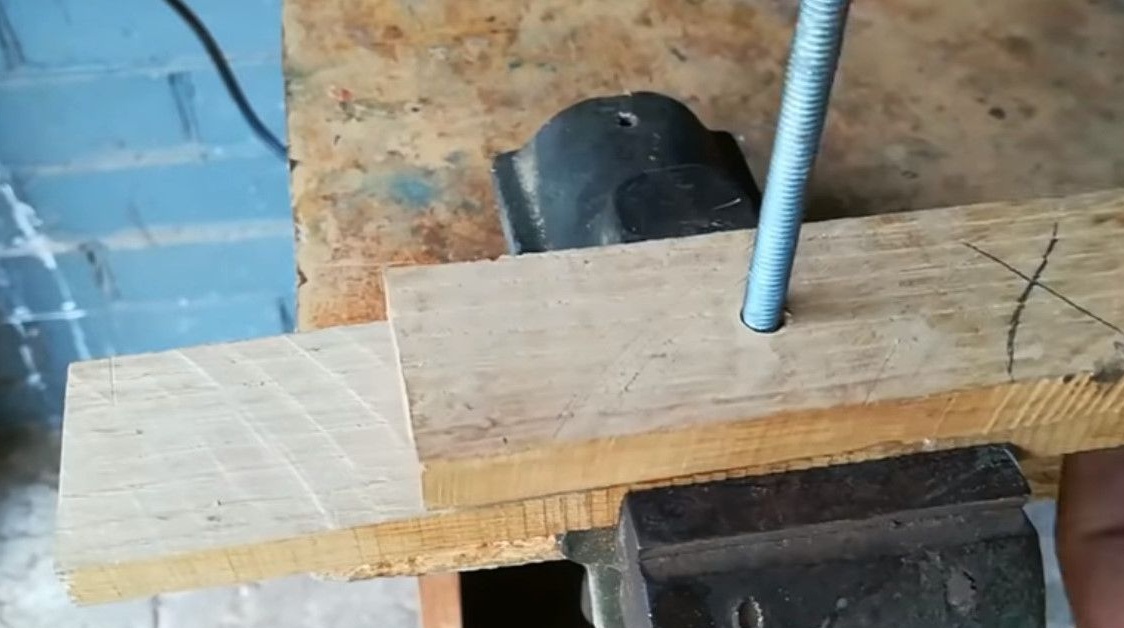
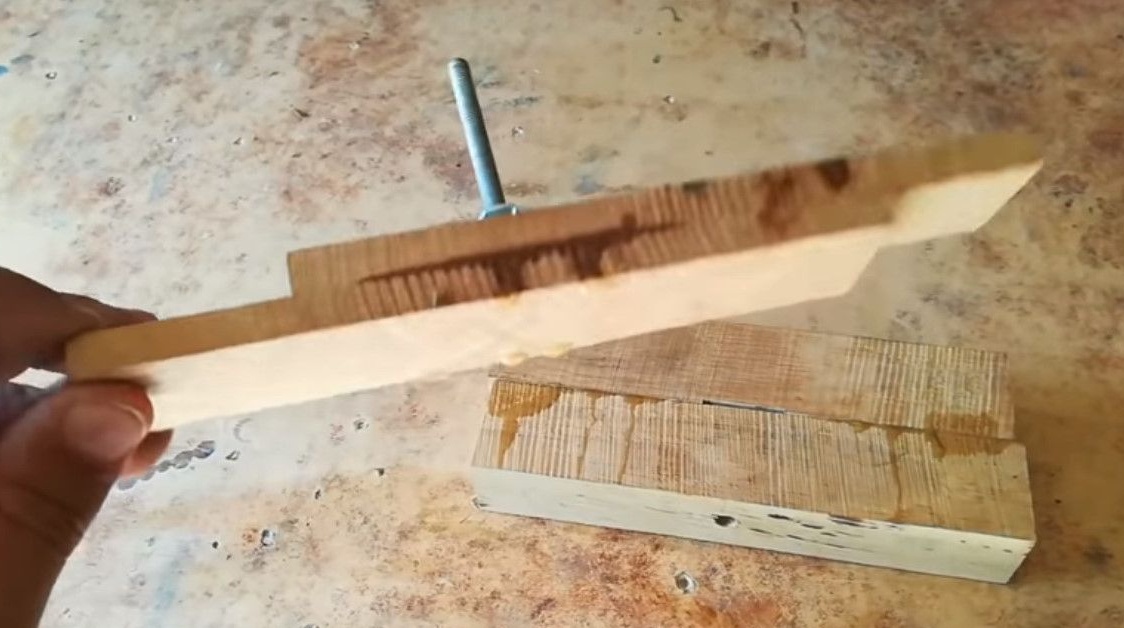
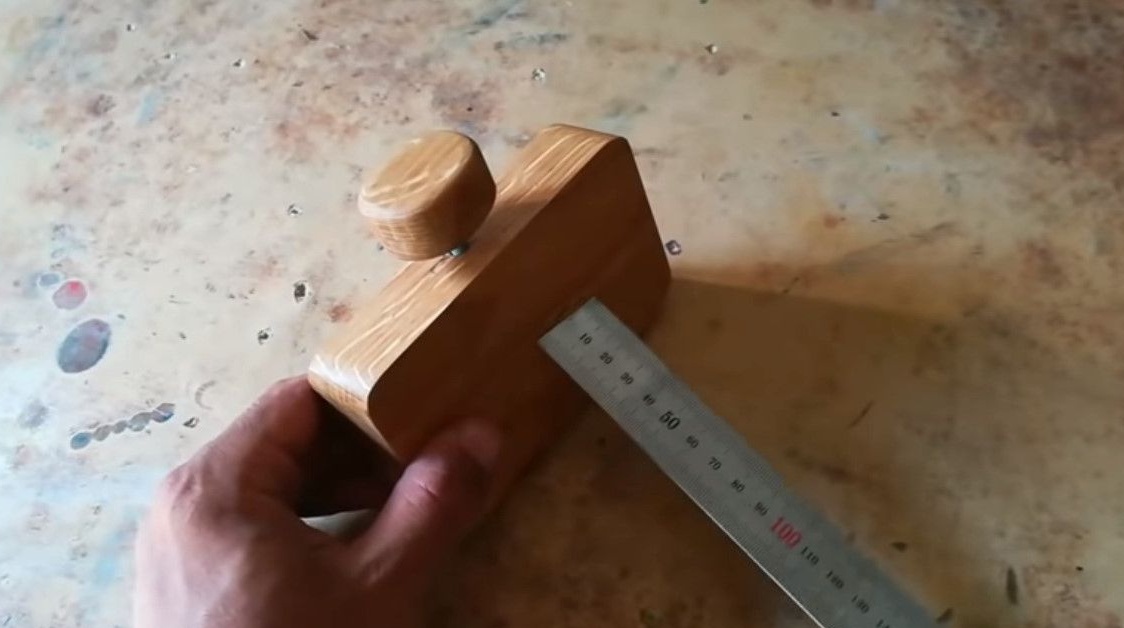
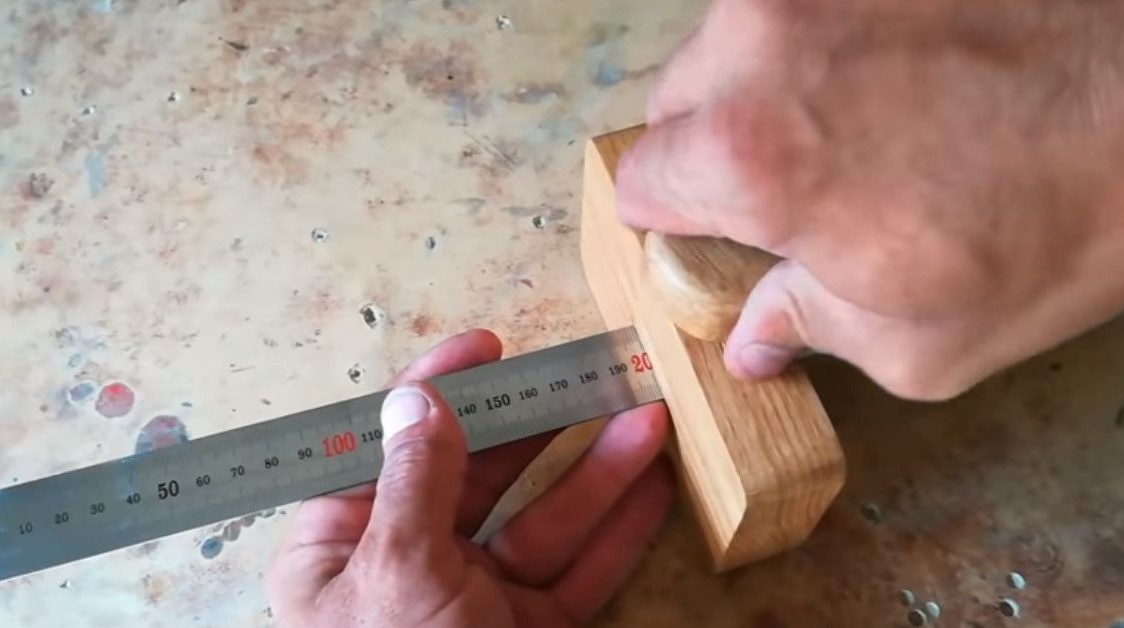
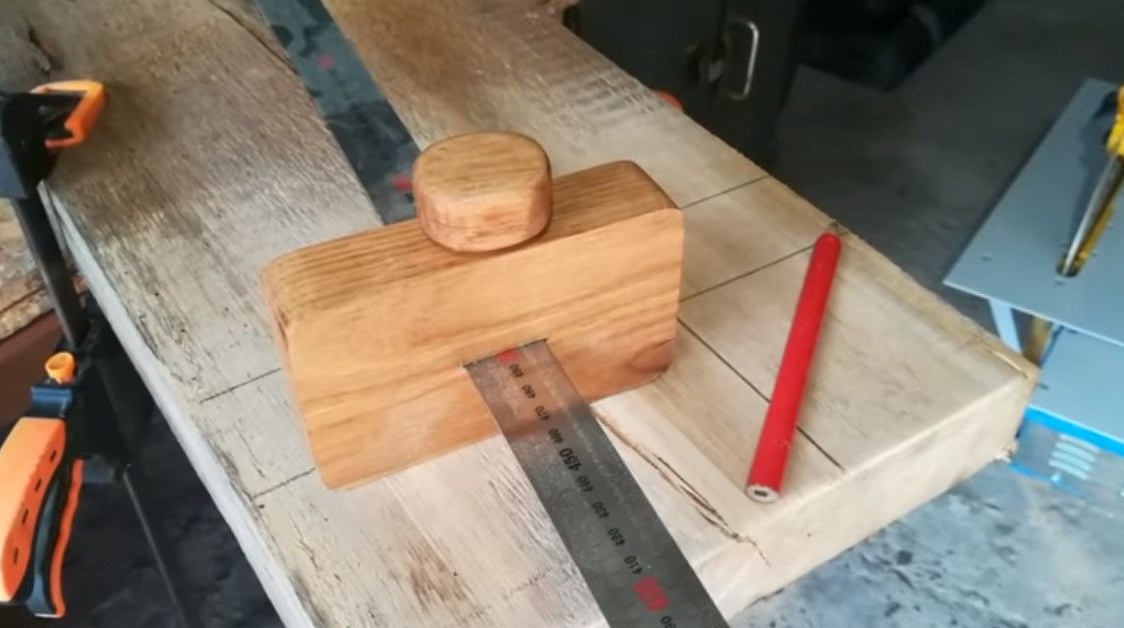
Insert the ruler and screw the bolt into the base.
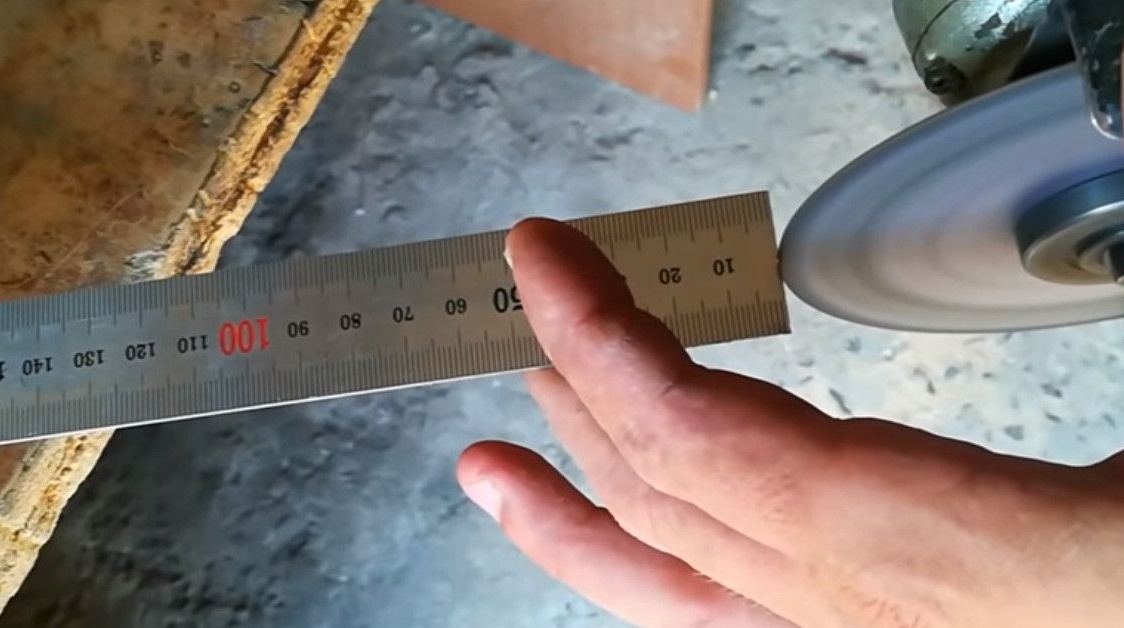
For the tip of a pencil, a grinder cuts a small indentation at the edge of the ruler.
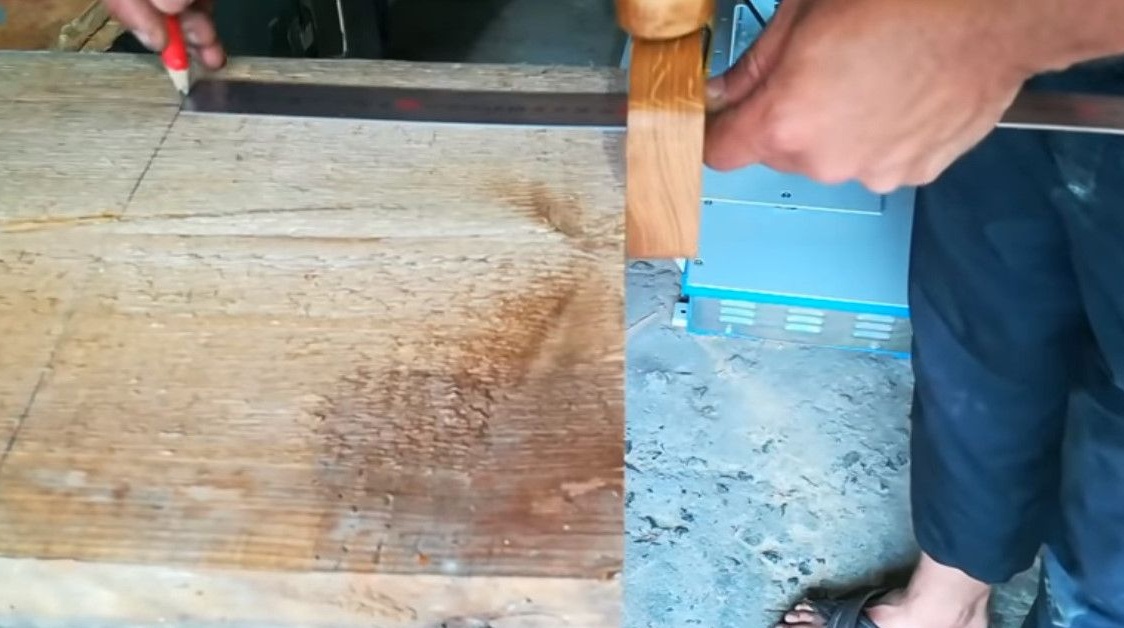
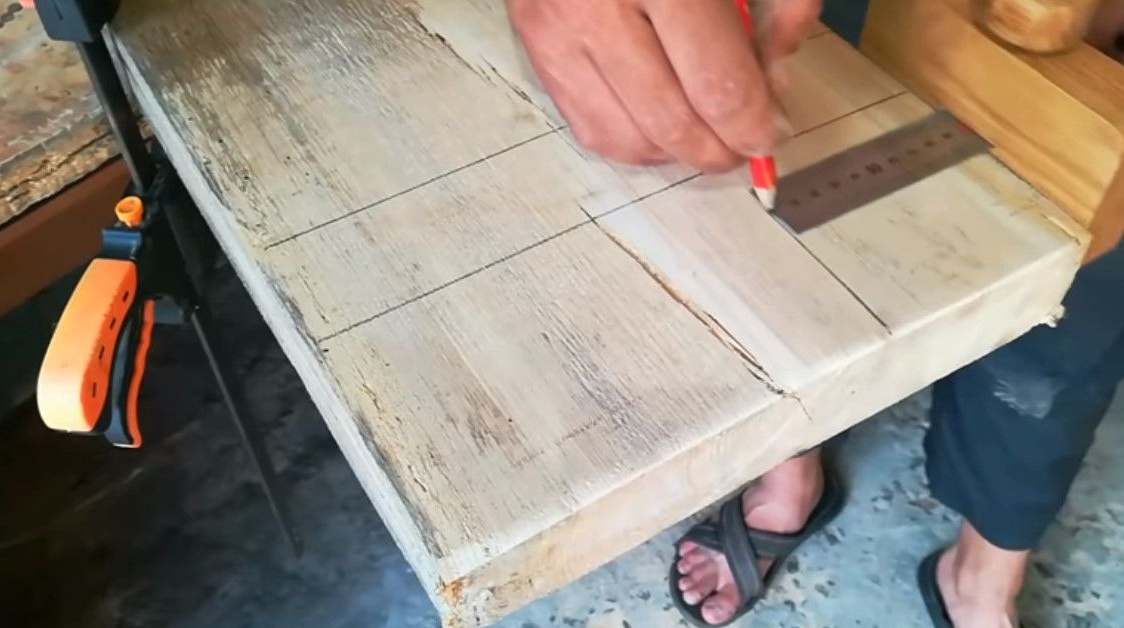
Everything can be experienced.
This is the version of the marking planer that Vladimir obtained.

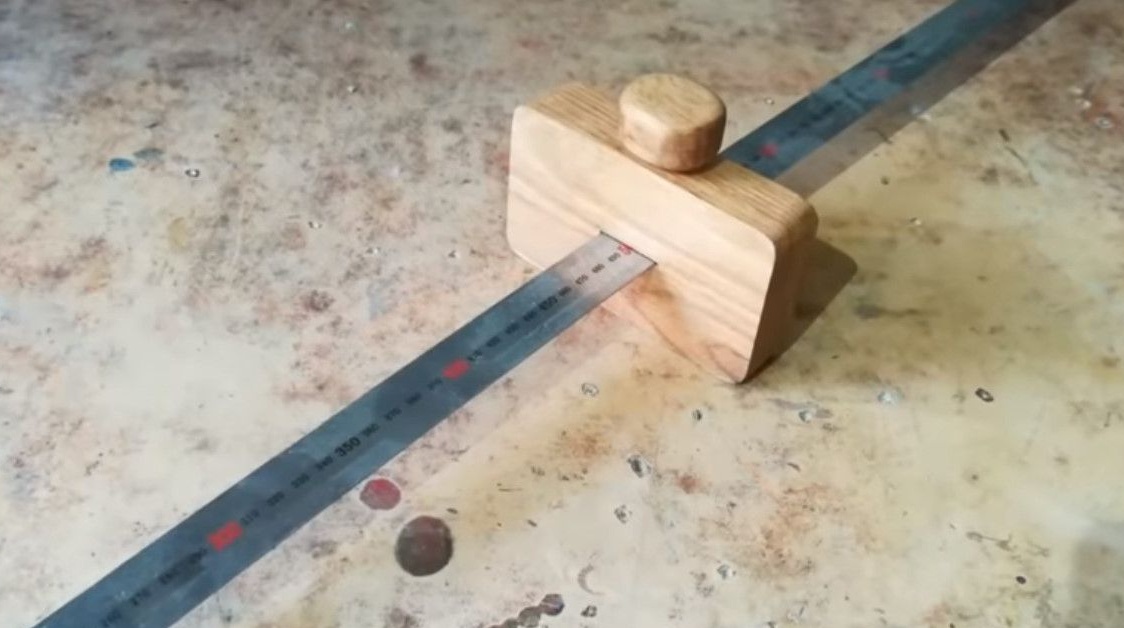
Thanks to Vladimir for an interesting idea and excellent performance.
All good homemade!