
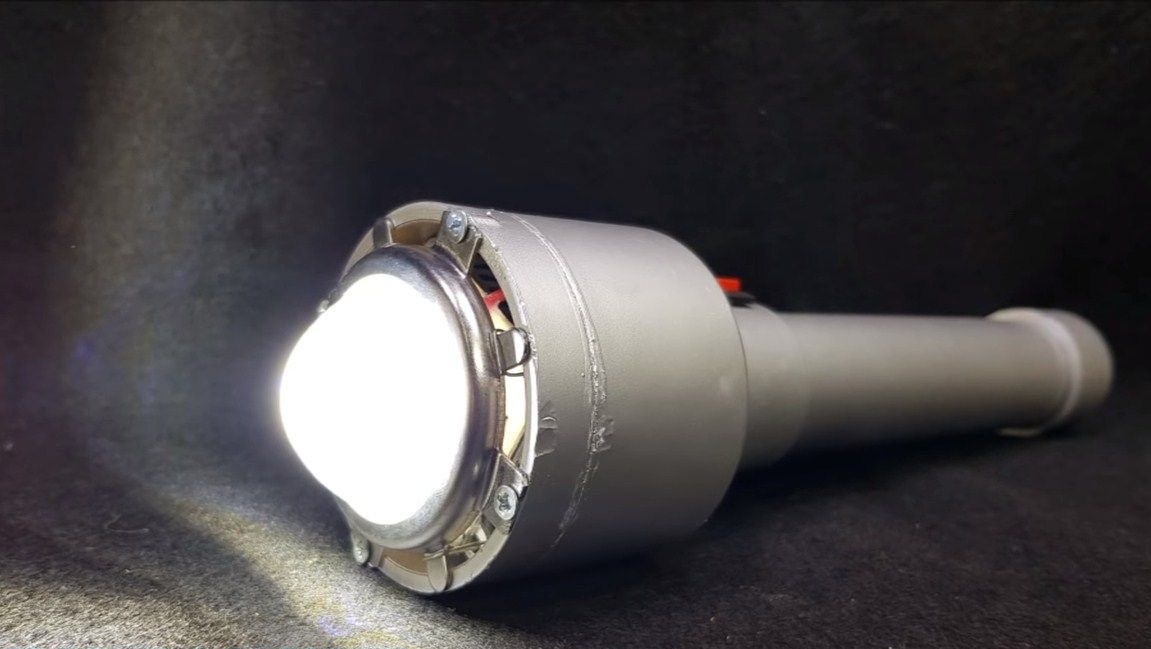
Hello everyone, I bring to your attention a powerful home-made flashlight. Now you will not be afraid of any darkness. Going to homemade quite simply, all materials are purchased and easy to get. So, for example, the author made a lantern case from plumbing pipes and parts for them. This flashlight is equipped with lithium batteries, which makes it easy to charge. So, we will consider in more detail how to assemble such a flashlight!
Materials and tools used by the author:
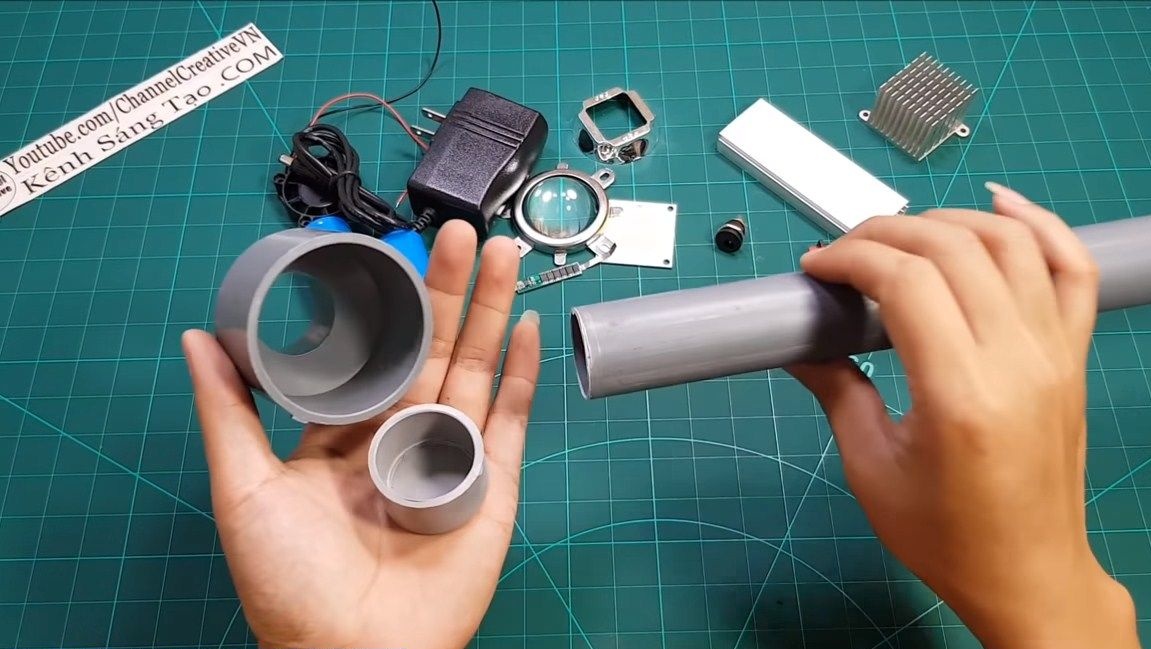

Material List:
- lithium batteries;
- ;
- ;
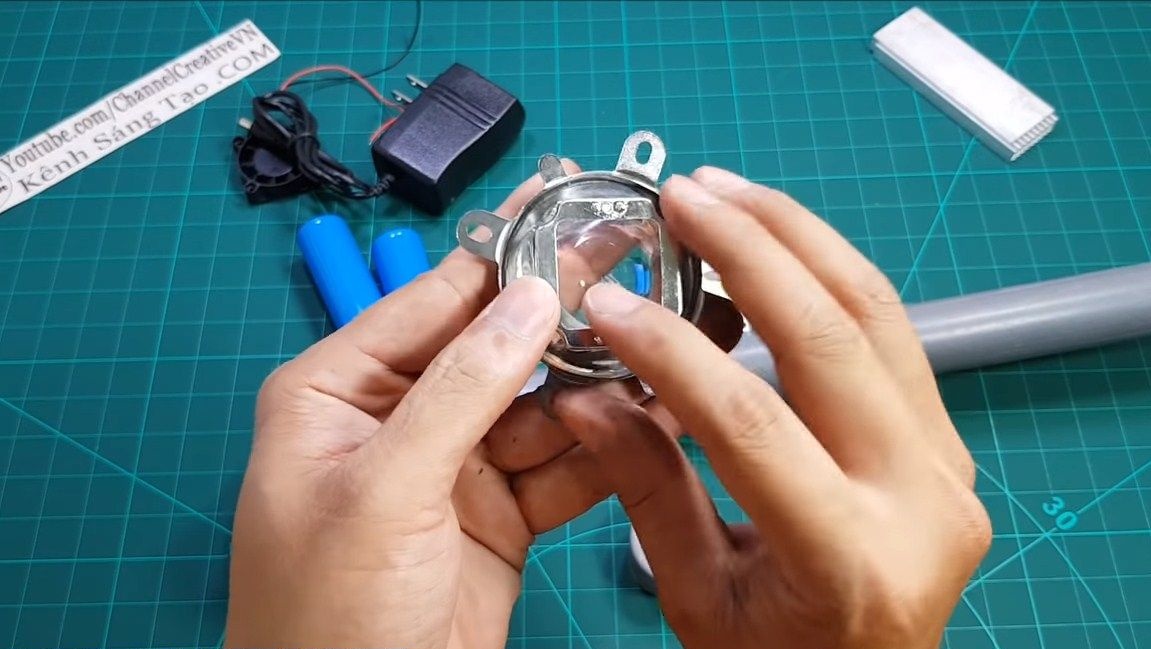
- reflector;
- lens;
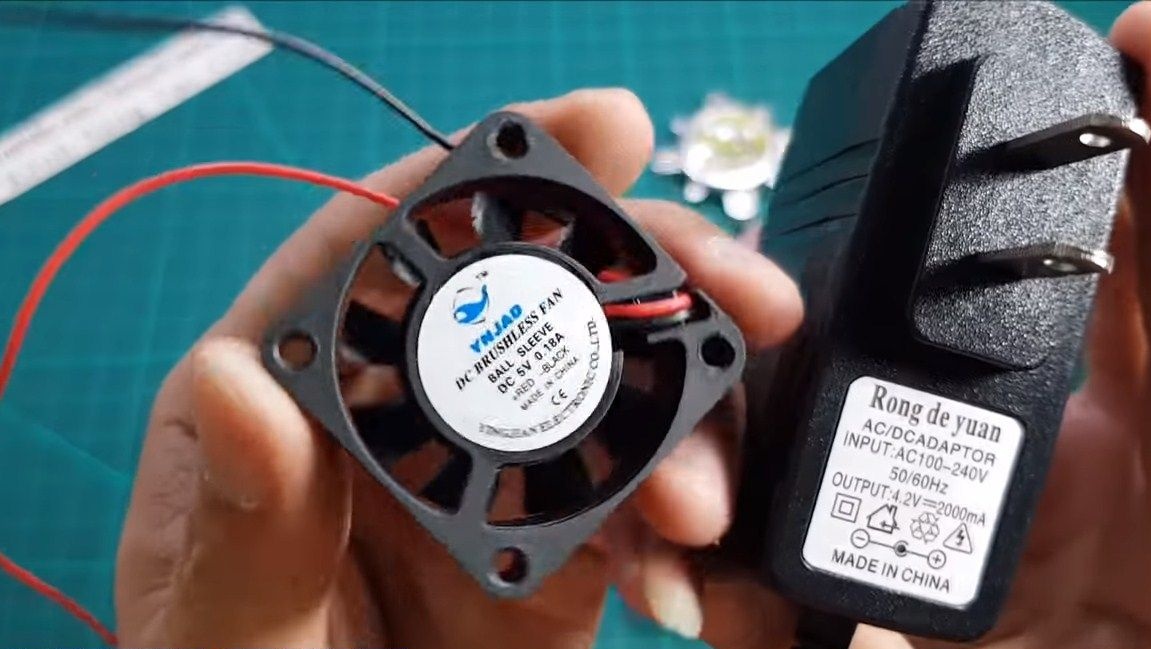
- radiator and fan;
- button to turn on;
- wires;
- connector for connecting the charger;
- Charger;
- paint;
- epoxy adhesive;
- stainless wire;
- cogs, thermal grease and more.
Tool List:
- drill;
- a hacksaw for metal;
- soldering iron;
- nippers;
- screwdriver;
- marker;
- pliers.
Flashlight manufacturing process:
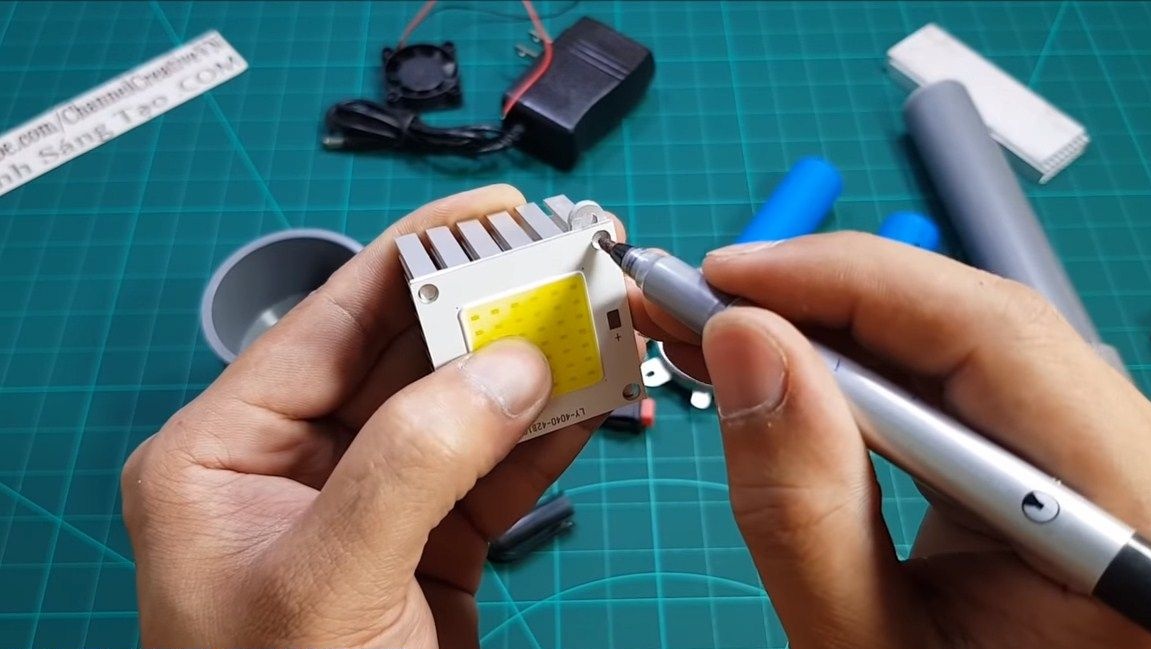
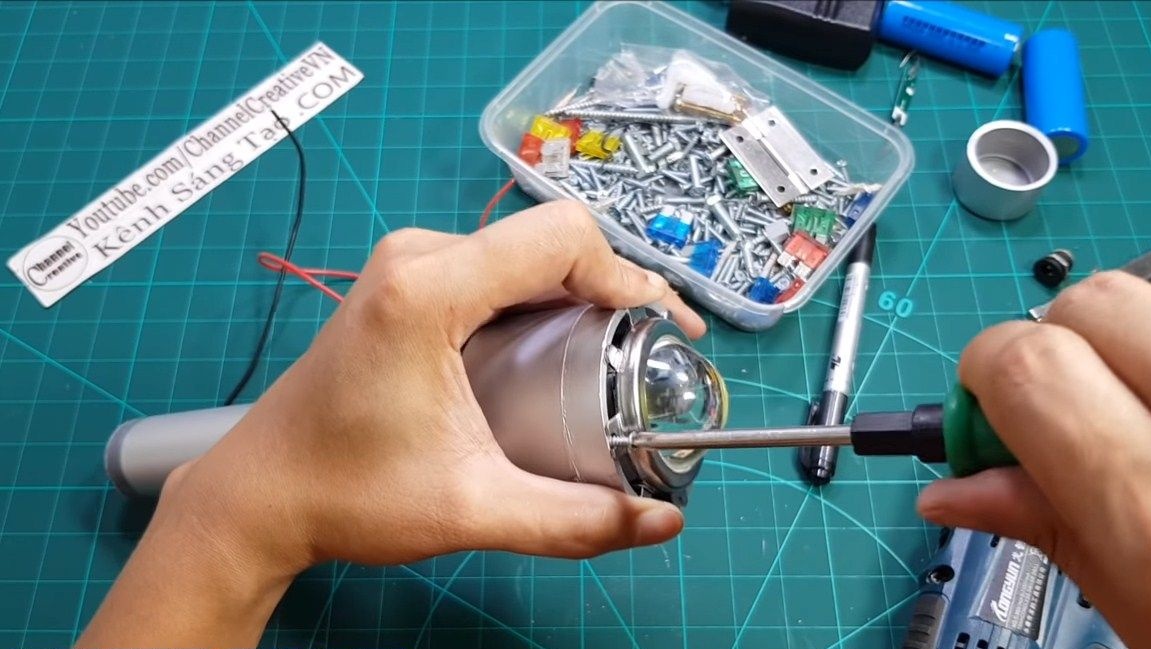
Step one. Install the LED on the cooler
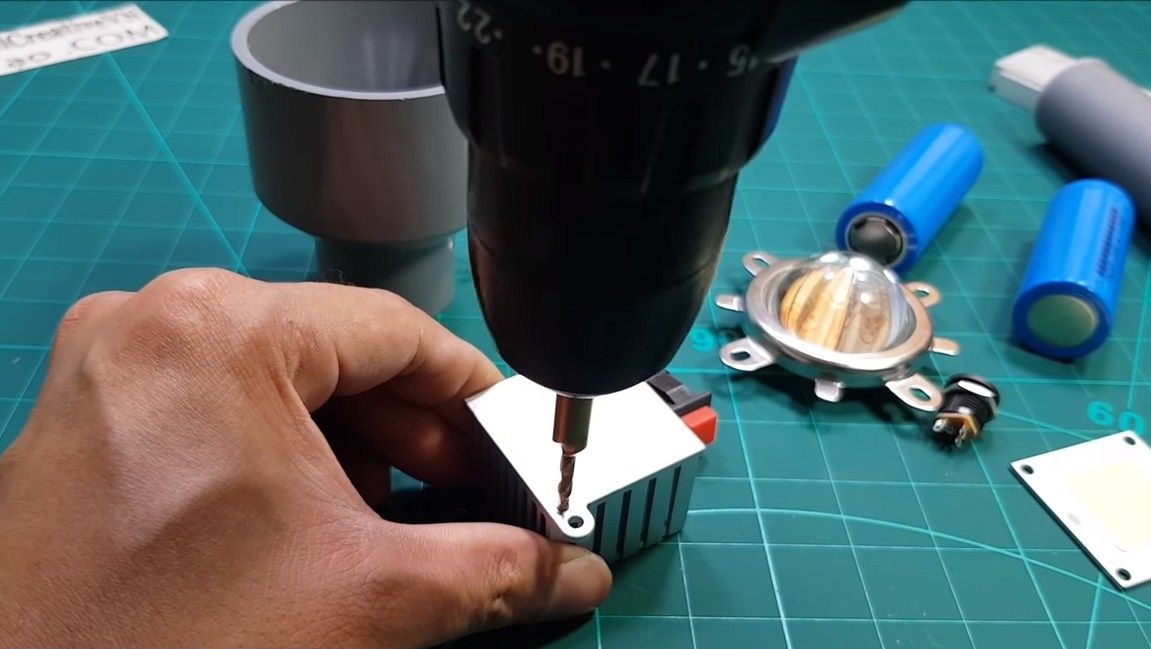
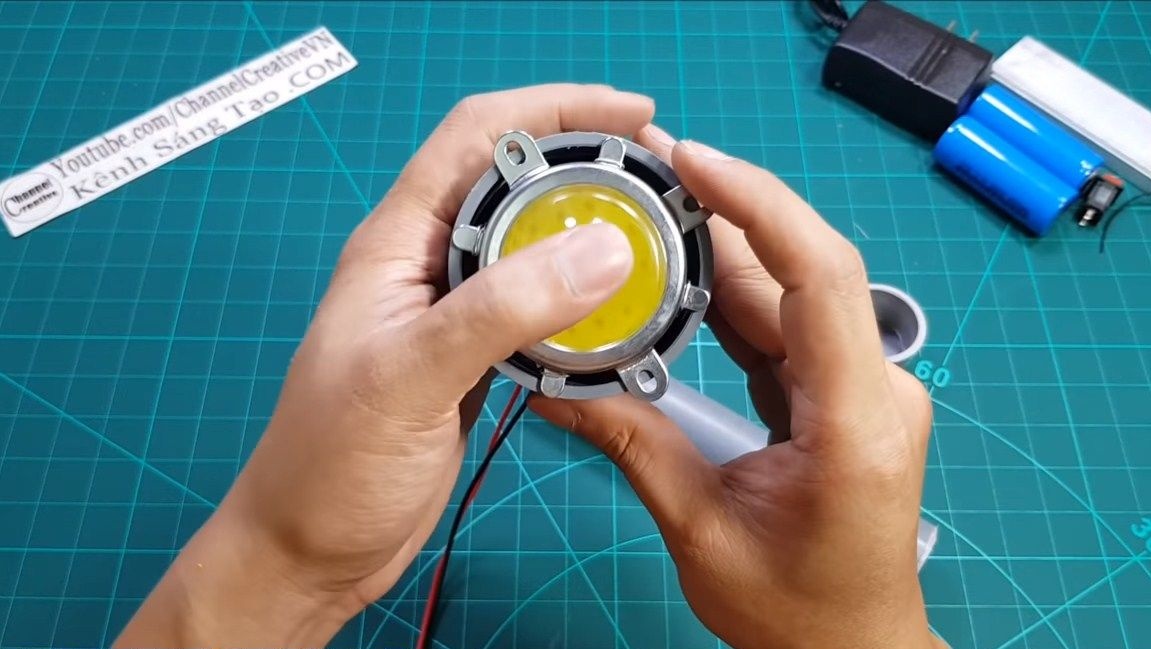
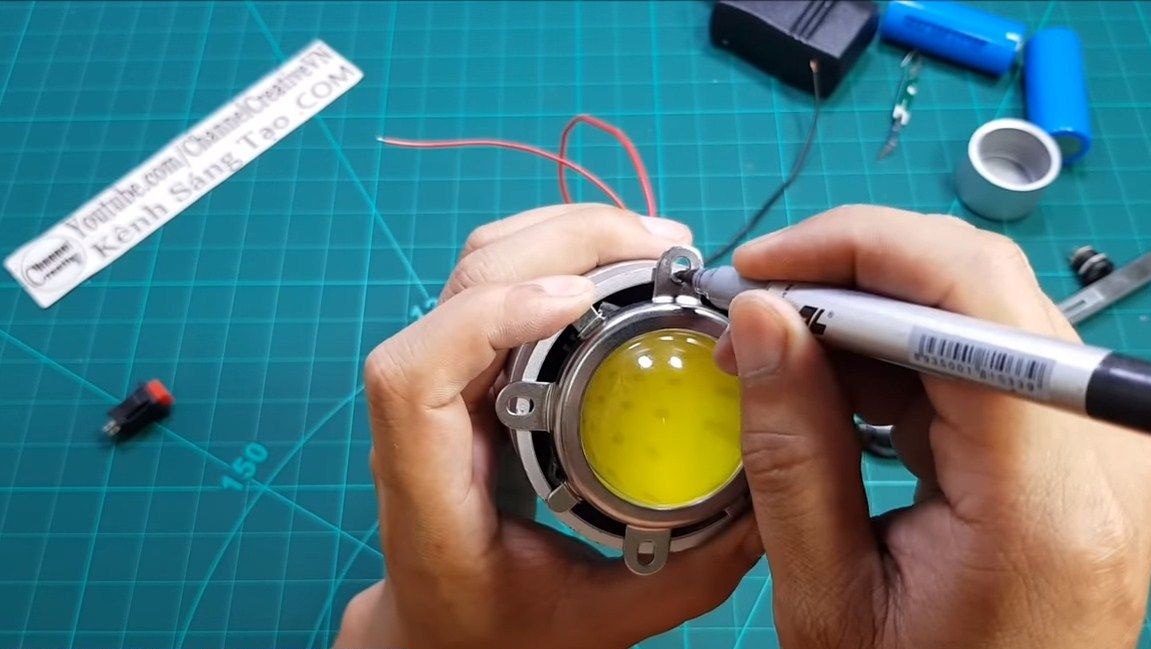
We will use a rather powerful LED, which means that it will definitely need to remove heat from it. For these purposes, we will need a small aluminum radiator.
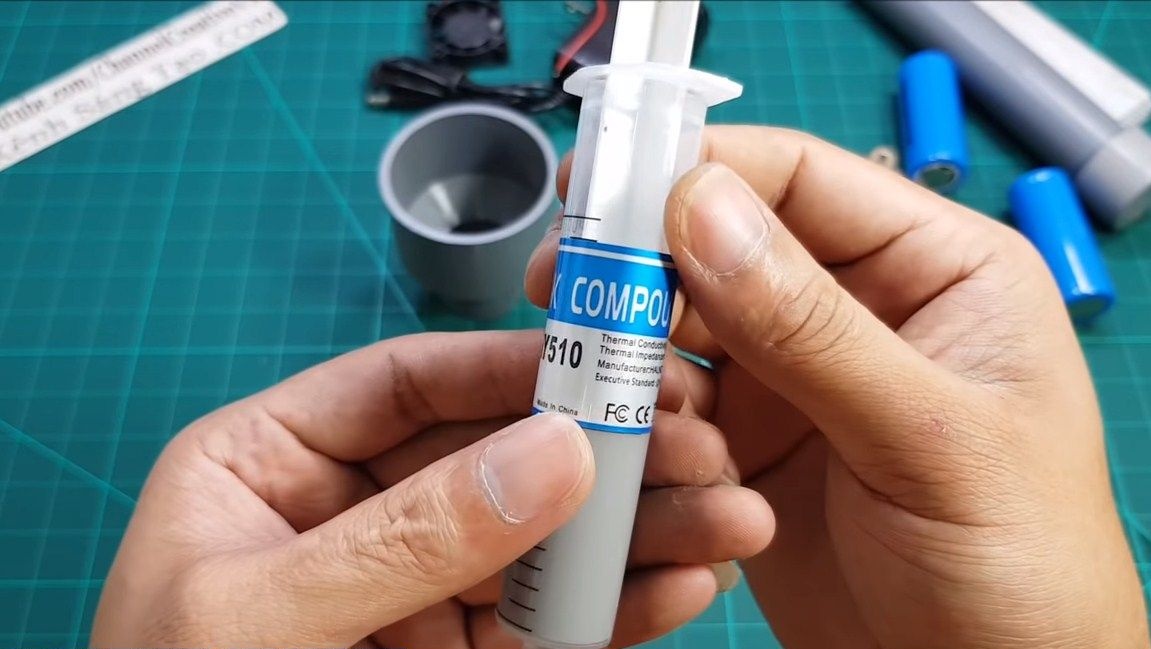
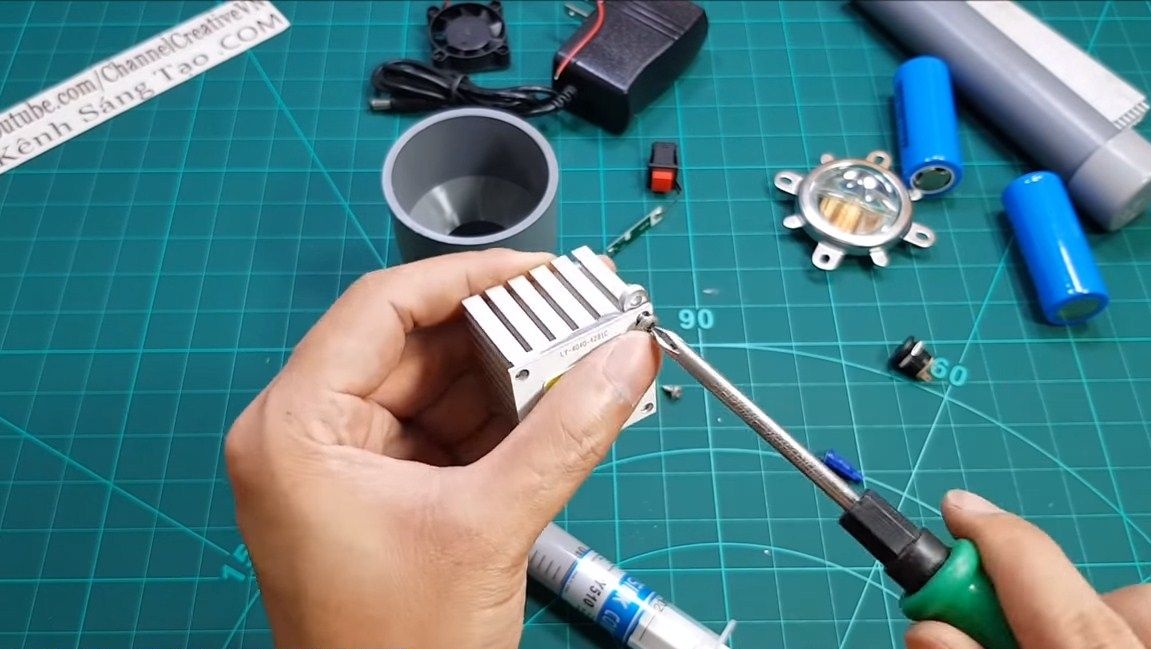
We mark the places, drill holes and cut the threads for the screws. Next, we fasten the LED to the radiator. Be sure to apply thermal grease to the radiator, otherwise the heat transfer will be low and the LED will overheat.
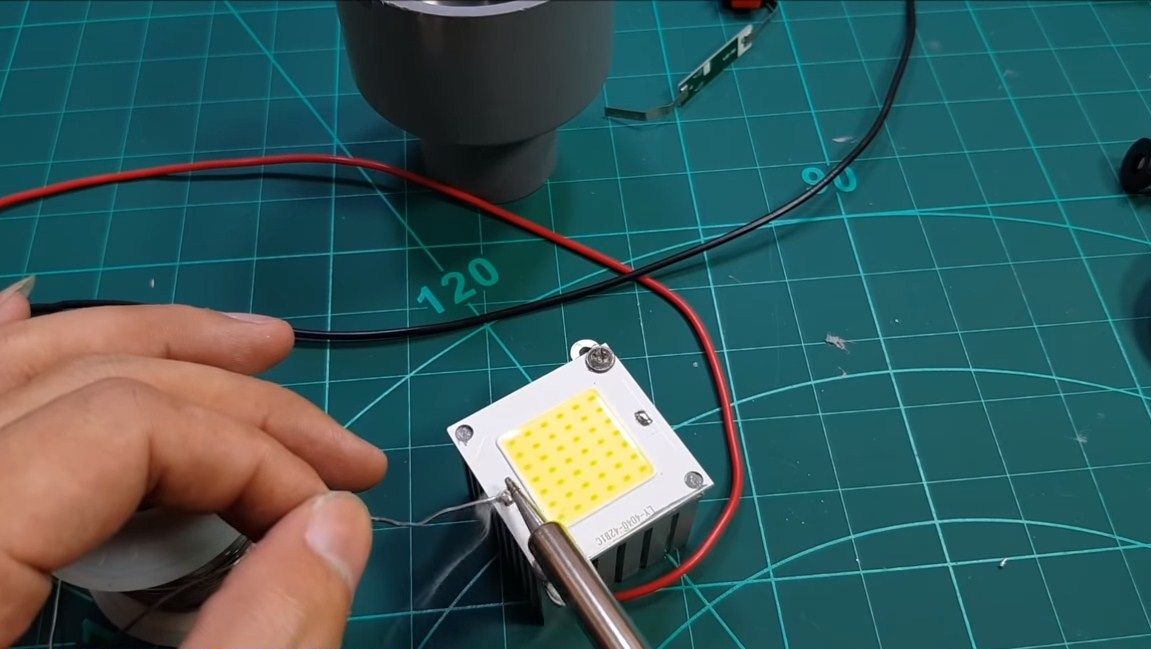
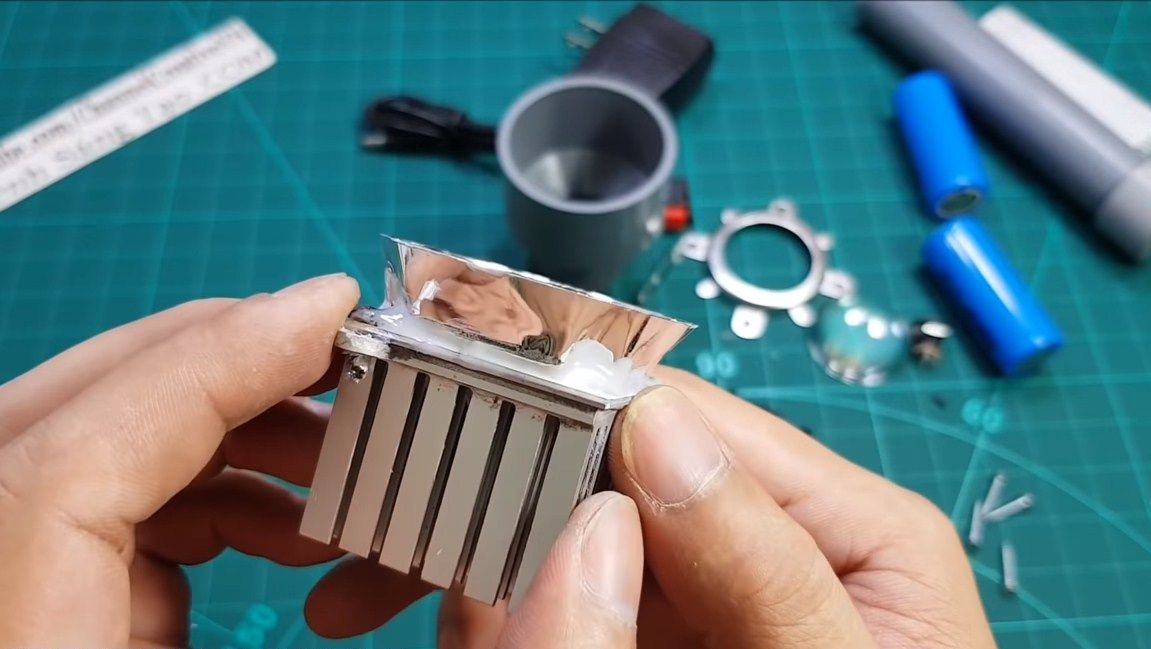
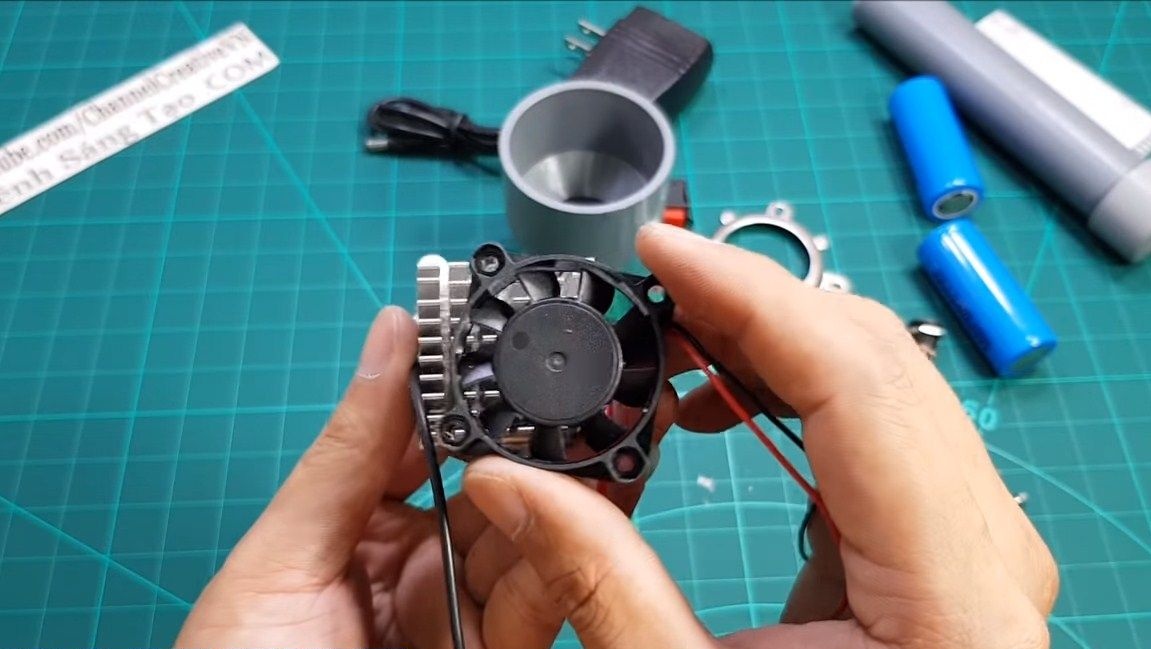
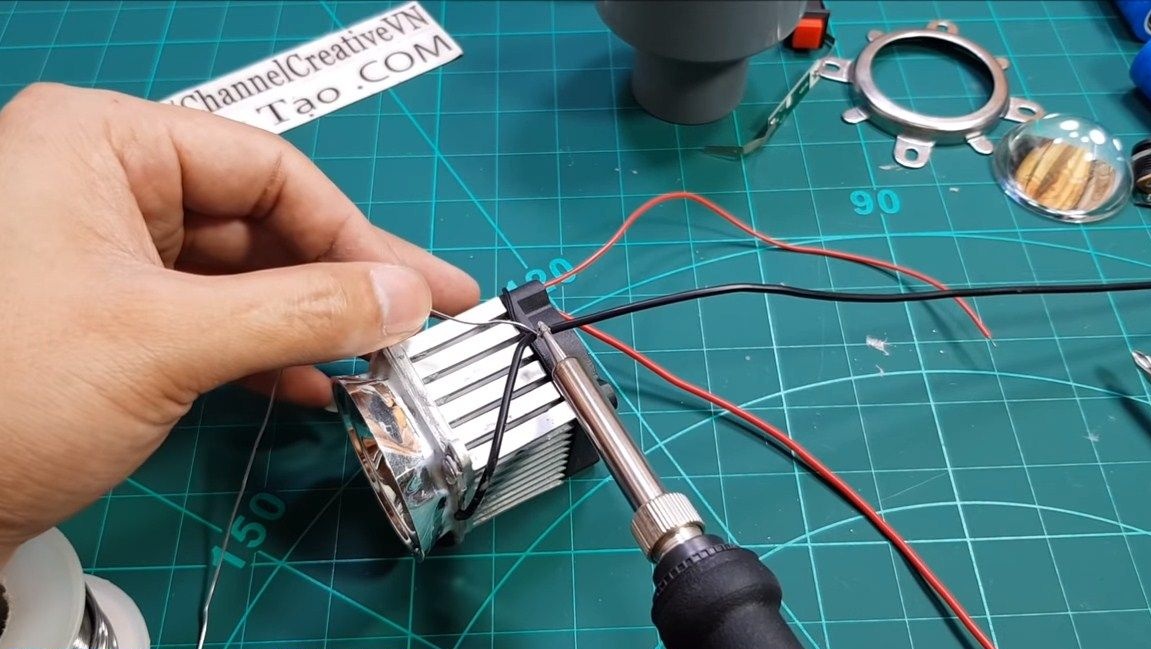
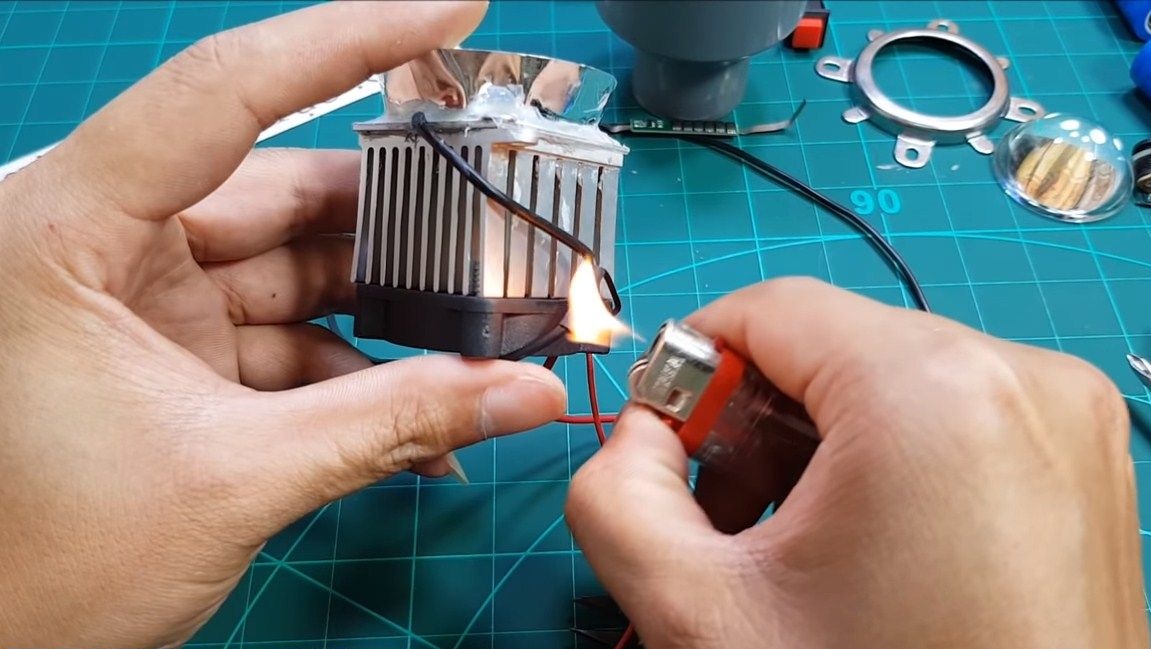
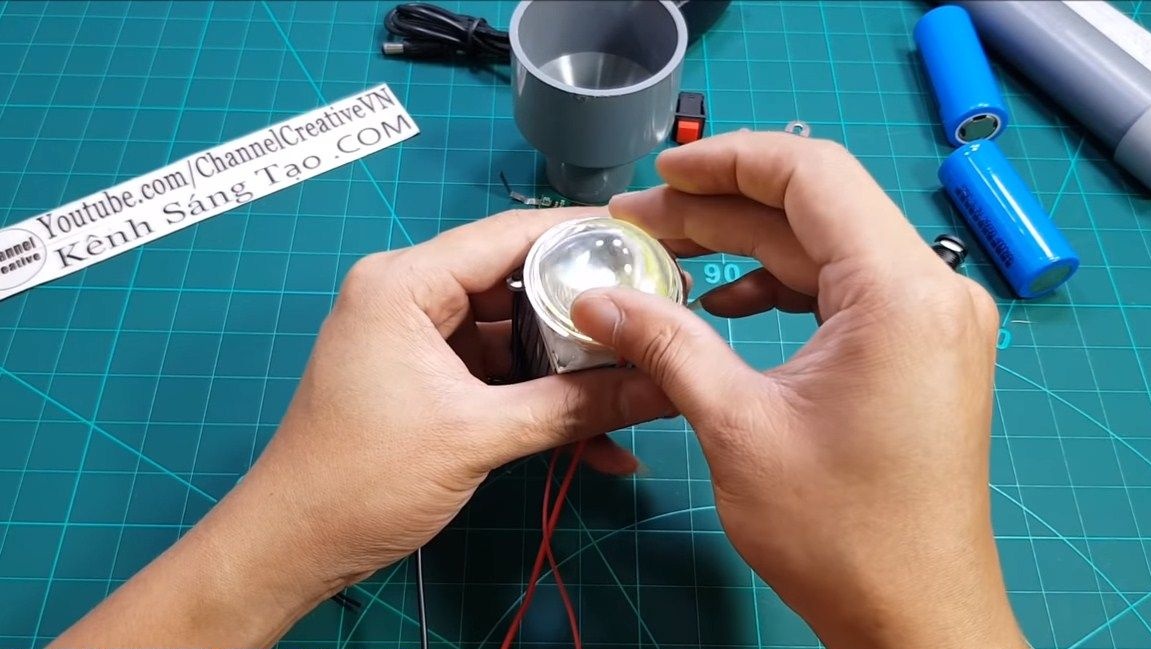
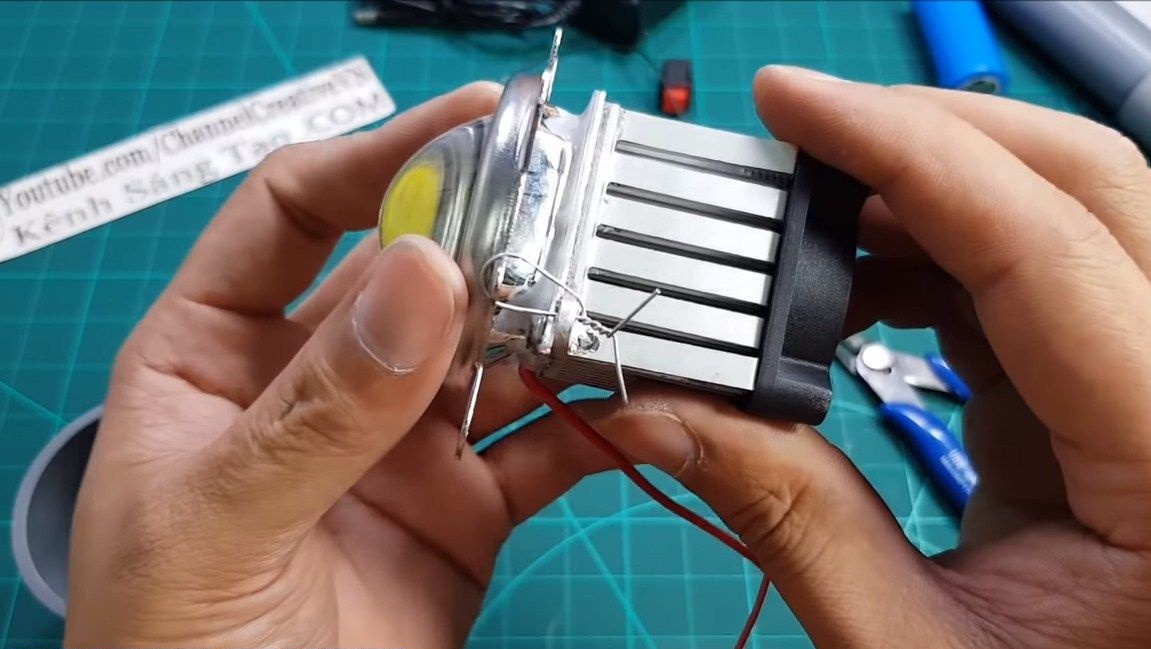
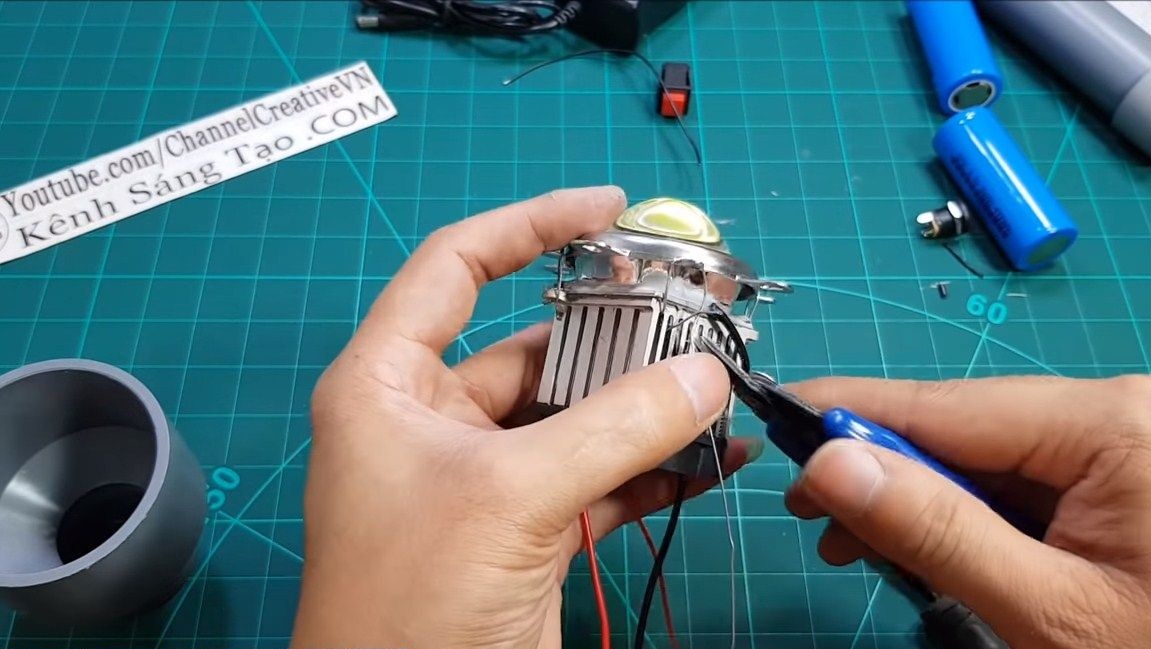
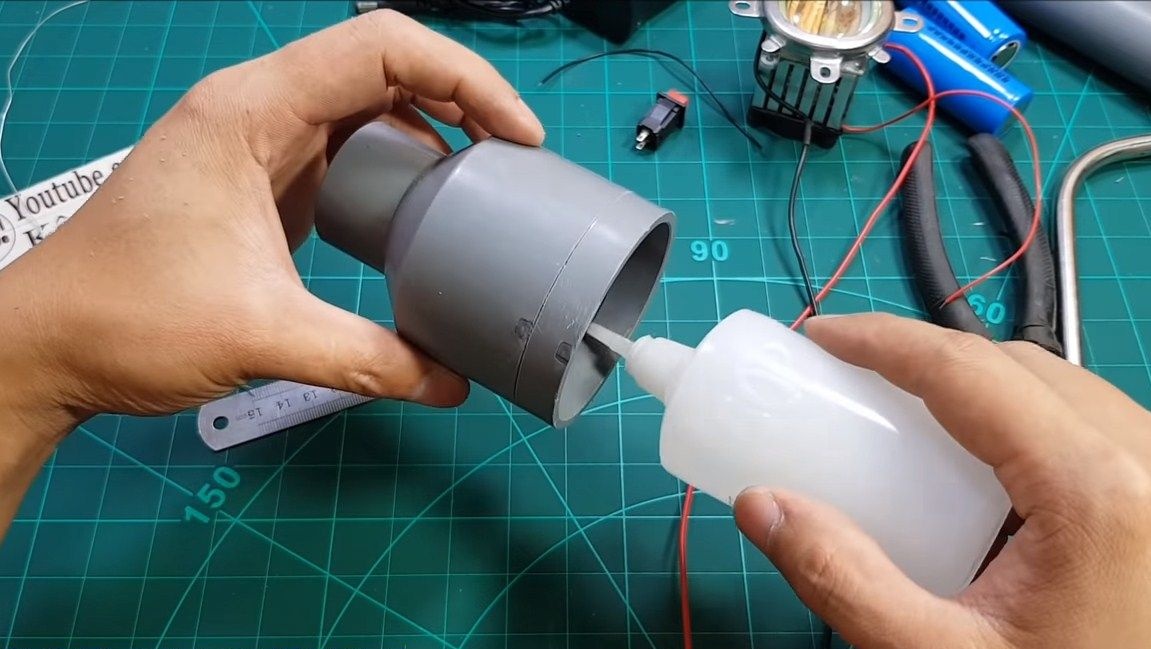
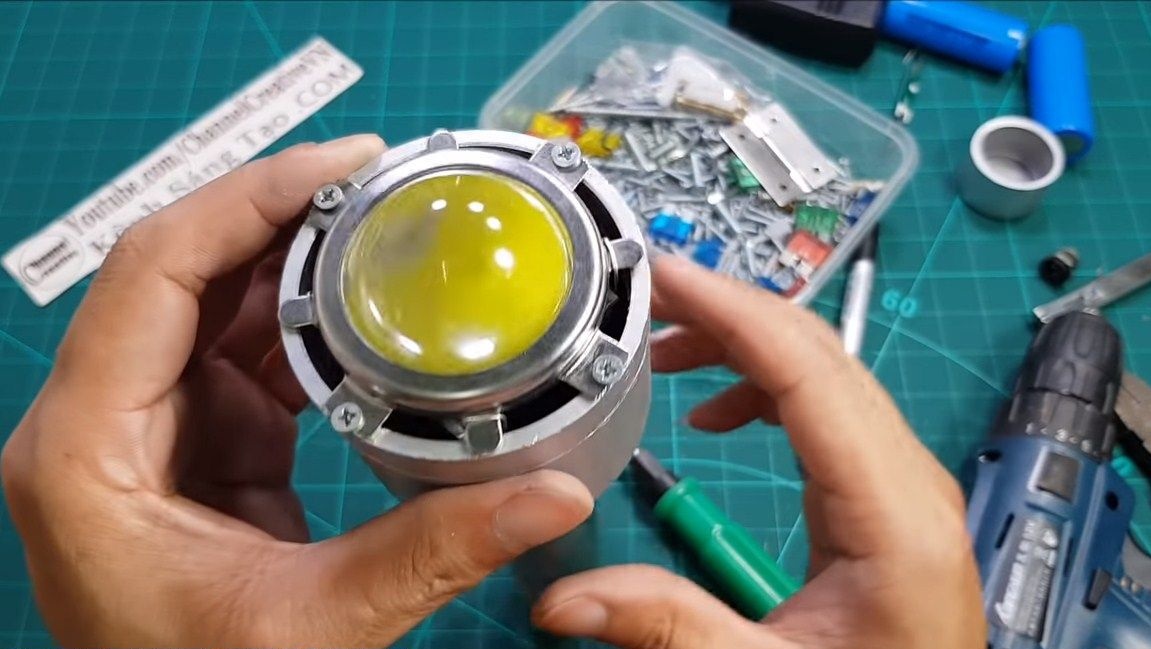
Next, install the reflector, the author fixes it with epoxy glue. You cannot use hot glue here, since everything heats up here. Then you can install the lens. To fix the lens, the author used a thin stainless wire. Simply we fasten the lens bracket to the radiator with it. That's all, now just install the fan on the other side of the radiator. We connect the fan to the LED in parallel so that it turns on immediately when the flashlight is turned on. Solder joints for reliable contact and insulate with heat shrink.
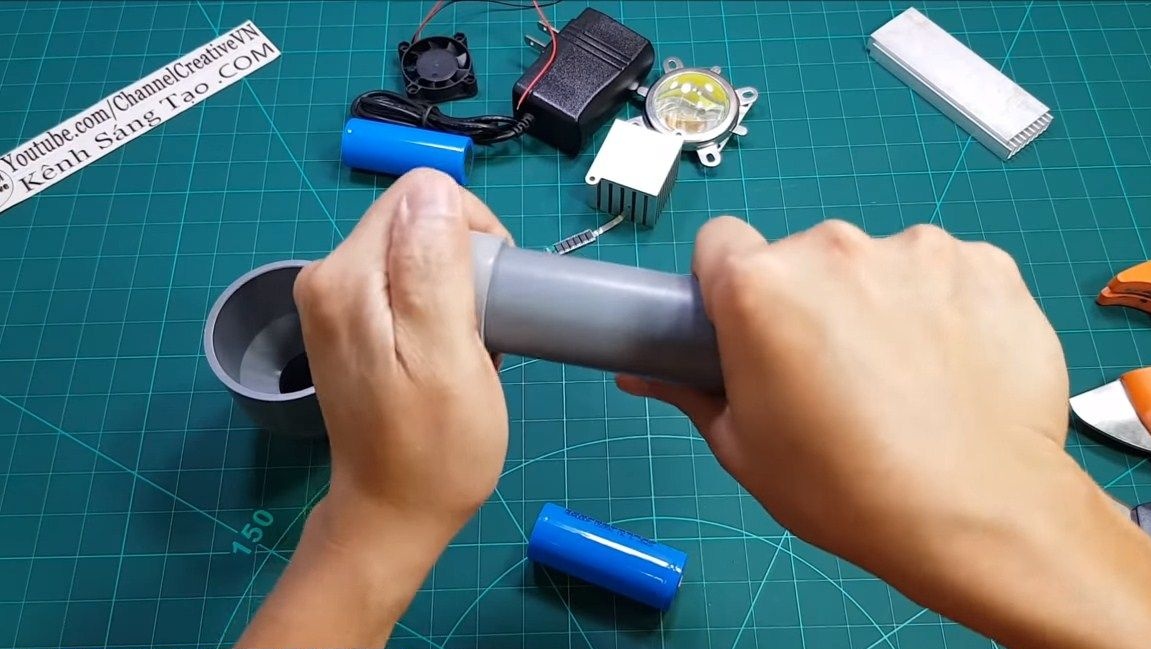
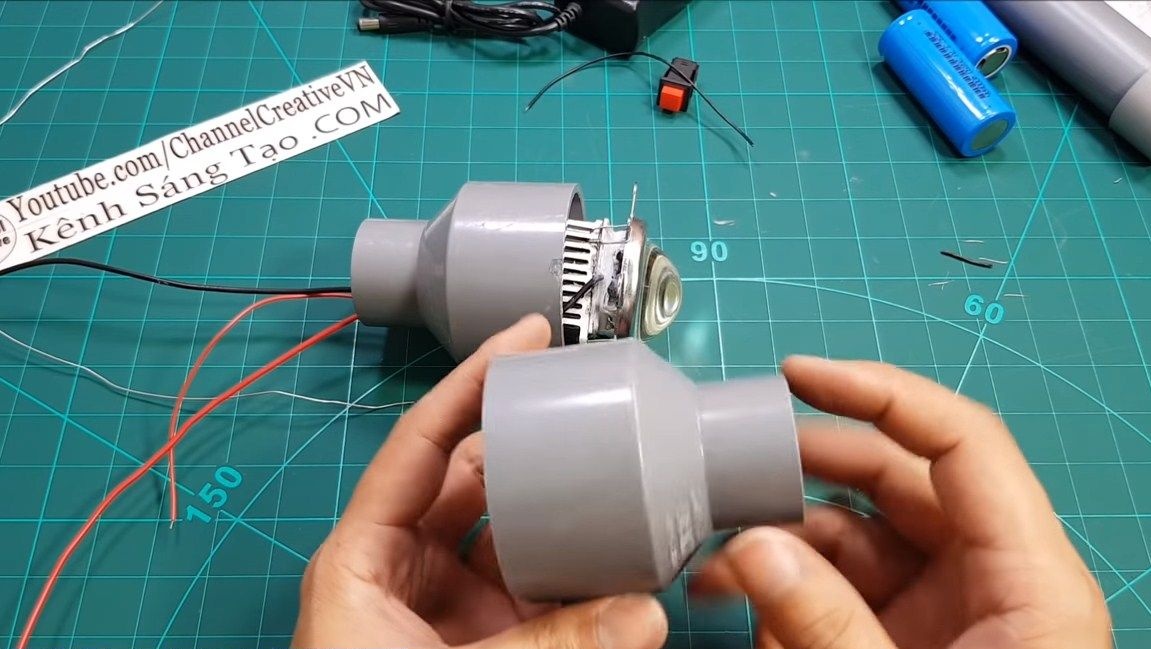
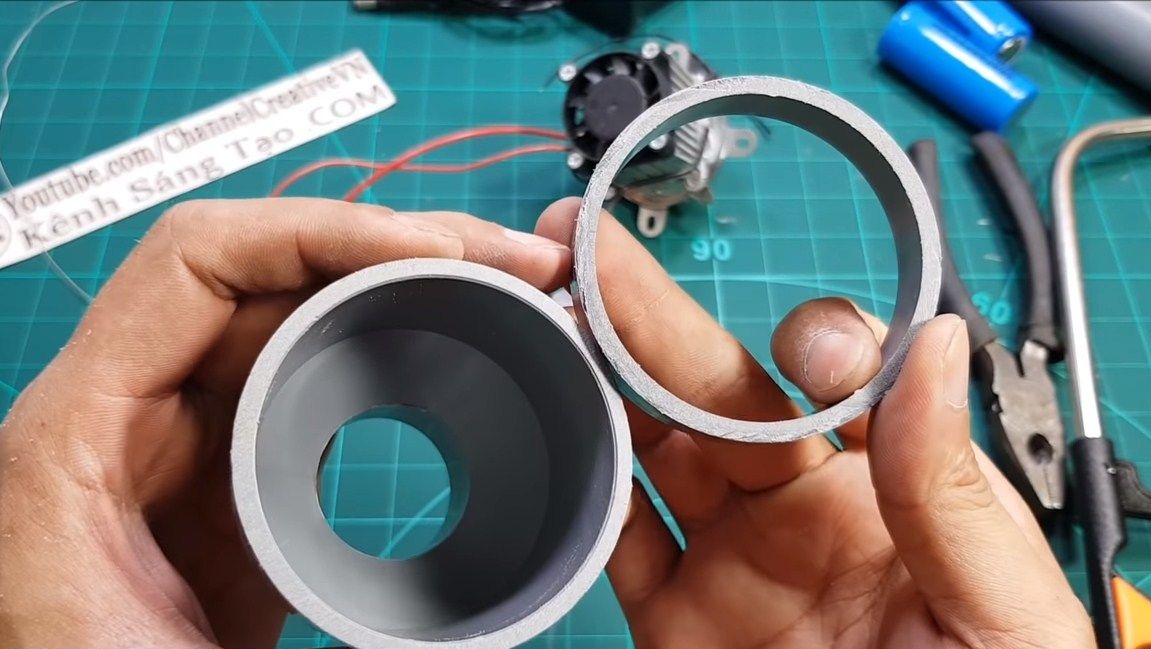
Step Two Making the body
As a case, we need a piece of PVC sewer pipe, it will contain two batteries of 4000 mAh each.As for the radiator with LED, it will be installed inside the cone-shaped part. Since the filling did not fit into it completely, the author slightly increased the length of the part. He cut a piece from another cone-shaped part and glued it with superglue. We also need a plug for pipes, there will be a connector for the charger.
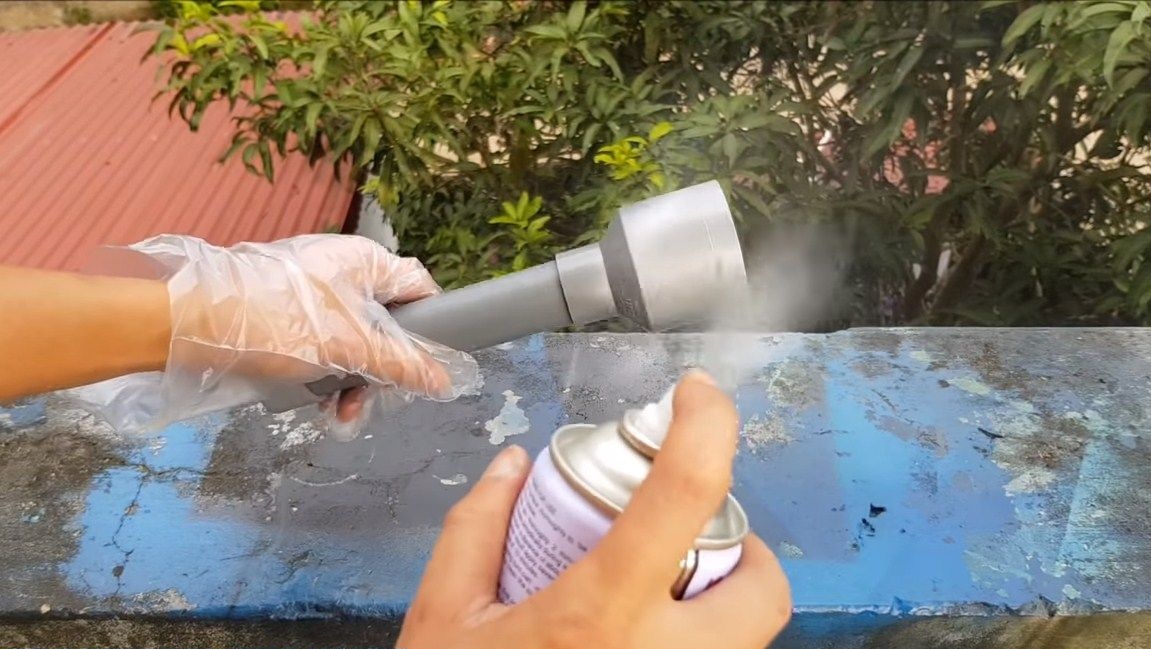
When everything is ready, paint the case. The author used a spray can with silver paint, everything looks pretty good.
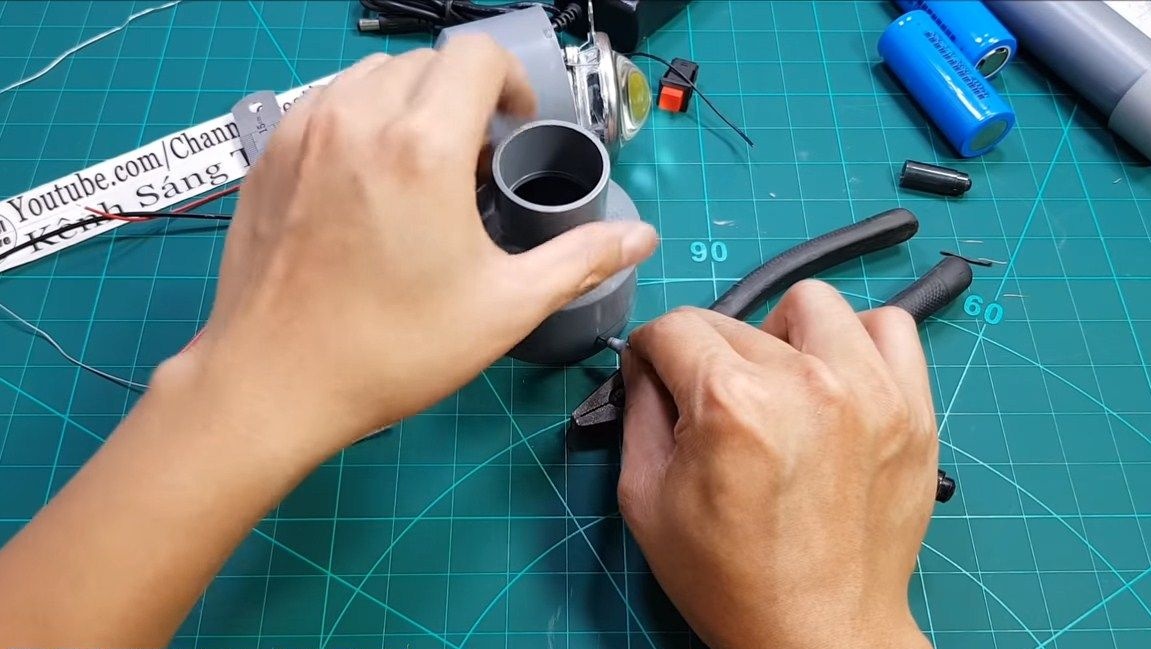
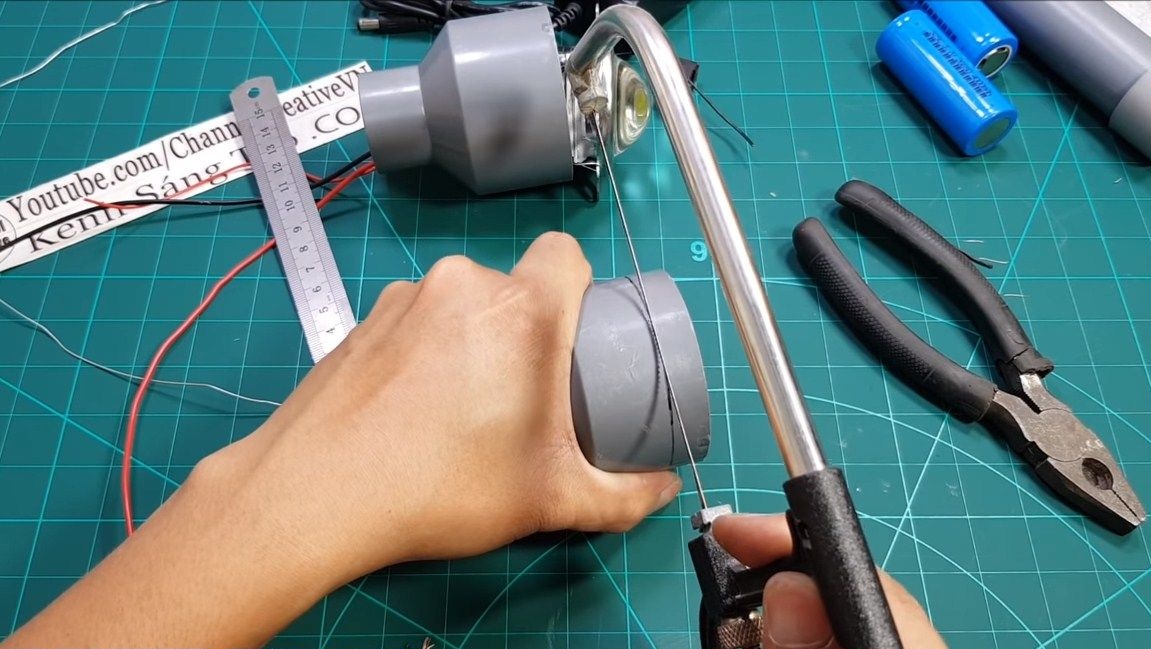
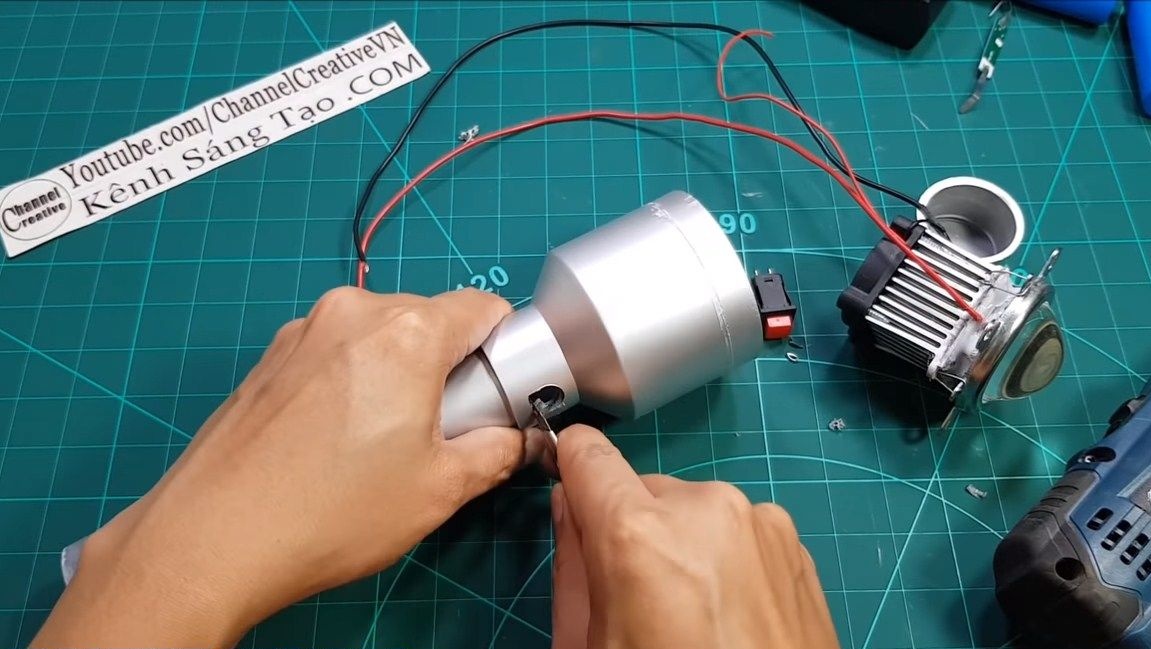
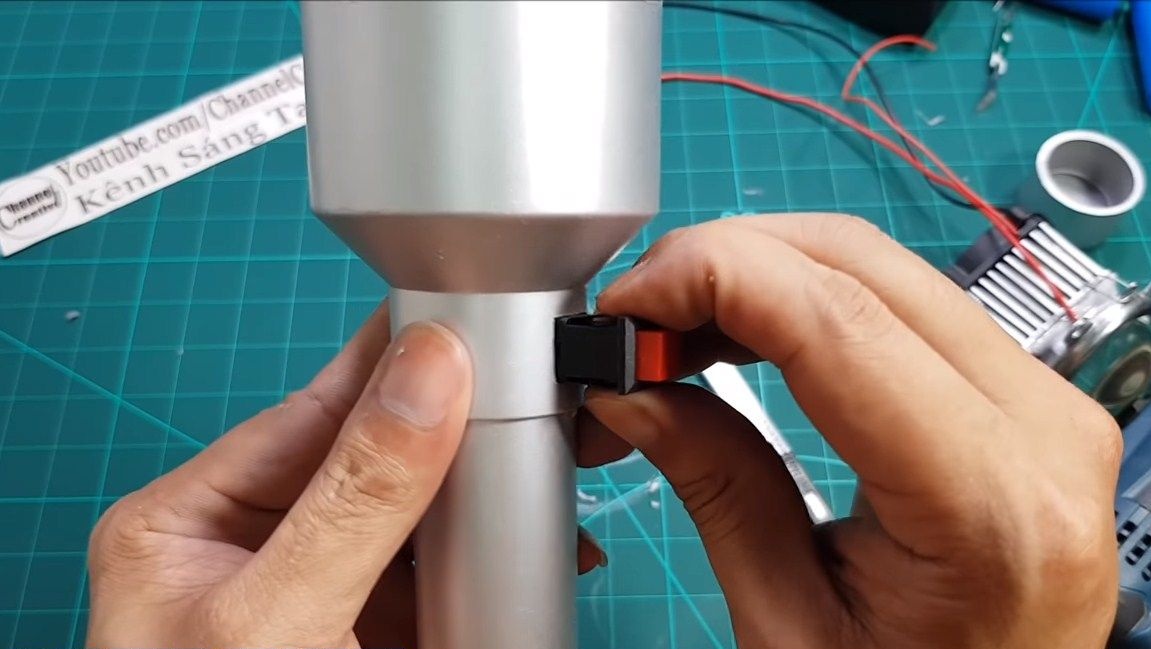
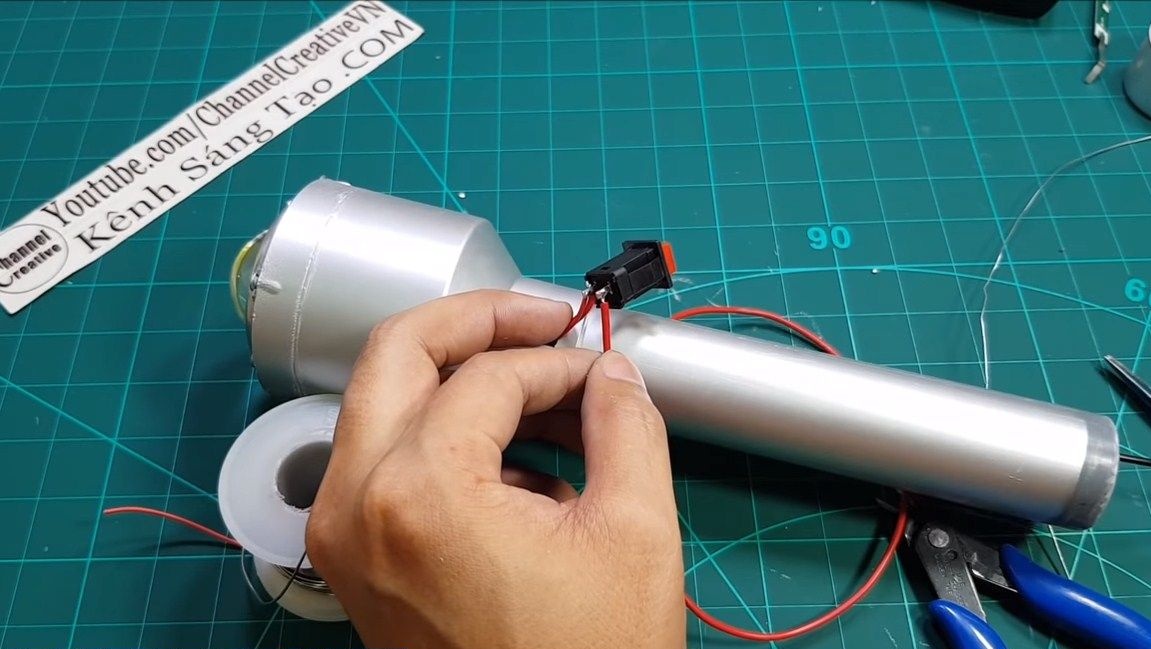
Step Three Button Hole
We drill a hole in the case, and then bore it with files or cut it with a clerical knife. Here we will then install a button to turn on the flashlight.
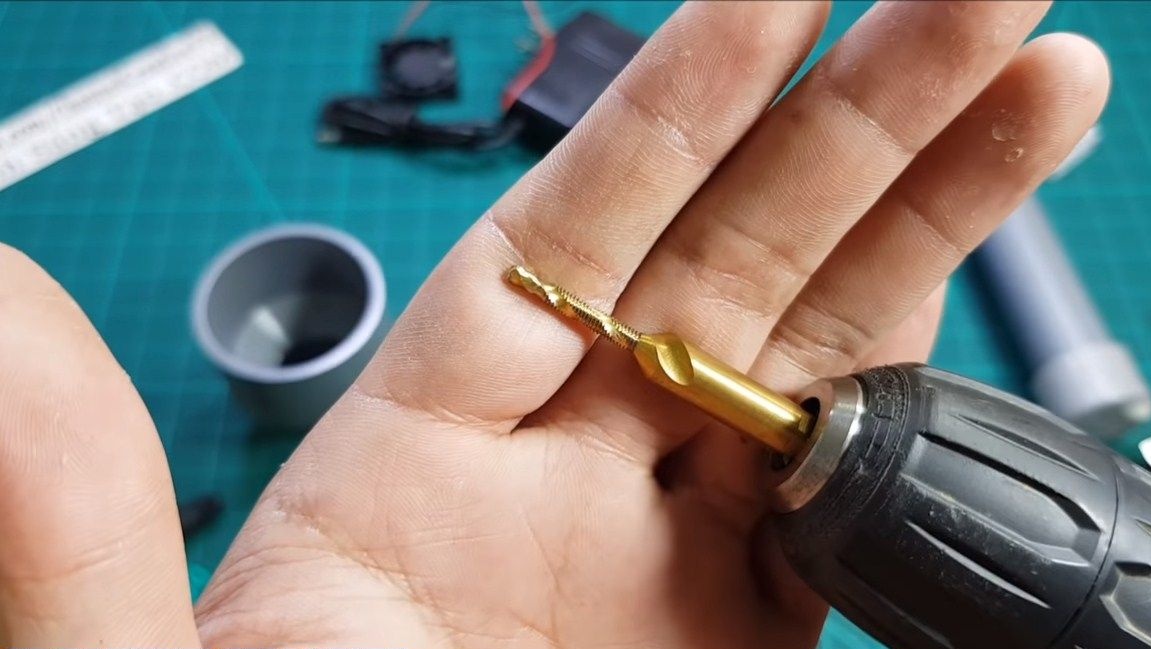
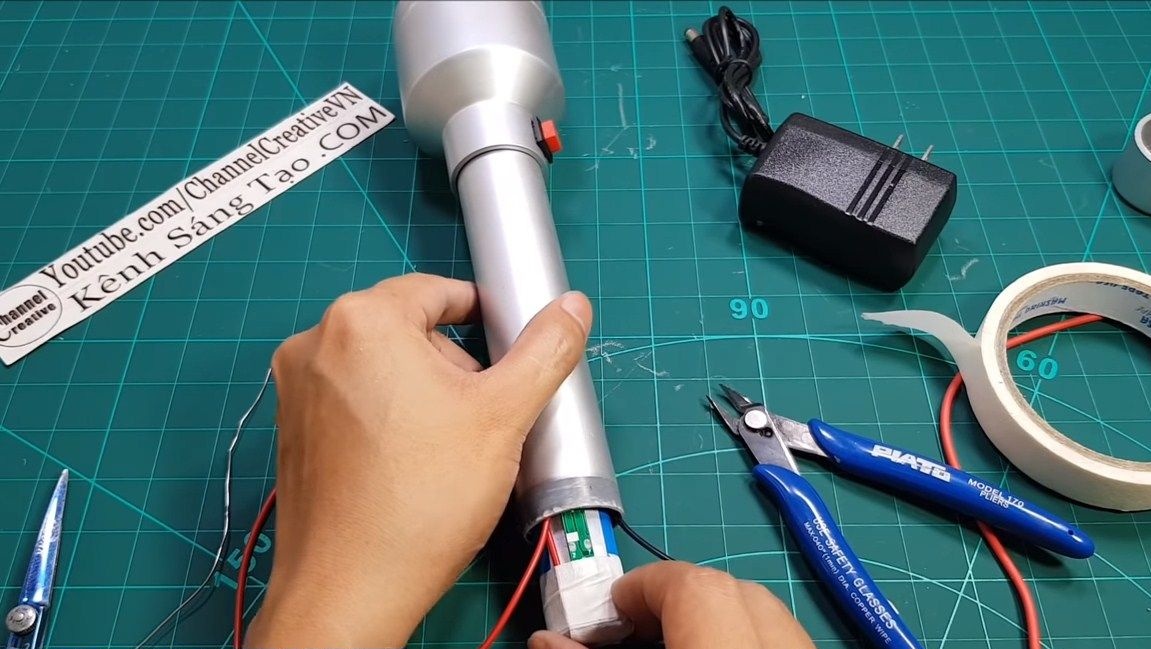
Step Four Fasten the filling
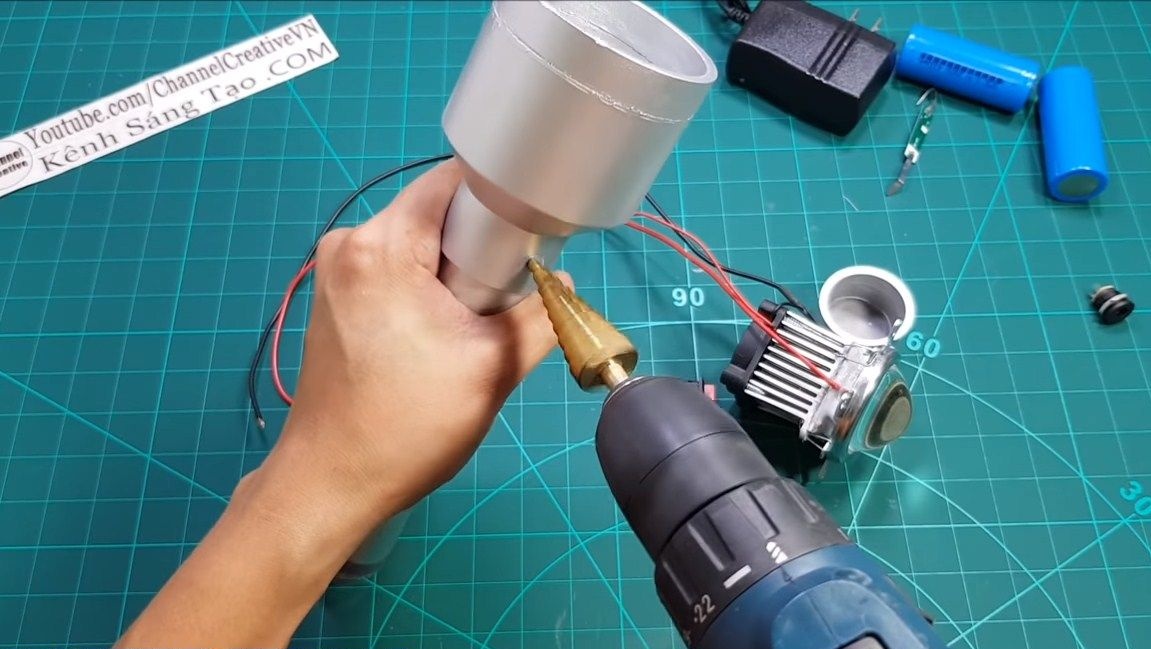
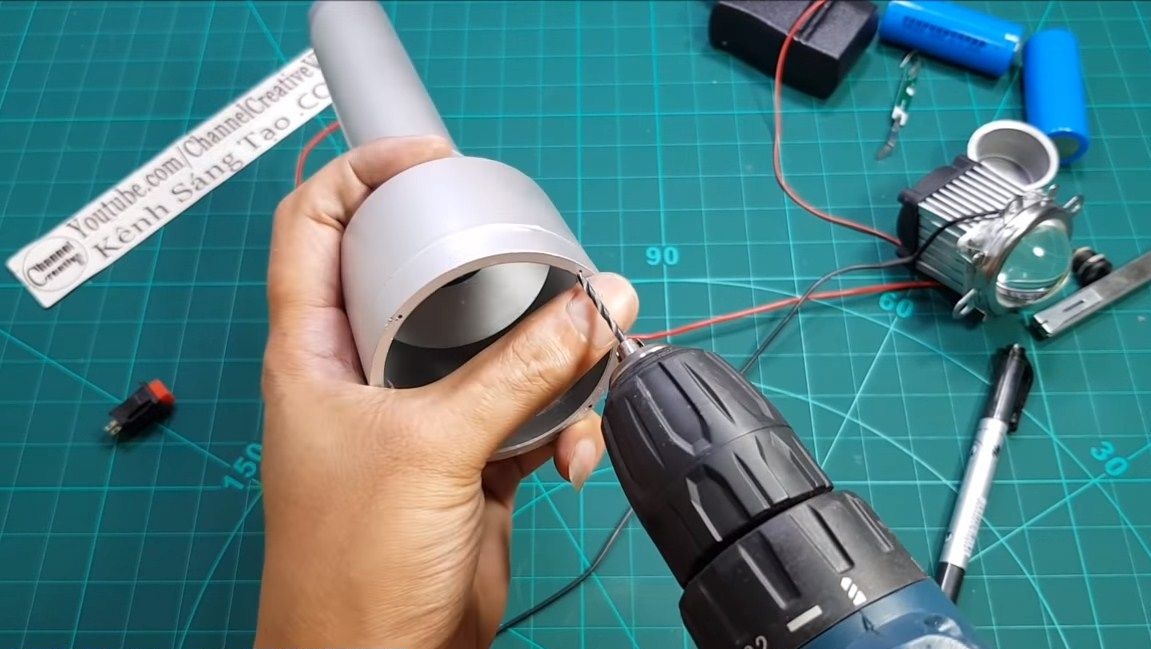
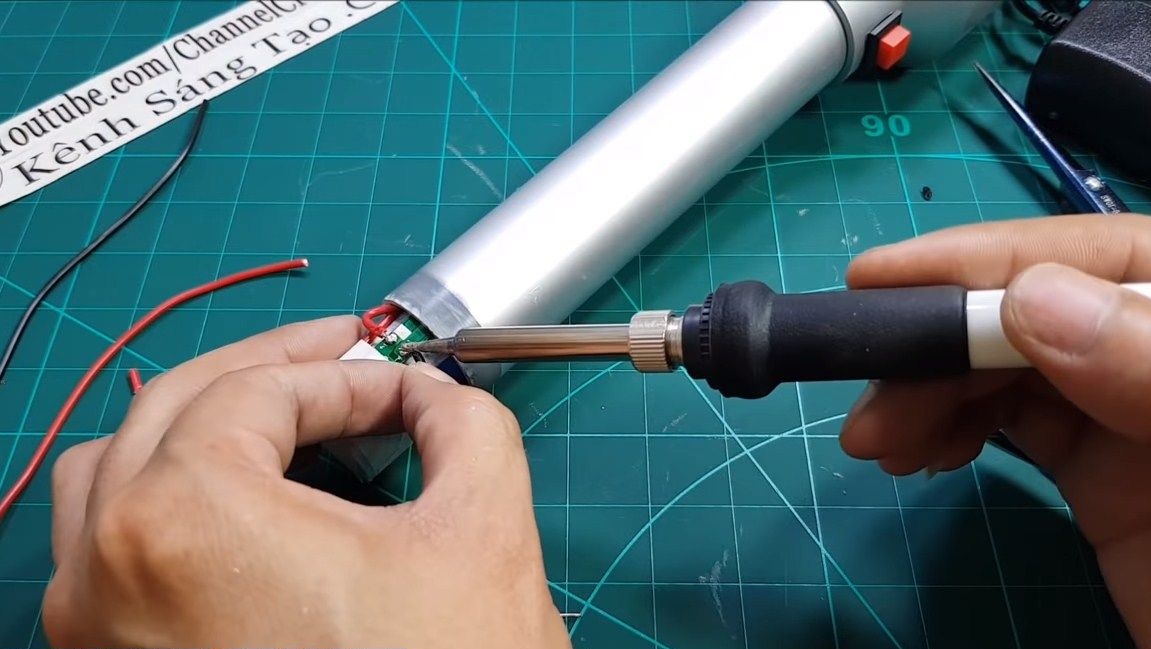
The radiator with the installed LED is fixed in the housing. For these purposes, we need a drill and drill of small diameter. We drill holes and fasten the whole thing with screws. We cut off the excess parts so as not to interfere. The remaining windows cannot be closed; they are needed for ventilation. In general, it would be nice to drill holes for cooling in the case near the radiator. After that, solder the button and set it in its place.
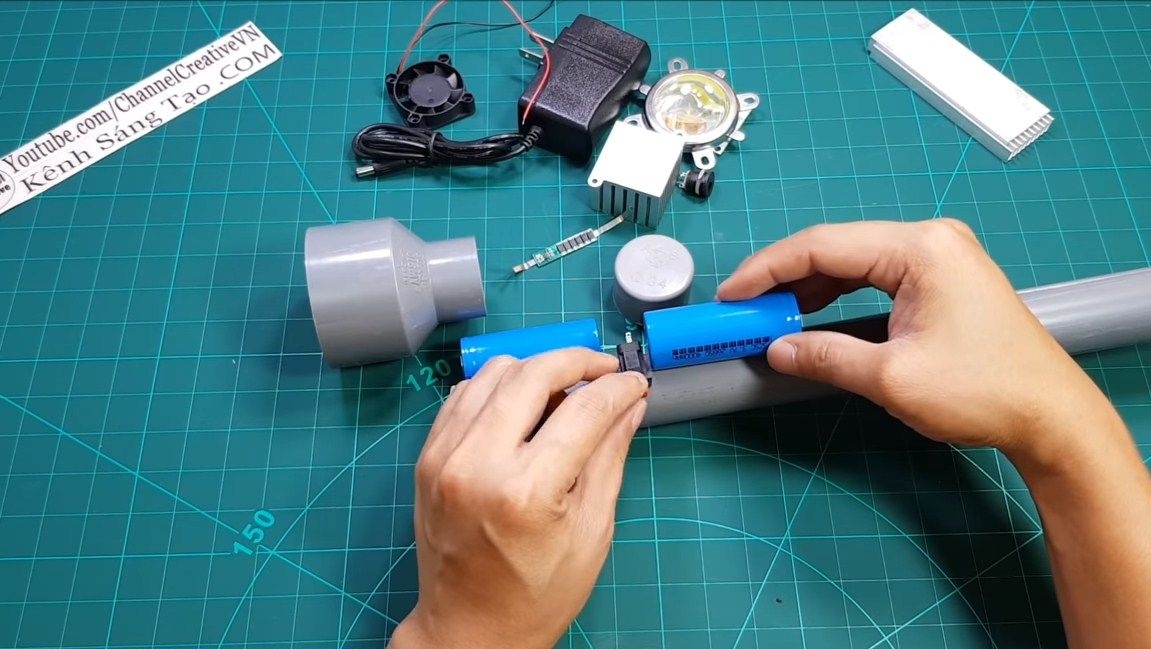
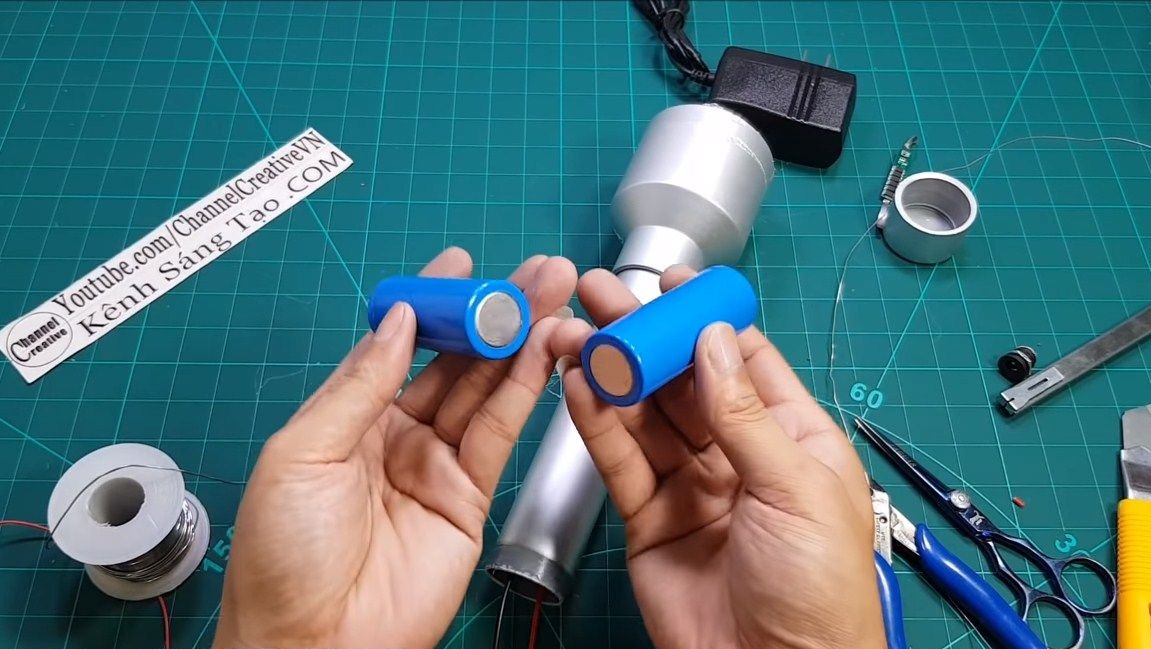
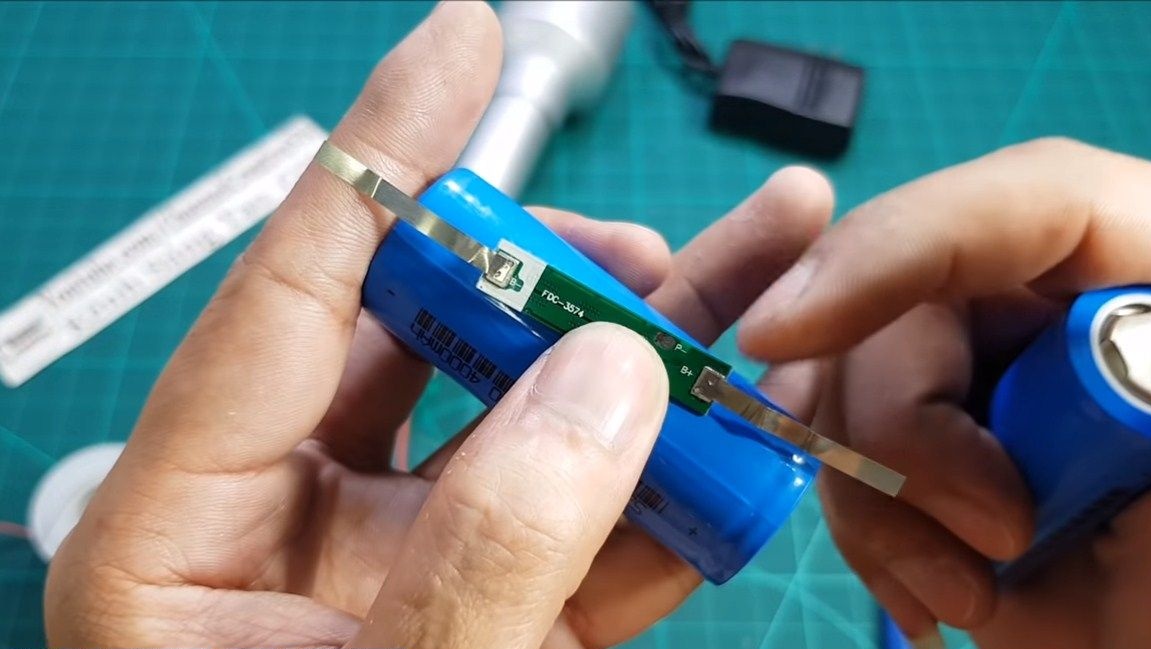
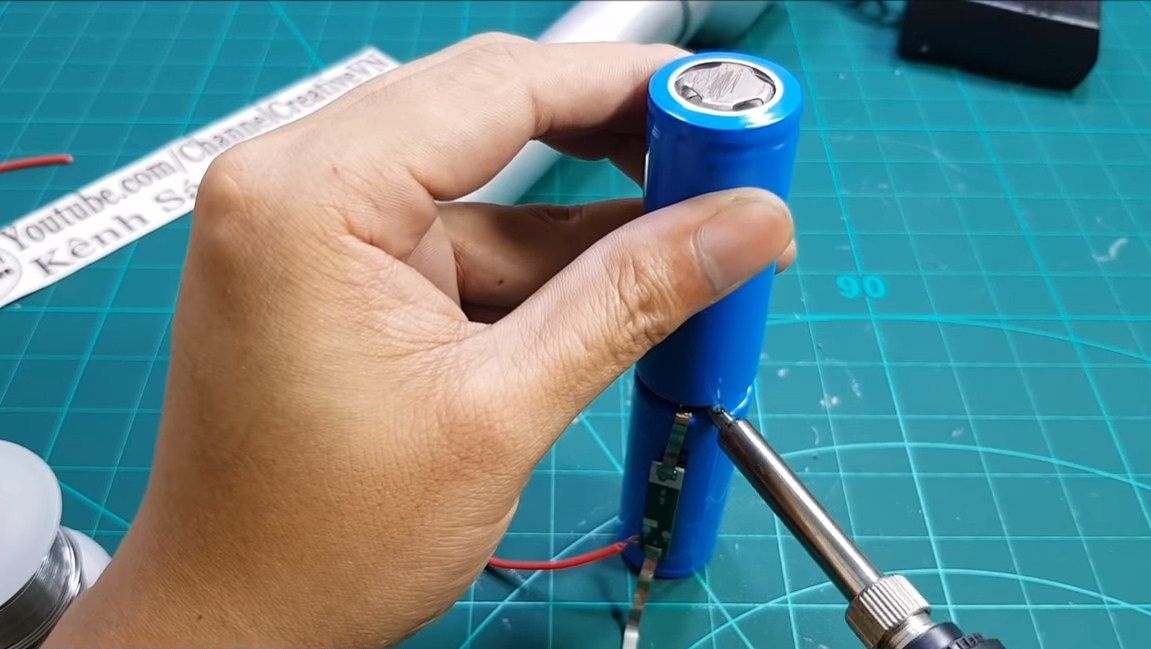
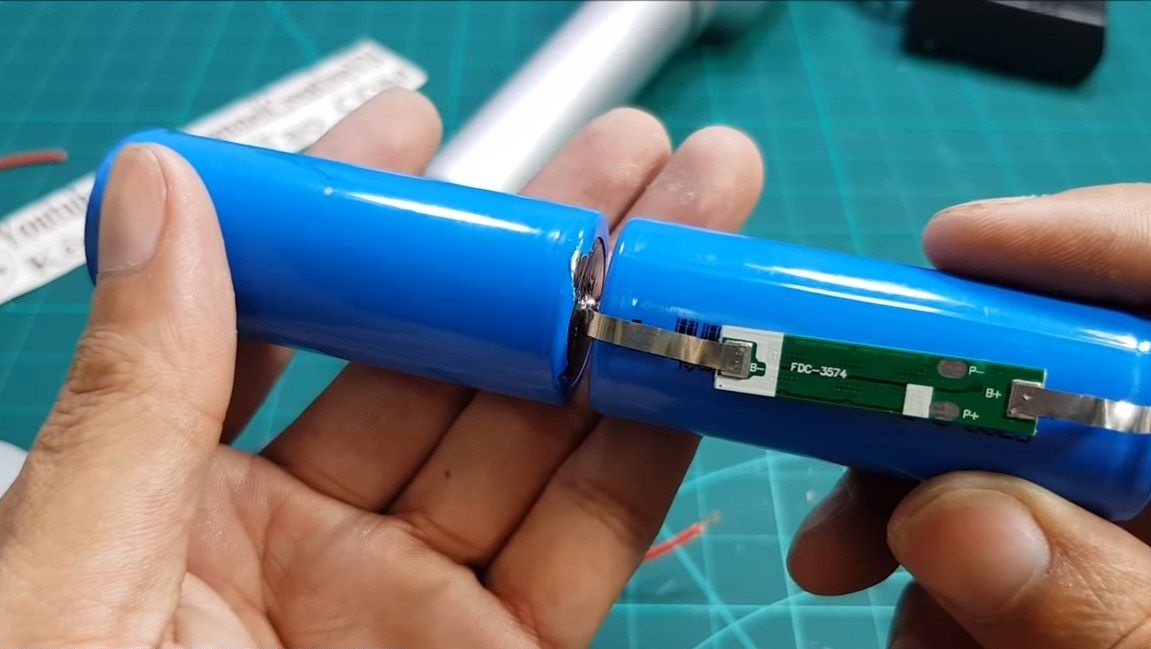
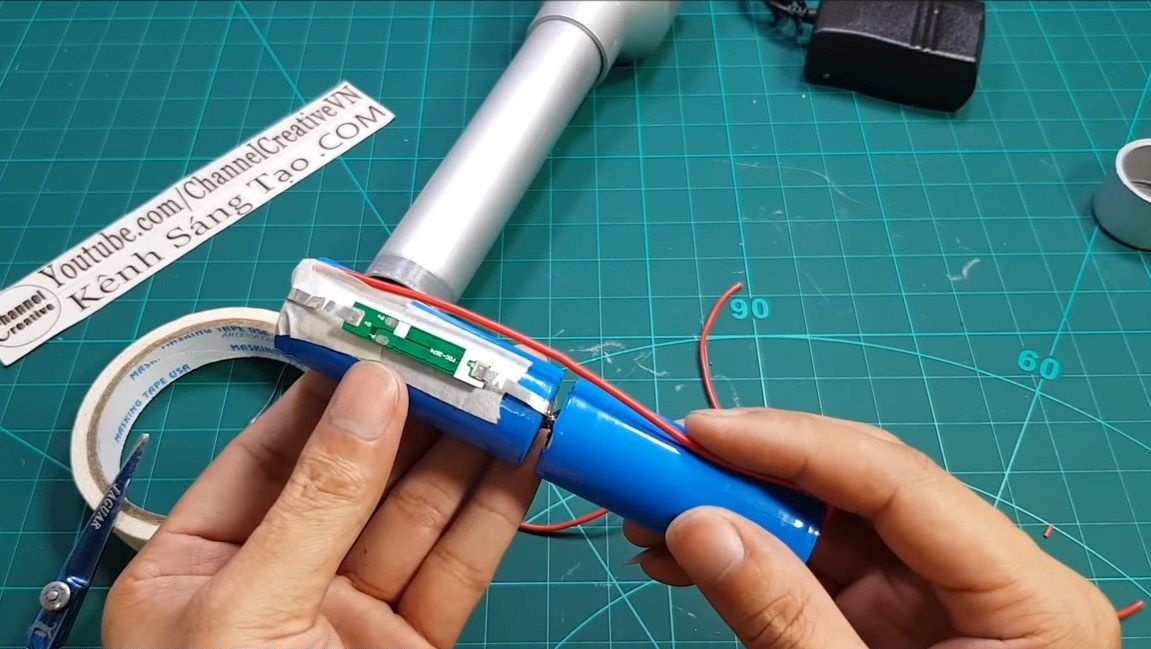
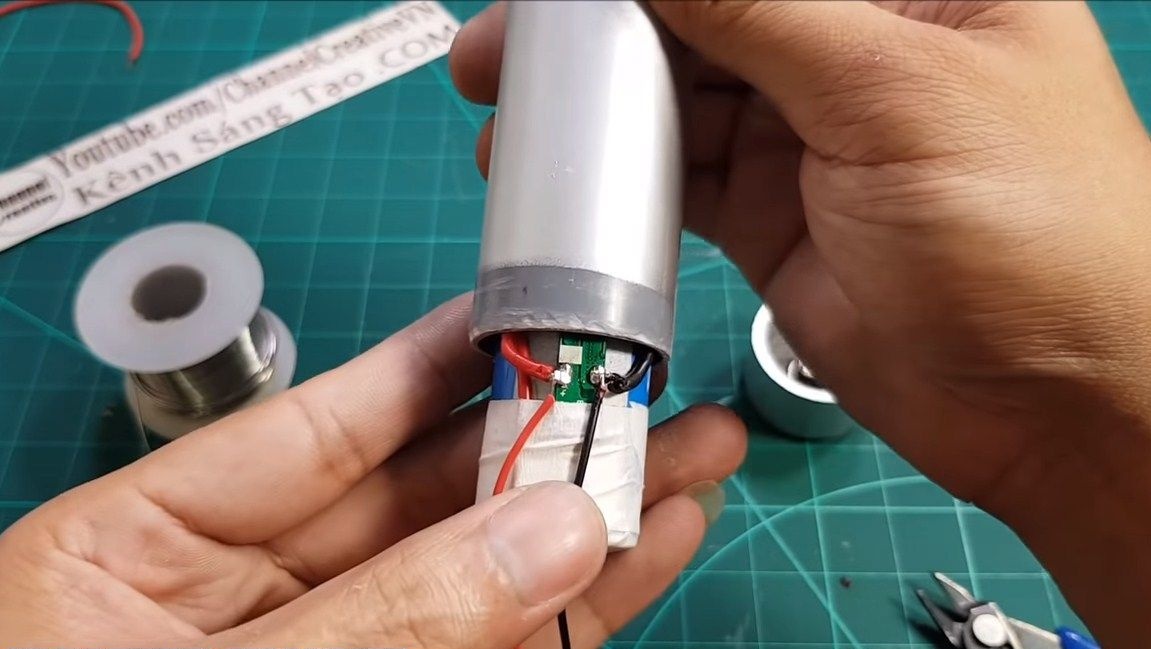
Step Five We deal with batteries
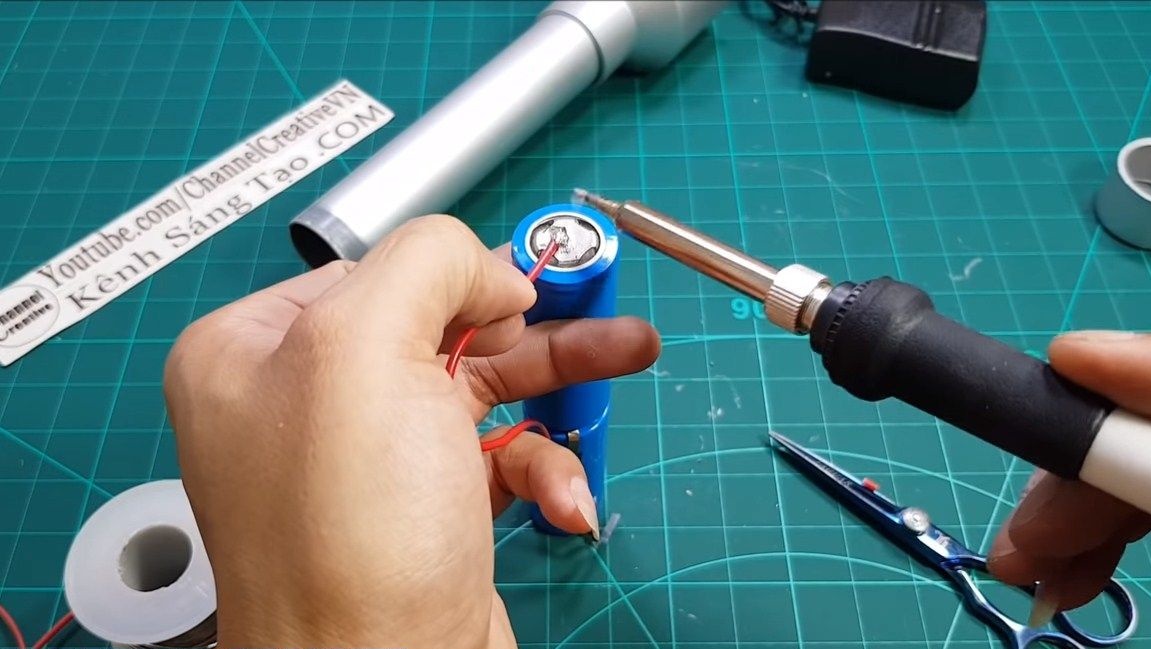
We have two batteries, each with 4000 mAh capacity. Their author establishes in parallel, for this they are soldered by "minuses". Between the "cons" we solder BMS. Thanks to this controller, the batteries will work for a long time, it will not allow them to recharge or discharge to a critically low value. The pluses of the batteries are also connected by wire. That's all, now solder the necessary wires and install the batteries in the case.

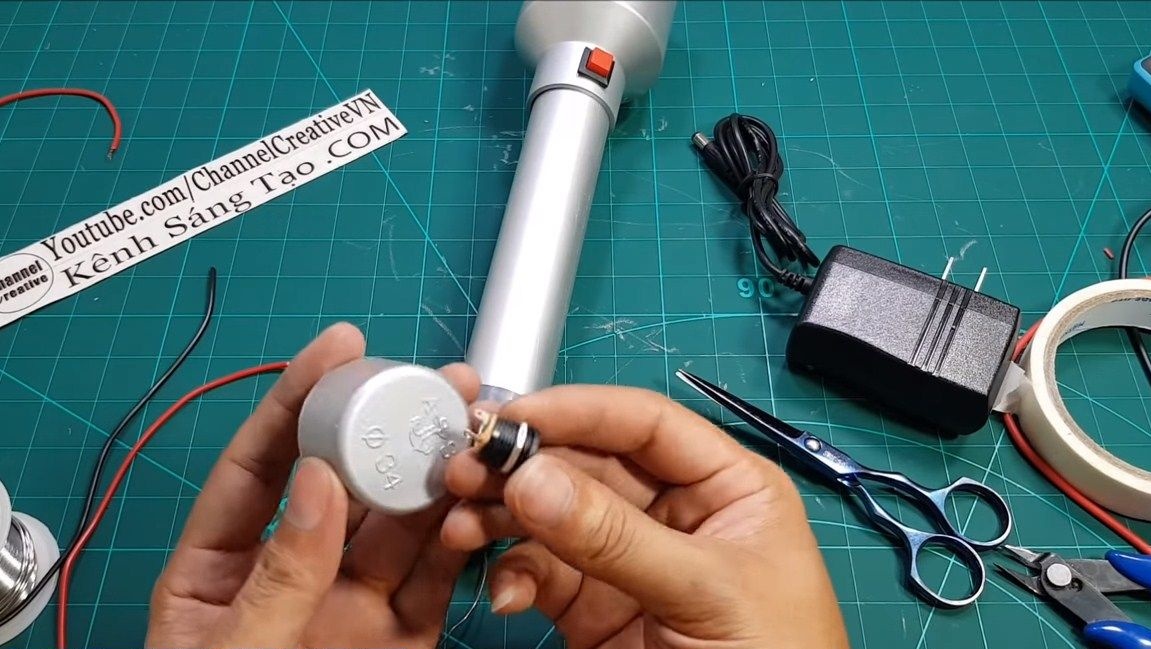
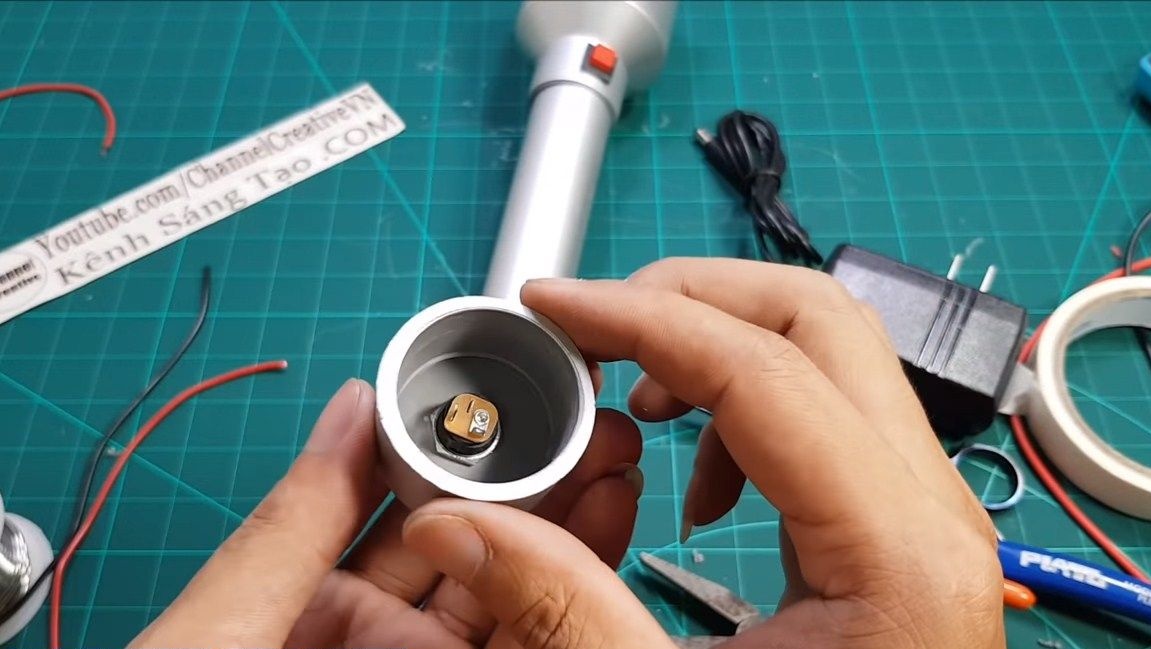
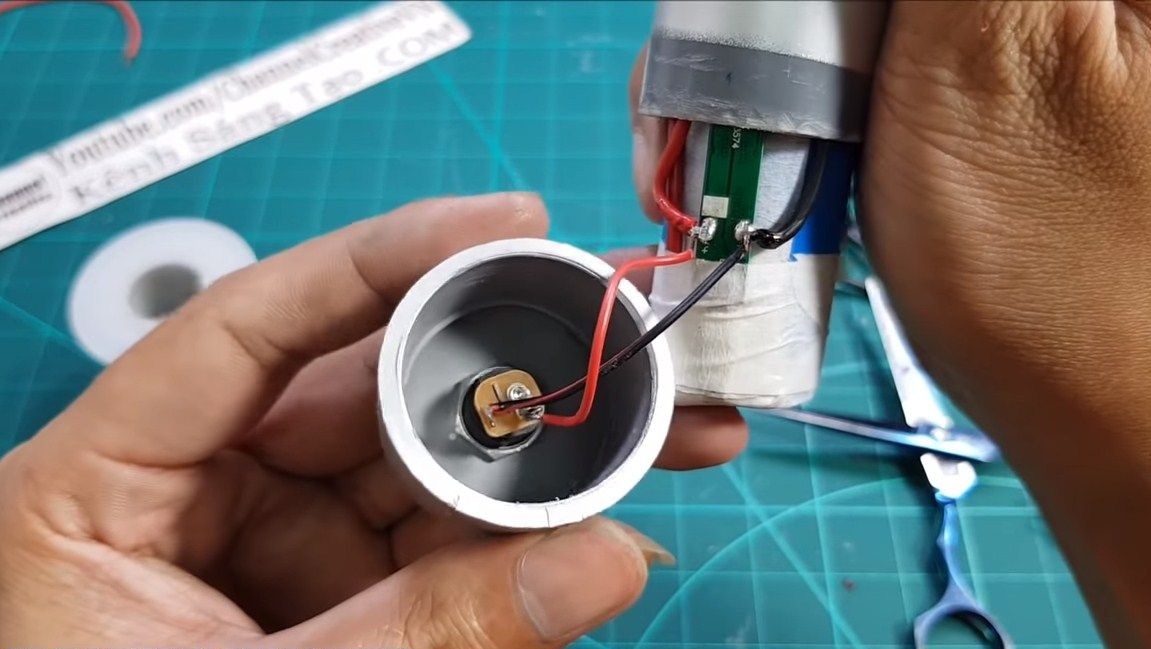
Step Six Charging connector
In the plug we install the socket for connecting the charger. It is attached with a nut. Solder the wires, charging should go through the BMS-controller. Well, then install the stub in its place.
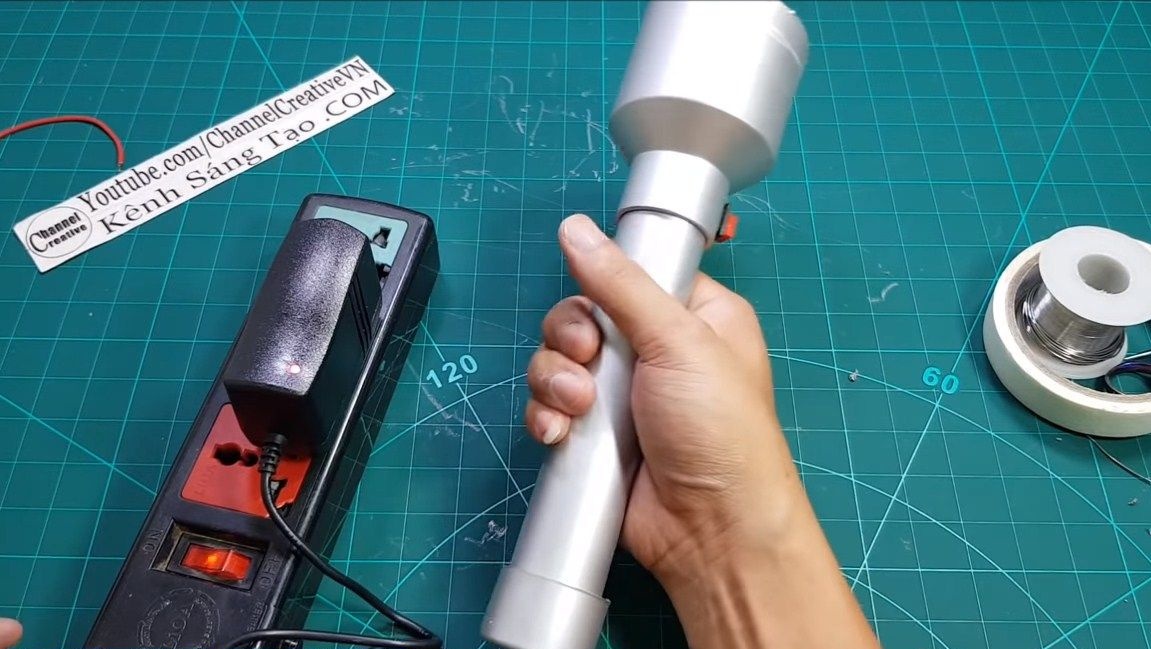
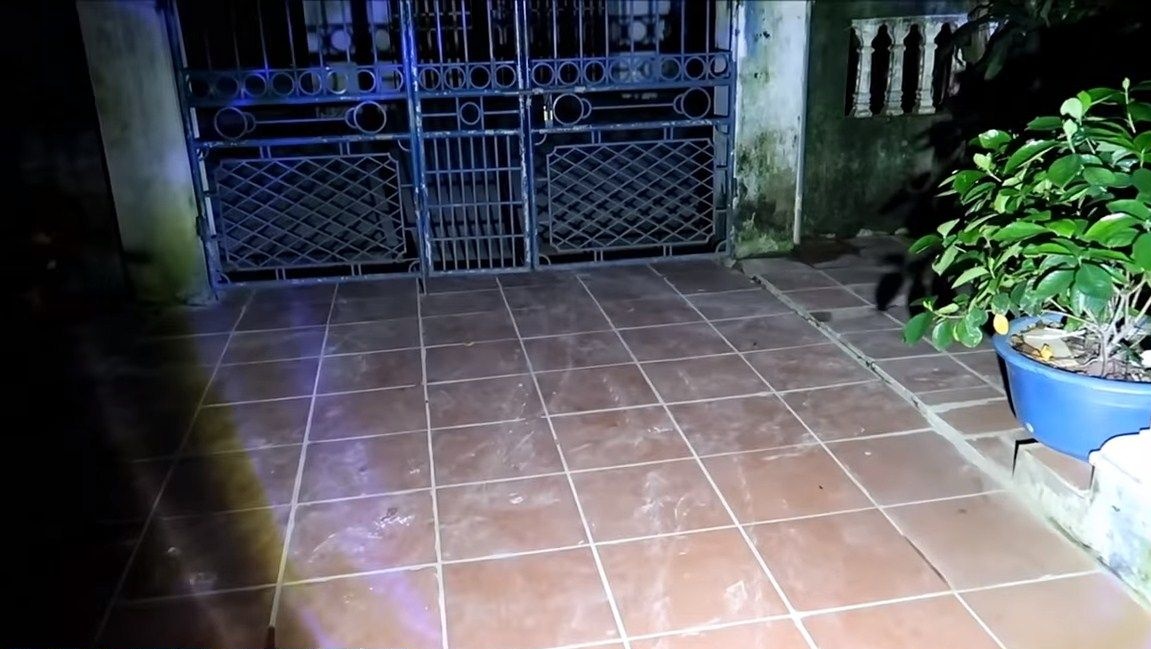
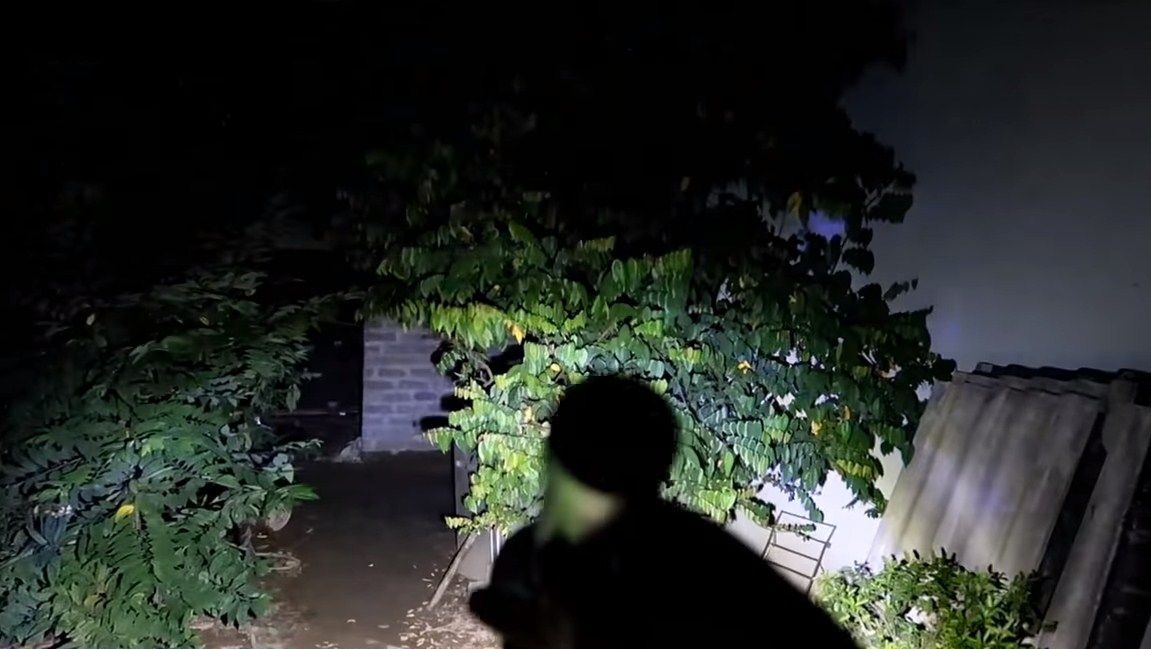
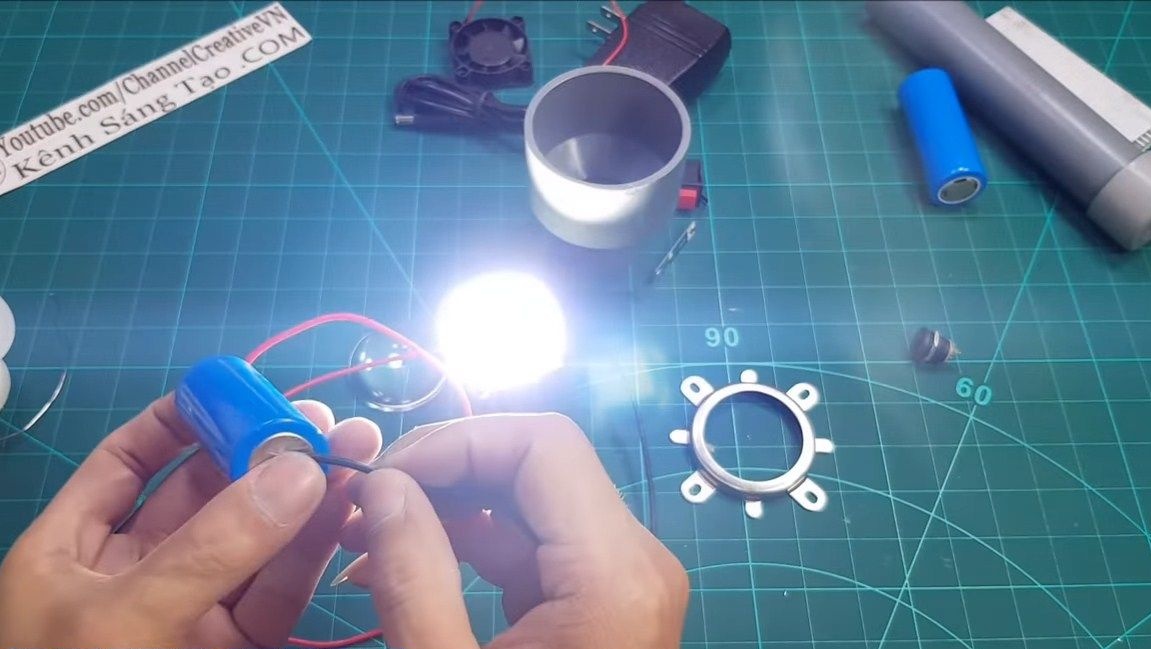
That's all, the flashlight is ready. If the batteries are charged, it can be tested. In the video, the flashlight shines quite brightly, like a spotlight. True, it remains a mystery how long the battery lasts. That's all, the project is over. Good luck and creative inspiration, if you want to repeat it. Do not forget to share your homemade products and best practices with us!