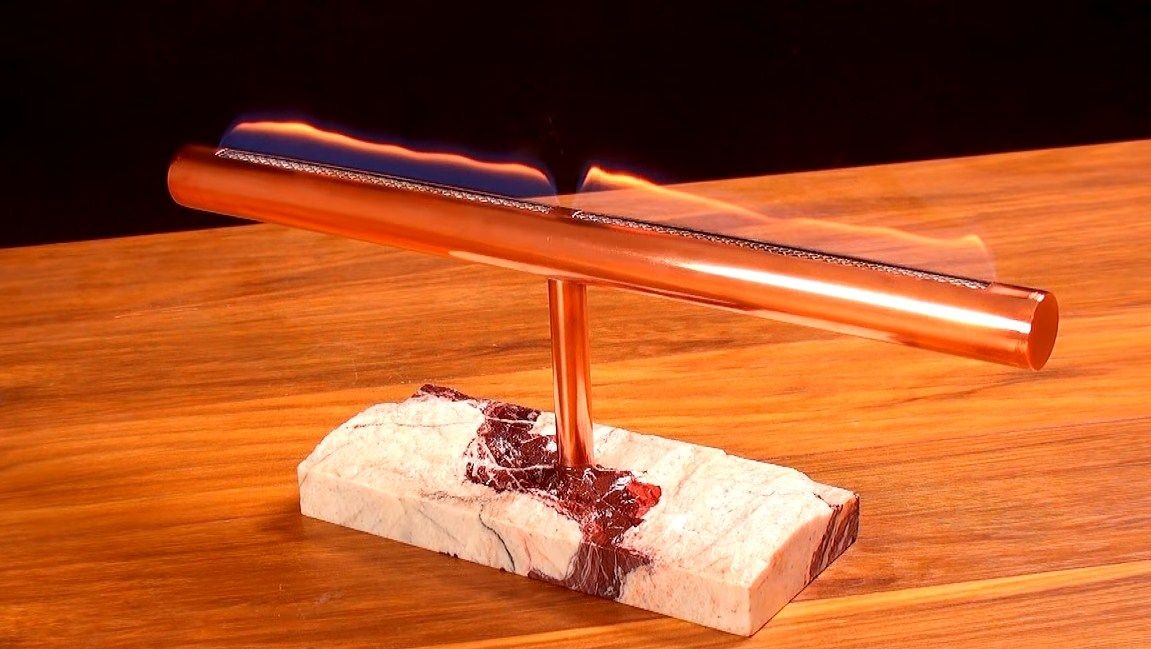
I welcome fans to craft interesting things. In this instruction, we will discuss how to make a decorative fireplace or a liquid fuel lamp, as anyone would call this product. Looks homemade quite beautiful, but going very easily, a lot of materials will not be needed. With such a lamp, you can create comfort from any home, observing all fire safety measures, of course.
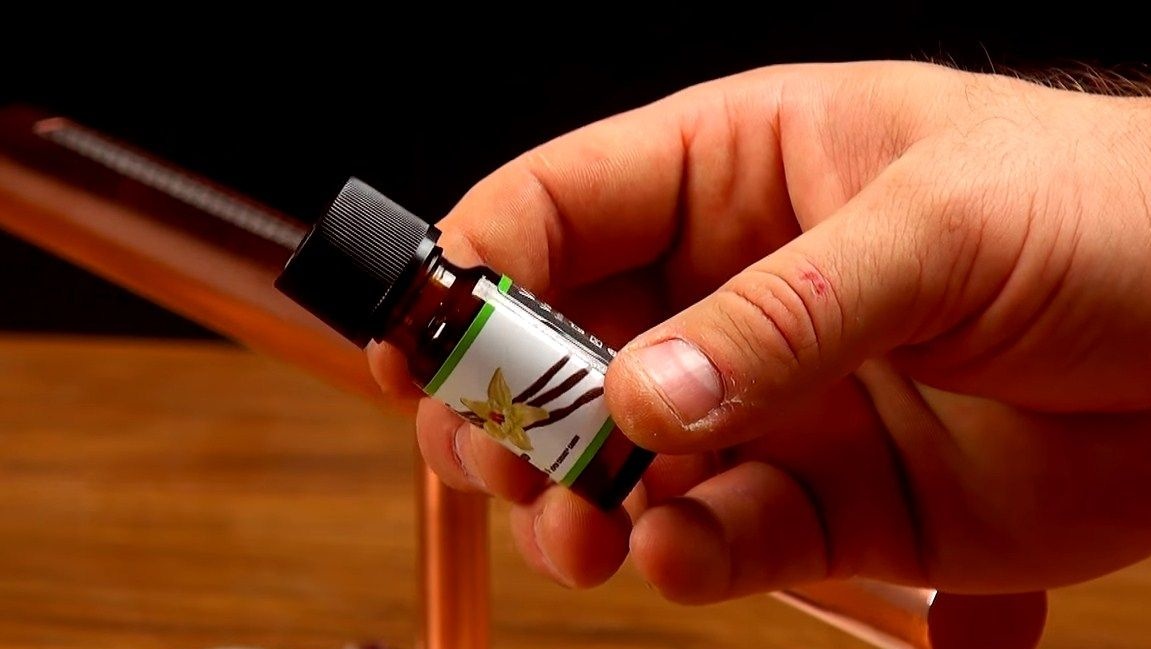
In addition, the author uses the product as well as the aroma lamp. If you want a pleasant aroma in the house, take a suitable essential oil and add to the llama. Are you ready? Let's consider in more detail how to assemble such a lamp!
Materials and tools used by the author:
Material List:
- copper pipe;
- sheet copper;
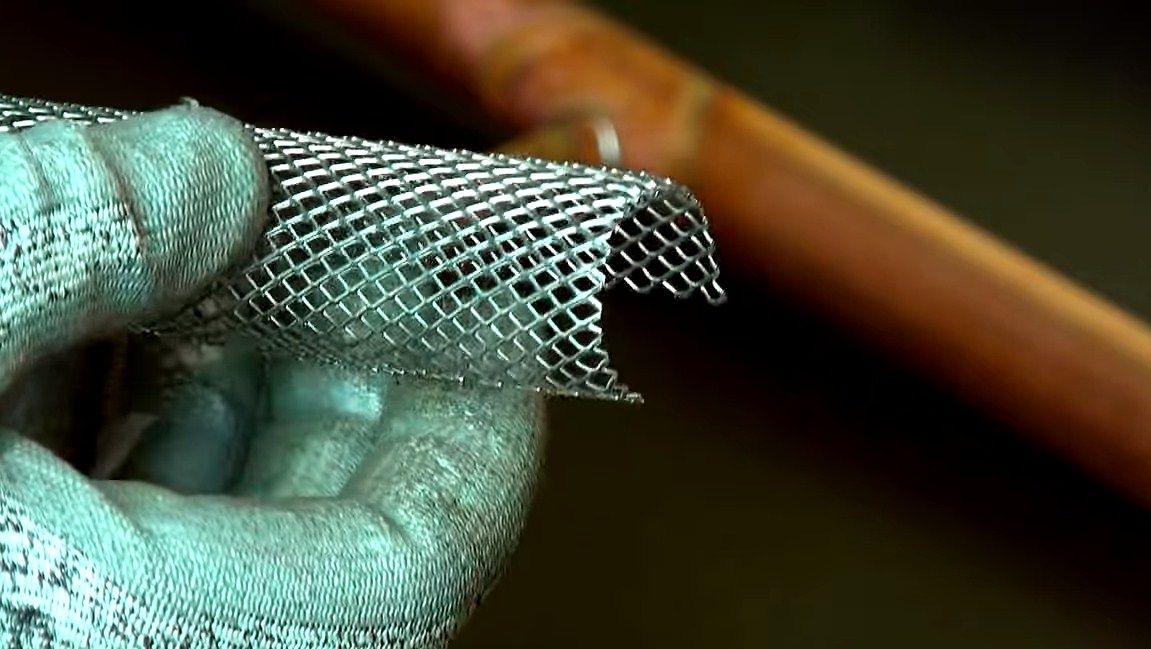
- a grid from stainless steel or other metal;
- solder;
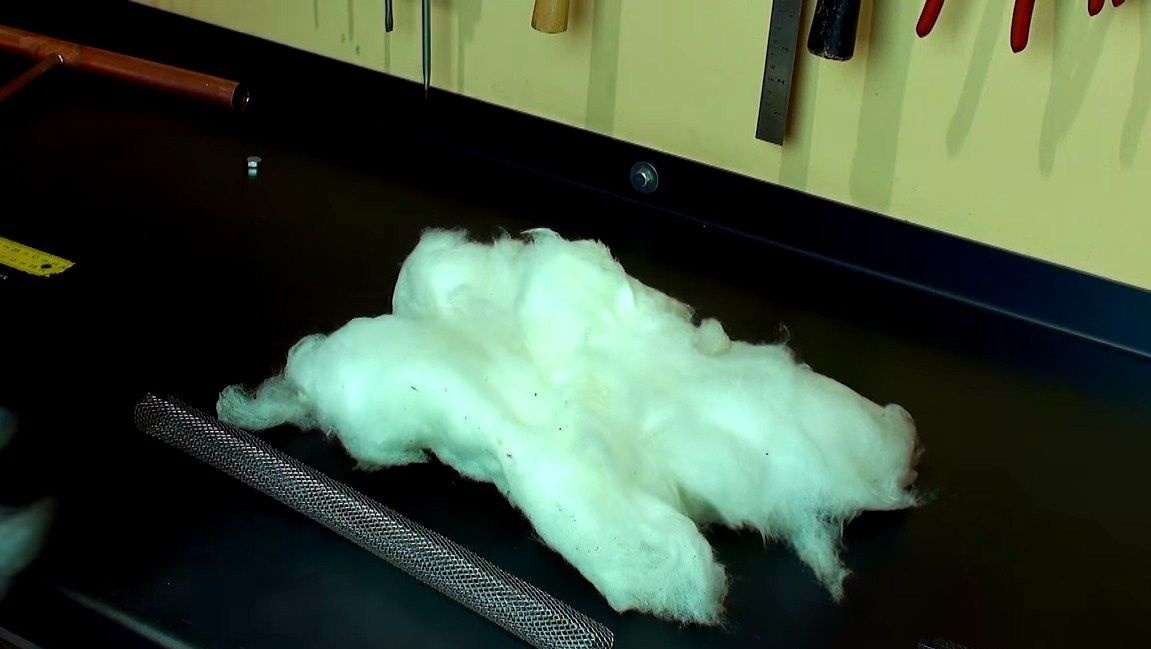
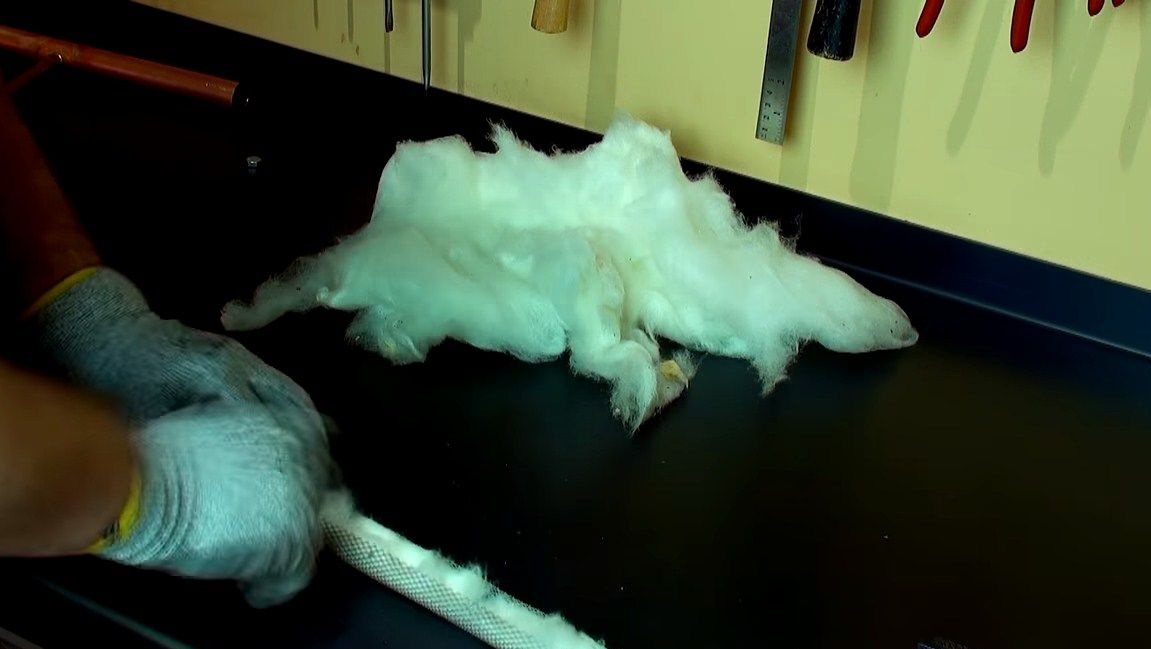
- filler like cotton wool or similar material (for absorbing fuel);
- granite or any other base;
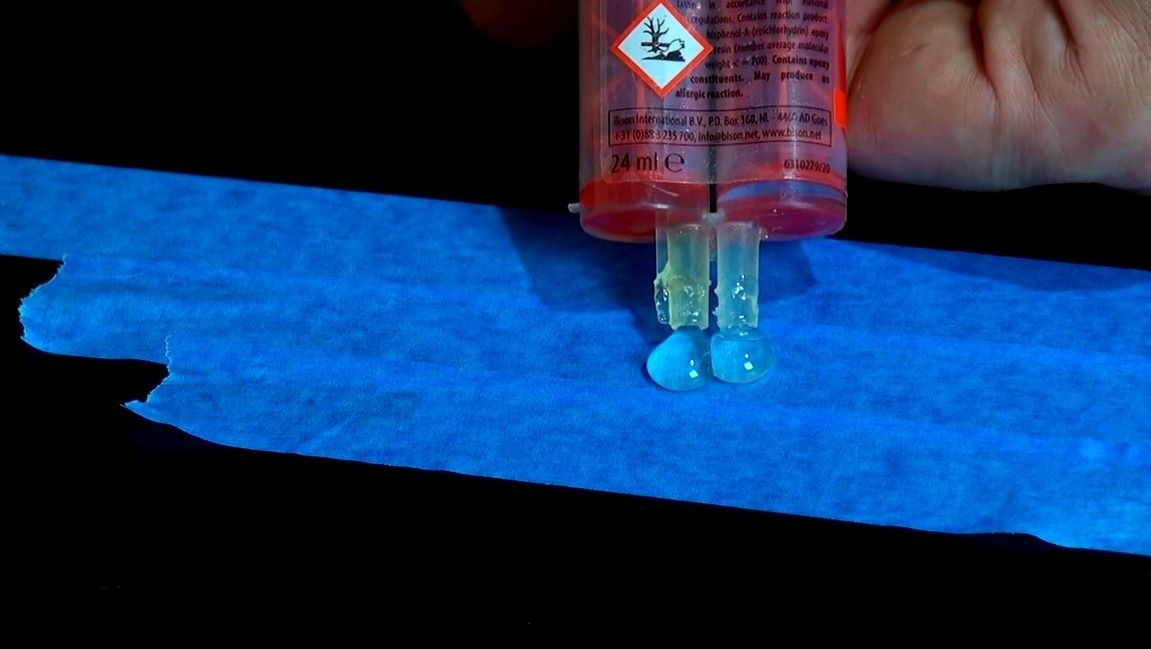
- epoxy adhesive.
Tool List:
- drill;
- flat file;
- drill (preferably);
- polishing paste;
- gas burner and acid for soldering;
- a hacksaw for metal or a tool for cutting pipes;
- grinder;
- scissors for metal.
Homemade manufacturing process:
Step one. The manufacture of the main part
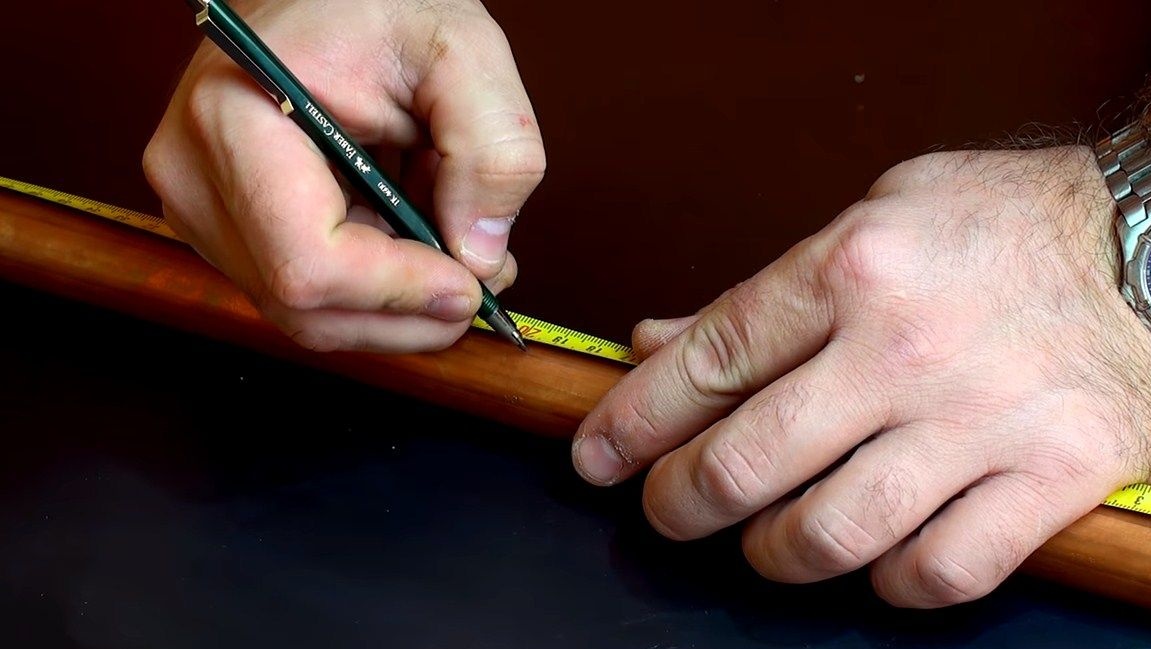
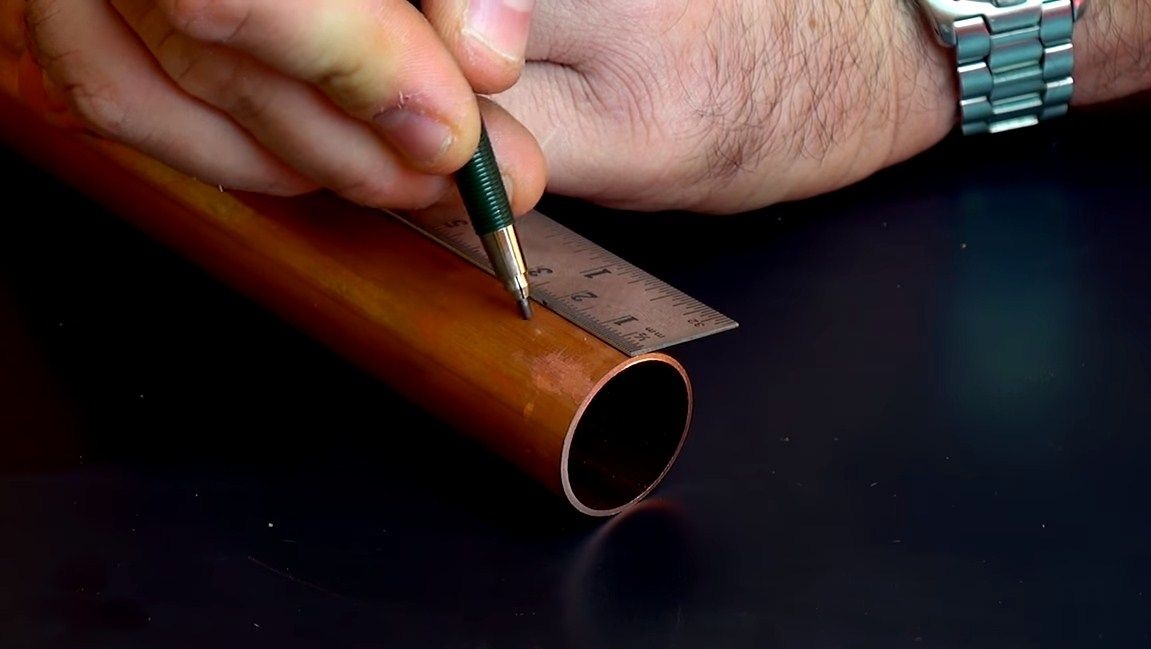
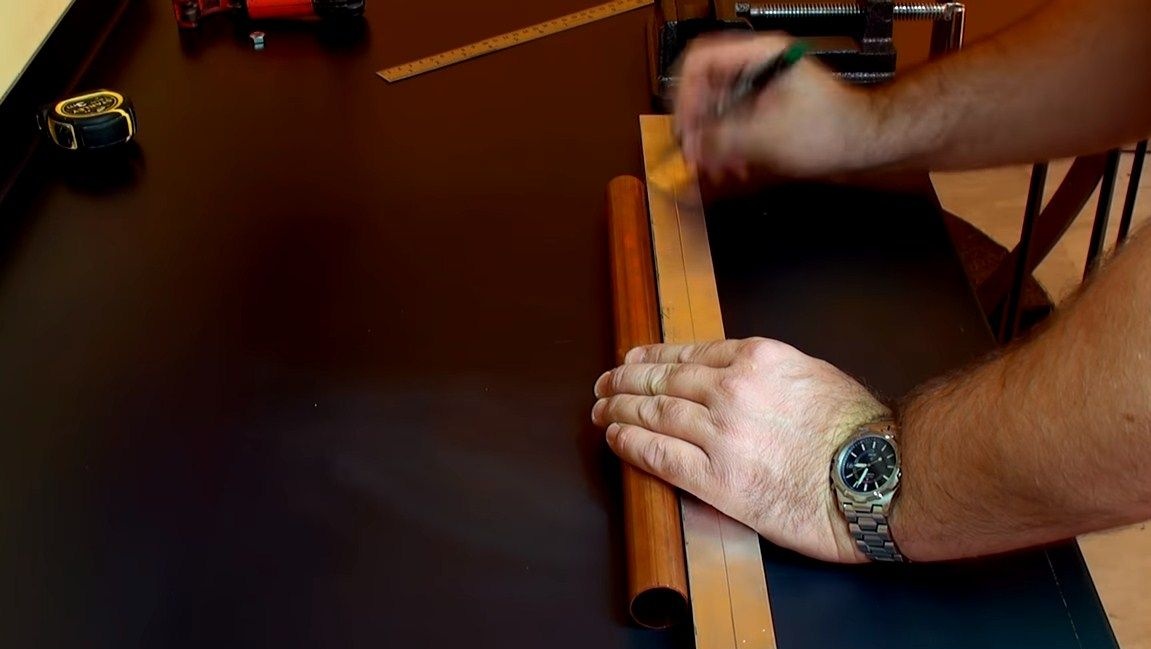
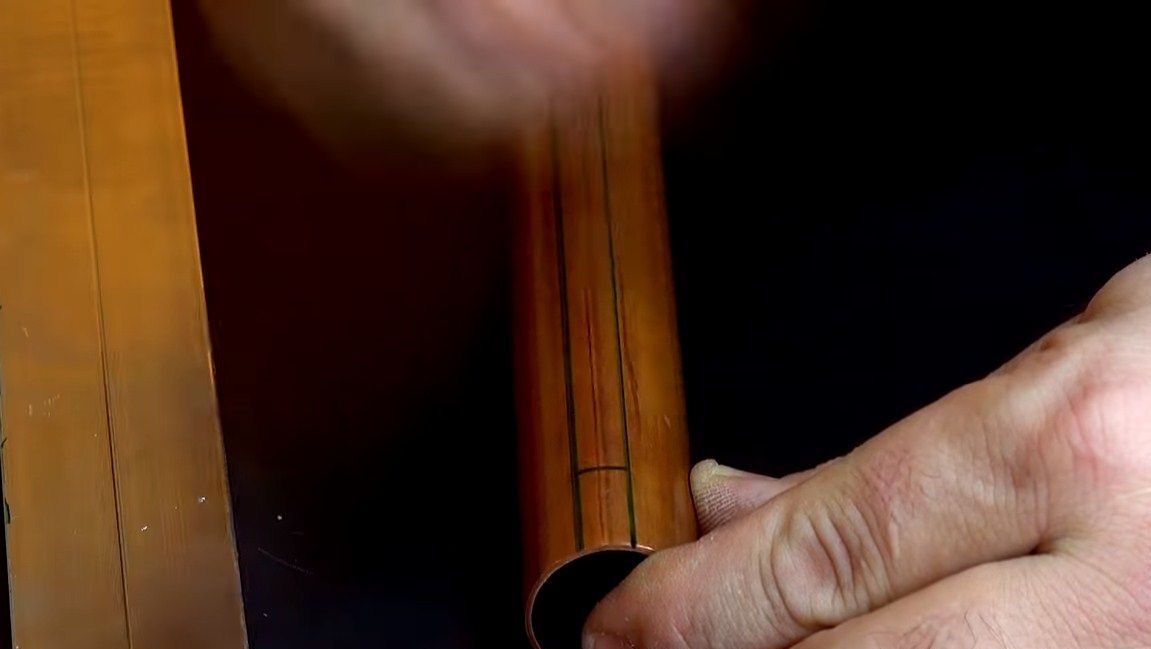
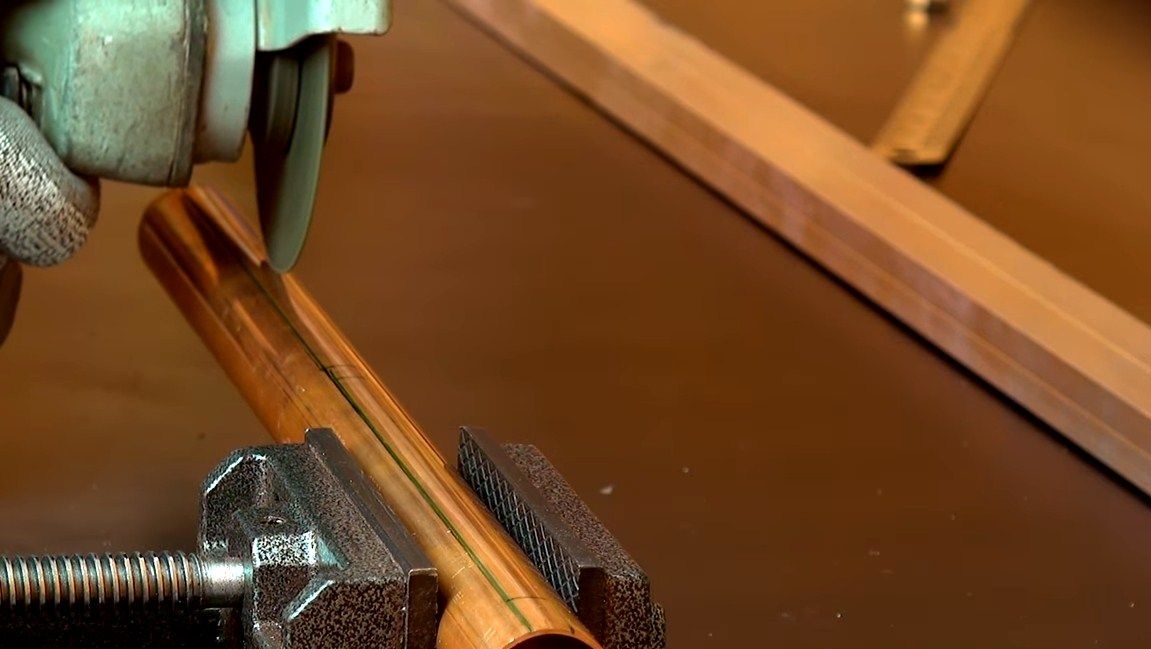
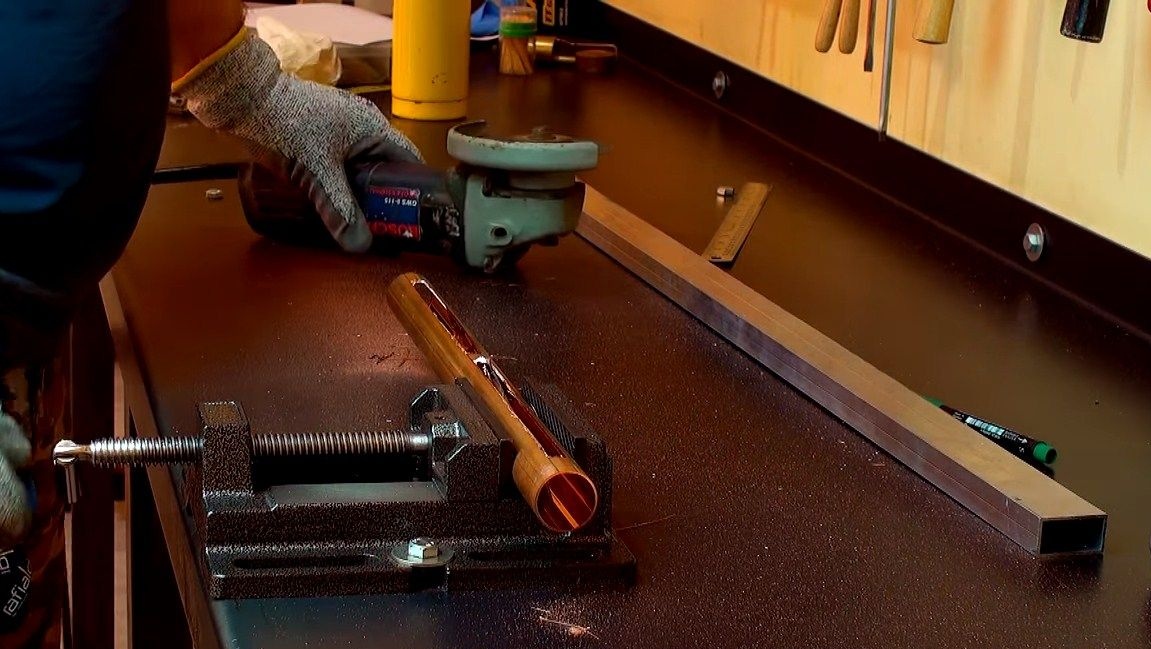
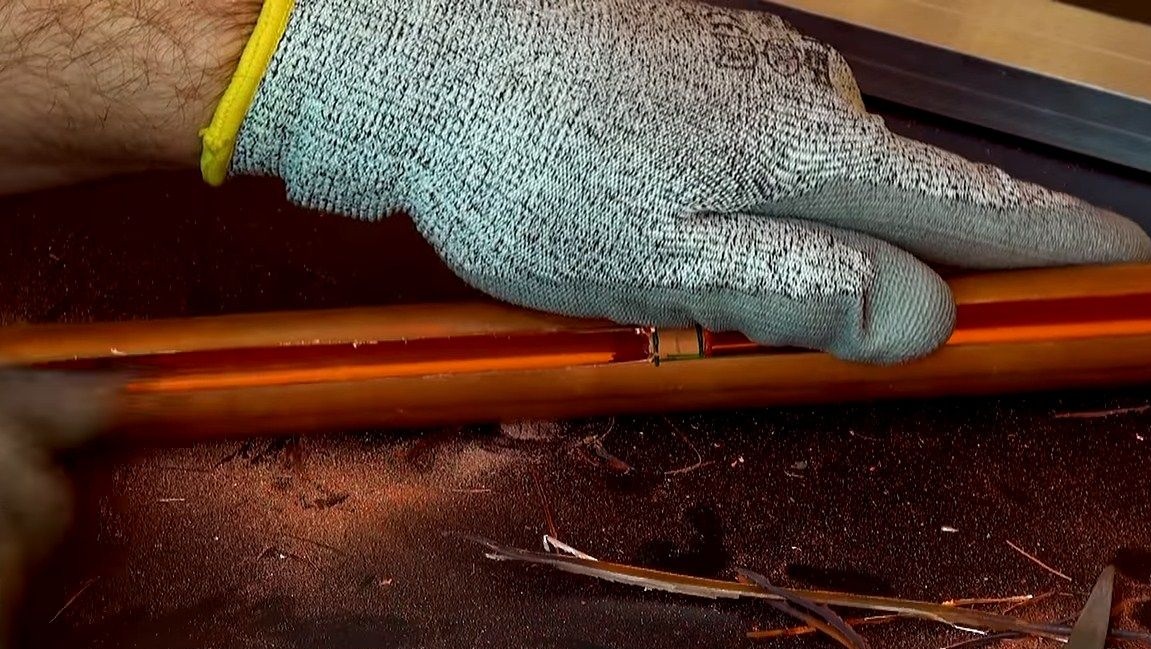
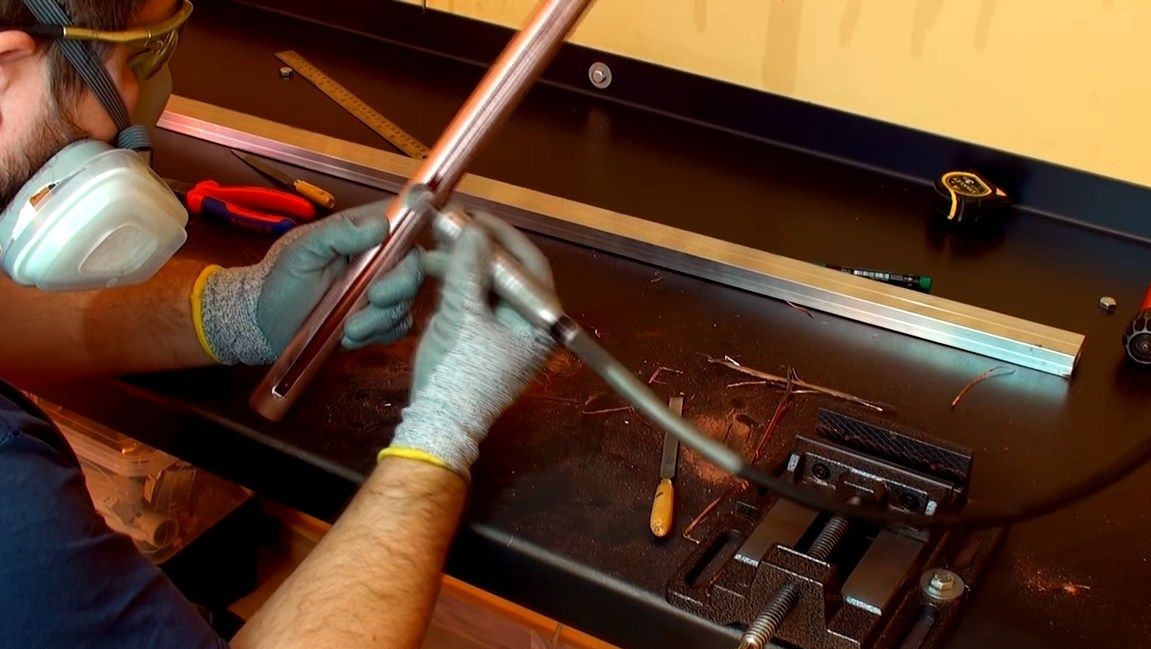
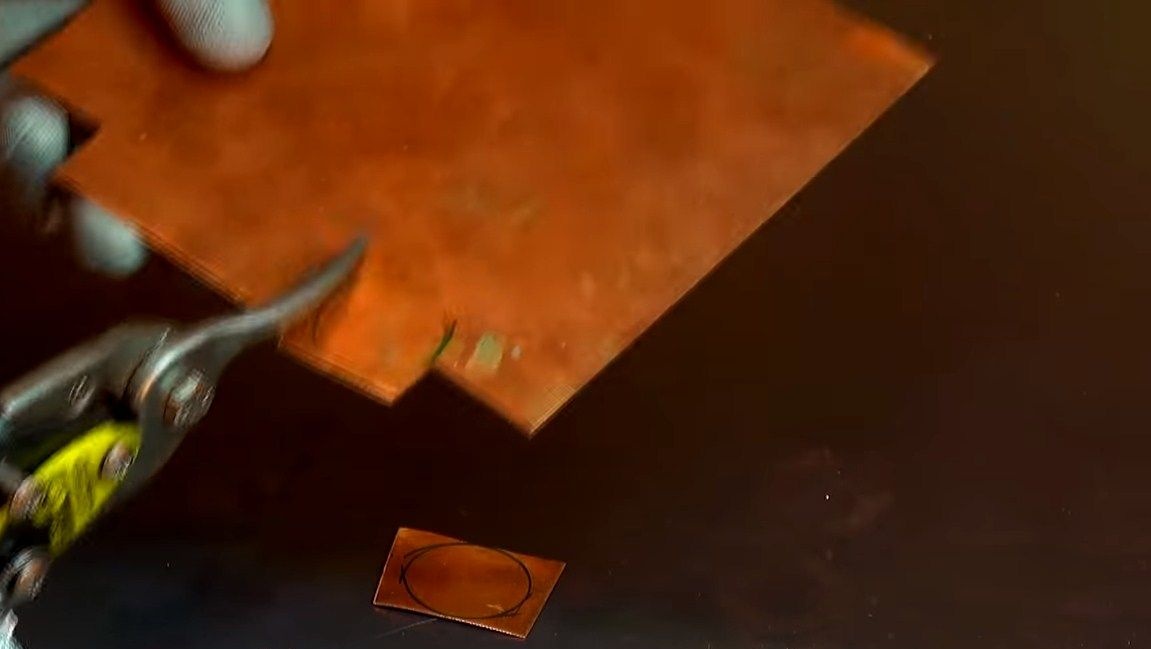
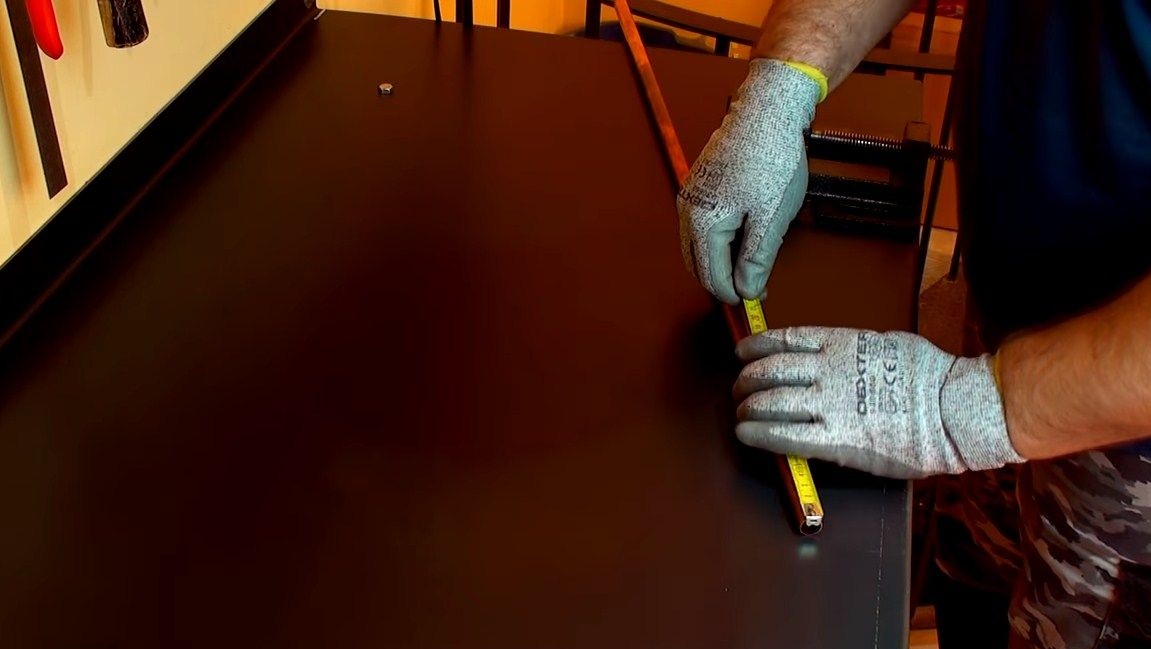
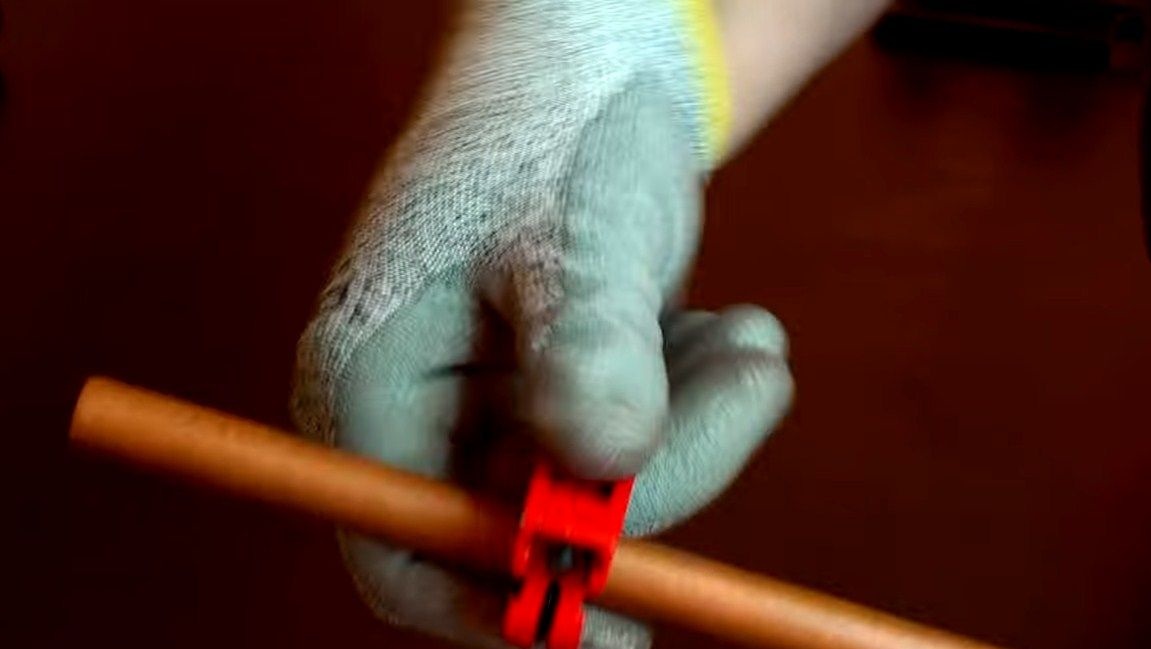
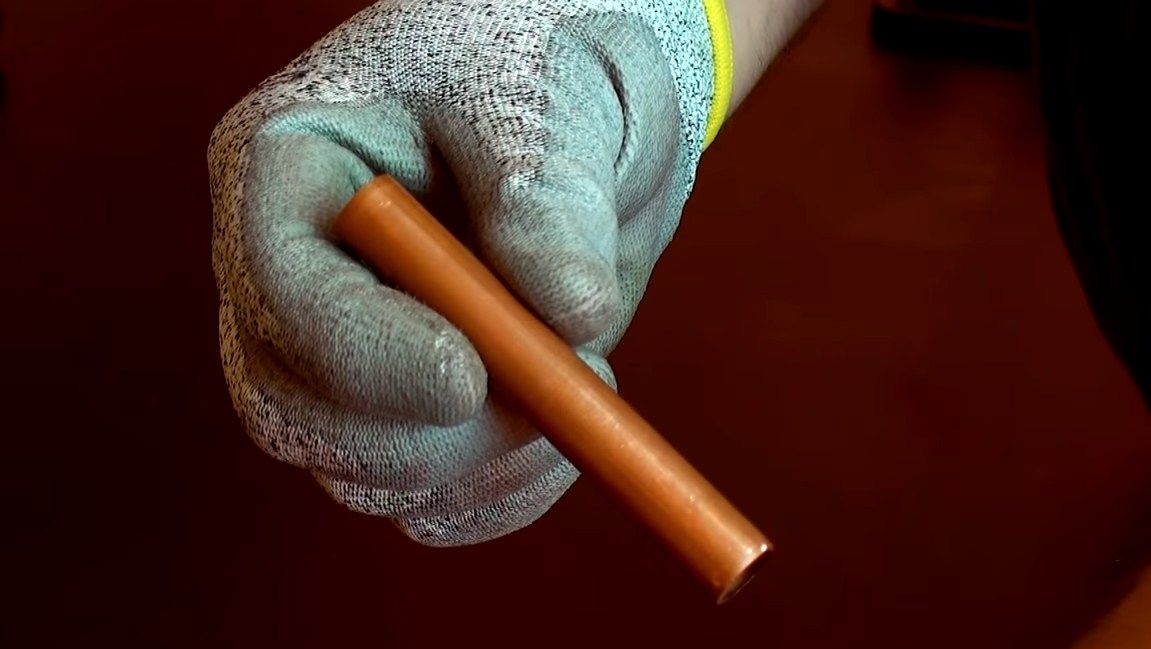
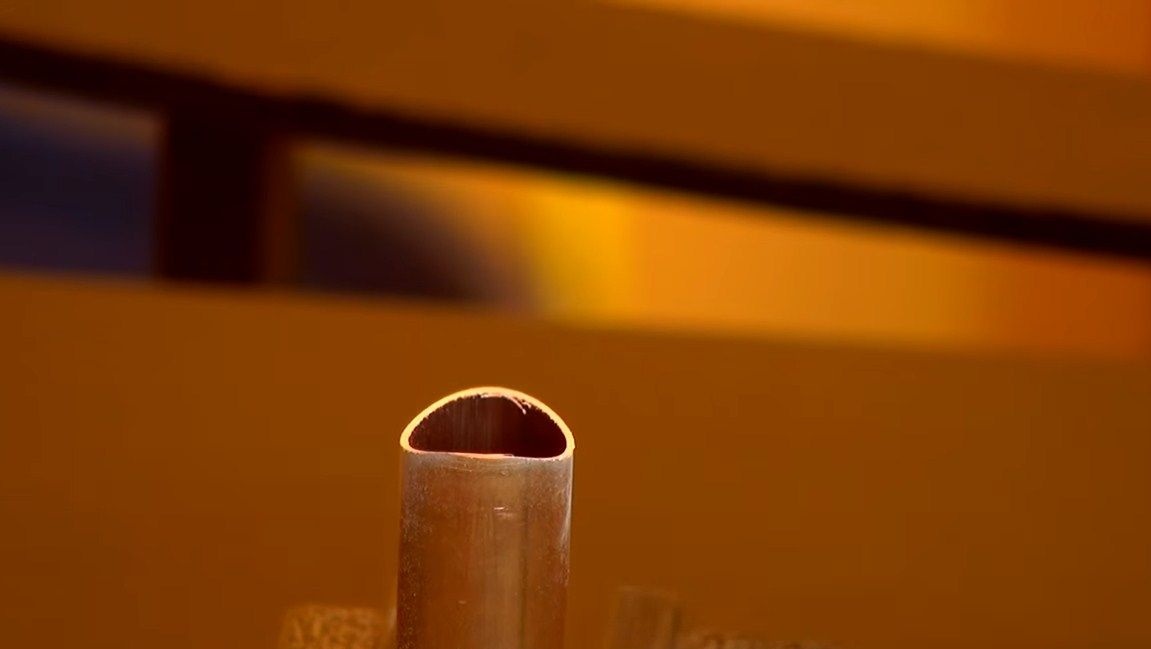
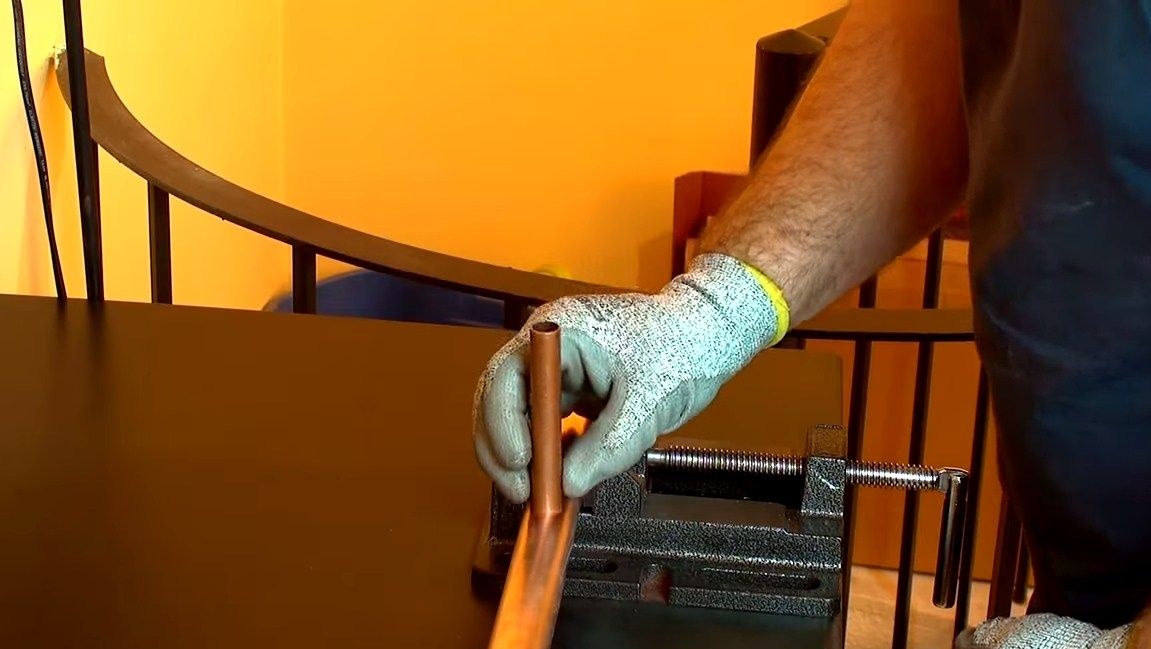
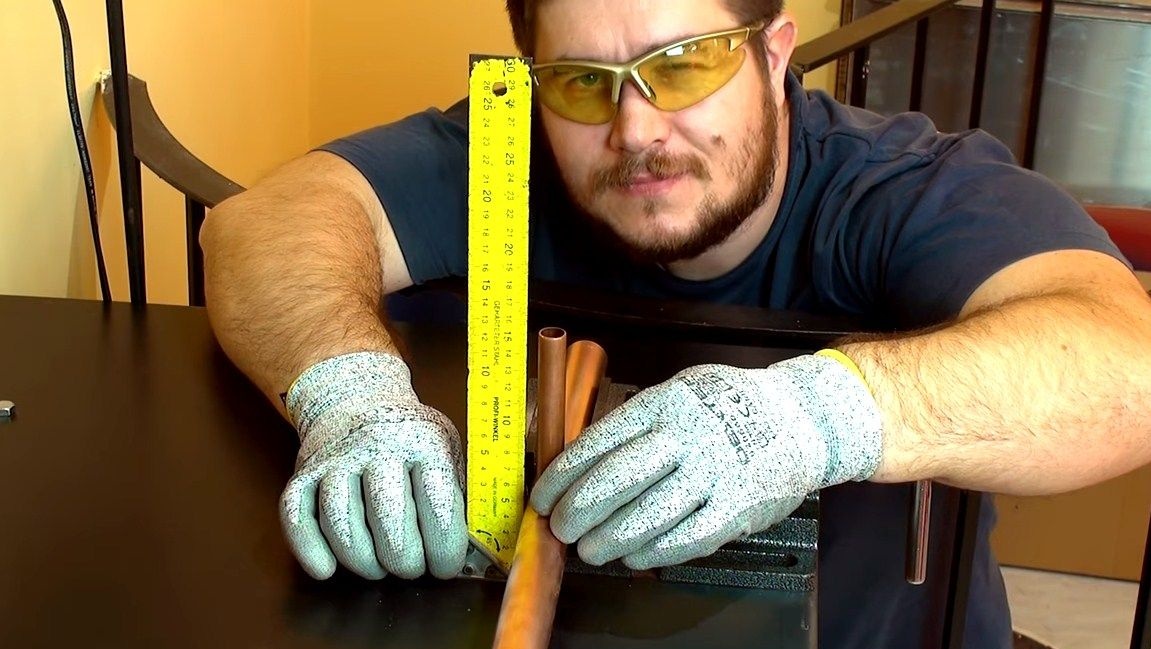
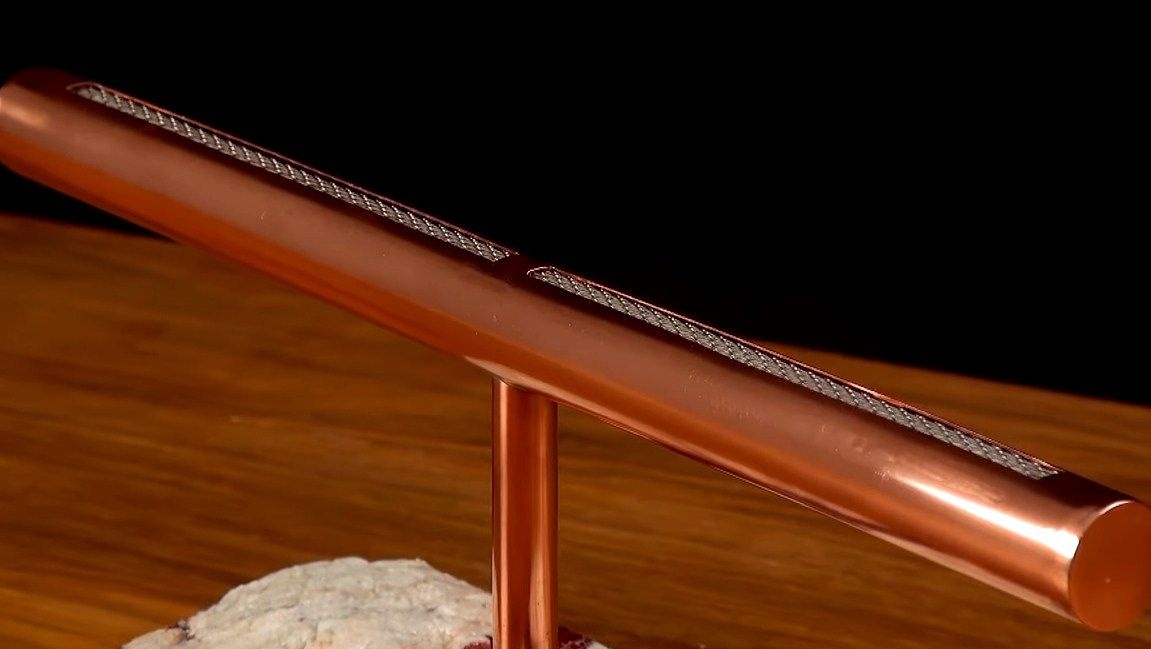
Let's start with the most important part, where the filler for absorbing fuel (wick) will be located. We select the tube you need the length and cut off. Diameter can vary, both length and shape. Show your imagination in this matter. Of course, in such things, copper looks best; it also lends itself perfectly to soldering. We take the necessary measurements and proceed to cutting. We need to cut two slit holes along the pipe. For these purposes, the author uses a grinder.
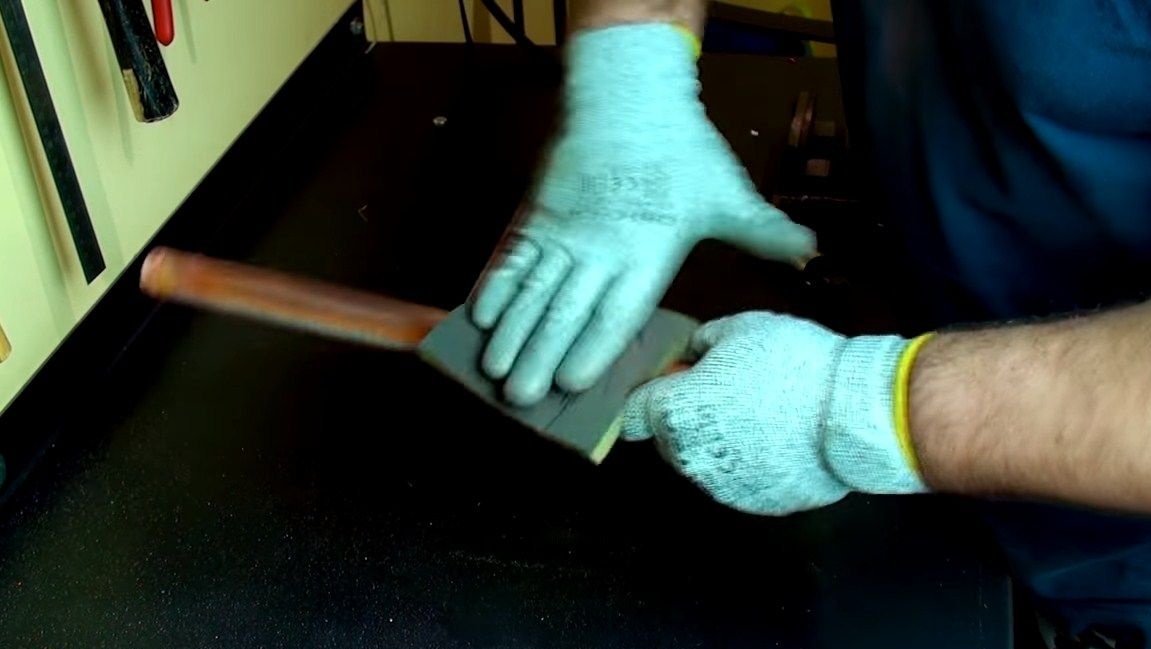
When everything is ready, we take a file and we clean barbs so that all edges are beautiful and smooth. If necessary, we pass sandpaper or a drill.
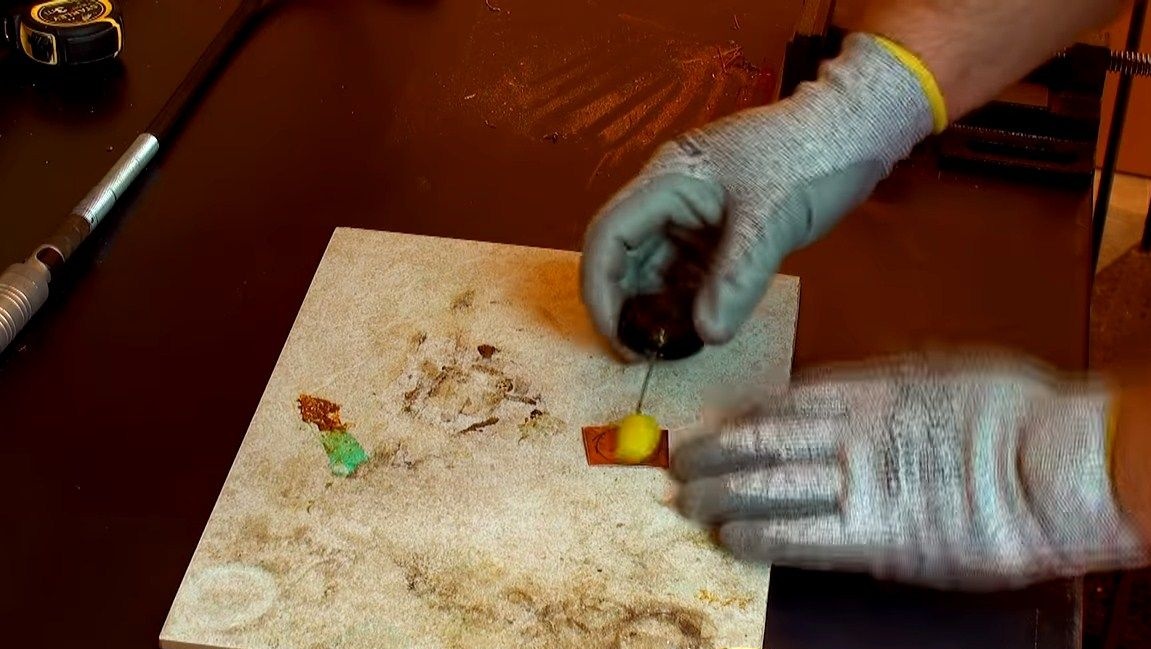
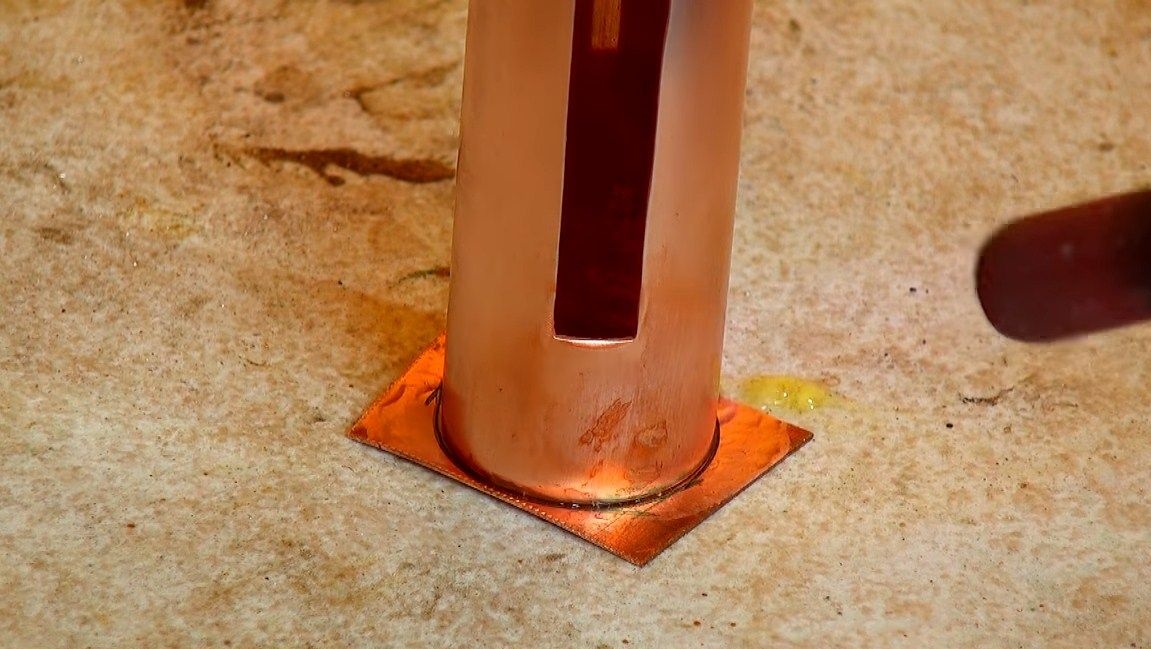
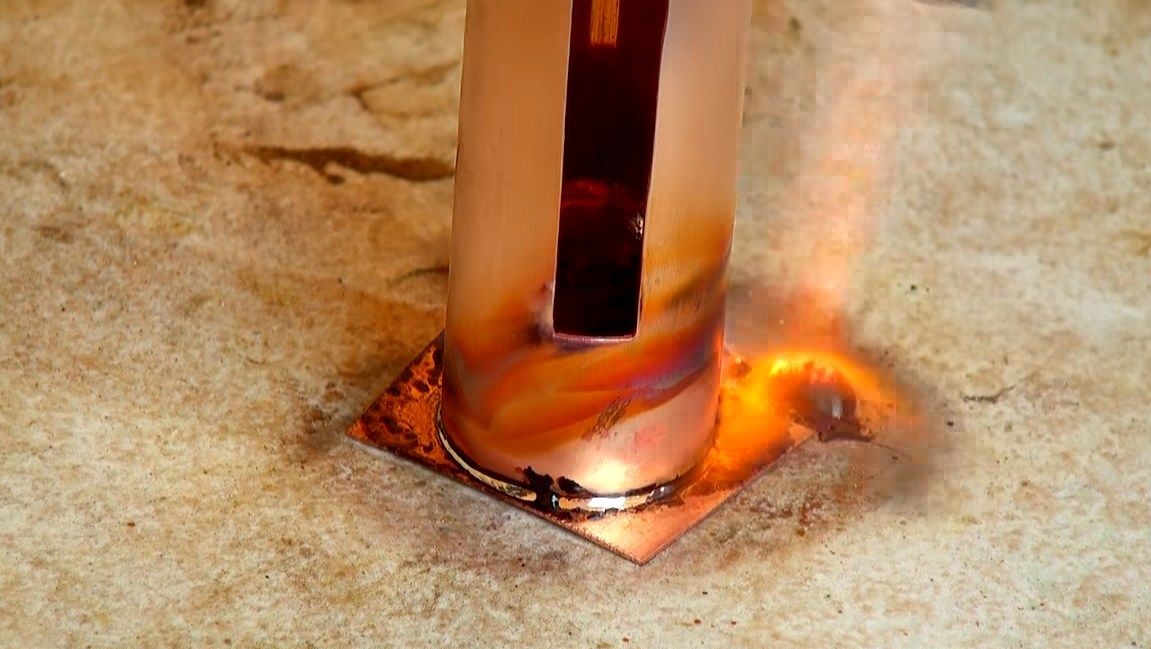
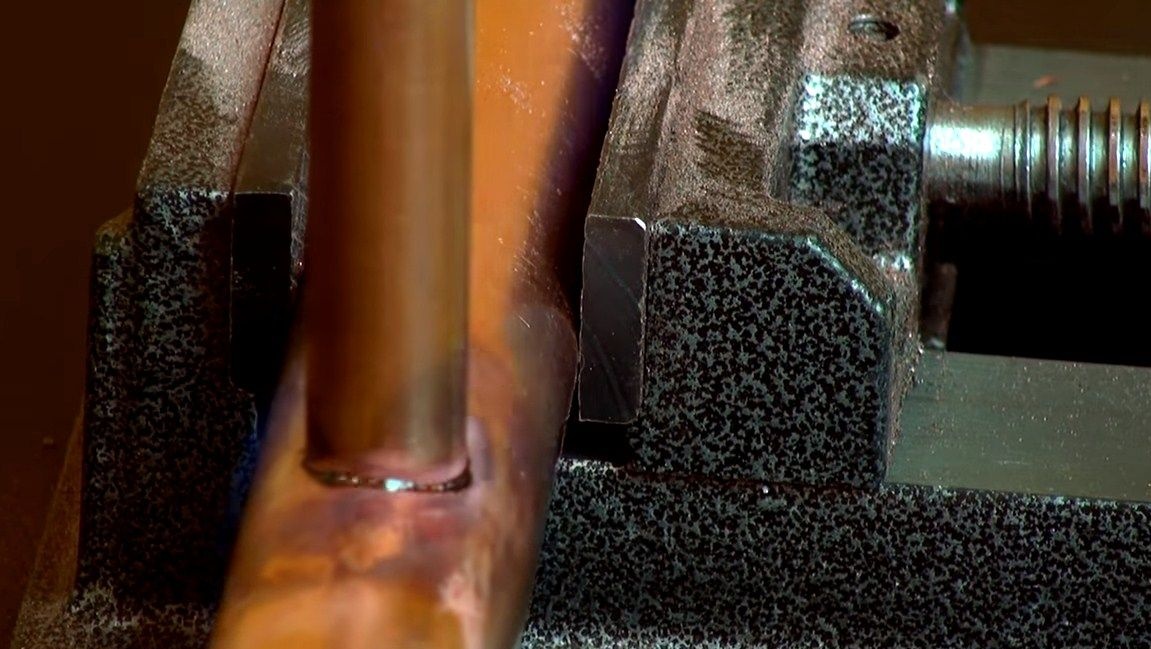
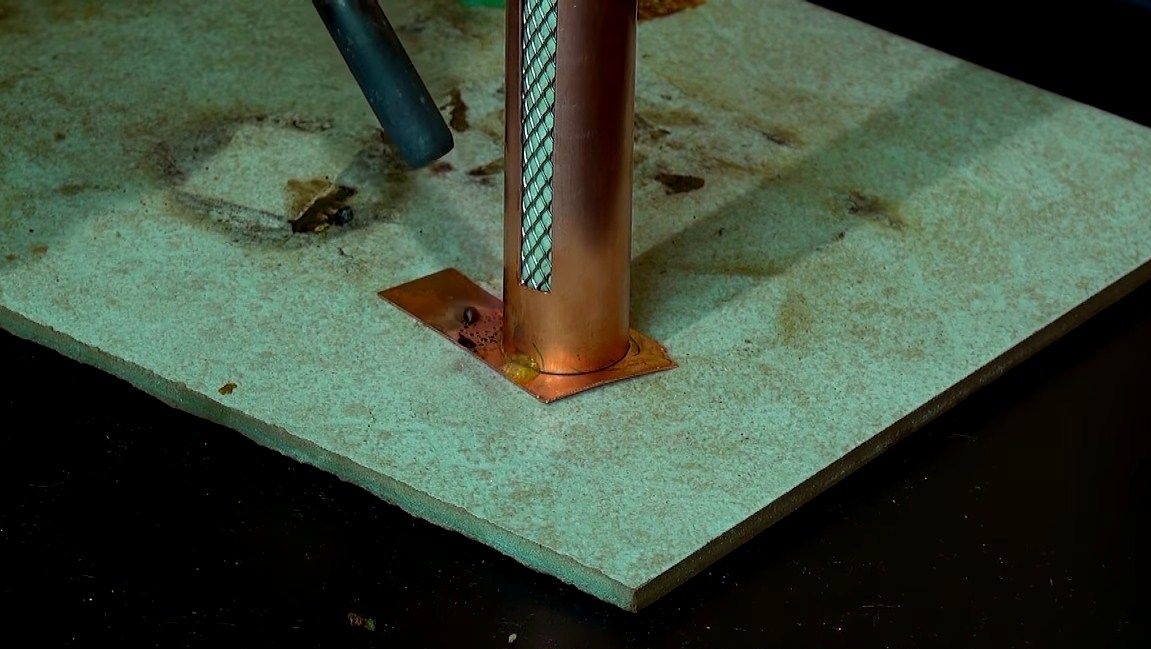
Step Two Solder the cap
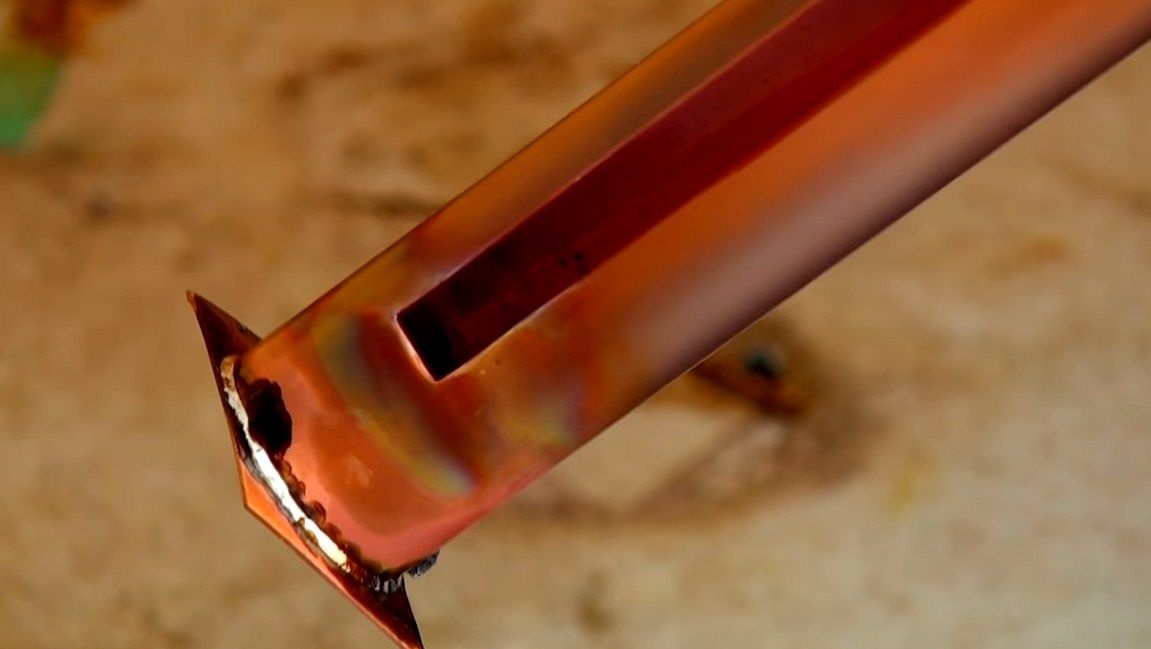
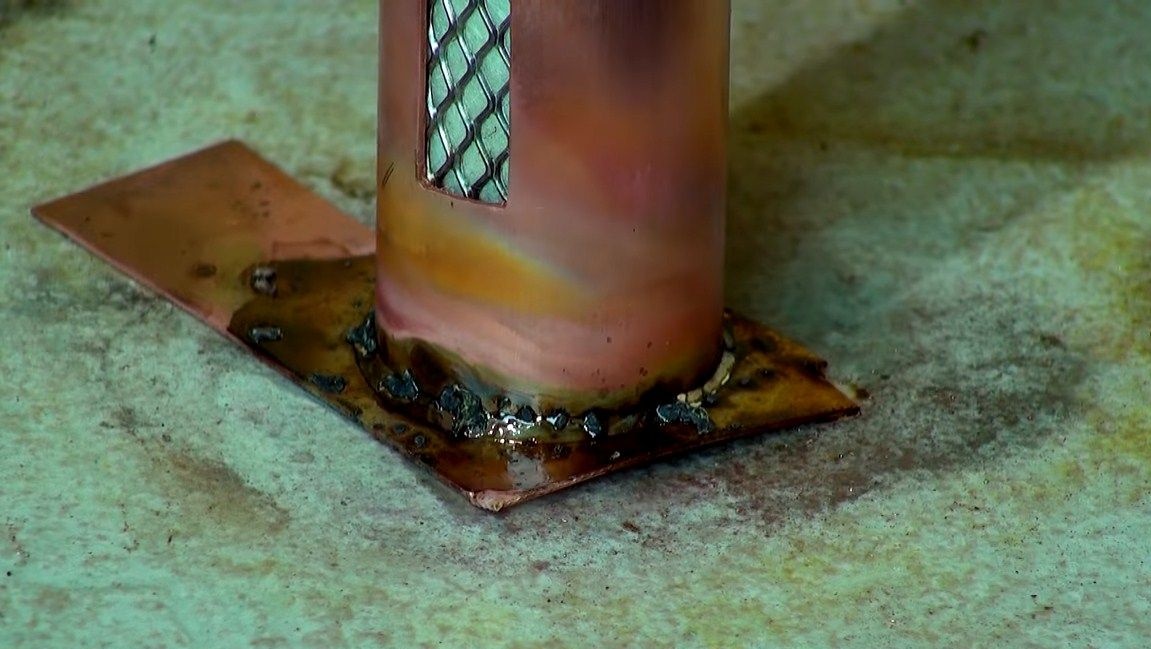
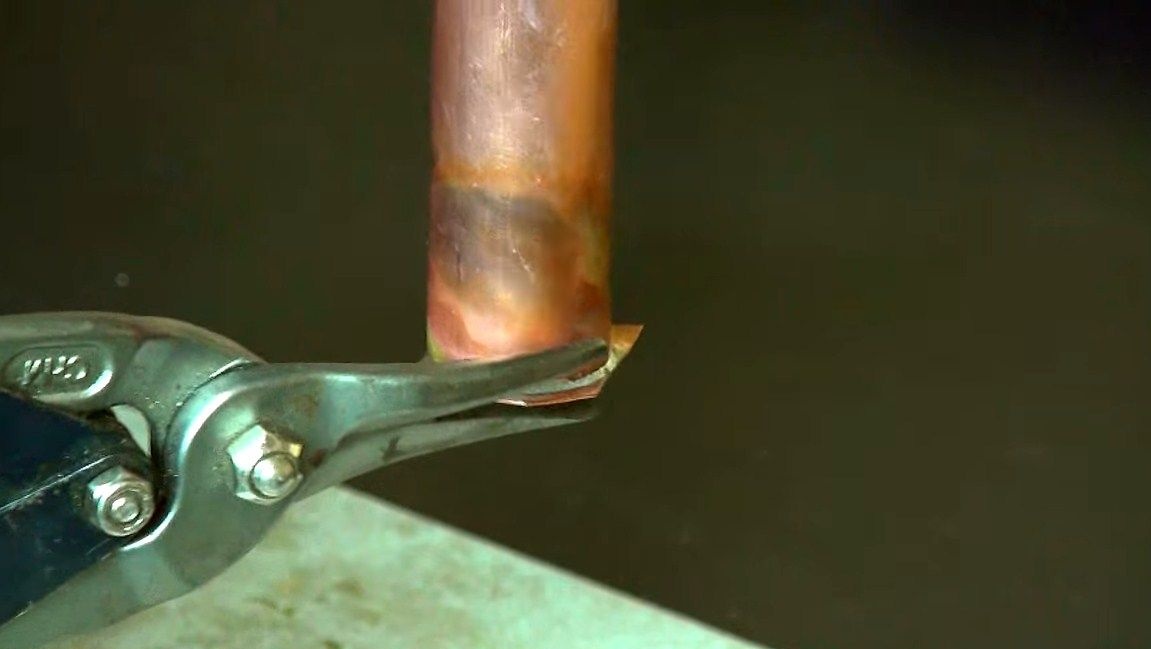
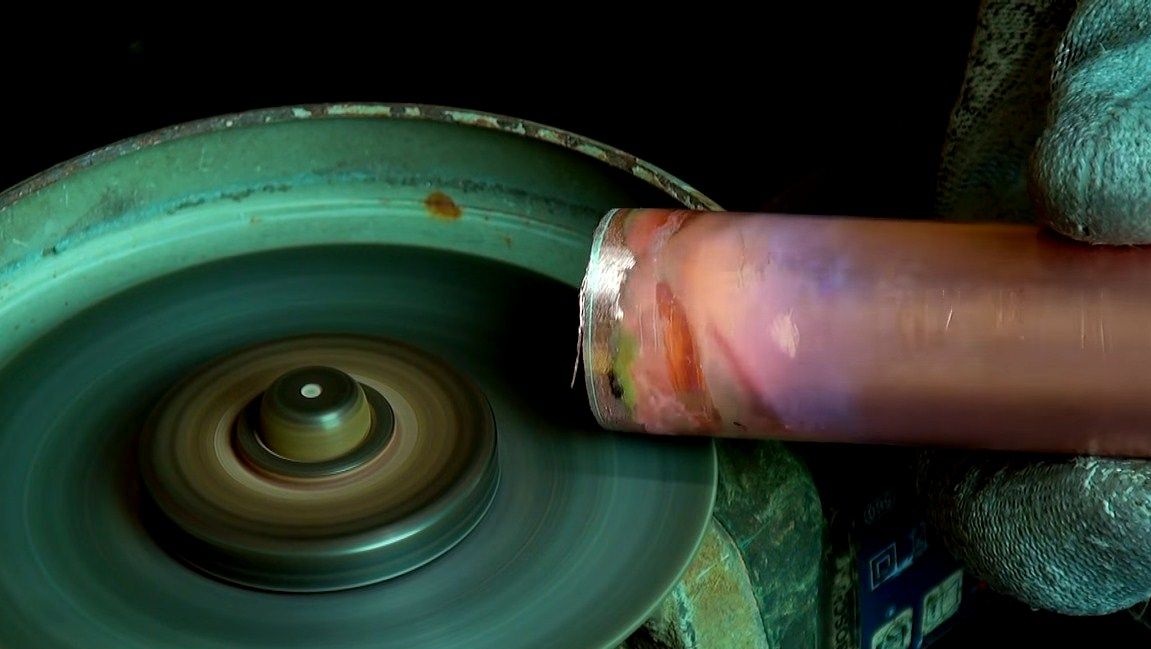
The plugs should be on both sides, but for now we need to solder it only on one side, since we will install the filler on the other. For soldering, it is recommended to use refractory solders, since the copper tube will be quite hot. The author used sheet copper as a stub. We apply soldering acid to the plate, and vertically install the tube on top. We throw pieces of solder inside the tube. That's all, now gently in a circle we warm up the place of soldering with a gas burner. If the solder comes through the gap, then we have soldered the product.As a result, everything turns out pretty high quality. Excess pieces are cut with scissors for metal, and then grinded with a grinder.
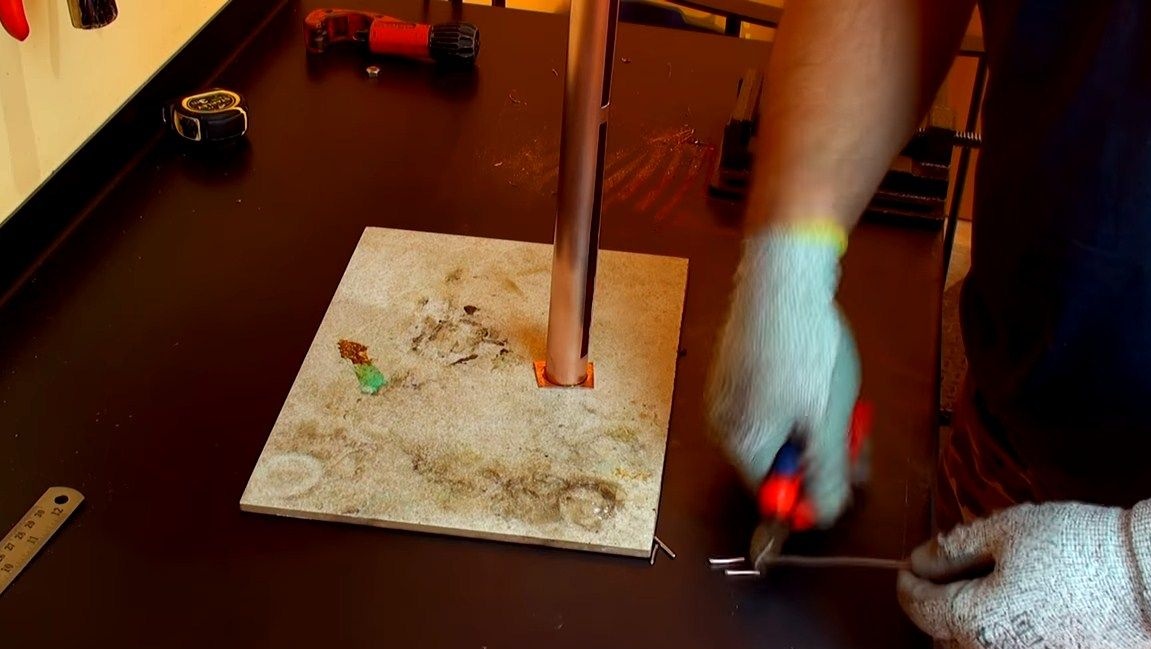
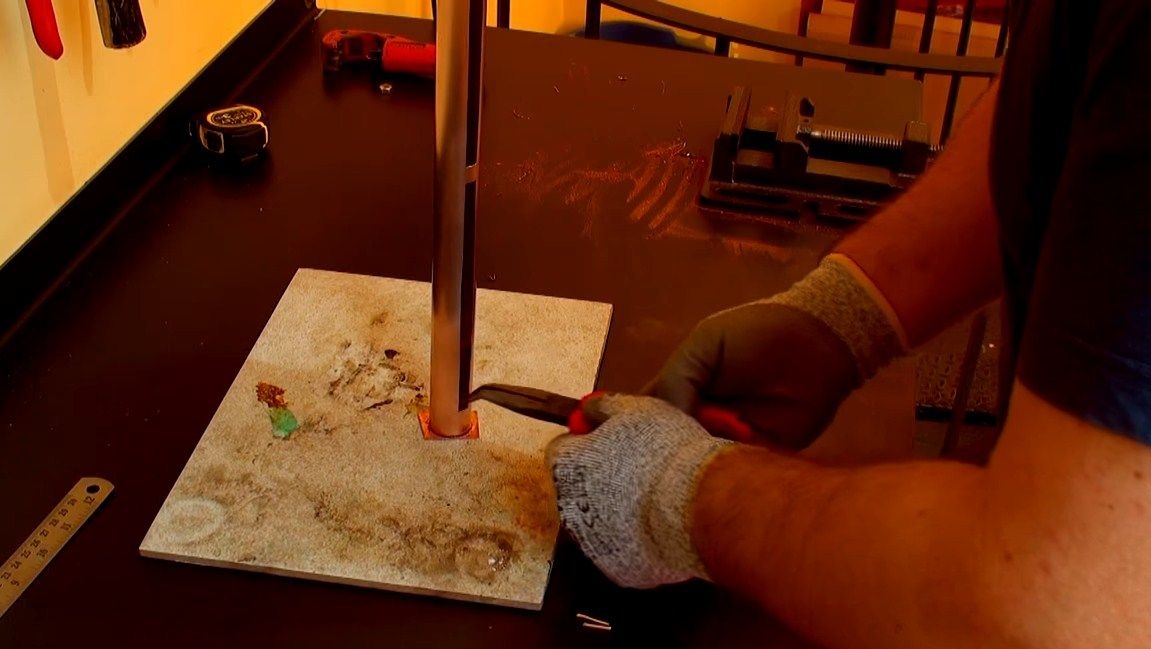
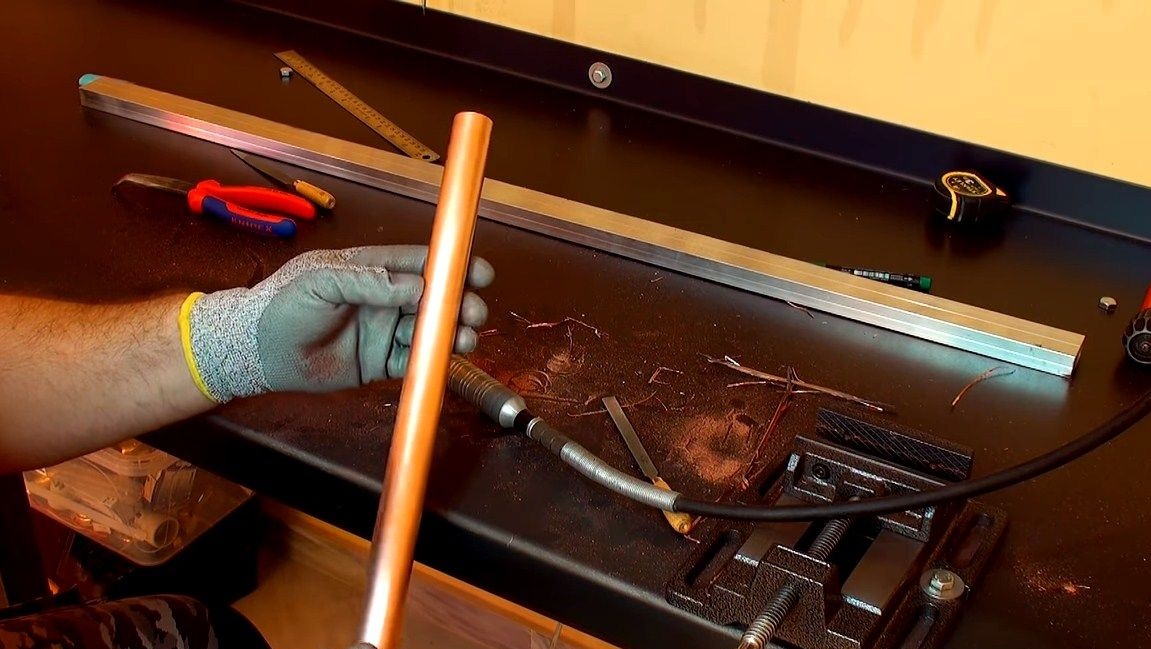
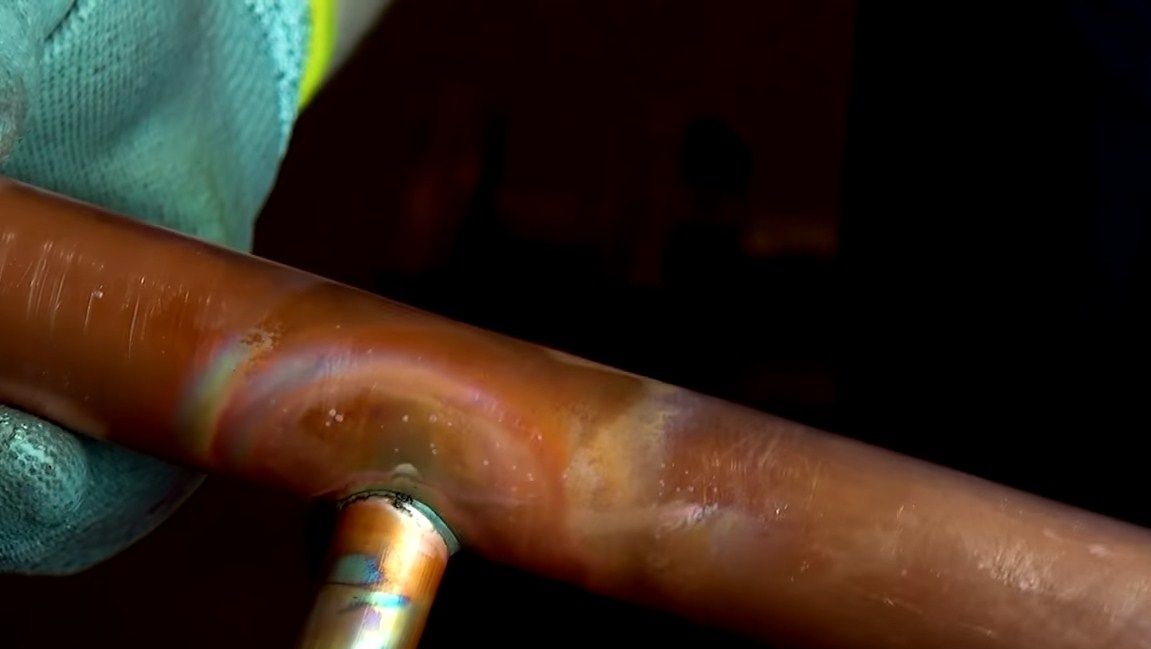
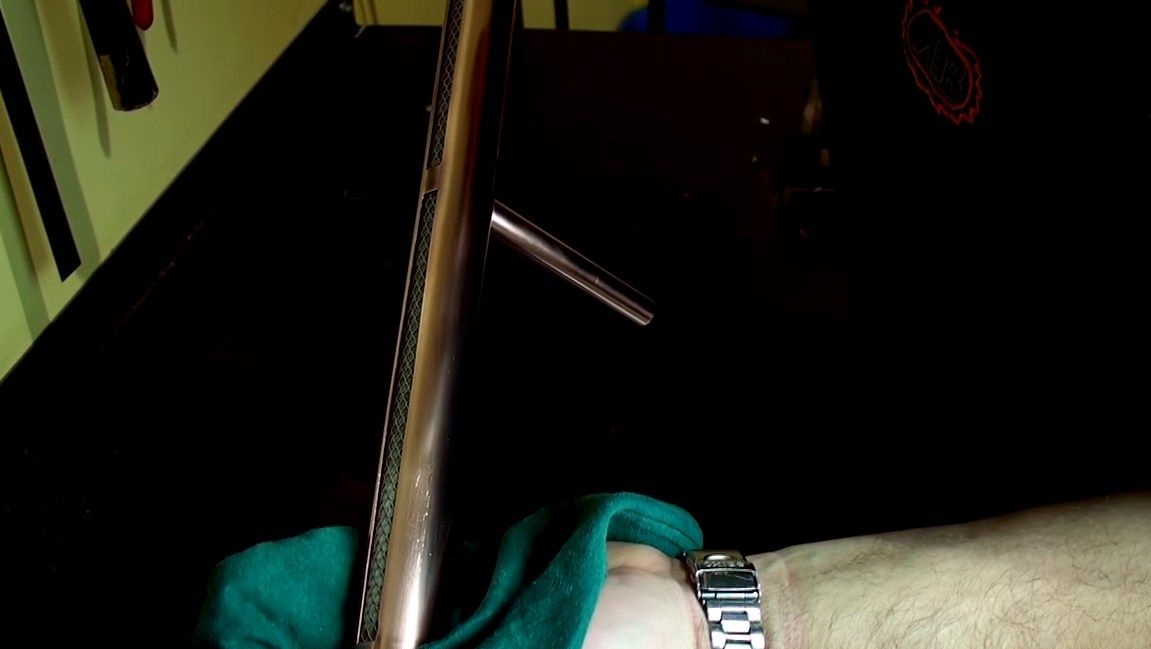
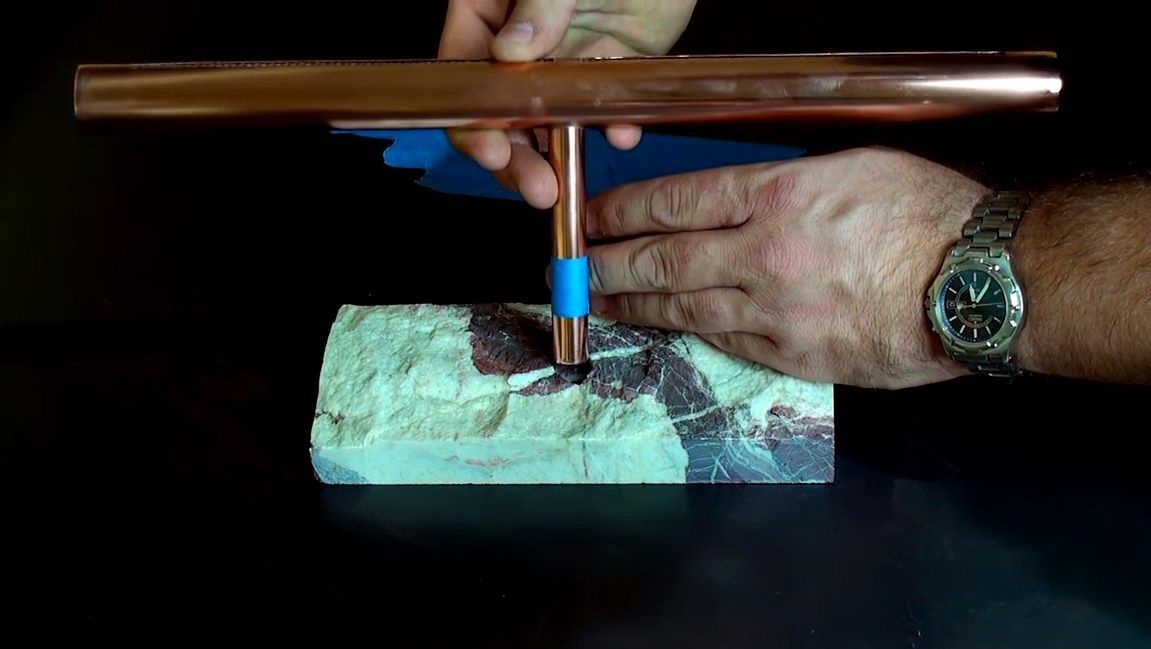
Step Three Production and installation of the rack
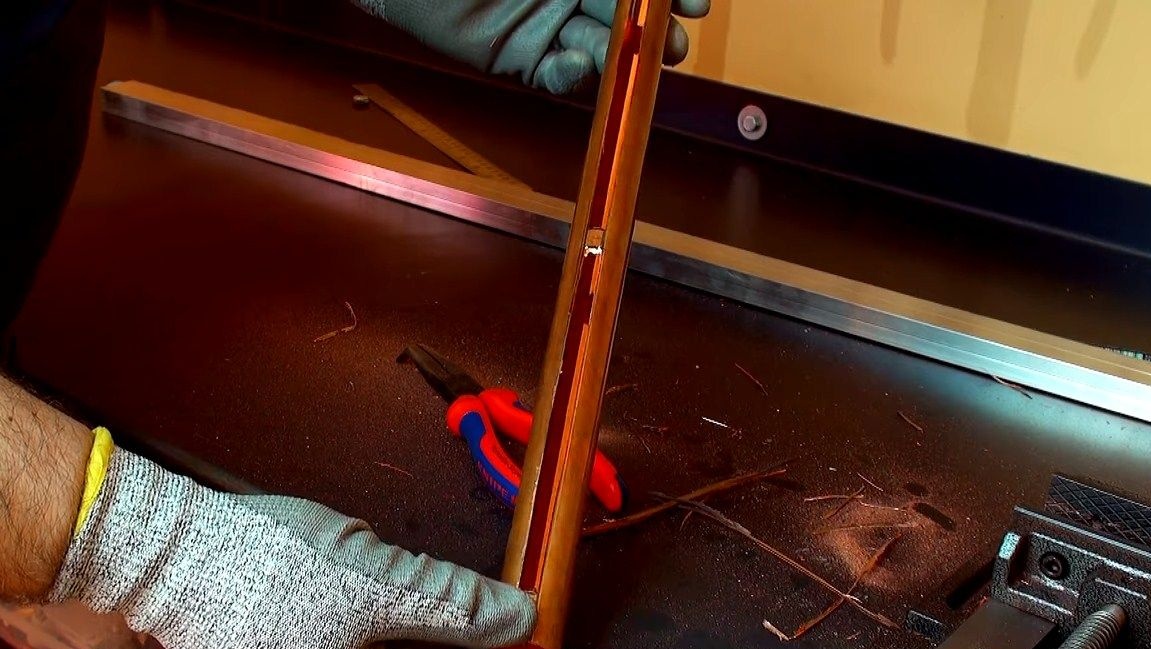
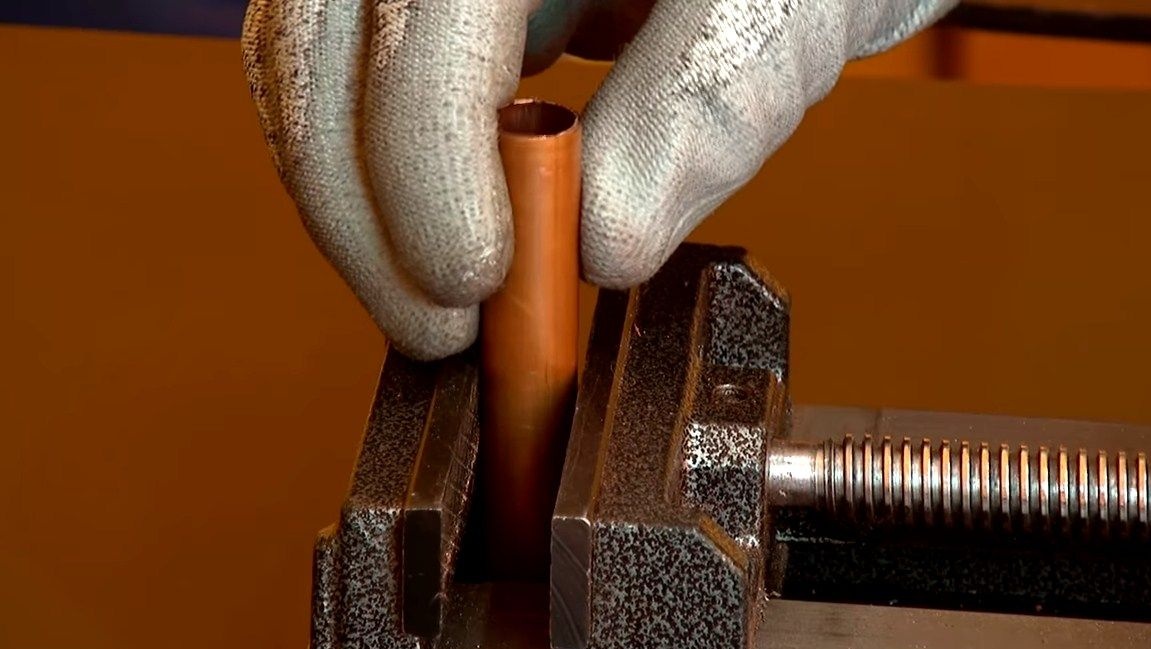
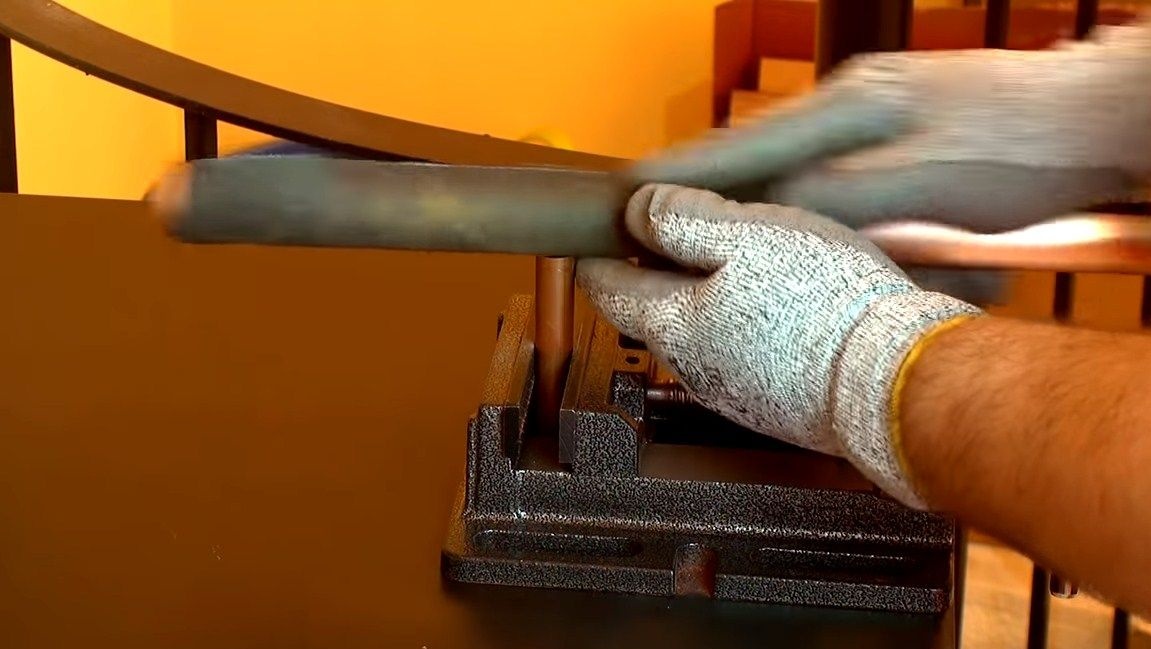
As a rack, we use a piece of copper pipe of the same diameter. We cut off the excess and clamp vertically in a vice. Next, we need to make a groove at the end of the tube, so that it without gaps docked to the main horizontal tube. Carefully customize the part, and then solder in the same way.
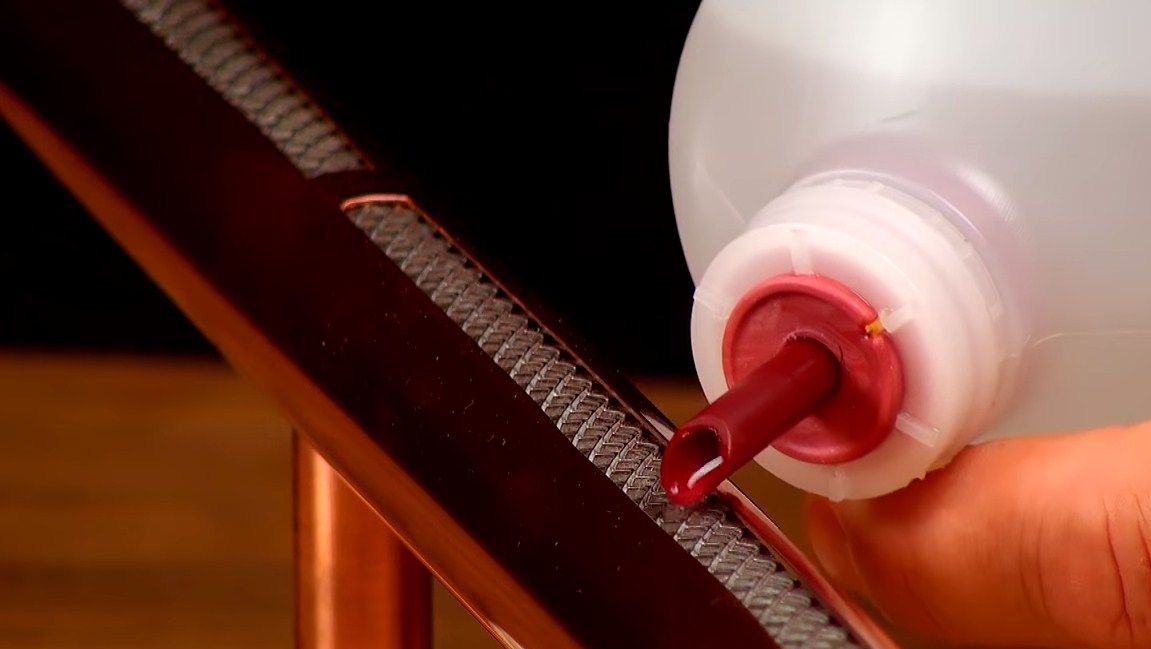
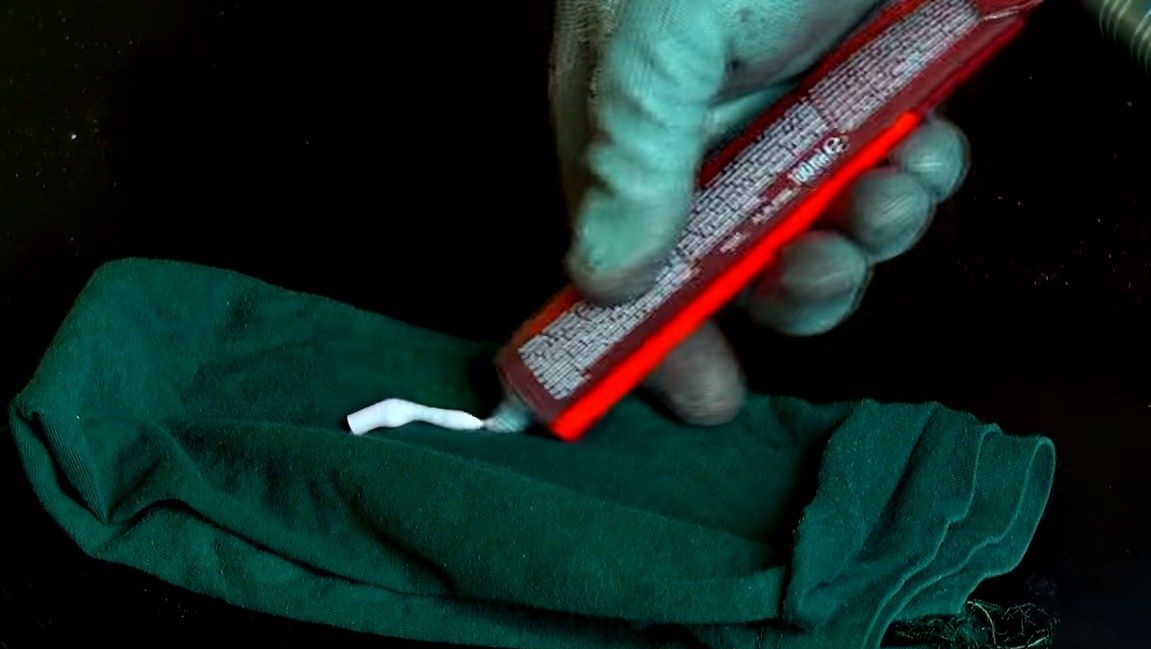
Step Four Filler Installation
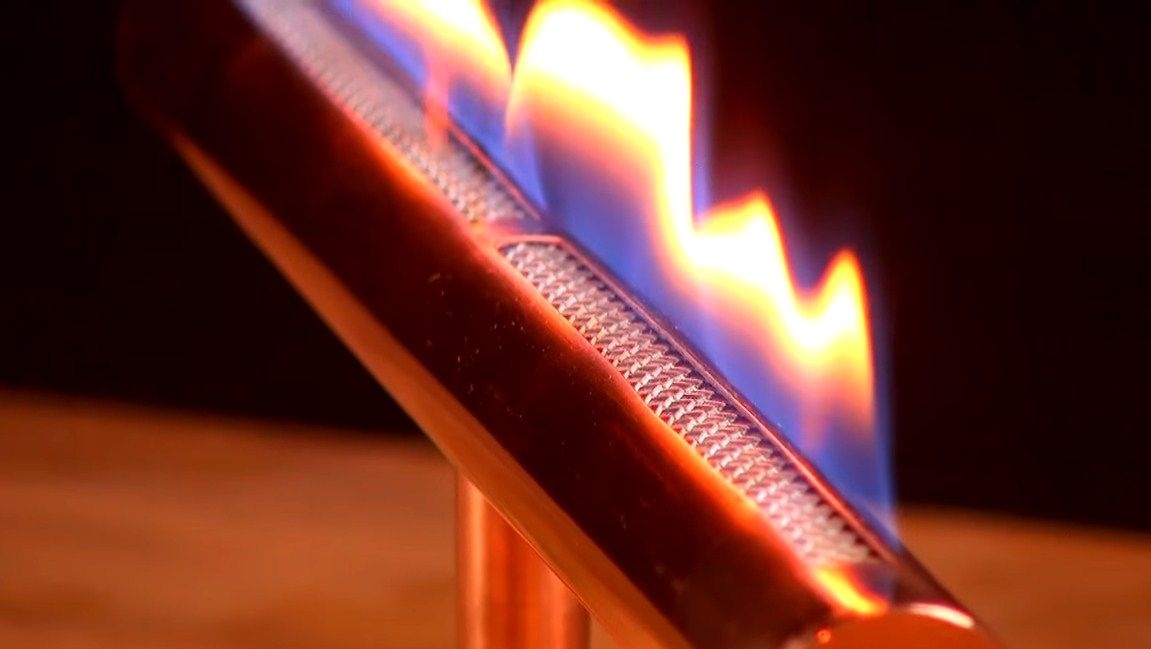
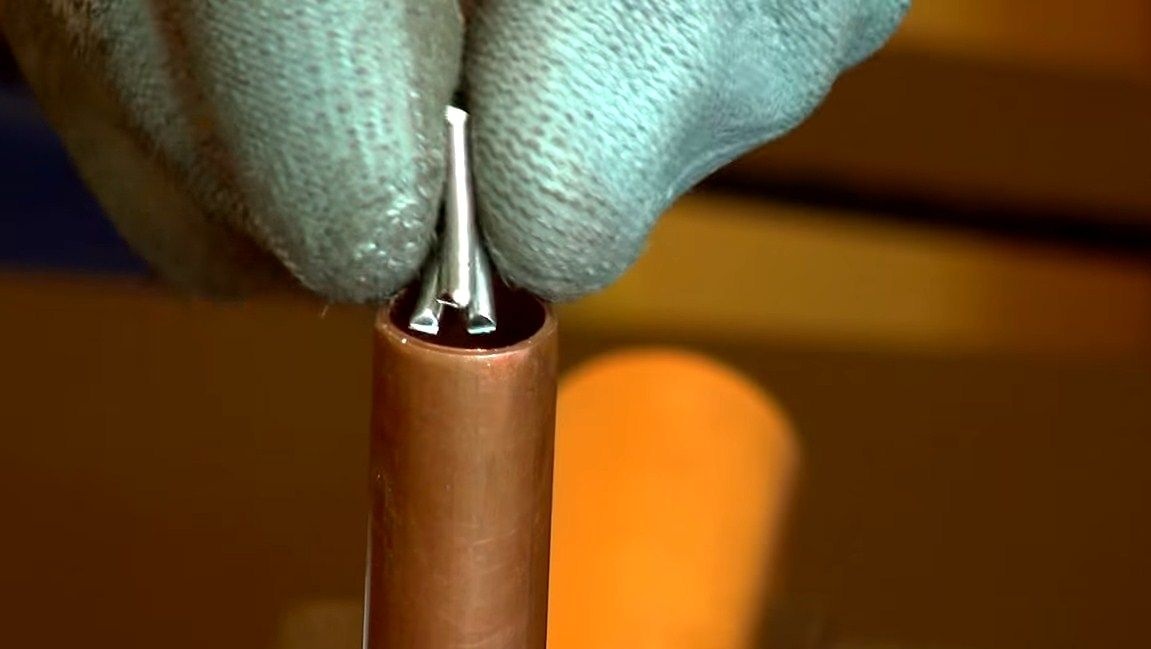
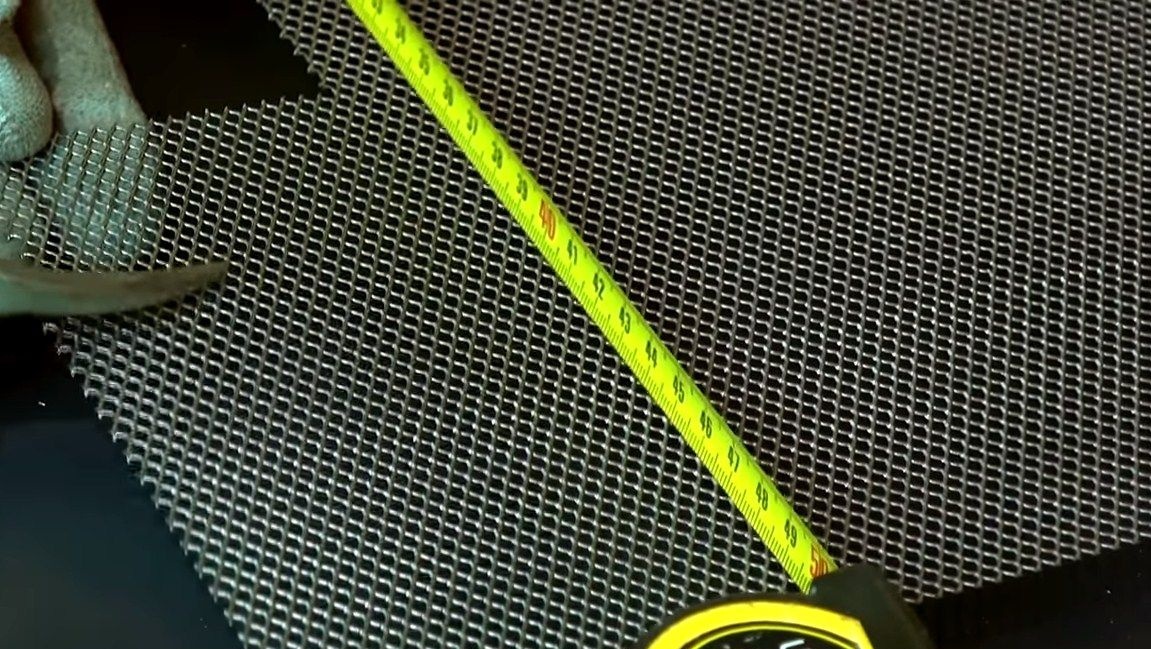
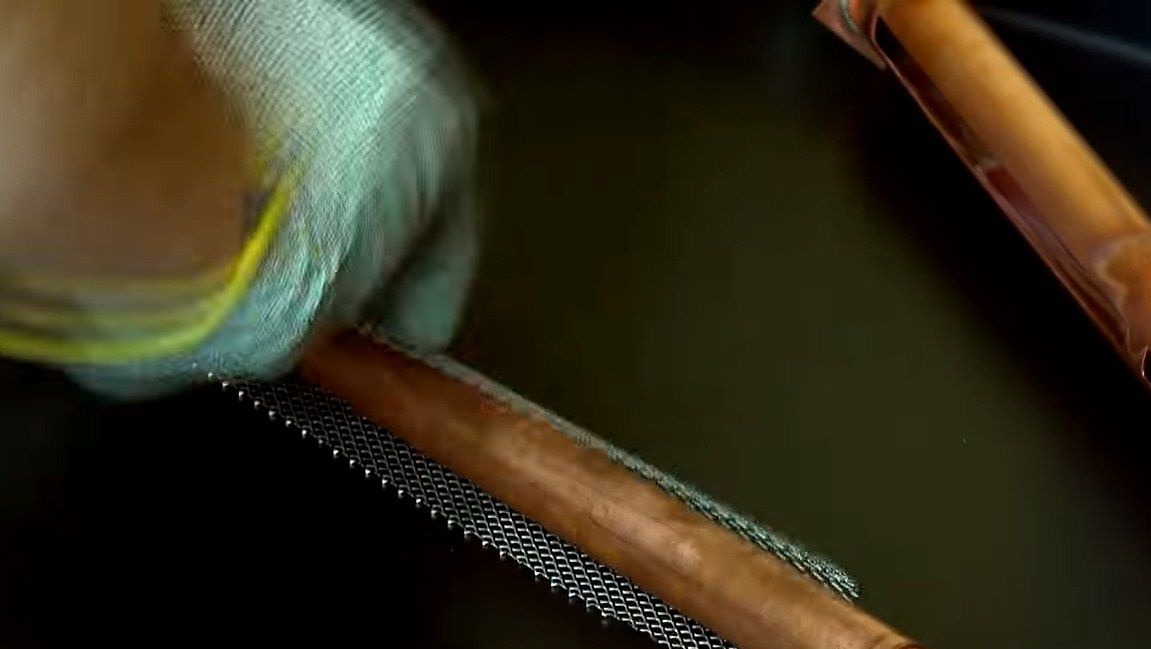
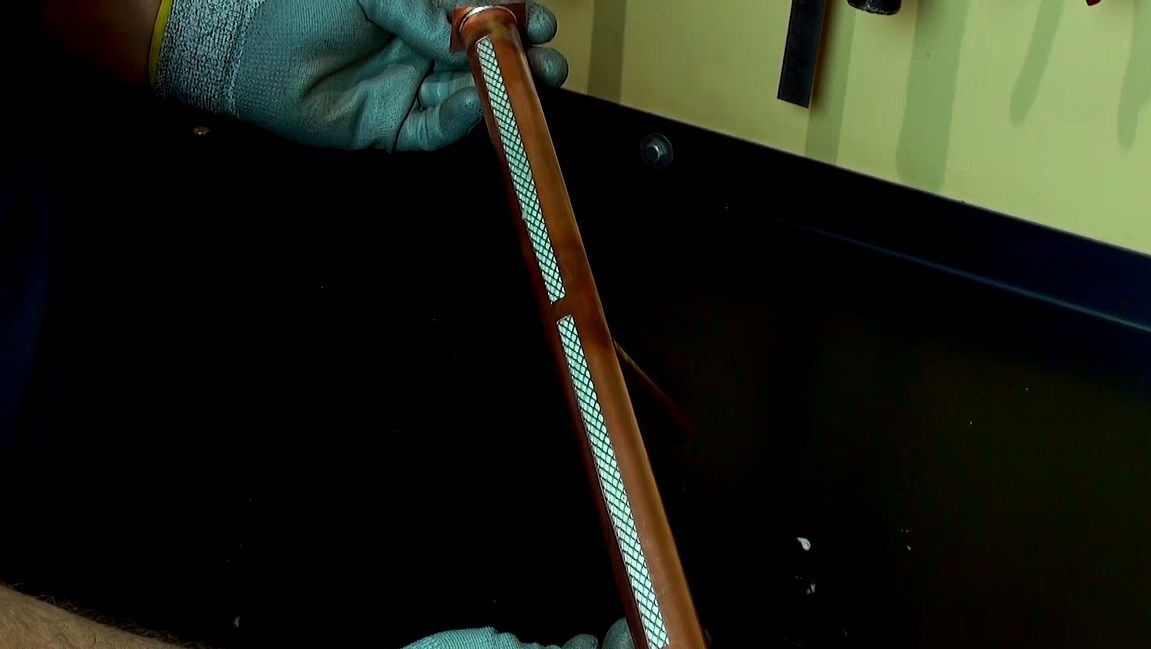
A filler is needed in order to hold and vaporize the fuel. What specific author used the material is unknown. Most likely, this material is not combustible. We need a steel mesh suitable for this case, cut a piece along the length of the tube. Well, then with the help of this mesh we install the filler inside. As a result, everything looks neat and beautiful.
That's all, now we have to solder the second end of the tube. We solder it exactly like all previous times. We cut off the excess and grind in a circle the tube on the grinder.
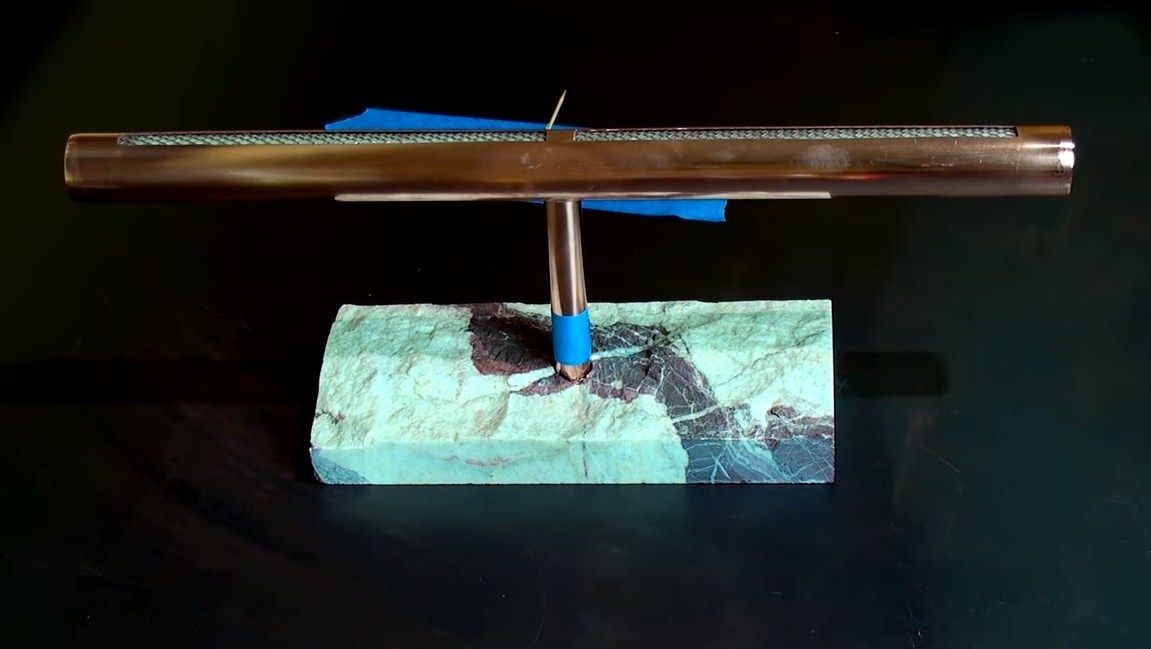
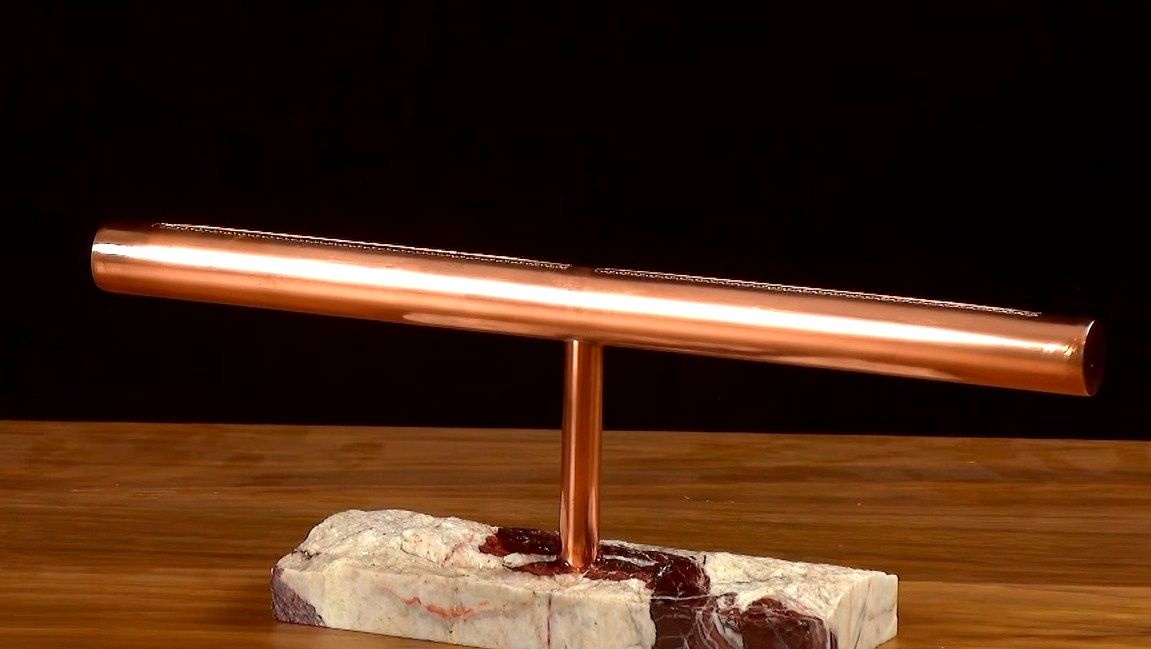
Step Five Polishing
Next, we need to properly polish the product. However, in the future this will have to be done regularly, as copper quickly darkens, but many people like this color. For polishing we use a suitable paste. The author brought the product to a mirror shine.
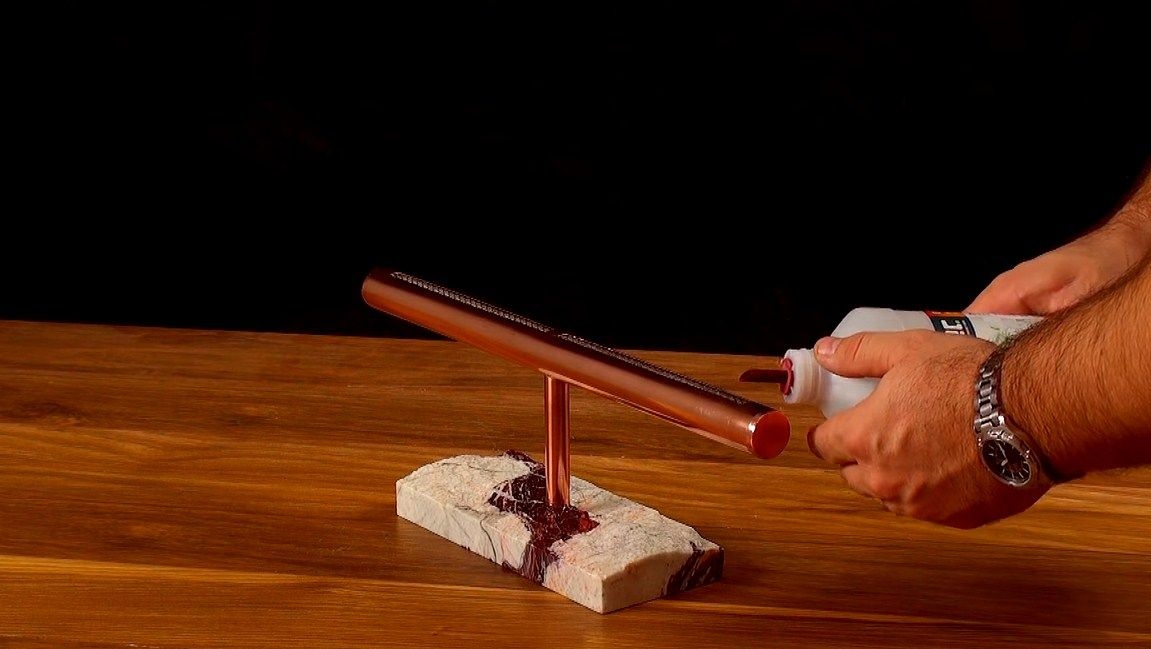
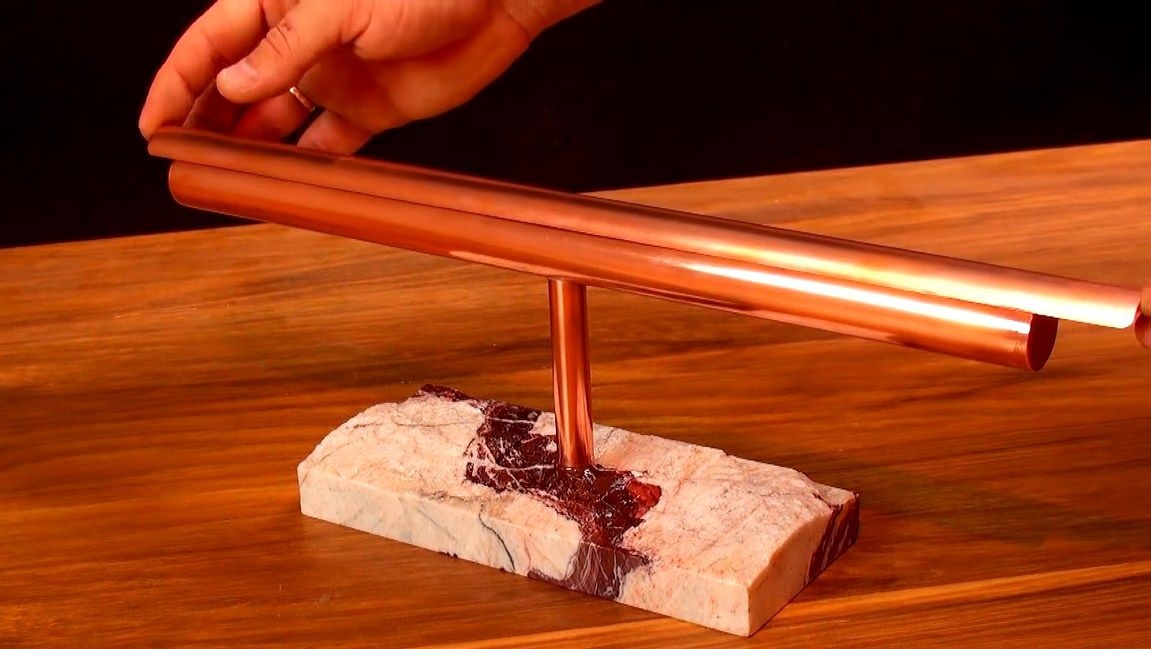
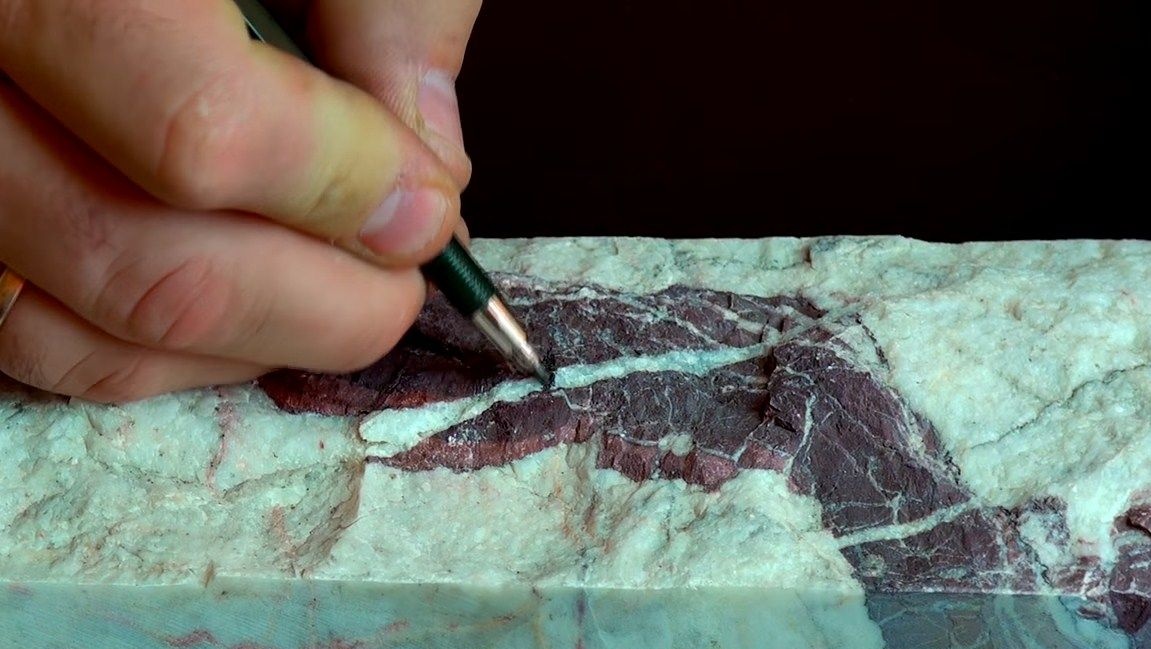
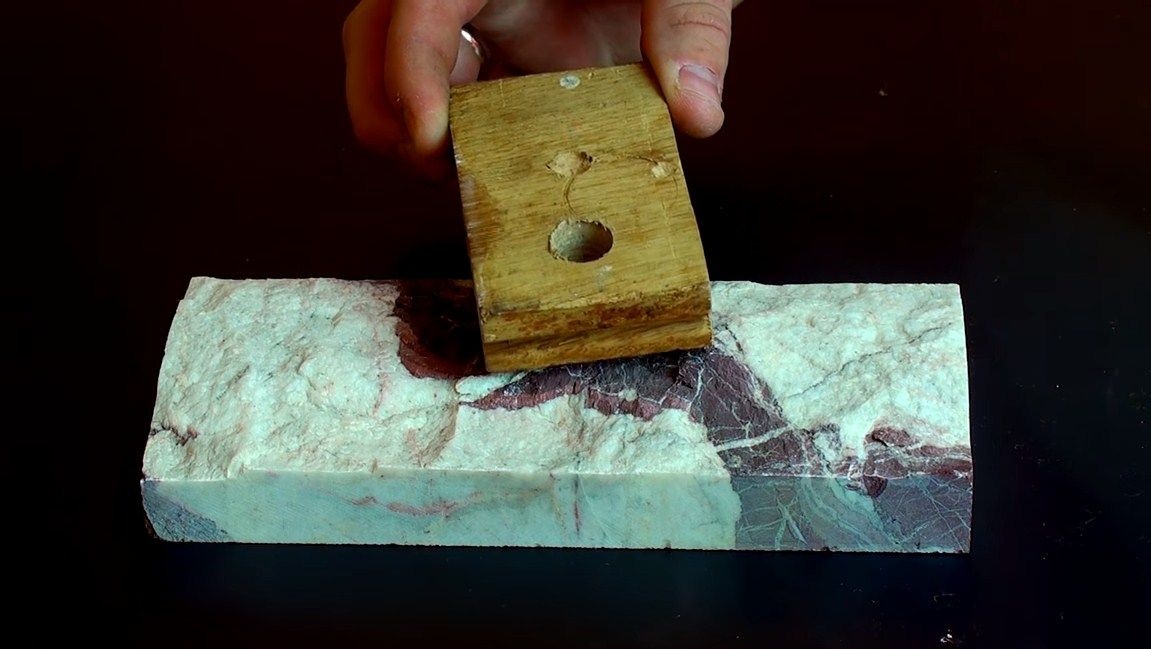
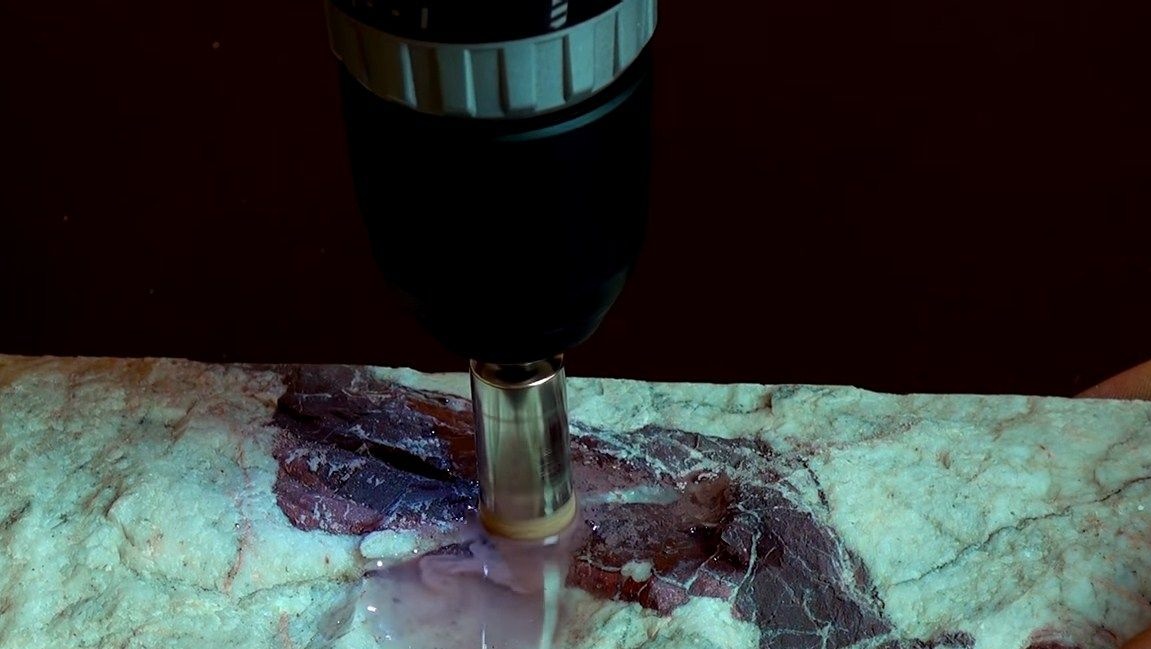
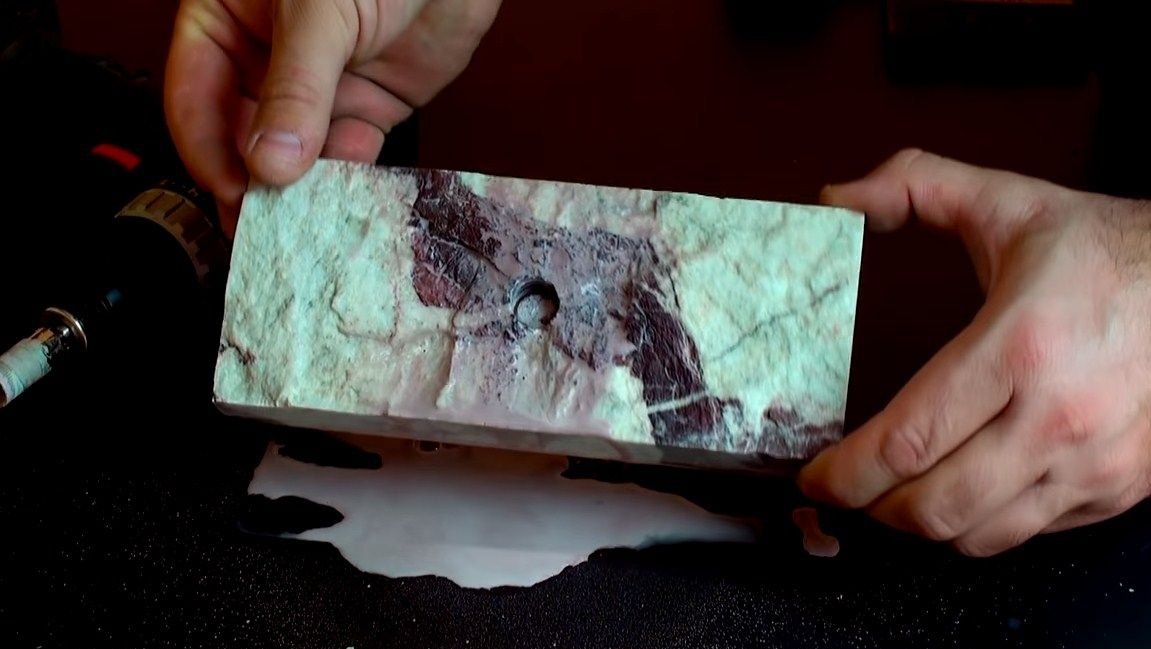
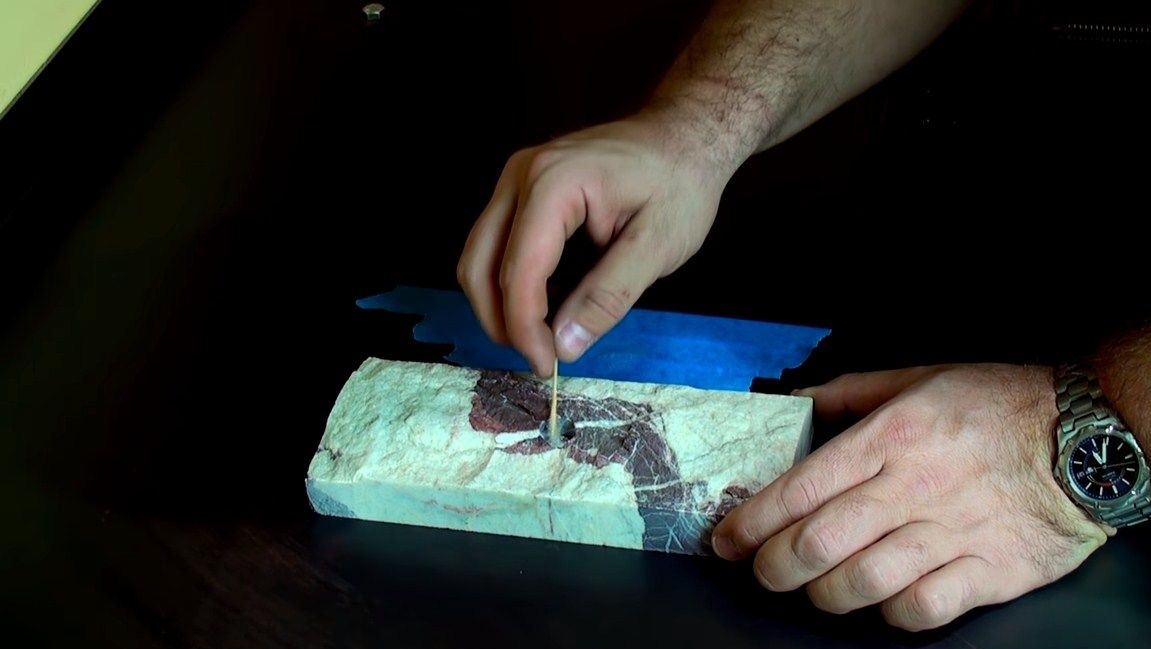
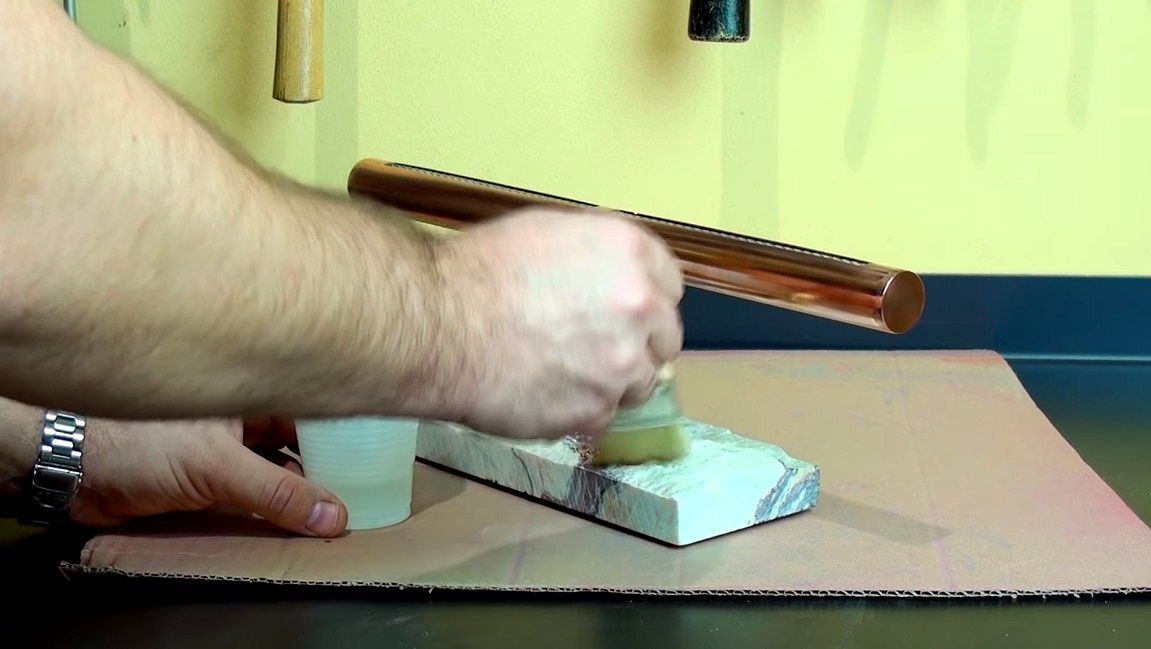
Step Six We prepare the base and install the lamp
A stone will look good as a base. But you can use wood, but in this case, the rack is recommended to be made more authentic for security reasons. The author drills a hole in the stone, and then glues the stand using epoxy glue. Such a design will be quite reliable and durable.
When the glue dries, cover the stone with varnish, now it will look great.

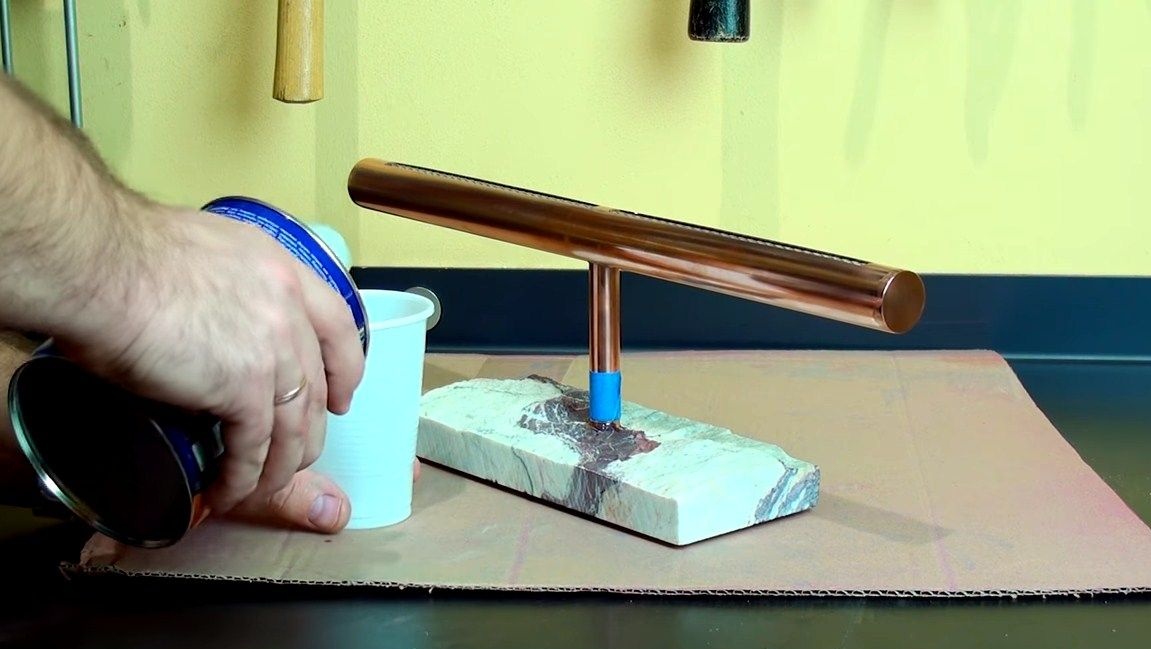
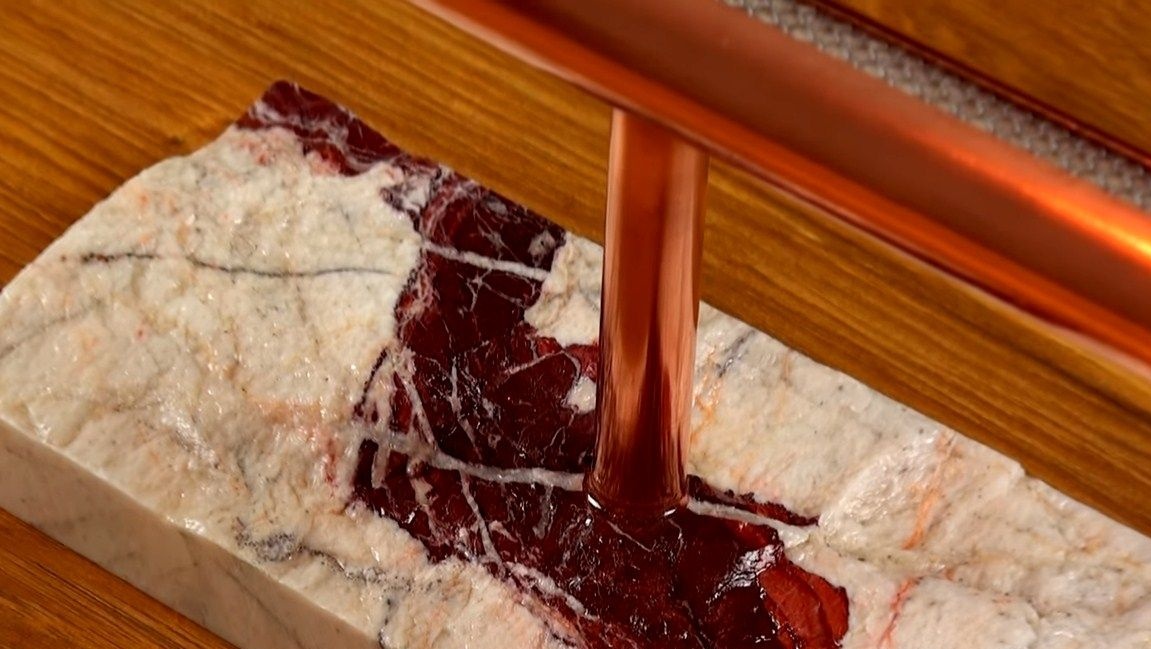
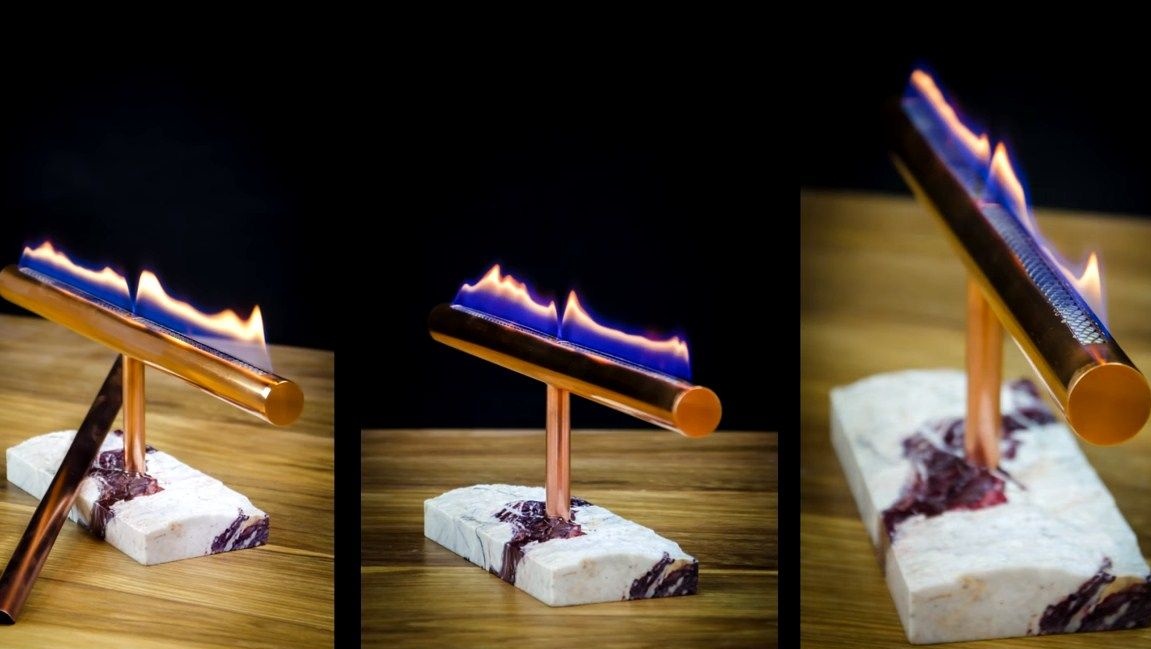
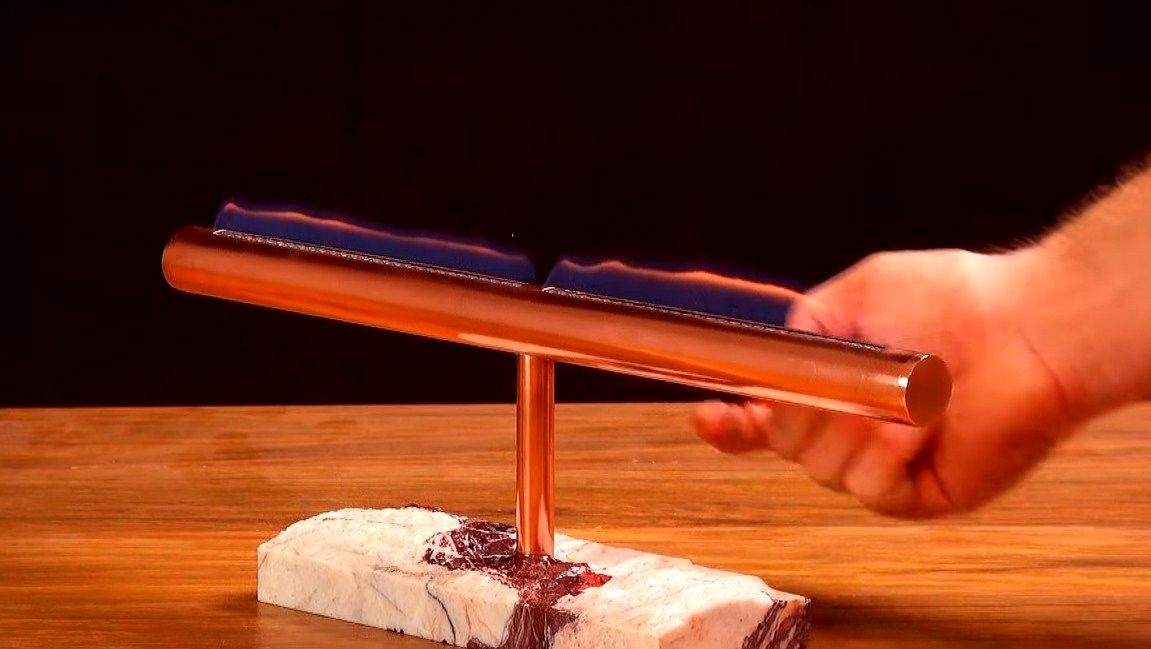
Seventh step. We are experiencing!
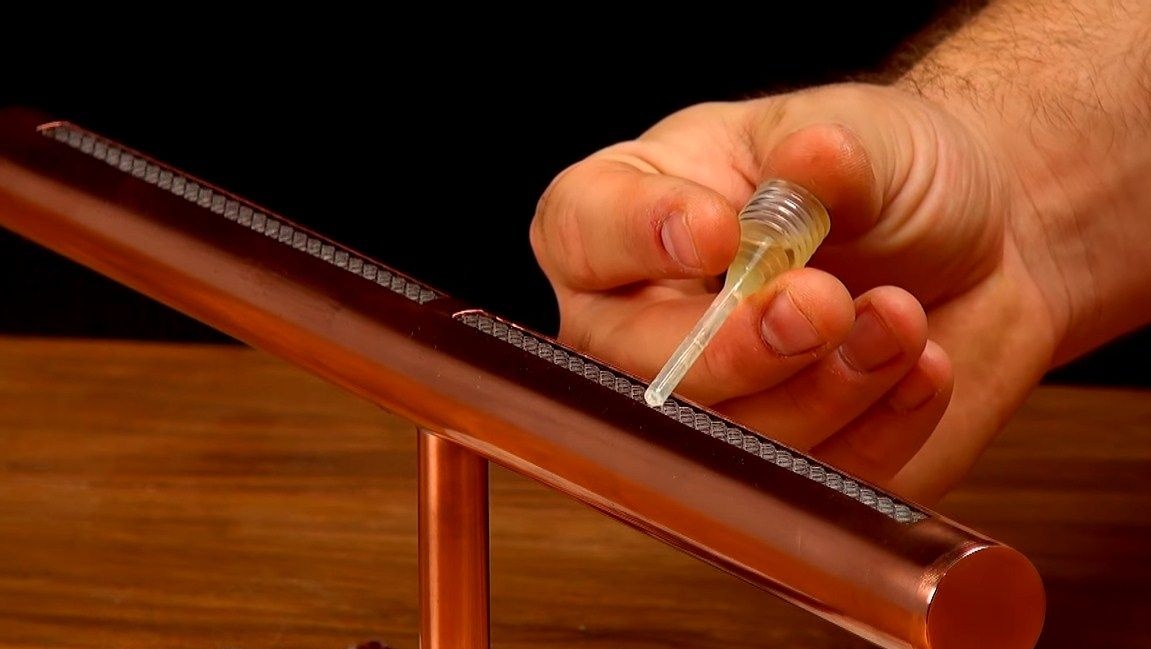
That's all, now we just have to experience what we have done. Pour liquid fuel onto the wick, for example, alcohol. You don’t need to pour a lot. If you wish, you can add aromatic oils to combine business with pleasure. We bring fire and the miraculous happens!
To extinguish the lamp, the author cut out a special cover from a copper tube, cover it with a flame, and it goes out.
That's all, the homemade product is ready. I hope you enjoyed the project. Good luck and creative inspiration, if you want to repeat it. Do not forget to share your best practices and homemade products with us!