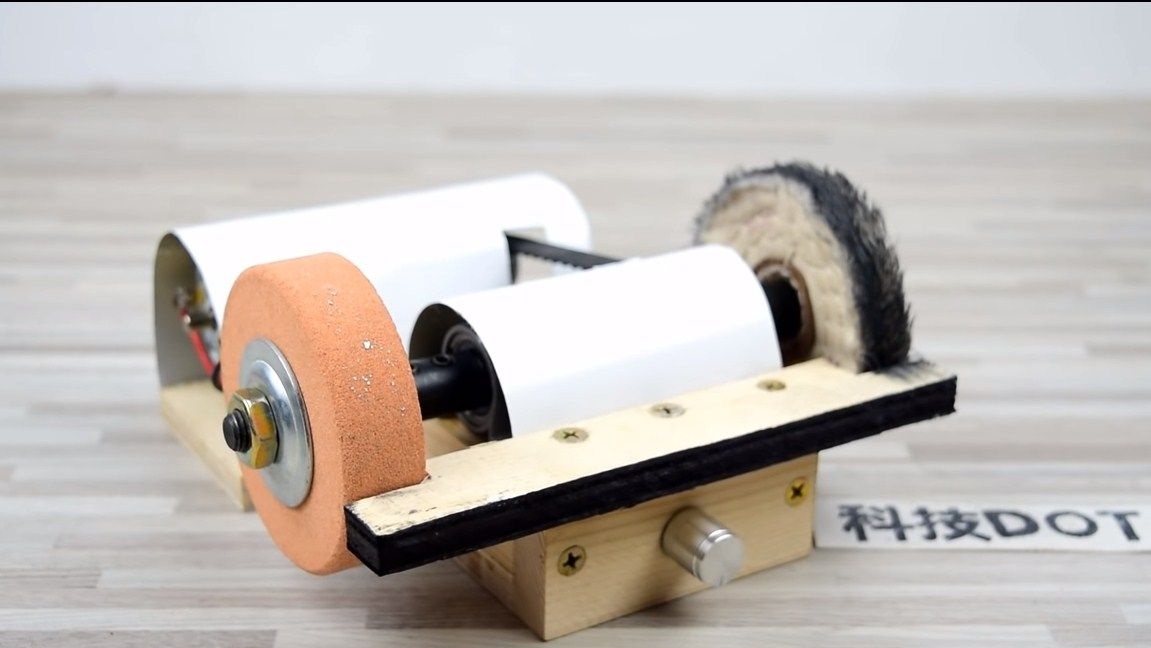
Hello everyone, if you are a fan of crafting some small details, this homemade just for you. I present to you a simple, compact, convenient and almost silent miniature machine. With it, you can grind, sharpen something, and so on. And there is also a polishing wheel, so you can immediately polish your products to shine.
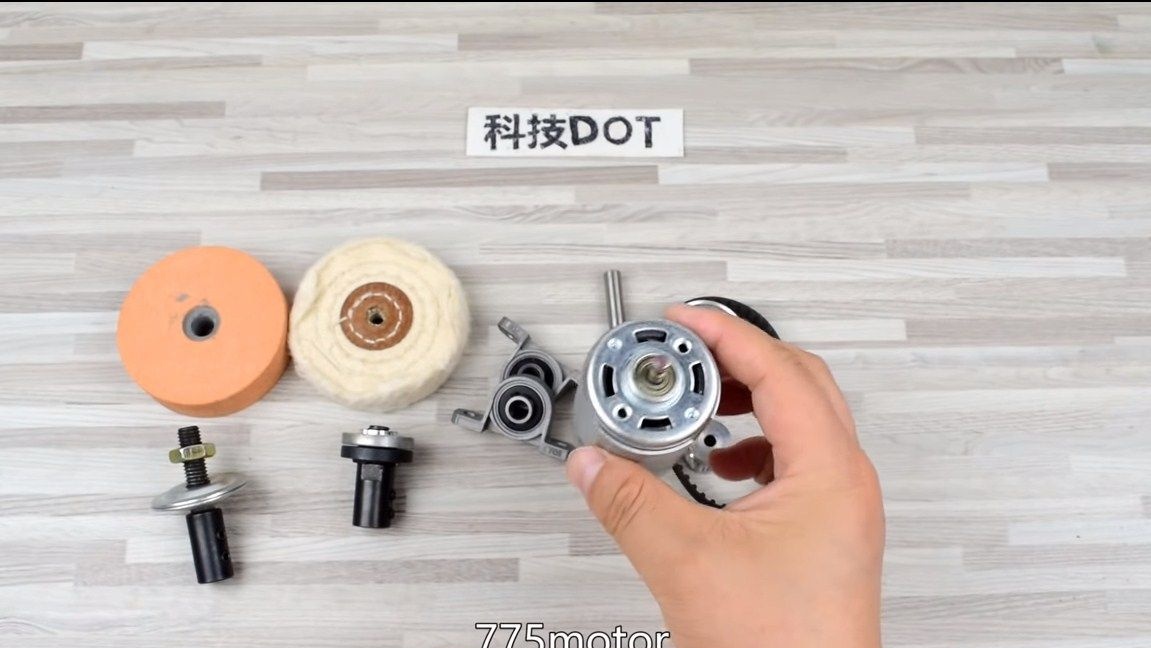
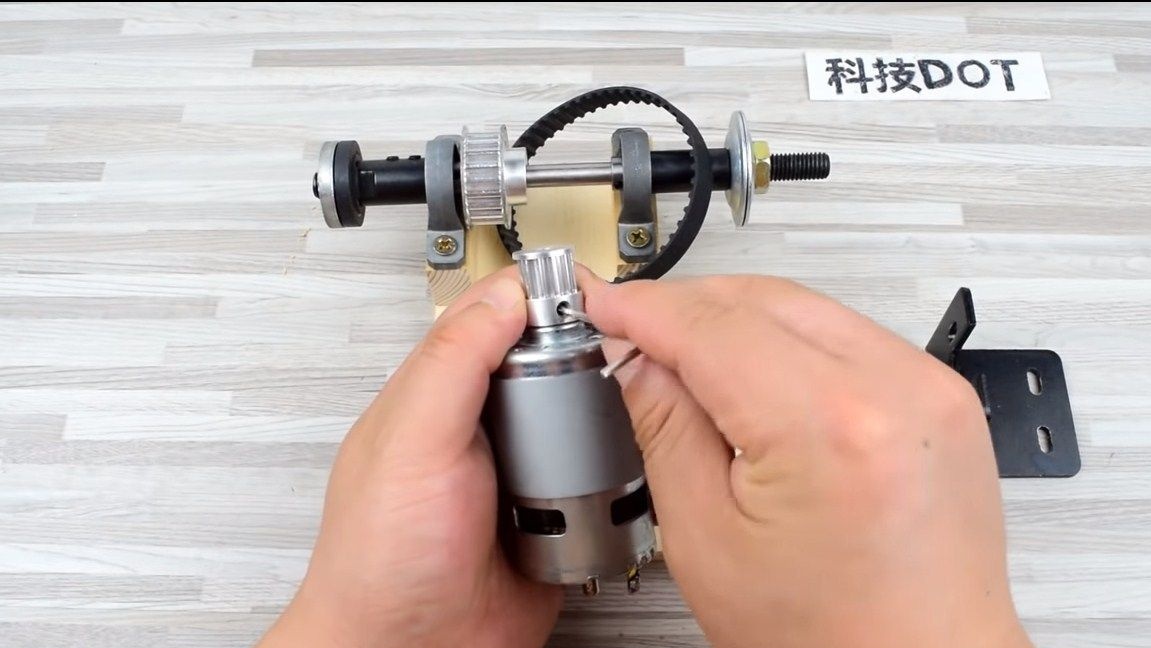
The well-known 775 engine is used as a power unit. Such motors are used for the manufacture of small machines. The peculiarity of the engine is that there is a built-in propeller, which allows you to actively cool the motor. If you will buy such an engine, choose the option on bearings. The bushings wear out much faster than bearings, and the efficiency of the bearing variant will be higher, since there is less friction. Such motors can be ordered from China. However, you can use another suitable engine.
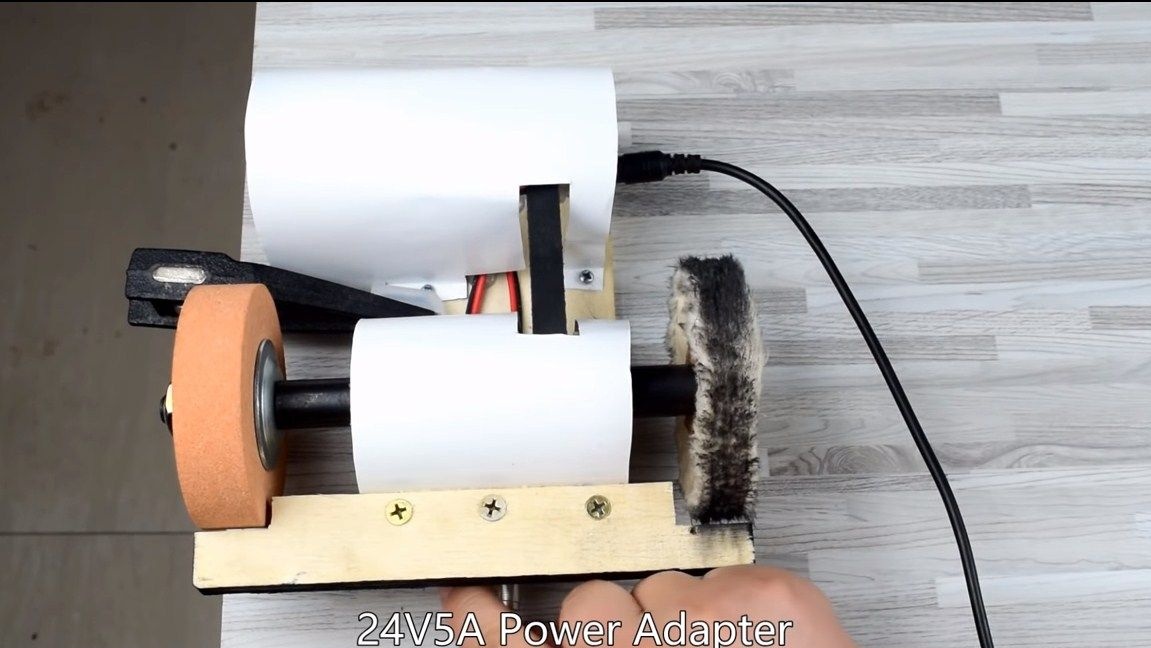
The base is made of wood, it is easy, affordable and fast. The machine is powered by a 24V to 5A power supply, but in general, these motors operate on 12-24V voltage. Maximum potential is revealed at 24 volts. Let's consider in more detail how to assemble such a machine!
Materials and tools used by the author:
Material List:
- ;
- plywood;
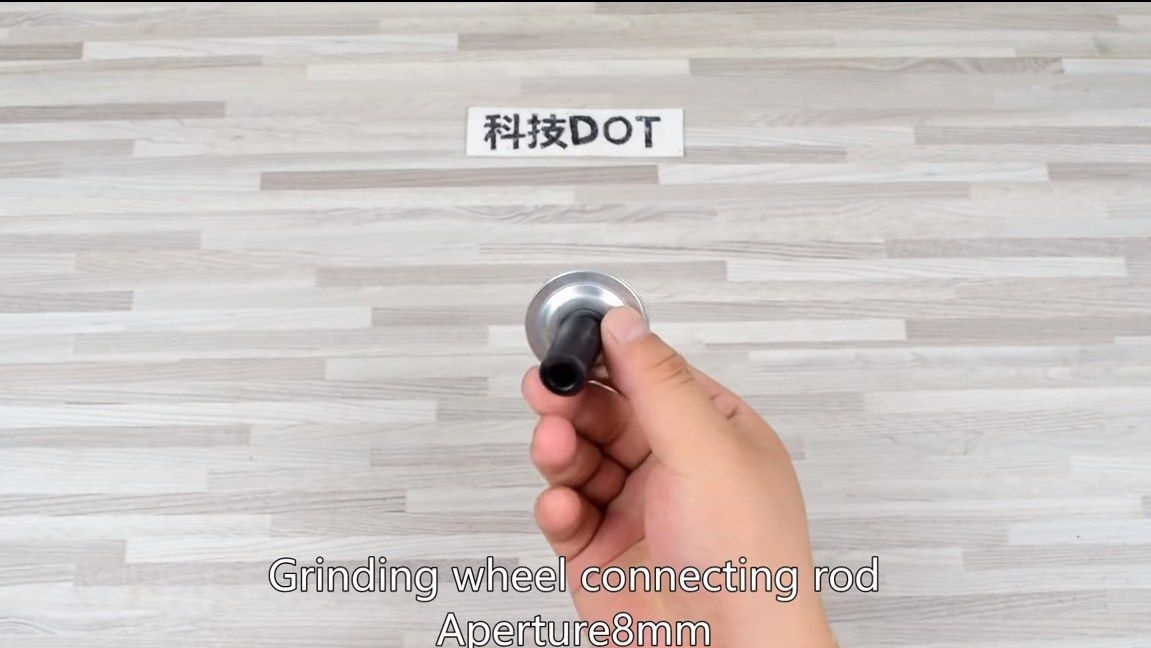
- 8 mm connector for setting circles;
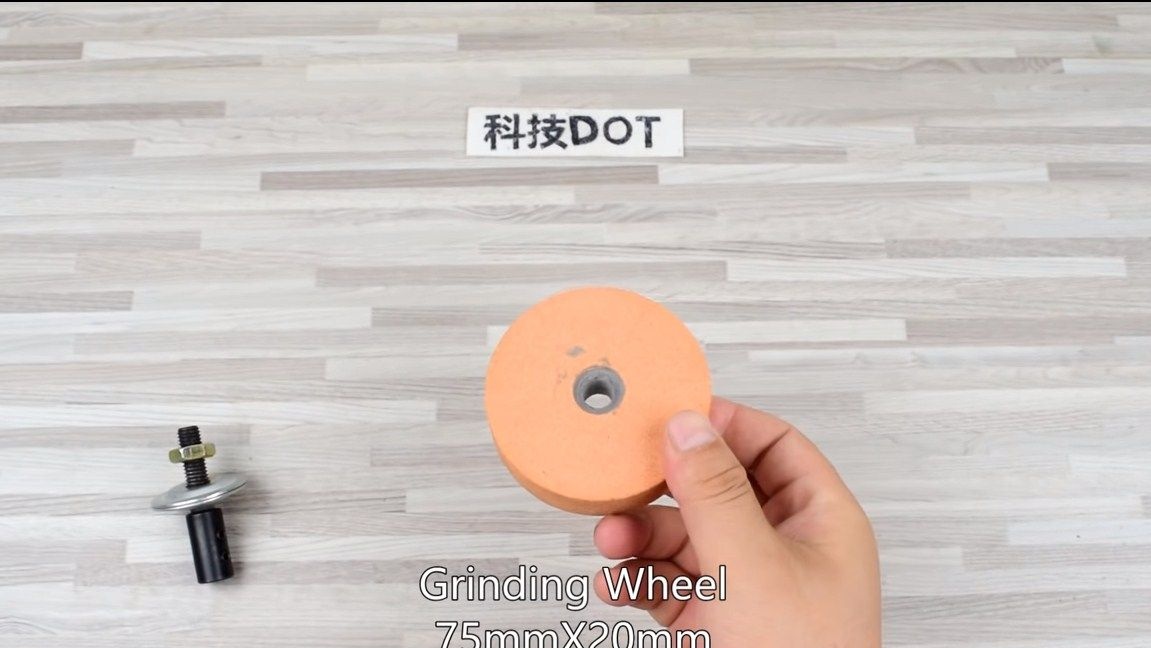
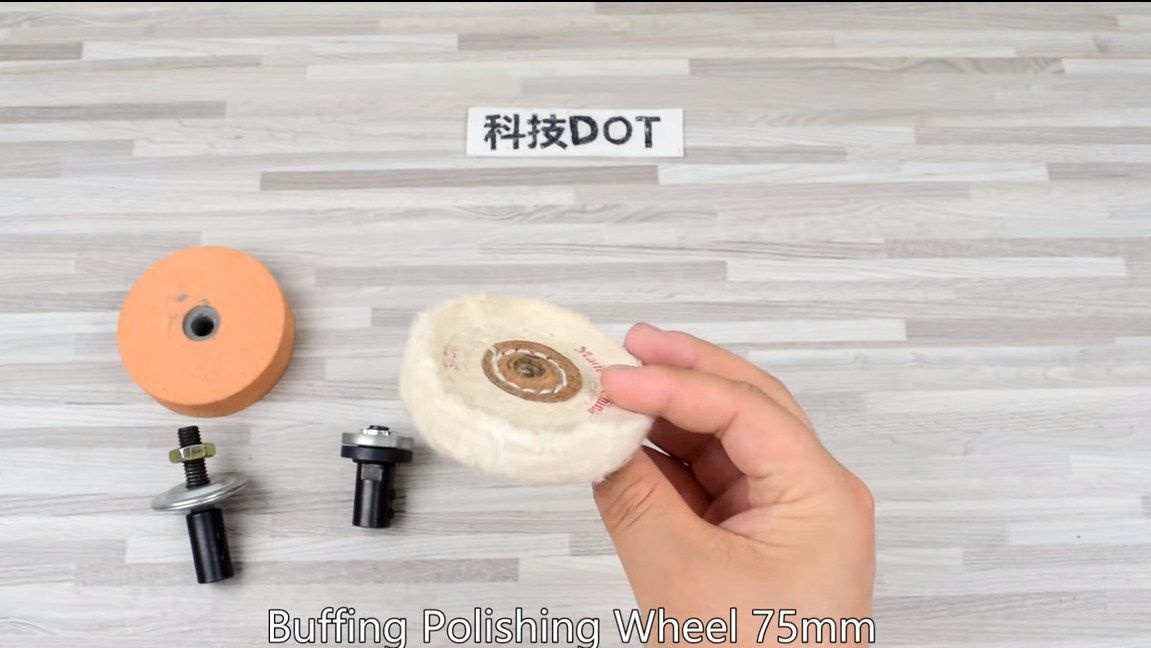
- grinding wheel 75X20 mm;
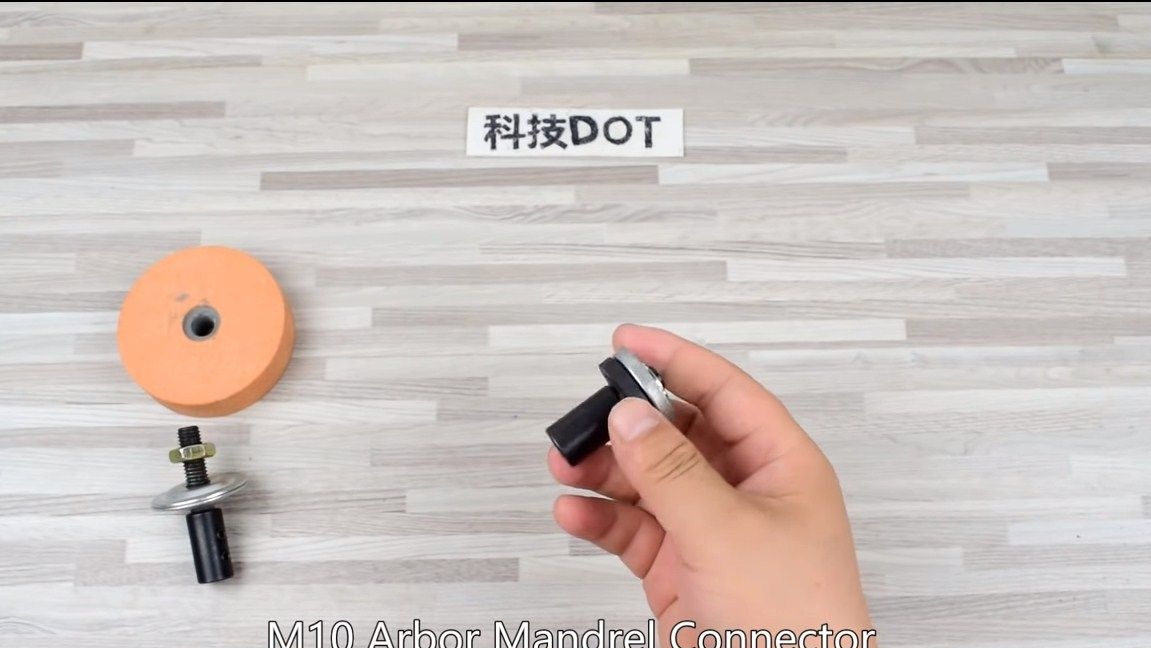
- connector M10;
- polishing wheel;
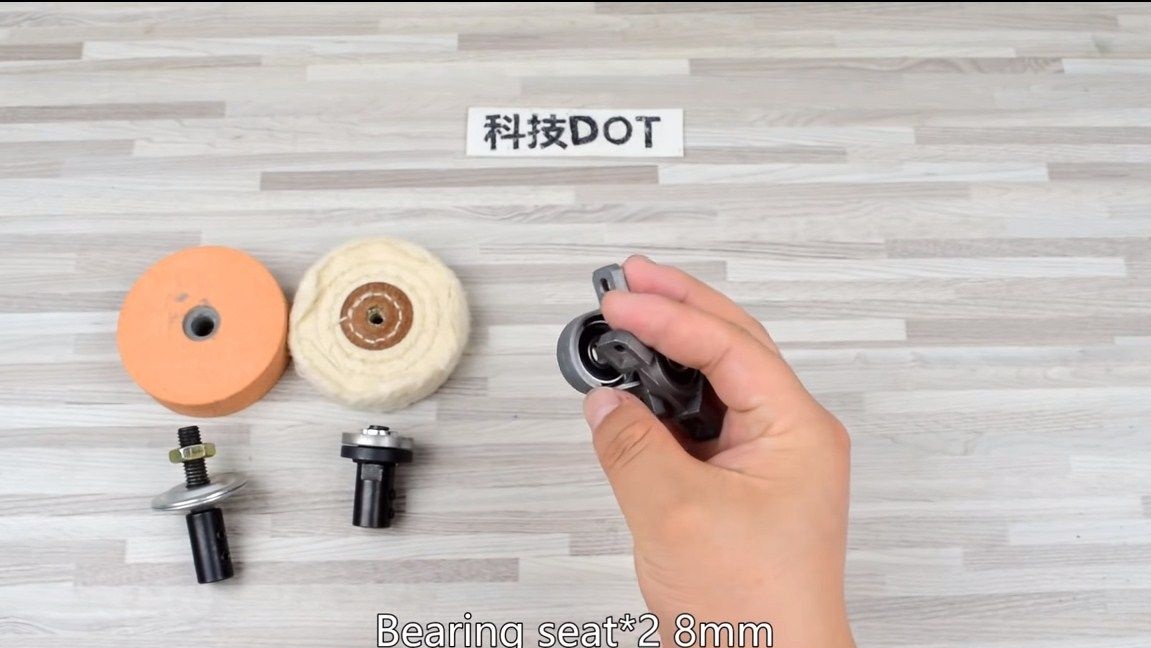
- two bearings 8 mm;
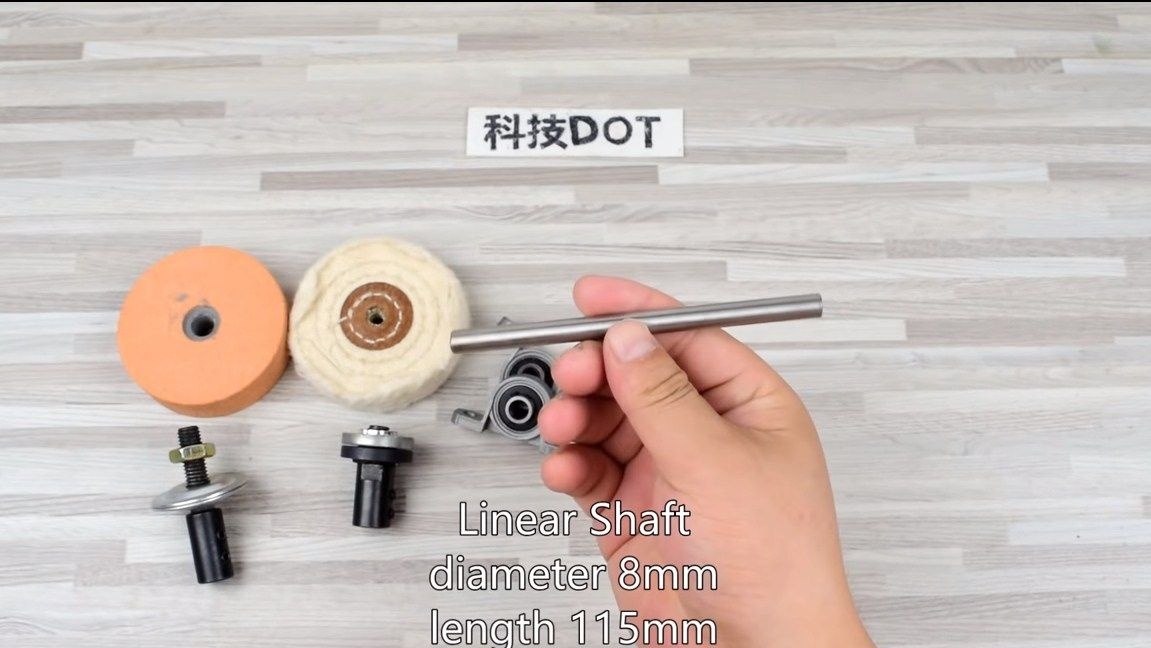
- a steel rod 8 mm thick and 115 mm long;
- ;
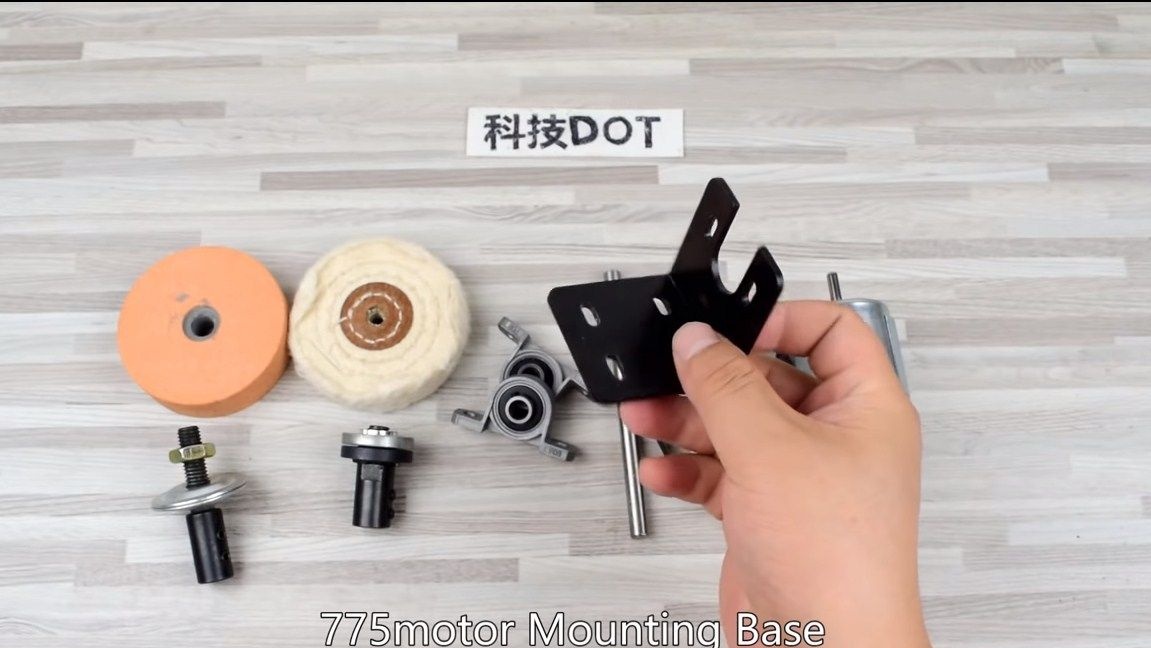
- bracket for mounting the 775 engine;
- self-tapping screws;
- glue;
- (to adjust the speed);
- power supply 24V / 5A.
Tool List:
- soldering iron;
- drill / driver;
- glue gun;
- keys, screwdrivers, etc.
The process of manufacturing the machine:
Step one. Assembling the main working axis
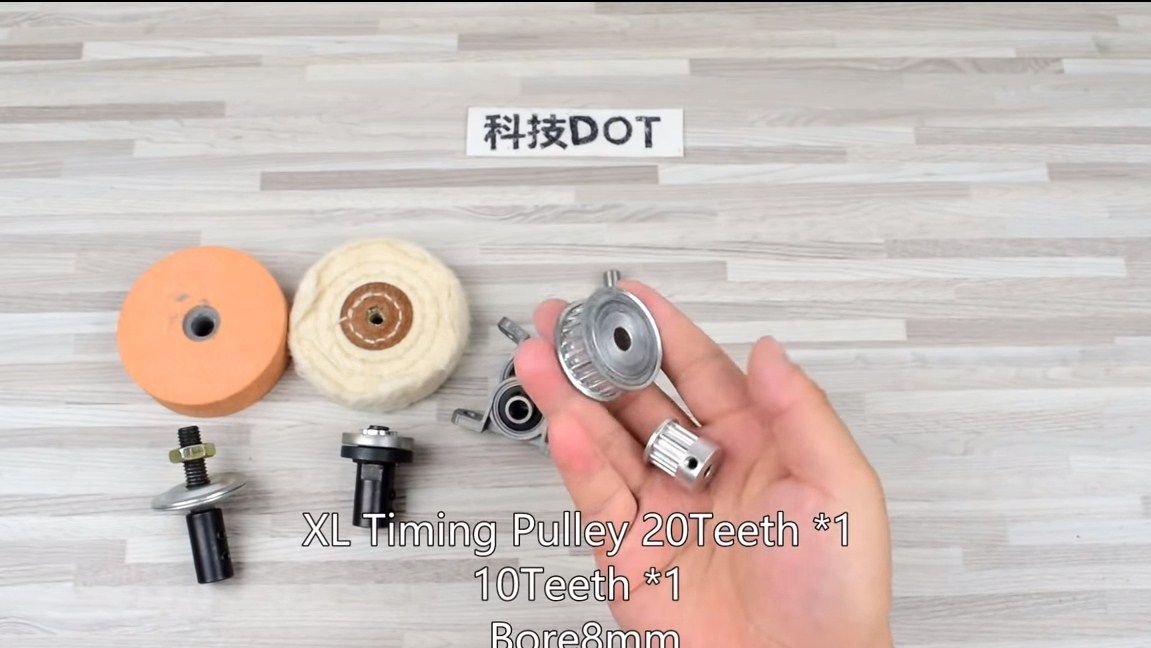
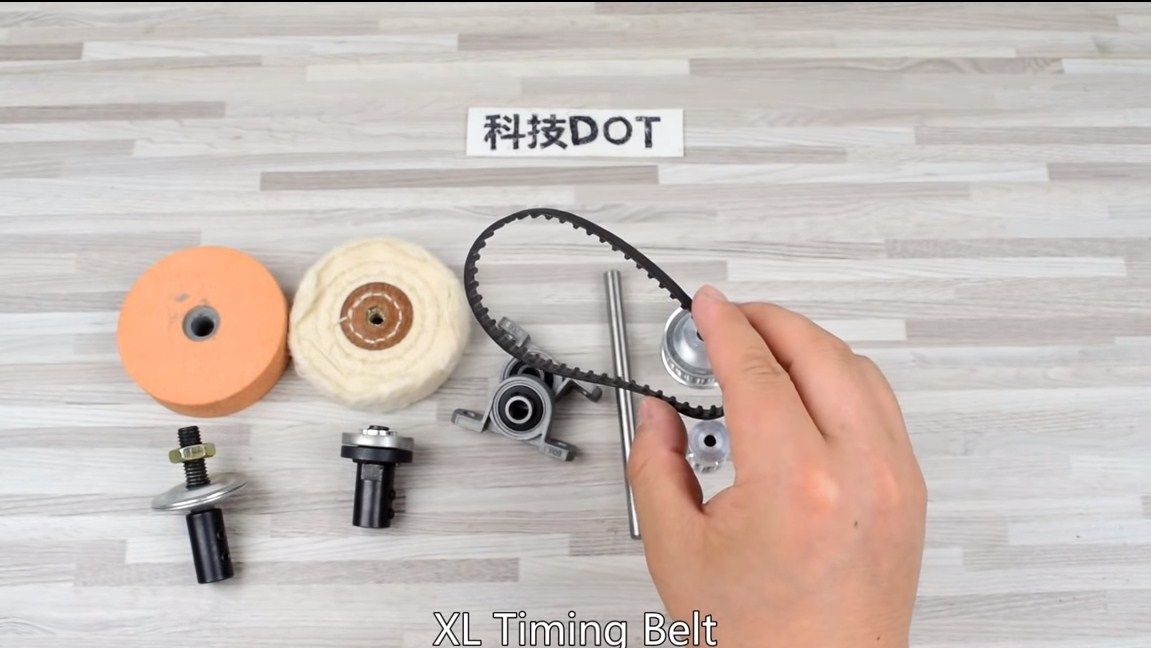
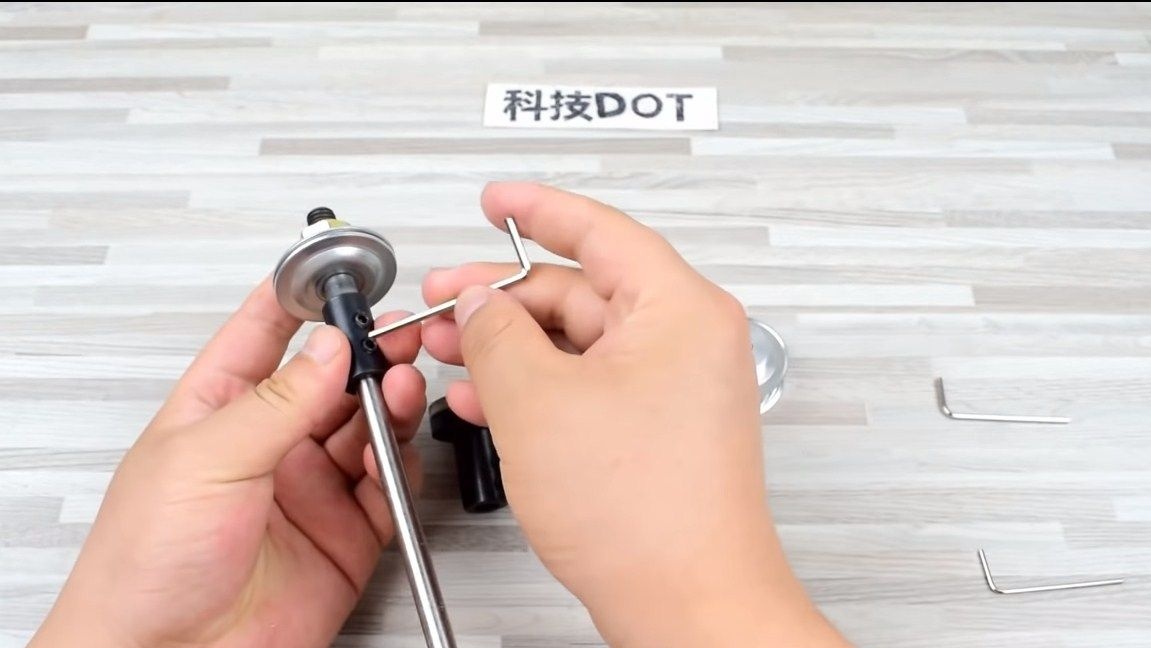
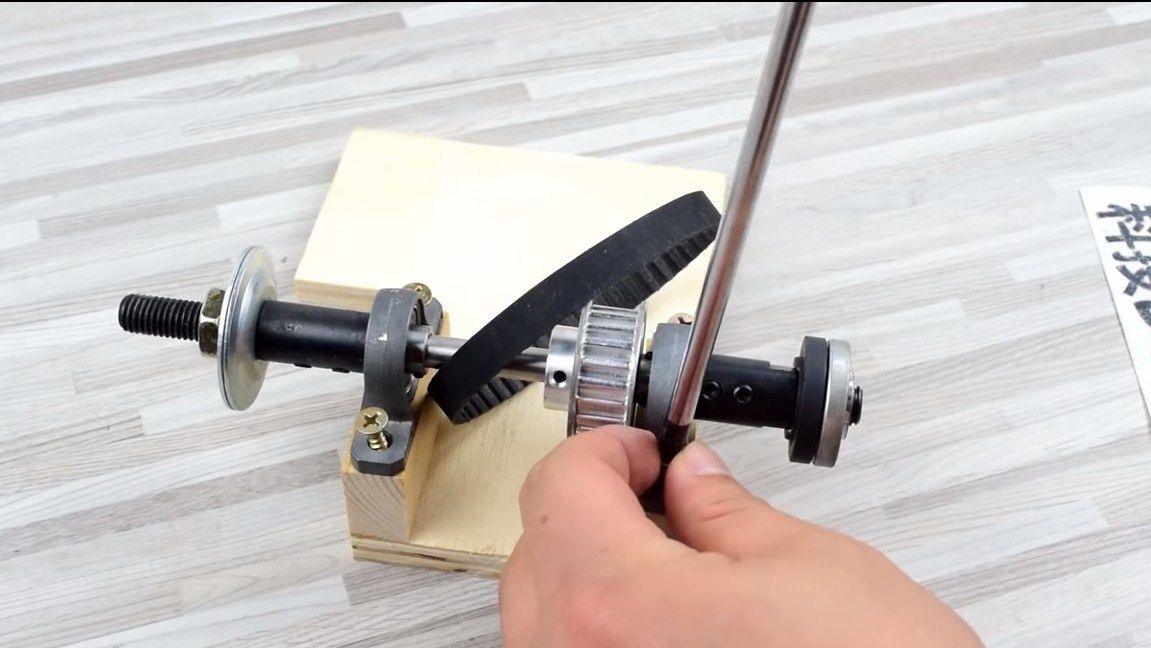
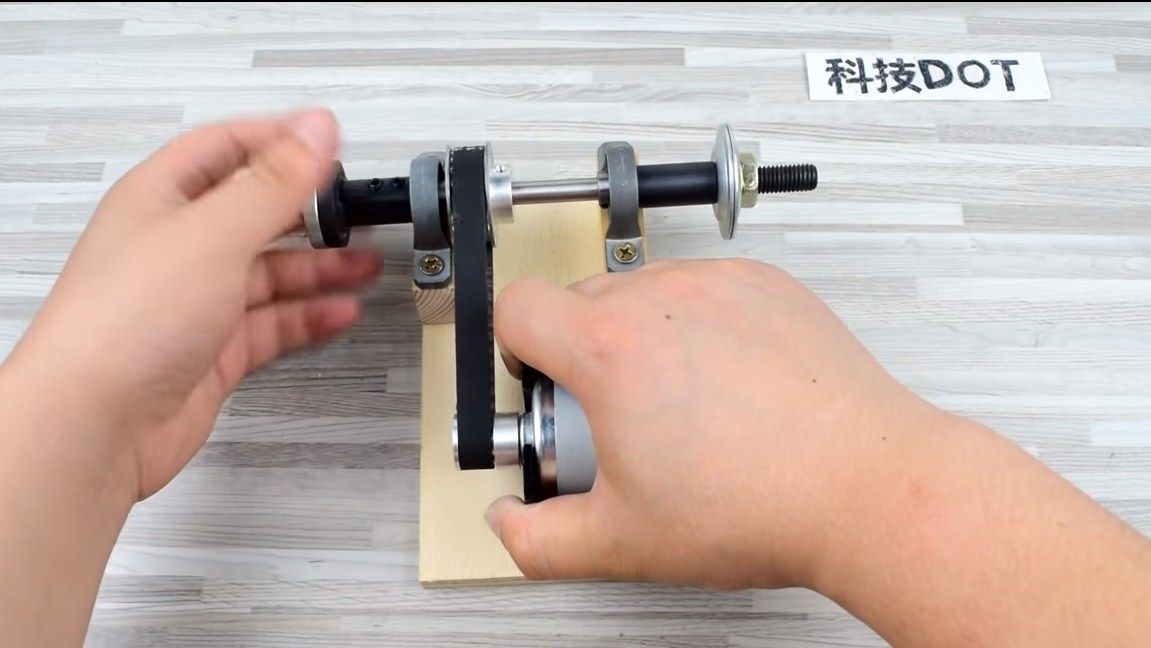
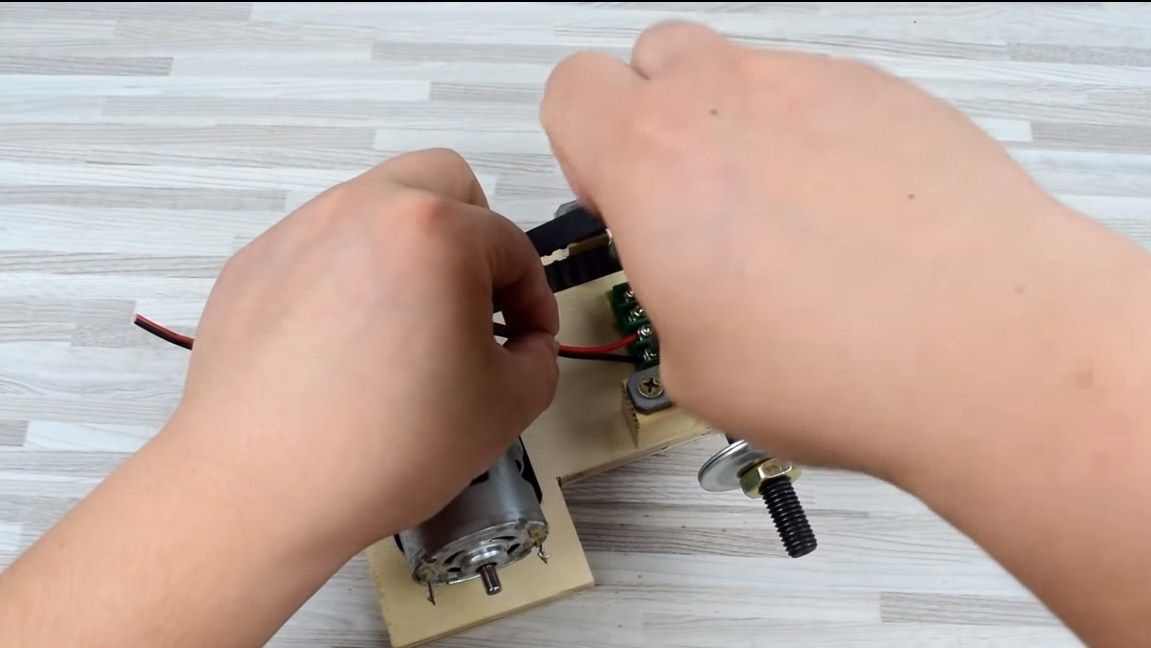
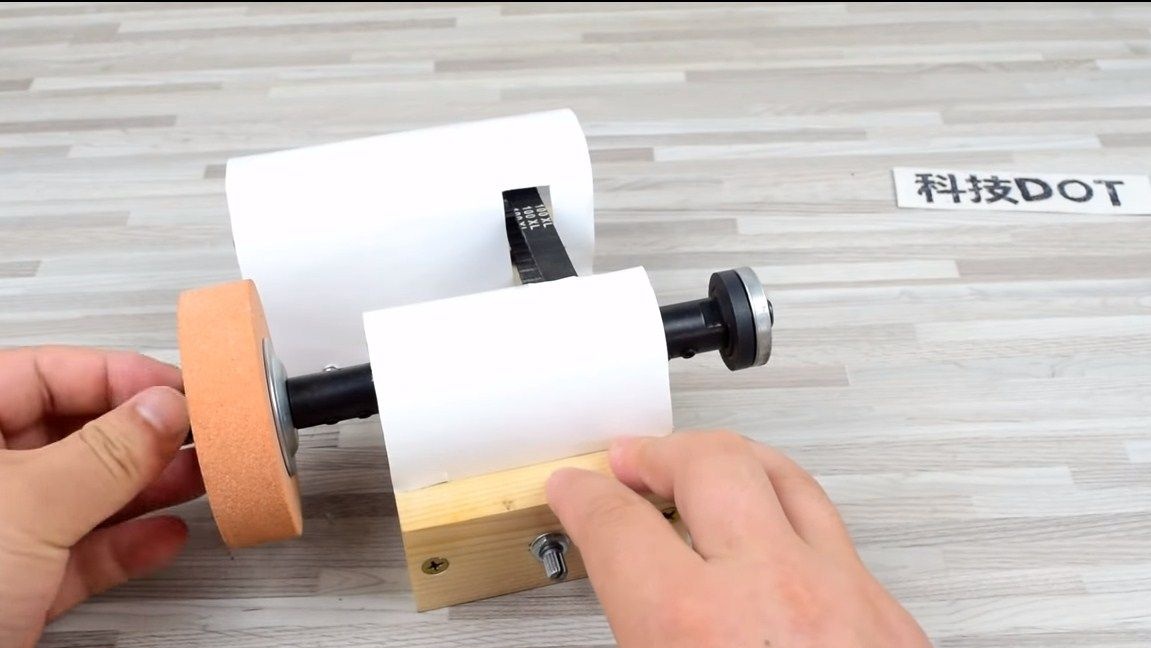
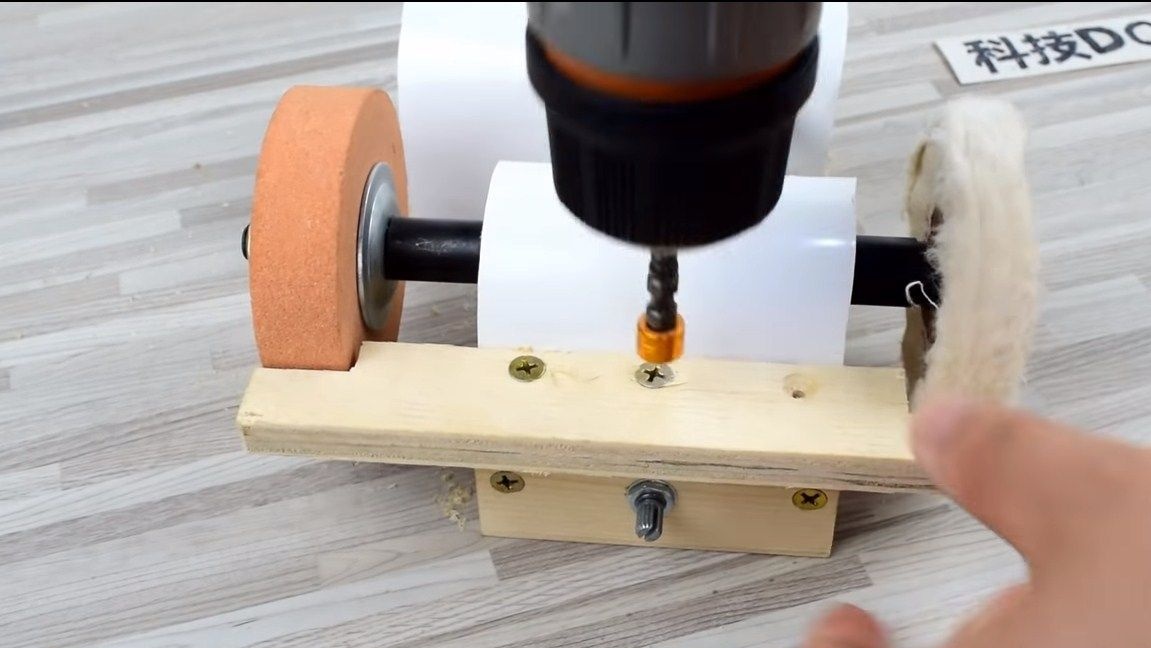
We start with the main axis, on which the grinding and polishing wheel, as well as the belt drive pulley, will be fixed. As an axis, you will need a steel rod 8 mm thick. First, install the adapter, with which we fix the grinding wheel. Since our circle is rather thick, the adapter is a threaded rod, as well as nuts and washers. We fix this part by tightening the hexagon head screws, similarly all other parts are attached.
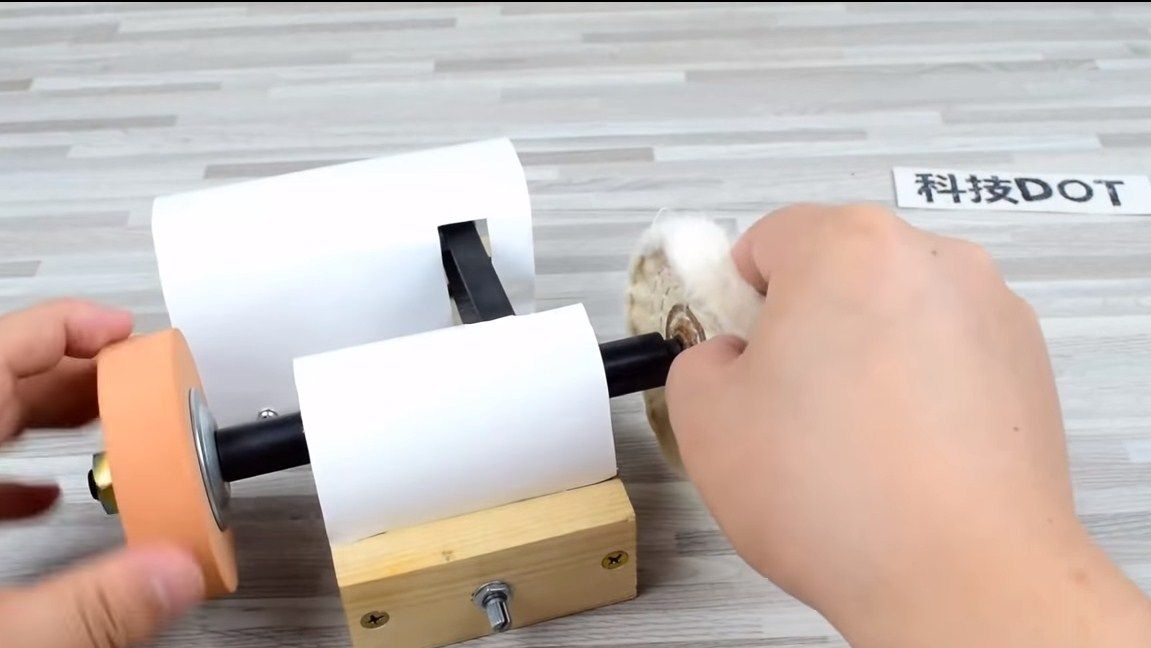
Next, install the first bearing, followed by a pulley.We put one more bearing and fasten the adapter on the end for fastening the polishing wheel. By the way, this adapter can be used to install small cutting wheels from the grinder.
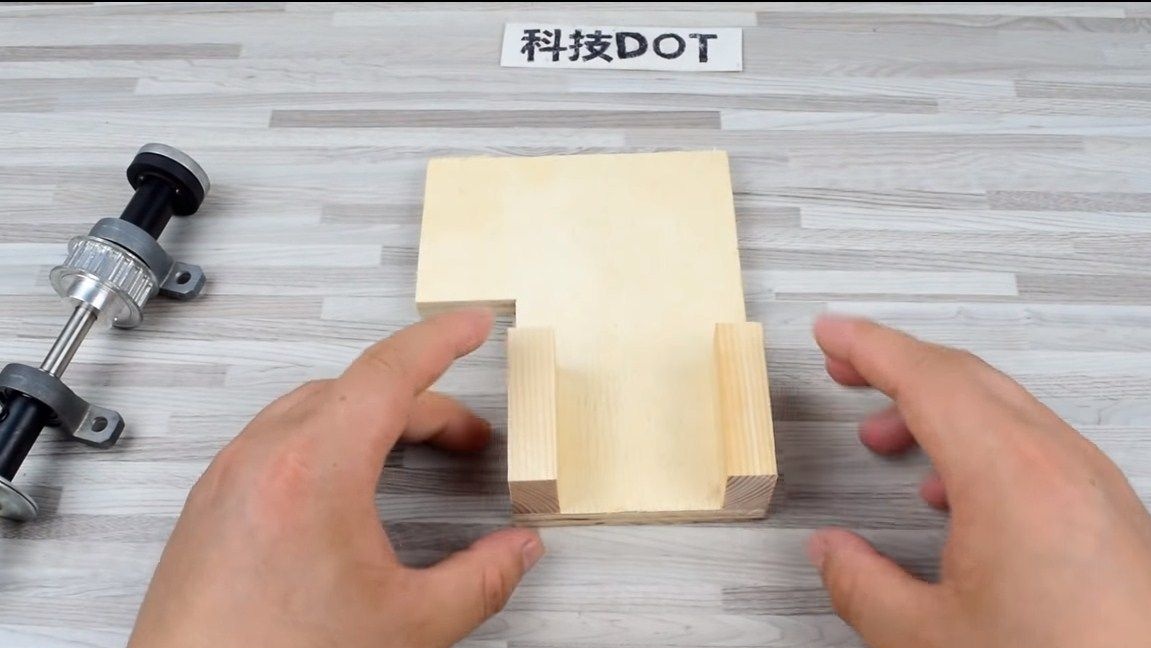
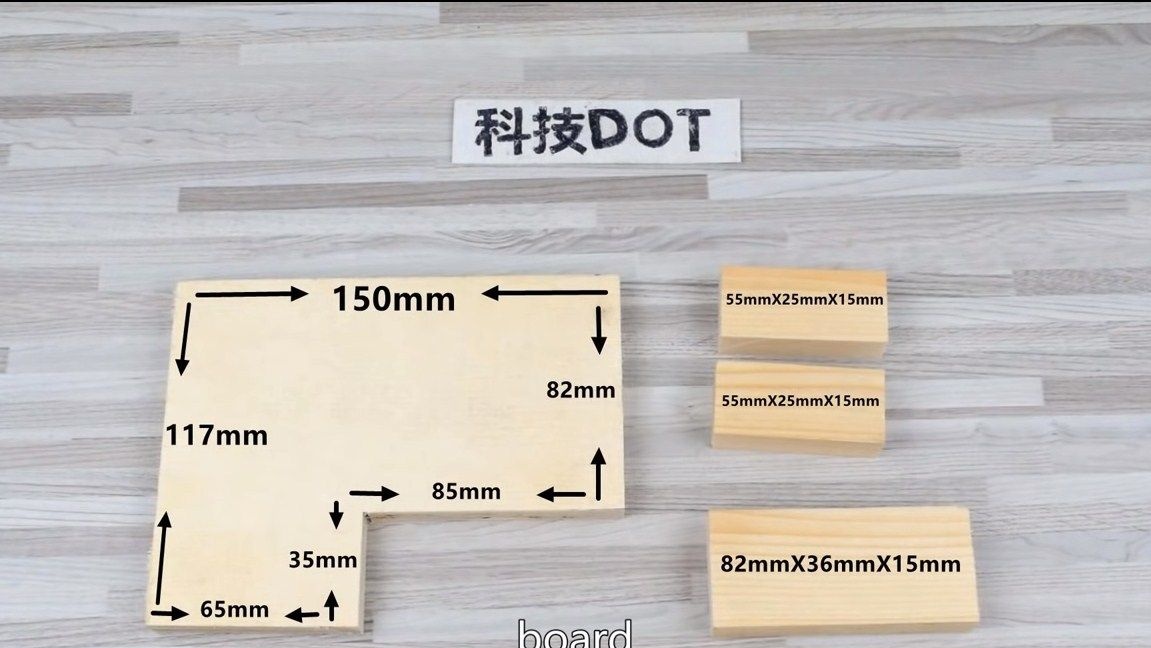
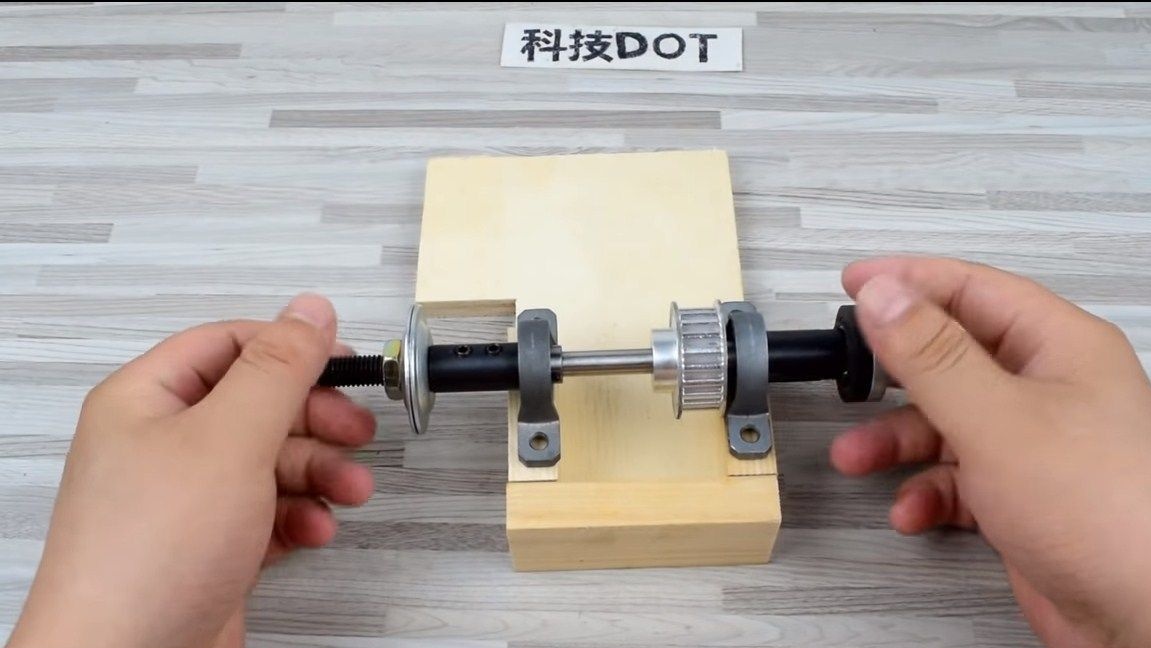
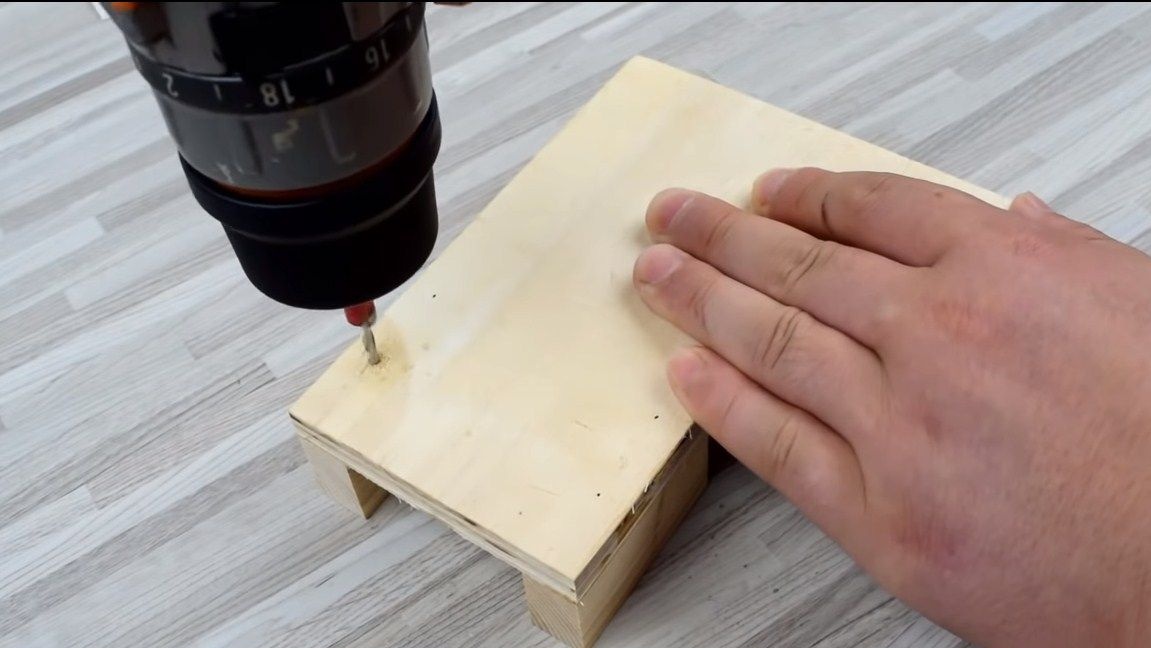
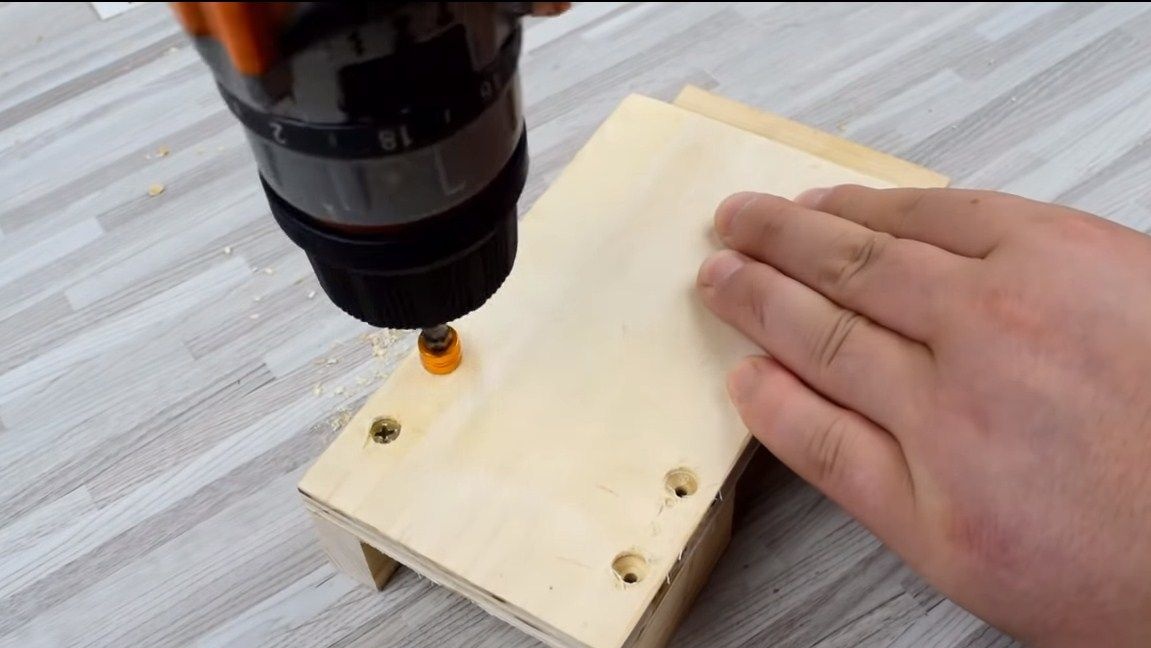
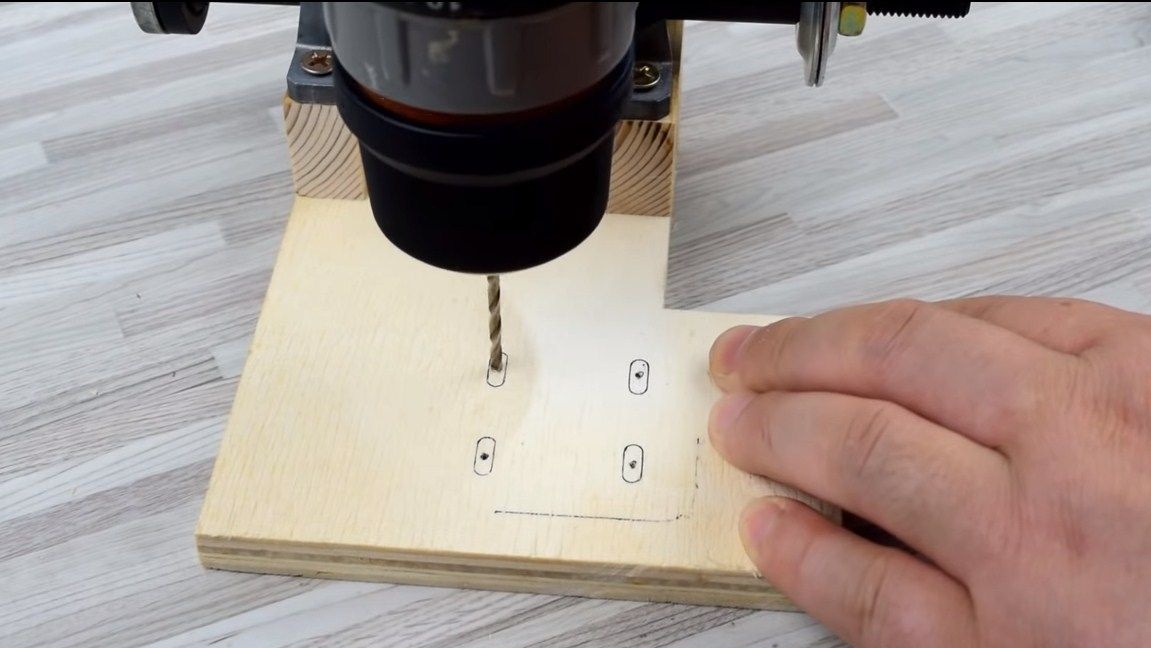
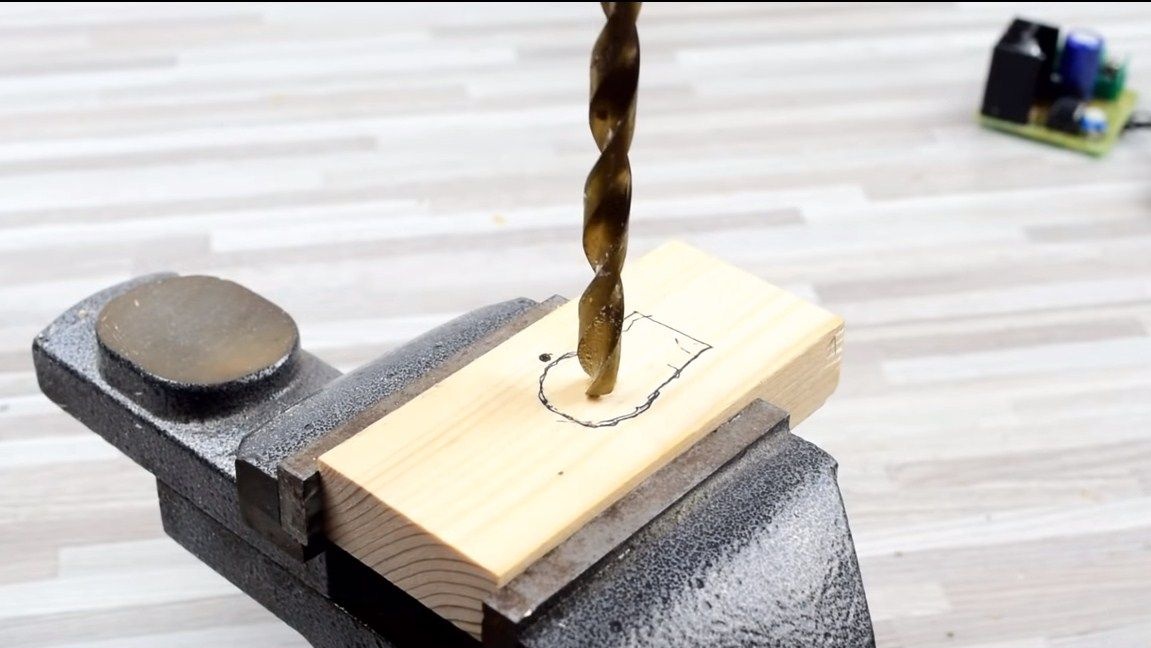
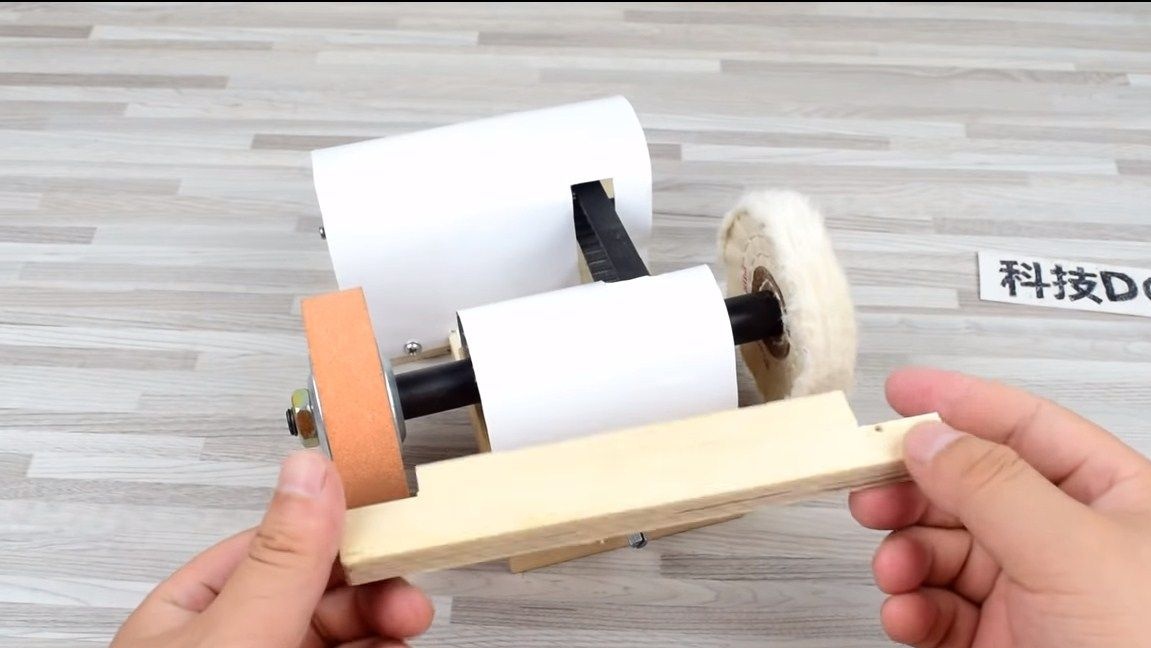
Step Two Set the main axis to the base
As a basis, you can use a piece of plywood or other similar material. We need to fasten two racks to it, to which we will mount the bearings of the main axis of the machine. These racks can be made from pieces of boards. We fasten everything with screws, it is advisable to pre-apply glue for wood to the joints, so everything will stay much better. Do not forget to put a belt on it before attaching the axle.
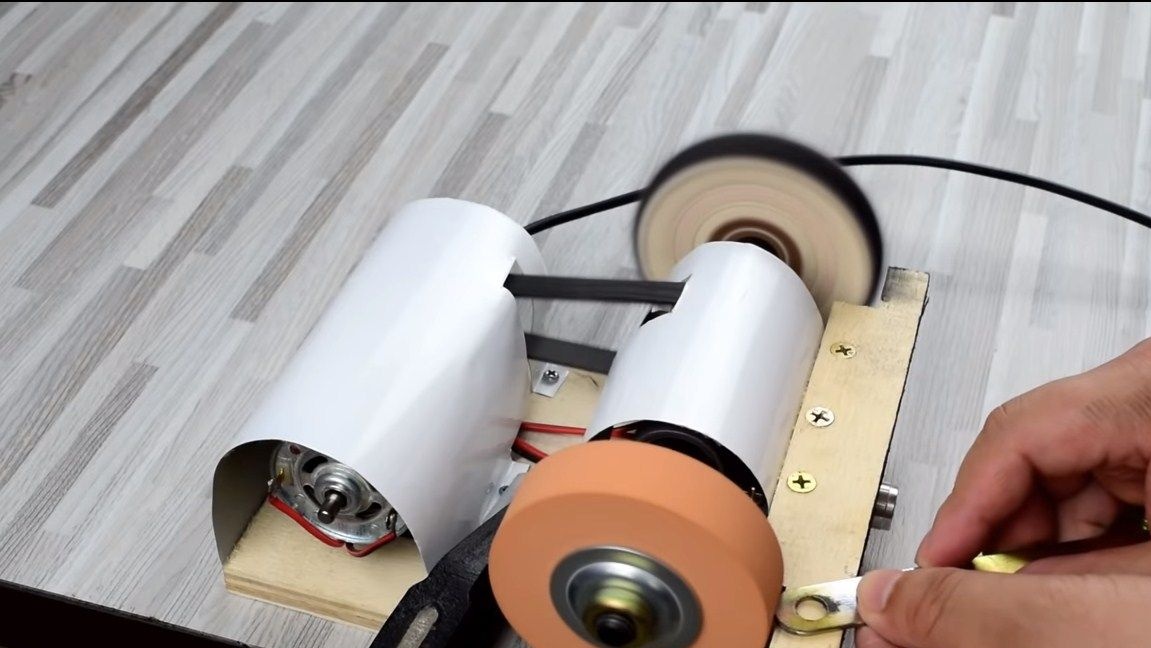
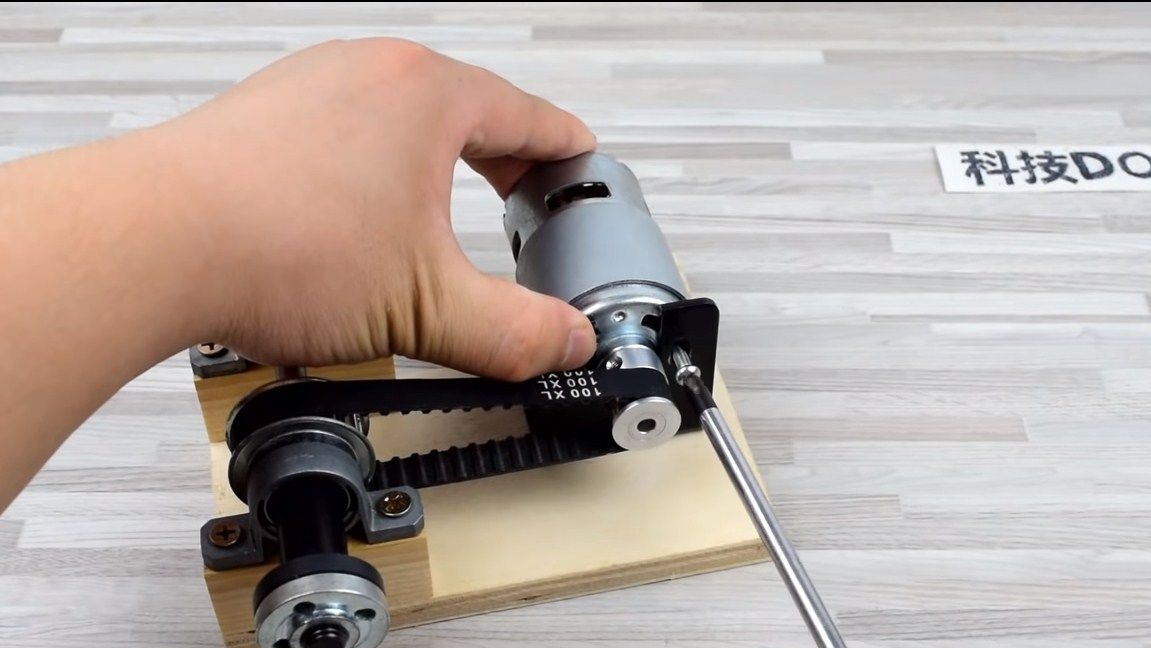
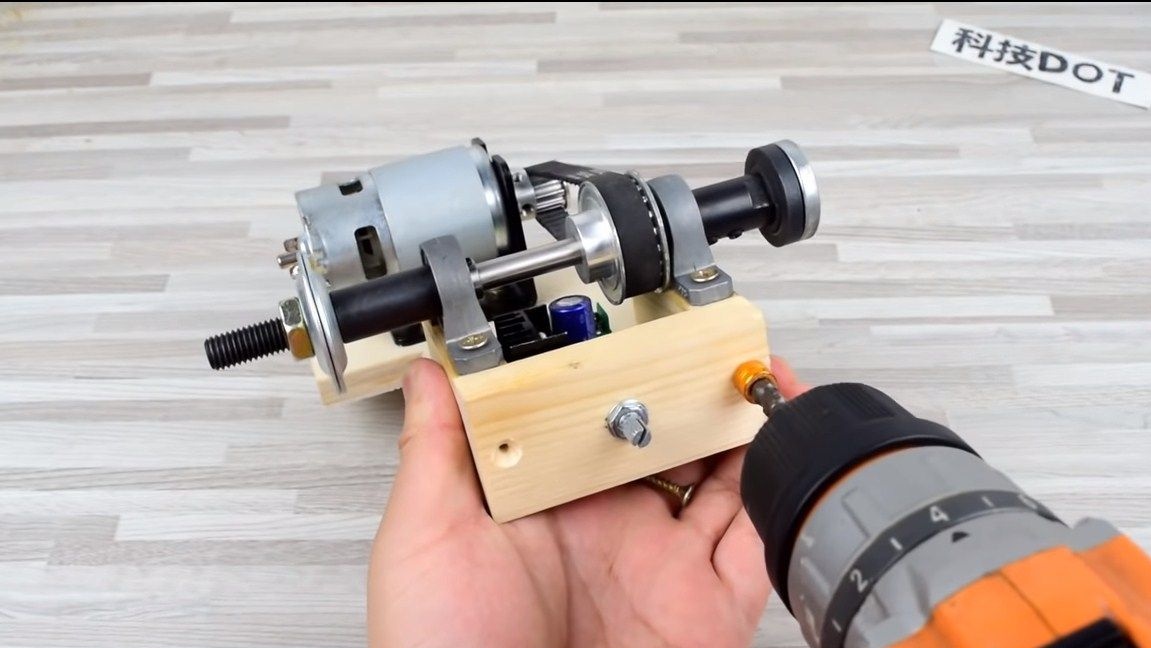
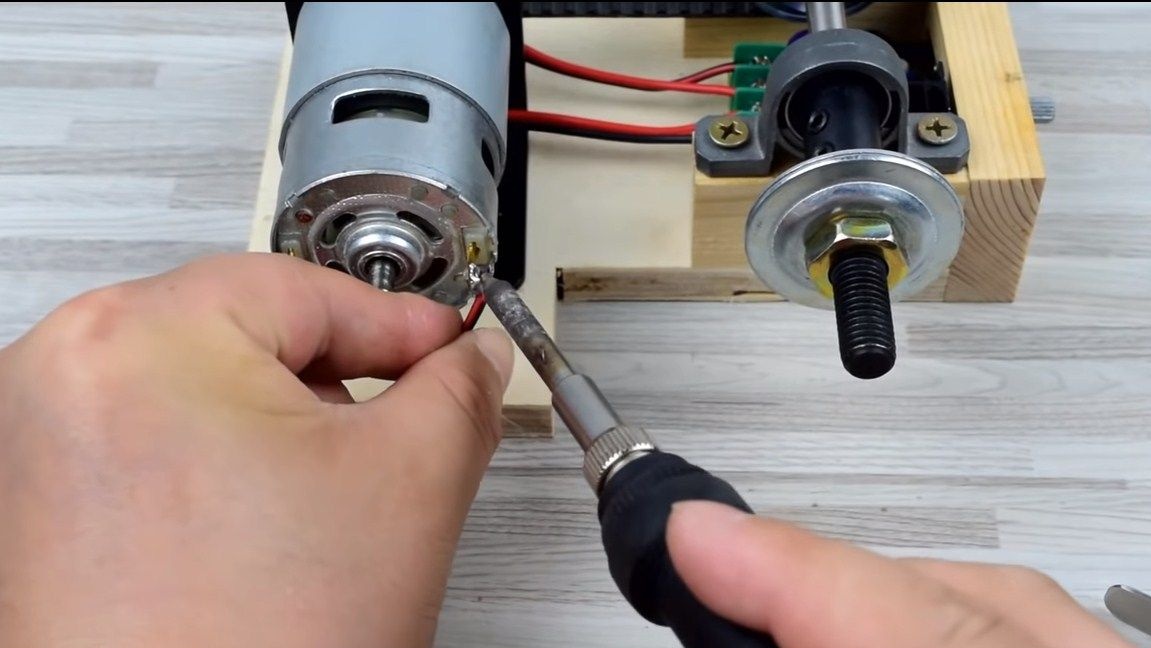
Step Three Install the engine
To fix the engine, we need for him a "G" - shaped bracket. They come in plastic and metal. The latter option is more reliable and durable. We determine the installation location and fasten the bracket with screws. The author put nuts under the caps, as a result, additional support will be obtained under the body of the motor. That's all, now we fasten the motor with two screws. You can tighten the belt, fasten the drive pulley to the motor shaft. The leading pulley of the author is smaller in diameter than the driven one. This is done in order to reduce speed and obtain high torque. You can supply power to the engine and make sure that all nodes are working.


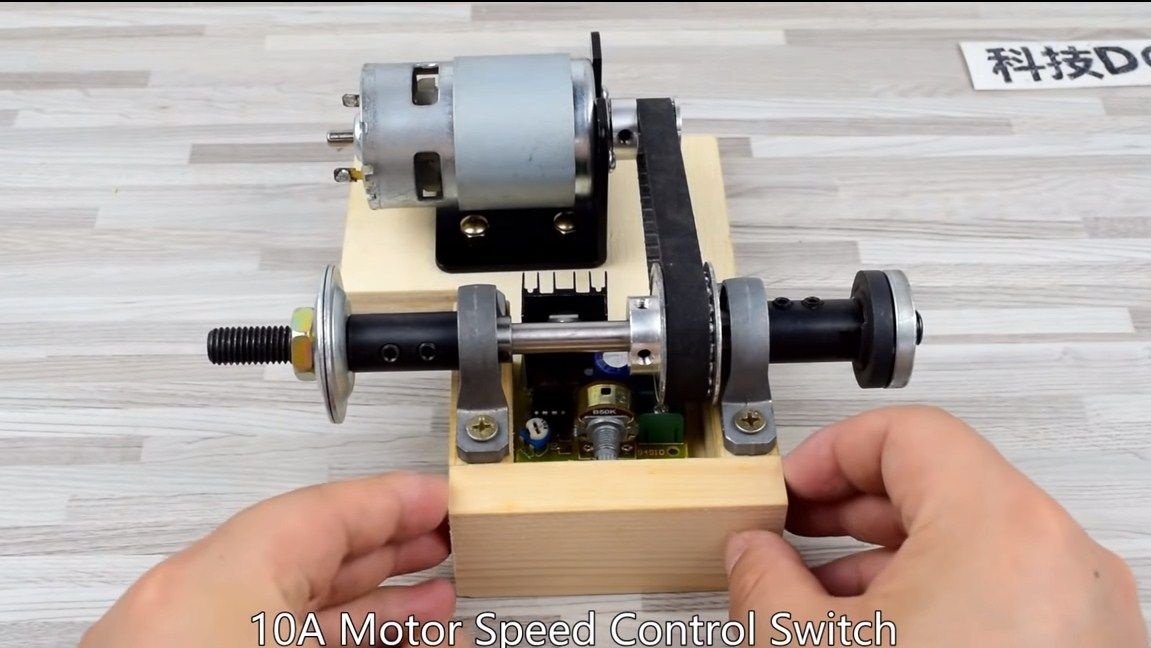
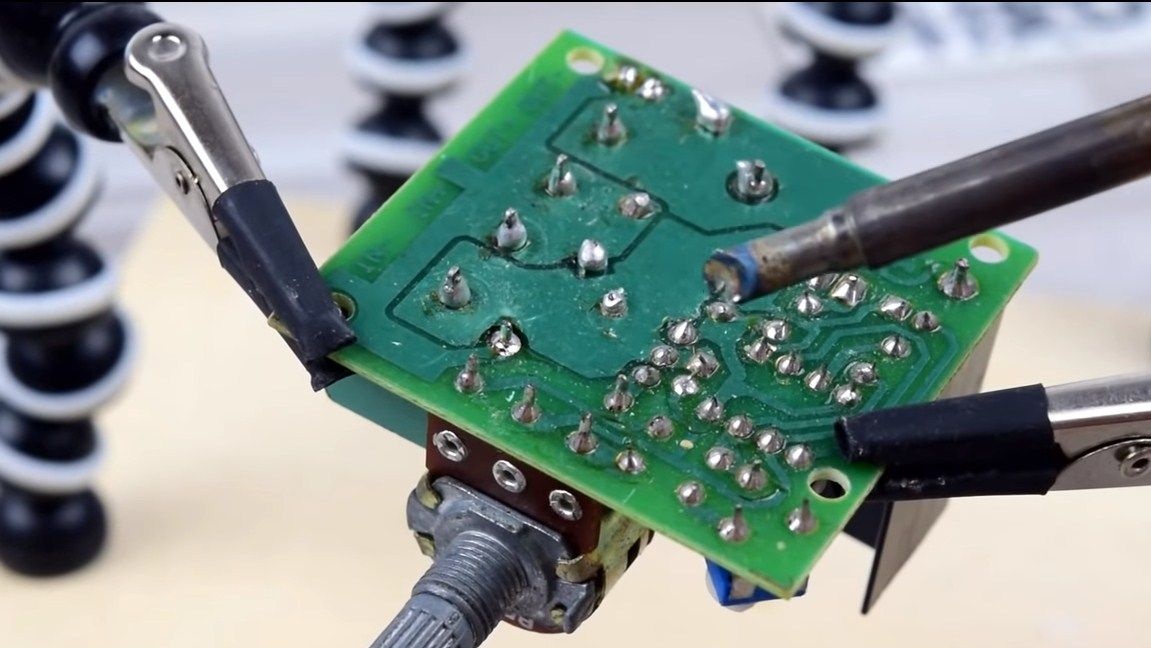
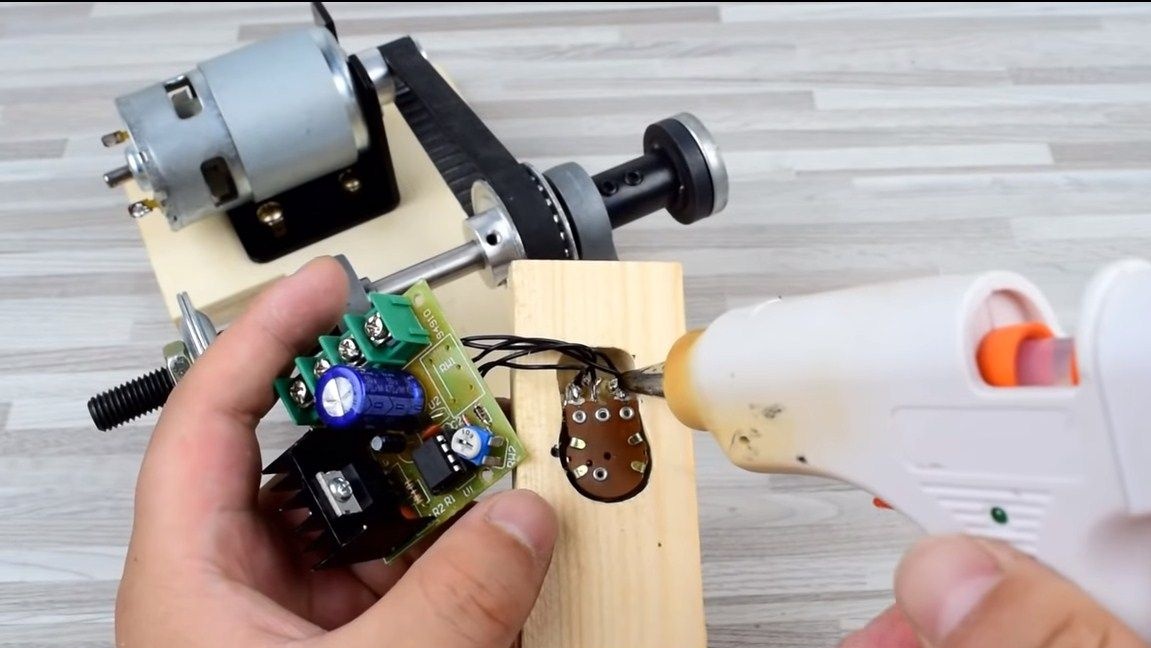
Step Four Install the controller
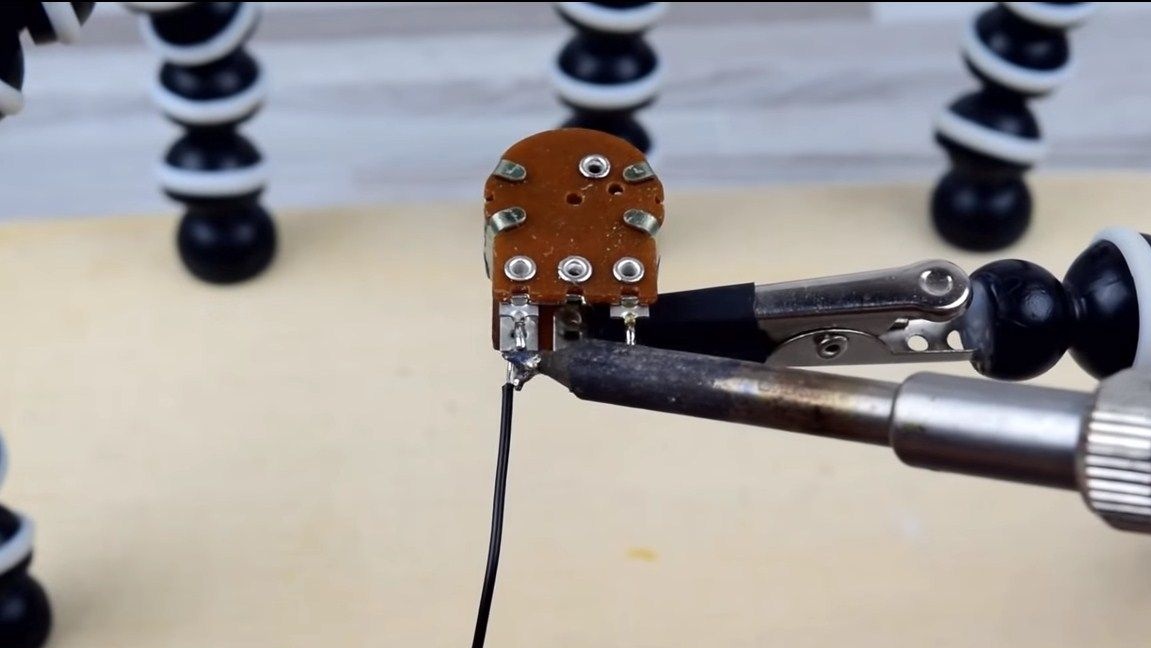
The author used a 10A controller. With it, we can smoothly adjust the speed of our machine. This will be useful when processing very small items. We install the controller on the basis, the author decided to make the speed control knob. We dissolve it from the board, and then we take it out with the help of wires, where necessary. The author himself fixed the regulator on board, making a special seat for it.
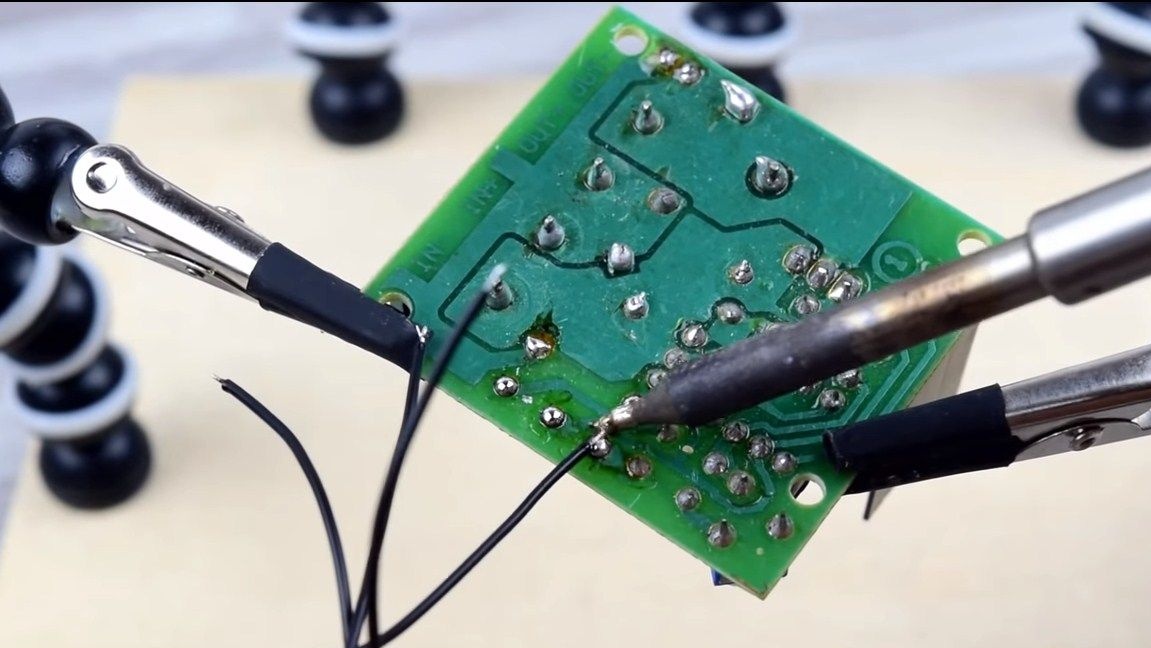
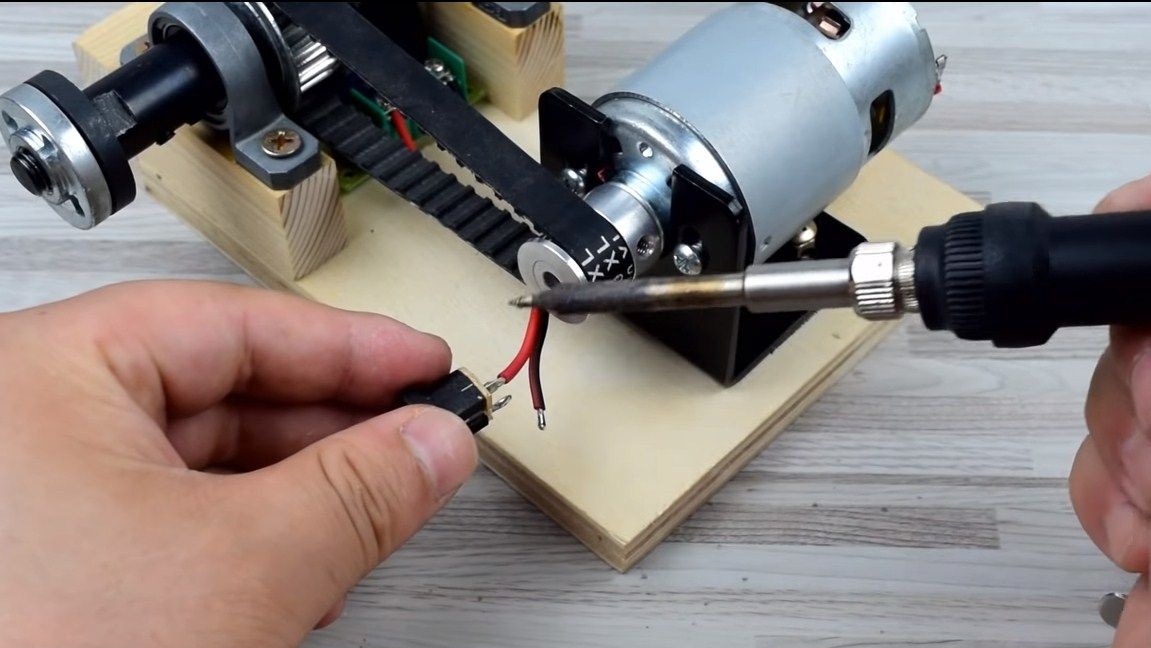
That's all. It remains to solder the wires to the motor and screw them to the controller contacts. And finally, solder the wires to the socket for connecting the power source.

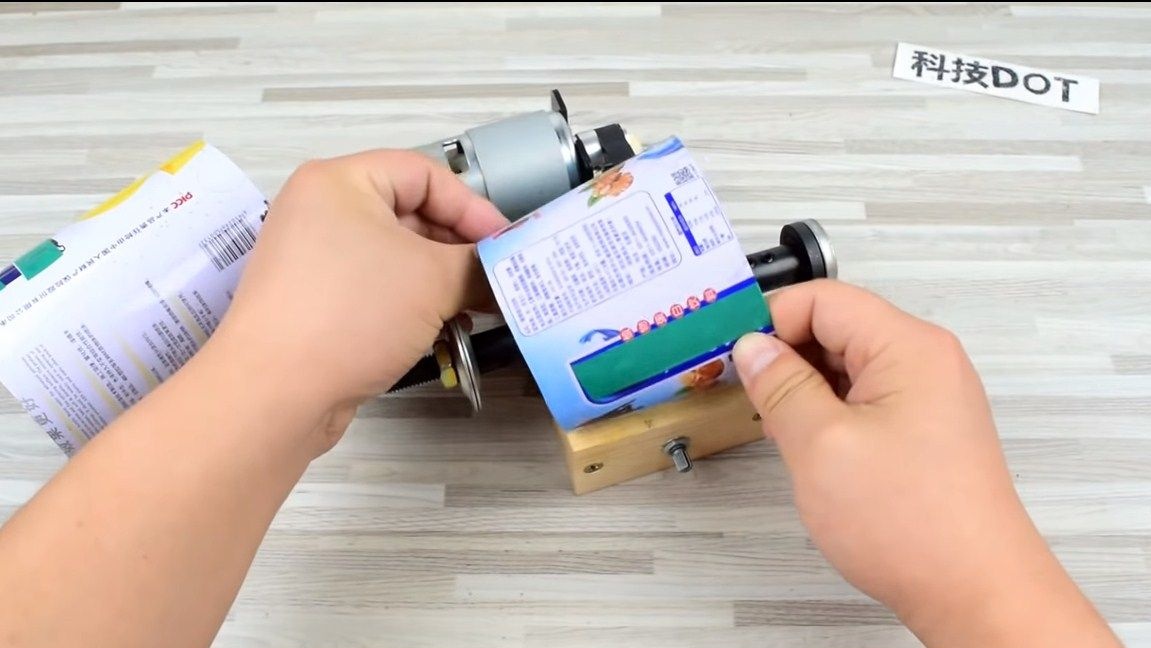
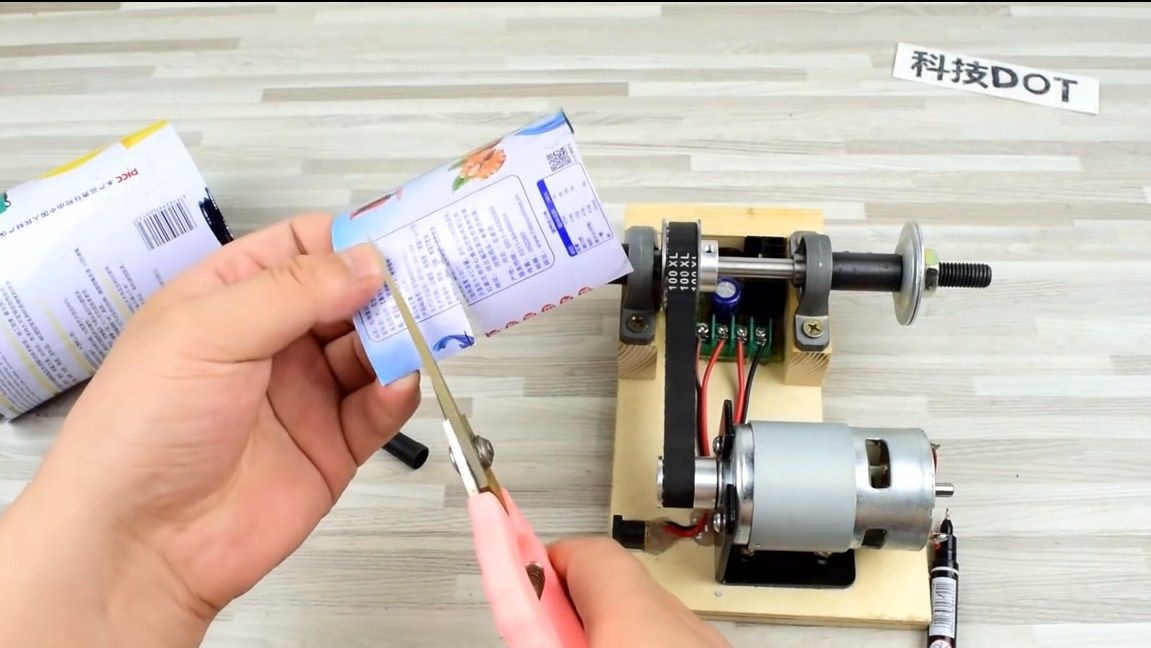
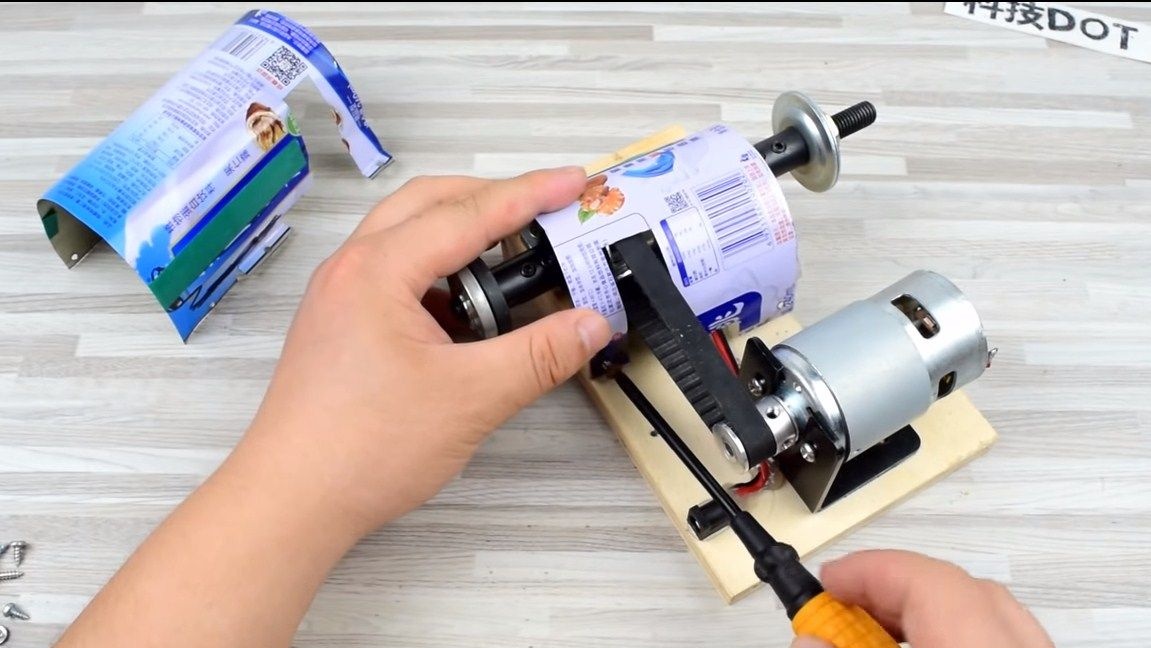
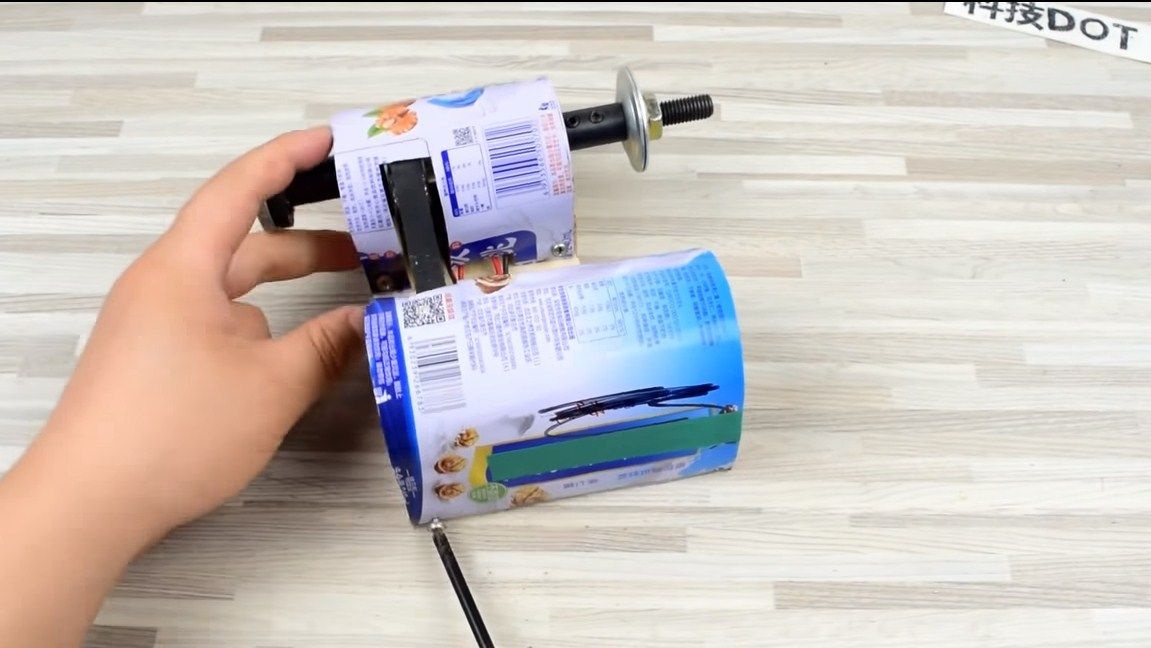
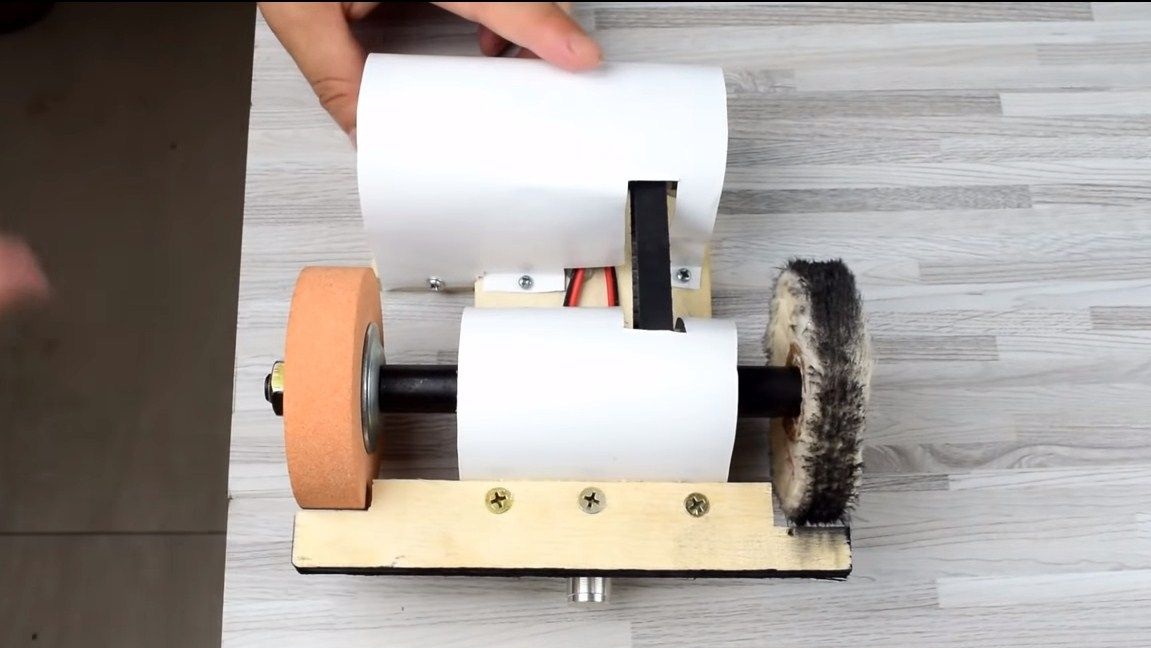
Step Five Protective shields
Install shields on the machine. This protects the controller and motor from water or accidental water. Shields can be cut from thin sheet steel, for example, from a can of canned food. We fasten them with screws to the base.
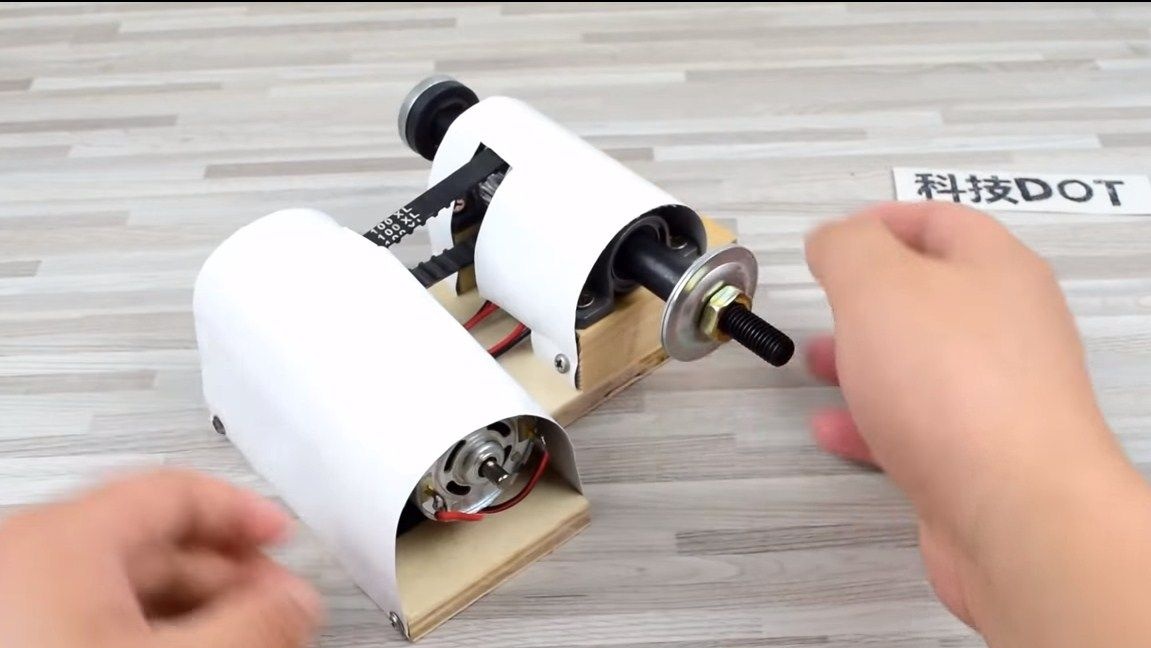
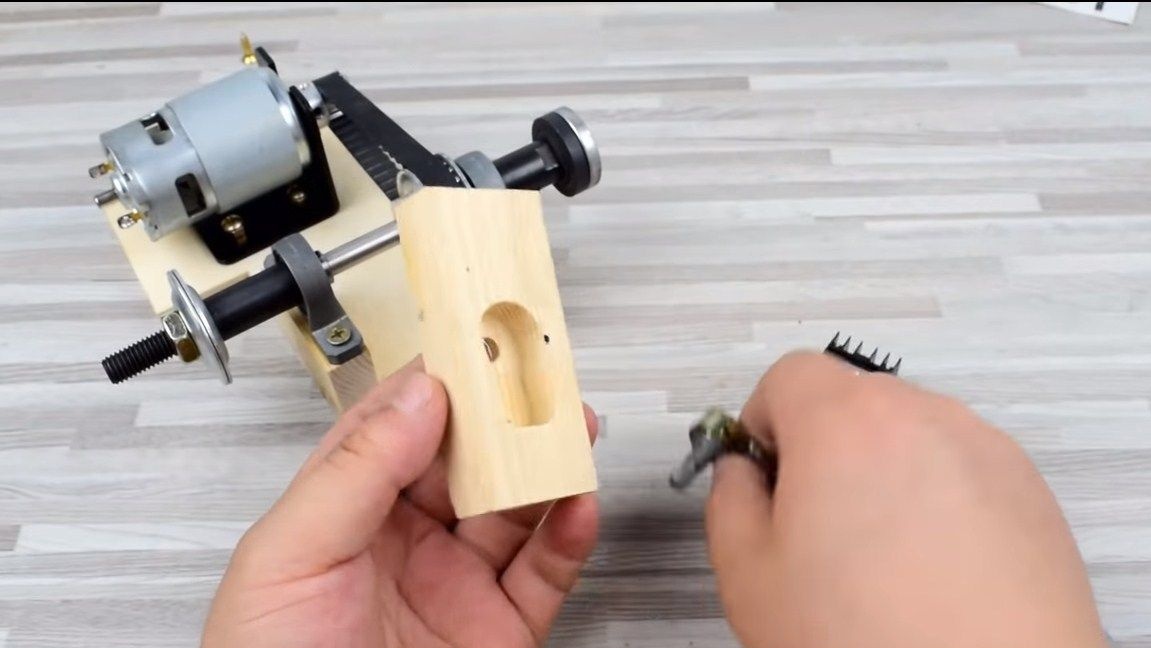
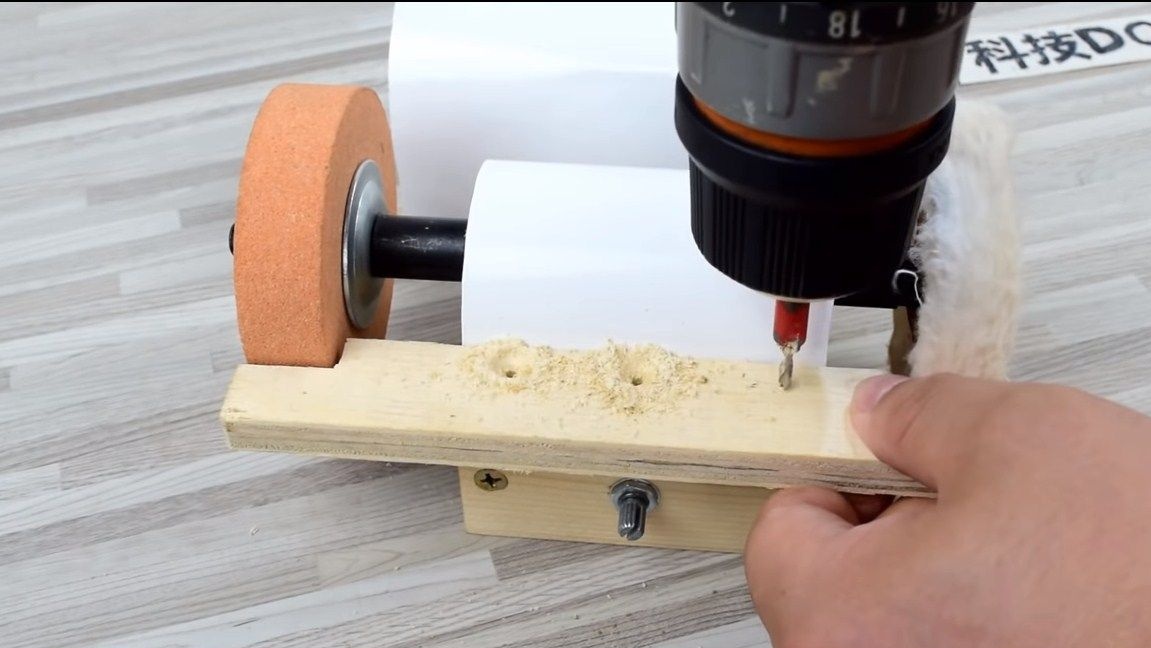
Step Six Work plane
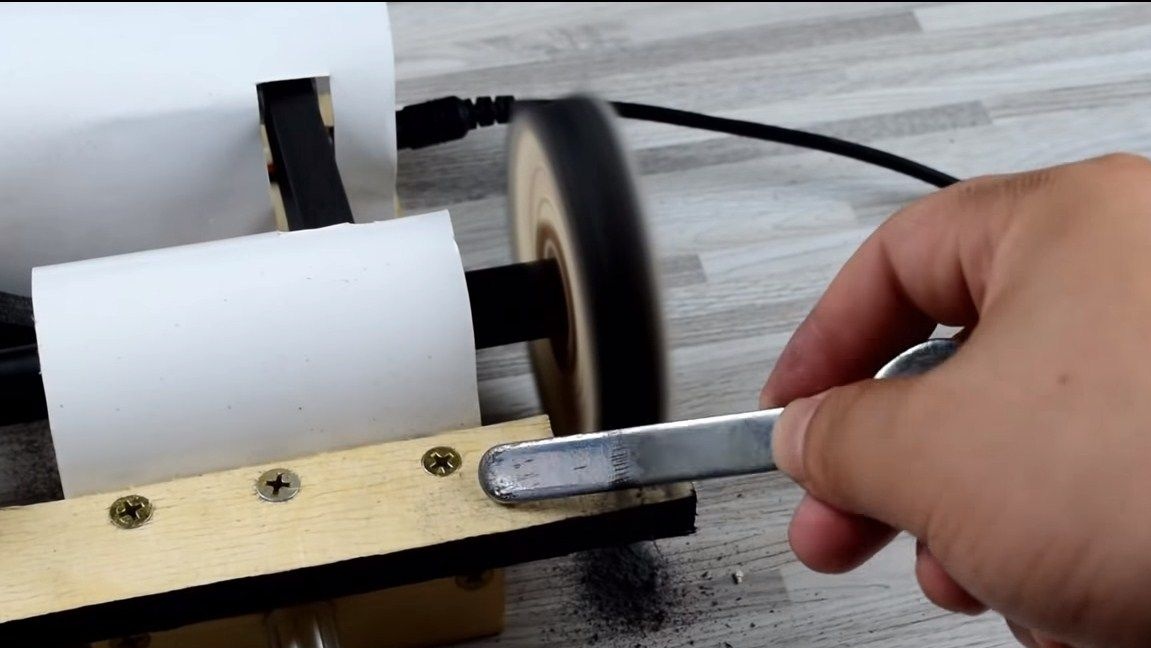
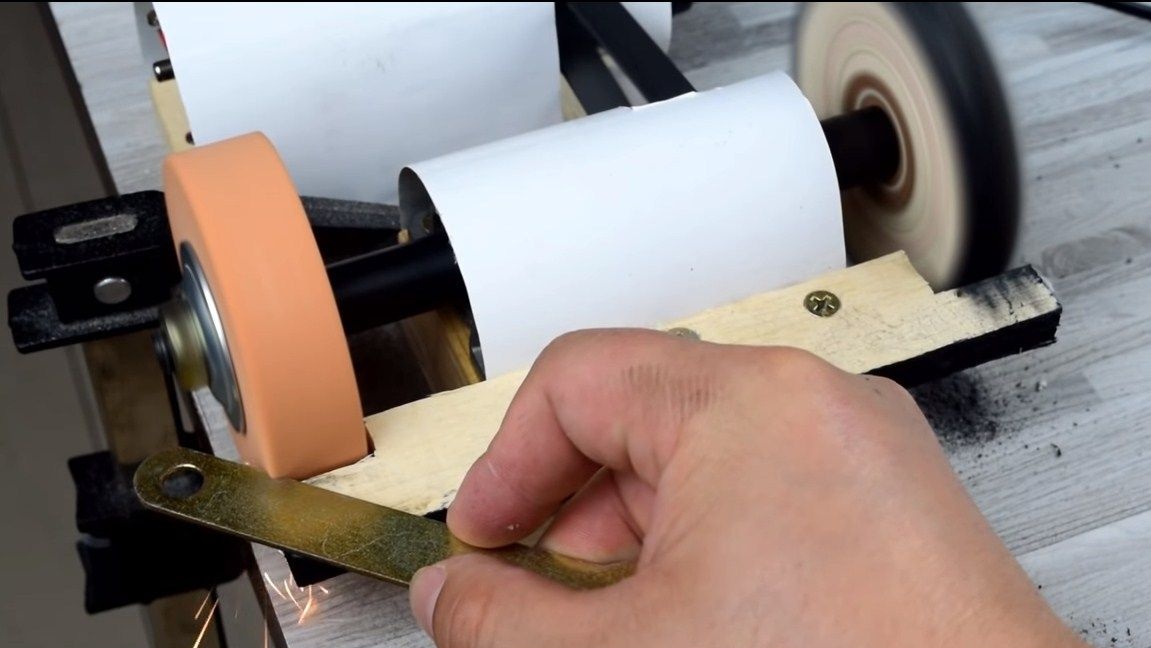
For convenience, we need a persistent plane, which we will base the workpiece on. It can be cut out of plywood and so on. We fasten using self-tapping screws.
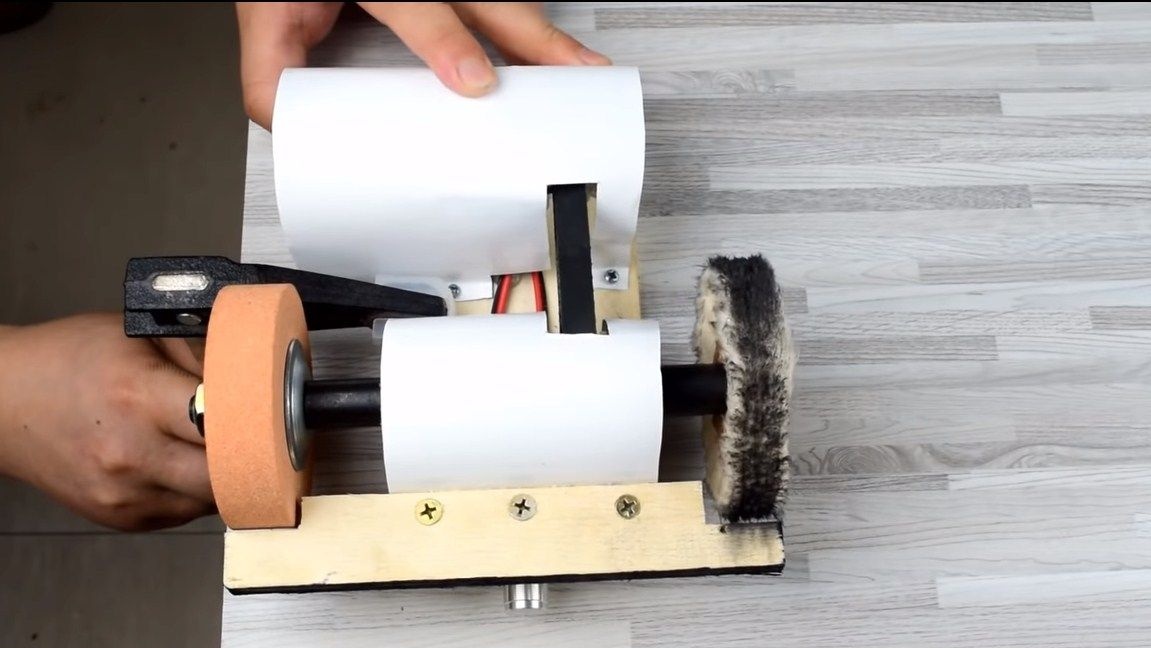
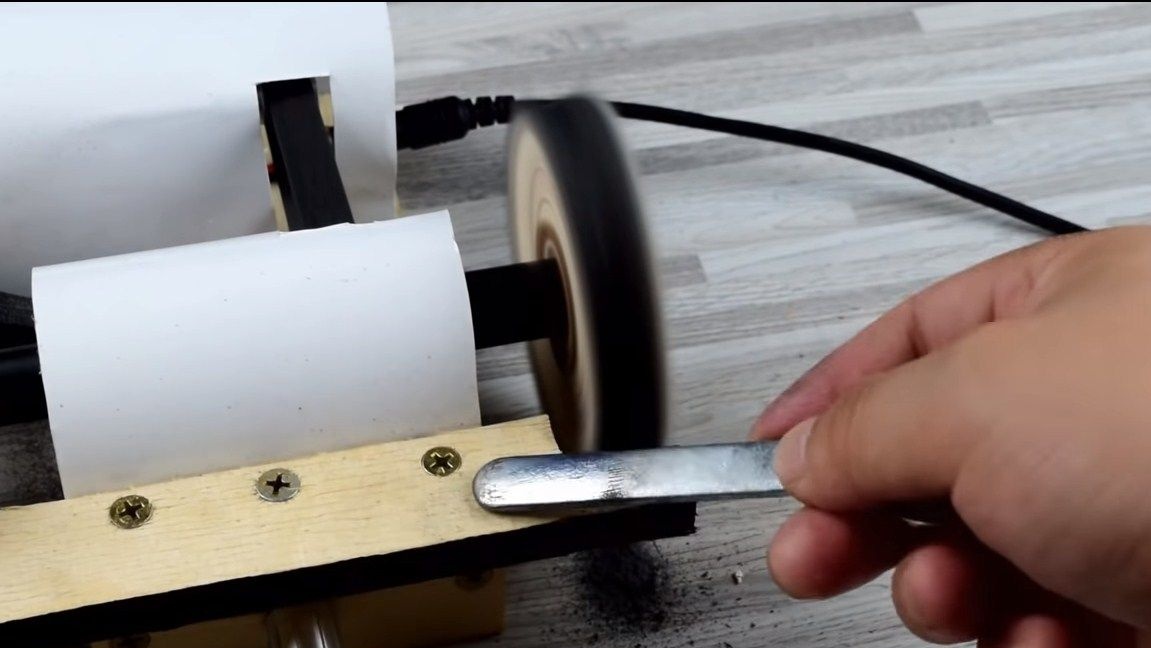
That's all, our machine is completely ready. We supply 24V power with a current of 5A to it. The author launched the machine to the maximum and showed what it is capable of. When grinding metal sparks fly, this means that we have enough revolutions for processing steel. Also, the machine did a great job with polishing. Of course, the engine slightly reduces speed under load, but in general its power is quite enough for operation. All this thanks to a lowering belt drive. That's all, the project is over, I hope you liked it. Good luck and creative inspiration, if you want to repeat it. Do not forget to share your homemade products with us!