
In this article, the creator of "Creativity Buzz" shows how to create a 2D printer that can write with a fountain pen.
The idea is interesting in that the principle of operation of this machine is similar to a plotter. Only a sheet of paper is absolutely motionless, and the head moves along it along two axes.
Tools and materials very simple, which makes it possible to manufacture this device at home.
1. Drill, drill
2. Glue gun
3. Stationery knife
4. Saw
5. Plywood
6. Disposable syringe 2.5 cubes
7. Glue
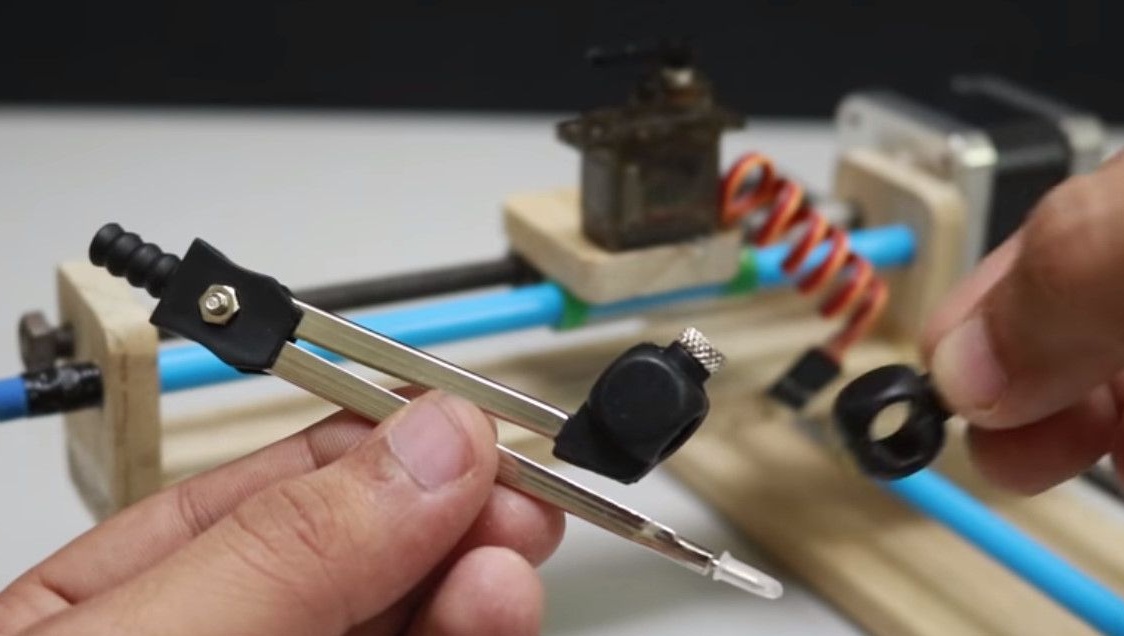
8. The holder for the pencil from the compass
9. A hairpin with several nuts and washers.
Electronic Components.
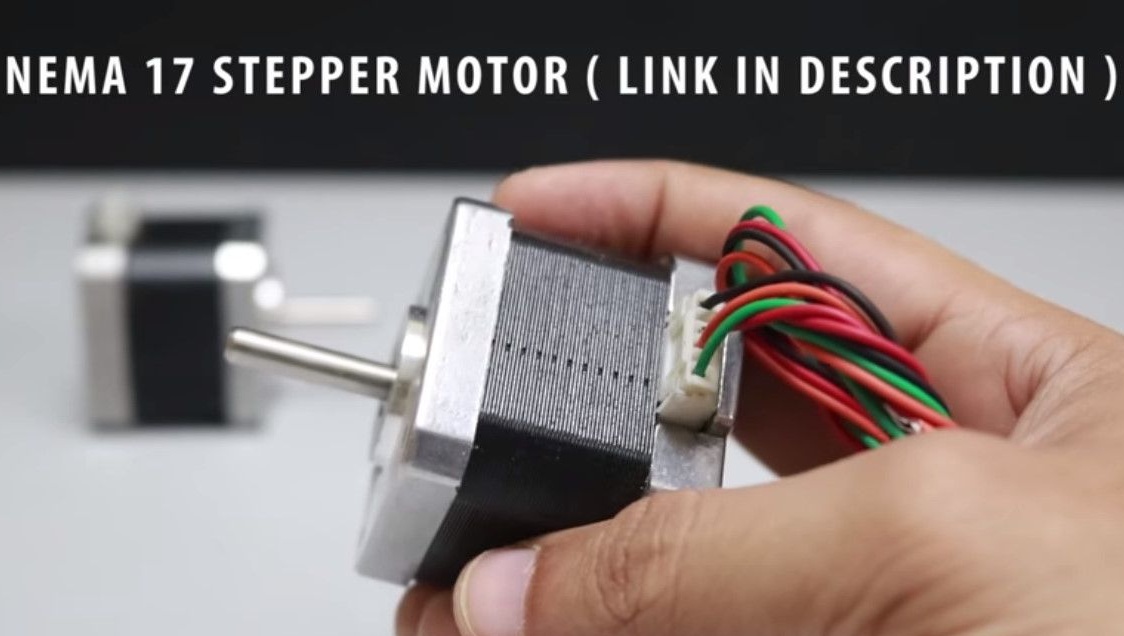
1. Stepper motor, 2 pcs.
2.
3. Expansion Board
4. Stepper motor driver, 2 pcs.
5. Servo
6. Battery or power source.
Writing software Ben box.
So, the author proceeds with the assembly.
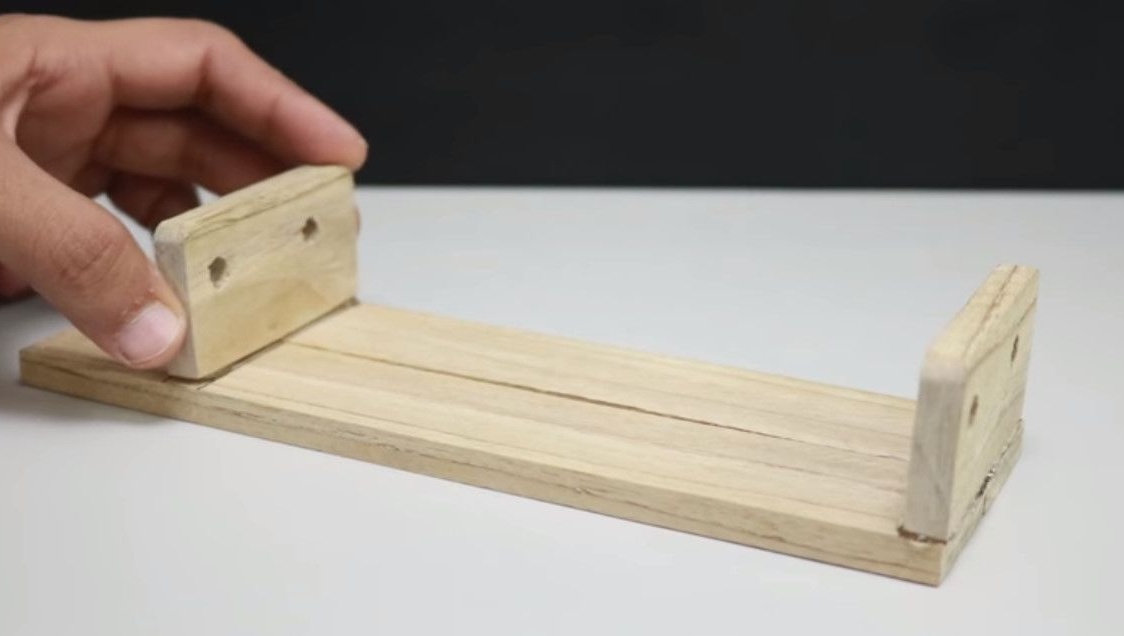
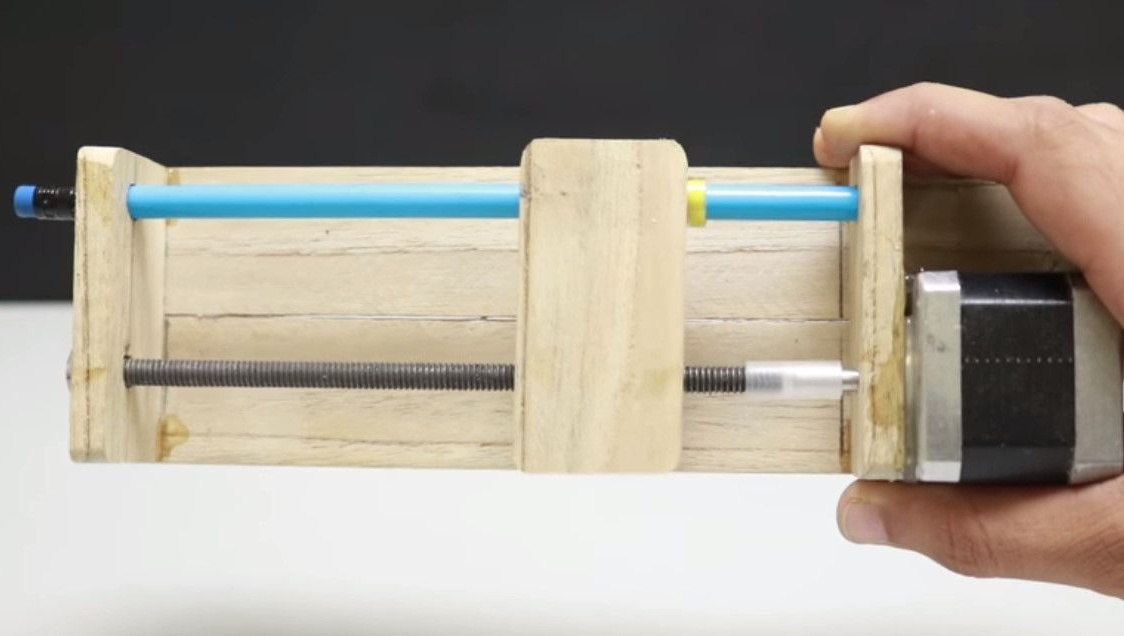
First of all, he begins to collect the base for the vertical coordinate axis Y.
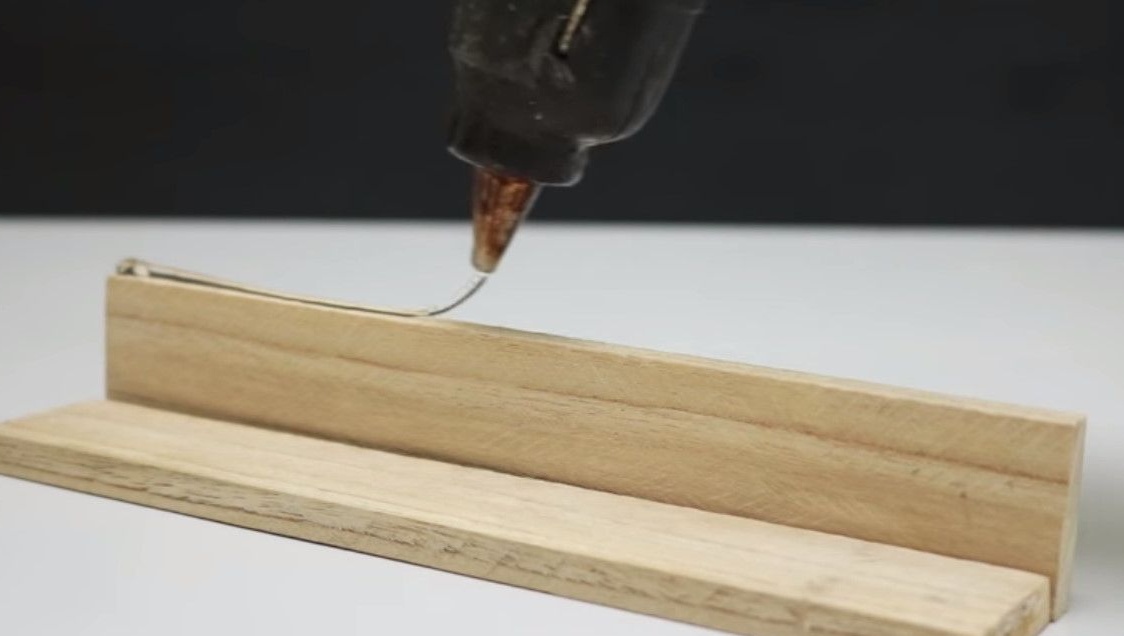
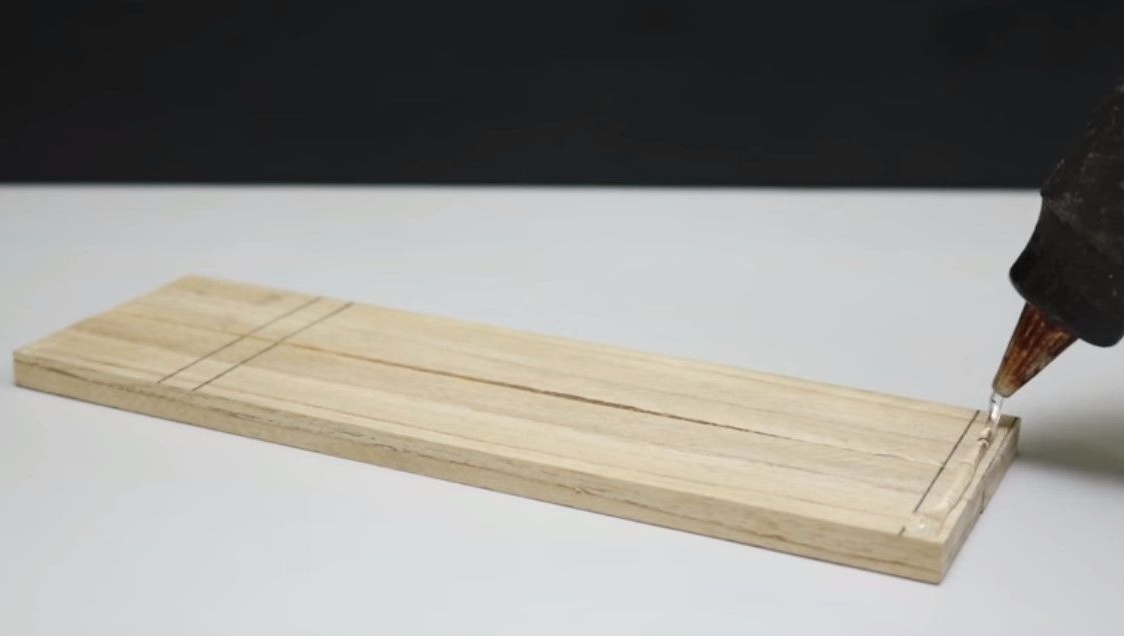
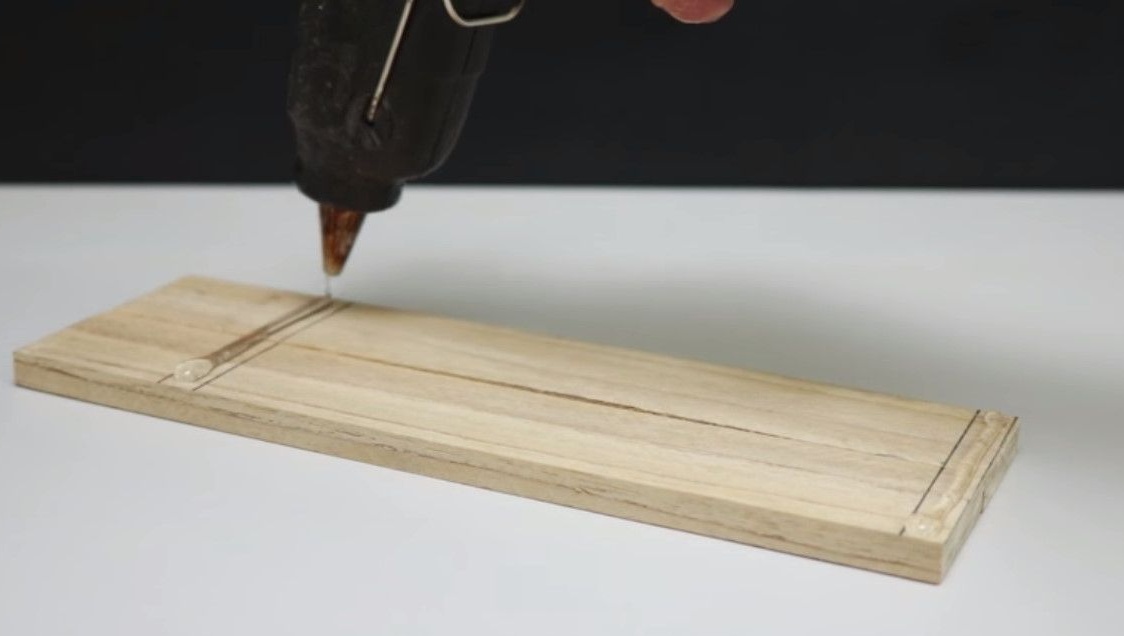
He has already prepared two planks.
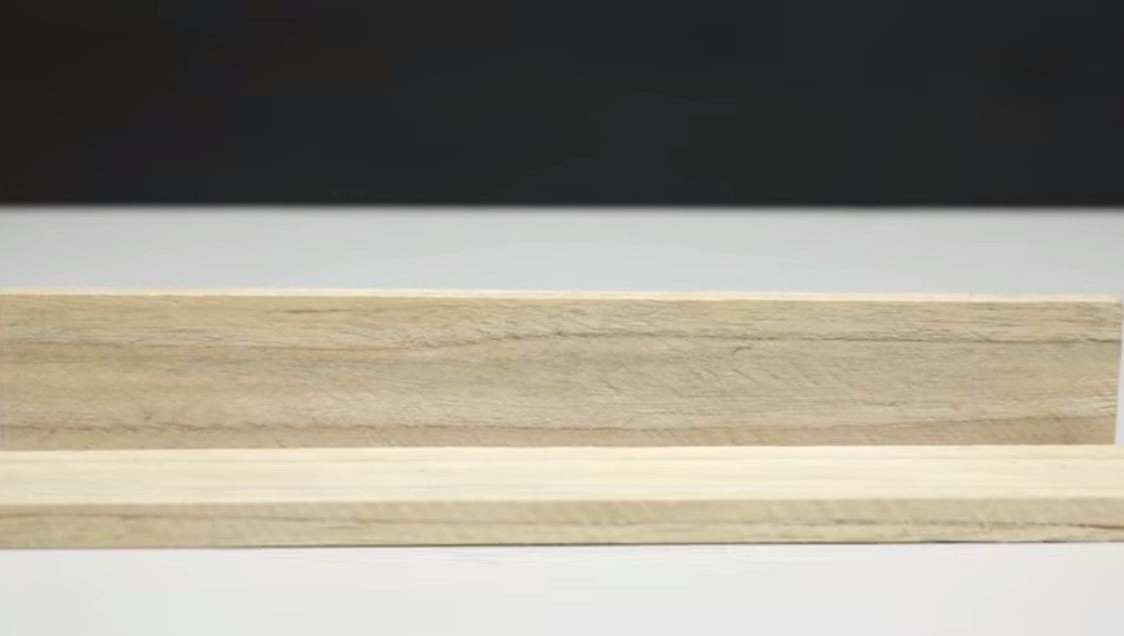
But their width for the base is not enough, so he glues them with a glue gun.

Next, you need to make two racks on which the hinge and shaft will be mounted. To do this, marks two blocks on the width of the platform.
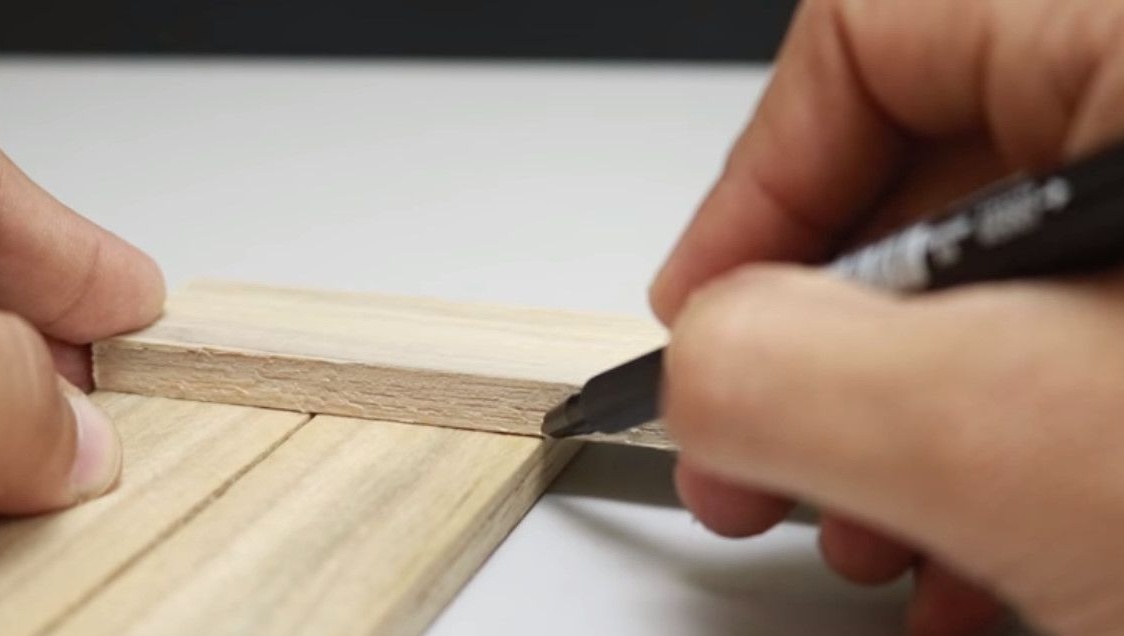
And cuts them off with a jigsaw.
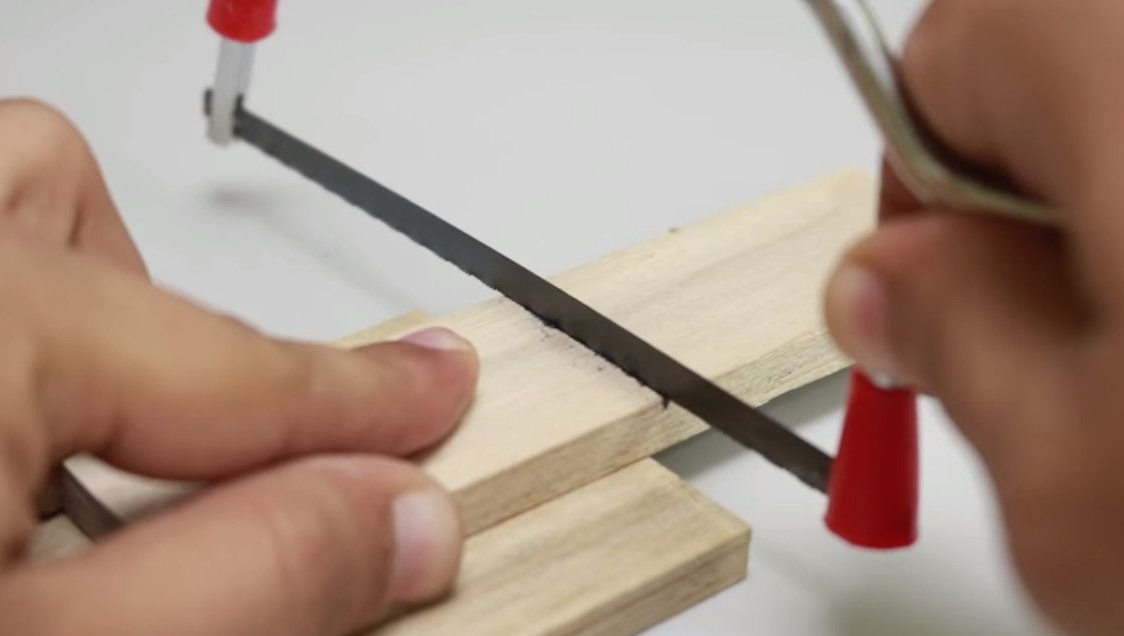
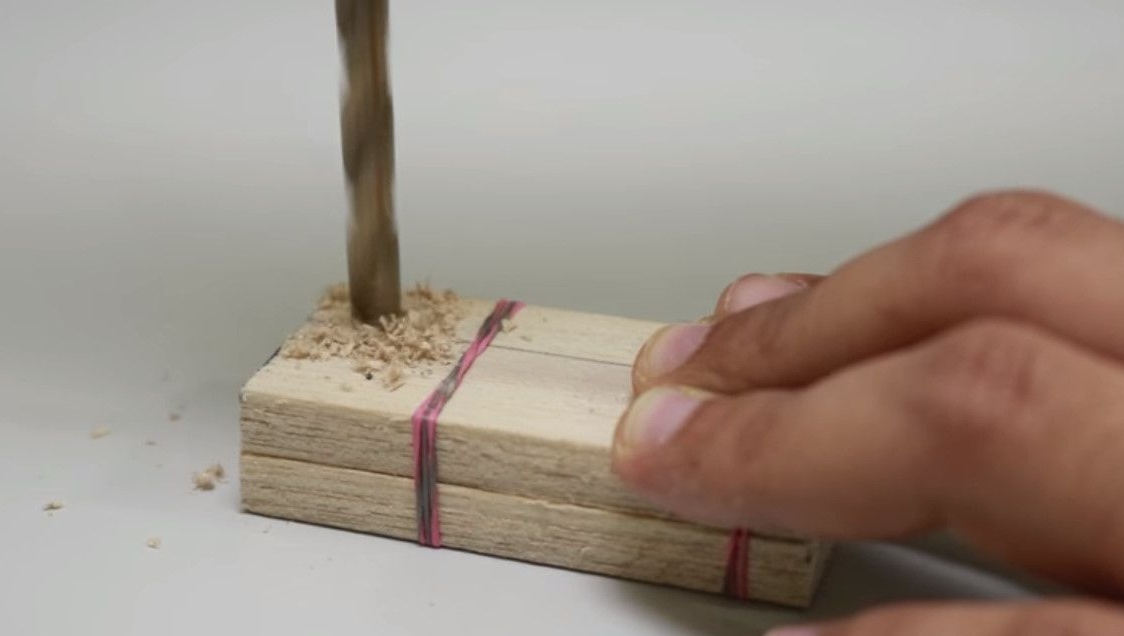
Marks the line on which to drill holes.

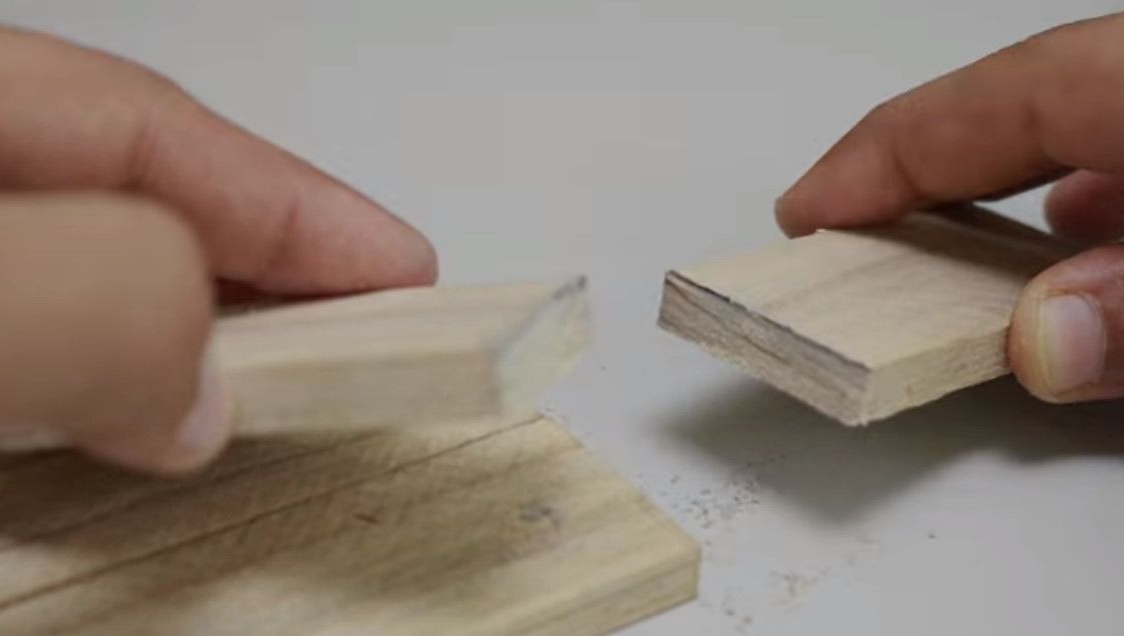
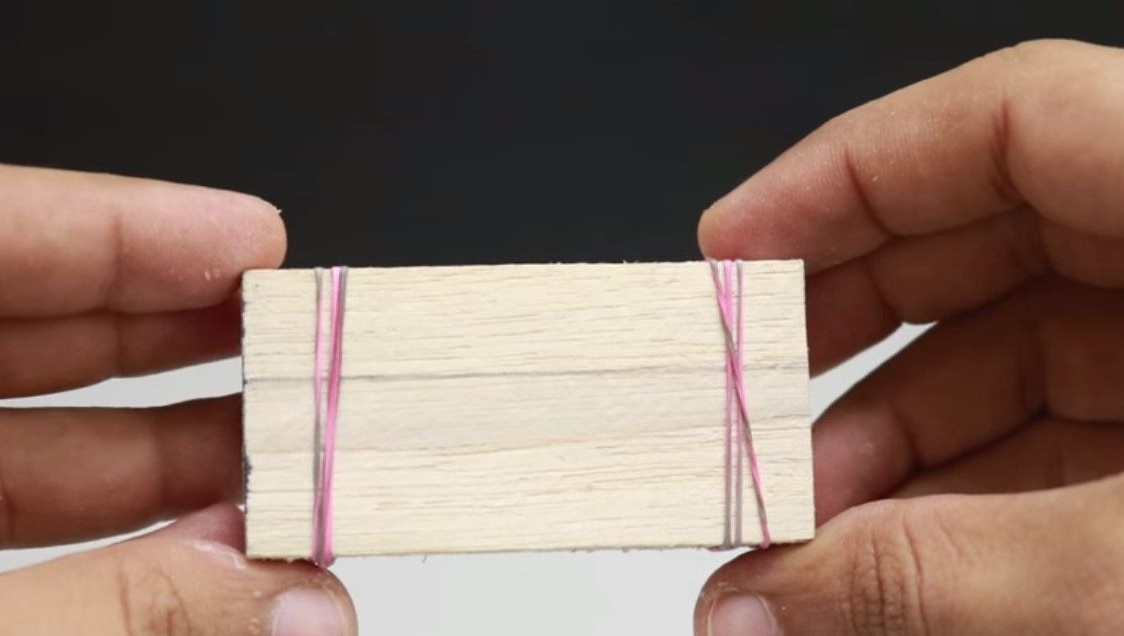
In order for the holes to coincide, he winds both workpieces with rubber bands. And he drills with an ordinary drill.

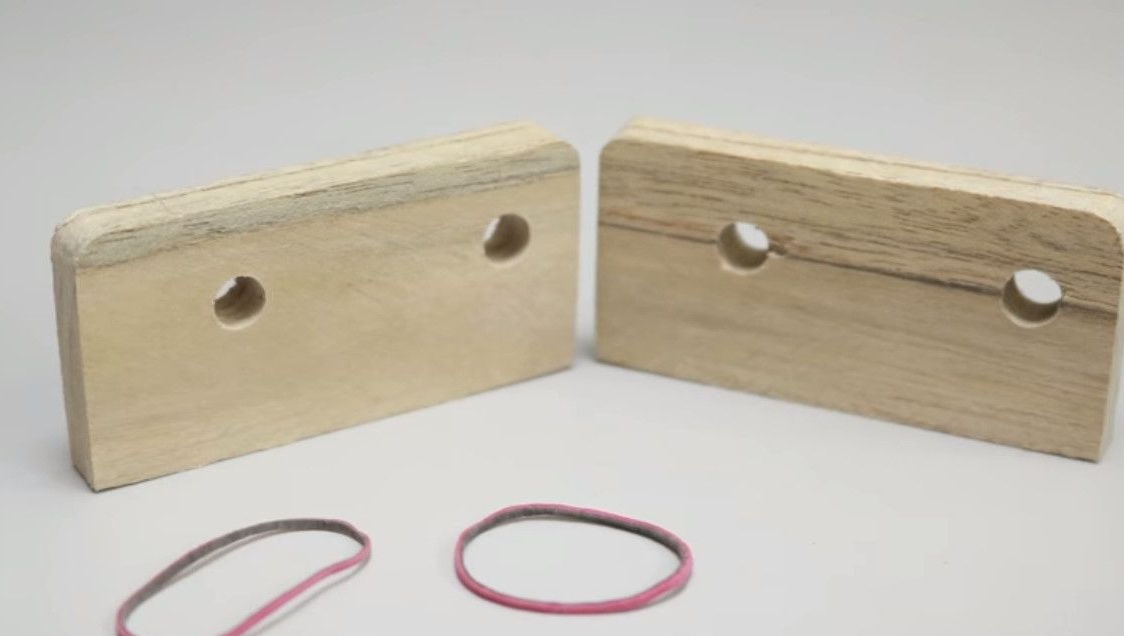
These are the racks obtained.
Now applies hot melt adhesive to the base and installs the racks.
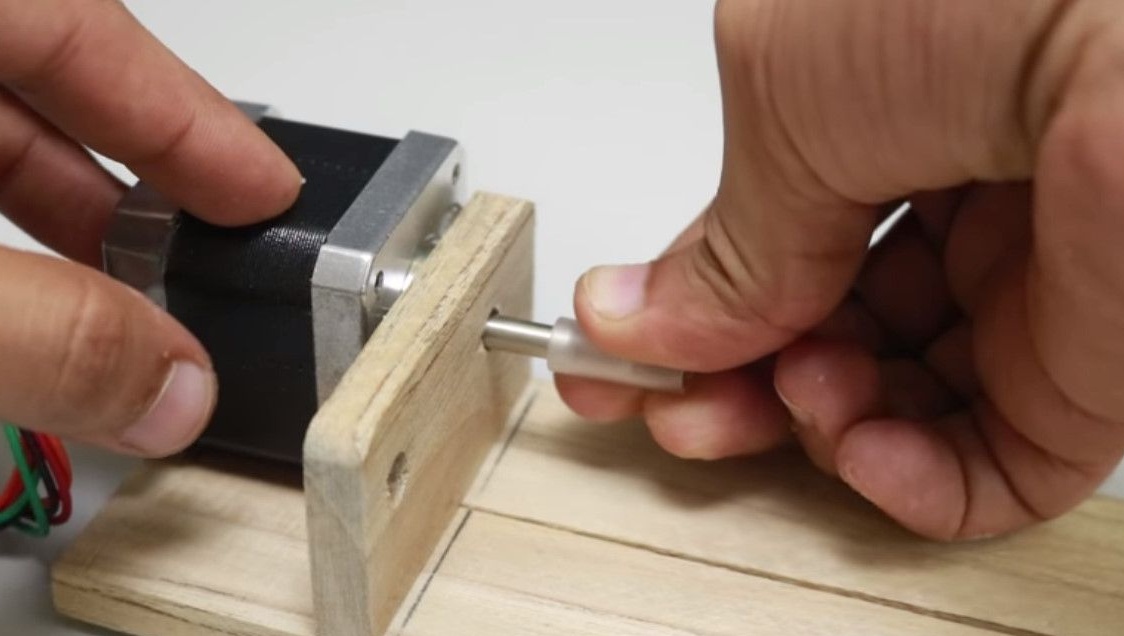
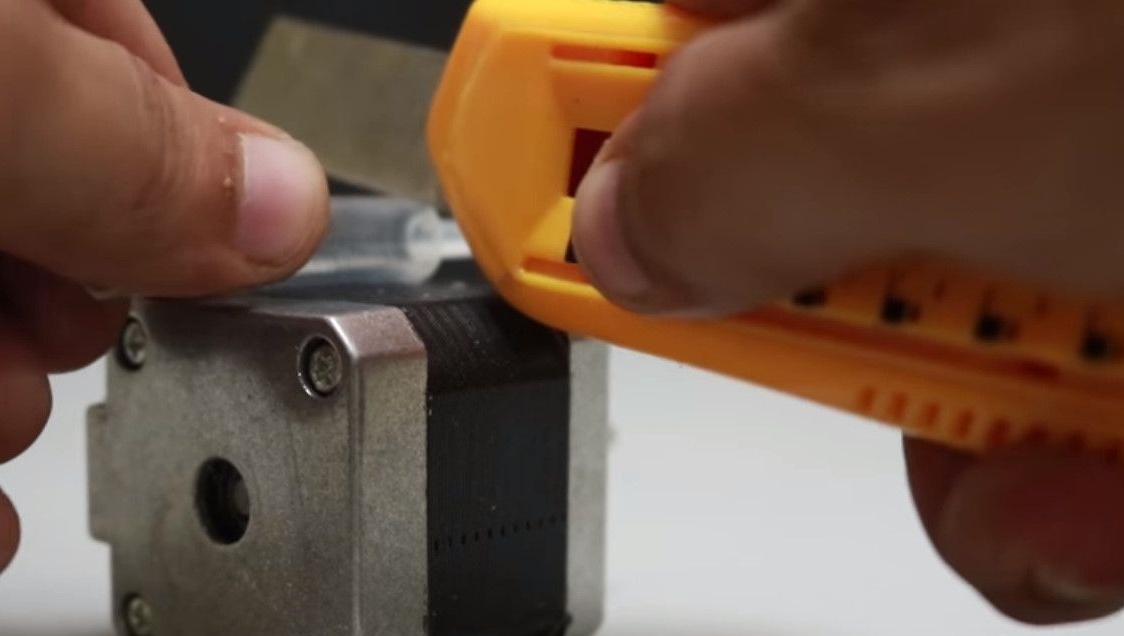
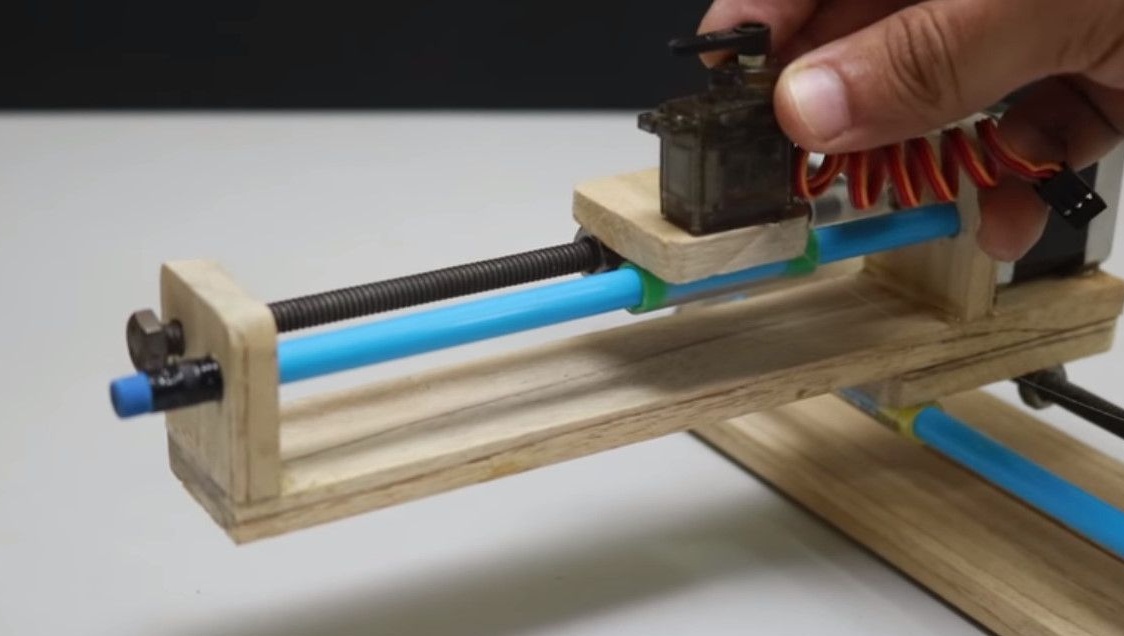
The turn of installing a stepper motor has come. Hot melt again.
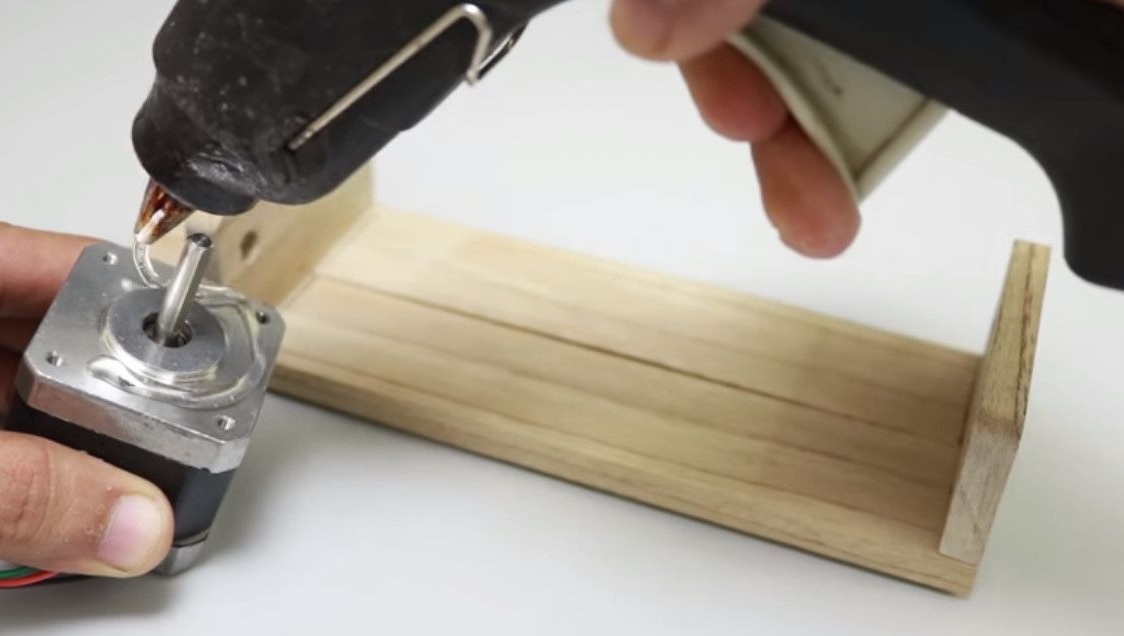
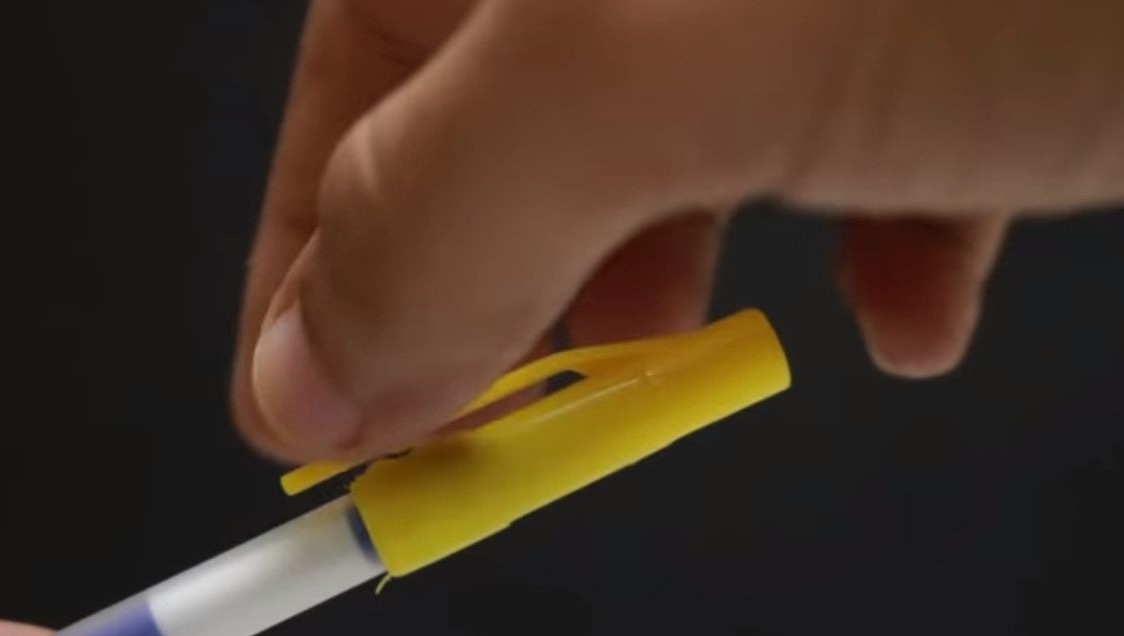
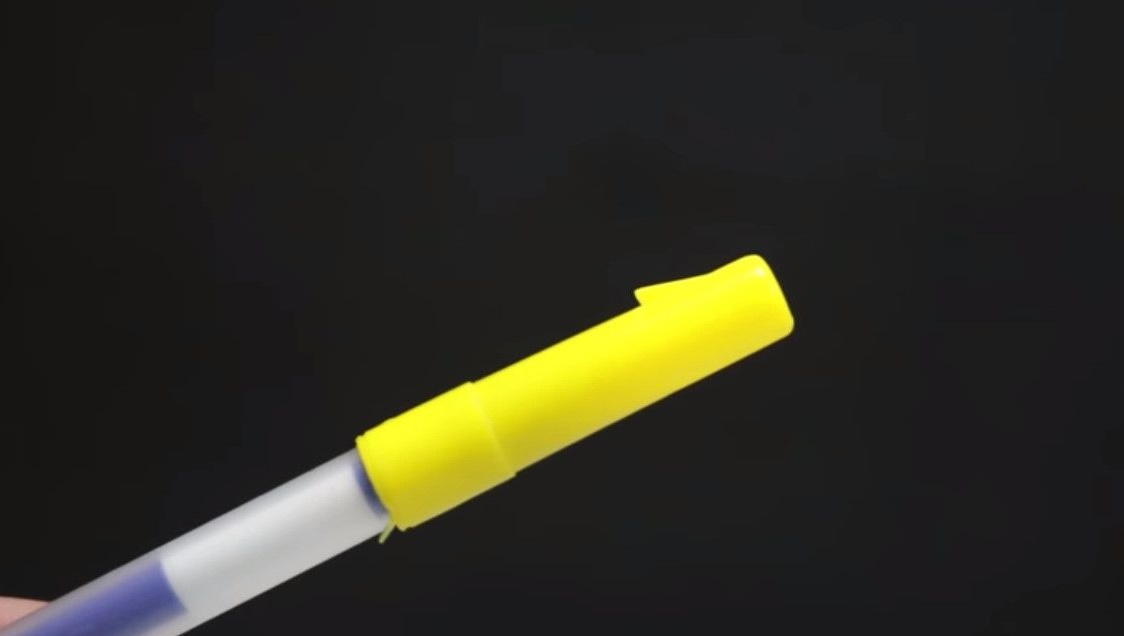
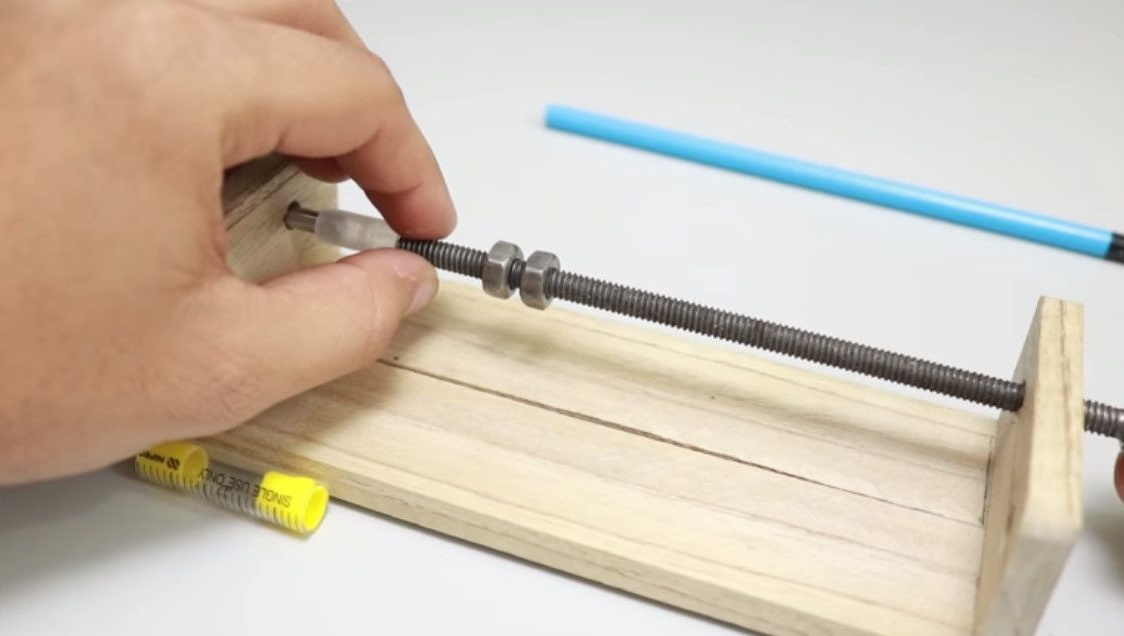
To attach the stud to the motor shaft, he uses the cap from the needle of a conventional syringe.
Slices the desired piece.
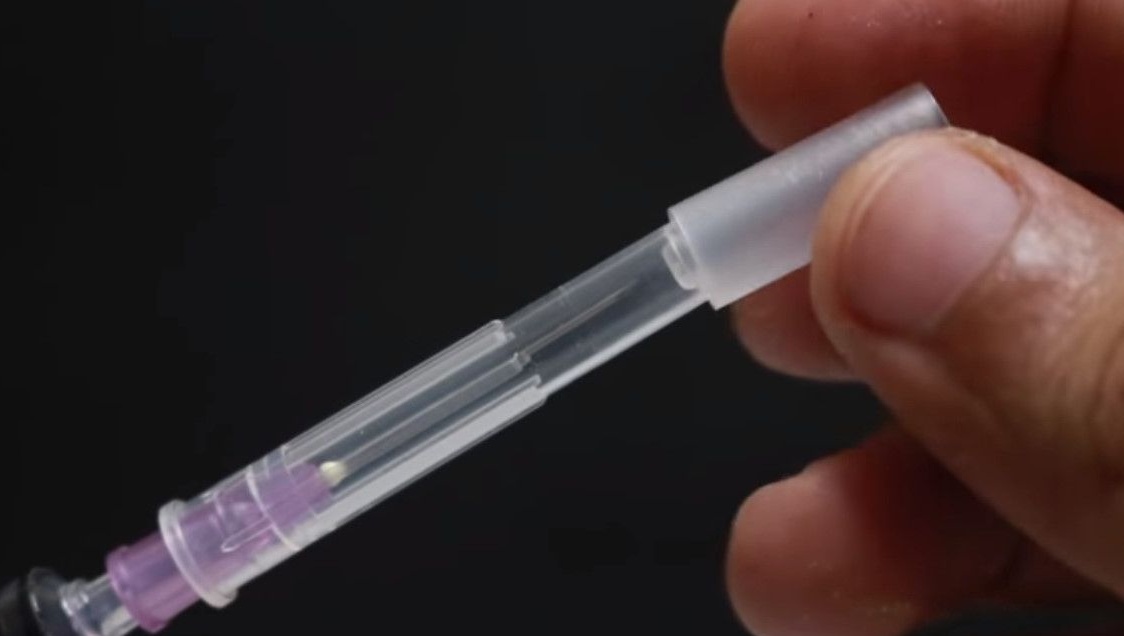
And puts it on the motor shaft.
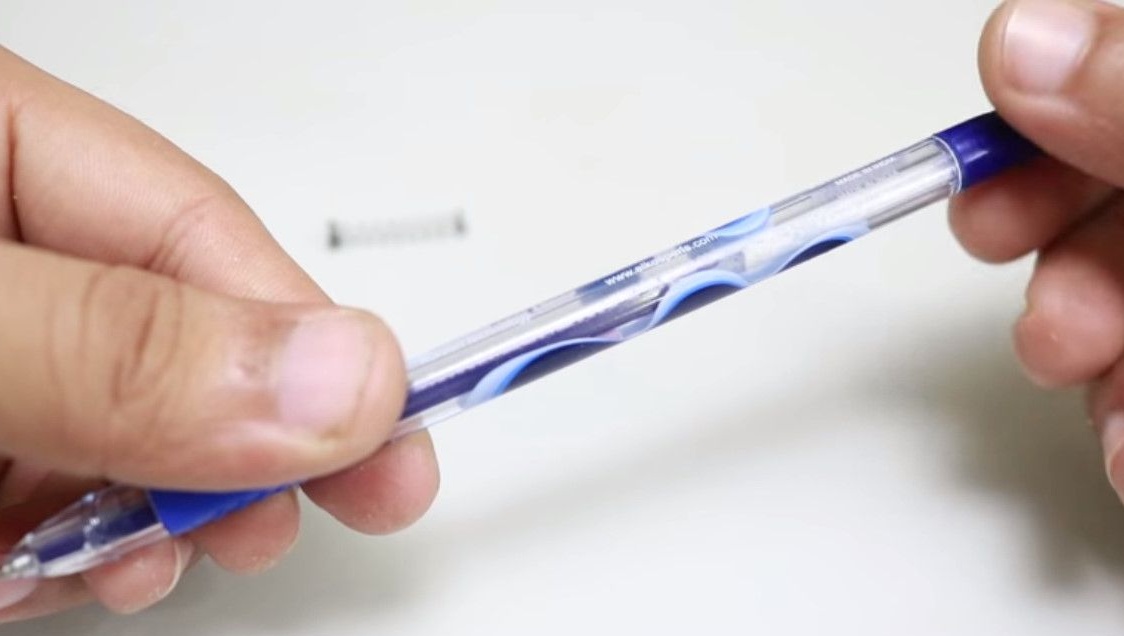
For the slider that will hold the carriage on the hinge, it uses a ballpoint pen cap.
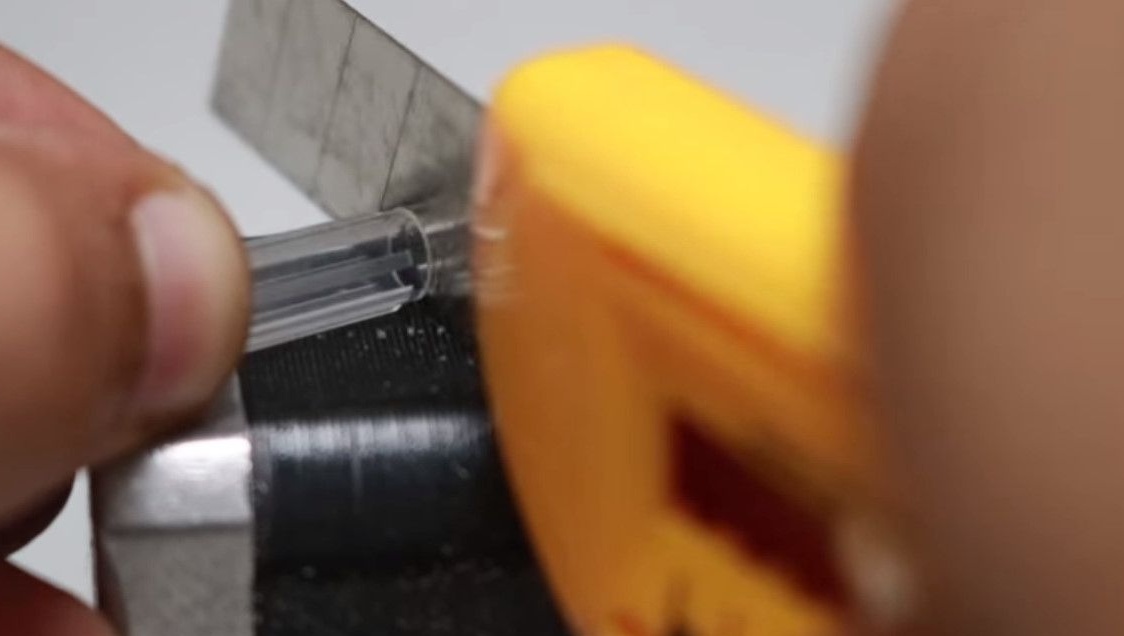
It cuts out two cylinders.

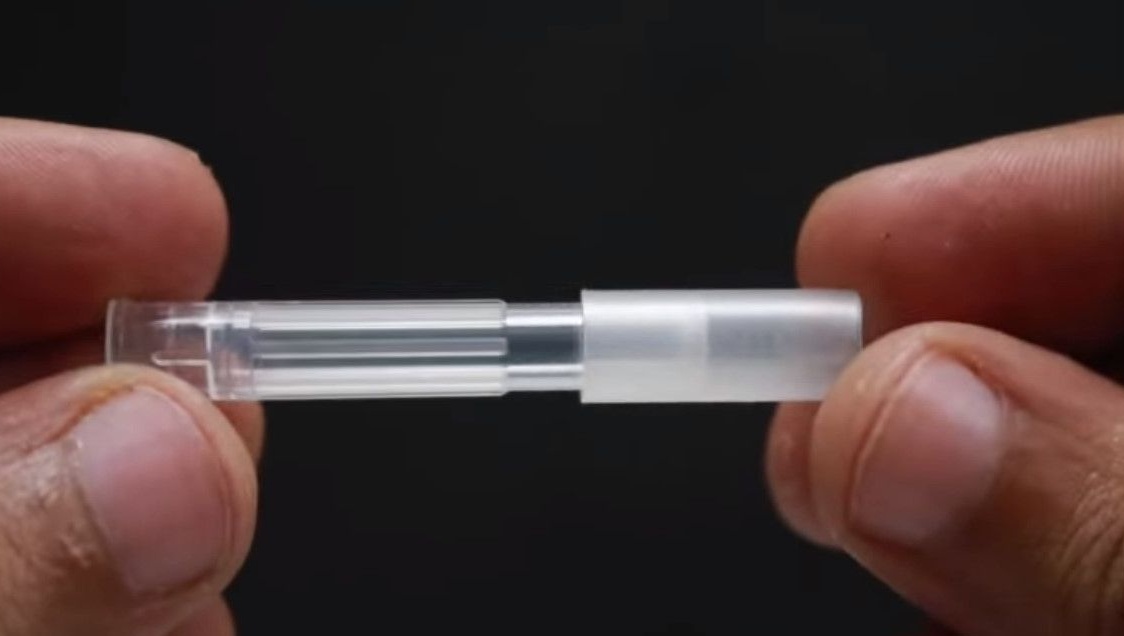
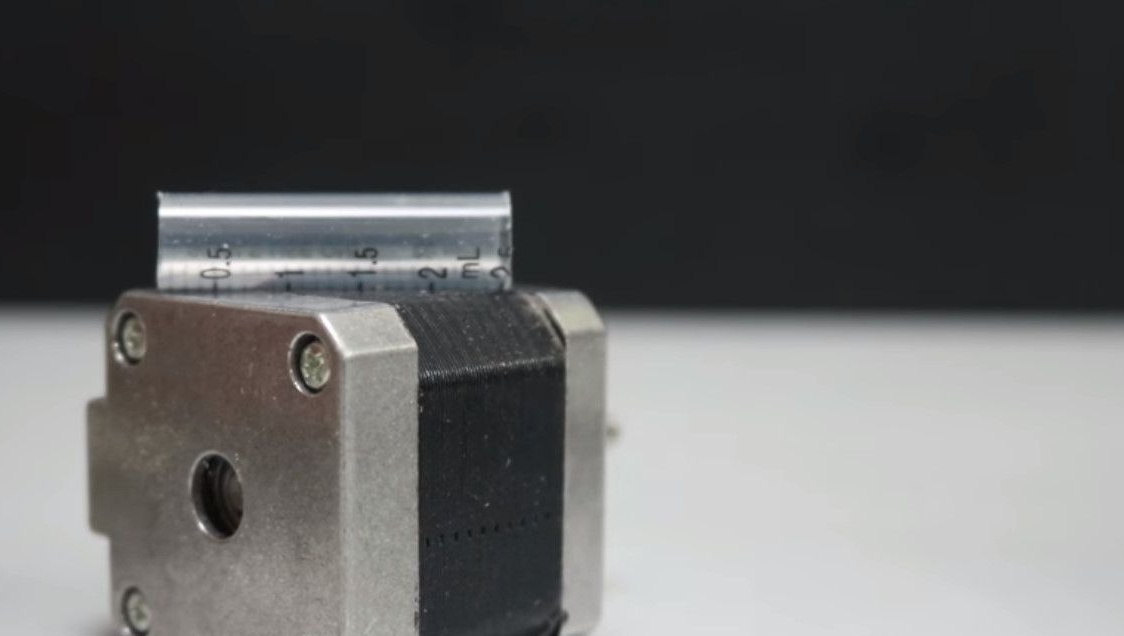
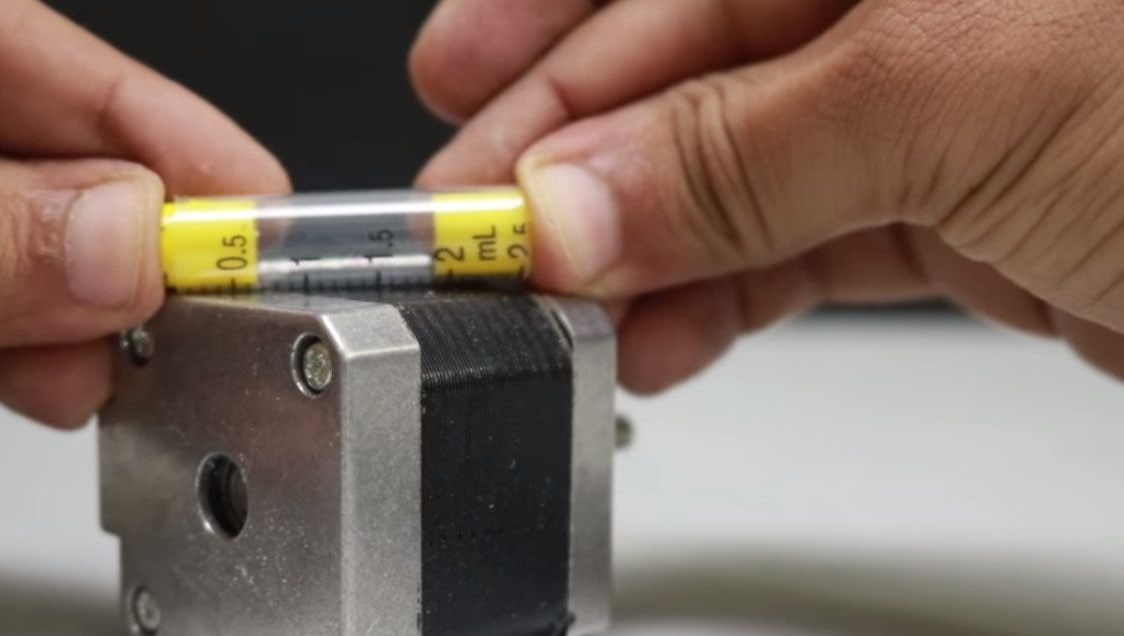
Another slider needs a syringe, it removes the piston from it.
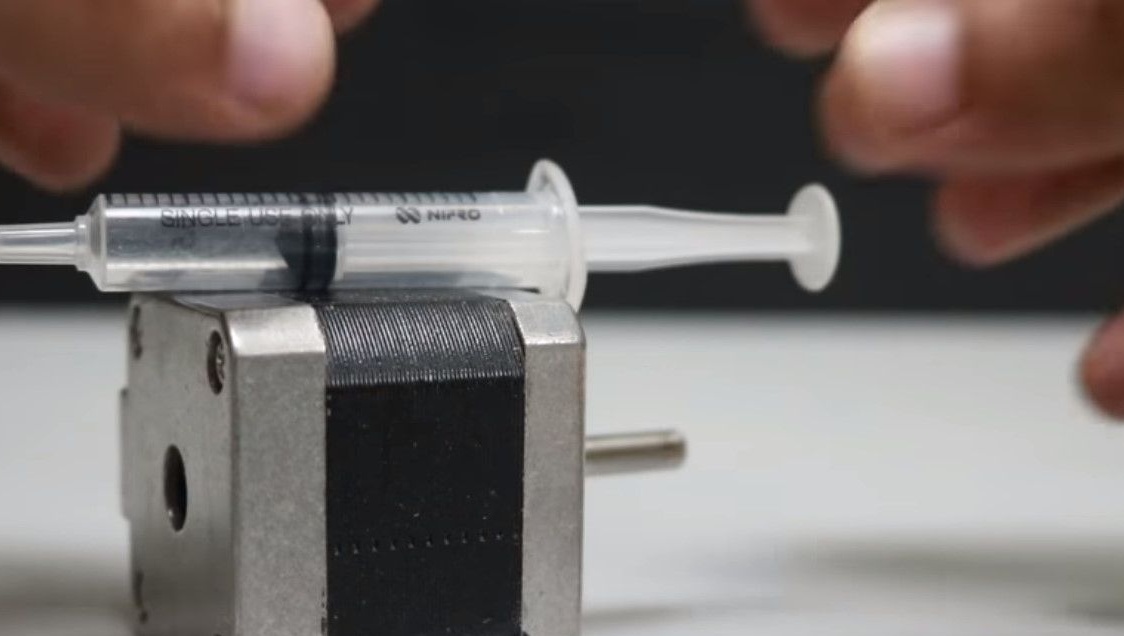
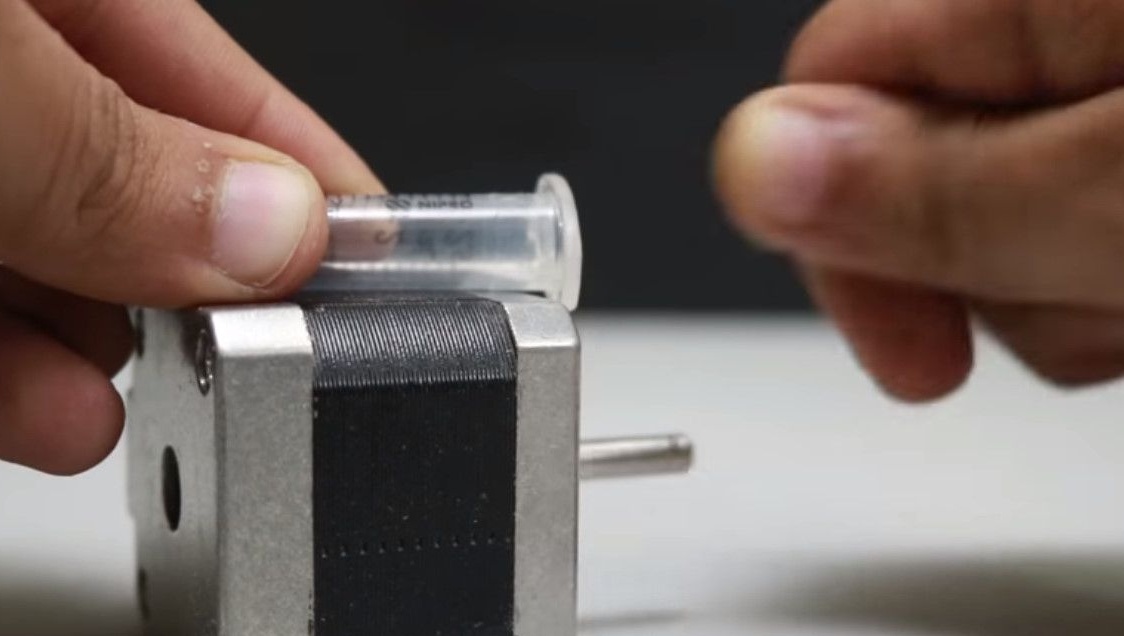
And cuts a cylinder out of it.
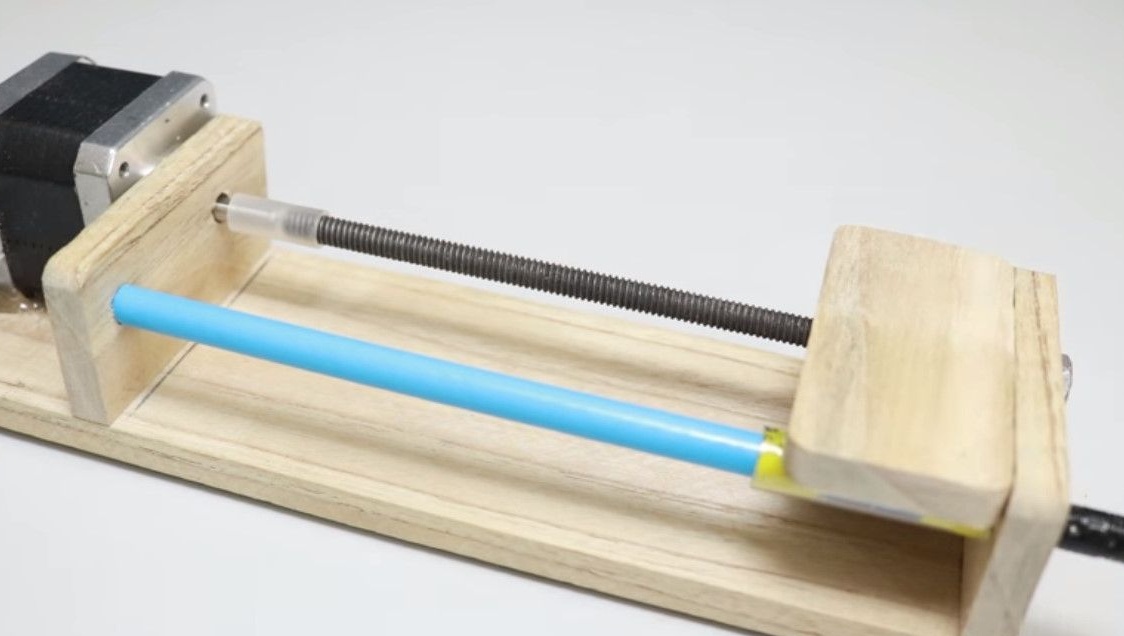
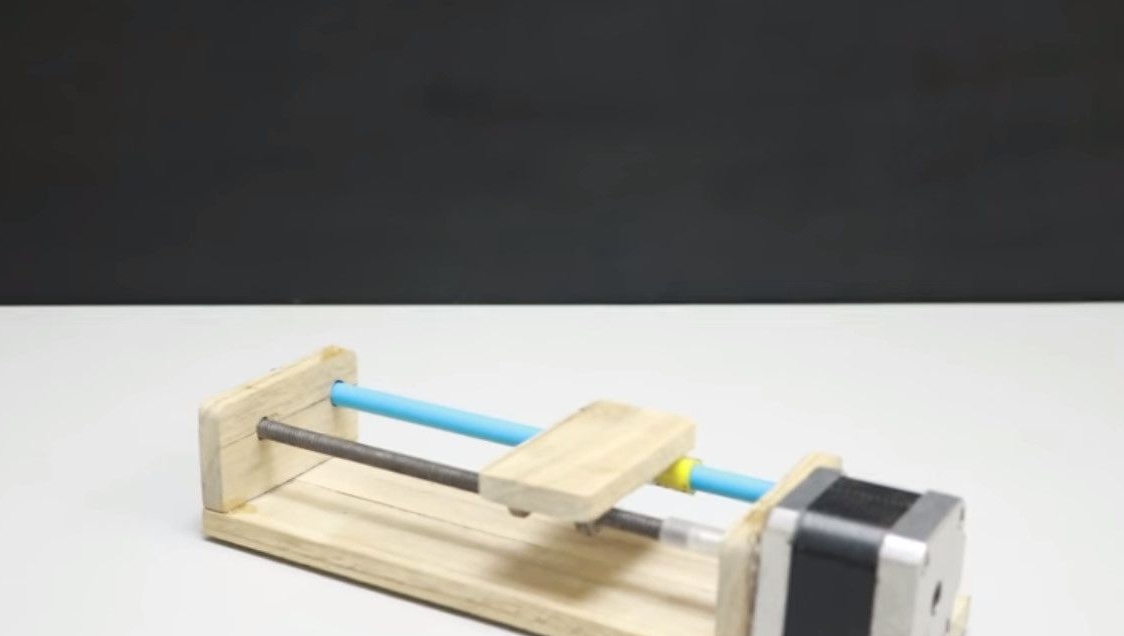
Now the runner collects himself. They will need two, two axes.
Now it connects the stud to the motor shaft, having pre-screwed two nuts, they will connect to the carriage and move it when the stud rotates.
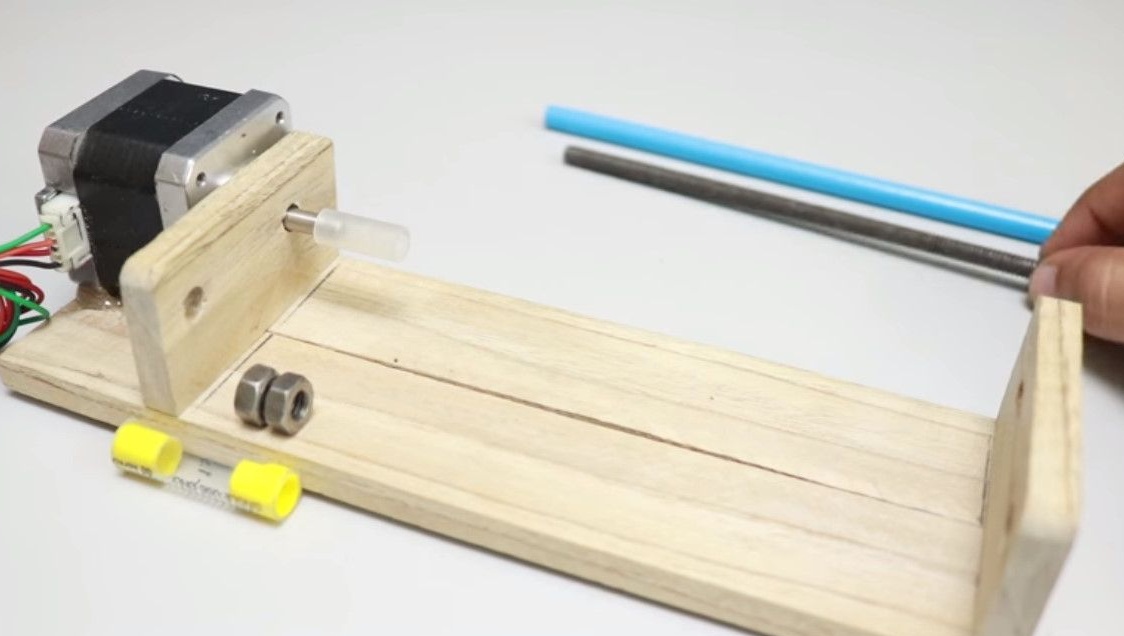

Installs the hinge by putting on the slider.
Installs nuts along the width of the carriage and glue with glue one of the faces on each, it is important not to get on the thread!
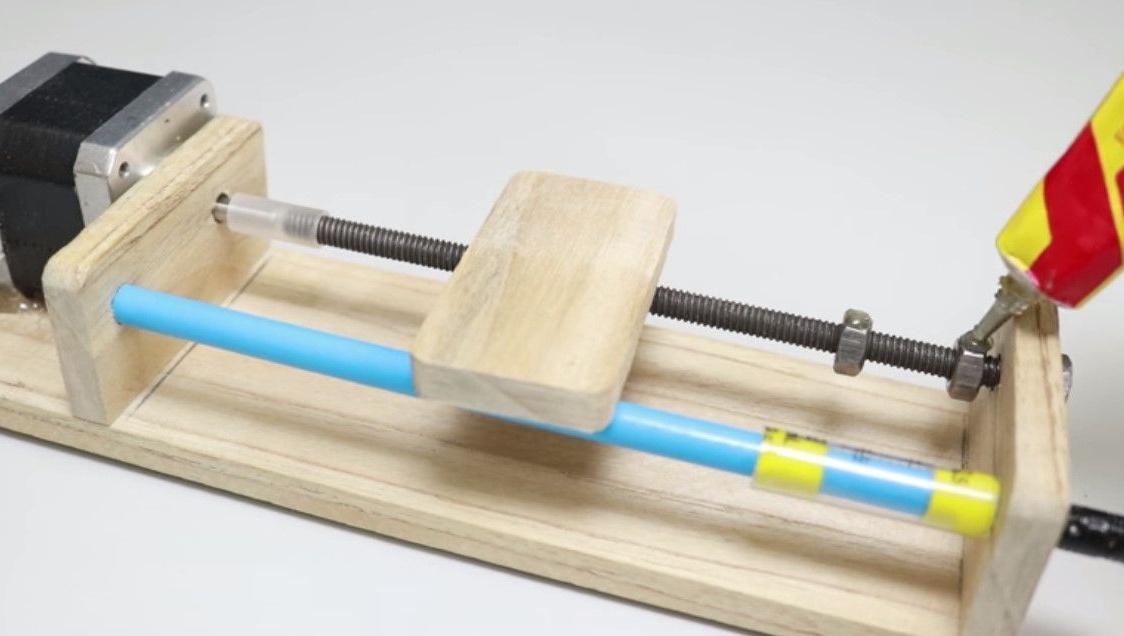
Applies glue to one side of the runner.
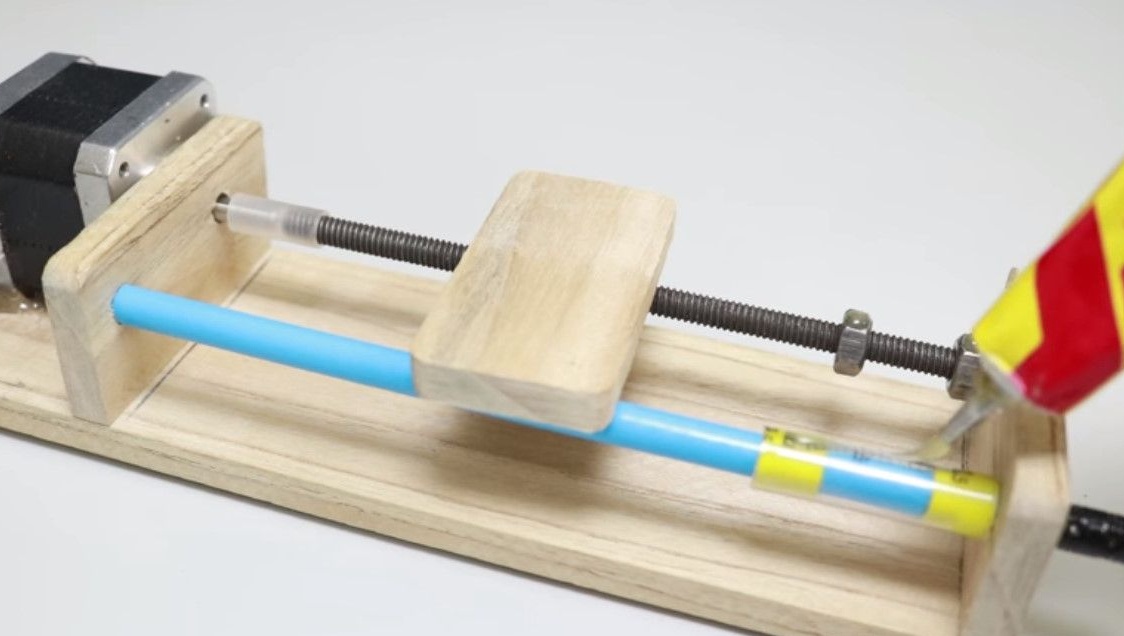
Sticks the carriage to them.
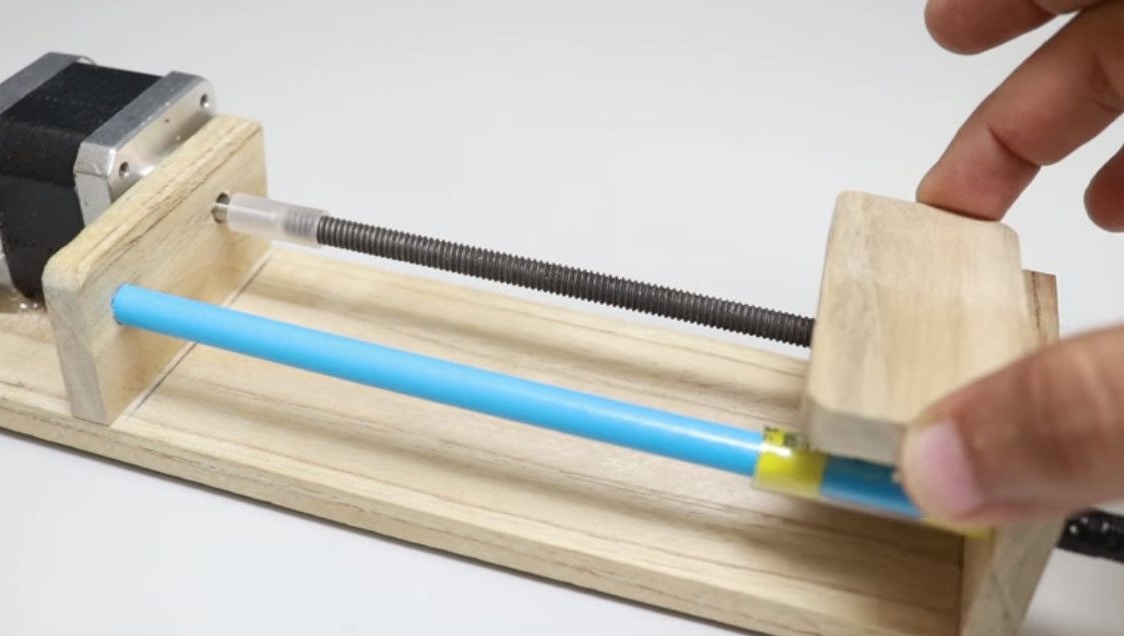
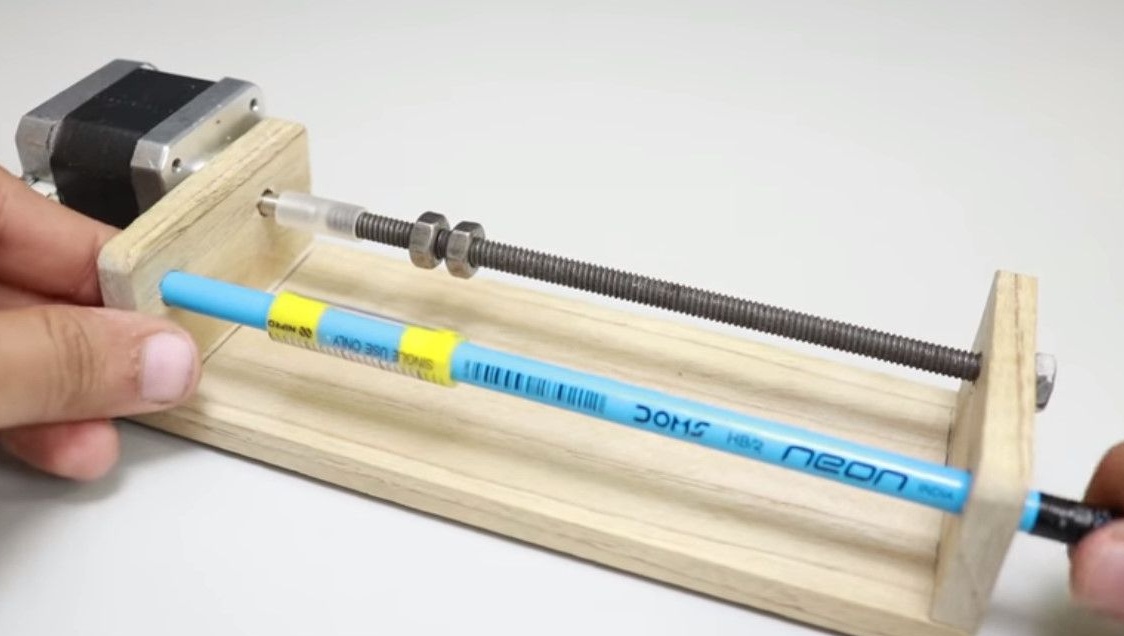
One drive is ready. The second is done exactly the same, only smaller in width.
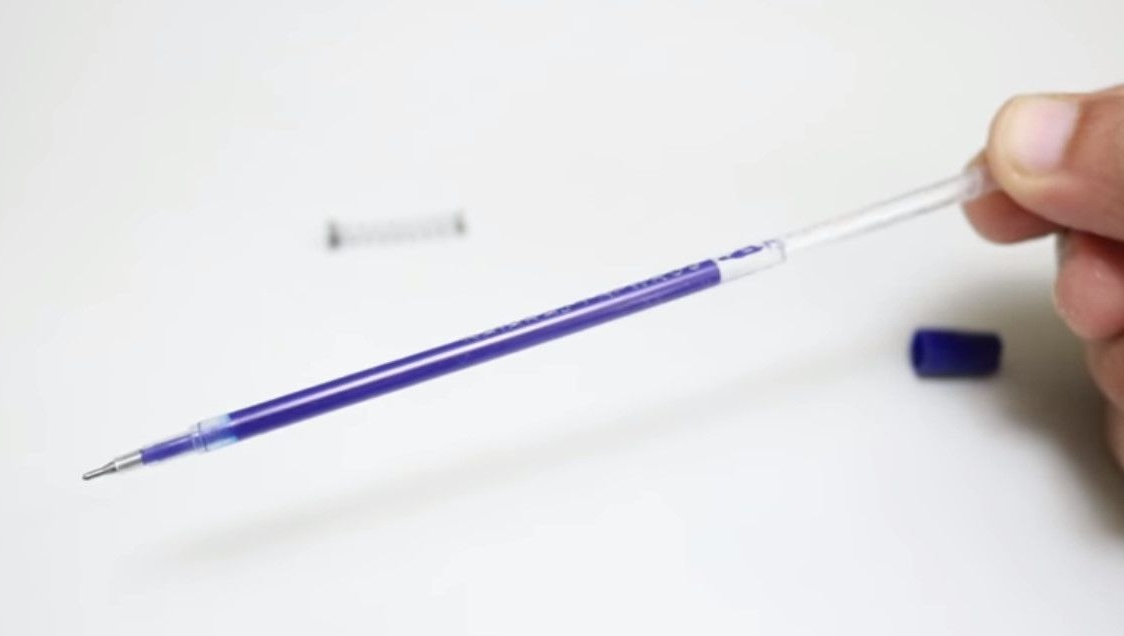
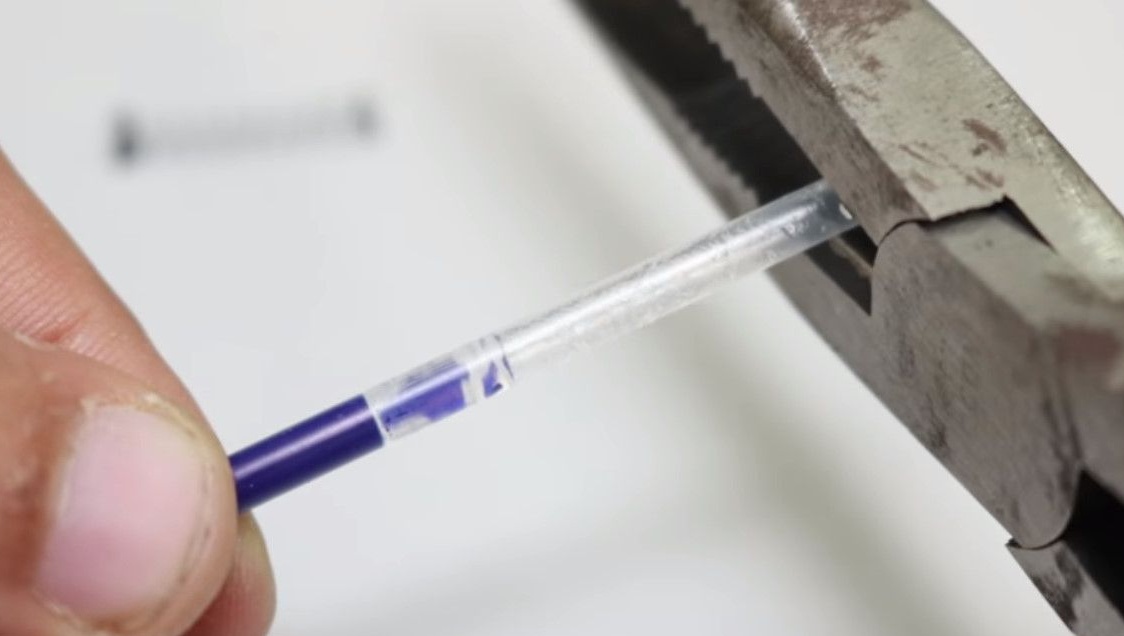
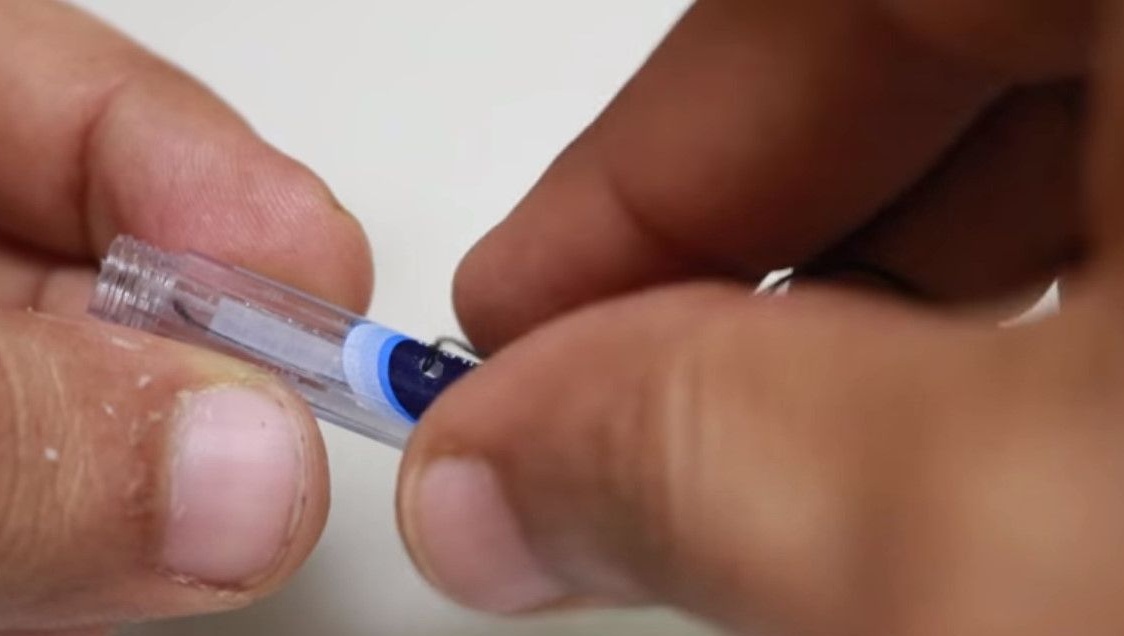
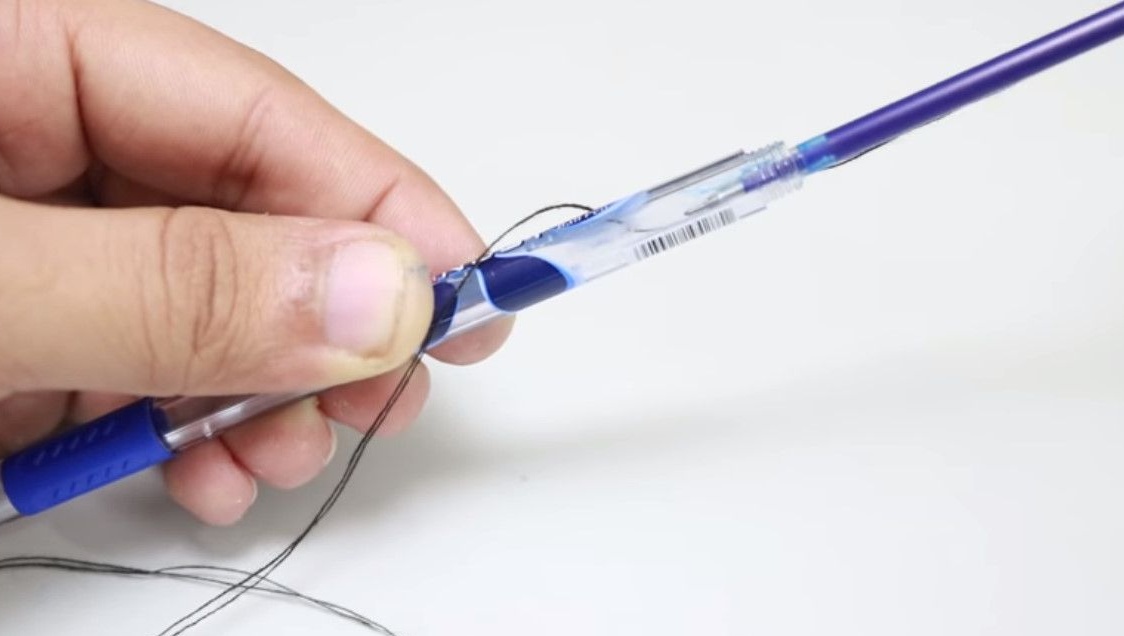
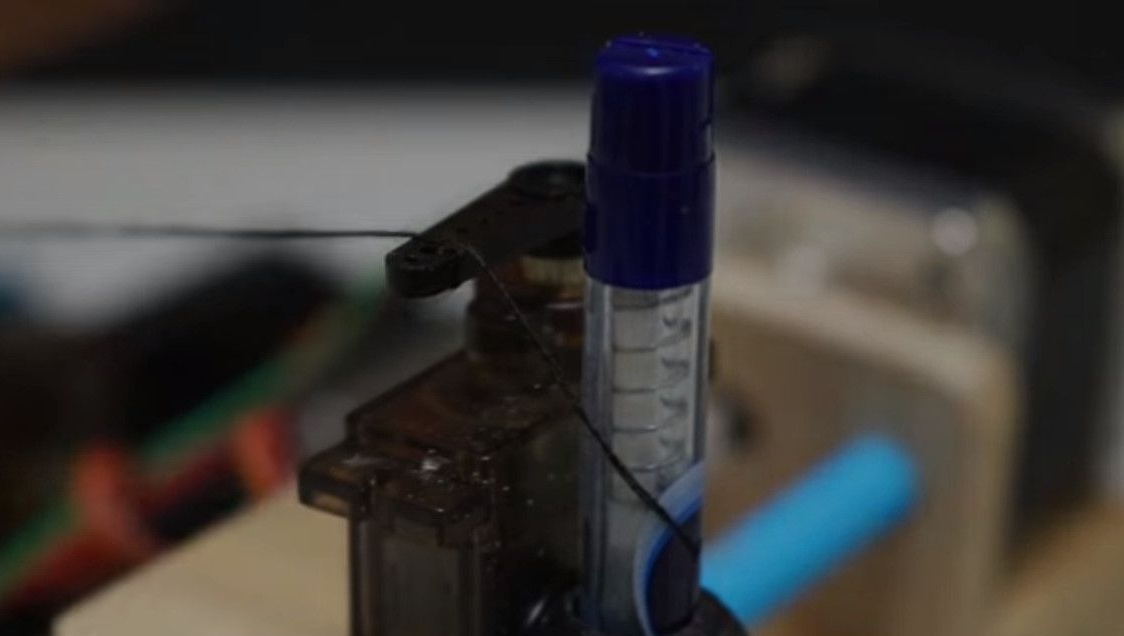
At this stage, you need to make the actual writing device from the pen.
Parses it, takes out the rod, shortens it a little.
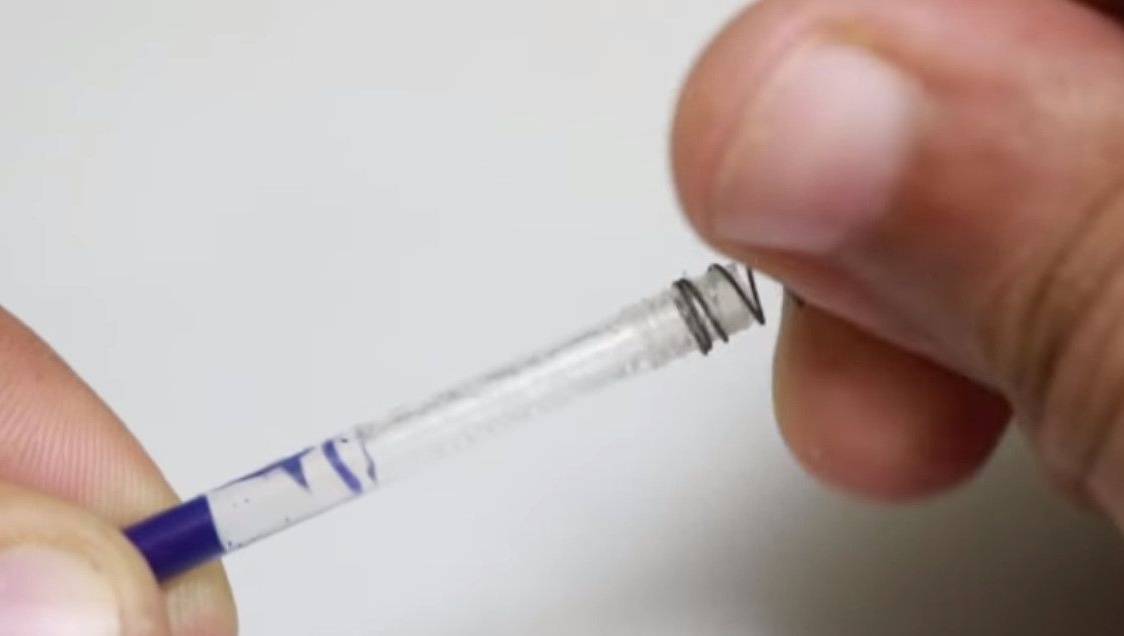
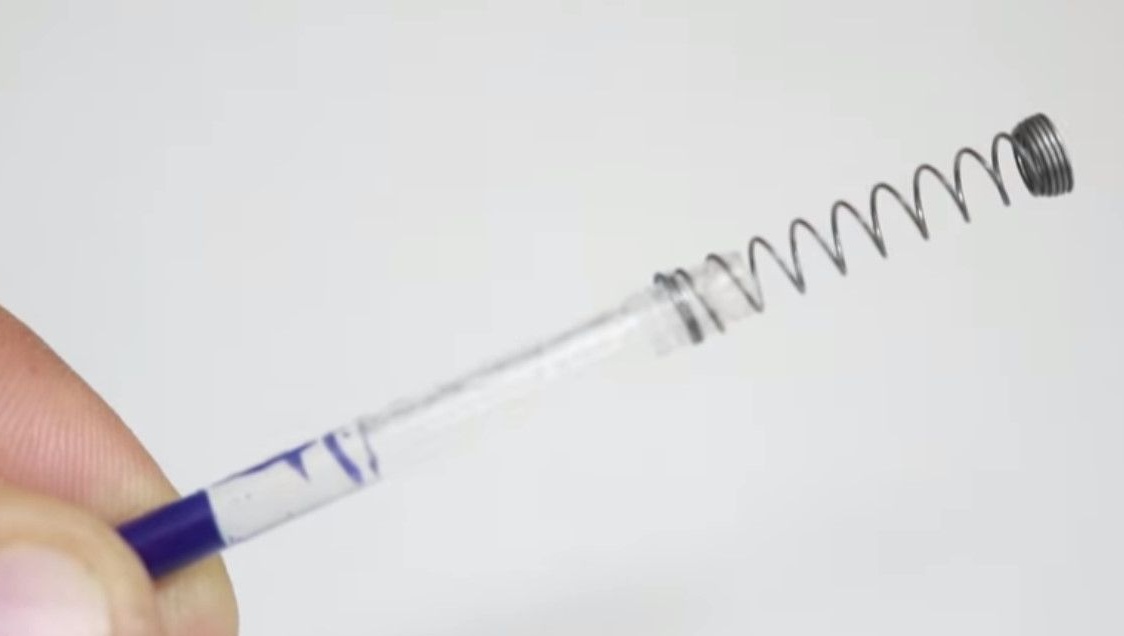
Puts the spring from the fountain pen on the back of the rod.
Having drilled a millimeter hole in the upper part of the body, threaded through it a thread.
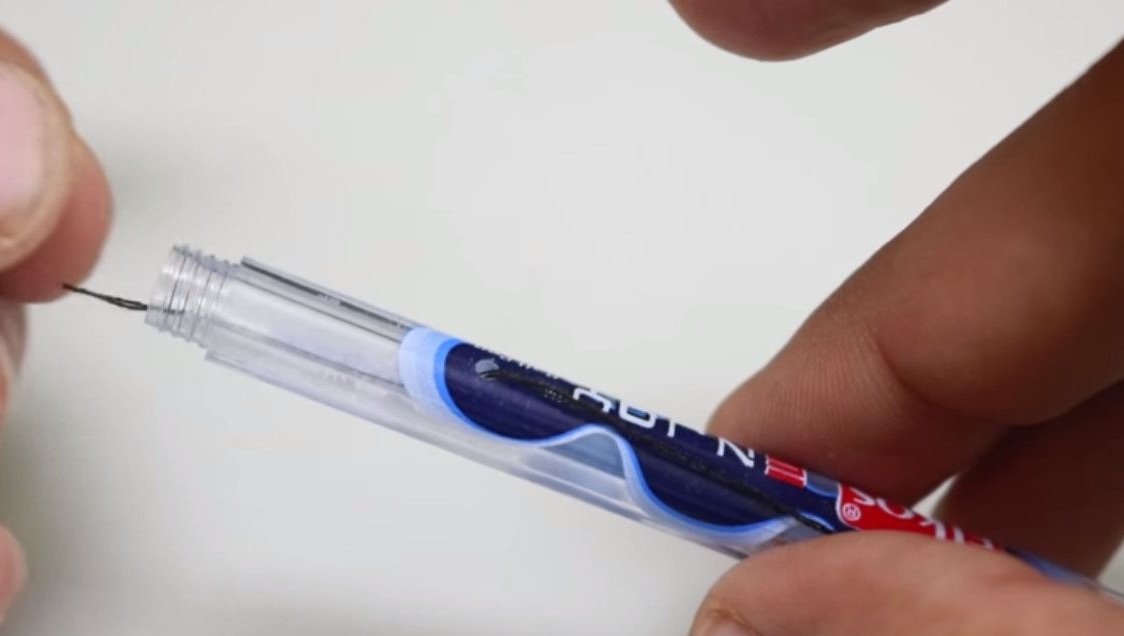
Tie the thread to the top of the rod, just below the hole itself, because the thread will raise the rod, and the spring will return it back.
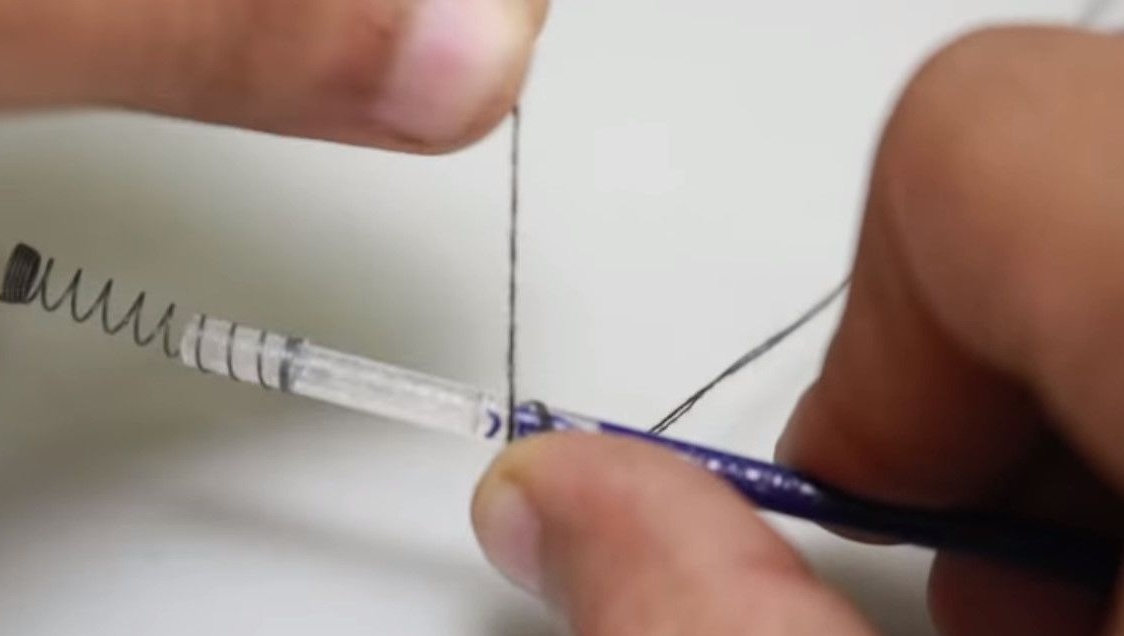
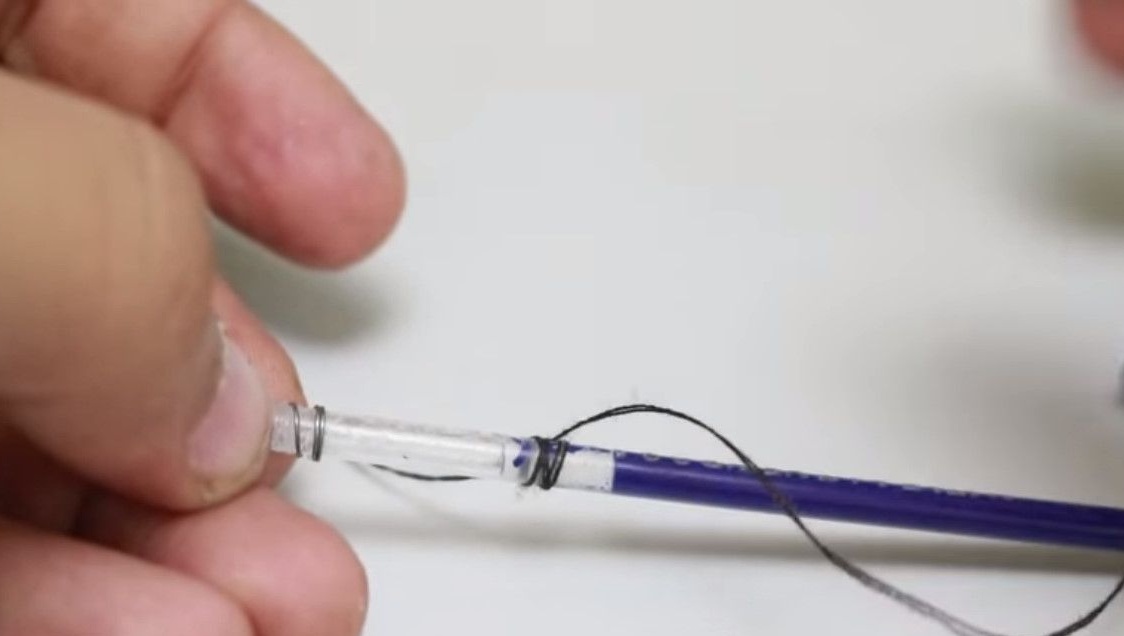
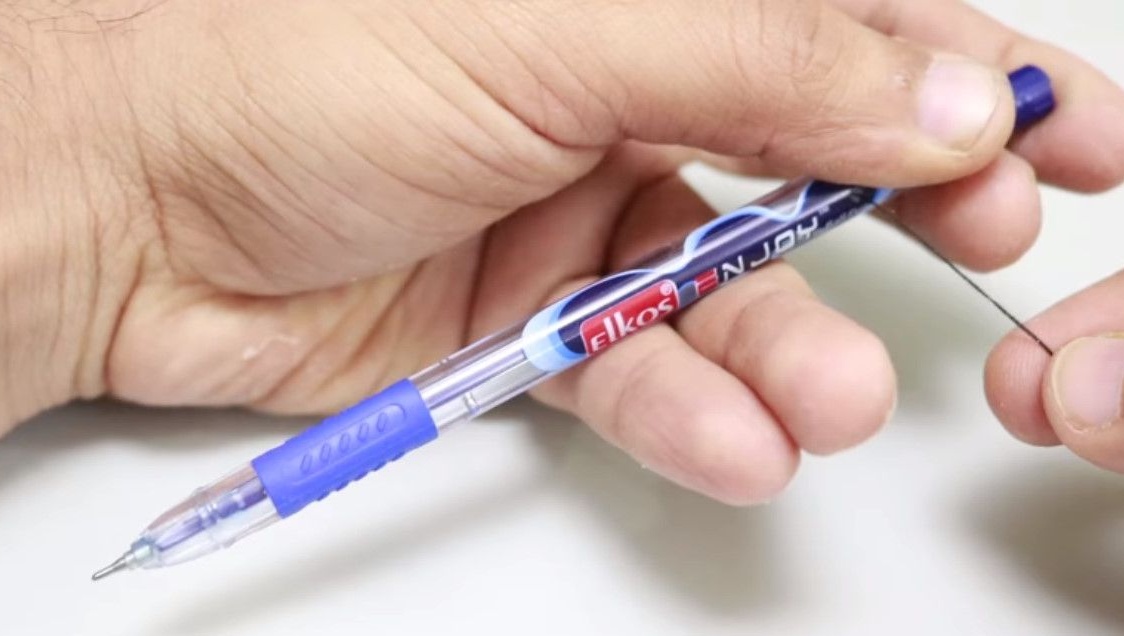
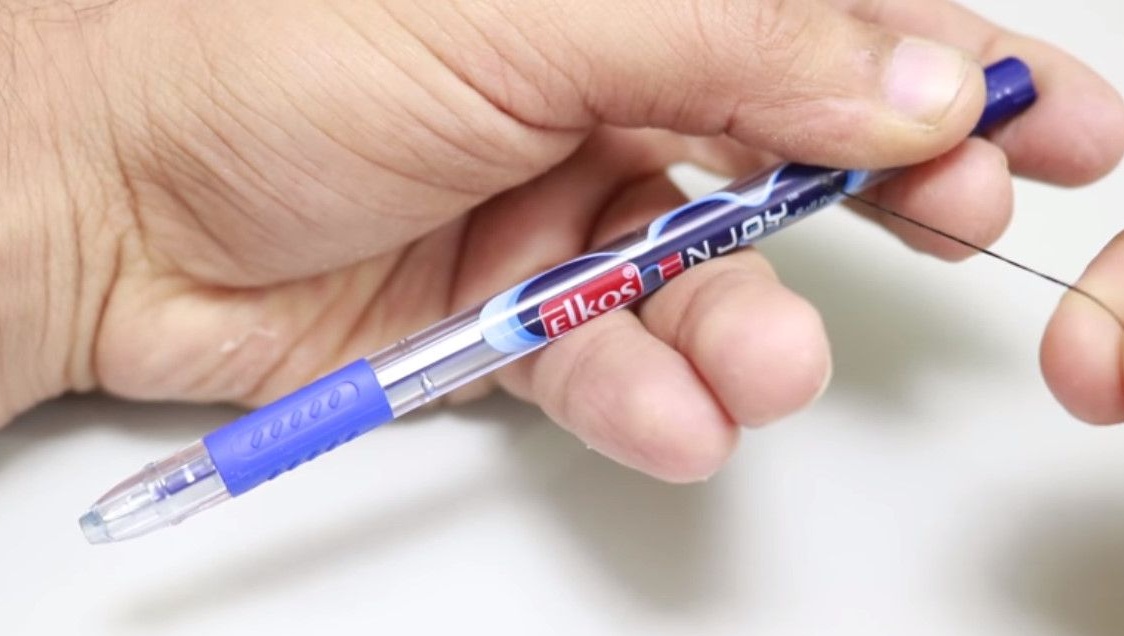
Gathers a handle, pulls out a thread.

Checks that when pulling the thread, the tip of the shaft is completely hidden.
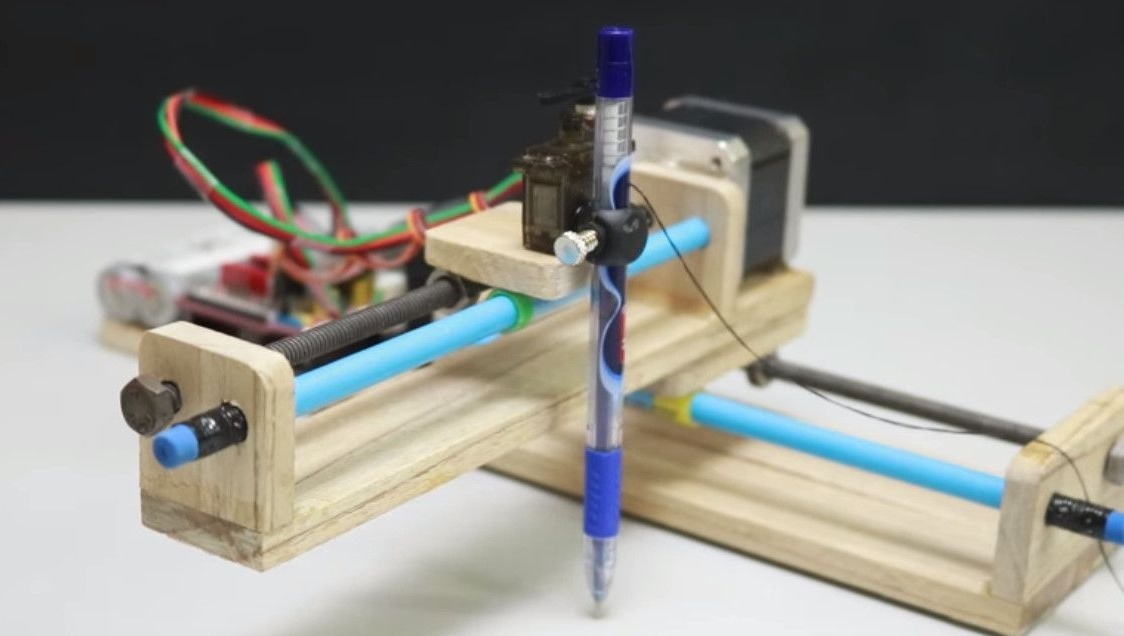
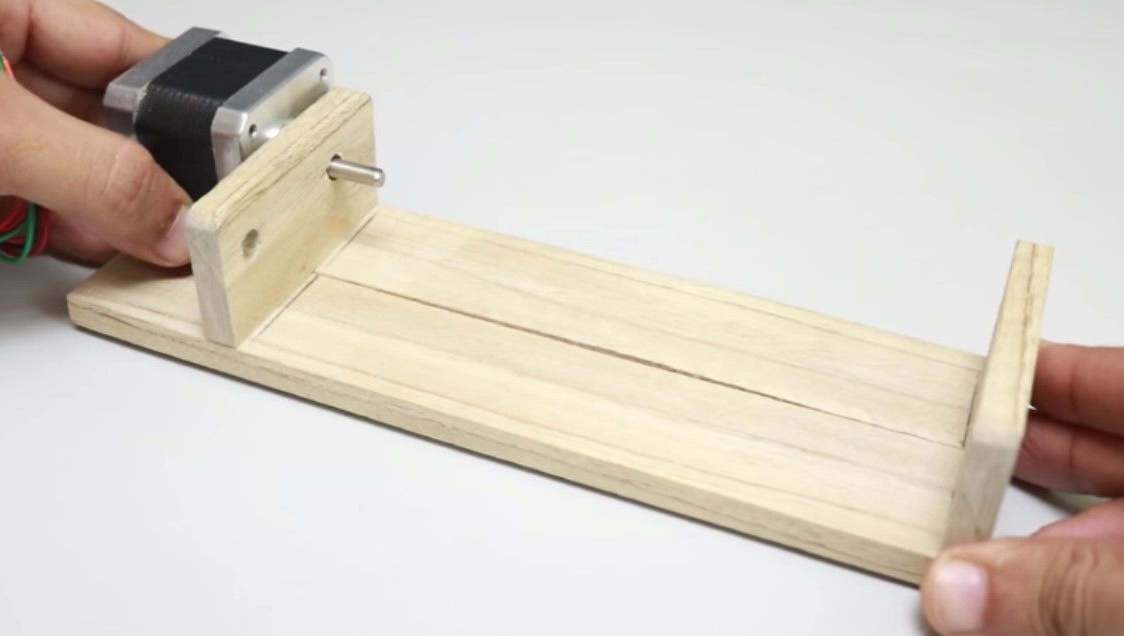
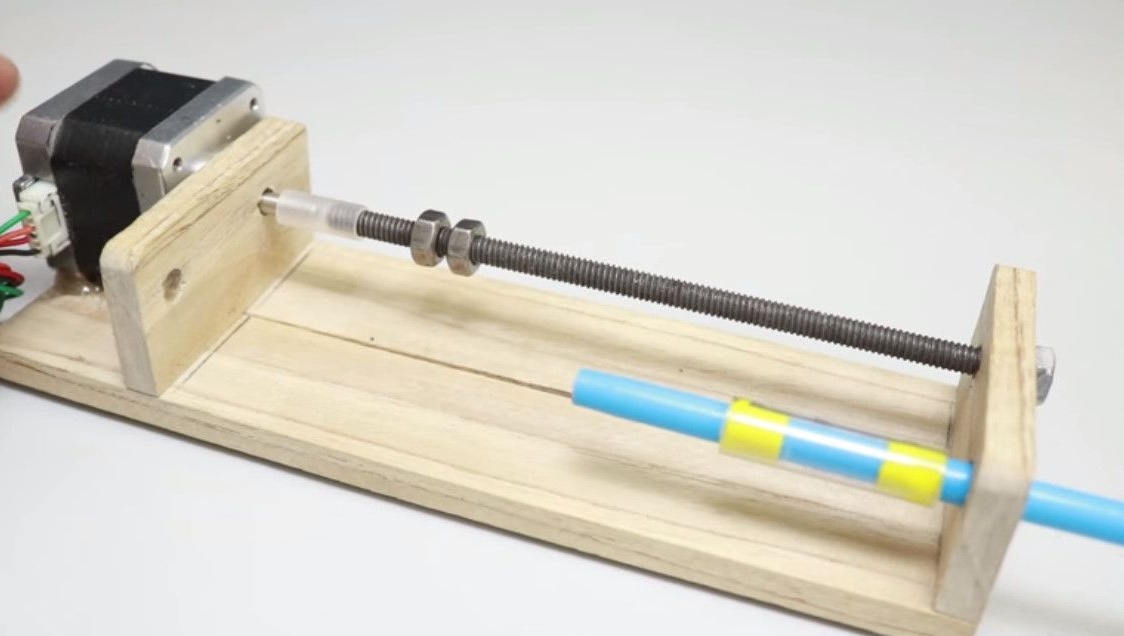
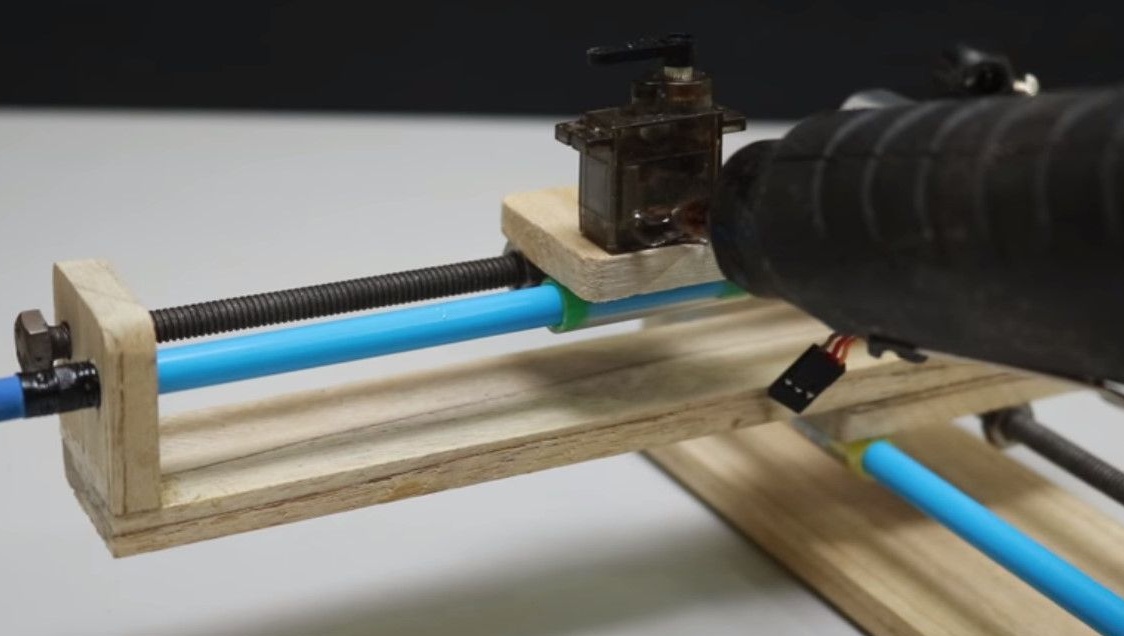
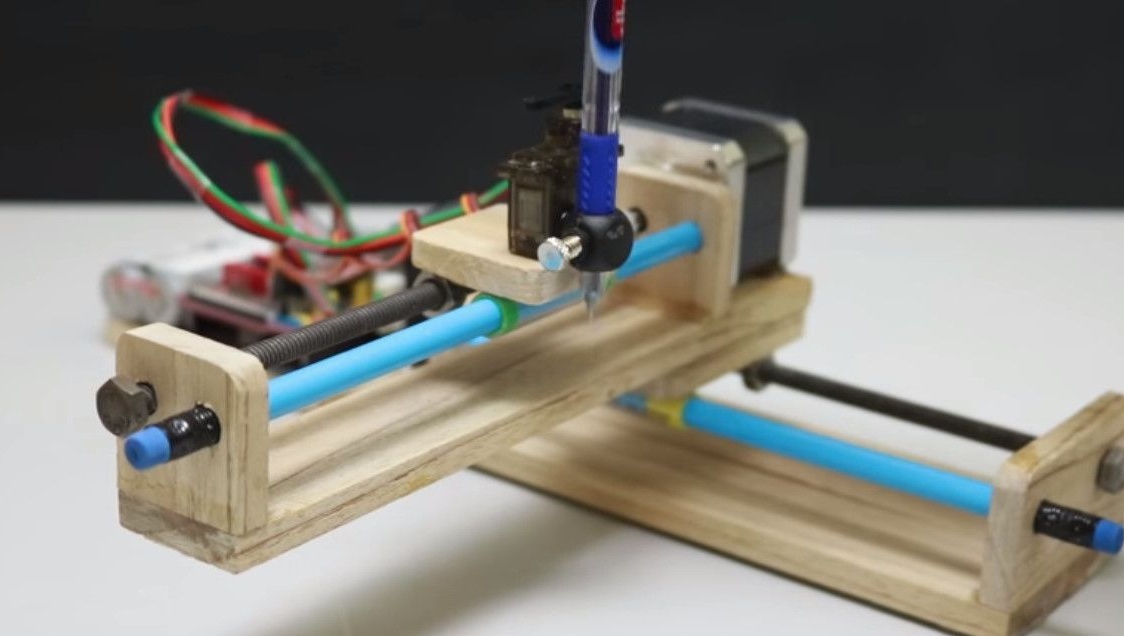
So, both coordinate drives are ready.
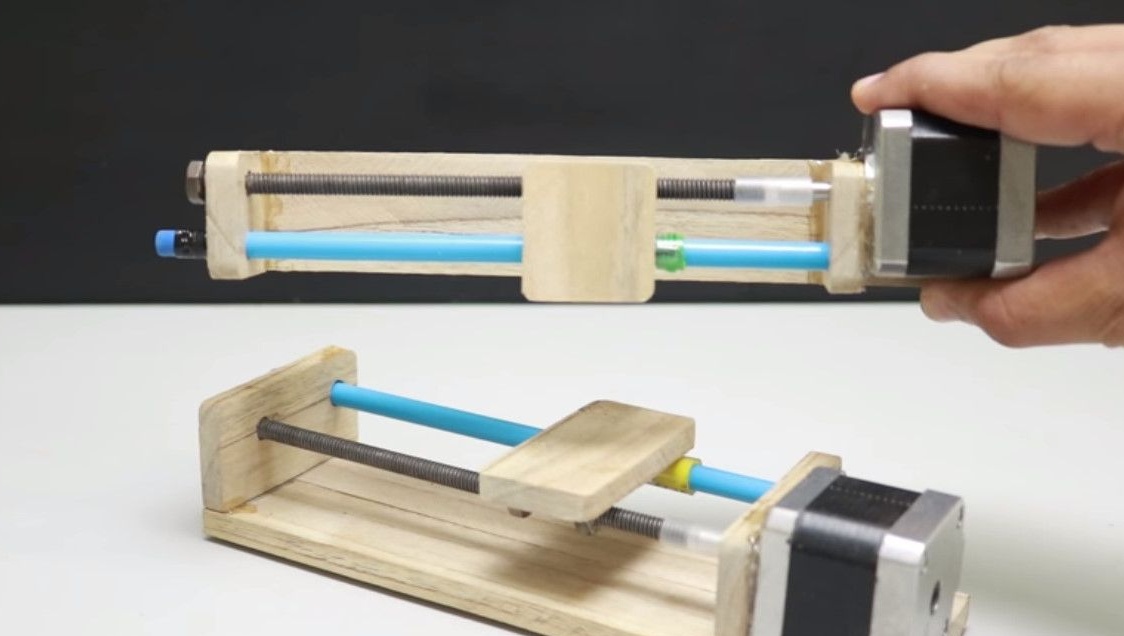
Glues the horizontal axis drive to the vertical axis drive carriage.
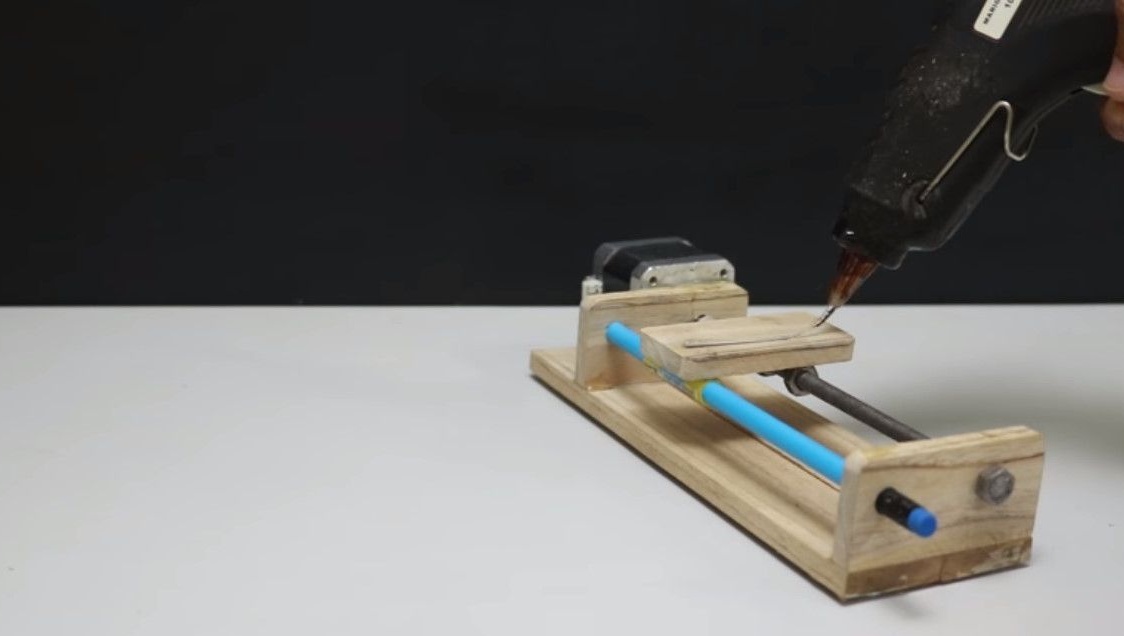
Now the servo is glued to the X-axis carriage.

Taking the pencil holder from the compass, glues it to the servo.
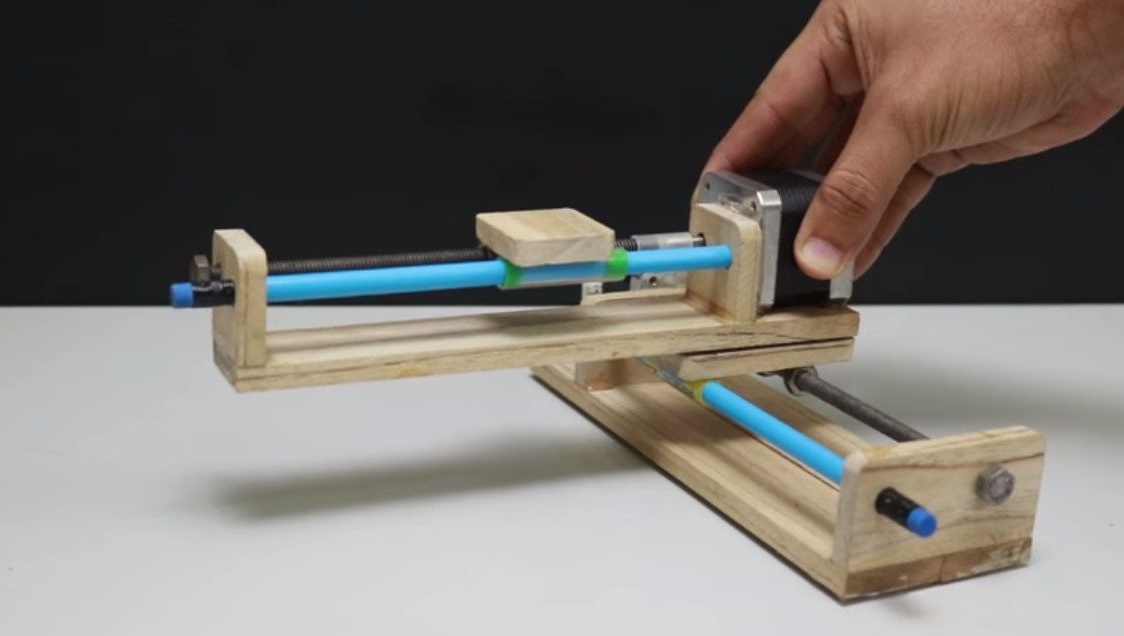
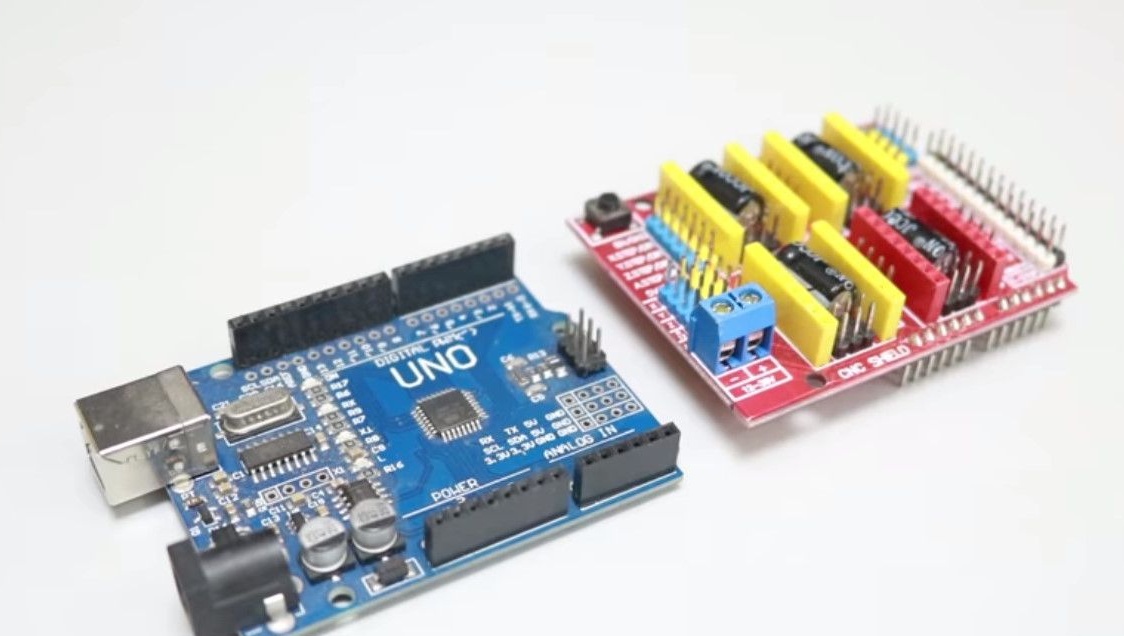
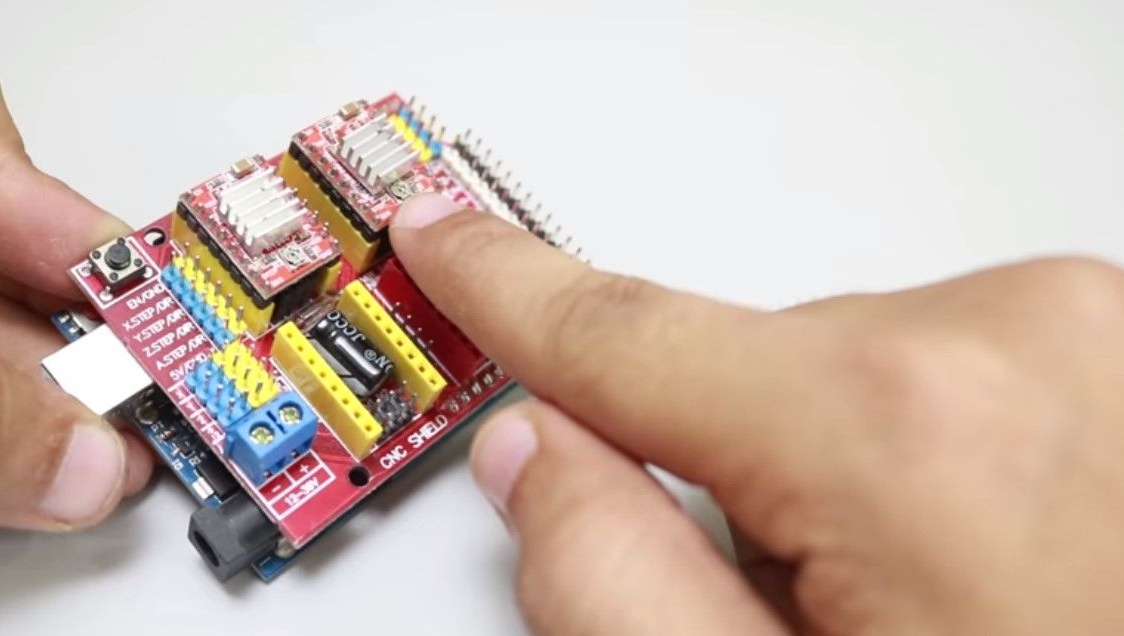
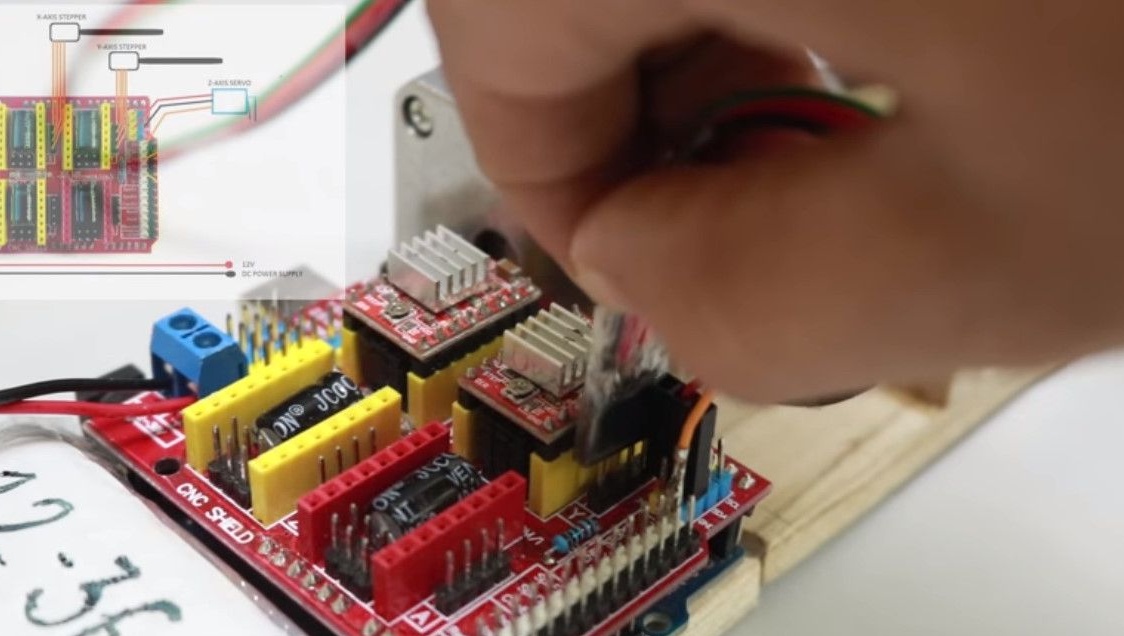
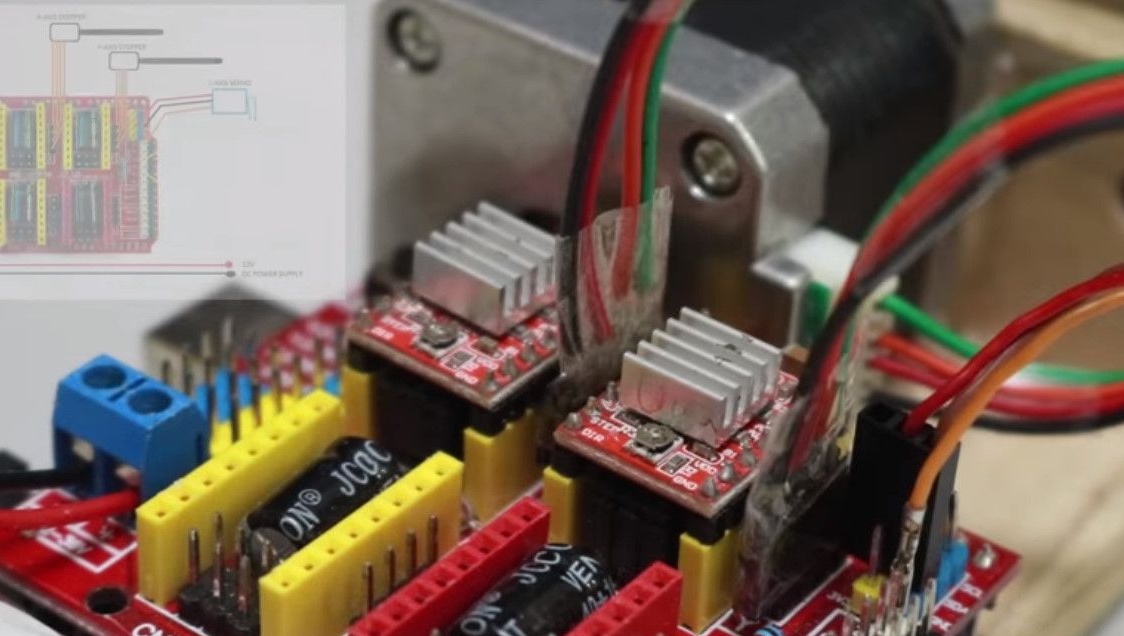
So, the mechanics is ready, the author proceeds to the electronic part. Here are both boards, two motor drivers, and jumpers with a USB cable.
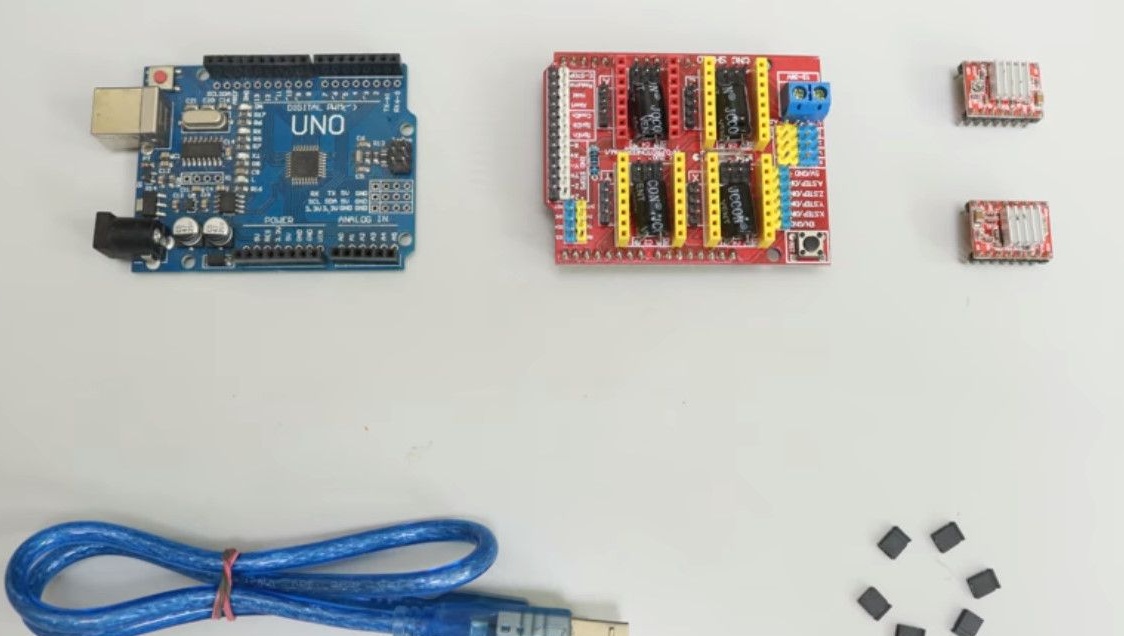
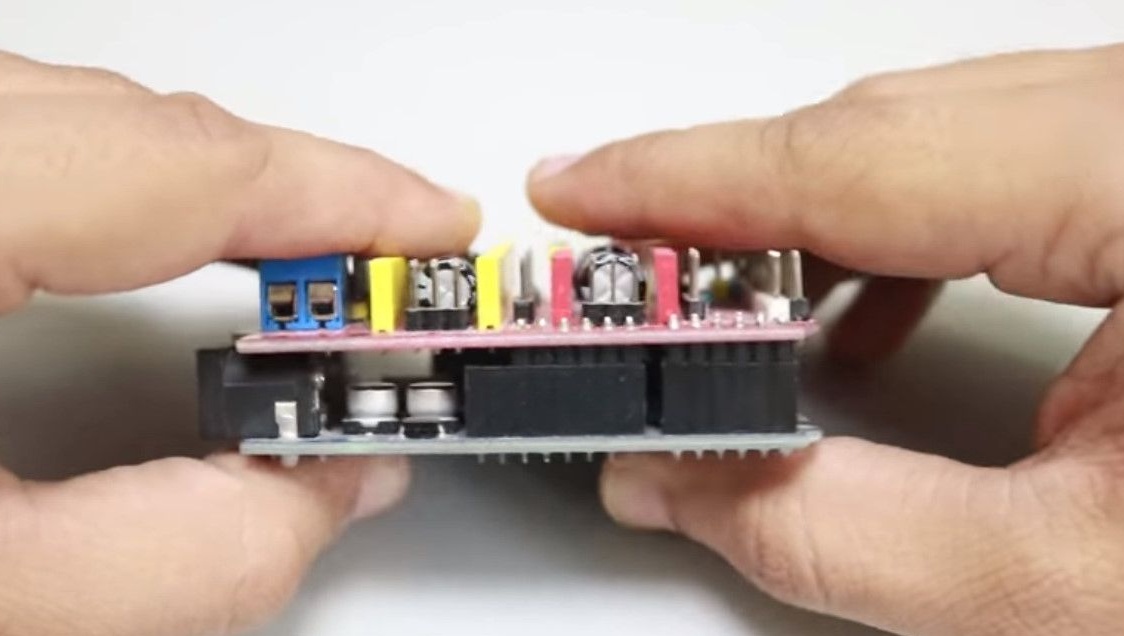
Connects the arduino board to the expansion board.
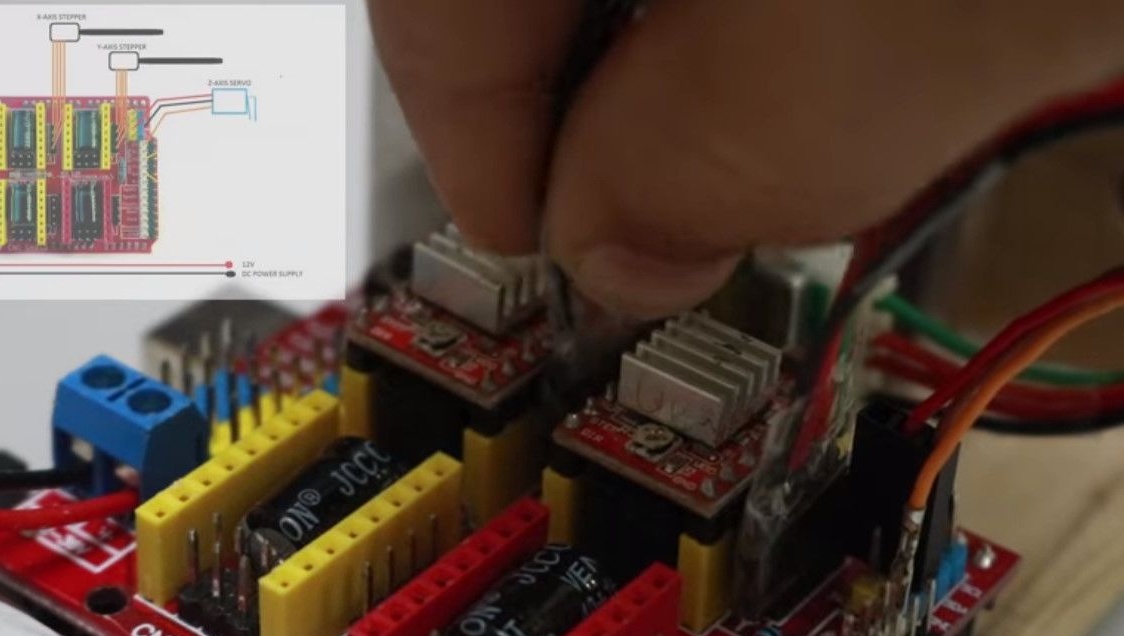
Sets jumpers.
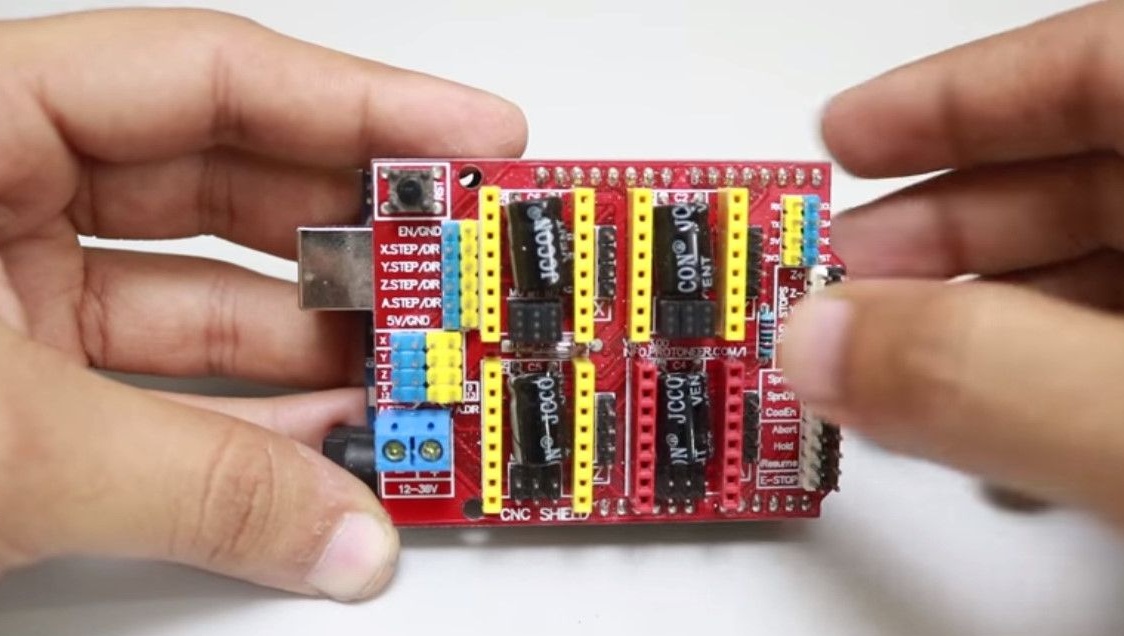
And engine drivers.
The assembly is glued to the hot melt near the installation.
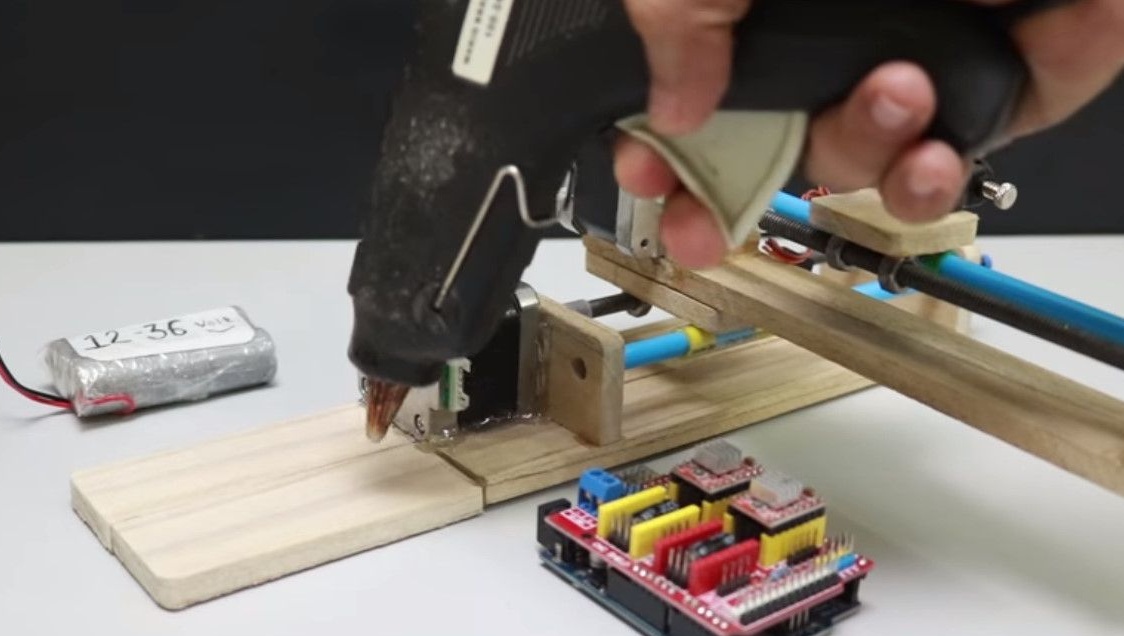
Connects power.
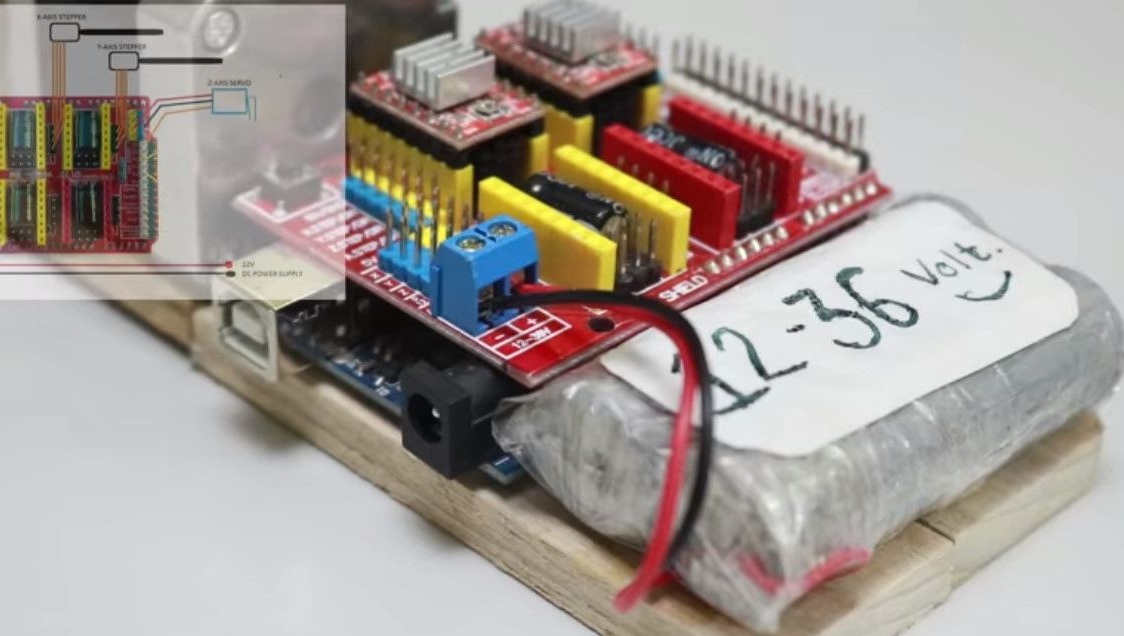
Servo Connector
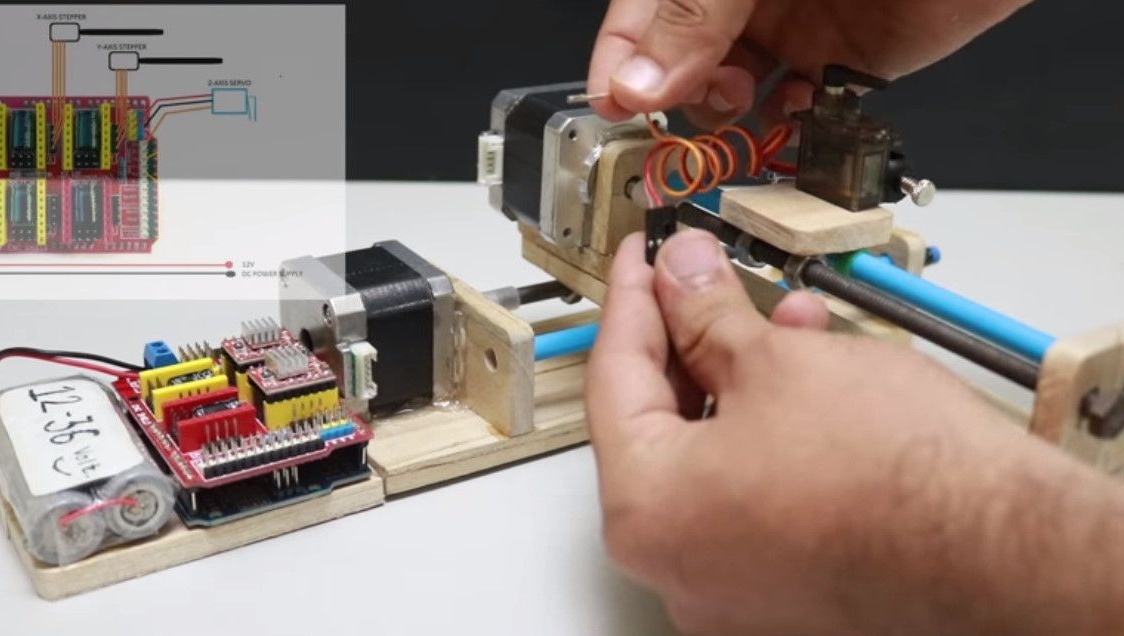
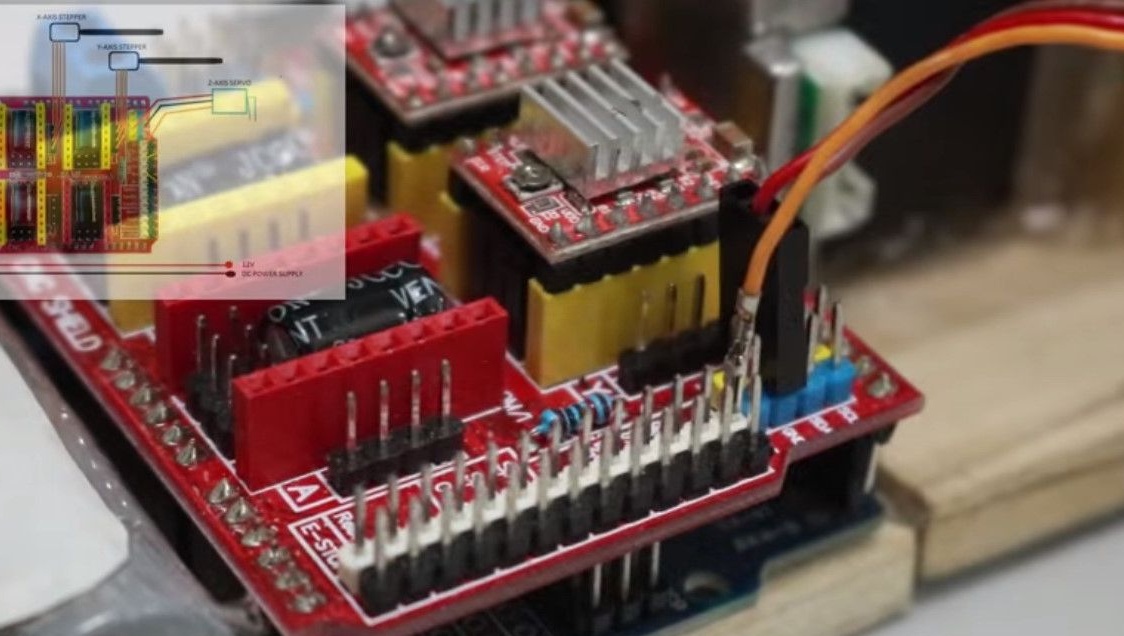
And both stepper motors.
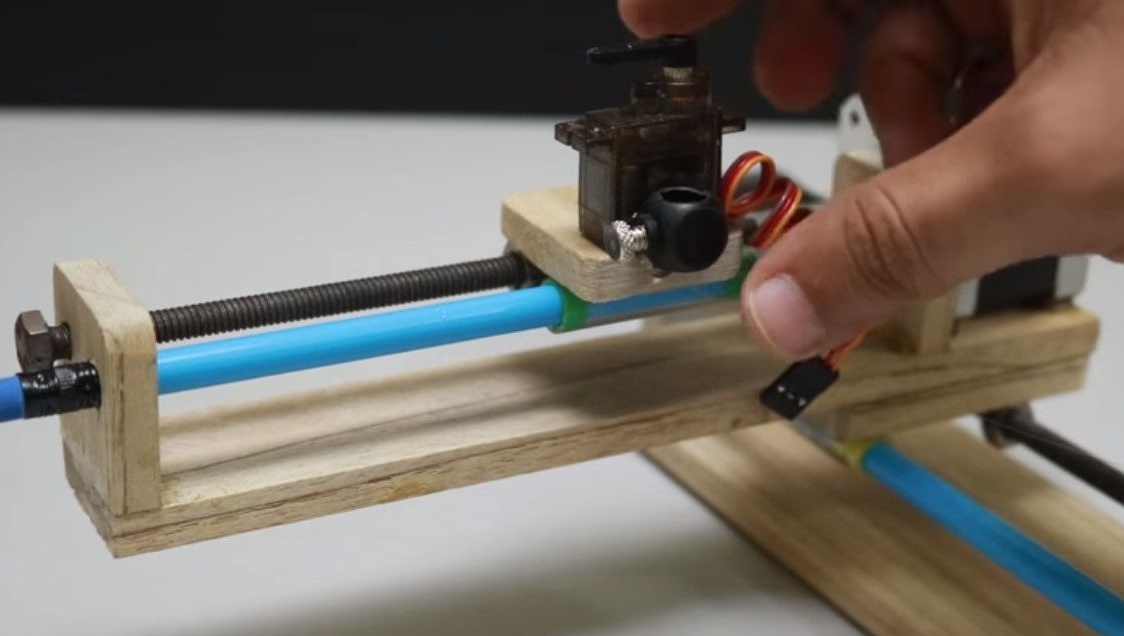
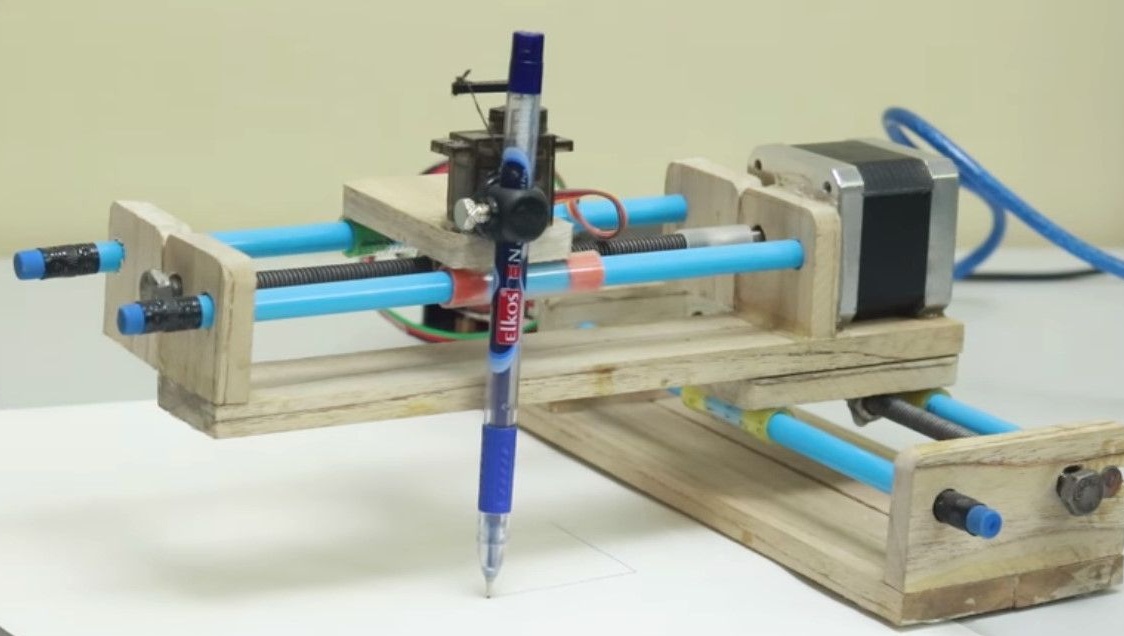
Inserts a "writing device" into the holder.
Fastens the thread to the servo lever.
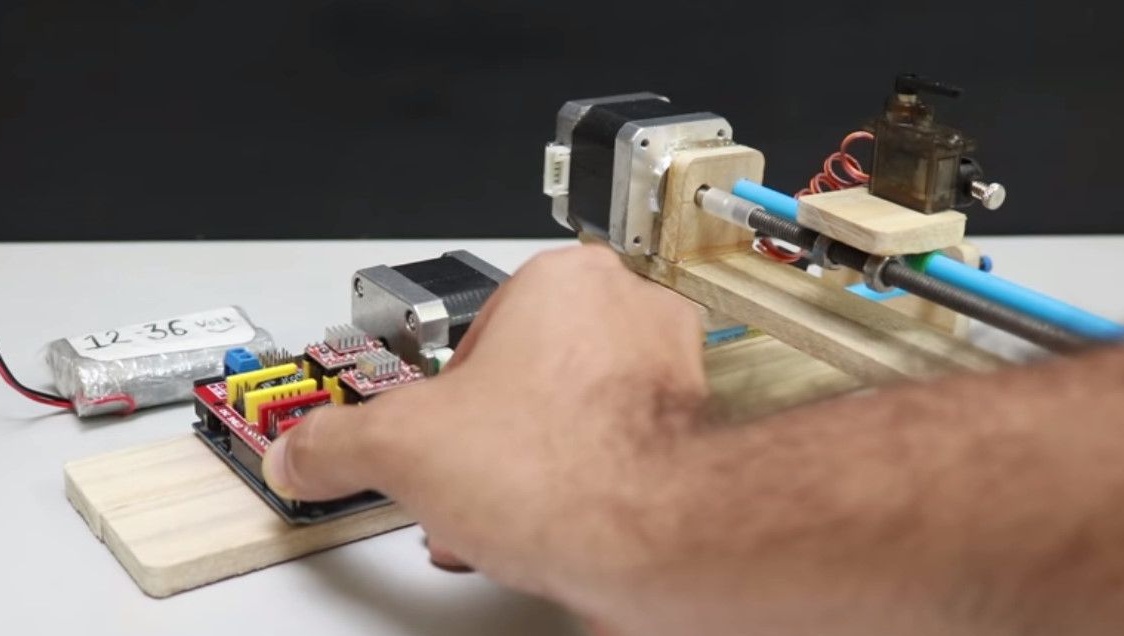
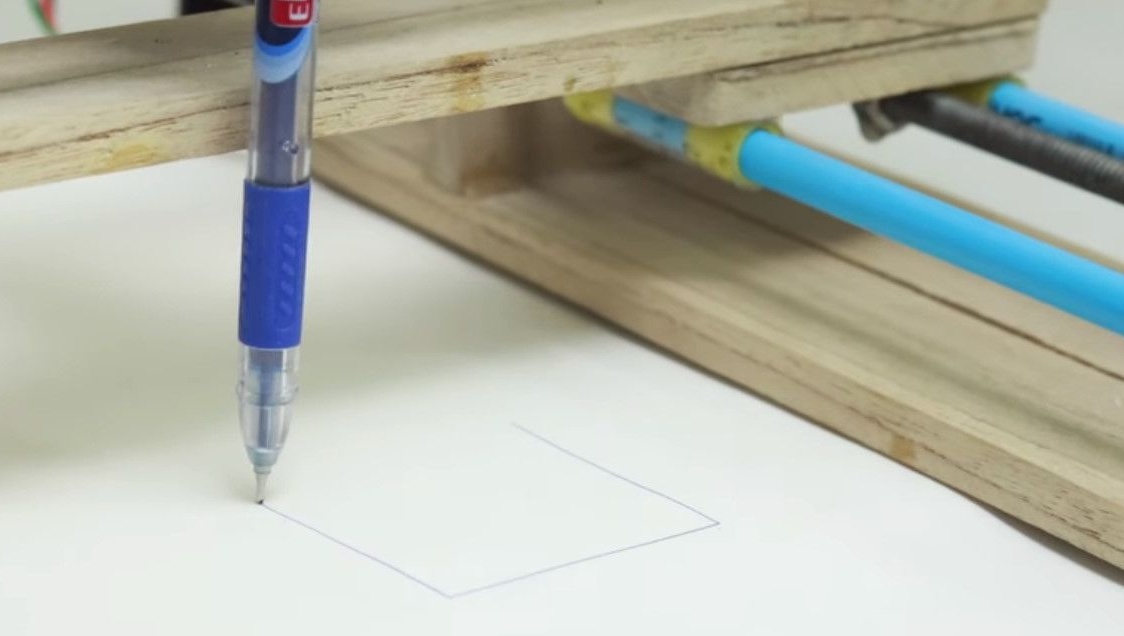
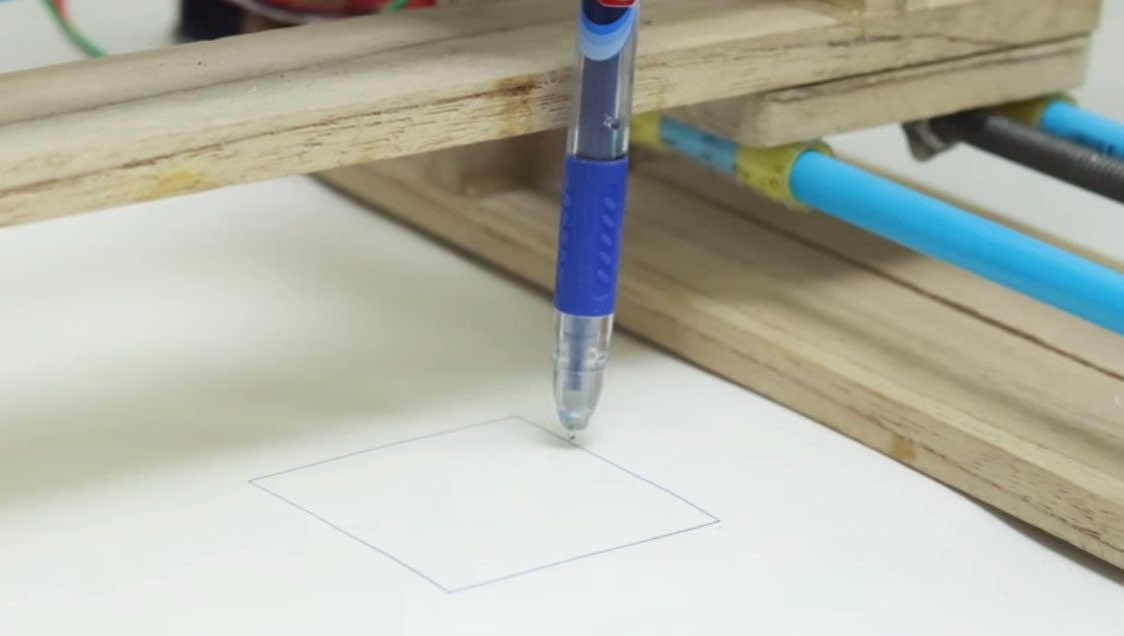
Everything, the device is ready to work, you can connect to a laptop.
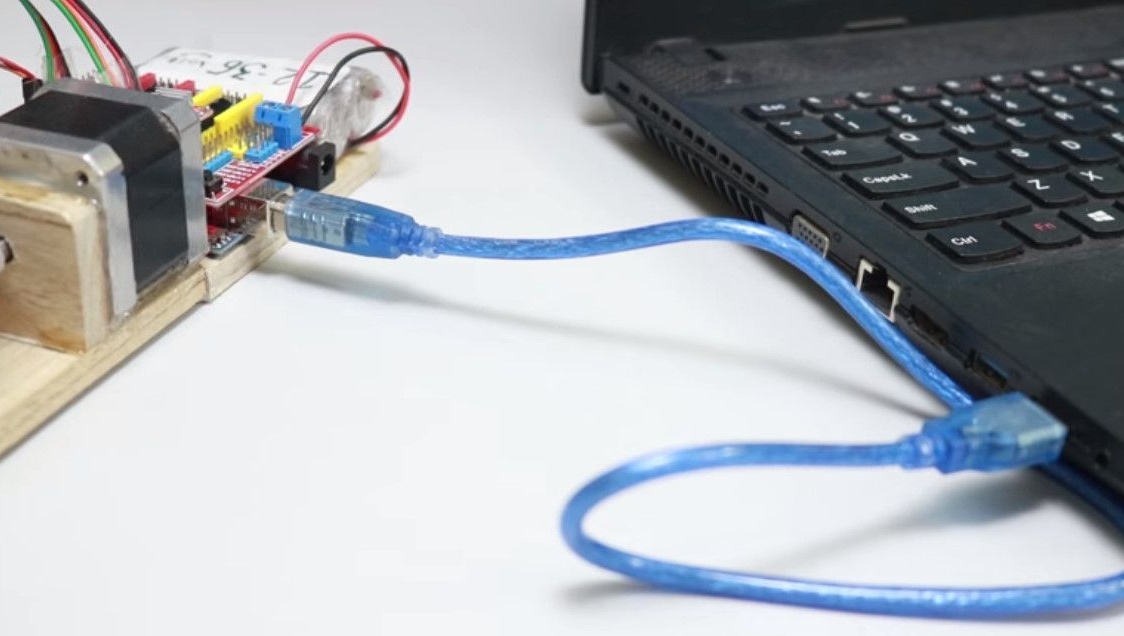
These are the tests.


If you have any questions about programming or writing - you here
Thanks to the author for the simple design and good idea!
All interesting and useful homemade!