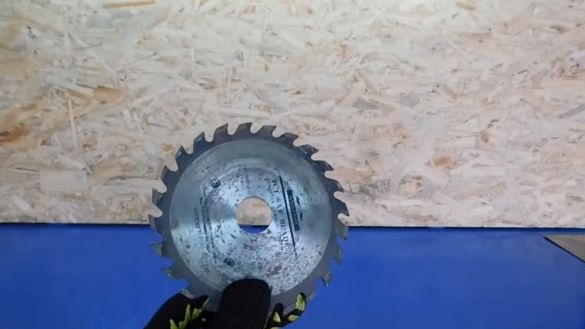
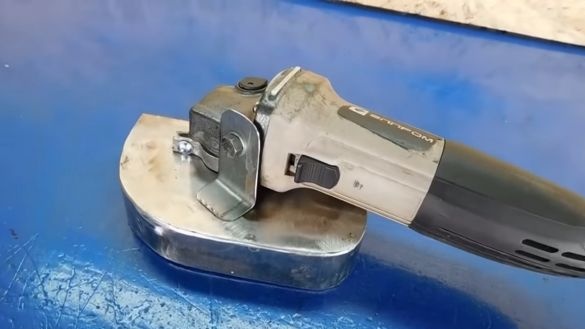
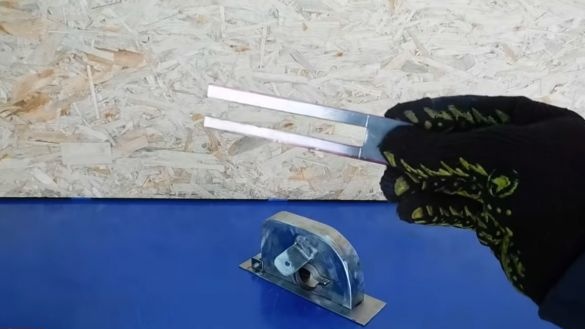
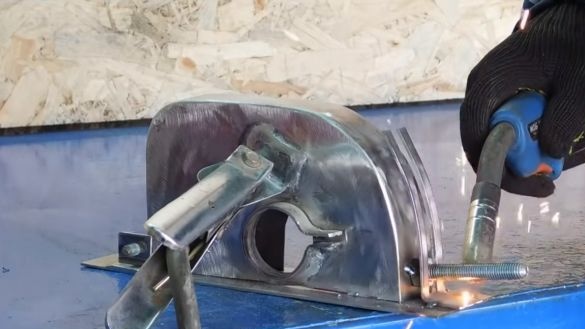
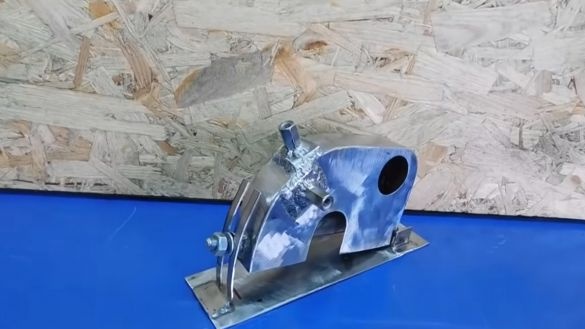
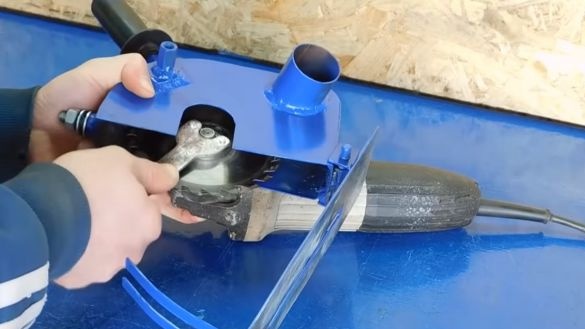
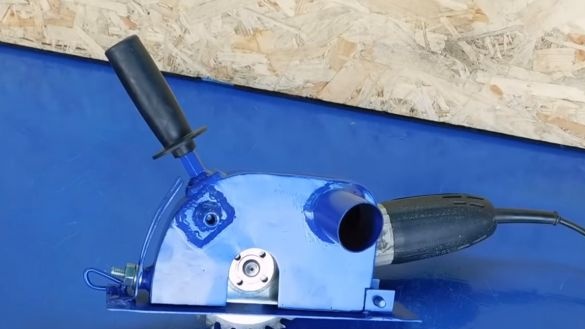
Hello everyone, in this instruction we will discuss how you can make interesting homemade from the grinder. With it, you can quickly cut the material, making a perfectly even cut. In addition, this design makes handling the grinder much safer, because there is a good shield installed, which almost completely covers the upper part of the cutting disc. And even when jamming the grinder you will not inflict injury on yourself. This is especially true for steel discs on wood, since it is with them that the grinder can jam, a conventional cutting disc will simply fly apart.
In addition to conventional cutting, you can also make cuts in a material of a strictly defined depth. This is very useful when you need to make grooves in the manufacture. of furniture etc. Everything is going to be quite simple, but how exactly, we will consider in more detail!
Materials and tools used by the author:
Material List:
- Sheet steel;
- a disk on a tree for a grinder;
- bolts and nuts;
- a piece of pipe;
- paint.
Tool List:
- grinder;
- drill;
- welding machine;
- spanners;
- paper, marker, drawing accessories.
Homemade manufacturing process:
Step one. Collect the shield
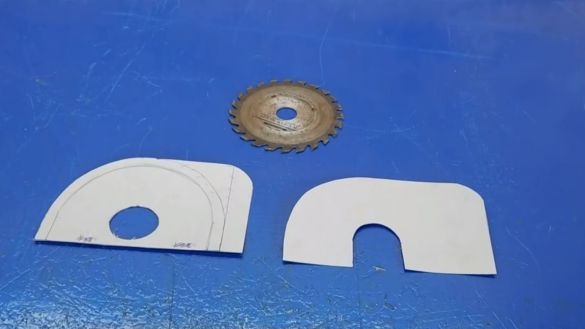
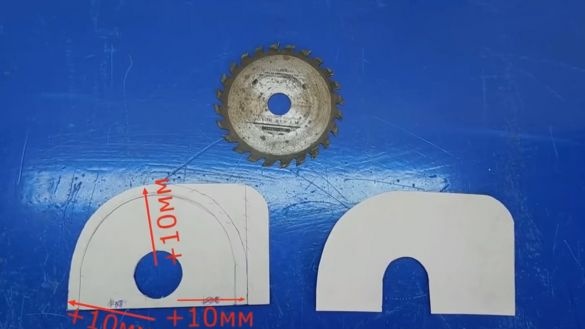
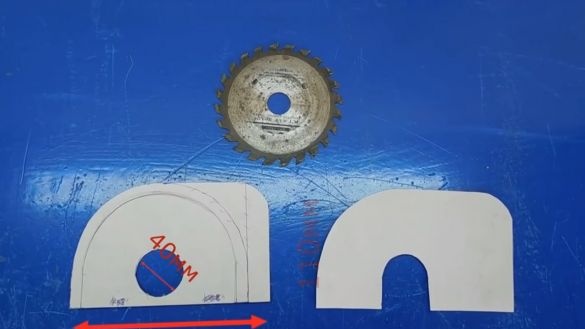
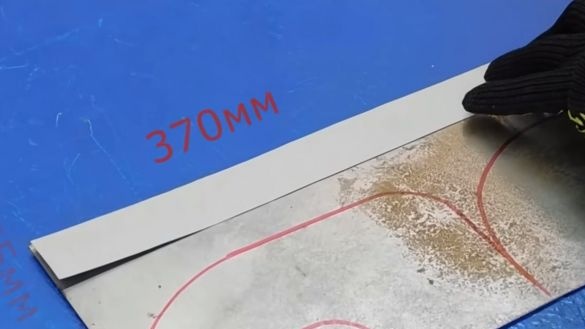
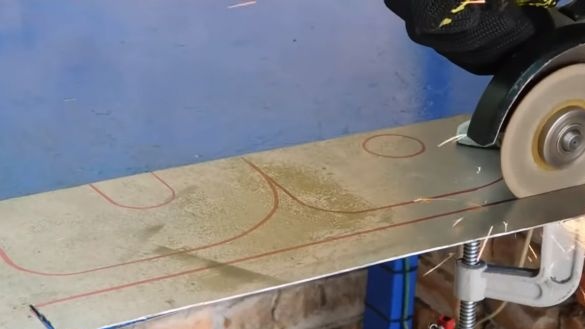
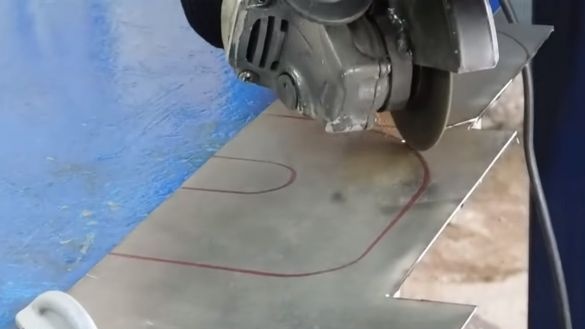
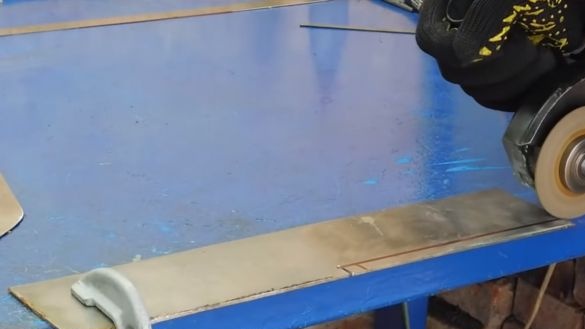
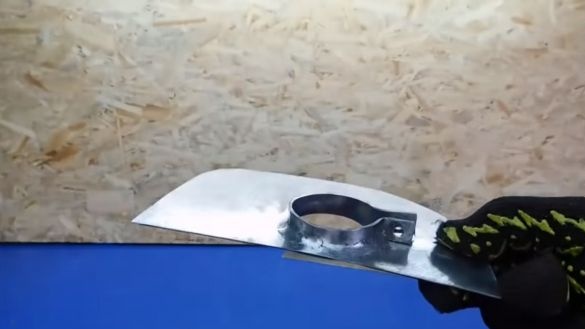
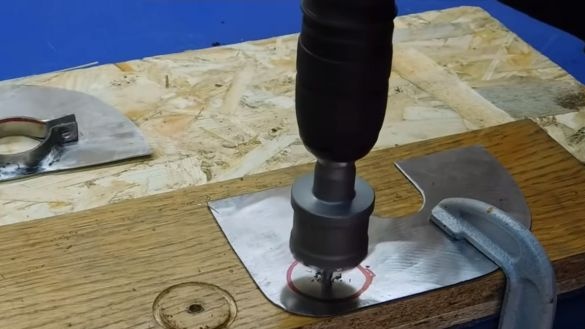
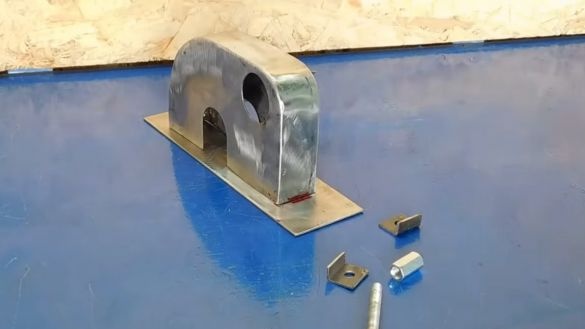
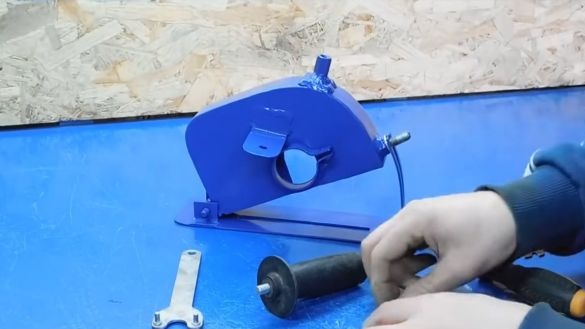
First of all, we will collect the shield, this is the hardest part of homemade work. A grinder will be installed on it. To make the shield, you need sheet steel. First, draw patterns on paper and cut out. Next, similarly, the details are cut out of steel.
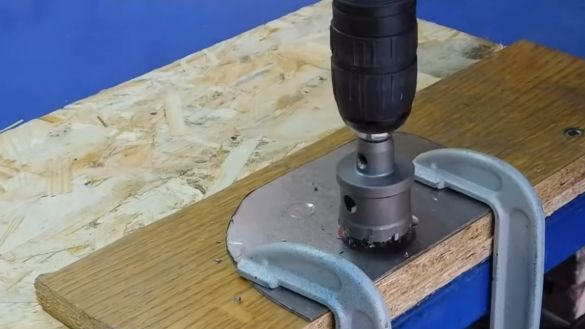
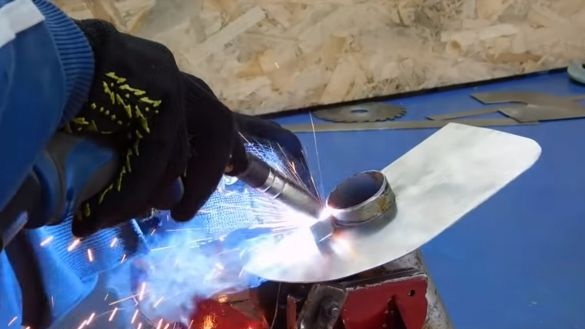
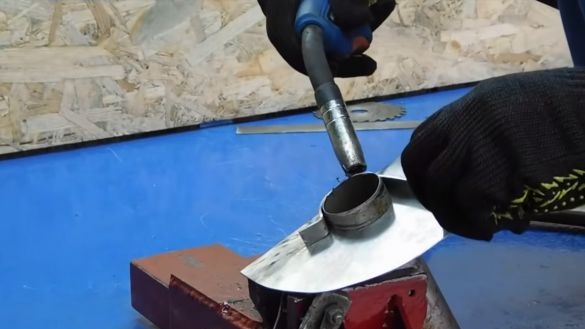
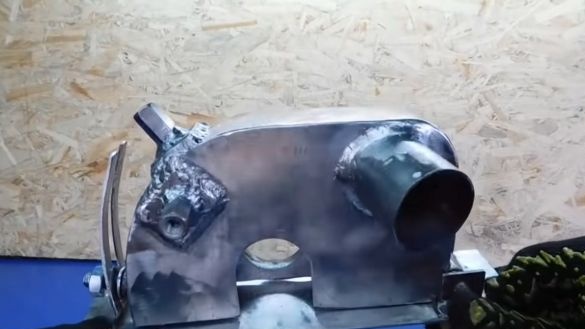
Next, we need a crown for drilling holes. Holes need to be drilled on both sides. What is in the center of the shield will be needed to install the grinder. And the second hole is needed so that sawdust comes out of the machine. A piece of pipe is subsequently welded here.
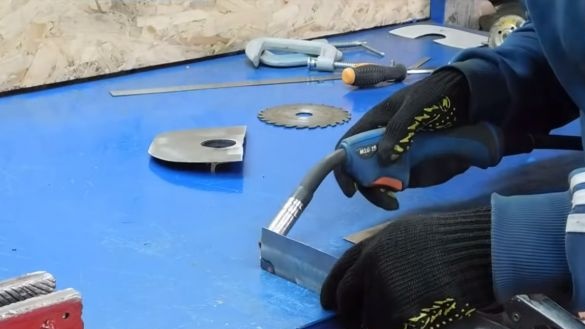
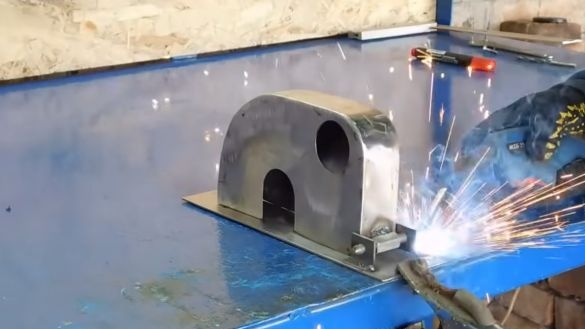
That's all, now you can weld the shield.
Step Two Clamp for grinder
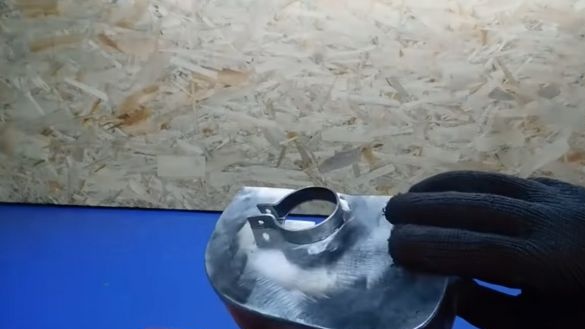
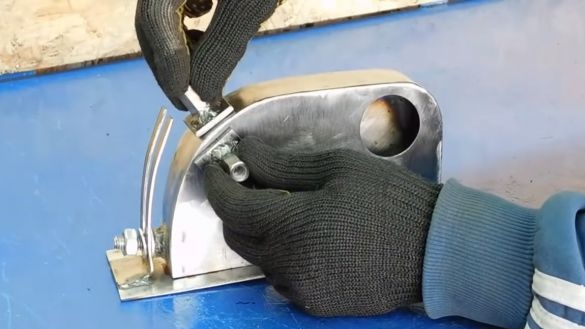
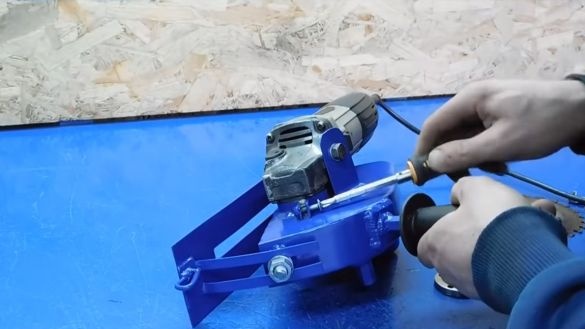
We will fix the grinder for the part where its shield is attached. We make a clamp from sheet steel by bending it on a pipe. We partially weld this part so that it bends, and it can be pulled together with a screw and nut like a clamp.
Be sure the grinder is fixed with an additional bolt so that it does not crank under load. This bolt is wrapped where the handle of the grinder is attached. We weld the corresponding ear under this bolt to the shield.
Step Three Set the shield on the base
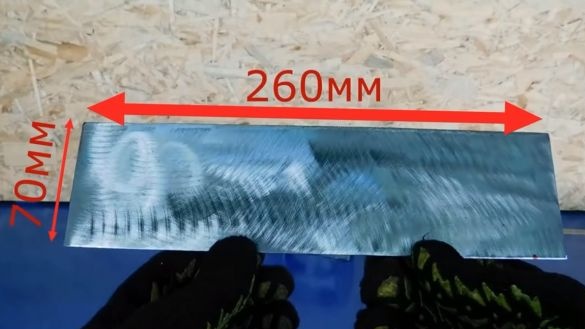
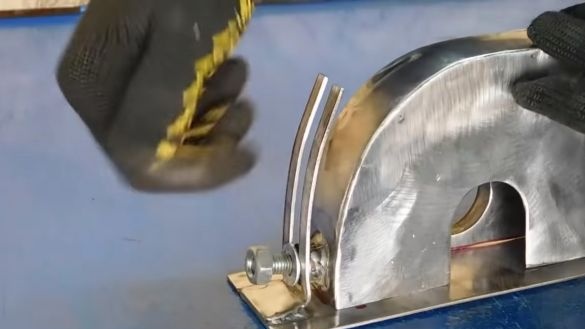
As a basis, we need a piece of sheet steel. The shield must be pivotally mounted so that it can be raised and lowered, thereby adjusting the penetration depth of the cutting disc. The hinge can be made of a nut, a rod and two corners. We weld the whole thing and look at what happened.
Step Four Clamp
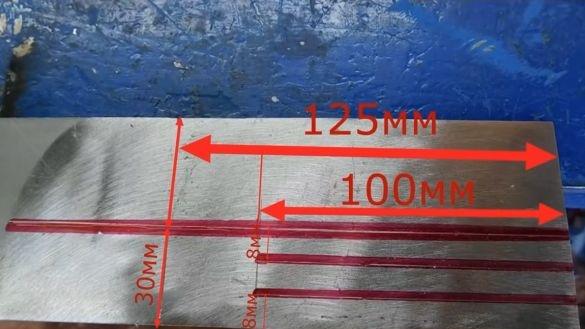
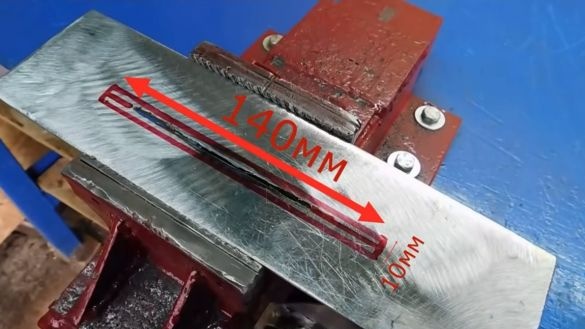
To fix the grinder at the right angle, we need a latch. The author makes it of a steel plate, making a slot under it for a bolt. The bolt itself is welded to the shield, and the plate to the base. As a result, you can now tighten the nut and fix the machine in the desired position.
Step Five A pen
To make the machine convenient and safe to use, we weld one or two nuts to the machine. They will allow you to fix the handle from the grinder on the shield.
Step Six Finishing touches
At the base, cut a slit hole under the cutting disc. It is better to make it wider so that the disc does not cling to the plate. Well, then we just have to paint everything and assemble home-made.
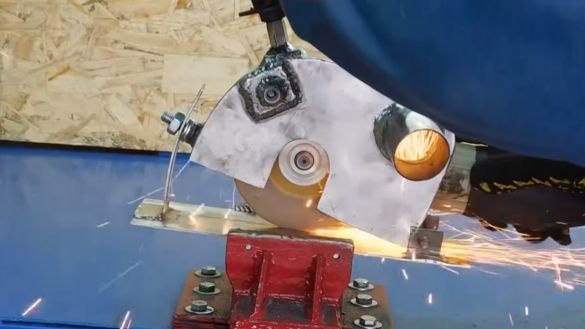
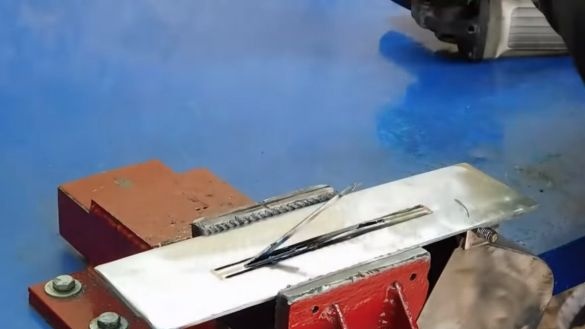
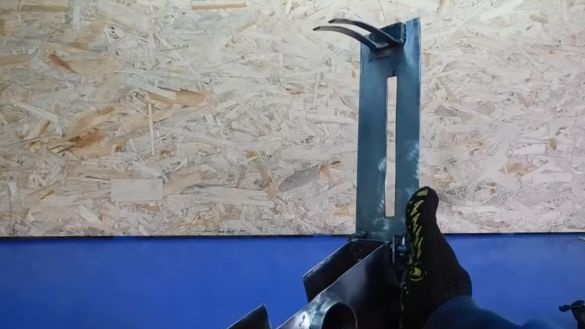
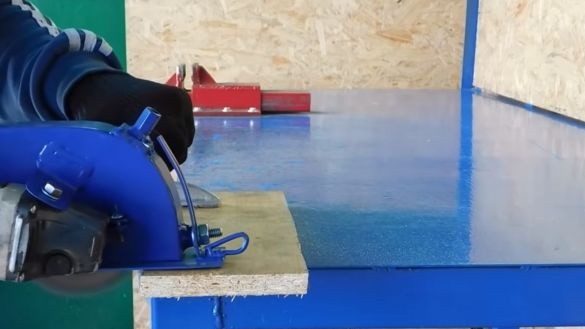
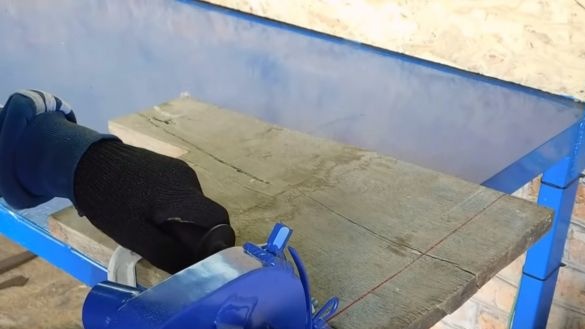
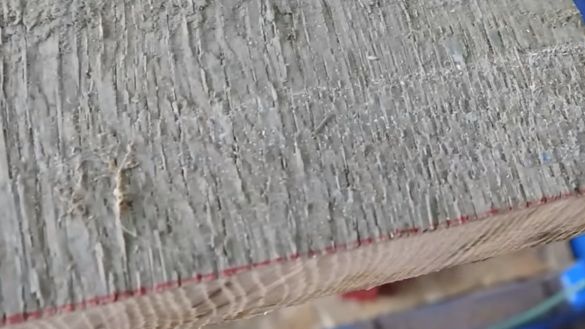
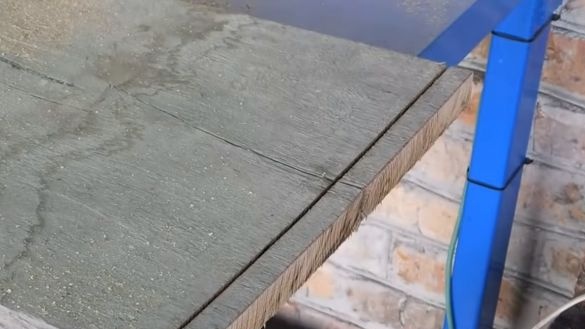
So the time has come for testing. The author demonstrated the operation of the machine in the photo. It cuts the tool perfectly, clearly in line. Now it is done quickly, efficiently and safely. If you want, you can even cut under the construction line. In addition to wood, it is quite possible to cut sheet metal.
That's all, the project is over, I hope you liked the home-made. Good luck and creative inspiration, if you want to repeat it. Do not forget to share your homemade products with us.


