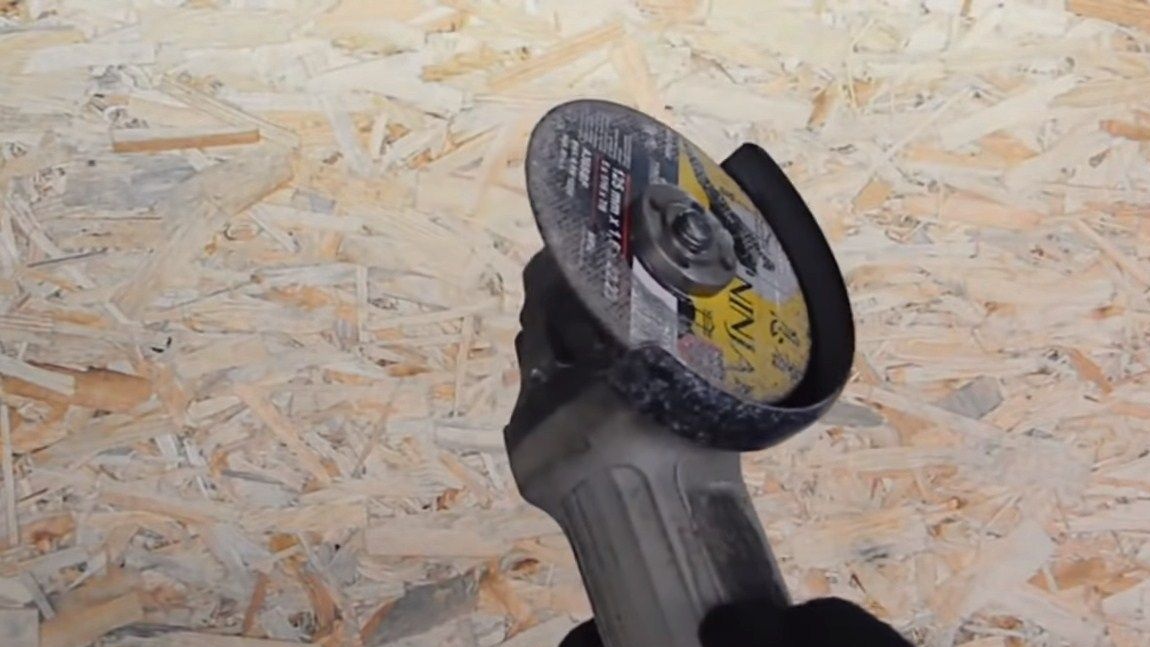
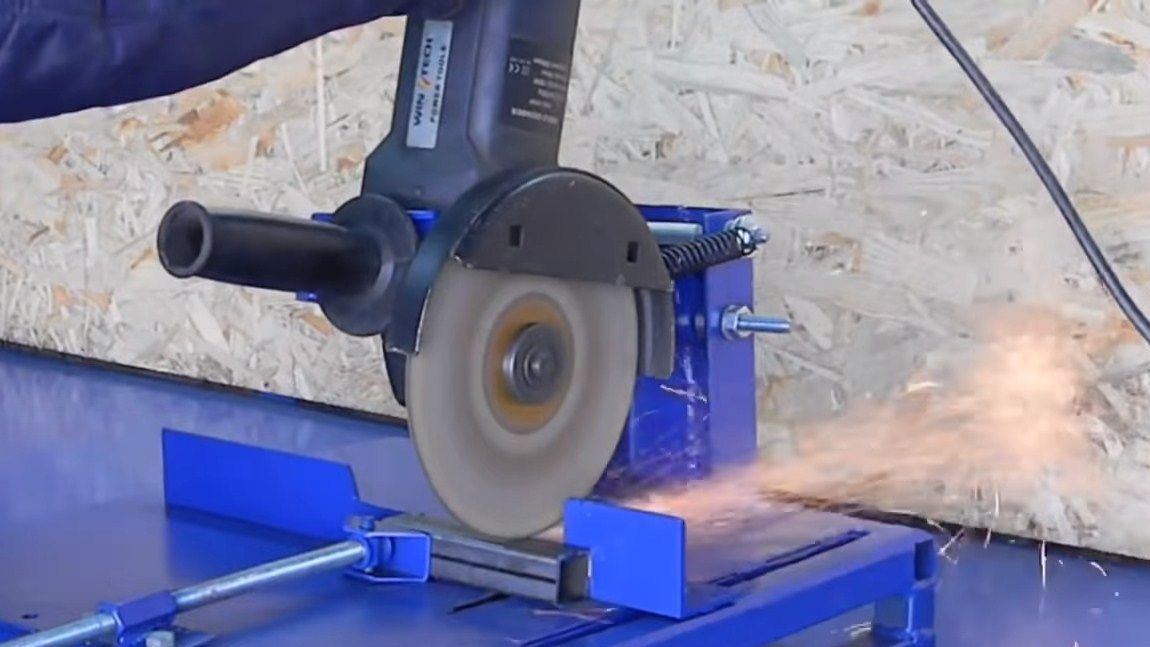
Hello everyone, if you need a router, but don’t want to spend money on its purchase, this is not a problem, because you can do it do it yourself! Materials for this will need very little, as well as cash costs. Everything is assembled on the basis of a small grinder and its design does not change. That is, made homemade is just a nozzle for the grinder, and you can put it when you need. In general, using a grinder as a power unit for a milling cutter is a rather interesting solution, because a grinder has considerable torque and high revs.
The whole structure is assembled from available materials, such as sheet metal, square steel pipes, bolts with nuts and so on. The only thing you may need to buy is a drill chuck, but it is inexpensive and is sold in almost all stores selling tool accessories. A thread is cut in the cartridge, and it is screwed directly to the shaft of the grinder, it is very convenient. So, we will consider in more detail how to assemble such a milling cutter!
Materials and tools used by the author:
Material List:
- steel pipes of square section;
- Sheet steel;
- bolts and nuts;
- grinder;
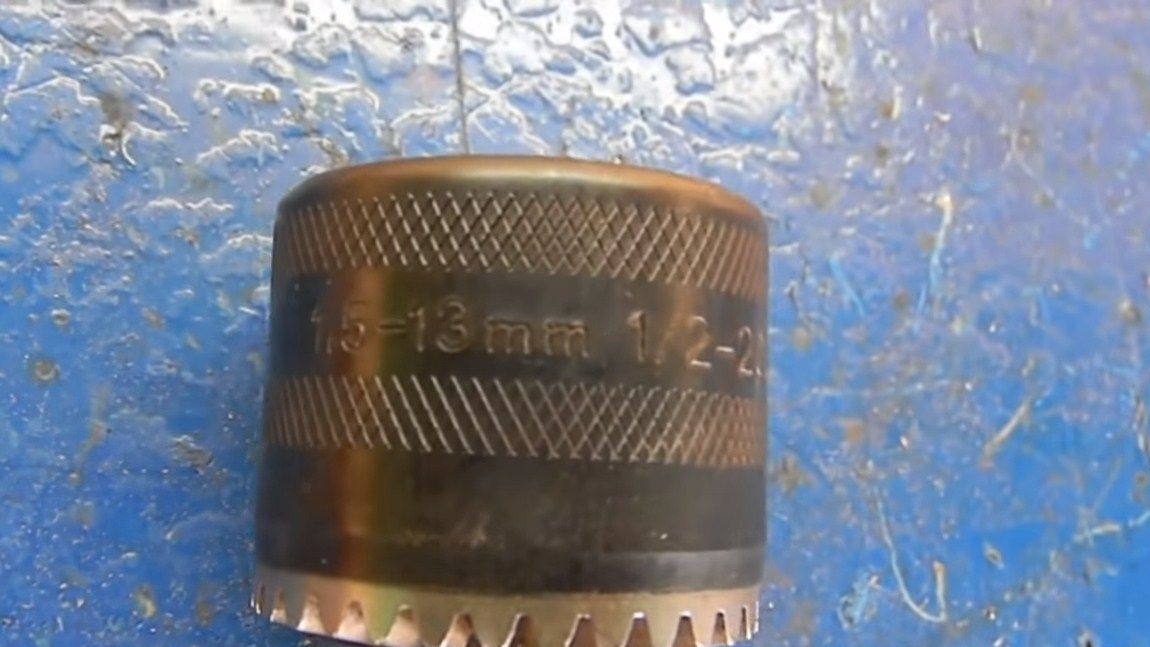
- a cartridge for a drill;
- paint.
Tool List:
- welding machine;
- drill;
- grinder;
- drawing instruments;
- marker or piece of chalk.
The manufacturing process of the router:
Step one. Base manufacture
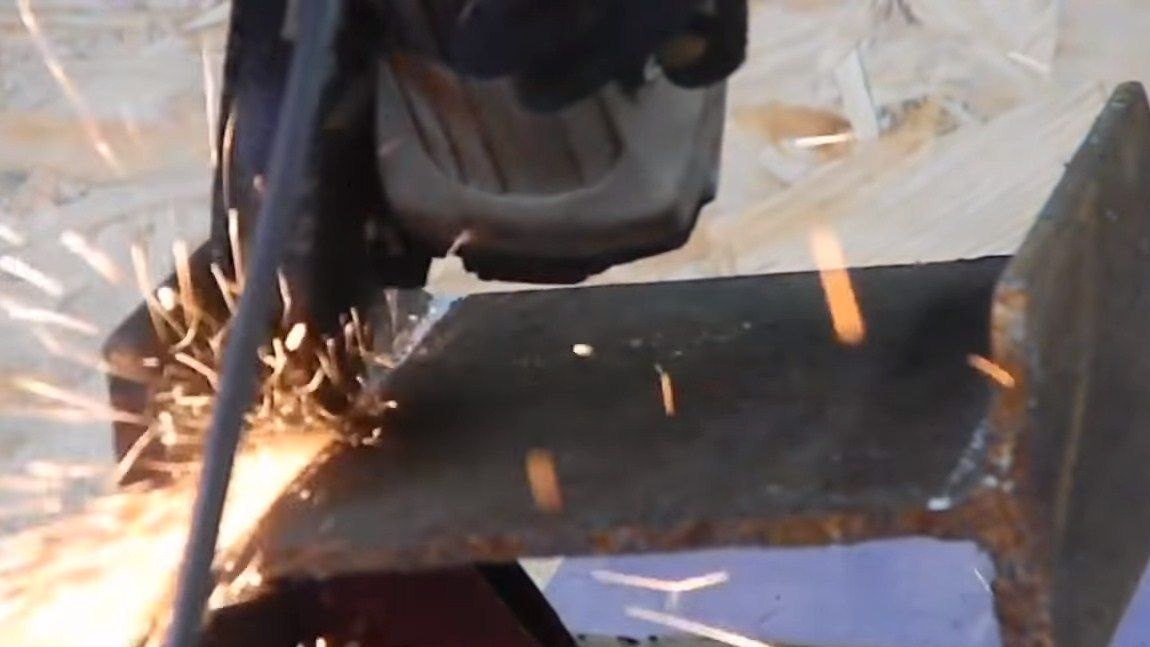
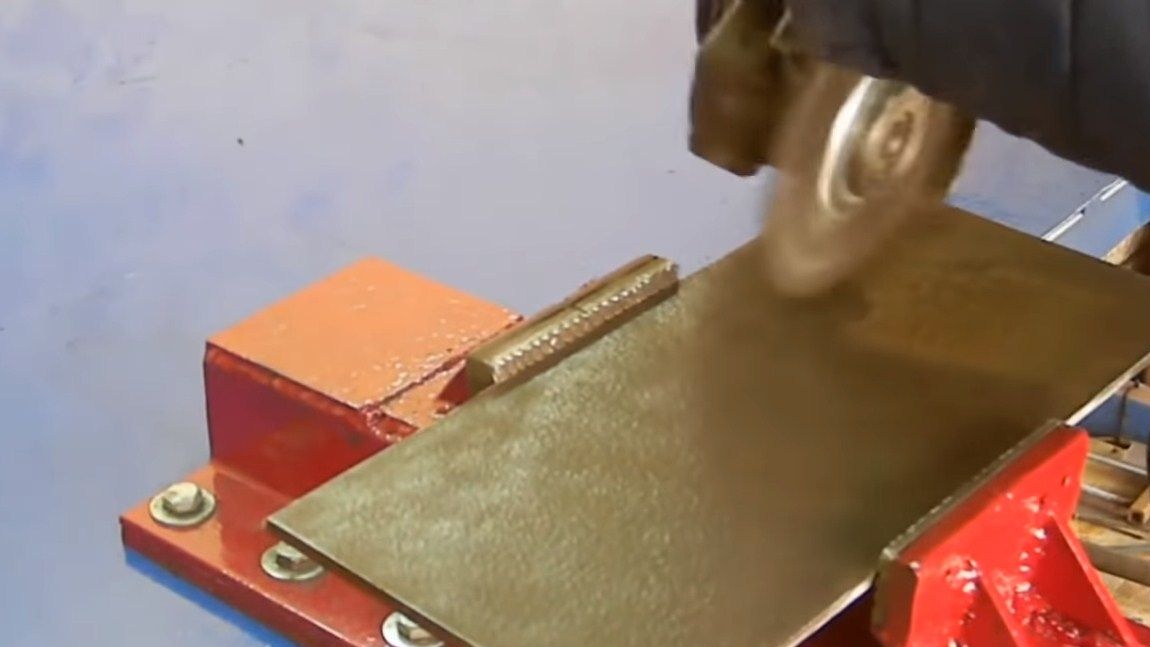
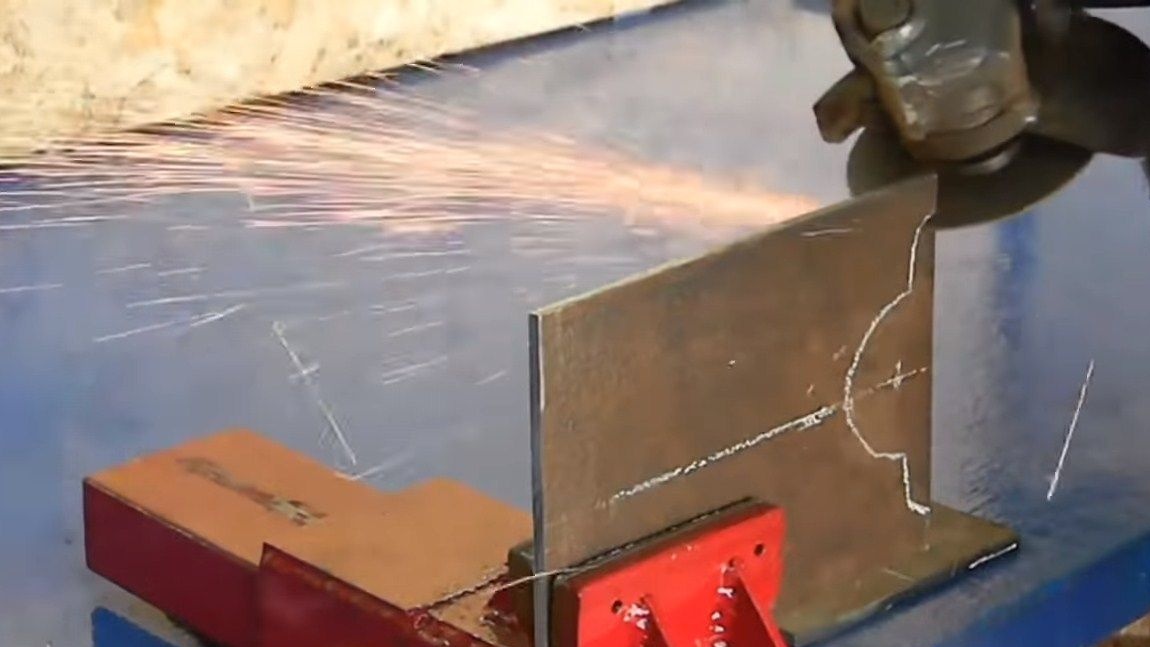
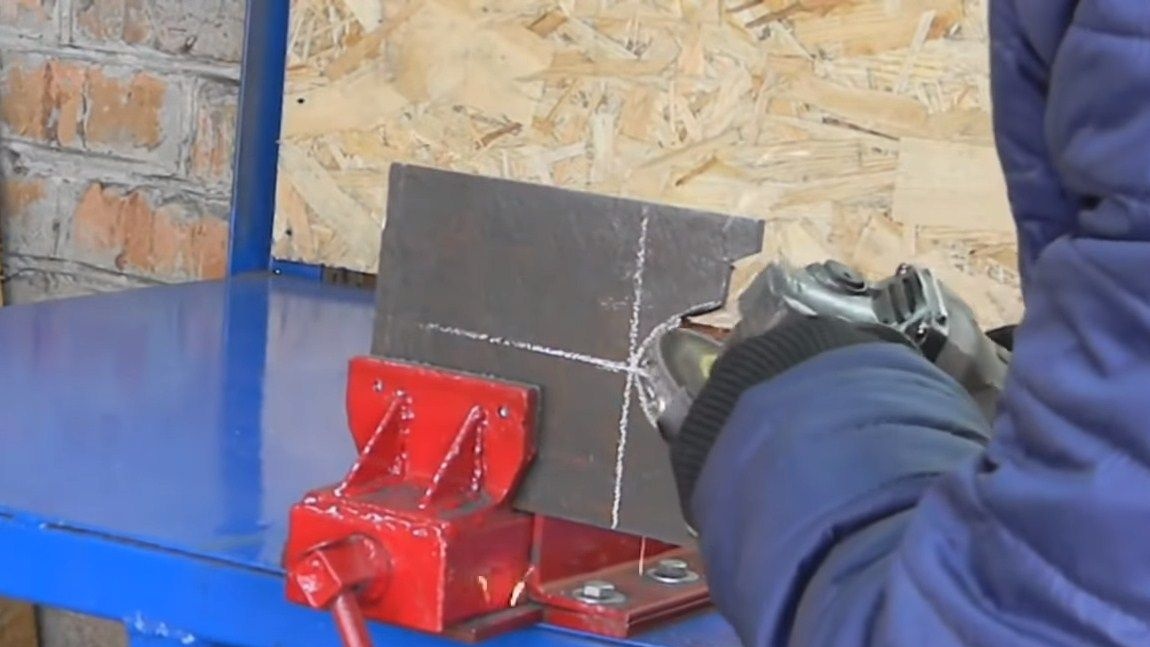
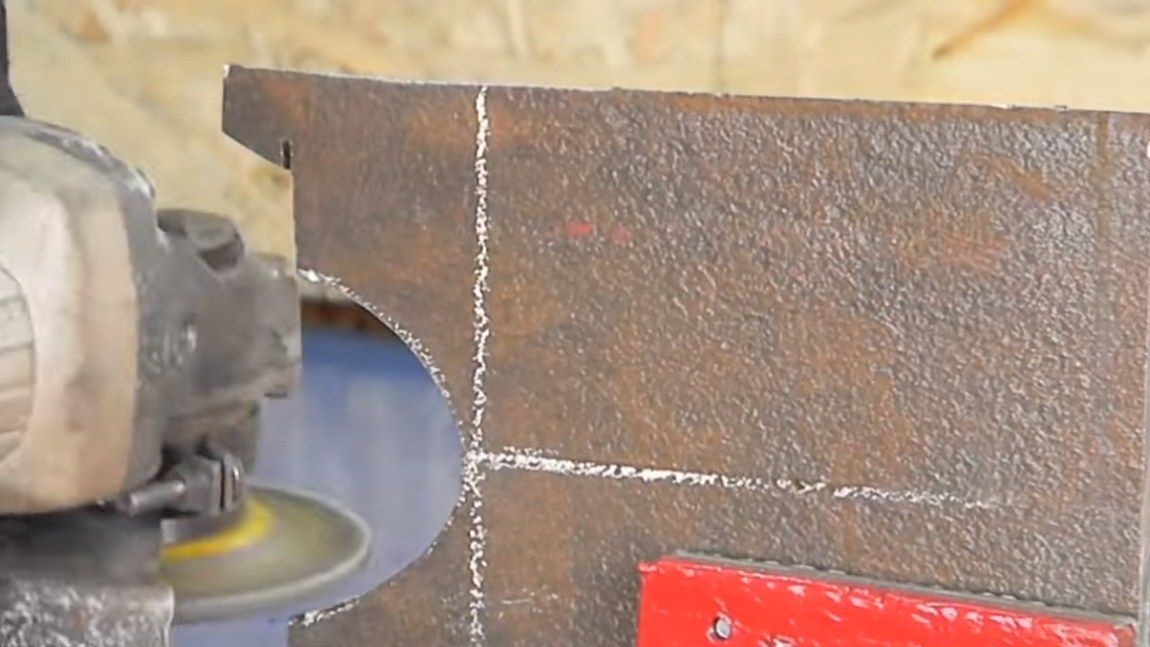
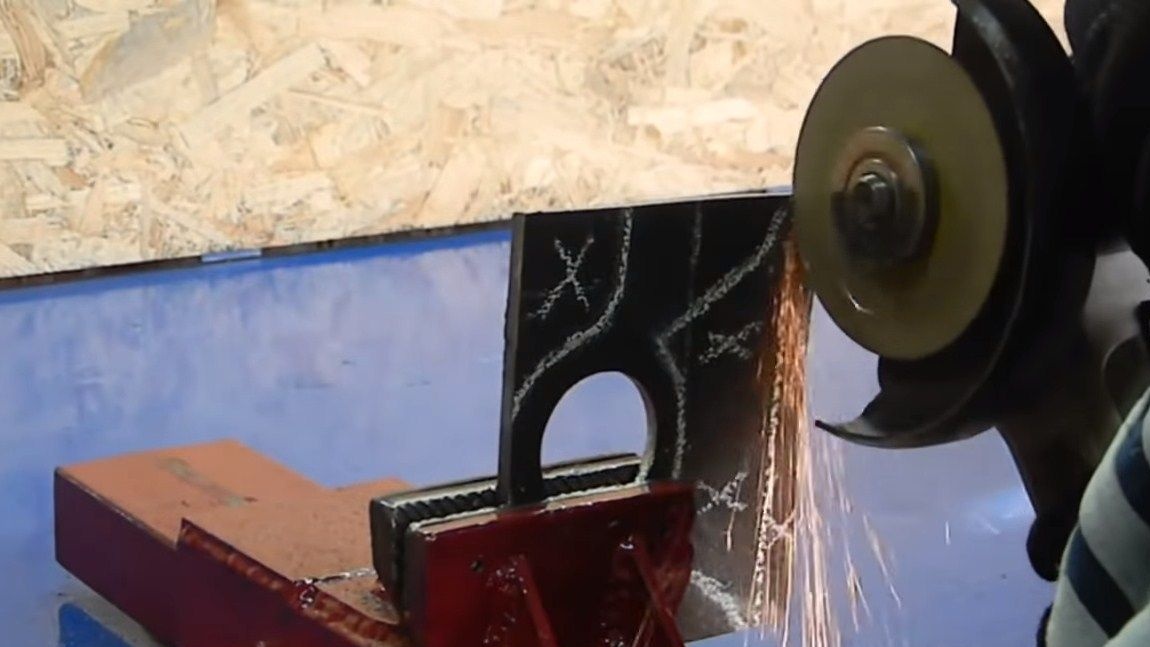
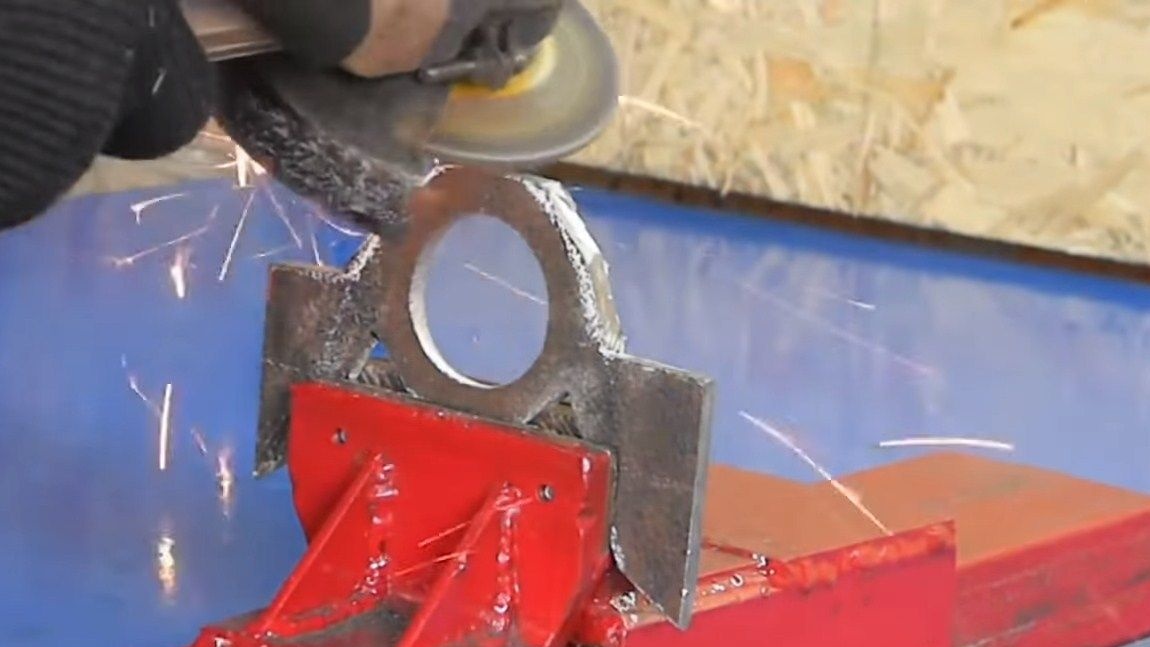
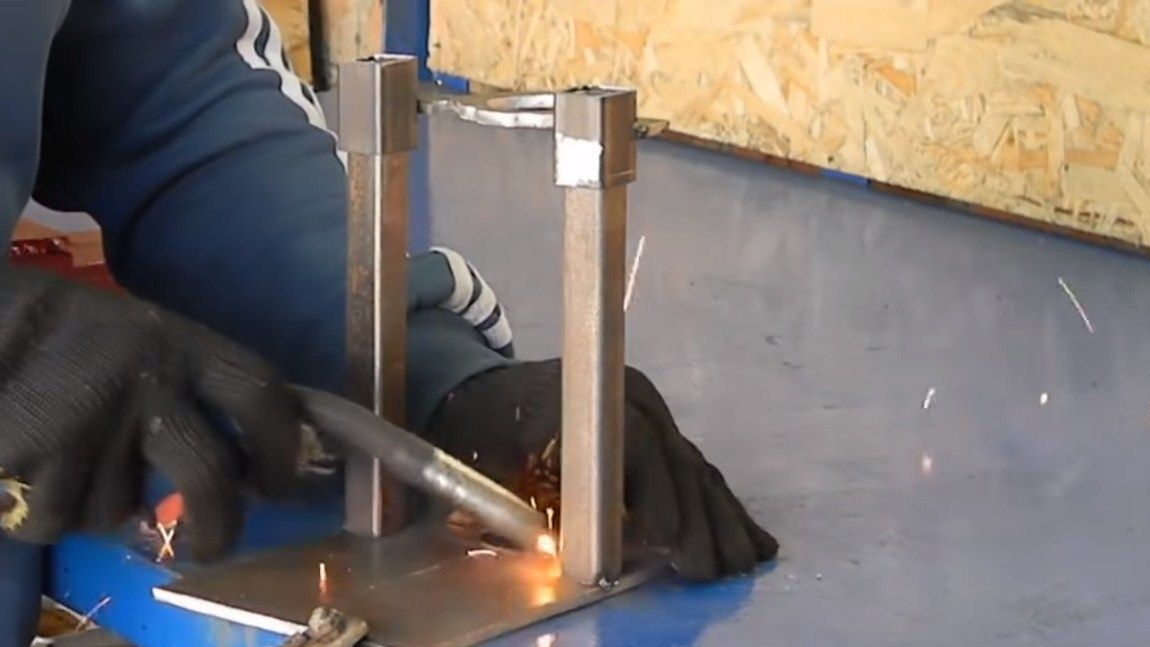
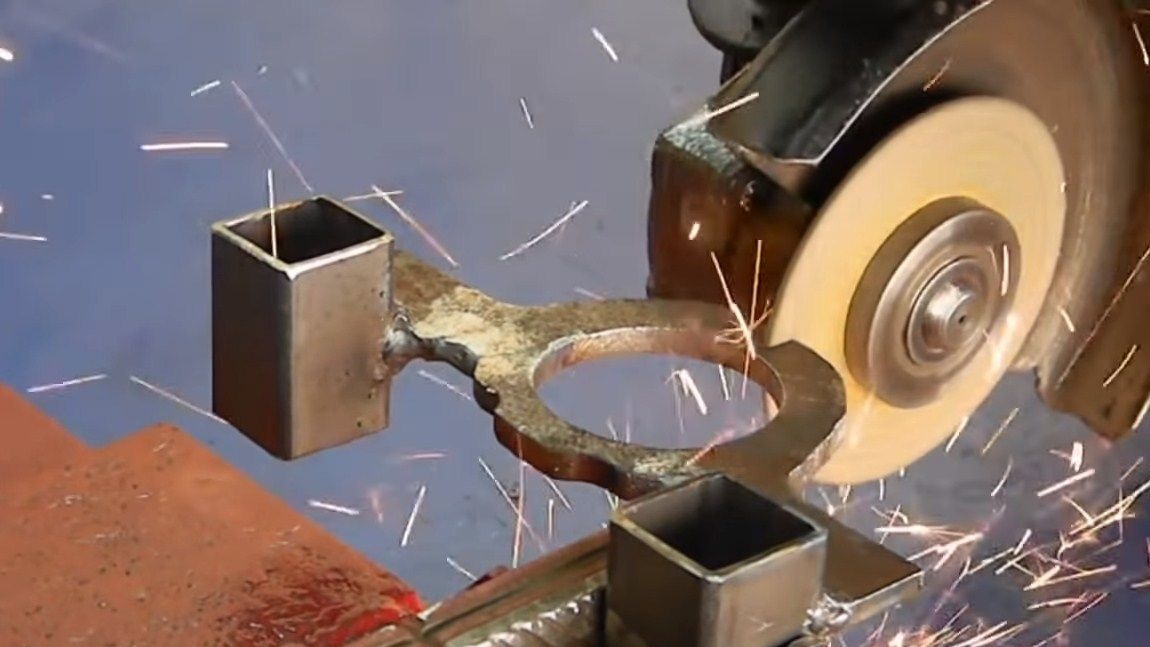
First of all, we will make the base, that is, the lower part of the device. For this we will need sheet steel. It is better to choose metal thicker so that we have a good weight below, this will allow the machine to stand steadily. We take the necessary measurements and proceed to cutting. The author cuts everything out with a grinder, and then cuts off the excess with a grinding disc.
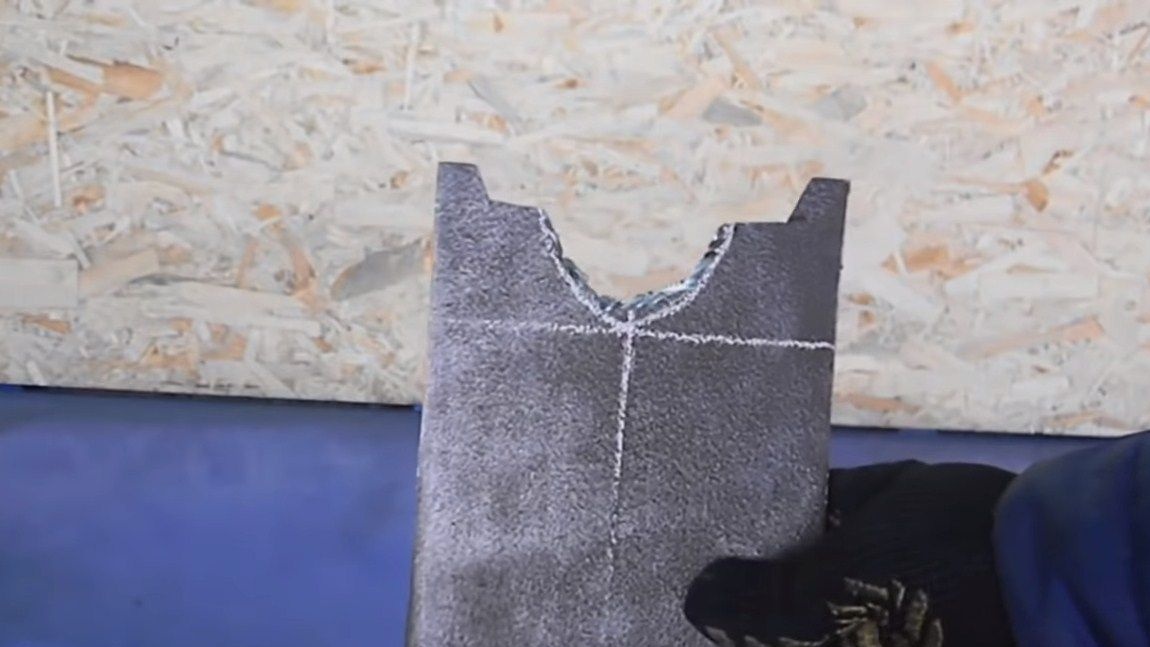
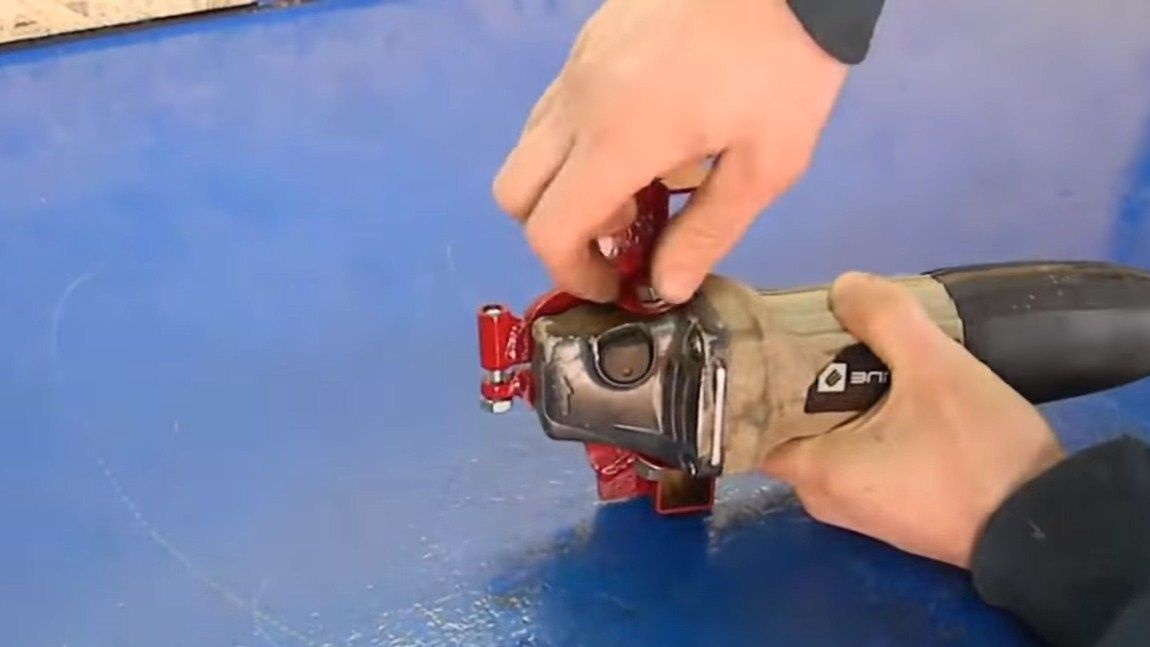
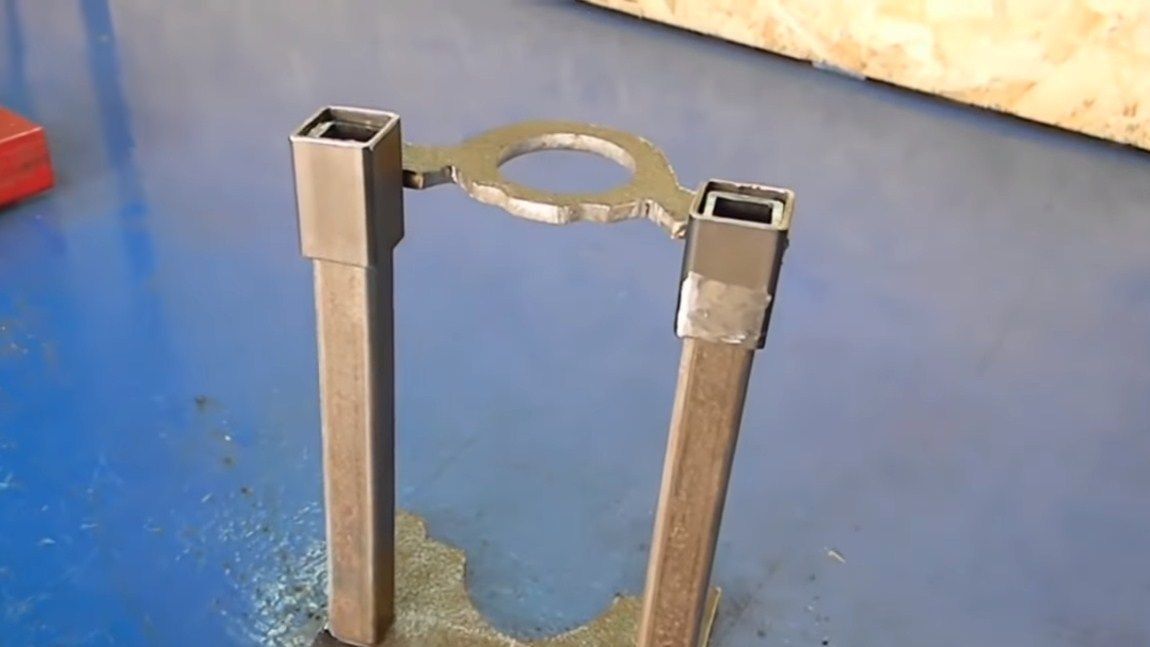
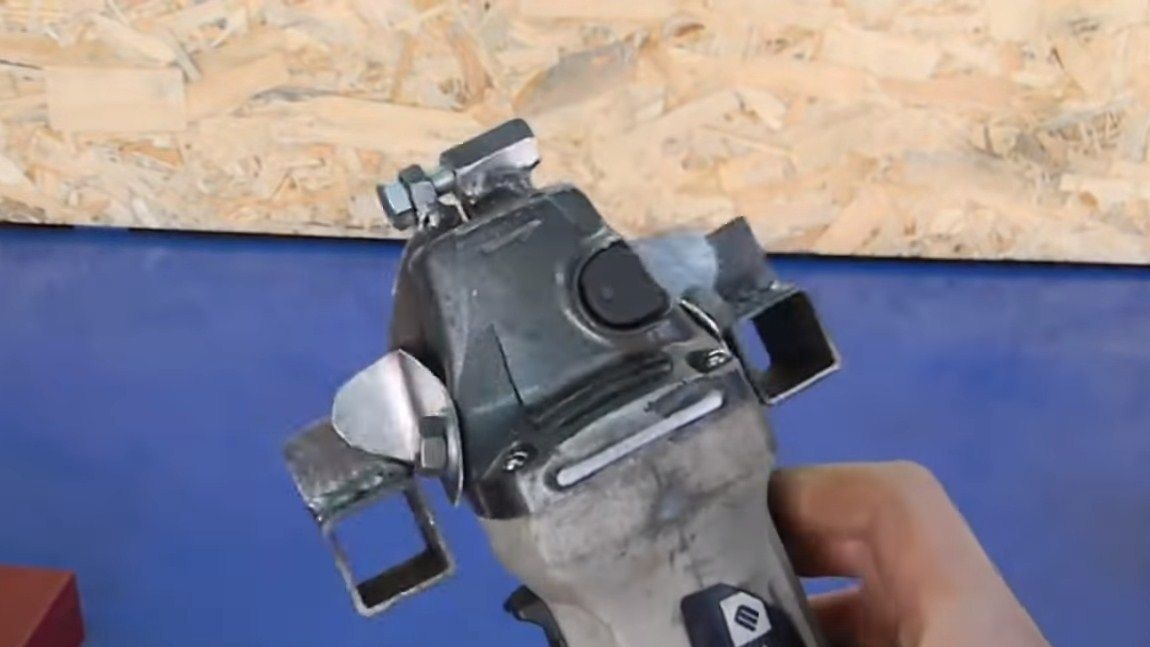
Step Two Making a bracket for a grinder
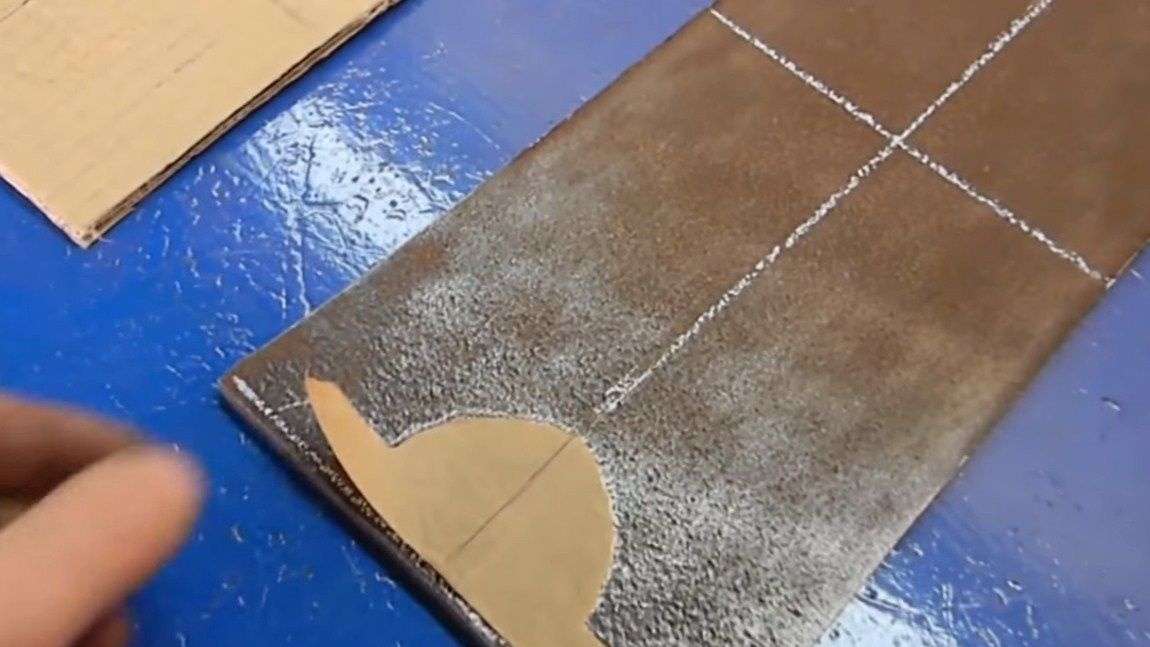
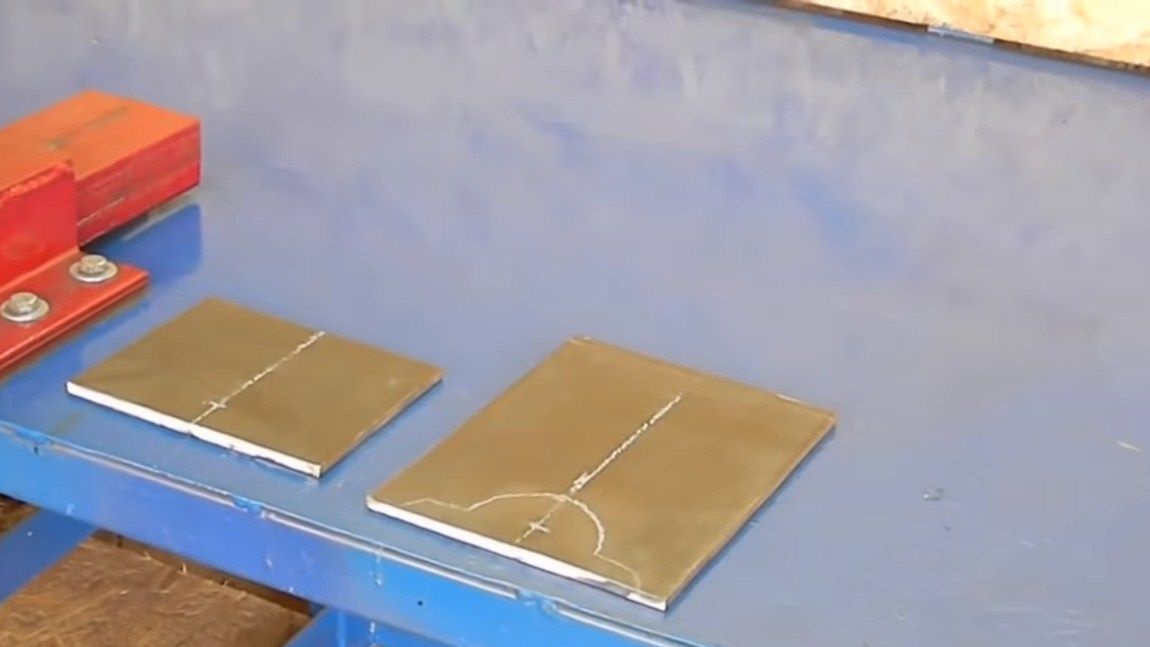
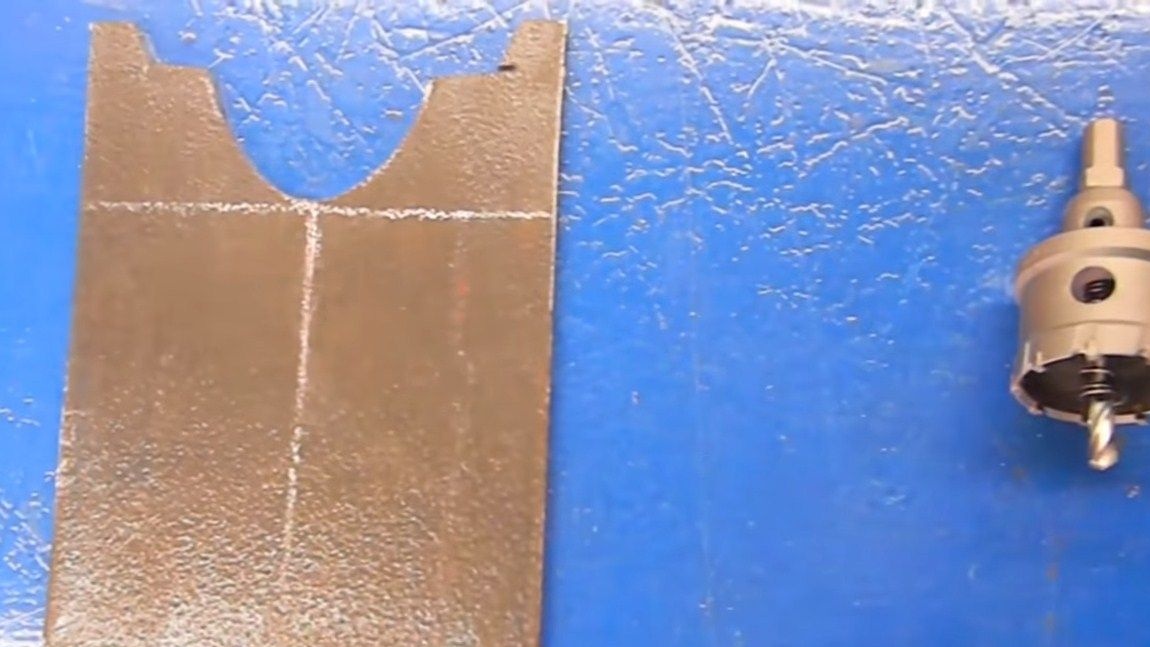
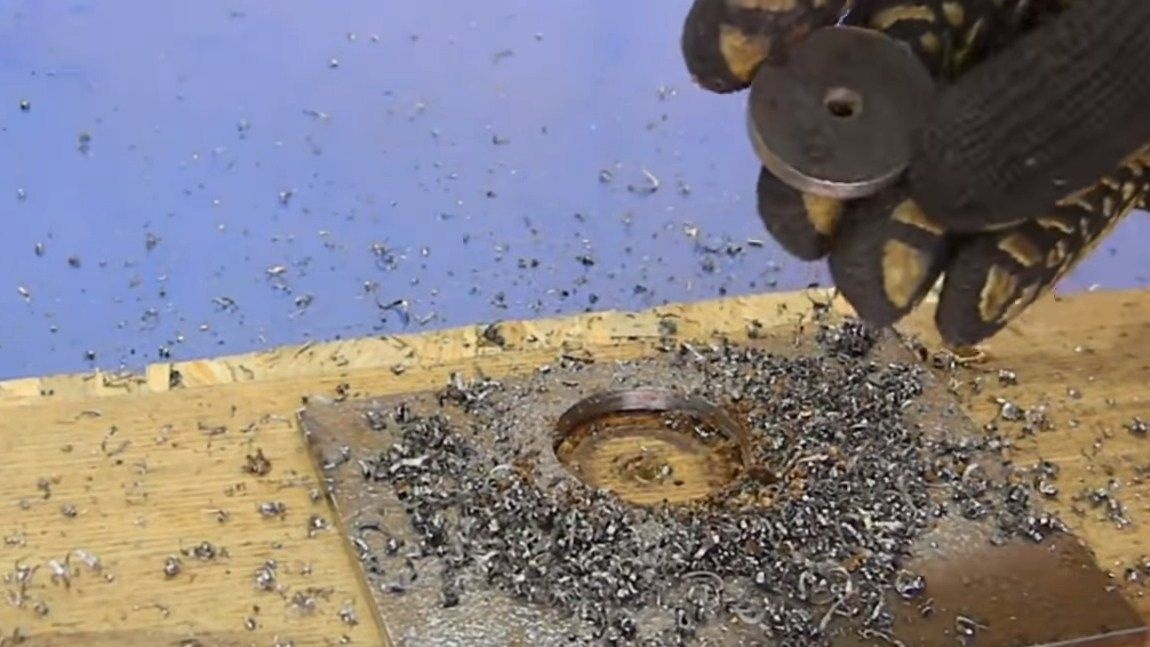
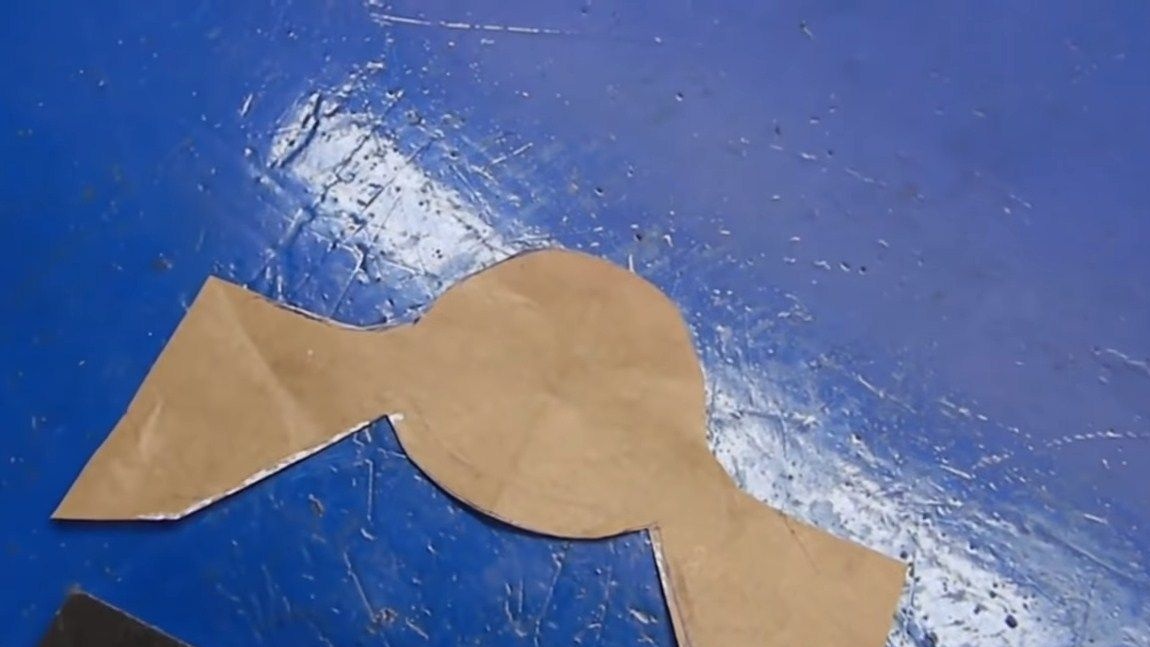
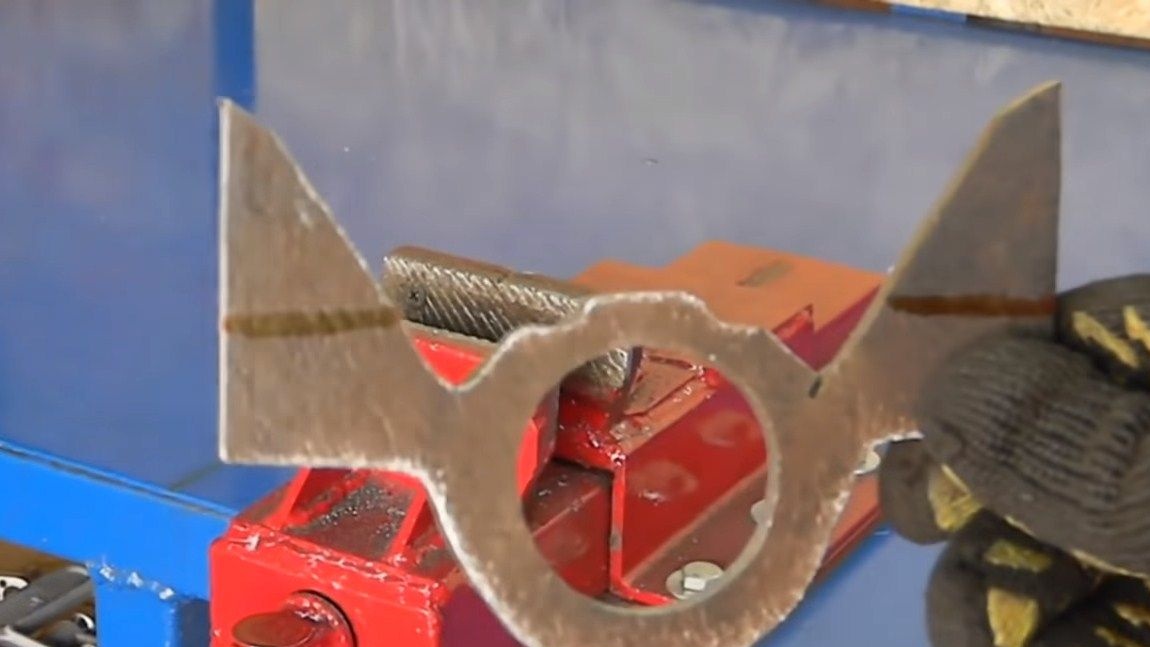
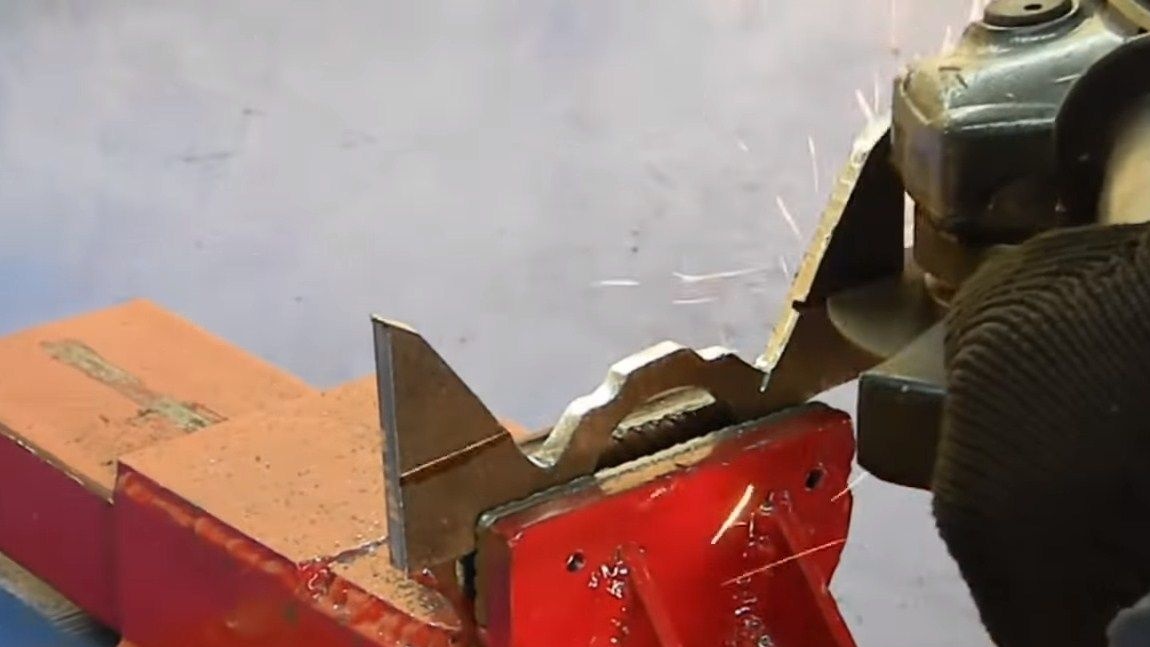
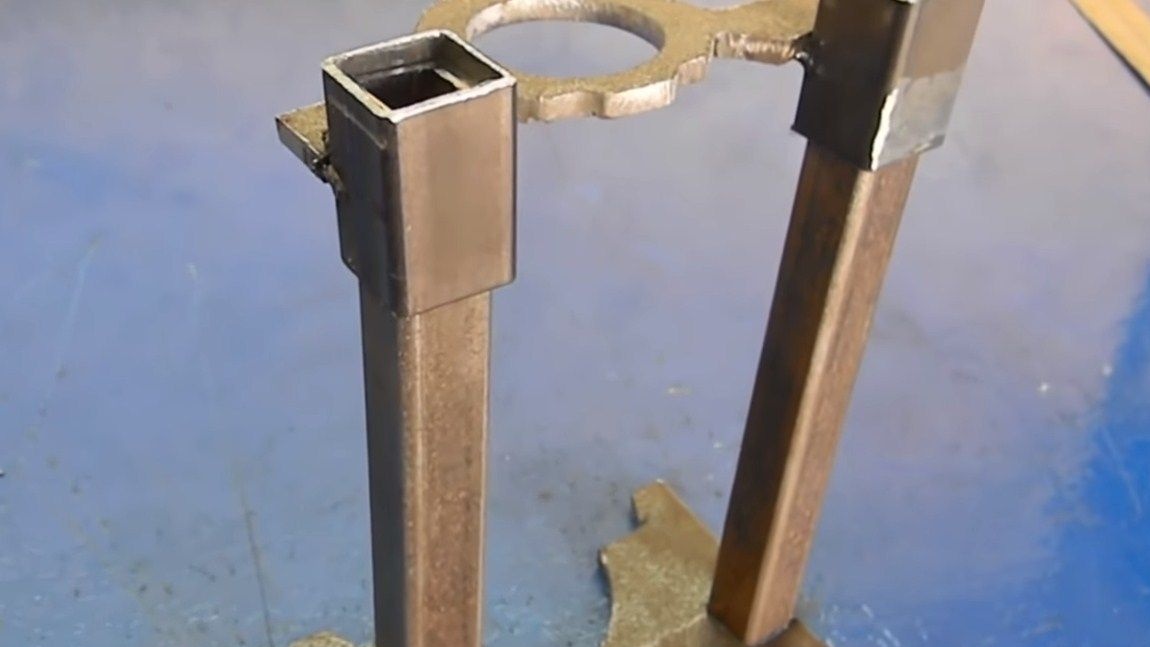
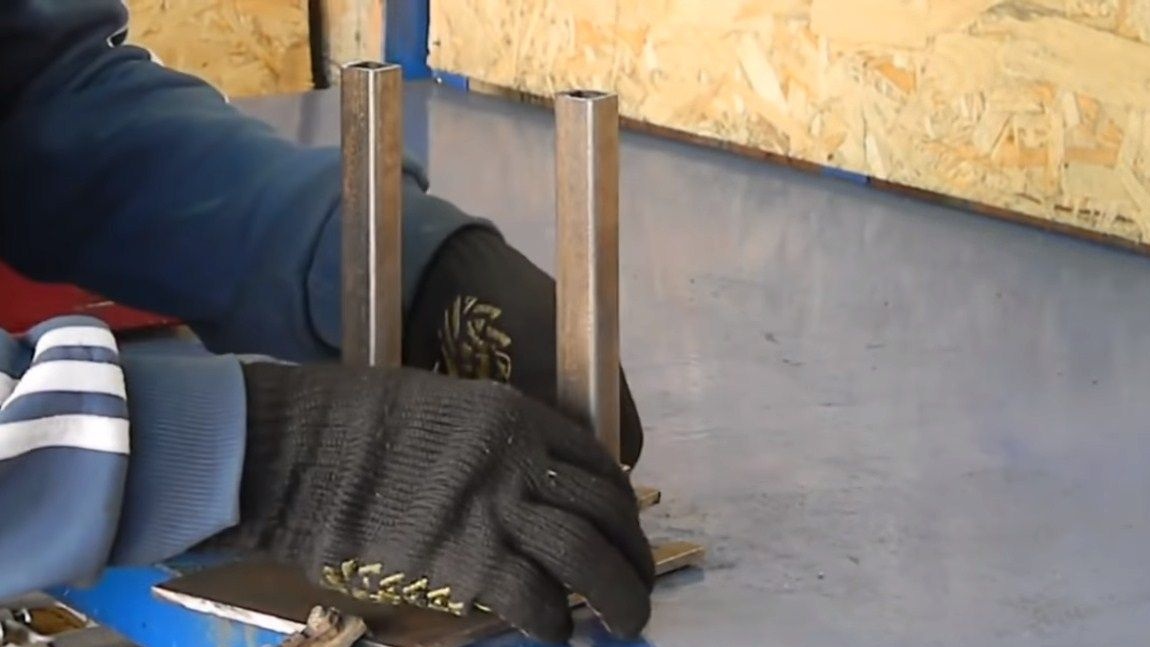
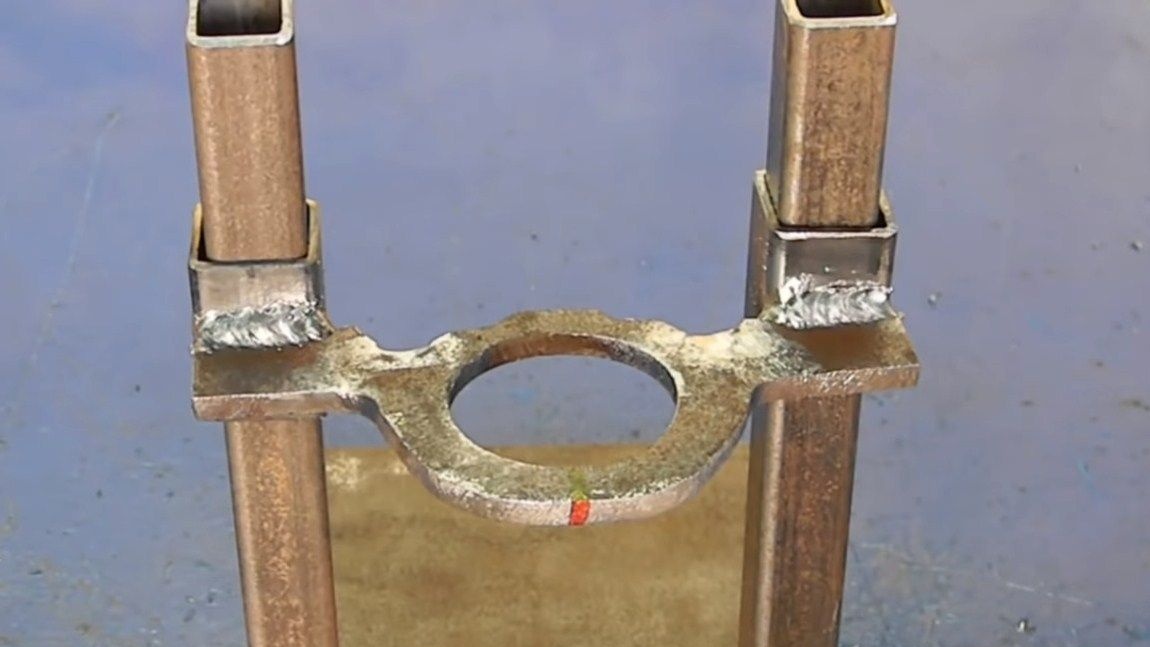
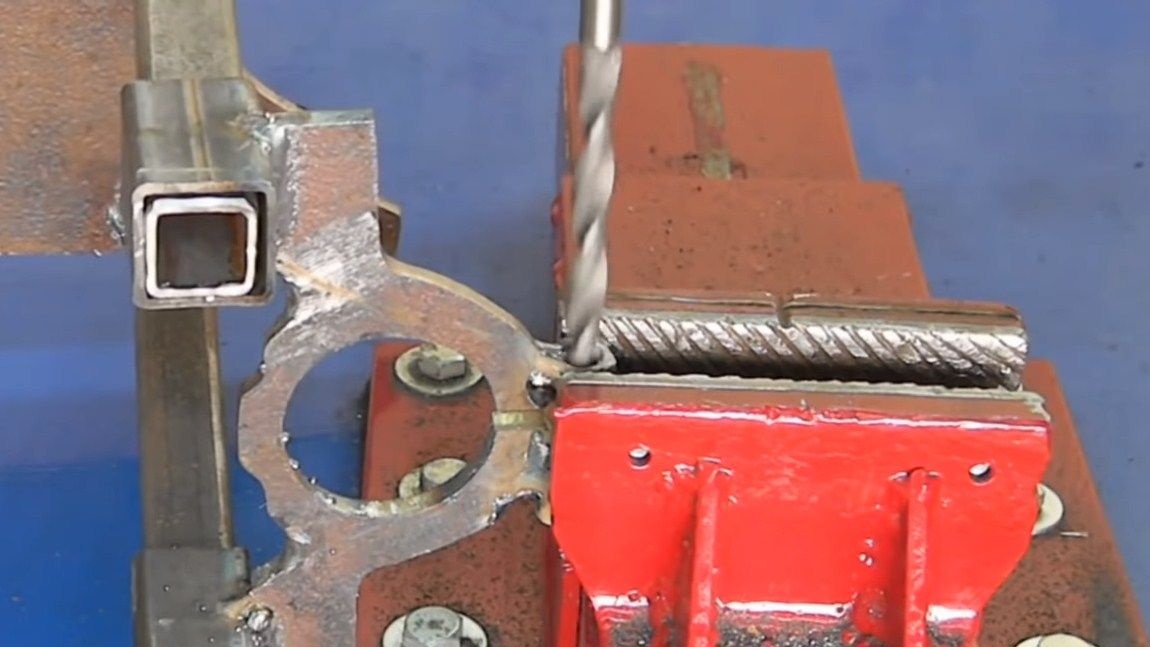
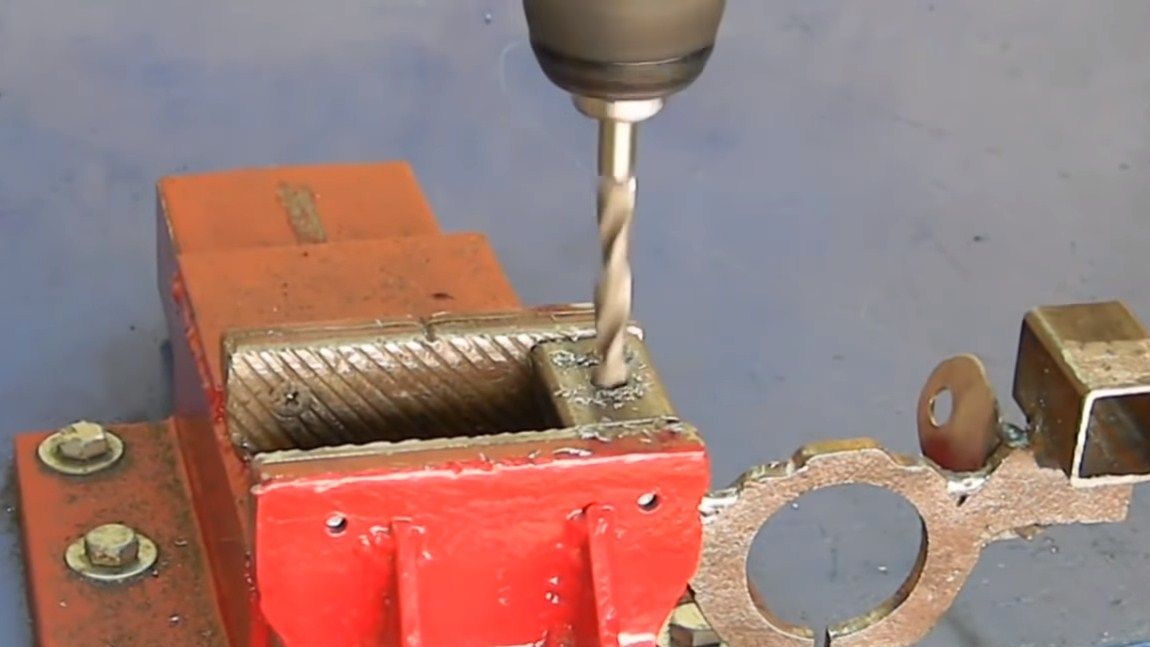
Next, we need to make a latch, that is, a bracket that will hold the grinder. We also make it from sheet metal. First, drill a hole for that part of the grinder where the handle is attached. Well, then we cut out the blank of the desired shape.Pieces of square pipes are welded to the ends of the product; as a result, this whole structure will “ride” on the guides in the vertical direction. The author used square pipes of smaller diameter as guides, they are welded to the base.
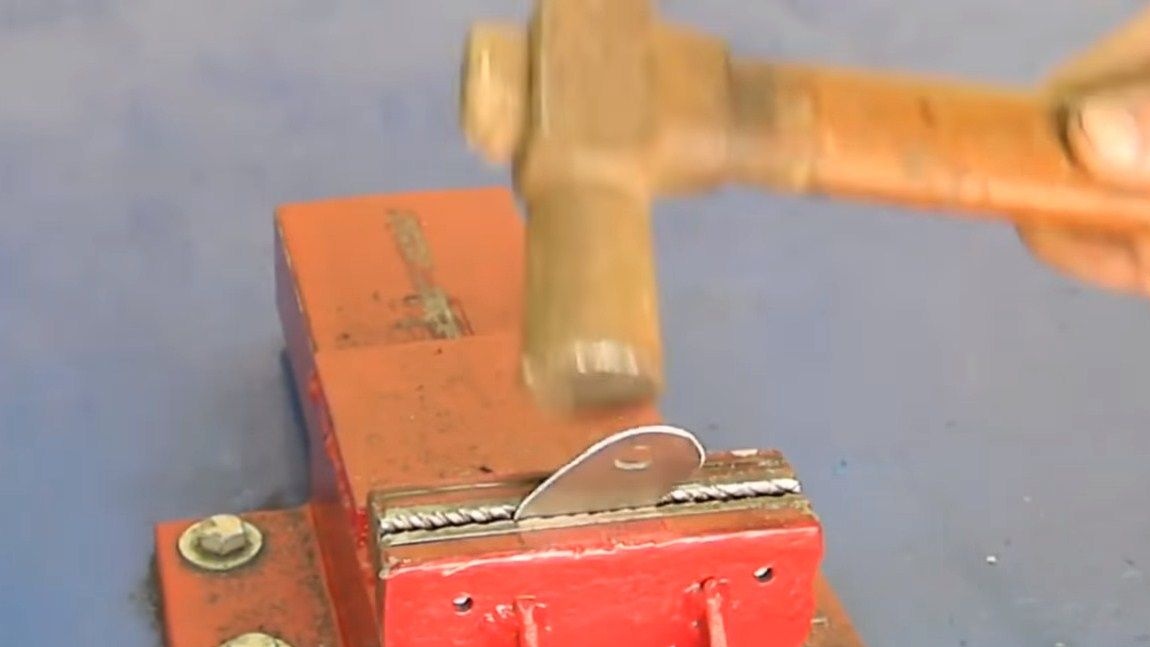
For additional fixation of the grinder we manufacture and weld “ears” of sheet metal.
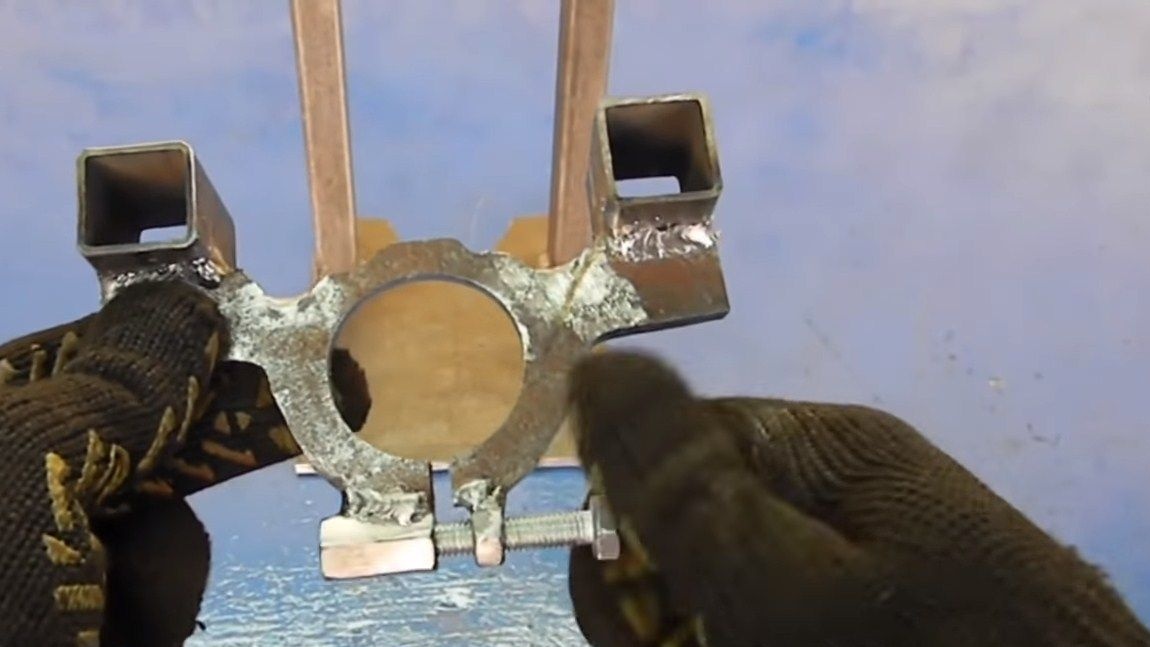

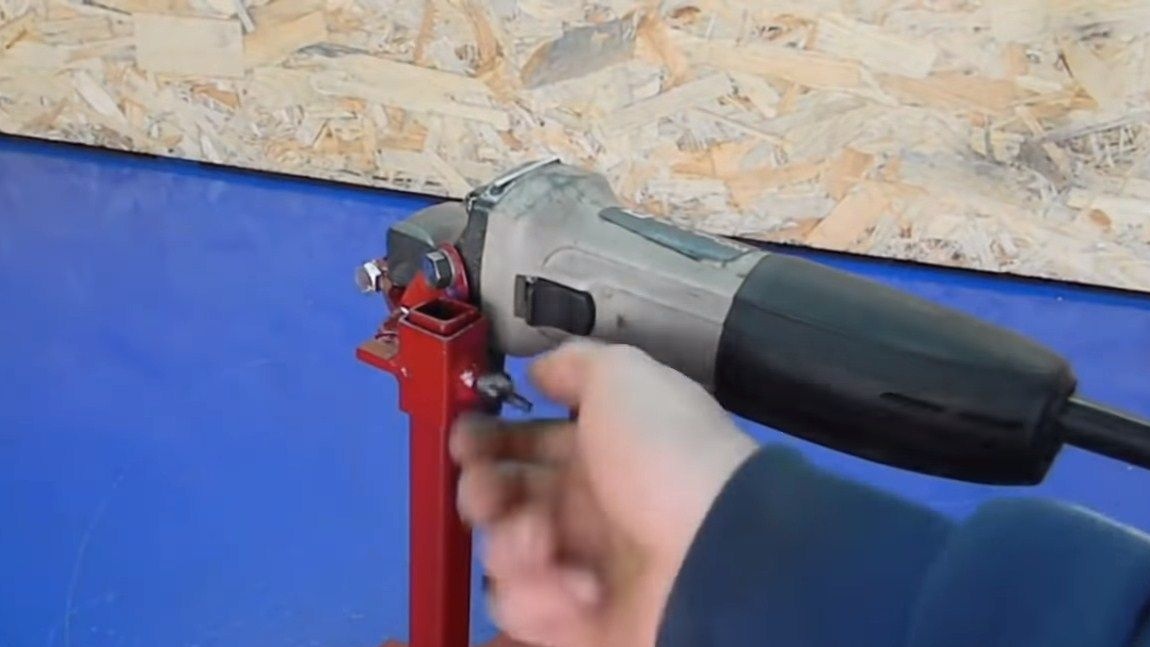
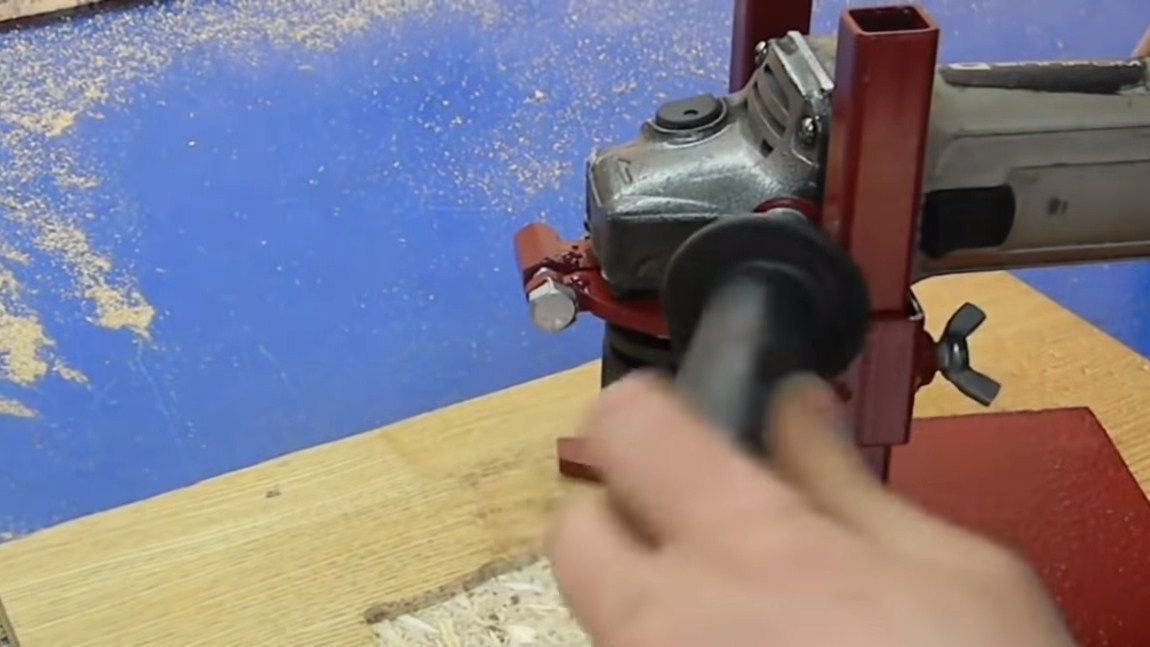
Step Three Clamp
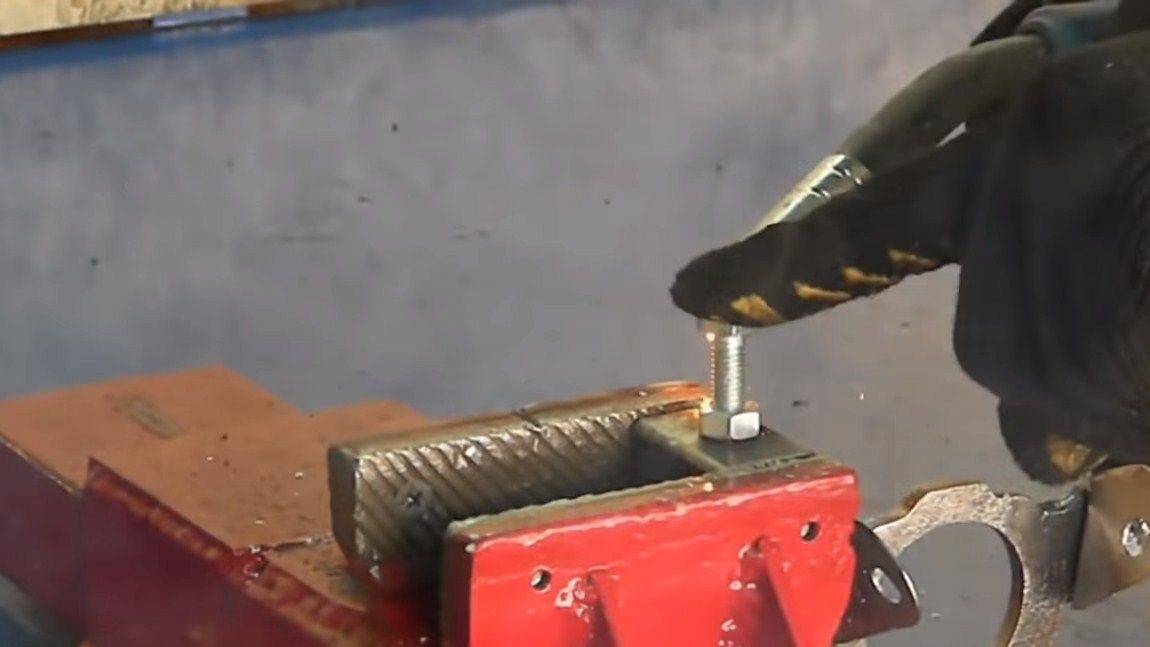
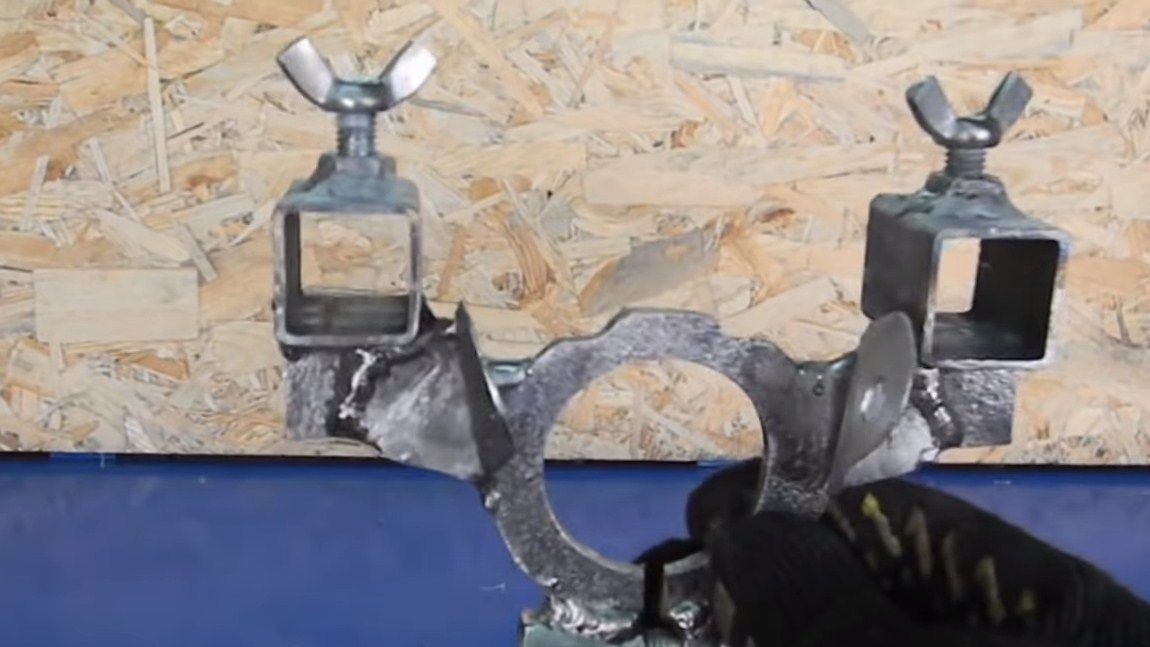
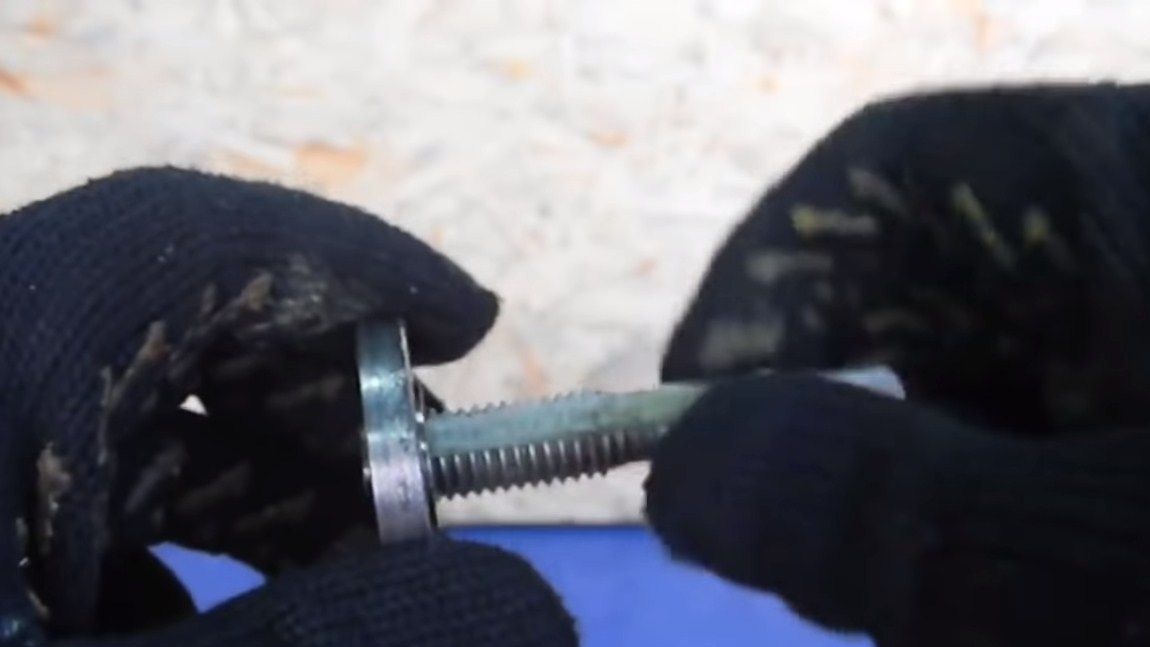
We will need to fix the drill at a certain height. For this, the author welded two nuts and wrapped threaded rods in them, to which wing nuts were welded. Now you can easily and quickly fix the position of the grinder with your hands.
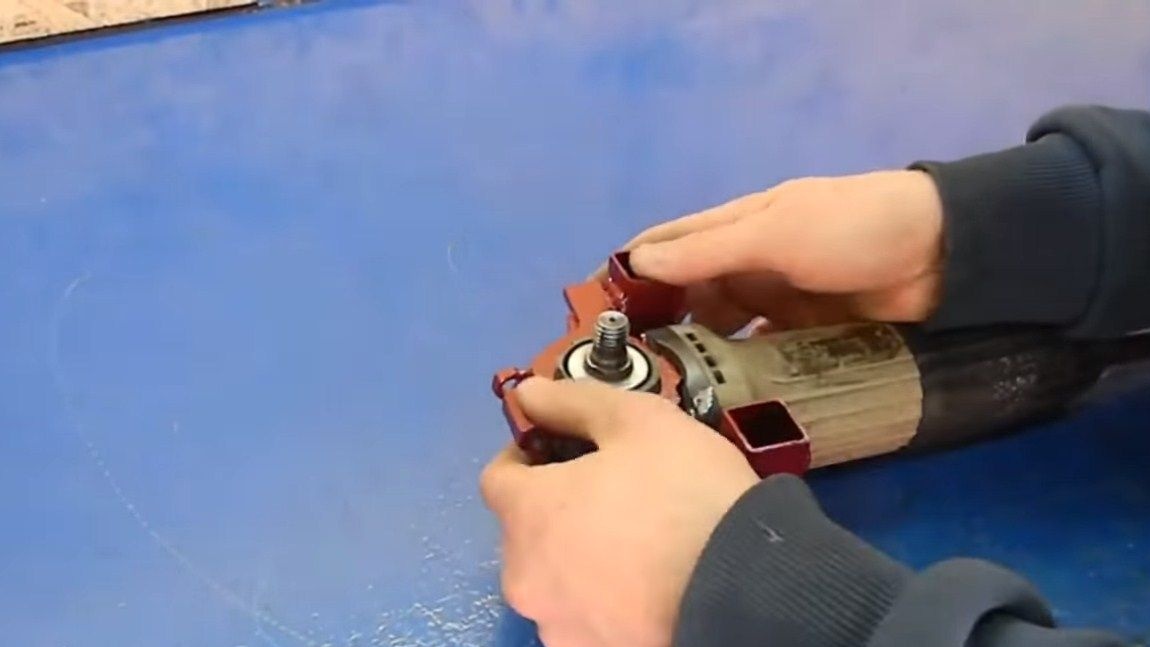
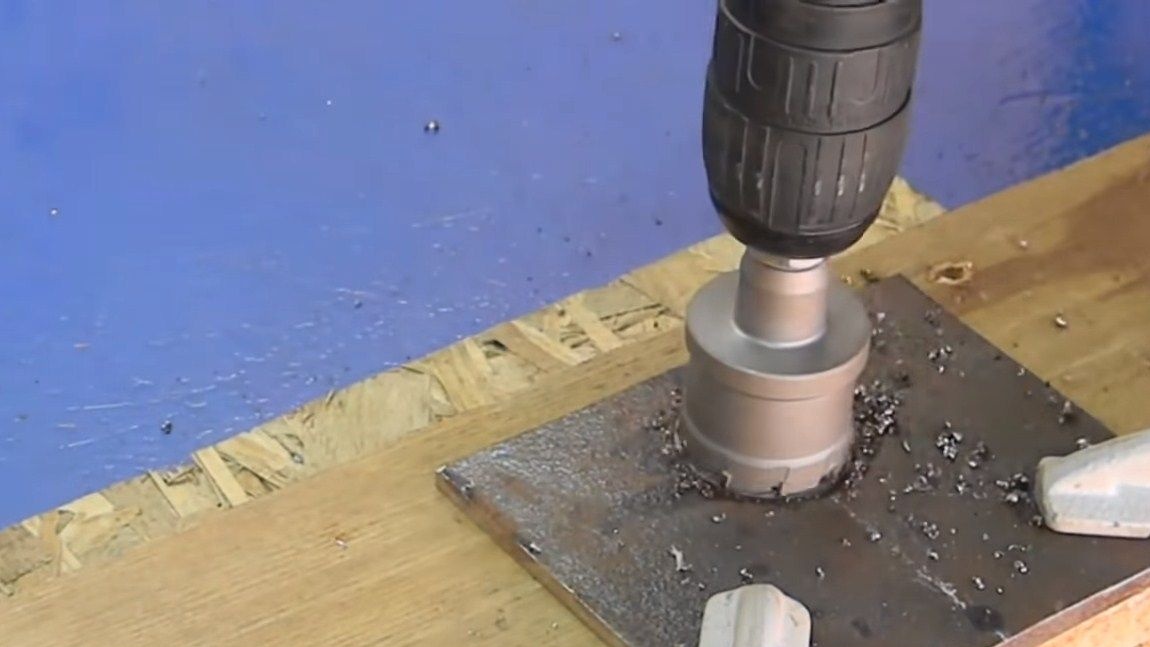
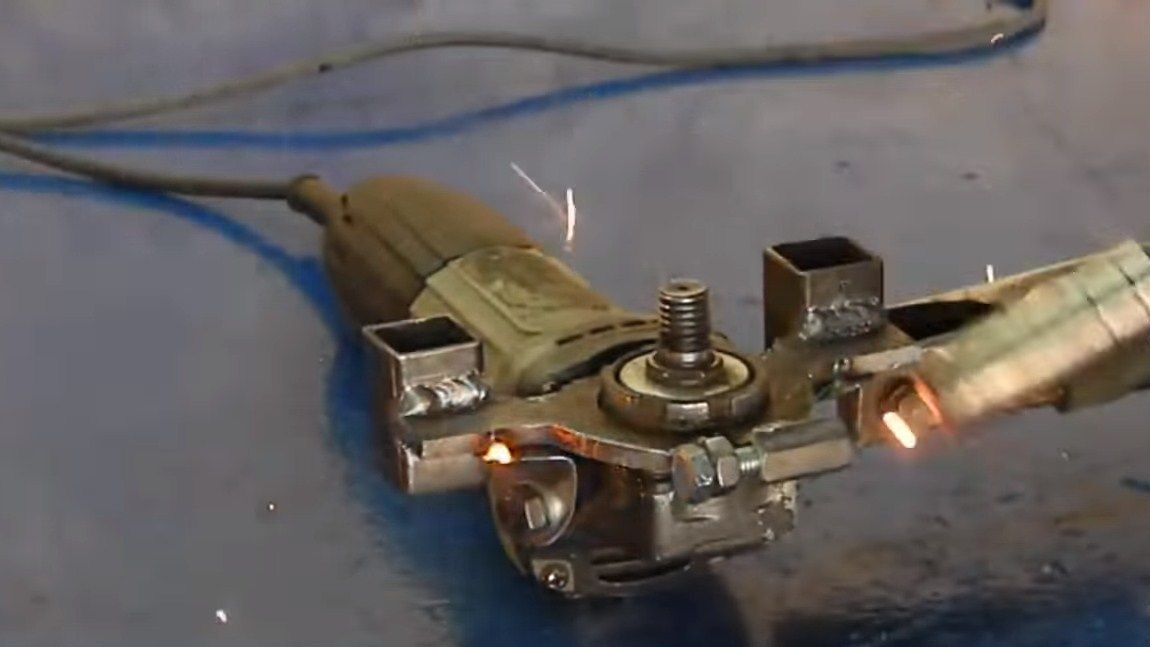
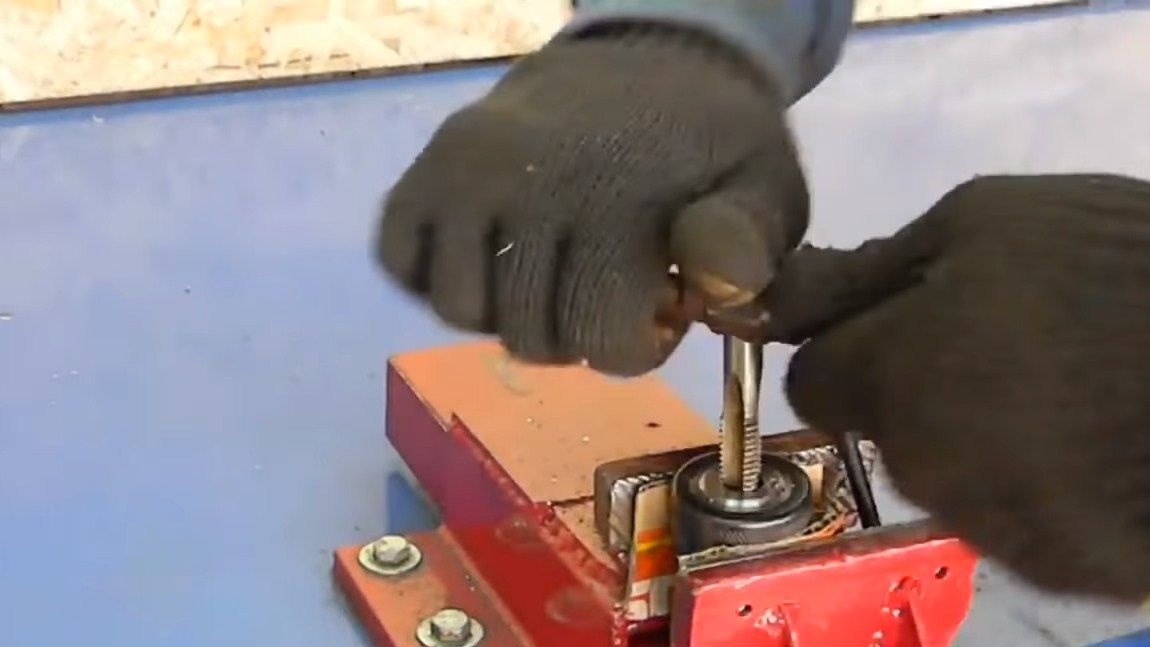
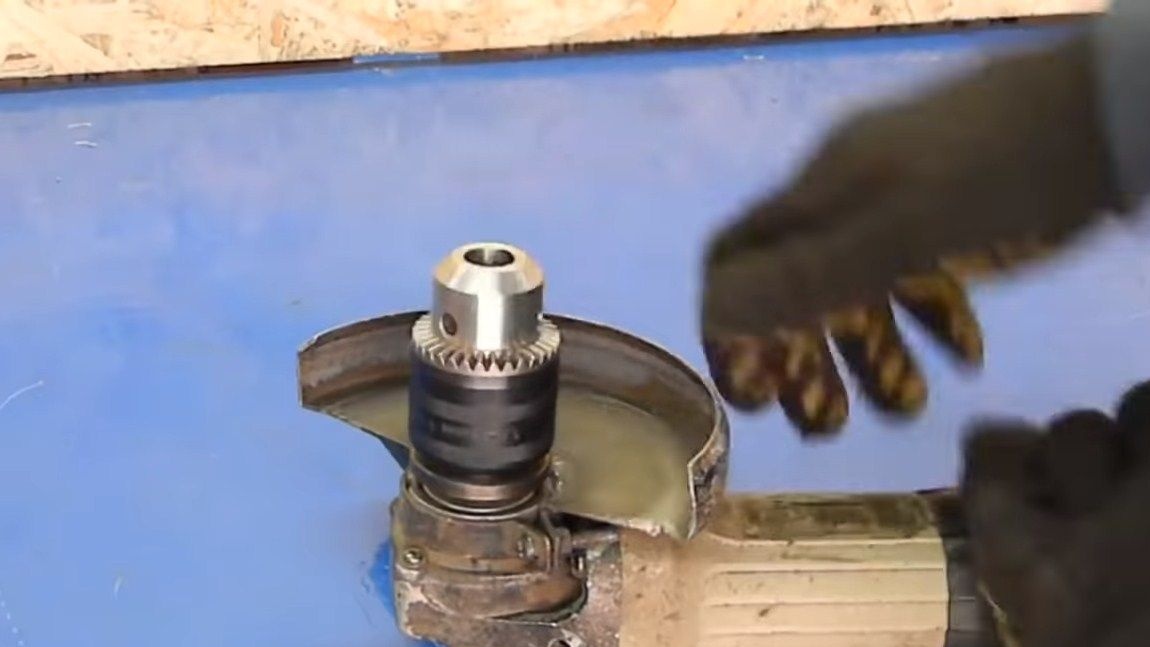
Step Four Drill Chuck Installation
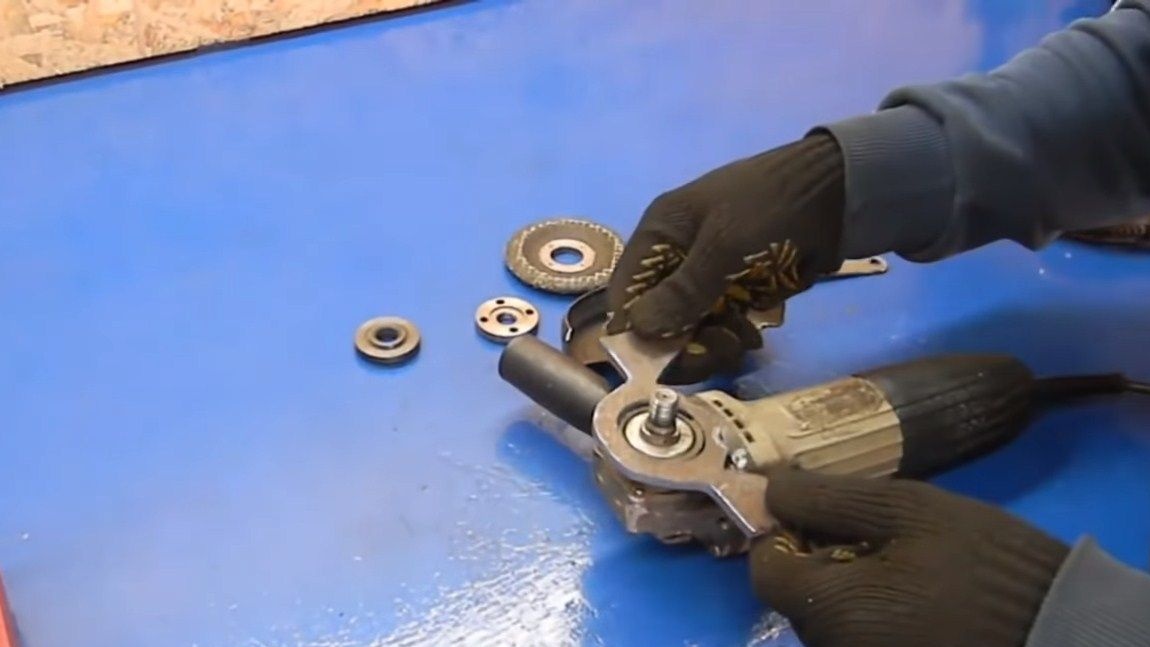
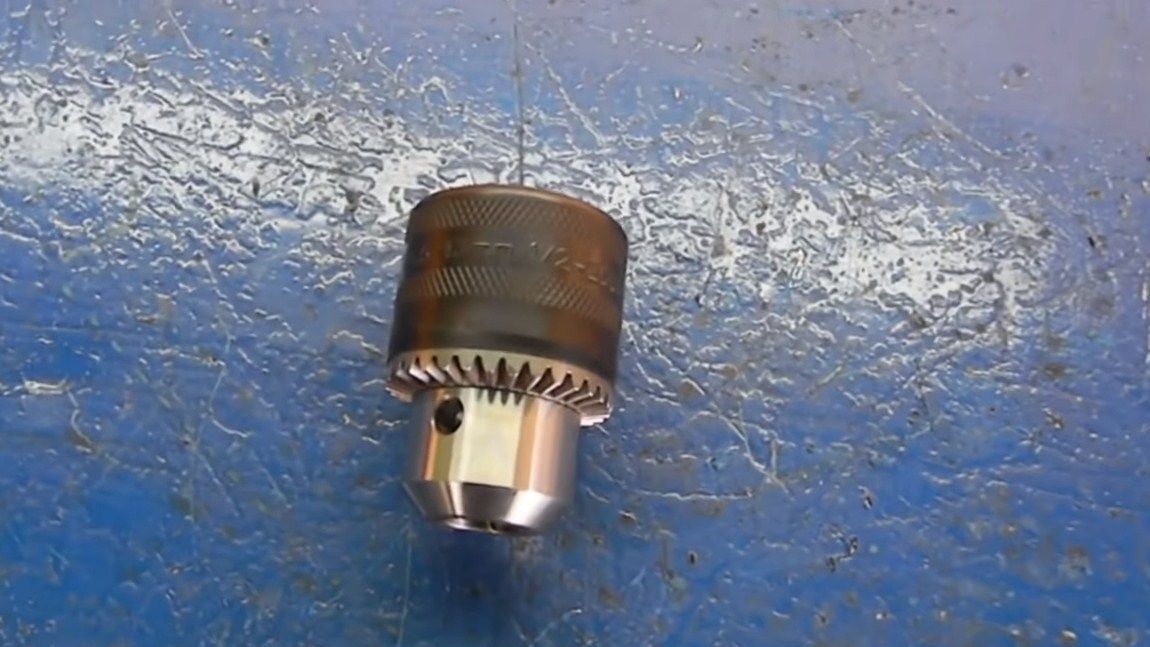
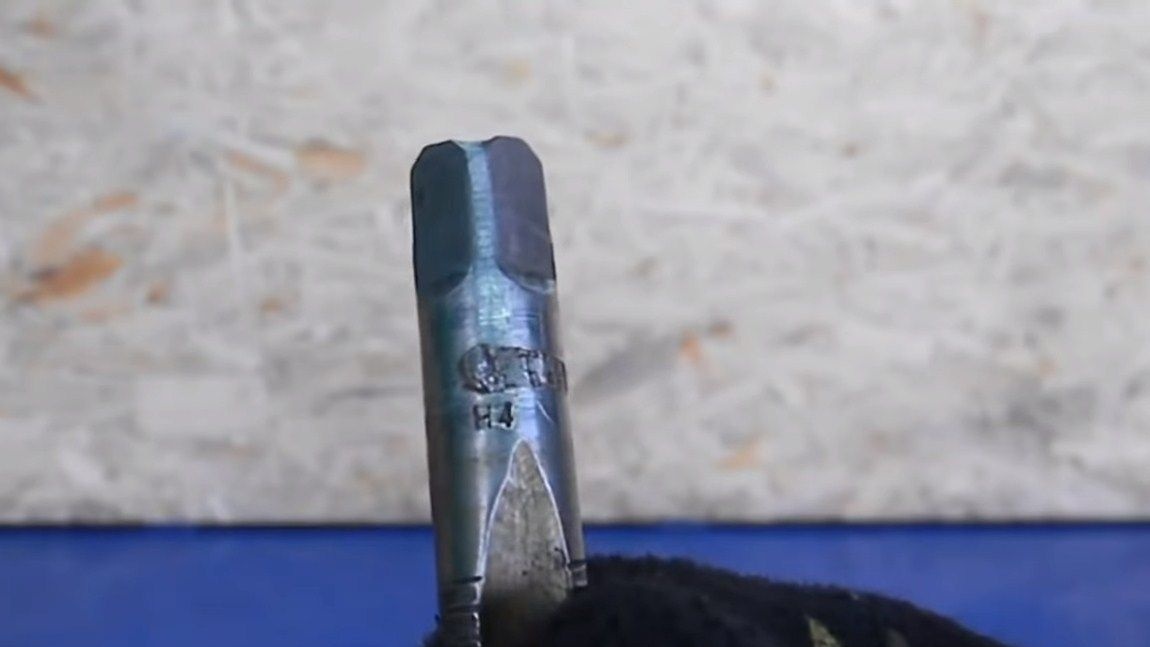
The drill chuck is screwed directly onto the grinder shaft. To do this, you need to cut the corresponding thread in it. You will need to choose the correct tap, check it on the nut from the grinder.
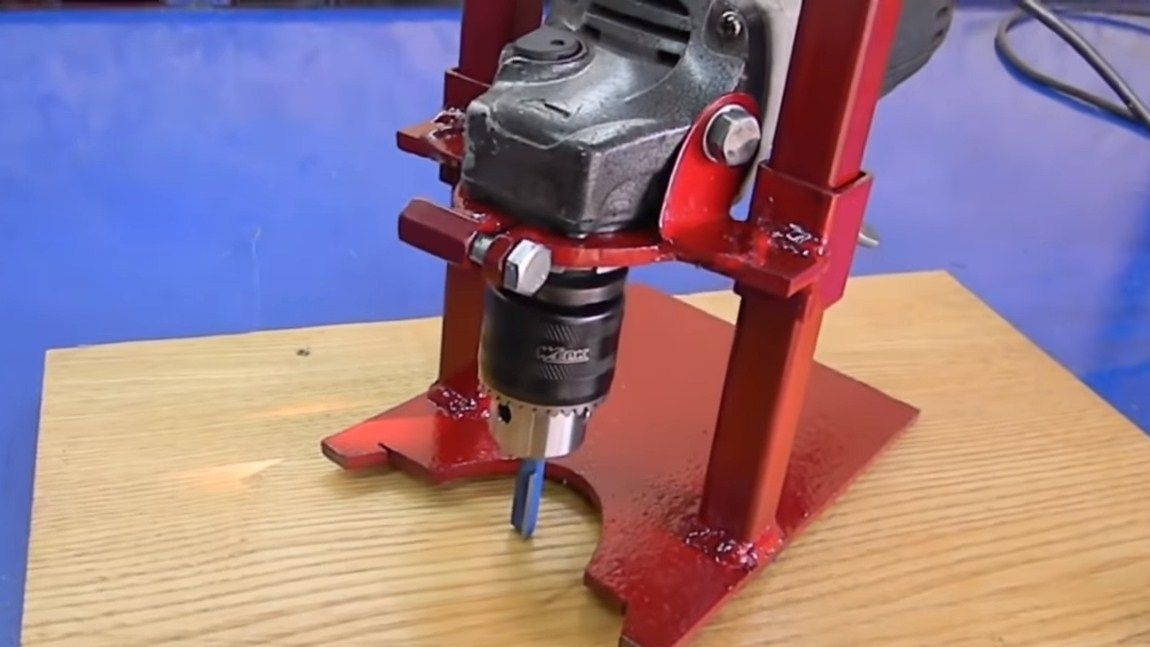
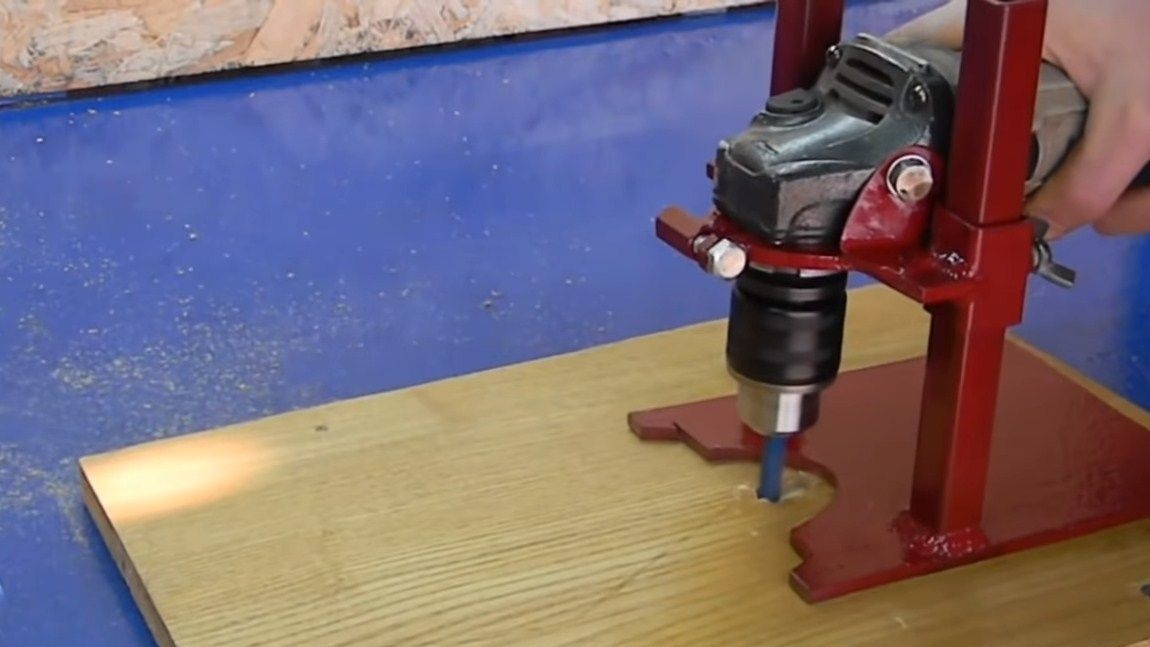
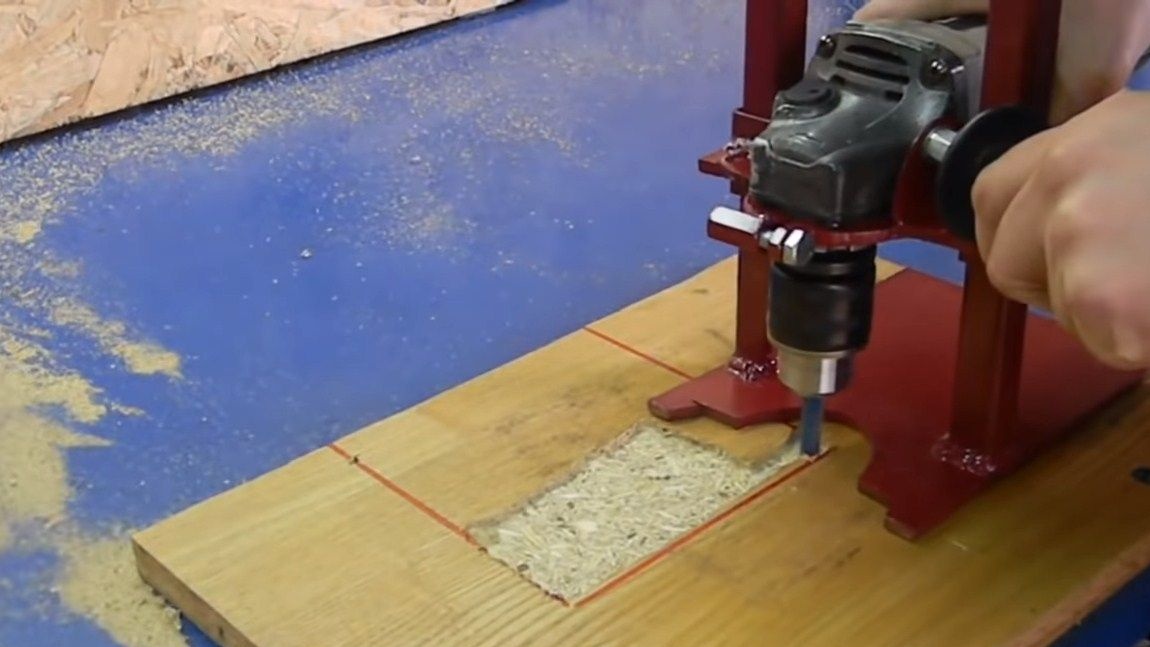
Step Five We assemble and test the car
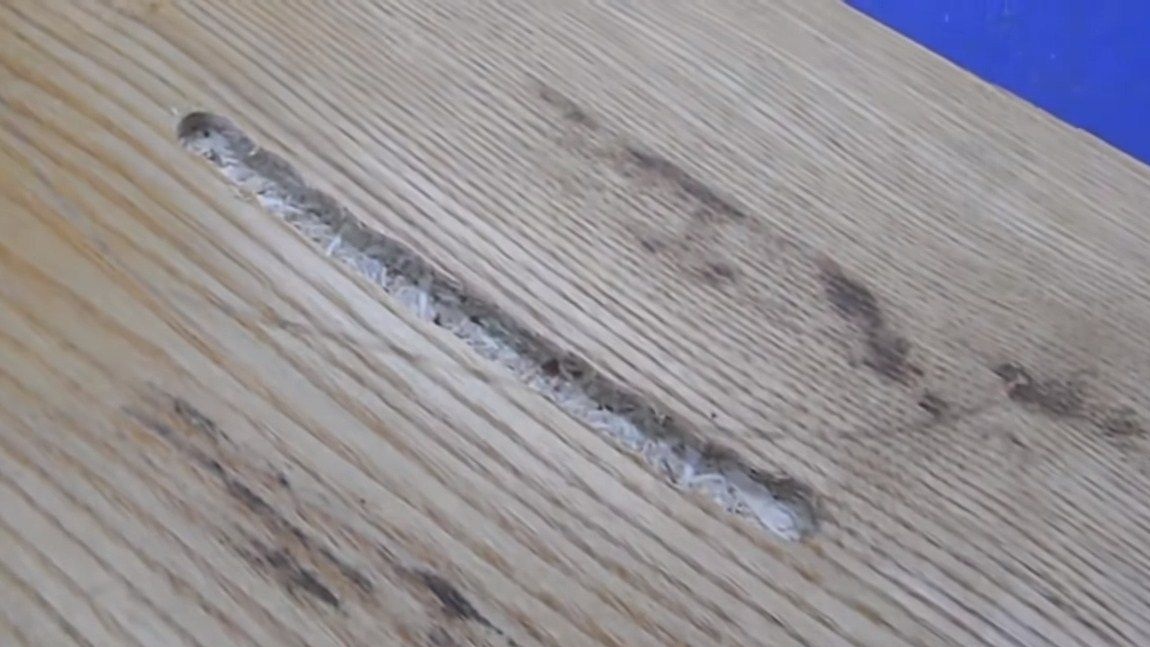
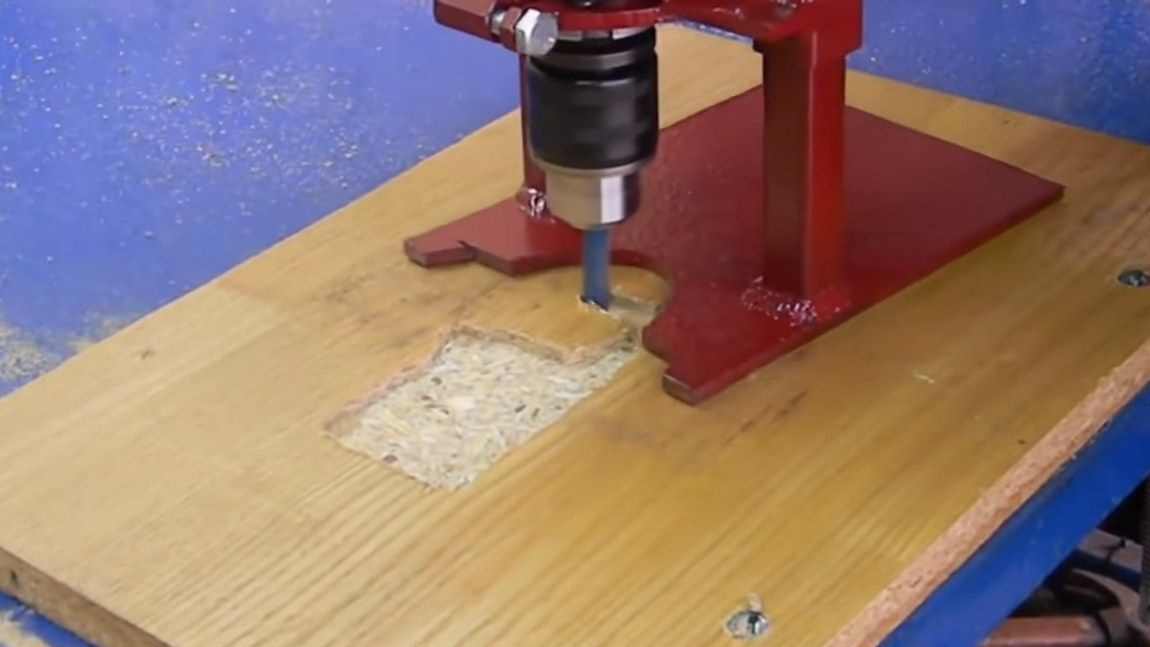
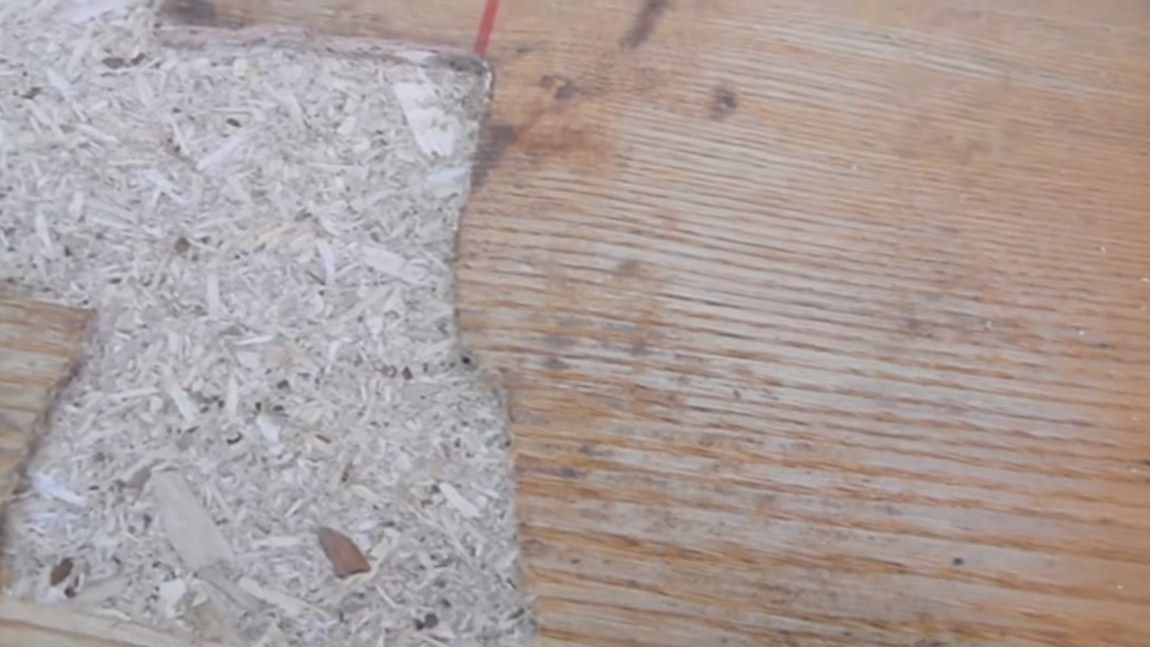
To assemble the device, we need to fix the grinder in the bracket. This is quick and easy. You also need to screw the chuck from the drill and clamp the desired nozzle in it. That's all, the car is ready. Set the desired depth and get to work. At the author, the machine miraculously processes a sheet of chipboard, and this material is quite strong, but fragile. The machine copes with the task without any problems. You can work this way for a long time, because the grinder works almost without load.
That's all, the project is over, I hope you liked it. Good luck and creative inspiration, if you decide to repeat it. Do not forget to share your homemade products with us!