
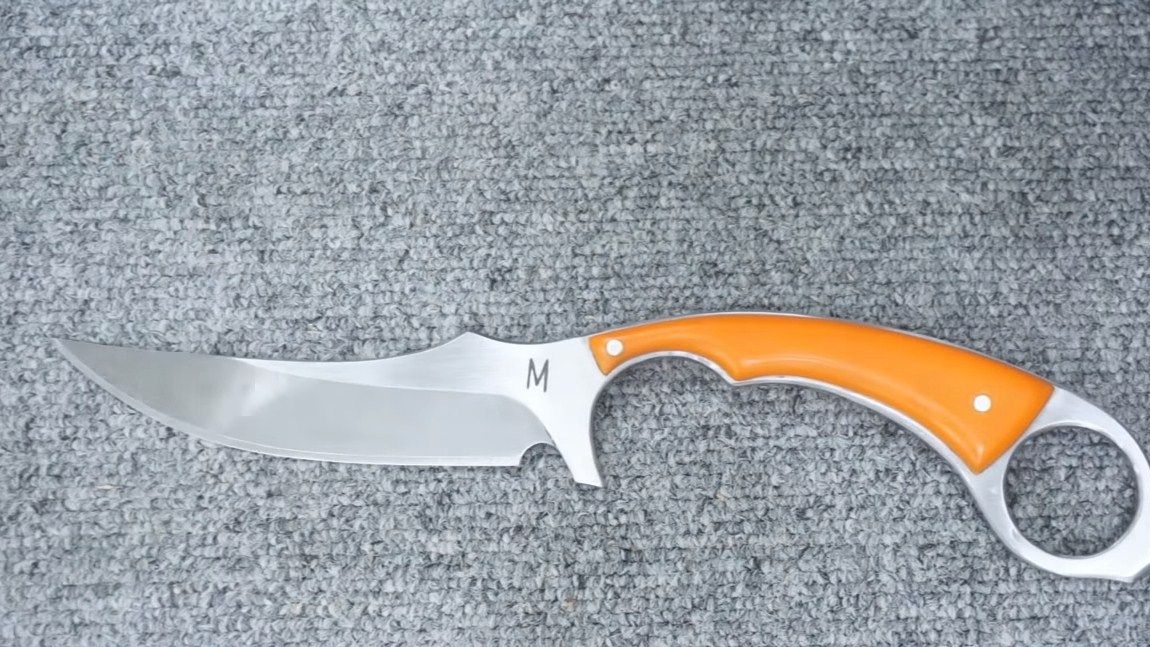
Greetings to fans of working with metal. This time we will consider how to make a knife of an unusual shape, it looks quite interesting. Such a knife can be taken with you on hunting, fishing or in nature. Surely this product will not go unnoticed by your friends and acquaintances. It is not difficult to make such a knife, the production time will depend on the materials and tools you have. In general, there is nothing difficult to manufacture, and even a master with an entry level will cope with the task.
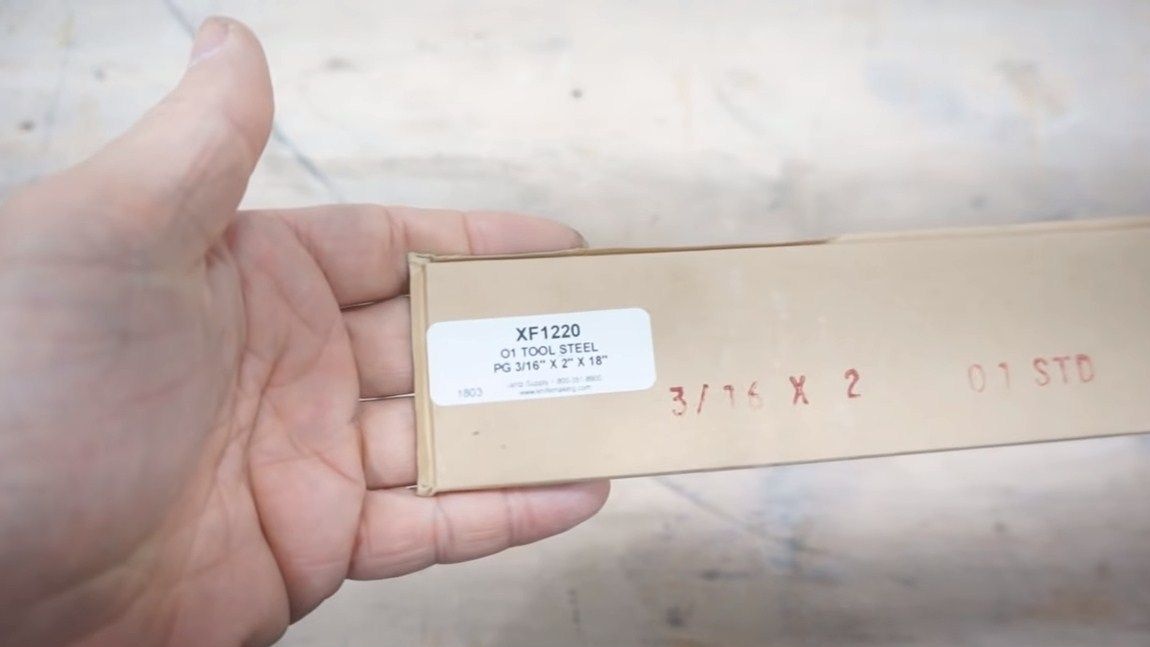
The author used the O1 grade as steel. This steel is quite common among many foreign masters. This steel contains almost 1% carbon, which makes it fairly hard after quenching. Steel is tempered quite easily, this can be done in home conditions, the hardness in this case can be over 60 HRC. Even in the composition of this steel there is chrome, it prevents corrosion. Other useful alloying additives include manganese (1.2%), silicon (0.75%), chromium (0.5%), vanadium (0.20%) and tungsten (0.5%). Today, a blank made of similar steel for making a knife can be ordered online. So, we will consider in more detail how to make such a knife!
Materials and tools used by the author:
Material List:
- steel O1;
- electrical tape;
- material for linings;
- epoxy adhesive;
- oil for wood.
Tool List:
- stationery knife, paper and pencil (to make a template);
- belt sander;
- drill or drilling machine;
- grinder;
- drill;
- gas burner or forging furnace for hardening;
- tape cutting saw (lining and knife profile can be cut);
- sandpaper;
- tools for etching the pattern;
- marker.
The process of making a knife:
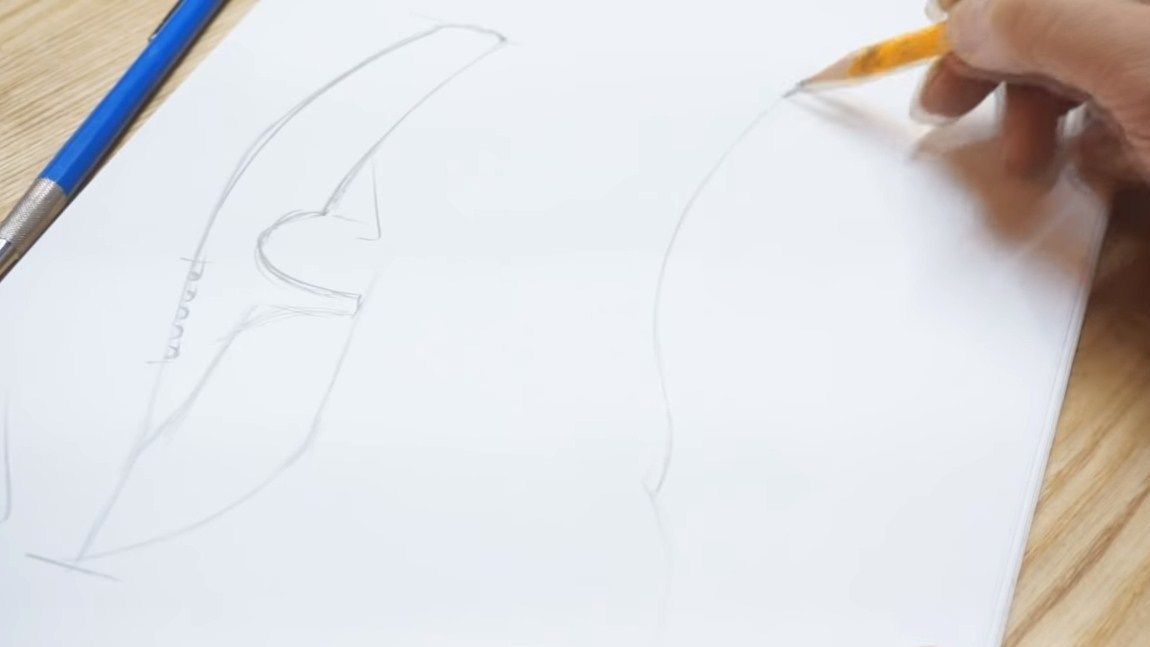
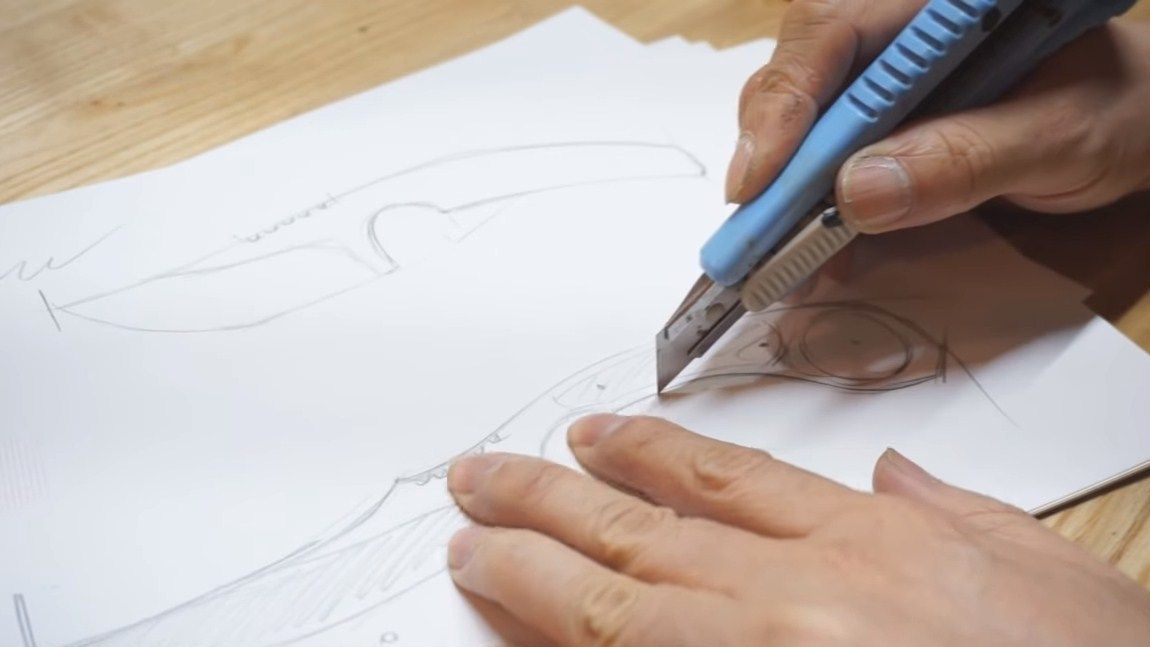
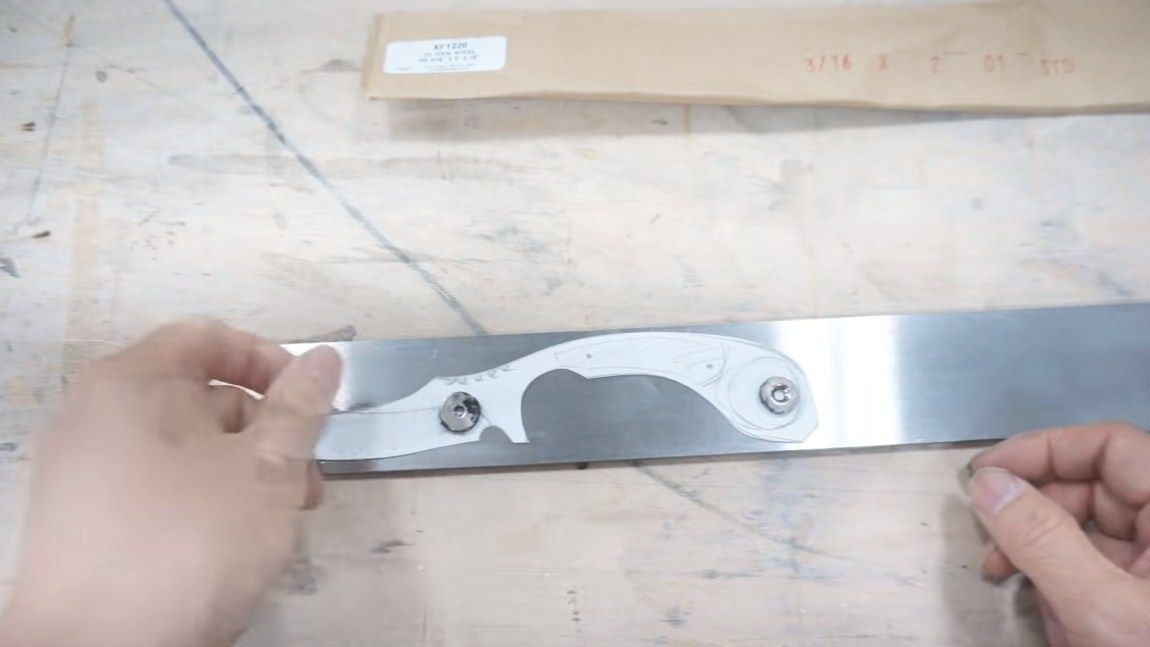
Step one. We make a template
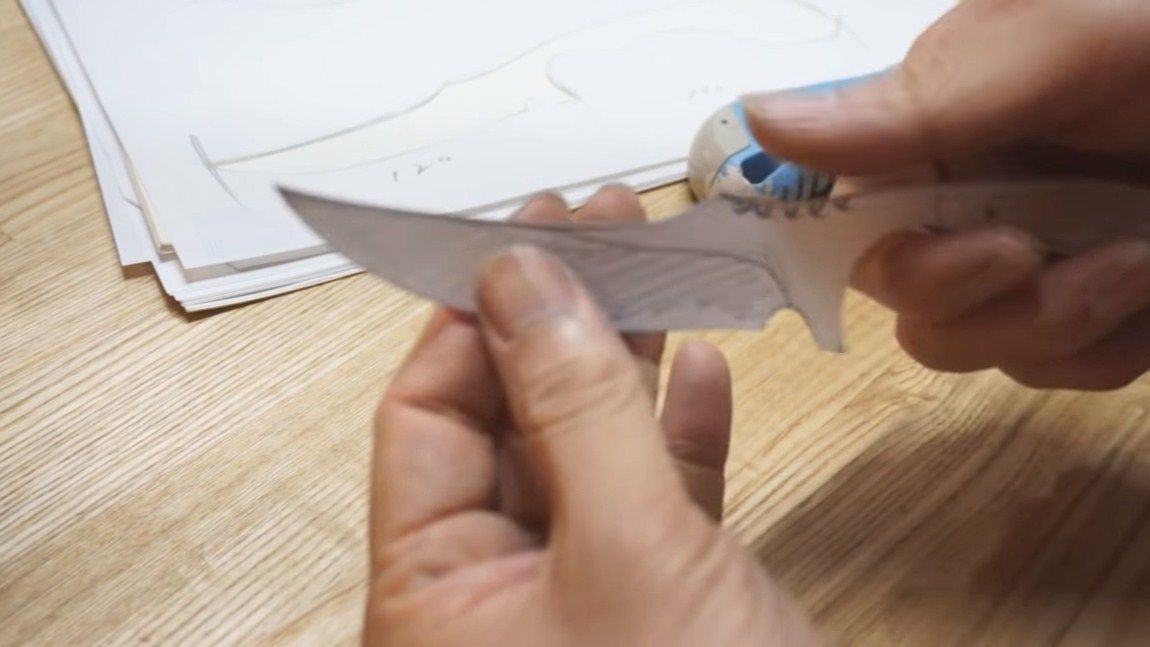
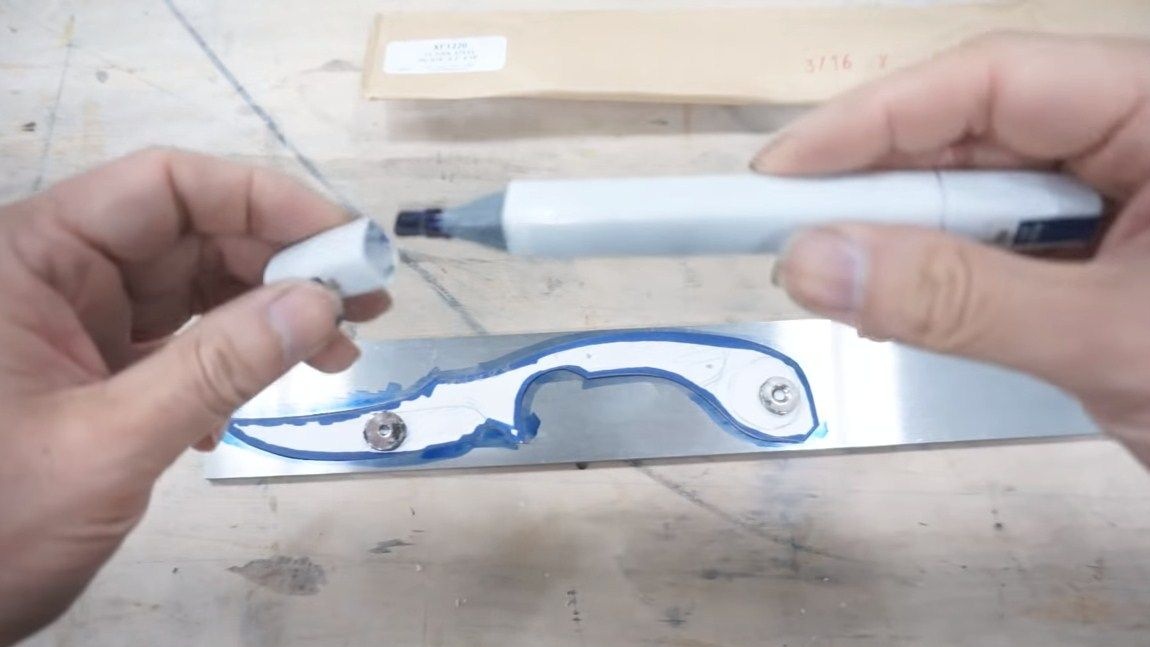
First, we’ll make a template for our knife. To do this, the author takes the paper and draws a knife profile by hand. If you have a problem with this, you can print the desired profile on the printer. And then the author cut out a template using a clerical knife. The resulting template is either glued to steel or outlined with a marker.
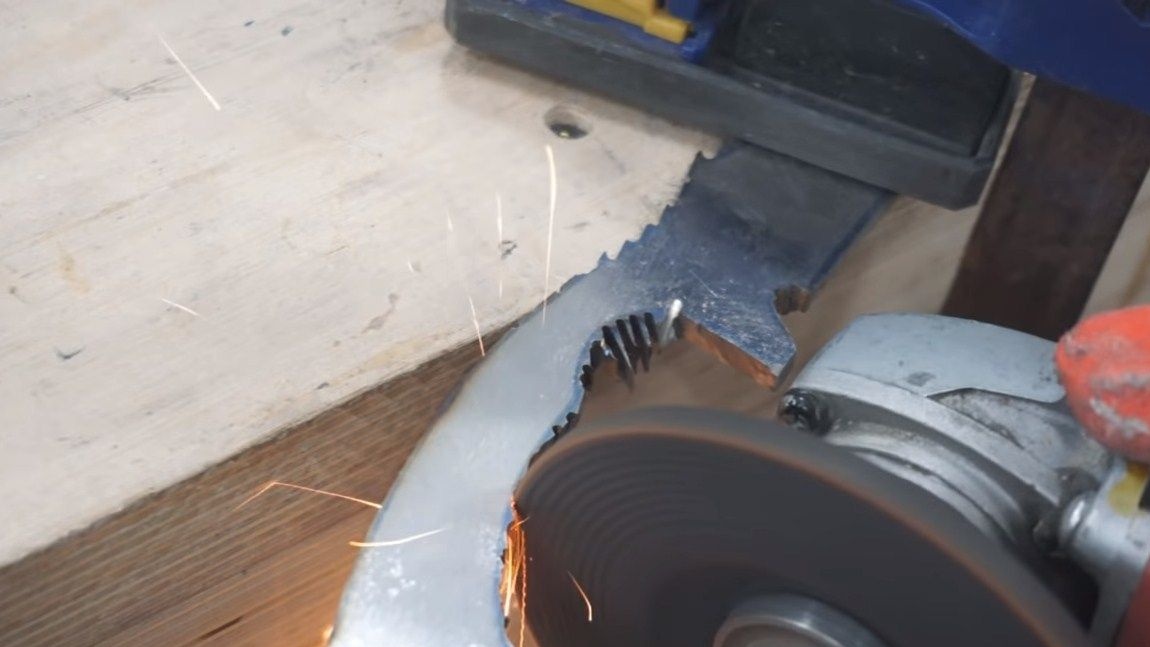
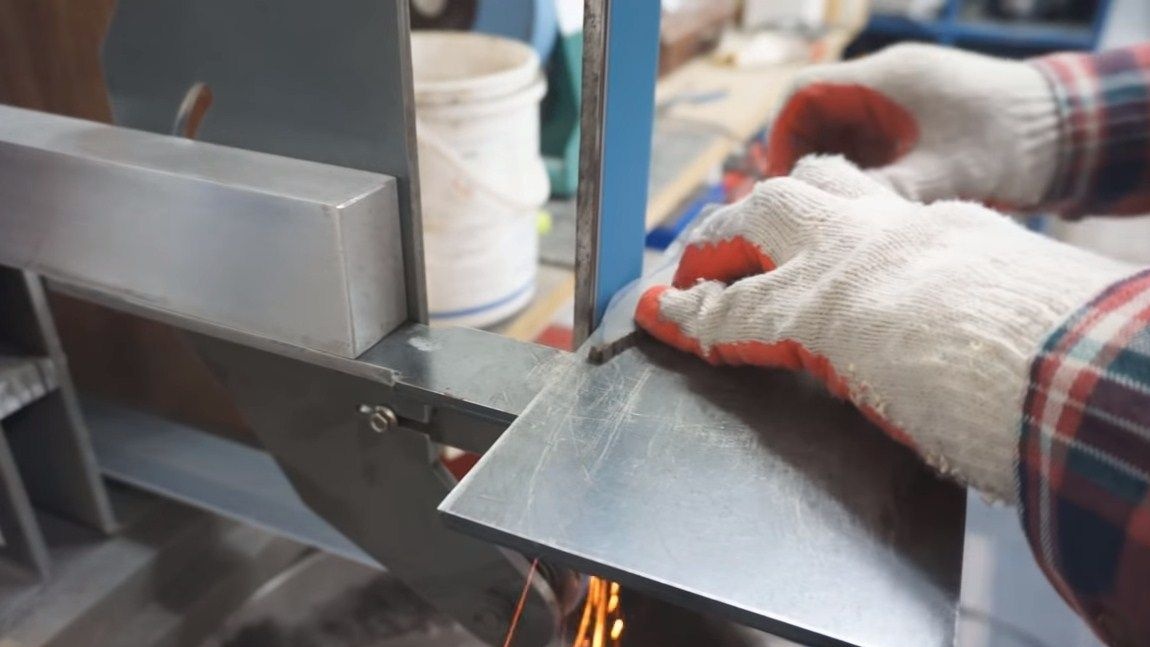
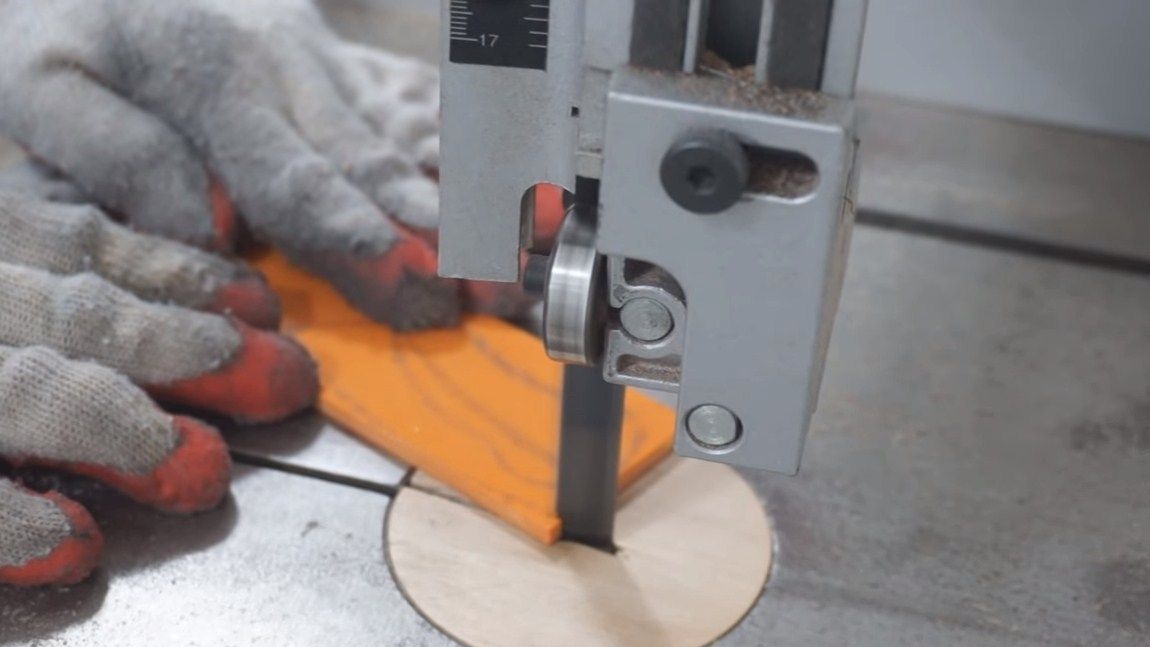
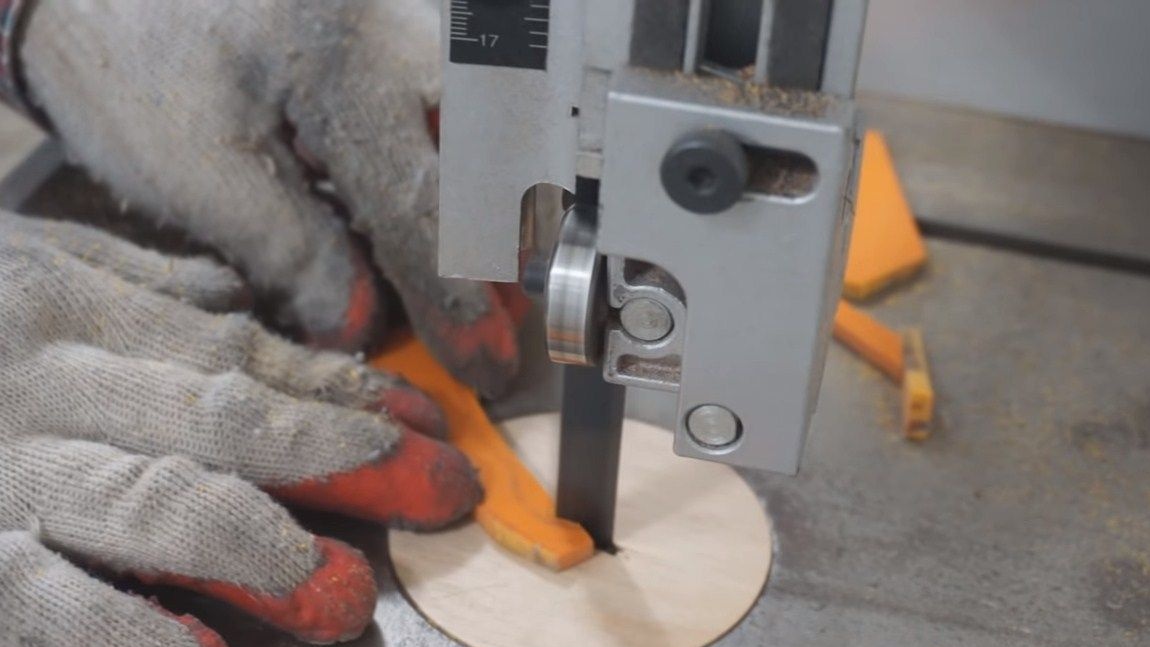
Step Two Cut the main profile
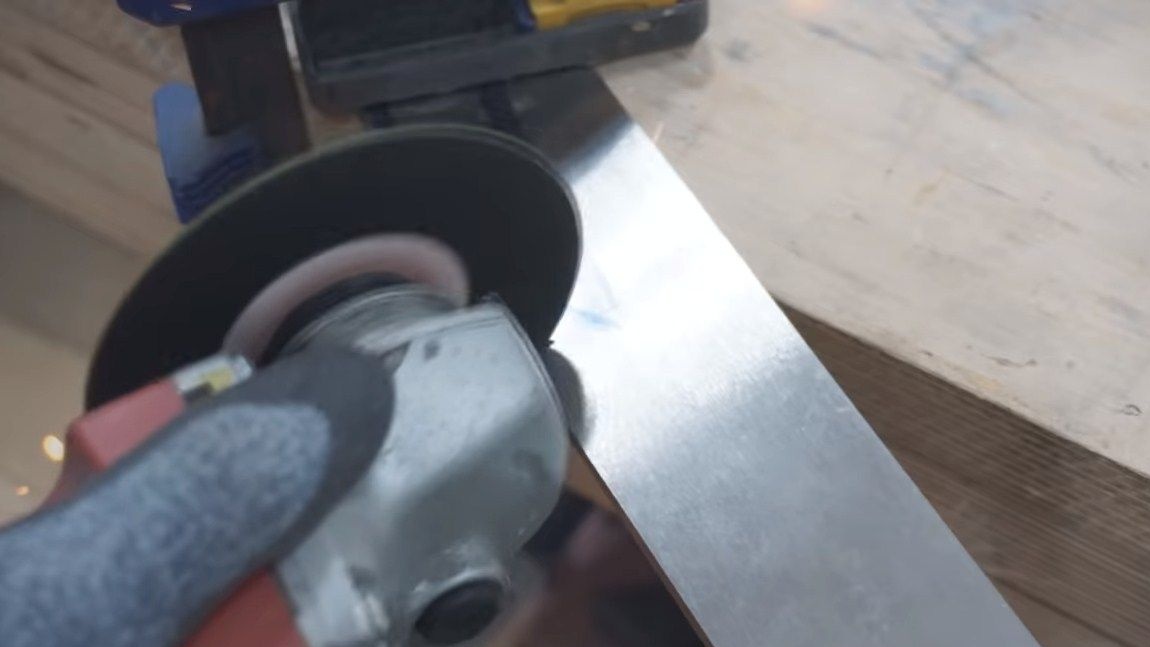
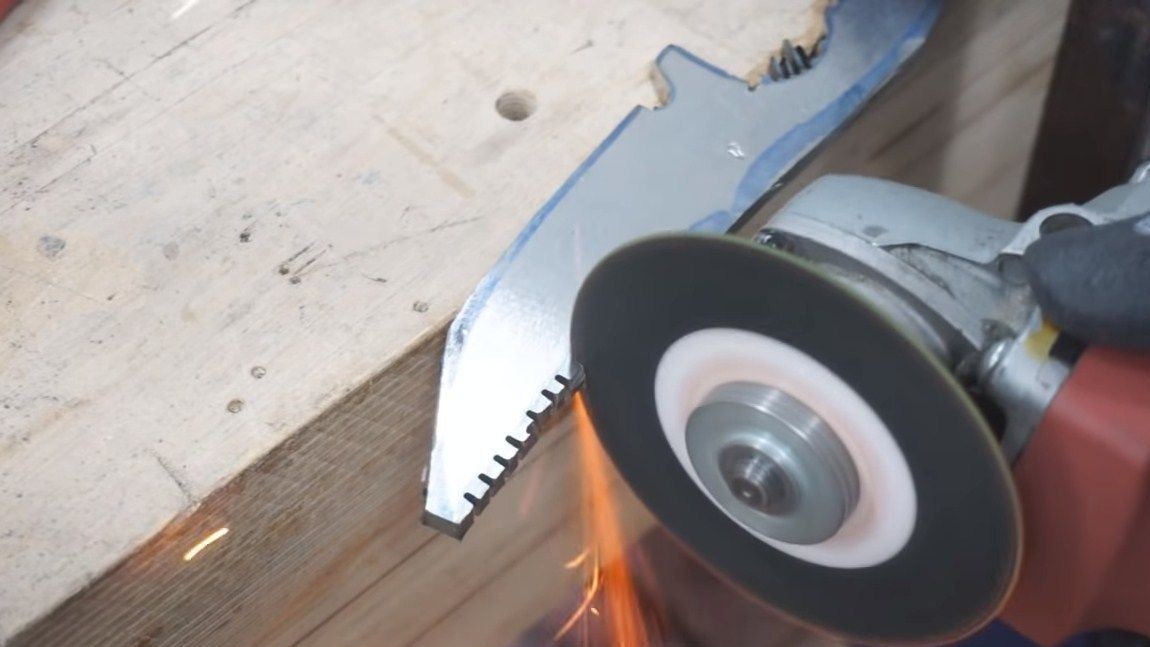
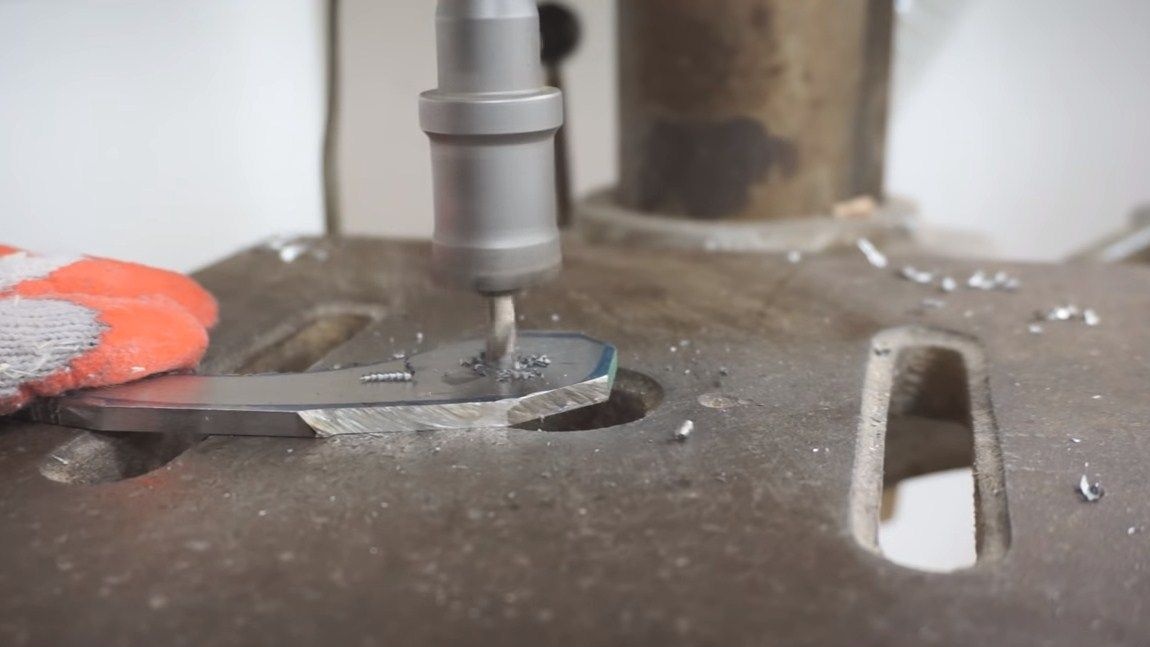
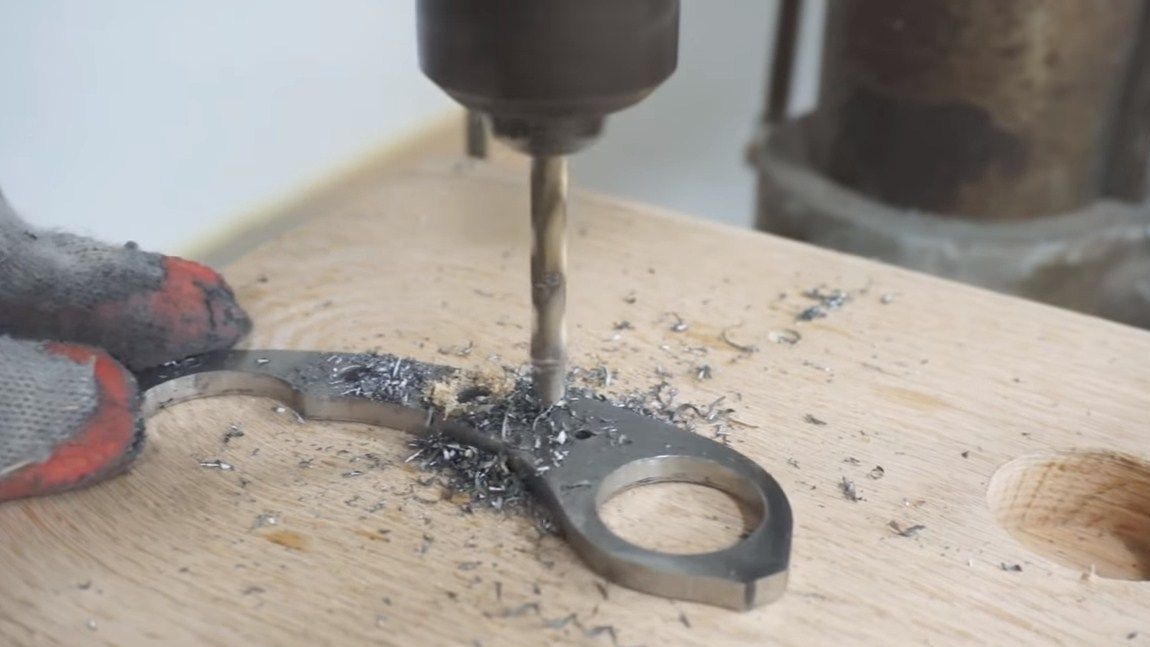
Well, then we proceed to cutting, for this the author used a grinder. You can also work on a band saw. Complex parts are cut into pieces. Having cut out the main profile, we drill a hole in the handle area using a crown. We also need to drill holes for the pins.
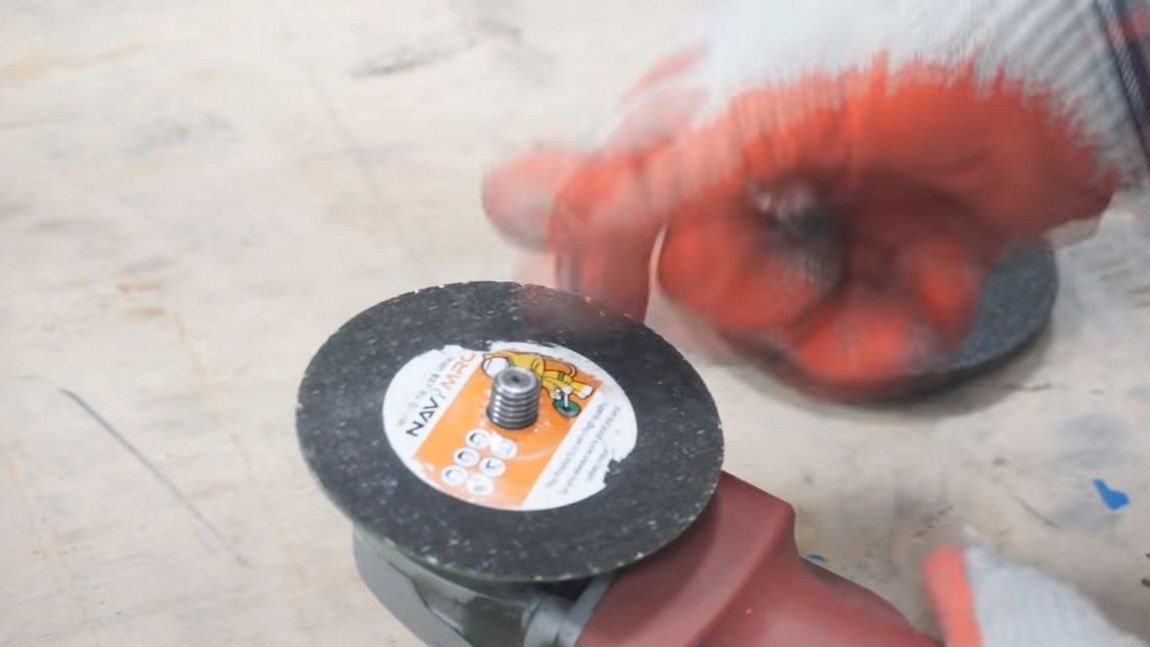
As soon as this is ready, we go through the contour with a grinder with a grinding disc to remove the remaining parts.
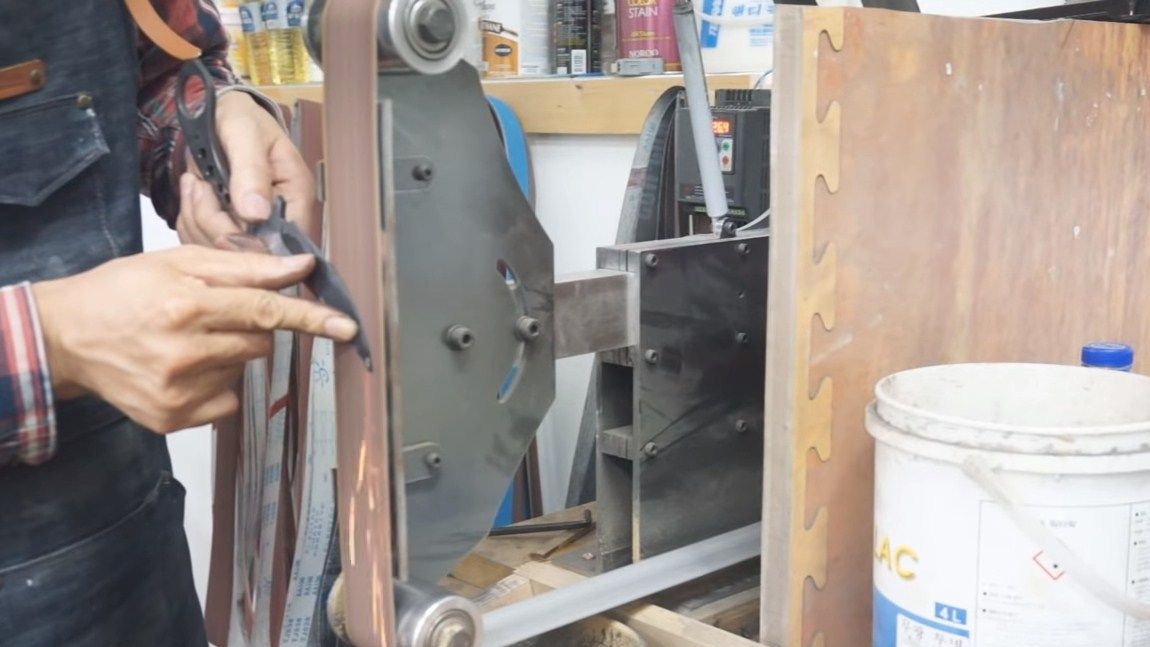
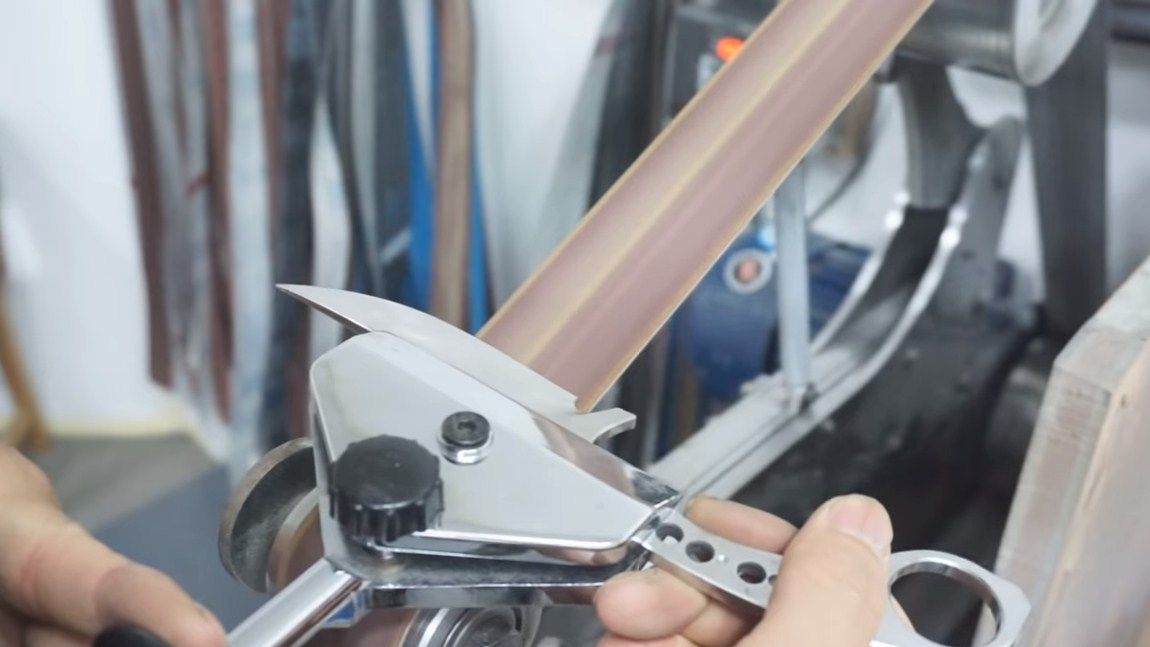
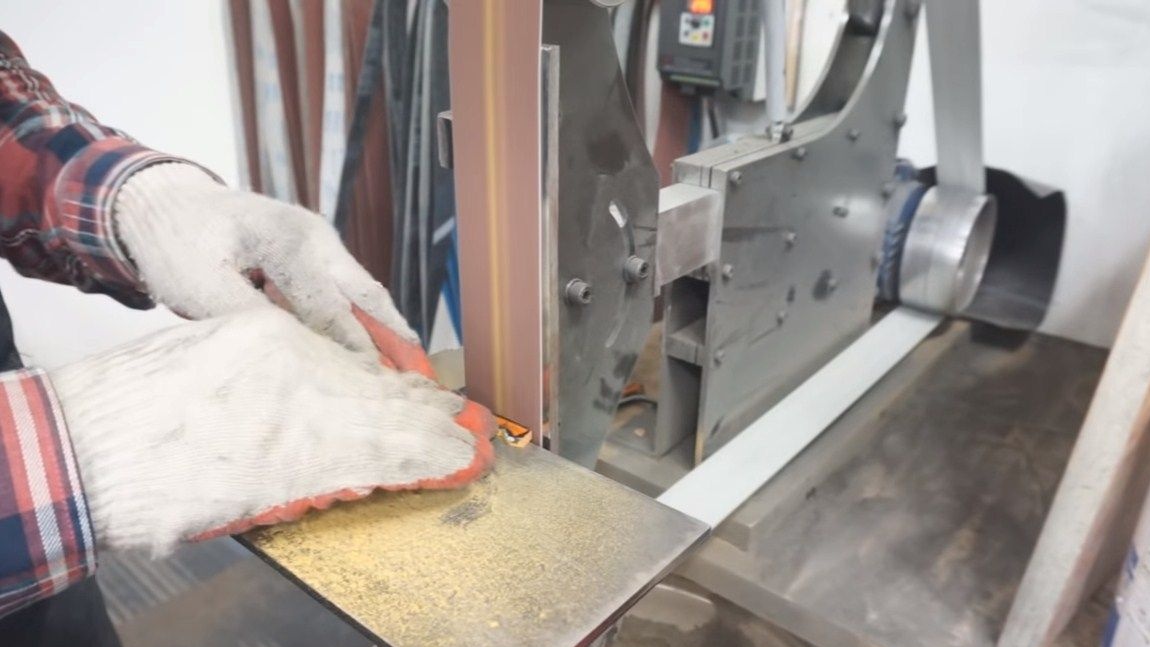
Step Three Finishing
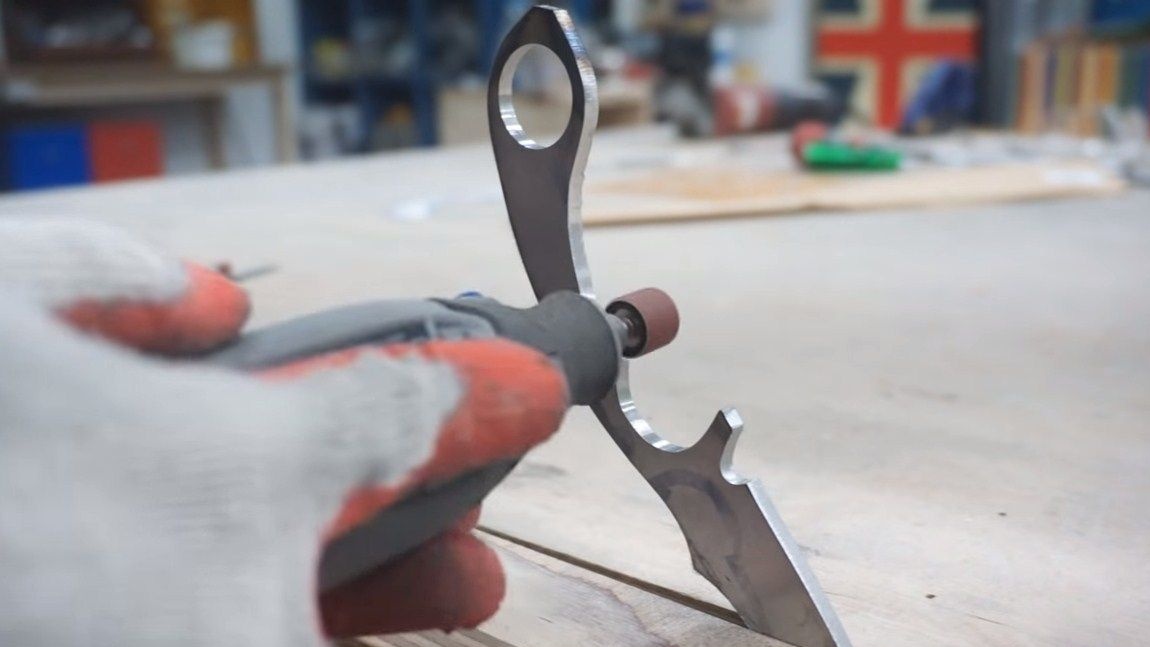
Next, the author processes the profile along the contour on a belt sander. Hard to reach places are conveniently processed with a drill with an emery nozzle.
As soon as this is done, draw a central line along the blade. It will allow us to make symmetrical bevels on both sides. This procedure can be done using a drill of the same diameter as the thickness of the workpiece. You do not need to sharpen the knife at this step, the blade thickness should not be less than 2 mm, otherwise alloying elements will burn out during hardening.

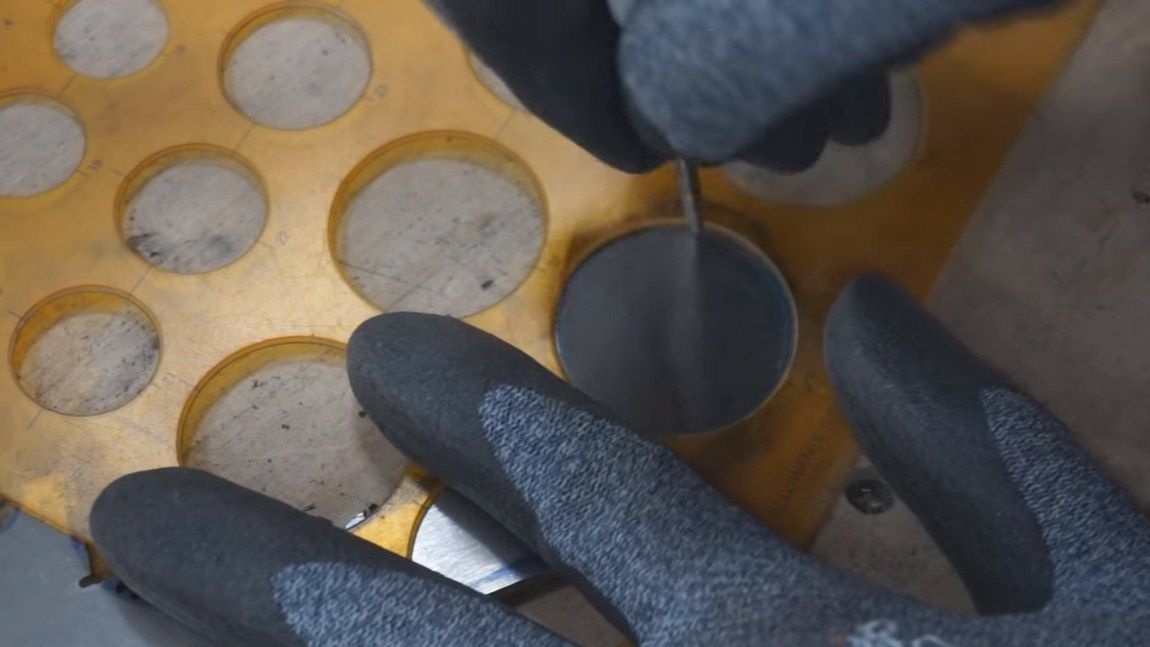
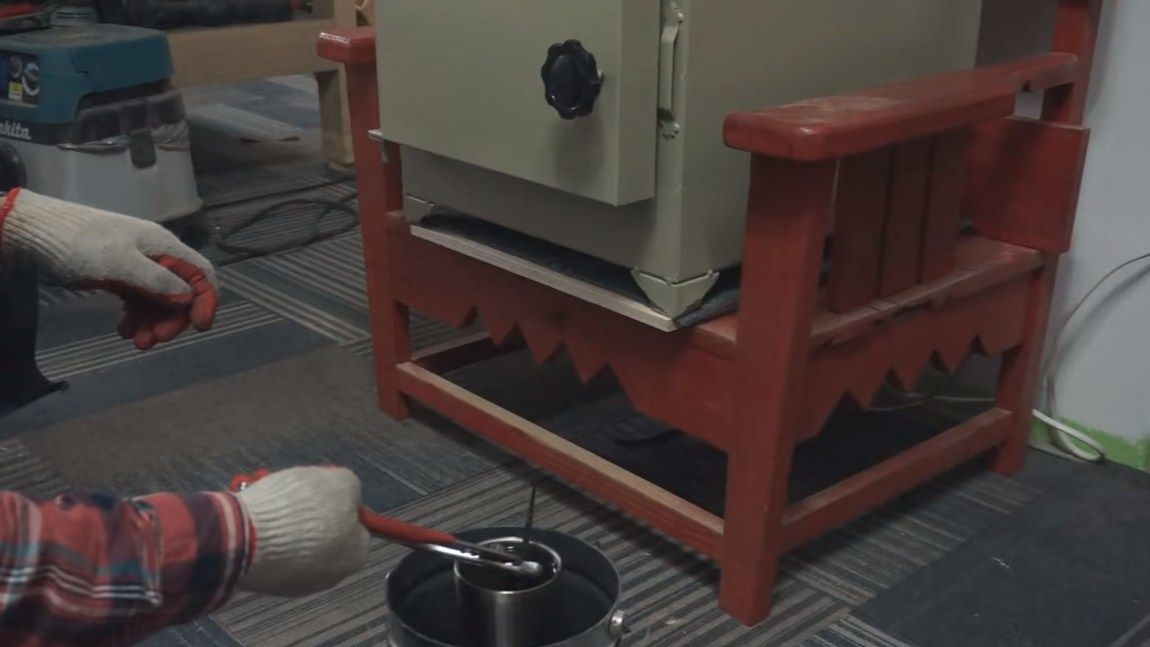
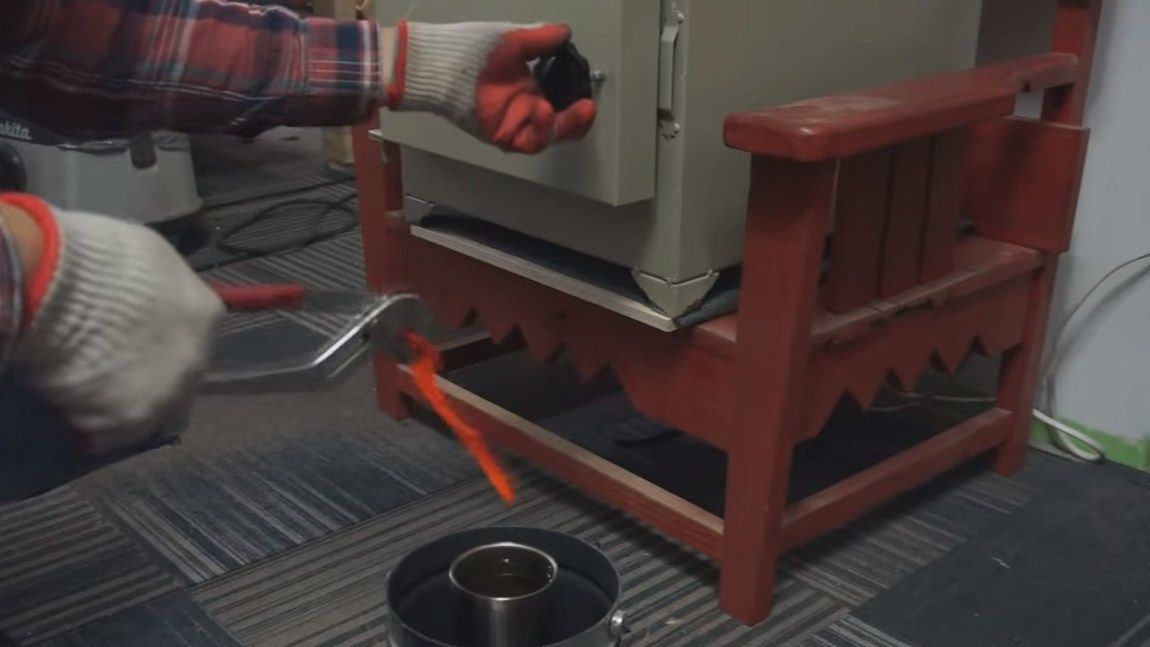
Step Four Quenching
For hardening, you need a forge furnace or a gas burner. We heat the red steel and dip it in oil. Then we check whether the hardening was successful using a file. If the metal is not taken, quenching was successful. If the metal is taken, we warm it to a brighter glow.
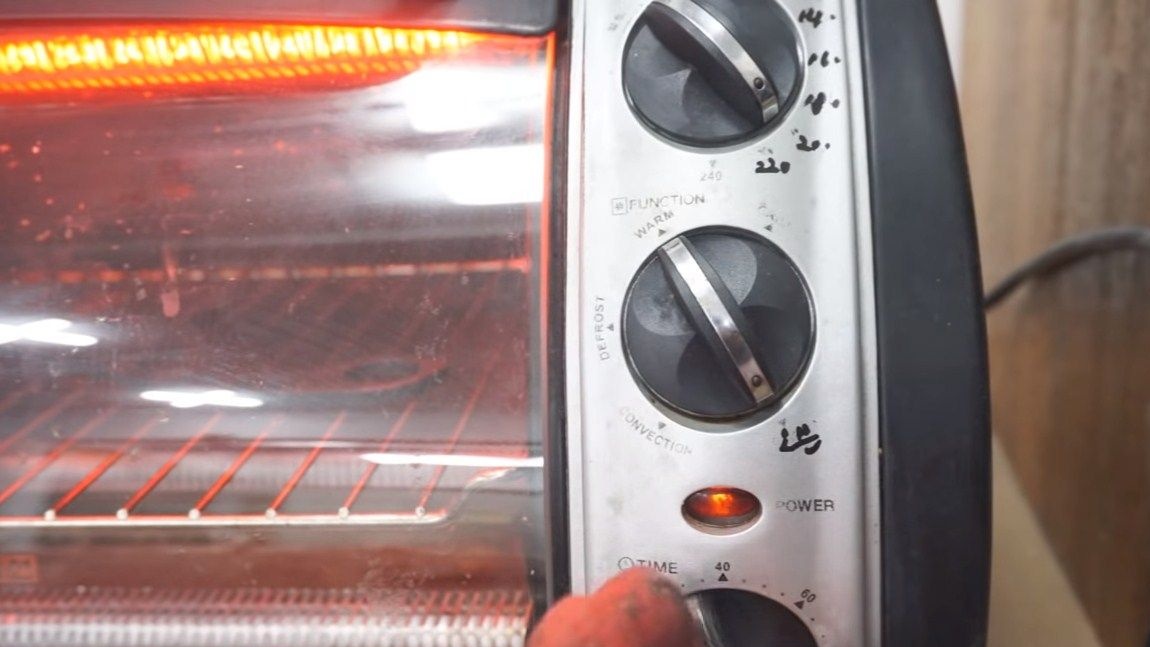
After this, handle the metal carefully, it will be brittle. This problem can be solved through the release of steel. As a result, we get elasticity, the knife will spring under loads. We use for this purpose a domestic oven and temperature conditions for the selected steel grade. The knife must be left to cool with the oven for smooth cooling.
Step Five Cleaning, grinding and sharpening
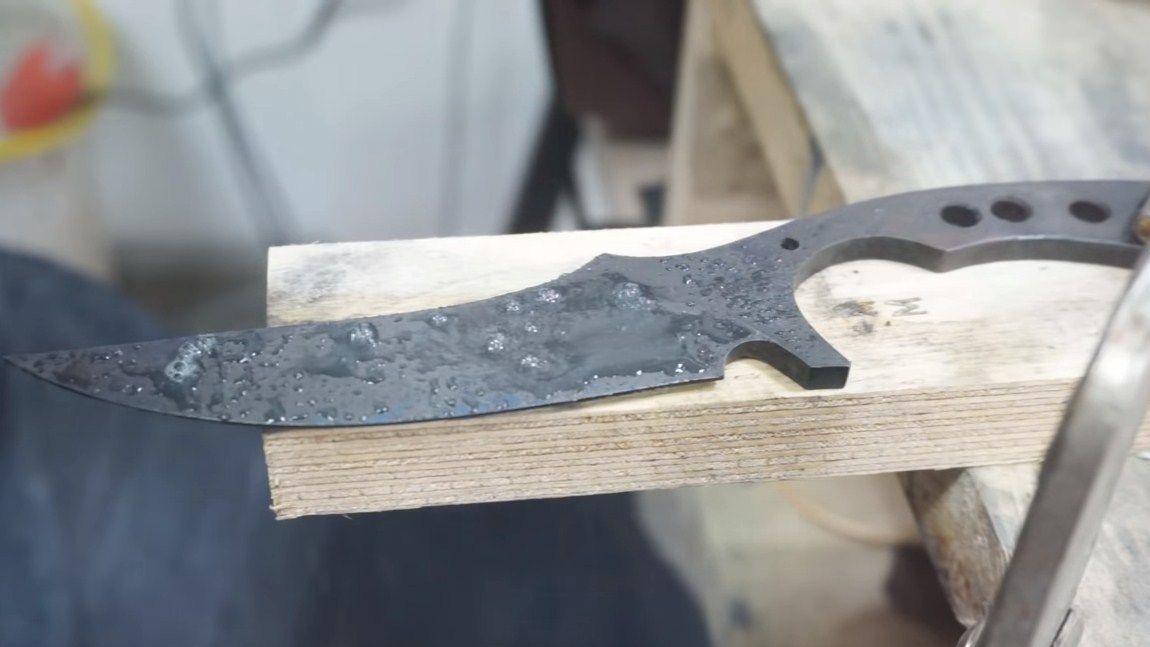
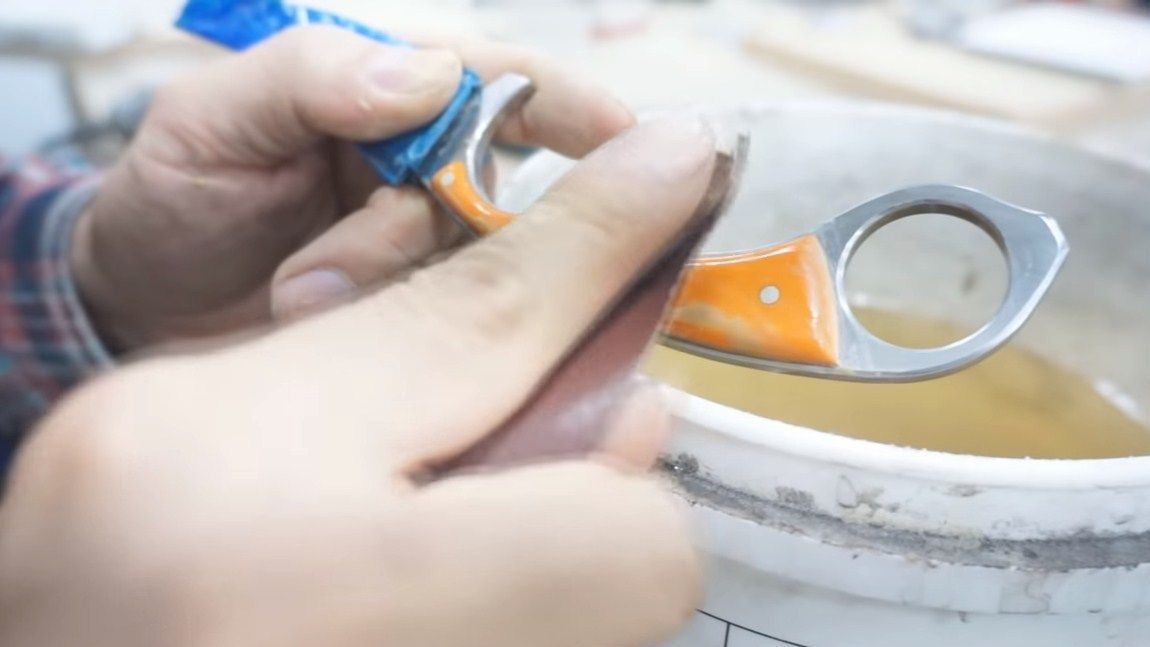
After hardening, the metal will be black or straw color if you cleaned it before vacation. This is the result of metal oxidation. We clamp the blade on the table with a clamp and proceed to grinding. We will need sandpaper, the coating is cleaned off quite effectively. Wet sandpaper in water, so it is cleaned of dirt.
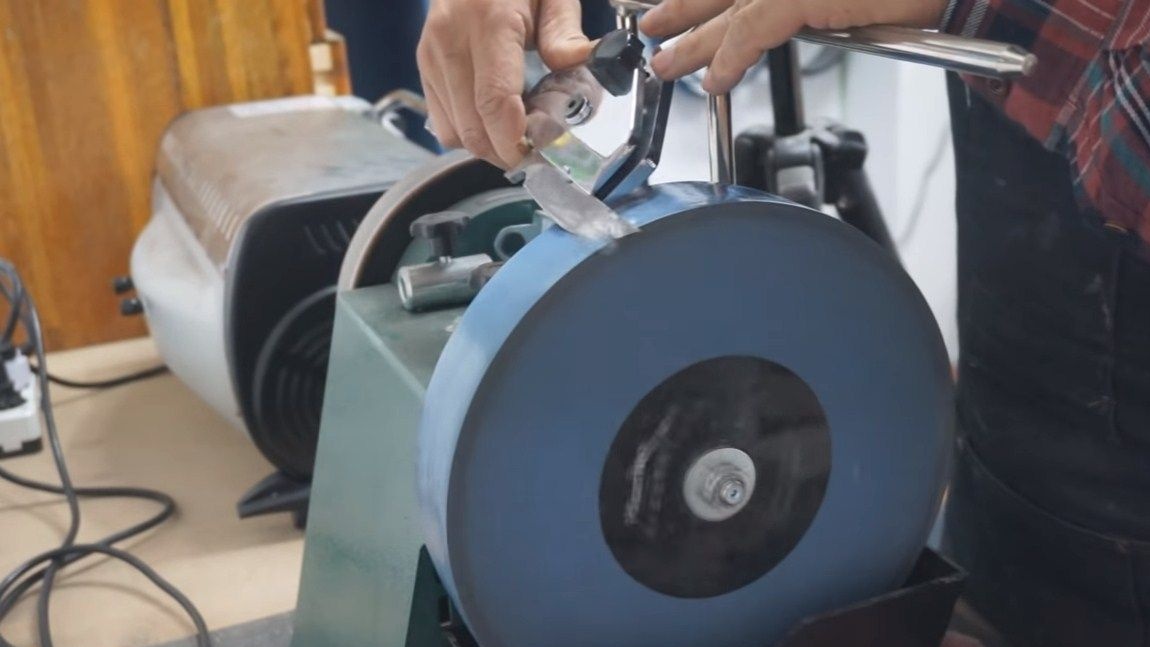
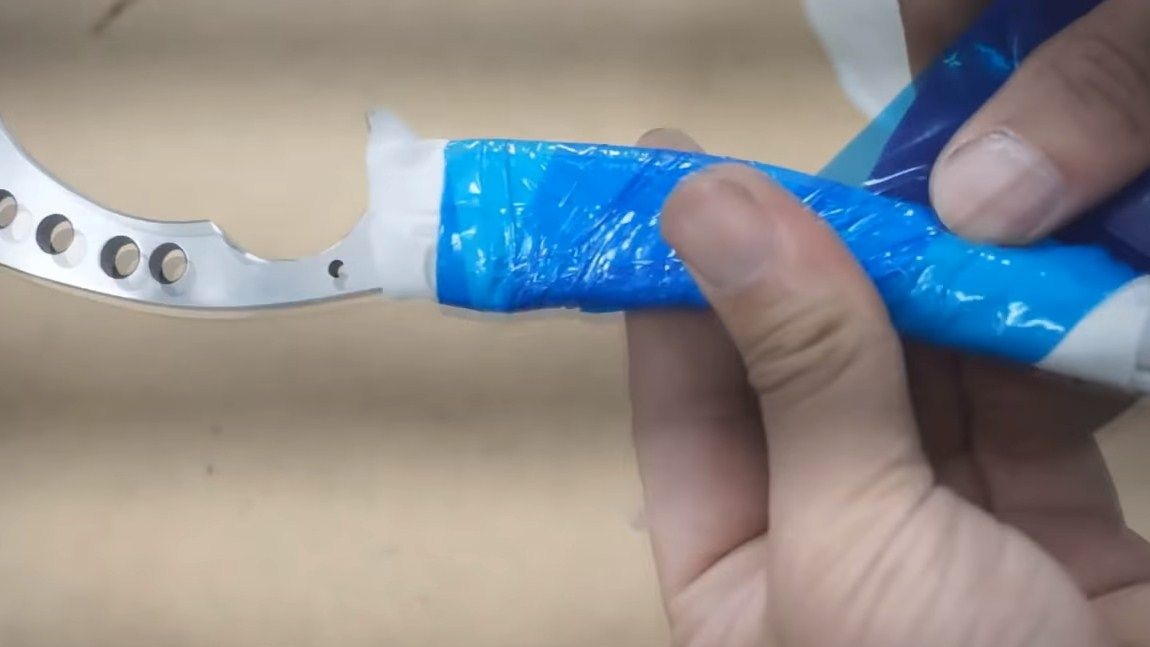
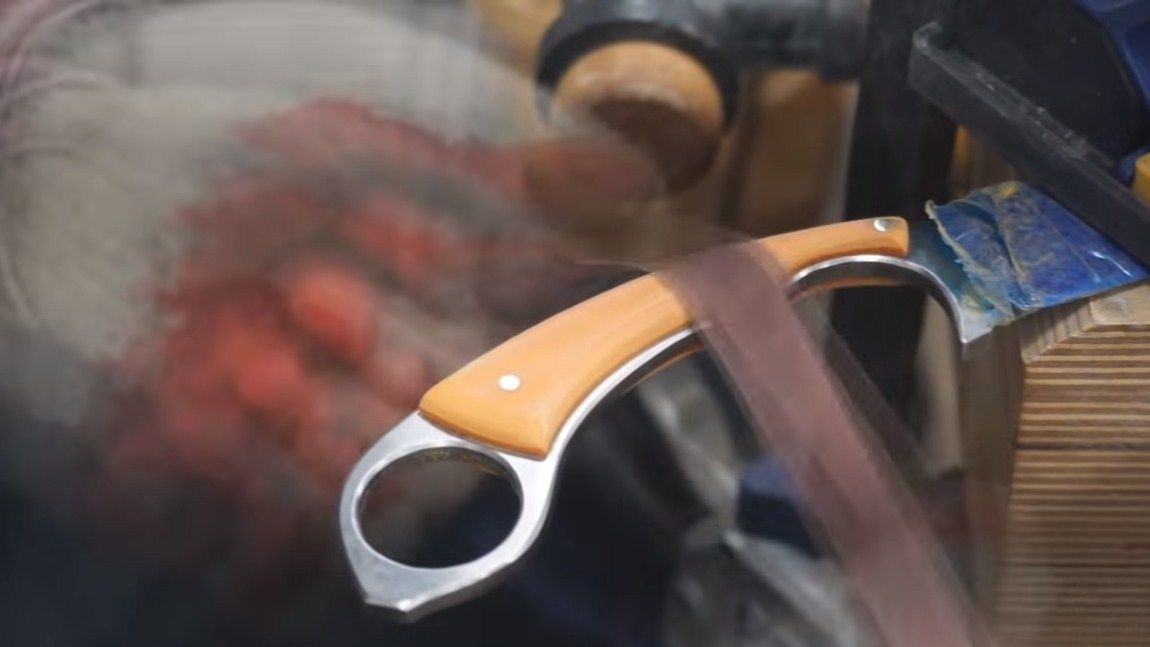
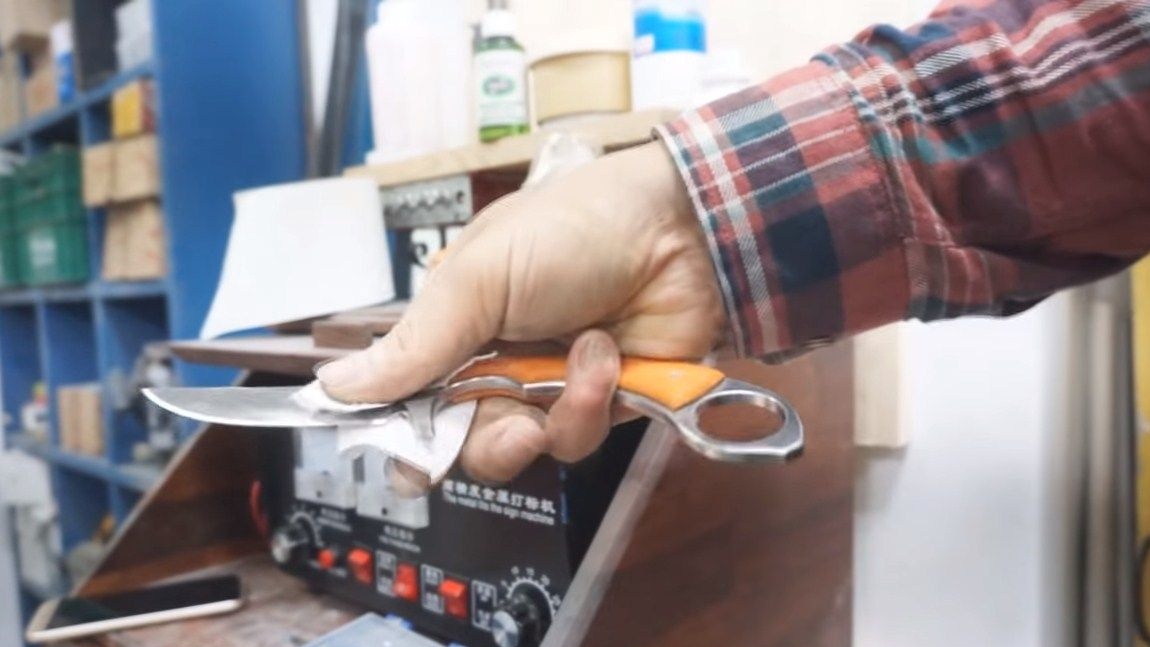
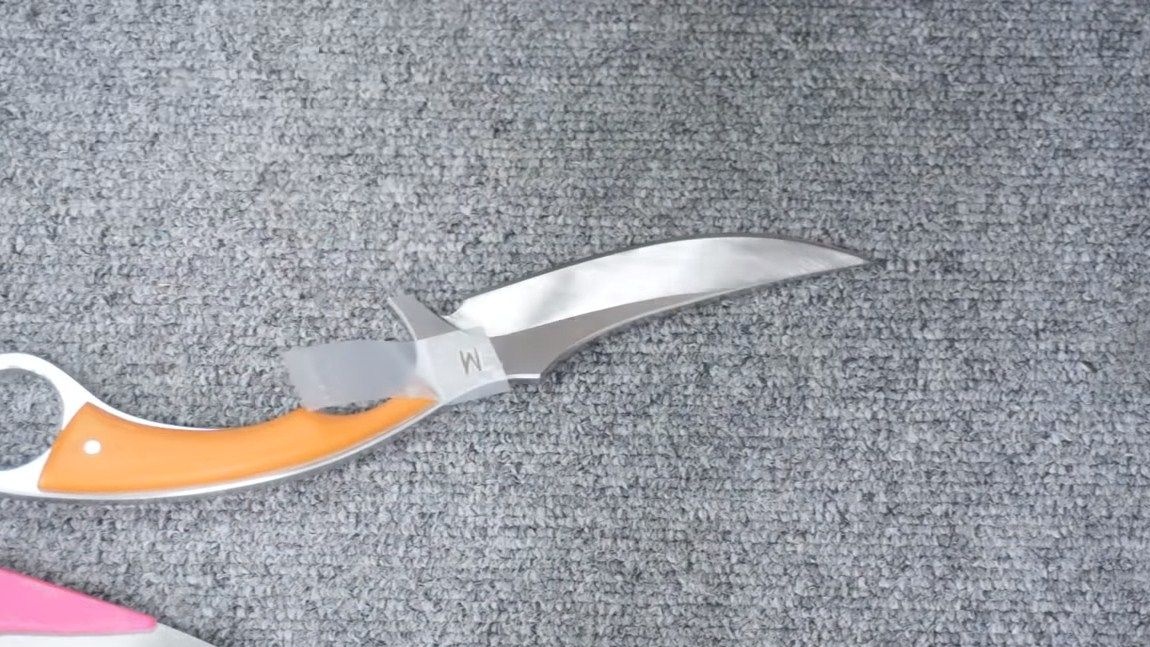
Next, we proceed to finalize the blade. First, we work on a belt sander, we sharpen the blade to the maximum possible value. If you have a small grinding belt or polishing, then you can grind the knife to perfect condition with it. The author used a special grinding machine with a slowly rotating grinding stone. Due to its low revs and water, the blade does not overheat and perfectly sharp. Ideally, the blade should be such that it cuts the paper to the canopy. For further work, we wind the blade with paper and tape on top, so as not to cut ourselves.
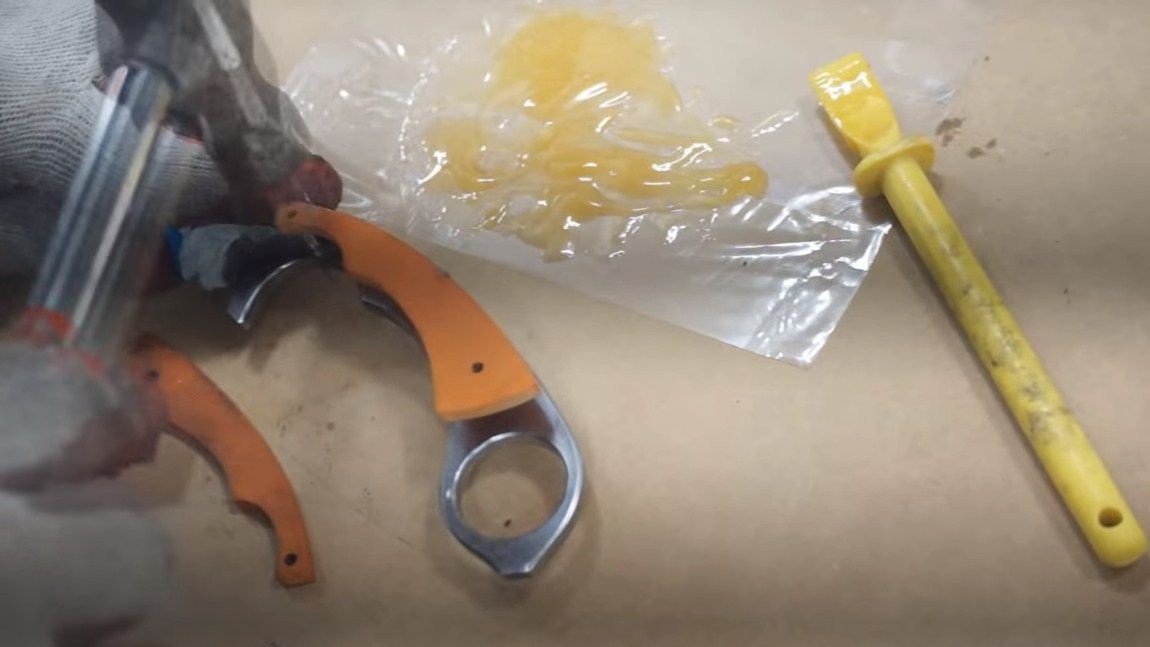
Step Six Cut out the pads
From what material the author made the overlays remains unknown, but this is clearly not a tree. The advantage of artificial materials over wood is that they are not afraid of moisture, the aggressive effects of salts, acids, the sun and so on. We cut two identical blanks, the author used a tape cutting machine for this, but you can handle it with a grinder. The resulting blanks are brought to an almost final result using a belt sander.
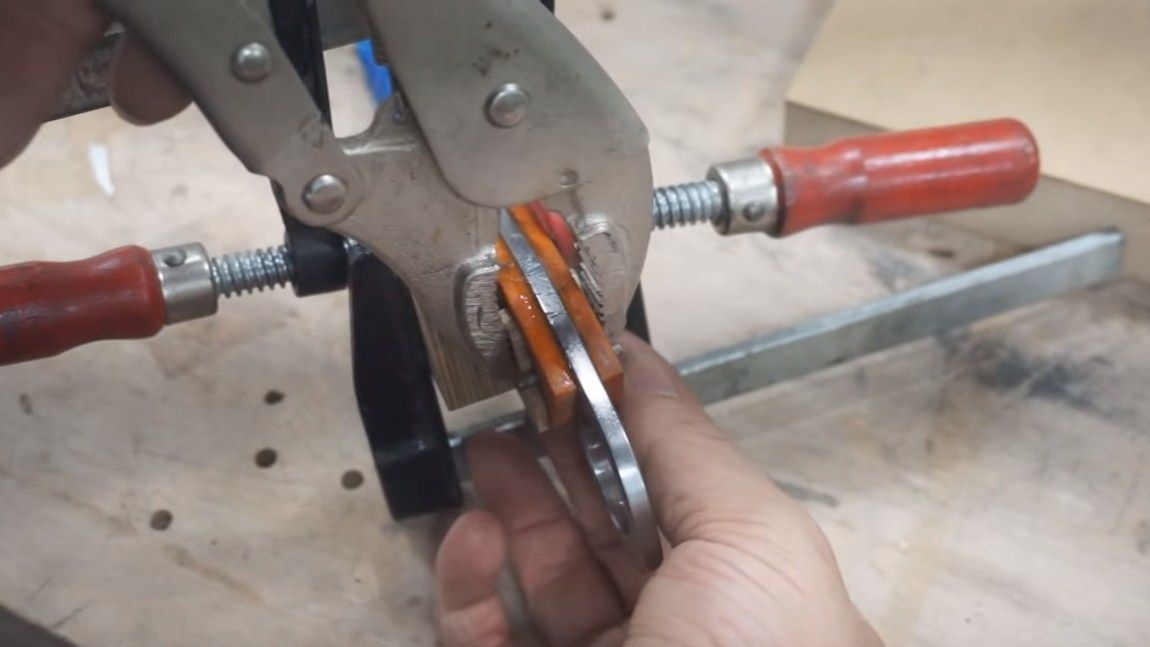
Seventh step. Collect the pen
The handle is assembled in a proven way - using epoxy glue and pins. As for the pins, then you can be smart and do something interesting. The surfaces to be bonded are thoroughly cleaned and degreased. It is desirable to grind metal with a large emery cloth; glue does not adhere well to a smooth surface.
We tighten the handle with clamps so that it sticks evenly along the entire length. Leave the glue to dry, it usually takes a day. After that, you can safely work with the product.
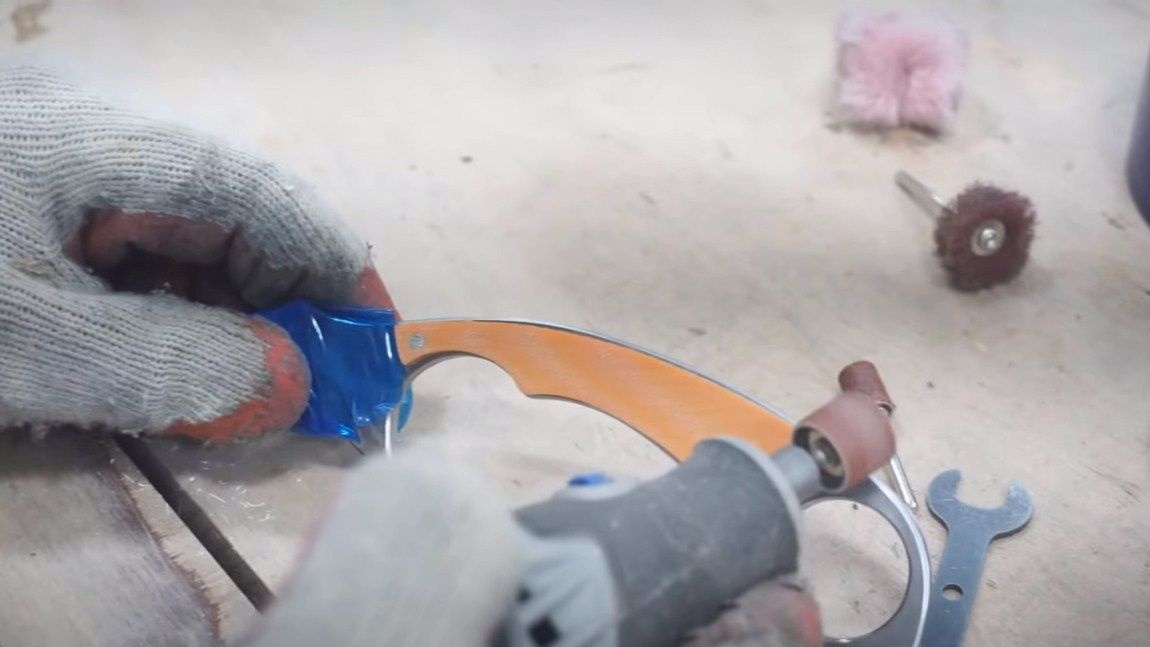
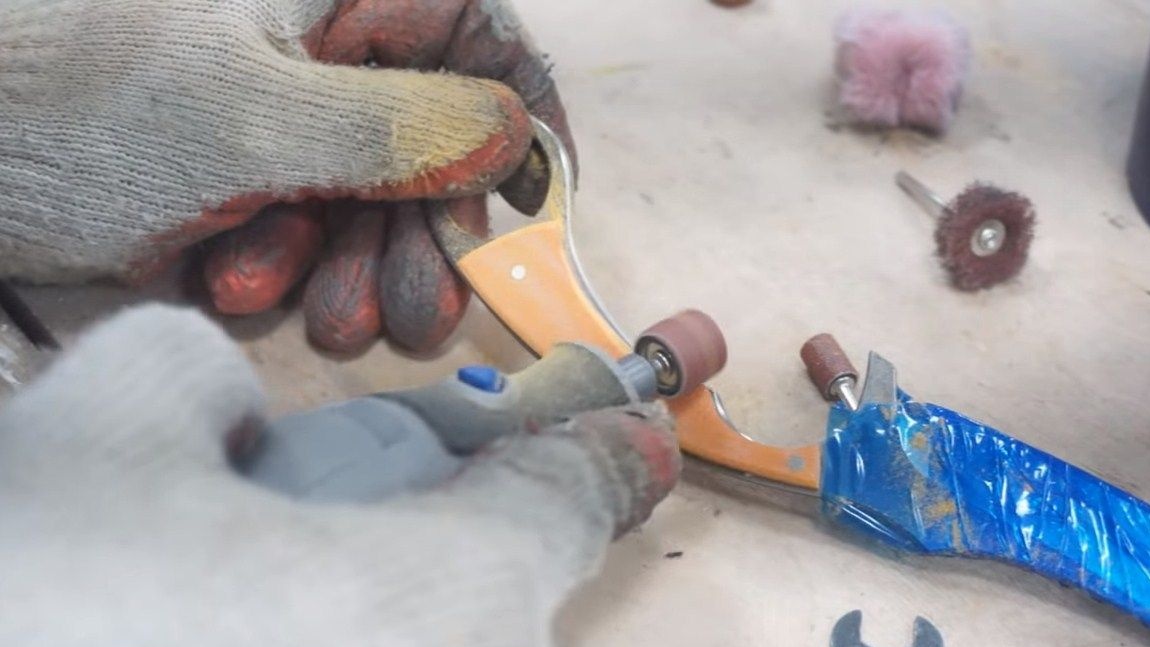
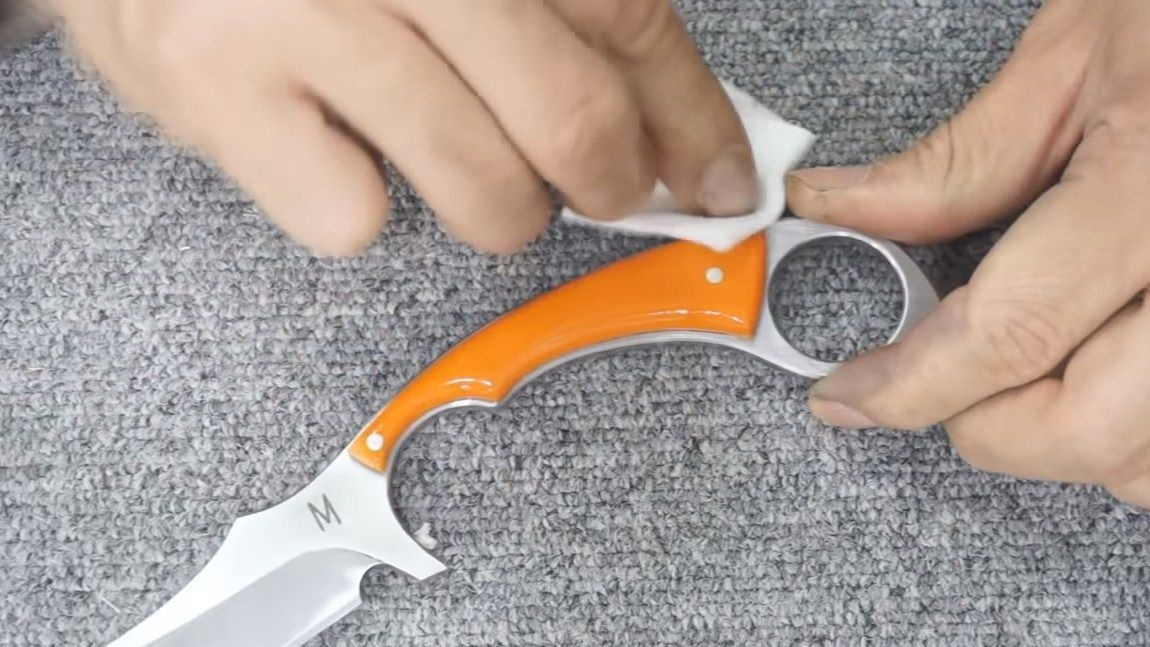
The glue is dry, now we go to the belt grinder and form the handle that we want. For finer processing, the author used a drill with a nozzle made of sandpaper. Finishing is done manually using a piece of fine sandpaper. If the pads are not made of wood, sandpaper can be moistened in water, it will work better this way. As a result, the pen can be polished.
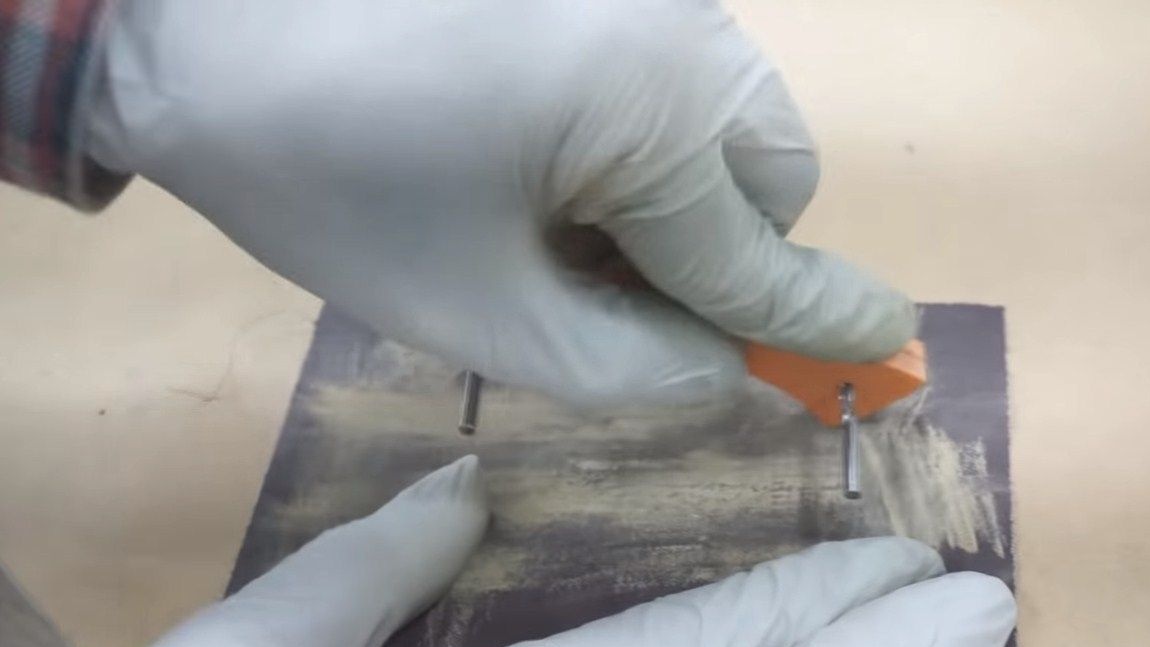
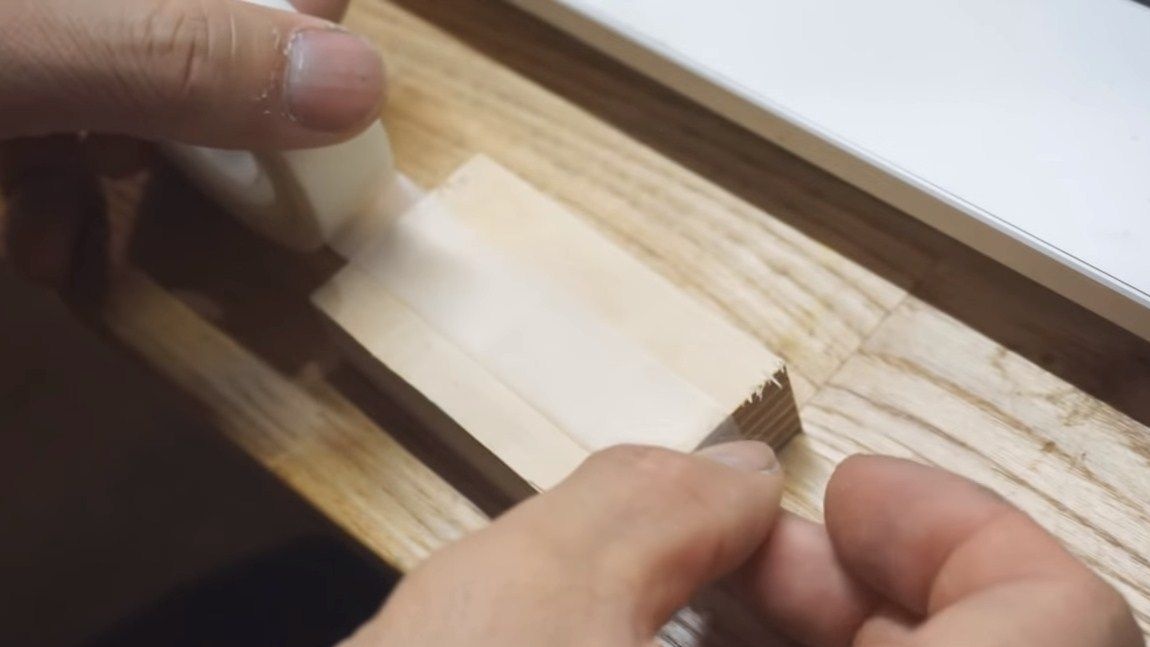
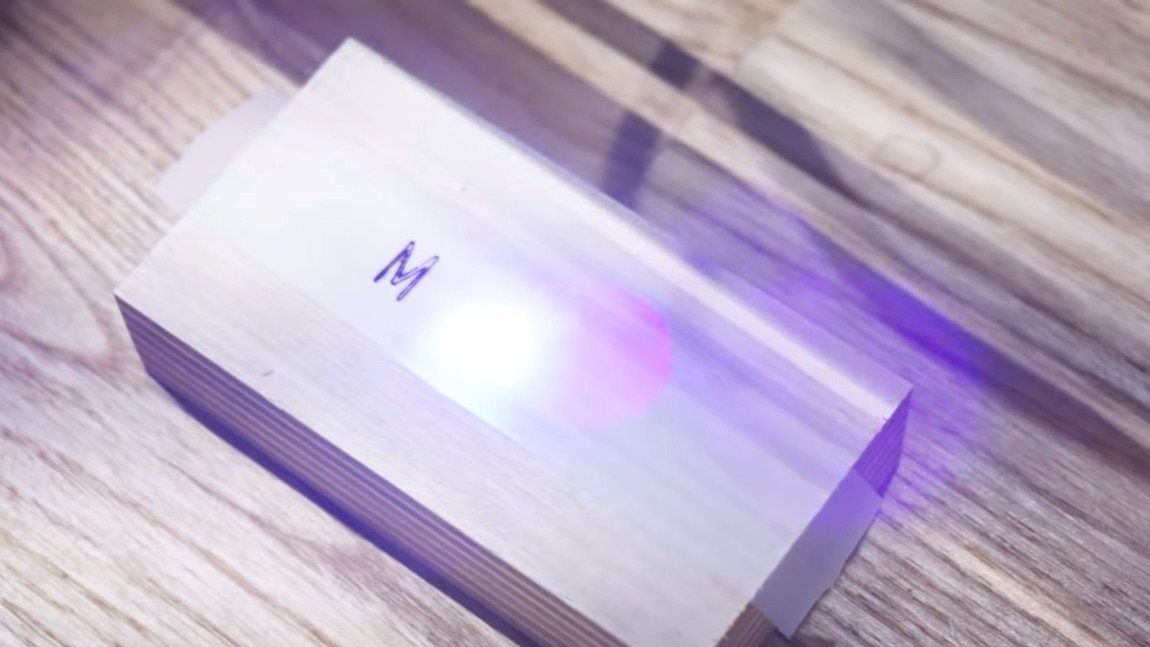
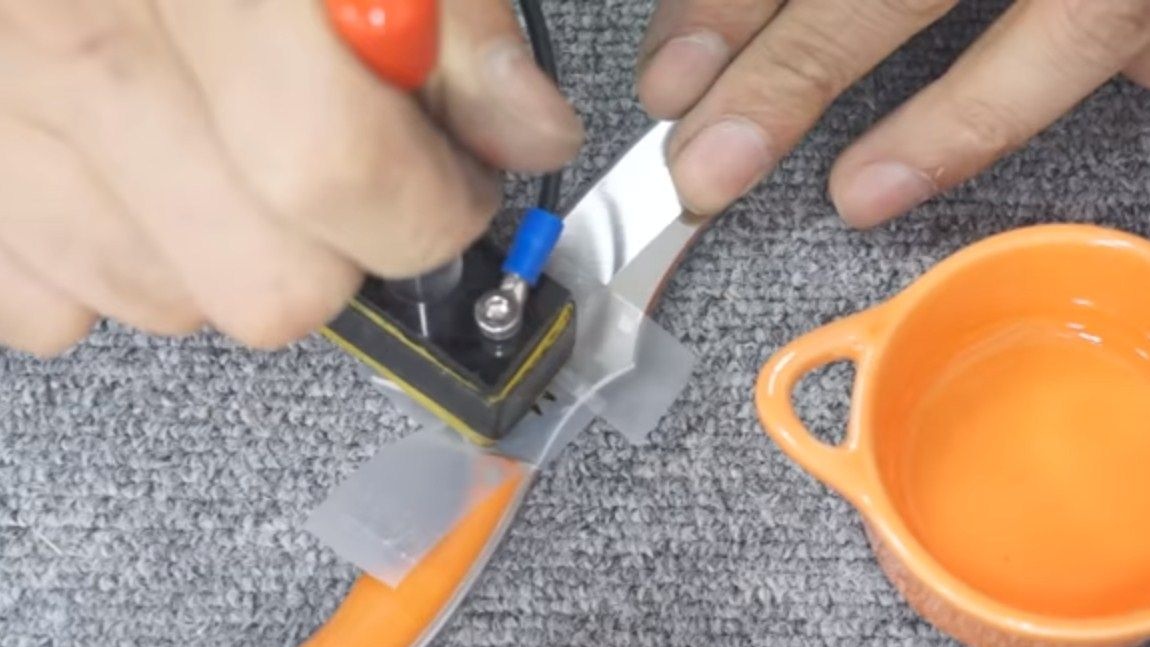
Step Eight. Etching Pattern
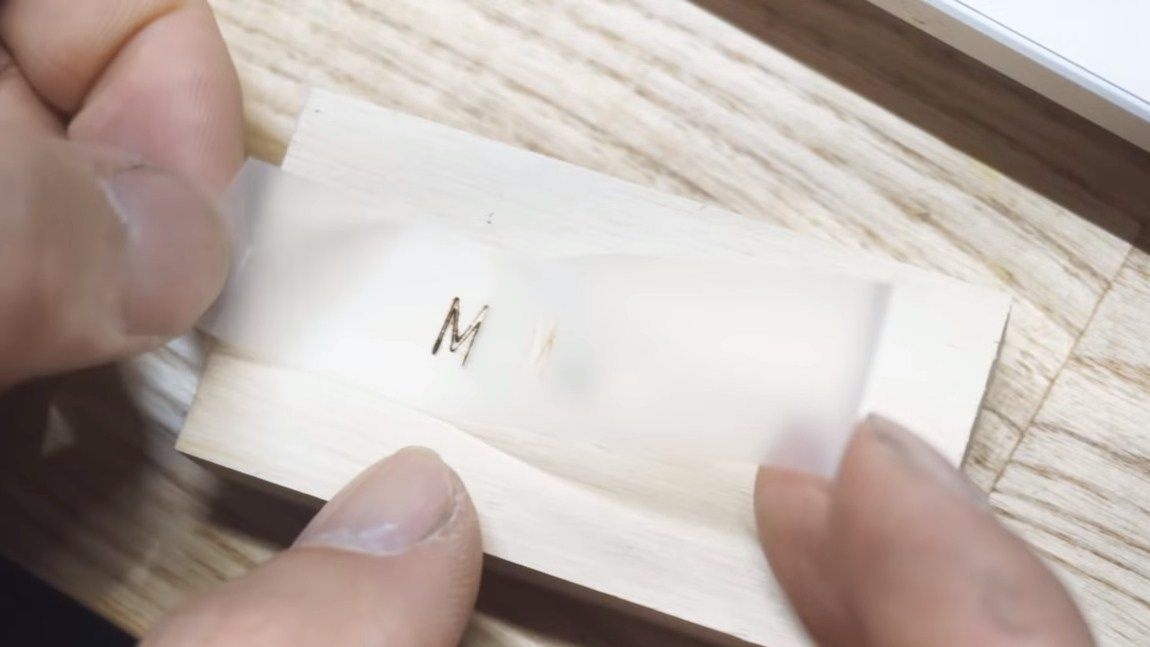
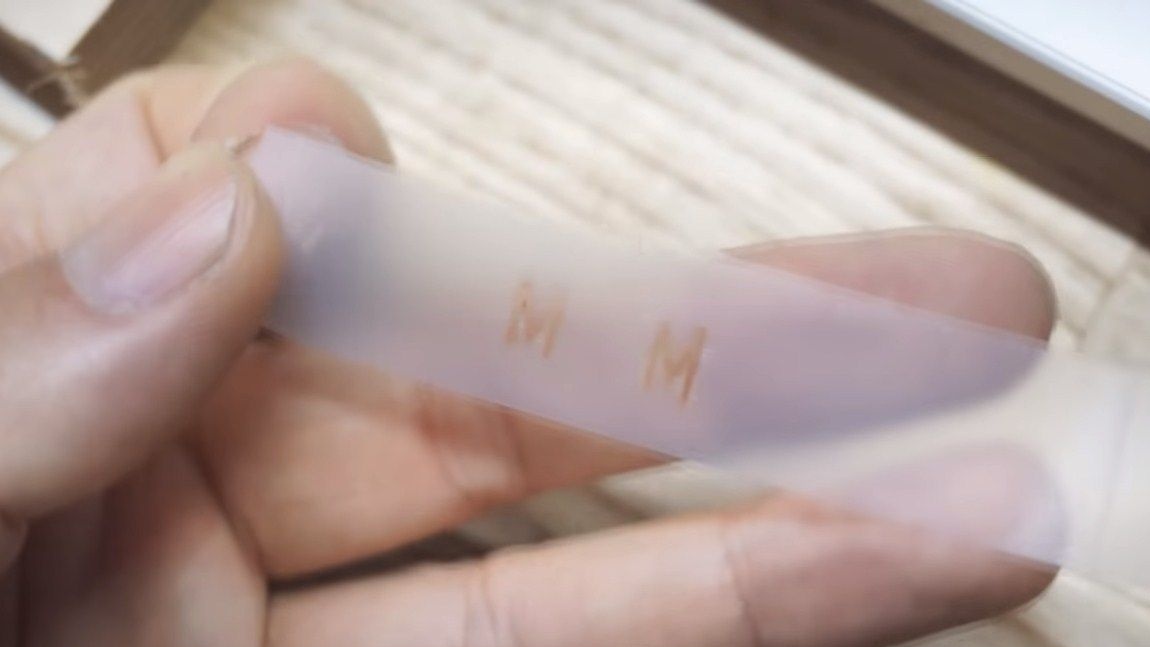
A unique pattern can be applied to the knife, so it will look much more interesting. For etching, you will need to make a stencil. The author made it from masking tape, and the drawing, in this case a letter, was burned out by a laser. To do this, tape is glued to the tree.
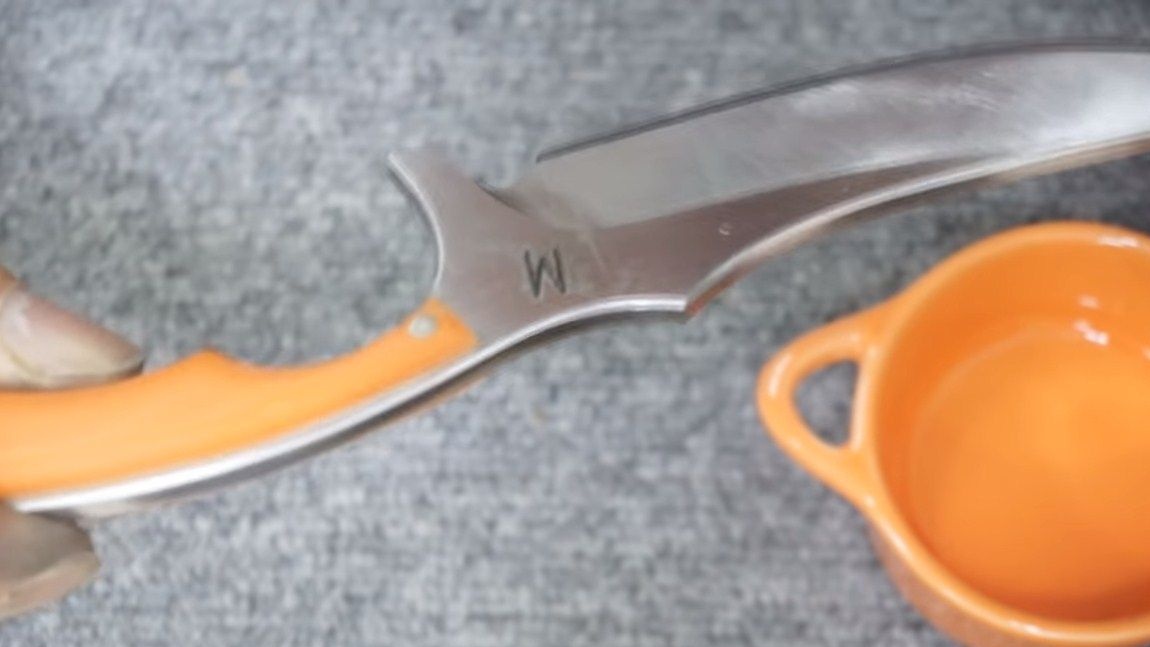
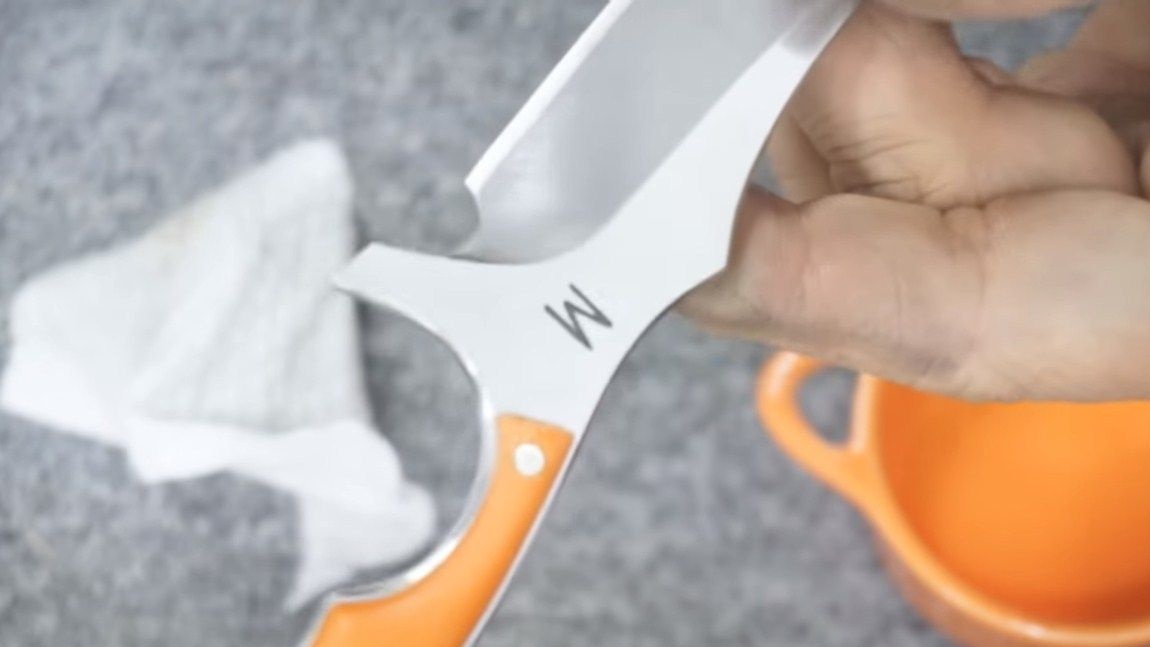
Well, then proceed to etching. Usually, a saline solution and a power supply are used for this. Plus, we apply to the product, and to the minus we connect a cotton wool soaked in salt water and drive it to the place of etching. After some time, the open metal will “burn out” and we will get a durable pattern. That's all, after that we remove the adhesive tape and clean the knife from glue.
Step Nine. Final step
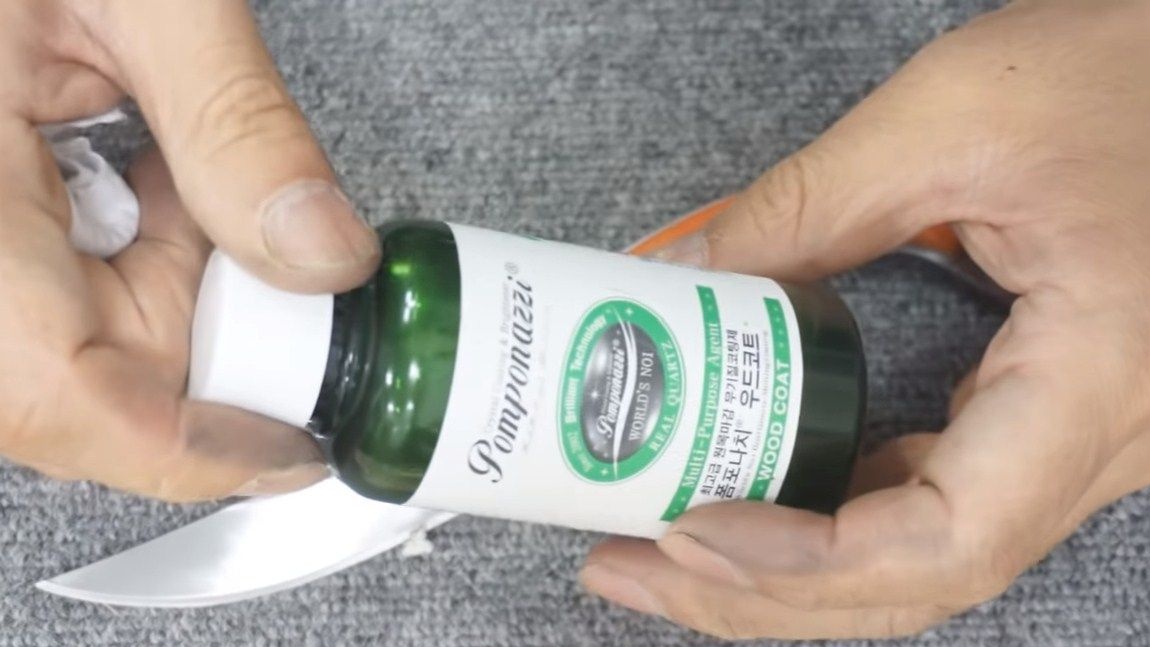
In conclusion, we need to take care of protecting the knife from moisture. Well, oil for wood impregnation copes with this task. Although O1 steel is not very afraid of rust, it would be good to coat it with oil for storage. And if the linings are made of wood, then they need to be impregnated with oil without fail.
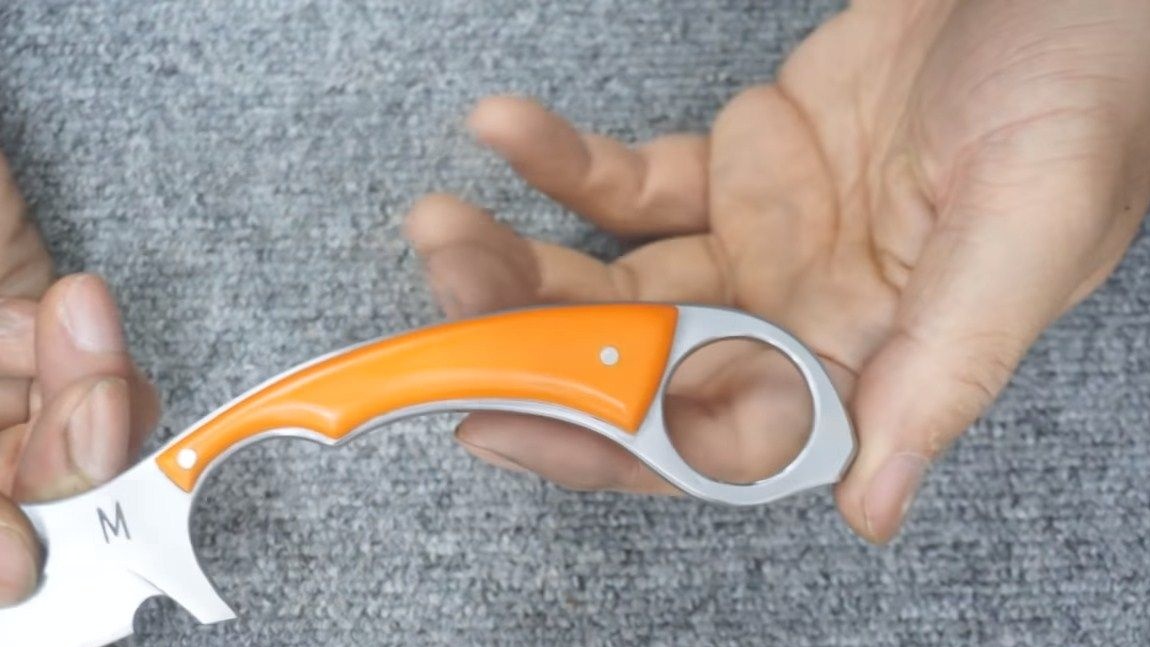
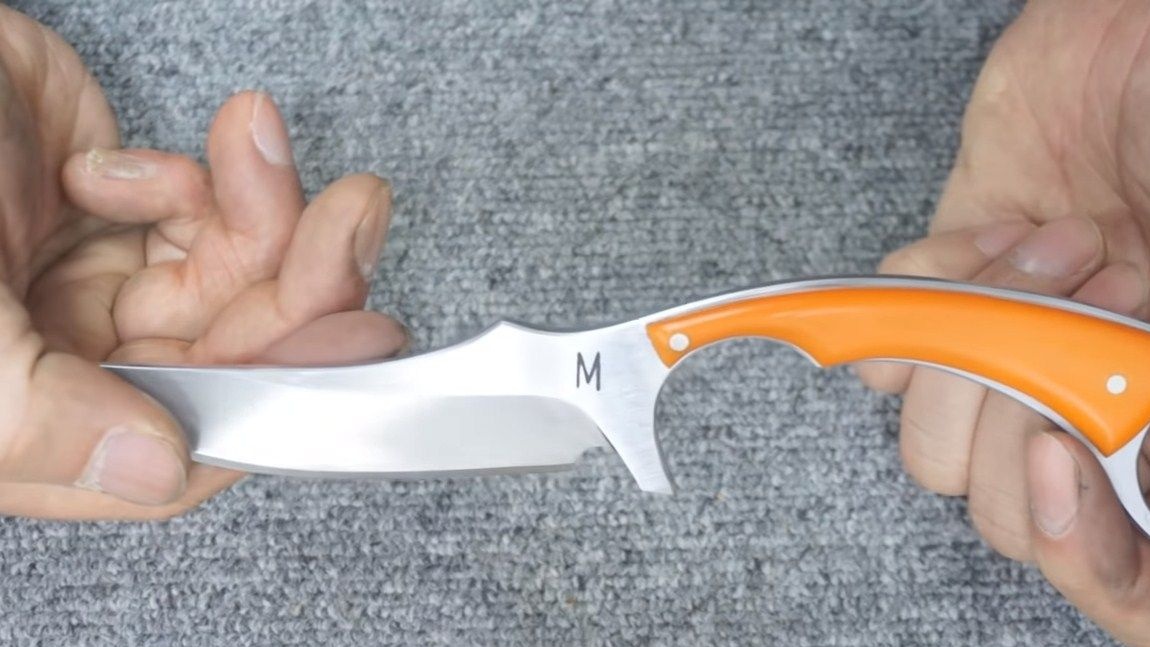
That's all, our wonderful knife is ready! If a good metal is selected and it is properly hardened, the knife will be very sharp and will keep sharpening for a long time. You can sharpen the blade to the ideal with the help of Japanese water stone. That's all, the project is over, I hope you liked it. Good luck and creative inspiration, if you want to repeat it. Do not forget to share your homemade with us!