
I welcome fans to craft and work with metal. In this instruction, we will talk about the simplest home-made knife that you can easily make do it yourself. To make such a knife is not difficult, it is even very simple. Of the most complex and expensive machines that the author used, this is a belt sander. But it is needed mainly in order to make bevels. In general, this procedure can be handled with files, and grinding is done manually using sandpaper.
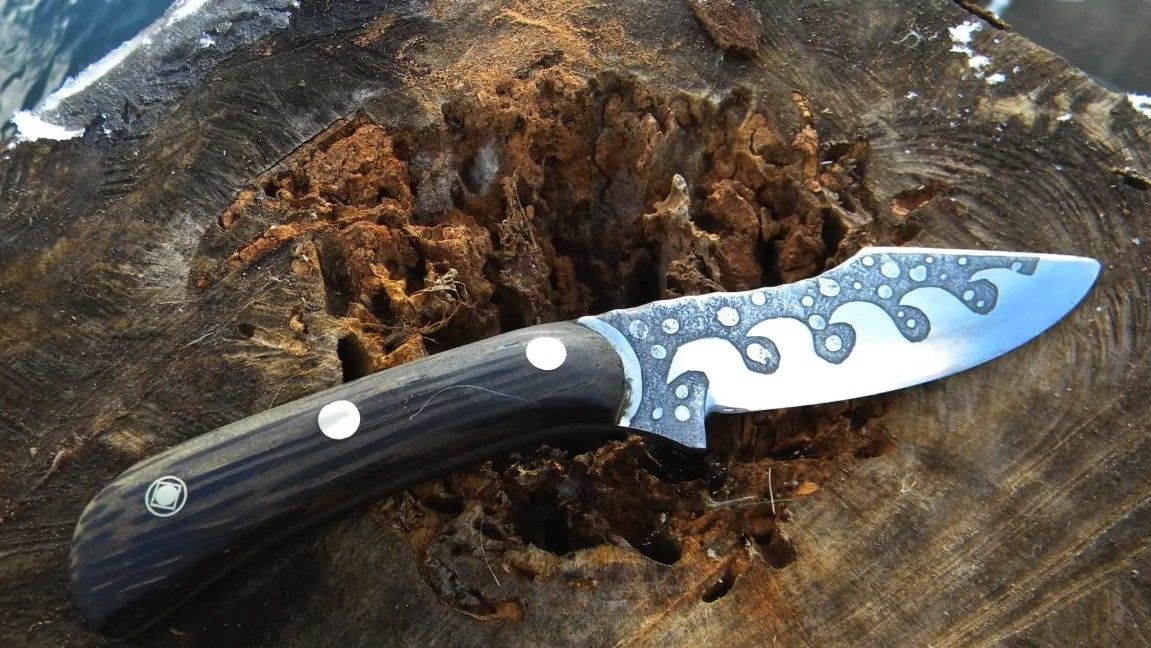
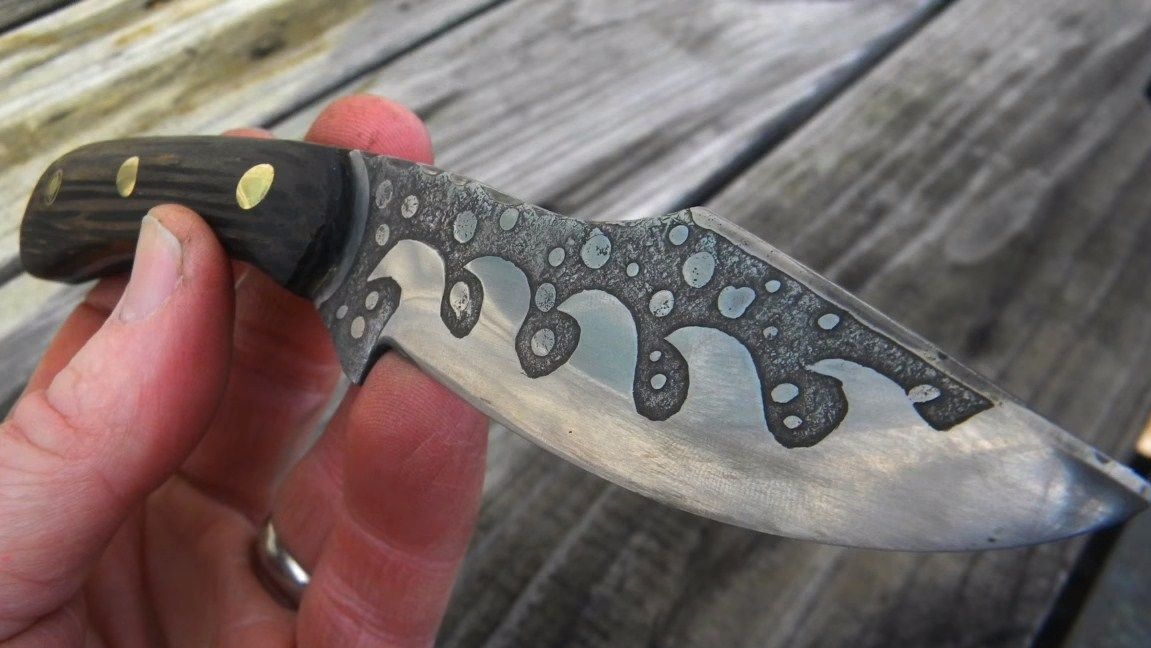
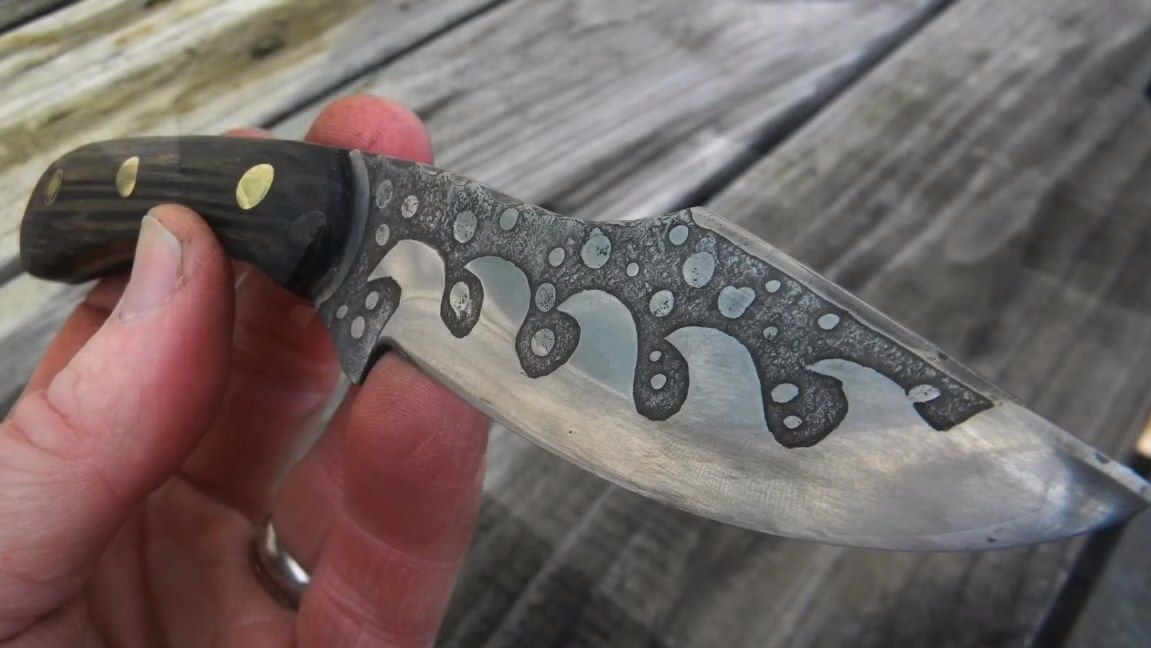
This knife is interesting for its unique pattern; it is made by etching. This pattern will be durable, it will make your knife unique. You can make an inscription or any pattern at your discretion. And in order for the knife to turn out to be of high quality, you need to use good steel, it should have as much carbon as possible, then it can be hardened. Similar steel can be found among various cutters, tools and so on. The key feature of this steel is that it produces very thick sparks during cutting. If you work with ordinary steel at low speeds, you can’t see sparks at all, but carbon steel will form sparks. Overseas masters use steel O1, 1095 and others like that. So, we will consider in more detail how to make such a knife!
Materials and tools used by the author:
Material List:
- carbon steel;
- wood for linings;
- brass rods, tubes and so on (for pins);
- epoxy glue and dye;
- oil for wood impregnation.
Tool List:
- grinder;
- belt sander;
- grinder;
- marker;
- drill;
- vise;
- clamps;
- drill;
- power supply, saline, etc. (for etching);
- sandpaper;
- files;
- a tool for sharpening knives.
The process of making a knife:
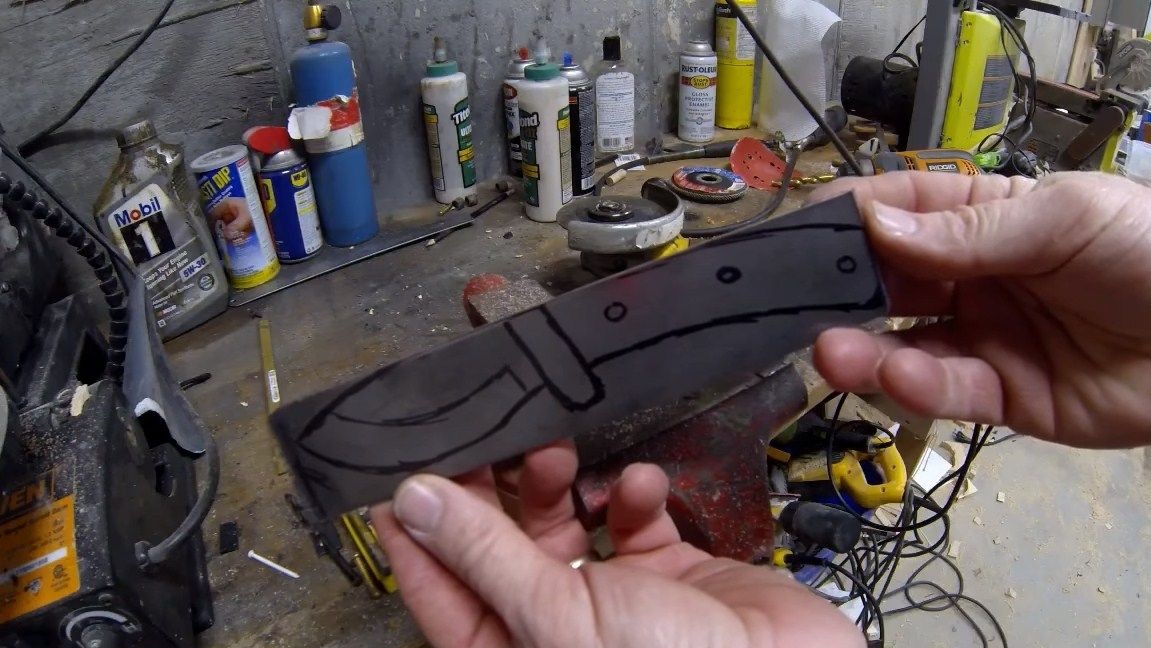
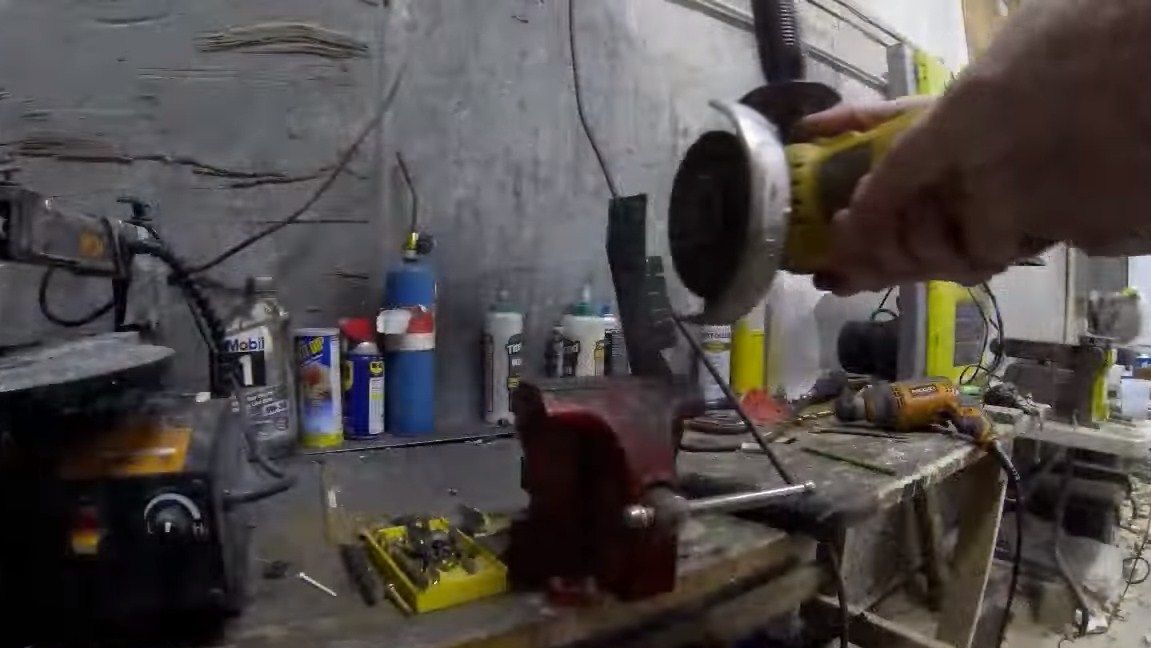
Step one. Cut the main profile
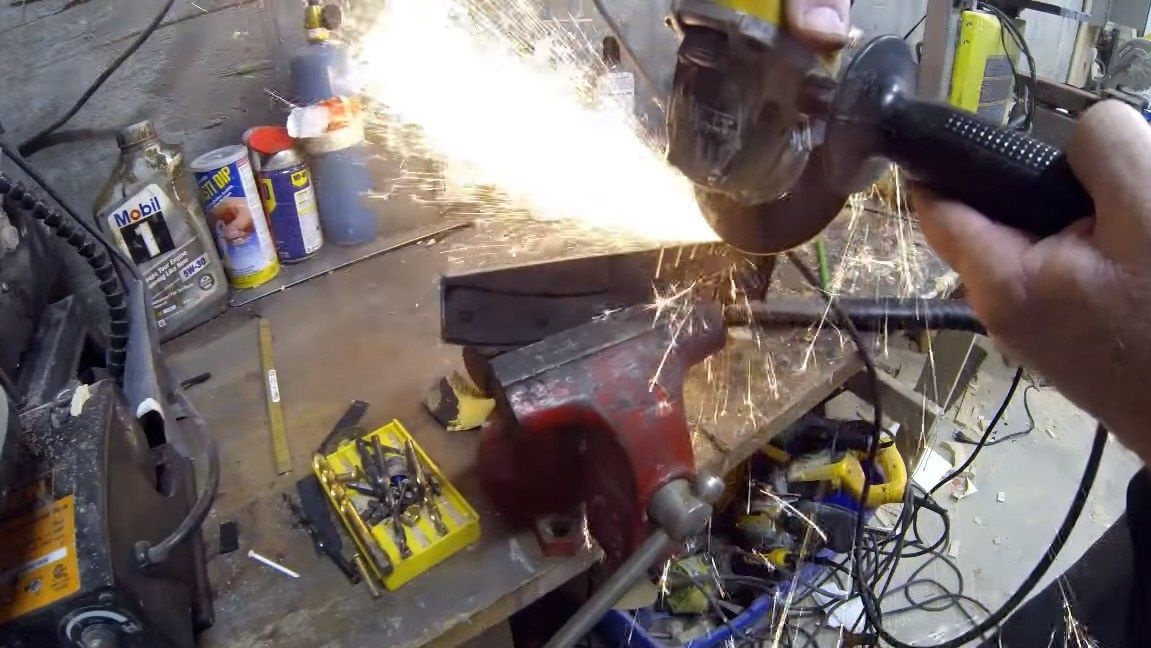
The main profile is elementary cut using a grinder. Concave places are cut into pieces, making transverse cuts. If you have a tape cutting machine, it can cope with this task much faster.
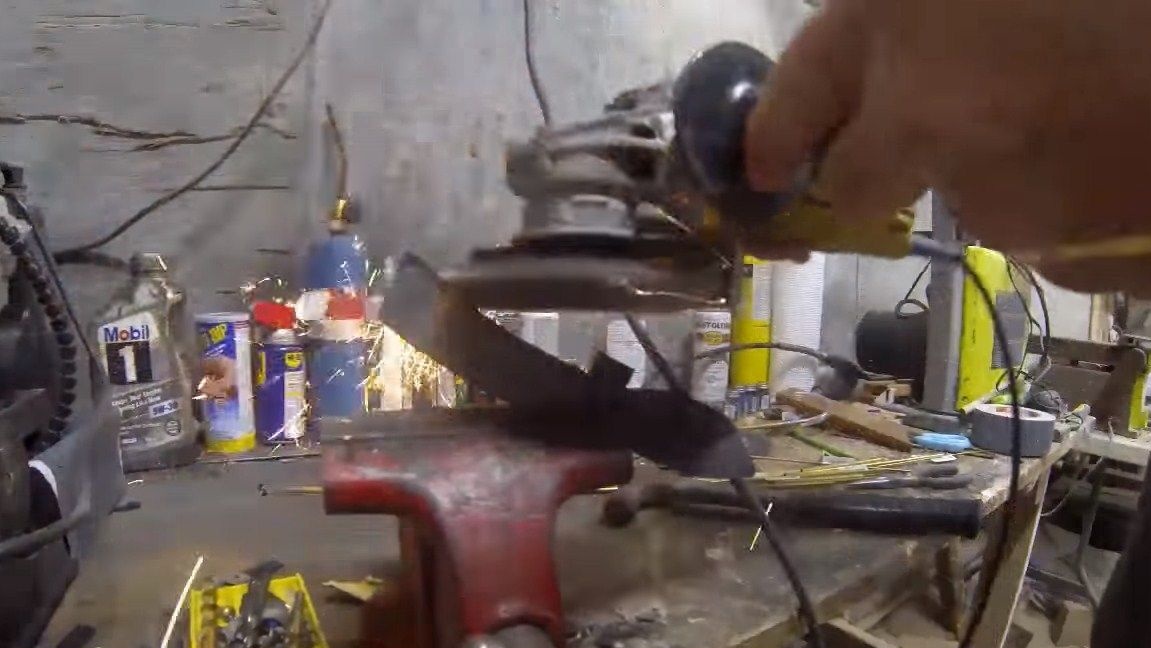
Well, then we proceed to grinding those places that we were not able to cut. For these purposes, we are again working with a grinder. This time we need a thick disk for grinding work. With it, we bring the contour to an almost finished look.
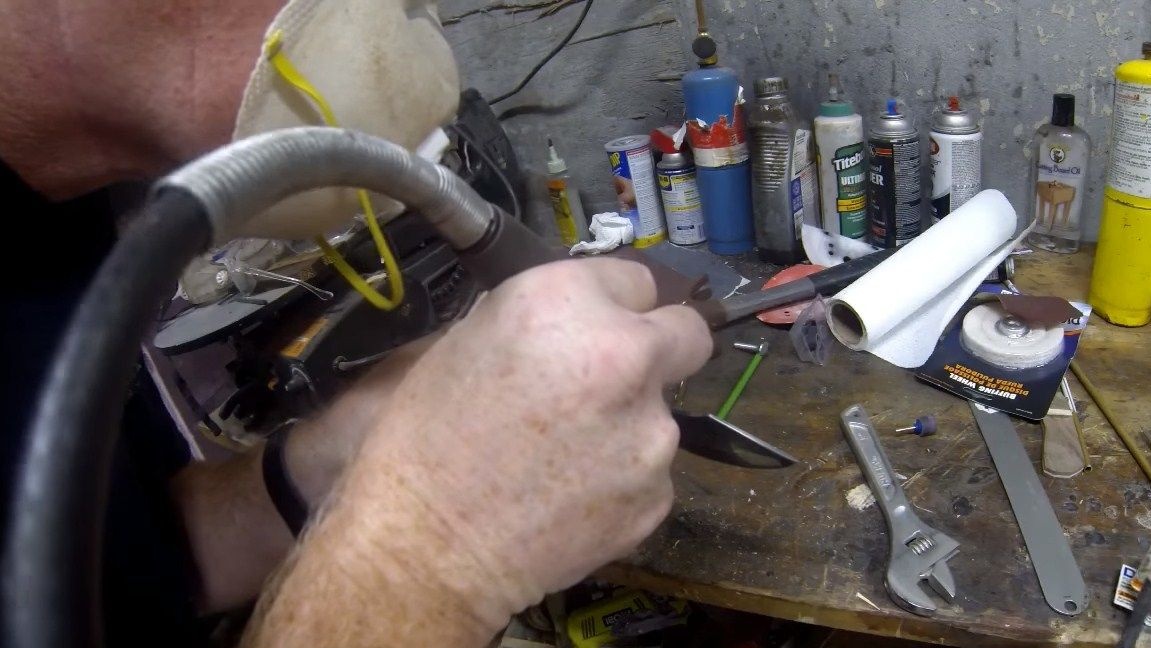
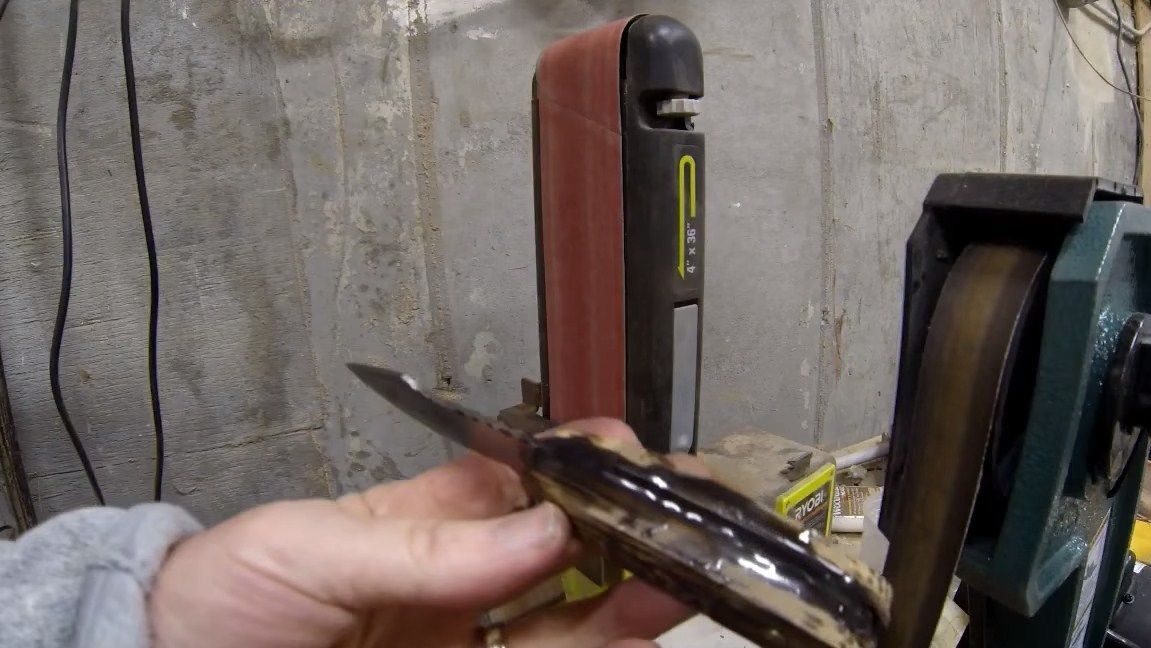
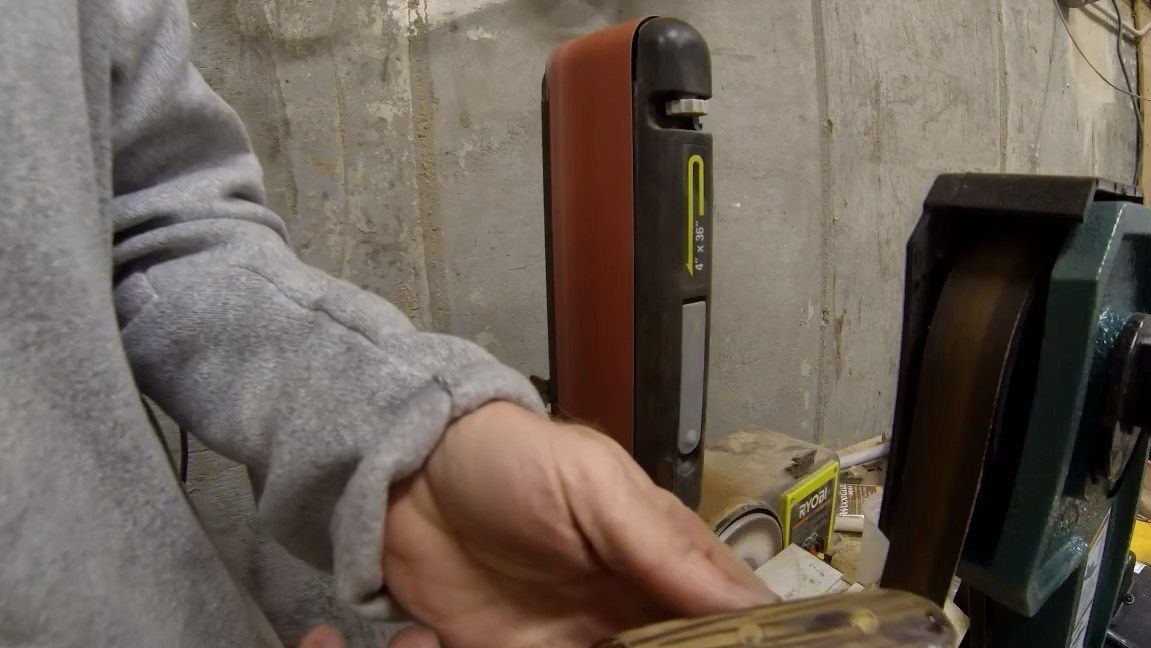
For finer processing we use a belt sander.We also grind the plane of the blade.
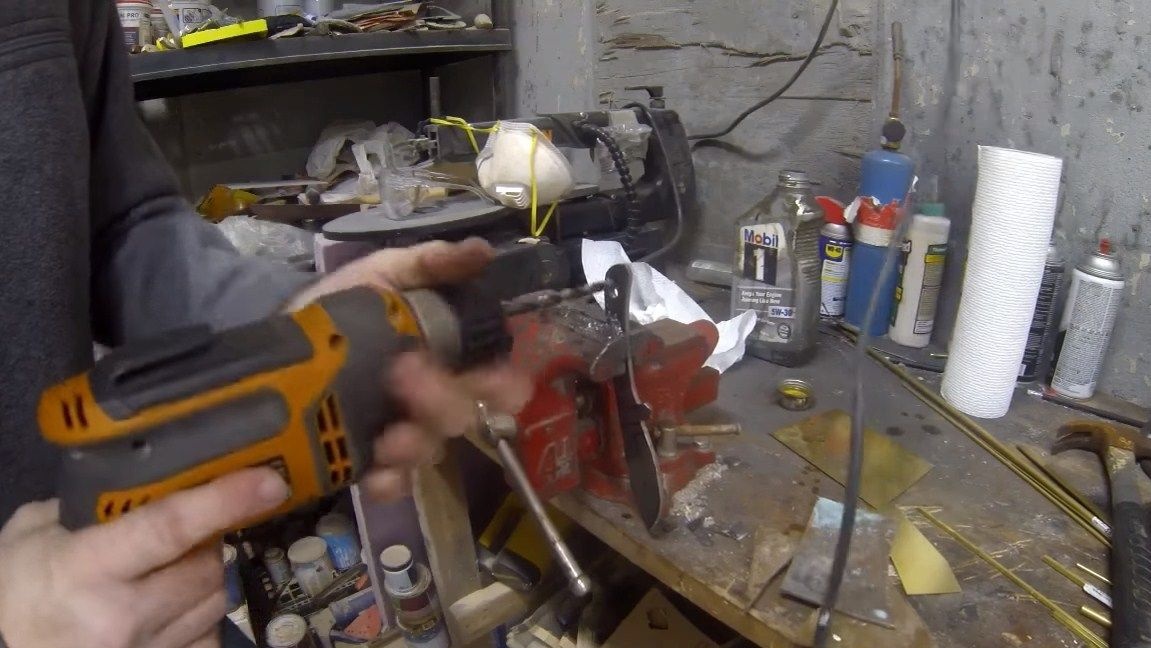
Step Two We drill holes for the pins
In the area of the handle, drill holes for the pins. They must be of such a diameter that the pins come with a minimum clearance, then the handle will hold as securely as possible. The author clamps the blade in a vice and drills holes with a conventional drill. Steel should not be hardened, otherwise it can only be drilled with a special drill with carbide tip.
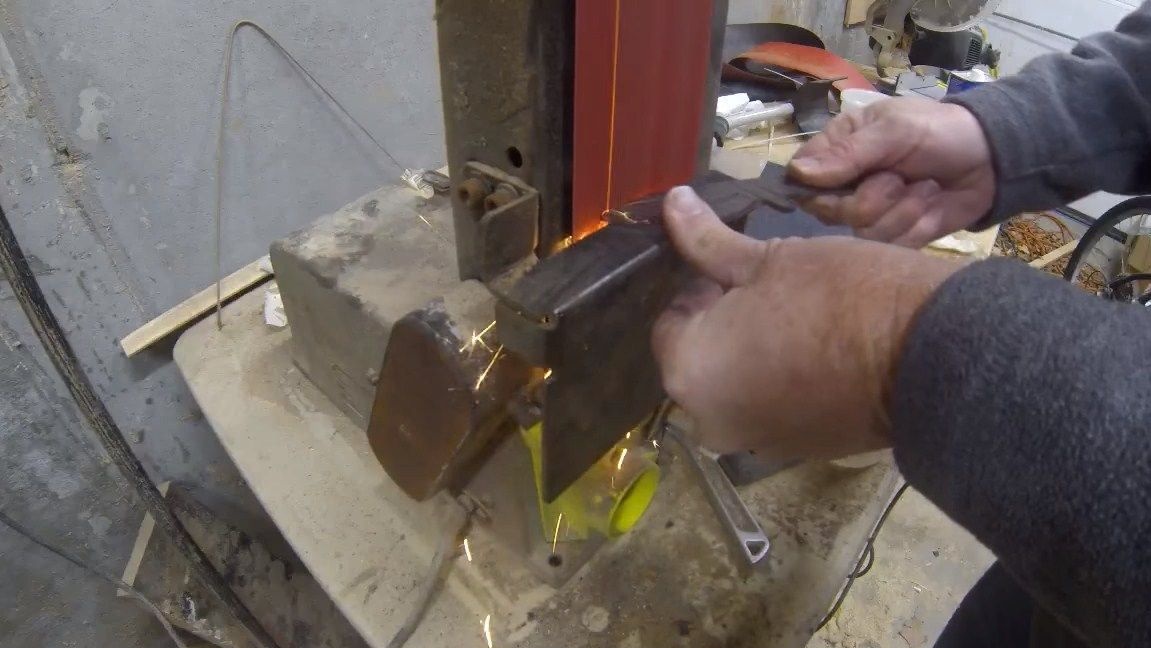
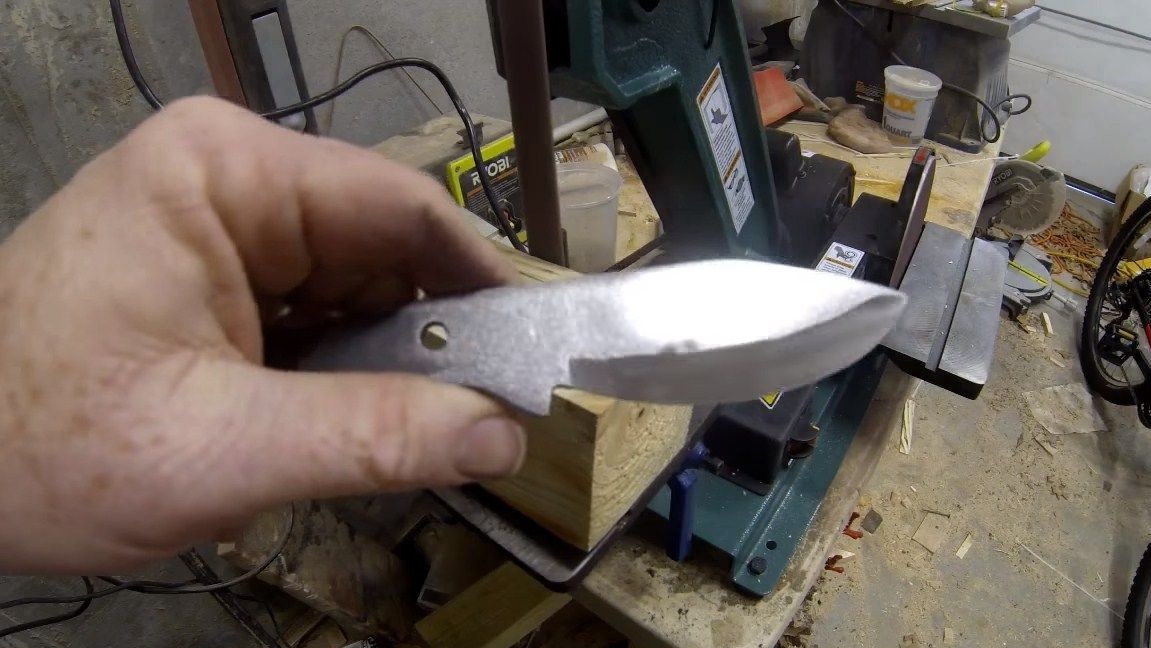
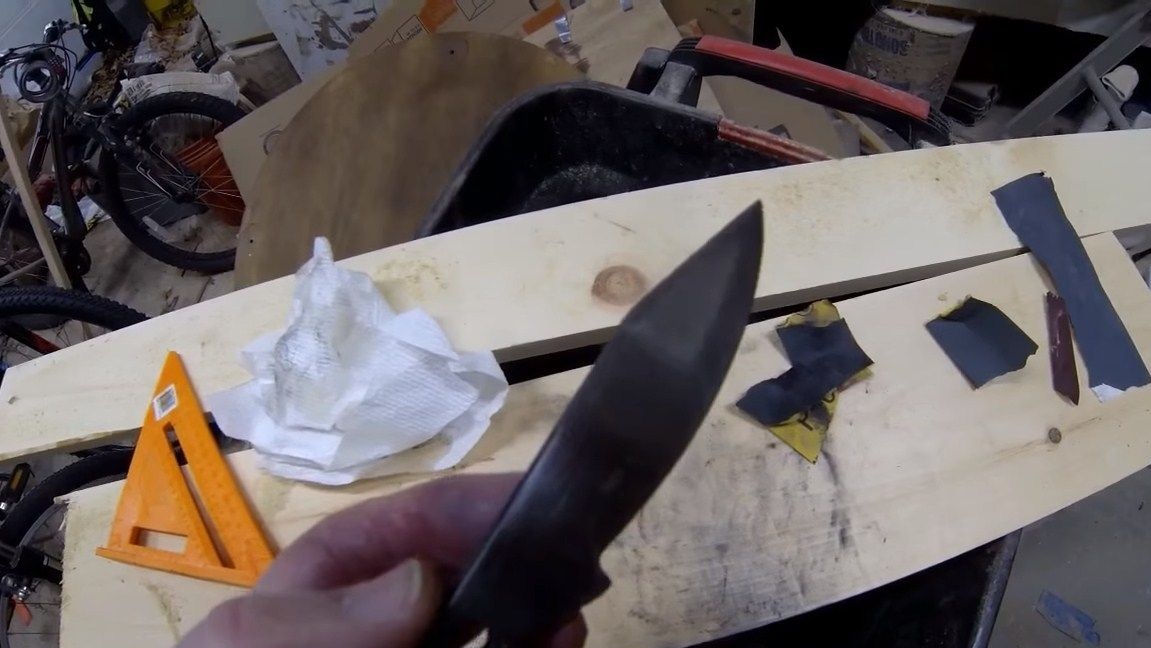
Step Three We form bevels
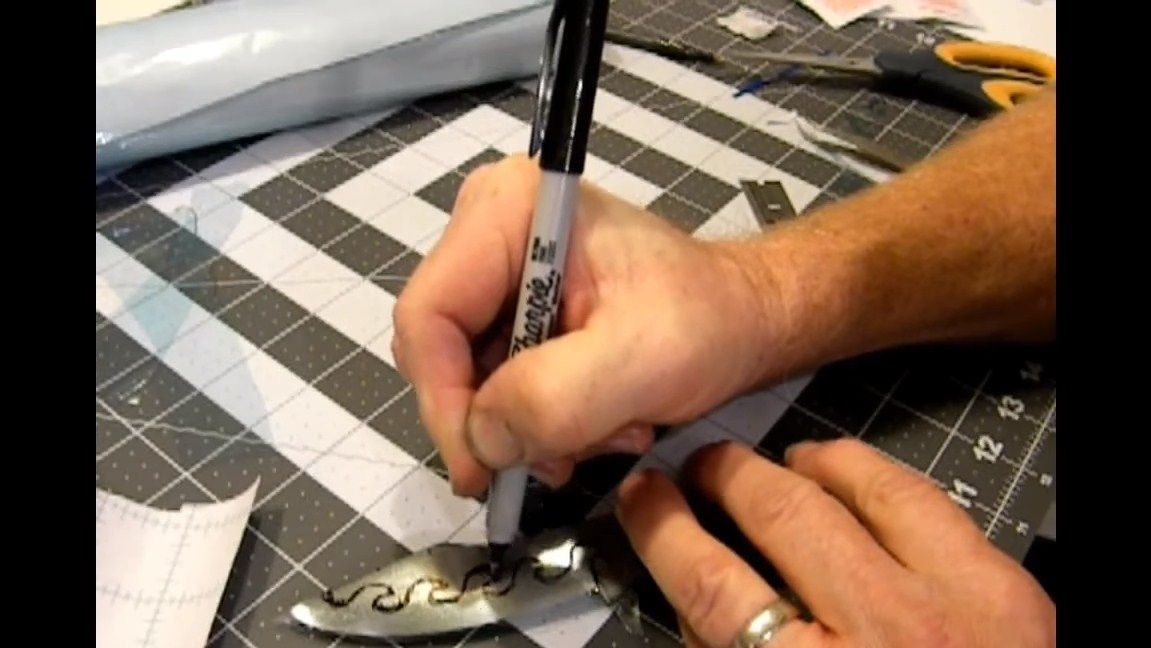
Now we have to form the bevels on the blade. Thus, we will set the basic cutting characteristics of the knife. For the knife to cut perfectly, the bevels must be as smooth as possible. But to learn the stiffness of the blade, they can be done at a more right angle. For such works, the author uses a belt sander, it is done on it simply and conveniently. First, we take a drill of the same thickness as the thickness of the workpiece and draw a centering line along the blade. And so that it can be clearly seen, the metal can be pre-painted with a marker. This line will be used as a guideline so that the bevels are symmetrical.
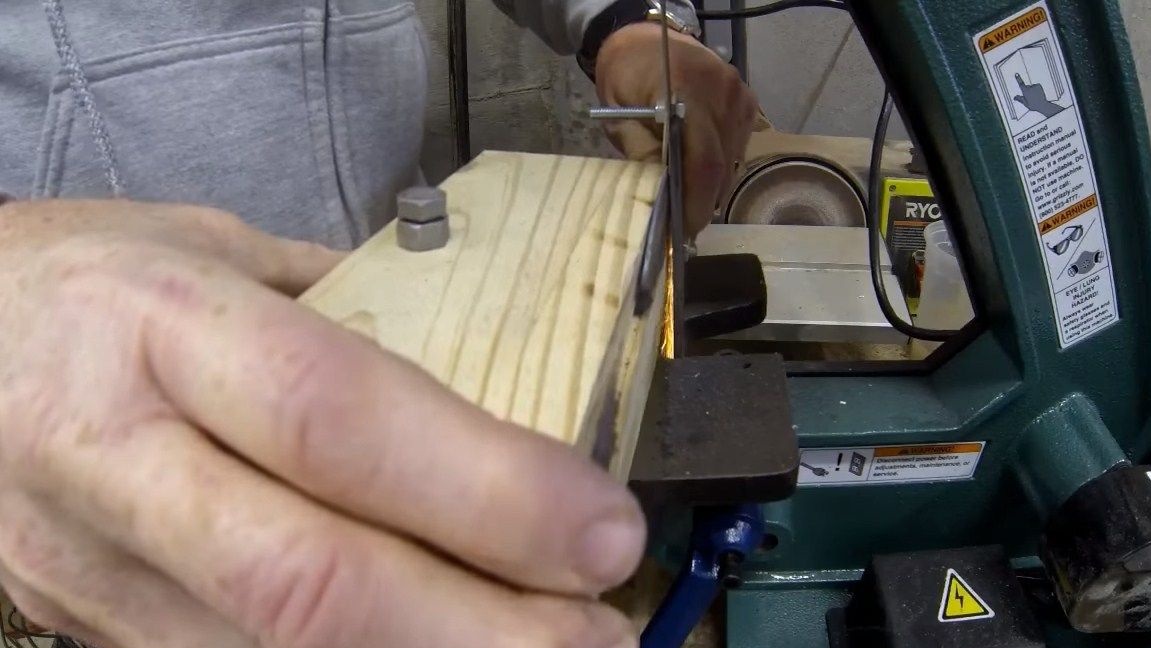

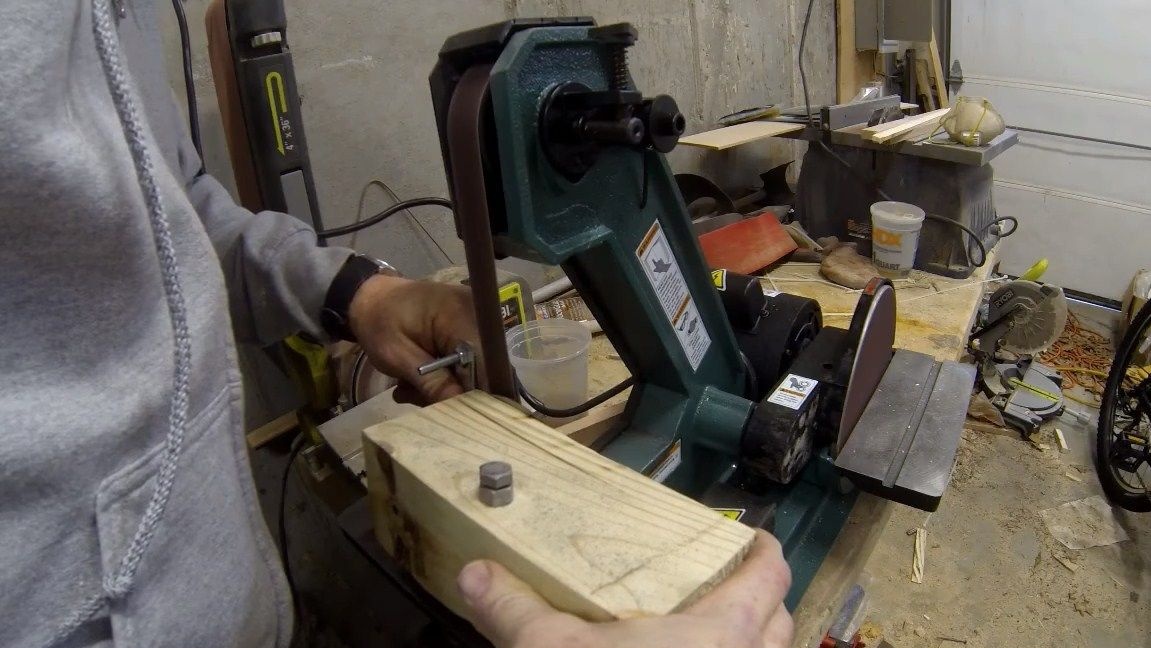
Now we fasten the blade to a wooden block or use a special clamp, that's all, you can start grinding. When grinding, the metal heats up, just so holding the blade in your hands will be problematic. When grinding, we try not to overheat. If the blade will undergo hardening, the blade is not sharpened, its very minimum thickness should be 2 mm. Otherwise, alloying additives may burn out of the metal, and the steel will turn into ordinary raw.
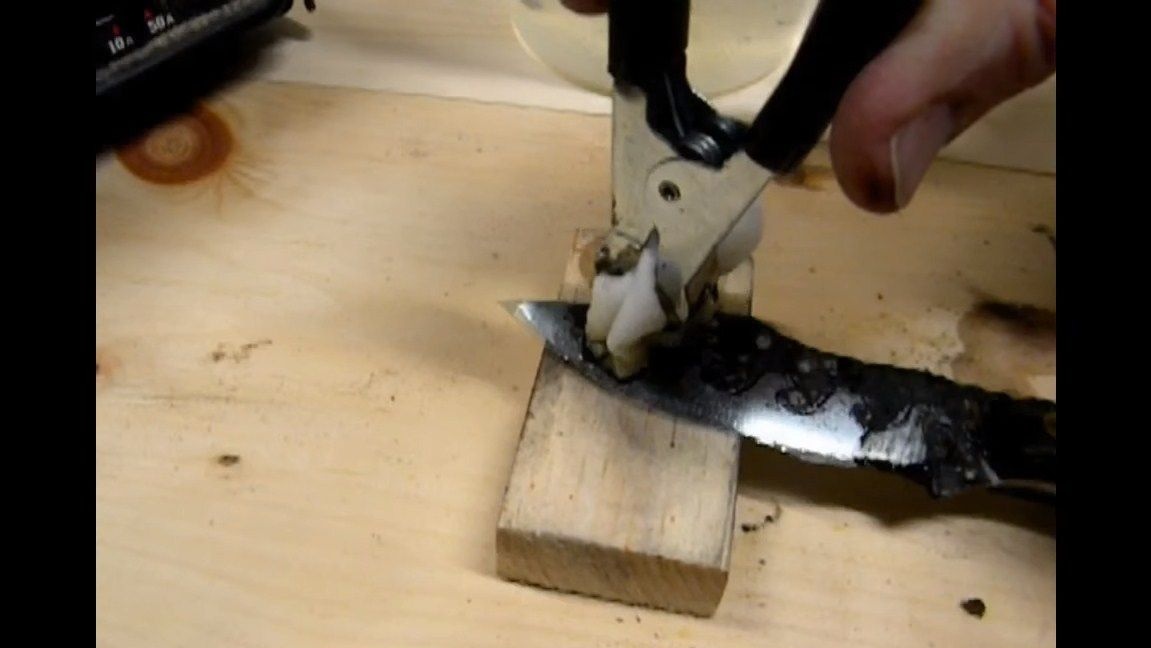
Step Four Metal heat treatment
Heat treatment includes two stages, this is hardening and tempering. We select temperature conditions and a quenching medium depending on the steel grade. In most cases, the knife steels are tempered in oil, and they need to be heated to red or sometimes to a yellowish glow. If hardening is obtained, the blade will no longer be taken with a file, while the metal will be brittle.
After quenching follows a procedure called vacation. To understand to what temperature the metal is heated, it is advisable to grind the blade before vacation. When its color changes to straw, this will indicate that the vacation was a success. On average, the blades are heated for about an hour at a temperature of 200 degrees using an oven. Steel should cool smoothly, along with the oven.
Step Five Grinding
After heat treatment, a dark coating forms on the metal, which is the result of oxidation. This whole thing needs to be cleaned up. To do this, use sandpaper dipped in water. You can also walk through the blade on a belt sander. As a result, the blade can be polished, thereby preparing for etching.

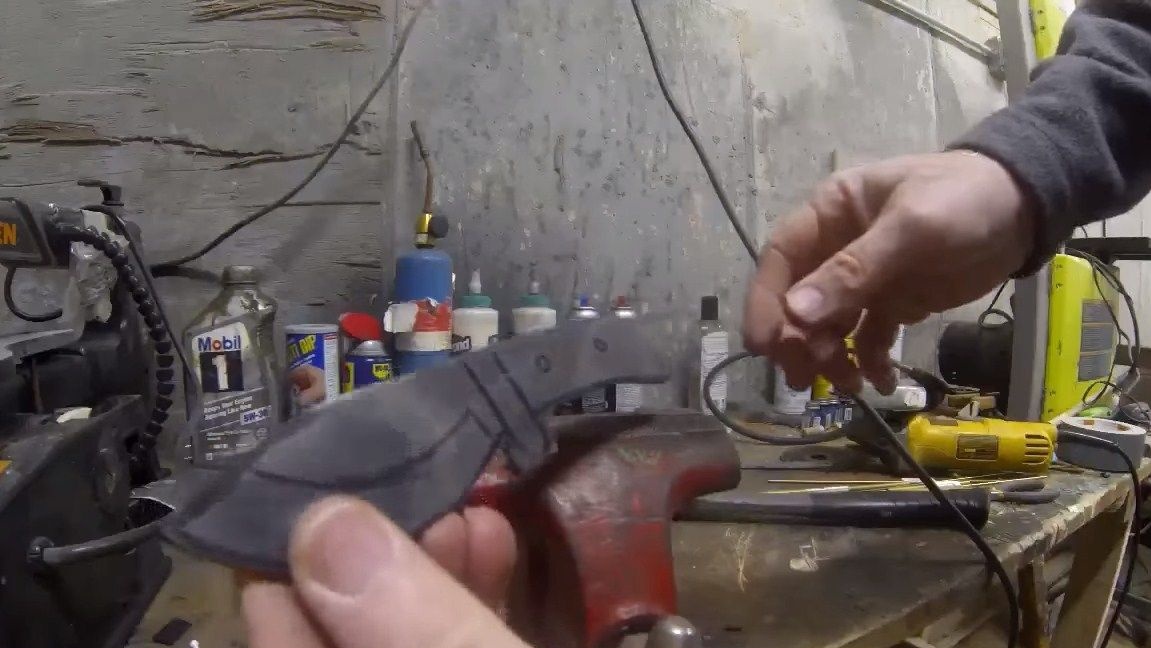
Step Six Pen assembly
The pen is dominated by dark tones, as the author intended. To make it look interesting, we take a drill and make cuts along the handle on the blade. When these parts are filled with black dye epoxy, everything will look great.
You can also come up with interesting pins. You can take a copper or brass tube, come up with an interesting filler, and then fill the tubes with epoxy resin with a tint.
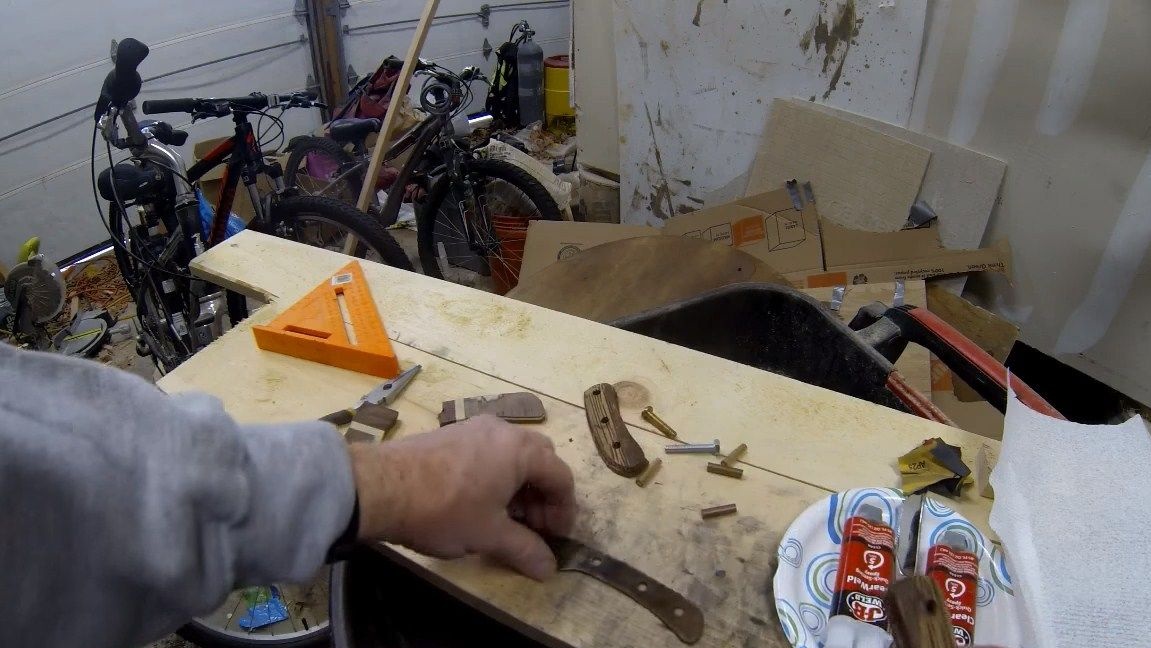
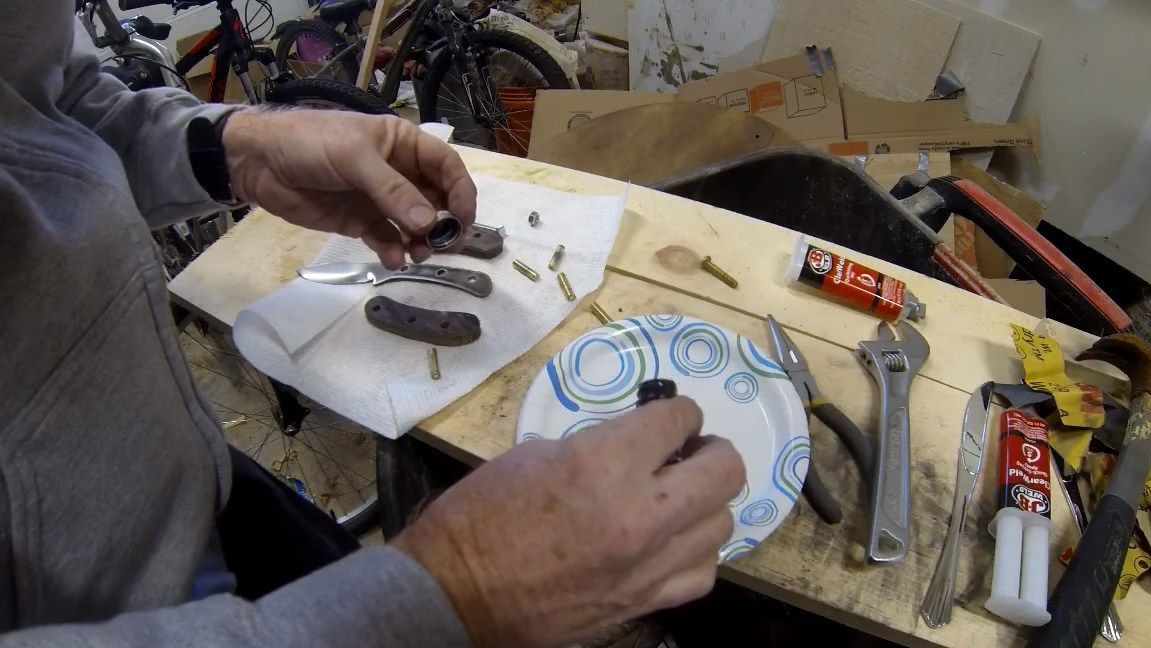
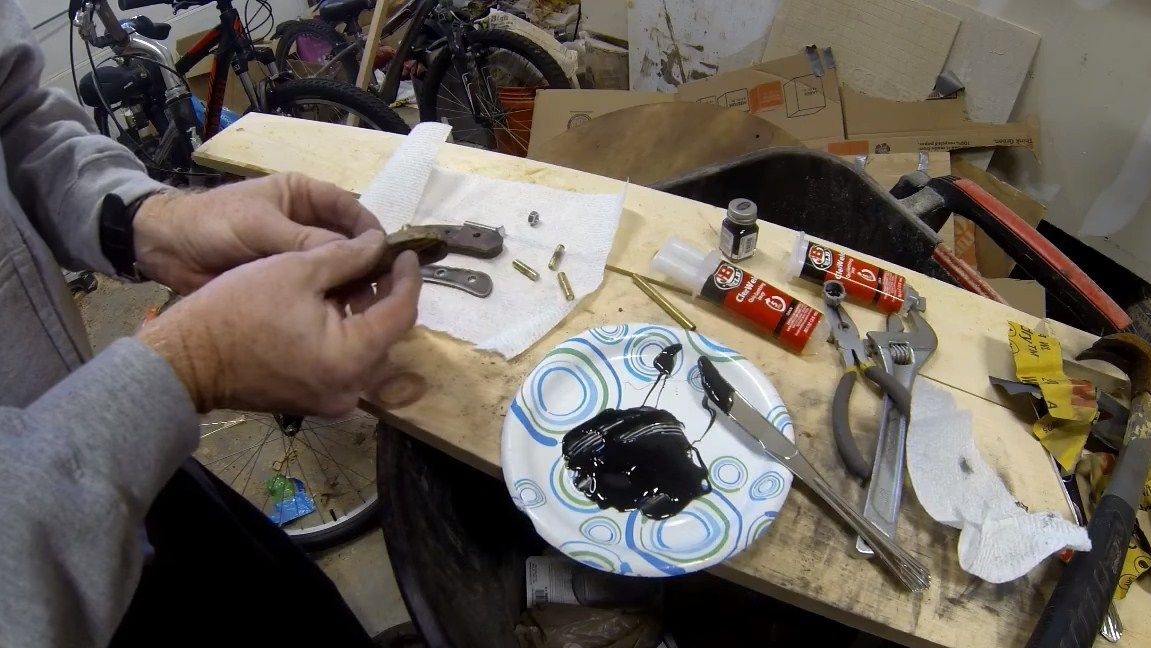
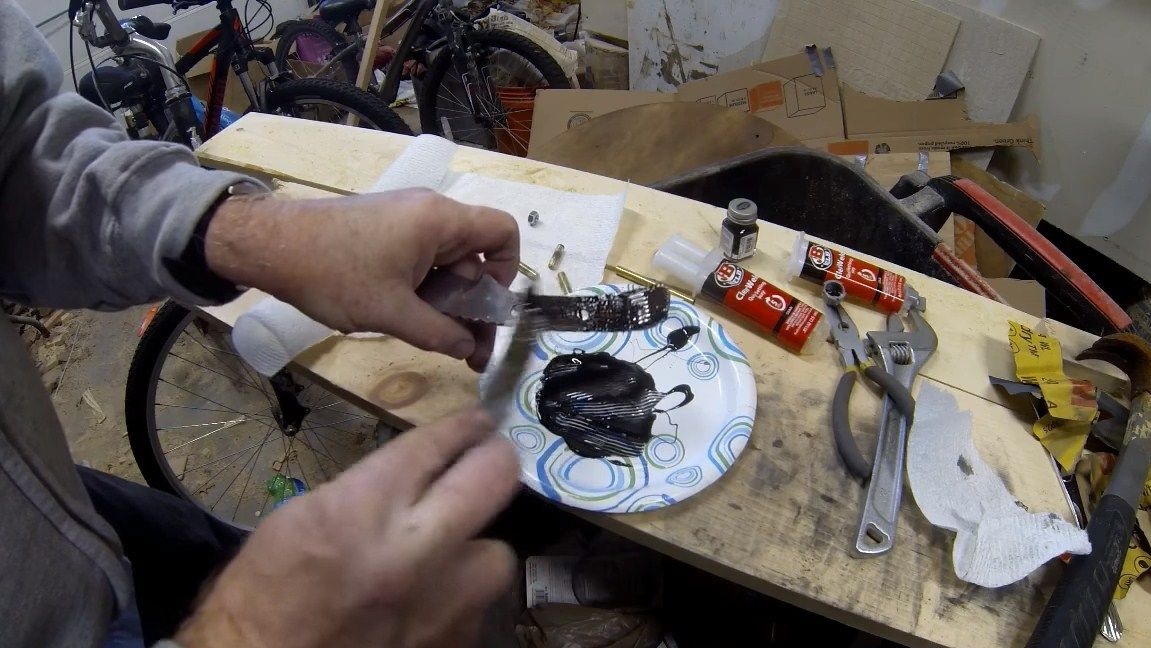
Cut out the linings, for this we use a dark-colored tree. If desired, stain or dark oil can be used. Lining should get two pieces about the same in shape. That's all, you can assemble a pen. We carefully clean the glued surfaces so that the glue adheres well. Metal can be treated with rough sandpaper, so glue will stick much better. The author used epoxy with the addition of a dark dye as glue.
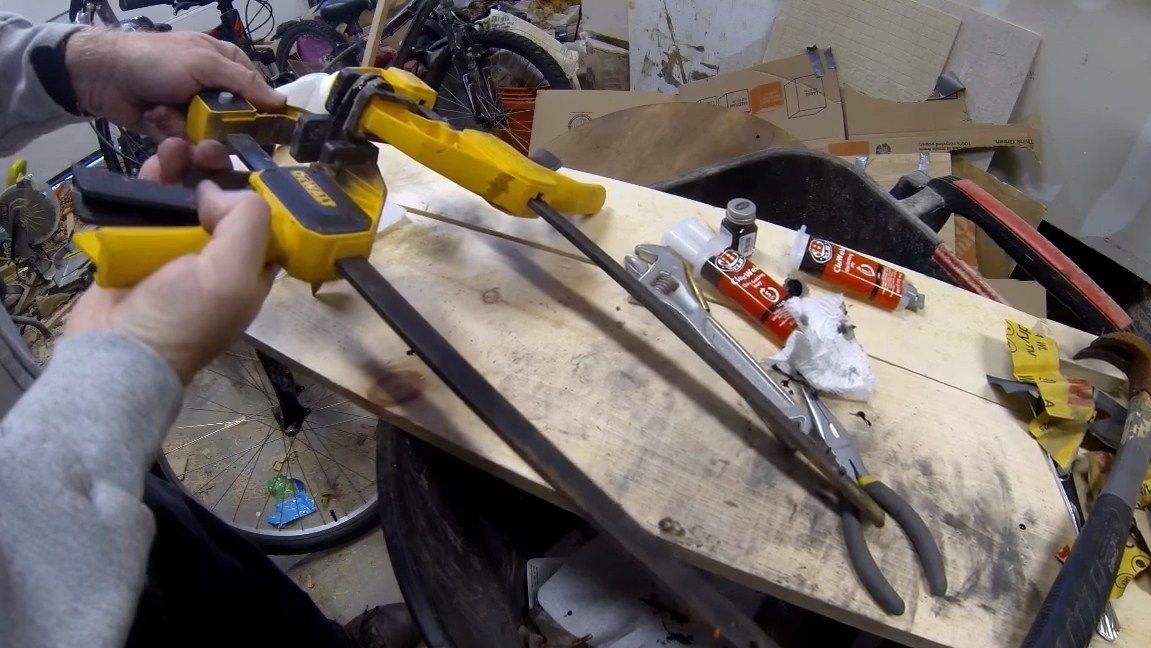
We clamp the handle with clamps, this will allow us to evenly stick together with overlays along the entire length. Well, then we wait a day, after which it will be possible to confidently handle the pen.
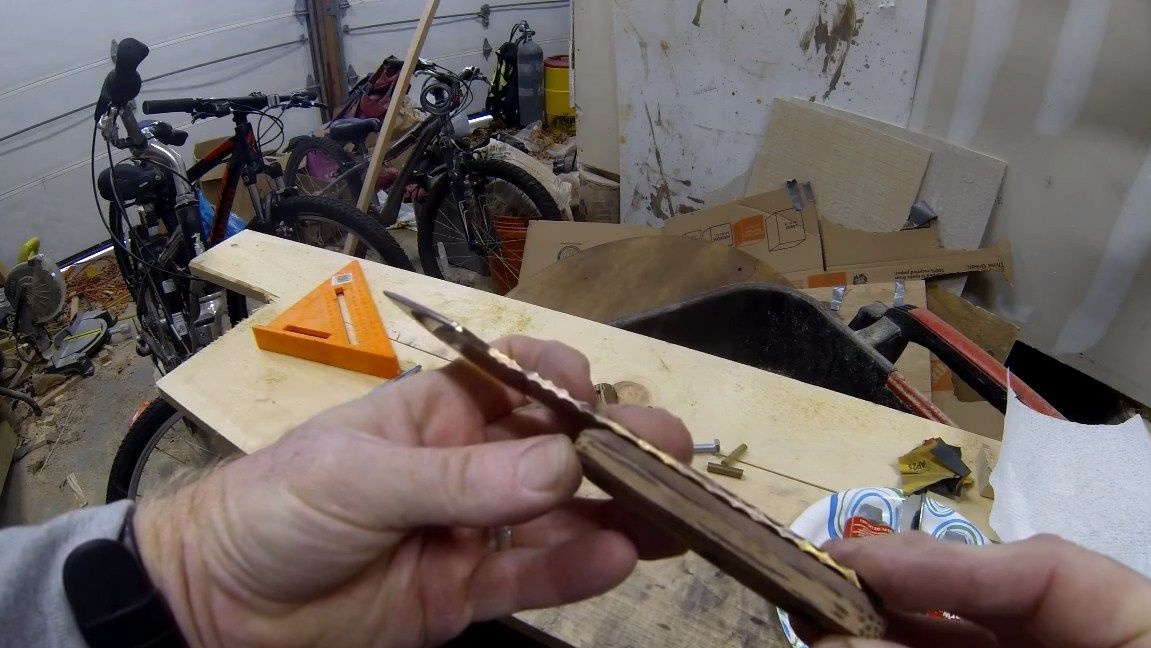
At the end, we proceed to grinding the handle, we form the desired shape. This can be done with a grinder, with a drill or even manually, using files and sandpaper. We make the handle perfectly smooth. At the end, the handle must be soaked with oil, so the tree will be protected from moisture, and the handle will look great.
Seventh step. Etching Pattern
The drawing on the blade makes the knife unique. For this procedure, we use a power supply, and water with ordinary table salt will also be needed, the concentration should be maximum. We draw a drawing on the blade, paint everything else with varnish or paint. Where the metal surface is open, etching will occur.
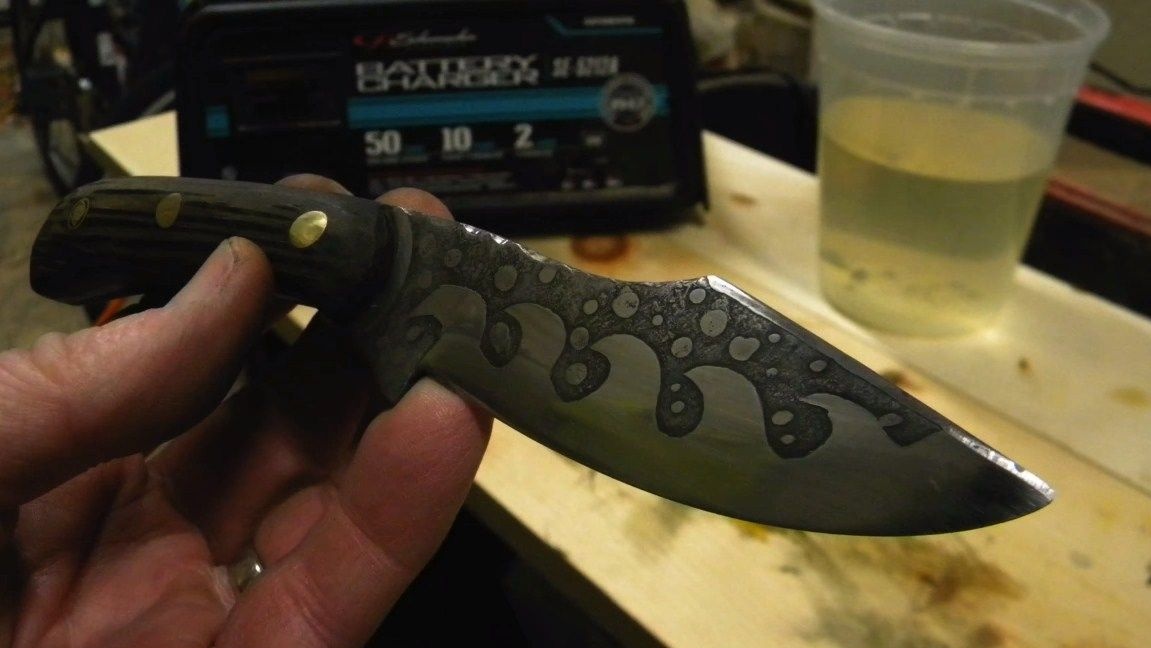
We give a plus to the blade, and we attach a nail or something similar to another contact by winding cotton wool. We moisten the cotton wool in salt water and drive along the blade. Each time, the picture will become brighter and deeper. Cotton will have to be changed. Do not breathe in vapors that will stand out, they are harmful. At the end, the knife remains to be washed. That's all, the knife is completely ready, it would be nice for him to make a sheath. If you used rusting metal, it would be good to cover it with oil for wood, this will not allow it to rust and darken. Sharpen the knife to the state of the blade using sharpening tools. Many masters use Japanese water stone for this.
I hope you enjoyed the project and found useful information for yourself. Do not forget to share your ideas and homemade with us!