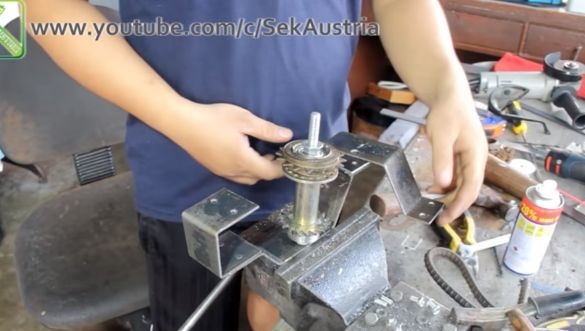
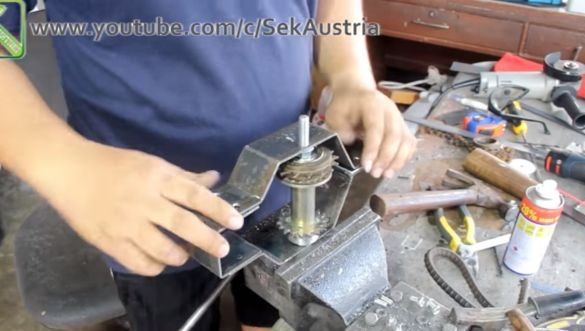
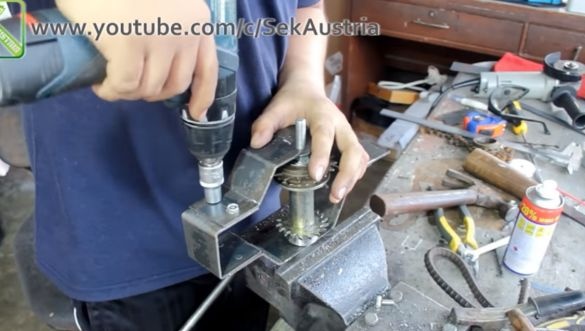
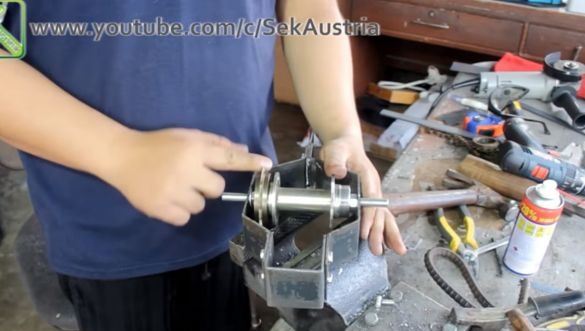
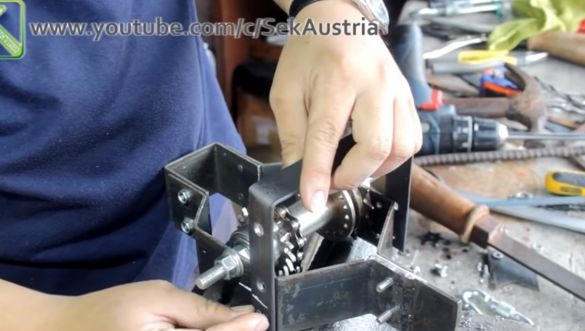
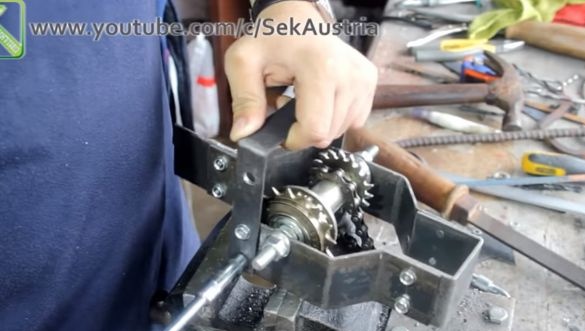
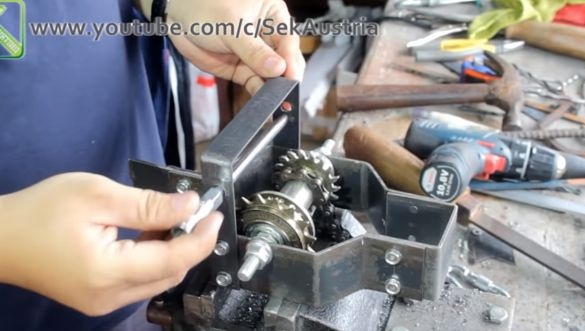
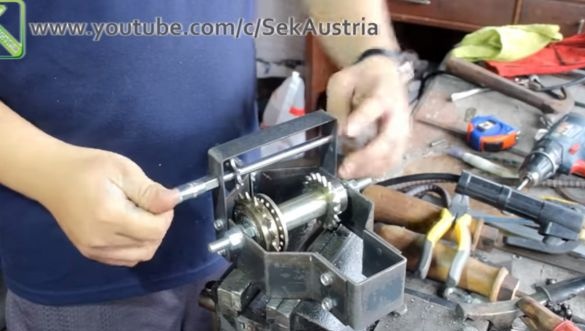
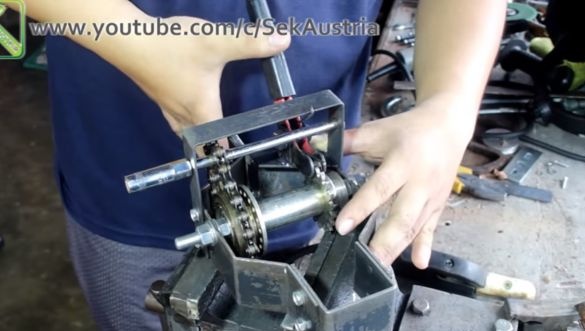
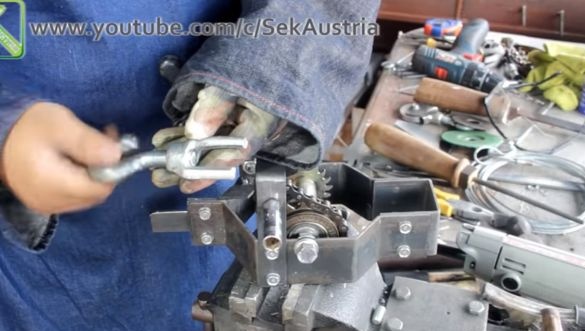
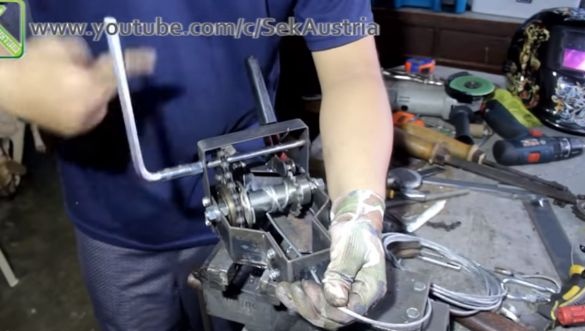
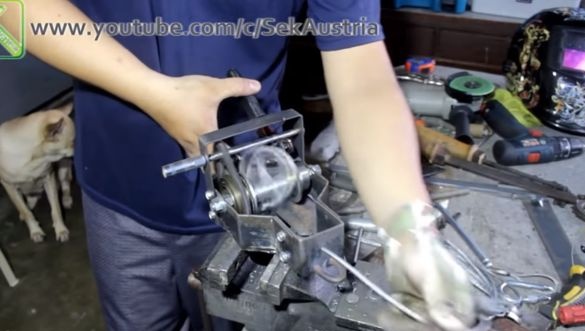
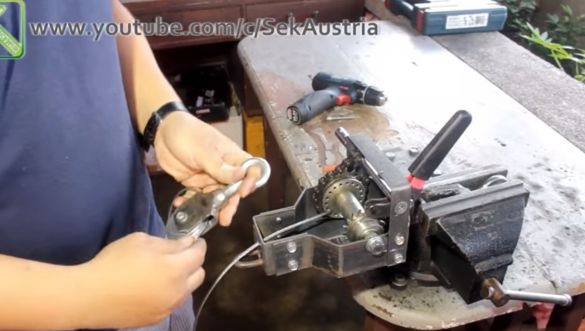
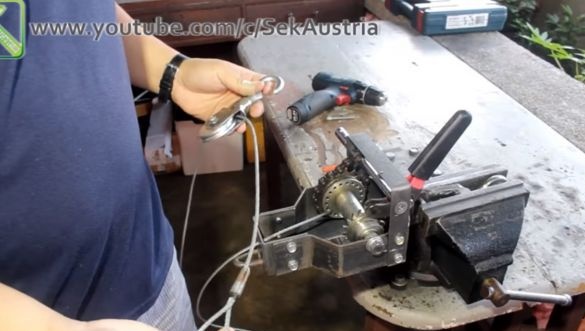
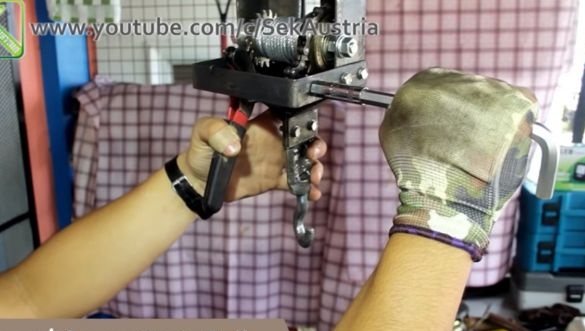
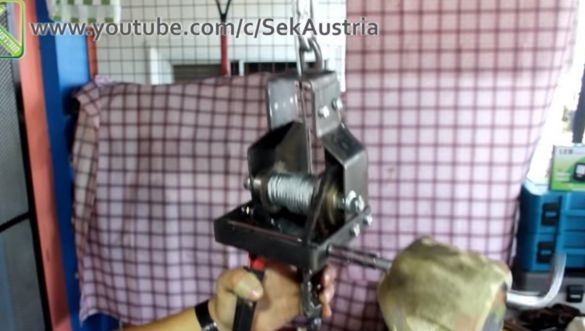
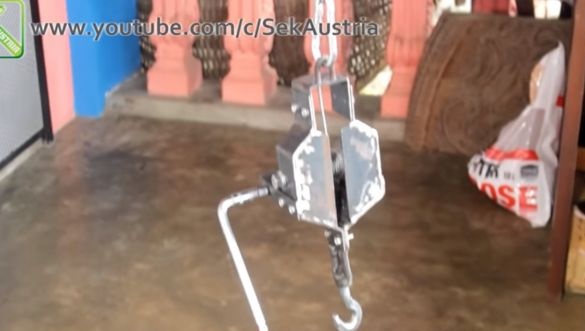
For its manufacture of this device, bike parts are required.
Materials
1. The bicycle chain.
2. Rear axle, hub and sprocket.
3. Sheet steel 6-8 mm or strips of suitable width.
4. Steel cable.
5. Carabiner, cable block.
6. The hook.
Instruments.
1. The Bulgarian.
2. Drill or drilling machine.
3. The welding machine.
4. Vise.
5. Taps, hammer core, and the like.
6. The screwdriver.
It's time to start preparing all the details. The author begins with the manufacture of ratchets.
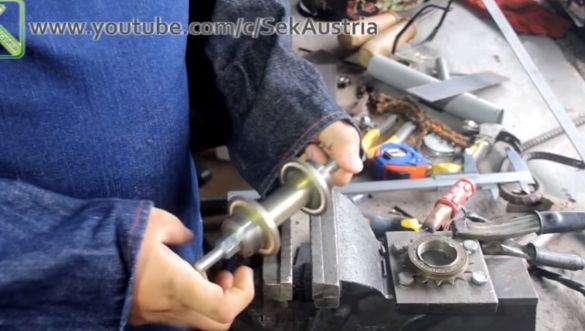
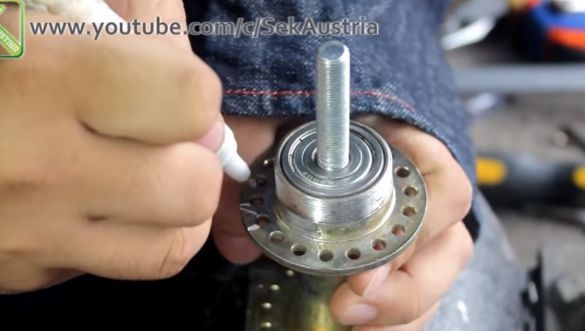
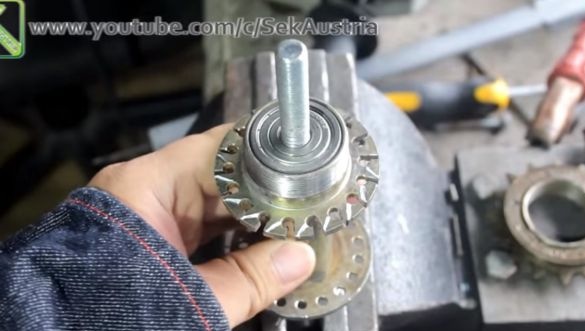
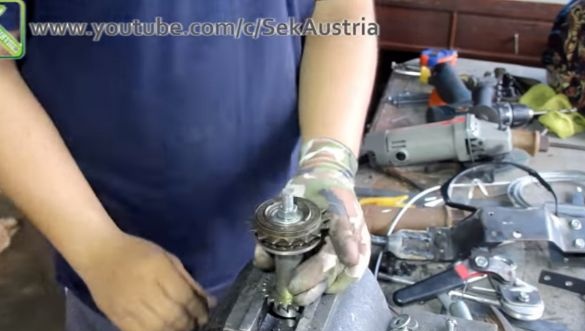
For this, you need a sleeve.
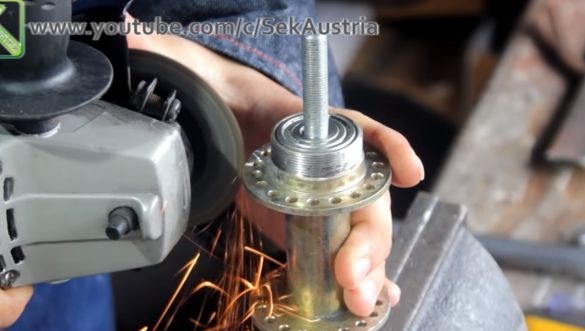
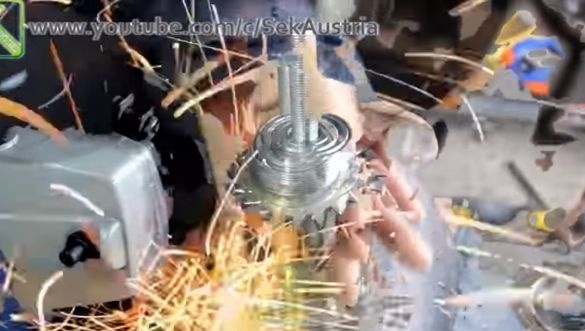
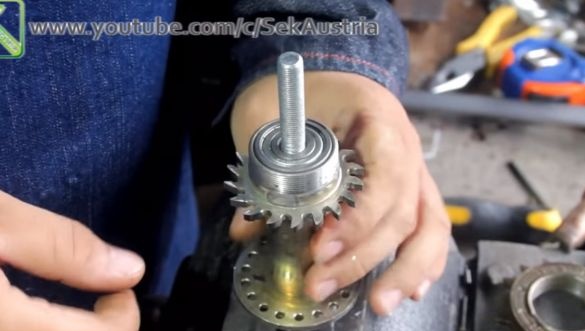
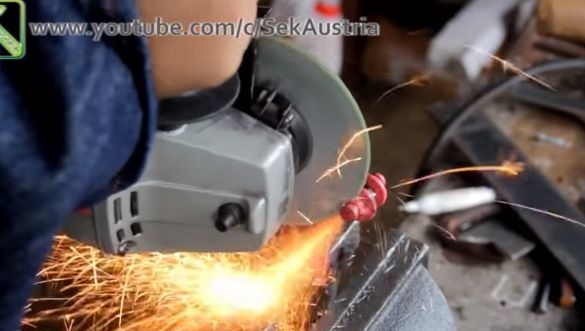
Applies markings of future teeth on it and cuts out with an ordinary grinder.
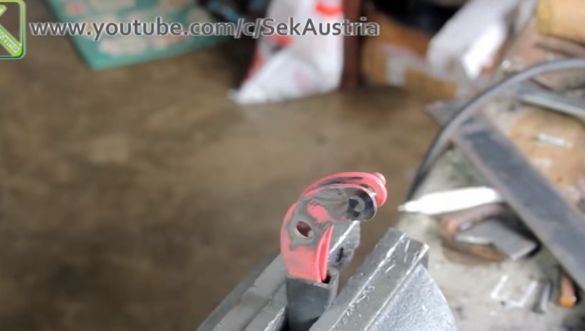
So it turned out part of the ratchet mechanism.
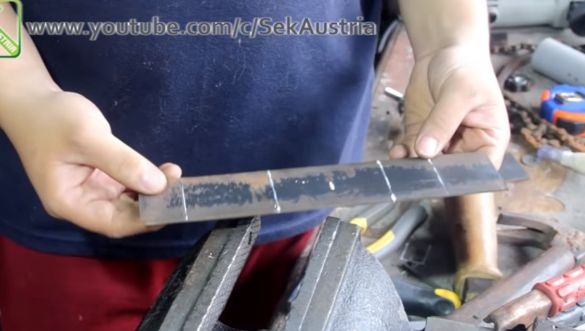
Now he makes parts of the power structure, or body. For this uses steel plates.
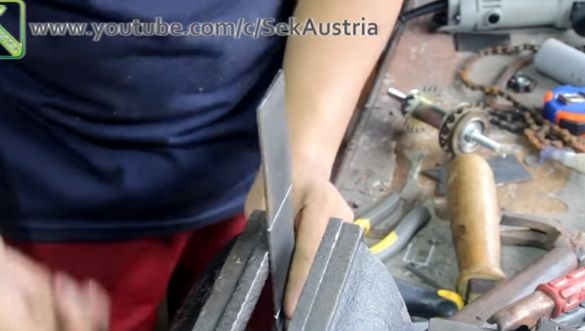
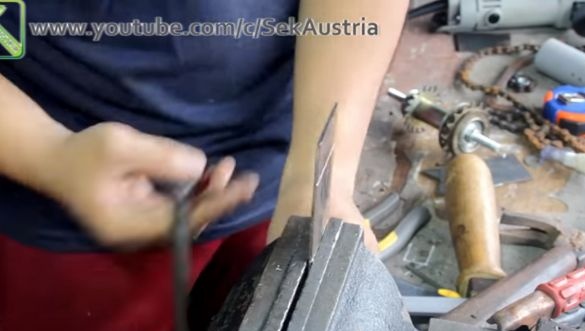
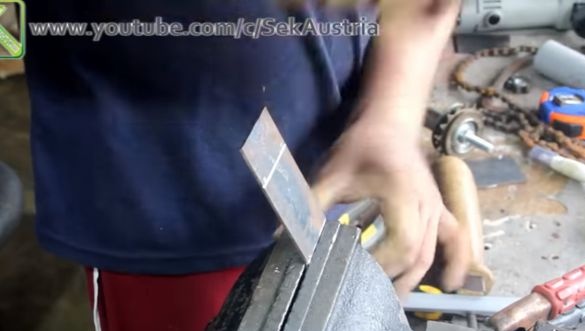
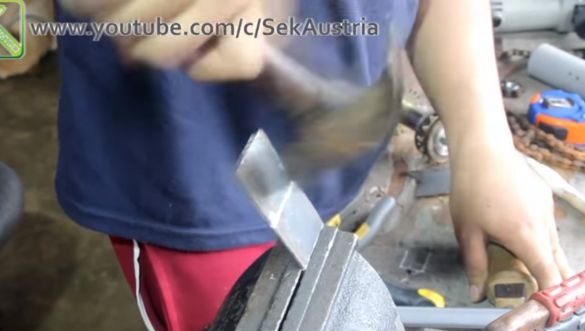
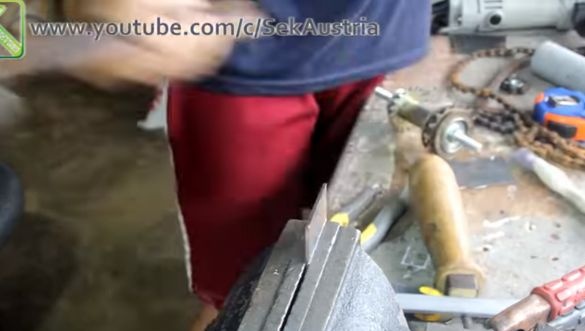
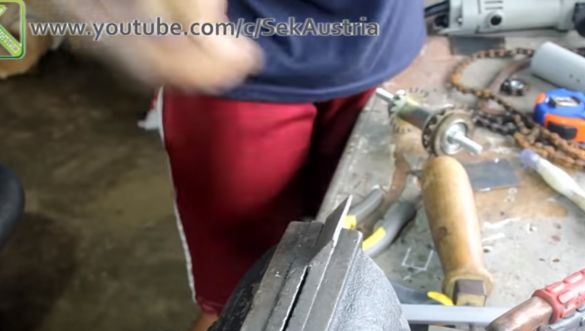
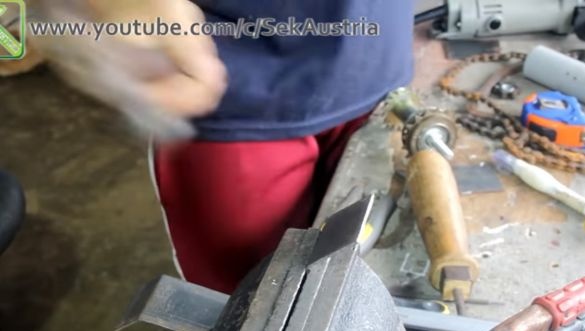
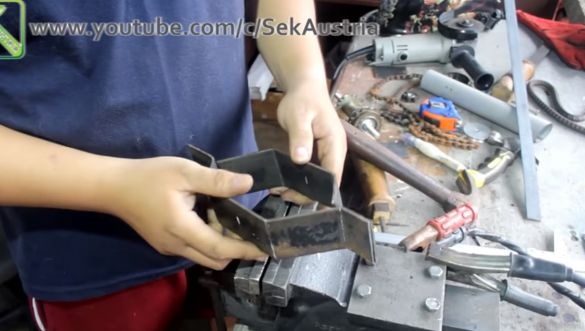
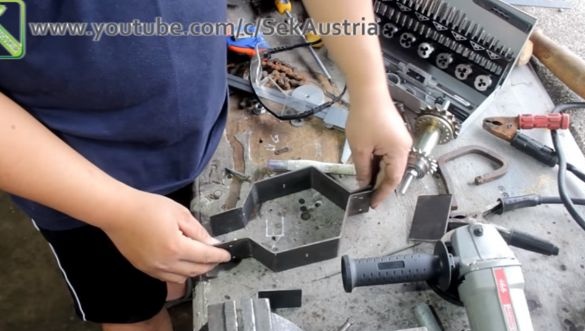
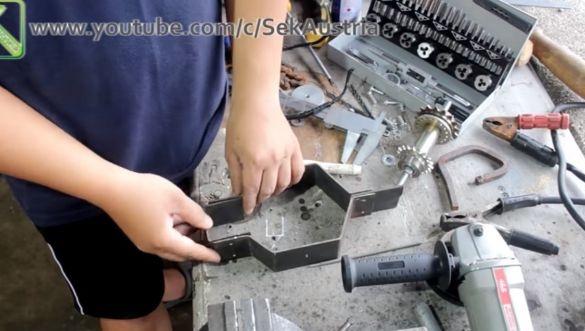
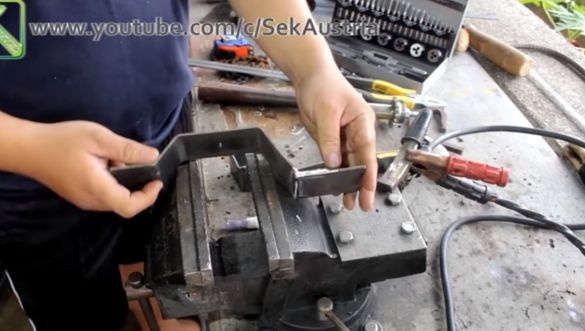
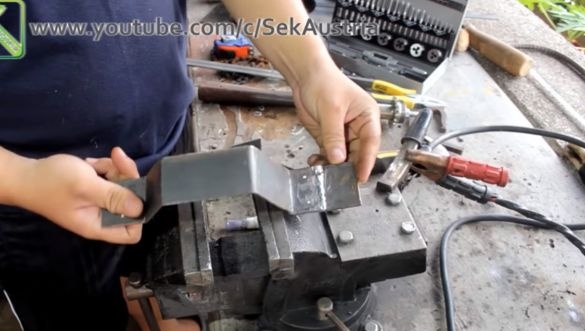
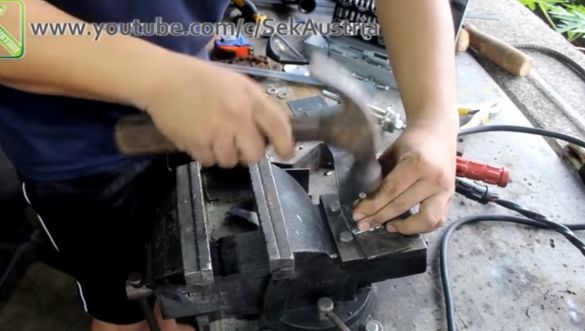
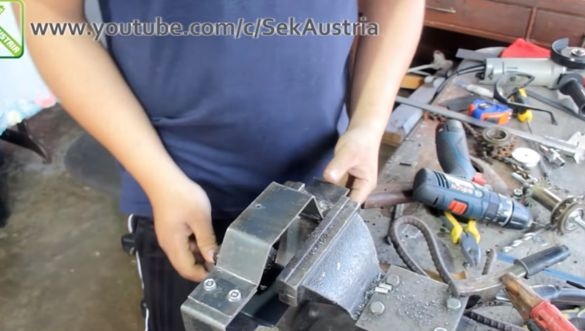
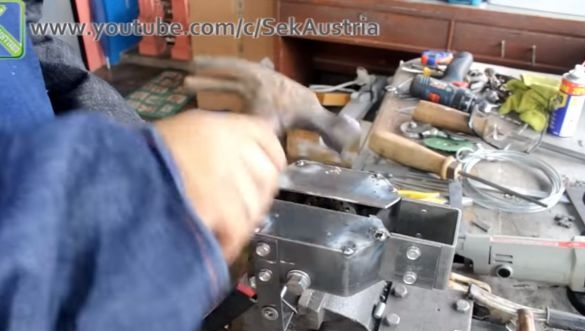
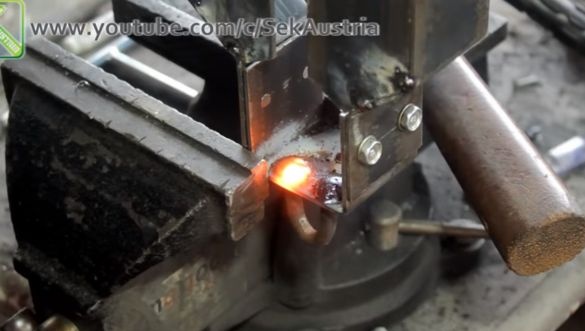
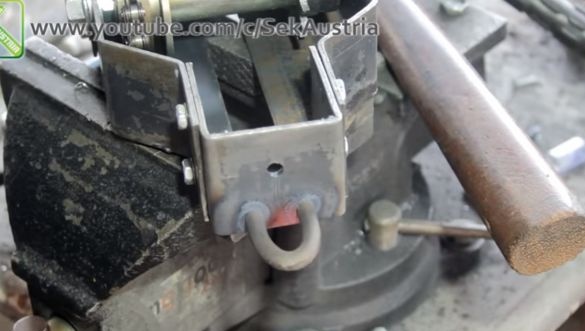
Clutching the workpiece in a vise, bends with a hammer according to the markup.
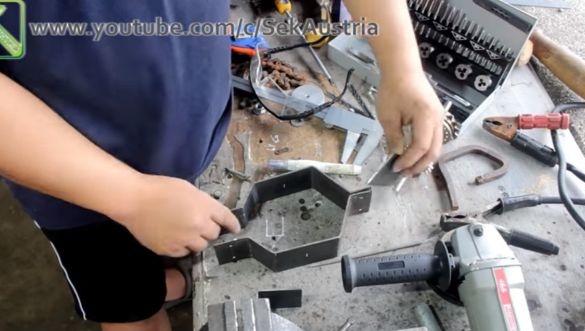
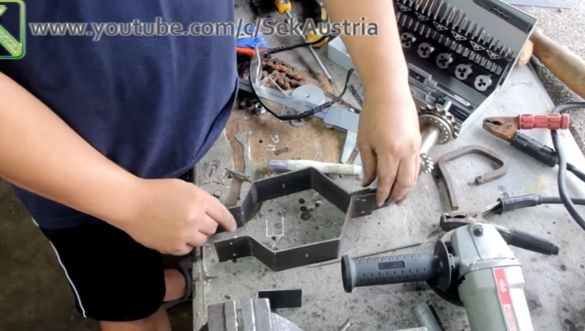
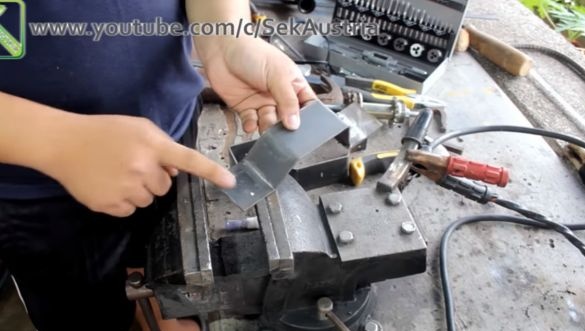
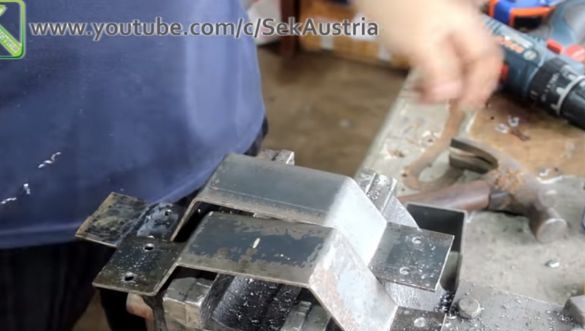
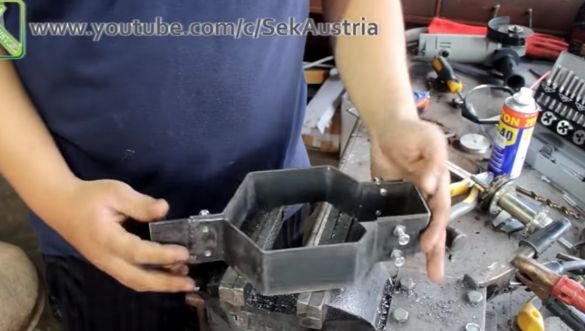
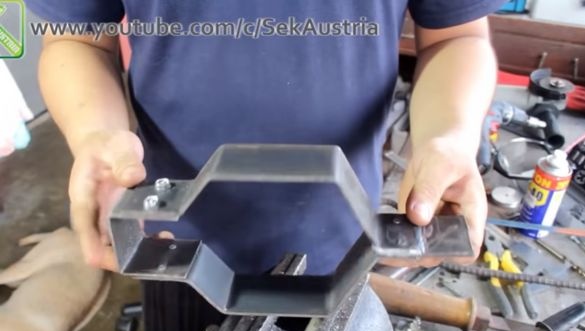
Such blanks turned out.
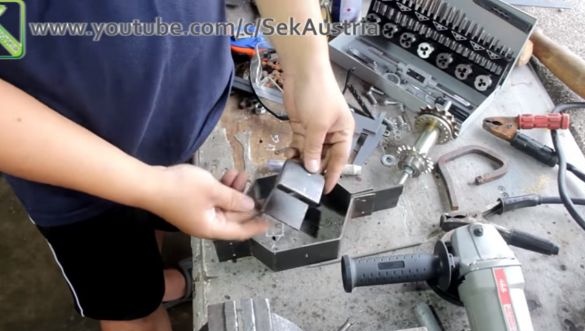
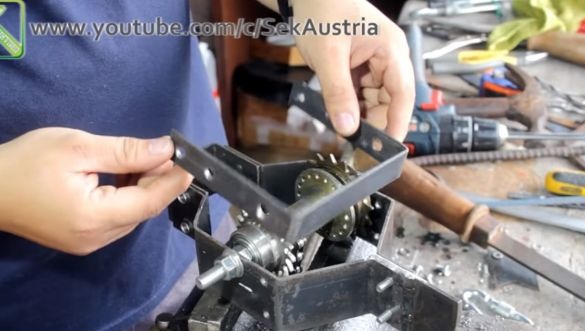
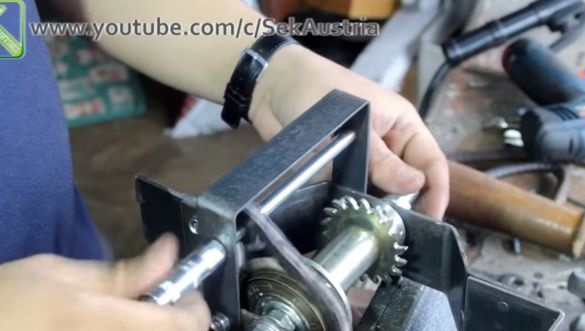
Pre-assembled design.
Welded plate to one of the halves.
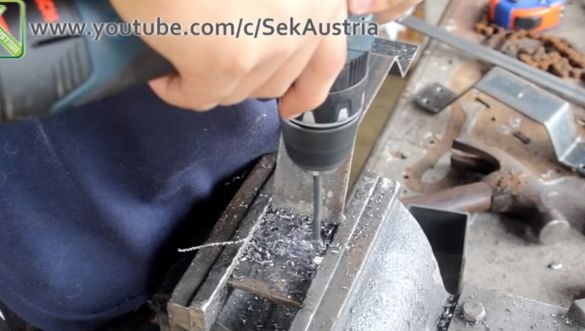
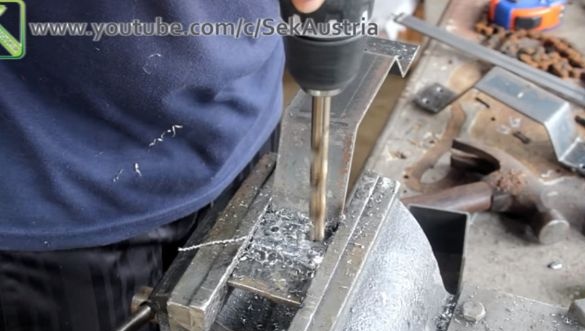
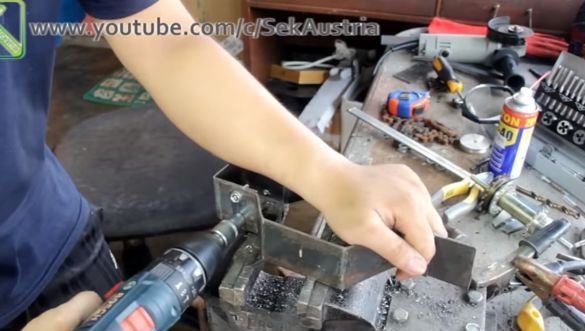
Having marked the holes, he cores them, drills them and countersinks them.
In the resulting holes cuts the thread.
Begins a test assembly, baits bolts, tightens them.
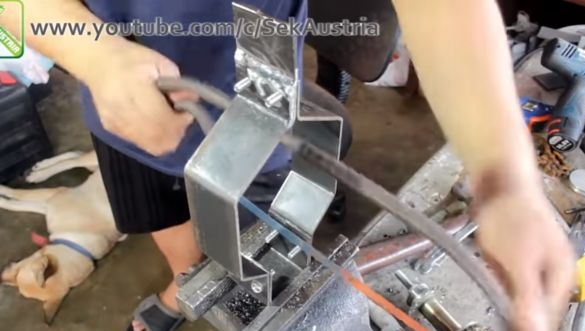
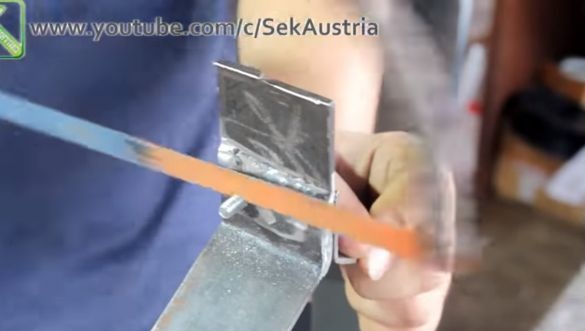
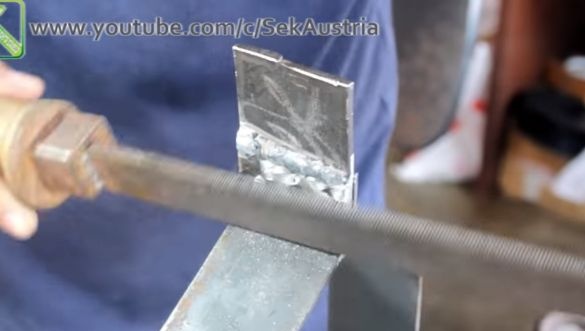
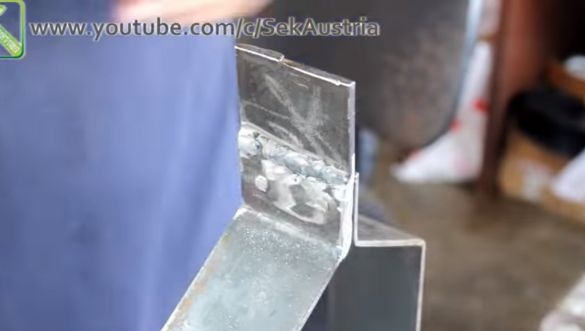
It cuts off all the excess with a hacksaw and smoothes out a file.
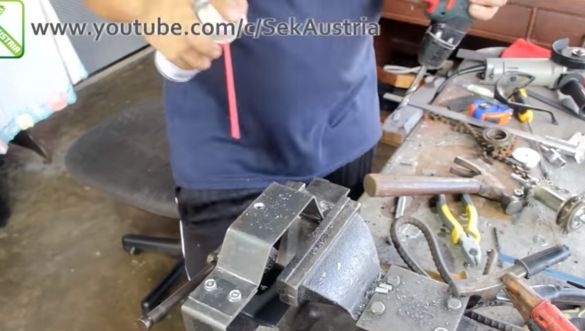
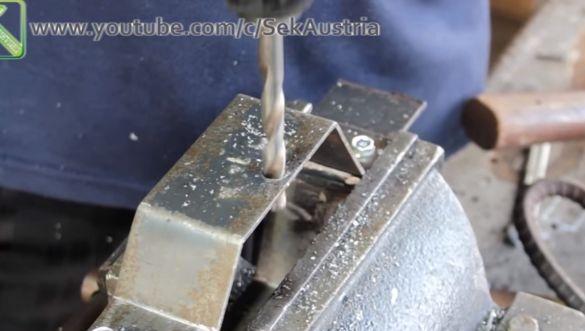
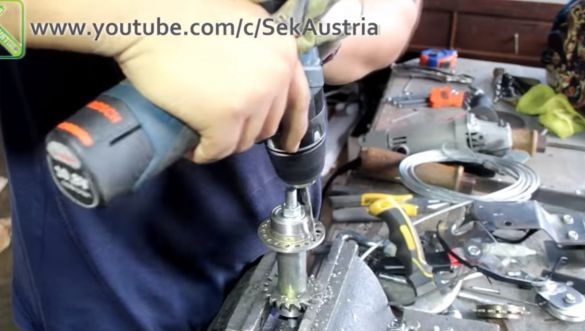
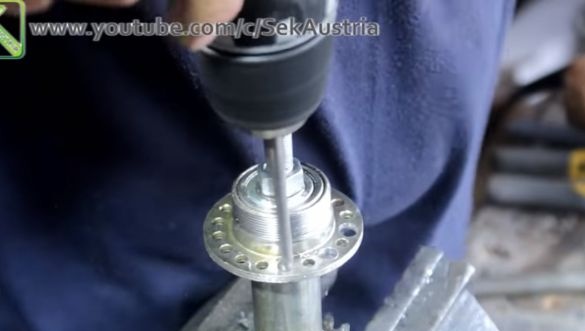
In the assembled structure, you need to drill a hole for the axis. Clamps it in a vice, drills, periodically wetting the surface with grease.
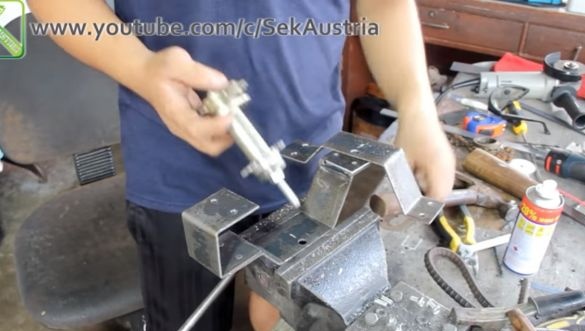
Having disassembled the design, it sets the main part.
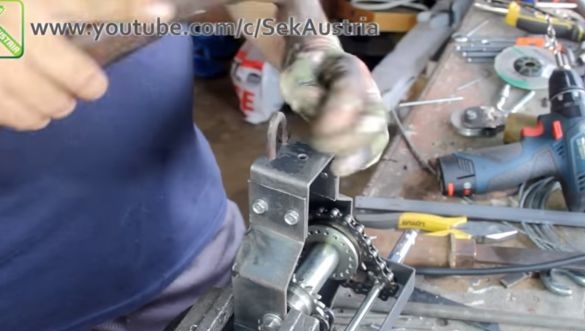
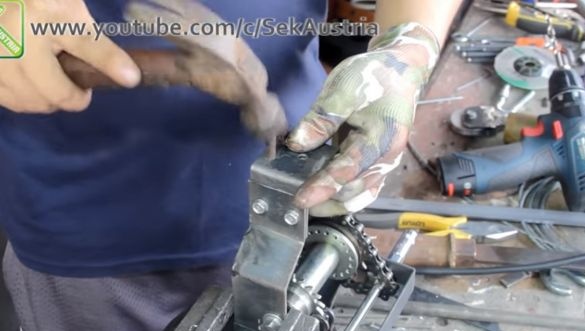
Collects everything back, clamps the bolts.
Now everything works like on a regular bicycle, the sprocket rotates the sleeve in one direction, the ratchet will block the reverse stroke of the sleeve, and the sprocket can be turned in the opposite direction.
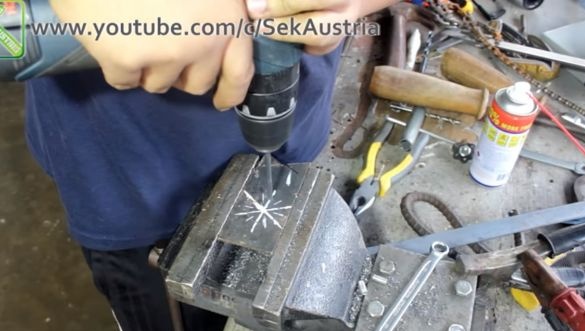
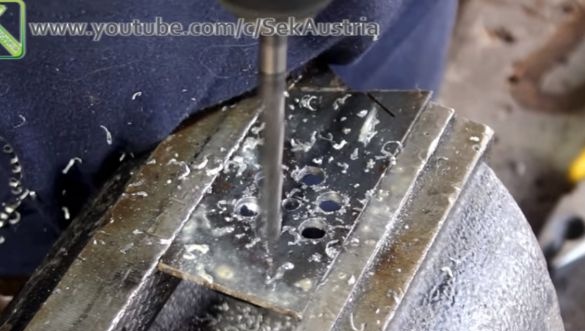
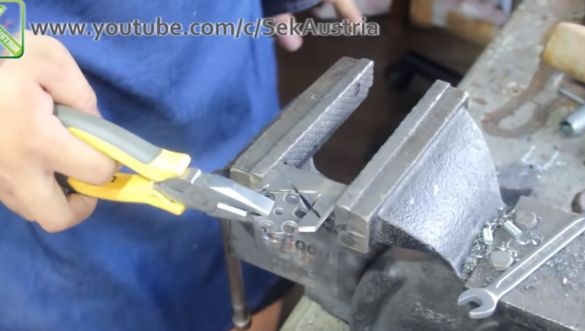
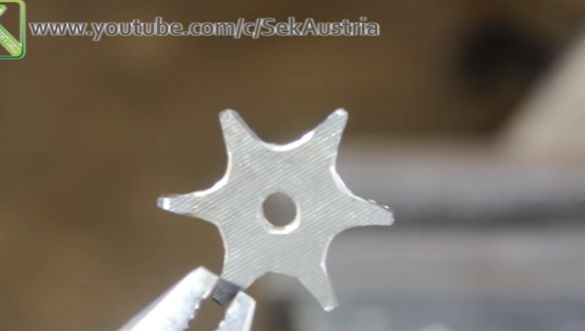
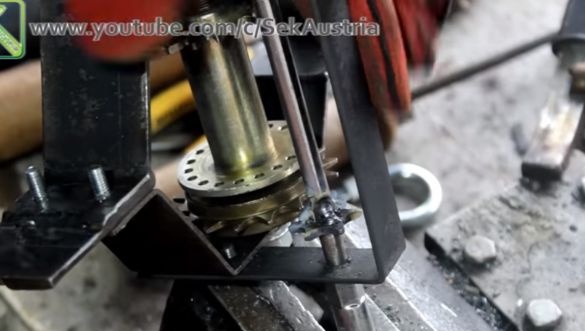
The rest is the manufacture of a small sprocket. Marks the future workpiece on a sheet of steel, drills the necessary holes along the diameter of the chain links. There will be six teeth in total.
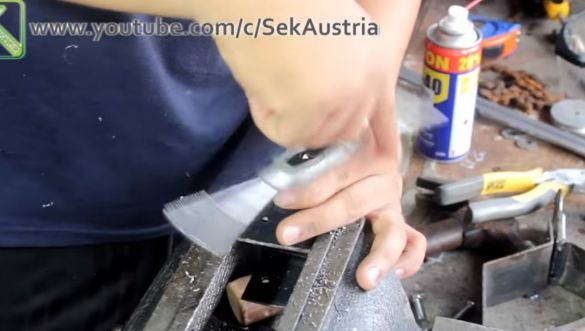
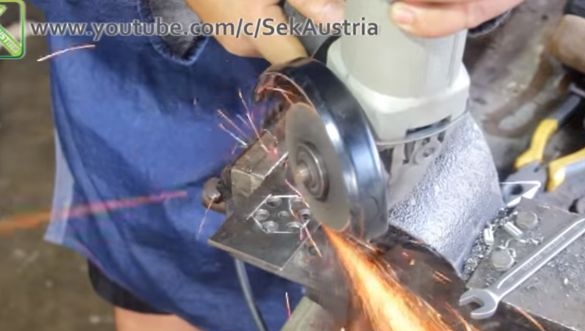
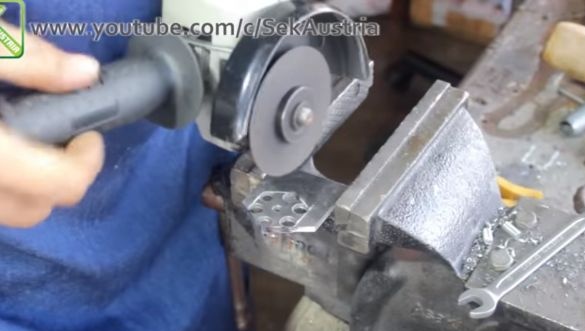
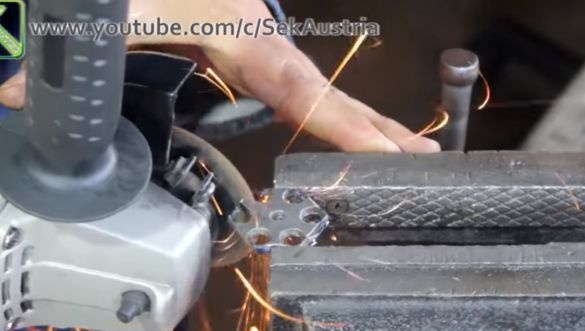
Now marks the hexagon around the holes and cuts off the excess with a grinder.
On the resulting workpiece forms the teeth. Now this is a full star.
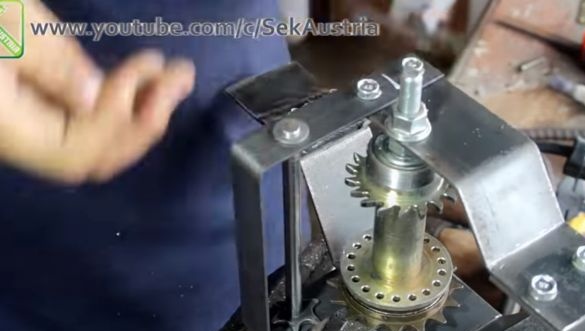
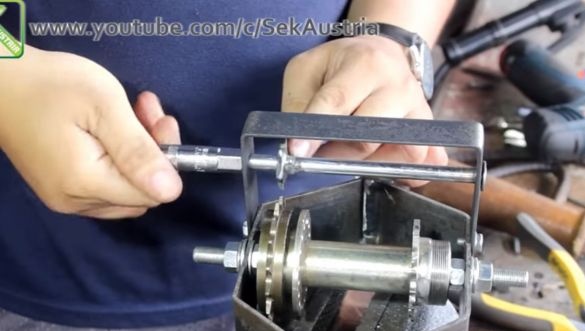
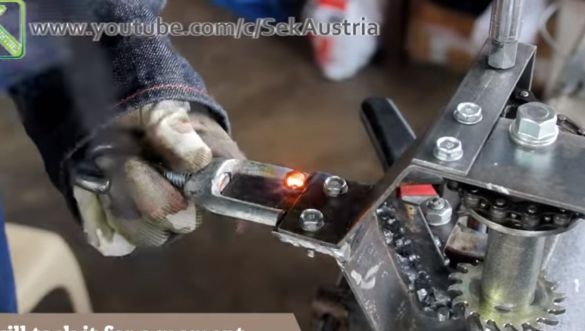
U-shaped support for the drive shaft secures to the main body. Tries and cuts off the shaft.
He puts a star on it.
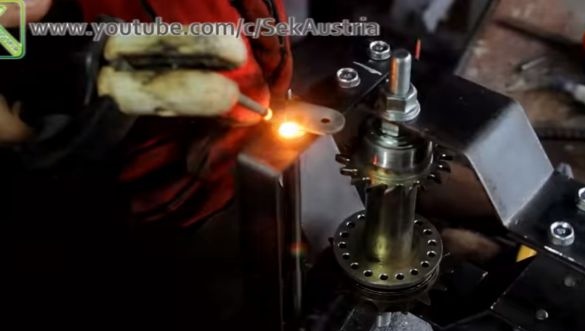
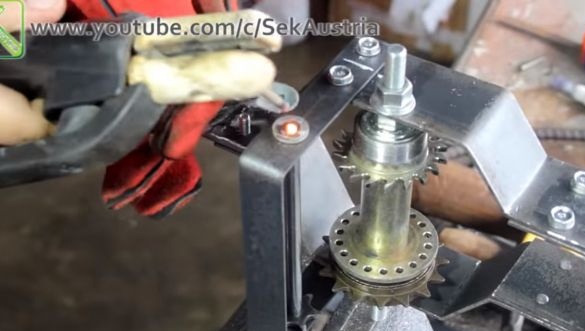
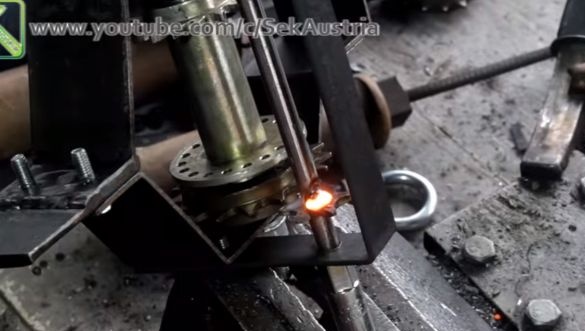
He puts a washer on the shaft end and welds it to the shaft.
Now it welds the sprocket itself to the shaft.
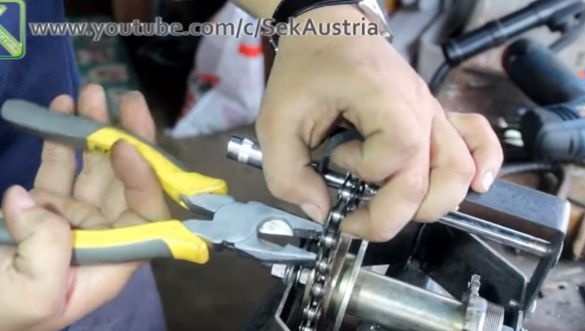
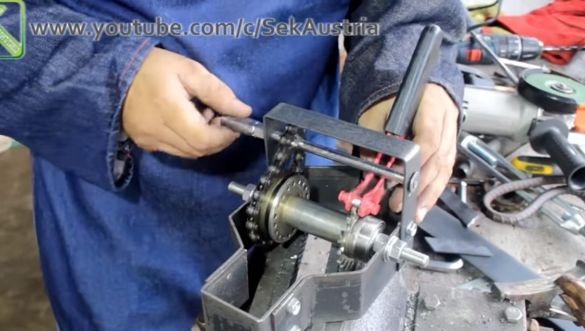
It's time to install the circuit.
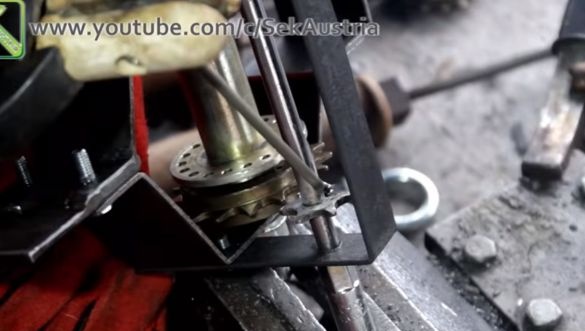
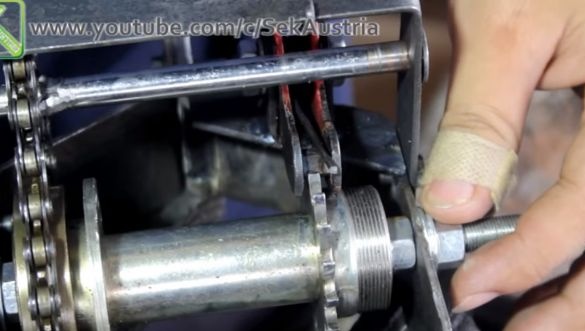
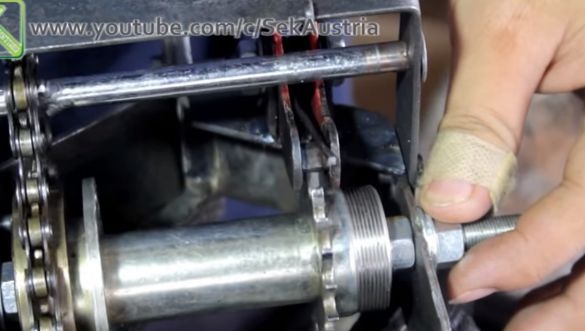
And here is the ratchet itself, trying on it, cutting off unnecessary parts.
Mounts, snaps perfectly. This part is extremely important, otherwise the load may fall ... down.
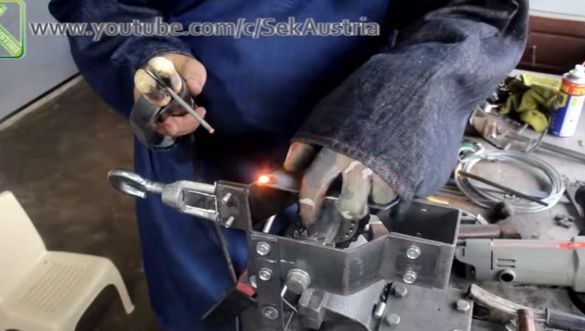
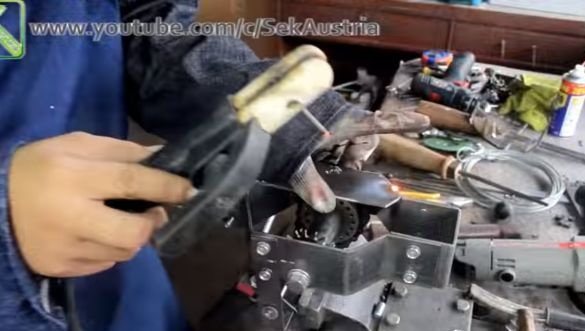
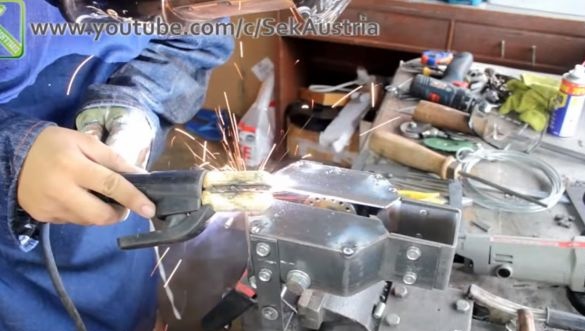
Welds the hook and body stiffeners. And knocks the scale.
Clogs the power loop to the top of the winch and fixes by welding.
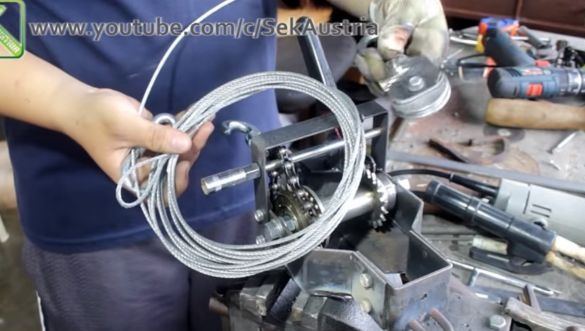
And here is the cable with the block.
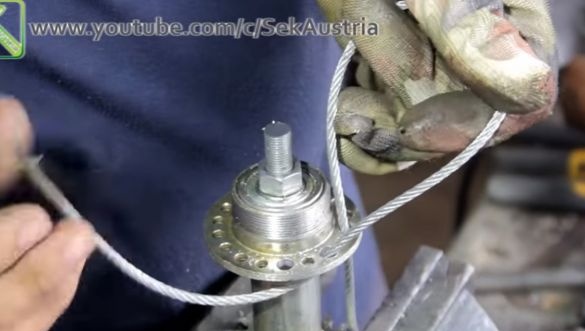
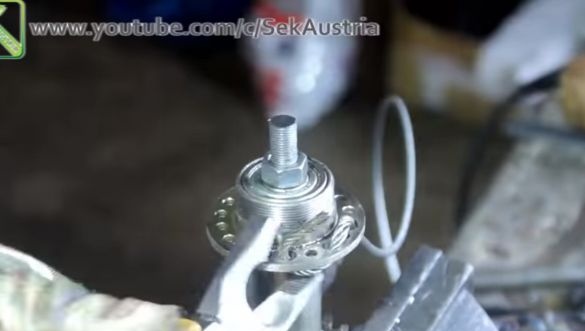
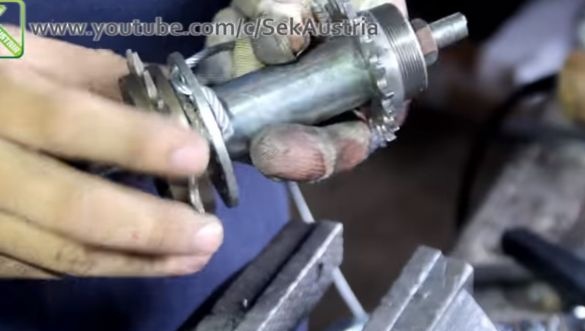
Eh. The author forgot about fastening the cable to the sleeve. To do this, clearly had to remove one of the stiffened ribs already welded, remove the support with the shaft, ratchet ... In general, having removed the sleeve, drills holes in it, winds a cable in them, bends the edge with pliers and clamps it with an asterisk.
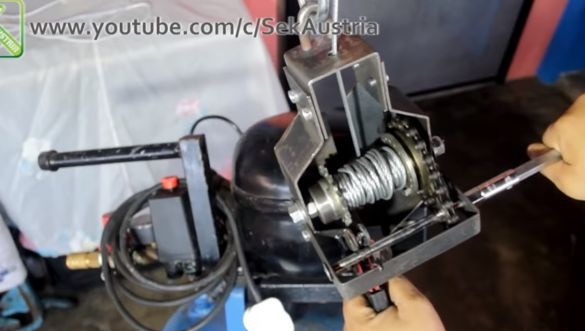
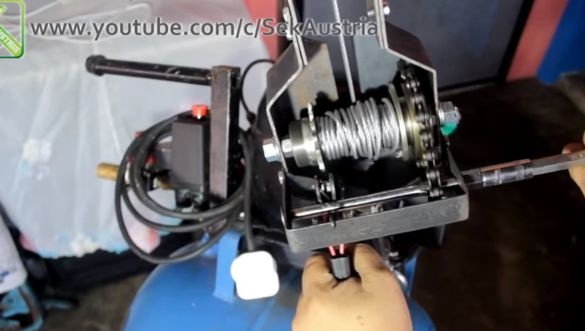
Once again, putting everything in place checks the work. The winch wraps and locks, and when you click on the ratchet, it releases the cable.
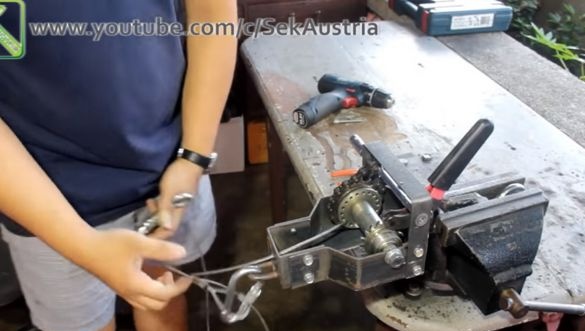
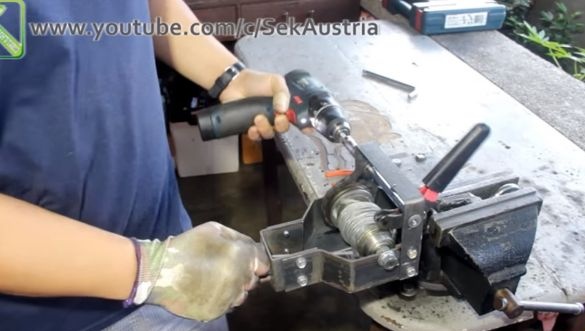
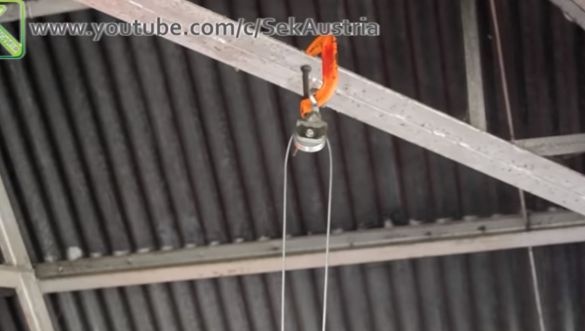
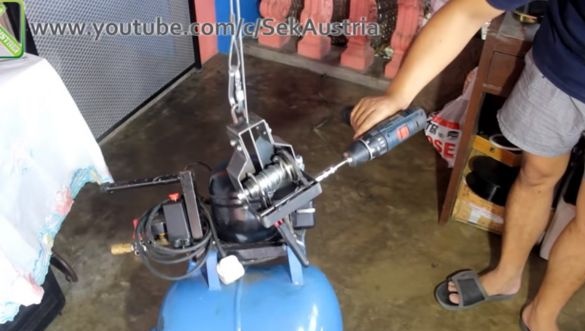
Threads the cable through the block and wraps it around the drum. This can be done both manually and with a screwdriver at first speed.
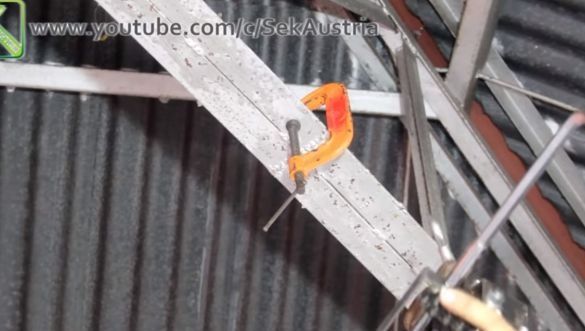
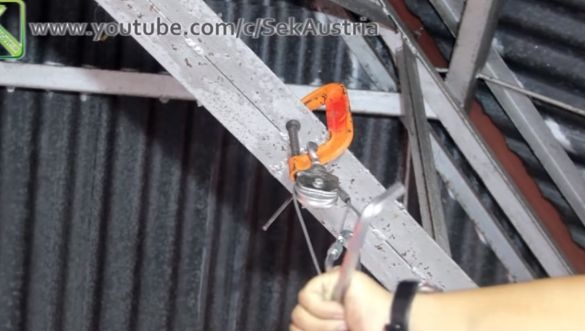
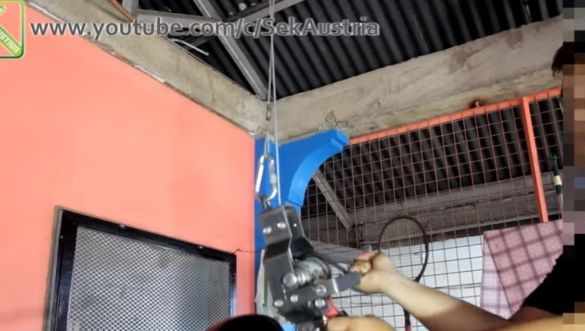
For testing, it hooks a clamp onto a beam, and a block hangs on it.
To lower the load, just click on the ratchet and hold the base of the handle.
Everything is ready, you can start testing.
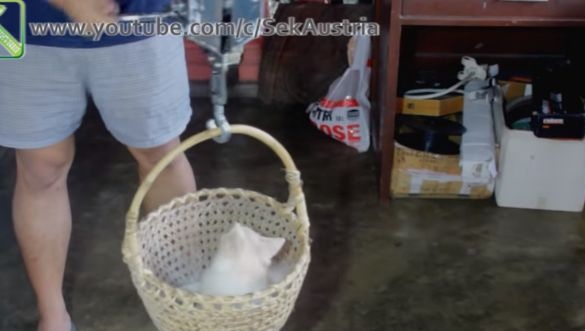
Of course, the hardest thing is the cat.
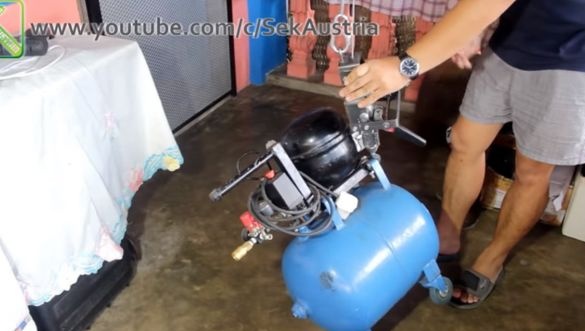
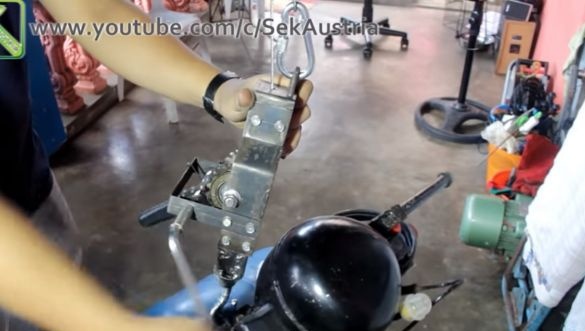
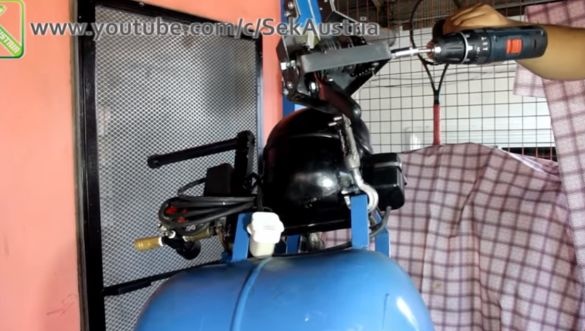
Next is the air compressor. Weighing about 30 kilograms. Manual lifting and lowering of the load is generally without effort.
Even a screwdriver, this seems like a ridiculous load.
Actually, the descent technique.
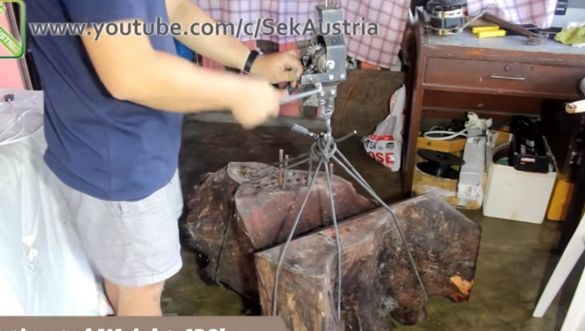
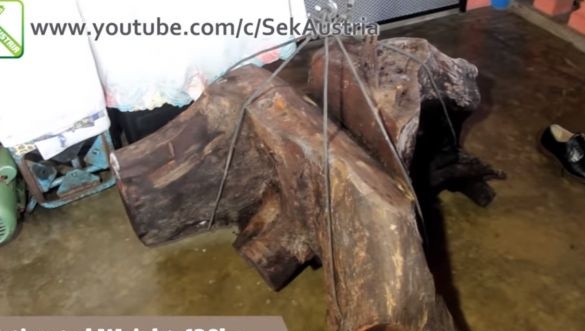
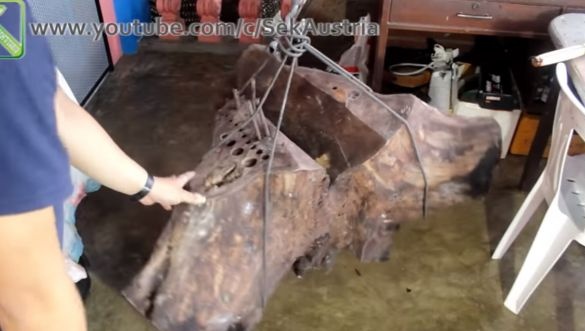
And here is a serious weight. Mahogany root weighing 130 kilograms! (As for the mahogany, I envy white envy).
Here's a winch. Thanks to Crank Winch for the detailed idea!
Good all the tools and fixtures!

