
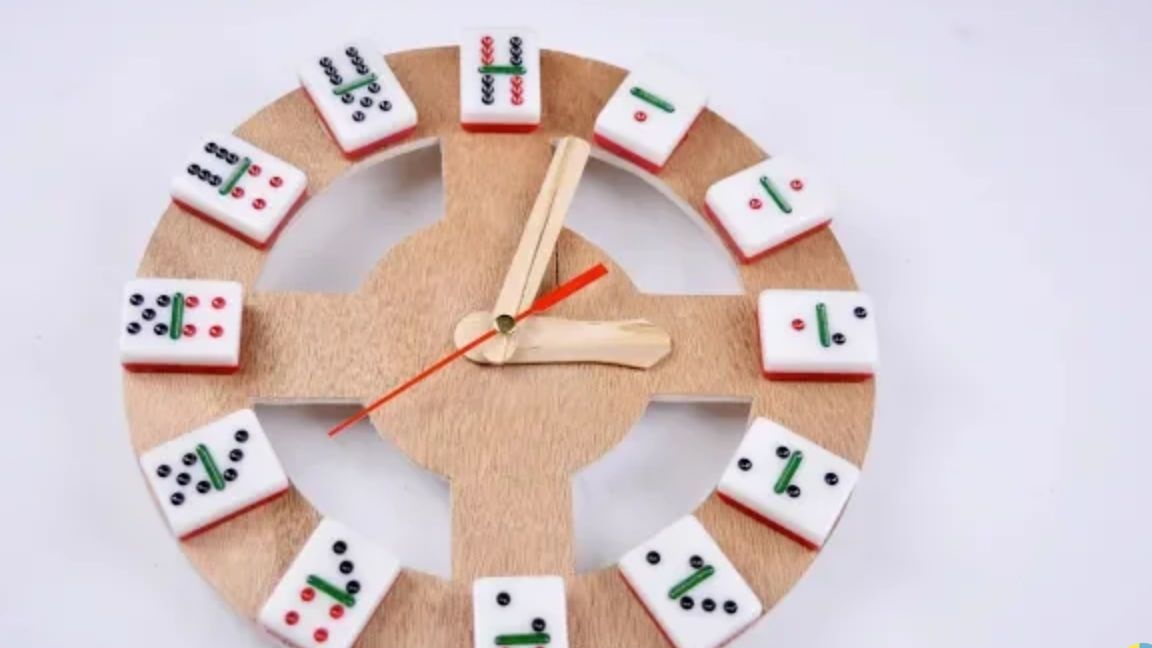
Good day to all dear friends! In today's article, I would like to show you an interesting homemade, to decorate your room. Namely, how to make a “mechanical watch”, the homemade product is essentially very simple to manufacture, and absolutely everyone, even a child, can make it. We will use cheap plywood as the main material, and the mechanism itself can be purchased from our Chinese friends or taken from old watches that are already tired. Well, let's not waste time and proceed to the assembly of homemade products.
For this homemade product we need:
- A sheet of plywood (30 × 30 cm will be more than enough)
- Clock mechanism with hands
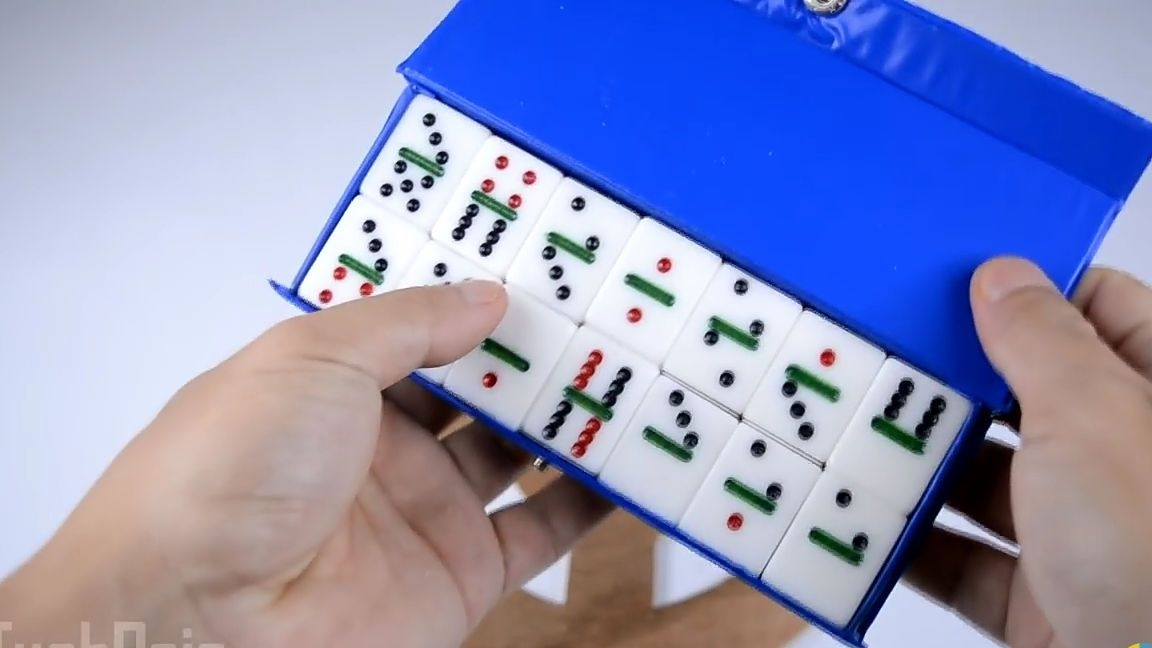
- Domino (will serve as a watch dial)
- Ice cream sticks
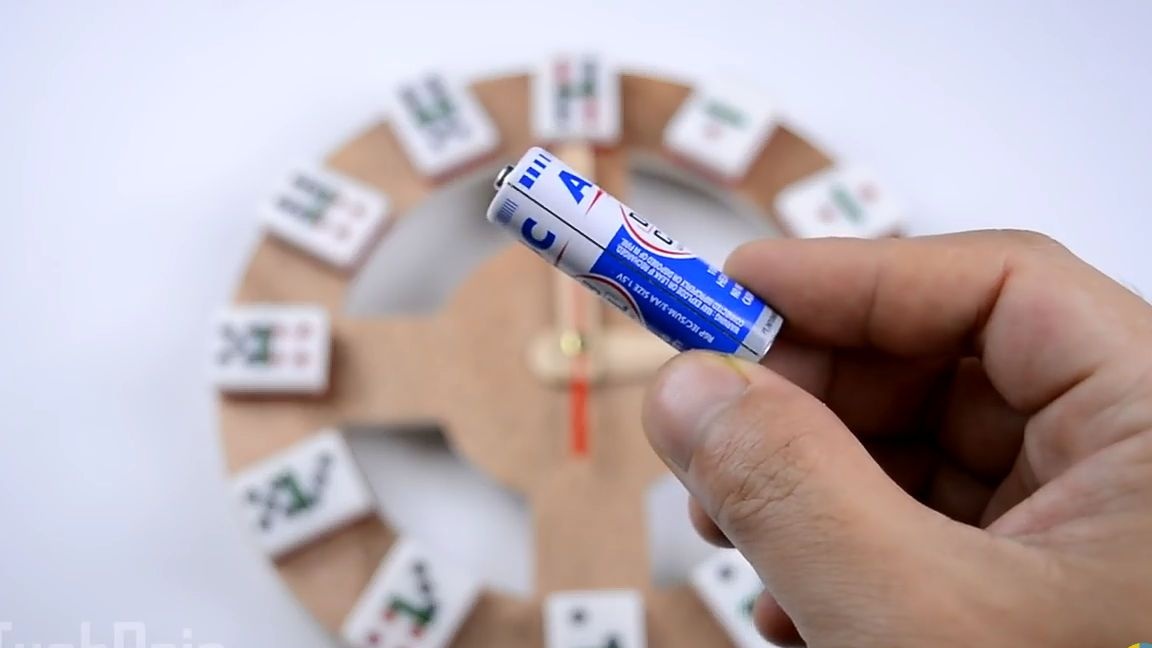
- Battery (for clockwork).
Of the tools we will also need:
- Manual jigsaw
- Electric jigsaw (optional)
- Sandpaper
- Drill with drills
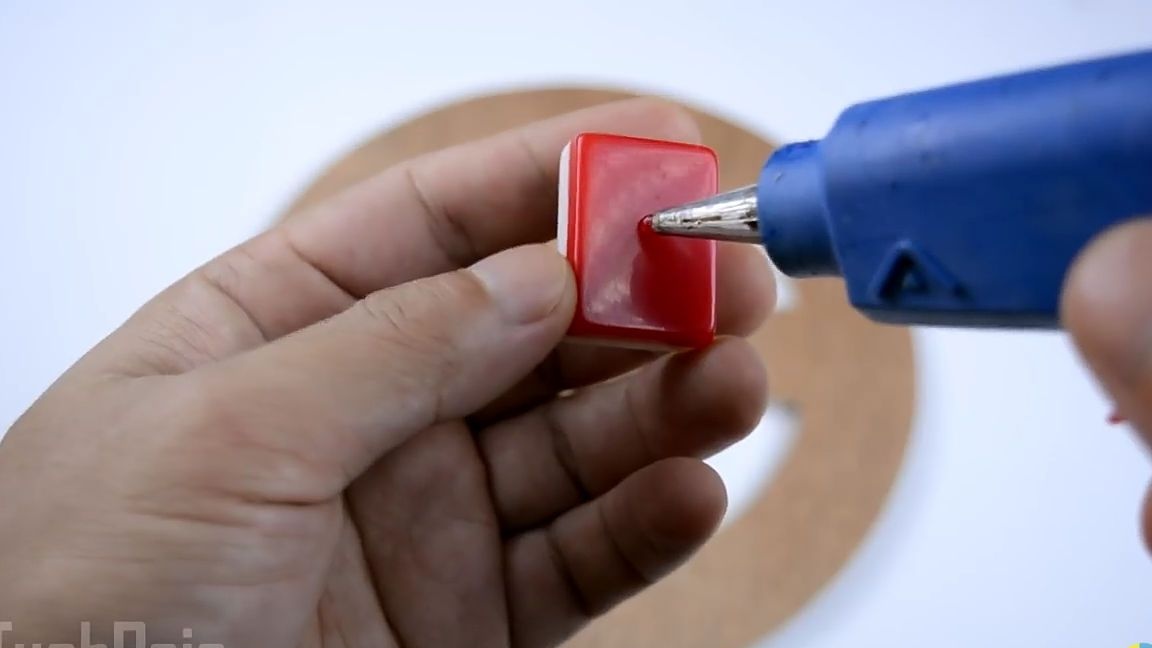
- Hot glue
- Ruler
- Compass
- marker
- Square.
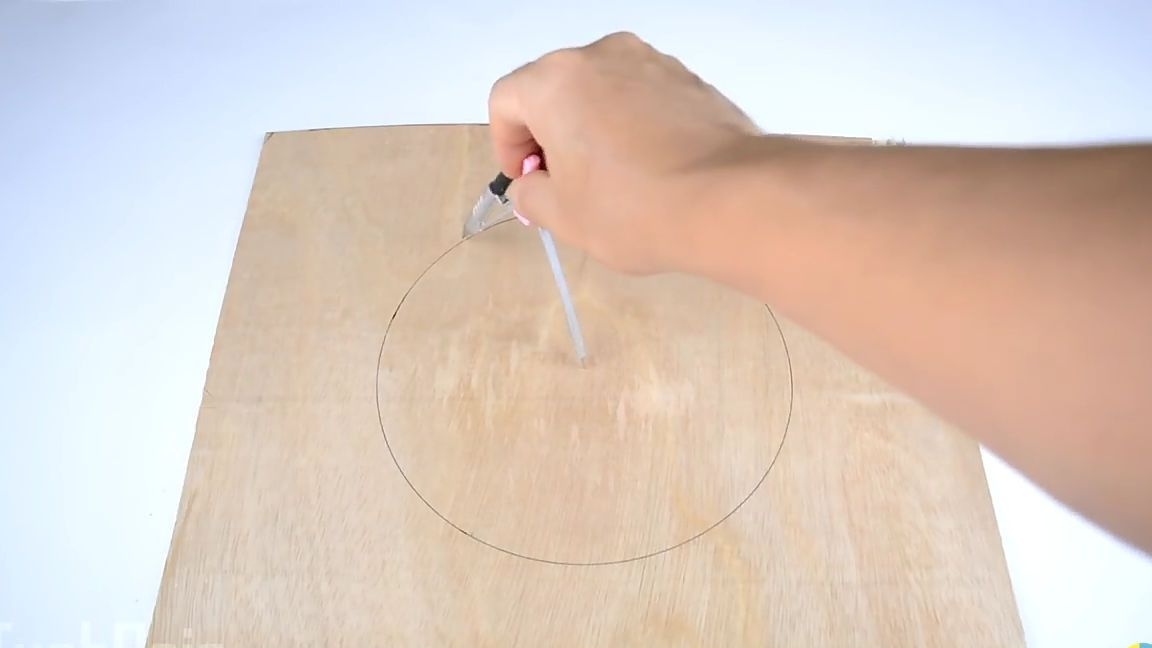
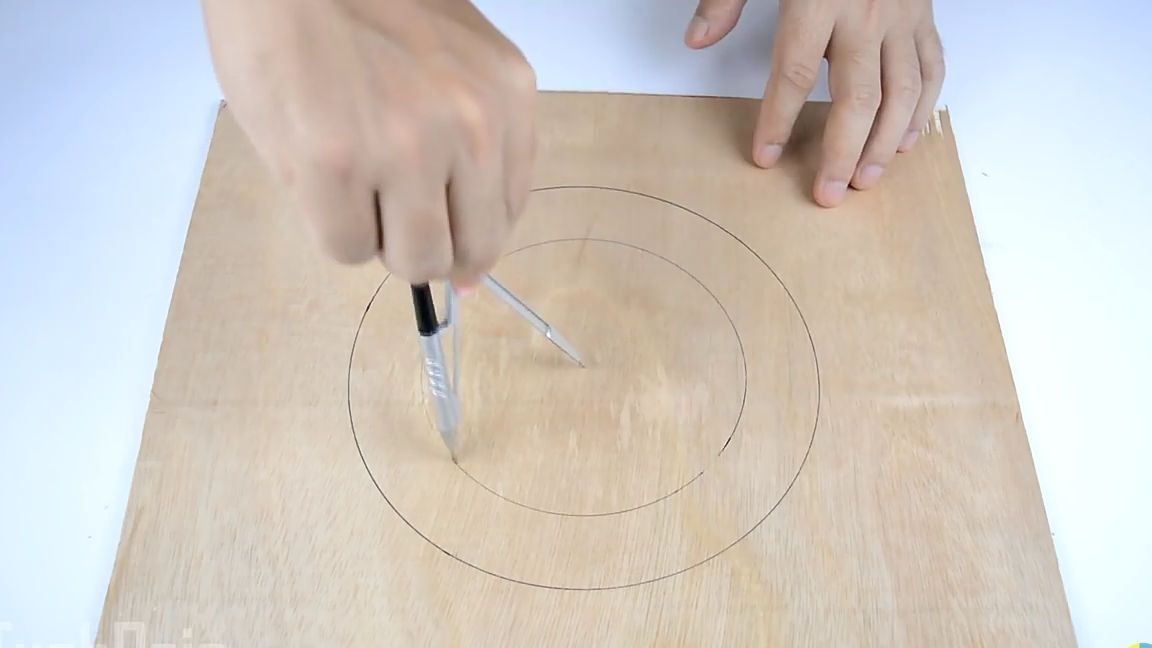
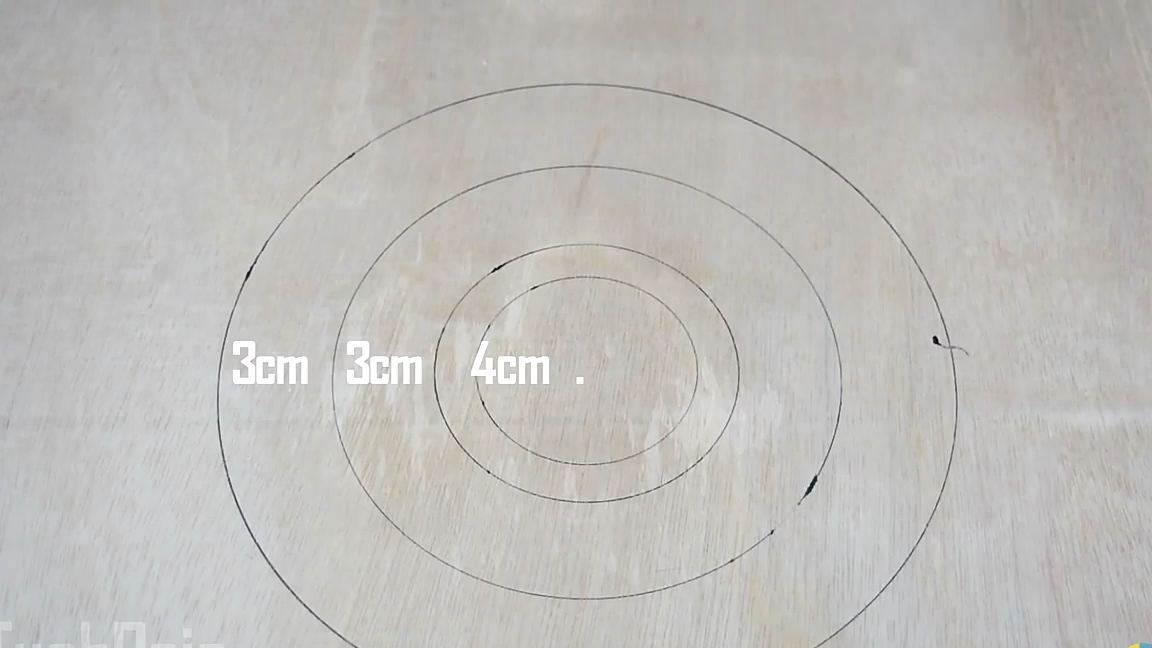
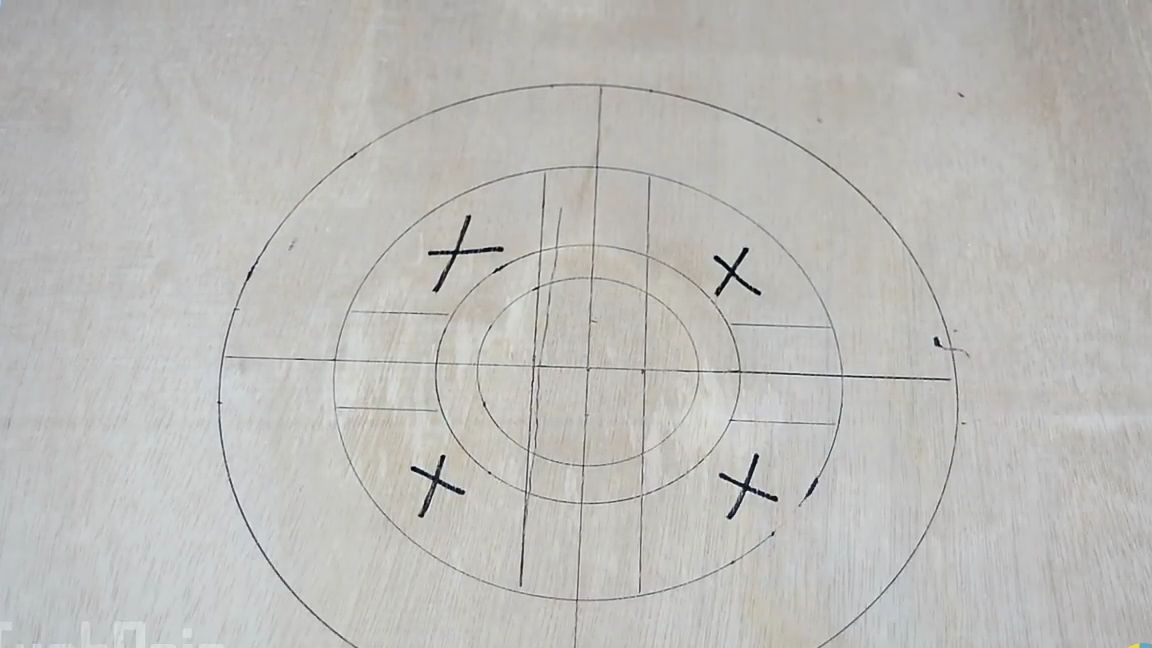
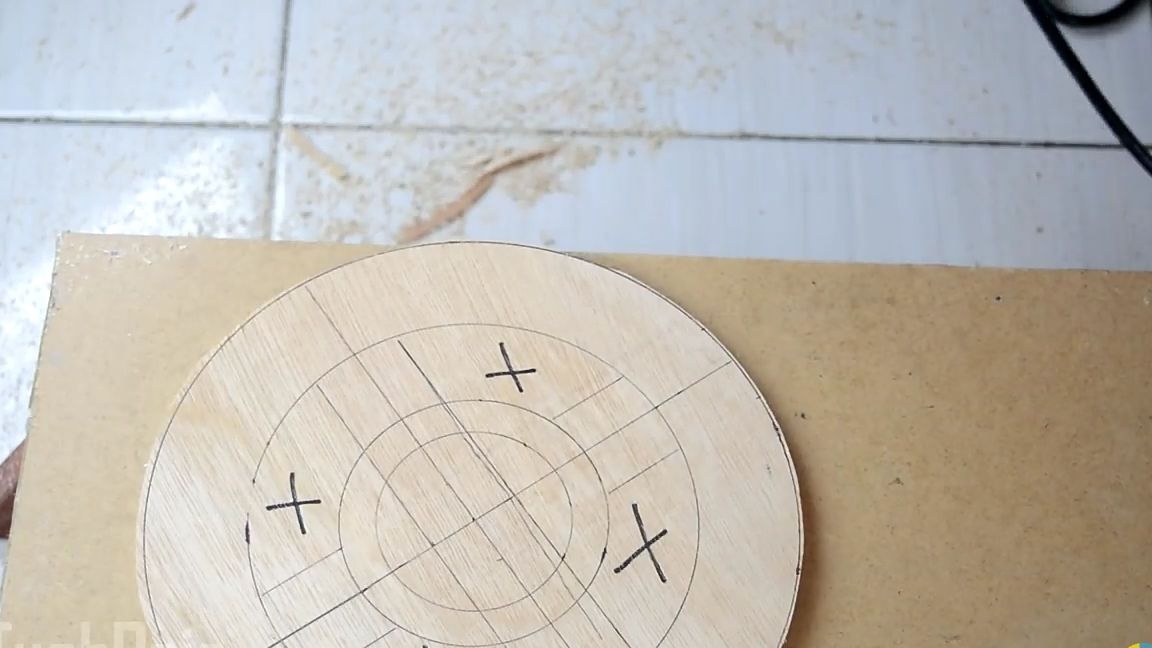
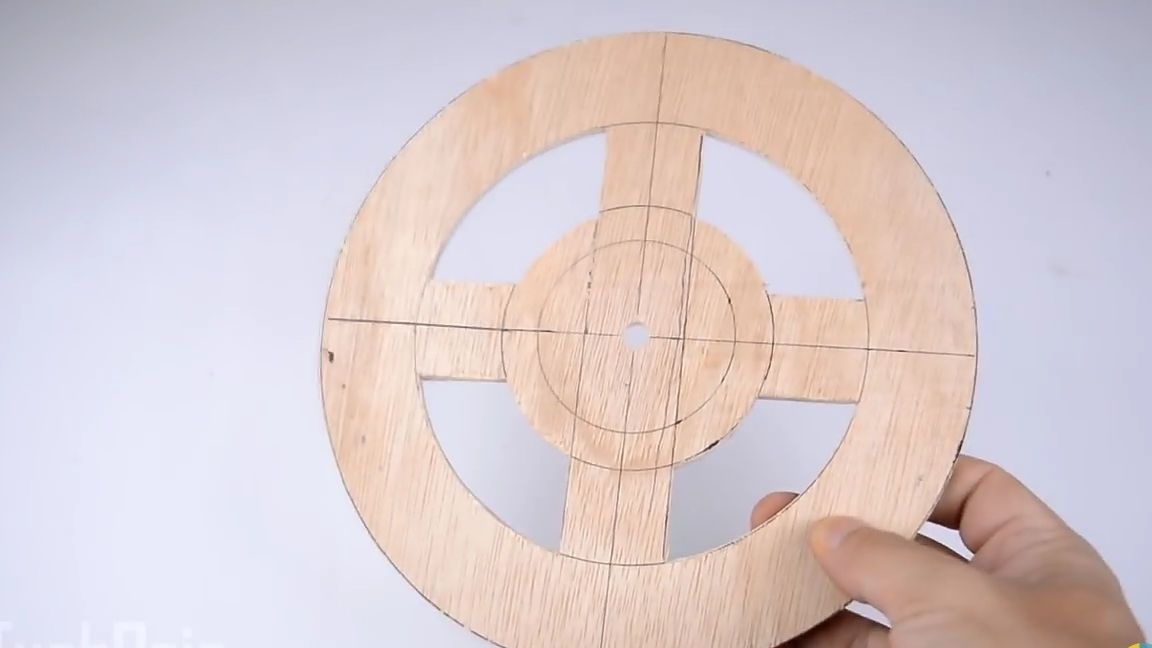
To get started, take a sheet of plywood, a square sheet with dimensions of 30 × 30 cm will be enough. On a sheet of plywood you have taken, use a ruler and compass to draw a circle with a radius of 10 cm. This circle will be the size of the clock (i.e. 20 cm) if you want to make the watch bigger then make the circle bigger. After that, inside the circle just drawn, you should draw three more circles according to the dimensions indicated below. That is, with radii of 7 cm, 4 cm, and 3 cm.

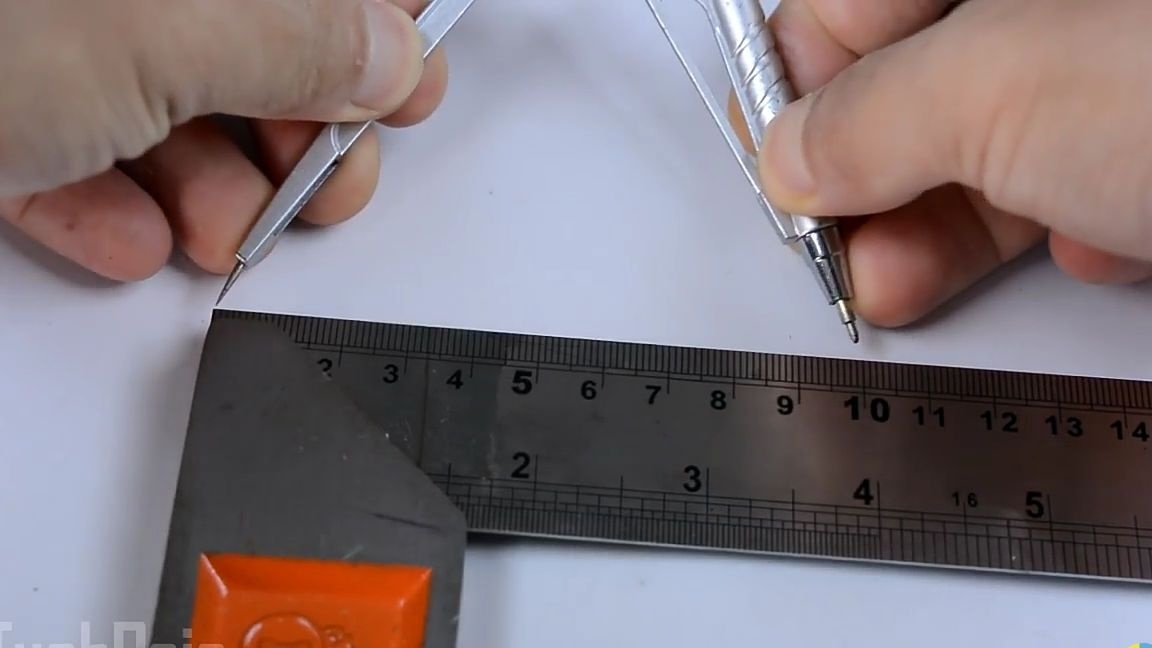
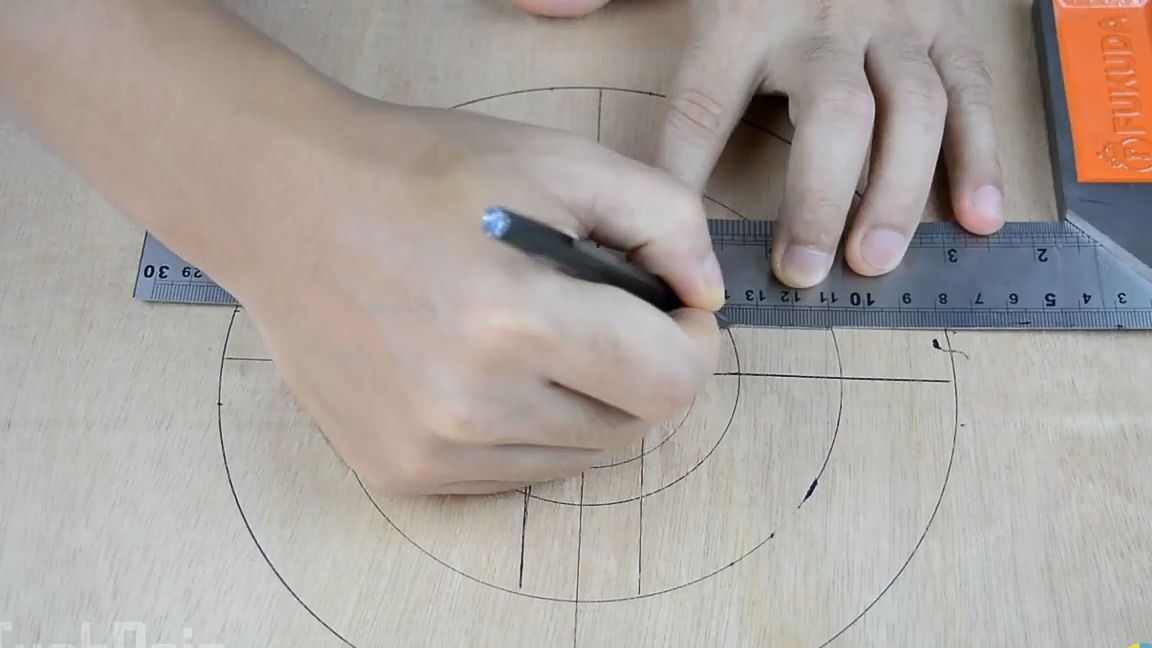
Then, to create a simple "pattern" we need a ruler and a square, or, like the author of a homemade work, a square with a ruler. We draw two lines through the centers of the circle so that they are perpendicular to each other, for a more accurate result it is better to use a square.

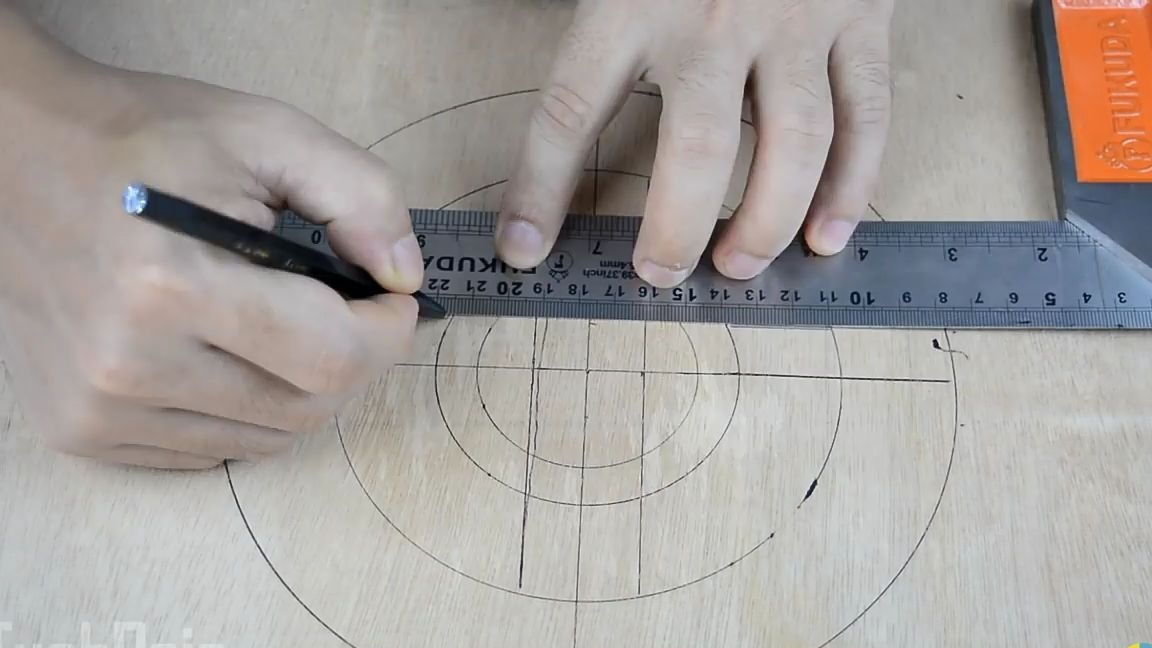
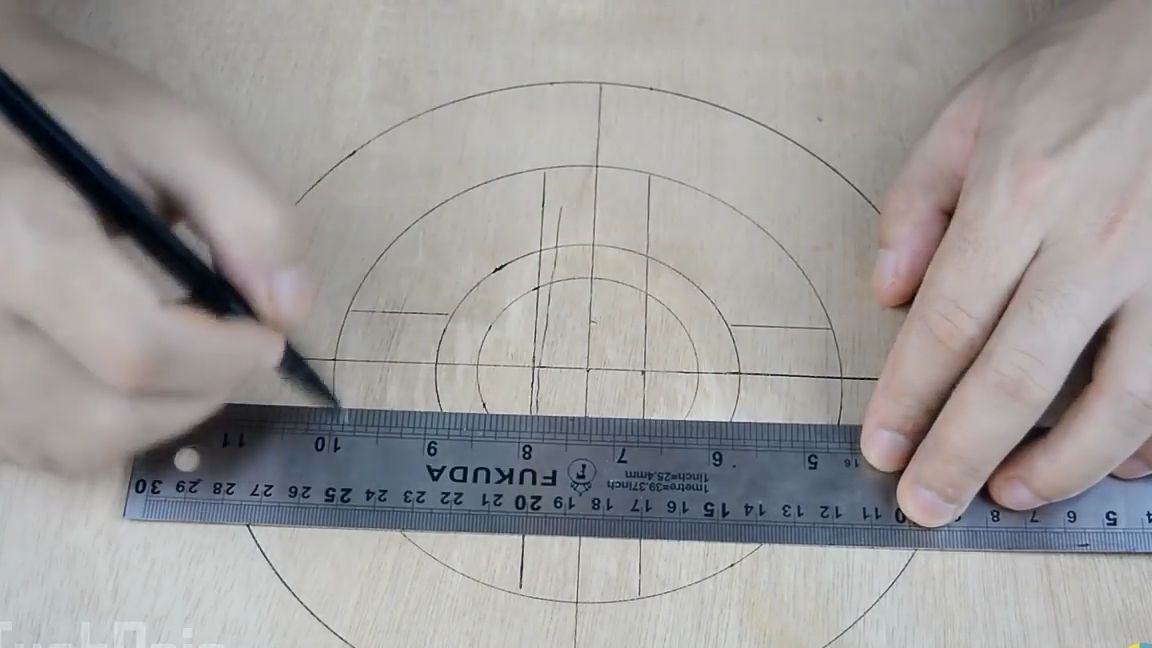
We continue to draw lines on the plywood. In parallel with the lines just drawn, we draw more lines at a distance of 1 cm. As a result, it should turn out approximately as shown in the photo below. Marker mark the parts to be cut.
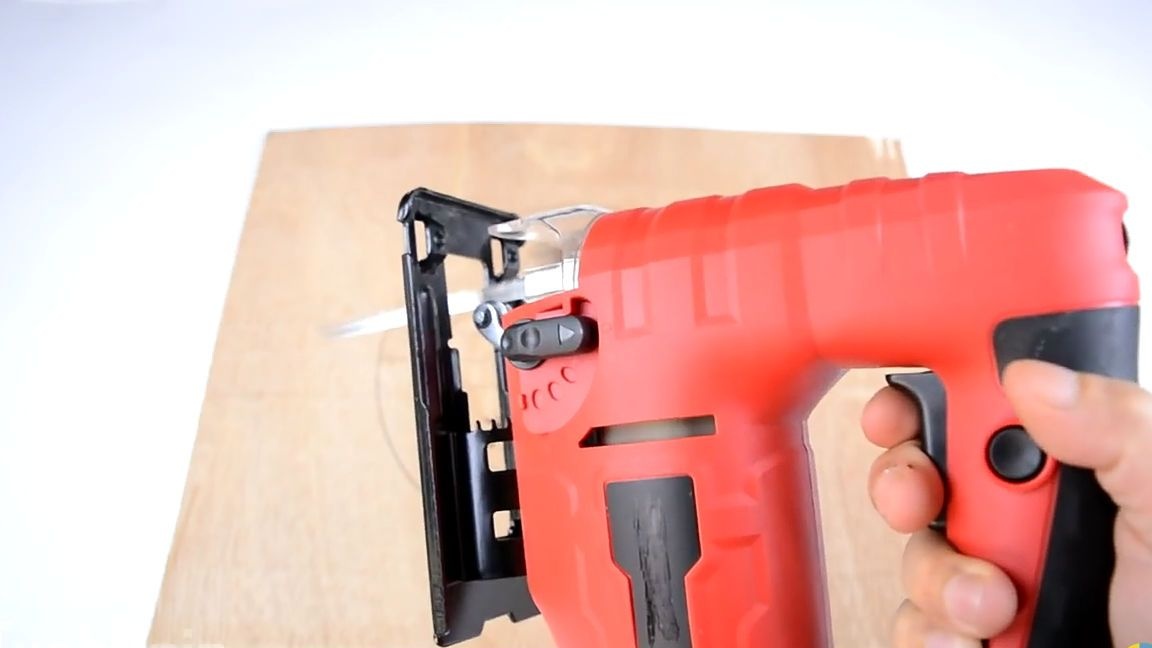
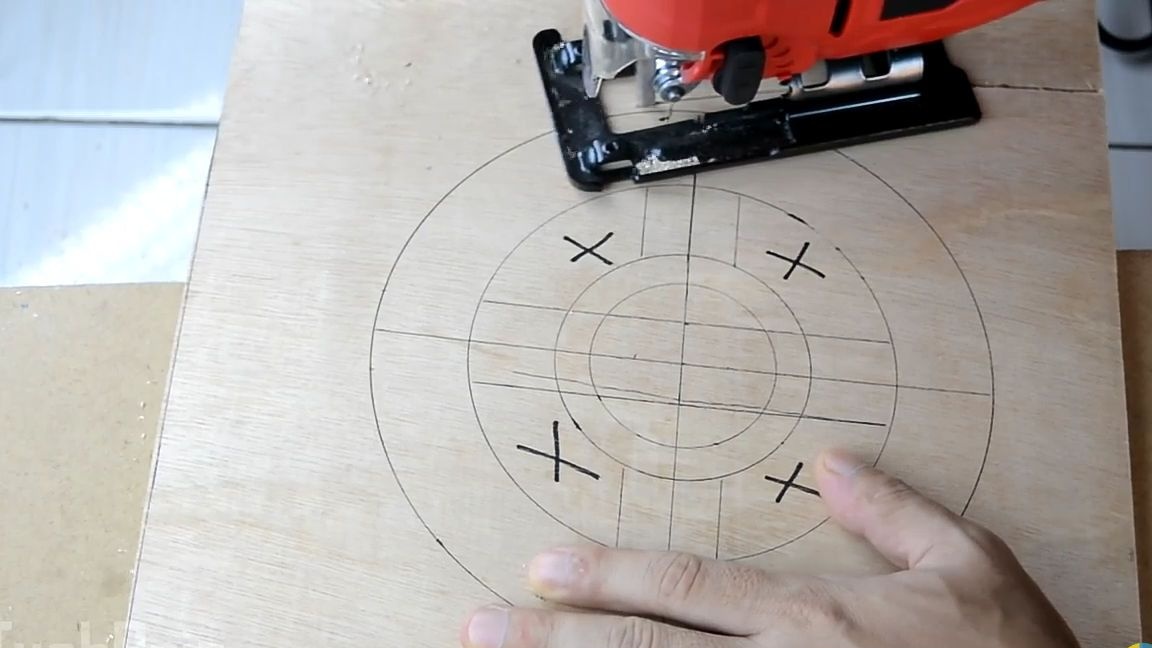
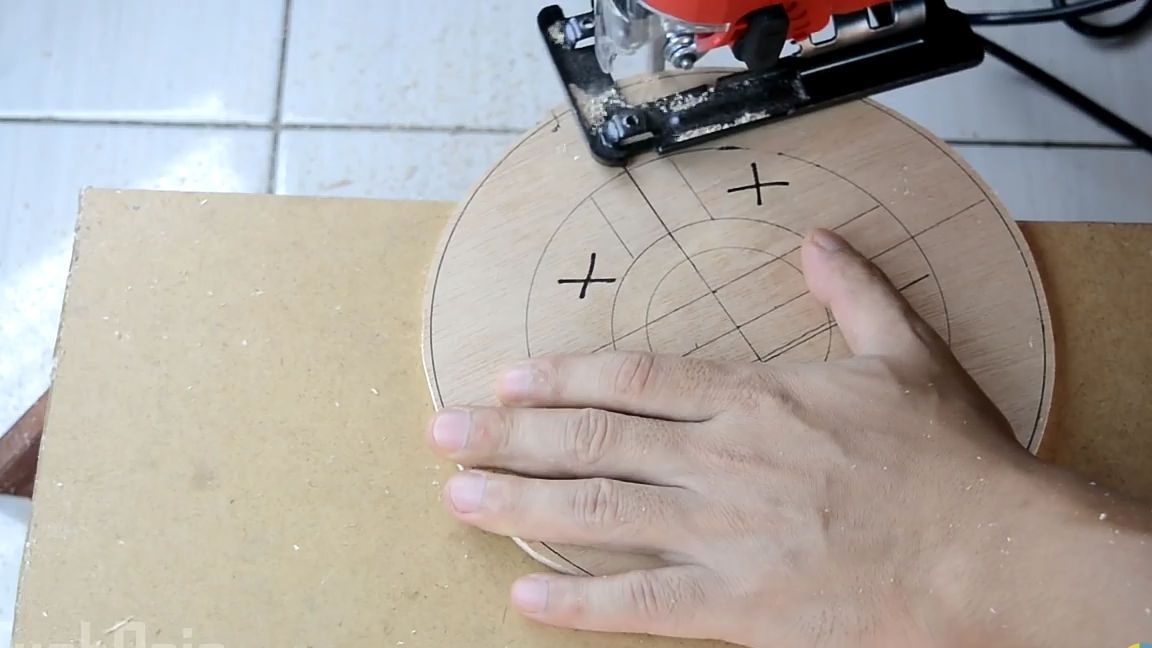
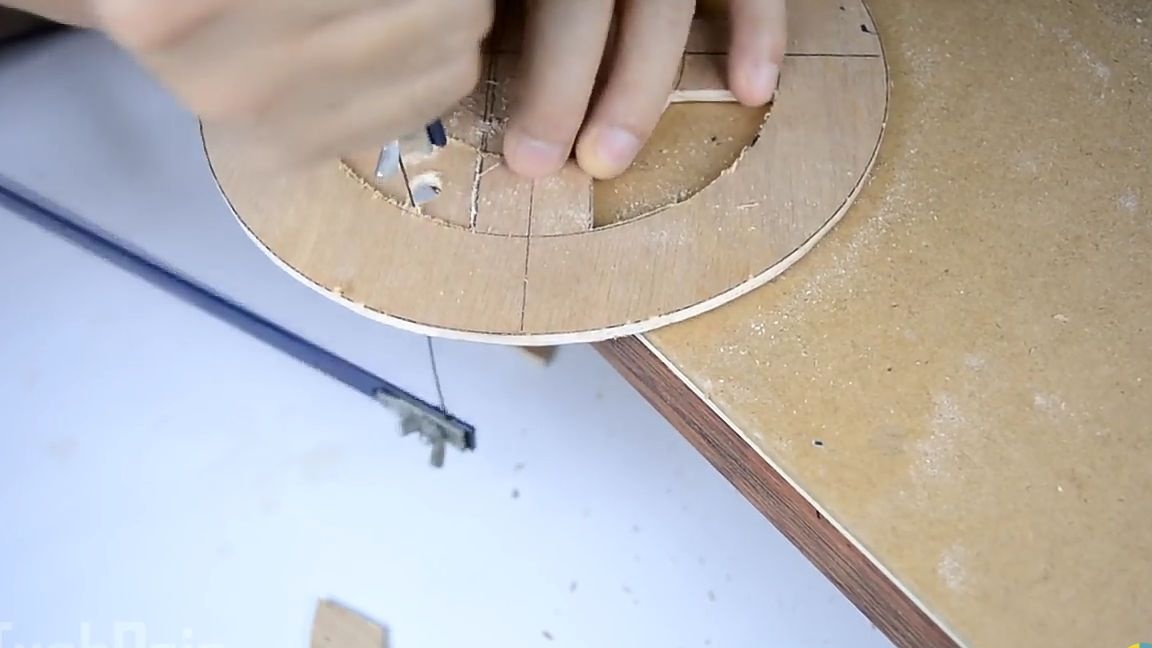
After you have done the above actions, proceed to sawing. First, cut out the very base of the watch. For this we will use a jigsaw, but if you don’t have one, you can use the simplest manual jigsaw. First, we cut out about 5 mm from the edge, and then gently trim the edges along the contour more carefully.
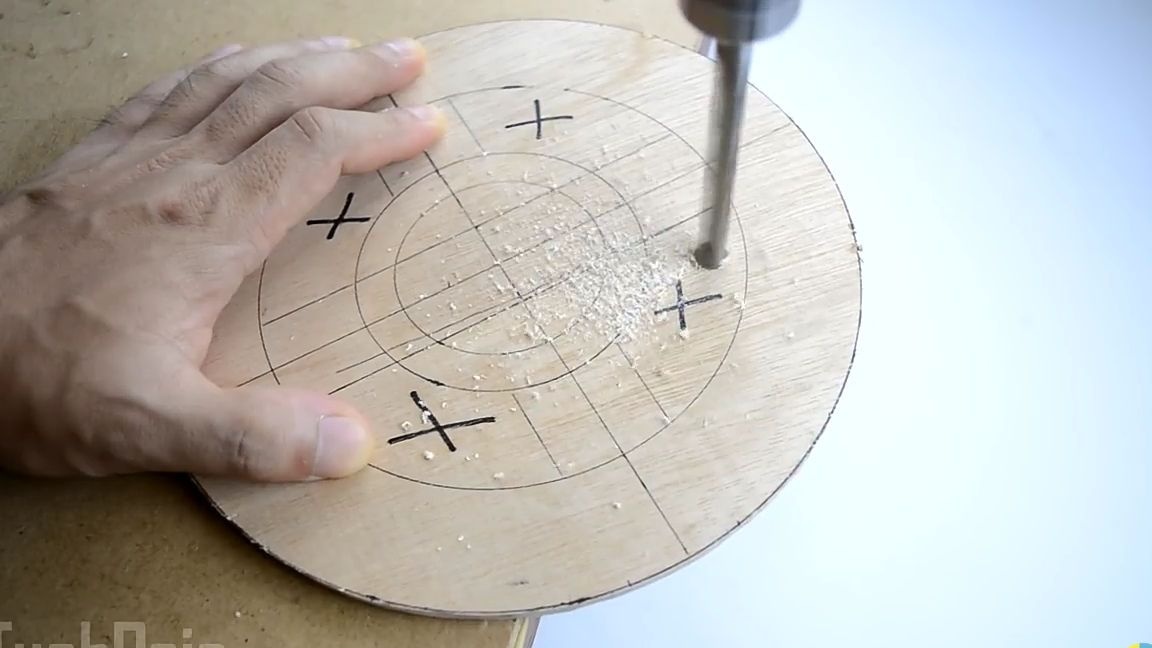
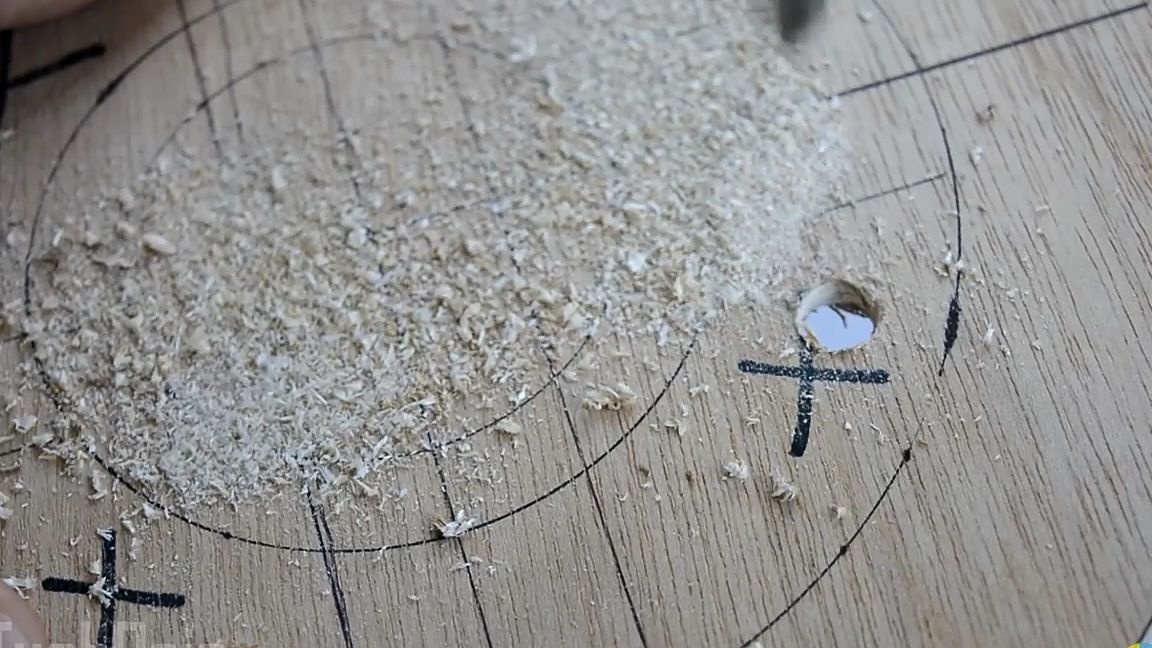
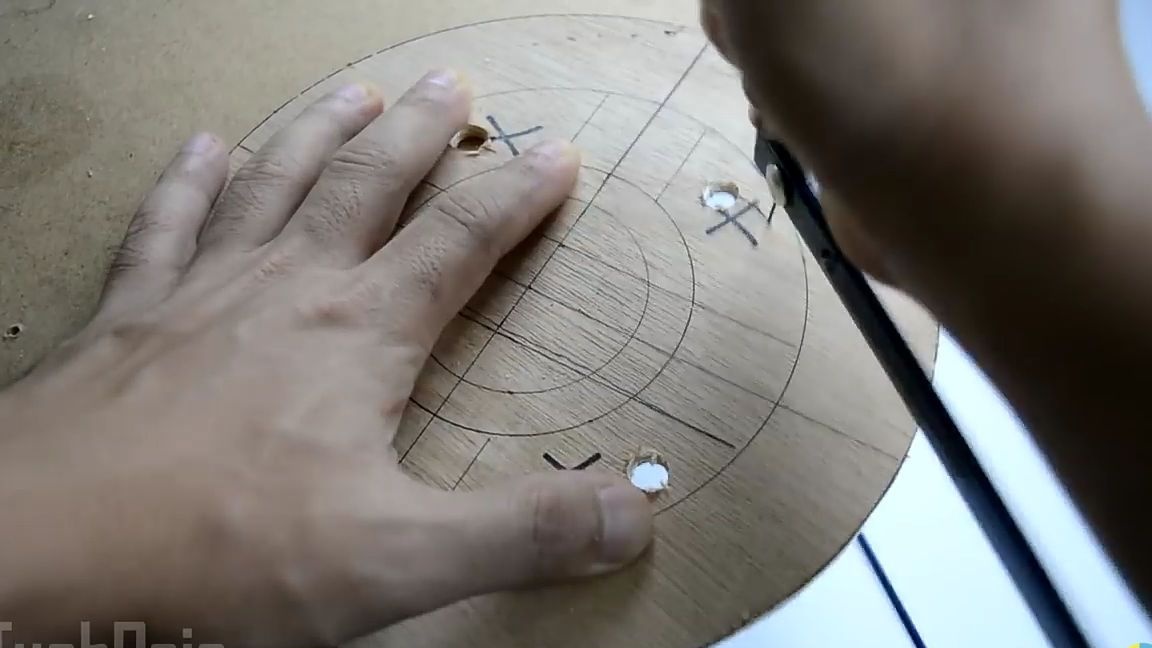
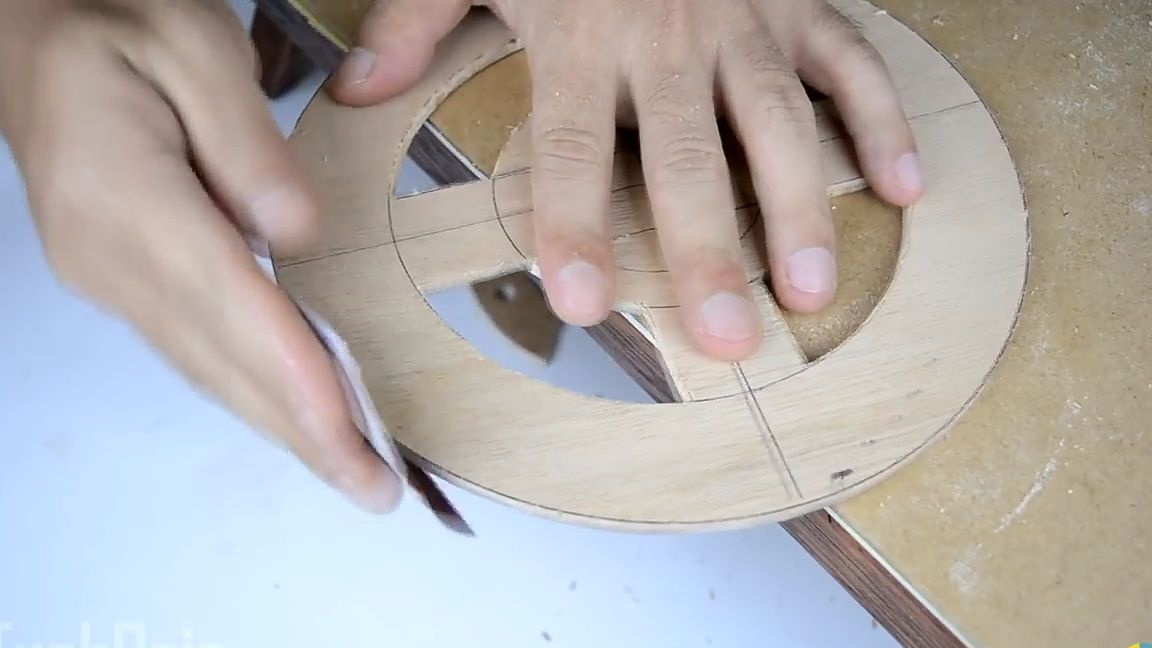
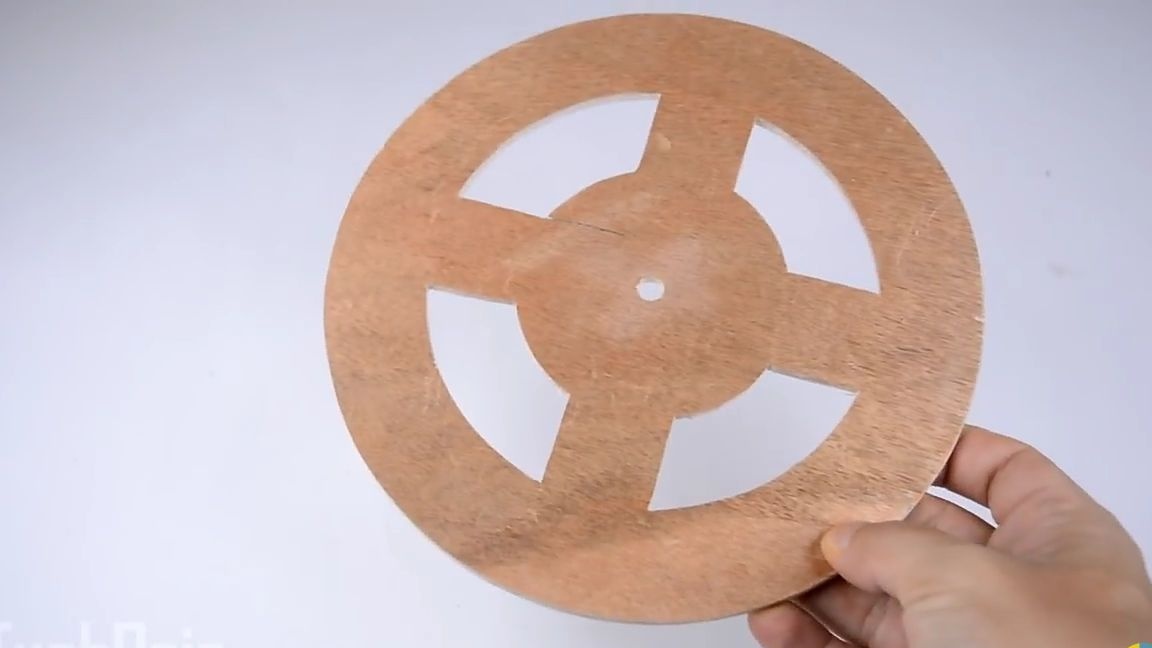
Then we need to cut out the “patterns” marked with a marker inside the circle.To do this, you need to take a drill and a manual jigsaw. Just take a drill with a drill thicker and drill a through hole. After the through hole has been drilled, remove the blade from the hand jigsaw and put it back on the jigsaw through the previously made hole so that the blade is inside the plywood. And actually cut it out. We do this with all four parts.

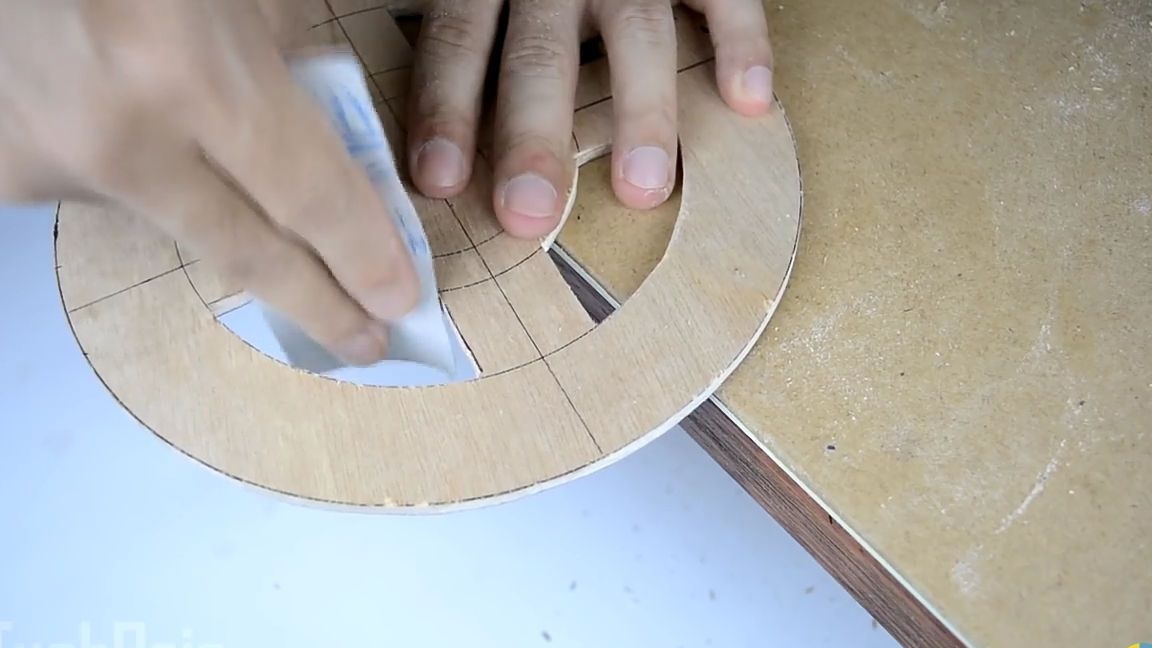
For aesthetics, the workpiece should be sanded with at least plain sandpaper. For grinding, we first use a larger sandpaper, and then smaller.
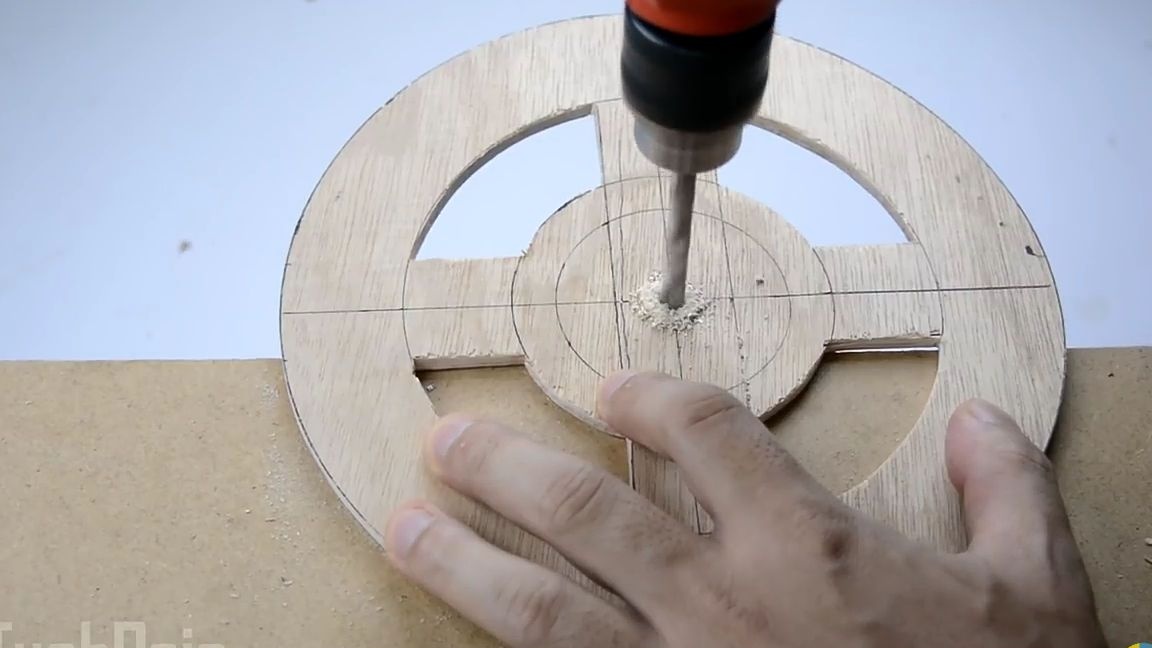
In the center of the workpiece, we make a through hole for installing the clock mechanism. The hole in diameter should be slightly larger than the diameter of the seats of the clock hands.
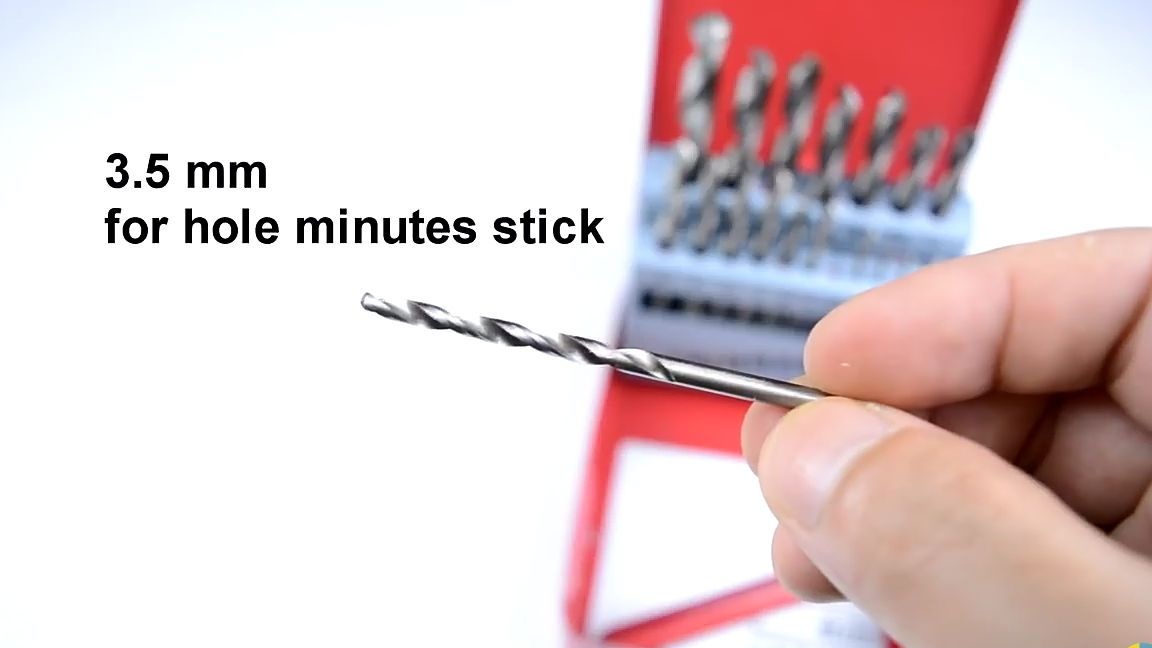
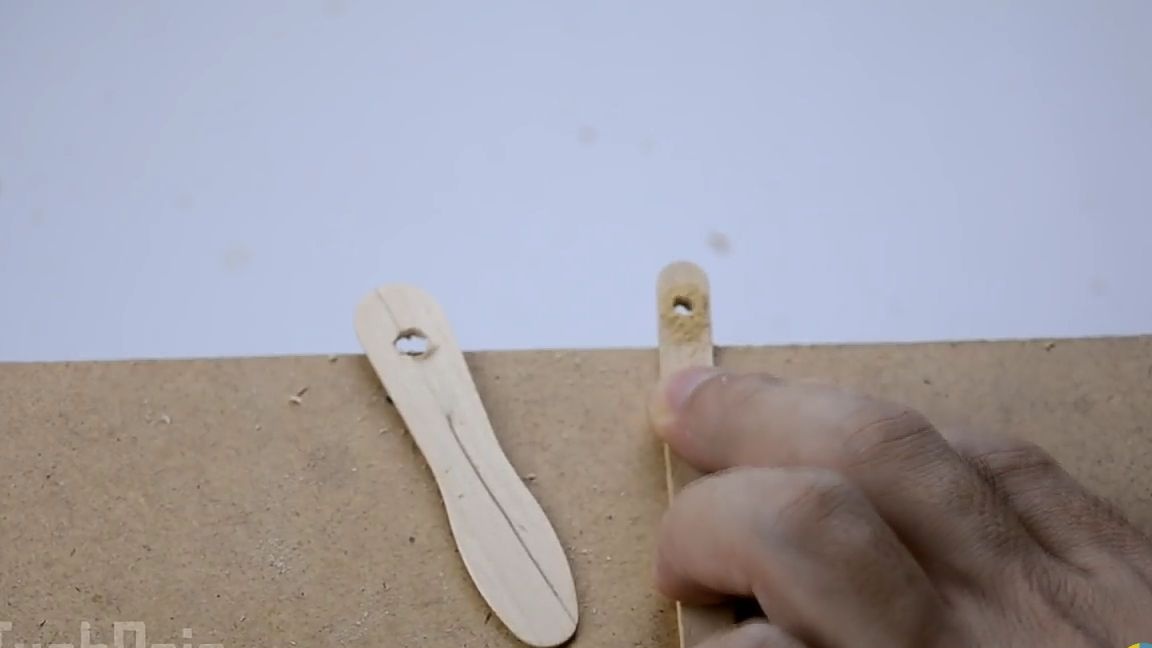
Now we make the clock hands ourselves. Namely, on our own we will produce the minute and hour hands. To make arrows we need ice cream sticks, and to distinguish arrows we need sticks from different ice cream. If you can’t find two different ice cream sticks, you can take two of the same, but change one of them. To install our arrows on the mechanism in them, you should do one through-hole landing hole. For the clockwise you need a drill 5.5 mm, and for the minute 3.5 mm (no more, no less).


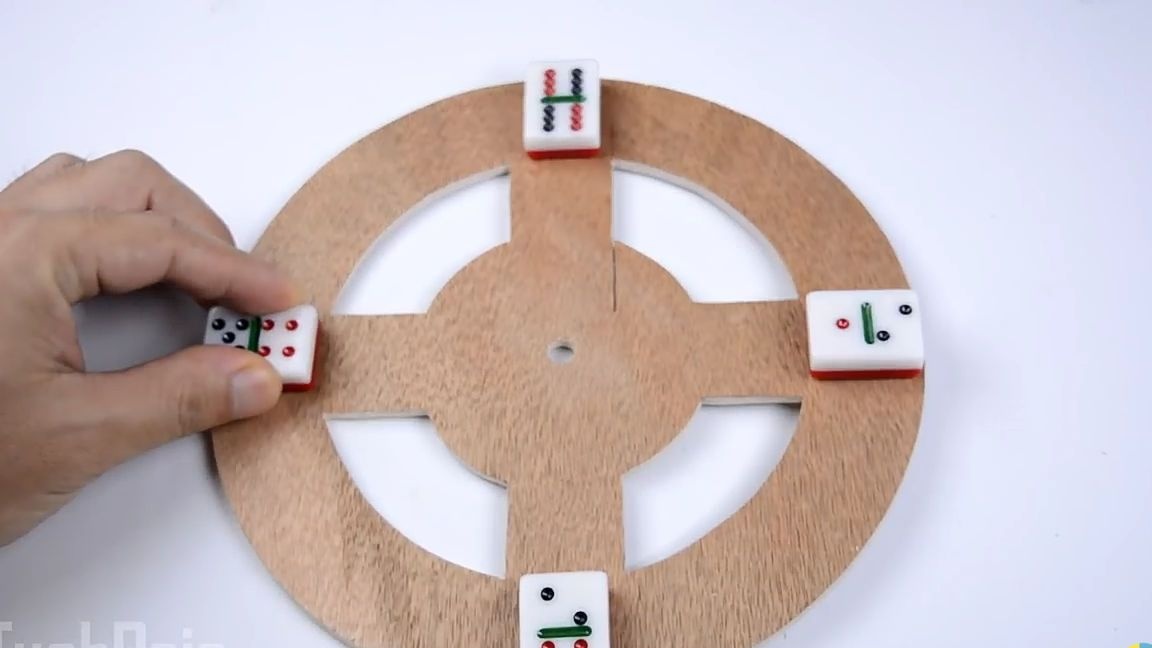
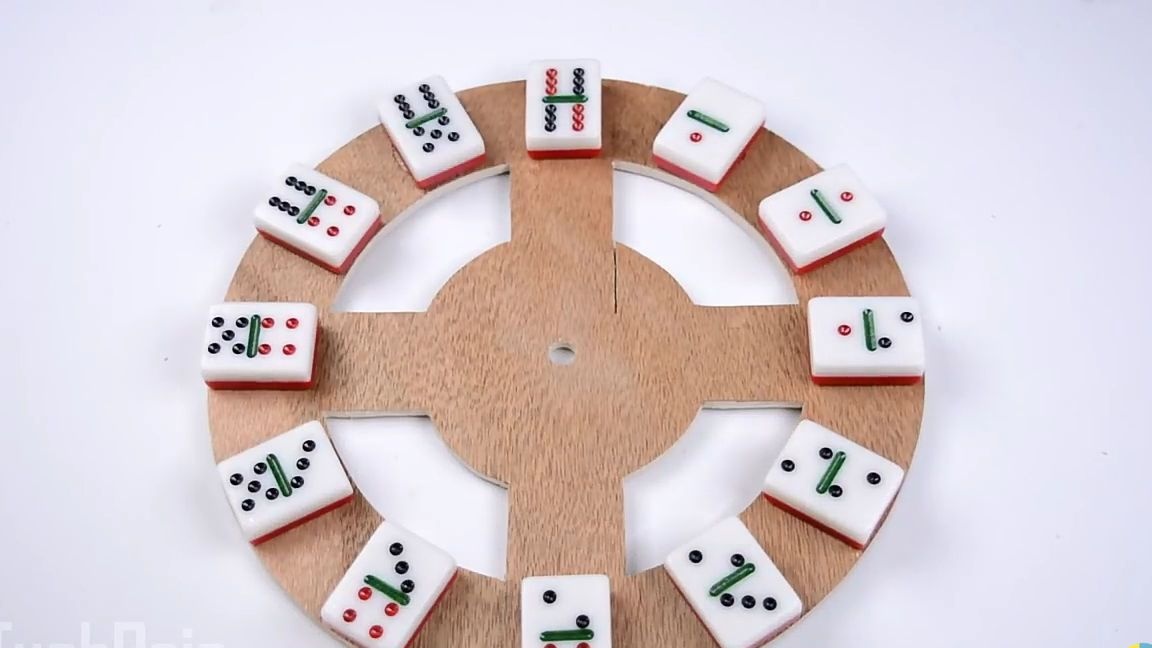
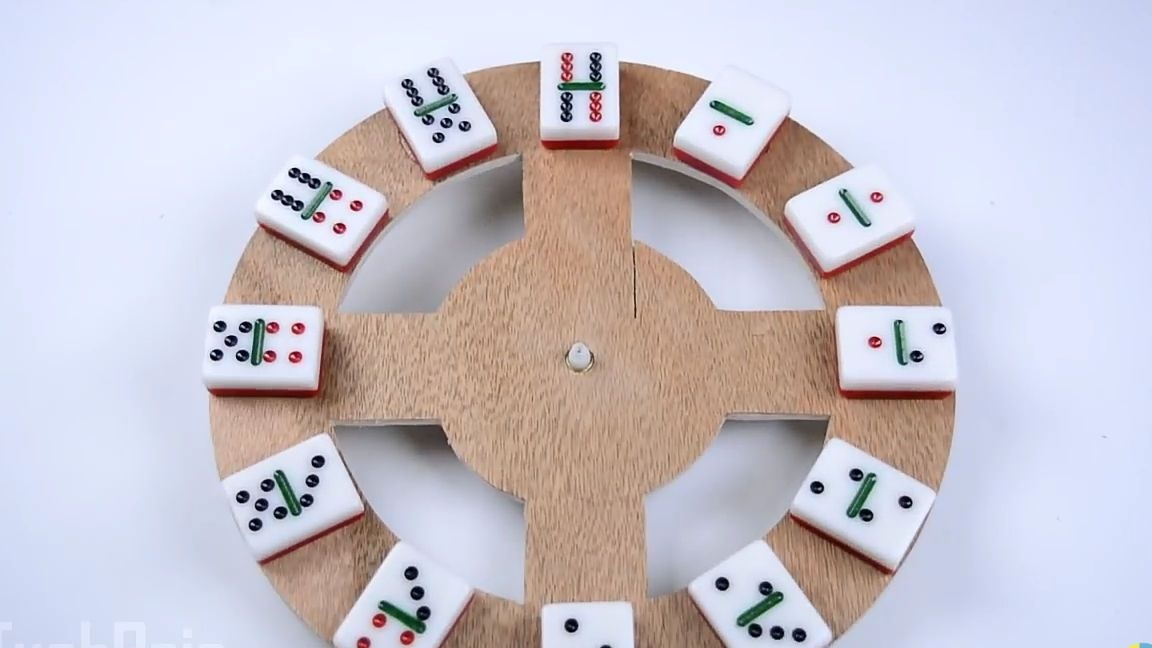
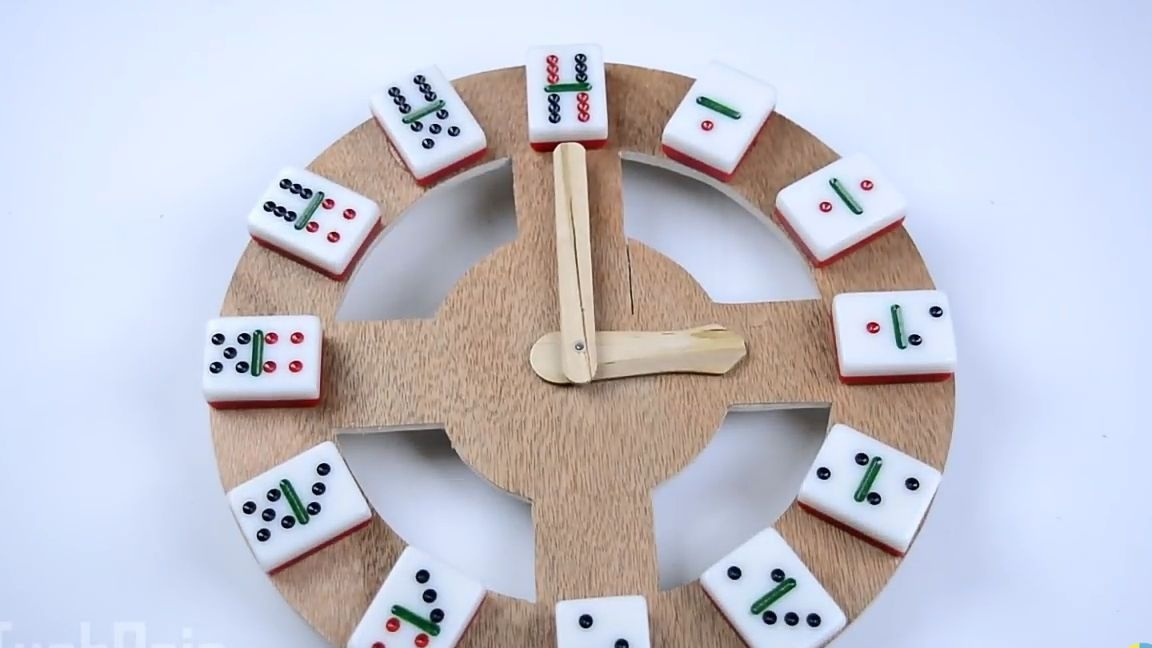
Let's make the dial itself. To do this, take a wooden blank and turn it with the clean side up. And now we should stick or draw numbers on the dial. The author of the home-made decided to make a very unusual dial and used dominoes as the numbers. To do this, take a set of dominoes and get one knuckle out of it with the sum of the points on them from 1 to 12. We will stick the knuckles to the plywood using hot-melt adhesive. First, glue the numbers 12, 3, 6, and 9, and then all the rest.
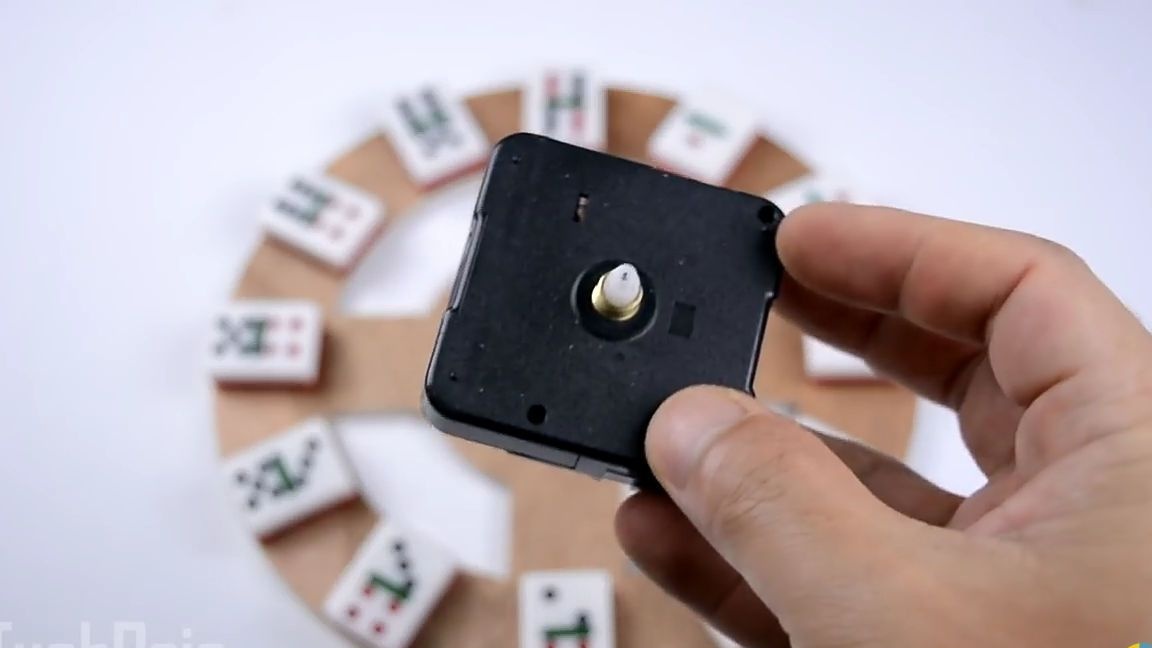
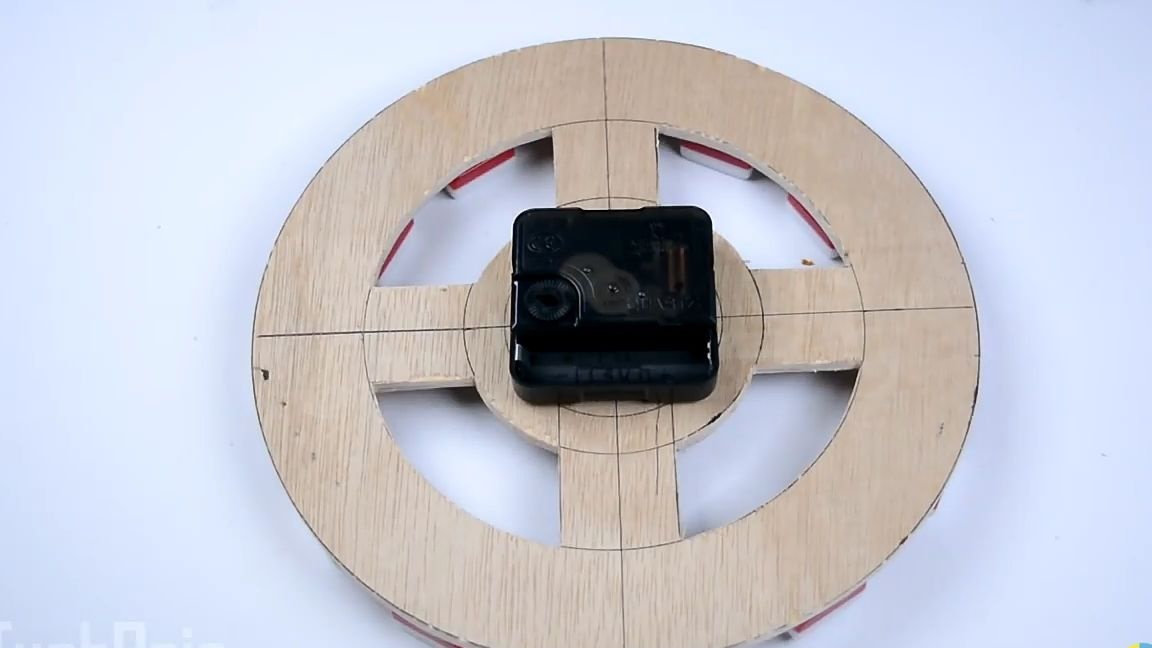
For the next step, we need the clock mechanism itself, and we will install it. To do this, turn the dial over again and use the same hot-melt adhesive to glue the mechanism to the dial as it is shown in the photo below.
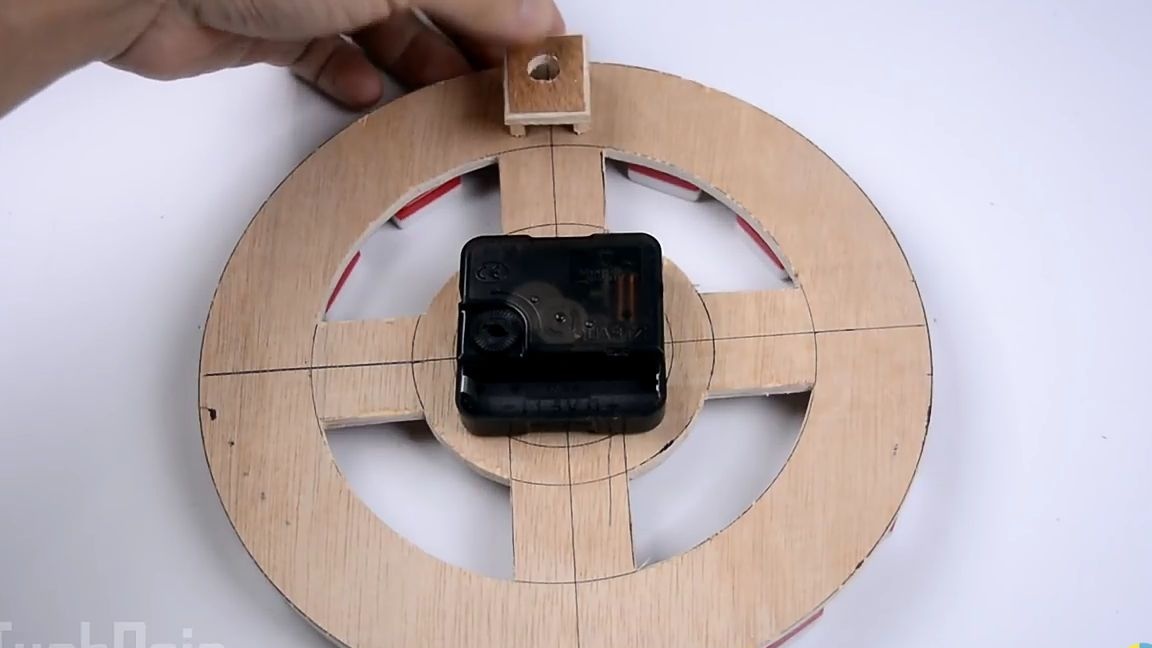
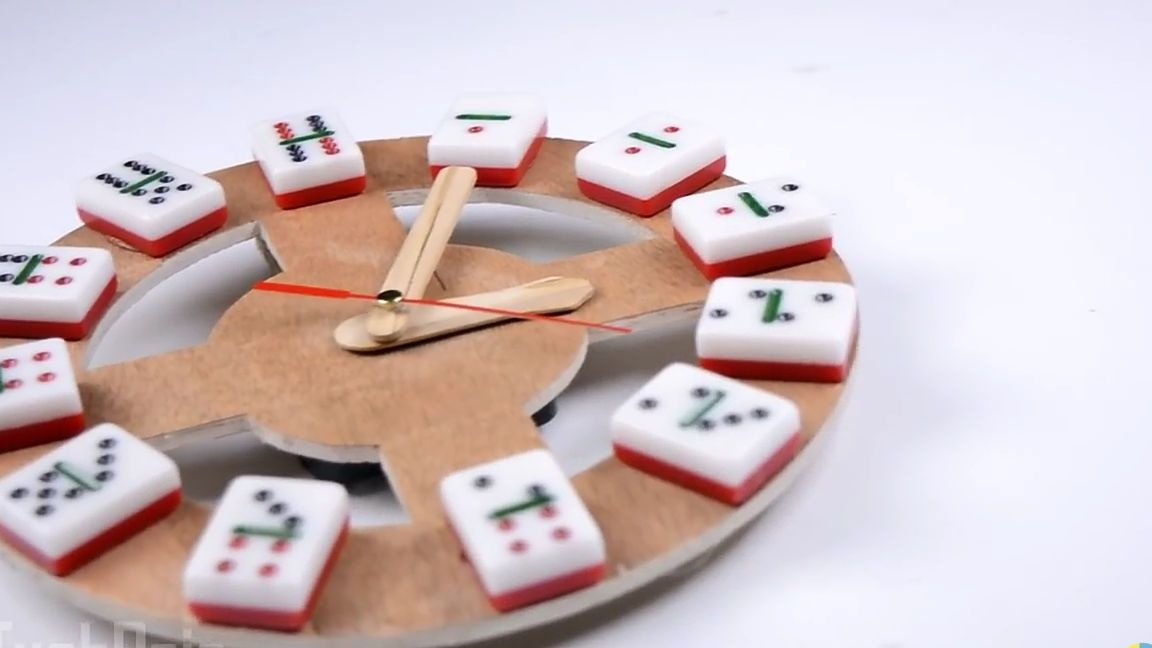
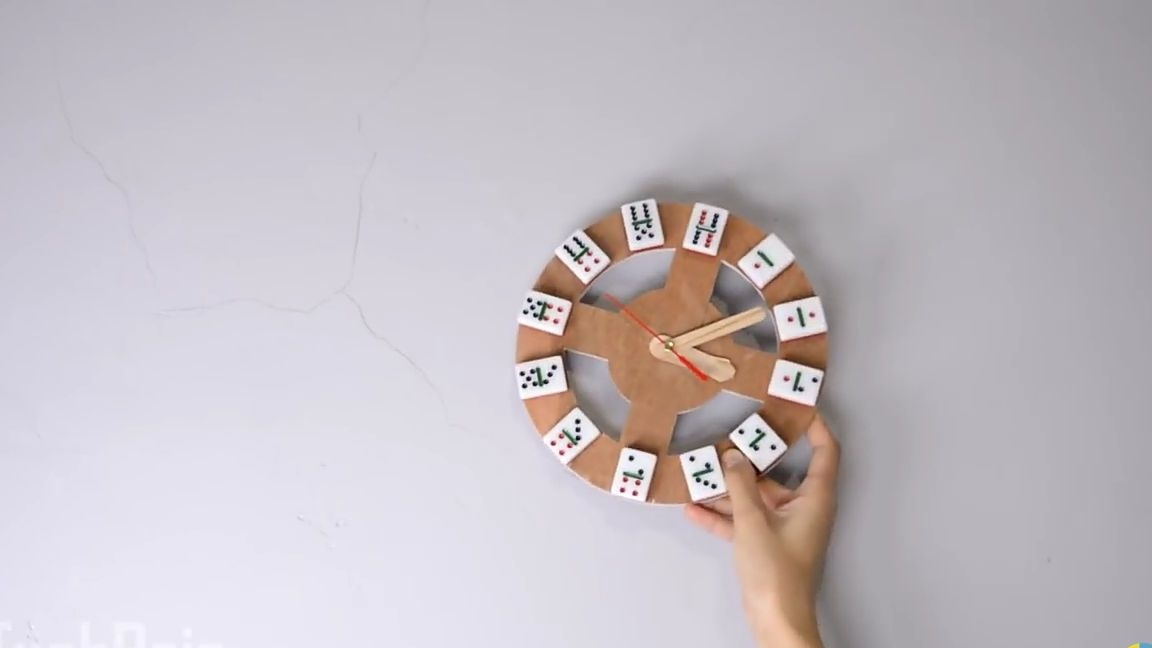
Then we should decide where and how the clock will be installed, that is, it will be desktop or wall. The author decided to make his watch wall-mounted, and therefore made it, and then glued the following mount (see photo below).
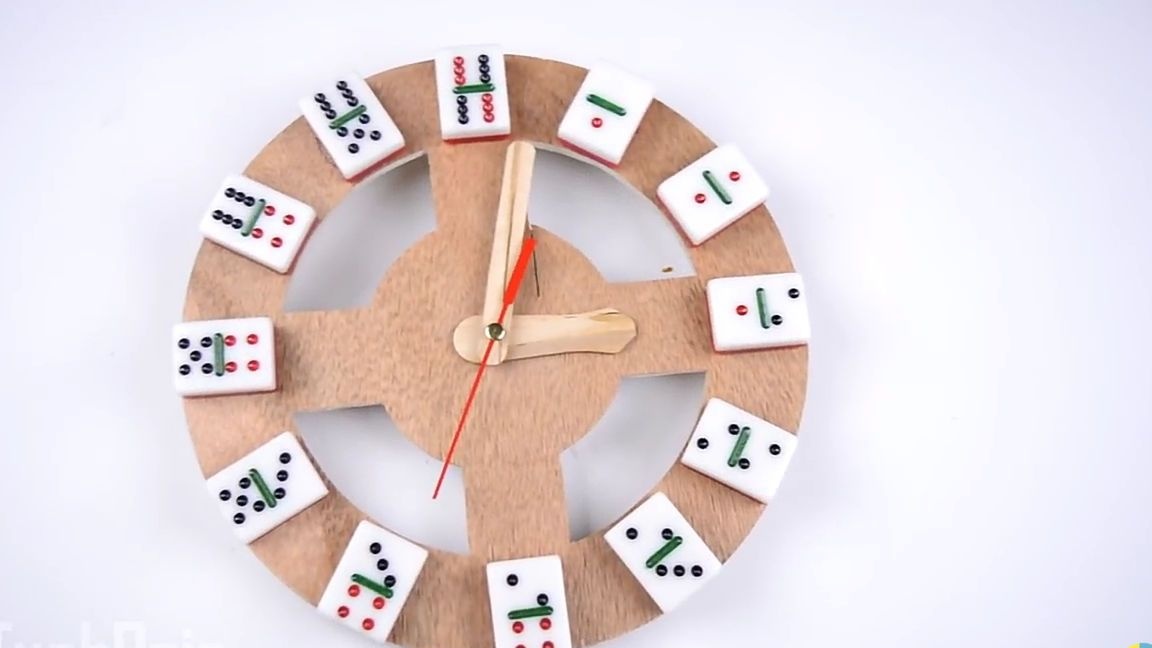
It remains only to put the arrows in their place. You should know that first sets the hour, then minute, and then the second hand.

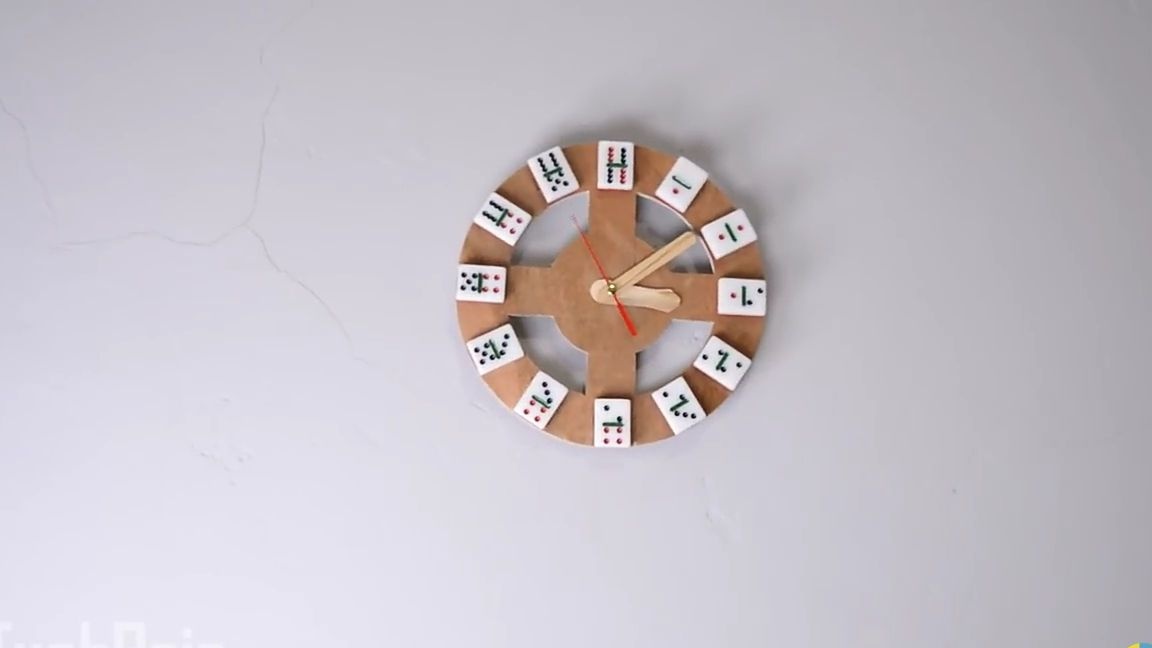
Install the battery observing the polarity and you're done! As a result, we got original and attractive watches that are sure to decorate your room.
Here is a detailed video from the author with a detailed assembly and testing of this homemade product:
Thank you all for your attention and good luck in future projects, friends!