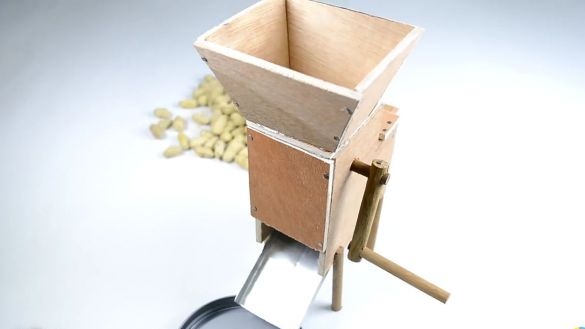
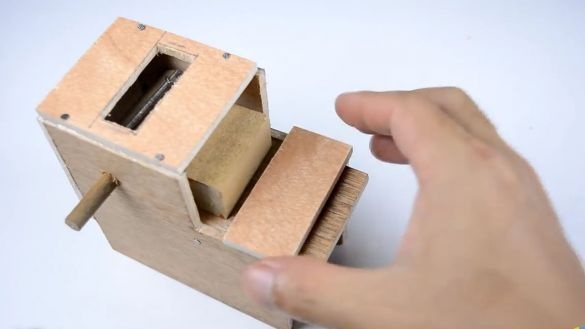
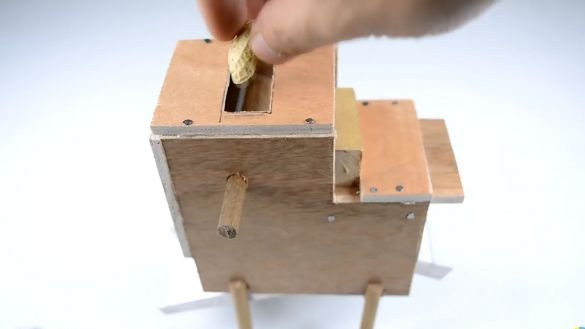
Good day to all dear friends! In today's article, I would like to tell you about a rather interesting idea, namely, how to make a “device” for cleaning peanuts from shells. This homemade perfect for those who like to save on buying nuts, because peanuts with shells are much cheaper than peeled, and especially in large quantities, the difference is more noticeable. So if you bought yourself, for example, a whole bag of such a nut and tortured to clean it, then you just need to collect this homemade product. As usual, this homemade product will consist of completely simple and improvised materials. Well, enough of the long introductions, and already begin the assembly of this homemade product. Let's go!
And so, for this homemade product you will need:
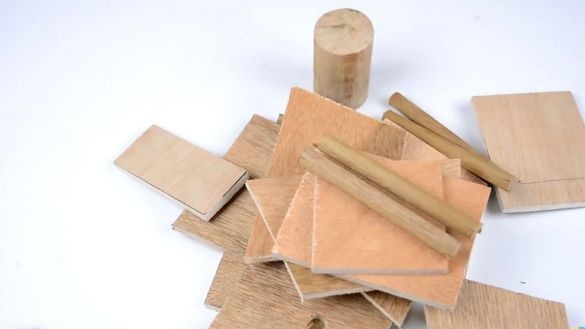
- plywood sheet
- Shank (about the same as for a shovel)
- A thin round stick (you can get one from an old wooden clothes hanger)
- A small stick of square section (whetstone)
- Furniture nails and nails a little more
- Threaded rods of suitable diameter
- A metal sheet.
From the tools you will also need:
- Electric fret saw
- Hot glue
- Hammer
- Drill and drill bits of various diameters
- Ruler
- Scissors for metal
- Black helium or capillary pen (marker possible)
- Pliers.
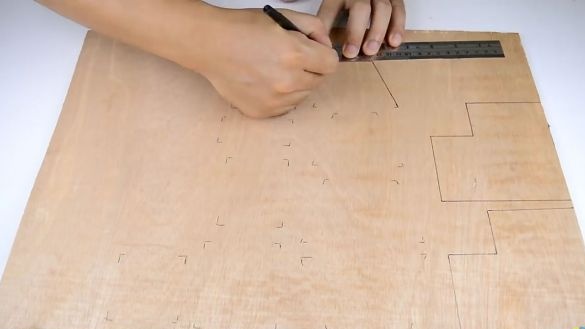
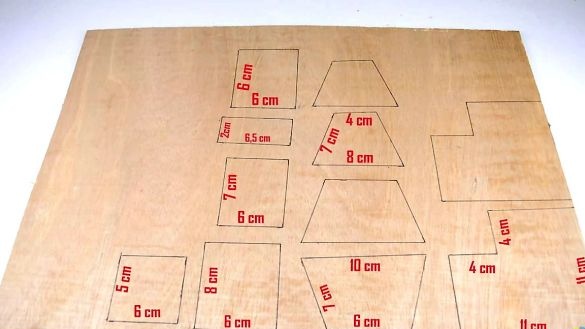
To begin with, the author decided to draw and make all the necessary details, the shape and dimensions of which you can see from the images below. But do not rush into drawing the template as I try to show you step by step and tell why, where and what part should be installed. Based on these data, you can set your own sizes that are convenient for you. That is, adapt homemade for yourself.
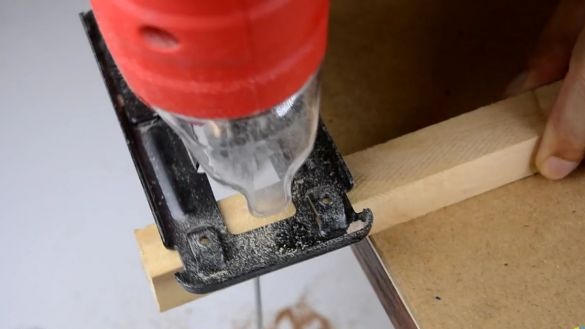
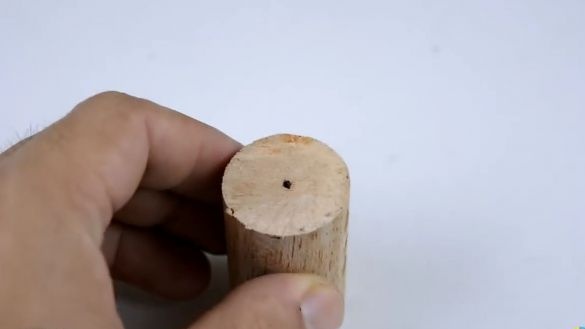
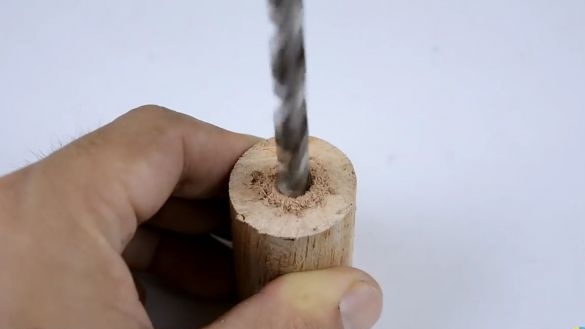
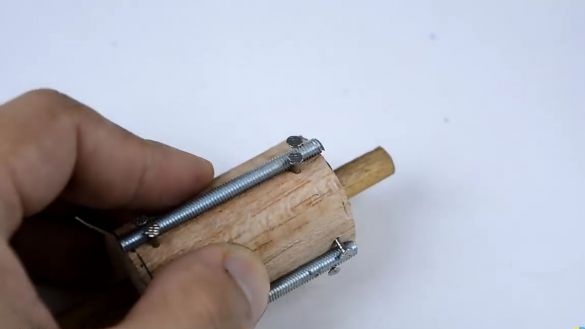
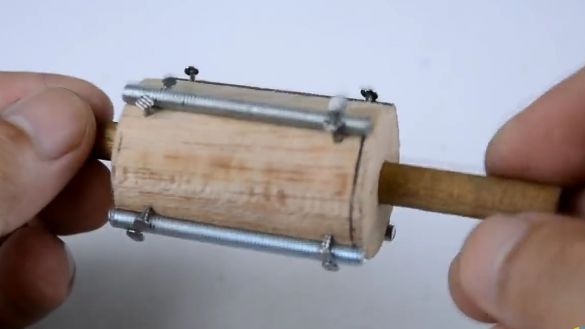
From a shovel “from a shovel” of medium size, a cylinder 6–5.5 cm long should be cut. It will serve as the part that will crack nuts. To do this, with a drill, the diameter, which should be equal to the diameter of a round stick, is drilled exactly in the center, a through hole from the end.
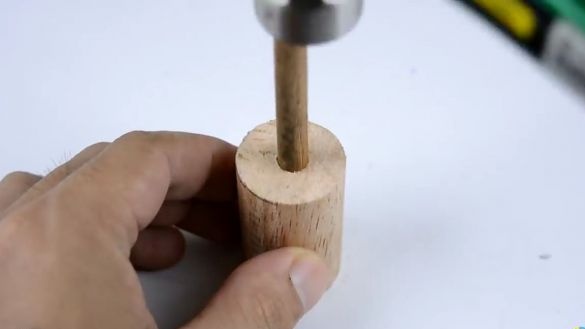
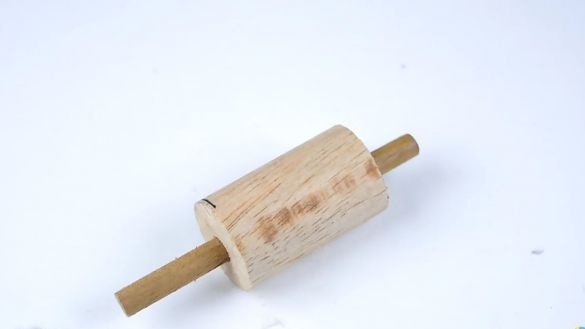
Having drilled a through hole, a wooden round stick should be hammered into it, which will serve as a shaft so that the cracking nut part rotates around its axis. To do this, cut the shaft about 8-9 cm long.
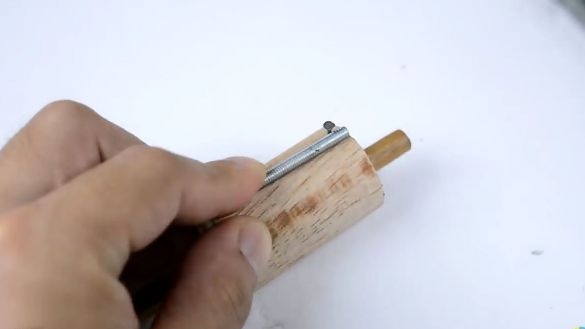
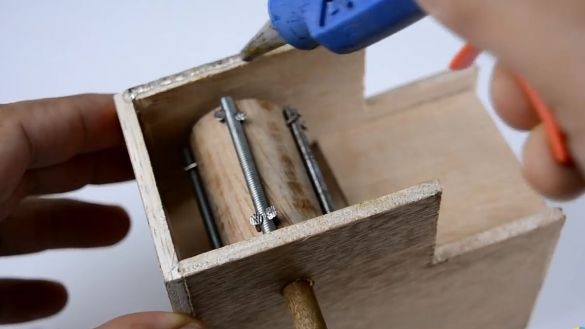
The next step is to make a kind of “cleaver” on the stitching part, which will actually press on the nuts.To do this, you need to take furniture nails and threaded rods of a suitable diameter. To begin with, the studs themselves should be adjusted in length so that the studs themselves do not protrude and are the full length of the pricking cylinder. Then, the studs should be fixed on the cylinder, in order to firmly fix the studs, the author decided to fix them with furniture studs as shown in the photo. Such pins should be fixed about 4 pcs.
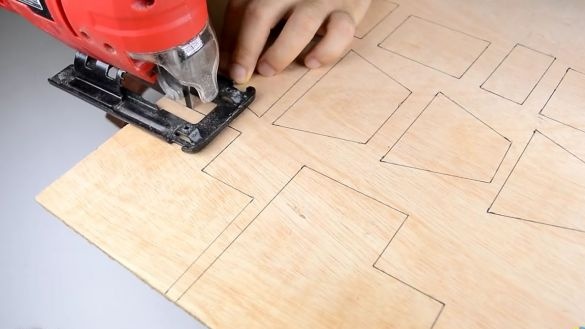
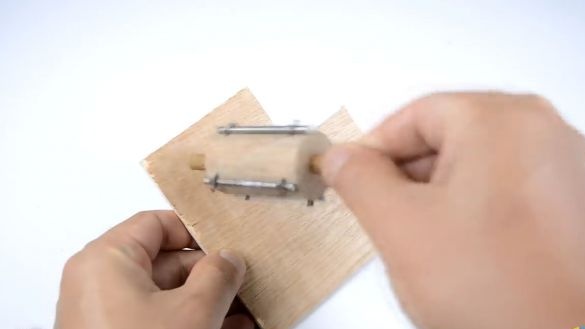
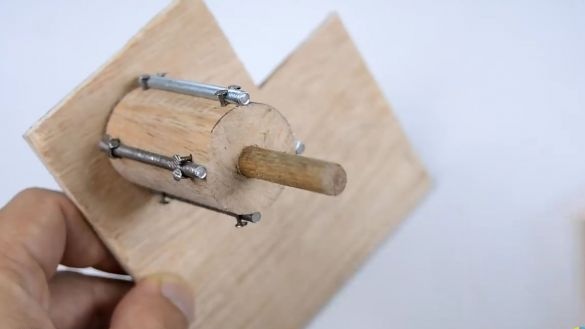
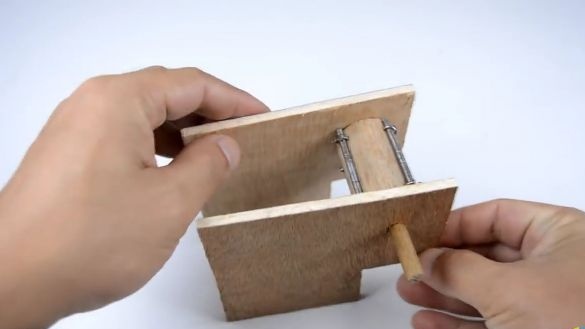
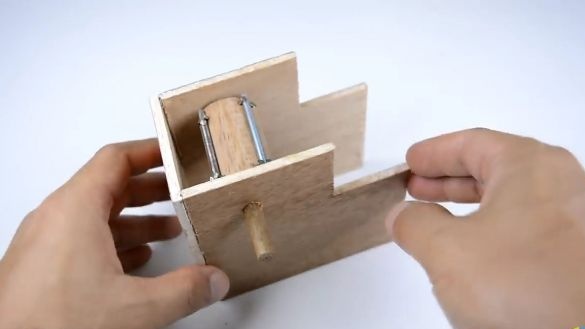
Then we cut out figurative details from the sheet of plywood “G” as on the template indicated above in the amount of 2 pcs and drill holes in them with a diameter slightly larger than the diameter of the shaft of the pricking cylinder. This is necessary in order to fix the piercing cylinder between them and so that the cylinder itself can quietly and freely rotate around its axis. Cutting out the above details, we will connect them just like in the photo.
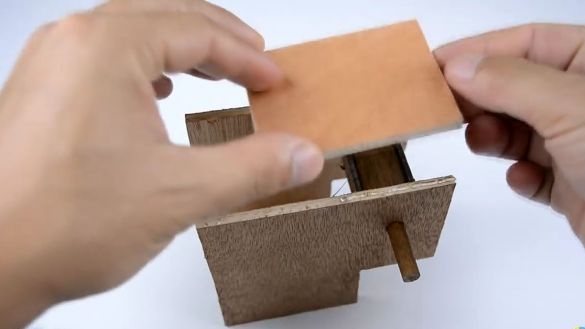
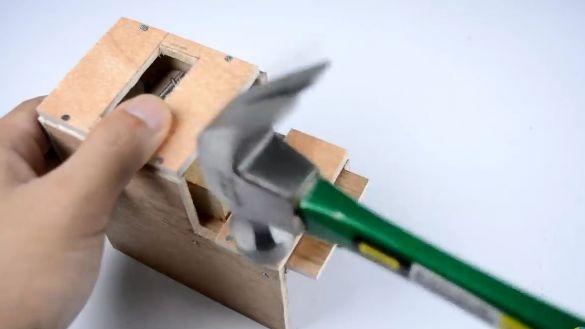
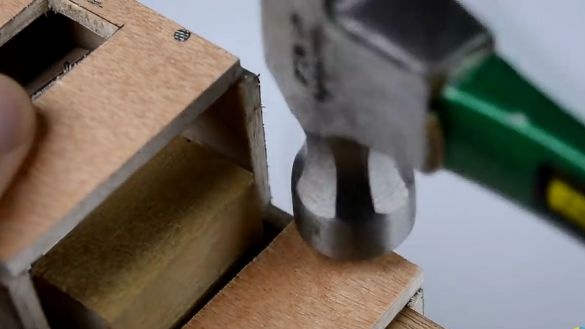
Then from the same sheet of plywood we cut a rectangle, it should turn out to be about the same as in the photo and to cover about the same part. It will serve as a bond of two plywood parts made earlier and as a facing wall. First we fix it with hot melt glue, and then we fix it with furniture nails.
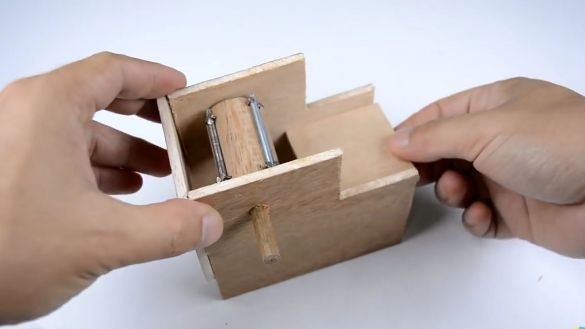
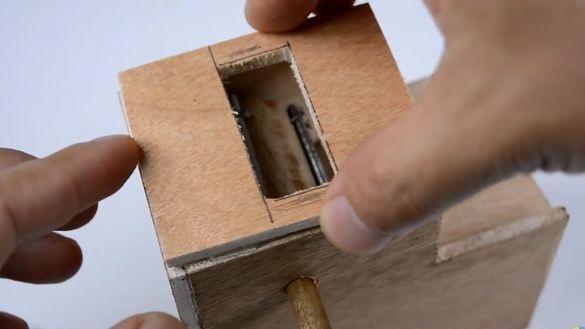
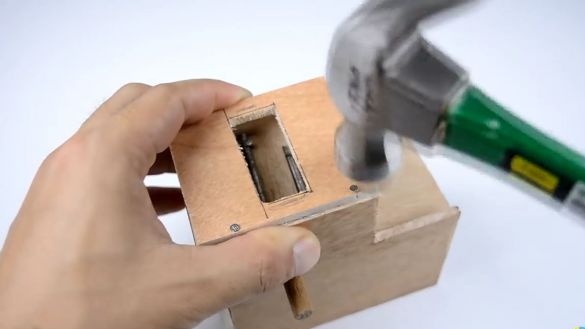
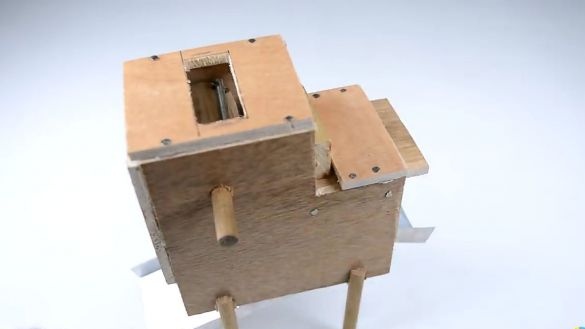
And also we cut out a couple more pieces, namely a square and a rectangle with a rectangular hole in the center. We also fix the square on hot-melt glue and finally fix it with a hammer and furniture nails. And we fix a rectangle with a rectangular hole in the center above the piercing cylinder so that the hole itself is exactly above it. Actually, through this hole, peanuts will be dosed onto the pricking cylinder itself.
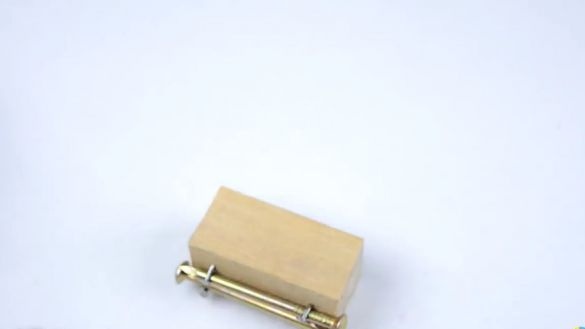
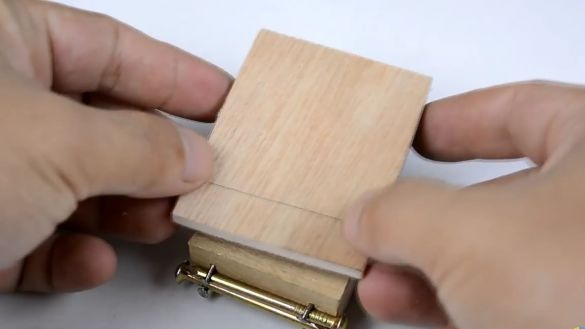
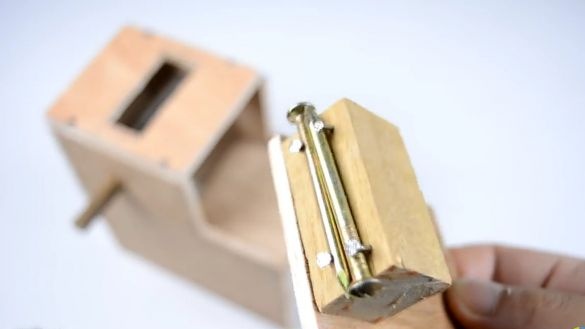
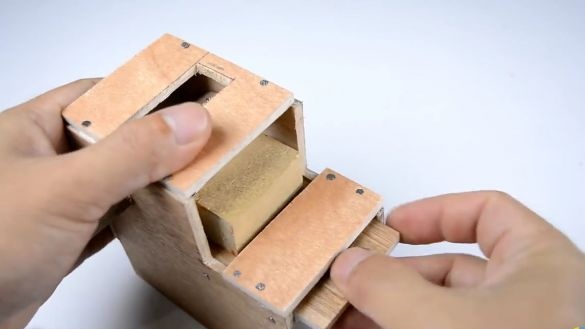
Next, you need to make a part, which in turn will adjust the clearance for splitting the nut. This is necessary in order to make it easier to configure the machine and, most importantly, will make it more productive than we would do by eye and fasten tightly. To do this, cut a length of 6-5 cm from a stick of square section. And on the one hand we fix a couple of larger nails with the help of smaller, furniture nails. Instead of large nails, the same threaded rods should be used as on the cylinder, but since the author didn’t find any more such nails, it was attempted to use nails. And also this bar should be fixed on some basis, as a basis, there will be a cut out rectangle 6 cm wide and no more than 8 cm long. There are two freshly made workpieces with nails.
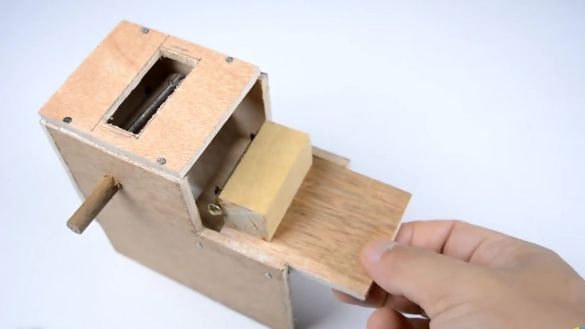
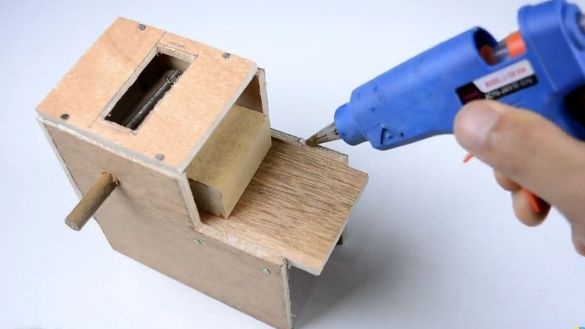
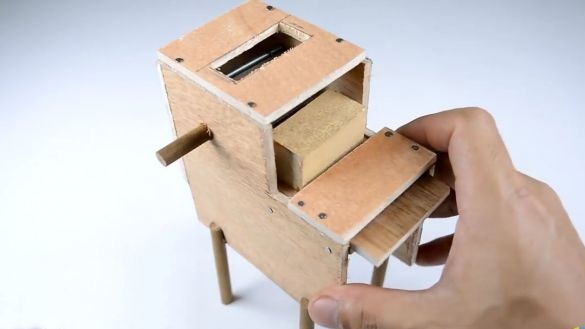
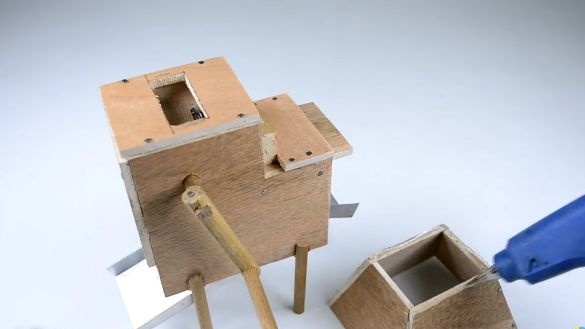
After that, install the newly manufactured part in the specified place (see photo). And in order for this structural element to move horizontally and not fly out, we cut a rectangle from the same sheet of plywood. The rectangle that we just cut out is glued to the indicated place (see photo) using hot-melt adhesive, and for a more durable and rigid fixation, we will hammer a couple of furniture nails.
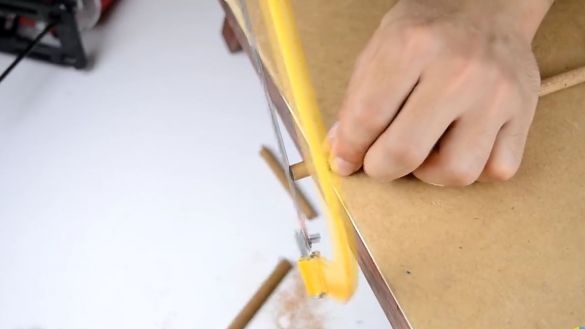
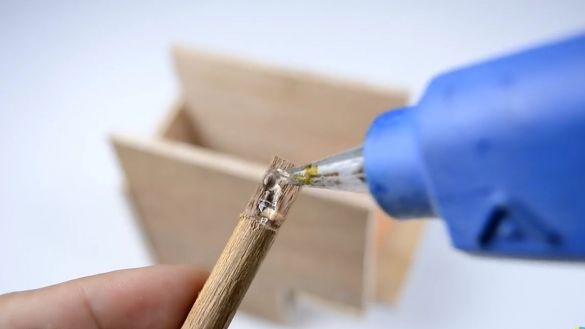
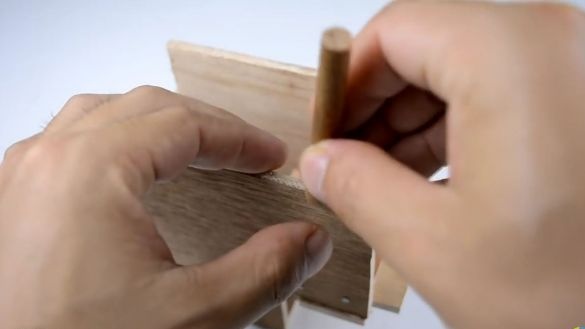
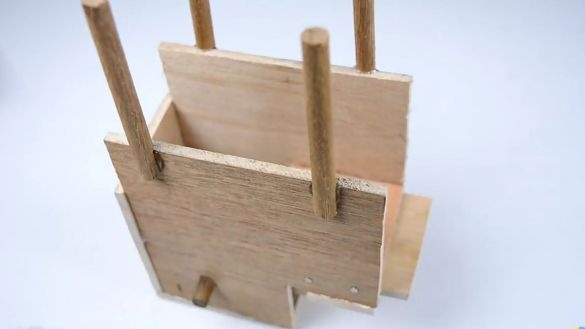
The next step is to make the legs at least 10 cm long. To do this, take the same stick of circular cross section and cut four segments of 10 cm. At one end of each future leg, make a cut so that in the cut it looks like a semicircle (see photo ) We glue the legs in the places indicated in the photo and turn the design over to make sure that the legs hold our homemade product well.
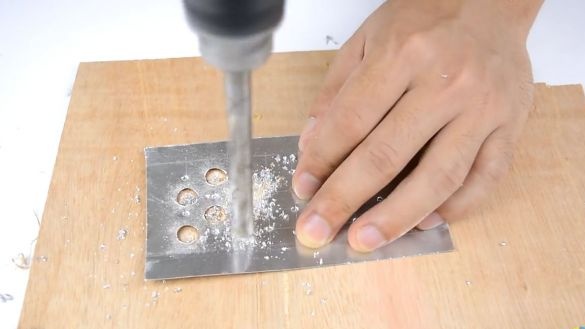
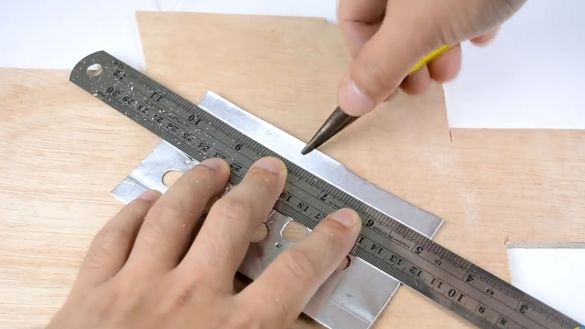
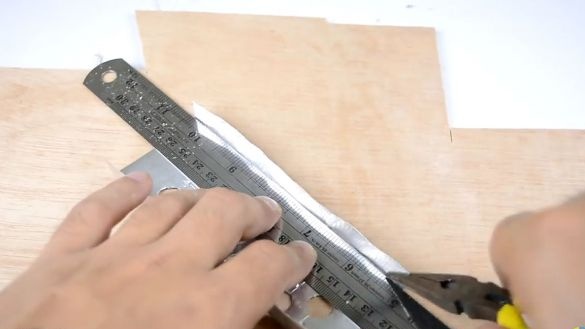
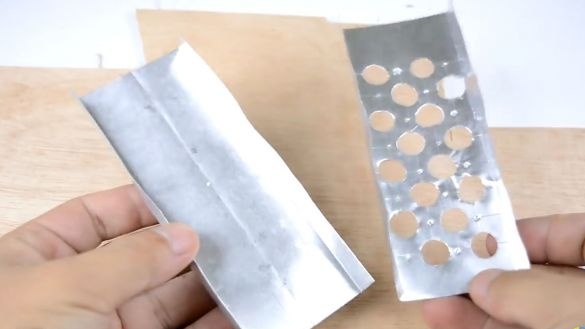
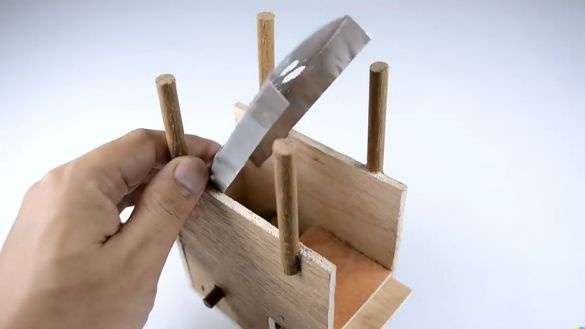
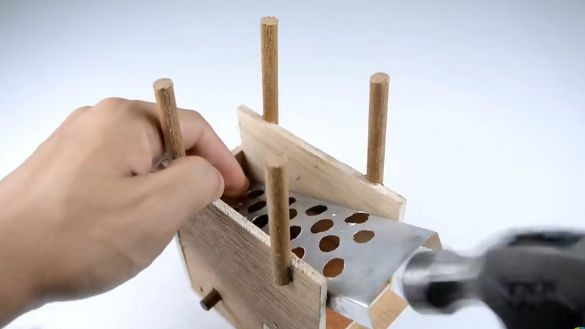
Then, using scissors for metal, a rectangle of the desired size should be cut out of the metal plate. If you still could not find such a plate, then you can use a tin can. Next, on the incised plate, 1 cm from the edges, we make through holes with a diameter of which should slightly exceed the diameter of the peanuts. This is necessary so that passing through this plate the nut falls down, and the shell continues to move. Then, with the help of a ruler and pliers, you should bend the plate so that there are sides, through which nuts should not fall out.
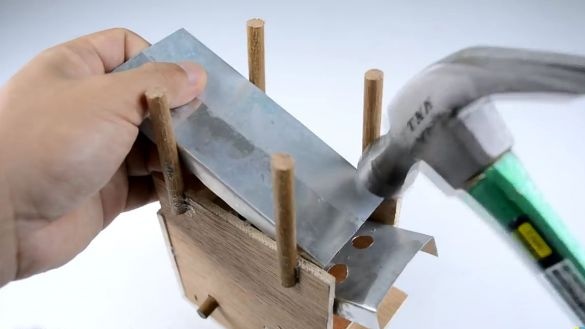
Next, we repeat the above actions again. That is, we cut out exactly the same plate with the sides, but already without holes.
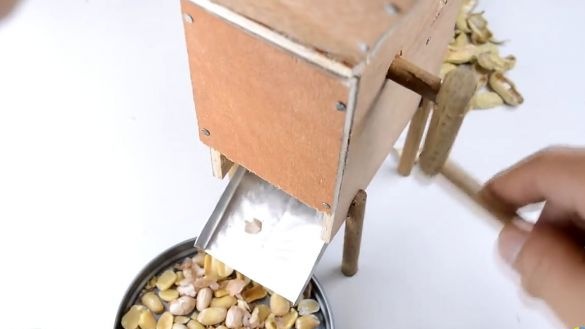
The next step is to install the two newly created metal plates so that the peeled nut with the husk falls onto the plate with holes and passes through it at an angle, the nut itself falls through, and the husk moves on. Meanwhile, the failed nut should fall onto the plate without holes and already slide to the end
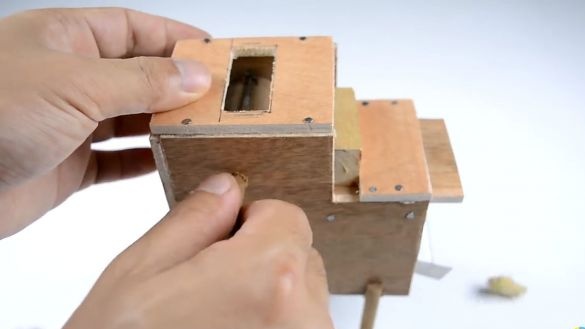
Test the mechanism. We put the homemade product on its legs, then we throw peanuts into the hole on top. We roll the “harvester” shaft and in the end it should turn out so that the walnut husks fall out on one side and the nut itself on the other. If everything works, then we continue the assembly, and if not, we will have to refine and adjust the mechanism more accurately.
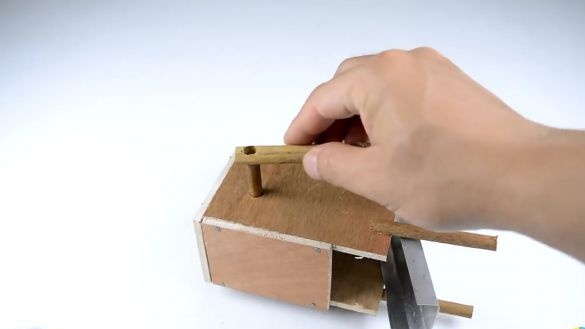
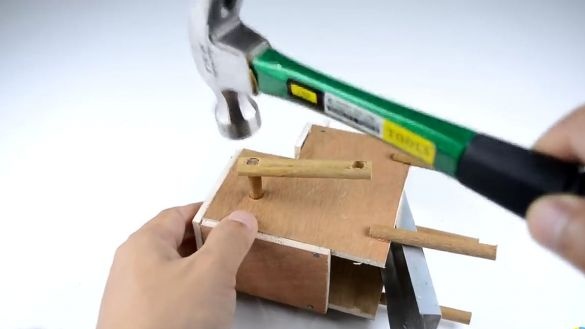
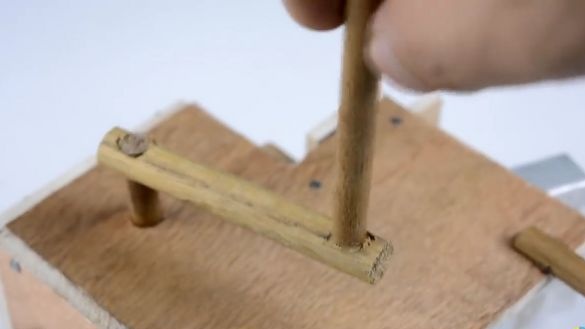
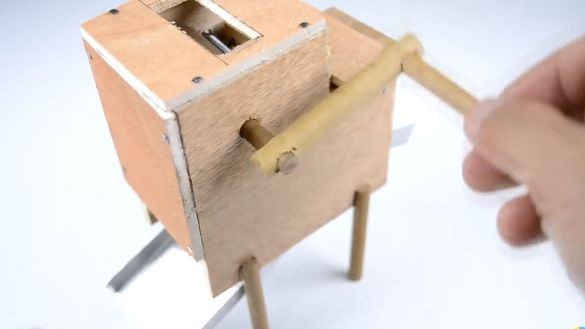
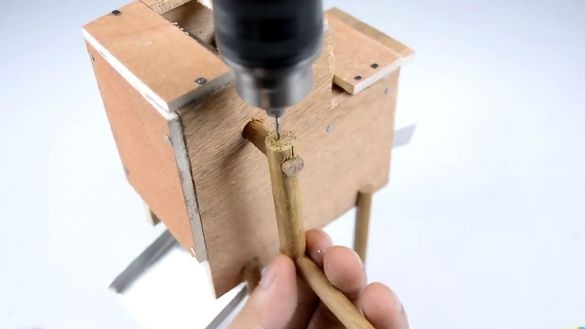
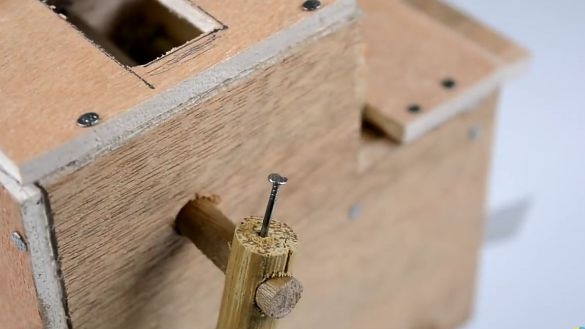
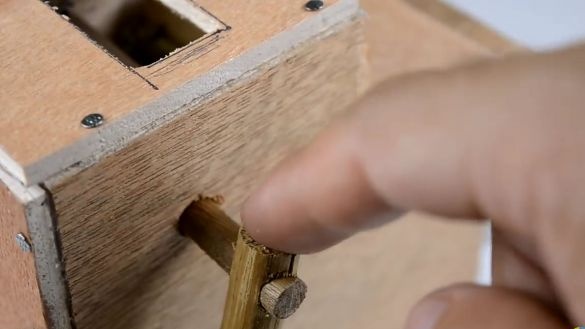
Next, we will make a handle for which we will hold on and set the mechanism in motion. To do this, you need a round stick whose diameter should be greater than the diameter of the main shaft, and also a stick with an equal diameter with the shaft. On both sides we make holes in the large of the sticks. The diameter of the holes made should preferably exactly match the diameter of the shaft, this is necessary so that the handle fits tightly and is not applied to fly out. And we insert the stick first on the shaft, and then the handle itself. So that the handle does not scroll in the place indicated in the photo, we drill a hole with a thin drill and insert a furniture clove there. Do not forget that the handle is collapsible.
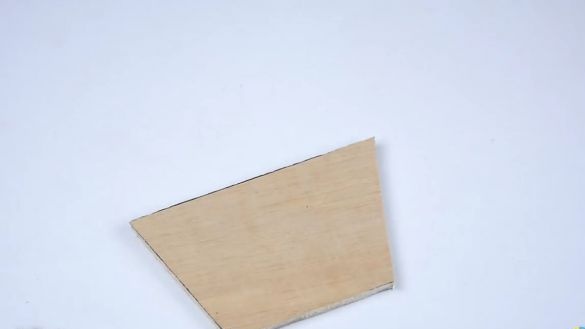
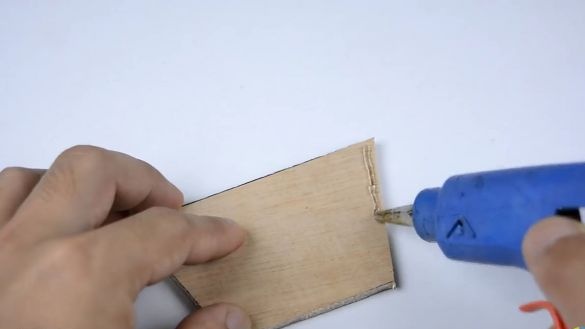
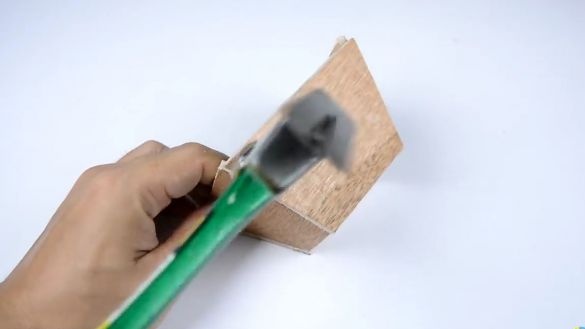
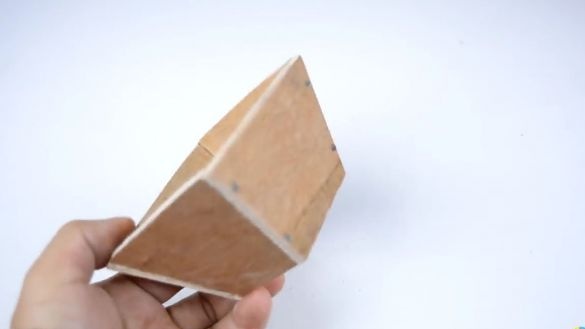
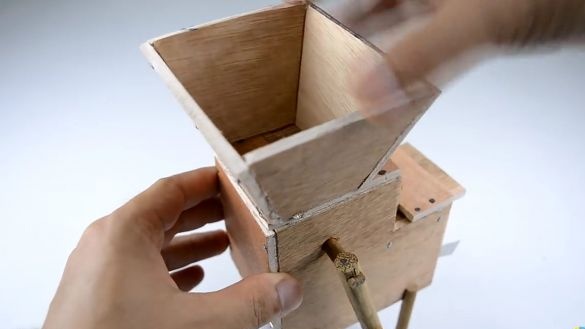
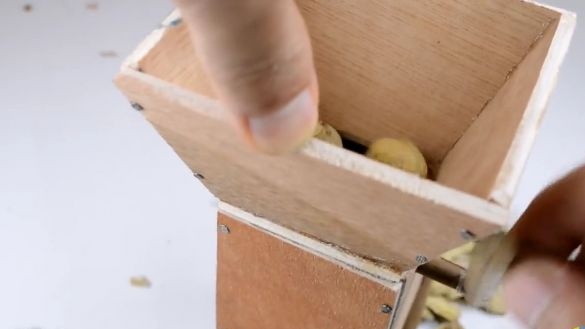
Almost ready, it remains to make the last, but not least important element, this is the hopper where the nut will be filled up for its subsequent cleaning. To do this, we cut out trapeziums from a sheet of plywood in the amount of 4 pieces, according to the sizes indicated at the very beginning. Glue the cut workpieces with hot glue and knock down with nails. And install on the homemade product itself.
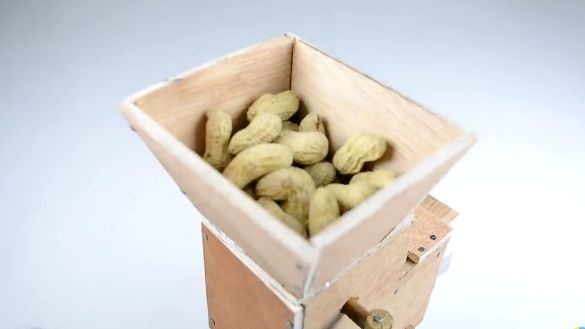
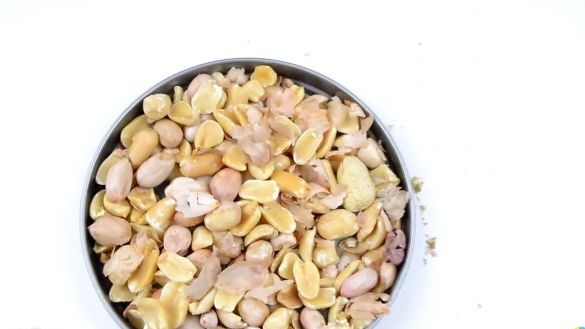
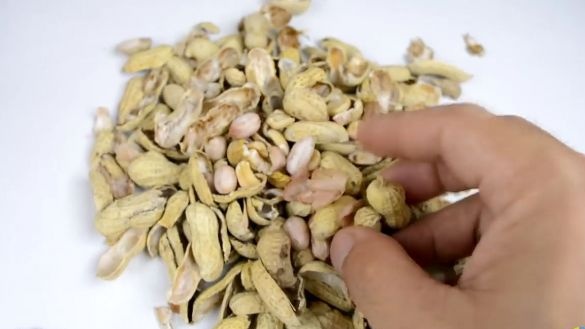
All is ready! As a result, we got a kind of processor for peeling peanuts from shells, which can sort the husk and nucleolus. It remains only to fill the hopper with nuts and test. During the tests, it was found that not all nuts fall through the holes. This suggests that sorting holes should be increased. But in general, it turned out to be a cool device that will make your life a little easier.
Here is a detailed video from the author with a detailed assembly and testing of this homemade product:
Thank you all for your attention and good luck in future projects, friends!

