
Good day to all dear friends! In today's article, I would like to show you a rather interesting idea homemade from almost improvised means. This homemade product is very cool and I think it can be done by almost anyone who has claimed extra Chinese gear motors. Of course, there is not much practical benefit from such homemade work, but with its help, you can entertain a child, and indeed occupy yourself in a boring time. In short, today we will consider a simple way how to make electric platforms for moving on a flat surface. I think that this homemade product will seem to many at least a little interesting. Personally, I really liked her.
Well, the homemade product is very interesting, so we won’t pull with a long introduction, we drove it!
And so, in order to make such electric "roller skates" we need:
Ten Chinese gear motors
-card for charging lithium-ion batteries type 18650 (BMS S2)
-batteries type 18650 (8 pieces in total will be needed)
-Two plastic boxes for four 18650 batteries each
-not very thick plywood
1 ohm power resistor, 5 watts
-Mom type socket for a classic twelve-volt power supply connector
- power on and off button
Velcro tapes
- one wheel per gear motor
- wires of red and black color not to get confused
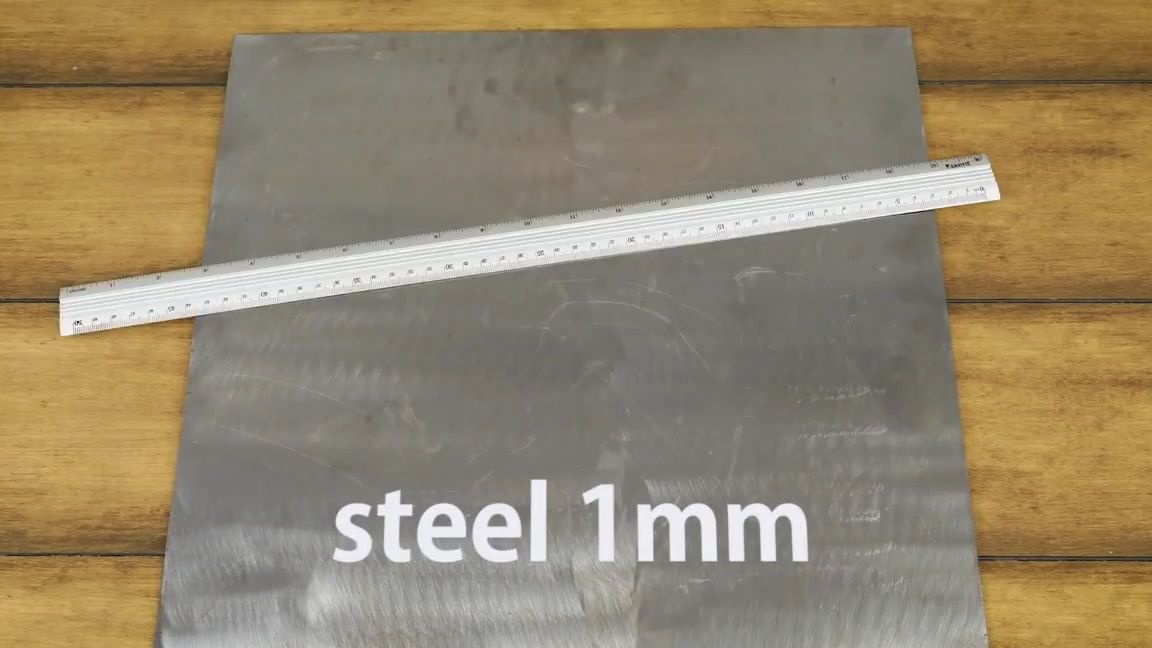
-strong metal plate 1 mm thick
-bolts, nuts and washers for the diameter of the drill that you will use
-special connectors of contacts, under the size of contacts of the switch
- 12V power supply for charging the battery
From the tools you will also need:
hotmelt
soldering iron
screwdriver or eclectic drill
scissors for metal
-electric jigsaw
-pencil
line
-marker
heat shrink
metal spray cans
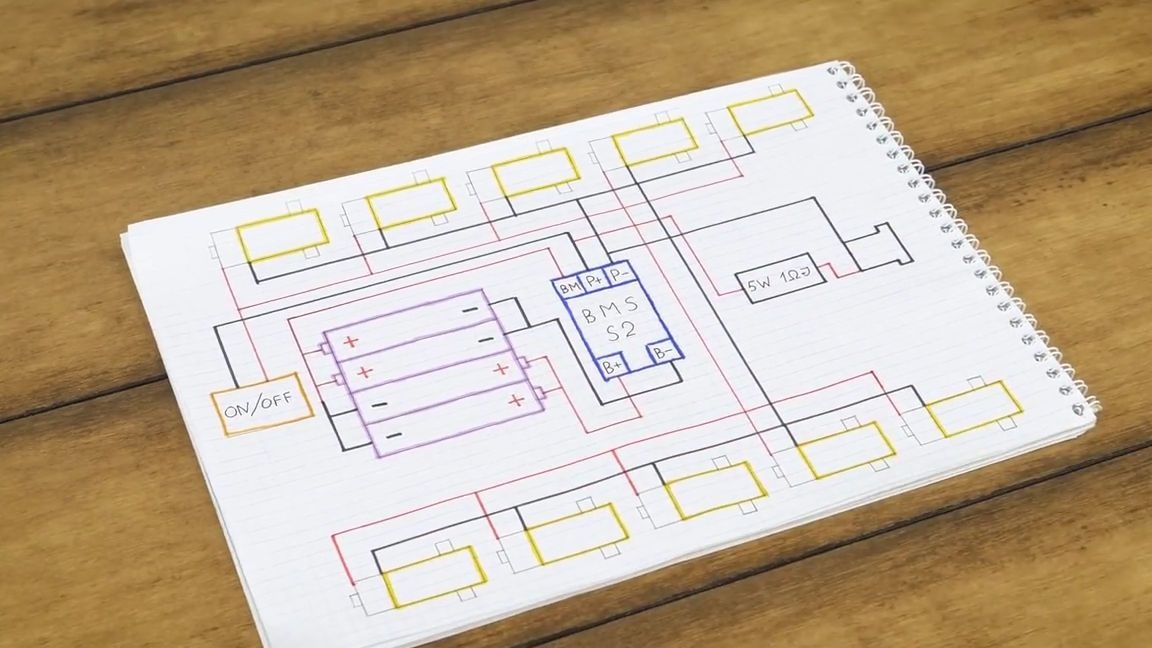
First of all, it is necessary to draw the whole scheme of connections in the constitution on a piece of paper. The author of the homemade product kindly showed the diagram of the entire device, so no problems should arise.
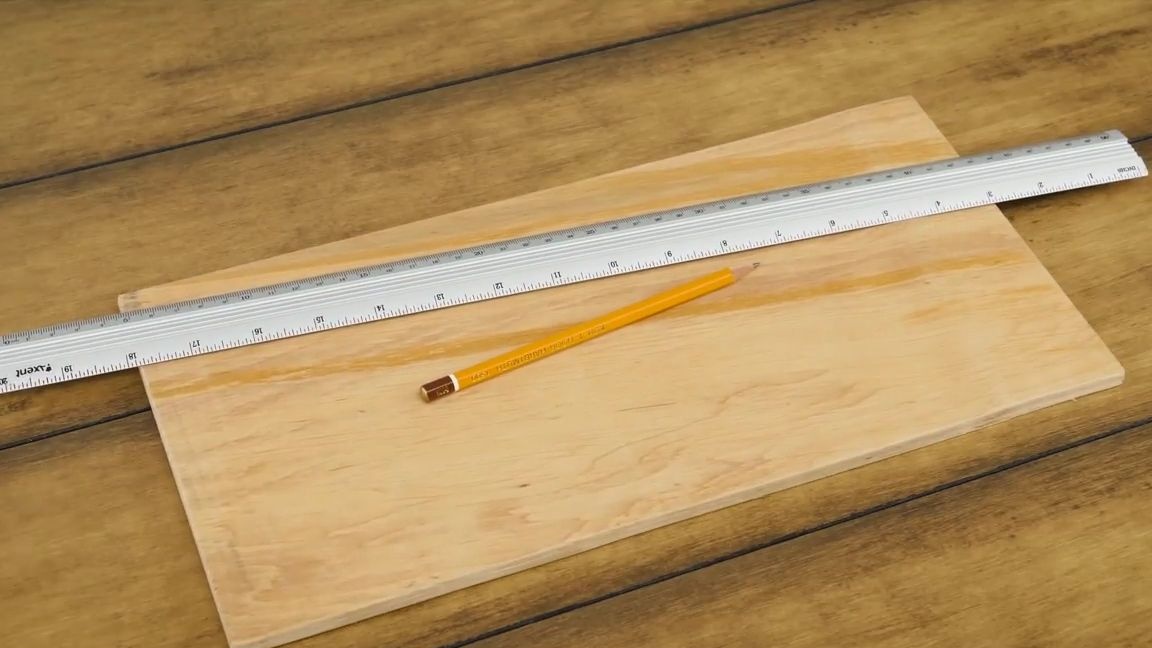
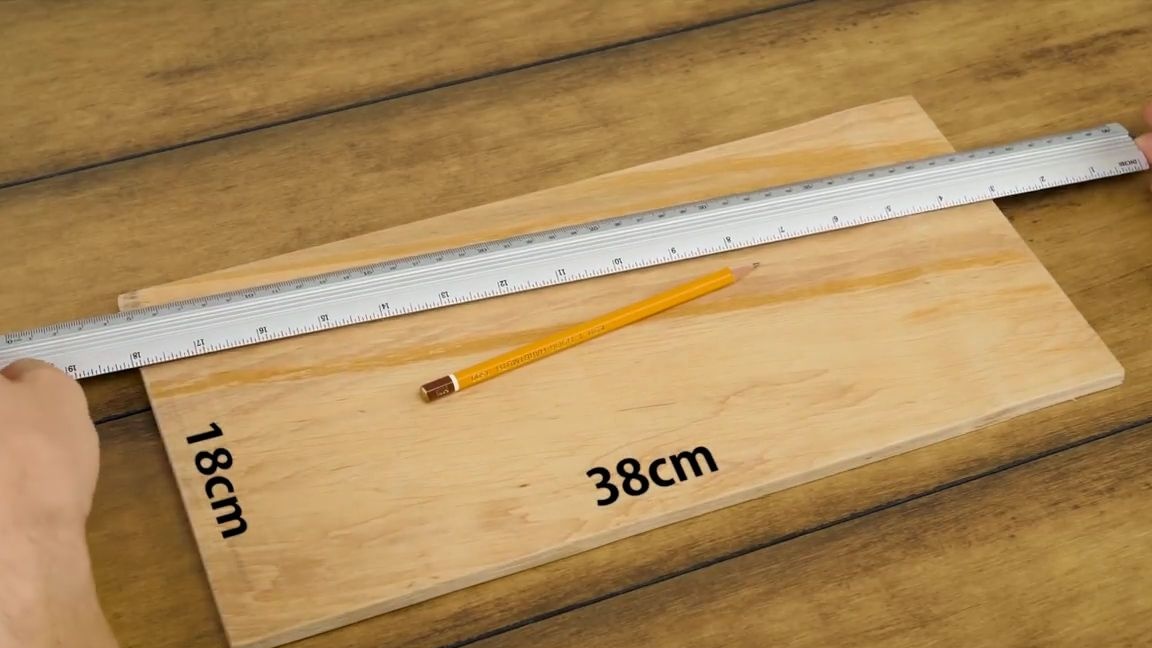
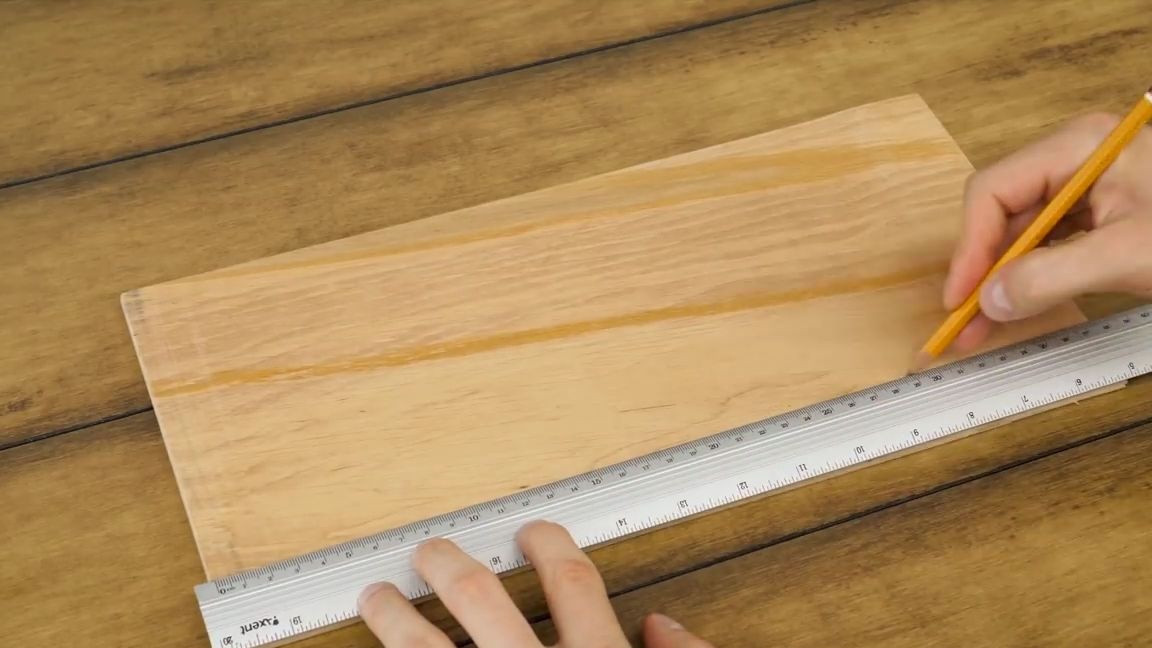
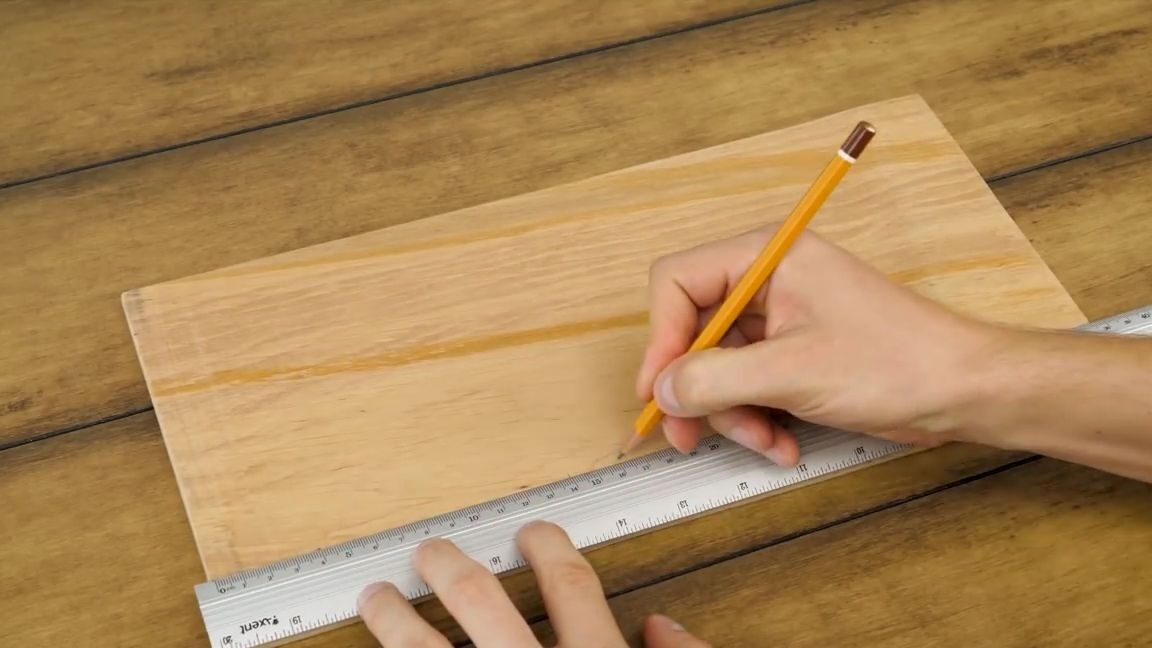
And so, then we take a pencil, a ruler and a plywood sheet. Then we draw on the sheet an even rectangle with eighteen and thirty-eight centimeters sides. The resulting rectangle is cut out with an electric jigsaw. Everything should work out smoothly.If necessary, then a little sand the edges of the workpiece with ordinary fine emery paper, it will help remove chips and splinter from the edges.
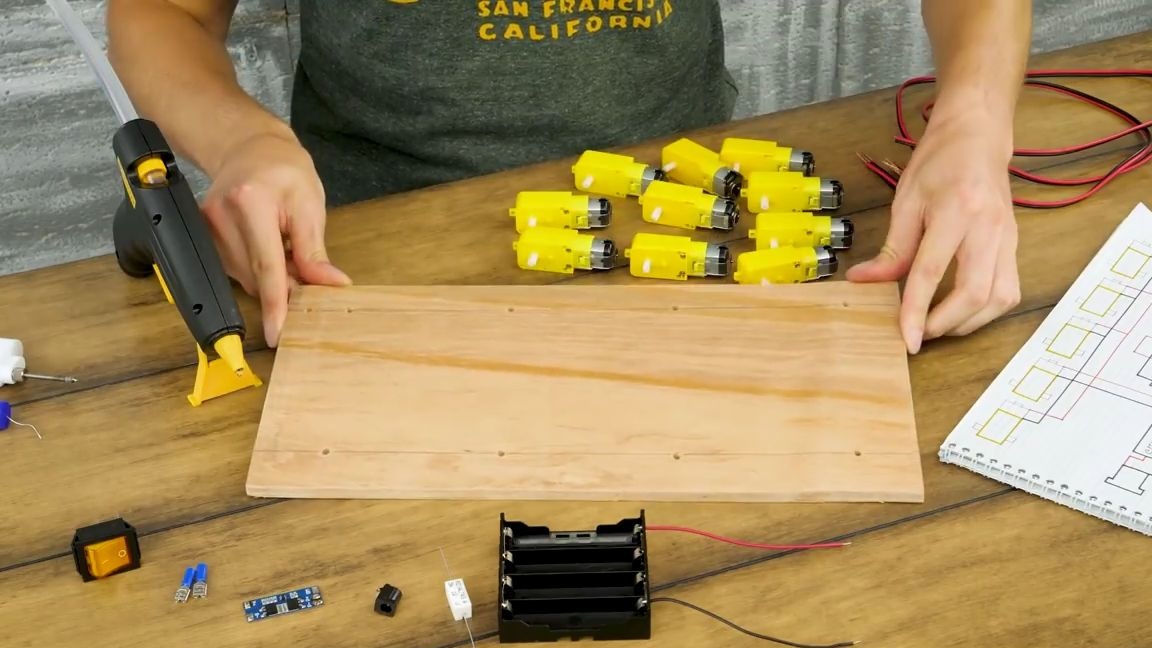
Now, with the help of the same ruler and pencil, we mark the gear motors for both the longest sides of the workpiece:

We take a screwdriver and a drill with a diameter similar to bolts, with which we will fasten a metal plate. In equal marks made earlier, we drill equal through holes. Everything should turn out as in the photo below. That is, four holes on each side parallel to each other and one more small hole next to the extreme hole on one of the sides, everything is clearly shown in the photo.
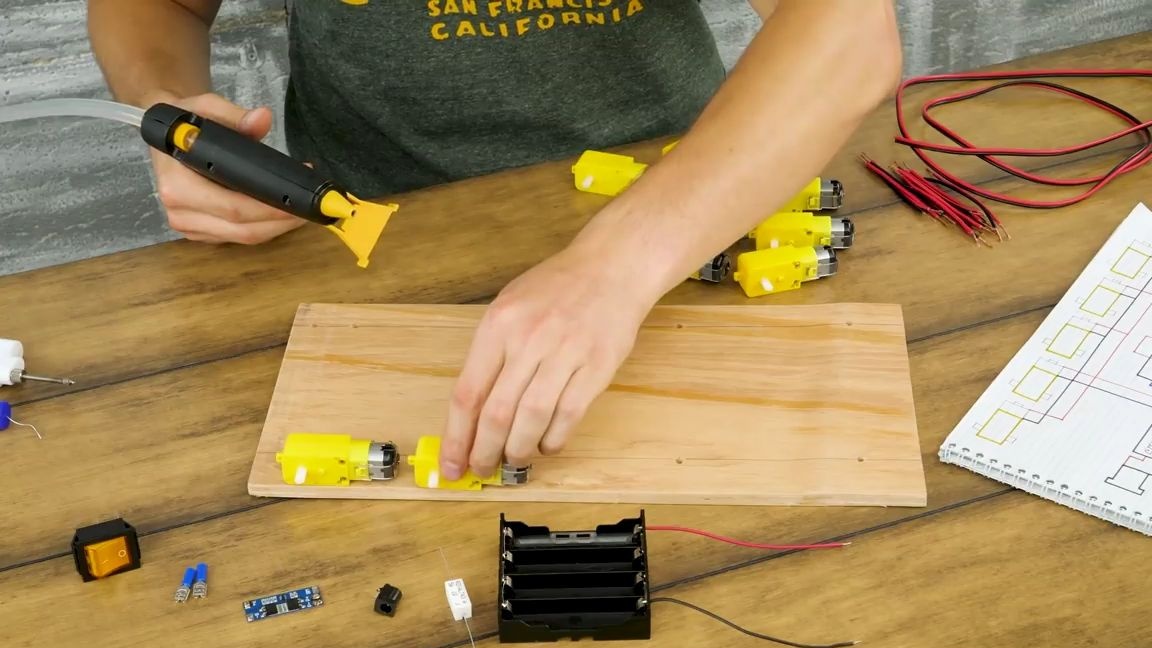
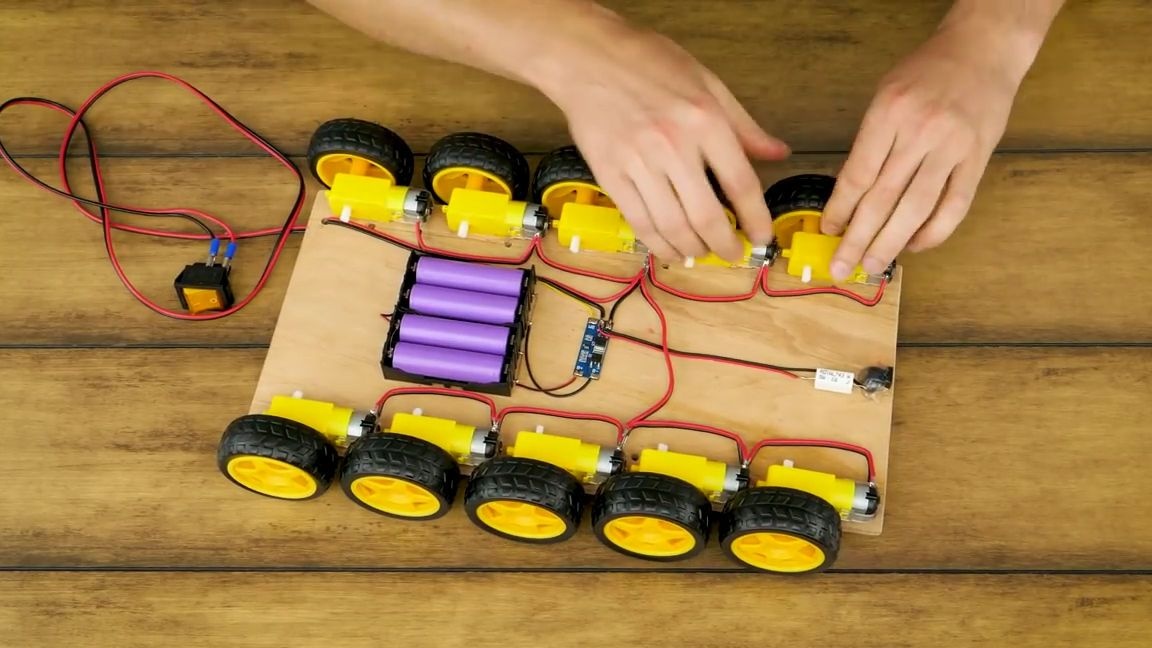
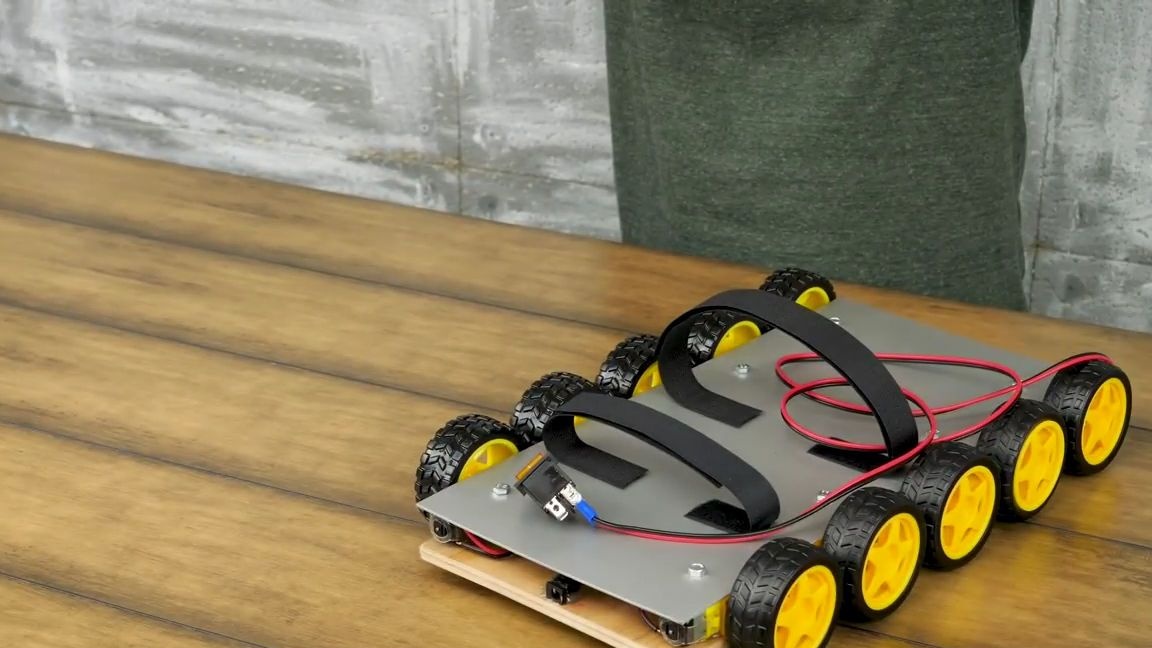
We take the motors and with the help of a term of glue, carefully glue them to the plywood blank. Five gear motors must be glued on each side, parallel to each other:

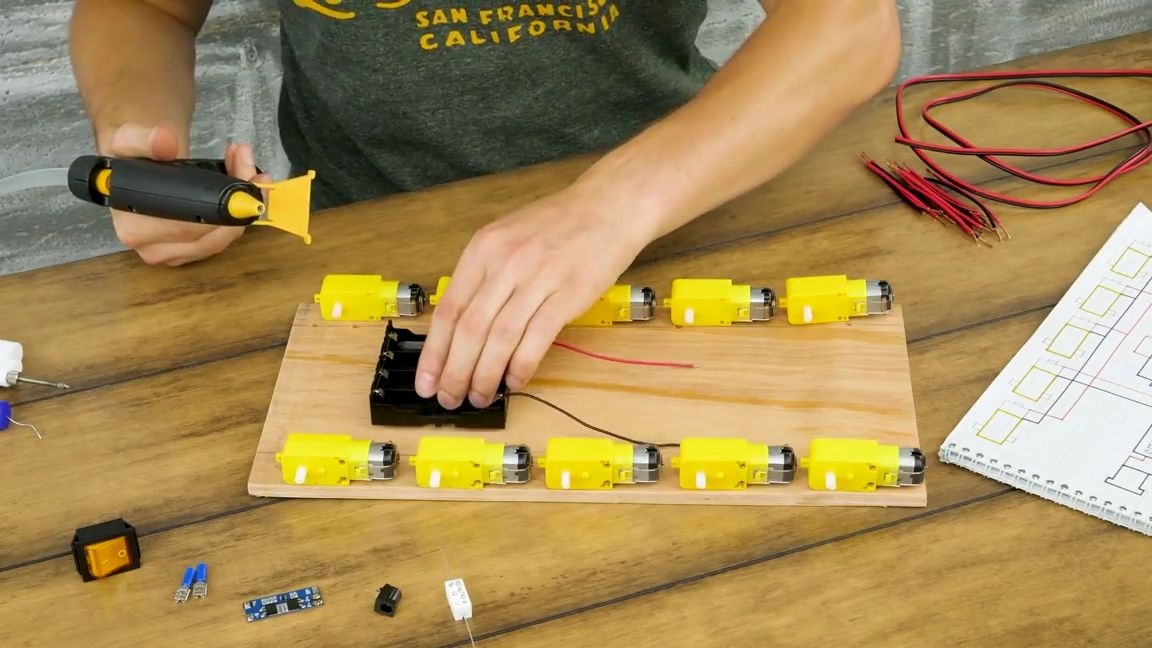
Now take a box for connecting 18650 batteries and glue it, as shown in the photo below. It should be located between both rows of motors, closer to the back of the constitution.
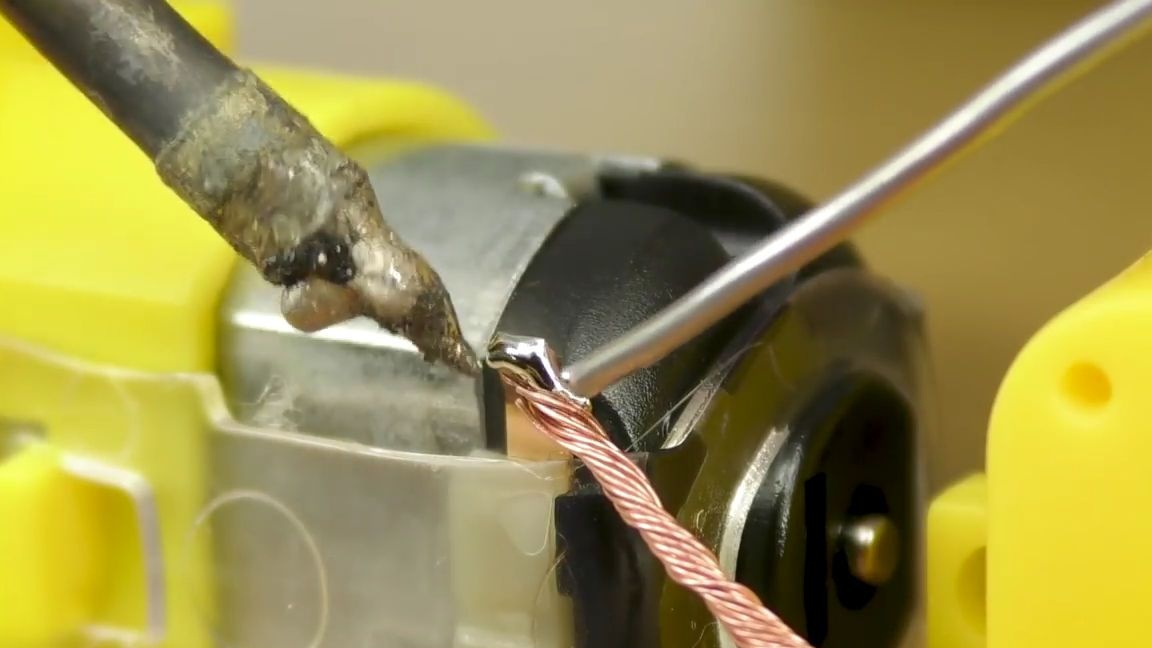
Then you need to take the wires, the module for charging batteries, the connector for the power supply, connectors, a switch and a 1 ohm resistor. Then we begin to solder all electronic components into one electrical circuit, doing everything exactly according to the scheme that is at the beginning of the article. It is necessary to solder carefully so that everything is clear and even. We place the battery charging module closer to the batteries themselves in order to avoid large losses due to resistance, we glue the resistor next to the socket under the power supply, and the socket itself, in turn, is glued to the front of the structure, exactly in the center. What does the socket need to be glued so that it is convenient to connect the power supply for charging. The switch should be connected to long wires, the length of these wires should be sufficient so that when you are standing on this platform, you can calmly hold the switch in your hand and control it, and the wires would not interfere, dangling under your feet. Of course, as for me, the control of the whole structure could be made wireless by adding a couple of arduino and special wireless control modules specifically for them, but this homemade product would have cost more and made it more difficult, and the delay with wires is much less than with wireless control. Yes, and failures in this way less.
In short, everything must be glued in exactly the same way as in the photo below:
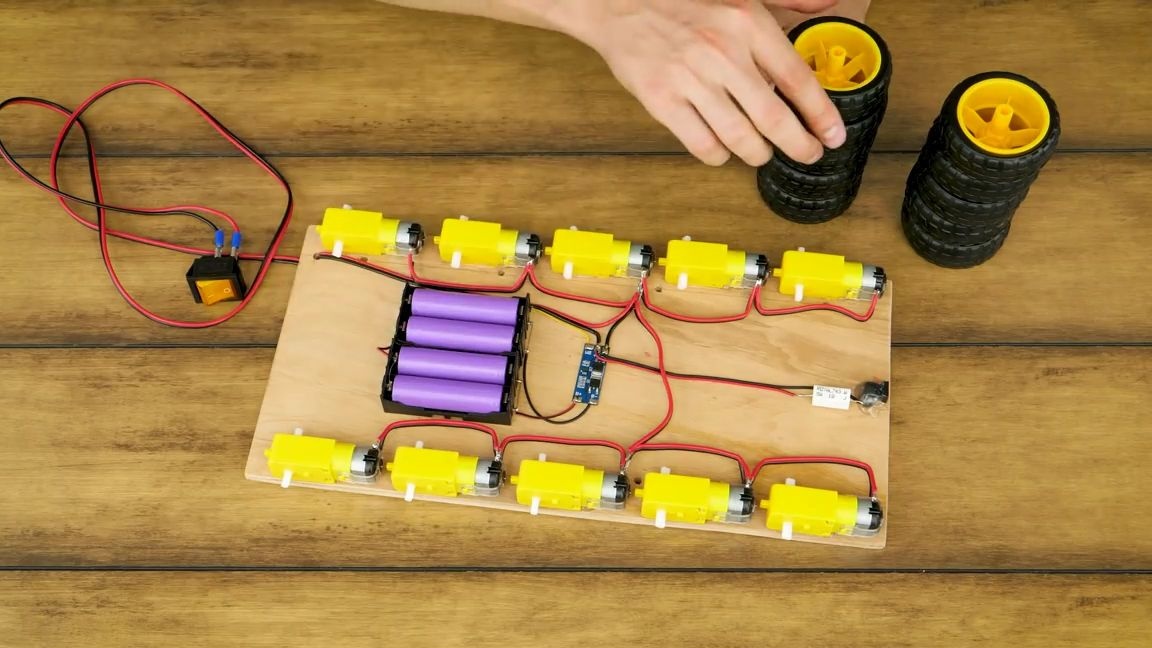
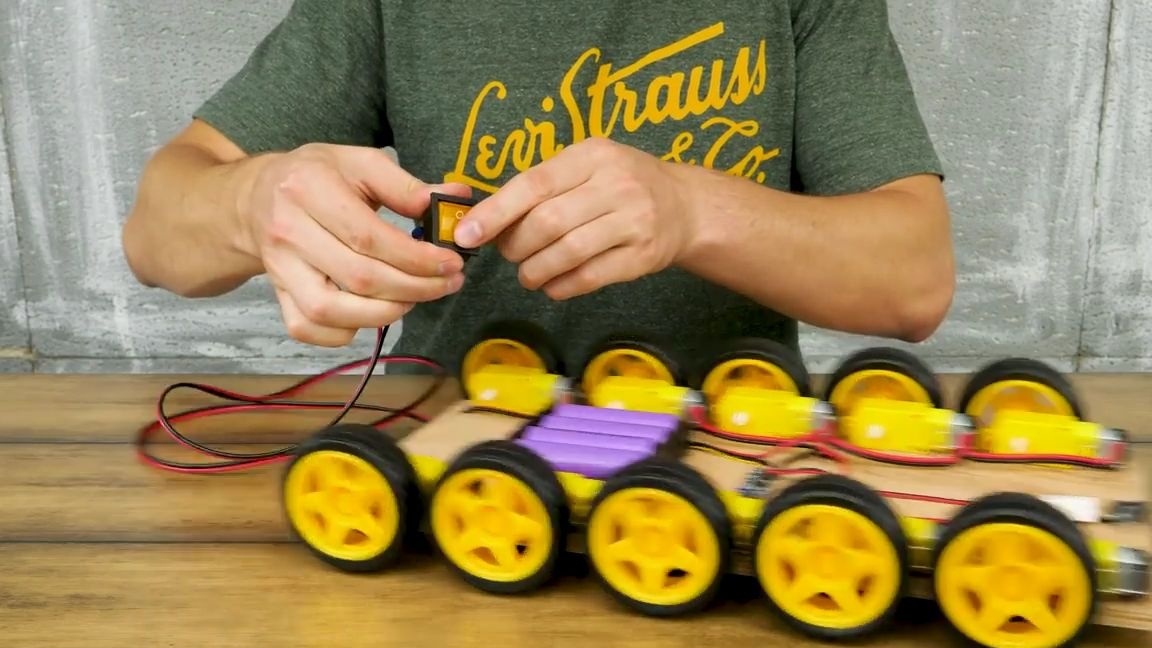
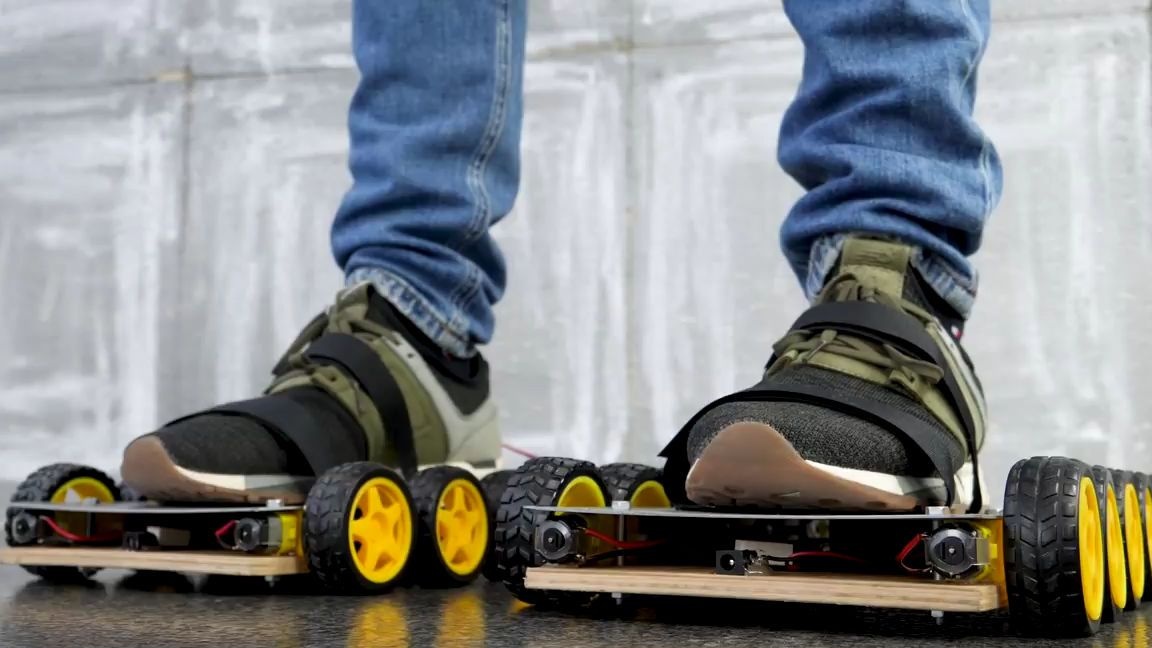
We set the wheels on the axis of the gearboxes. Since these wheels are designed specifically for these gearboxes, they should immediately sit well and tightly on them. But if all of a sudden they easily slide off and hang on the axis of the motor, then either immediately change the wheel to another, or glue it firmly, since it is better not to risk it:
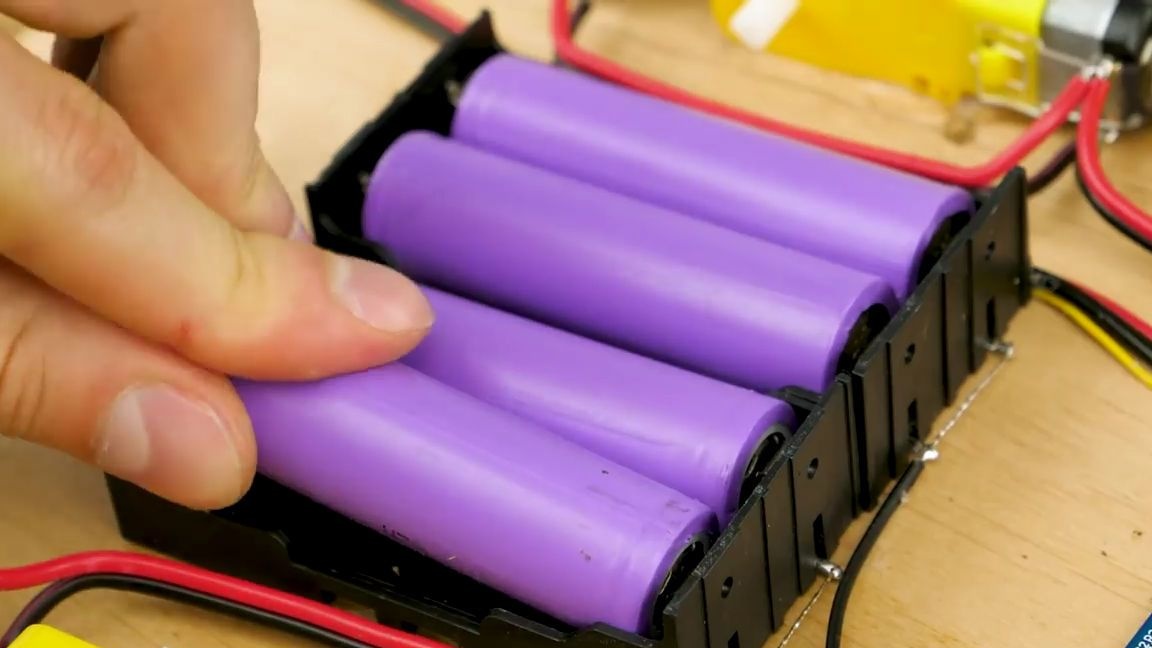
We insert charged batteries into the box and test the installation.
If, when the switch is turned on, all motors begin to rotate the wheels in one direction, and the wagon starts to ride smoothly, and when it is turned off, it naturally stops traveling, then everything is done correctly. If one or several motors rotate in the wrong direction, then you just need to solder the wires on this motor, that is, swap the red and black wires:
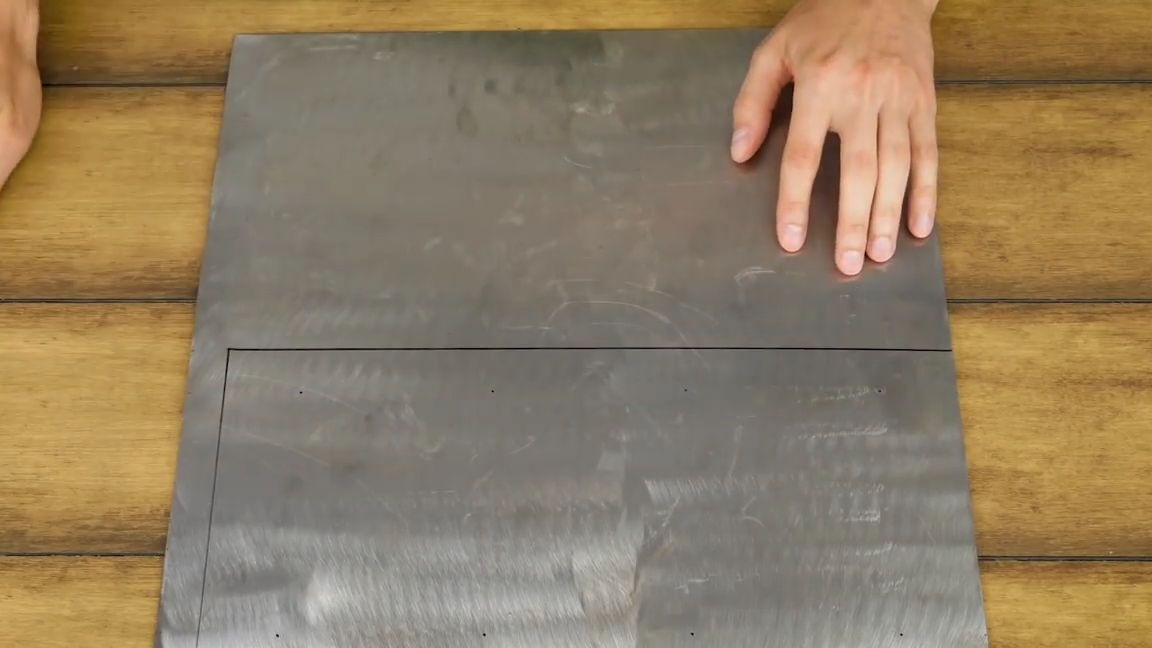
We take a metal sheet one millimeter thick and a ruler with a marker. Then draw another rectangle with sides eighteen and thirty eight centimeters. Then cut using metal scissors. But when cutting, be very careful and do not forget about safety measures!
In this workpiece, it is also necessary to drill eight identical holes parallel to each other. These holes should coincide with the holes on the plywood blank, which was done earlier.
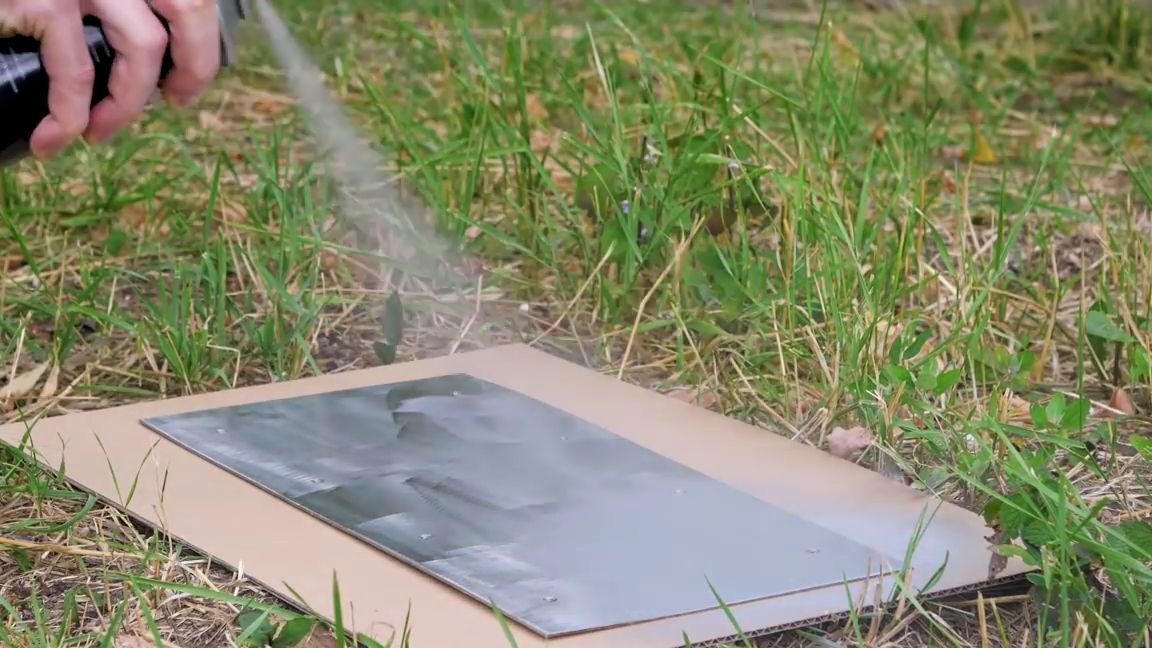
Then we put a metal blank on an unnecessary cardboard or plywood and cover it with a layer of paint (the author used gray and, as for me, it looks pretty good). It is necessary to do painting in a well-ventilated place, and preferably on the street. And it is necessary to work in a respirator and preferably in goggles:
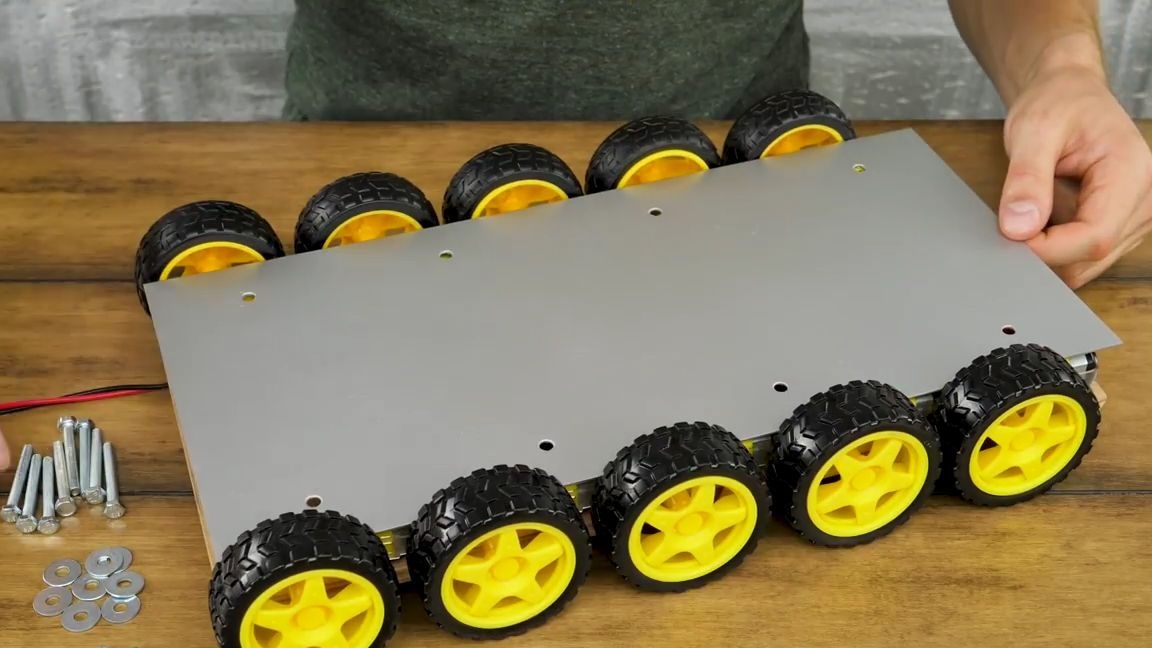
We cover the general design with a metal billet and make a fit so that all the holes coincide with each other.
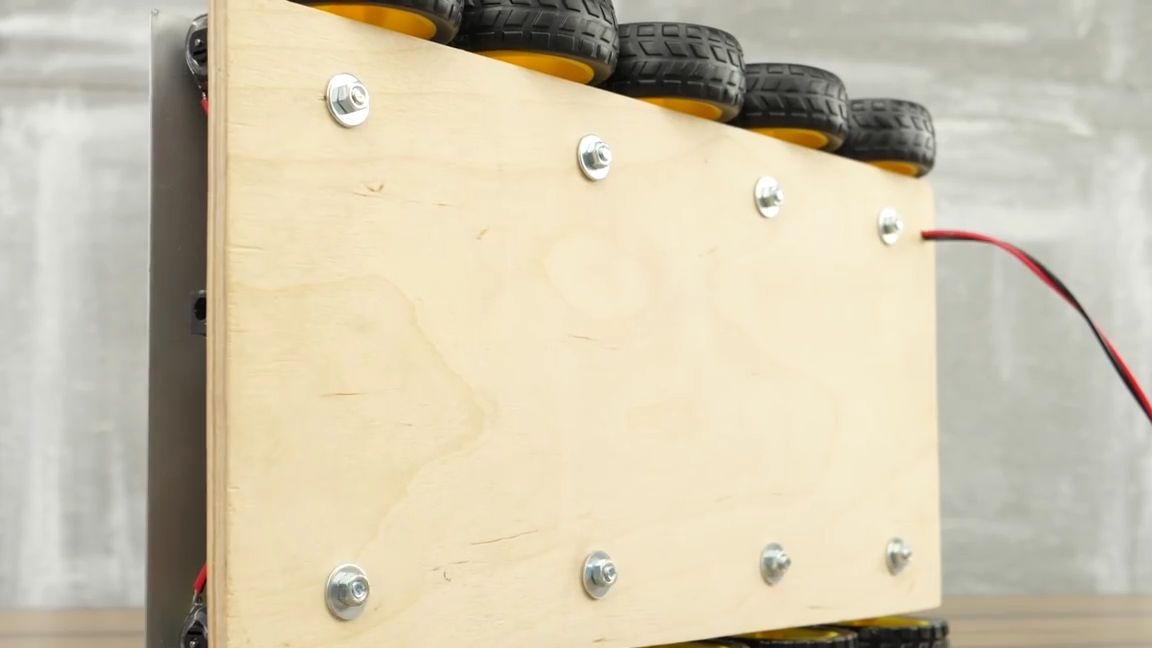
Then we take bolts, nuts and washers and connect both parts to each other as shown in the photo below.As you can see, the metal sheet should be adjacent to the gear motors:
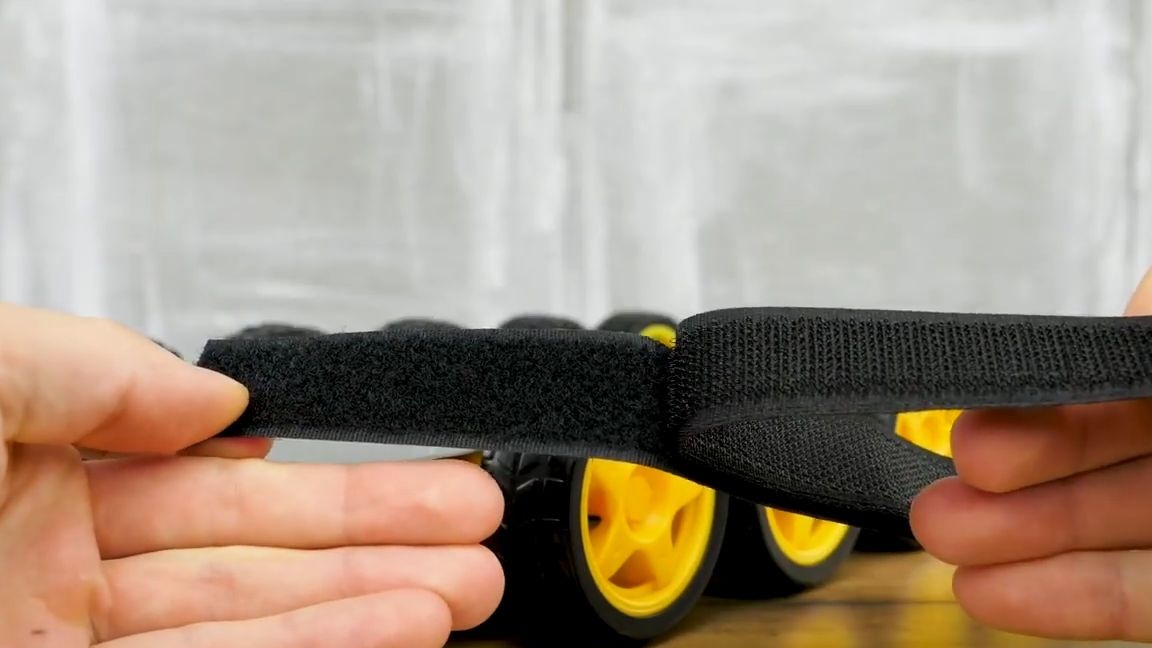
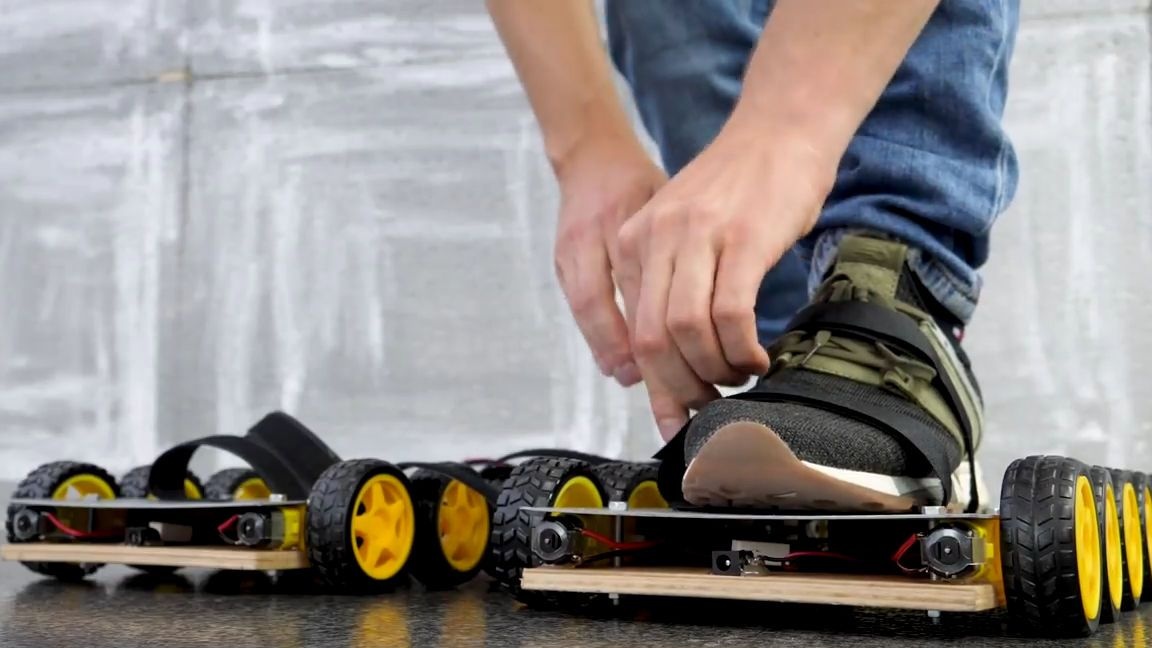
We take Velcro tapes and use them to fasten the legs on the metal part of the structure.
By the way, it can be replaced that the wires from the switch must pass through an additional hole on one of the sides of the plywood plate:
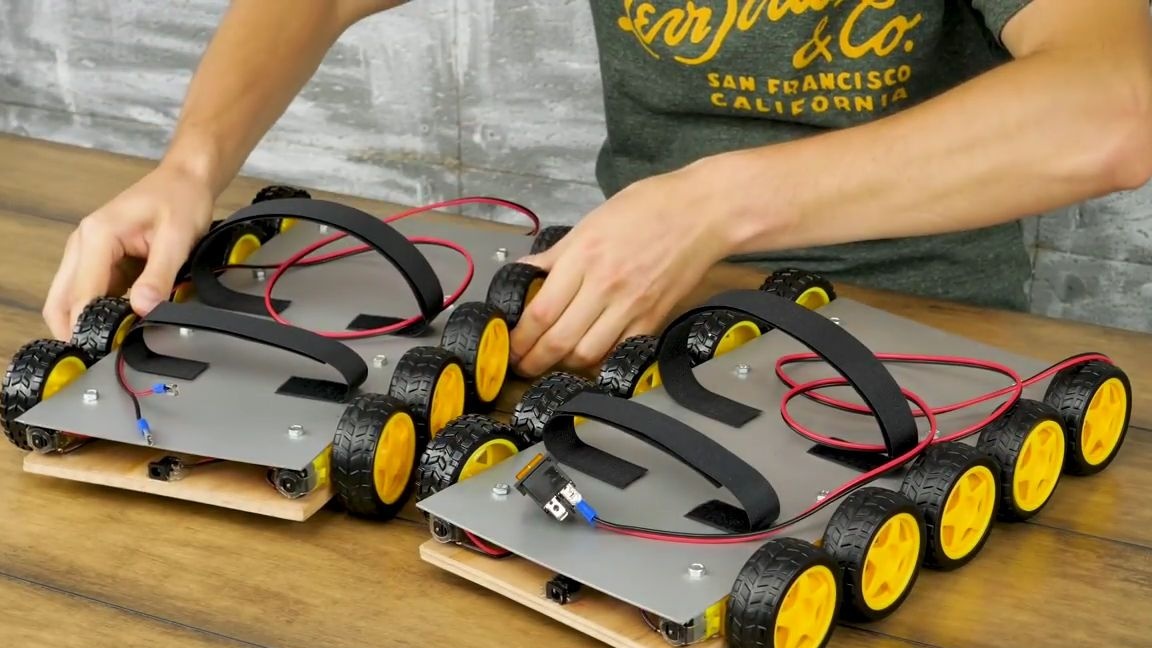
Now you need to make a second, exactly the same design as the first, but you do not need to connect your own switch to it. The second design must be connected to the first switch, thereby making a common control button. Both designs should work the same.
Also, all joints must be insulated with heat shrink or electrical tape:
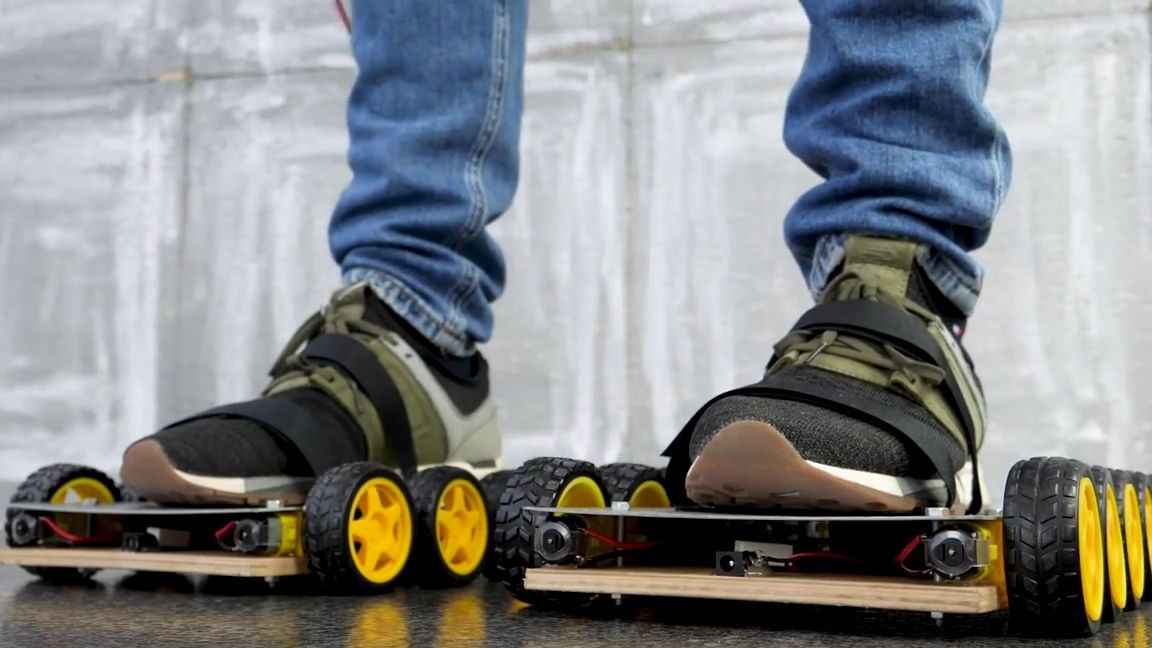
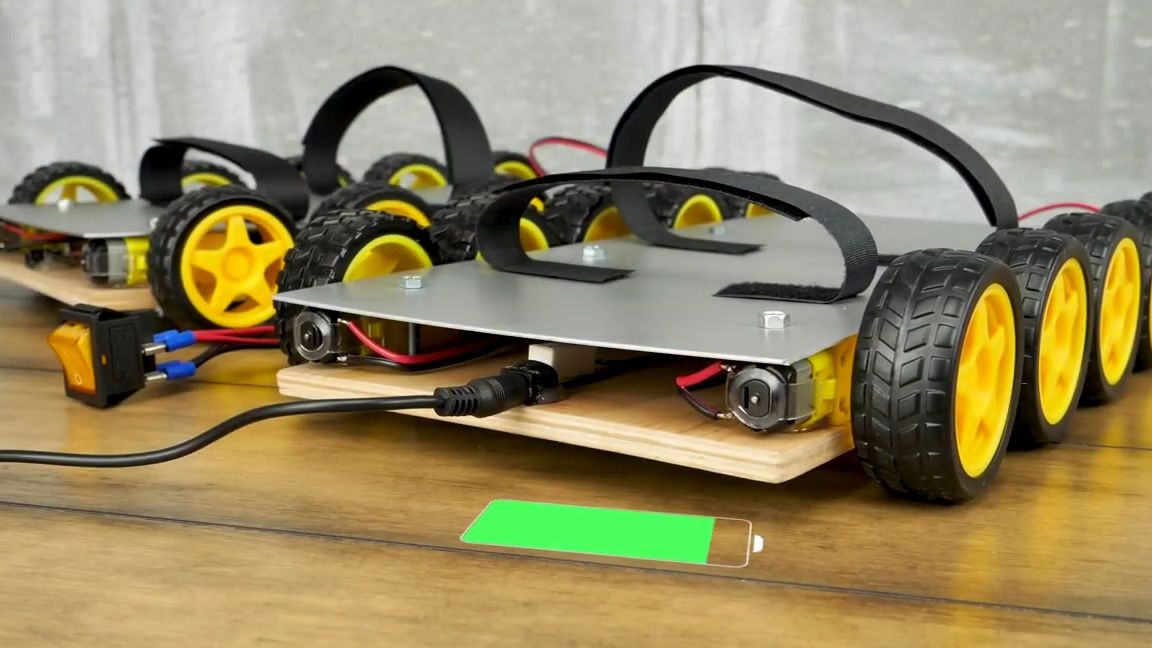
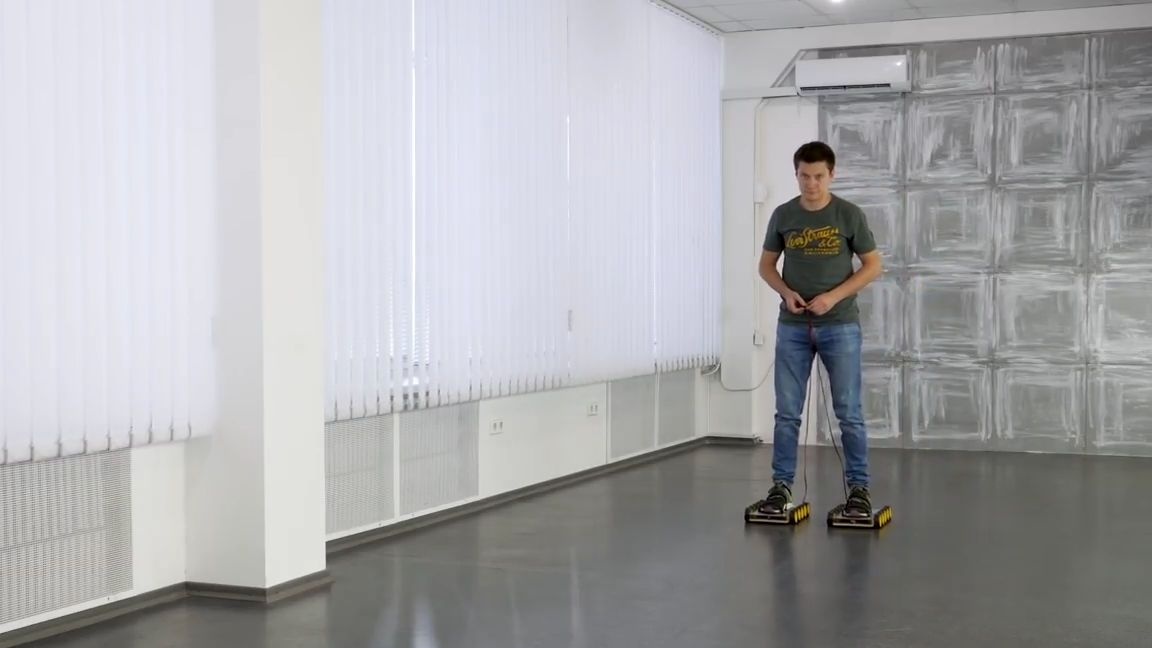
That's it! Simple electric "roller skates" are ready and it remains only to test them. To do this, first we charge both the constitution. And then we get up on them and attach the feet to the structures using fasteners from Velcro tapes. It is necessary to stand evenly and accurately on structures. Then we pick up the control button and start driving!
Of course, the speed is not very high, but such an improvment is perfect for entertainment and leisure. Of course, it was possible to add several diodes to the general design scheme, but it works without them. Also, it would be possible to add a small LED backlight, it would be cool. But this homemade product is very cool without it.
When riding, observe safety precautions!

Here is a video from the author with the assembly and testing of this homemade product:
Well, thank you all for your attention and good luck in future projects, friends!