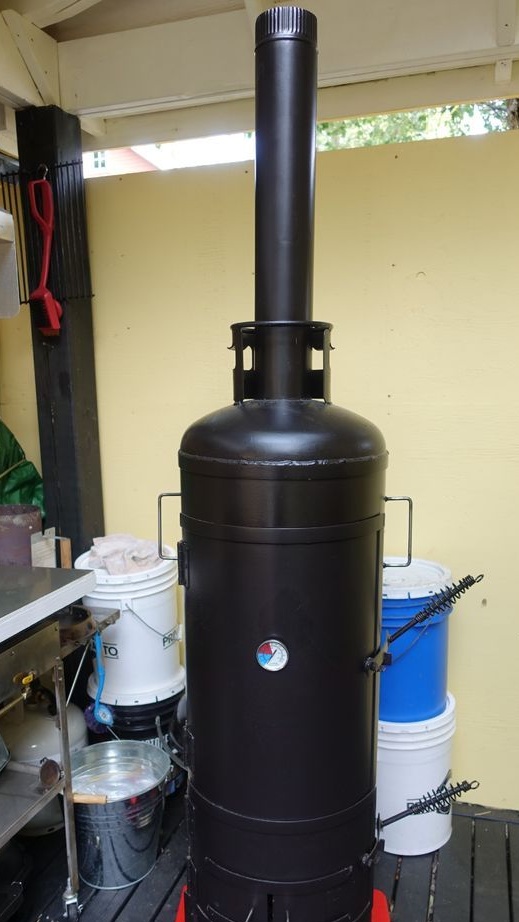
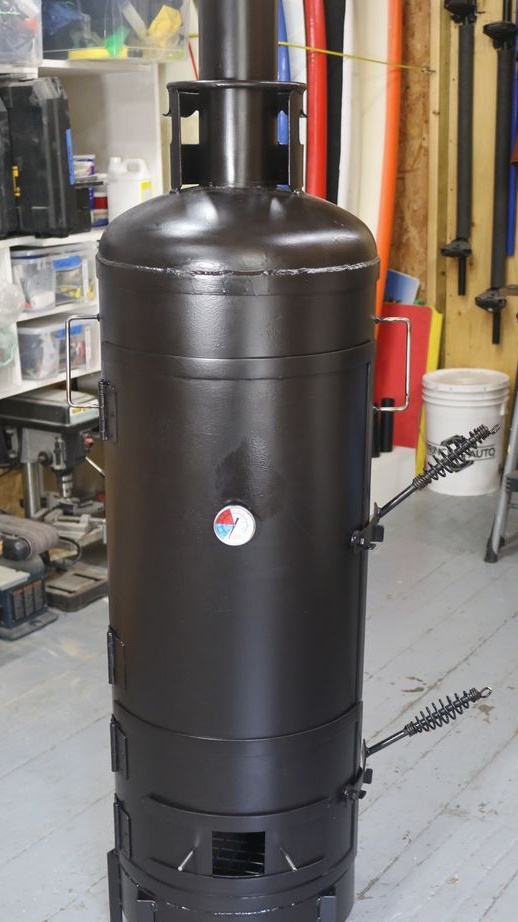
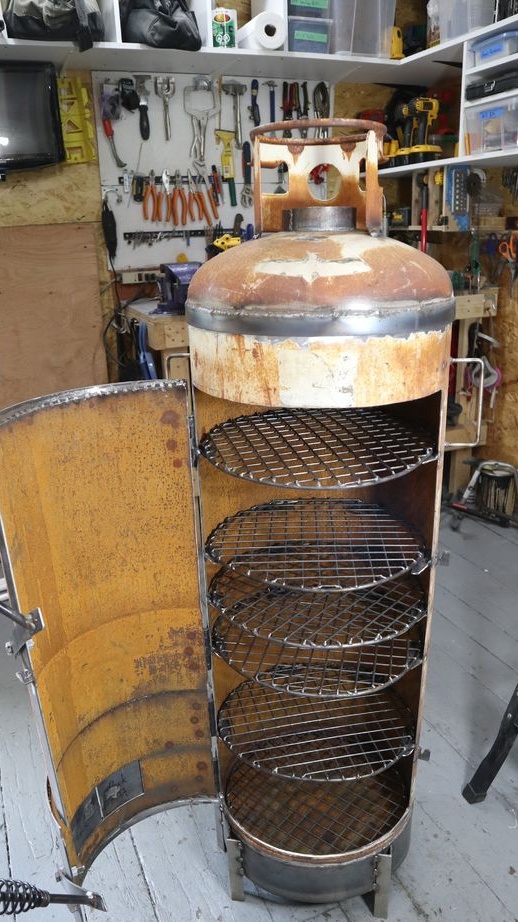
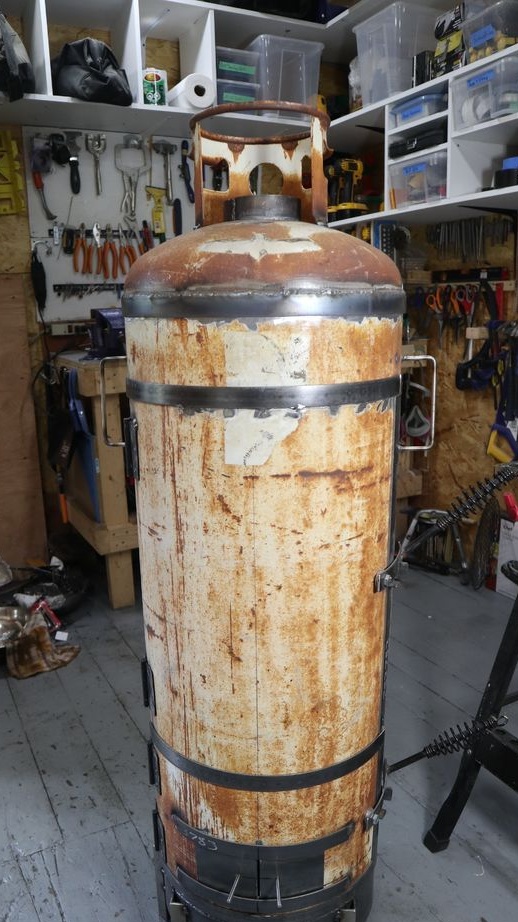
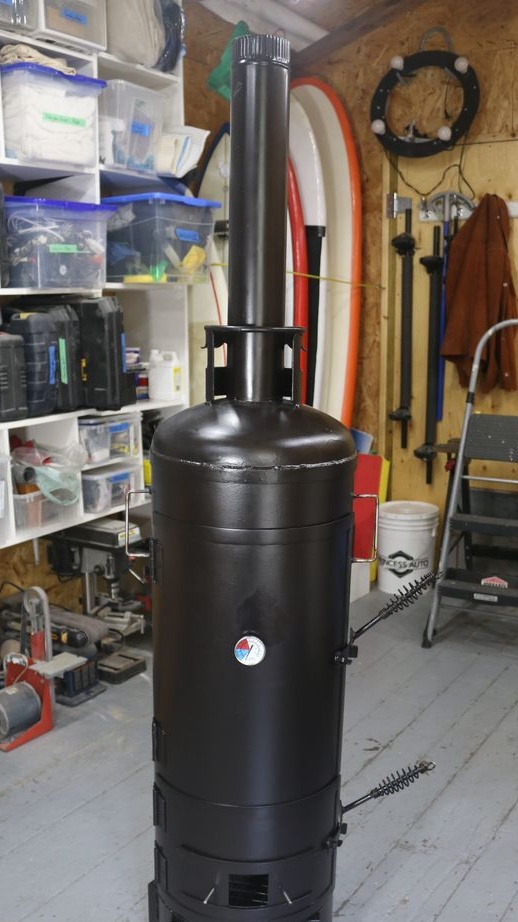
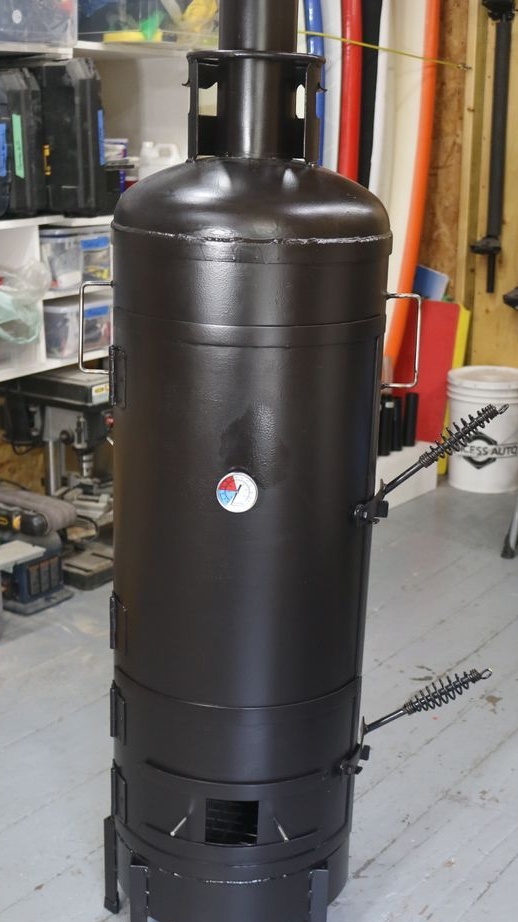
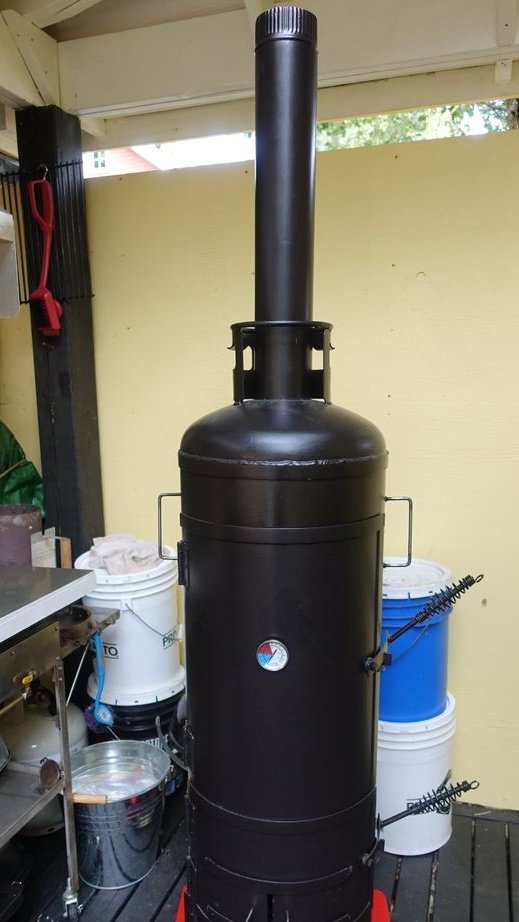
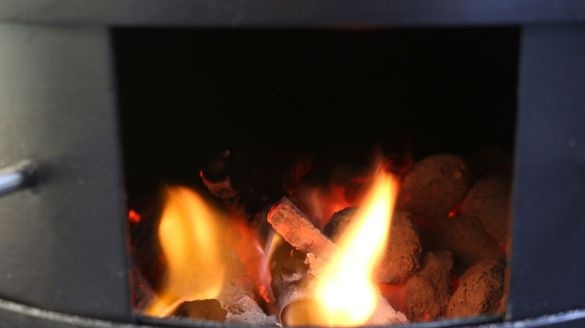
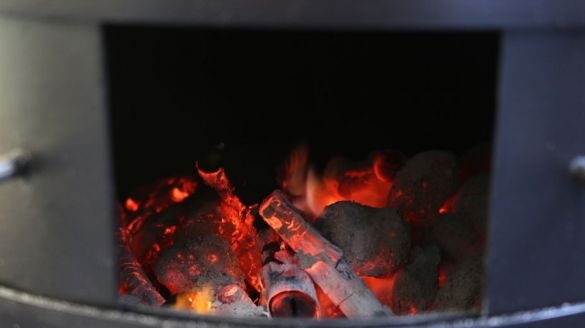
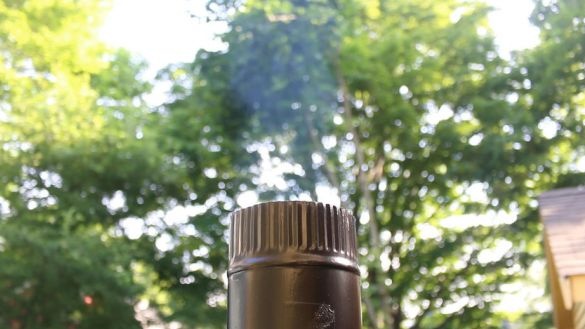
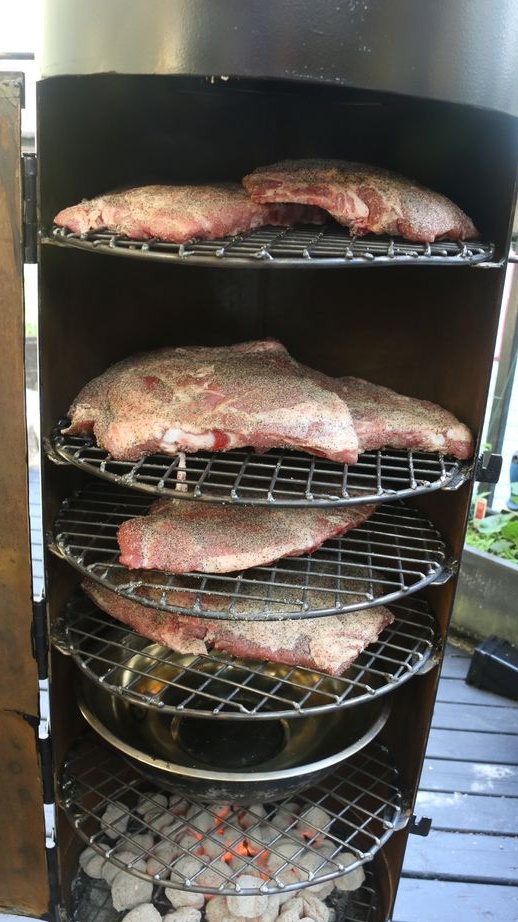
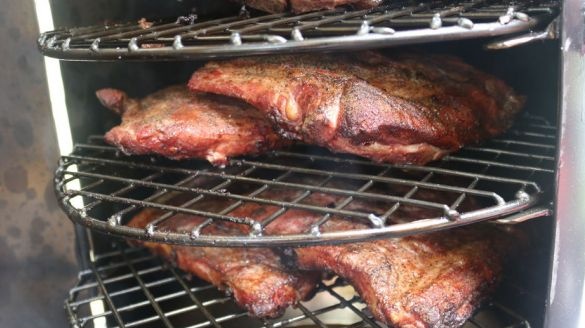
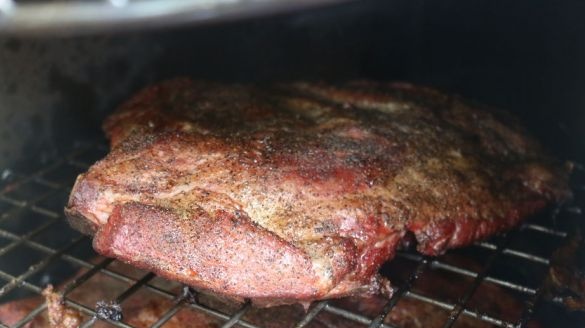
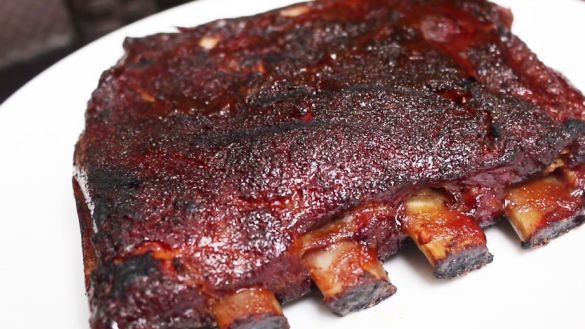
In this article, we will consider another method of manufacturing a smokehouse-grill from an old gas cylinder. Master. The difference of this smokehouse from others is its vertical placement and the possibility of using various heat sources. In this article, the master uses firewood, but plans to use an electric and gas source in the future.
Tools and materials:
-Gas bottle;
-Drill;
-USHM;
-Welding machine;
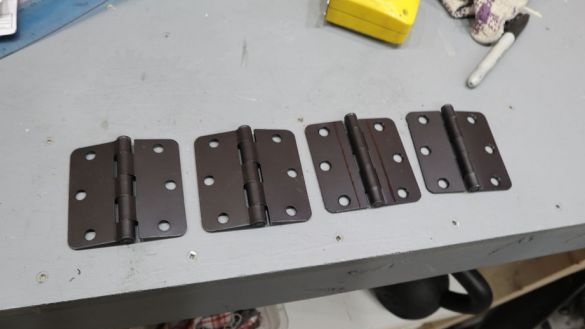
- Loops;
-Metal strip;
-A metal sheet;
-Welded clamp;
-Fittings;
-Fasteners;
-Trumpet;
-Vise;
-Spring;
-Market;
-Metal corner;
-Metal grill;
- Heat-resistant paint;
- Roller;
-Thermometer;
Step One: Cutting the Gas Cylinder
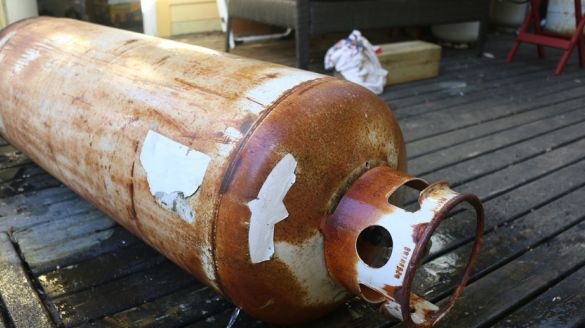
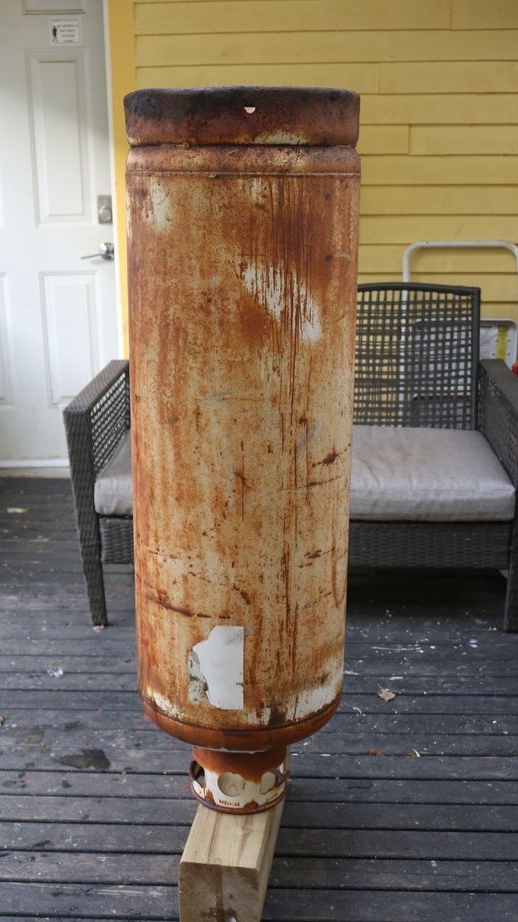
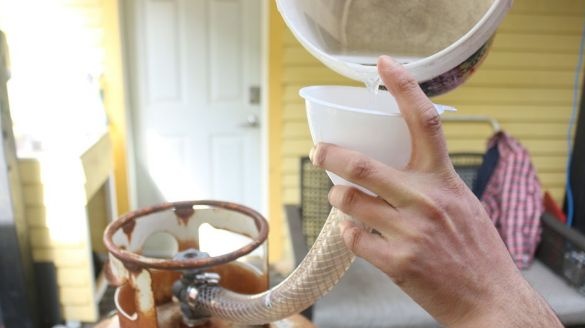
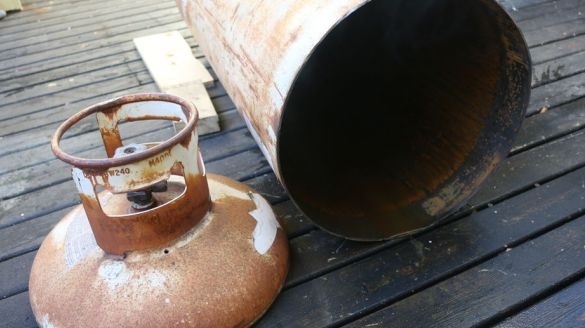
Most craftsmen know that you can’t just take and cut a gas cylinder, canister or gas tank. Even if the tank is empty for a long time, flammable vapors may remain in it. If you try to cut such a tank, an explosion may occur.
There are several ways to safely cut a container. The master decided to use water.
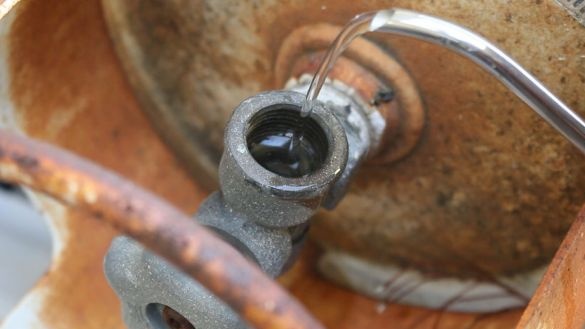
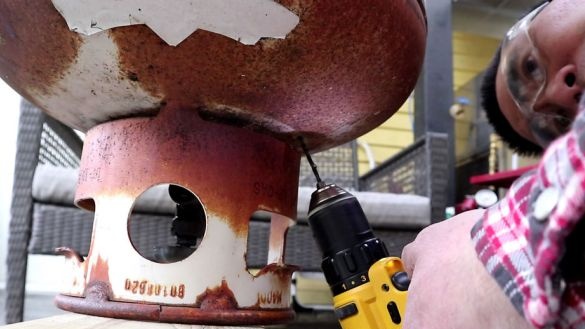
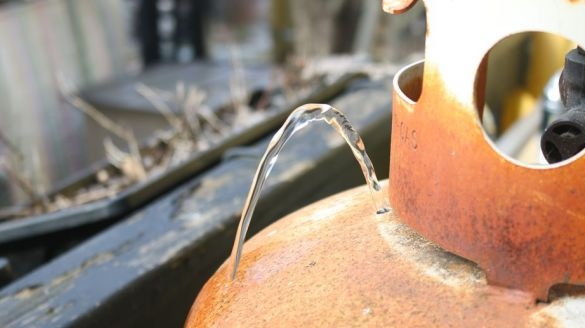
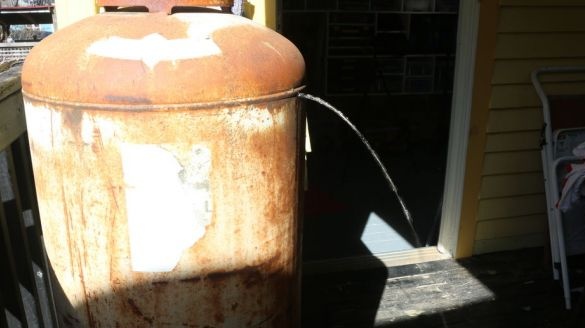
A valve is screwed into the top of the container. Attempts to unscrew its result did not bring, then the master opened it and through it began to fill the cylinder with water. Filling the balloon a quarter, turned it over and drilled a hole (air will come out through it). Then he turned over again and filled the cylinder completely with water.
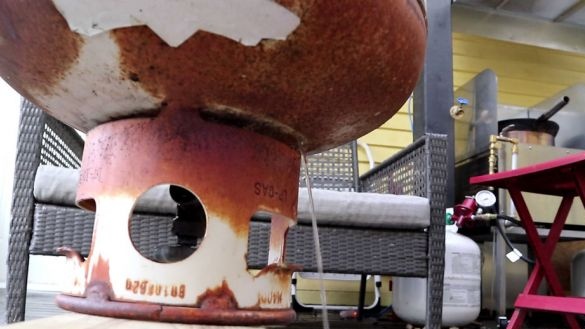
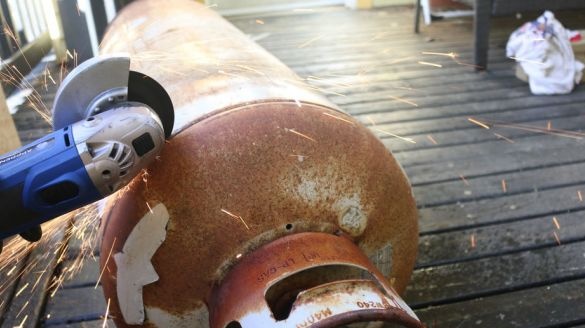
The master drilled another hole below the weld. When the water spilled out, the angle grinder cut off the top of the cylinder.
Step Two: Doors
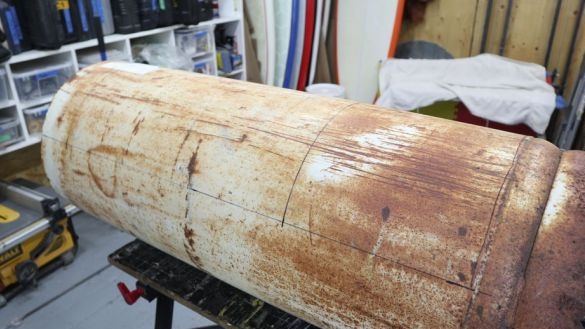
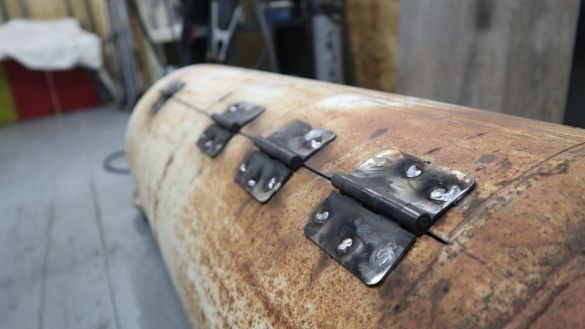
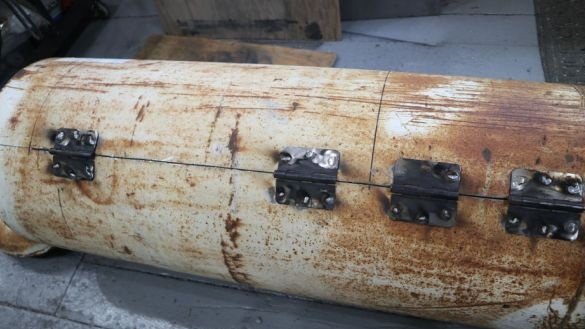
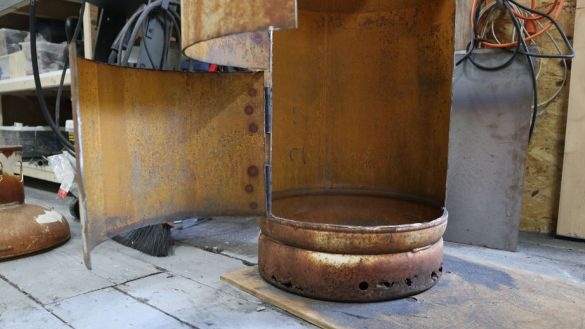
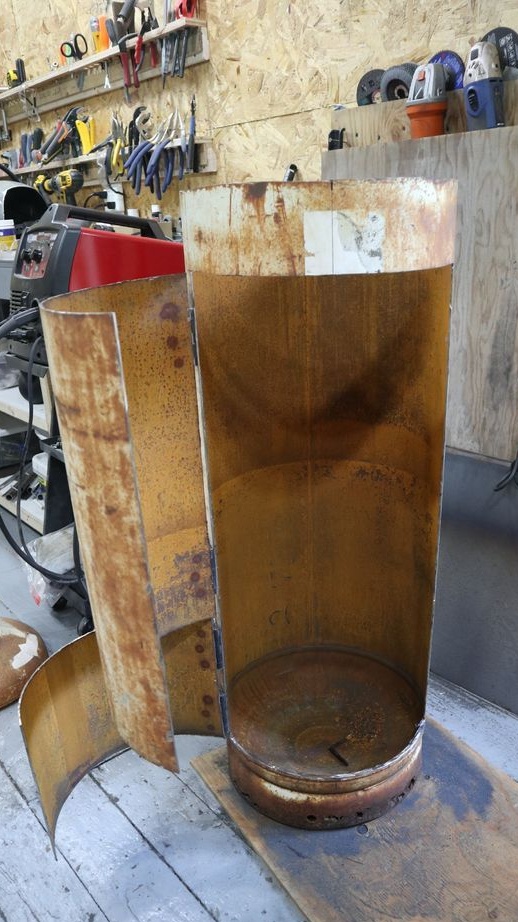
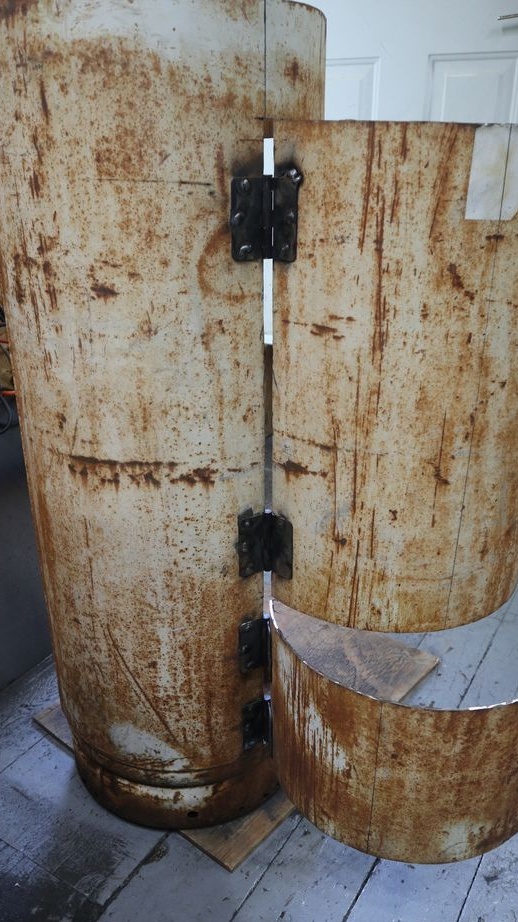
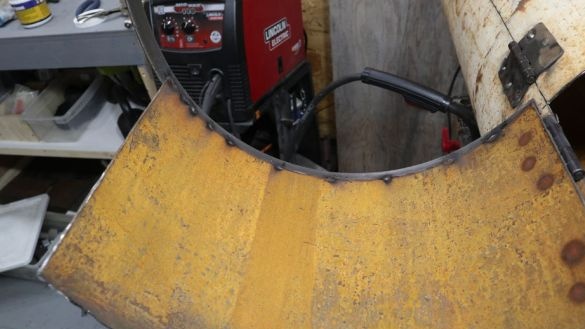
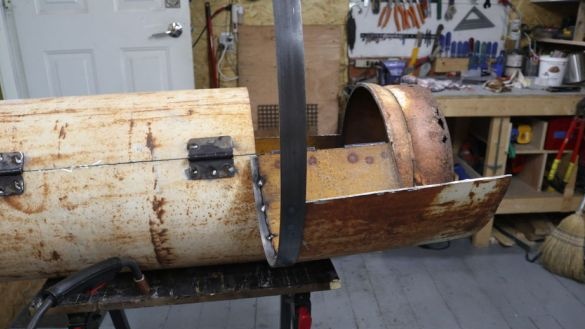
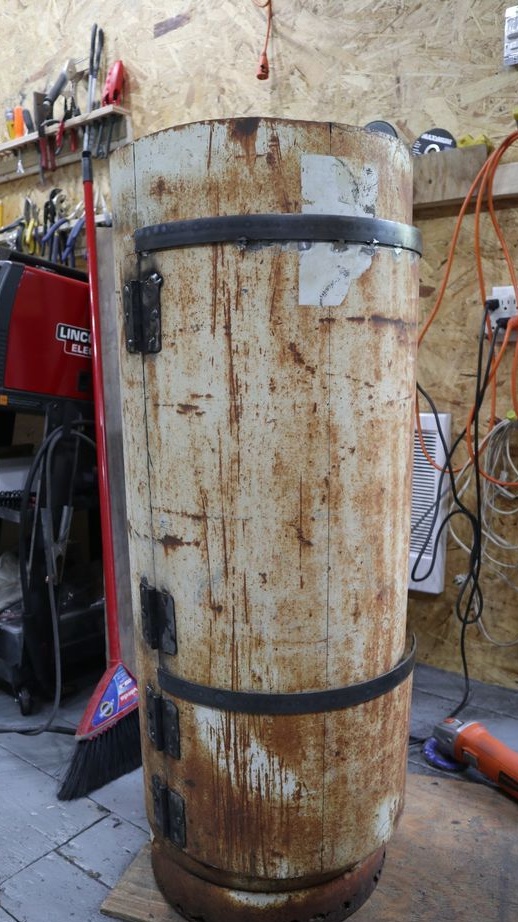
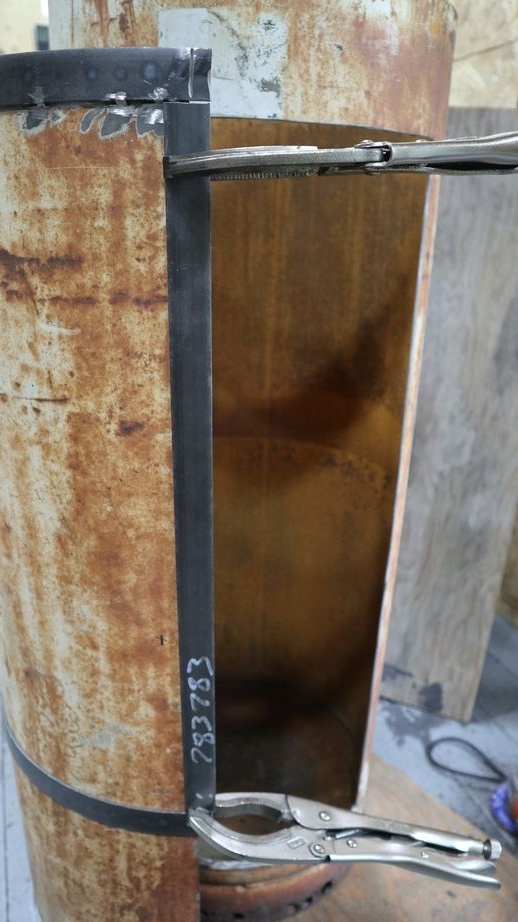
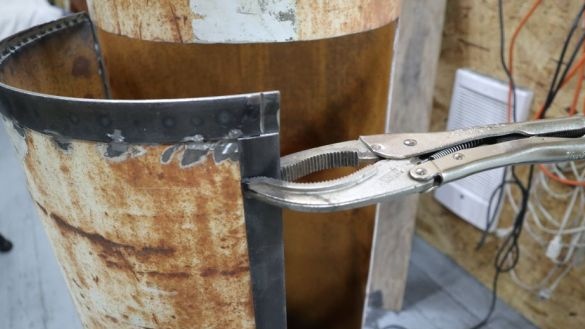
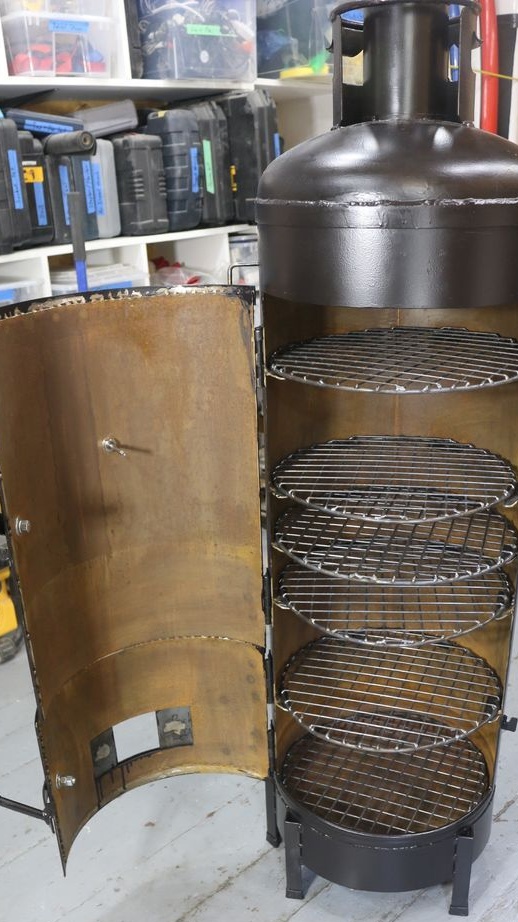
Next, the master cuts the door of the smokehouse. There will be two smokehouse doors. One for the furnace, the second for loading products. First, the wizard makes the markup. Then makes a through cut from the installation side of the loops. Welds the hinges. Cut the door completely.
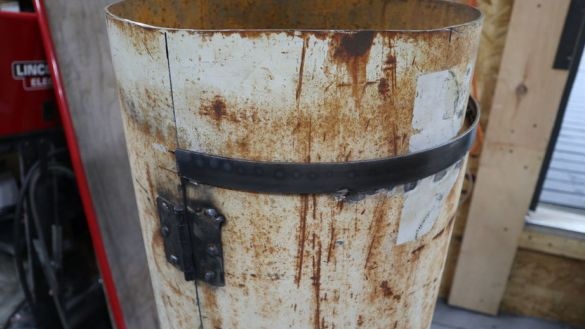
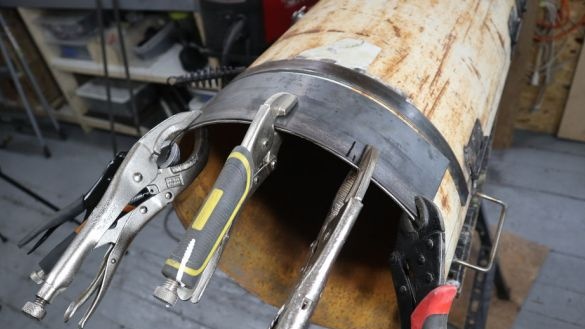
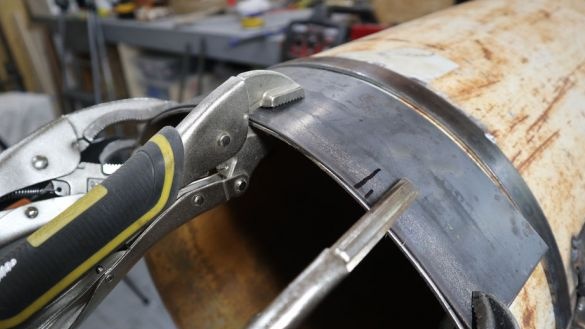
On a contour of doors a strip is welded. Moreover, the strip welded to the upper part of the furnace door overlaps the upper door. Thus, access to the furnace is always there, and to the loading part only after opening the furnace door.
In my opinion, it was possible to leave a small strip between the doors and make their opening independent of each other.
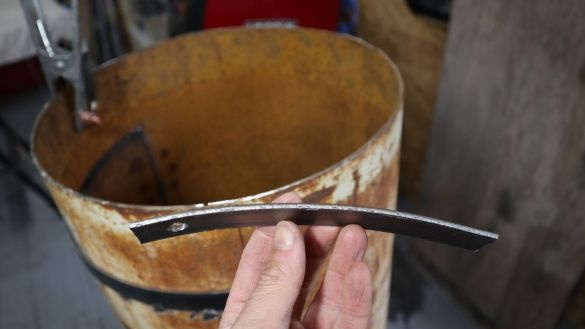
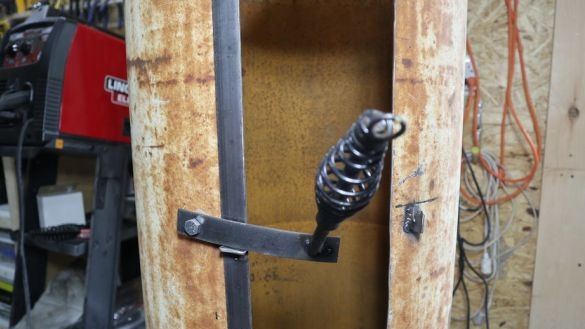
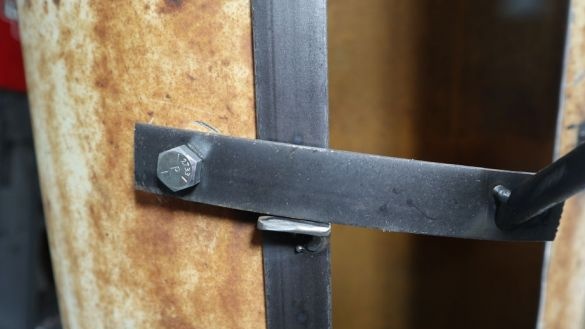
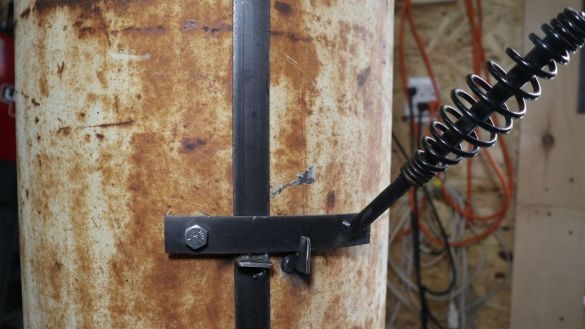
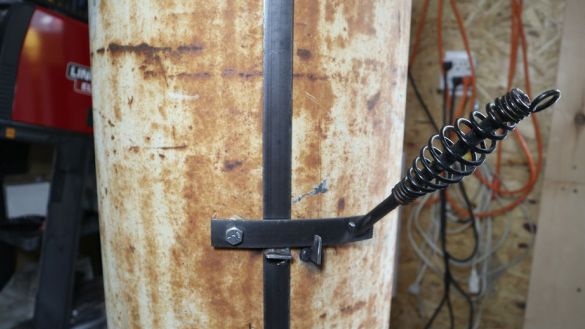
From a strip makes a latch. A piece of reinforcement with a spring is welded to the valve. When heating the door-valve-armature, the spring will not heat up much and you can take it with your bare hand. Screws the latch to the upper door.
Step Three: Cover
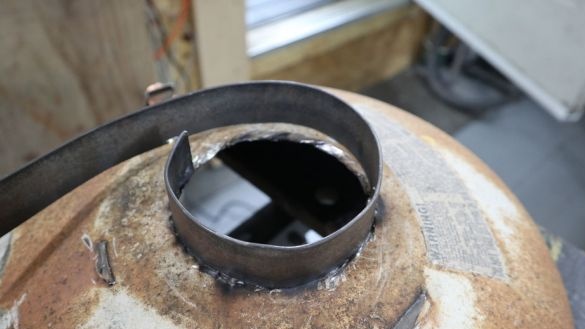
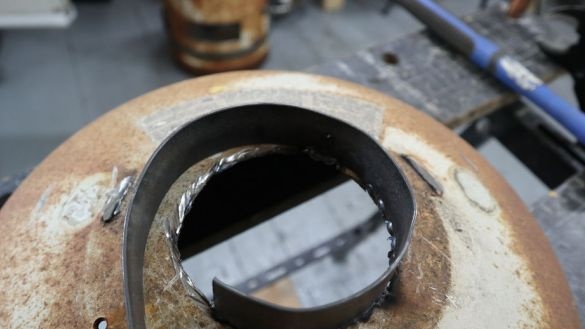
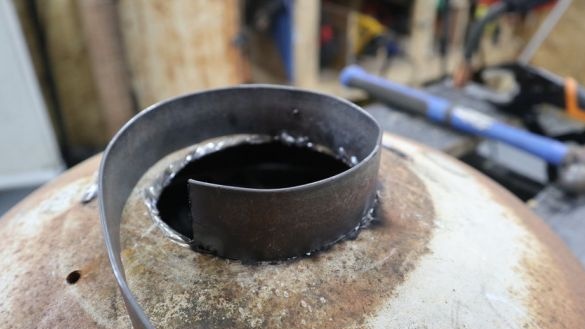
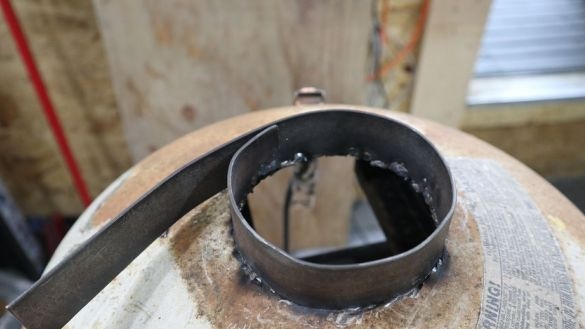
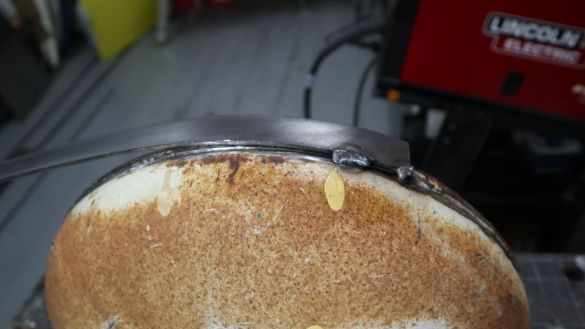
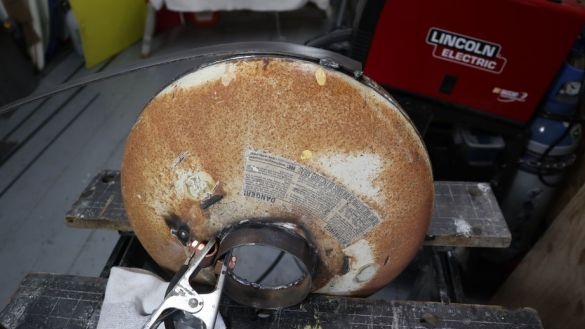
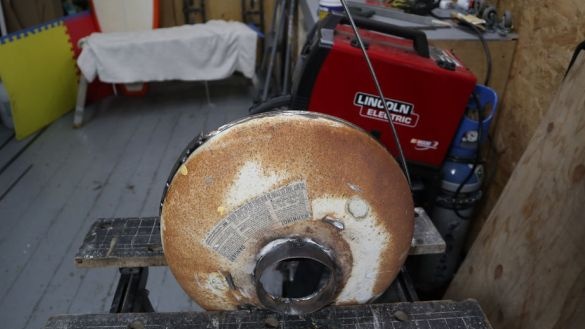
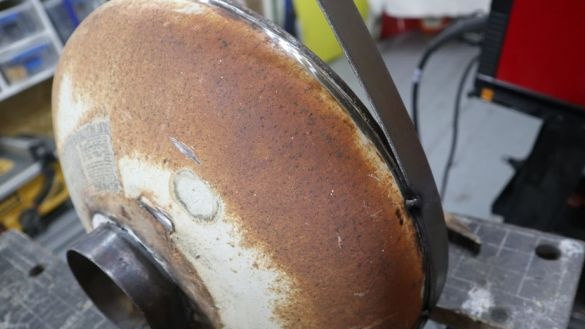
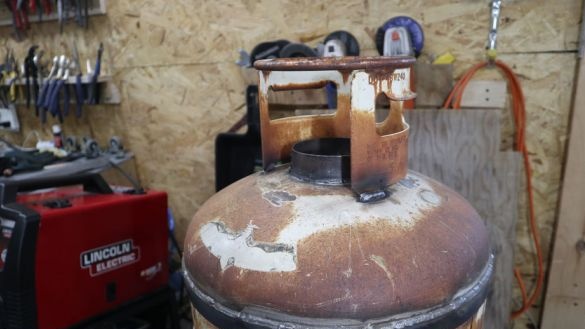
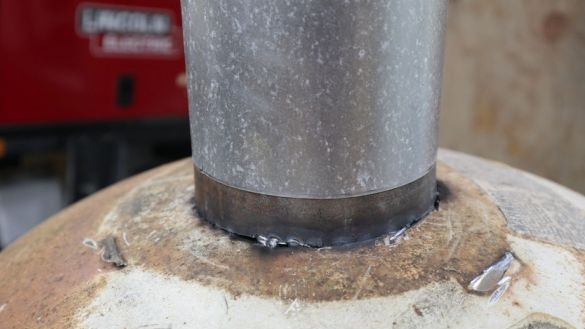
Next, you need to prepare the top. The master cuts off the fence around the crane. Cut a round hole along the diameter of the chimney pipe. Welds a strip around the hole. Welds the strip at the bottom of the lid. Welds in place the fence.
Step Four: Flap
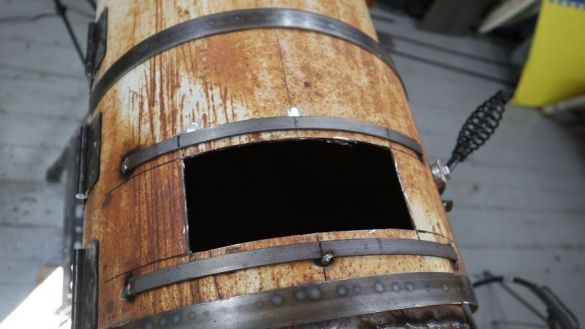
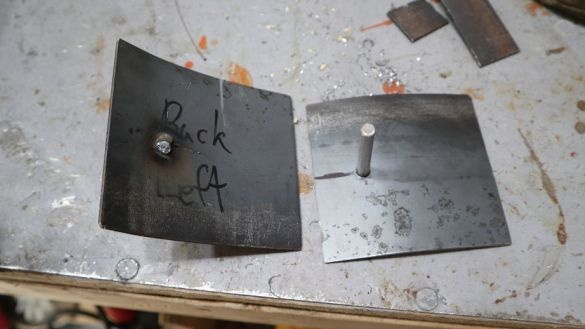
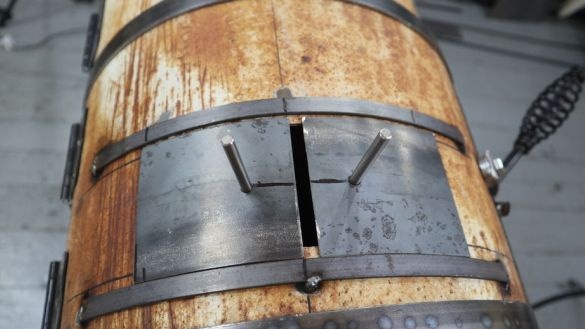
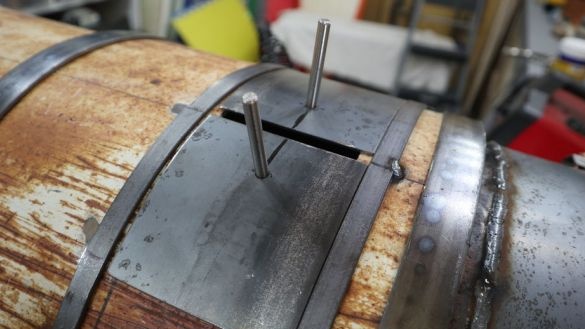
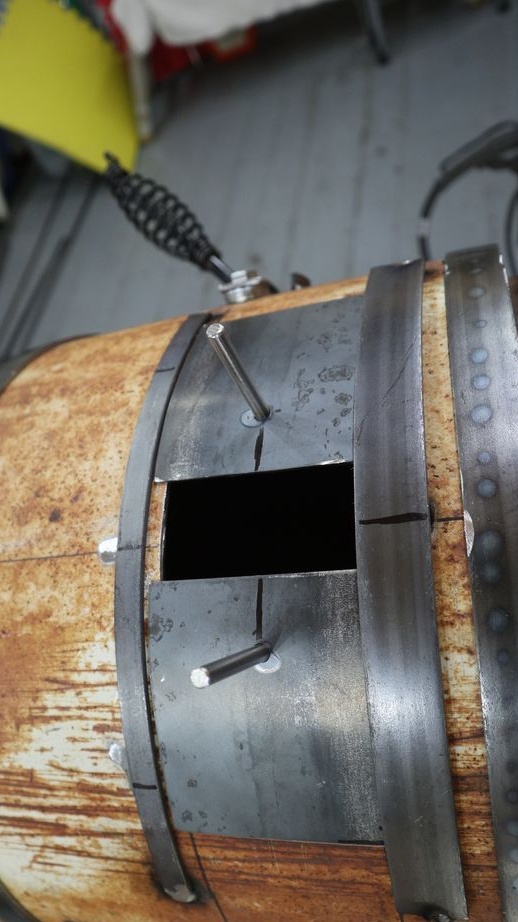
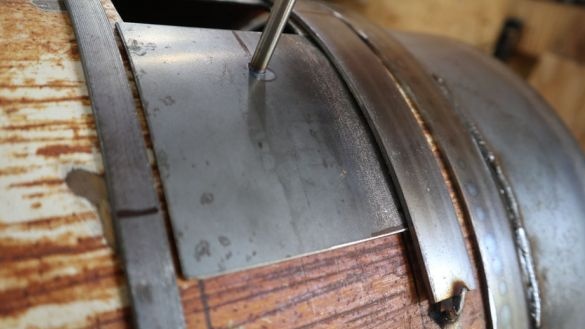
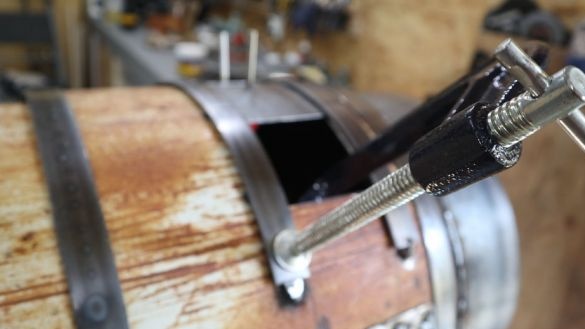
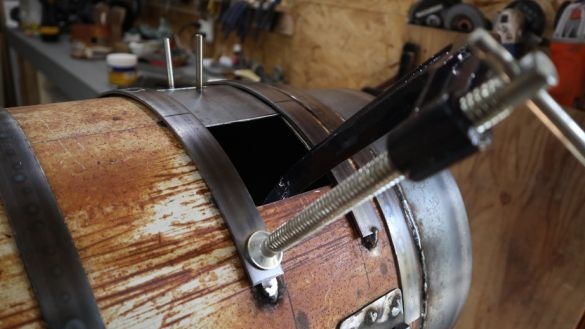
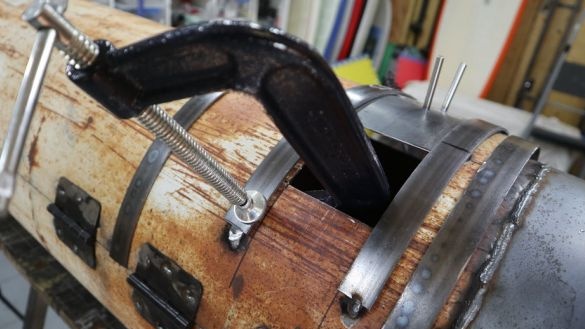
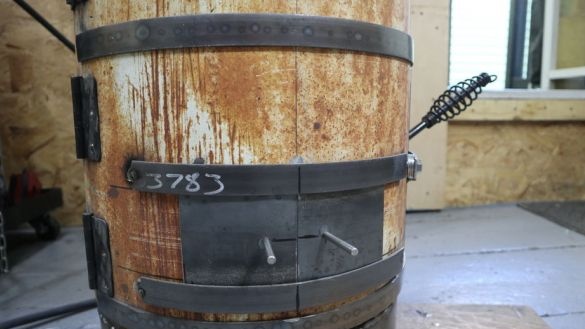
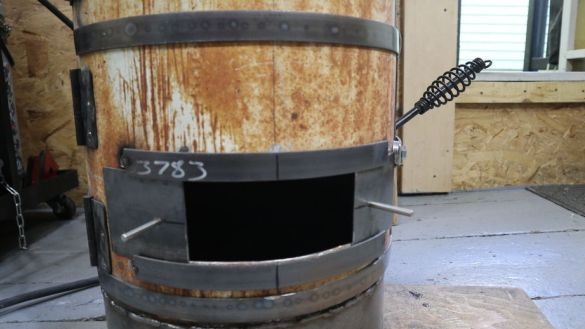
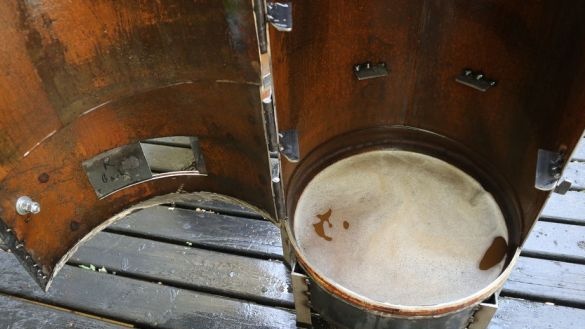
The bottom door cuts out a rectangular window. Welds a narrow metal strip on top and bottom of the window. Two gate valves are cut from a metal sheet. The width of the valve will interfere between the strips, and the length of the block the window completely. Drills a hole in the valves. Inserts a rod into the hole and welds it from the back. Sets the valves in place. Wide strips weld on top of narrow strips. Thus, the gate valves move freely and do not fall out. From below, the master welds the legs from the corner.
Step Five: Lattices
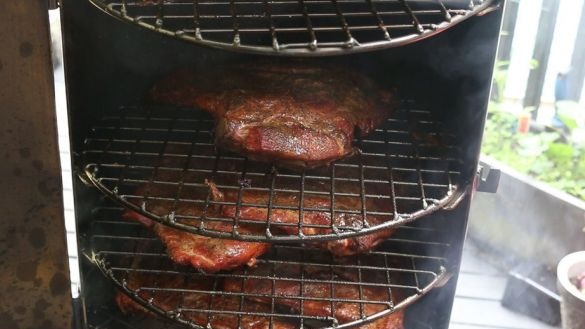
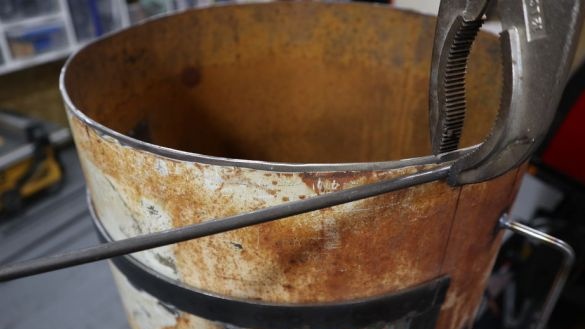
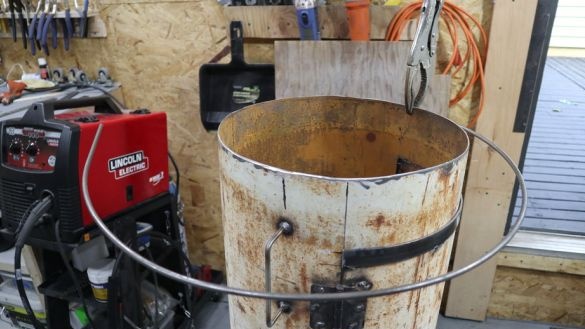
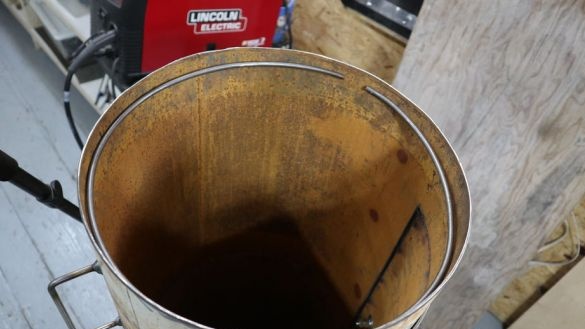
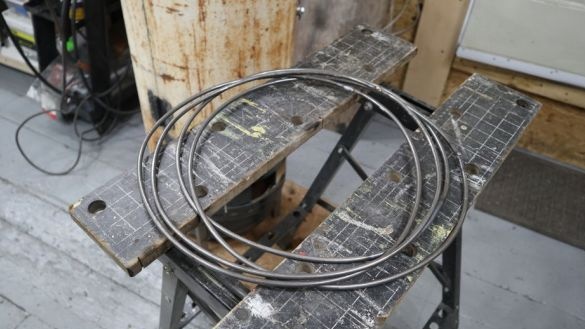
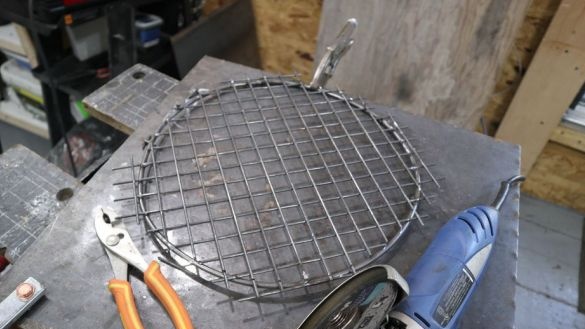
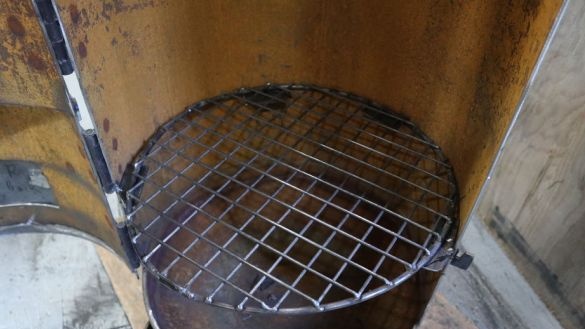
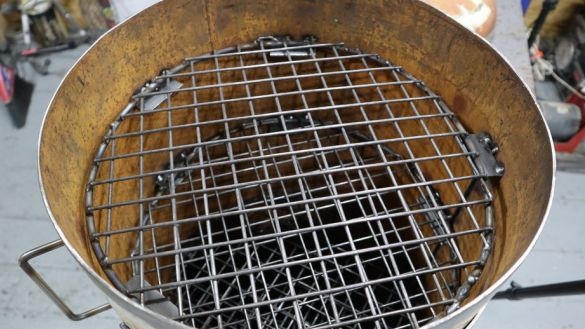
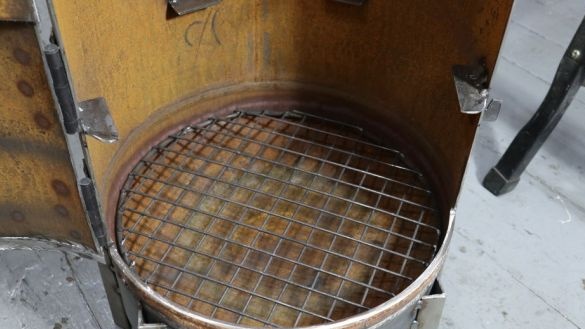
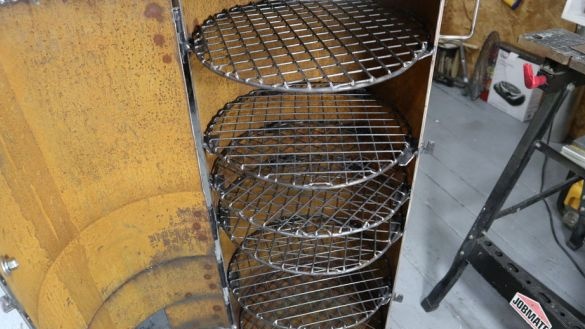
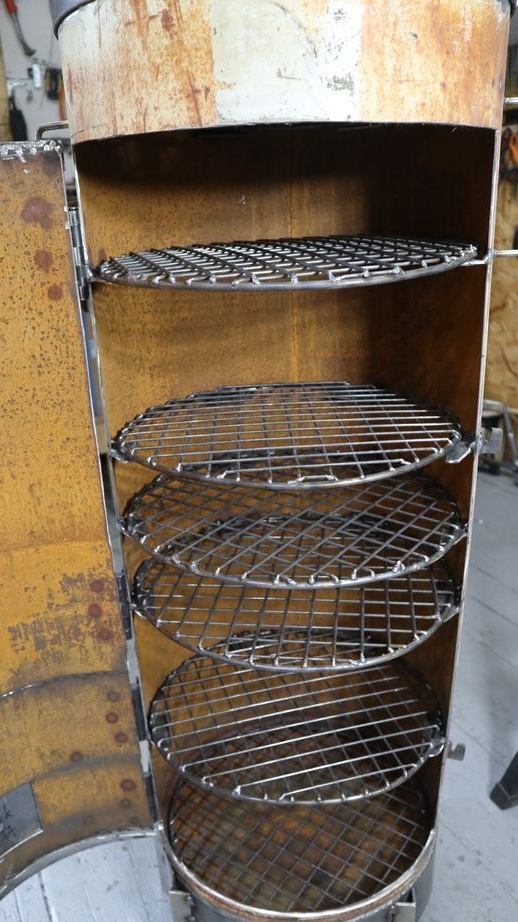
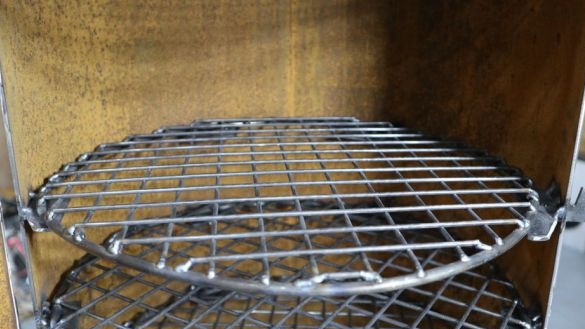
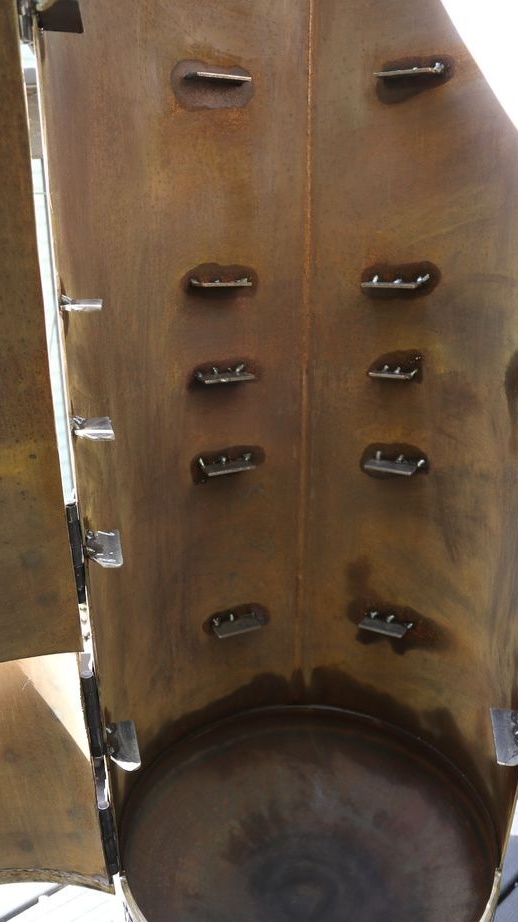
Inside the smokehouse several grates will be installed. Bends the fittings along the inner diameter of the cylinder. The ends of the reinforcement are welded. To the reinforcement welds the grill. Cuts the grid around the circumference. Inside the container, support strips are welded at different heights.
Step Six: Painting
Now you need to paint the smokehouse. The master washes and cleans the inside and outside of the smokehouse. After drying, it covers the outside with heat-resistant paint.
Seventh step: thermometer
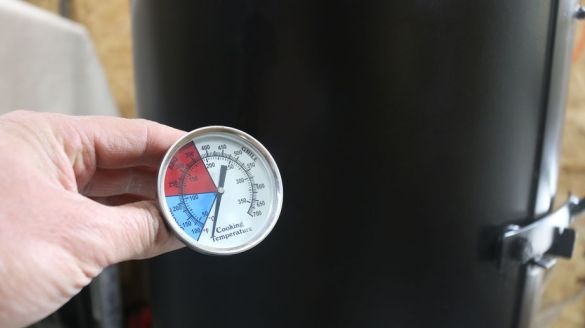
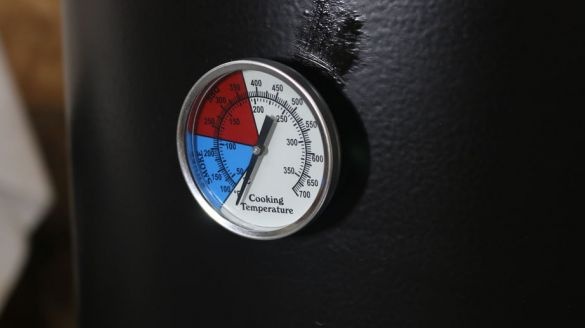
A hole is drilled in the upper door and a thermometer is installed.
All is ready. The product can be used for smoking and for barbecue.
The whole process of making a smokehouse can be seen on the video.

