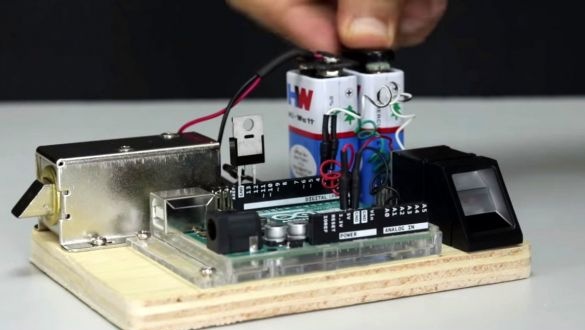
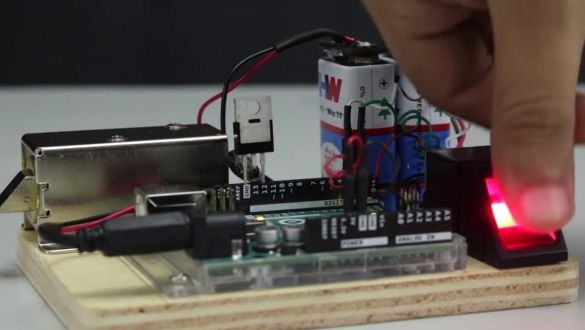
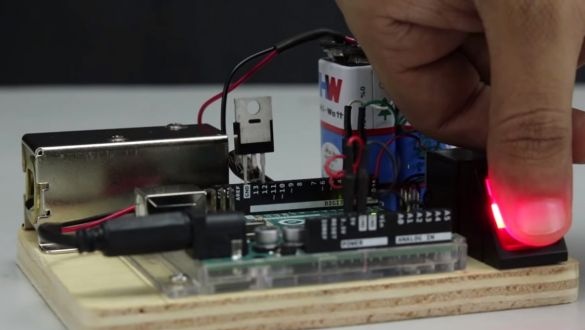
In this article, the creator of Creativity Buzz shows how to create an electric latch control circuit. The lock will be opened by fingerprint reading.
Complex tools are not required, which makes it possible to manufacture this device at home. The author will make a device layout so that everything is clear.
Instruments.
1. Drill or screwdriver.
2. Drills.
3. Glue gun.
4. Laptop or computer.
Materials and electronic Components.
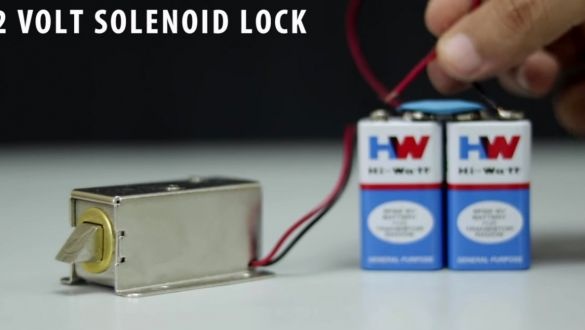
1. Electric strike 12 V. Link.
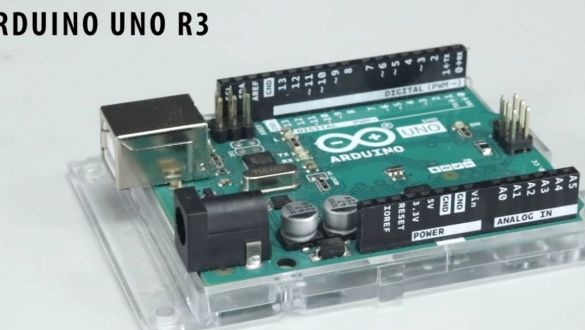
2. Arduino uno r3. Link to the board.
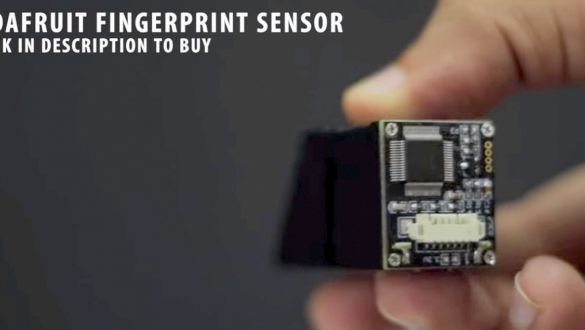
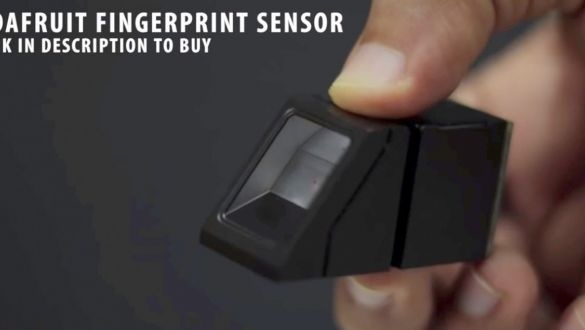
3. Fingerprint scanner, only this applies model. Adafruit 751 fingerprint sensor
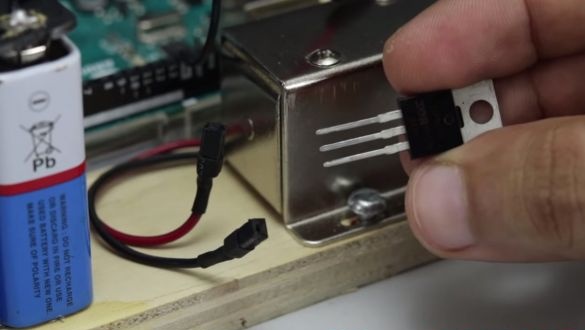
4. Transistor TIP122.
5. Two batteries "crown".
6. Program code here.
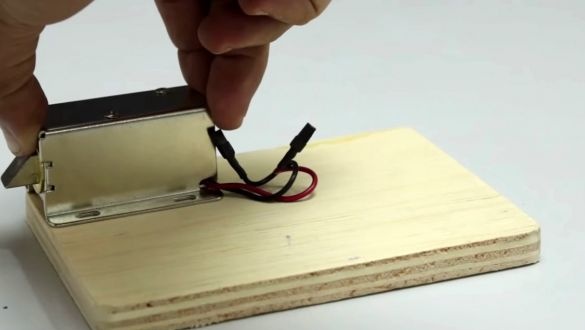
So, the electric latch opens when a supply voltage is applied to it; in its absence, it remains closed.
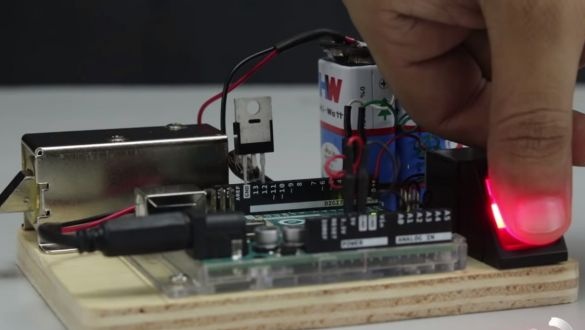
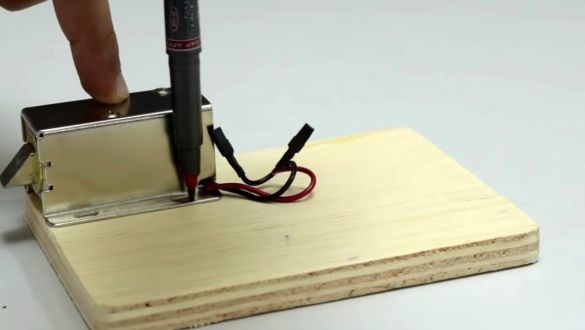
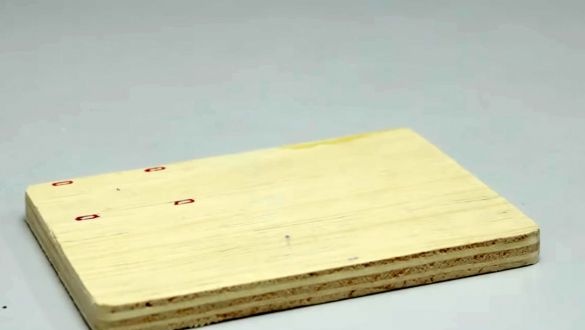
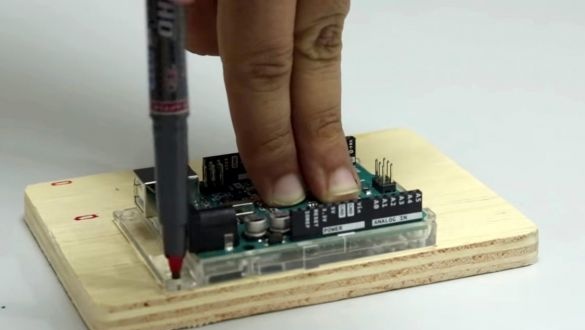
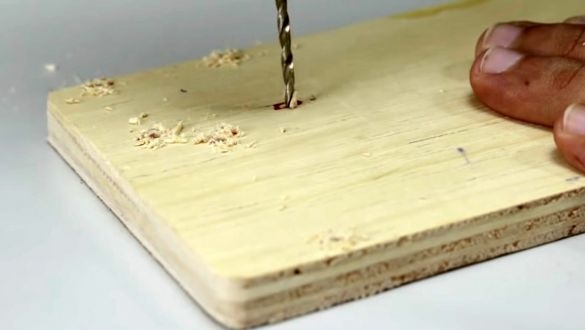
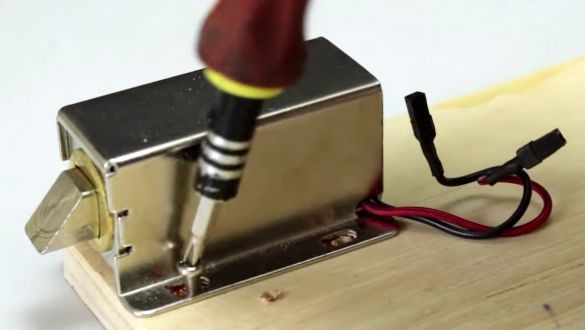
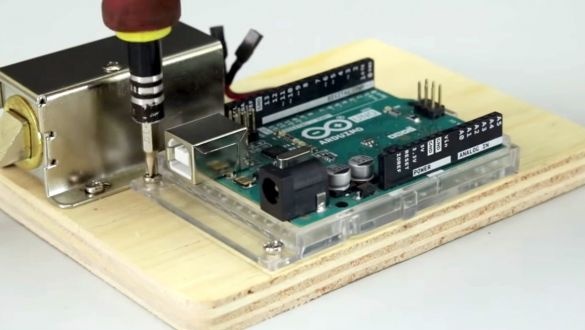
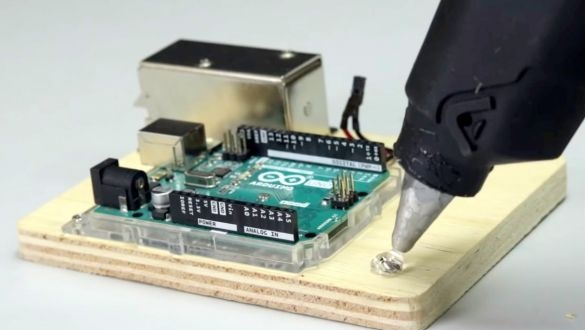
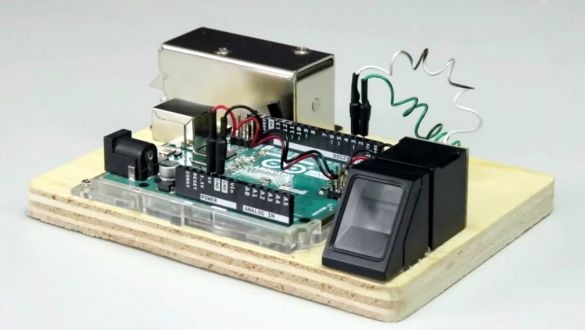
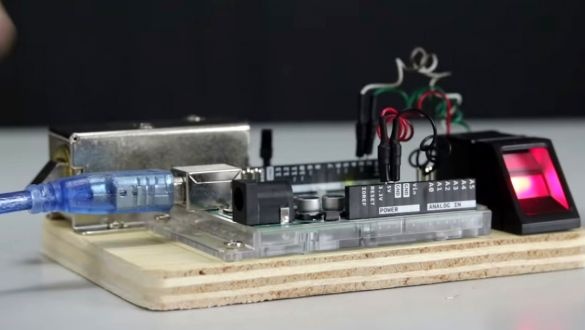
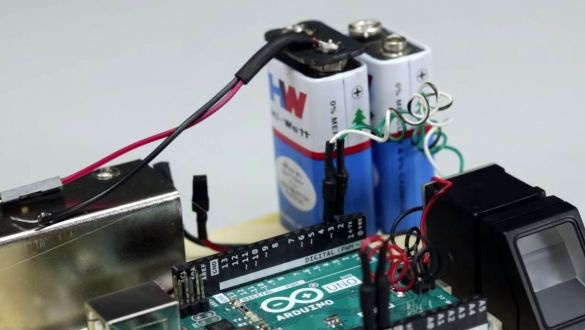
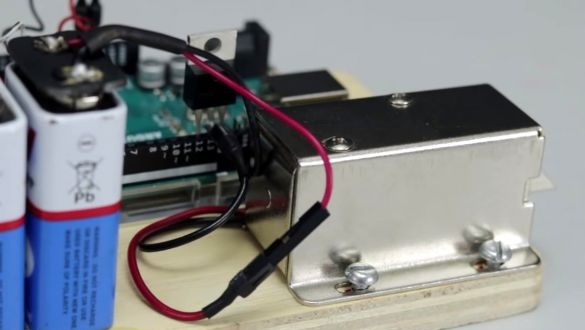
The author proceeds with the assembly of the layout, for starters, places the latch and the arduino board. Marks holes for fastening and, having drilled holes for bolts, twists them.
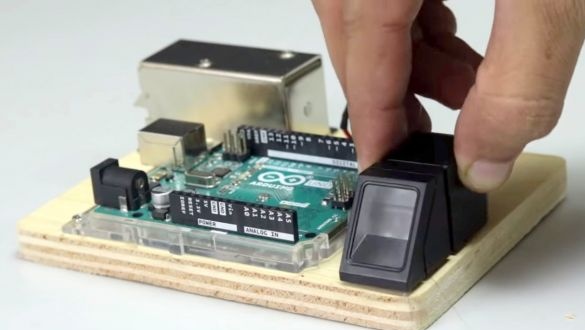
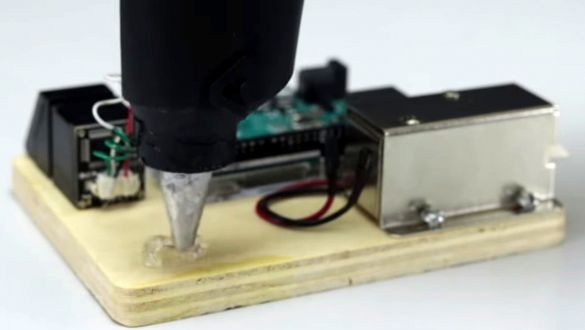
Now, with the help of hot glue, installs a fingerprint scanner.
And inserts the connector that comes with the kit.
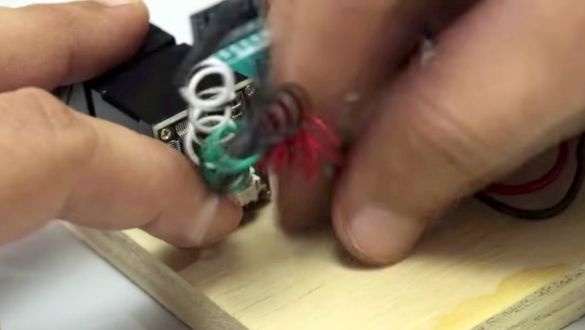
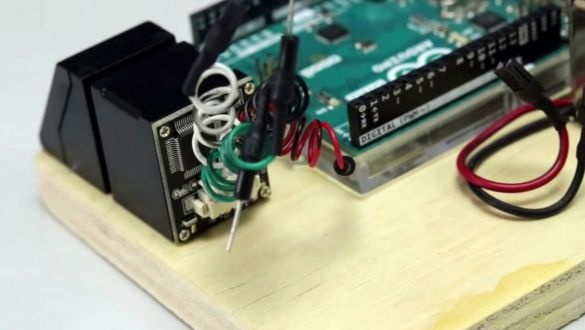
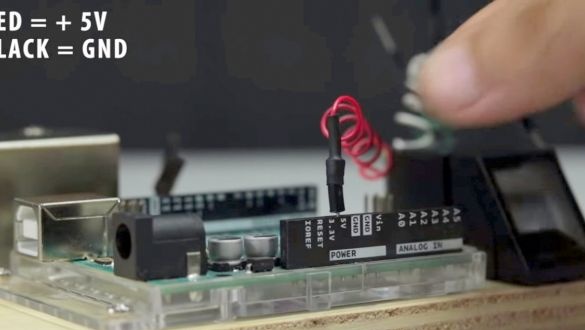
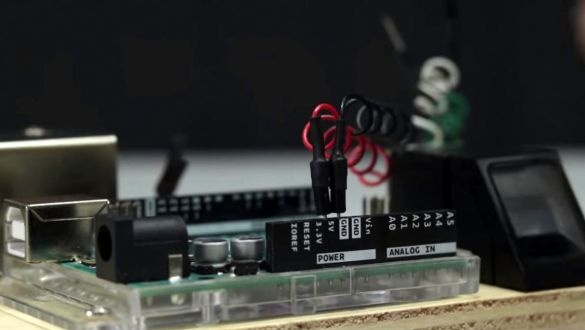
It connects the scanner power, it can be from 3.6 to 6.0 Volts, working current 120 mA. The red wire is to the +5 terminal on the arduino board and the black wire is to the GND terminal.
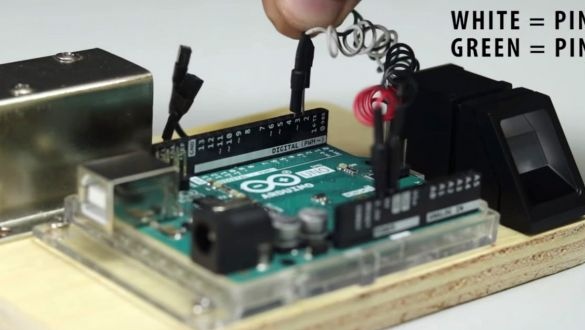
And signal wires, white to terminal 3 and green to terminal 2.
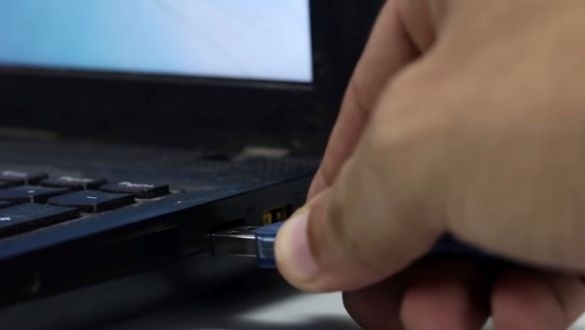
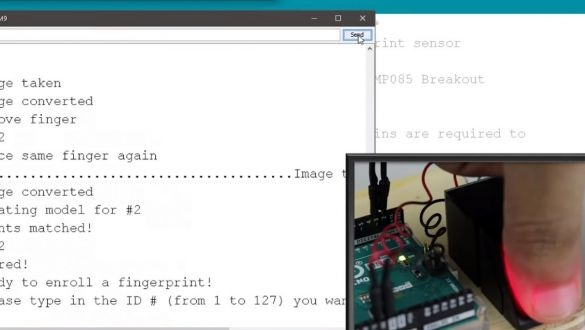
Connects to a laptop, records a control program.
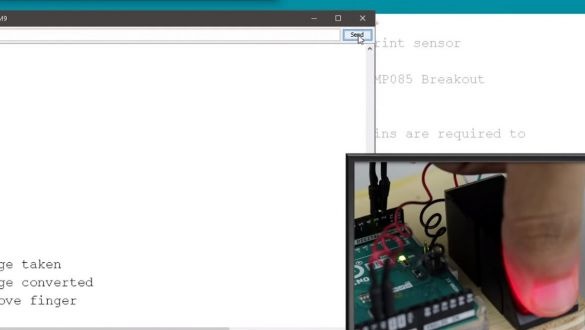
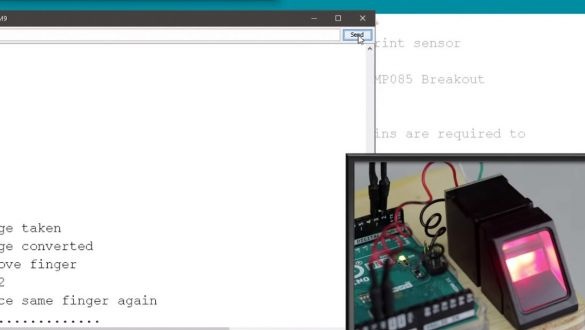
And reads the fingerprint into the controller's memory. And reading is done twice.
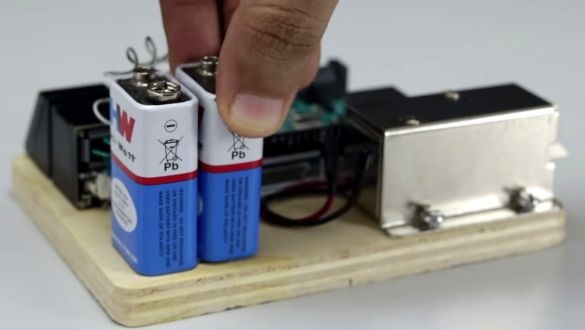
Installs batteries on hot melt adhesive.
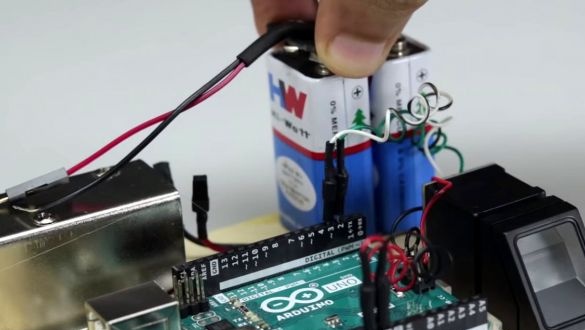
Connects the power connector to the first battery, and its minus to the GND terminal on the board.
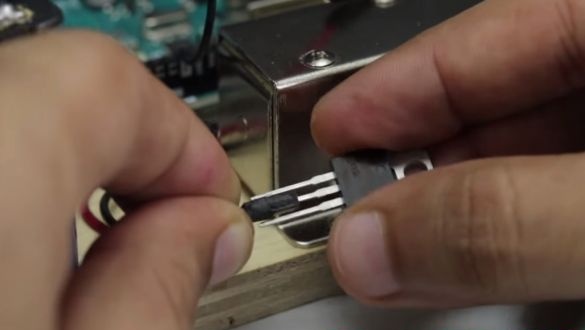
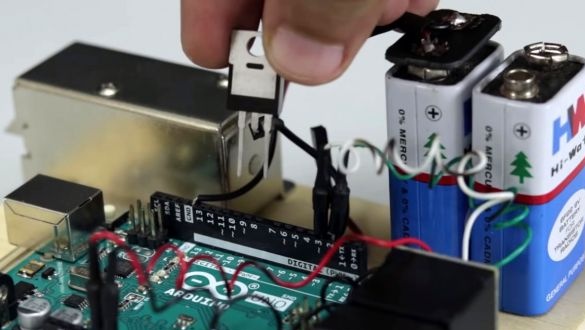
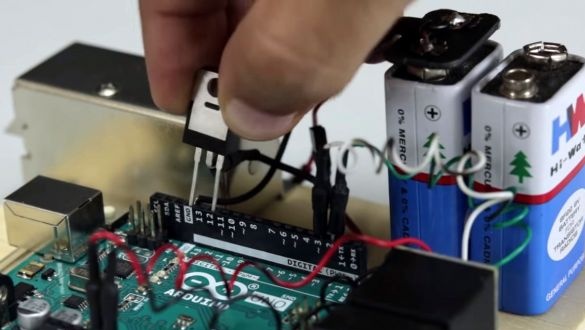
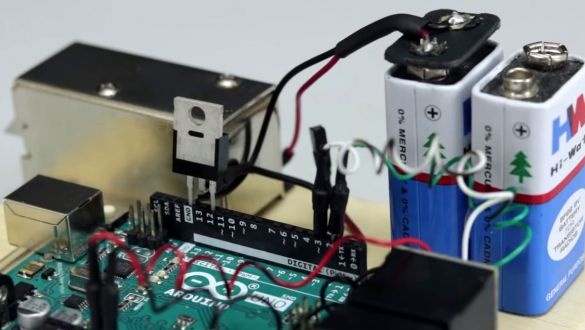
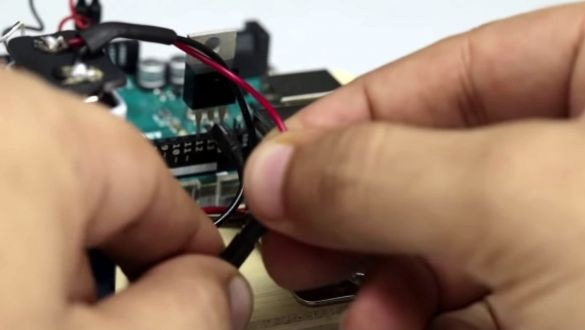
To control the lock, a TIP122 transistor is required, the collector of the transistor connects to the negative wire of the lock.
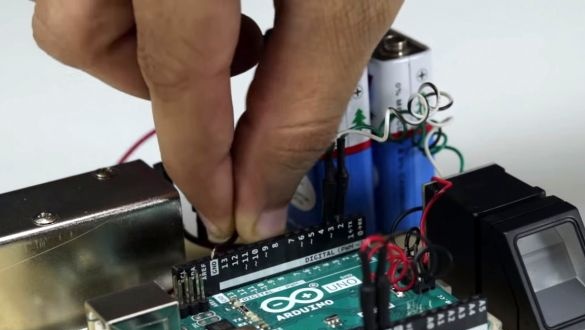
And it connects directly to the board connector, base on the 12th pin, emitter to GND.
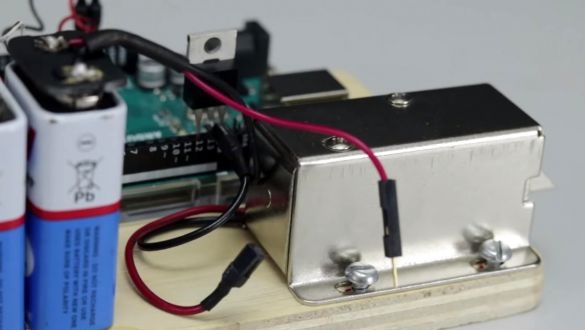
Completes switching control lock, connecting the positive terminals of the battery and lock.
It remains to supply power from the second battery to the controller and fingerprint scanner. To do this, connect a second battery to them.
That's all done, you can check.
Of course, the castle does not open instantly. Here are some scanner specifications.
The standard scanner read time is less than a second.
The size of the scanner window is 14X18 mm.
The probability of a false positive result is <0.001%.
The probability of failure or an unrecognized fingerprint is less than 1%.
Operational temperature range from -20C to + 50C.
And in order to make an existing device from the layout, you need to move the scanner out of the protected area. And install the controller indoors. Connecting them together is best done using shielded twisted pairs.
Of course, with the help of this controller you can control other actuators, not only a lock, it would be a fantasy.
Thanks to the author for the interesting product presented!
All good homemade and ideas!

