
Hello everyone, in this instruction we will analyze how you can make a good knife from improvised materials using a simple set of tools. The steel that the author used for his knife is the well-known P6M5 quick cutter. Usually such metal is found in saws. Steel is good in that it is perfectly sharpened, it keeps grinding for a long time, and you can grind it to the state of the blade. To get such a metal for you should not be a big deal. And so that the metal does not rust, you can cover the blade with a patina by etching.
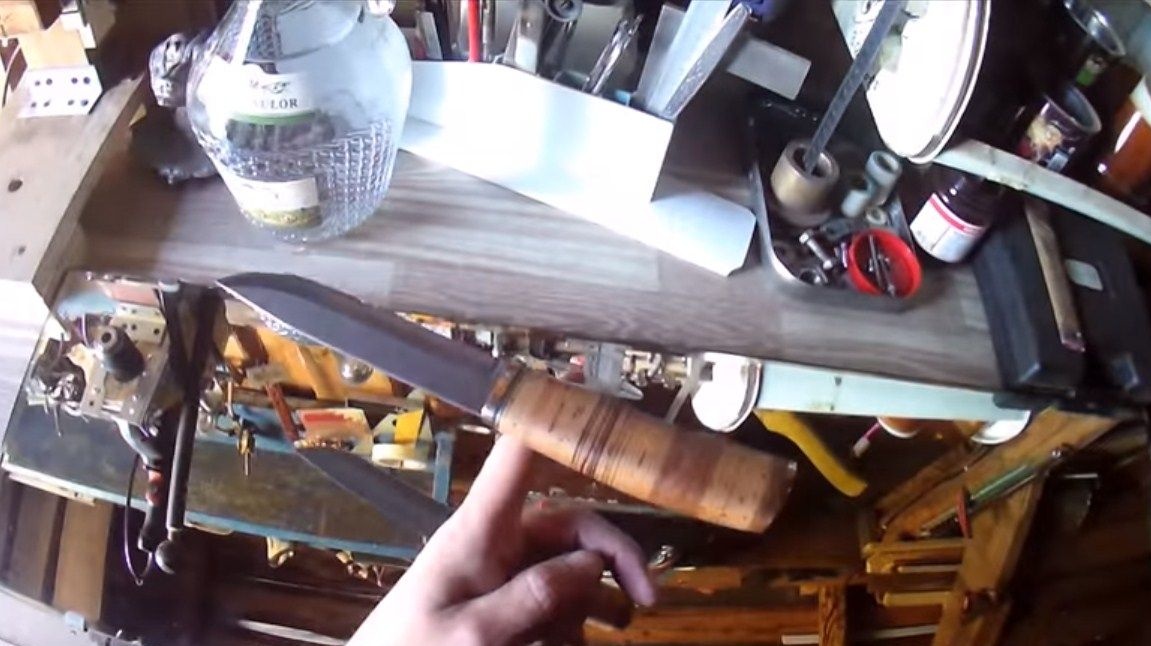
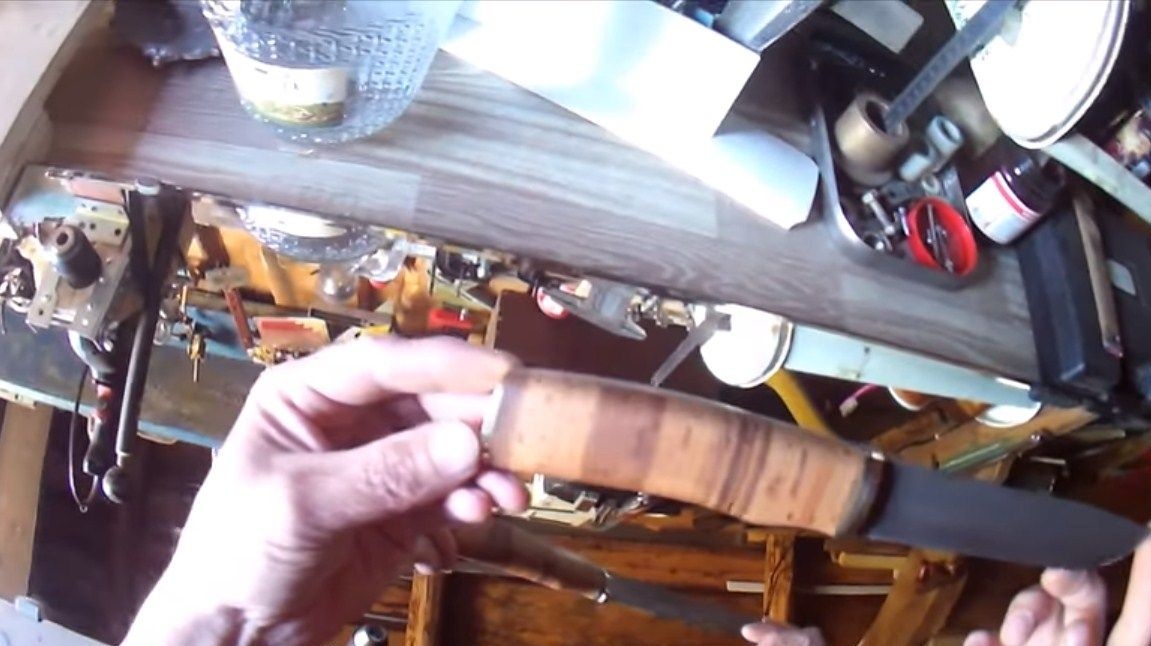
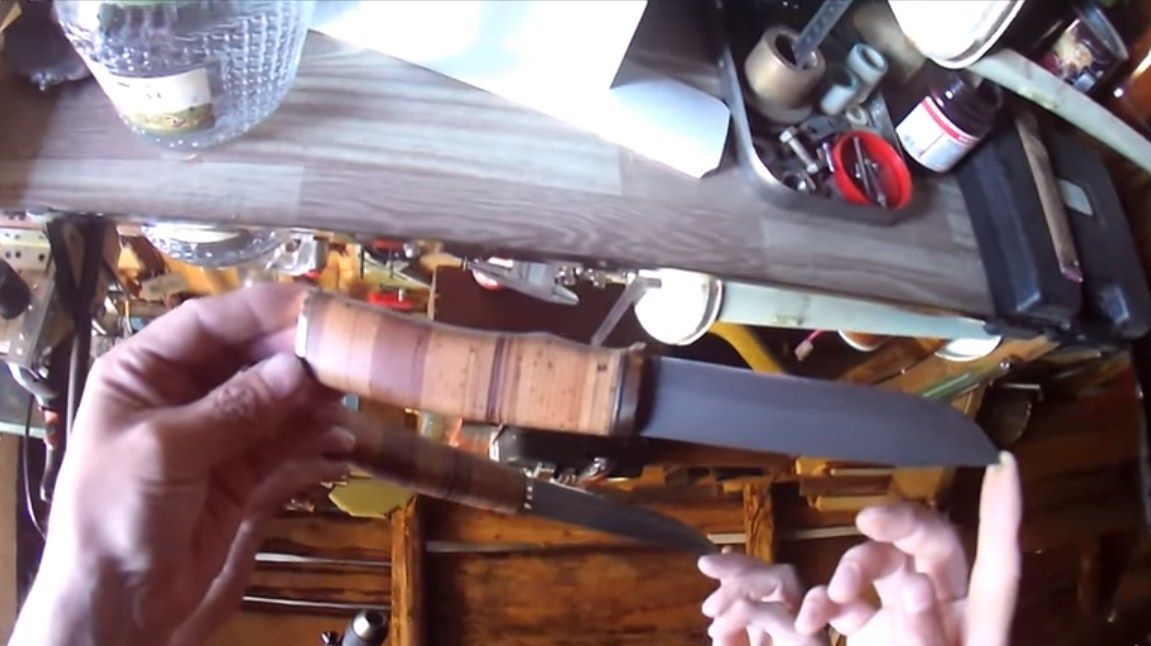
The author’s pen is also interesting and of high quality. It is made of birch birch bark. This material is appreciated by many craftsmen. The advantage of such a handle is that it is warm, your hands will not freeze in winter, holding such a knife in your hand. Even birch bark is not afraid of moisture, the author assures that it does not have to be impregnated with anything at all. Even if the pen absorbs water, it will not crack and nothing will happen to it in general. Well, of course, such a pen is light and looks beautiful. The author made his knife without forging, the main tool can be considered a grinder and a grinder. So, we will consider in more detail how to make such a knife!
Materials and tools that were used by the author:
Material List:
- steel P6M5;
- birch bark;
- a piece of brass tube (or plate);
- threaded rod;
- wood oil or varnish (optional).
Tool List:
- polishing machine;
- grinder;
- drill;
- grinder;
- drill;
- orbital grinding machine;
- sandpaper;
- clamps;
- a device for sharpening knives;
- acid for pickling.
The process of making a knife:
Step one. Cut the main profile
We start making a knife with a template. It is advisable to first draw a blade on paper, and then cut it out. If everything is fine with your imagination, then you can draw a blade directly on the workpiece. Interesting knife designs can be downloaded from Pinterest and then it remains only to print the knife on the printer.
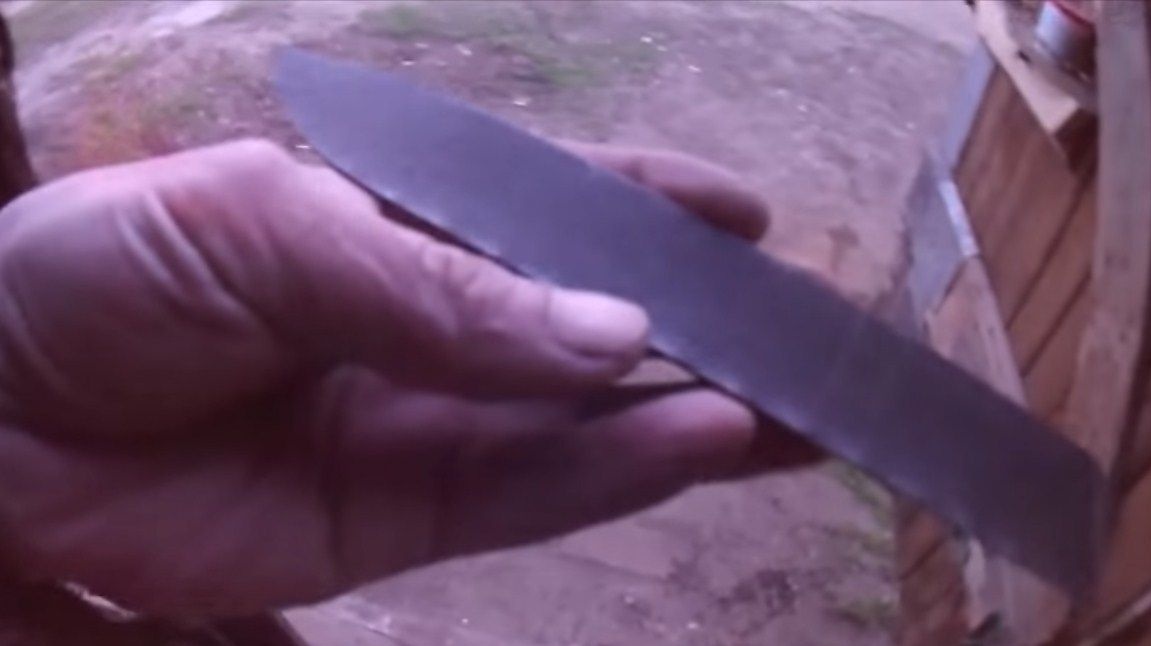
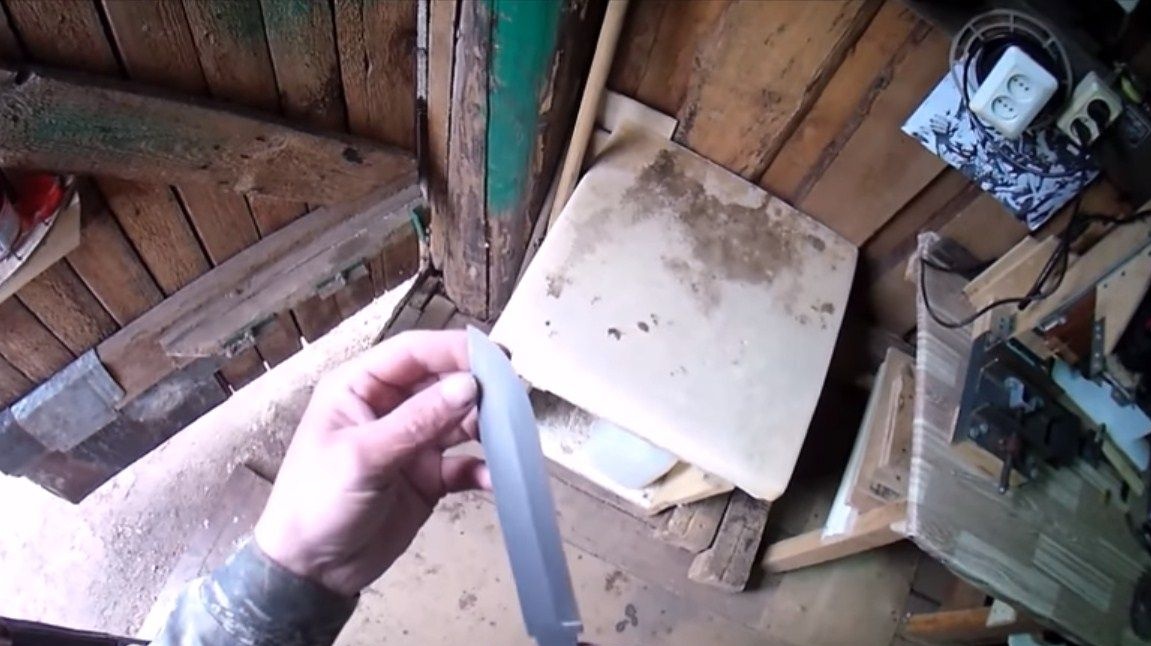
Well, now you can start cutting. This metal is cut without problems with a grinder. But here it is important to remember that steel can not be overheated, otherwise it may lose its properties. We cut it slowly, periodically cooling the metal with water. When everything is ready, we process the blade along the contour on the grinder. Problem areas can be treated with a grinder using a grinding wheel.
Step Two We form bevels
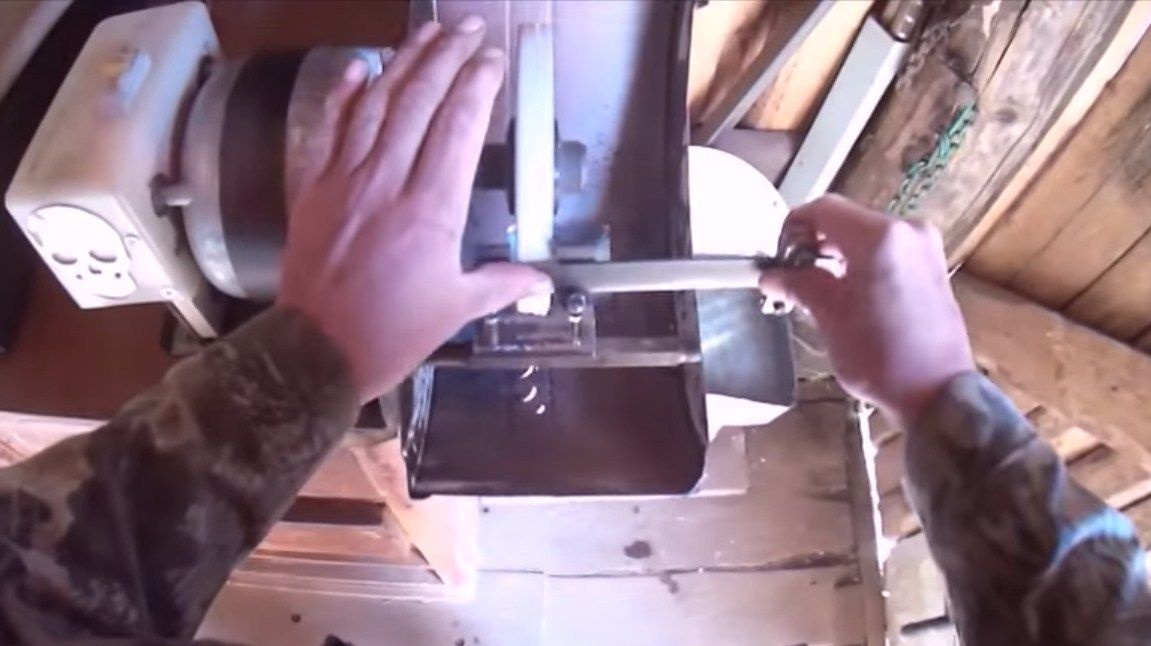
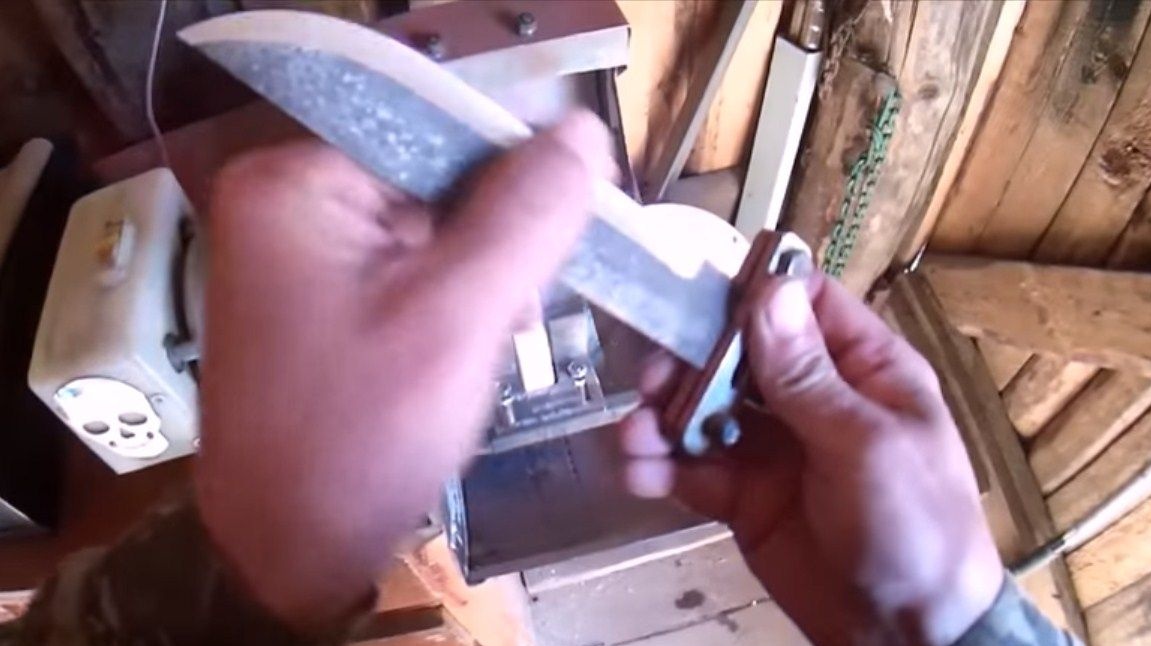
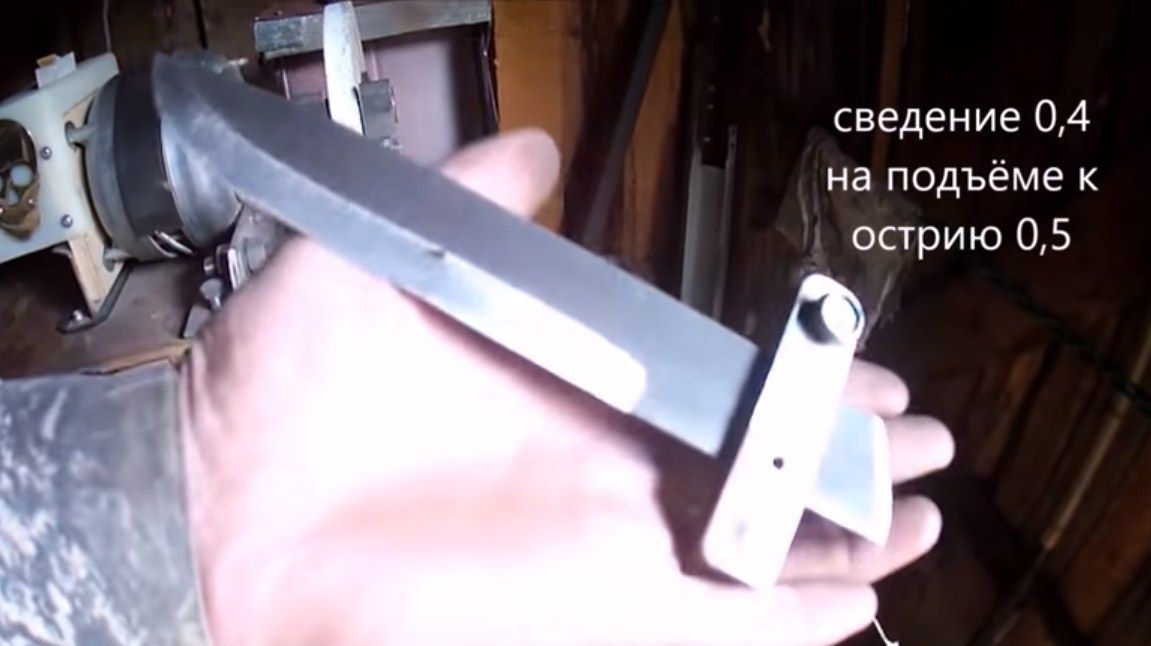
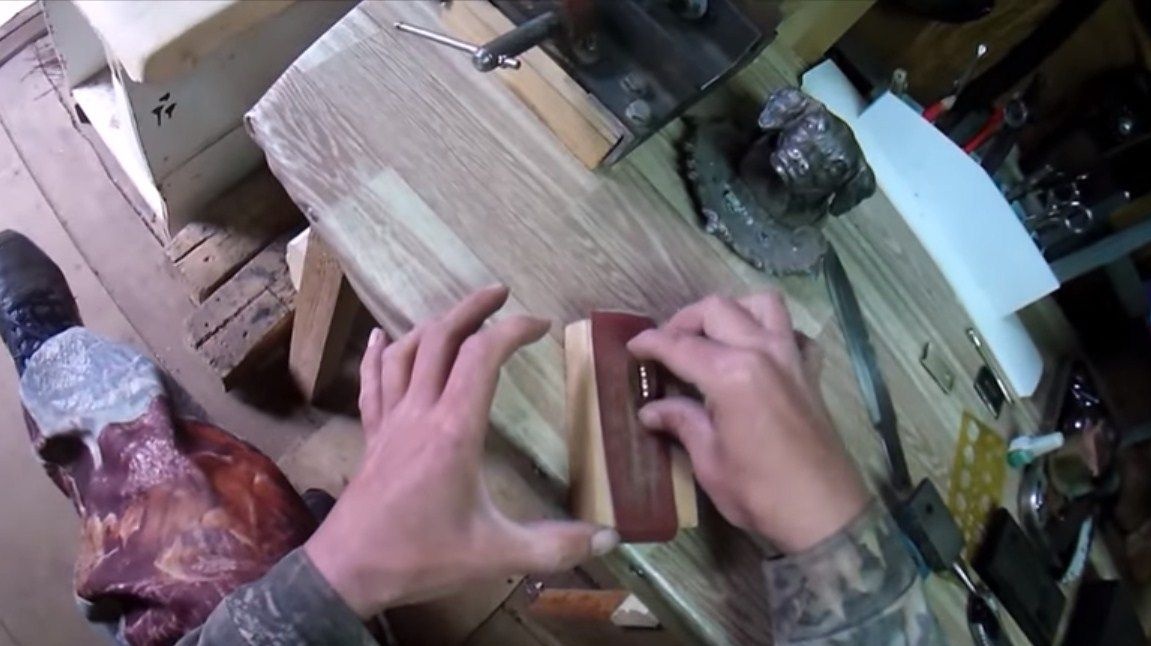
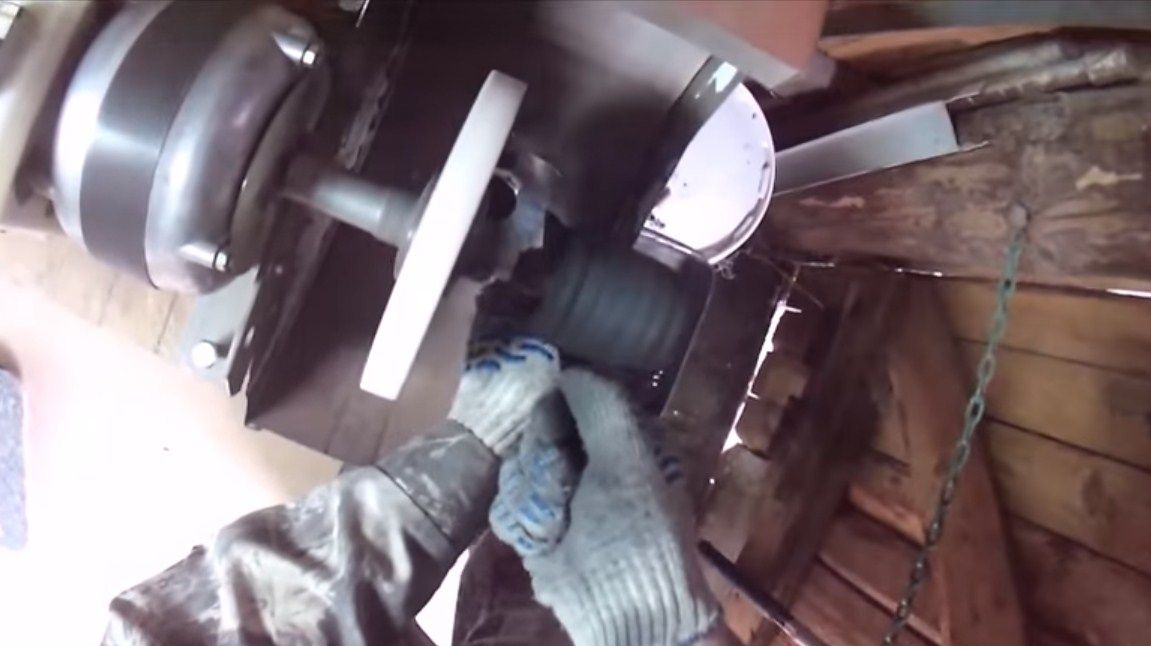
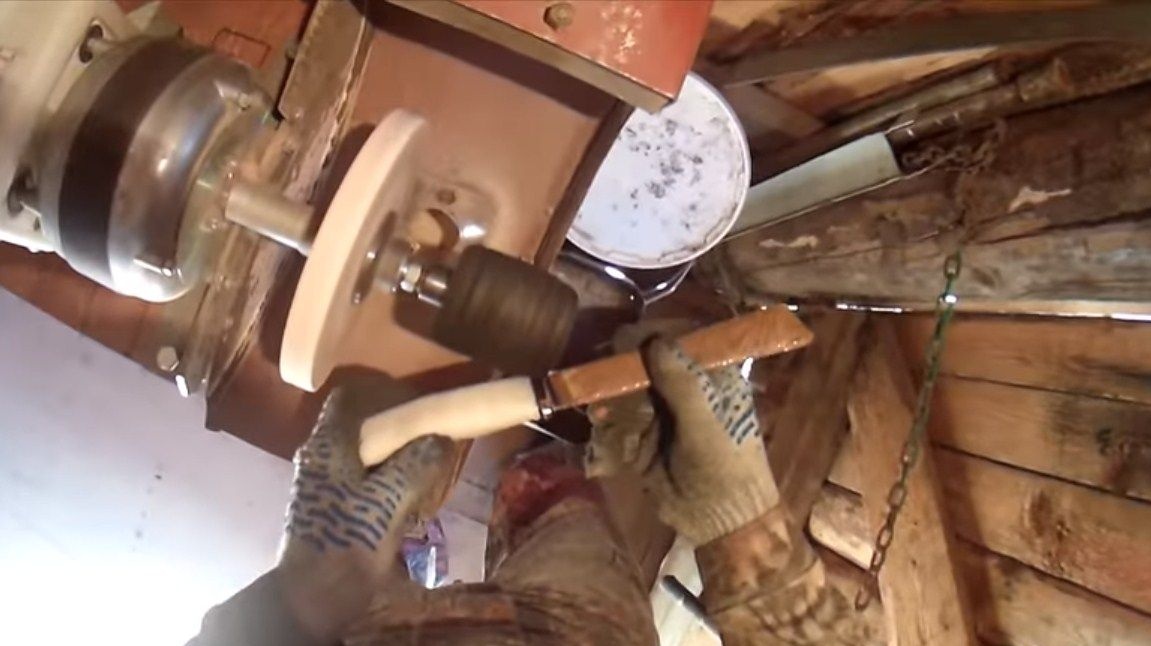
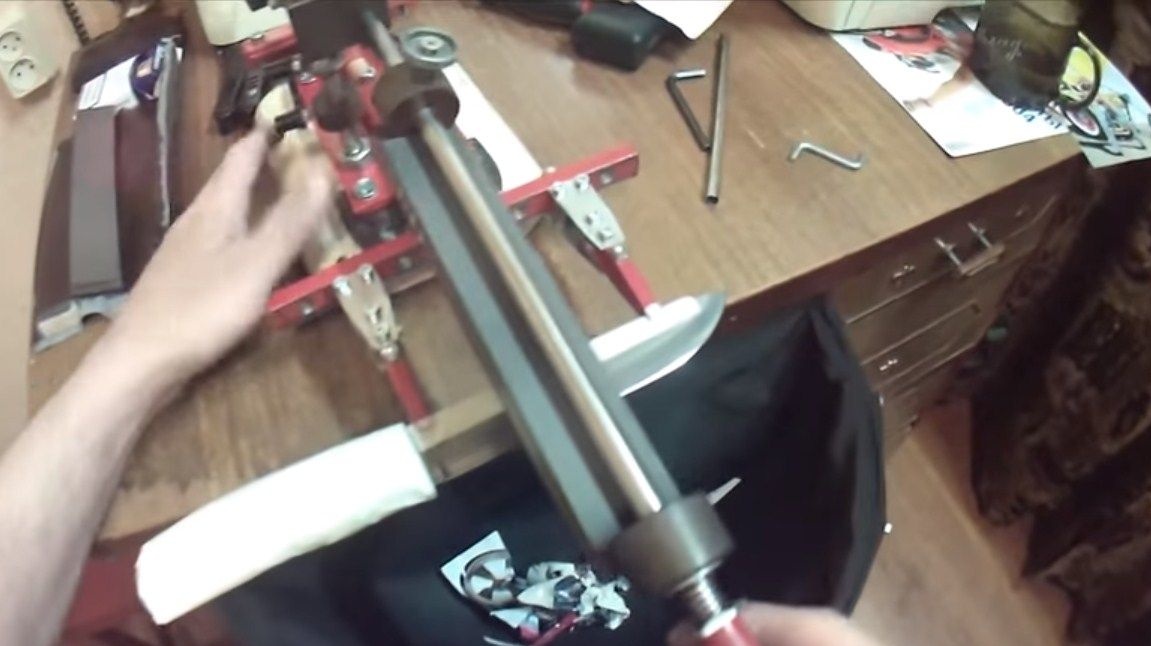
Now you can form the bevels on the blade. Many craftsmen use a belt sander for these purposes. But the author didn’t find one, the way out of the situation was a grinder with a special bracket for the knife. The bevels turned out to be of high quality, it will be impossible to distinguish them from those that are done on a tape machine. The width of the bevels is determined depending on the thickness of the blade. It is advisable to make the bevels wide if the metal is thick, so the knife will cut well. In the process, do not forget to cool the blade in water, it is important for us not to overheat the metal.
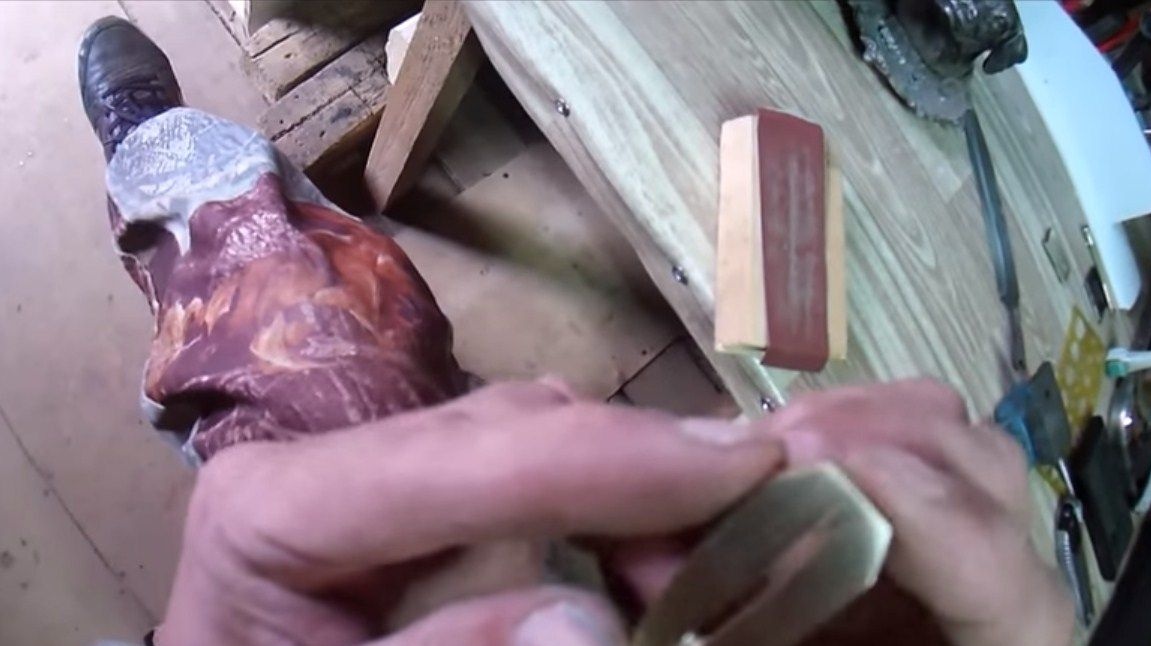
At the end, we grind the blade manually using sandpaper. So we will remove scratches after processing on the grinder and other defects. Wet sandpaper in water, so it works much more efficiently.
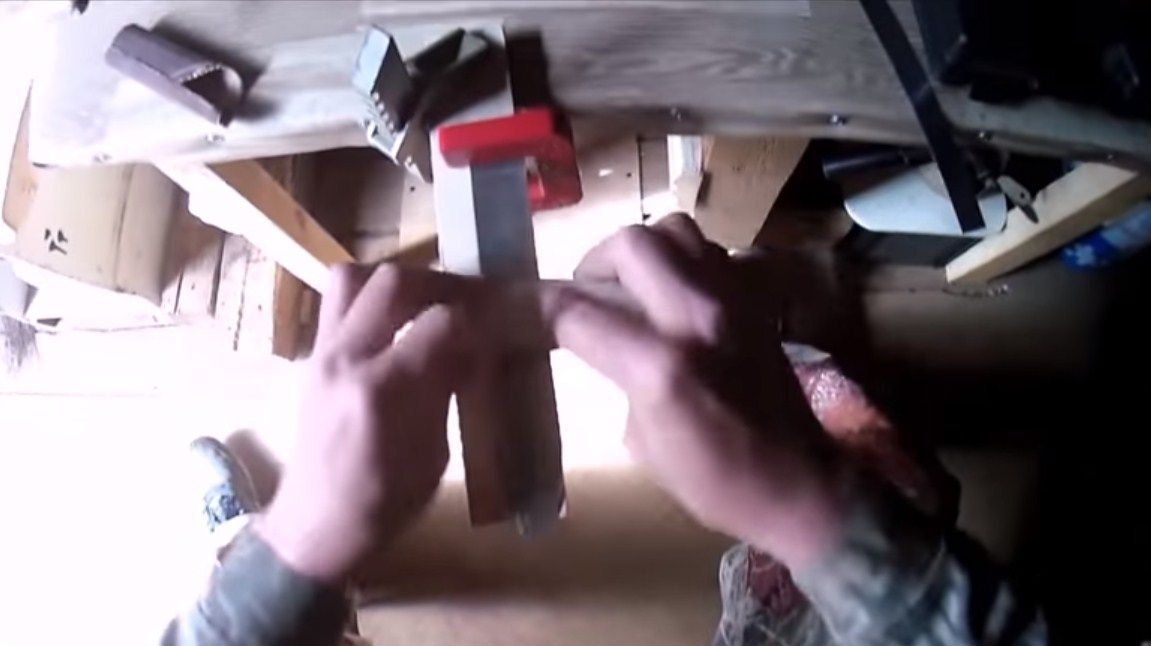
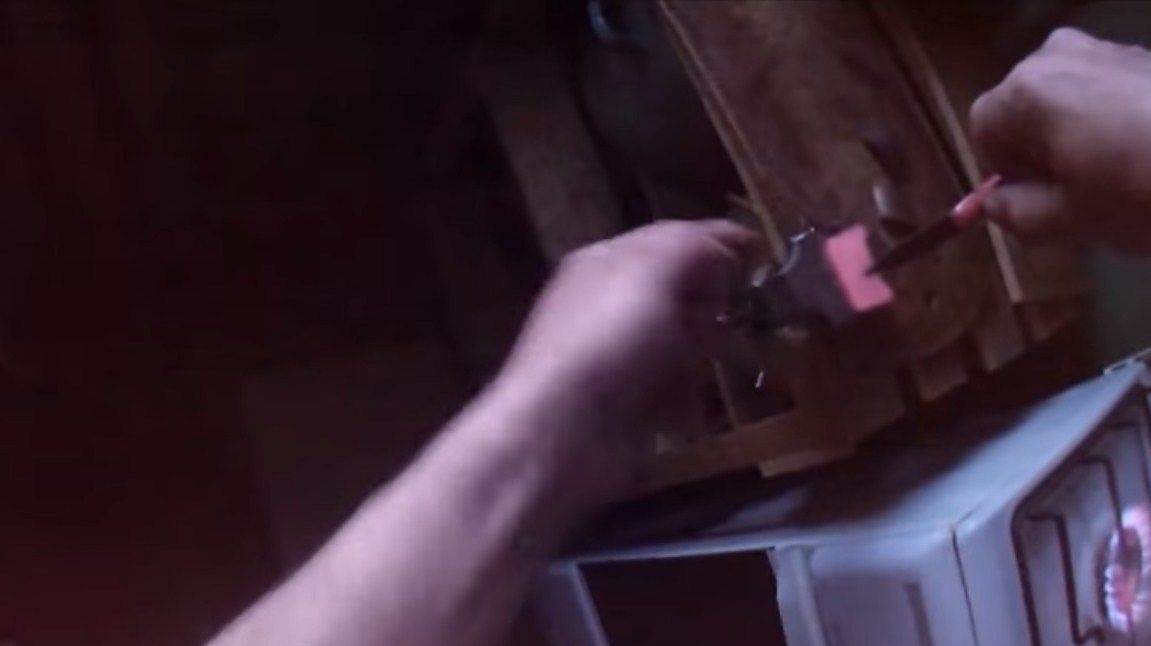
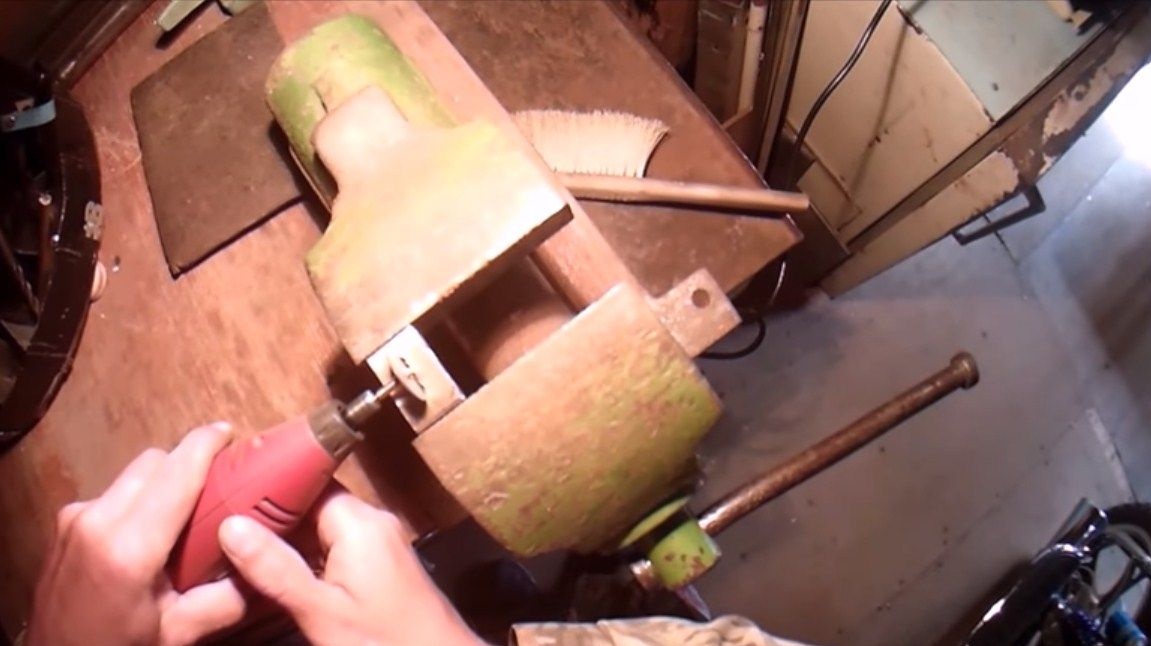
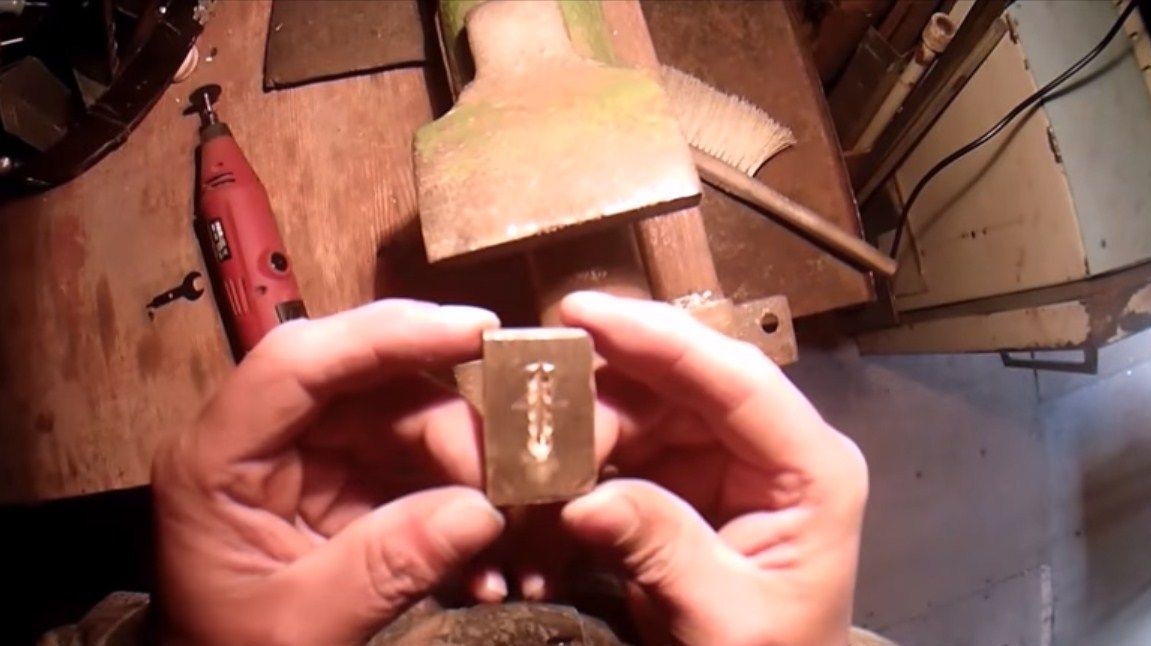
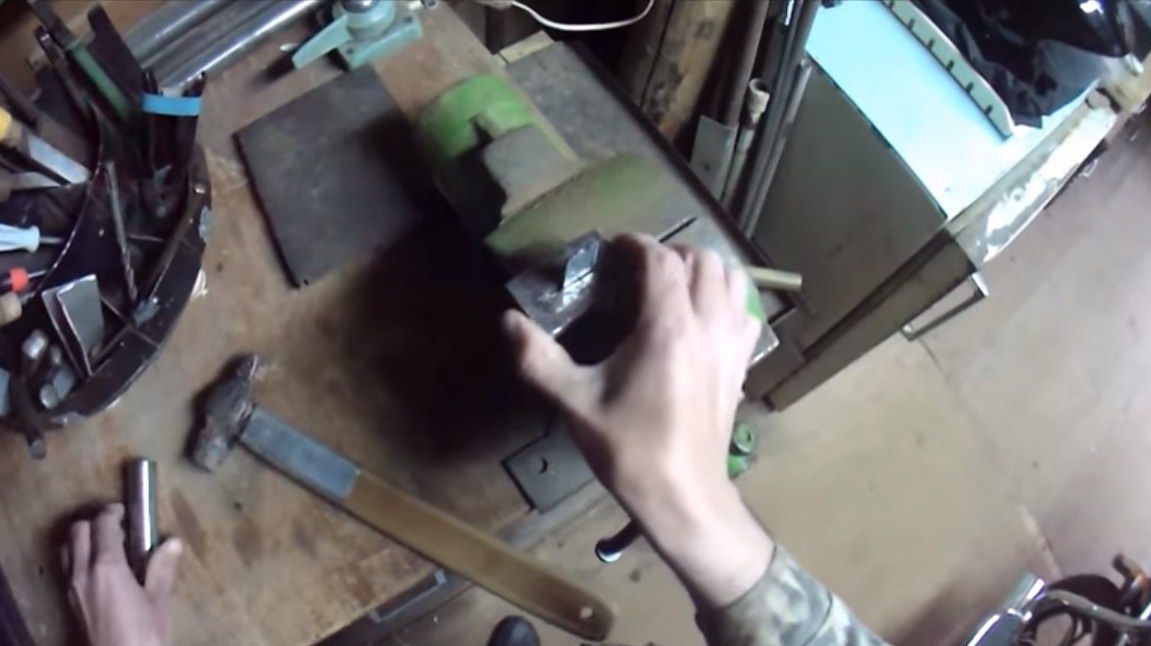
Step Three Garda
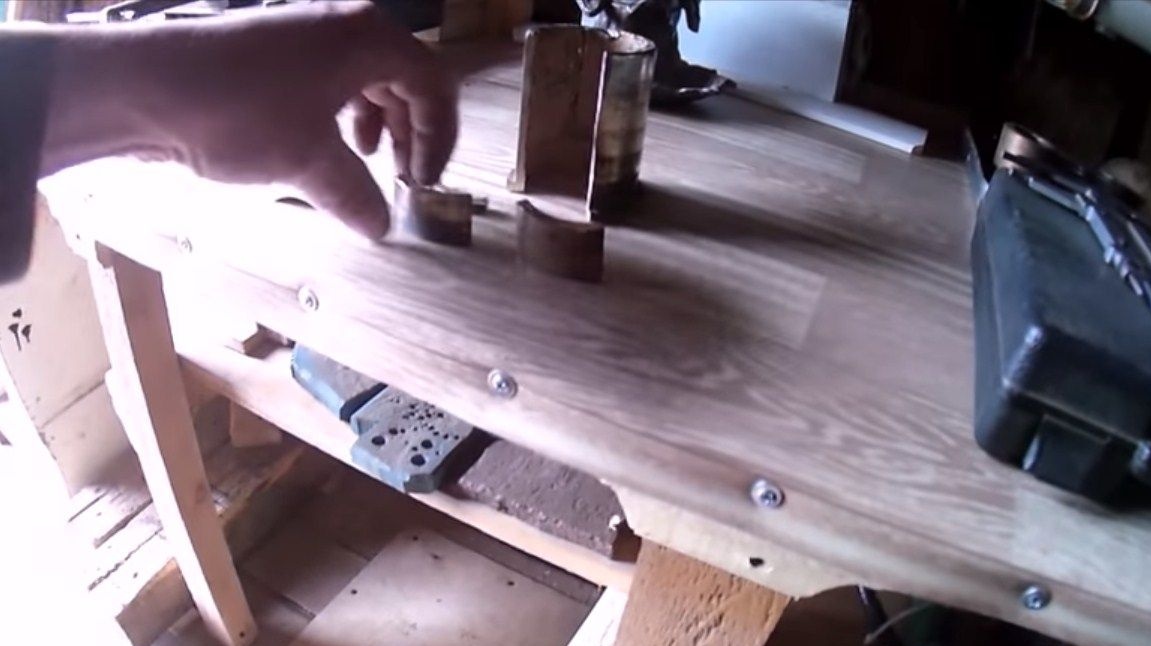
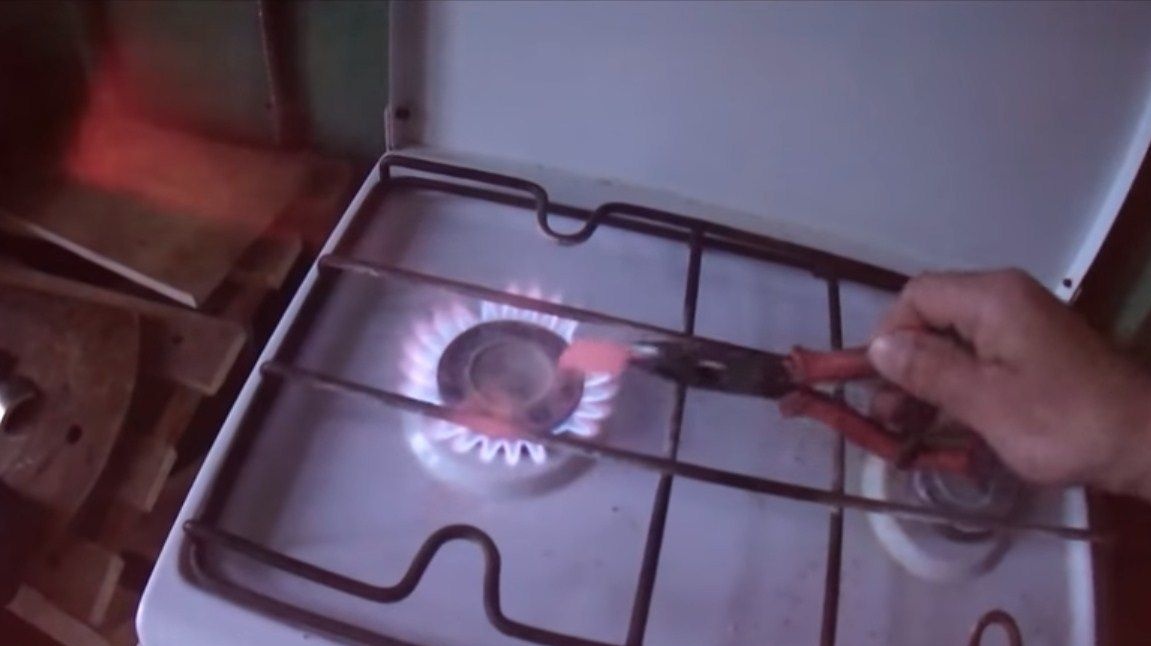
We do the guard as usual - from brass. The author did not find a suitable plate, he used a piece of pipe. To turn it into a plate, cut off the desired piece and heat it red hot on gas. Well, then the author clamps a piece of metal in a vise and it is leveled. We cut off the excess and cut out the slotted hole for the knife shank. The author solves this problem with a drill and a small disc. We form the final profile and grind the plate on sandpaper.
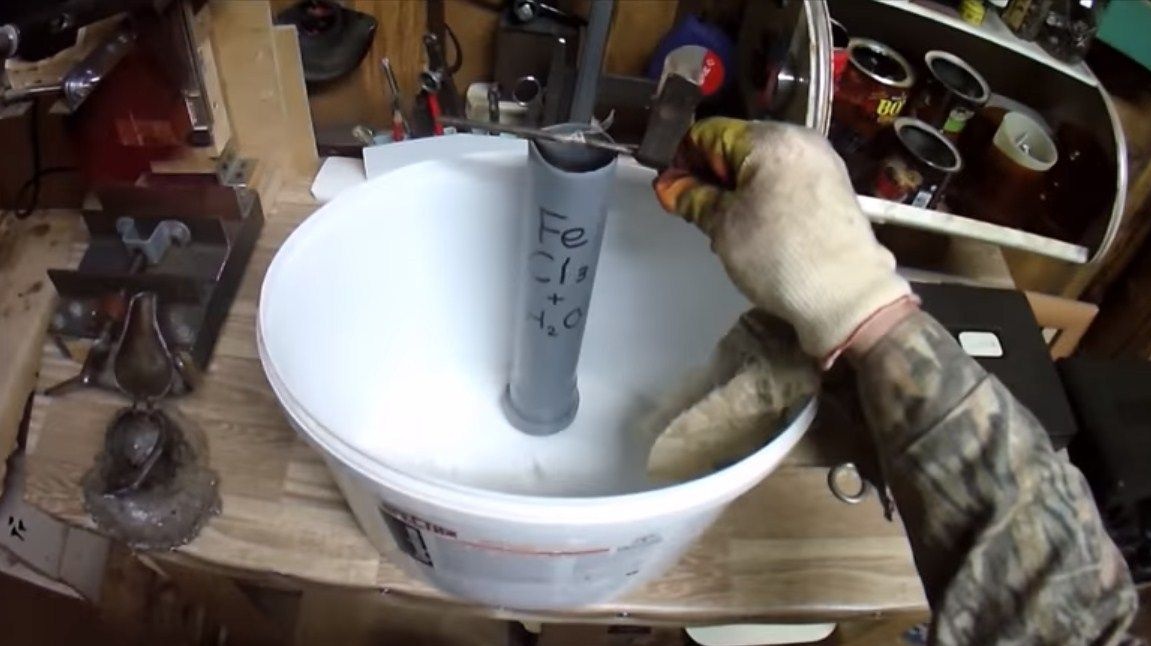
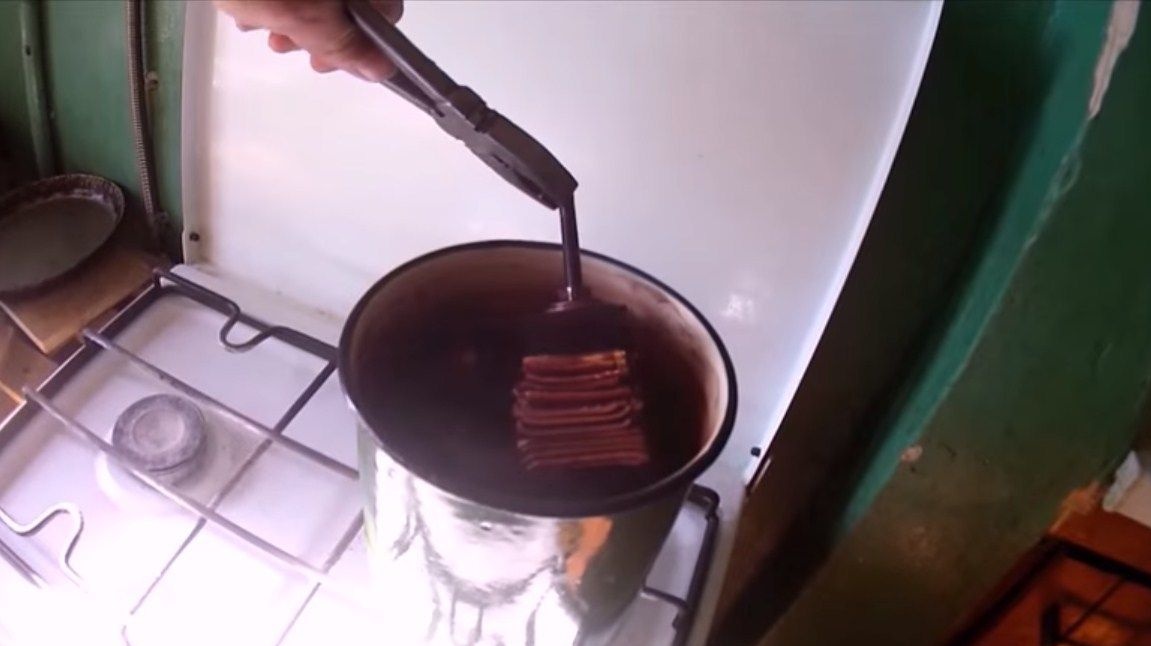
Step Four Blade Etching
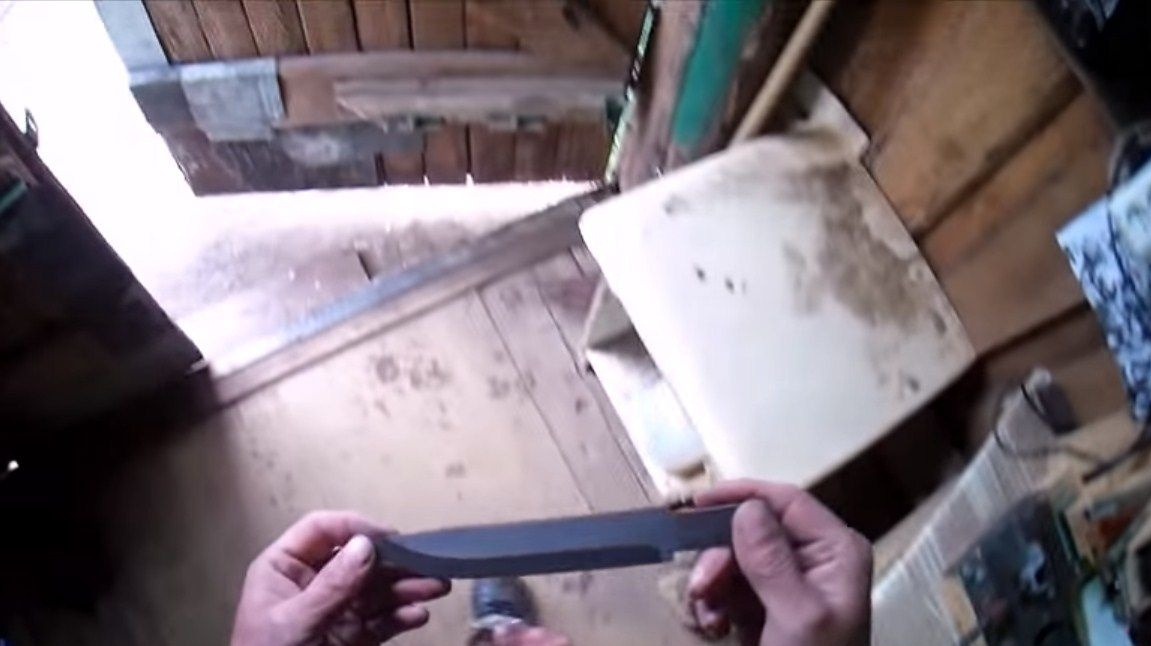
The selected steel will rust, especially if it is not properly monitored. To solve this problem, the author covered the blade with a patina. This coating will not allow steel to rust, and the blade will have an interesting dark look.
When everything is finished, we take the blade out of my acid under running water. Further, the author decided to perform light polishing on a polishing machine.
Step Five We go for birch bark
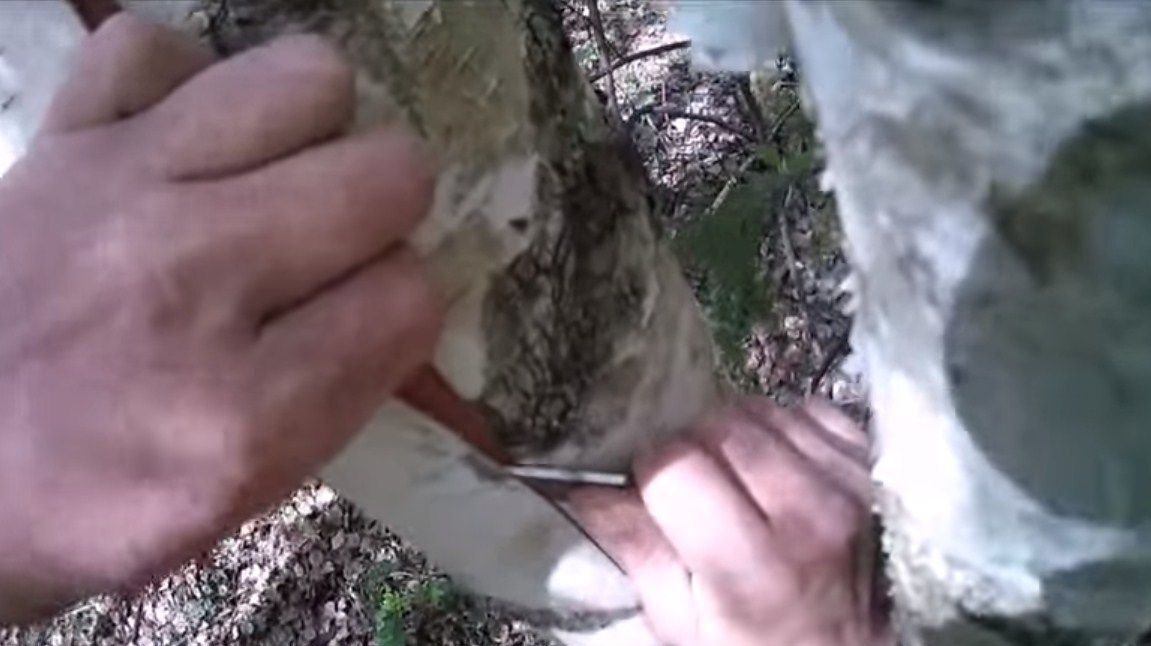
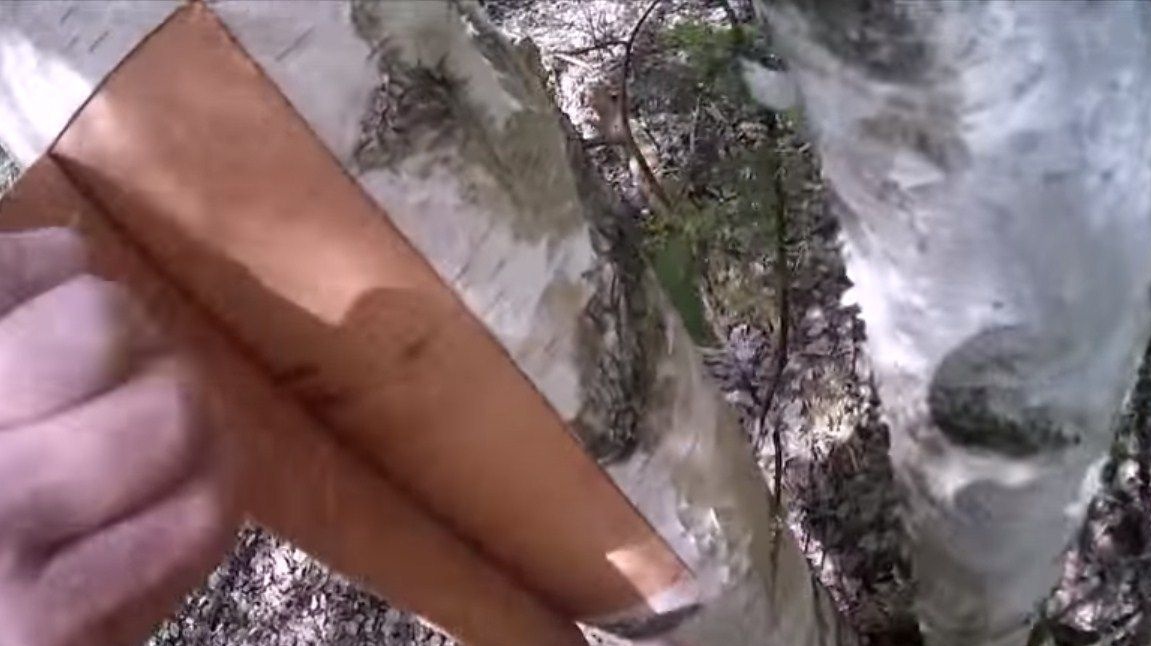
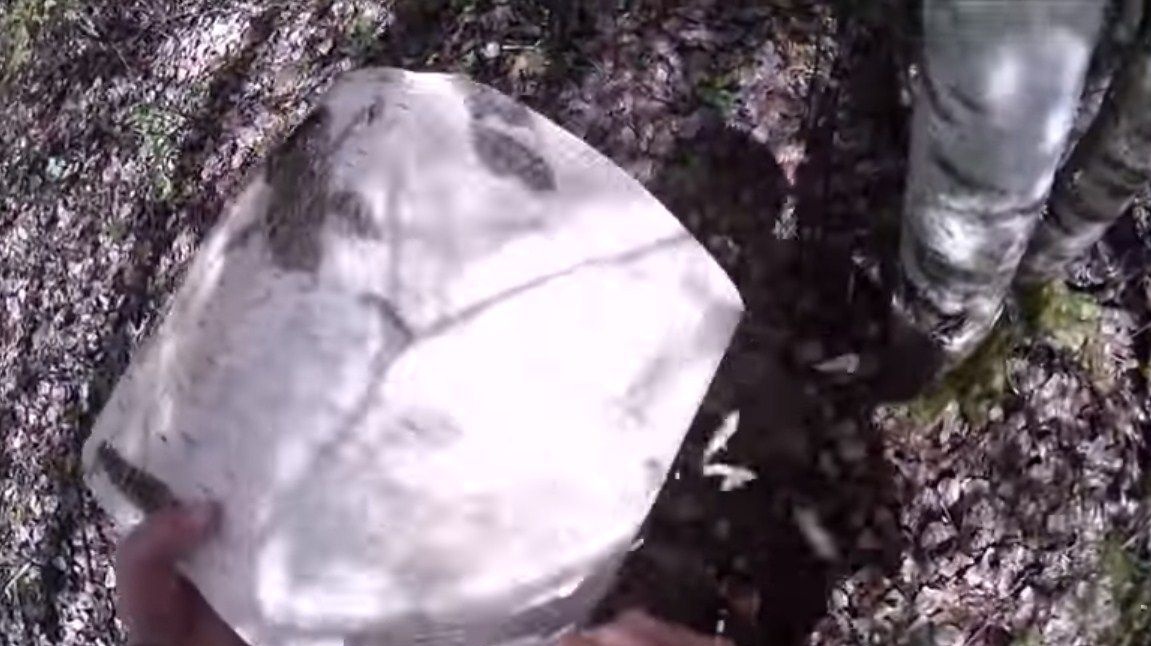
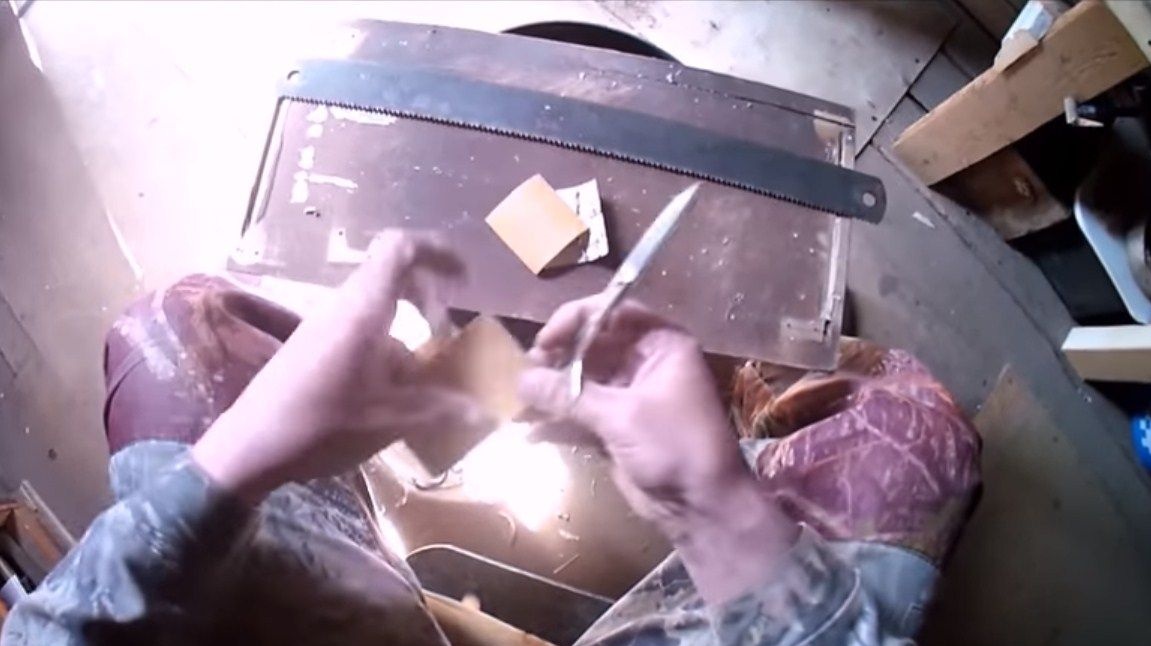
The author decided to make a pen out of birch bark, after which we set off for the forest. It is important for us to choose the right young birch for these purposes. If you remove the bark carefully and correctly, the birch will not suffer from this. If you are not confident in your abilities, you can take a garden var with you and then cover up the place of cut, the birch will continue to live and a new bark will grow in this place. Cut the desired part and clean. The author immediately cut himself pieces of the right size.


Step Six Collect the pen
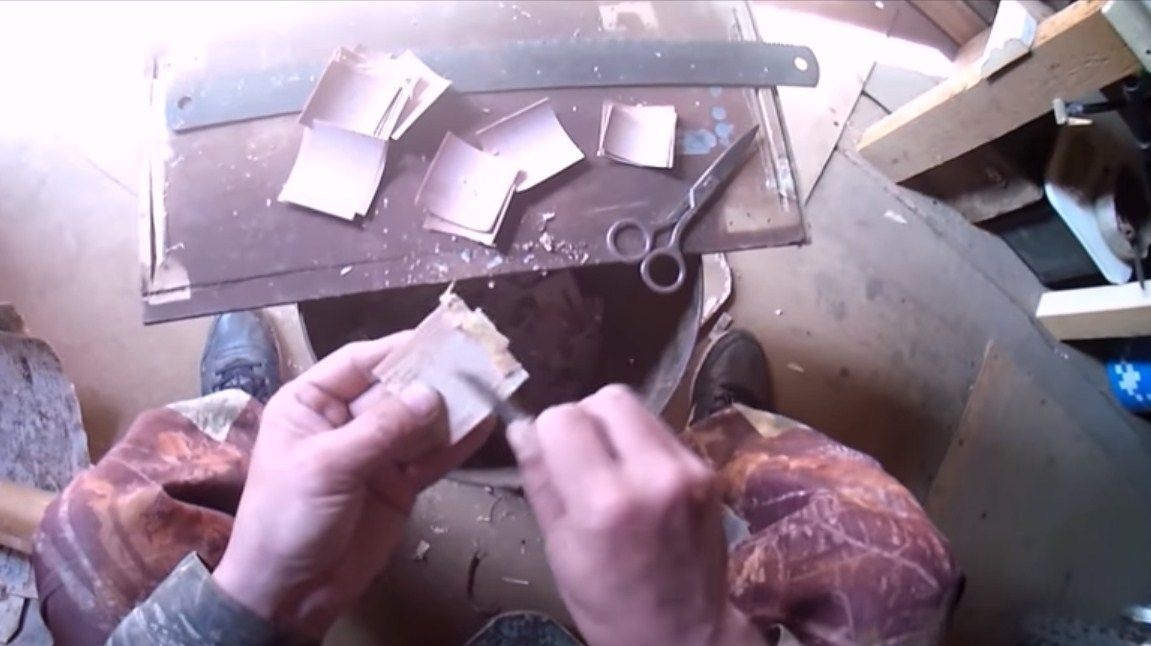
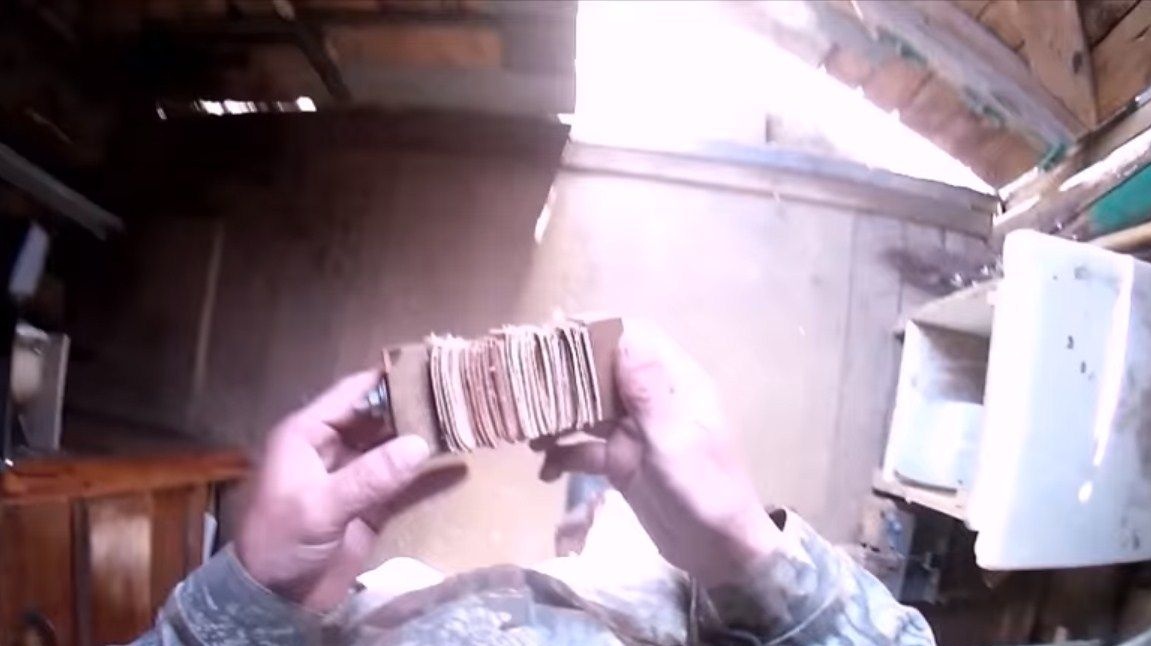
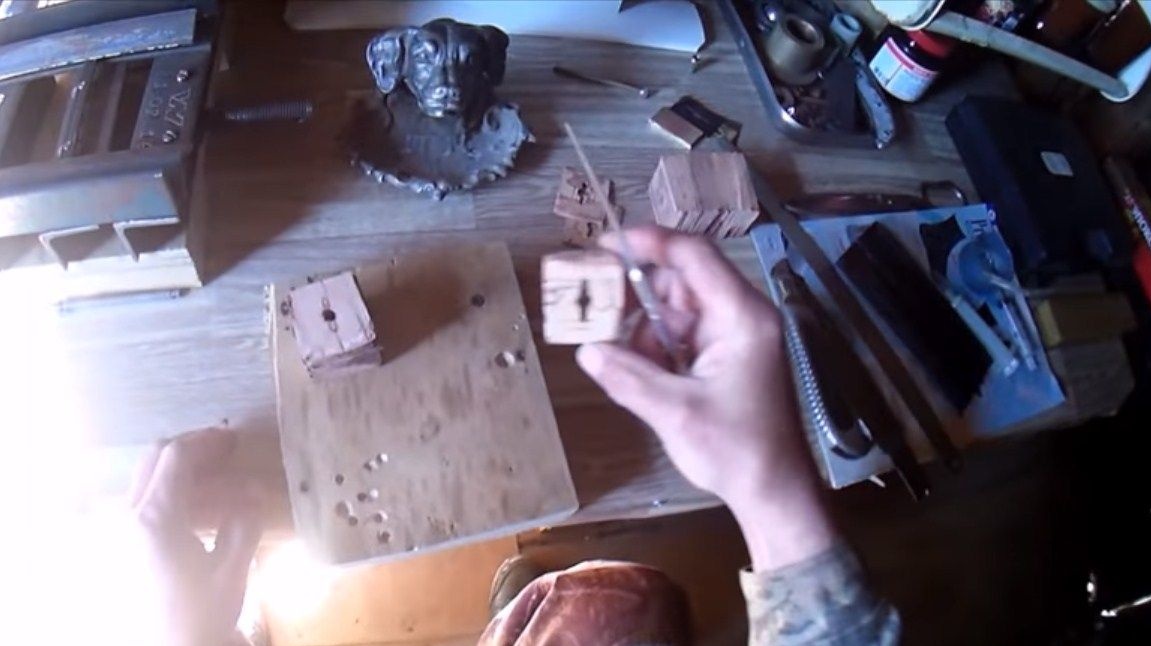
First, we cut a lot of square pieces, of which we will assemble a pen. We clean each piece well with a knife so that all the thickets adhere well to each other. Well, then we collect the block from the blanks on a bolt or threaded rod. Tighten the entire block well with a nut, using large washers on both sides.
Now we need boiling water, immerse the whole structure into it and cook. The author used just water without additives. In the process of cooking, all parts are glued together using resins that are in the birch. Then it remains only to get out and dry the workpiece.
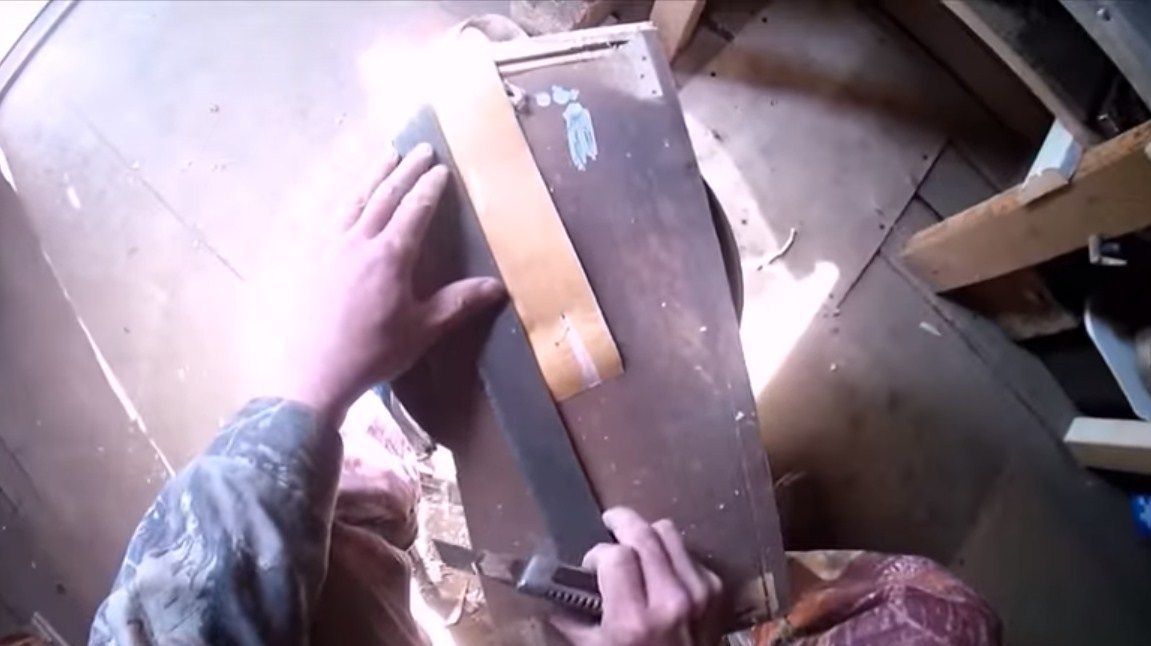
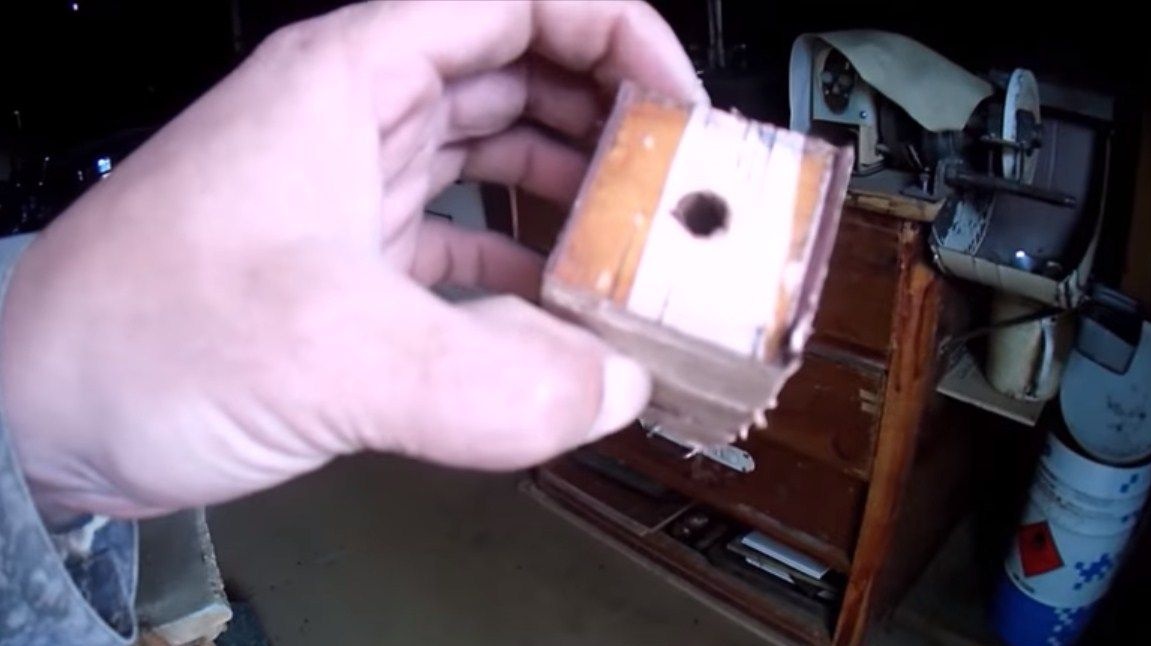
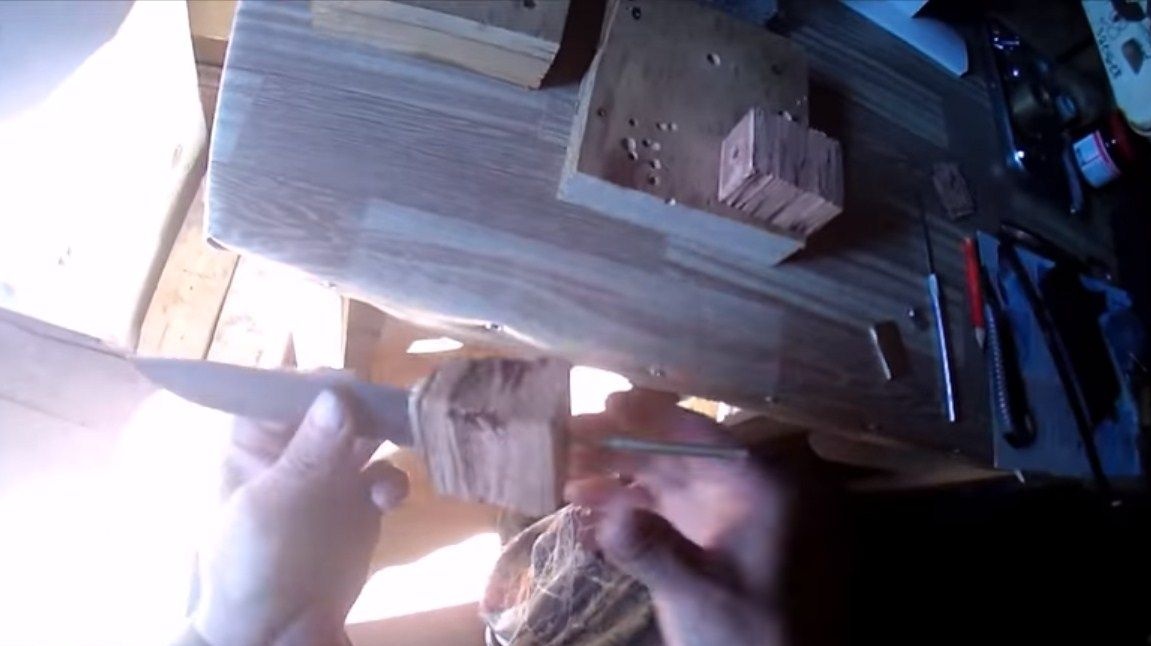
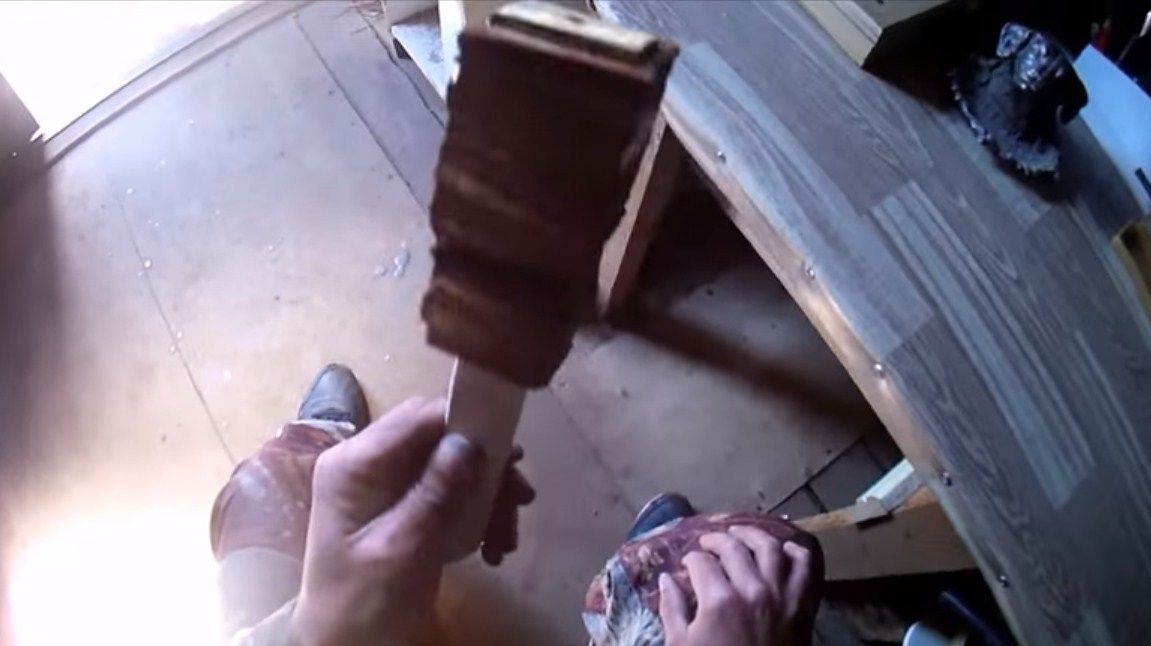
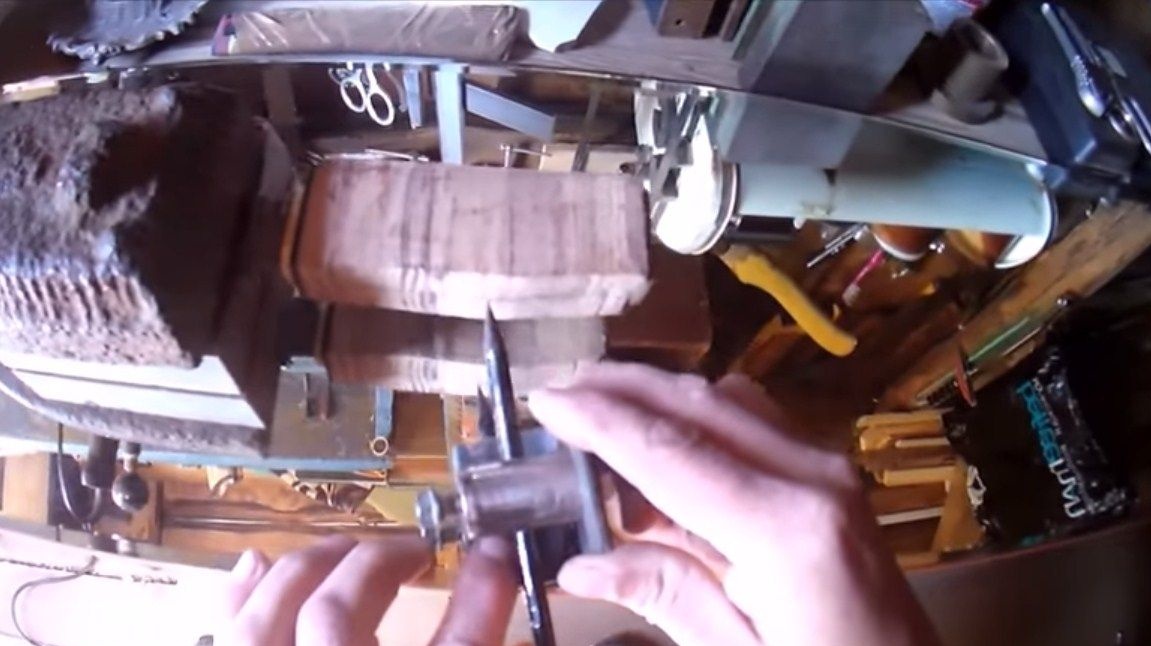

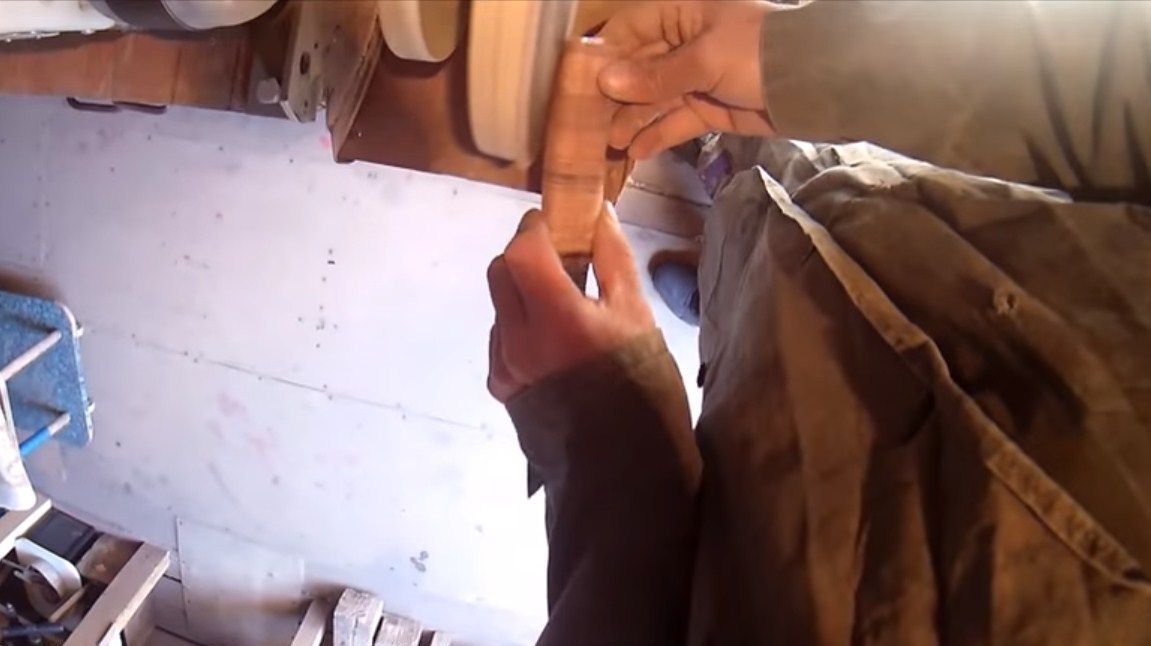
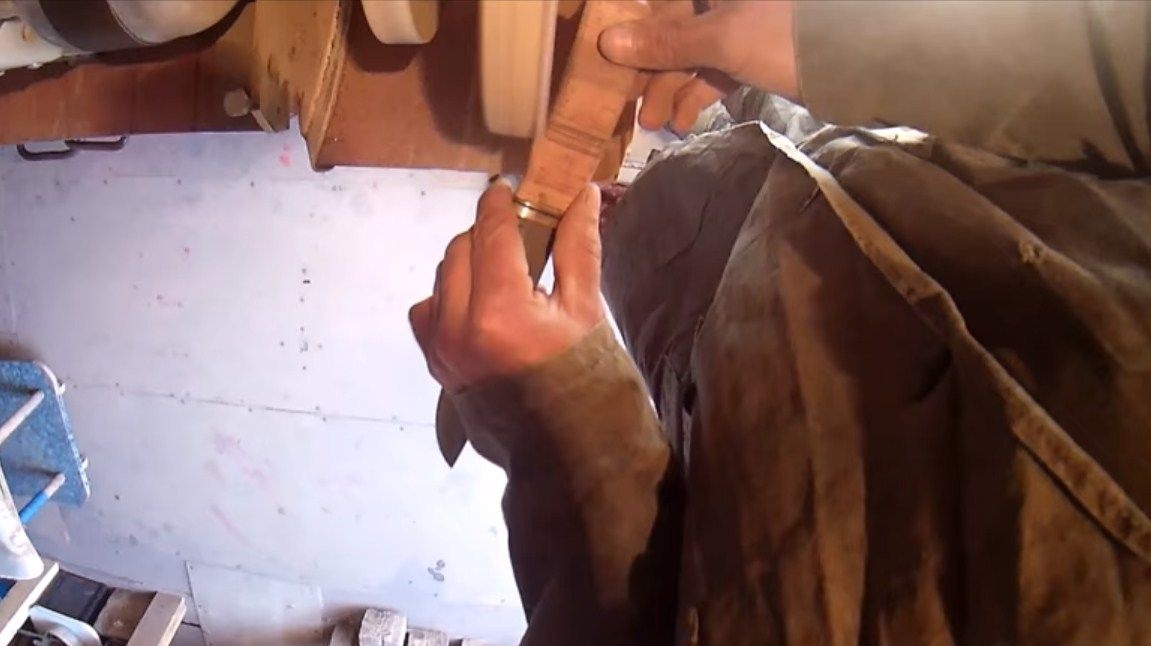


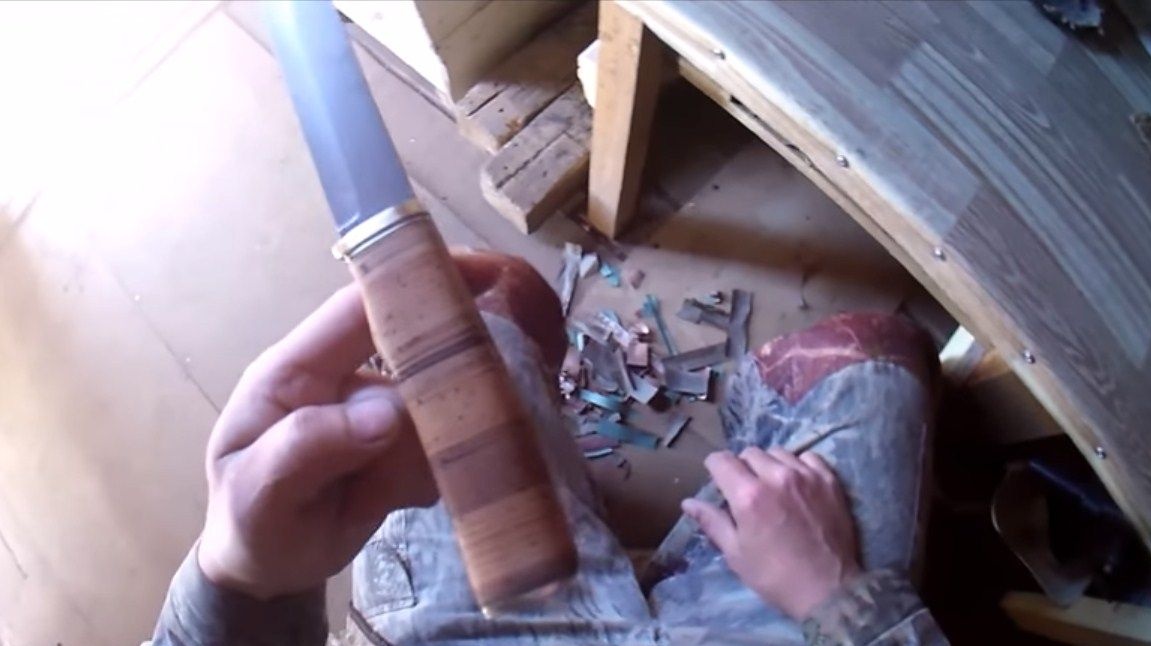
That's all, the pen can be assembled. In the front, the author cut a slit hole under the shank. A threaded rod will pass through the rest of the handle. The handle without glue is attached, just on the other hand, the nut is tightened. This will make it possible to quickly replace the handle if it deteriorates. Tighten the nut well and proceed to grinding. Then the author used an orbital sander. A hand-held belt grinder and other tools are also suitable. For lack of it is possible to work with files and sandpaper.
In the end, carefully handle the handle with sandpaper.
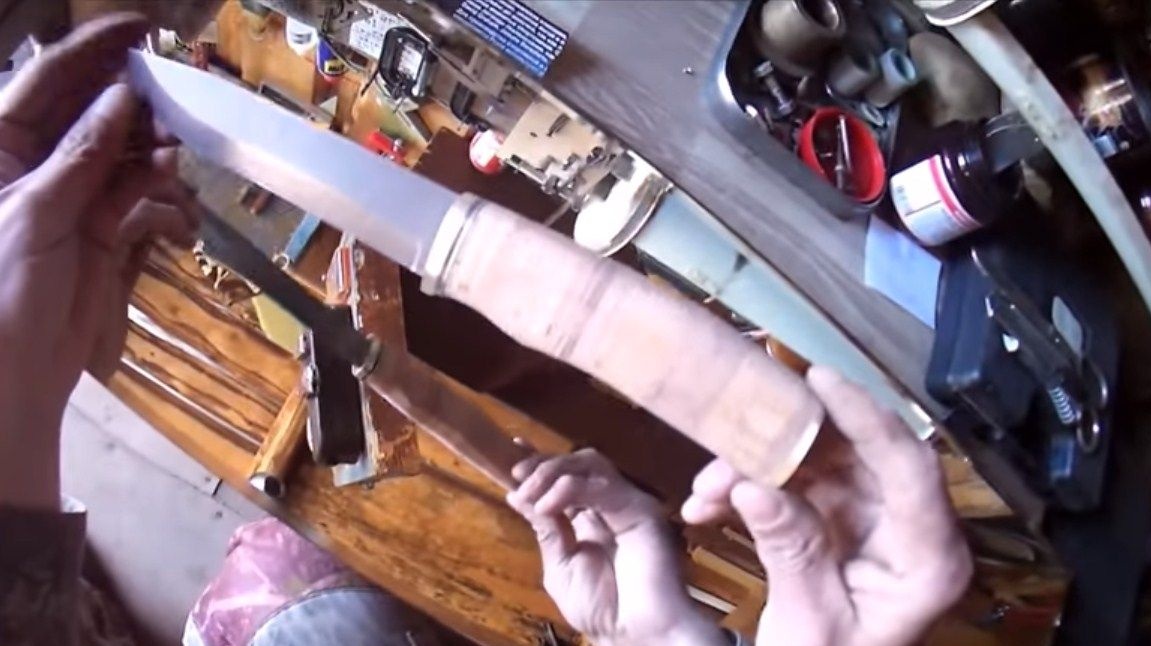
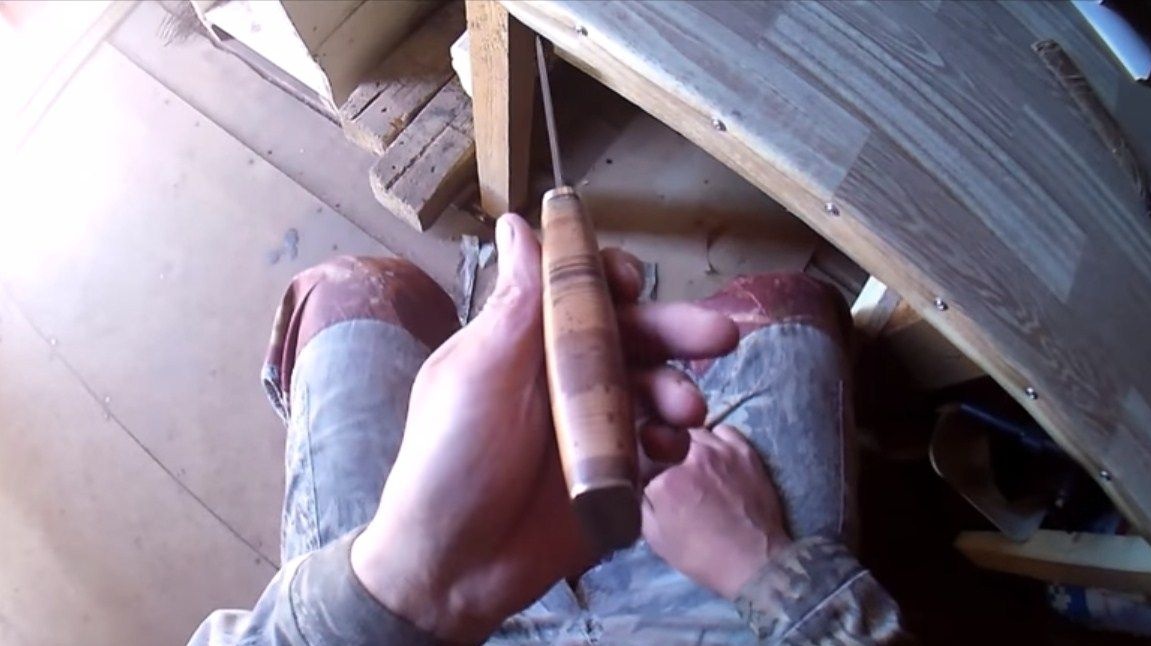
As for the impregnation, their author does not use it at all. In his opinion, this pen is not afraid of moisture anyway. But for beauty and for protection against moisture, the pen can be coated with oil or varnish, so it will become even stronger and more beautiful.
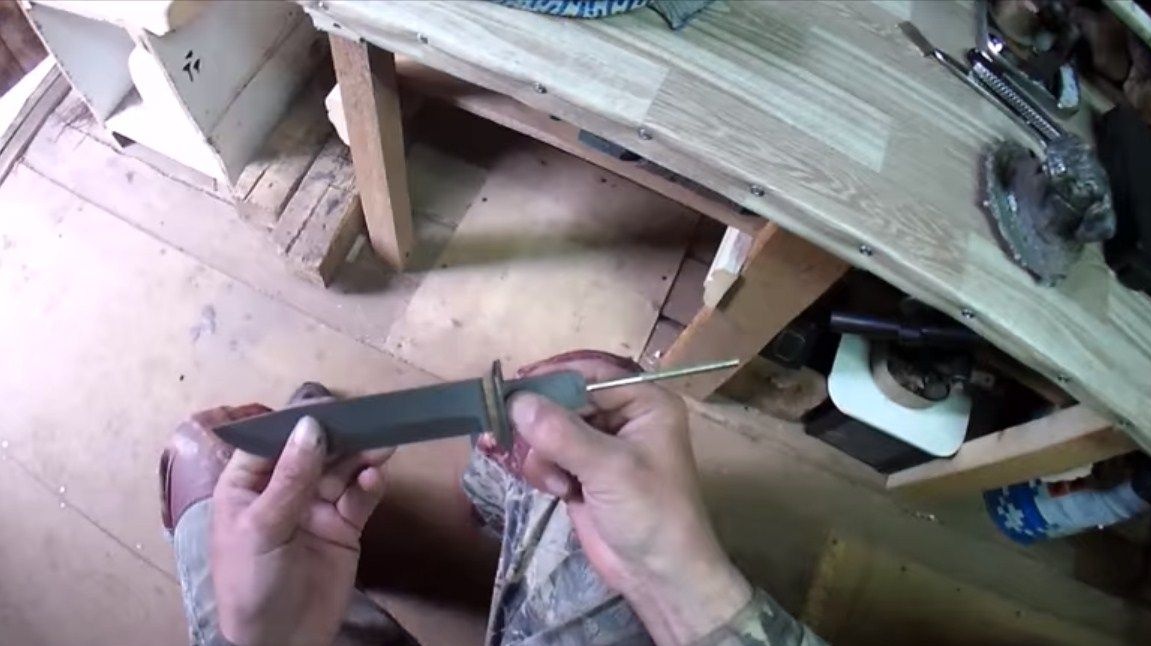
Seventh step. Sharpening and testing
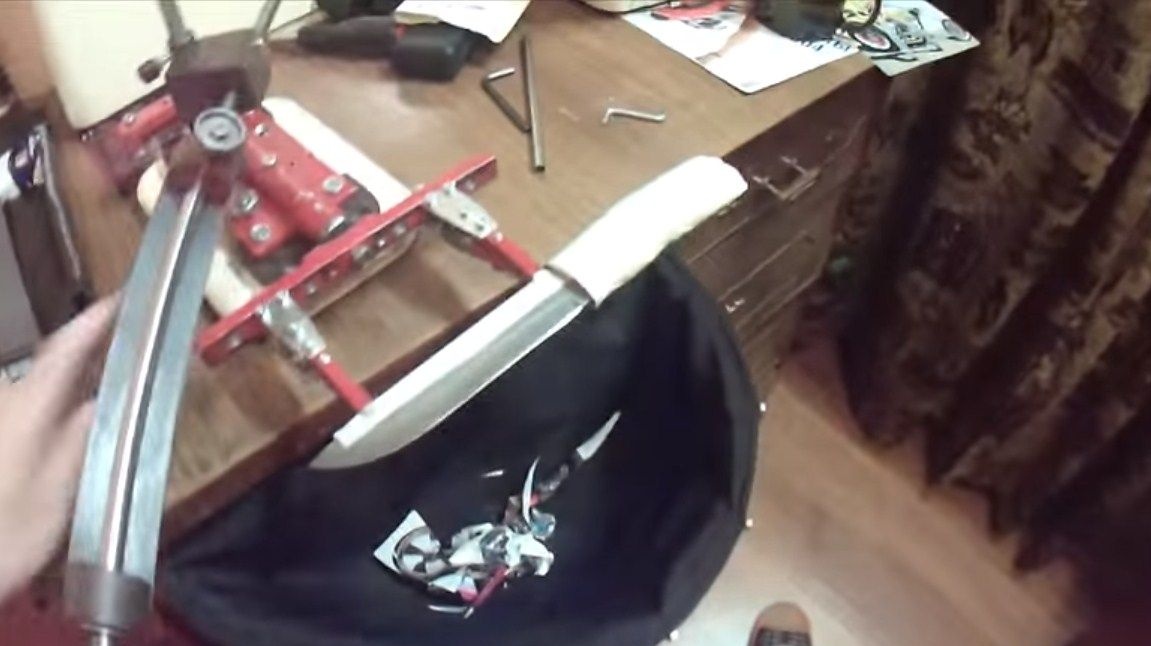
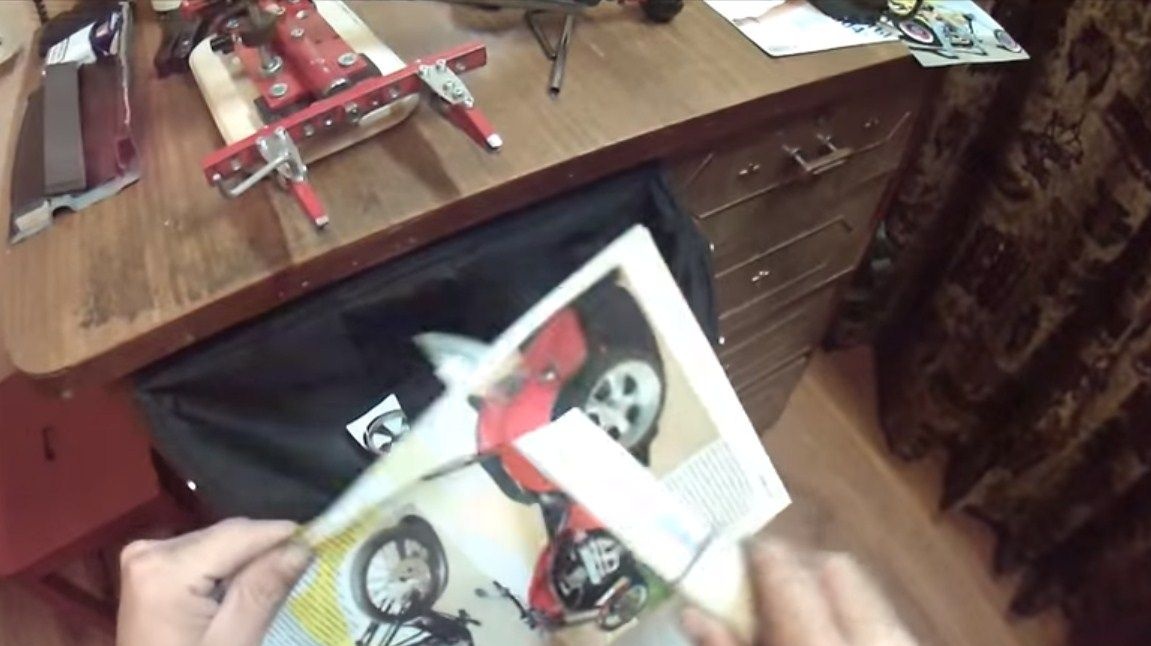
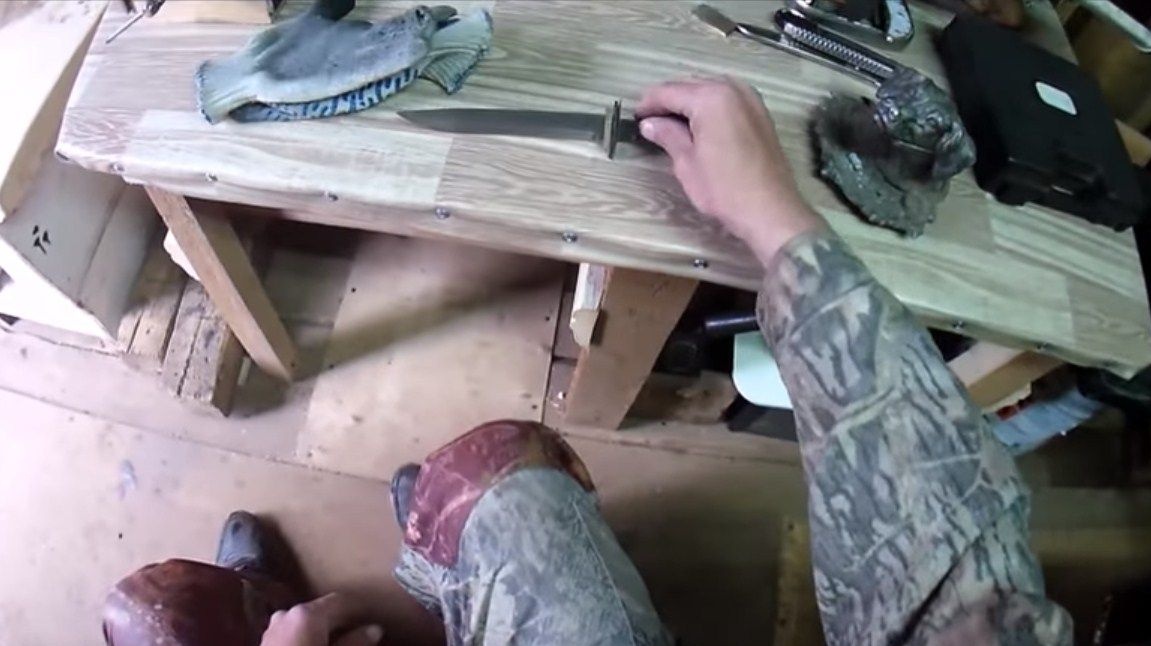
At the end, the author sharpens the knife using a special grinding device. This machine allows you to sharpen the knife at a clearly defined angle. After sharpening, the knife can be tested.The author turned out to be very sharp, the knife easily cuts the paper to the canopy.
That's all, the project is over. Good luck and creative inspiration, if you decide to repeat it. Do not forget to share your ideas and homemade with us.