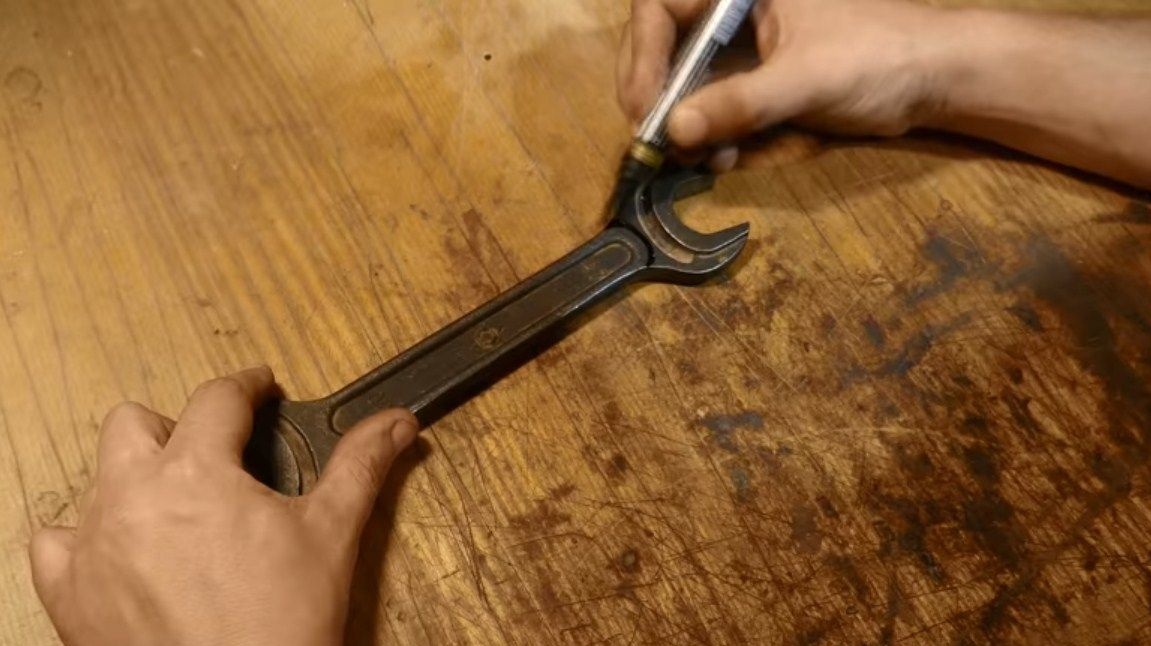
Greetings to fans to burn metal. This time we will look at how to make a simple and interesting knife out of a wrench. Good homemade the fact that almost everyone has a wrench, and you can also use your old broken wrench for these purposes. Wrenches can be made of various alloys, in most cases these are alloys with vanadium. Such alloys are not very suitable for making knives, since the metal is plastic and when sharpening, the blade will not keep sharpness for a long time. However, many even like it, because the knife can be sharpened quickly. And the frequency of sharpening depends on what you plan to cut.
It’s not difficult to make such a knife, here we won’t forge anything, the only thing we will do from difficult is hardening. However, this procedure is doubtful, since in most cases we will not know how to harden such steel. In general, everything turned out interesting and original. Let's consider in more detail how to make such a knife!
Materials and tools used by the author:
Material List:
- spanner 30 or the like;
- a piece of board (for overlays);
- brass rods (for pins);
- epoxy adhesive;
- oil for wood impregnation.
Tool List:
- grinder;
- belt sander;
- marker;
- vise;
- clamps;
- forge furnace;
- drill;
- drilling machine;
- sandpaper.
The process of making a knife:
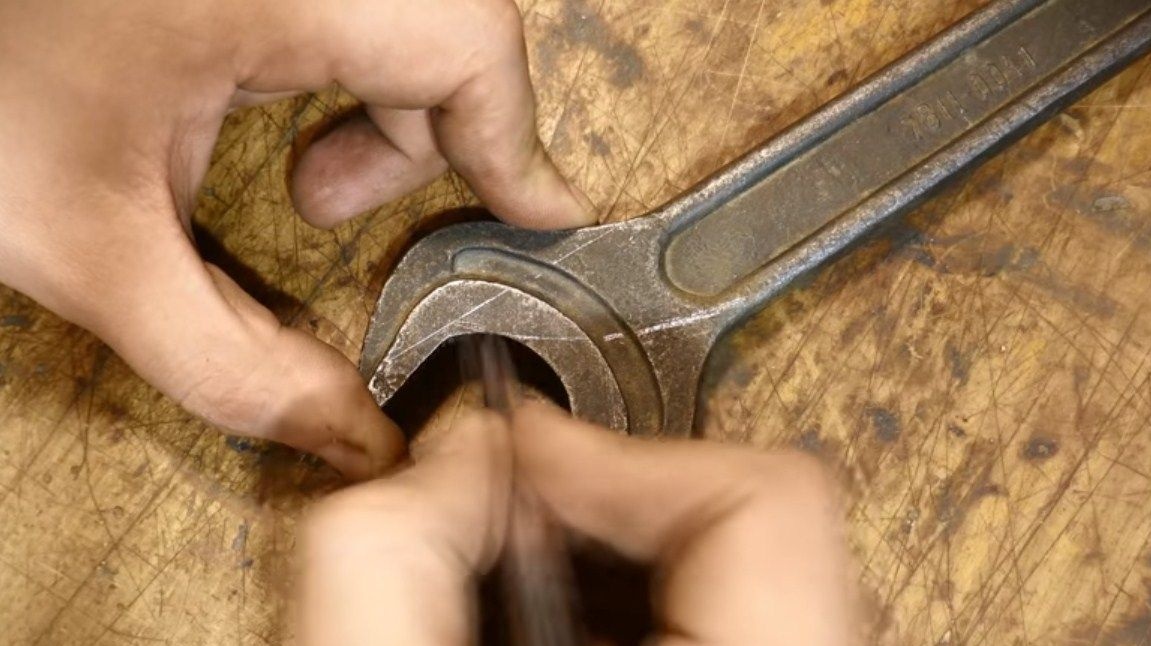
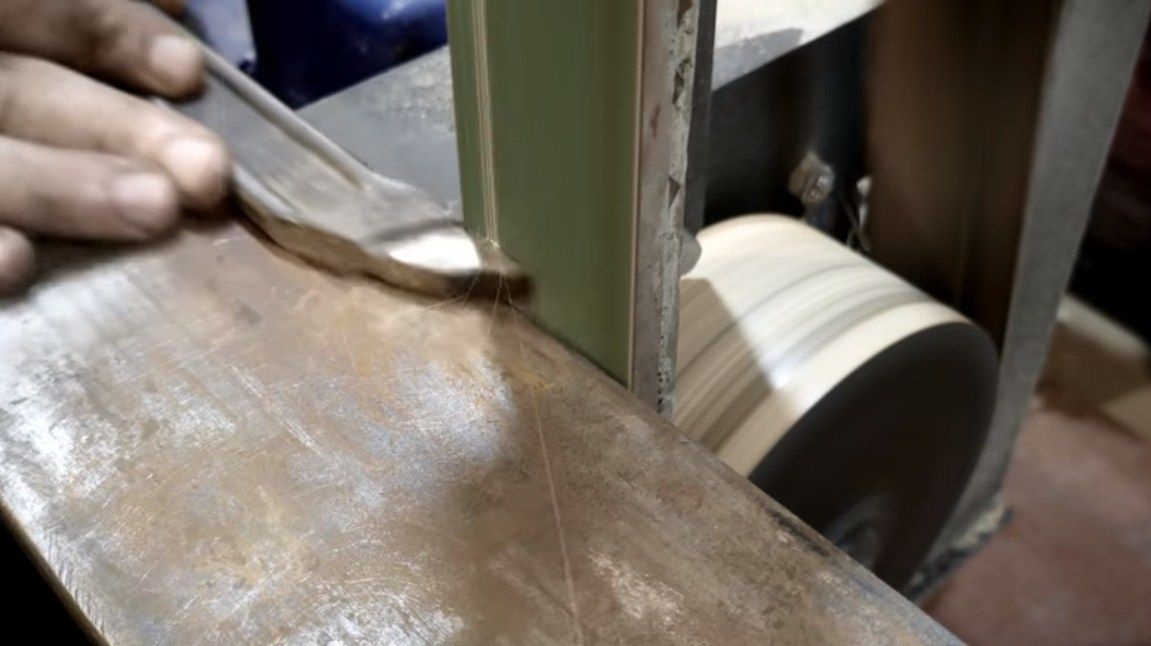
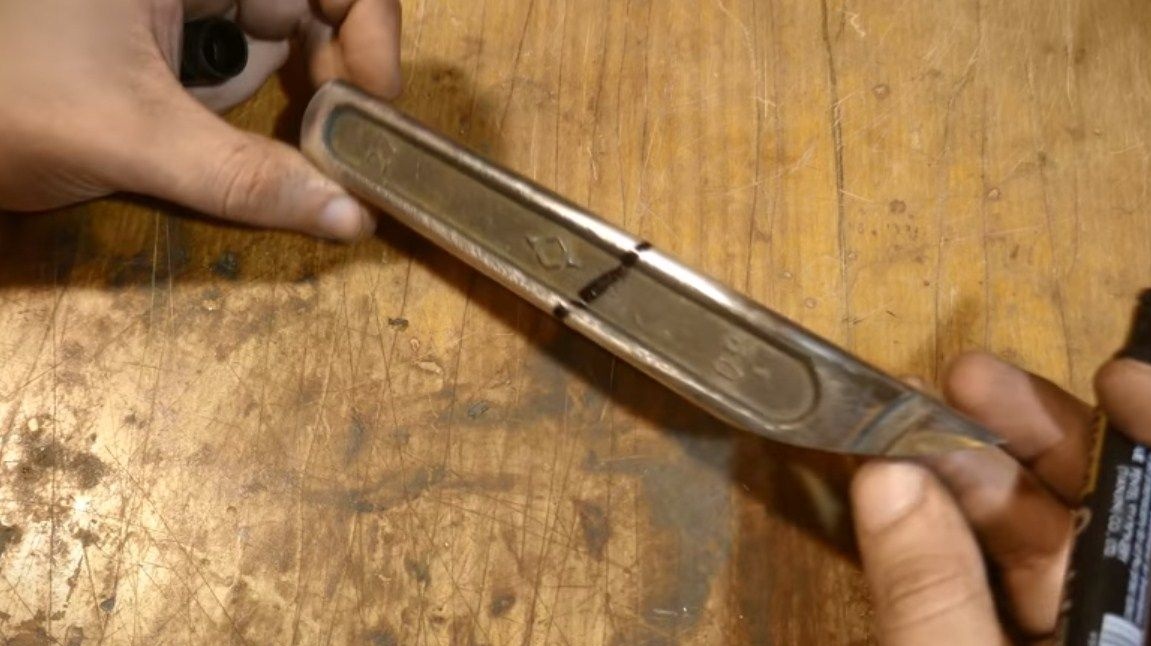
Step one. Cut the main profile
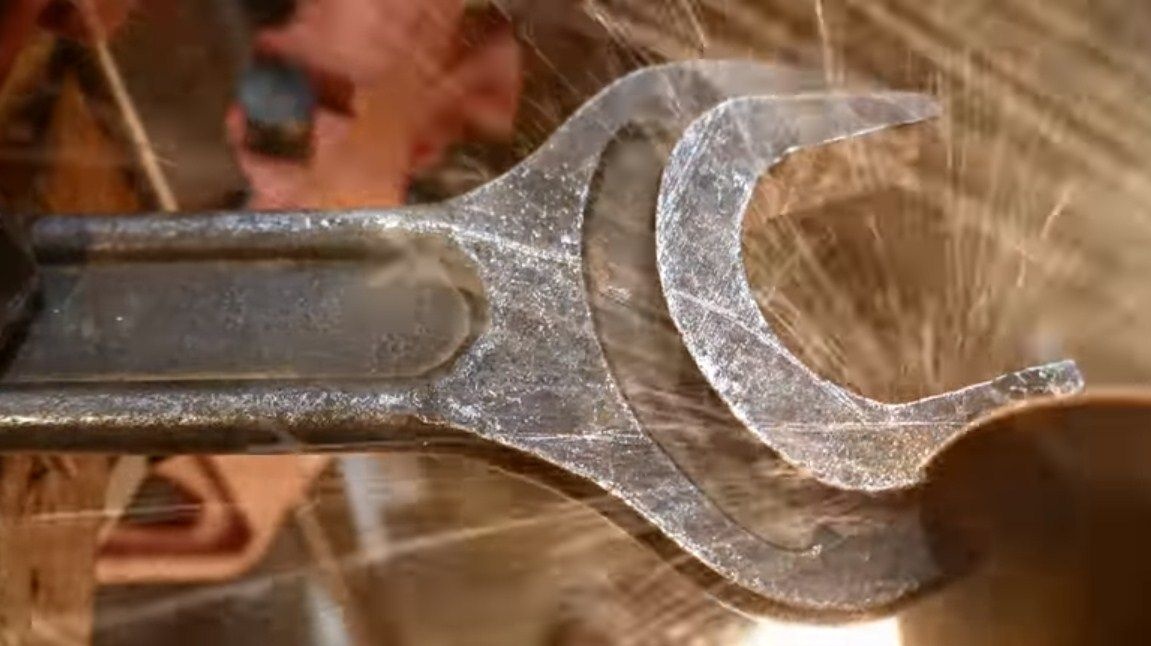
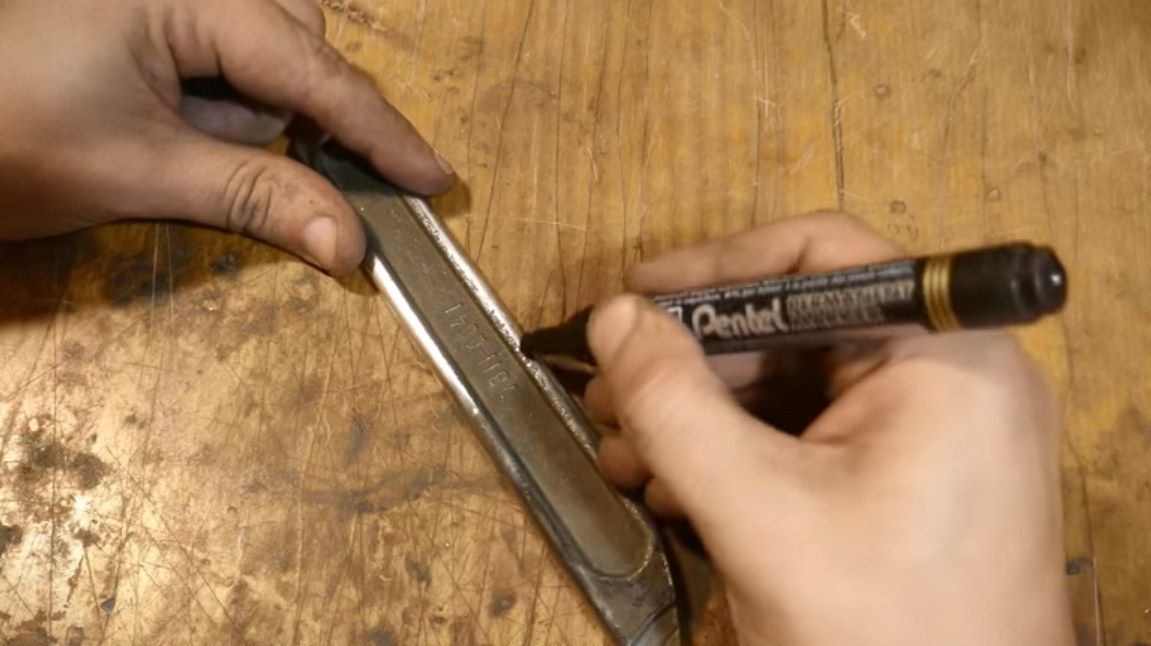
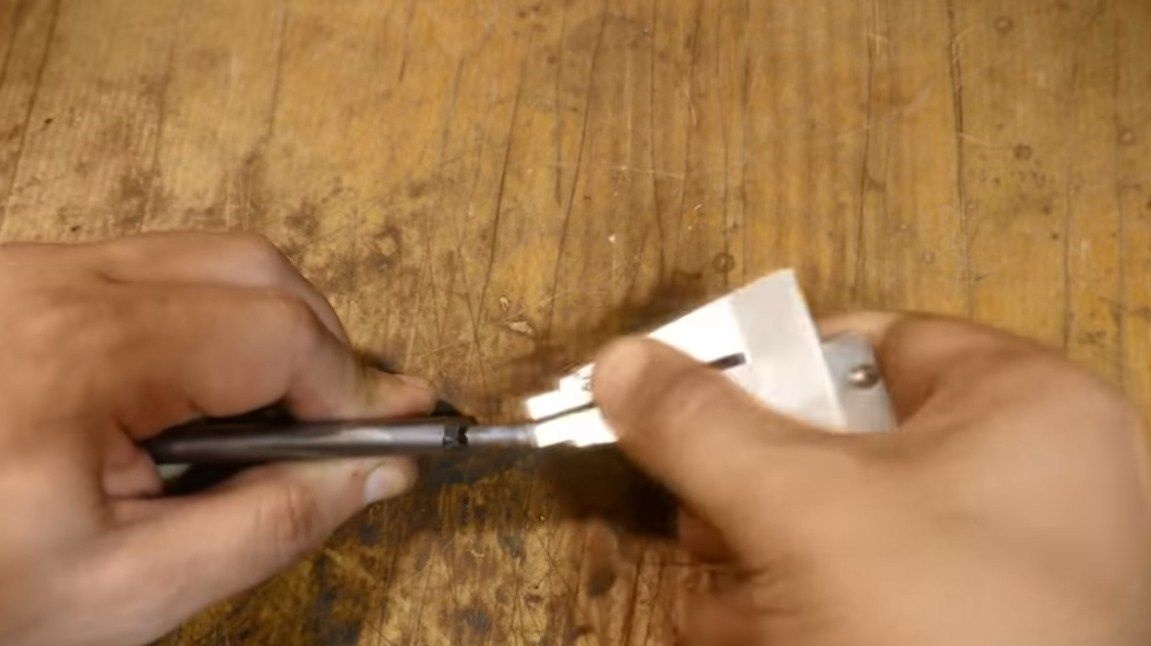
First, we clean the key from rust so that you can draw on it. It is convenient to do this with a grinder with a wire nozzle or sandpaper manually. Next, take a marker and draw the desired profile of the blade. Well, then proceed to cutting. The key is clamped in a vice and cut off the excess with a grinder. Also, the author cut off the excess parts in the nose of the blade so as not to grind the excess.
At the end, we go around the contour with a grinding disk or we process the contour on a belt grinder, as the author does.

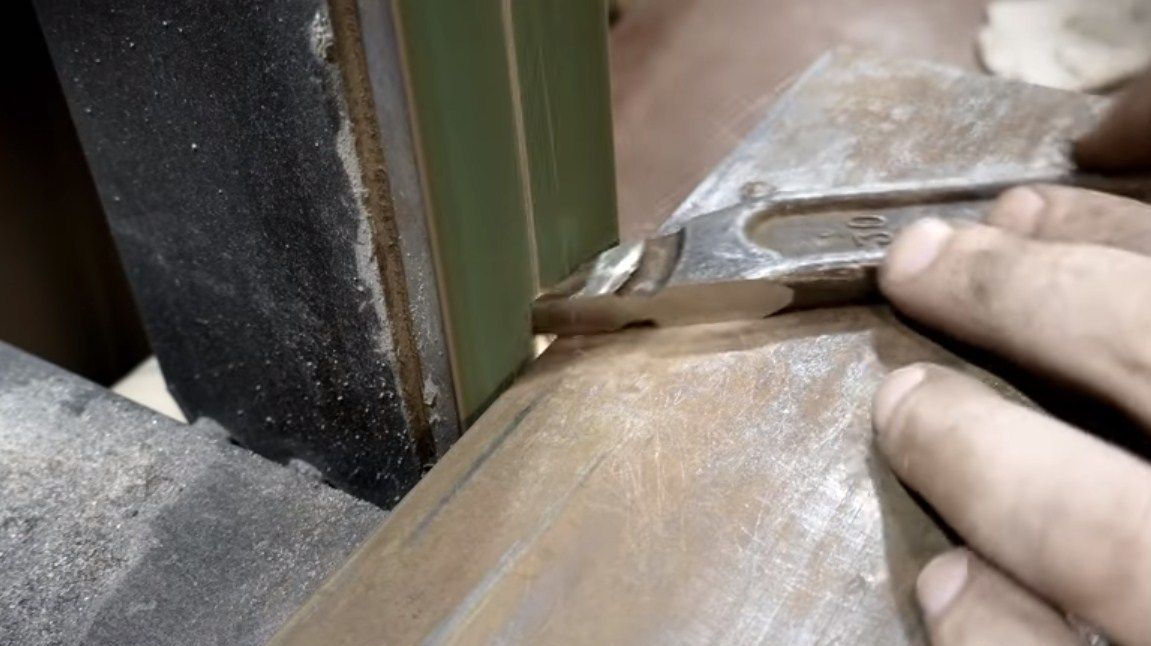
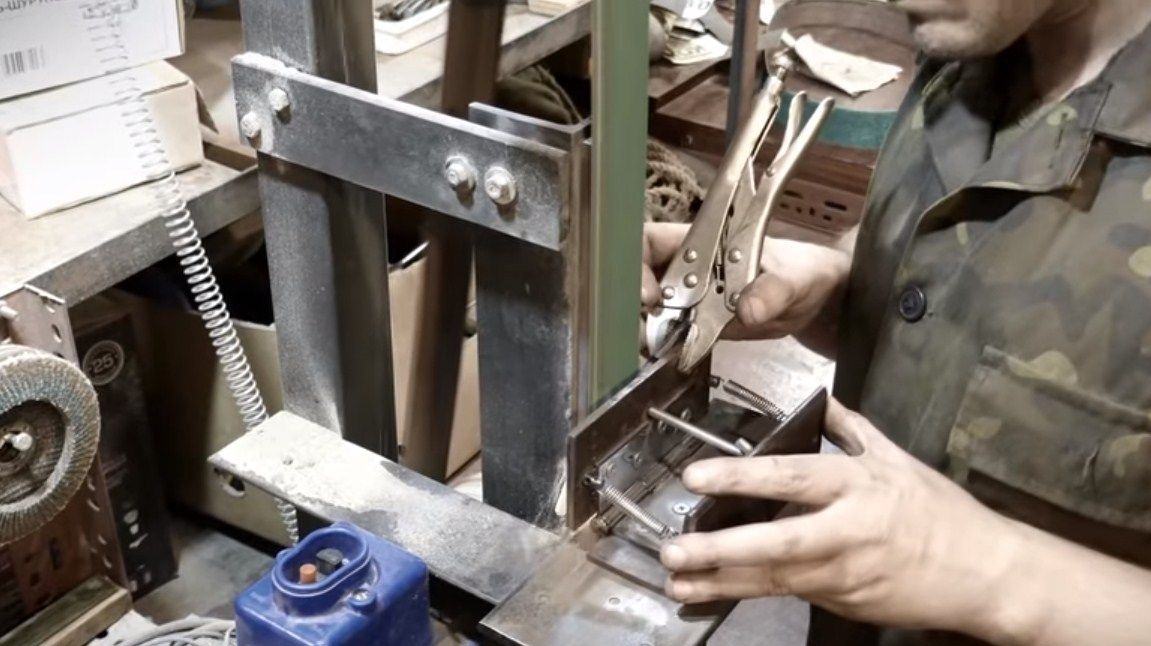
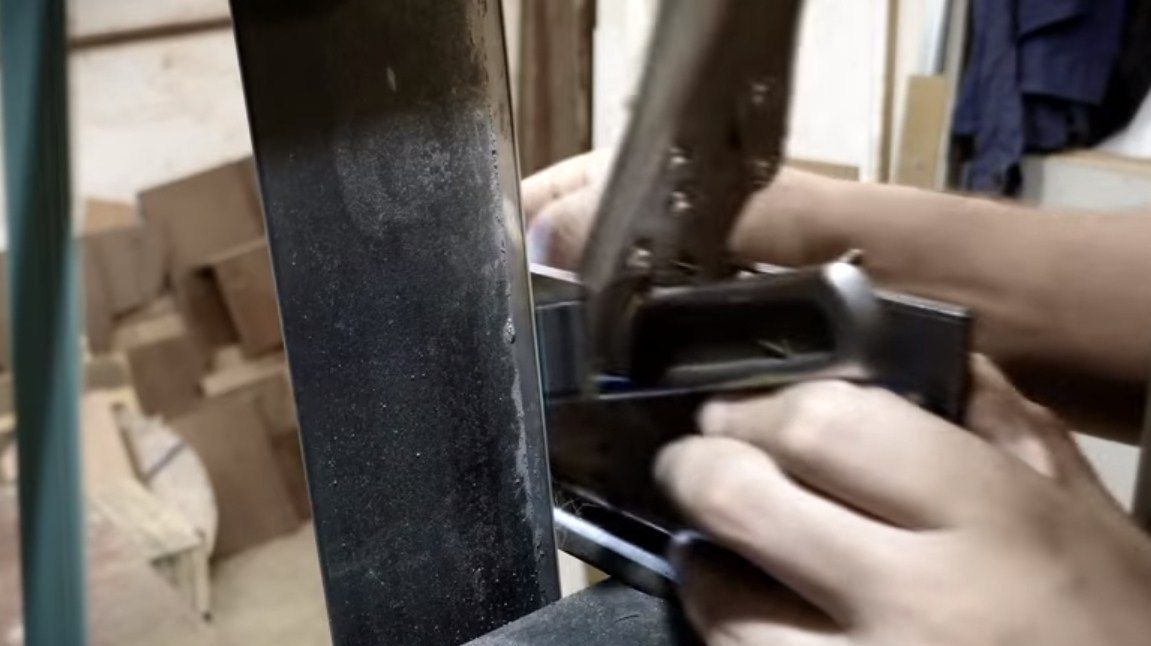
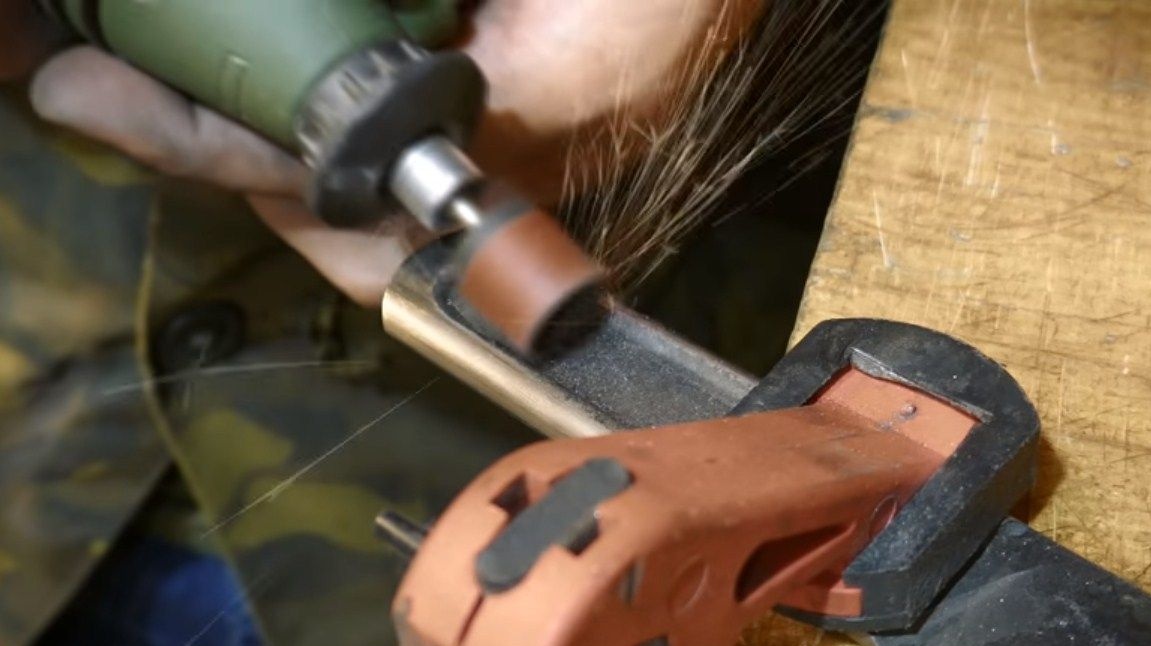
Step Two We form a blade
Next, we need to form the part of the knife that will be the blade. We take a marker and make the necessary marks. Next, hold the blade in a special holder and proceed to grinding. We need to grind all the excess, to form the desired thickness of the blade. As a result, we get an excellent blade.
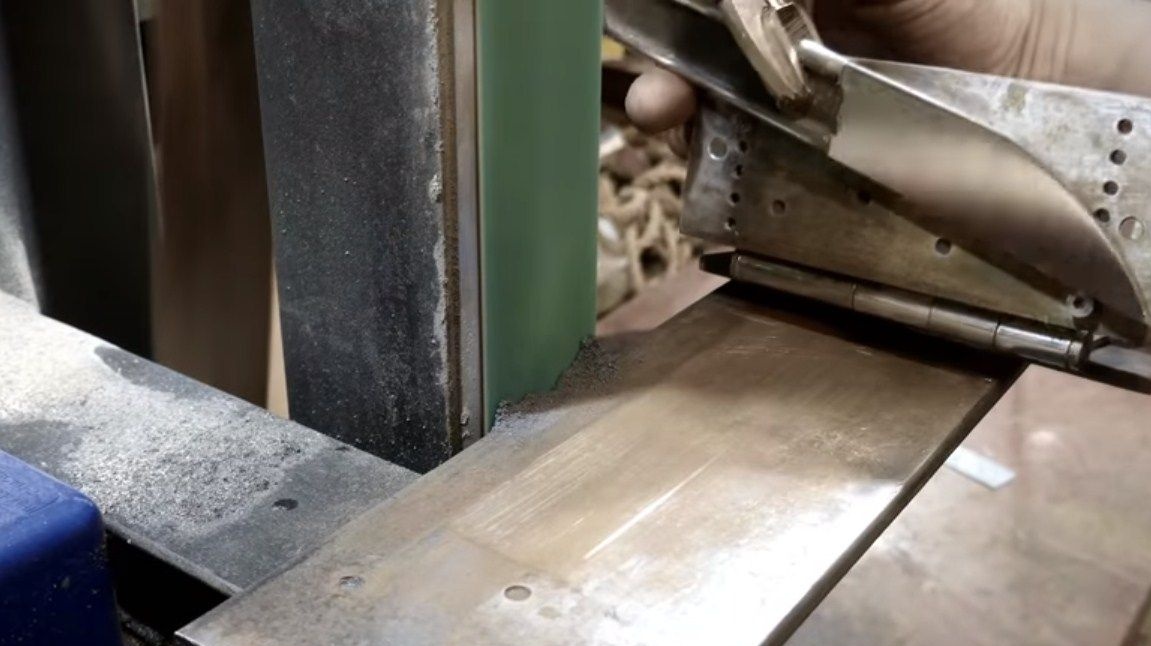
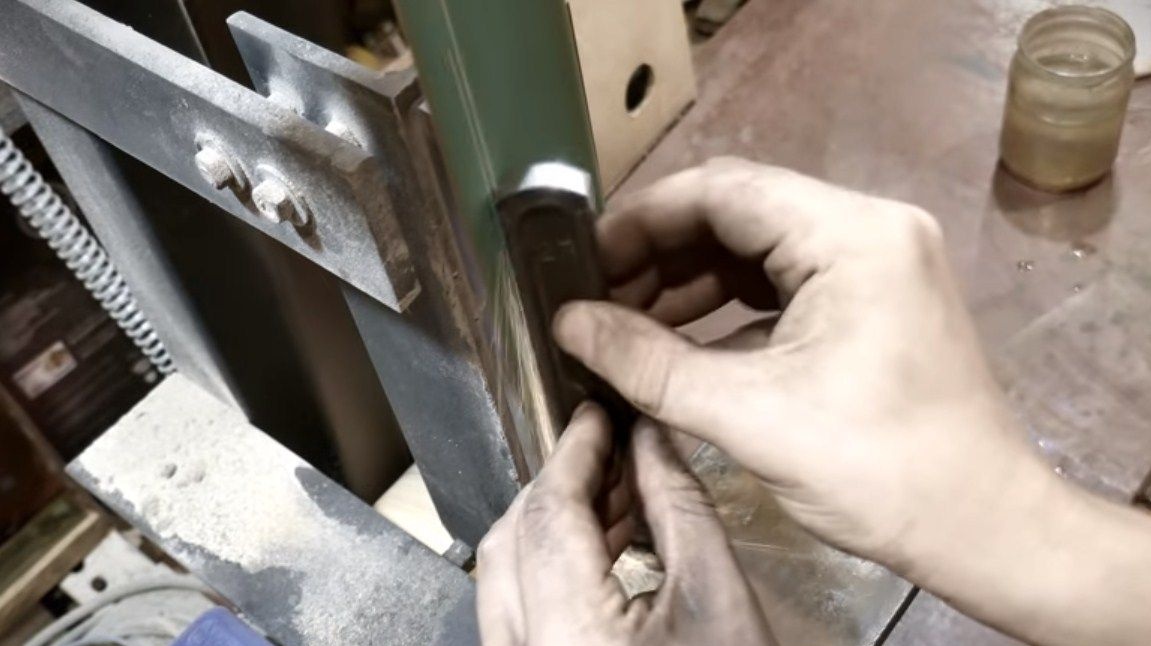
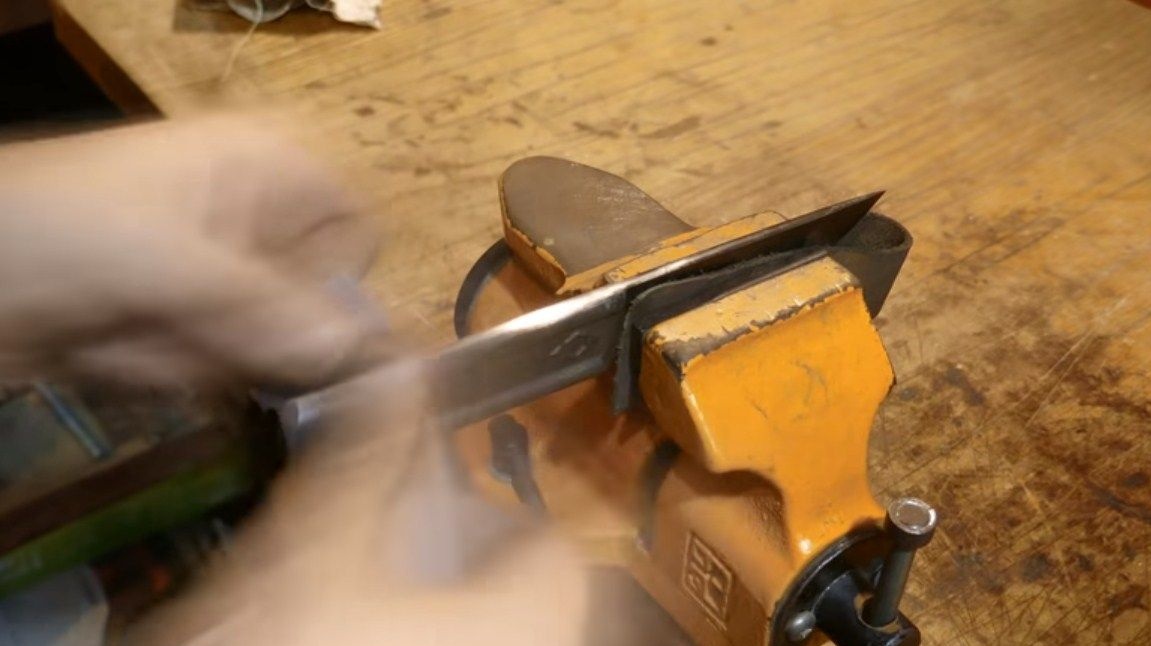
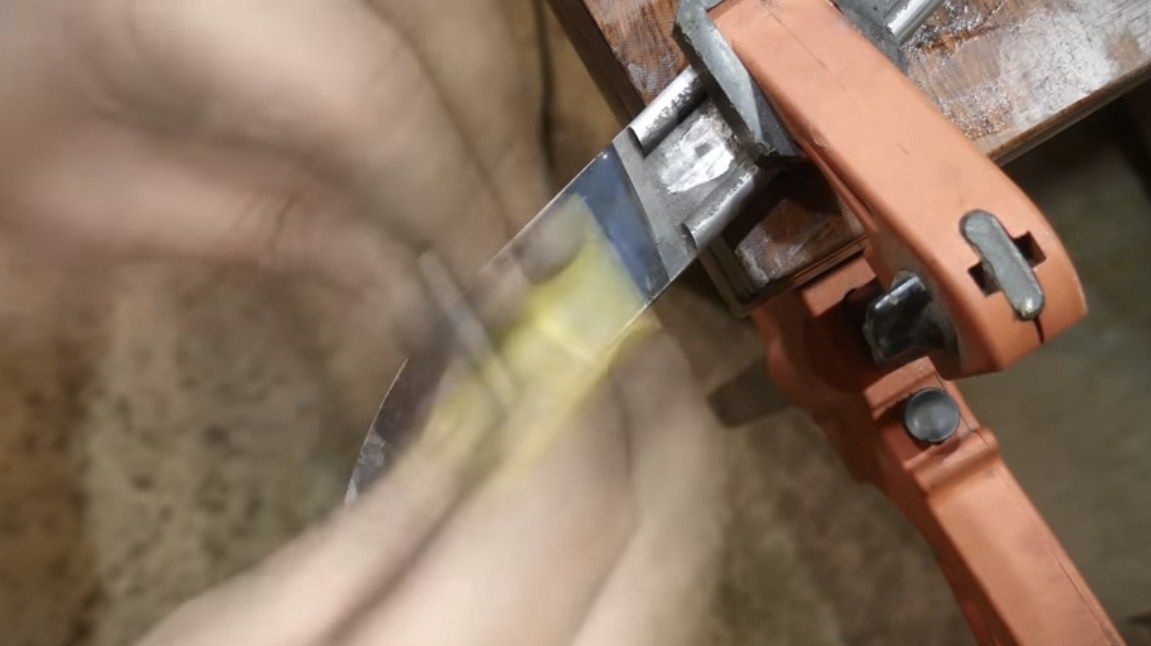
Step Three Make bevels
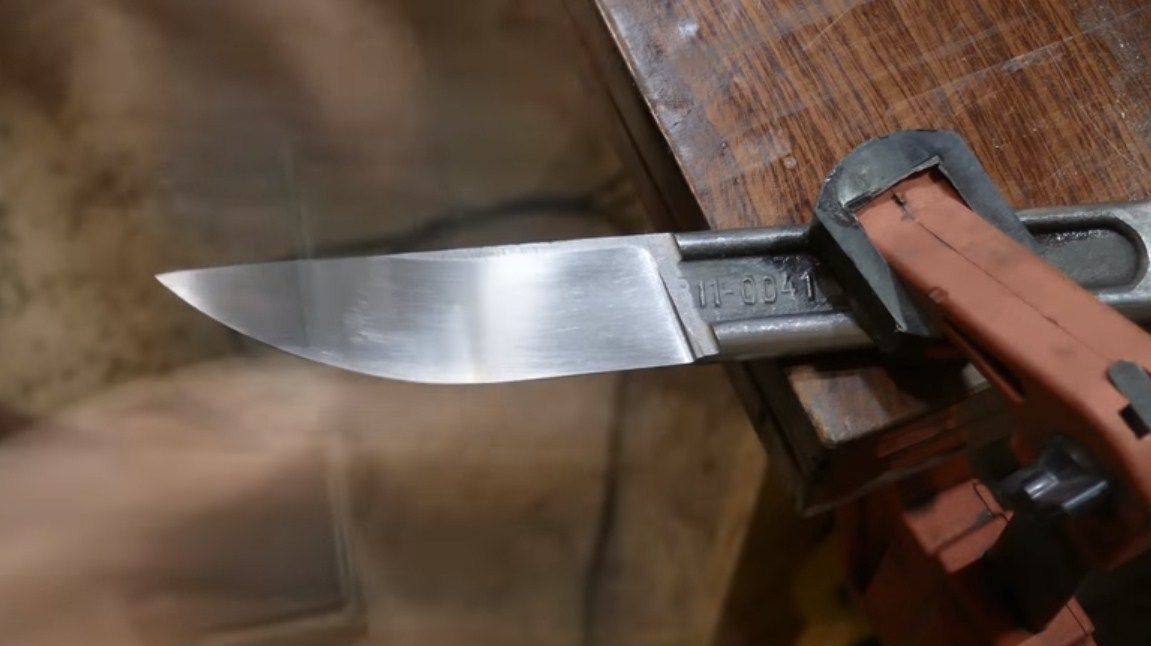
Again, take the marker and draw the width of the bevels, the author has the maximum width. This will allow the knife to cut well, as the blade will be thin.We also take a caliper and draw a center line along the blade. We will focus on it when forming bevels. A little work on the belt sander, and the bevels are ready. If there are deep scratches on the metal, sand them manually with emery paper, as it will harden further and the metal will work worse.
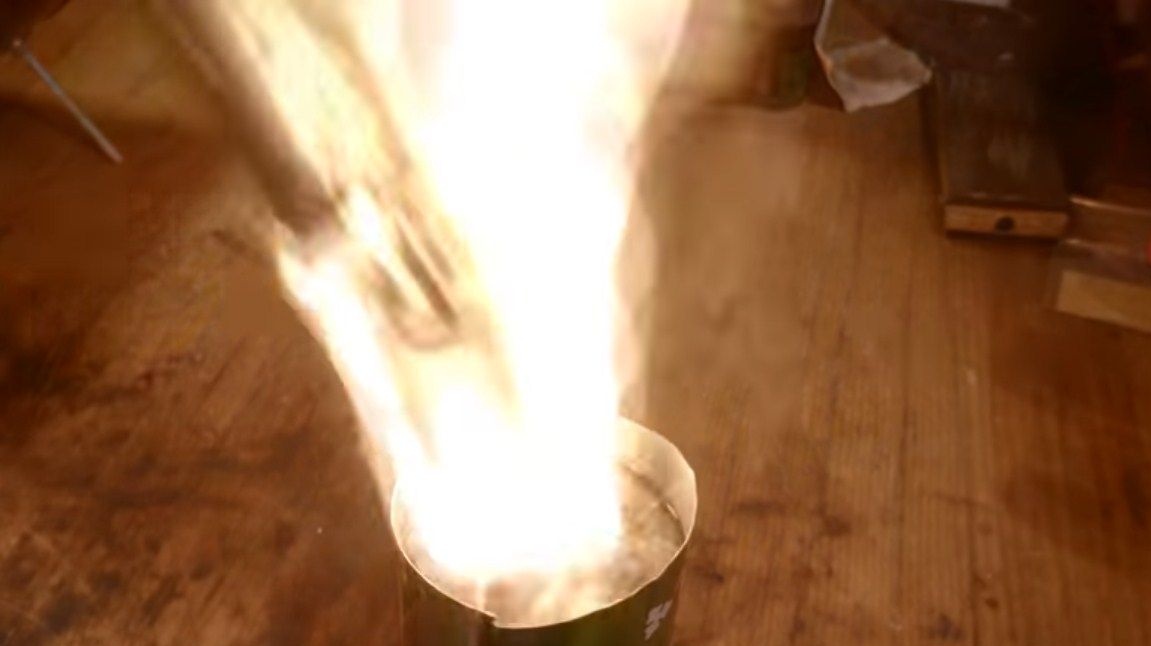
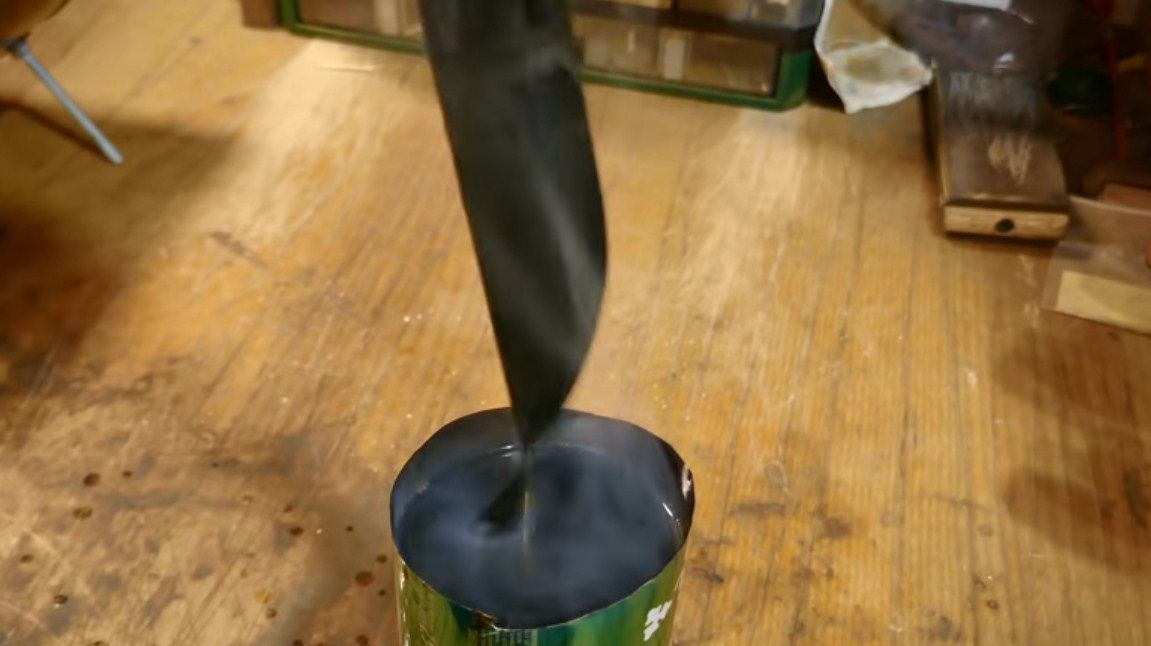
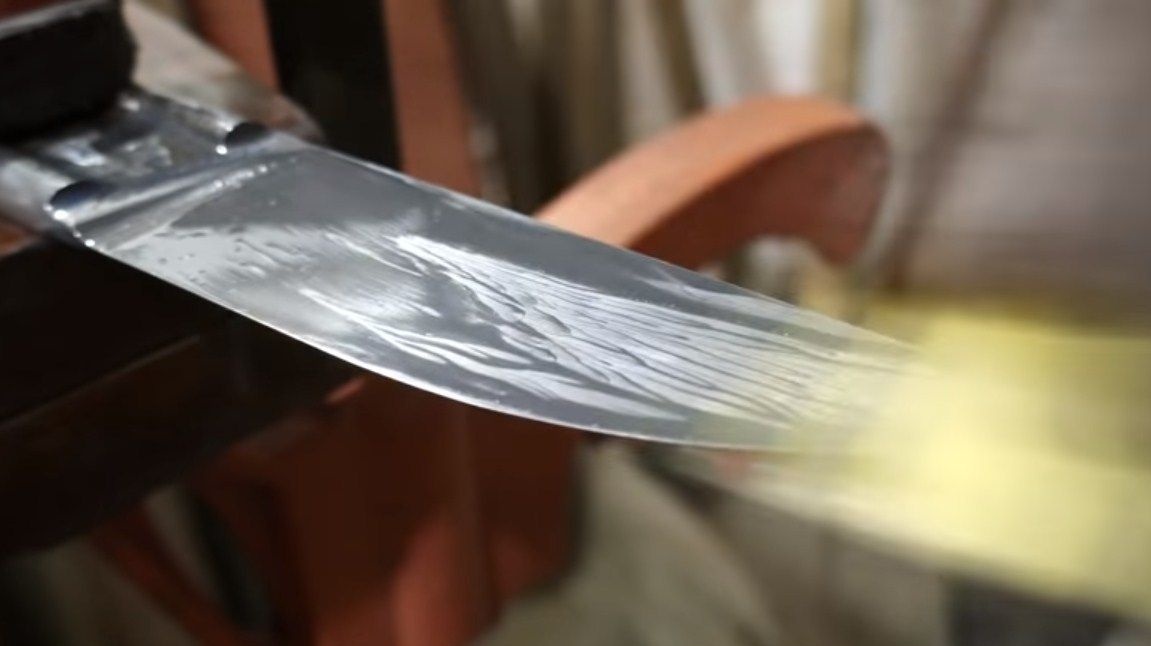
Step Four We temper the blade
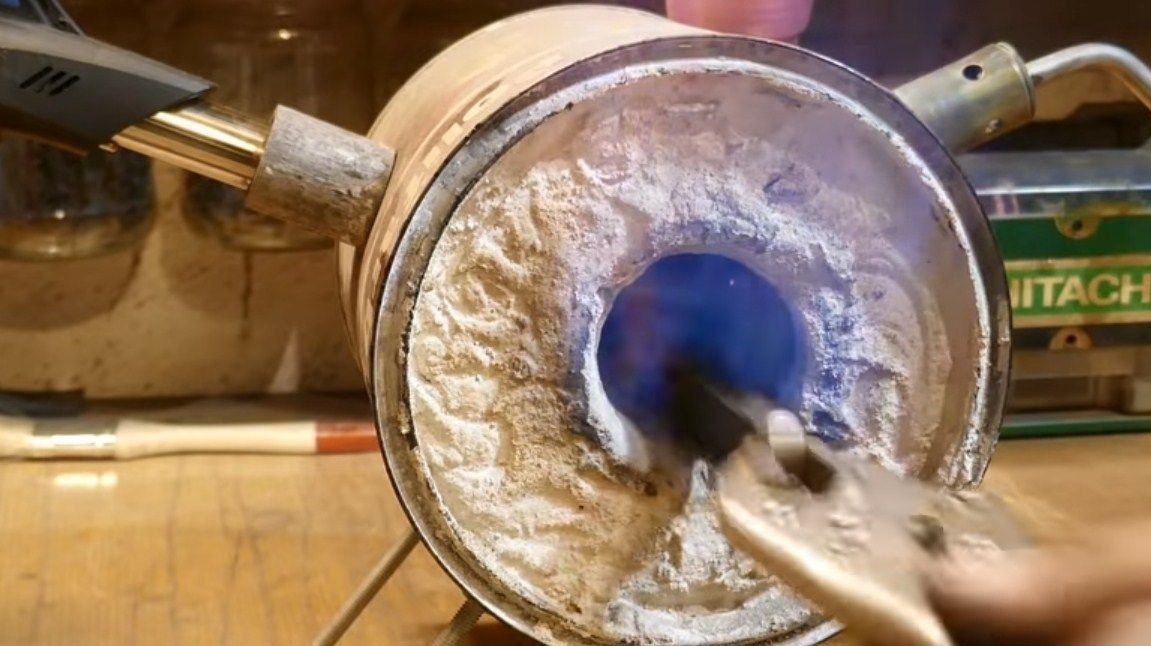
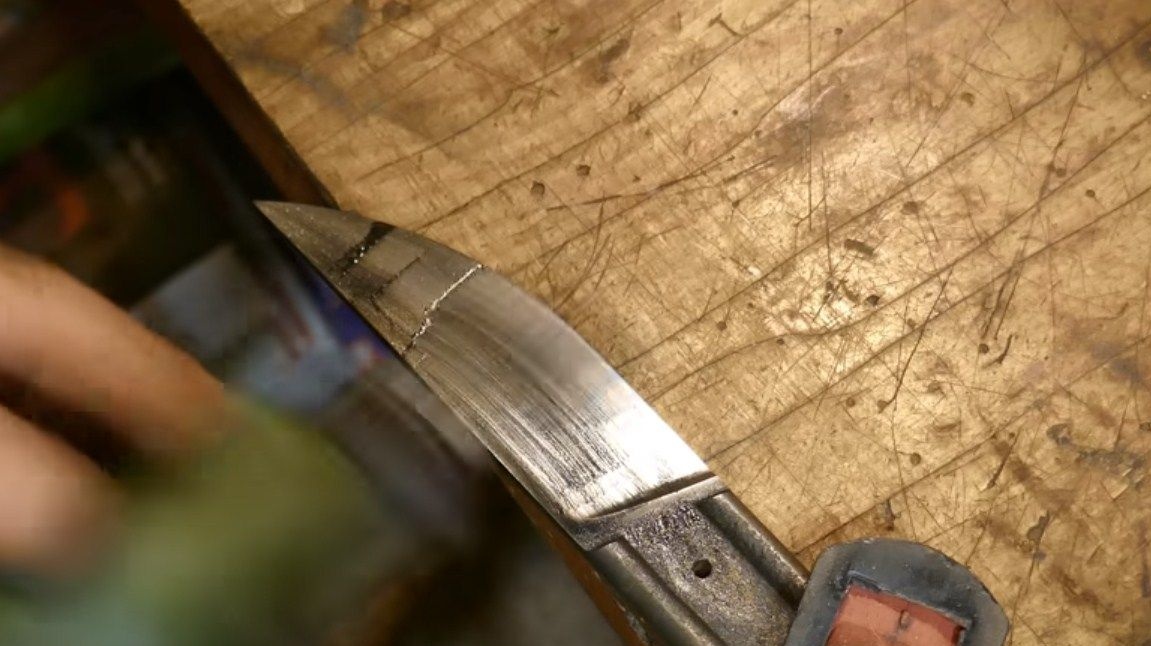
The author decided to harden his blade, but the problem is that it is not known which steel grade was used, because all the steels are hardened in different conditions. Nevertheless, you can try to temper the blade, but it is better to conduct an experiment with a separate piece of metal. The author heats the blade to a yellowish glow, and then cools it in oil. The tempering procedure was not performed, so it remains unknown whether the blade will be brittle after that. After hardening, the metal can be scratched with a file, if scratches remain, then hardening has failed.
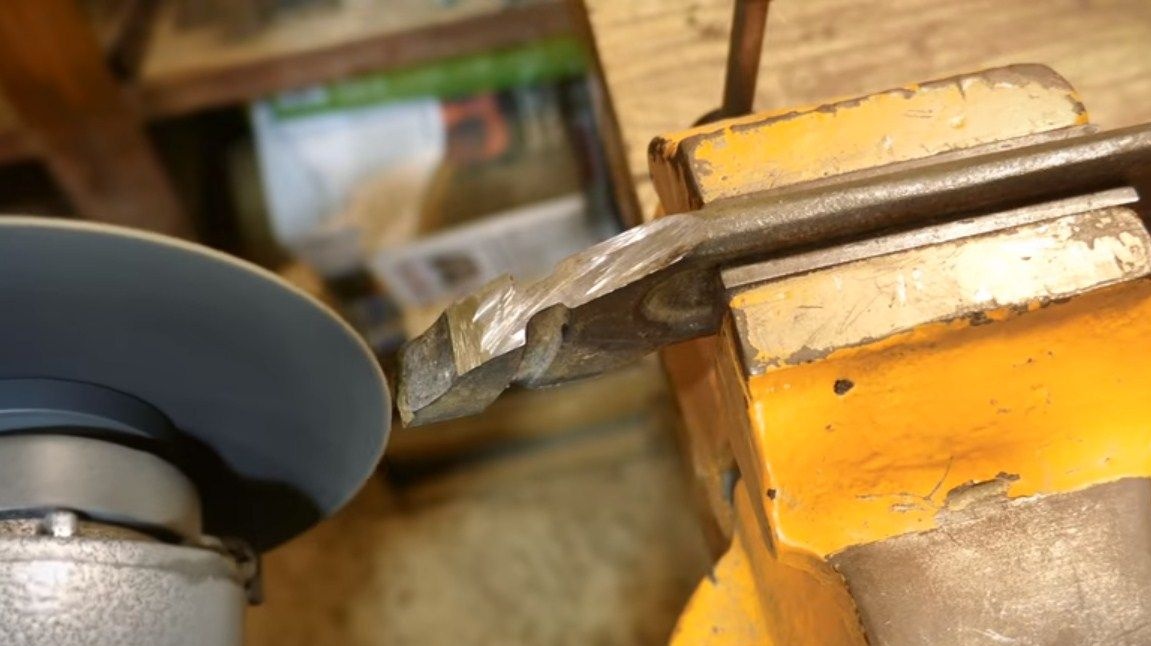
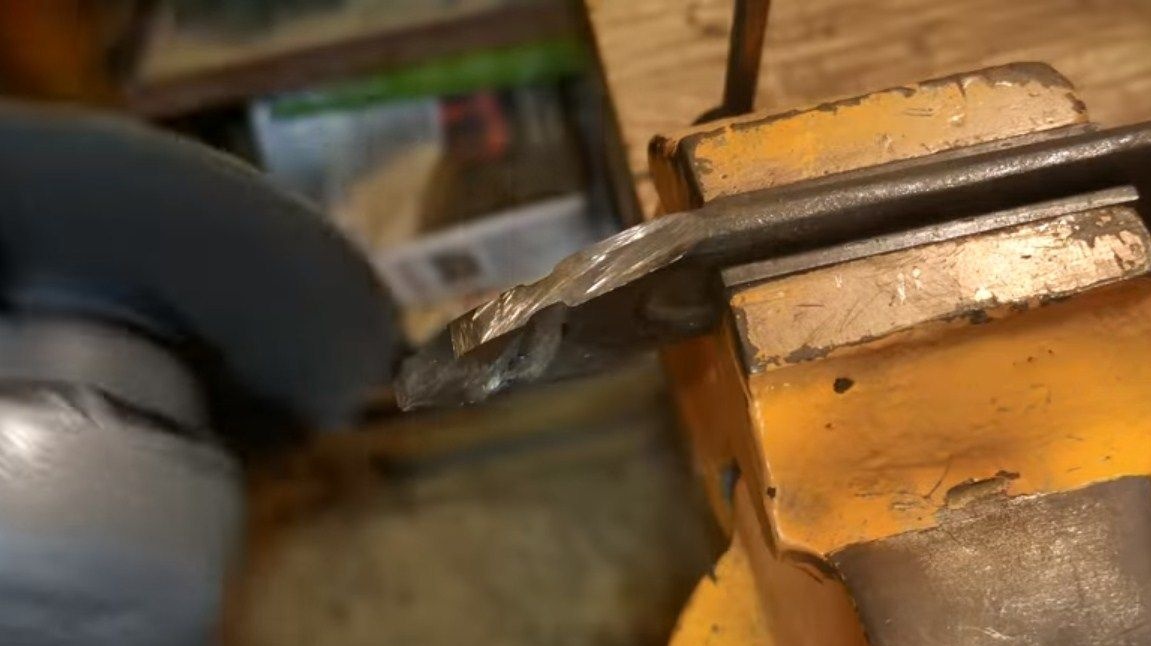
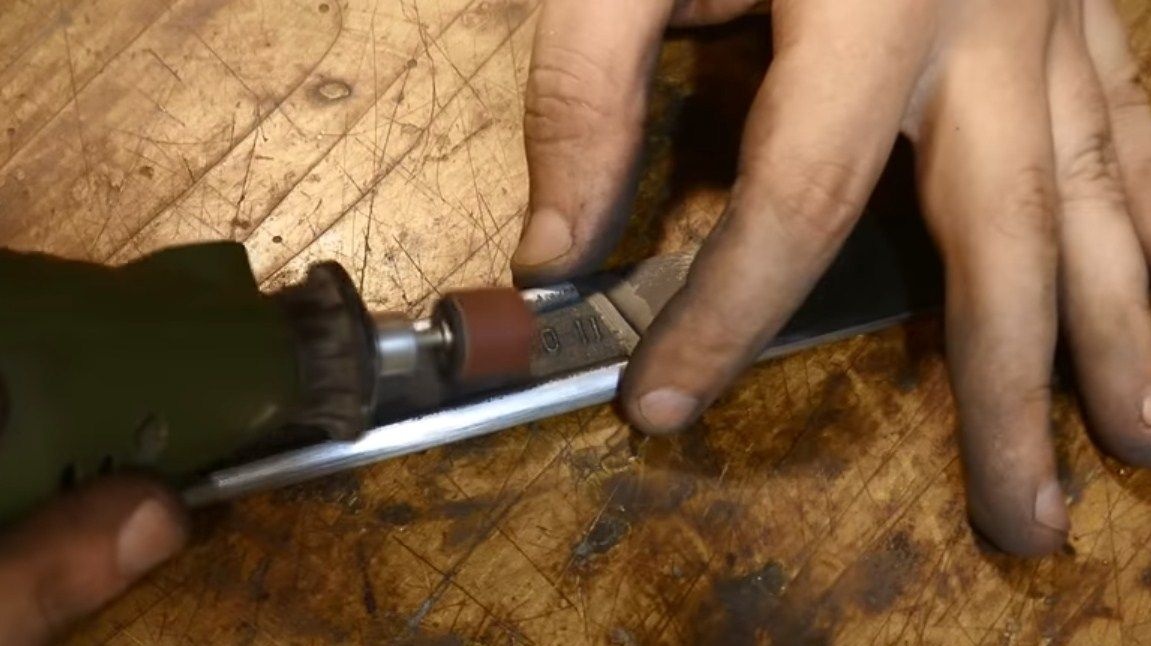
Step Five We clean the knife and drill holes
After quenching on the metal there will be traces of oxidation, we need to remove them. To do this, work with sandpaper, wetting it in water. Water allows paper to be cleaned efficiently, and it works better. Of course, sandpaper for this should be on a fabric basis.
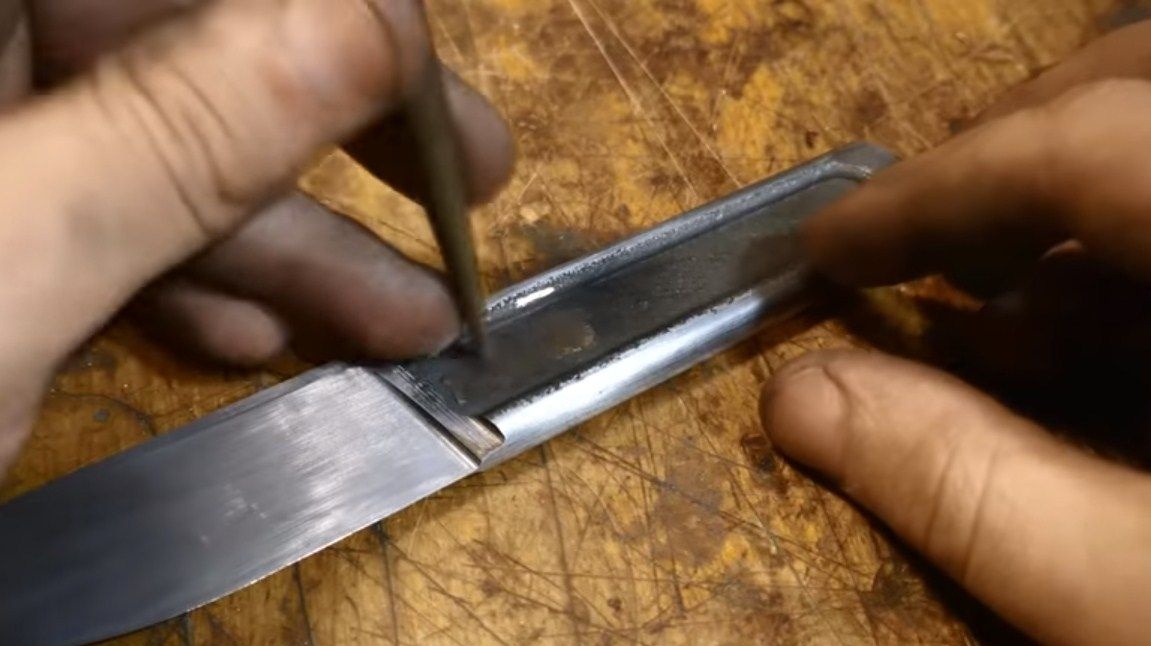
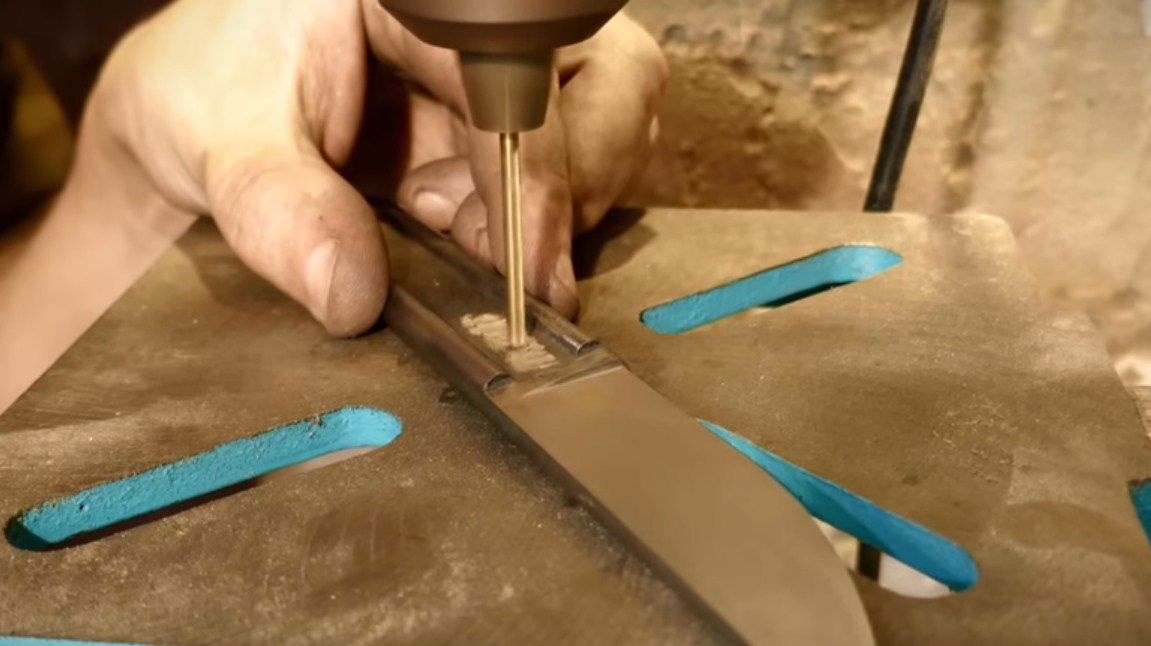
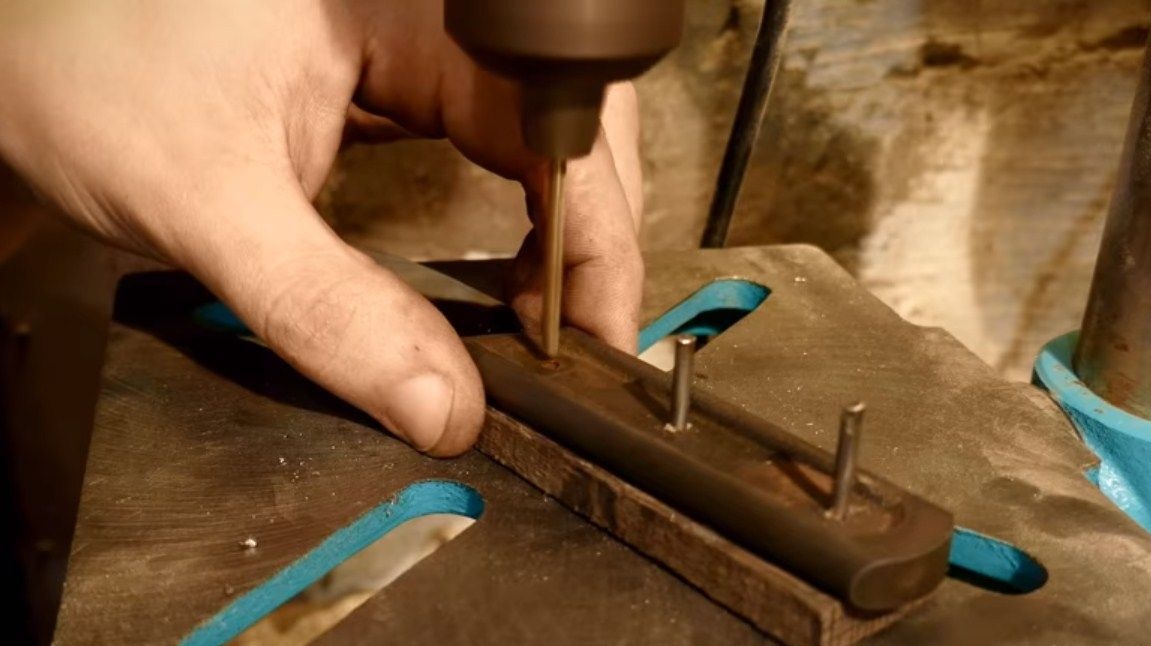
Then you can drill holes. This can be quite problematic, we use a drilling machine with good drills. The holes should be of such a diameter that the pins fit into them as tightly as possible. This will ensure a good grip.
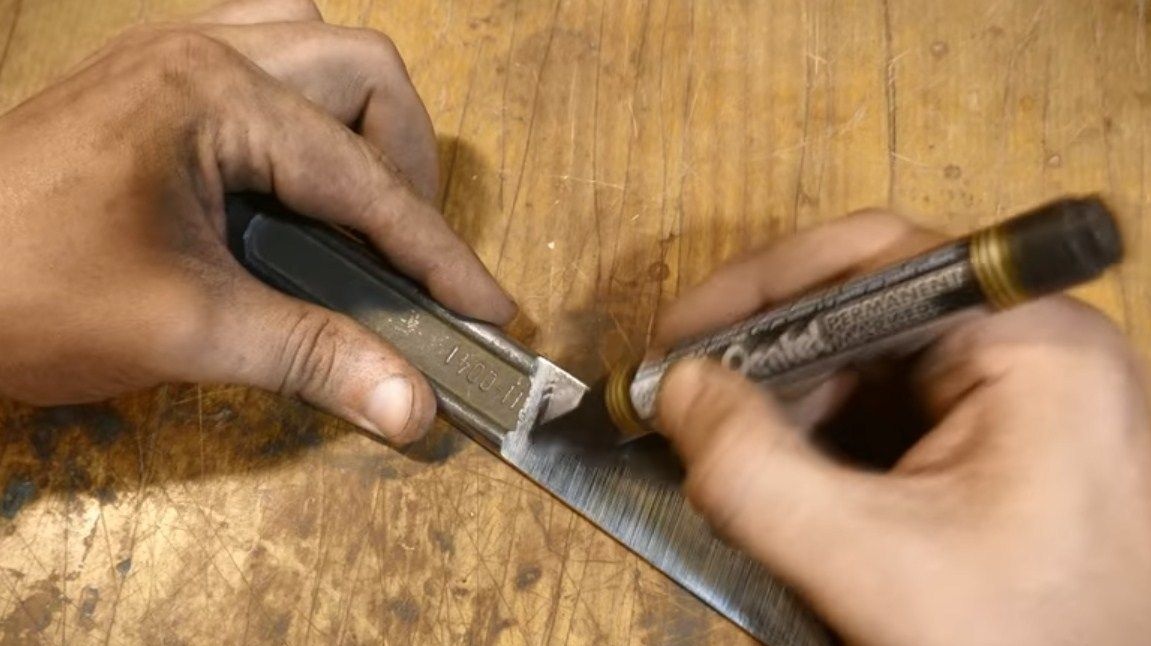
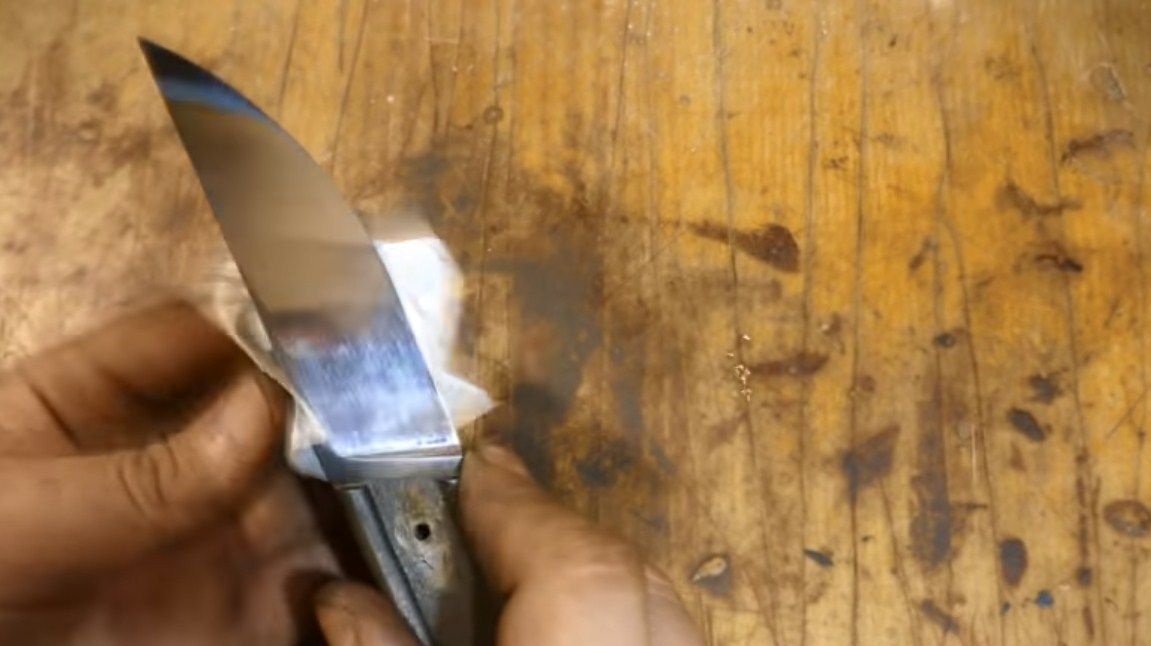
In addition, the author decided to remove all the inscriptions on the blade remaining from the key. Do it or not, decide for yourself whether they are cleaned easily - with a drill and a nozzle from sandpaper.
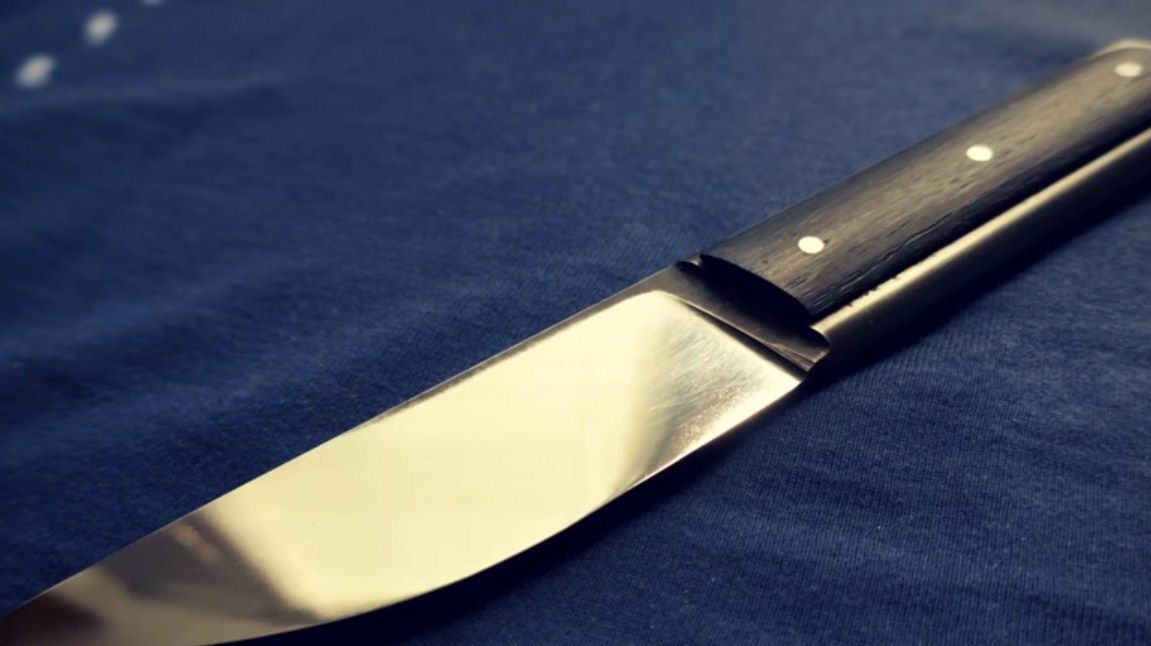
We also polish the blade, from the author he gets a mirror shine. Be careful and wrap the blade with a paintbrush for future work so as not to cut yourself.
Step Six We make lining and collect the knife
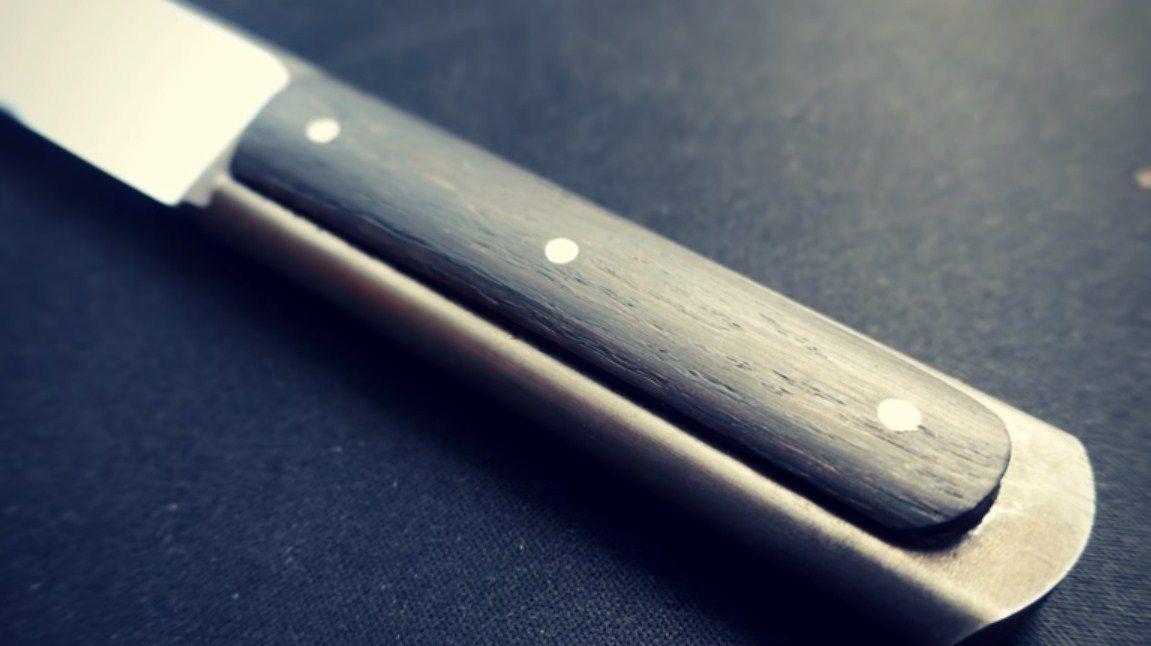
The author makes overlays of wood. We attach the handle to the board and drill holes for the pins. Well, then we cut out two pads, process them on a belt grinder. The author brings the pads to a finished state, that is, together with the knife, we will no longer grind the handle.
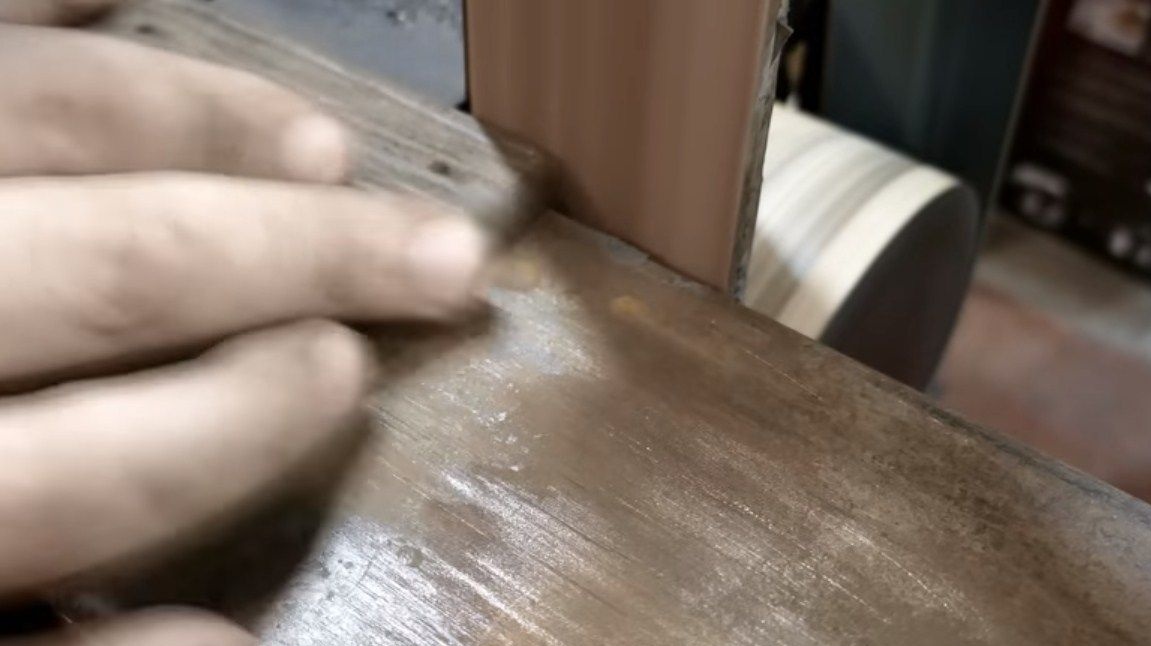
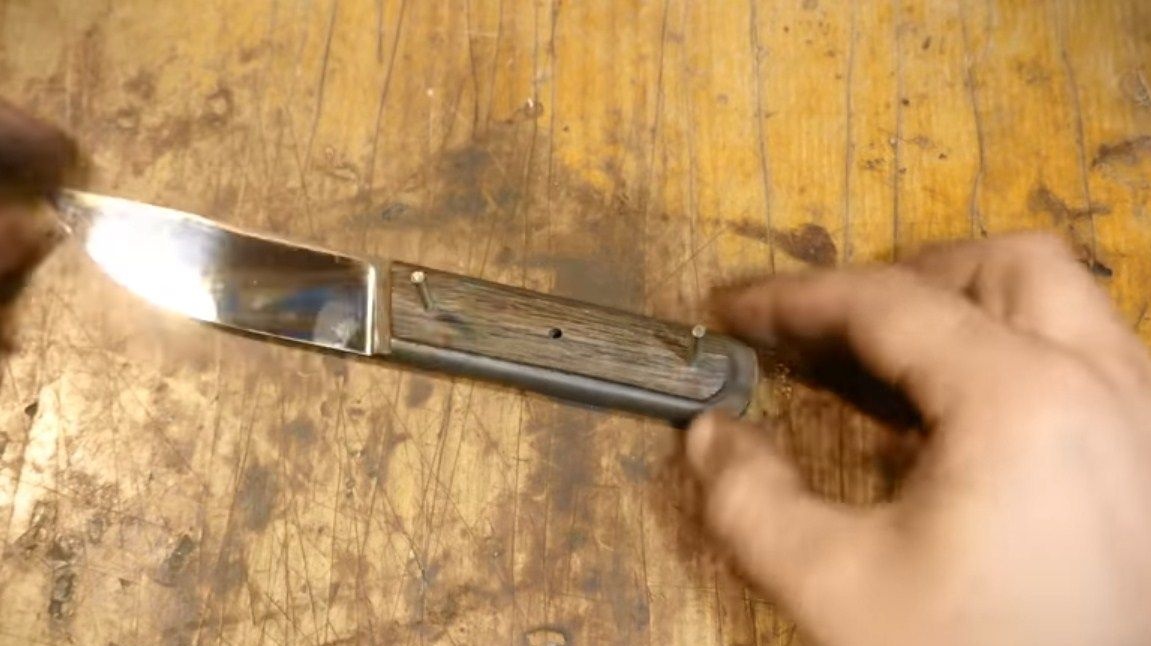
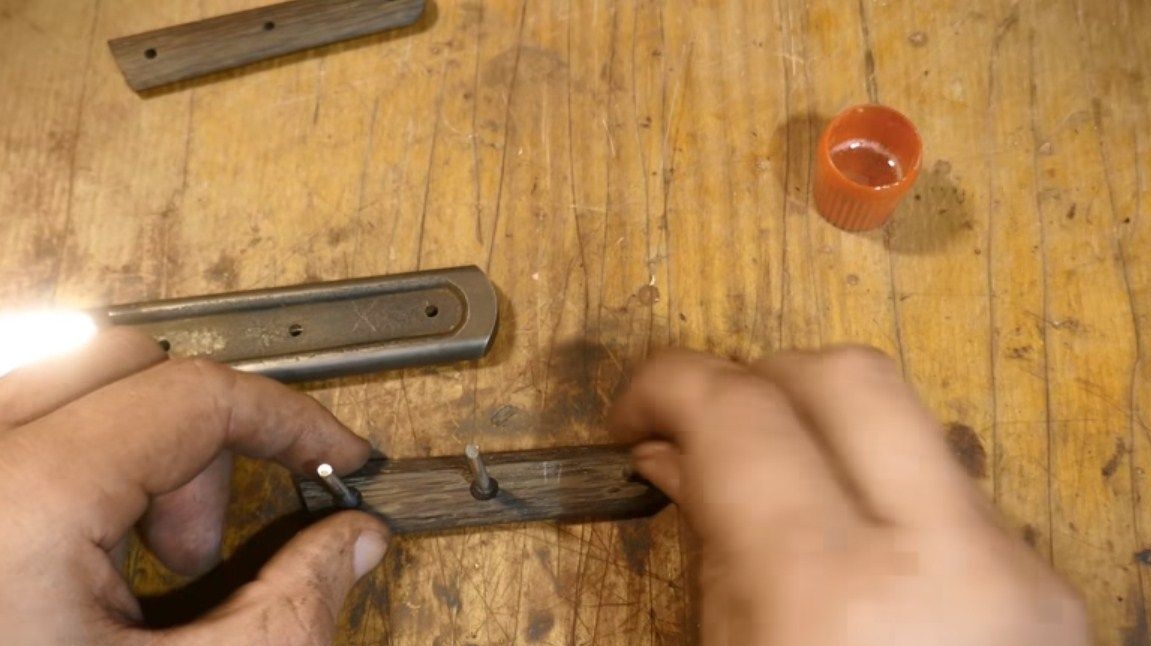
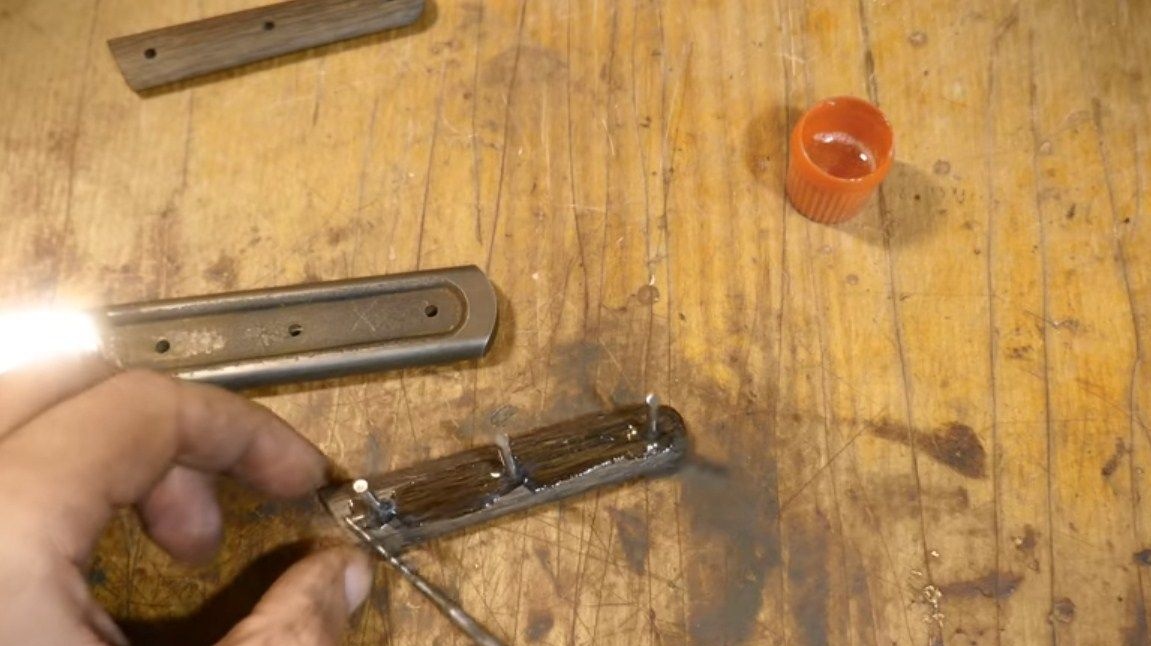
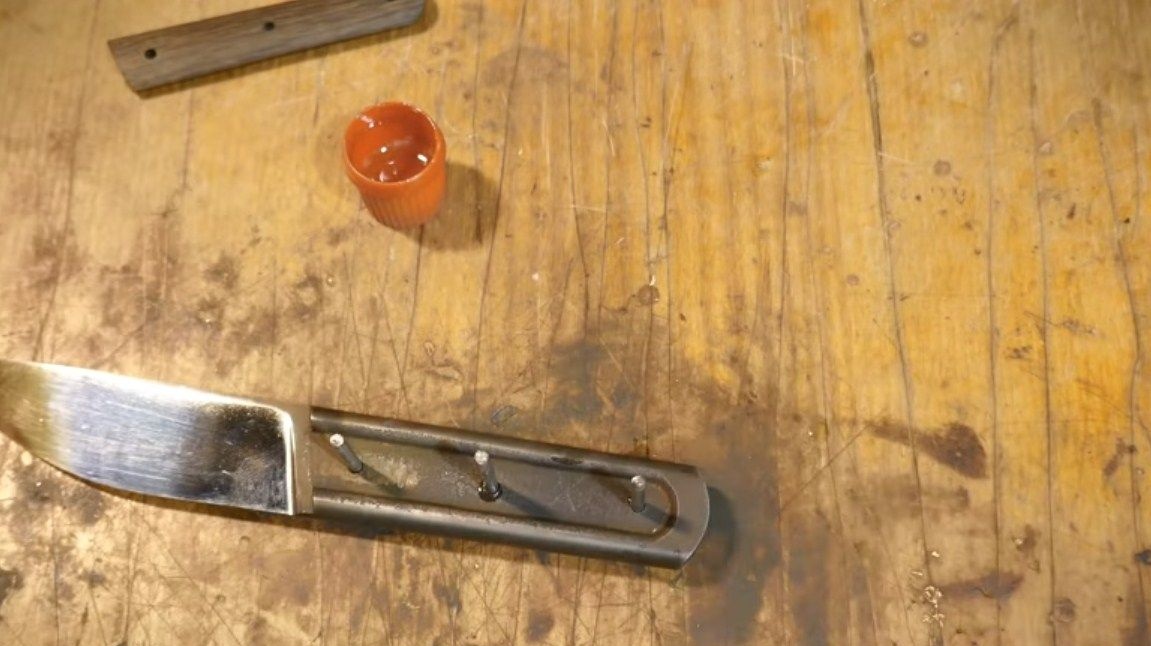
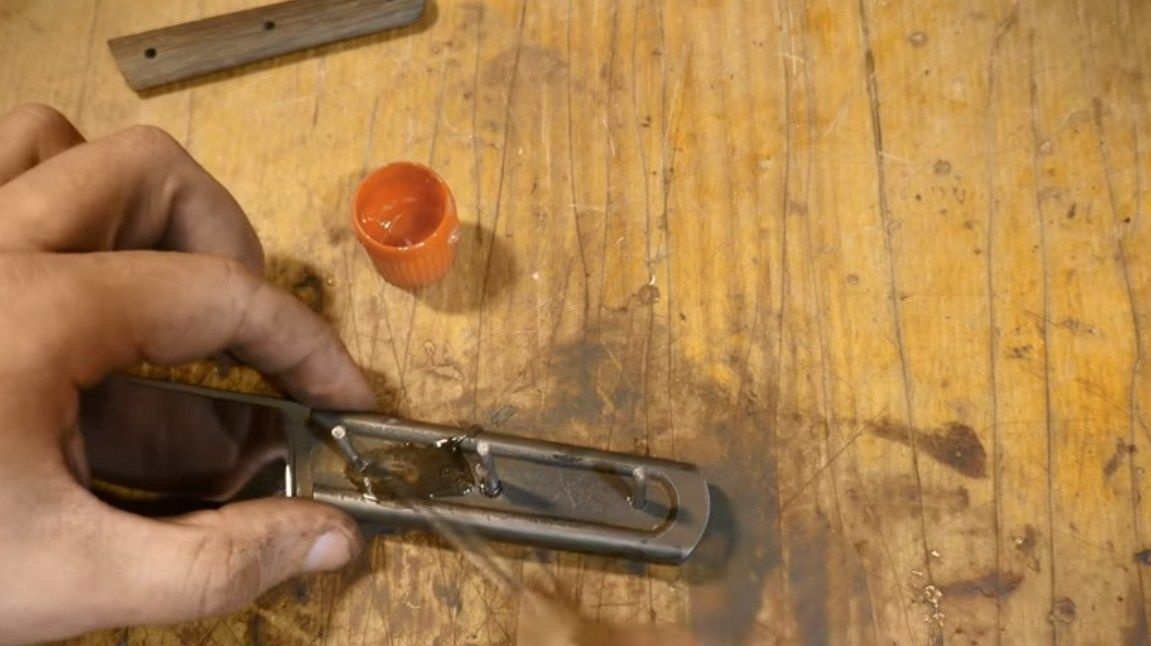
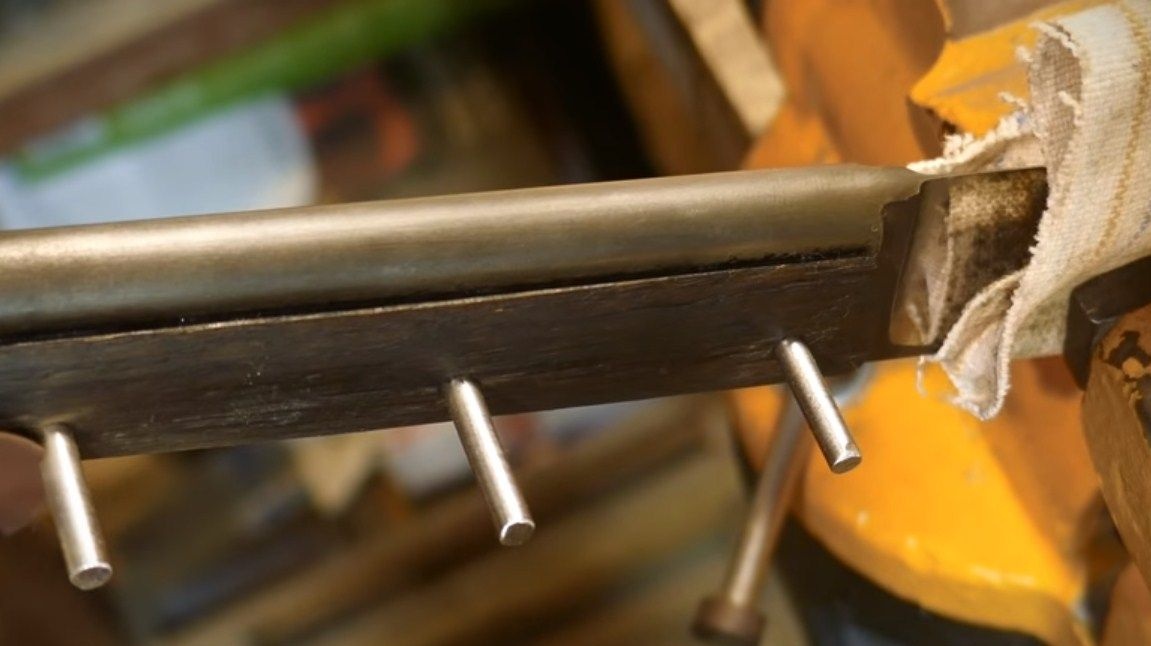
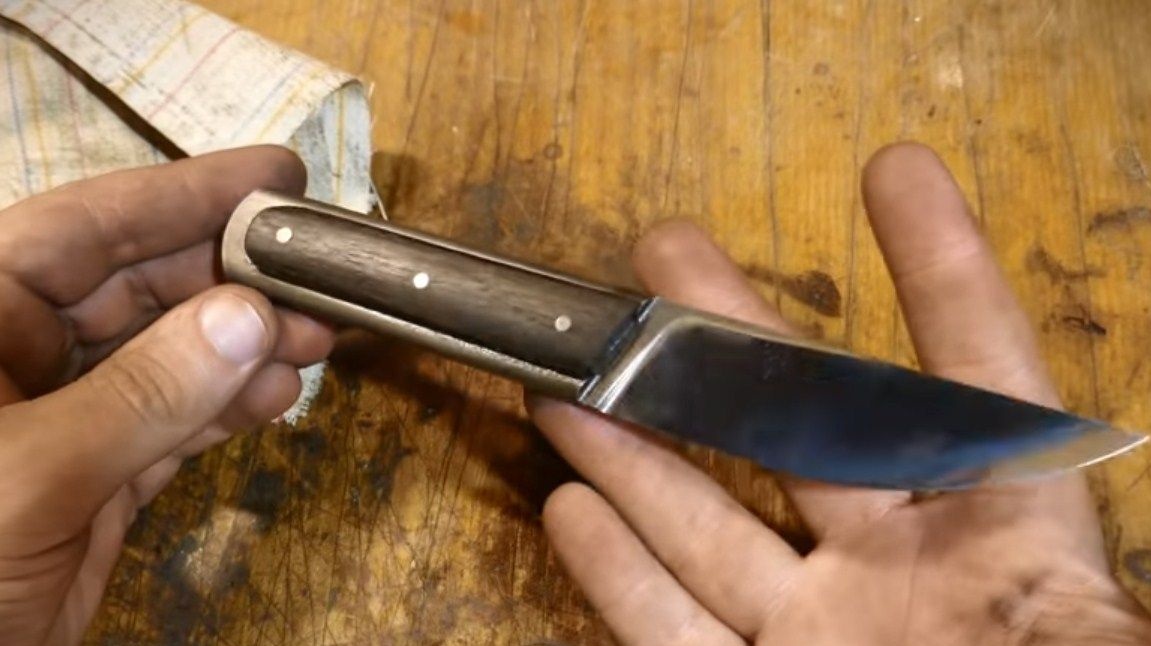
That’s all, the lining can be installed on a knife. Here we need pins and epoxy glue. We carefully clean all glued surfaces so that the adhesive adheres well. We apply epoxy glue, install the pins and tighten everything with clamps until the glue hardens. When the glue dries, carefully cut the pins and lightly sand the pads to level the pins with the plane.
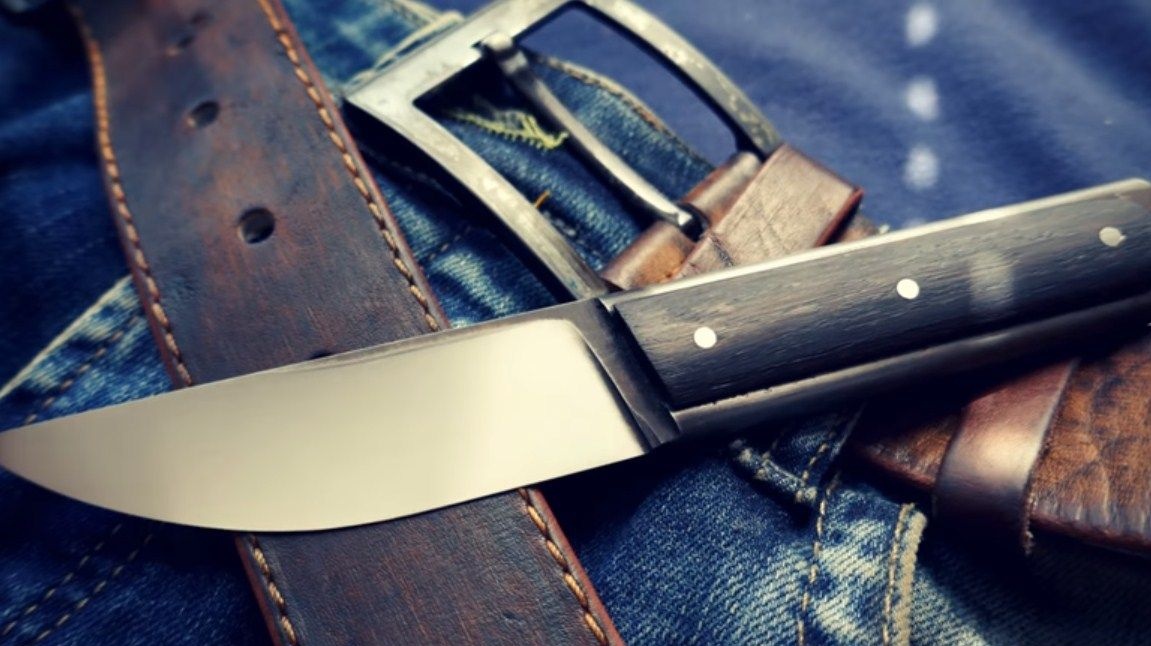
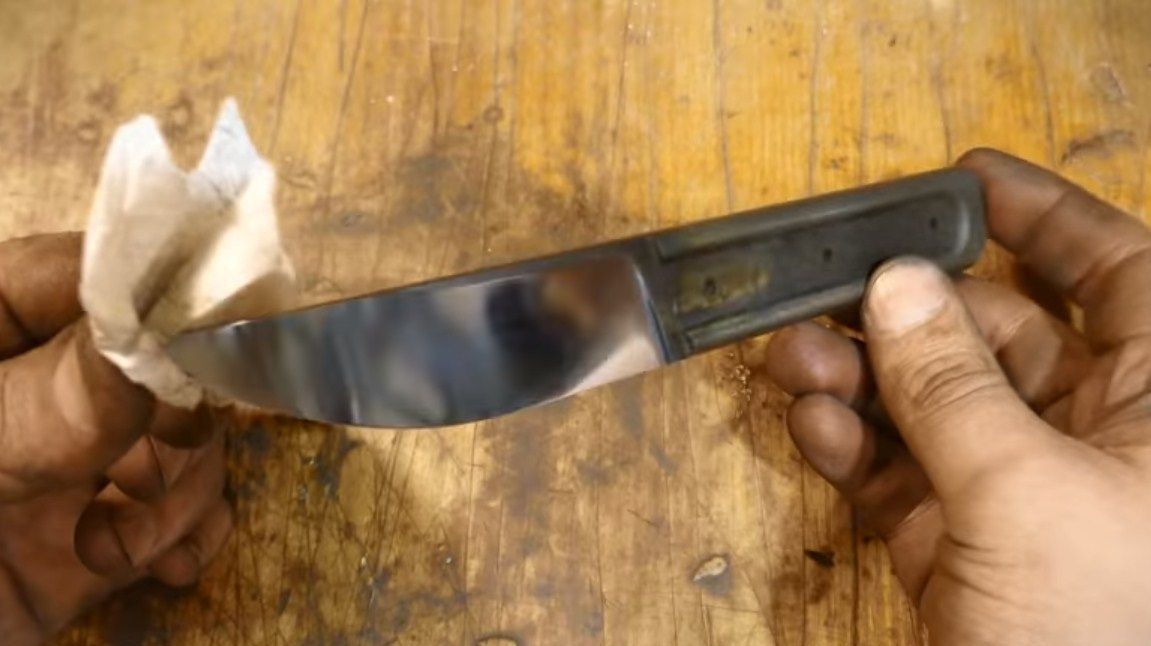
Further, the tree must be impregnated with oil to protect it from moisture and dirt. It is also recommended that the metal be coated with oil so that it does not rust during storage. In general, wrenches rust quite strongly, apart from modern shiny wrenches, which are well protected from this. That's all, the knife is ready, it remains to sharpen it!
That's all, the project is over. Good luck and creative inspiration, if you want to repeat it. Do not forget to share your homemade products and best practices with us!