
This article will be interesting to everyone who has a drilling machine in the workshop. The author of the channel "Sek Austria" will show how he created a coordinate table with a vise, thereby dramatically increasing the accuracy of drilling and the capabilities of the machine.
The table is made of steel corner and studs. Also, the author used old planks of jaws from a vice and a clamping screw.
Tools necessary for making a table.
1. Welding machine
2. Drilling machine
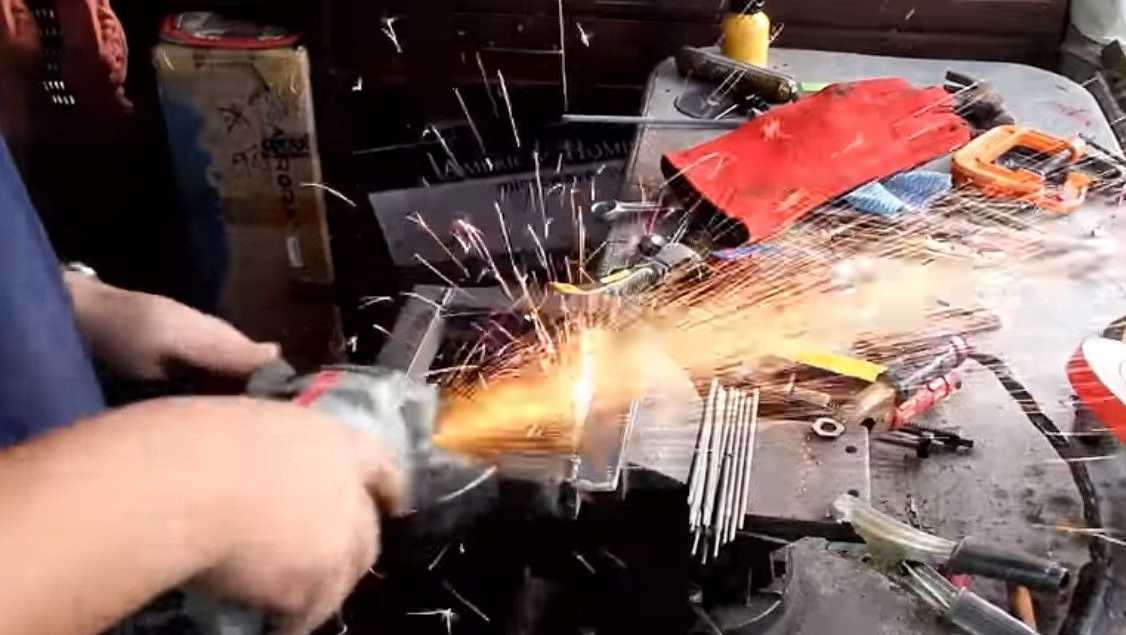
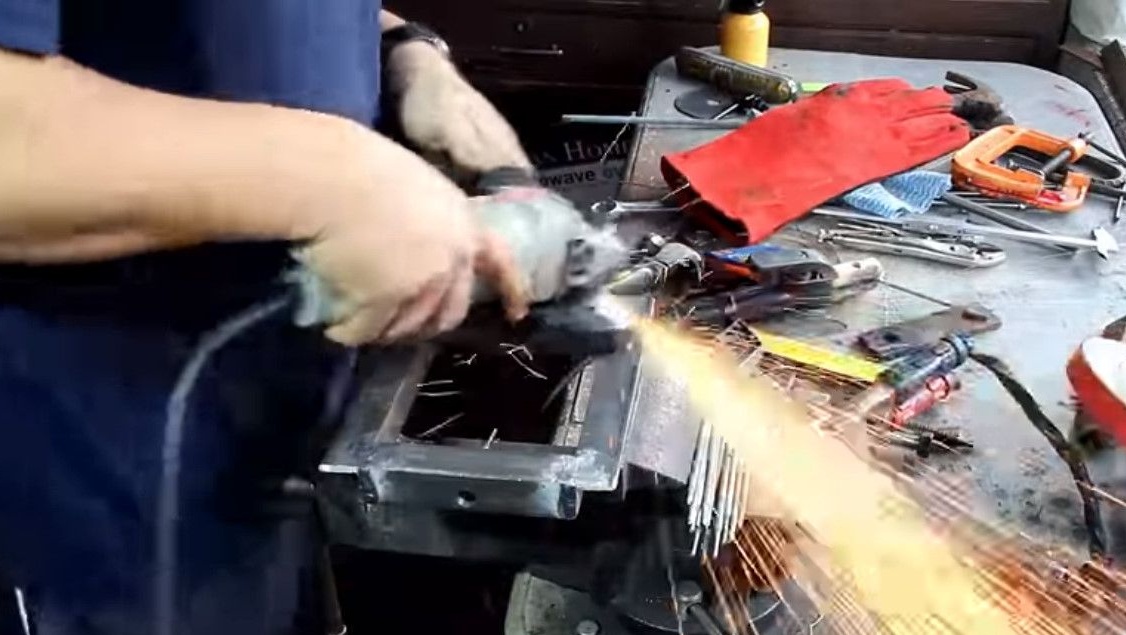
3. Bulgarian with disks
4. Small things - a hammer, brushes, etc.
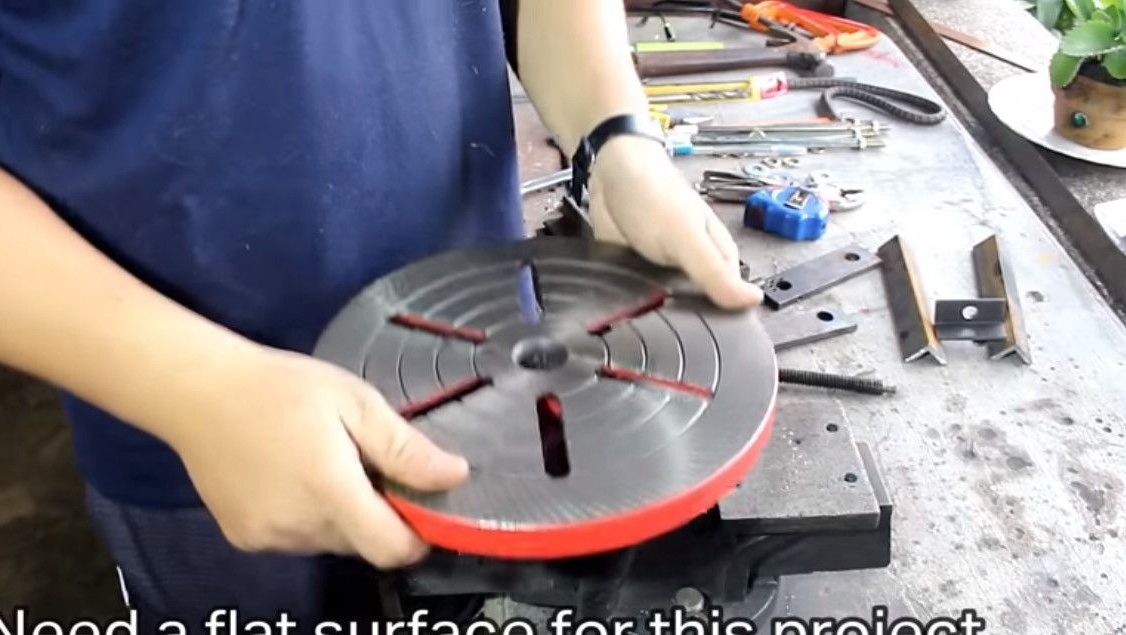
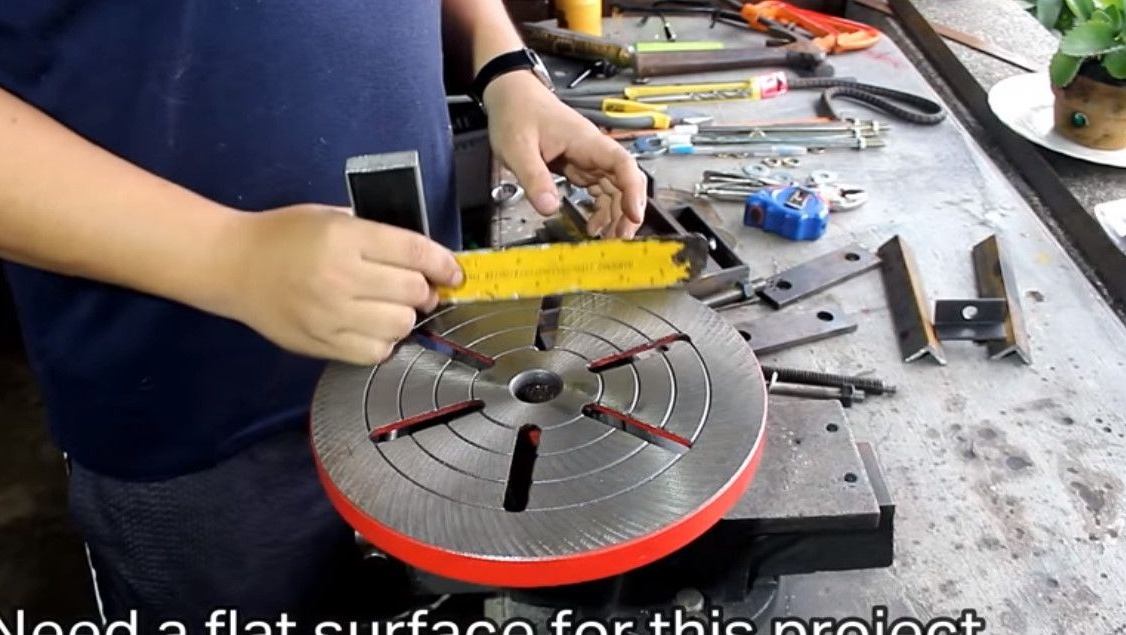
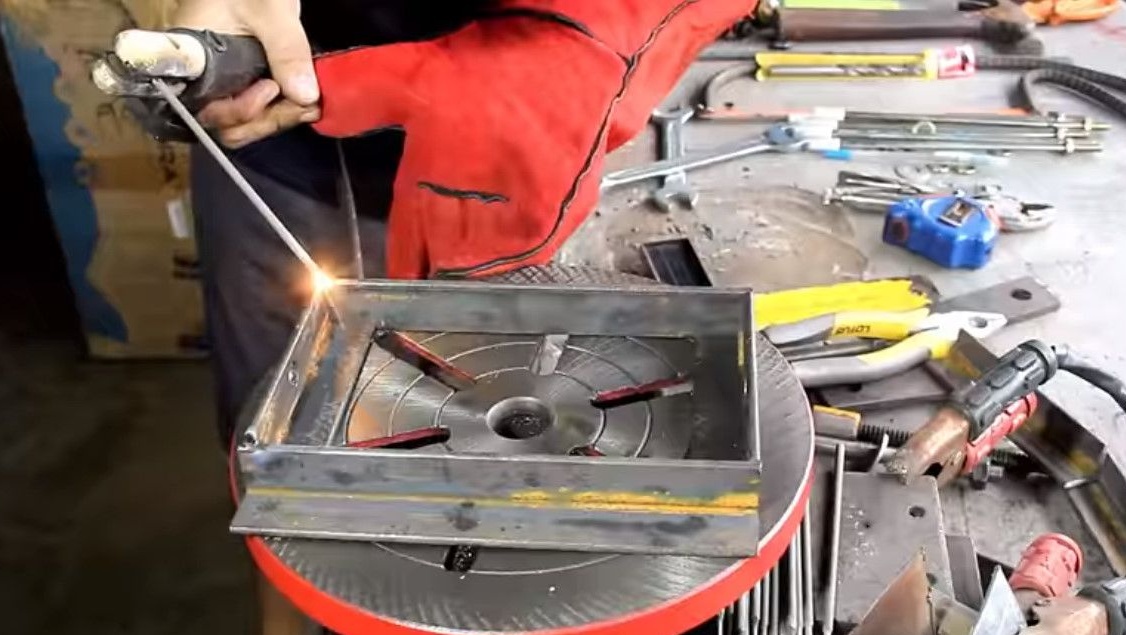
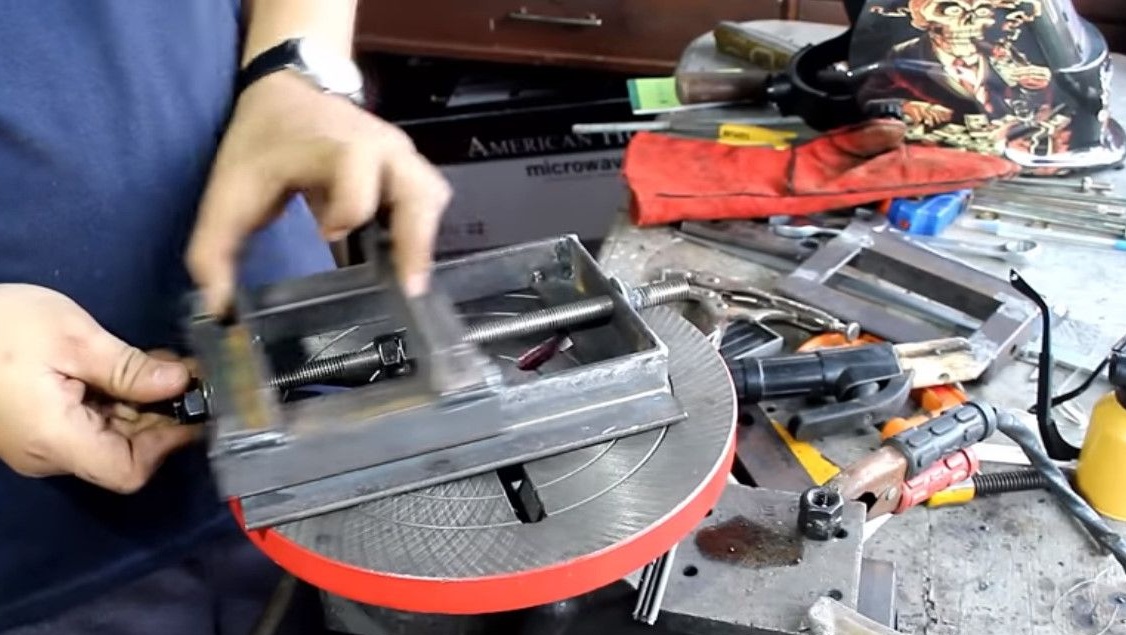
Set device the author plans on a rotary table, and in any case, it is necessary to assemble it on a flat surface.
To do this, he has already cut blanks from the corners.

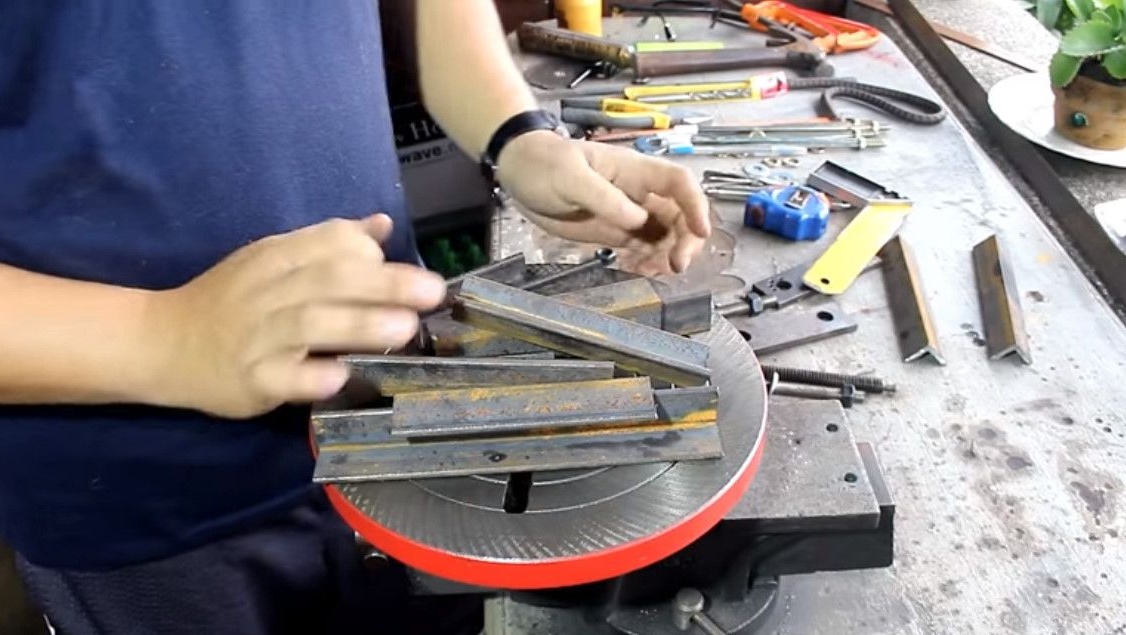
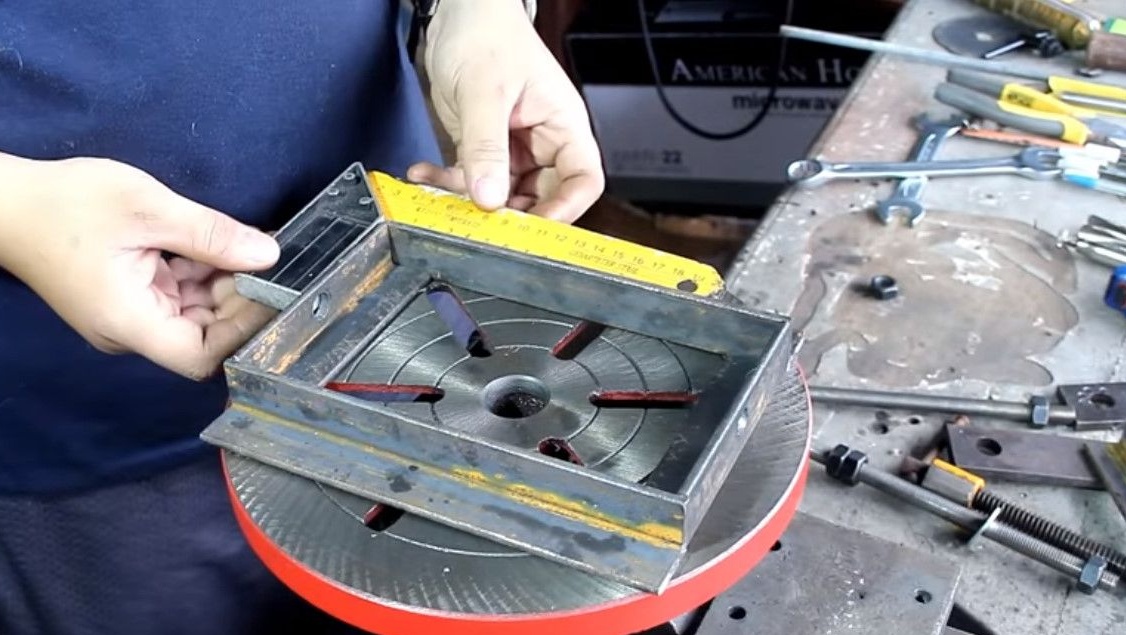
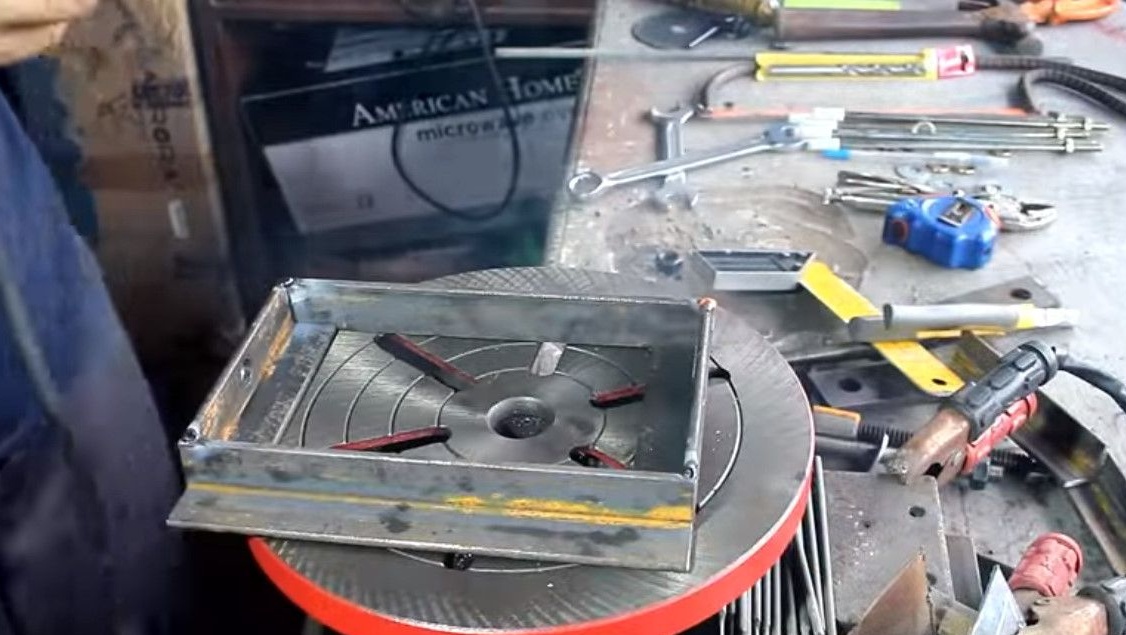
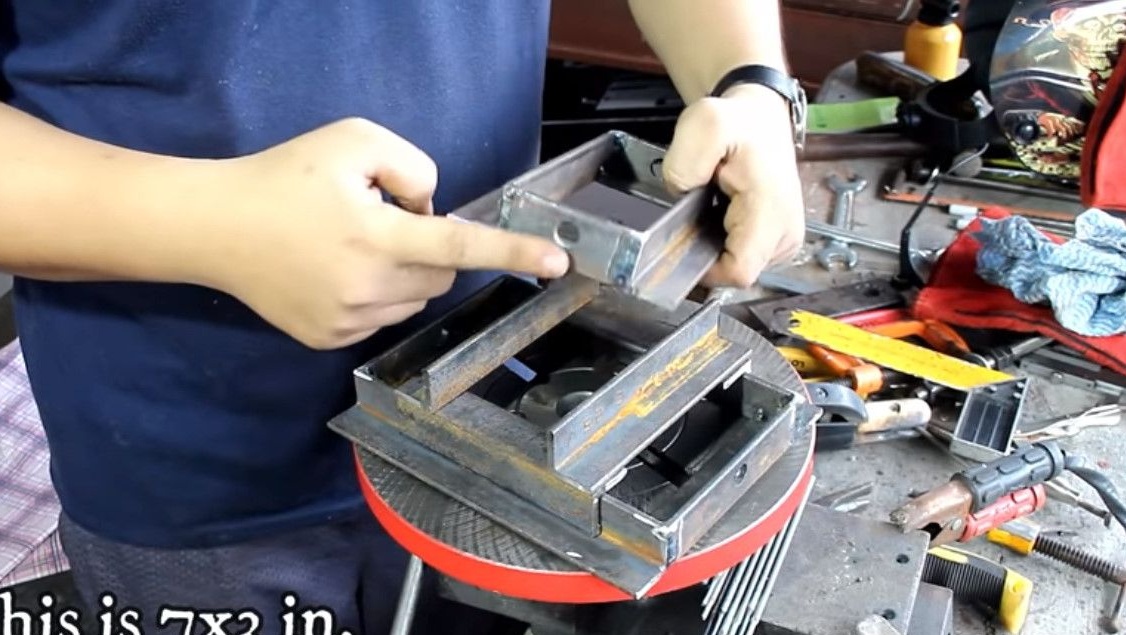
Now begins to assemble the base, its dimensions are 8X5 inches.
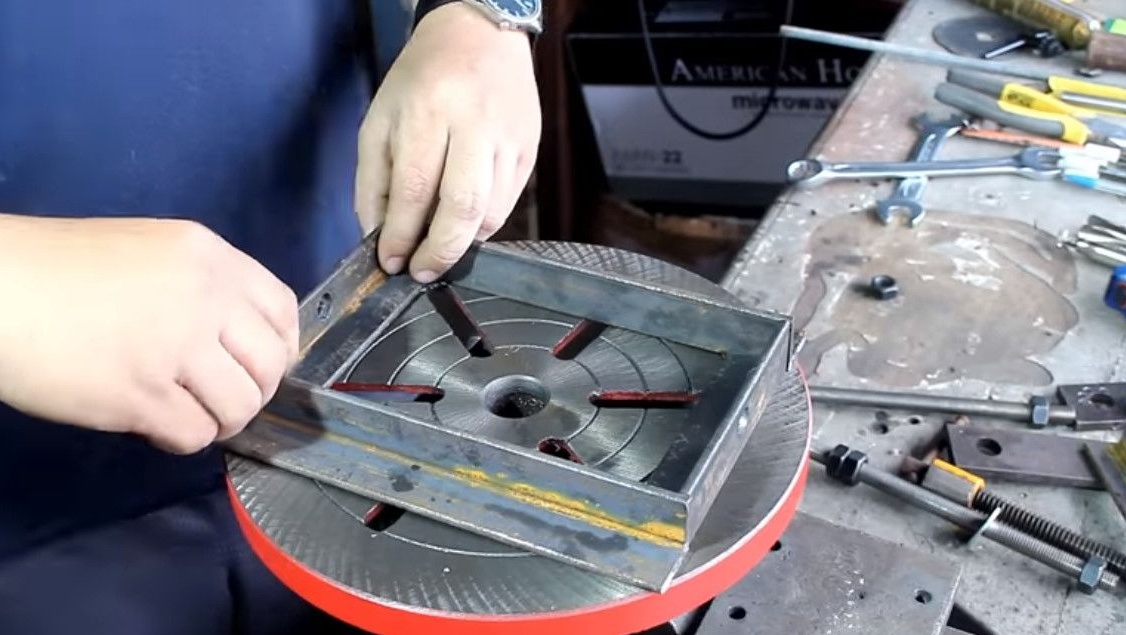
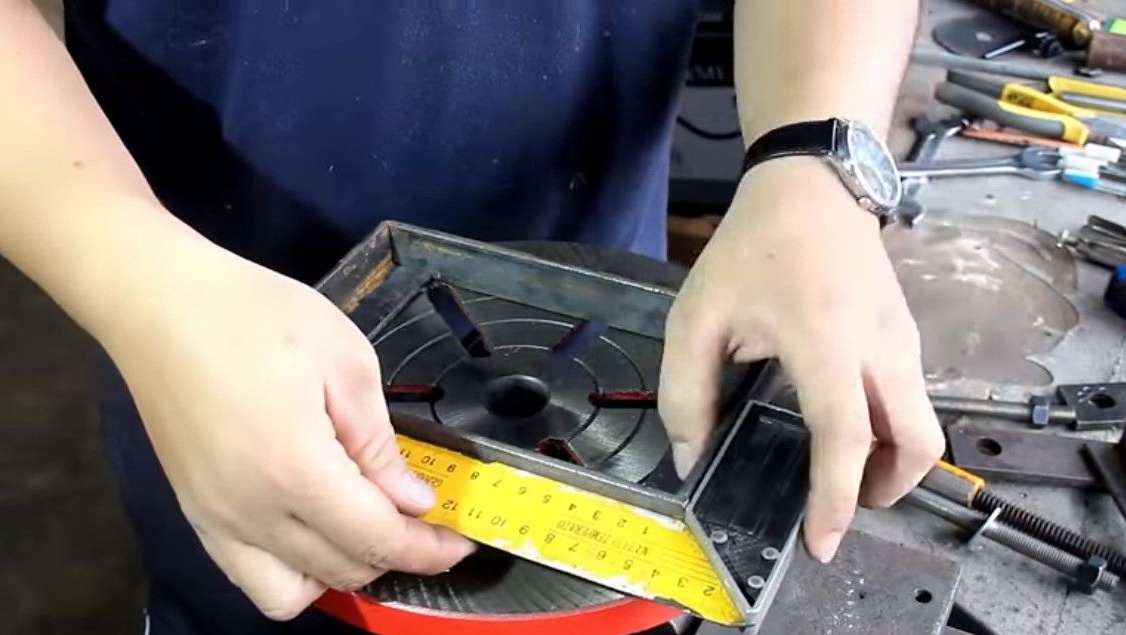
When assembling, it is very important to check the rectangularity of all angles. (By the way, there are corner magnets for such things).
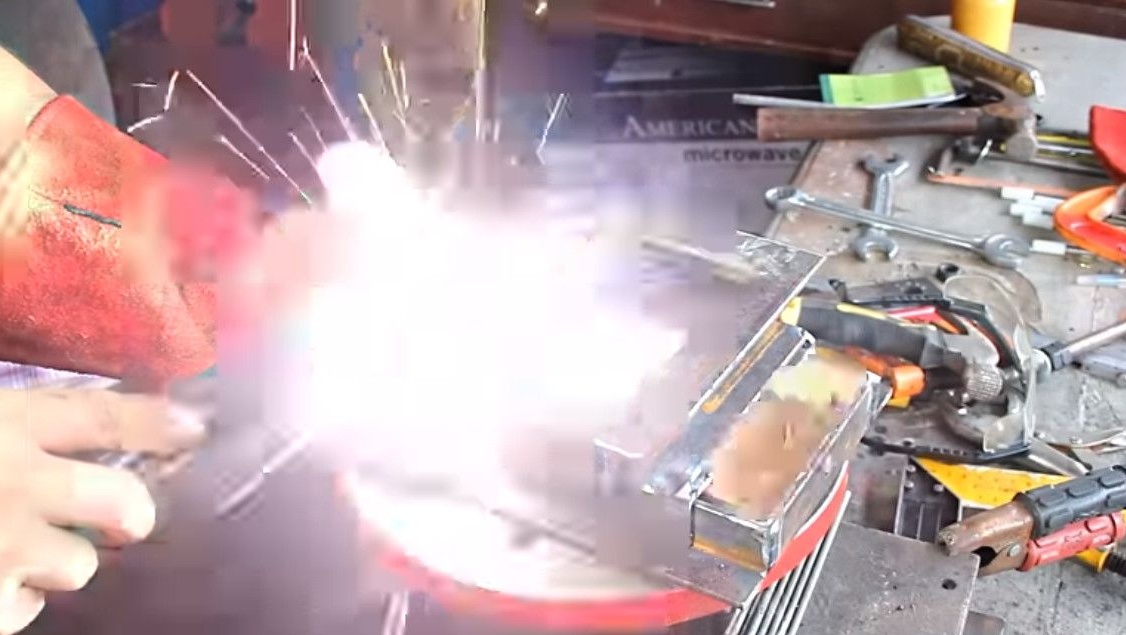
Boils all angles by welding.
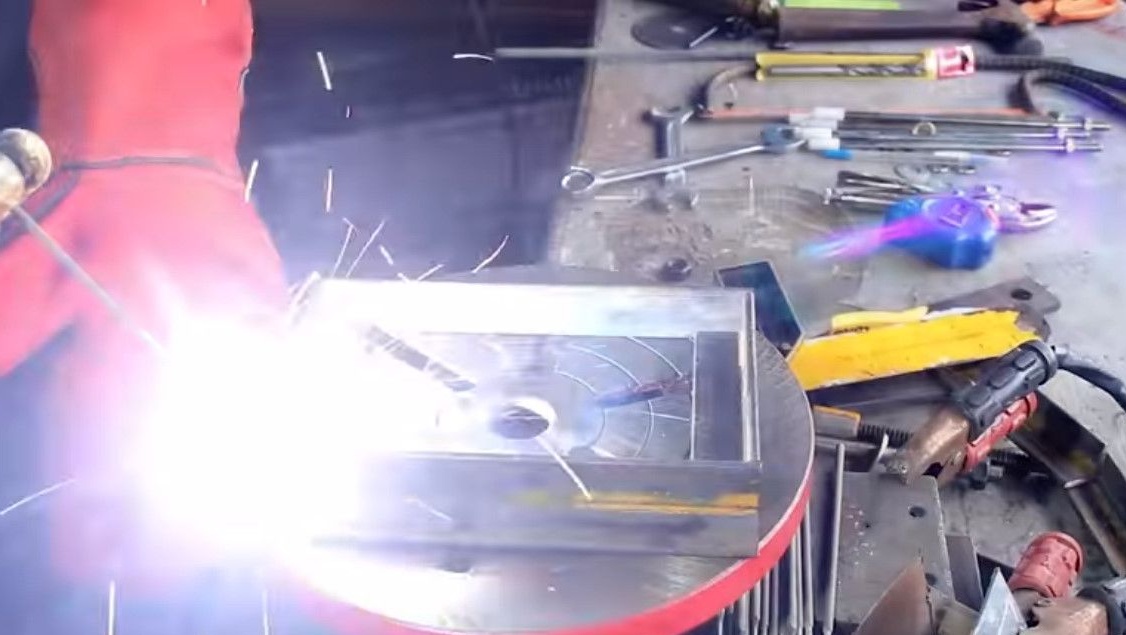
Repeats on the other hand.

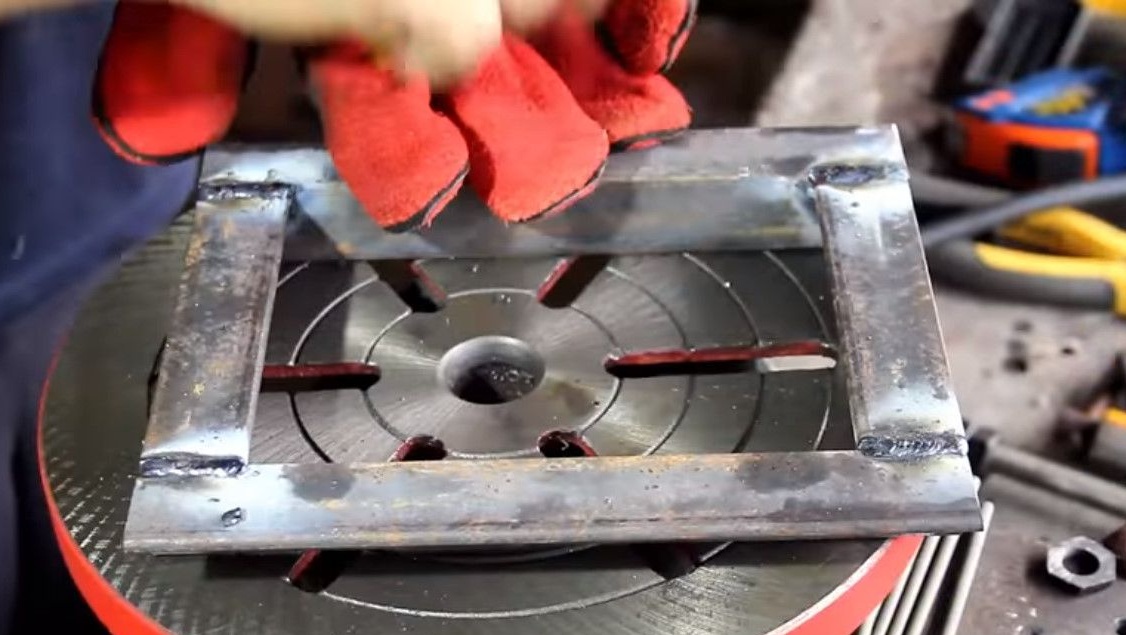
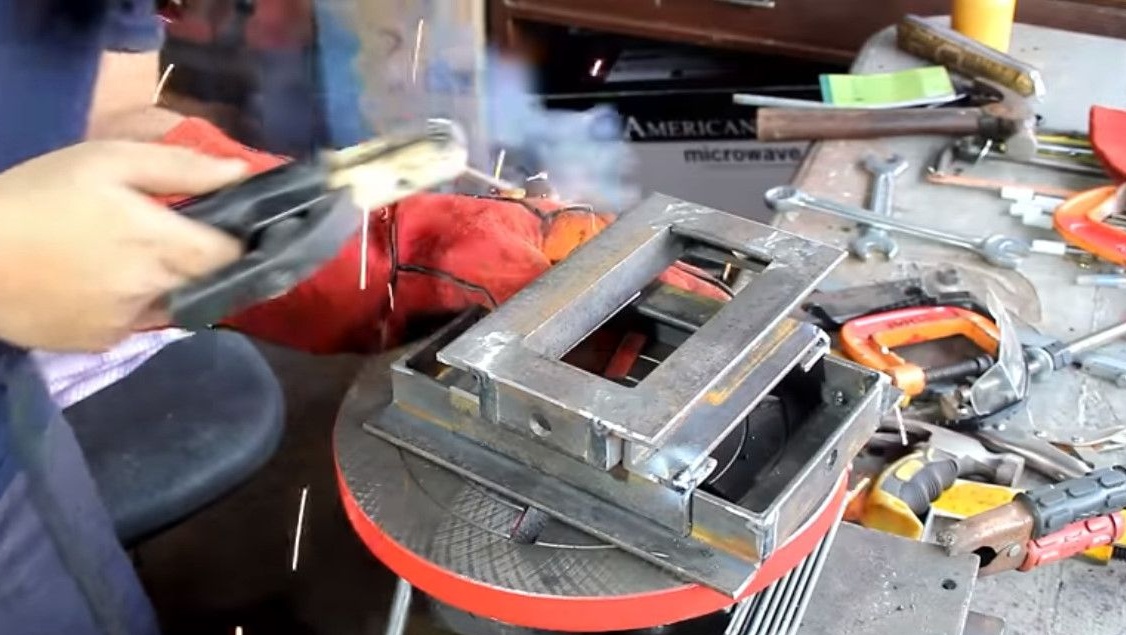
Then carefully cleans the seams with a grinder with a cleaning disk.
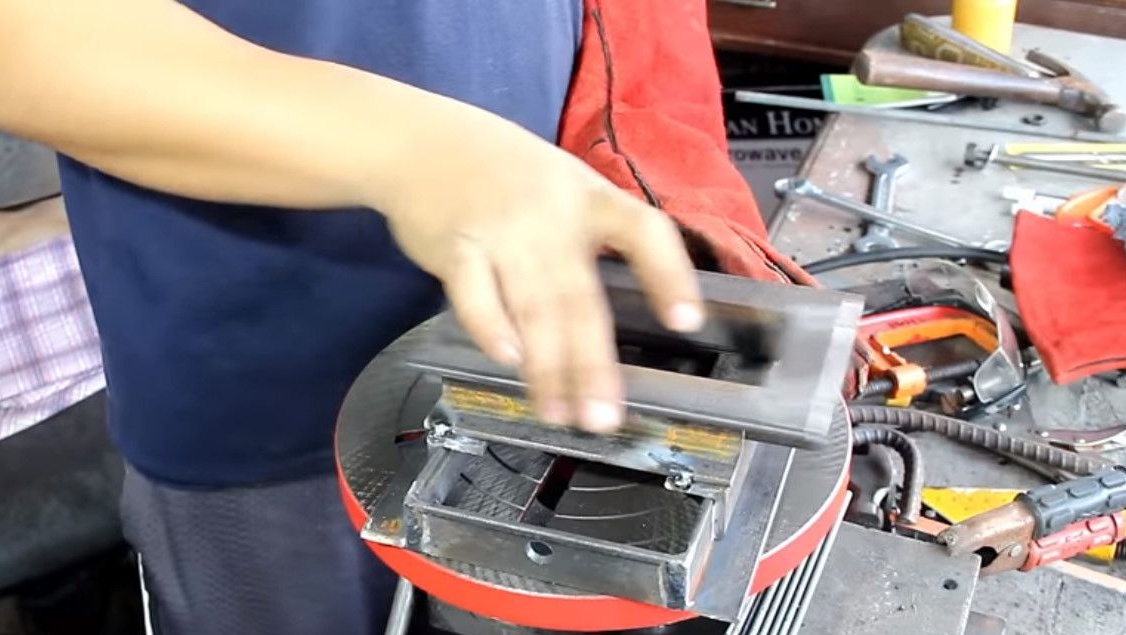
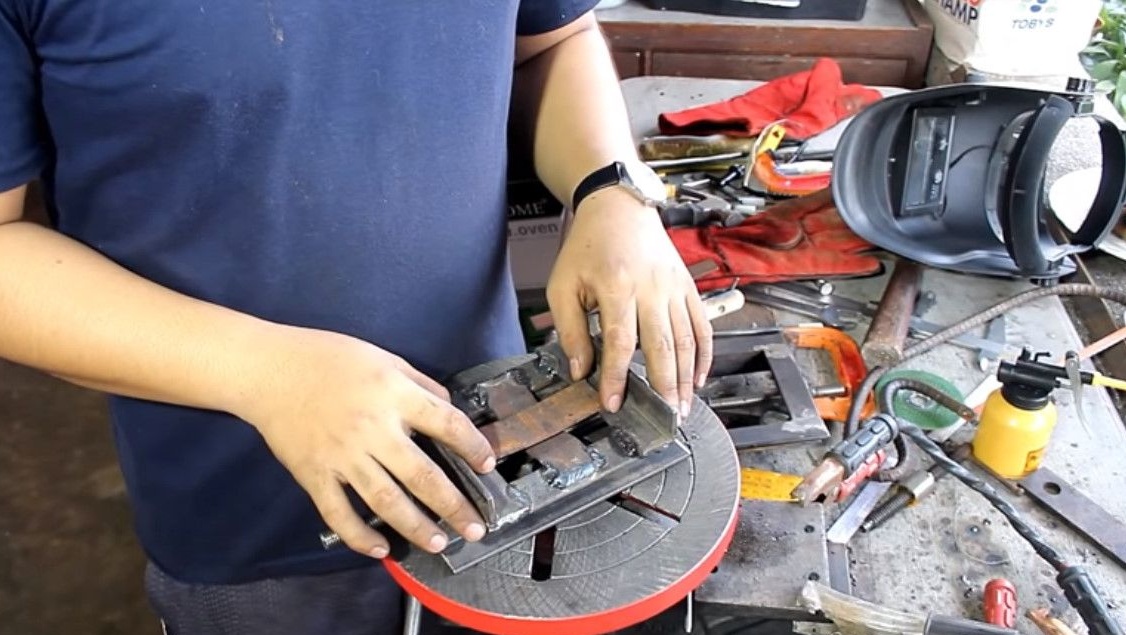
Now attaches the skids for the first moving part, or axis. That they slide freely, lays a piece of paper.
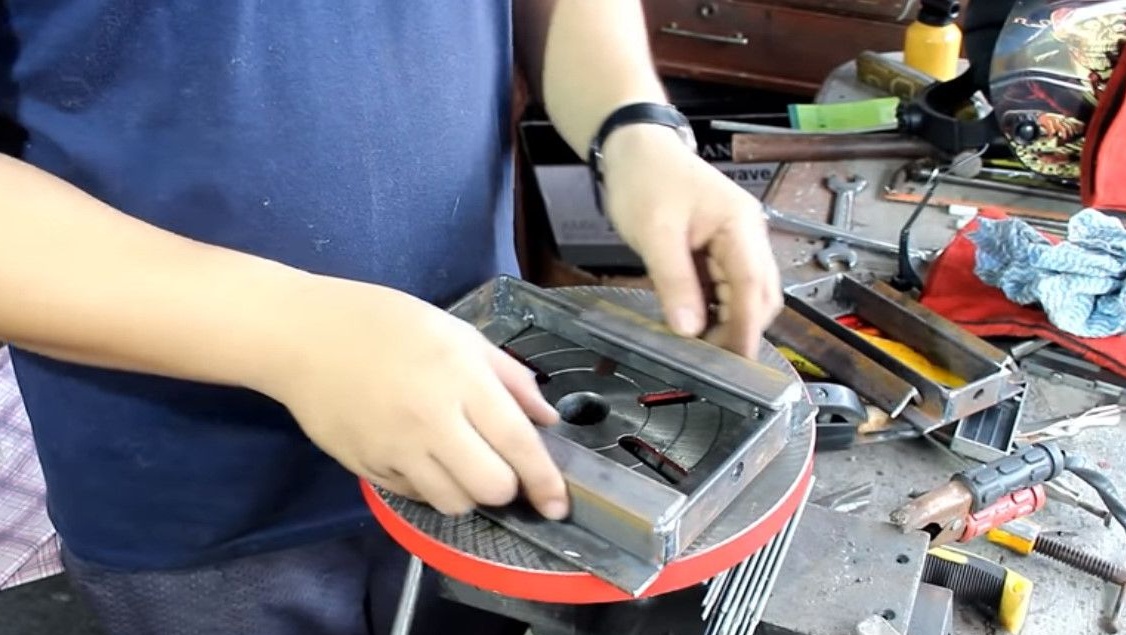
On these runners sets transverse "rails" for the second axis.
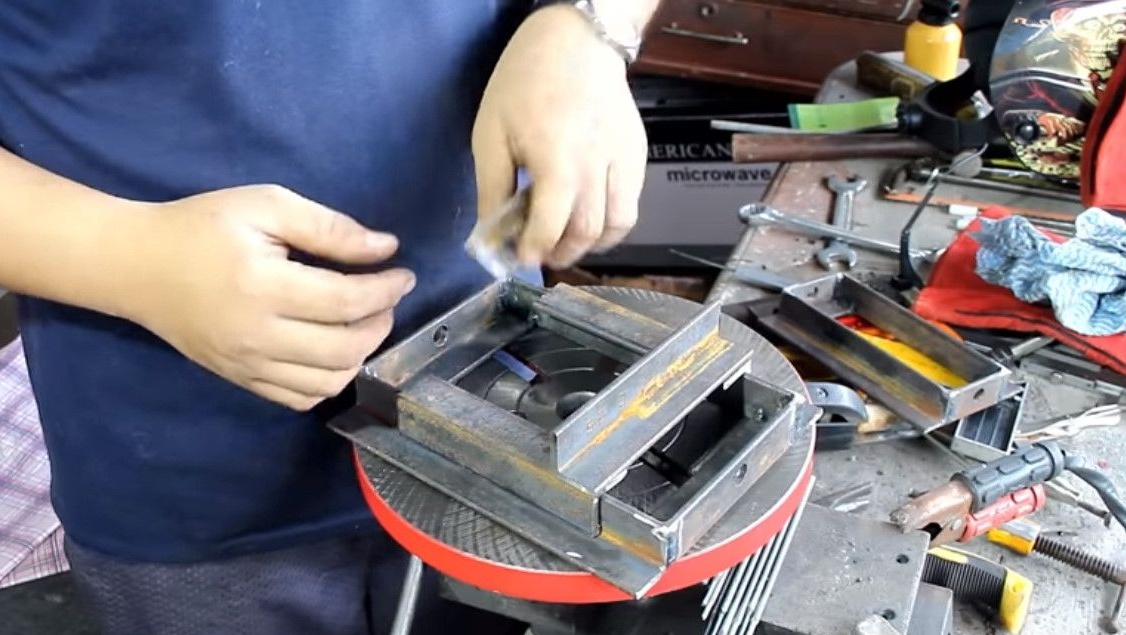
The second movable part is ready for him, puts it in the future place for precise welding.
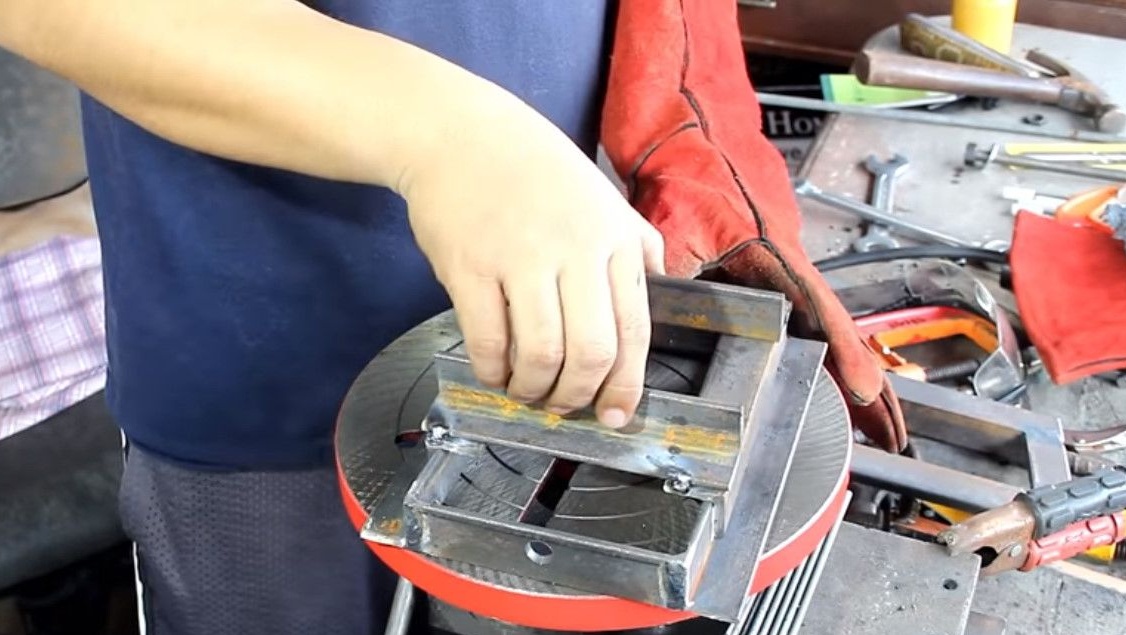
Boil the first carriage.
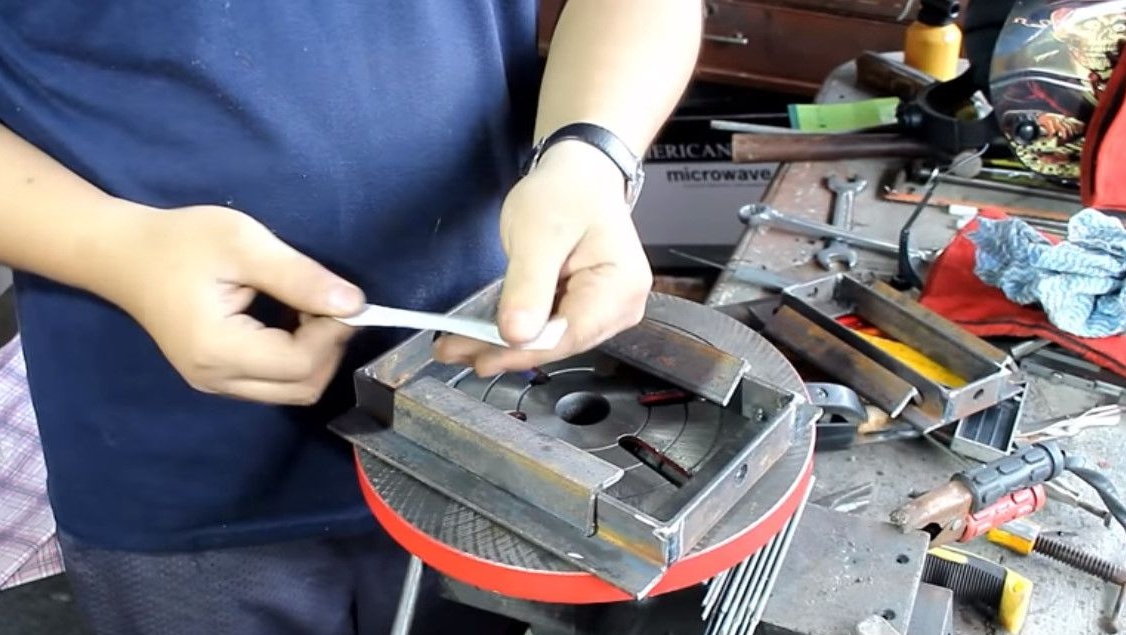
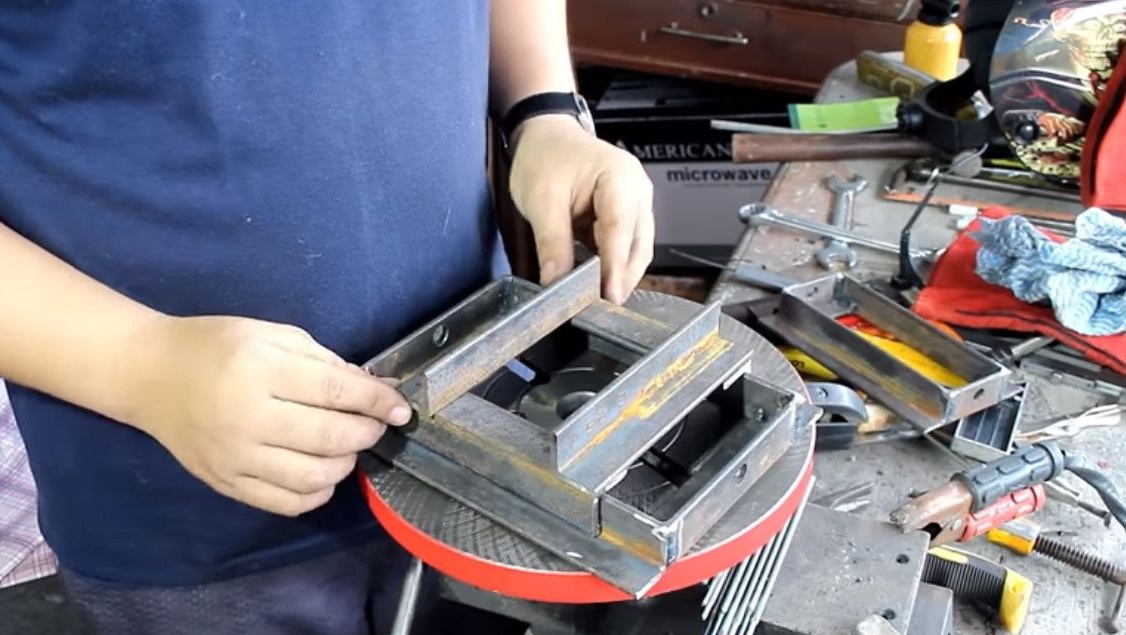
Everything glides perfectly, and the first and second axis. Removes the upper carriage.
Then the bottom, at the same time throwing a piece of paper.
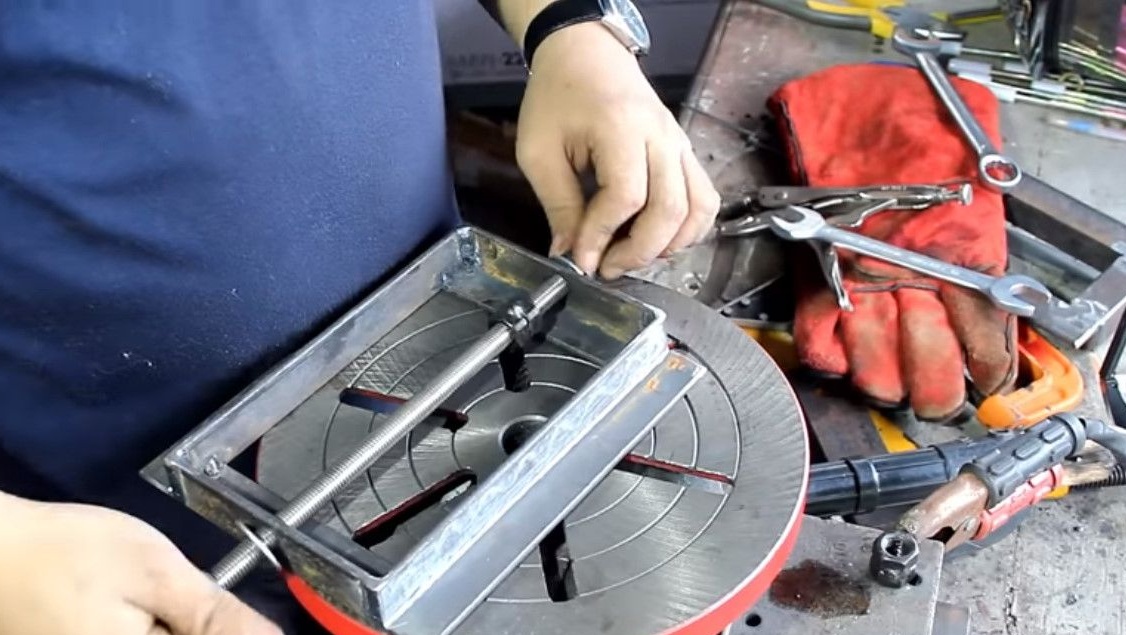
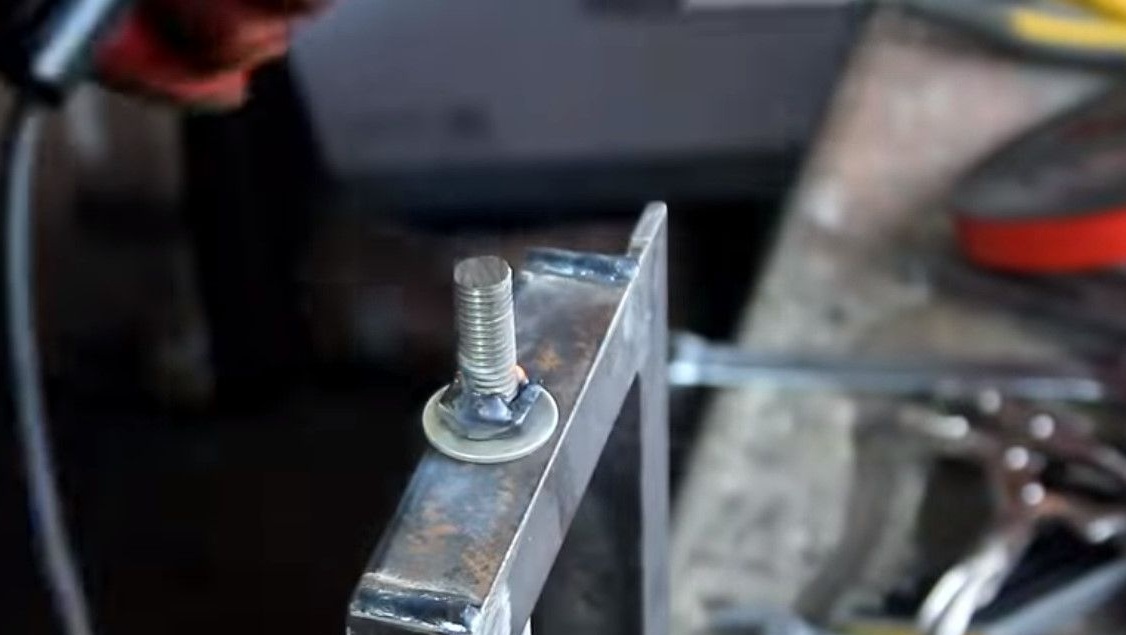
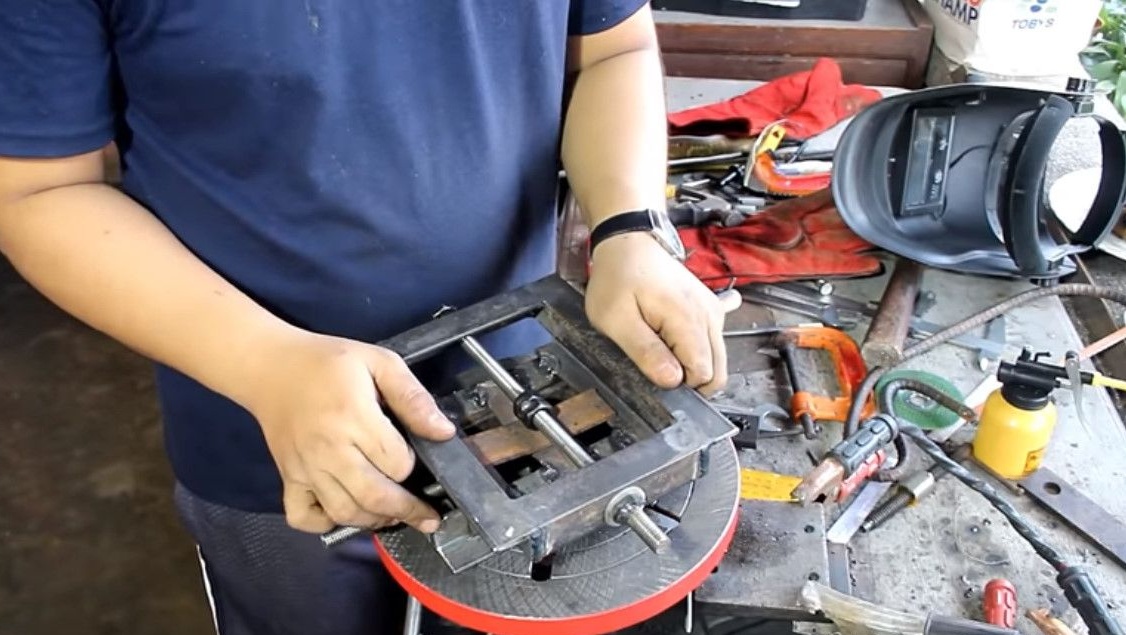
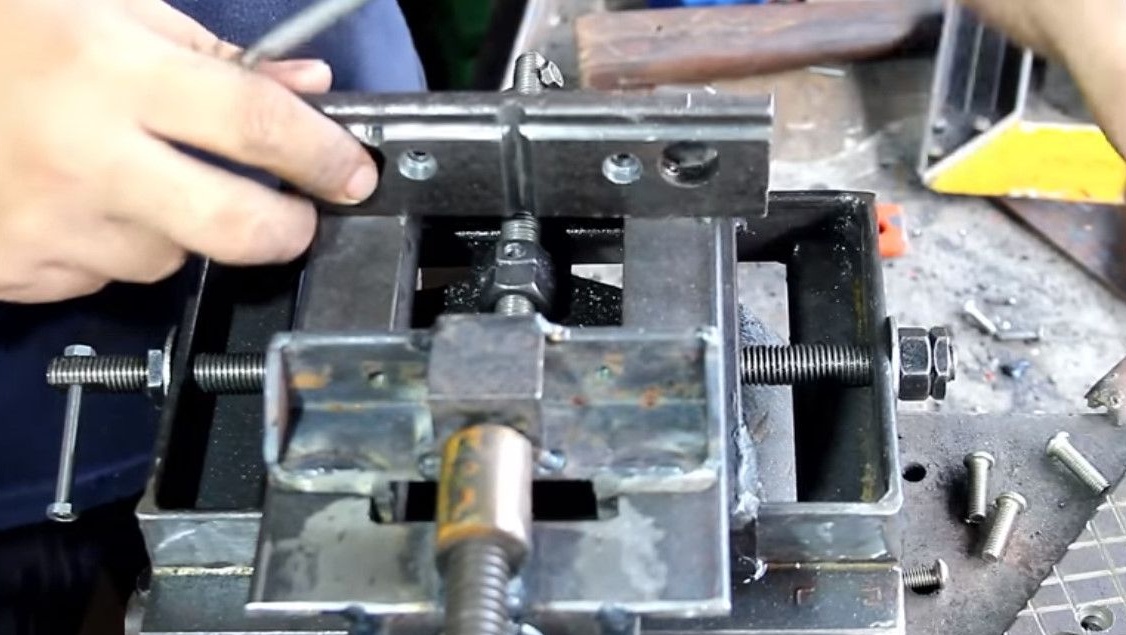
The base sets the M12 pin, it will move the bottom carriage.
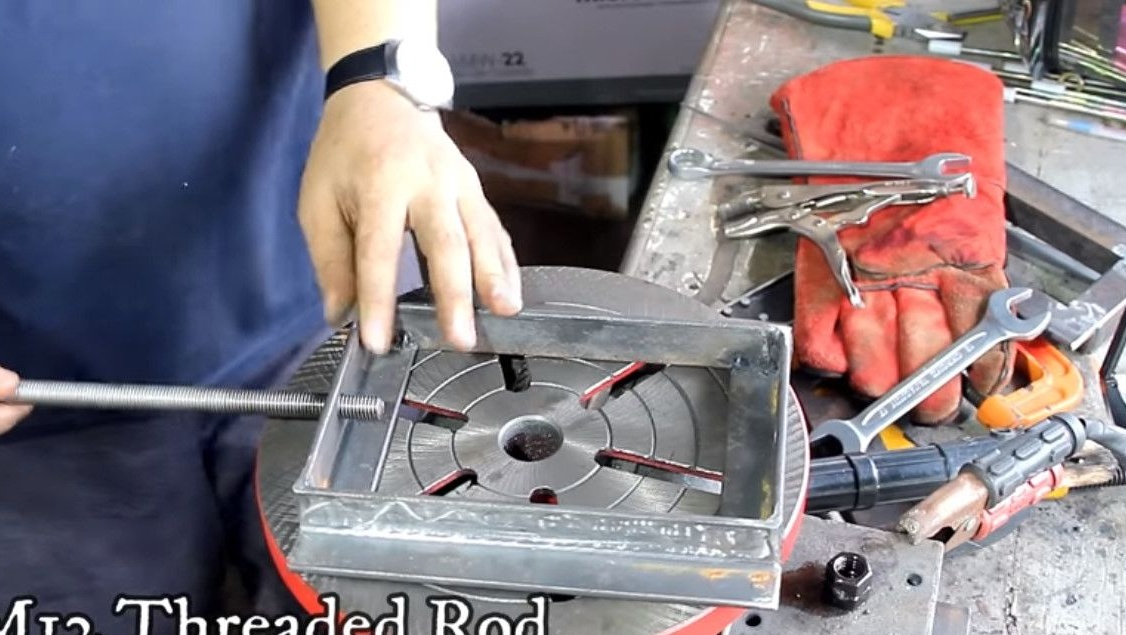
Then two nuts are screwed onto the stud, they will move the carriage.
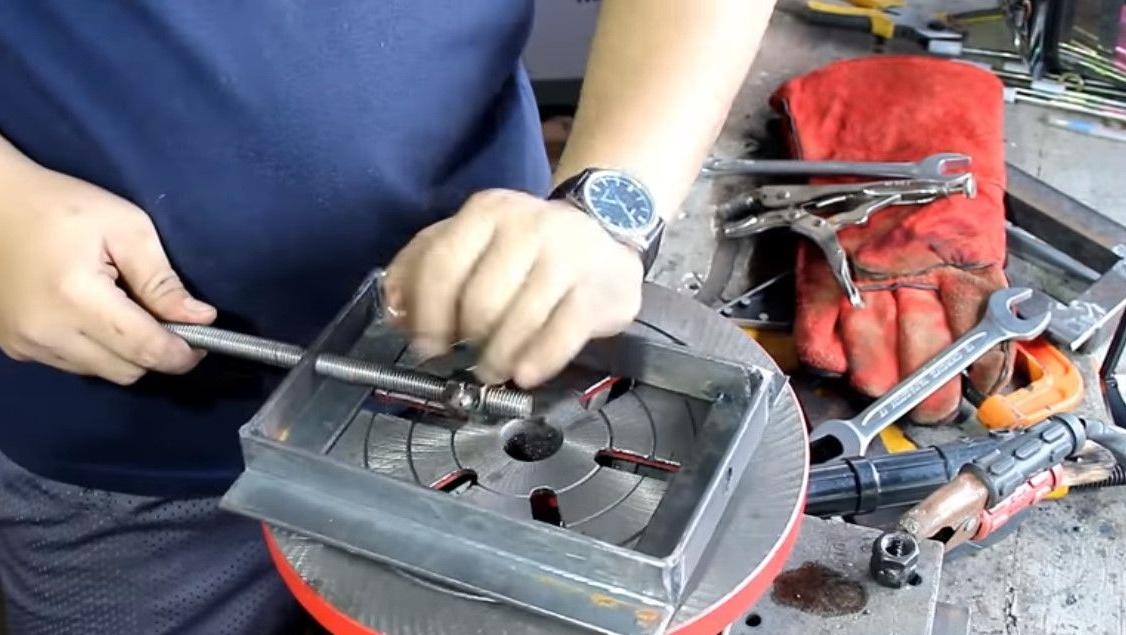
Fixes one edge of the stud with two nuts and a washer.
The same thing on the other hand.
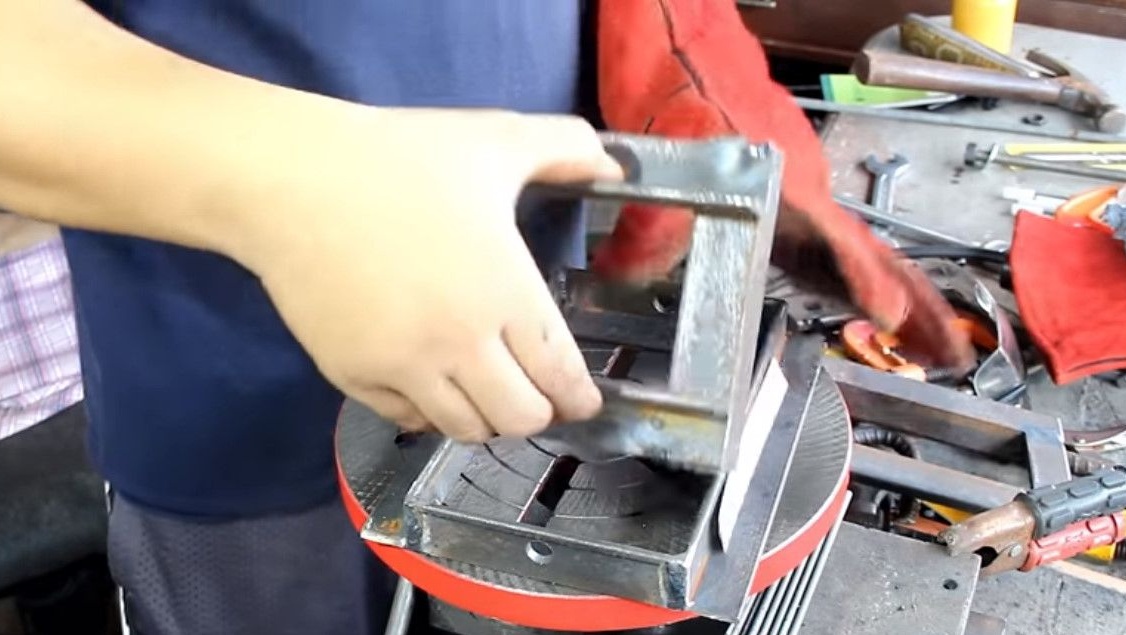
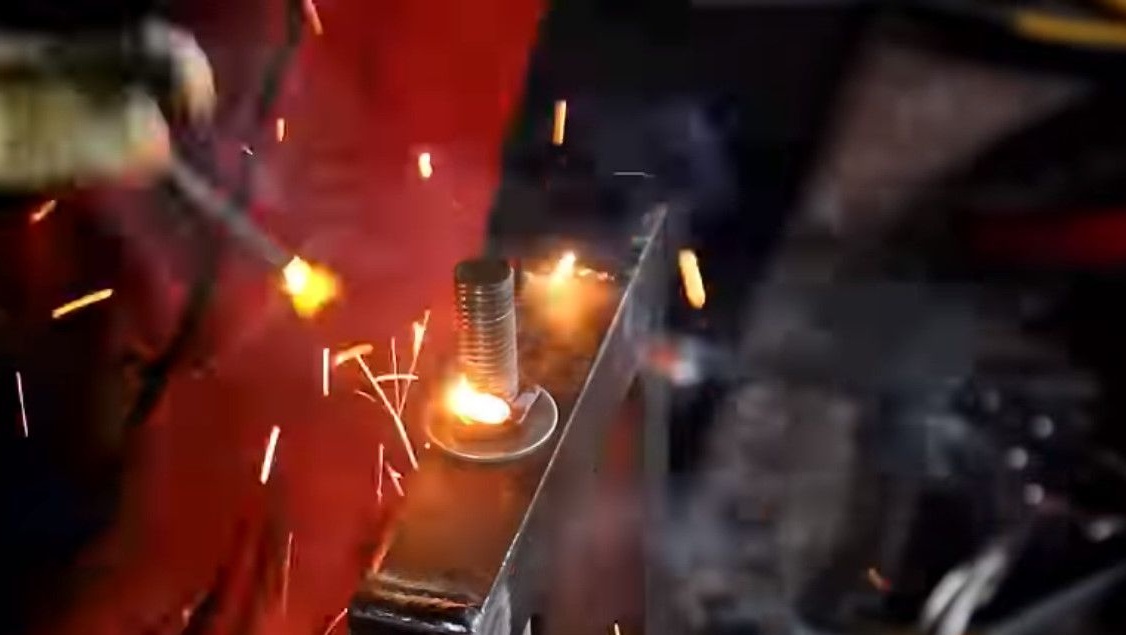
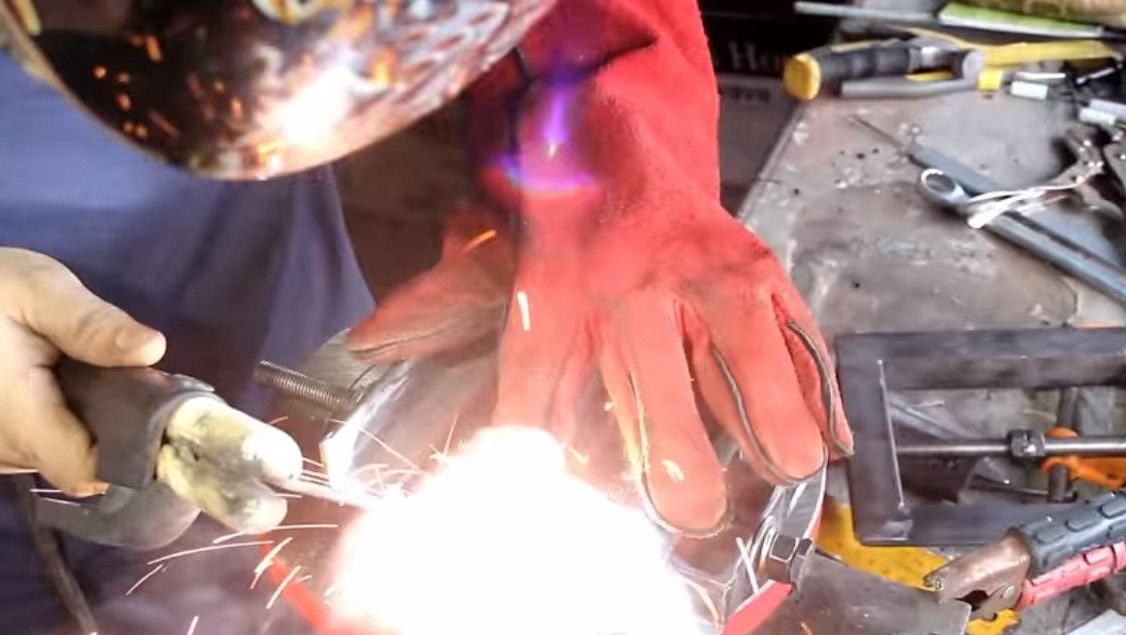
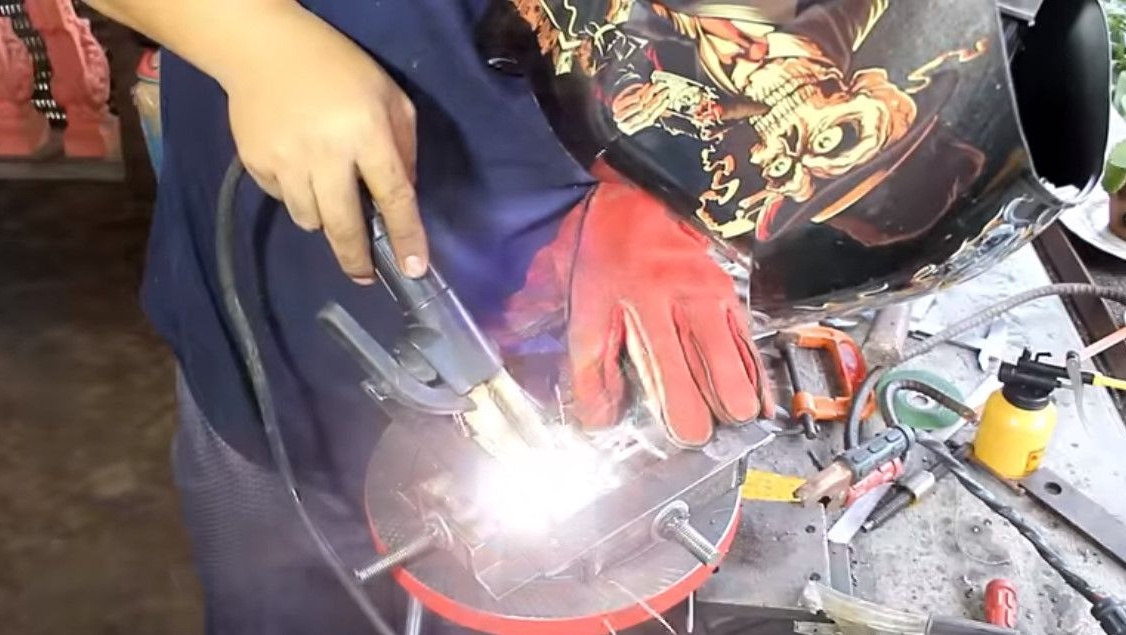
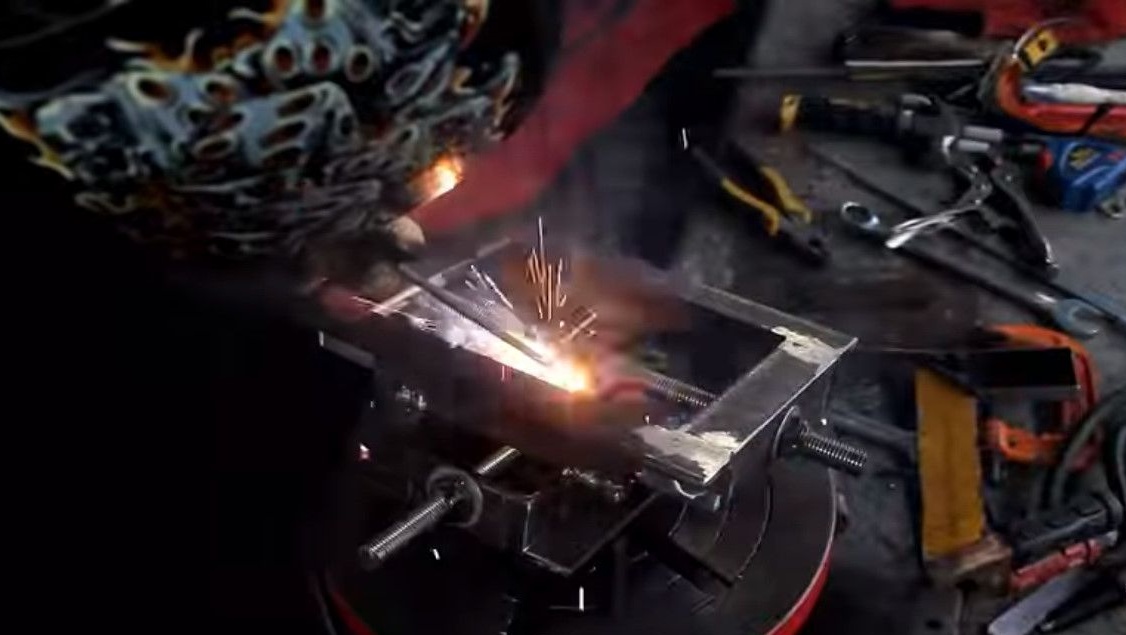
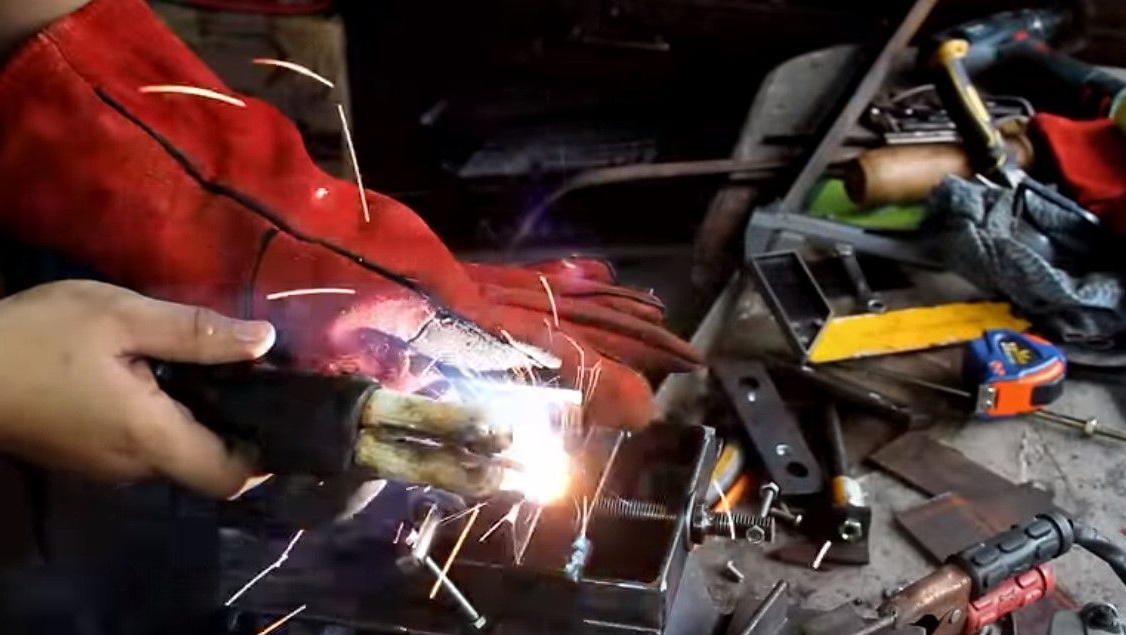
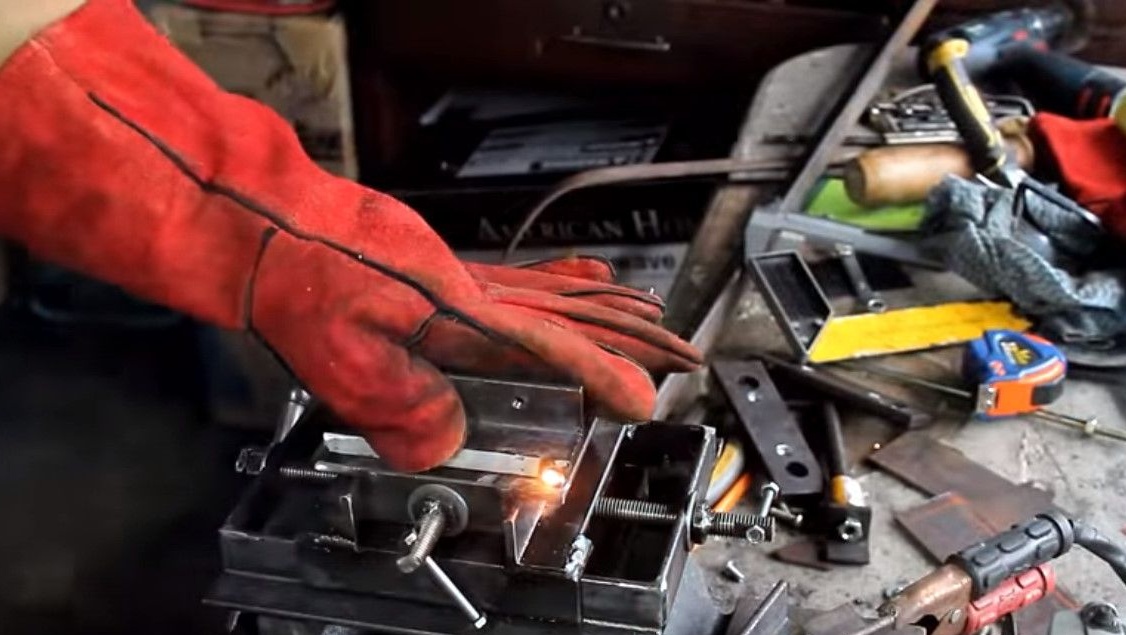
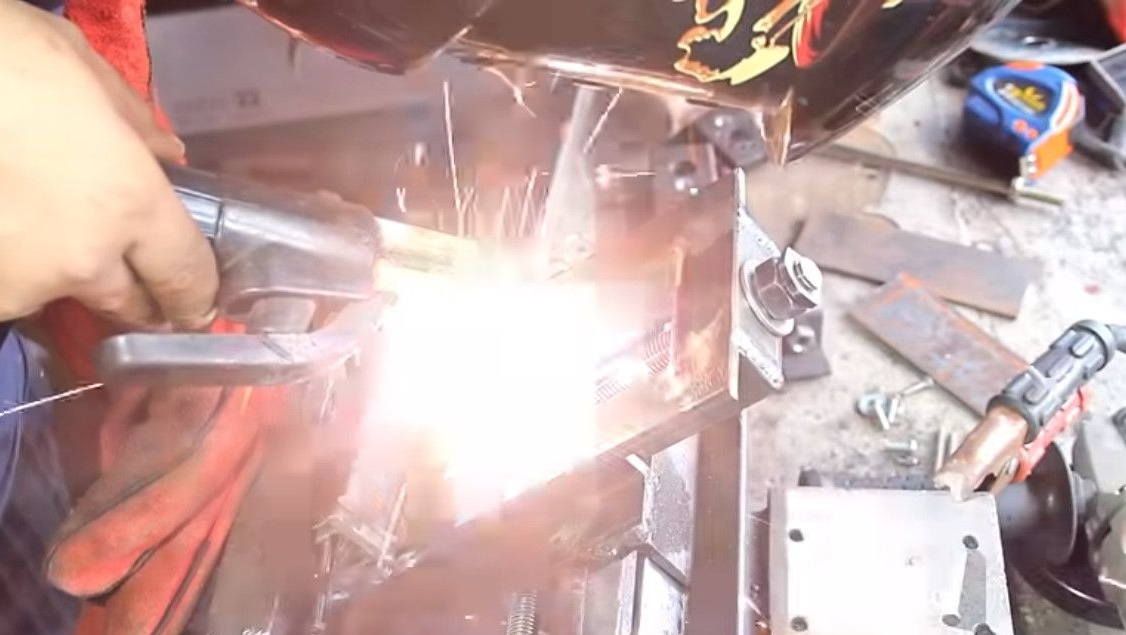
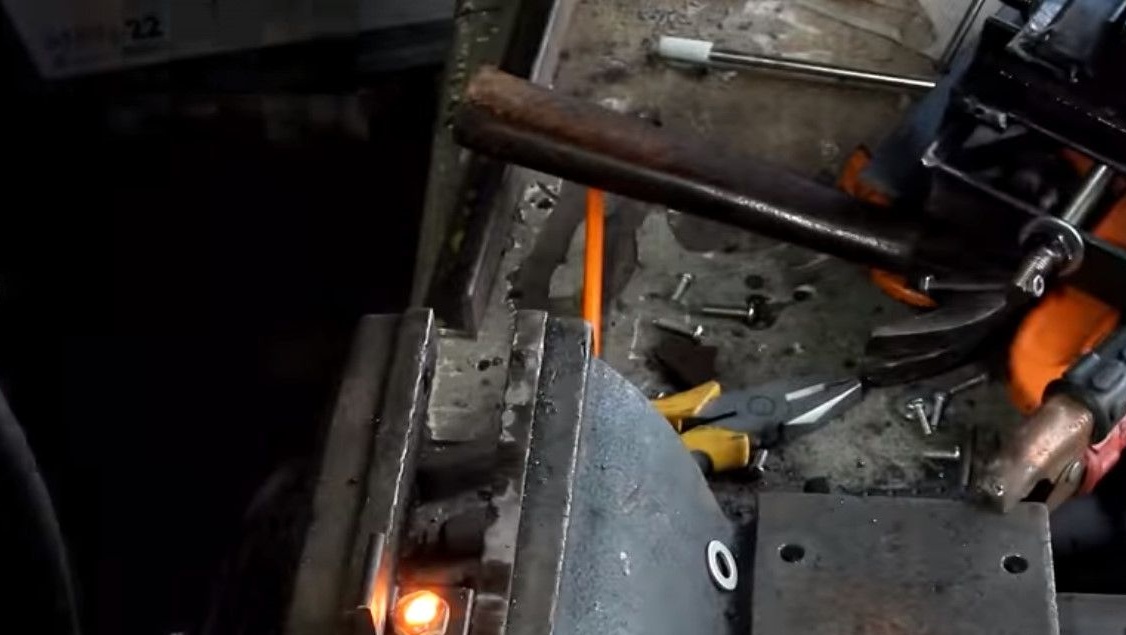
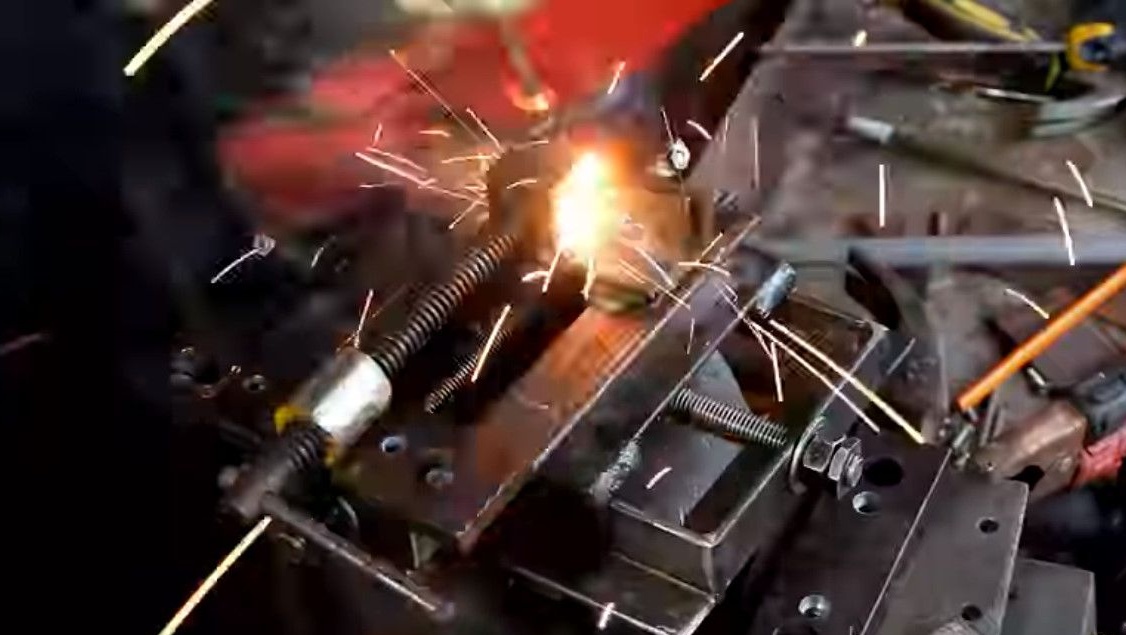
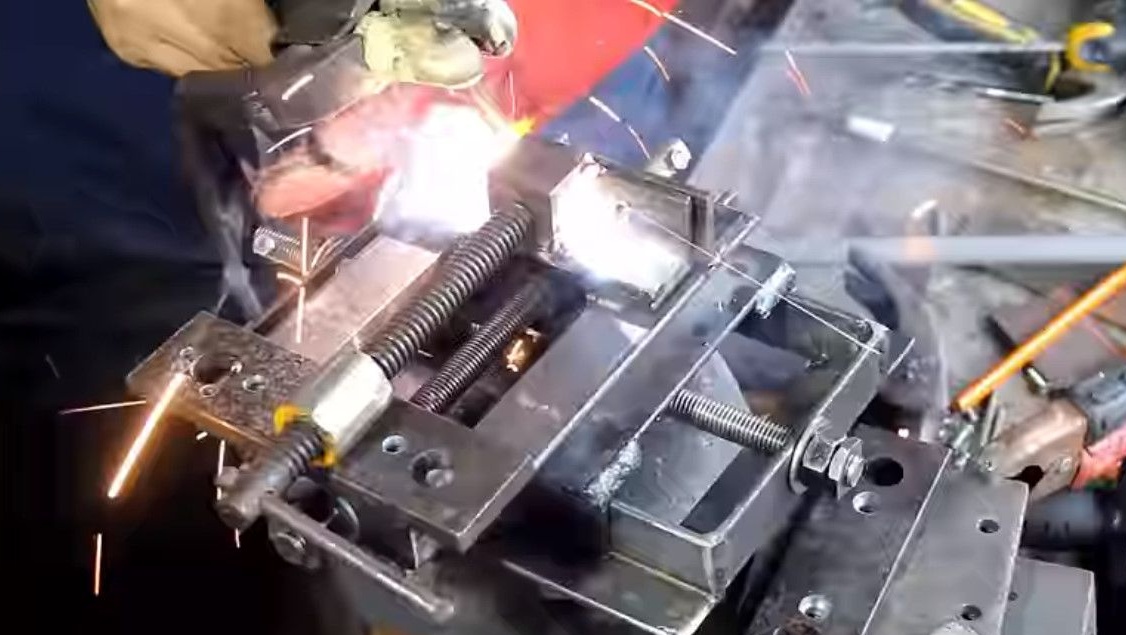
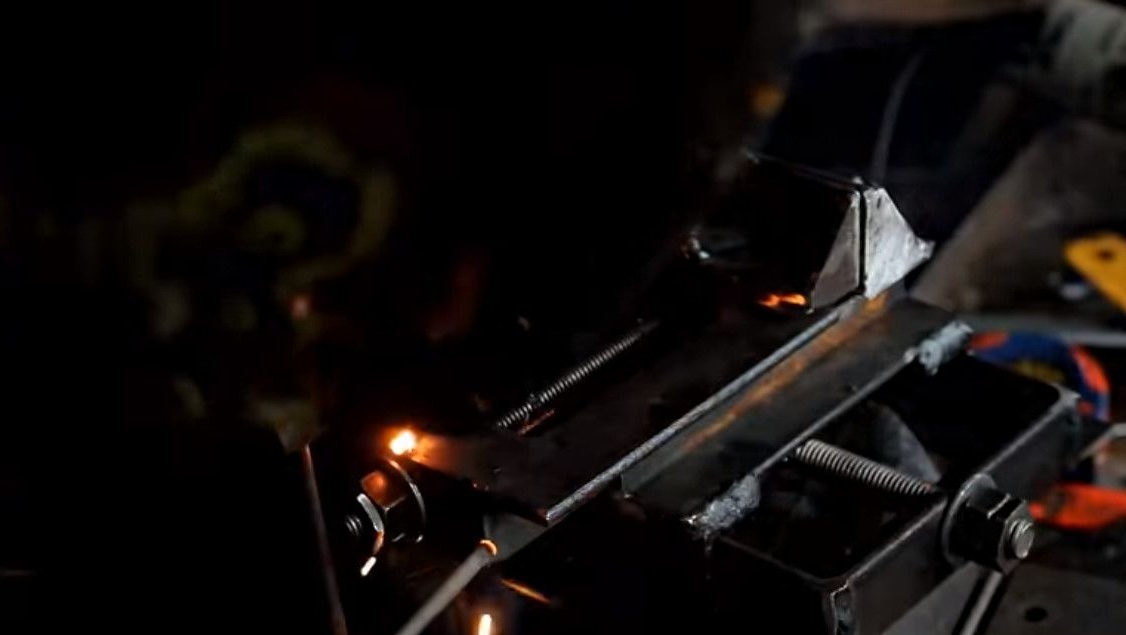
Clamping the base in a vise, welds the nuts to the stud.
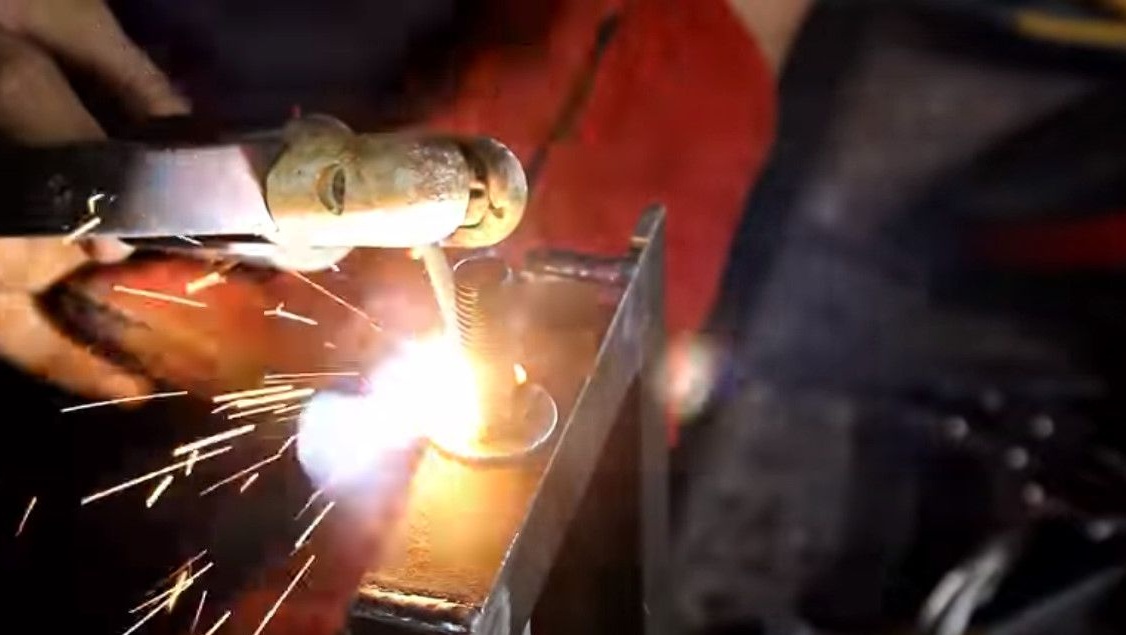
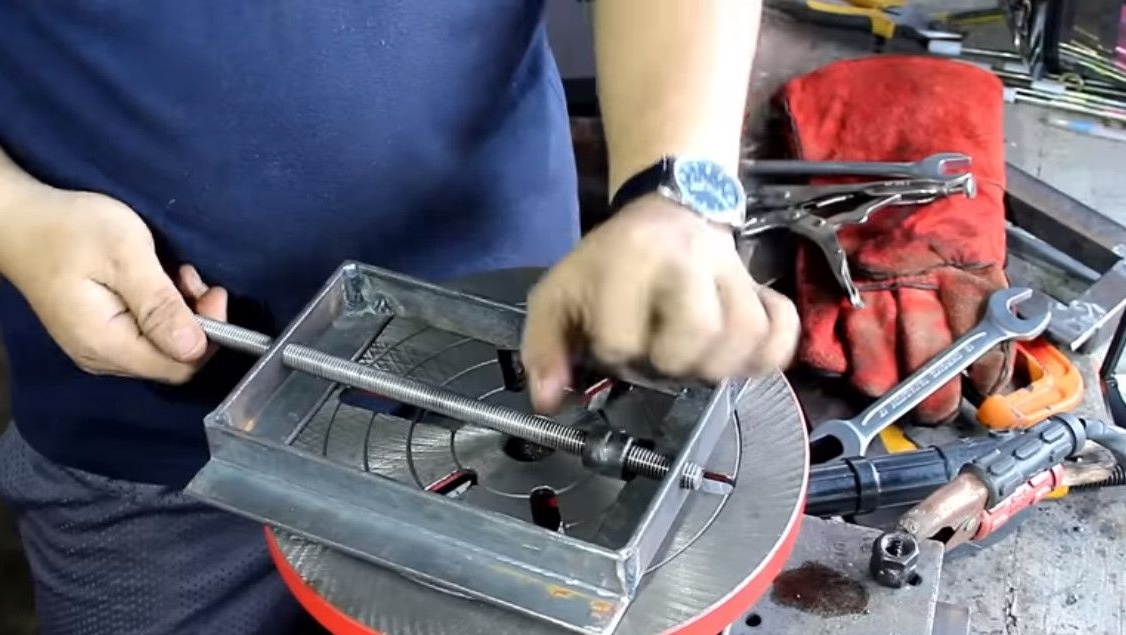
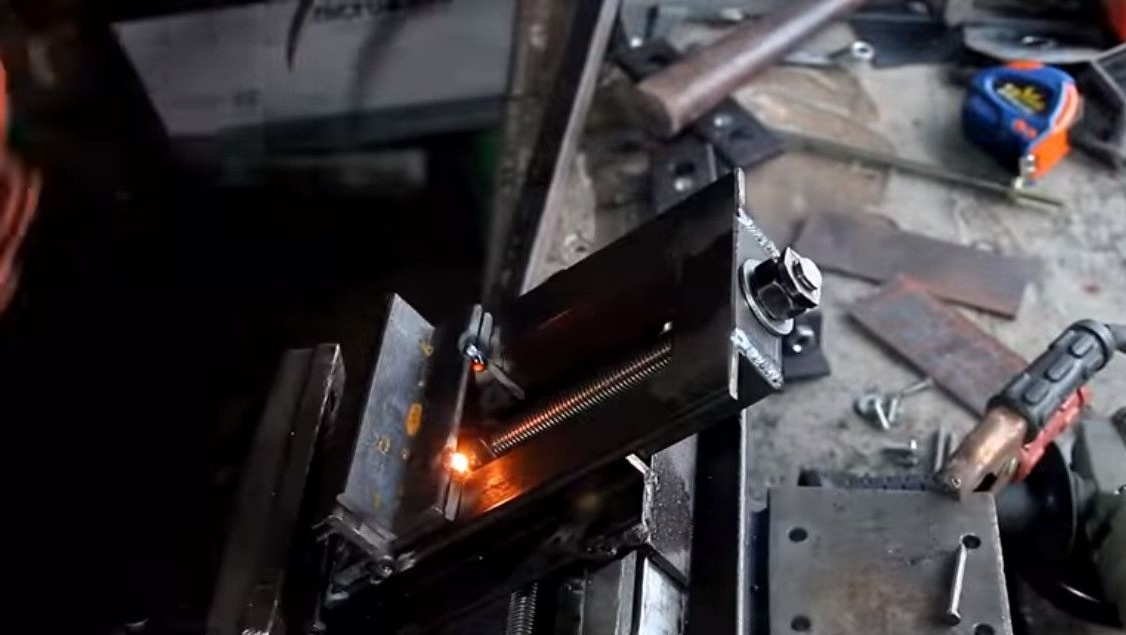
Sets the base and in the middle of it sets the bar.
Aligning the center of the bar with the nuts on the stud welds them.
Now the bar itself is welded to the carriage.
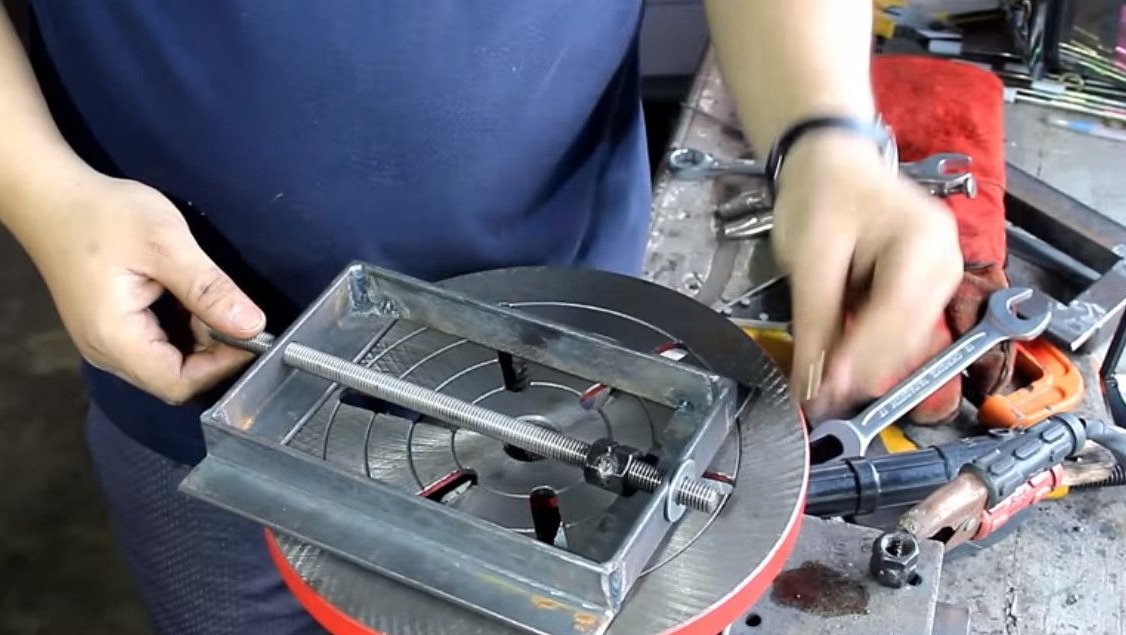
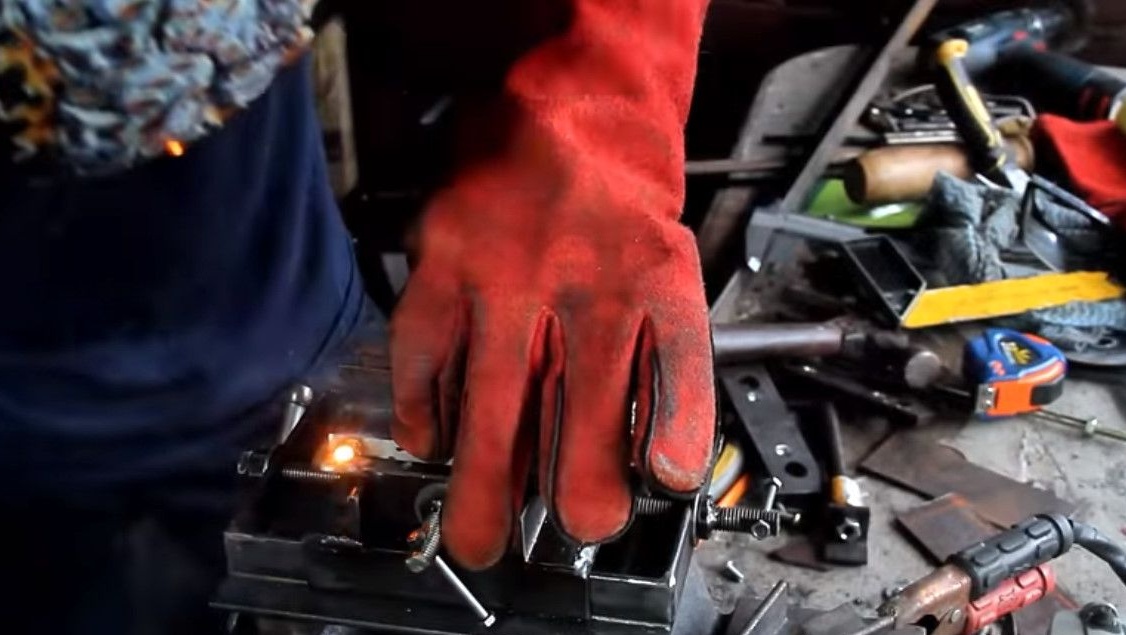
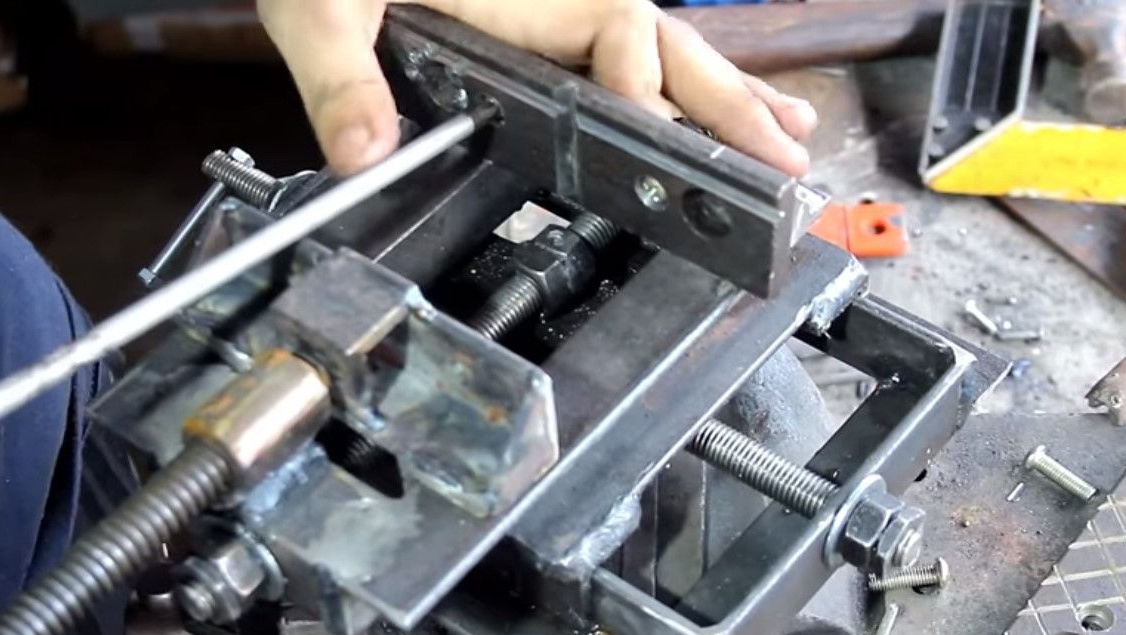
With the upper carriage, almost the same actions, only upside down.
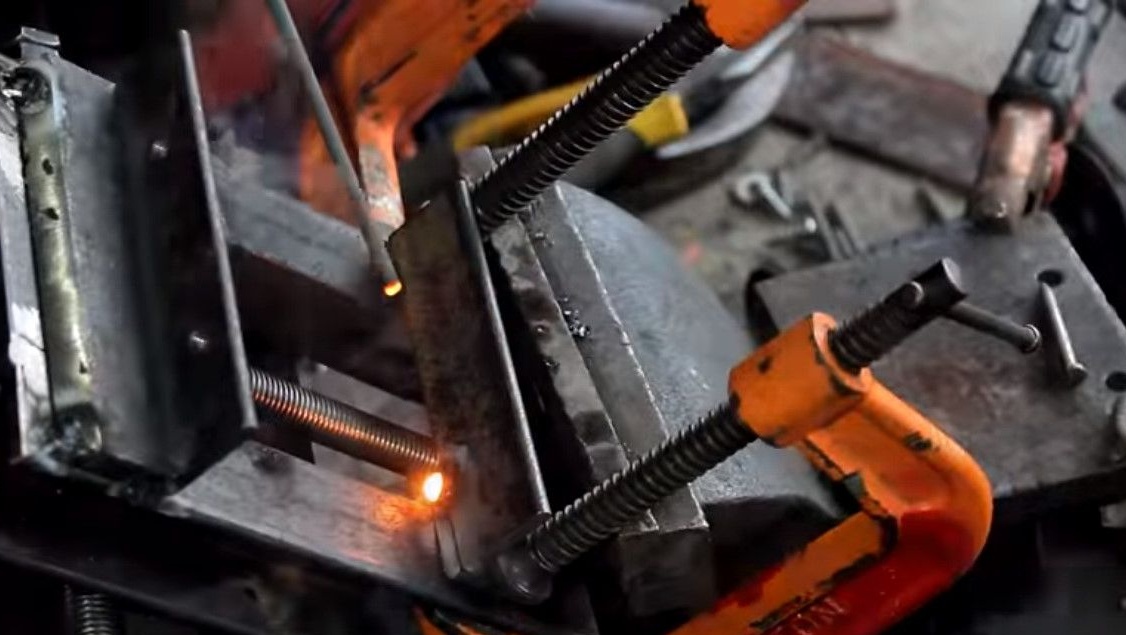
Installation of a level, combination with the carriage.
Welding. First the nuts, then the bar, periodically checks the mobility of the carriage.
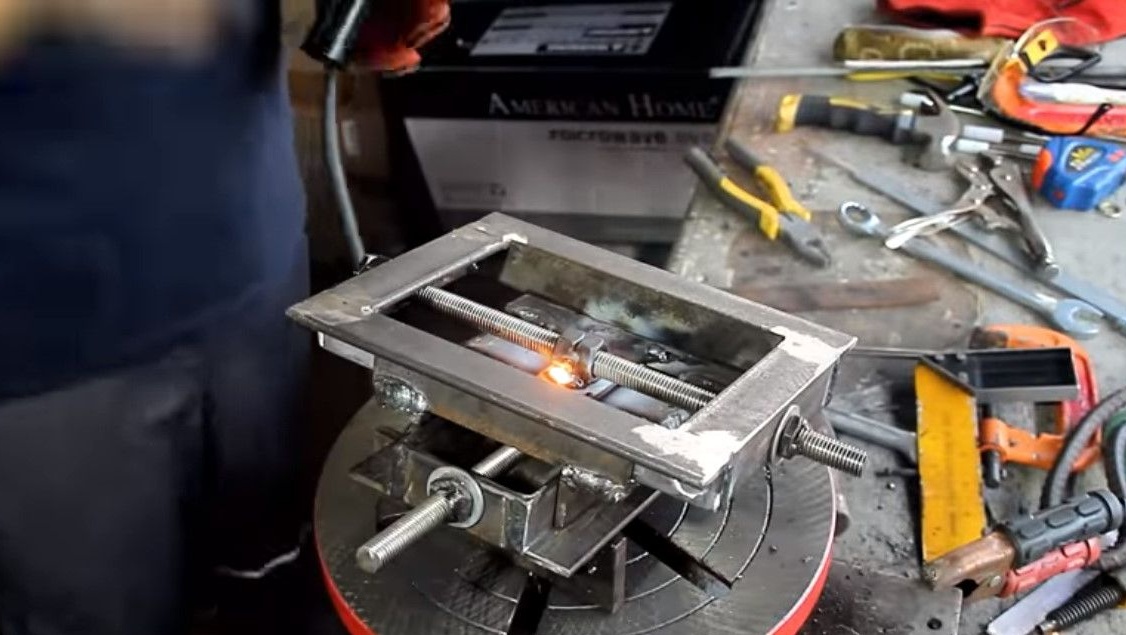

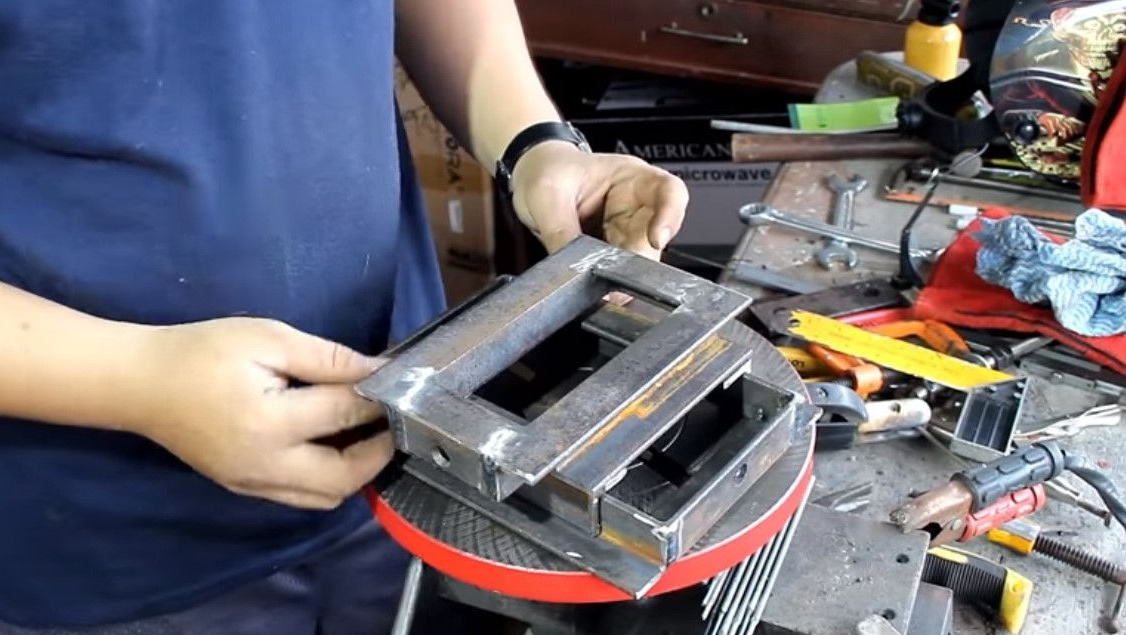
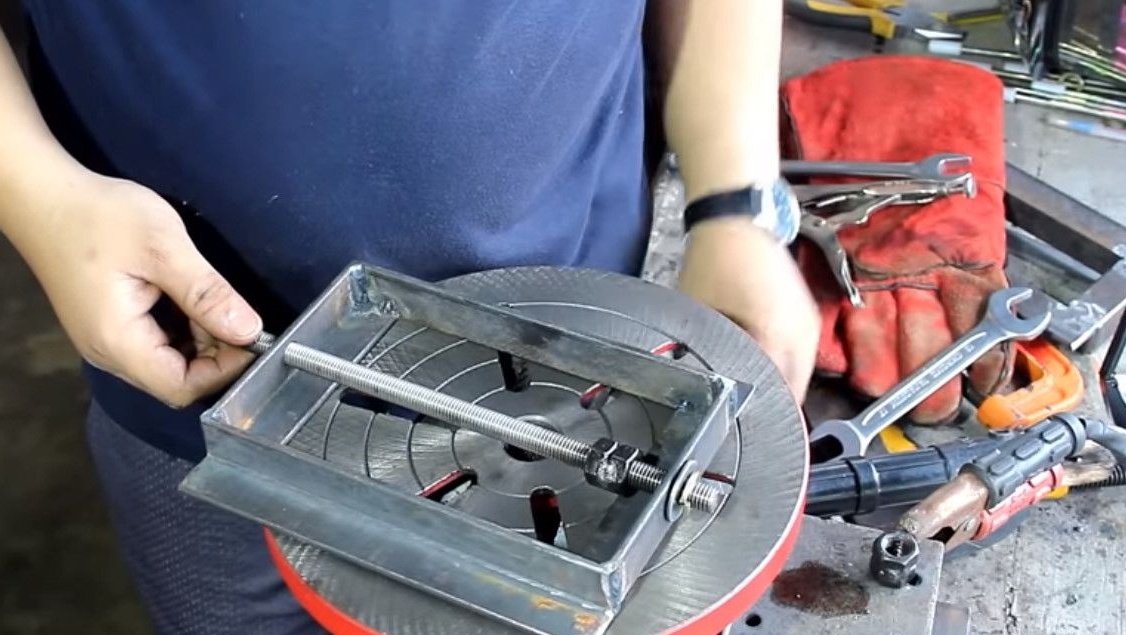
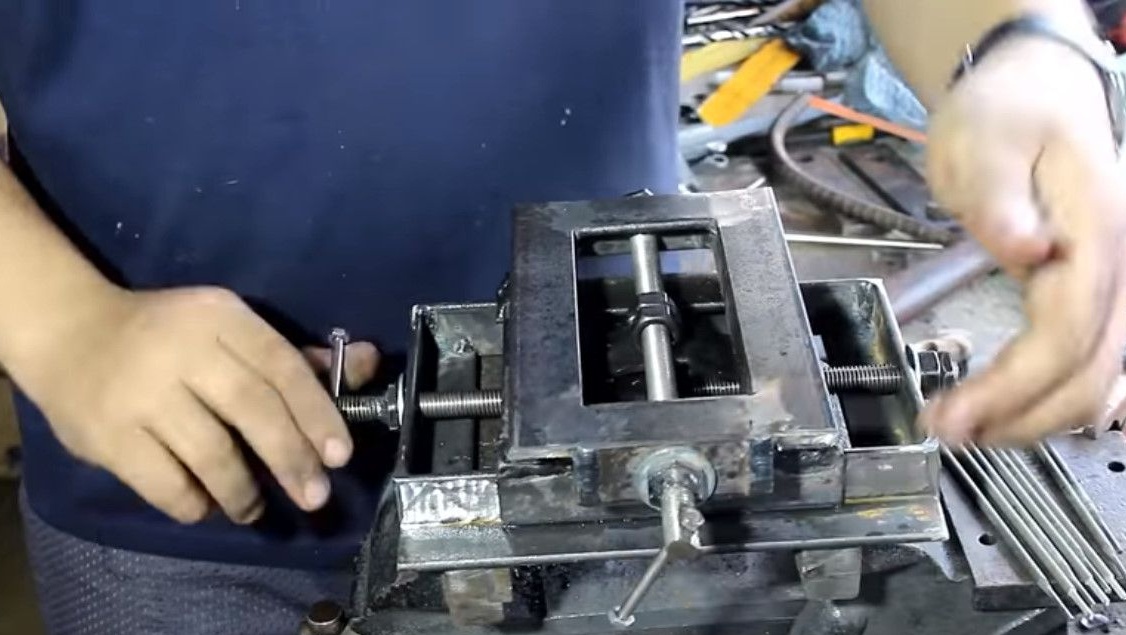
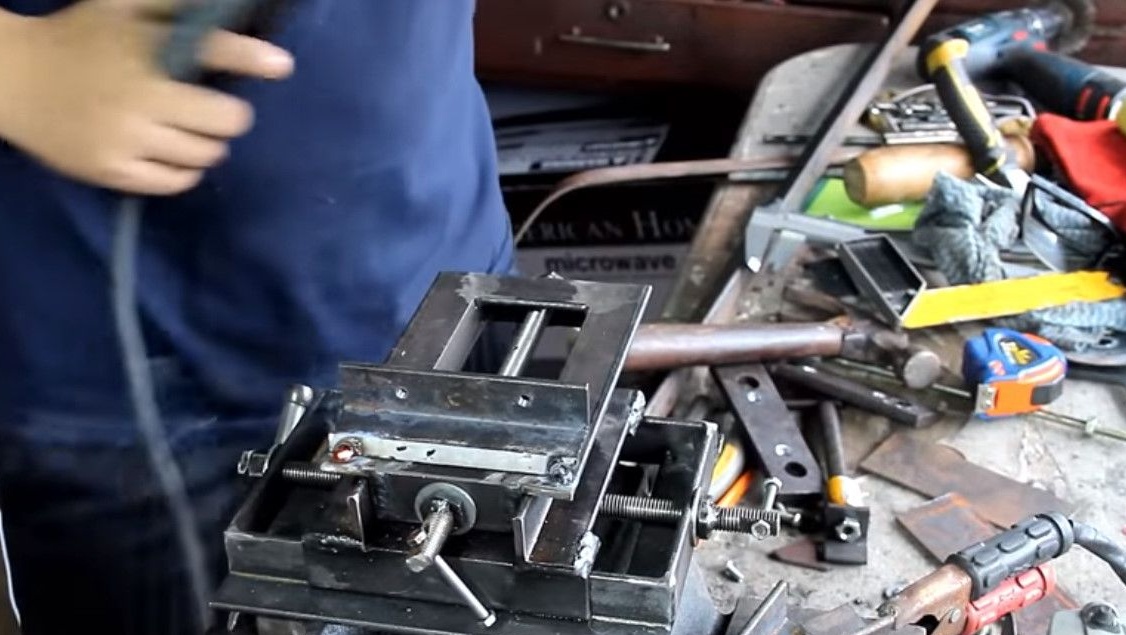
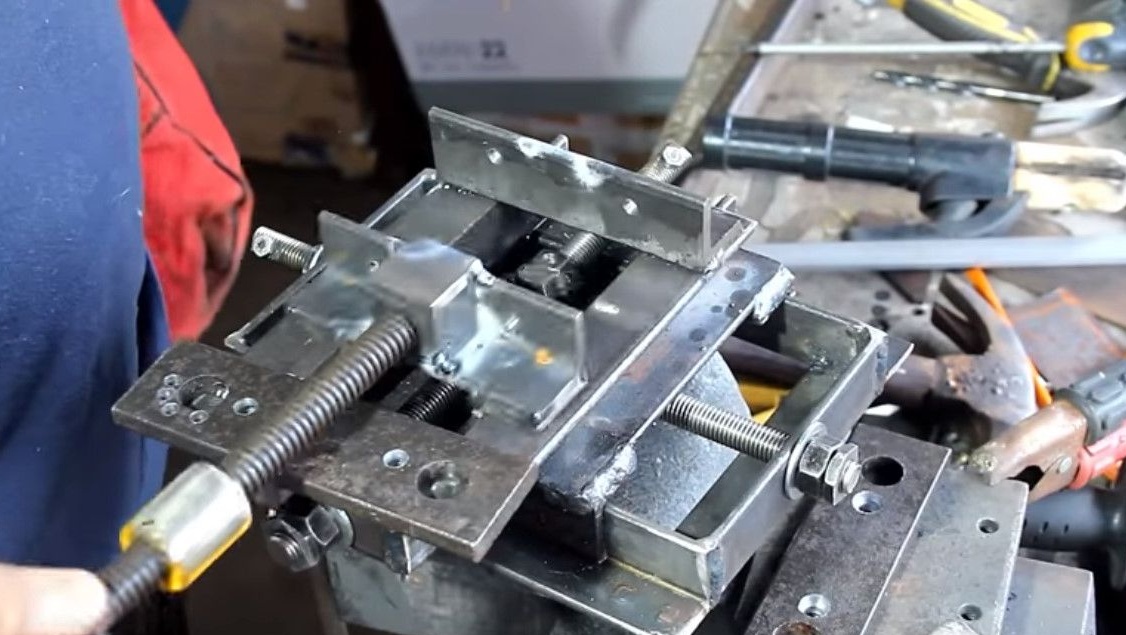
So, both movable carriages, or coordinate axes are installed.
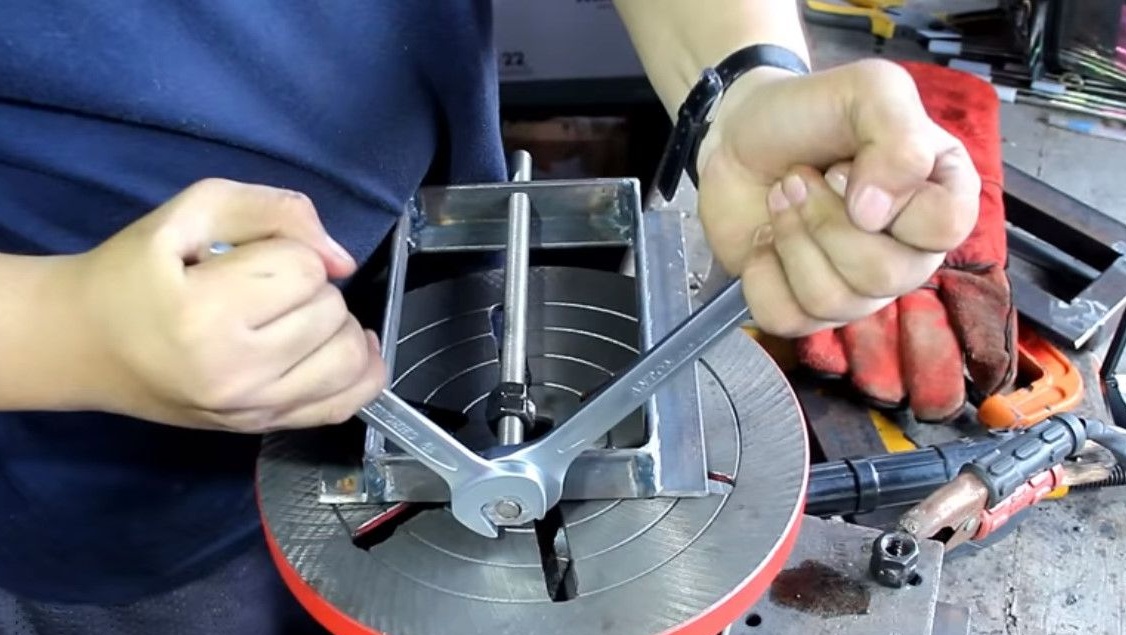
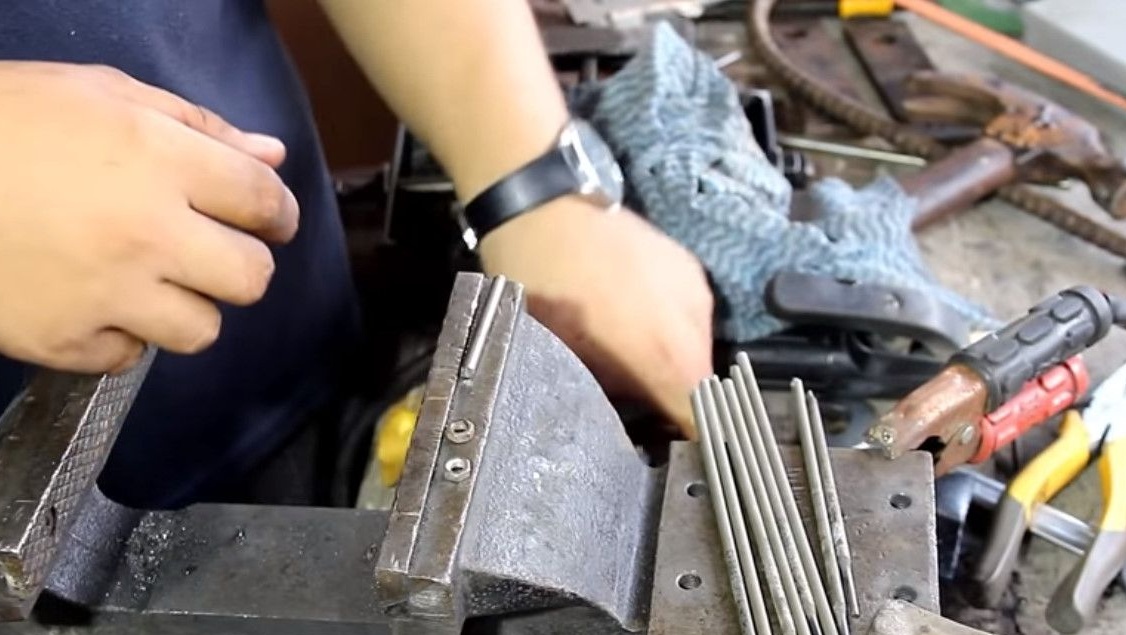
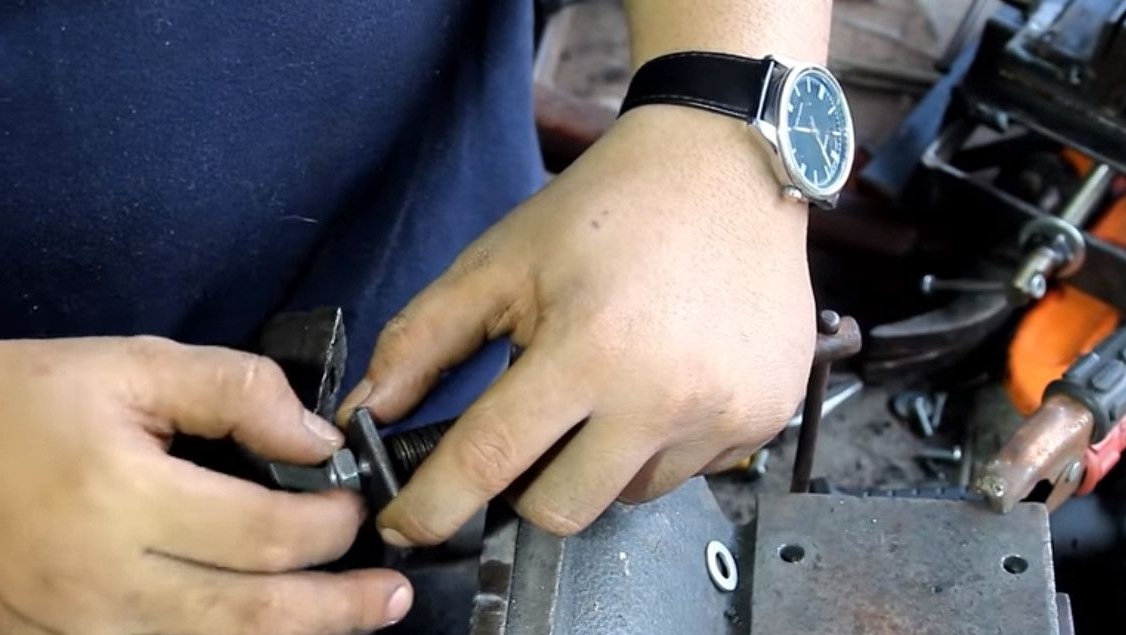
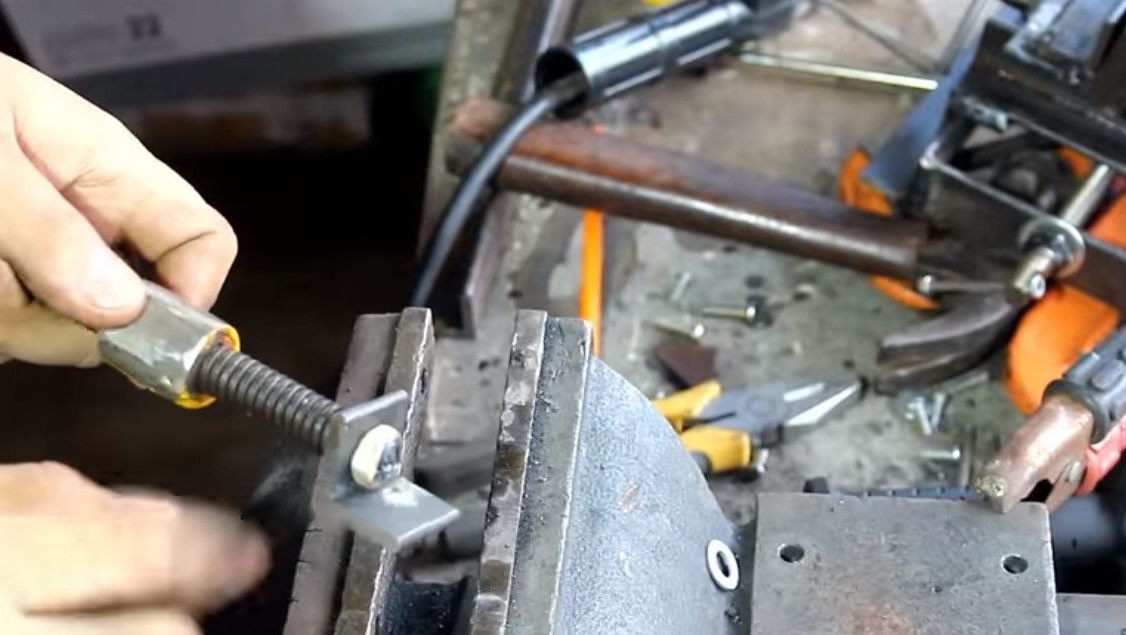
Now you need to make pens. To do this, drill holes at the ends of the studs.
Then, slightly flattening the tip of a rod that is suitable along the length, it clogs it into the nut.
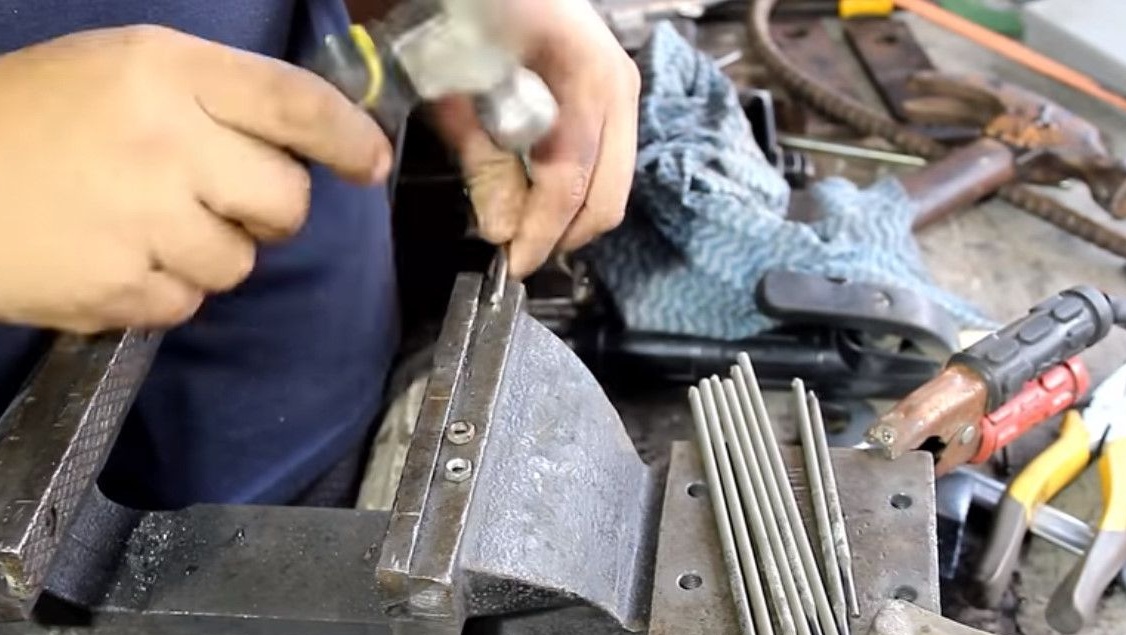
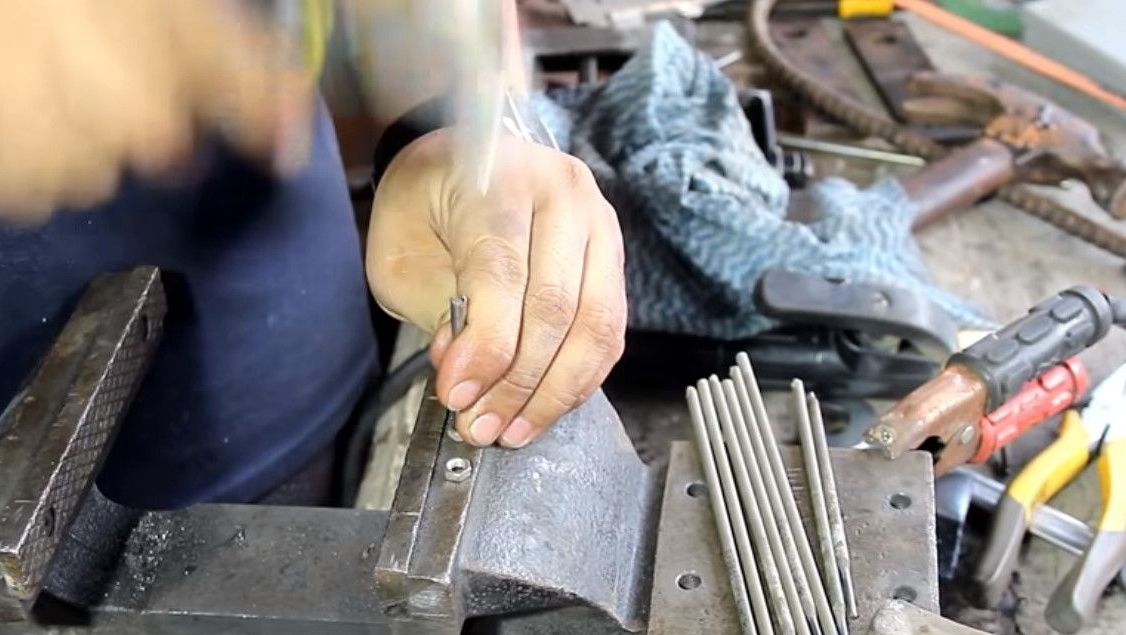
Having inserted the resulting handle into the hole of the stud, the second nut is also hammered.
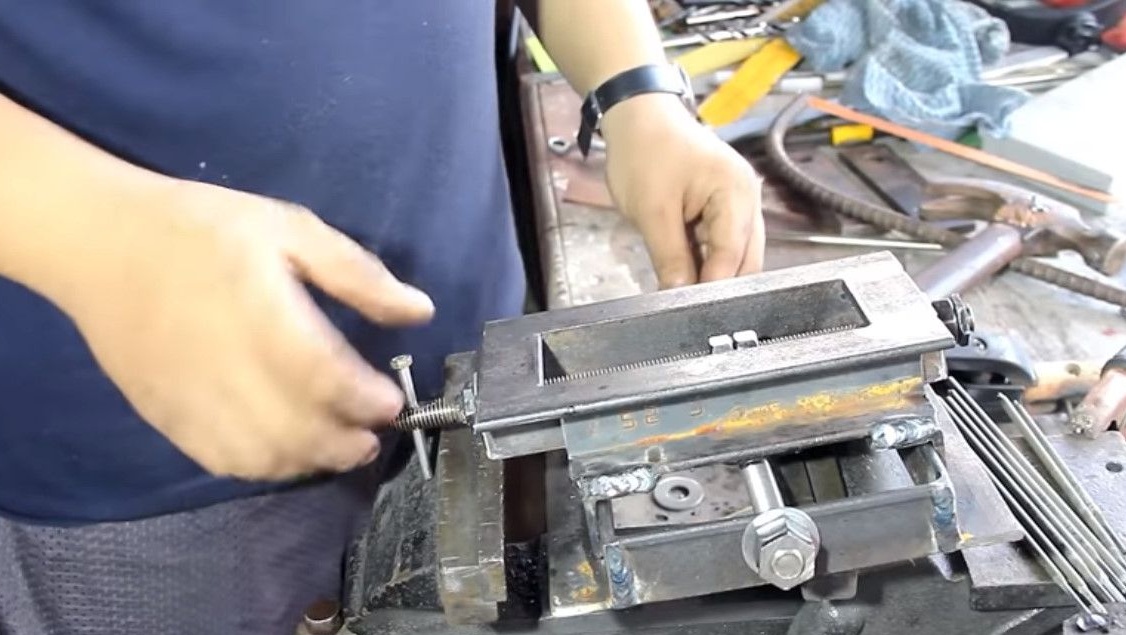
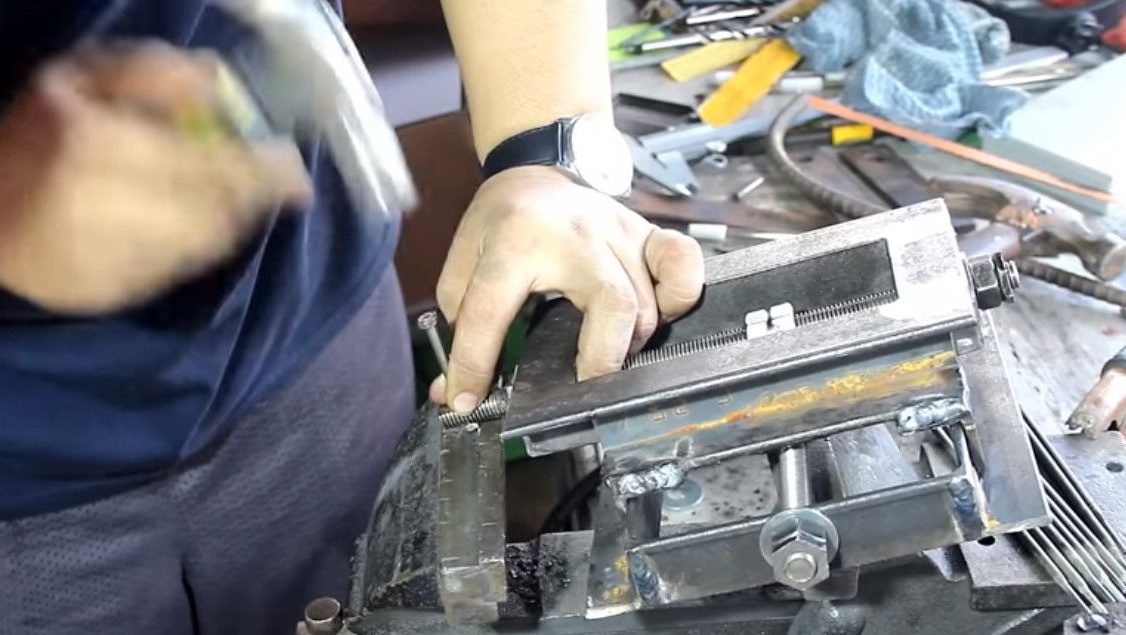
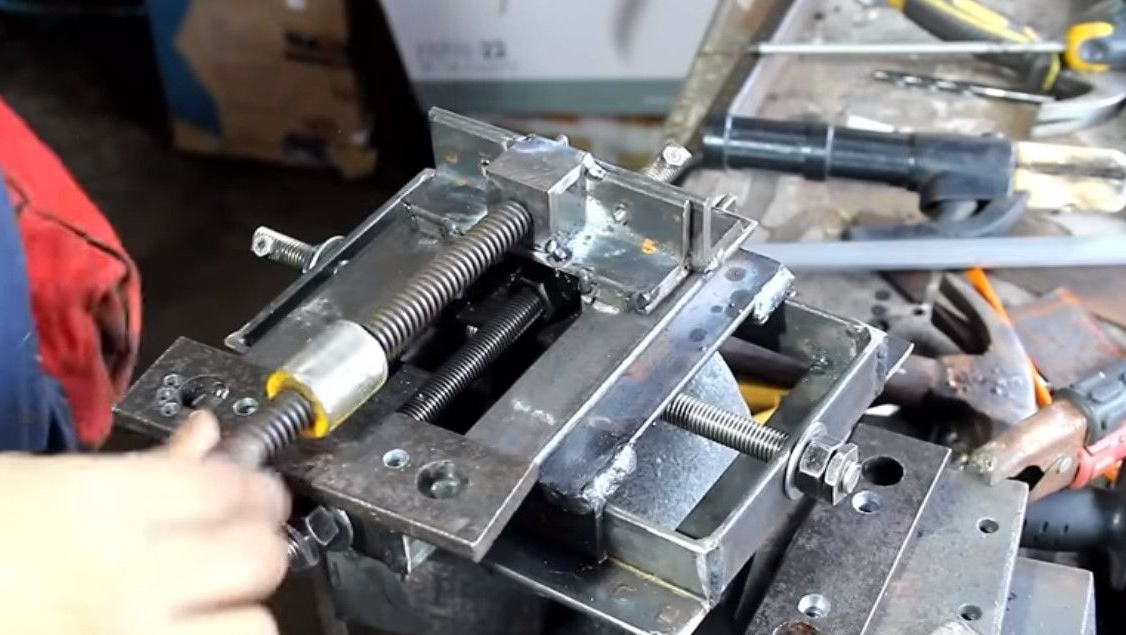
Both twists on two axles are ready.

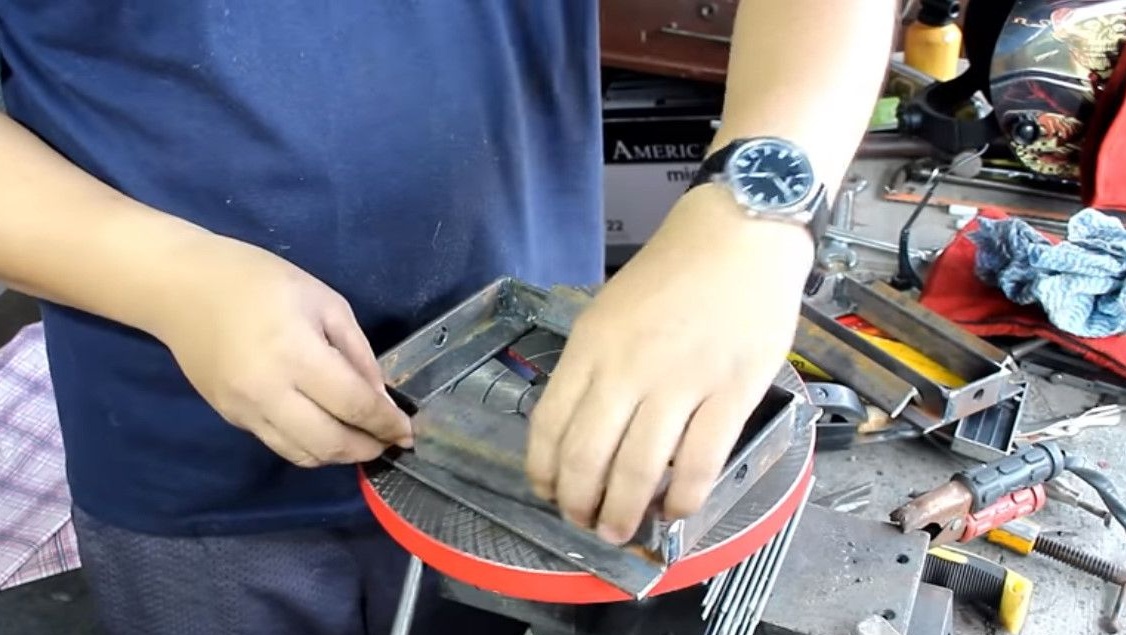
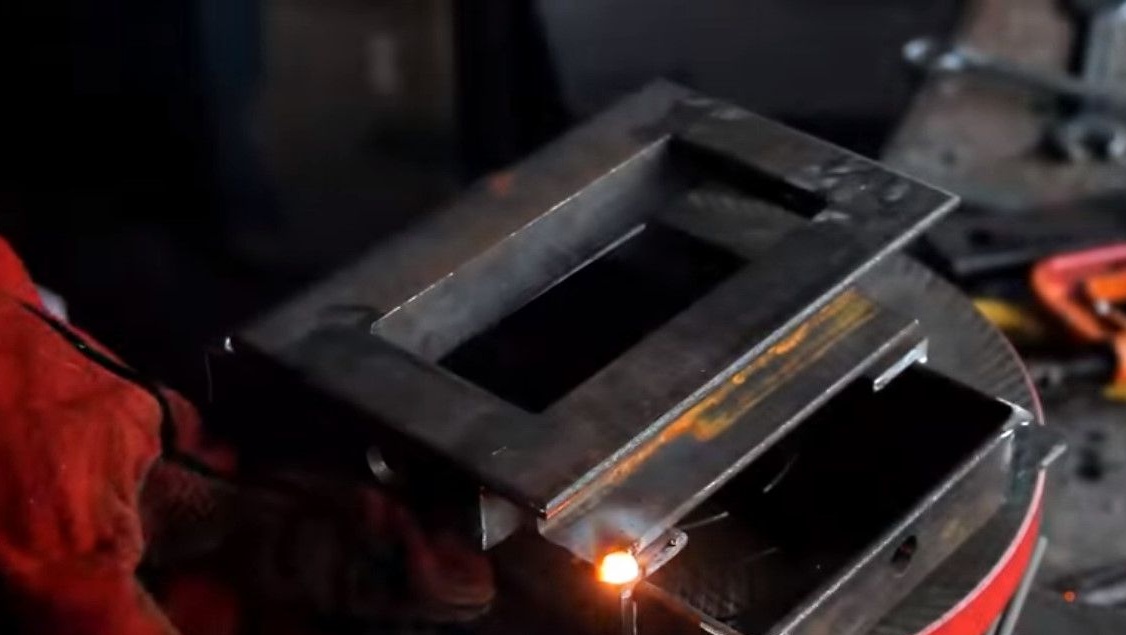
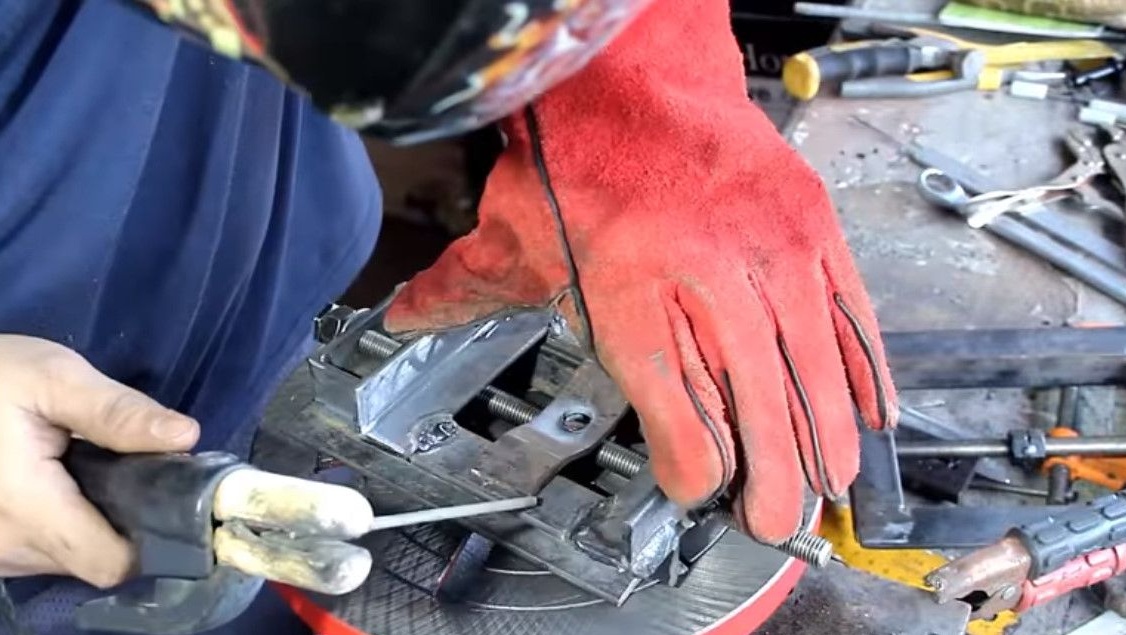
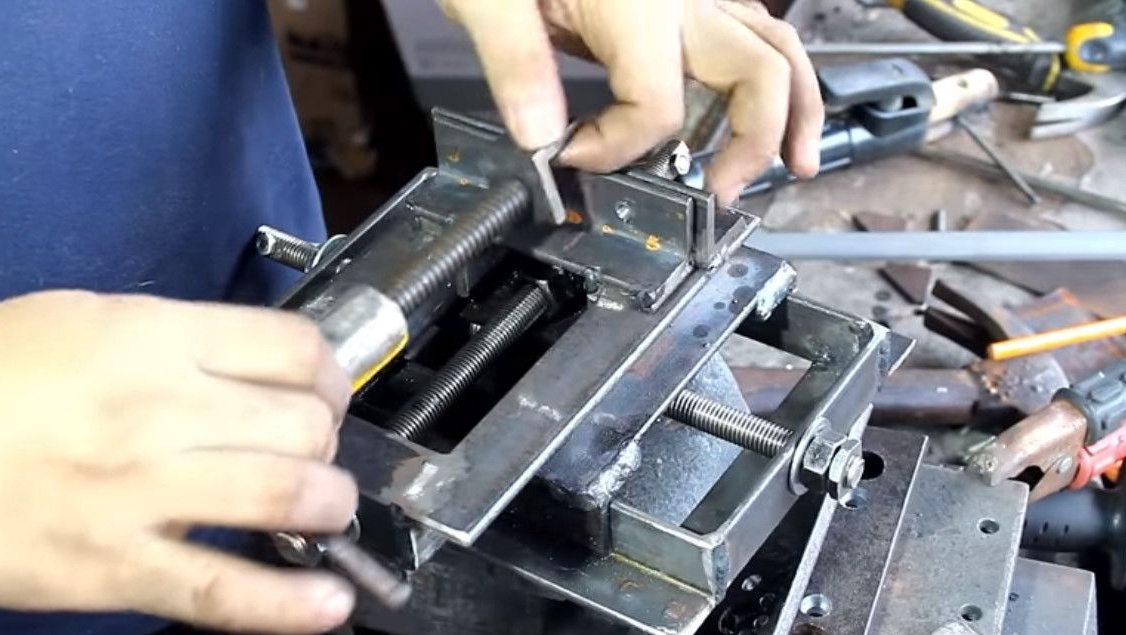
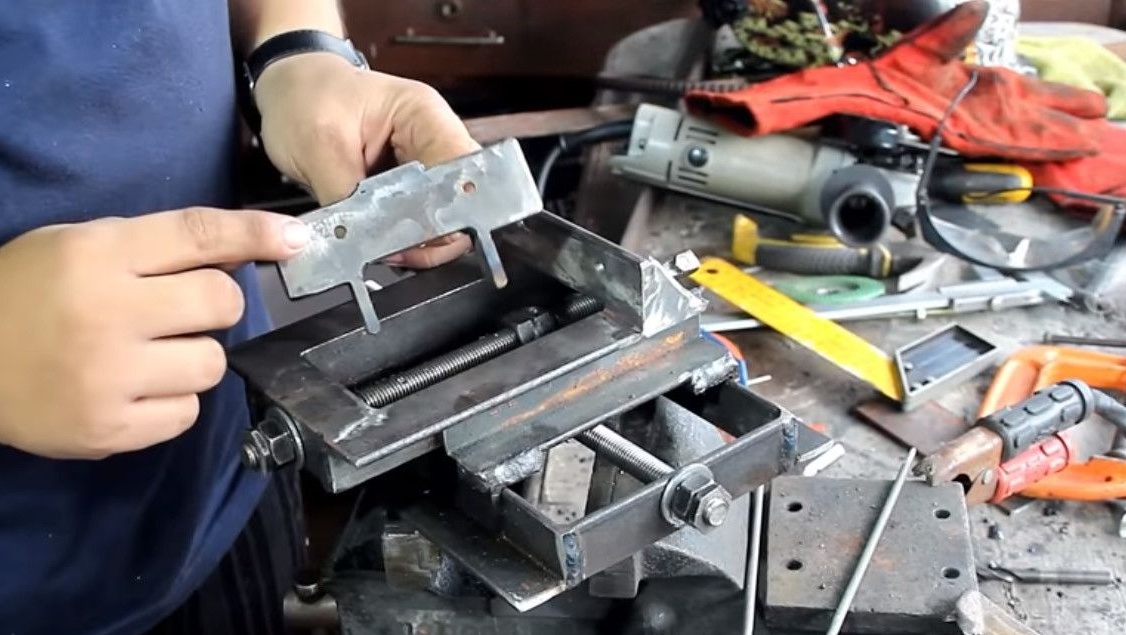
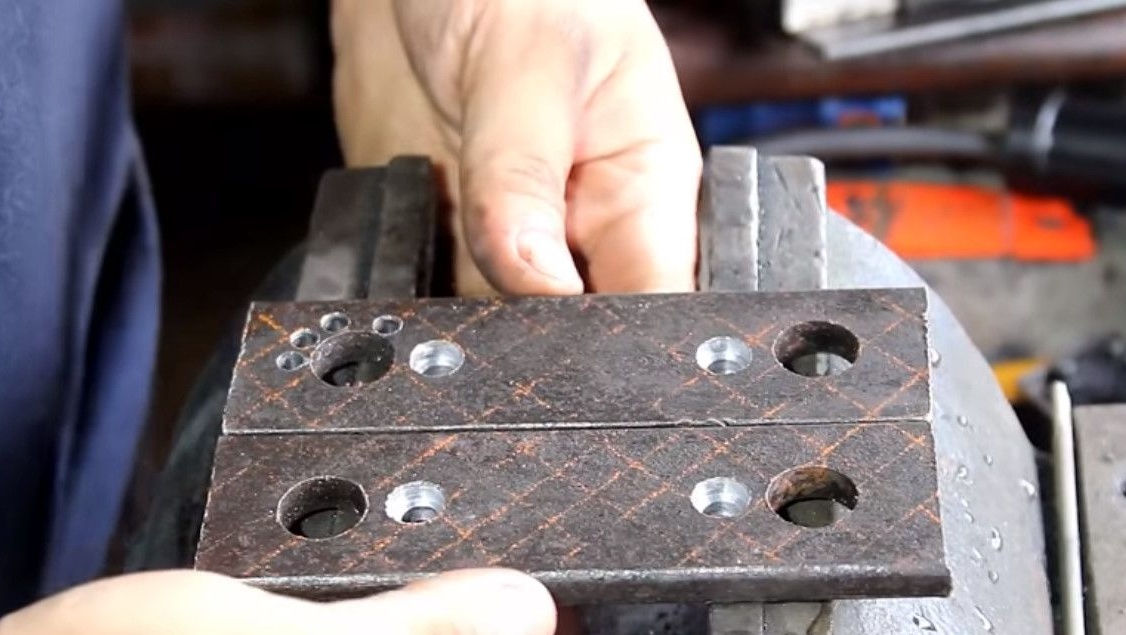
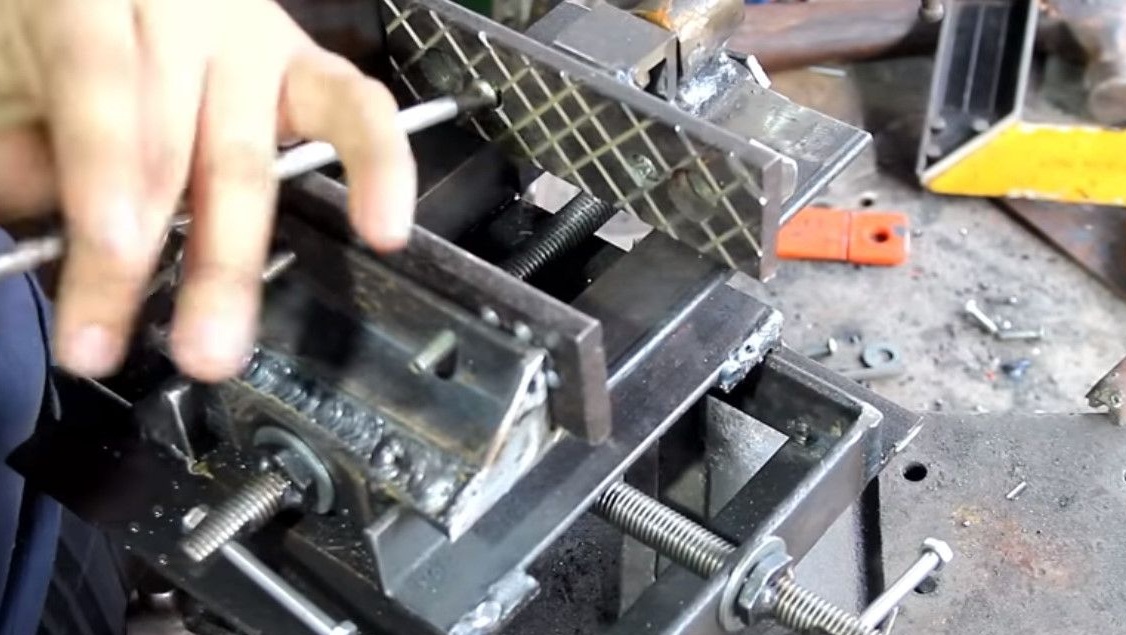
It's time to build a vise on the upper carriage. It starts from the corners, they have already drilled holes for sponges.
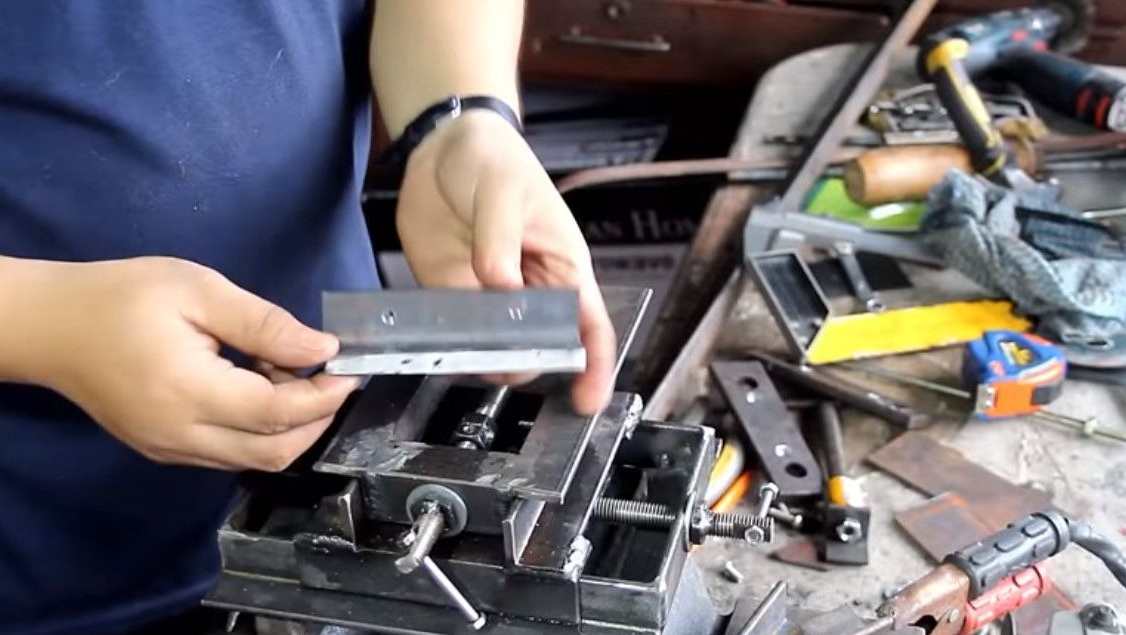
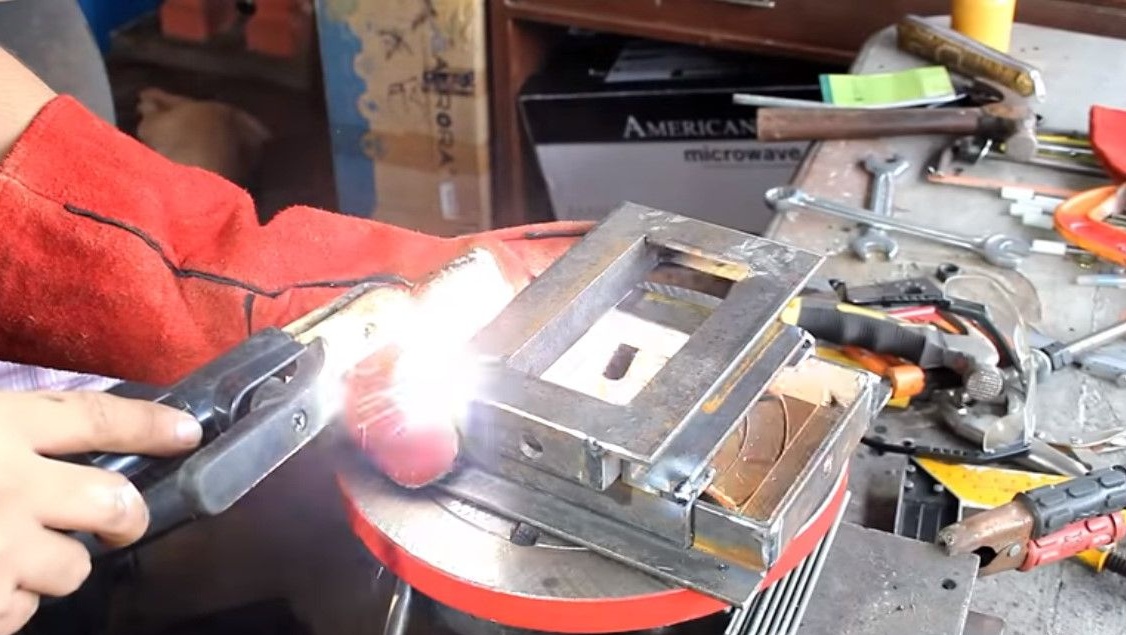
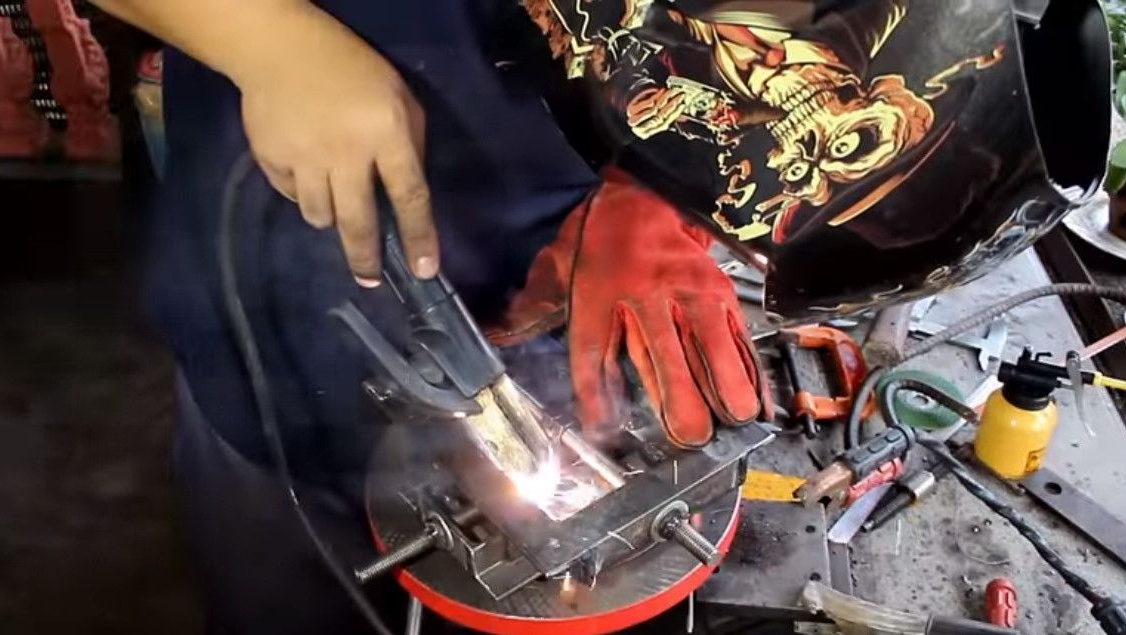
Sets a fixed corner and welds to the upper carriage.
The second, mobile corner, sets on two small ones, these will be its guides.
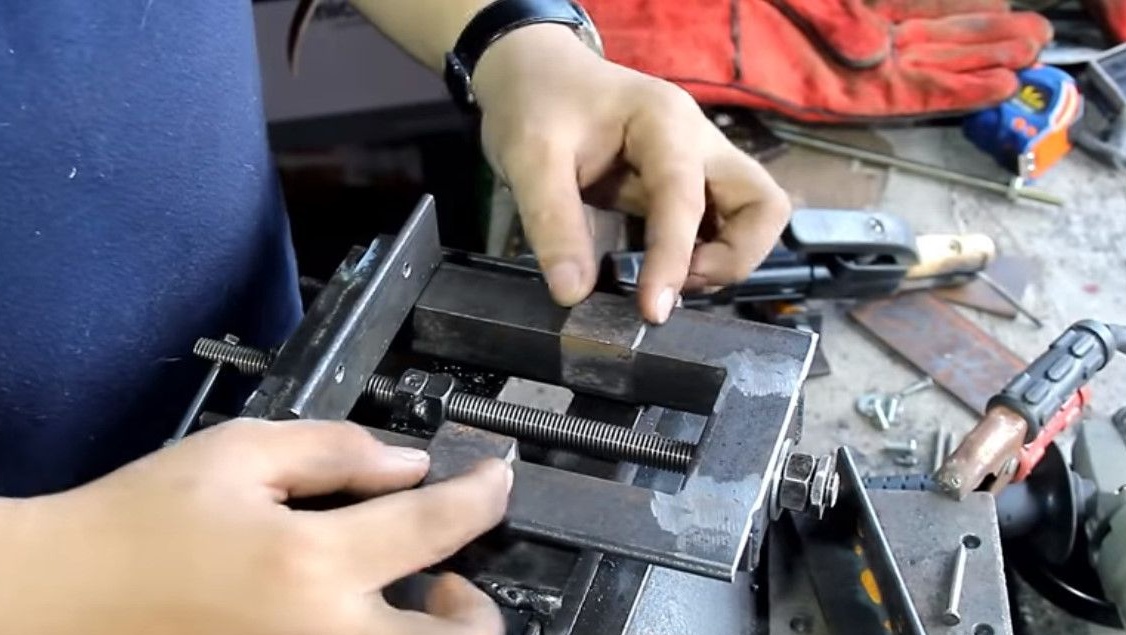
And it welds the movable to the guides, at the same time strengthens the fixed mount.

Here's a sponge holder.
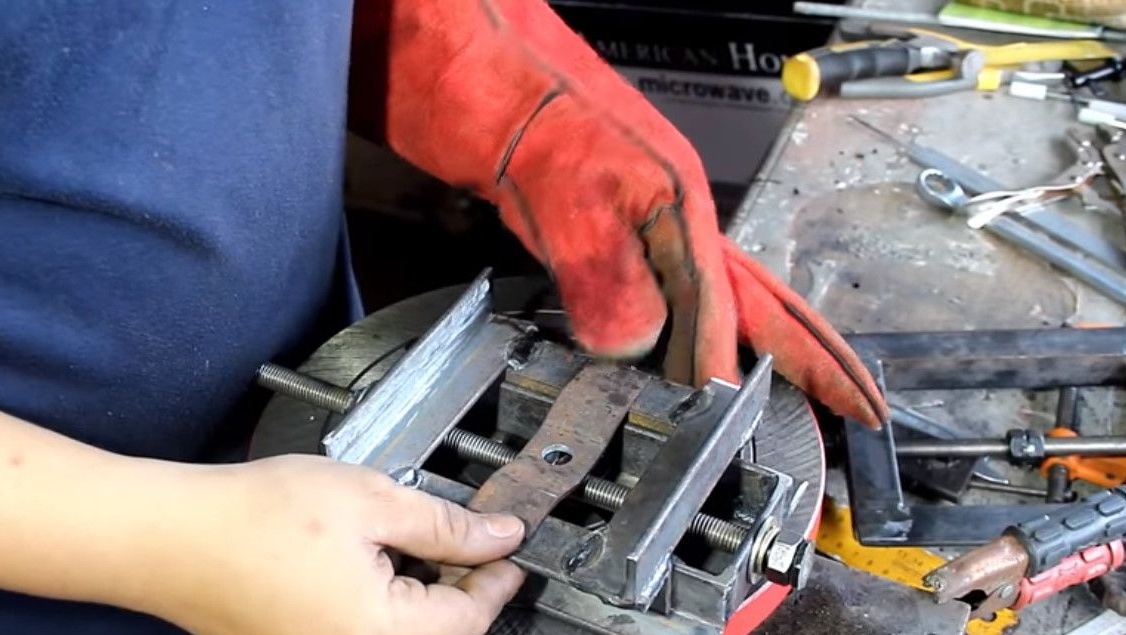
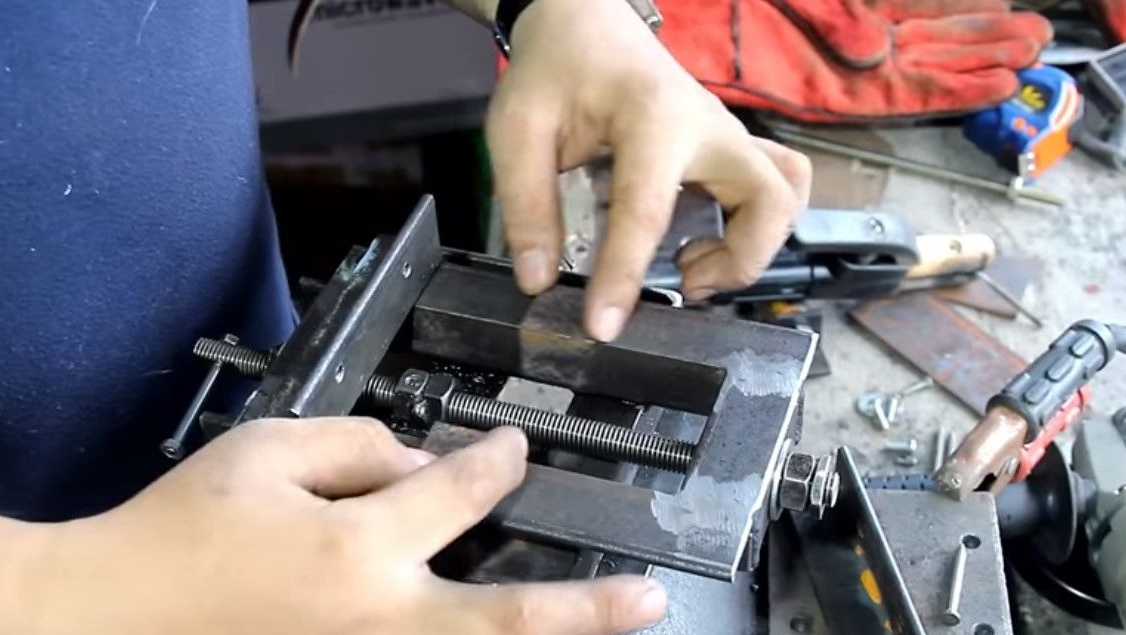
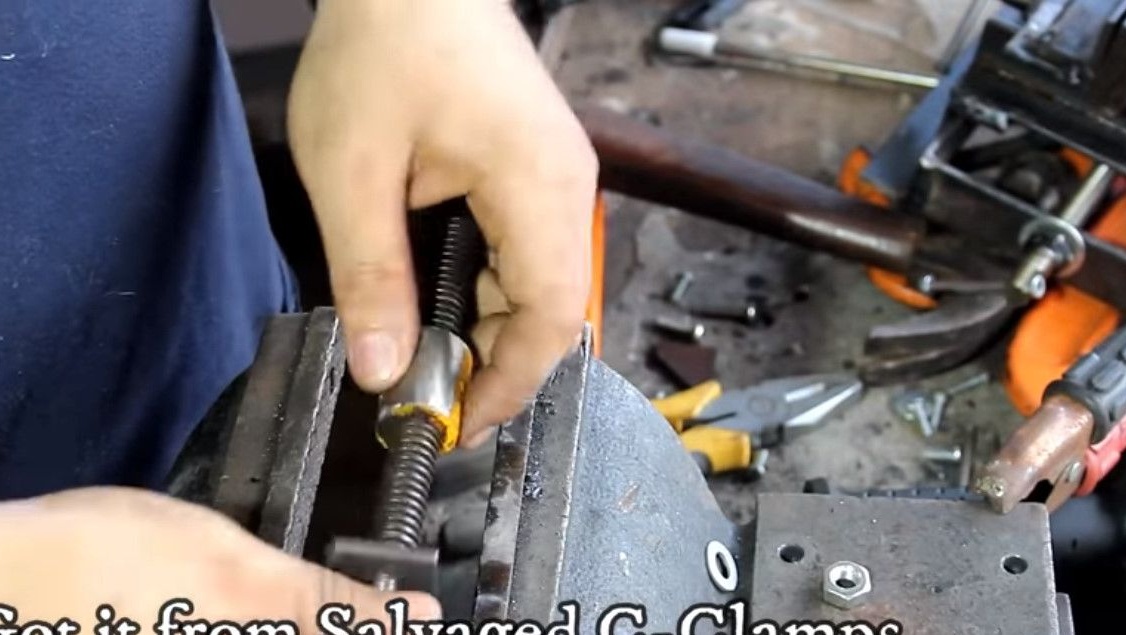
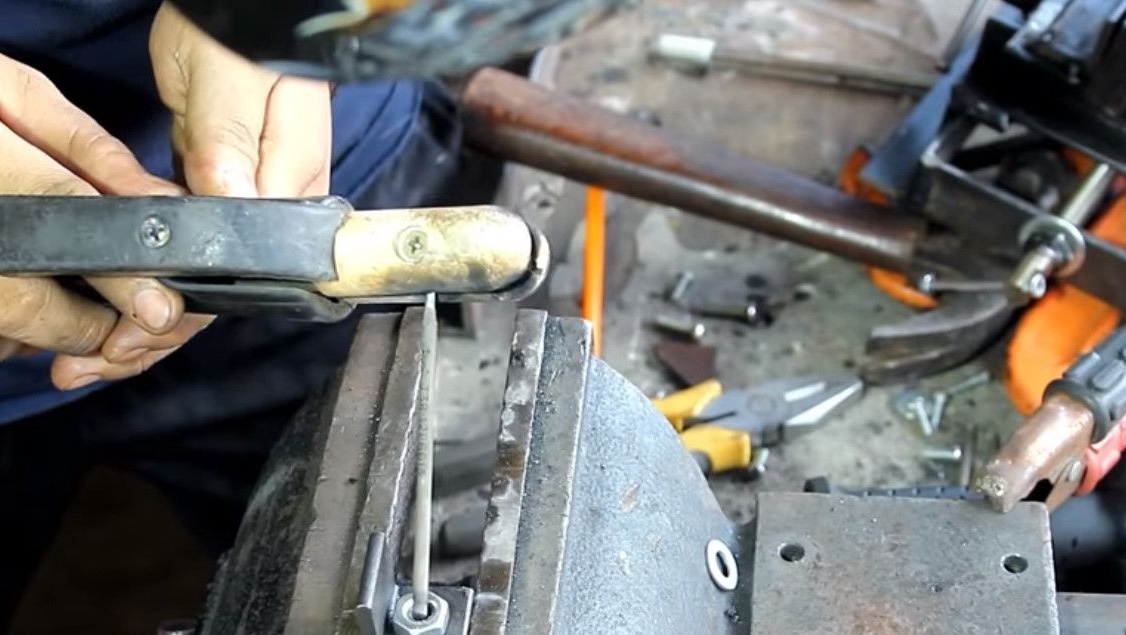
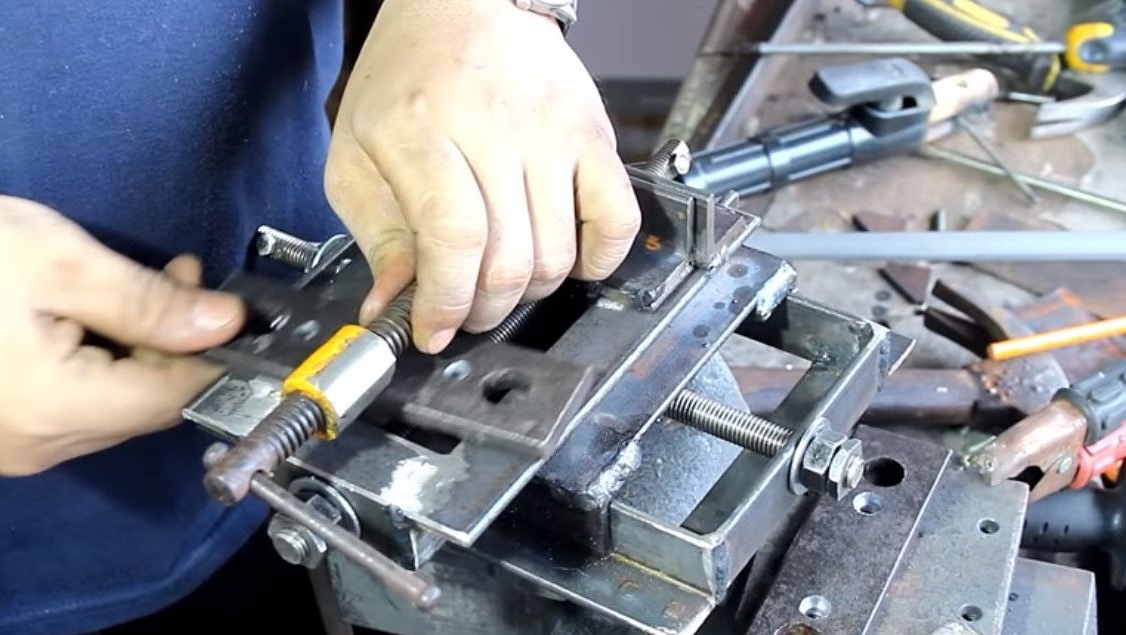
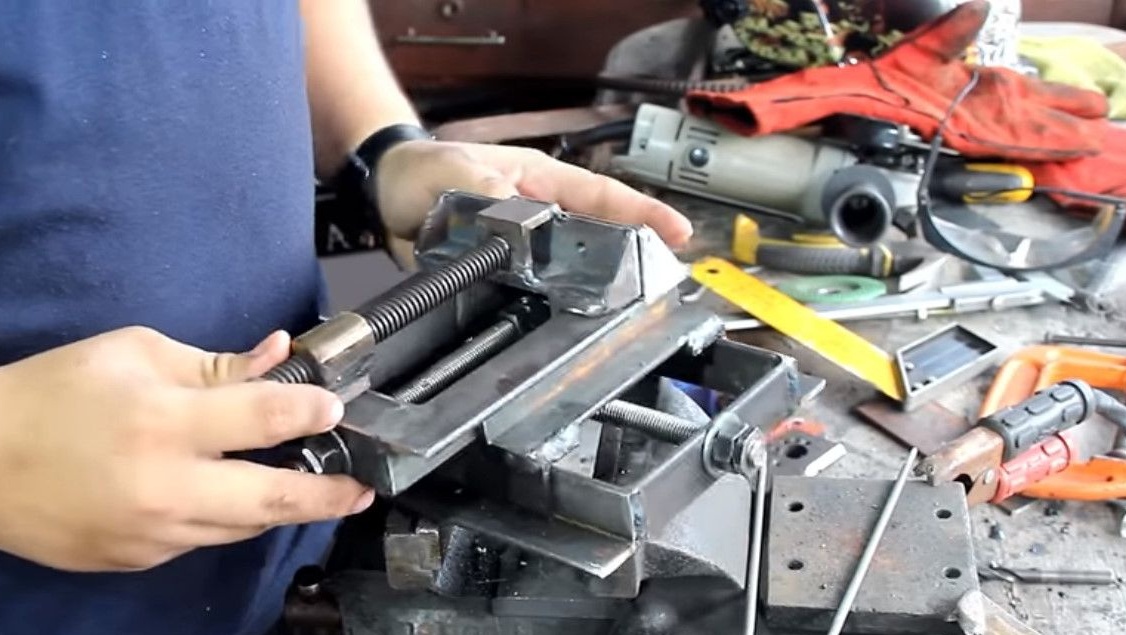
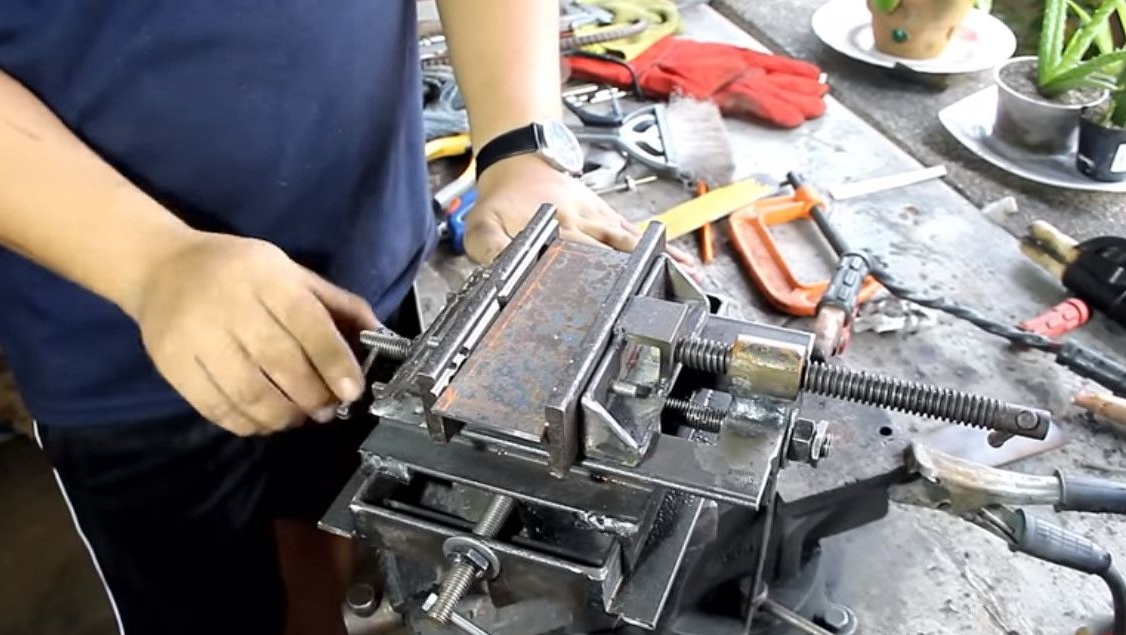
Now you need to make a clamping screw, the author borrowed it from a broken clamp.
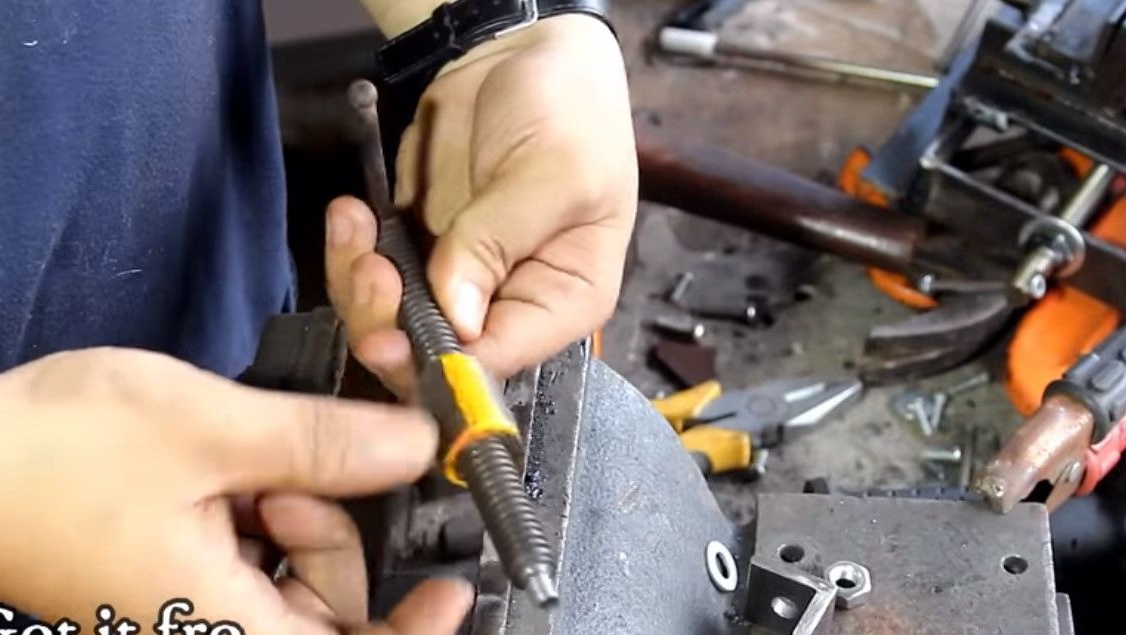
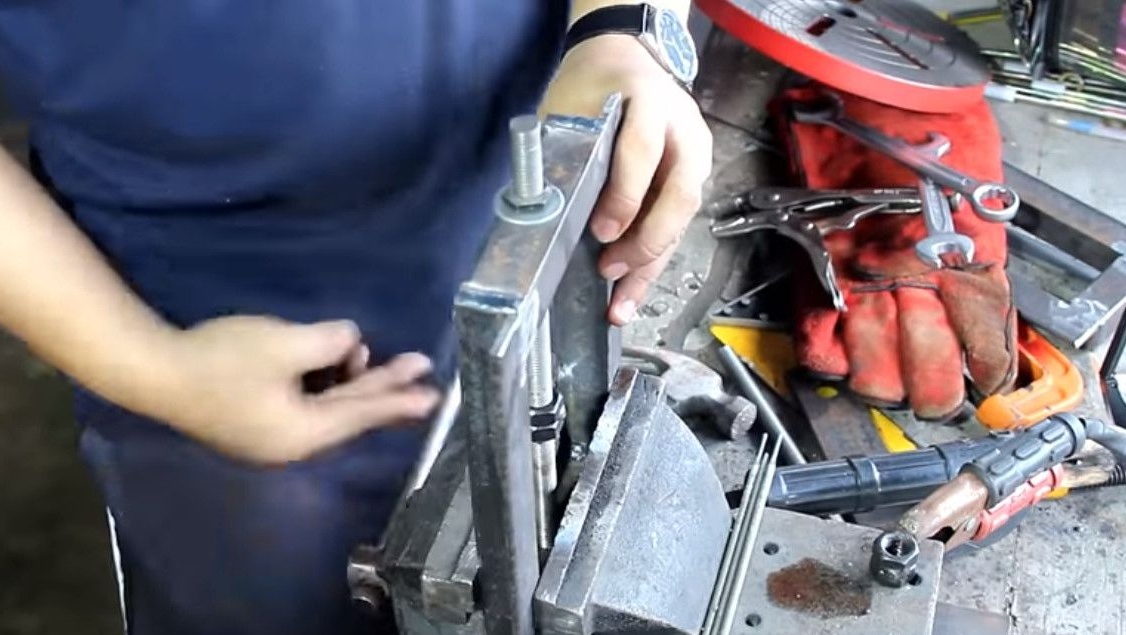
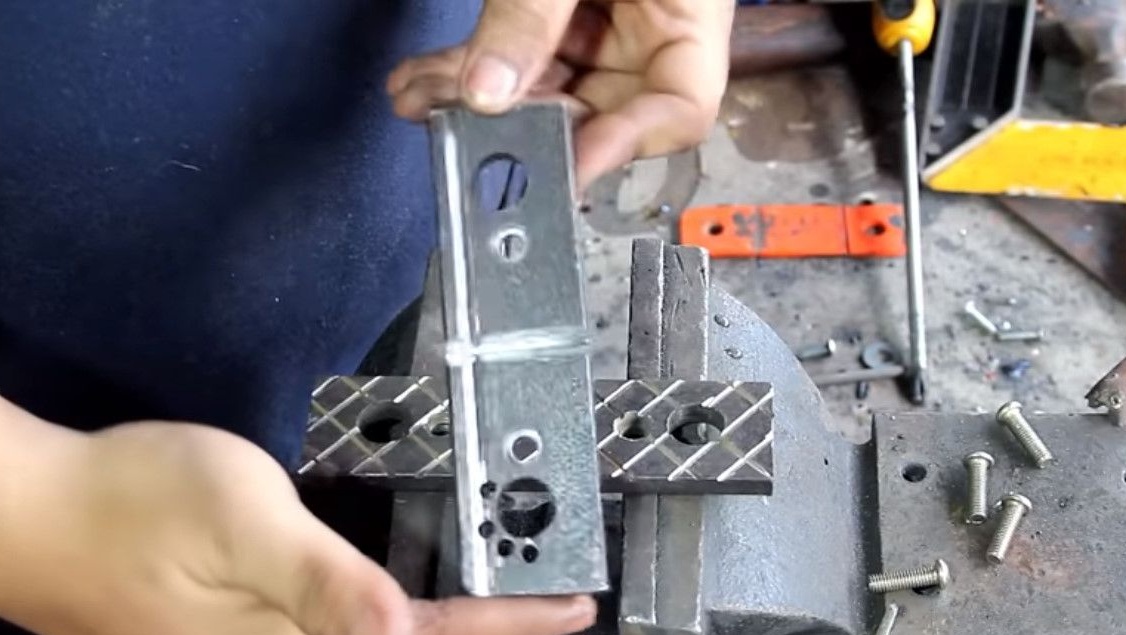
Puts a corner and a nut on the end of the screw, clamps it in a vice.
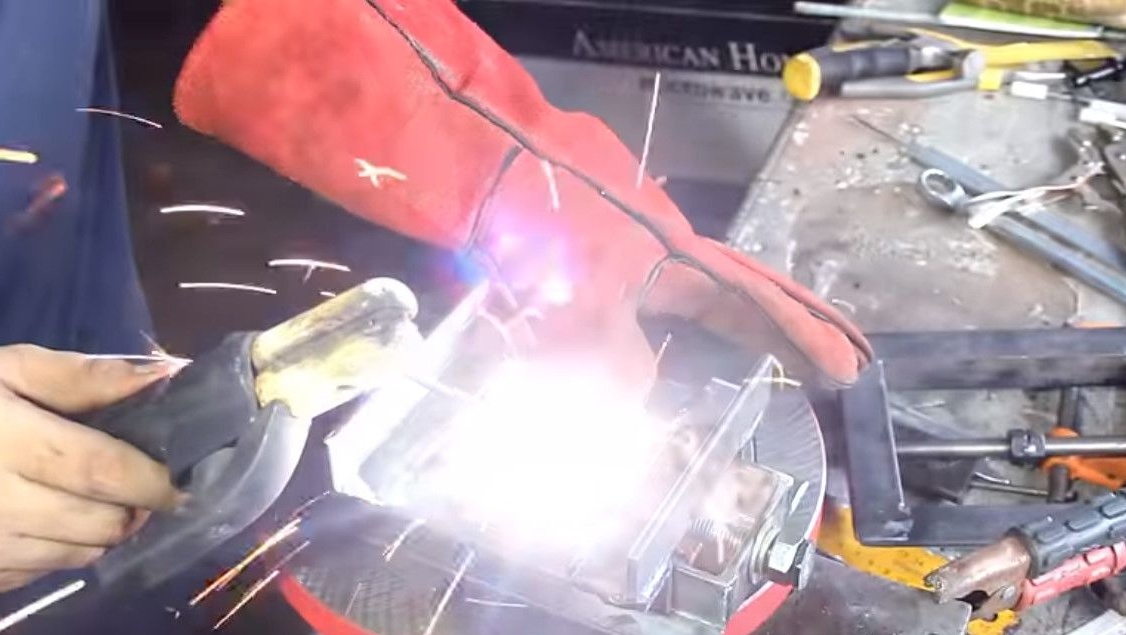
The nut is welded to the screw, leaving the corner free to rotate.
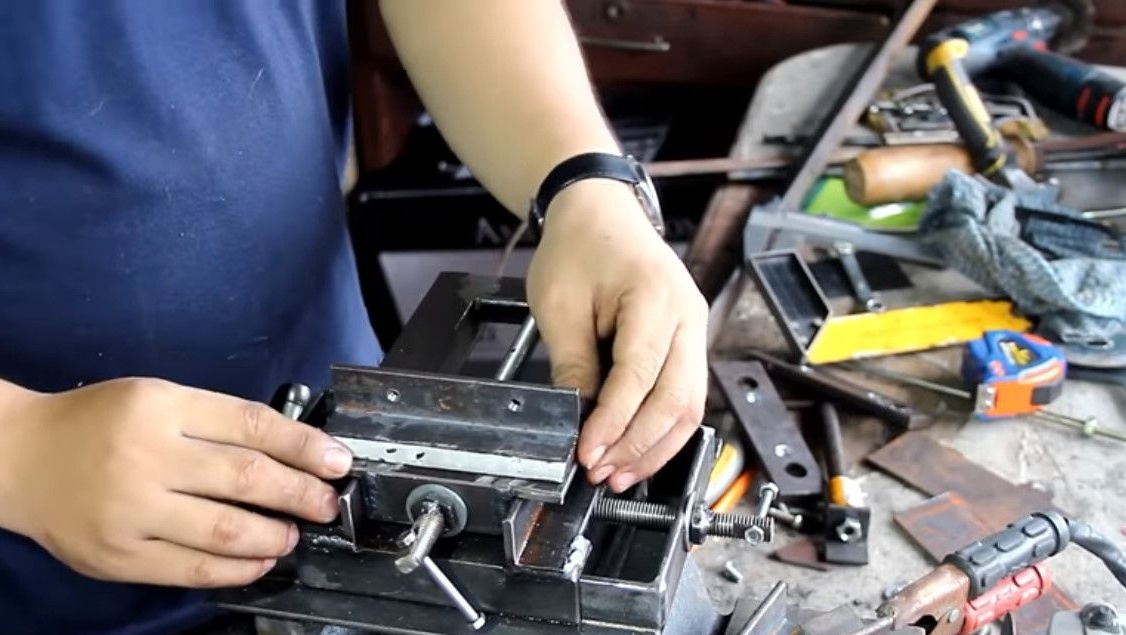
It connects by welding the corner of the clamping screw and the movable jaw mount.
Movable sponge mount.
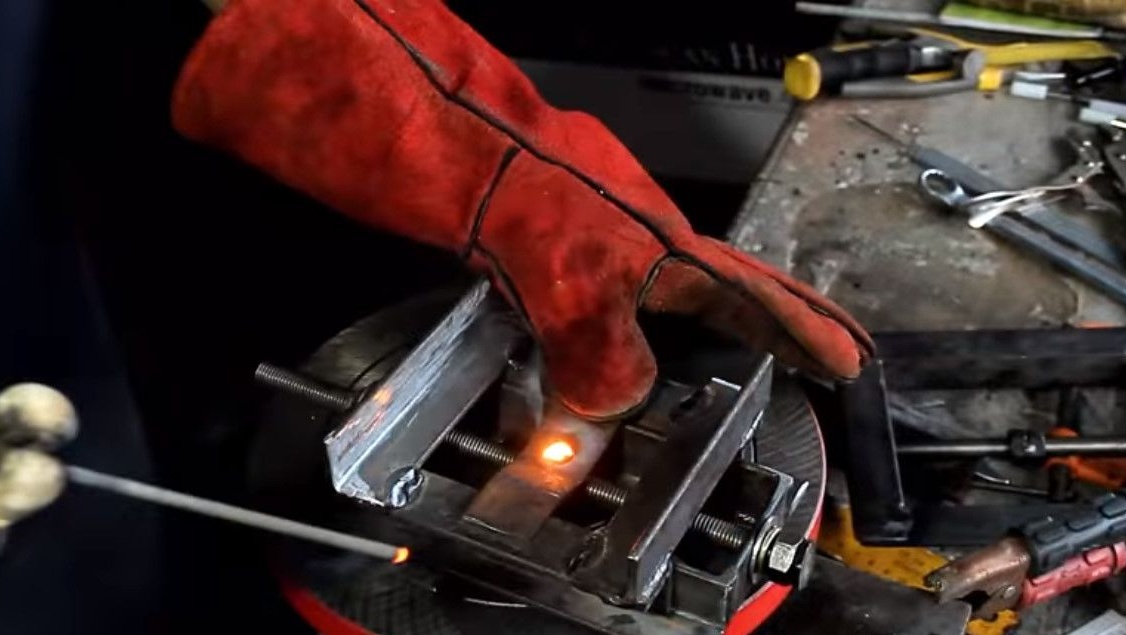
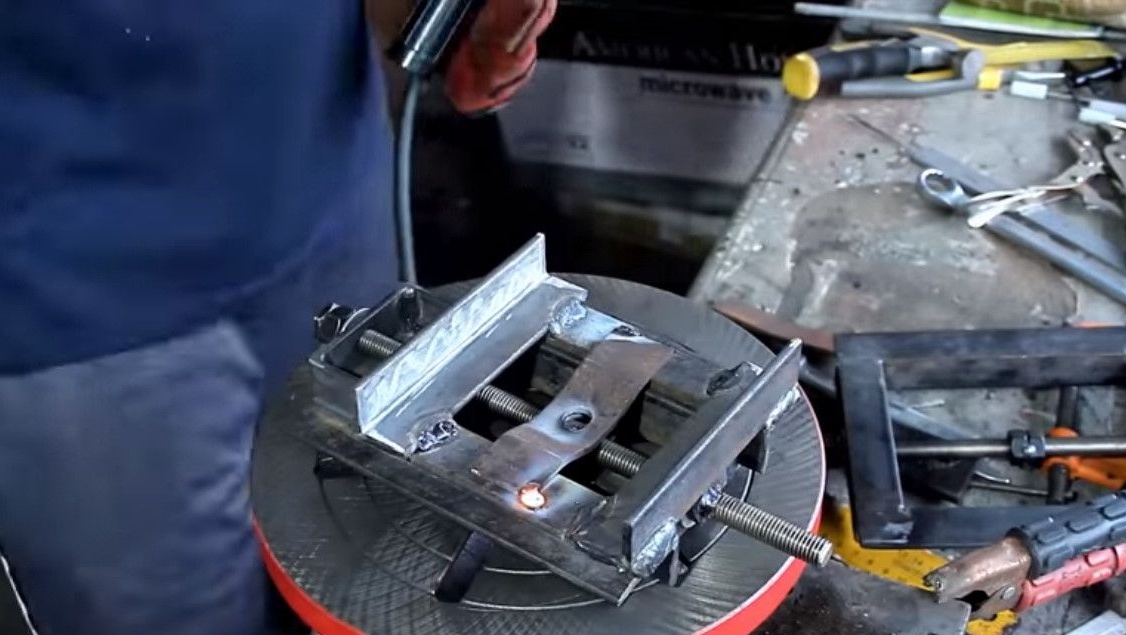
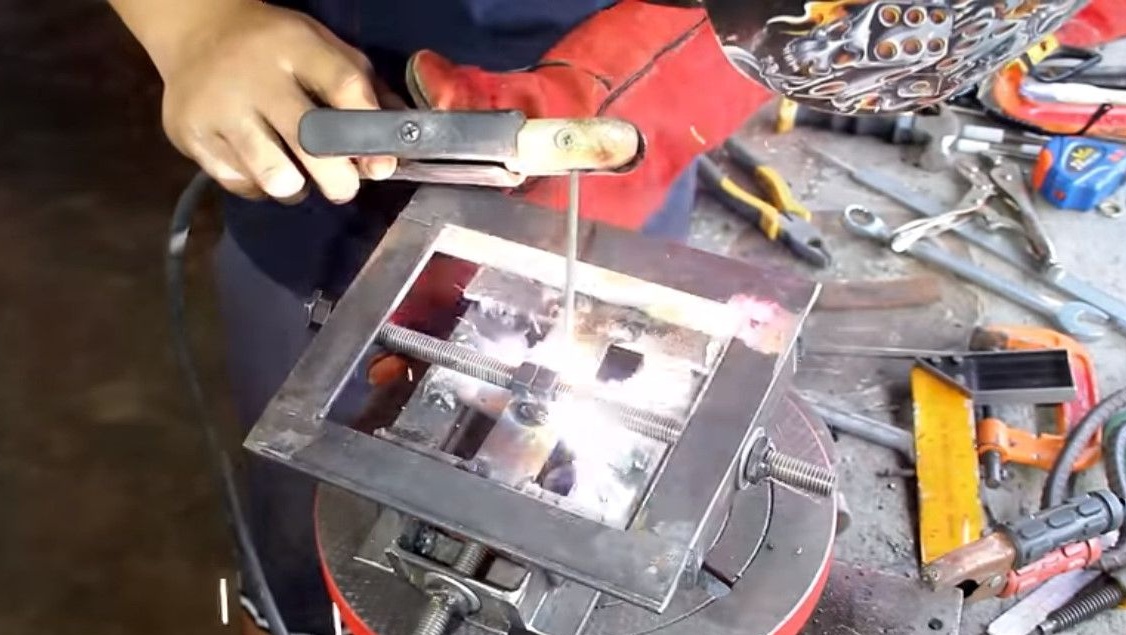
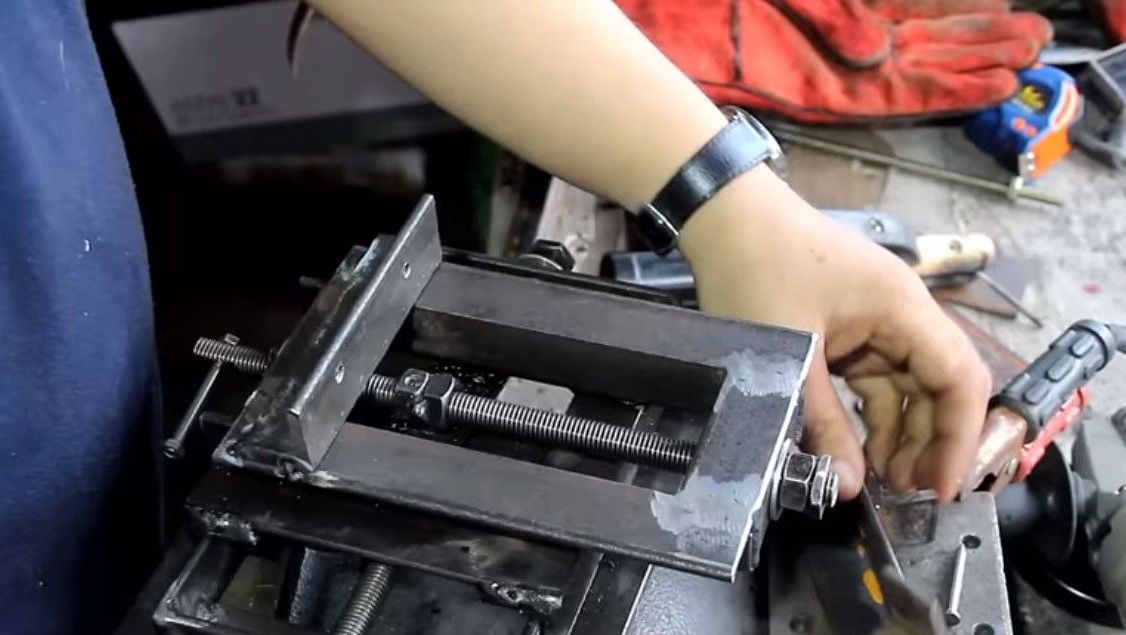
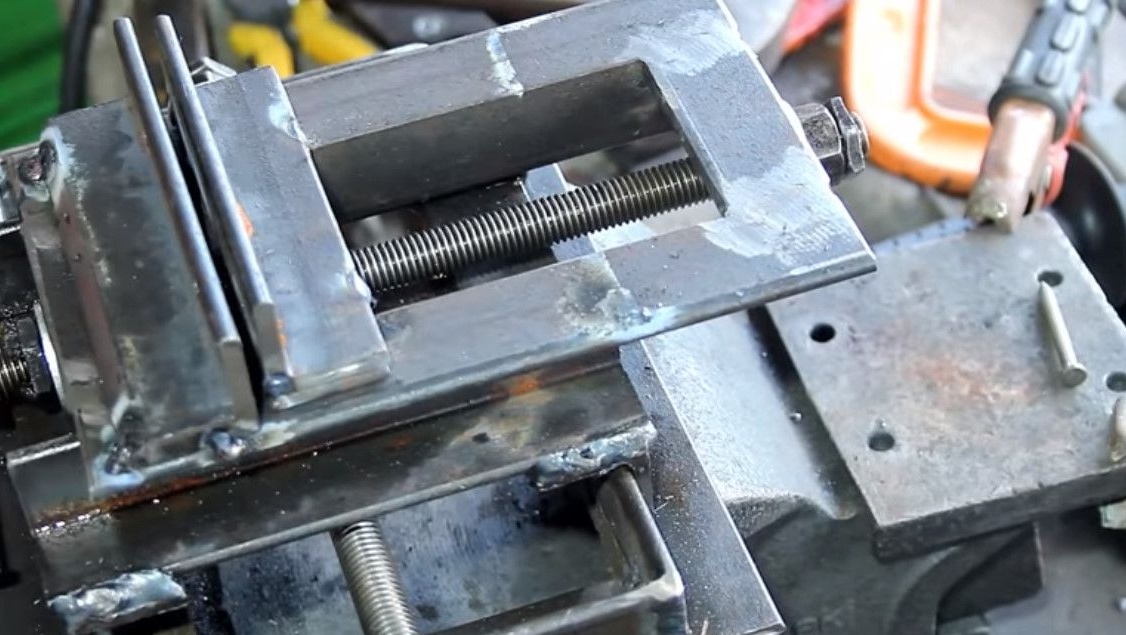
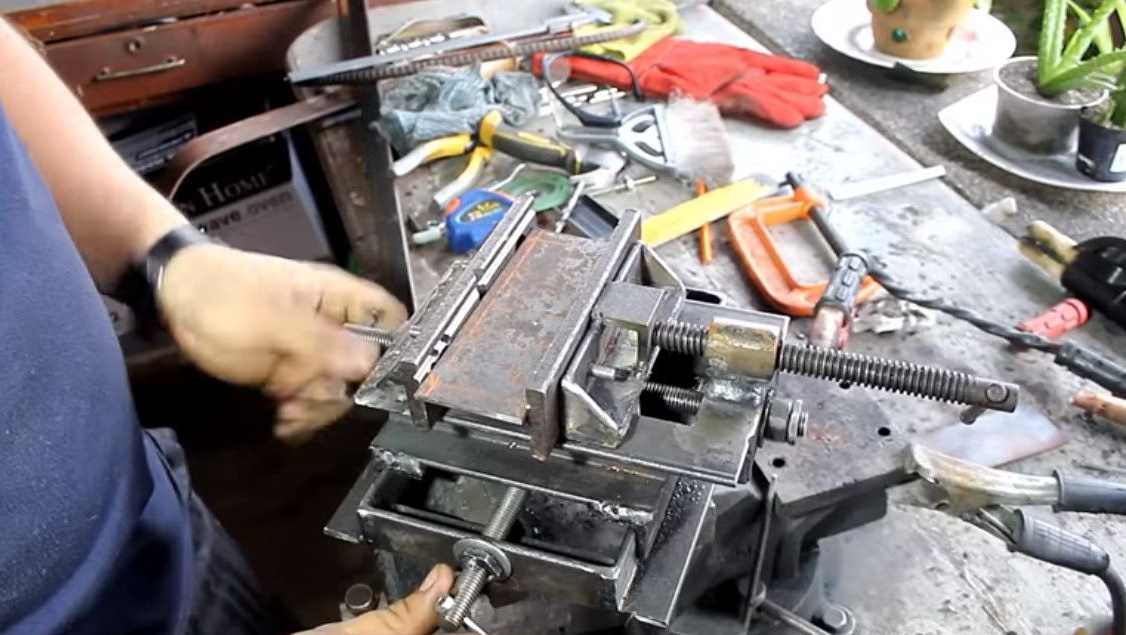
Now welds the nut of the clamping screw to the carriage.
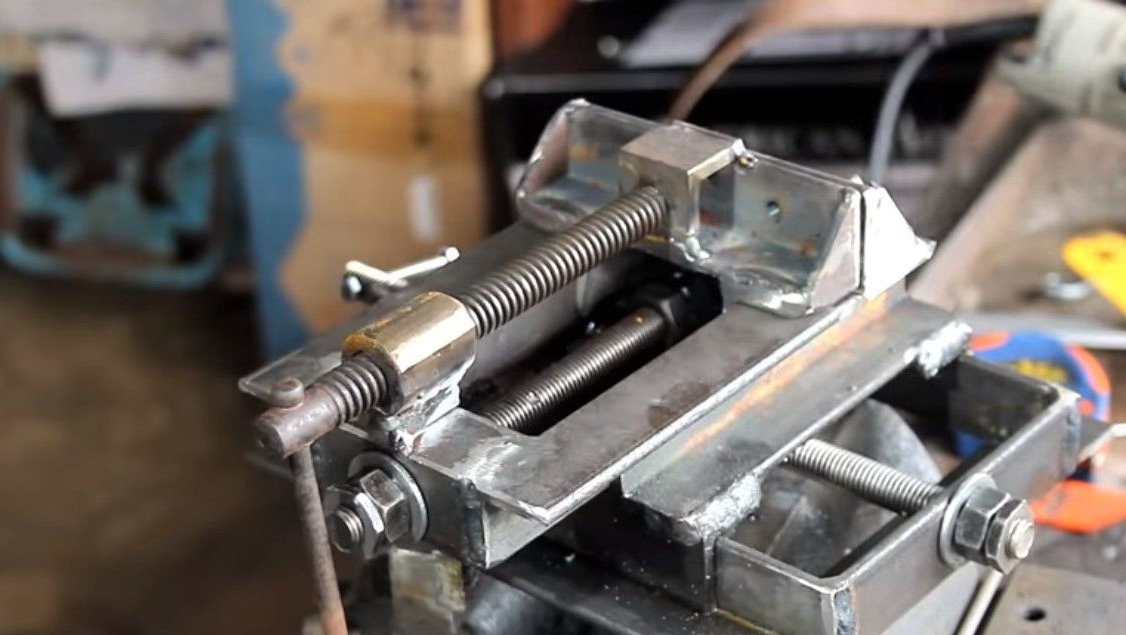

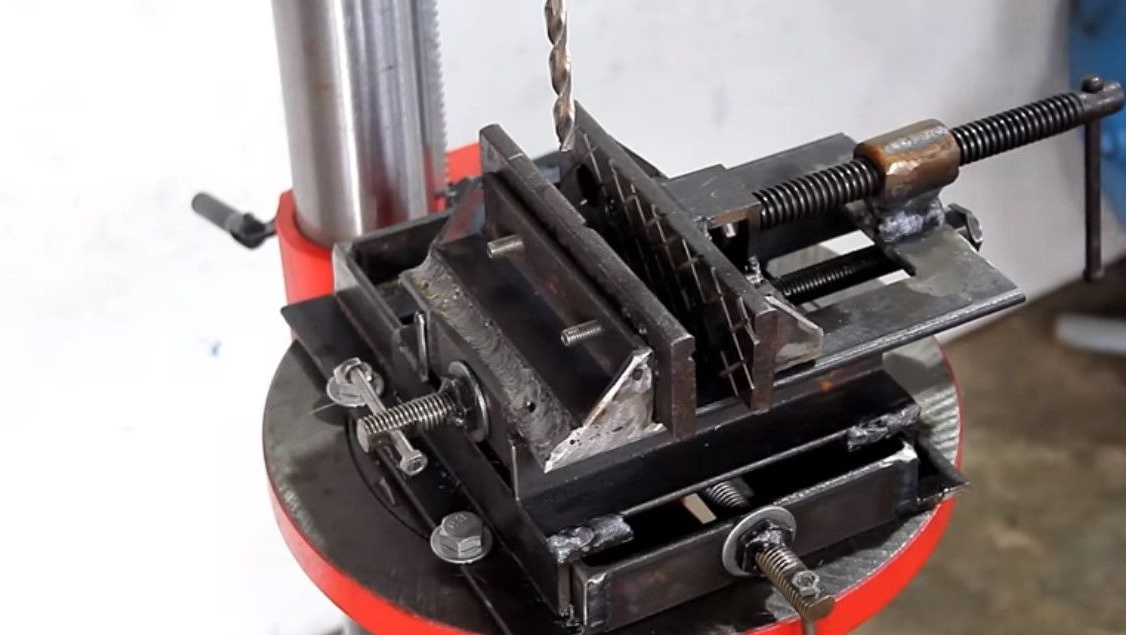
The vise mechanism is ready!
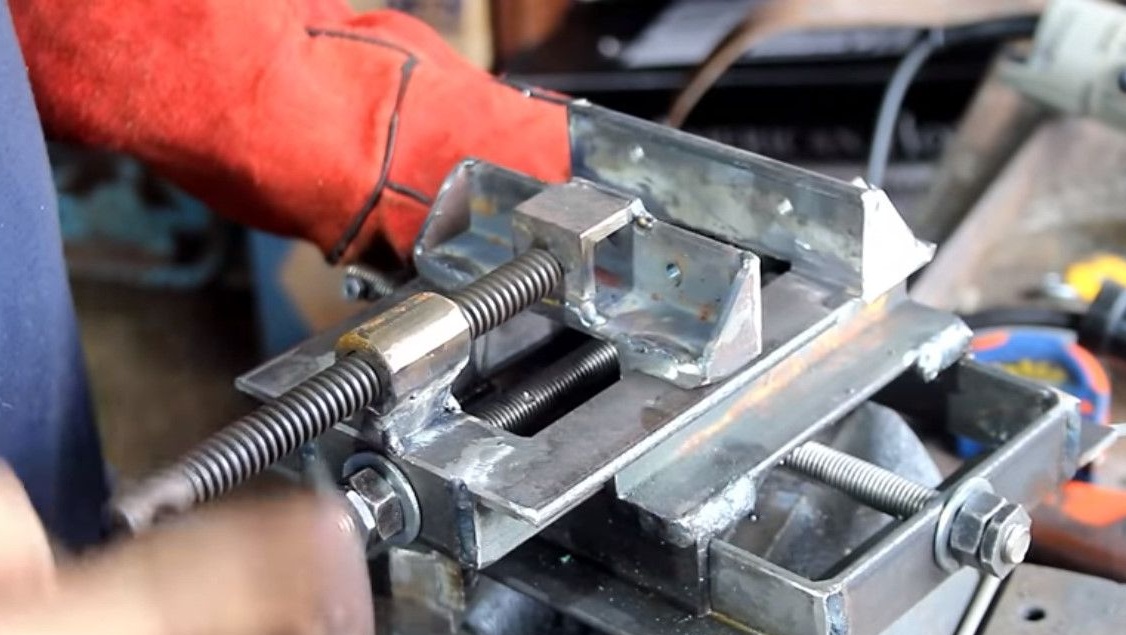
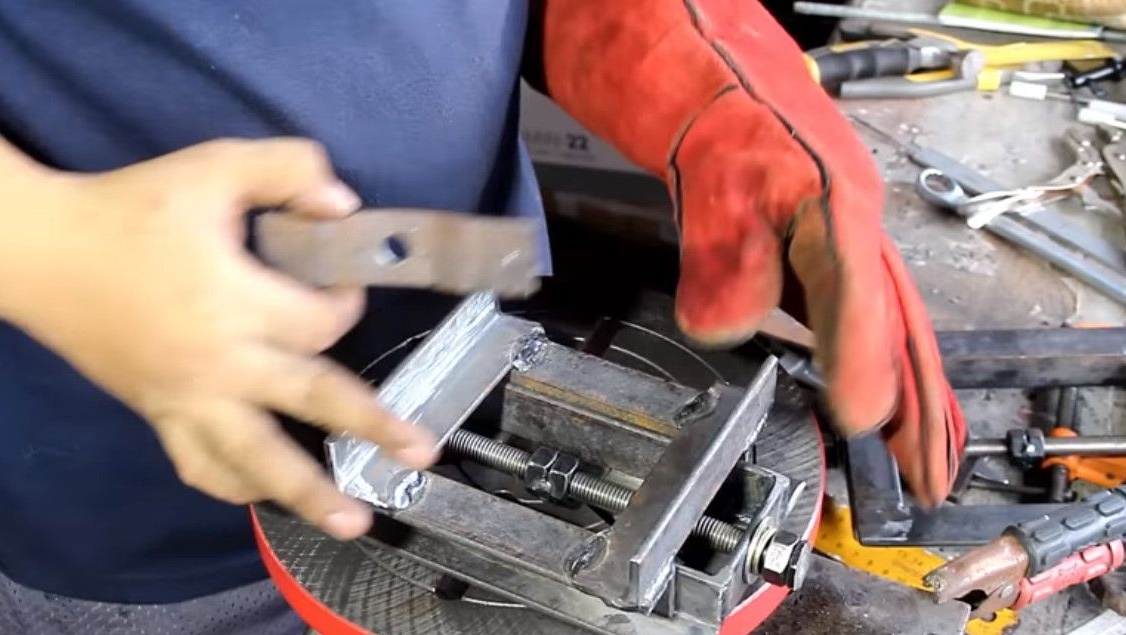
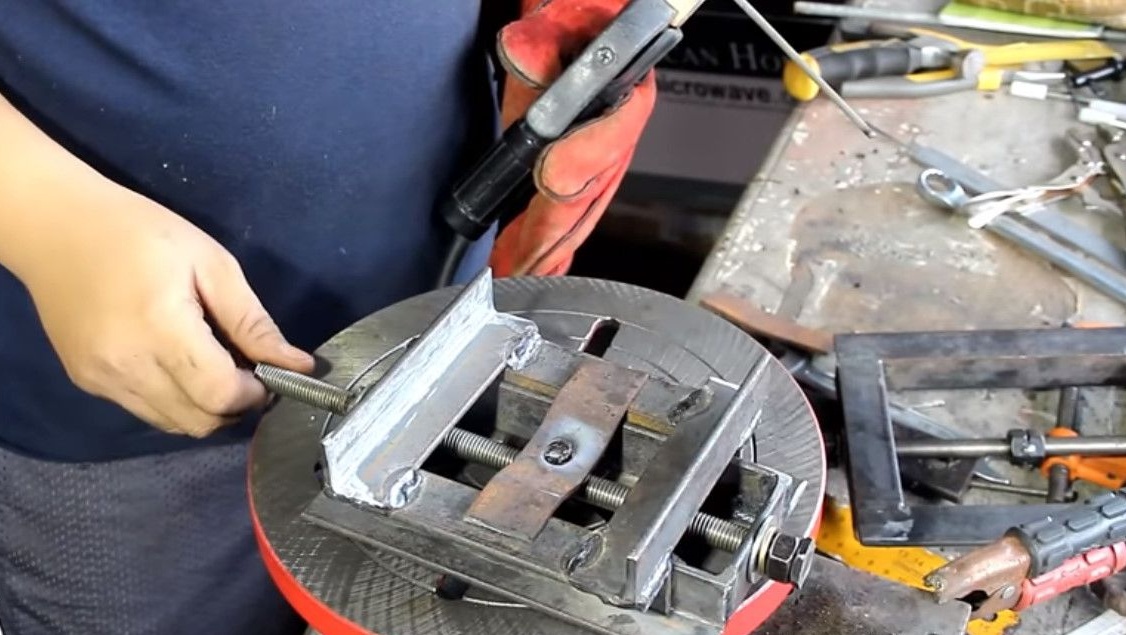
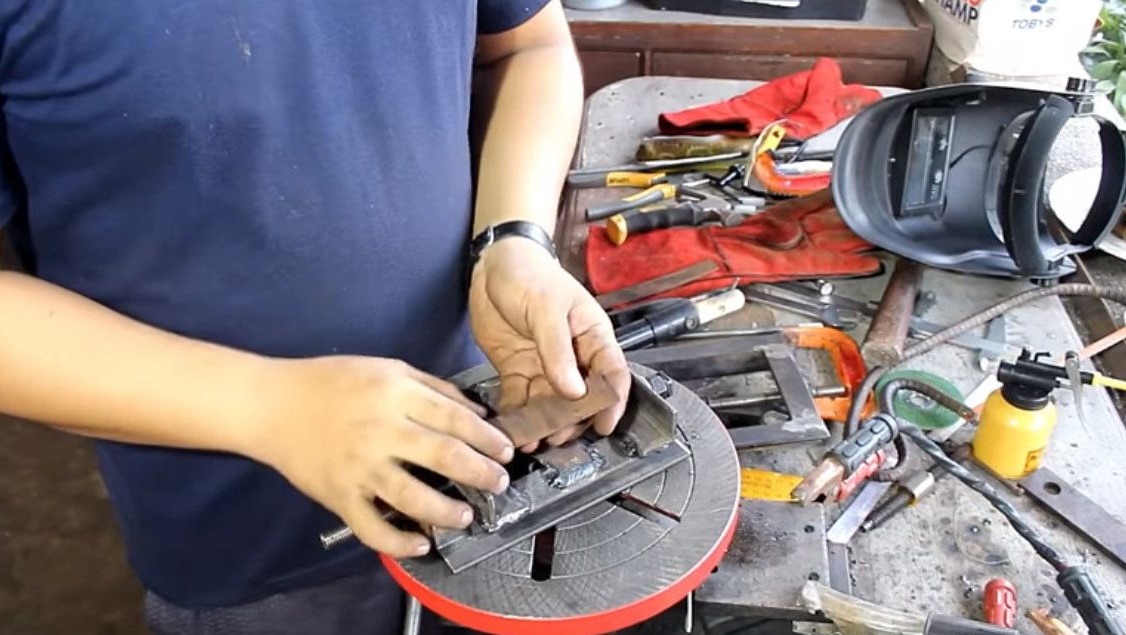
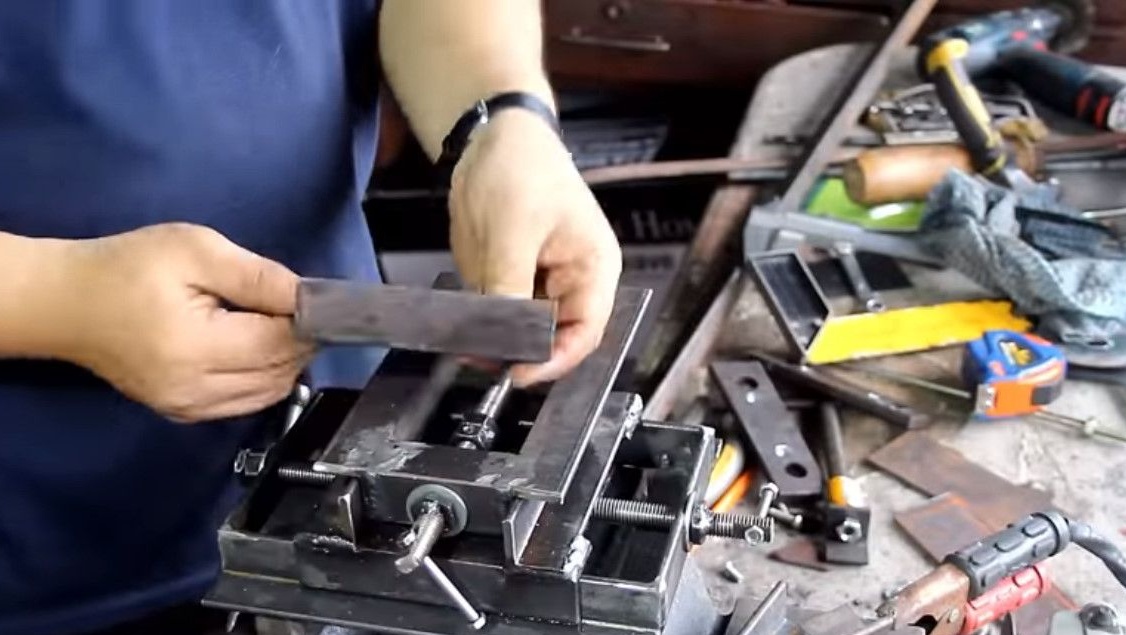
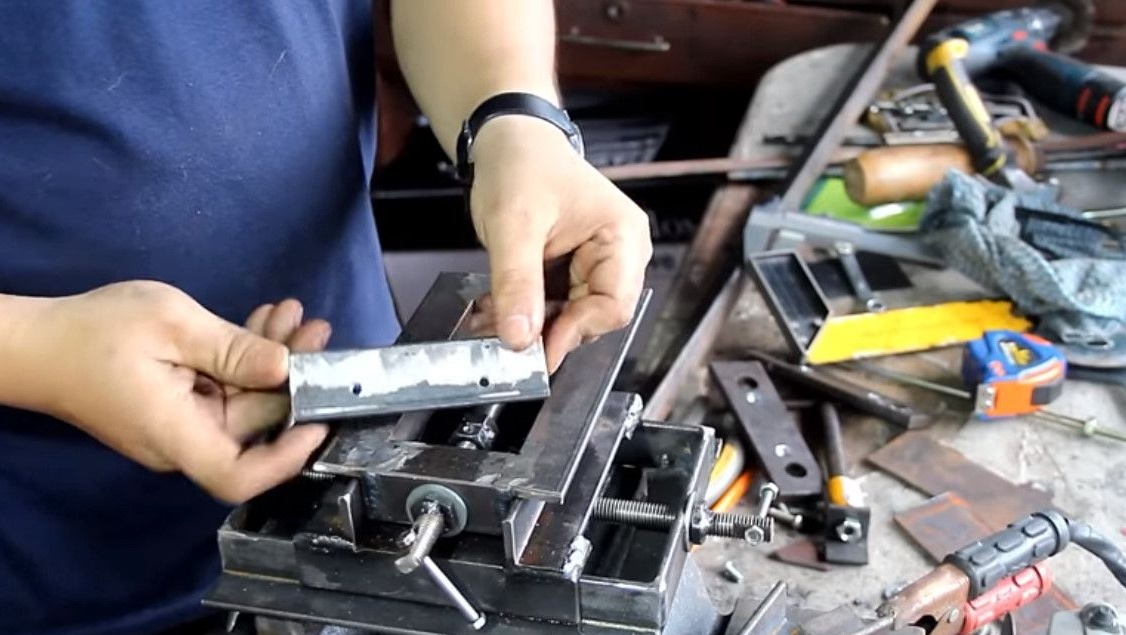
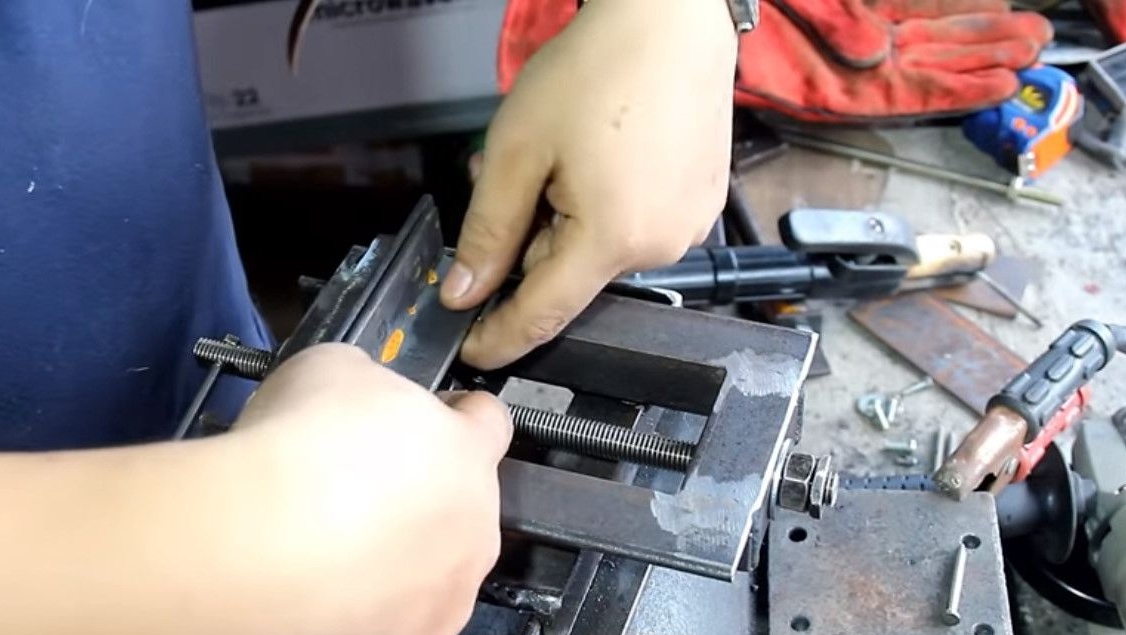
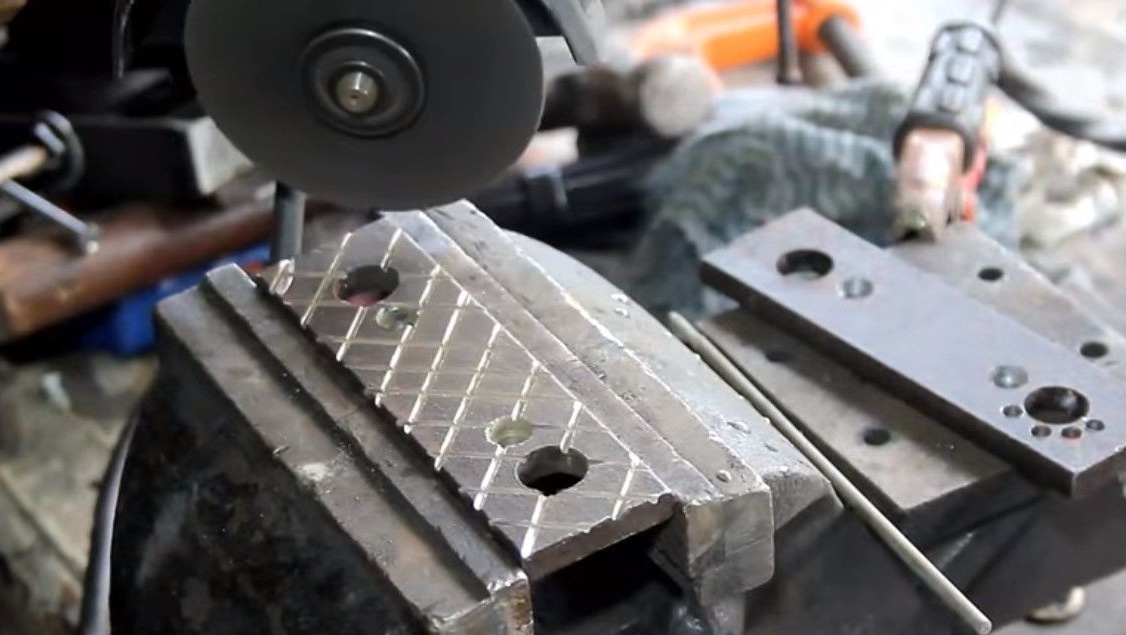
It prepares sponges for installation, makes the old notch deeper with a grinder. The fixed sponge will be a little specific in shape.

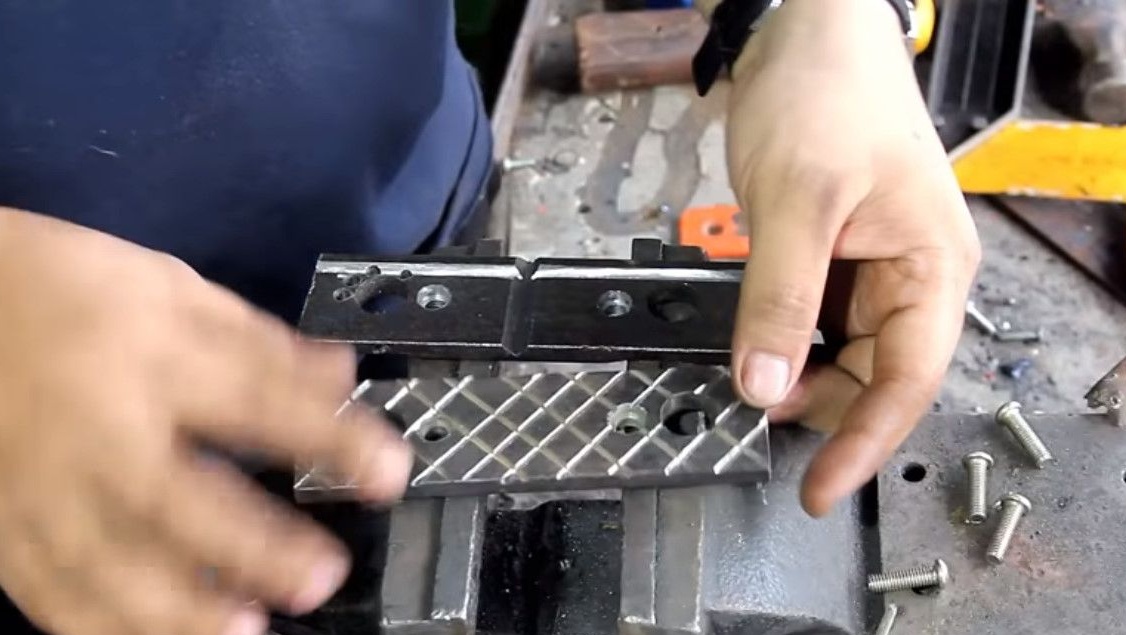
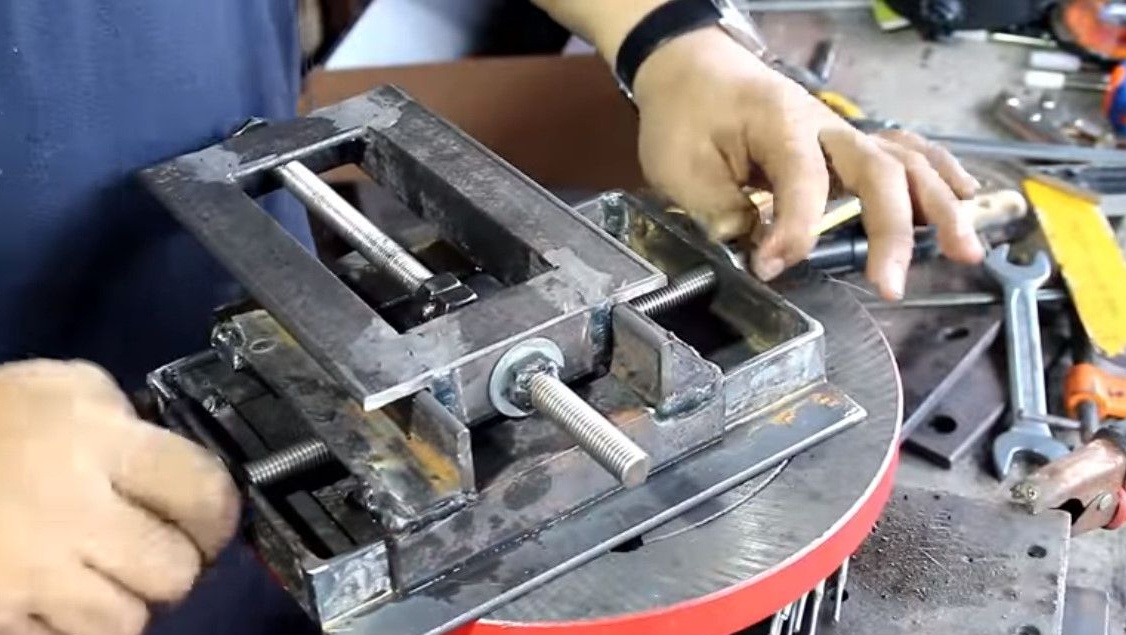
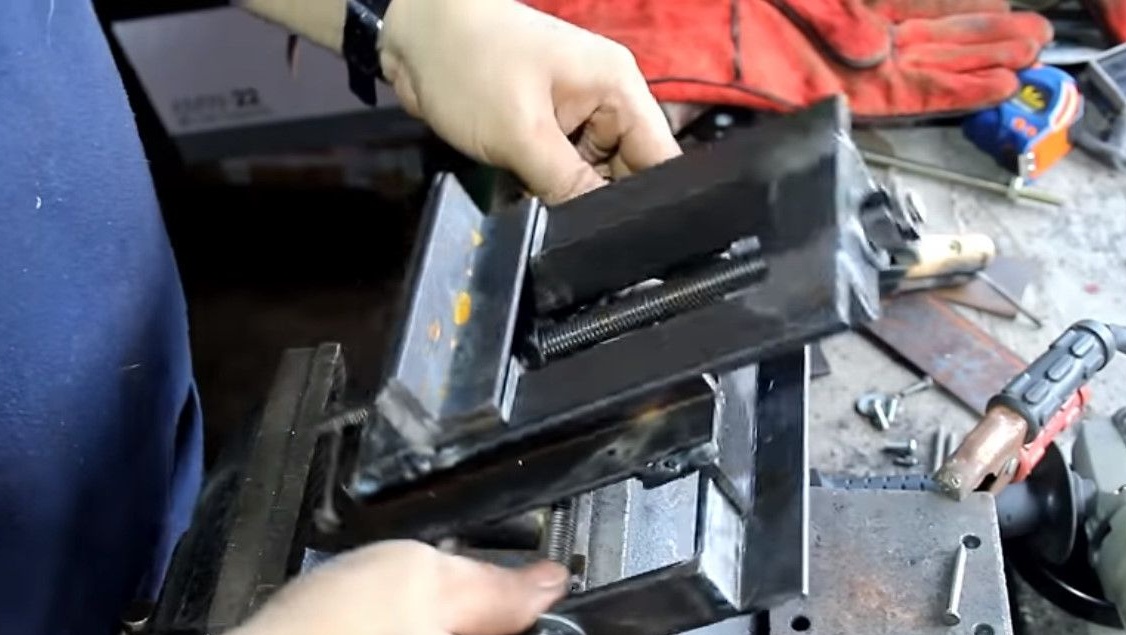
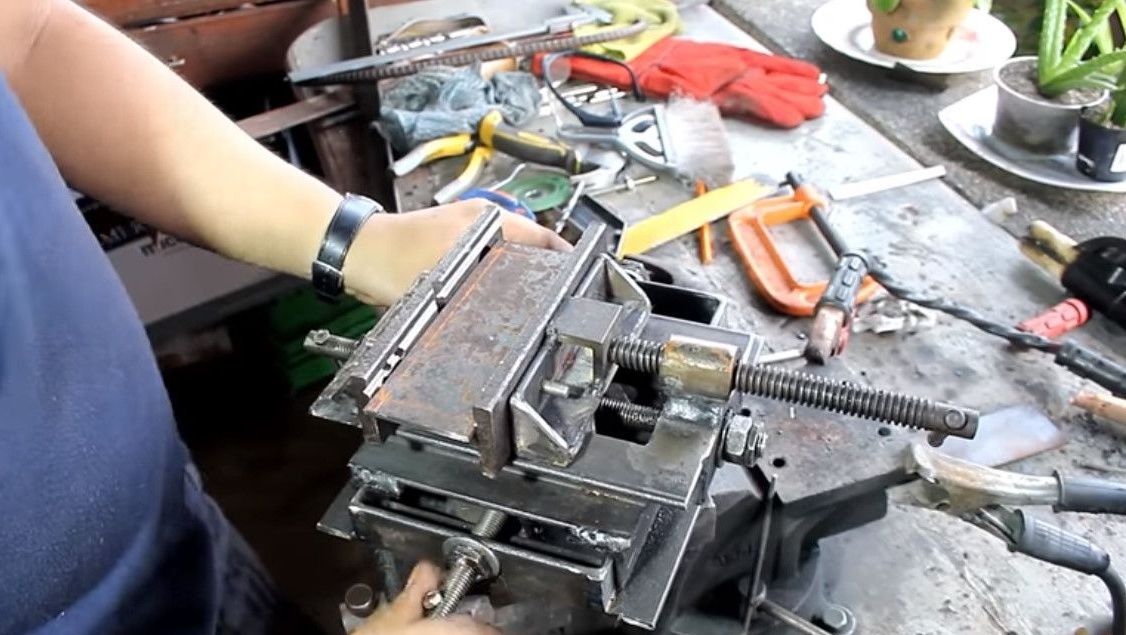
Sets them in their places and the table is completely ready!
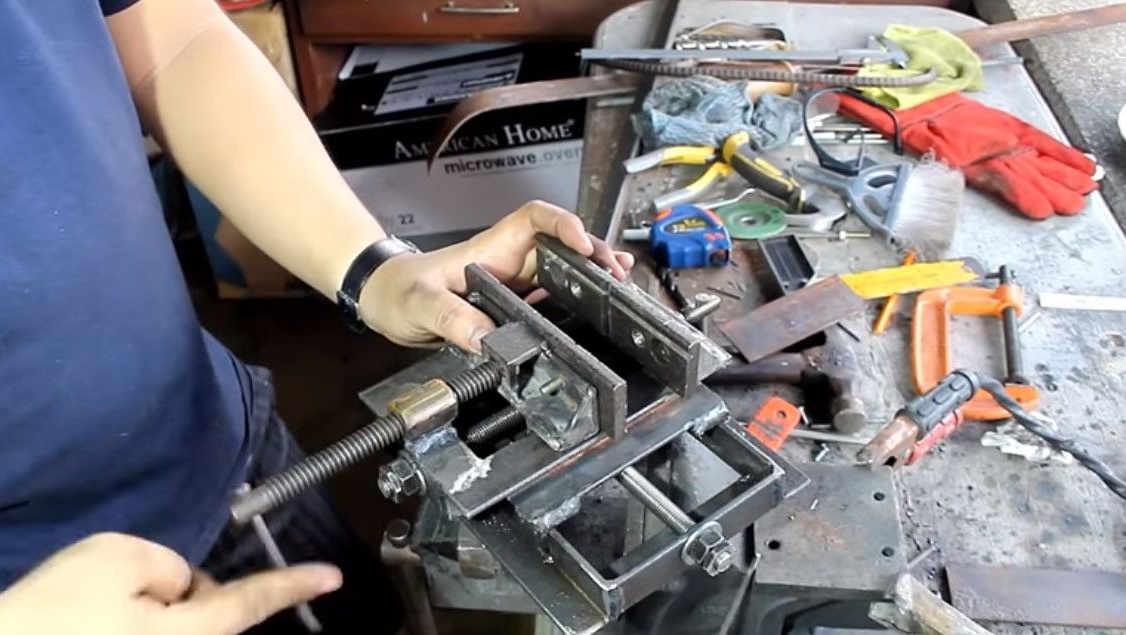
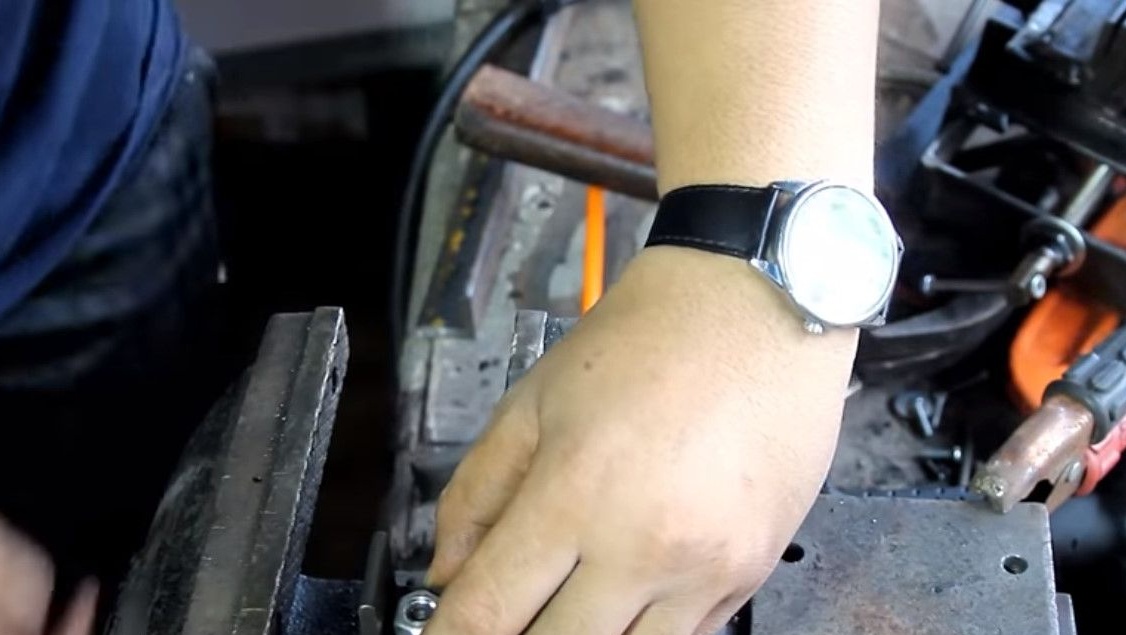
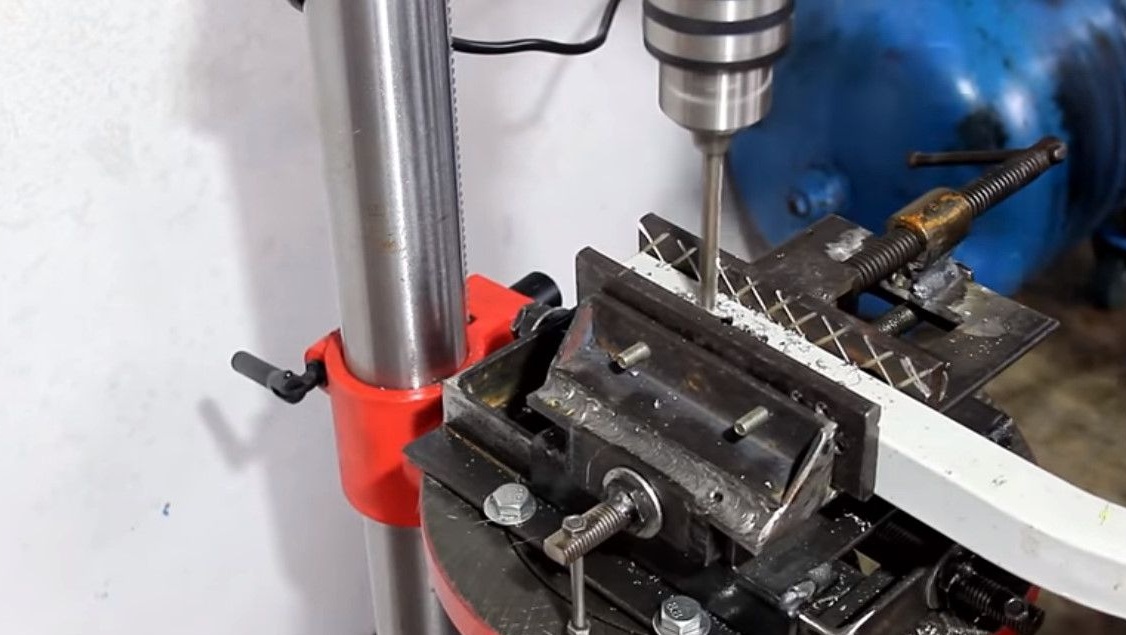
You can experience the table, clamps the part perfectly. And it moves along two axes freely and without backlashes.

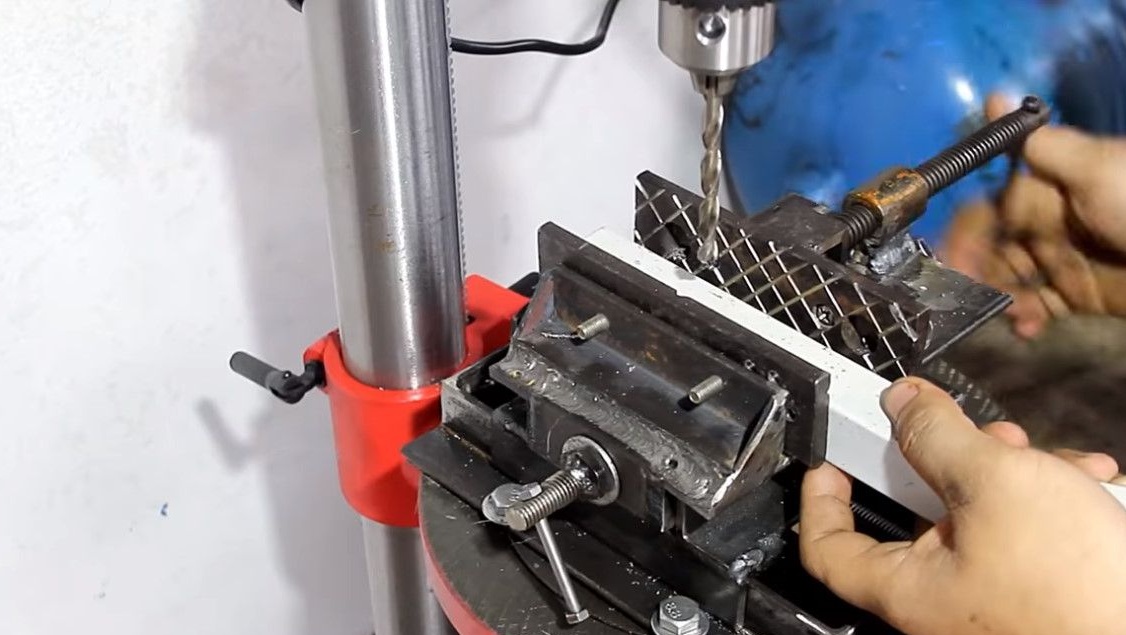
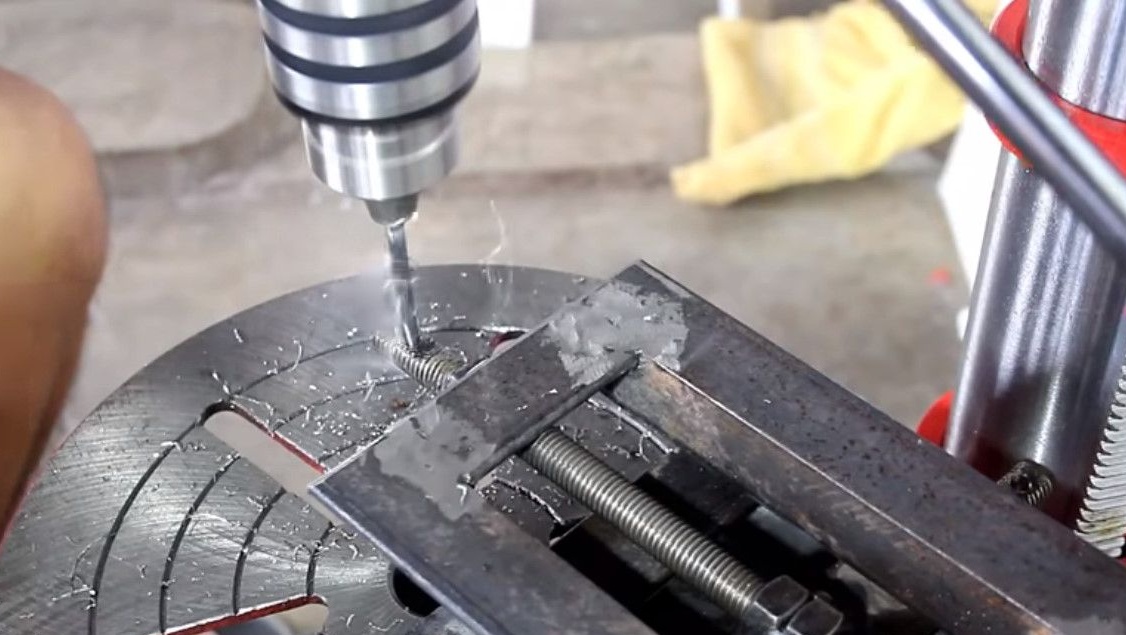
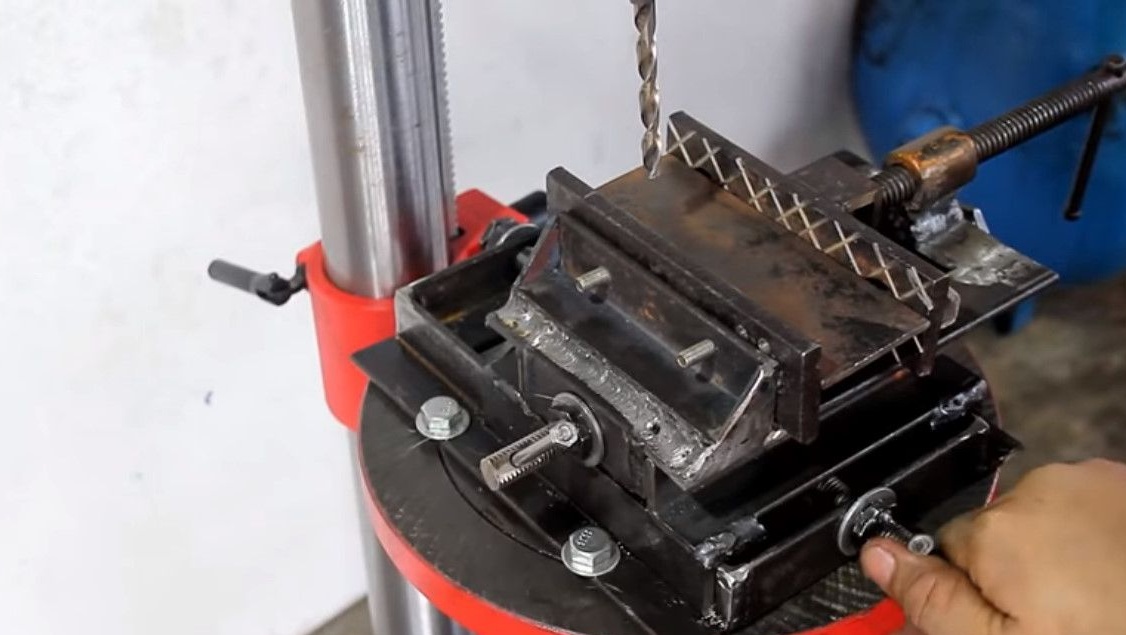
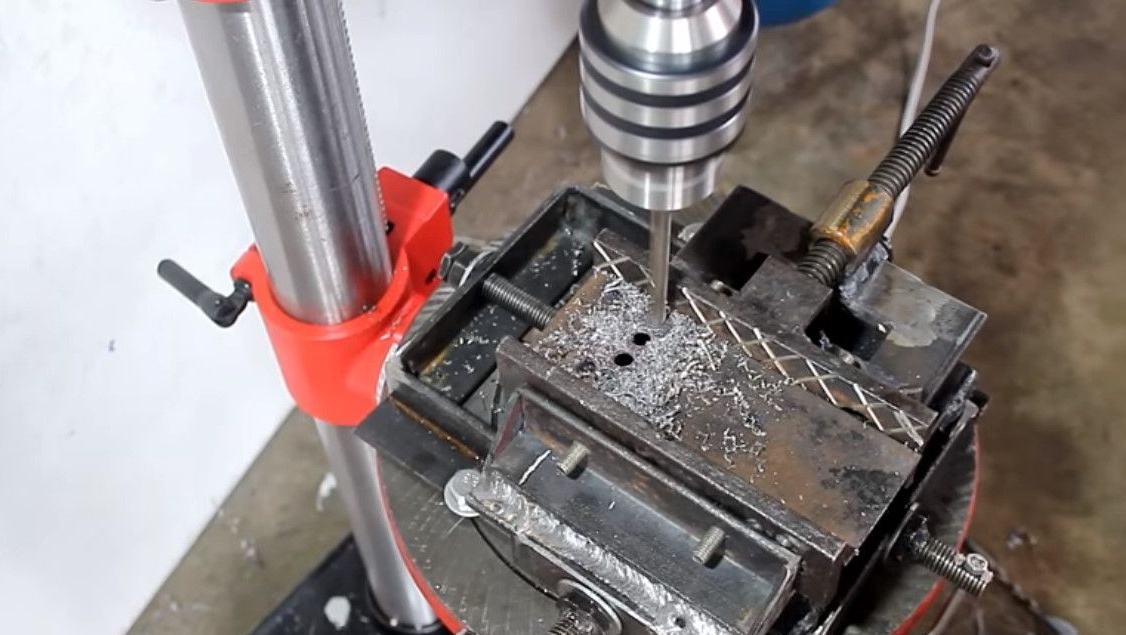
Installs the fixture on such a drilling machine.

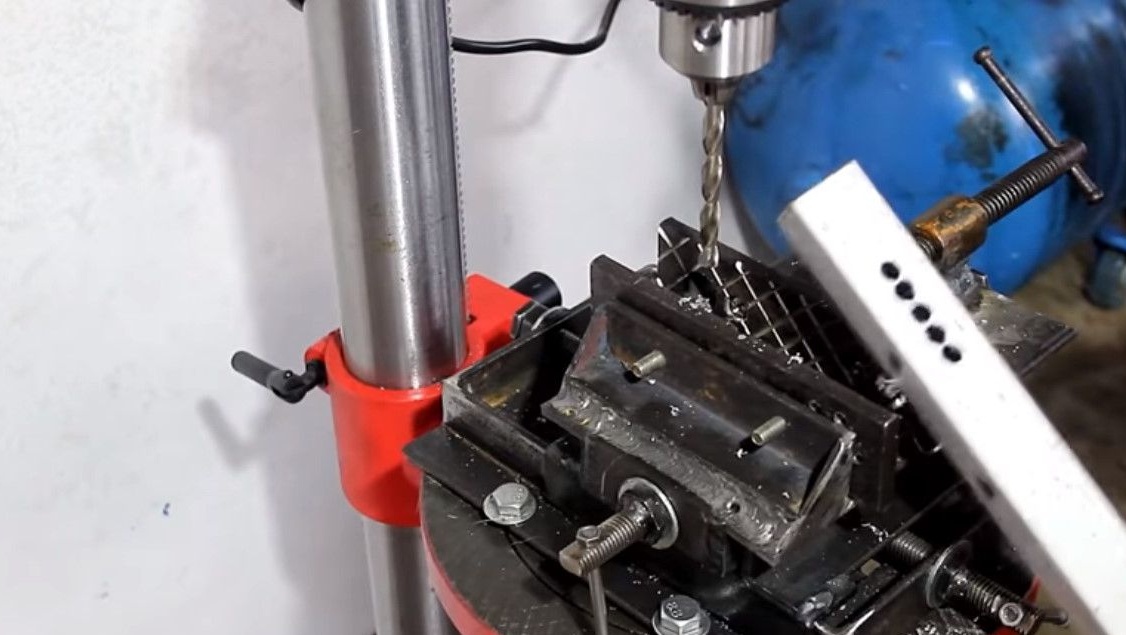
Clamps the workpiece and drills six holes. The lines are flat both vertically and horizontally.
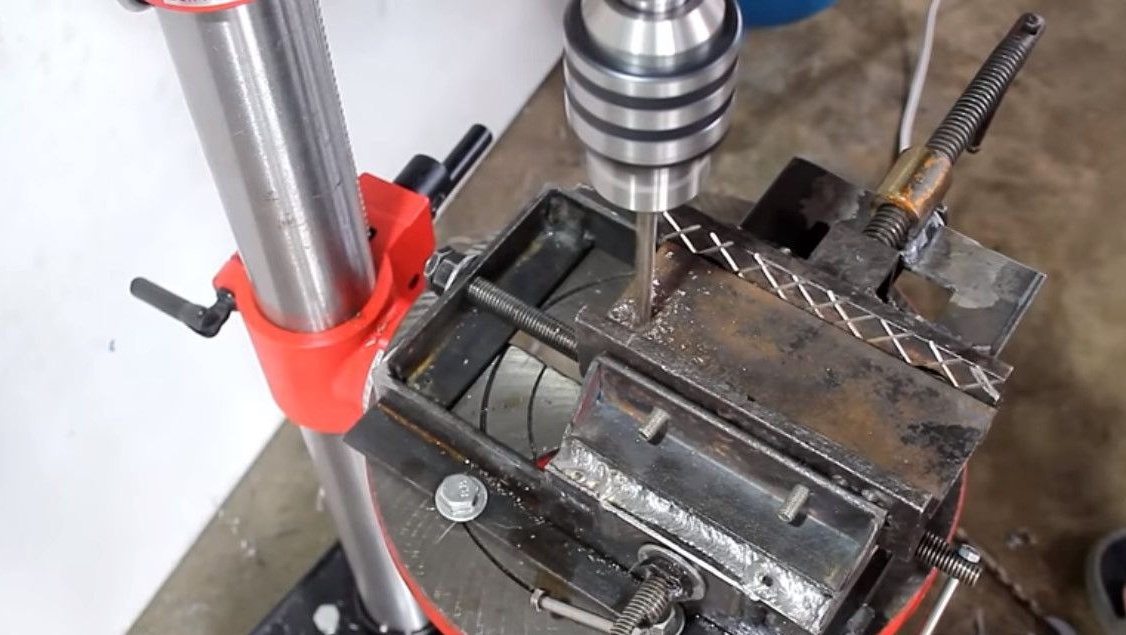
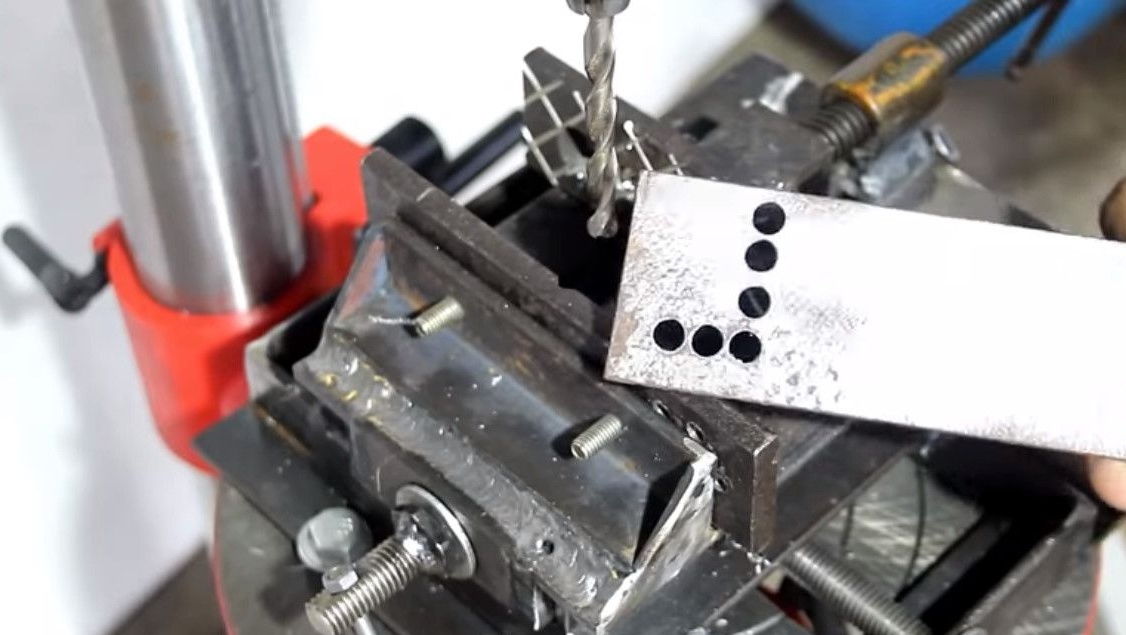
Now just in line on the profile pipe.
Thanks to the author for the work done, and a great idea for the masters! Improvements are always good!
Have a good tool!