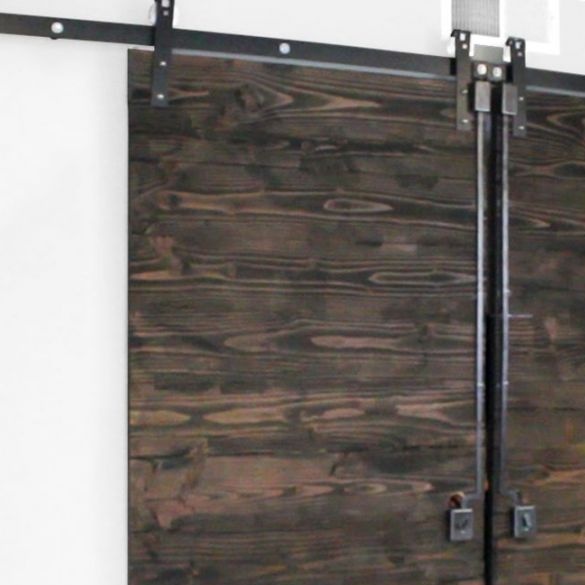
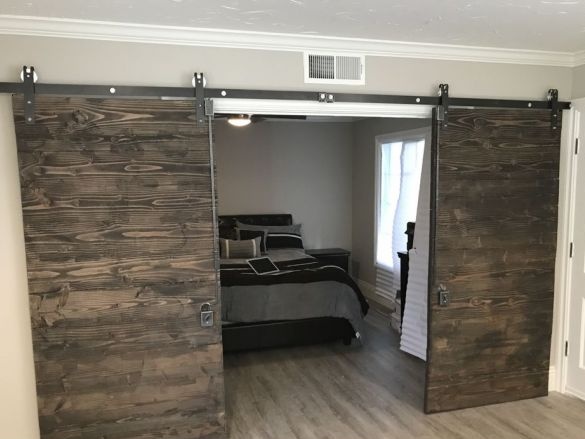
A sliding door saves space, and if you make it yourself, then money. It was these considerations that the Master was guided by when he decided to make a sliding door. To make the door, the master used the following
Materials and tools:
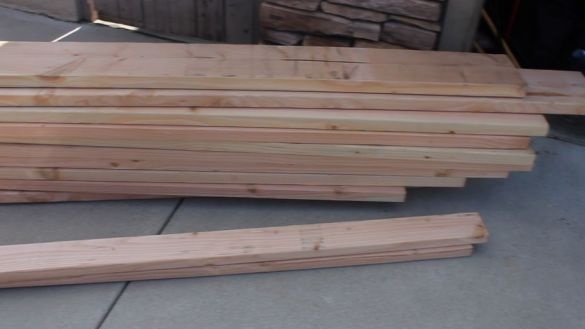
-Wood;
-Wooden dowels;
-Wood glue;
- Paint tape;
-Primer;
-Varnish;
-Set for sliding doors;
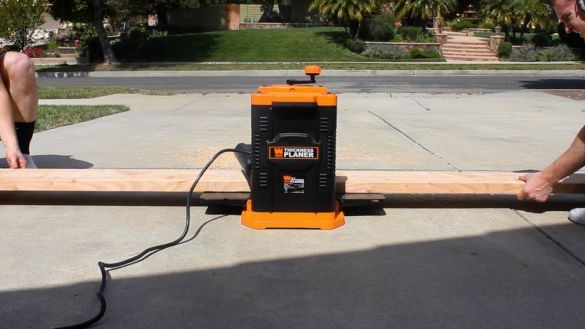
- Reysmuso-planing machine;
-Miter saw;
- A rack for a miter saw;
-Drill;
Grinding machine;
-USHM;
-Drill;
- Petal disc;
-Conductor;
- mallet;
- Clamps;
-Gon;
-Level;
Step One: Board Processing
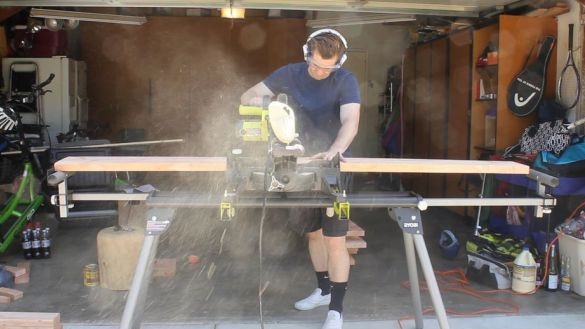
Chases a board through a surface planer. Then it cuts the boards in half.
Step Two: Markup
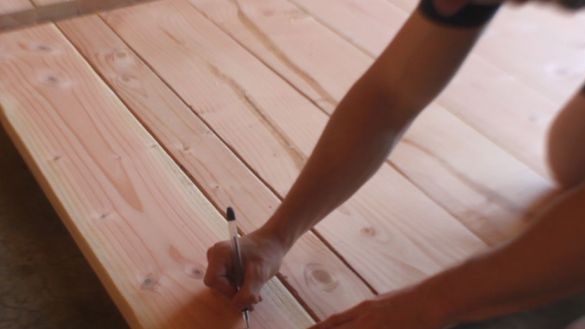
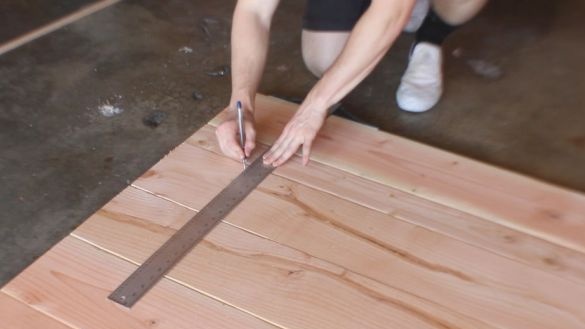
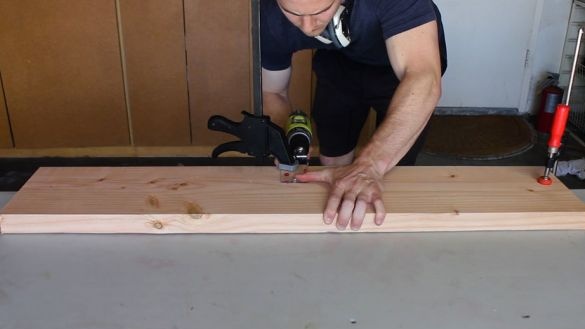
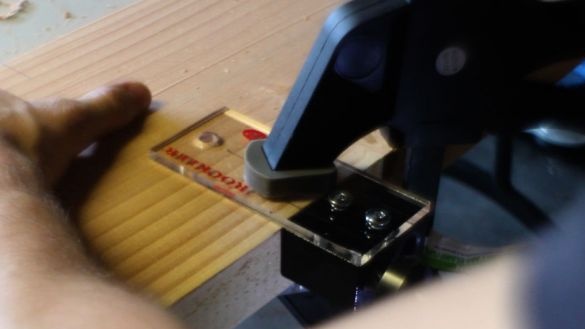
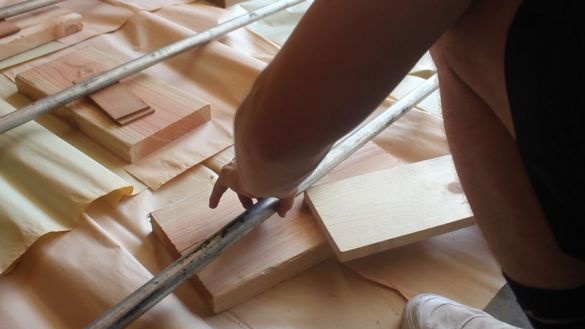
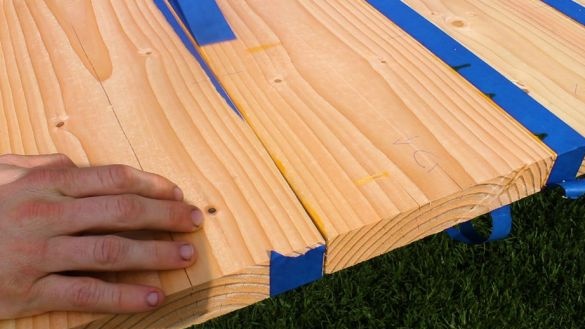
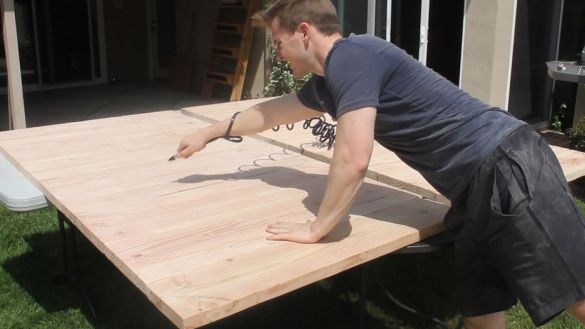
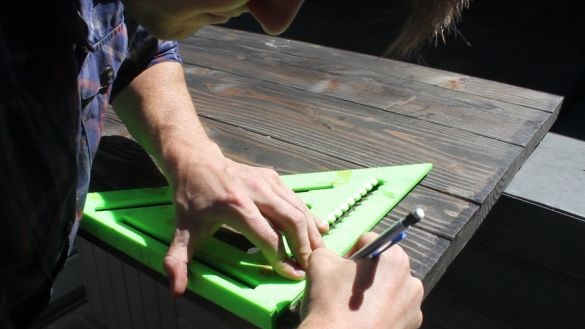
Stack boards with a rectangle. Aligns the corners. Marks the installation location of dowels. Using a conductor, drills holes for dowels.
Step Three: Gluing
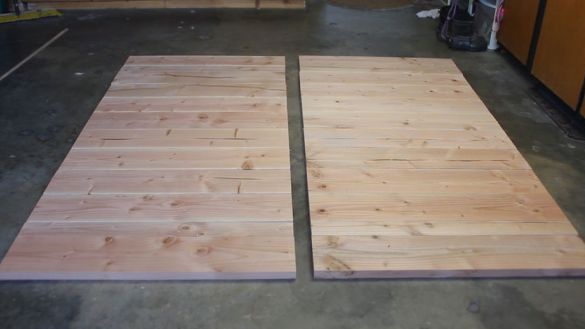
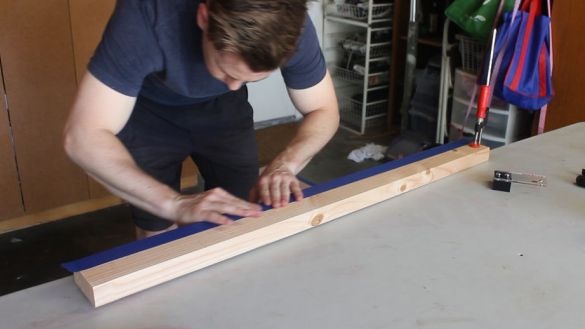
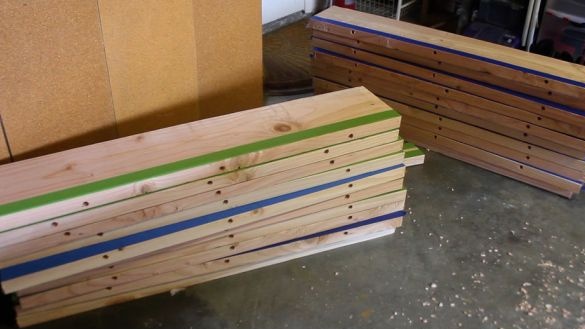
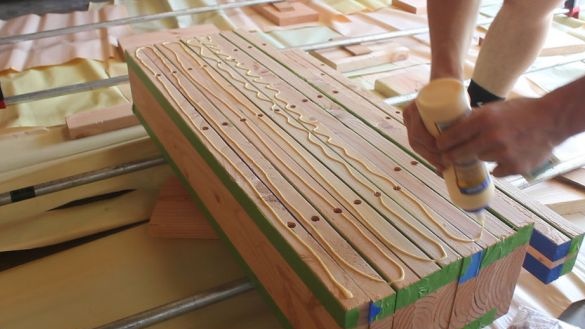
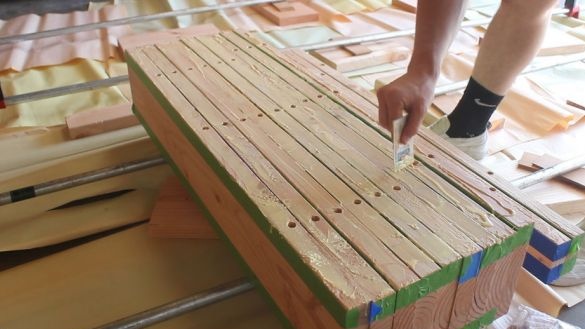
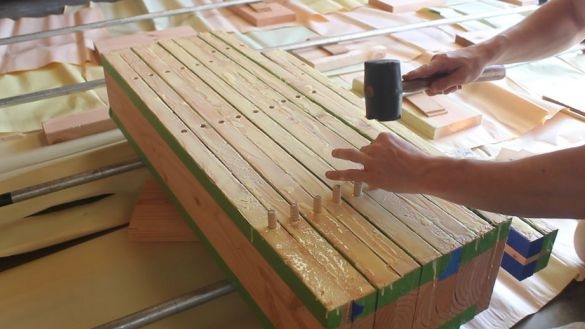
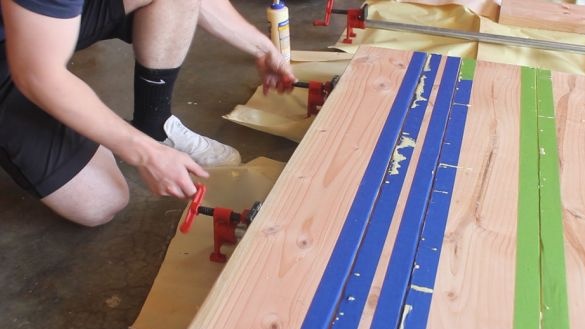
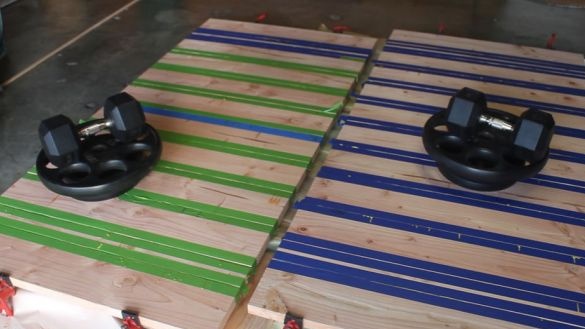
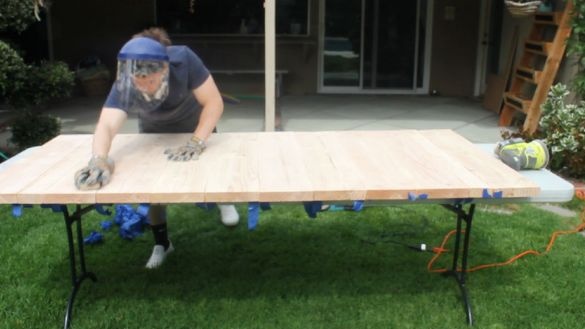
Pastes over the edges of the boards with masking tape (so that glue does not get on the surface of the board). Apply glue to the boards. Installs dowels. Glues the boards together. He pulls the boards together with clamps and presses them down with a load. Thus two halves of doors turned out.
Step Four: Grinding
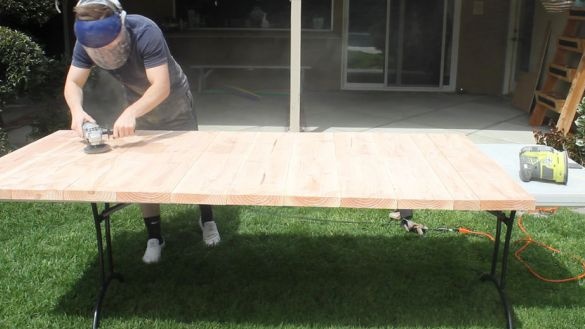
Removes masking tape. Grinds the door halves.
Step Five: Staining
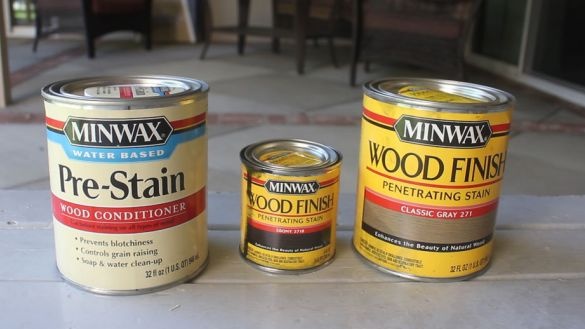
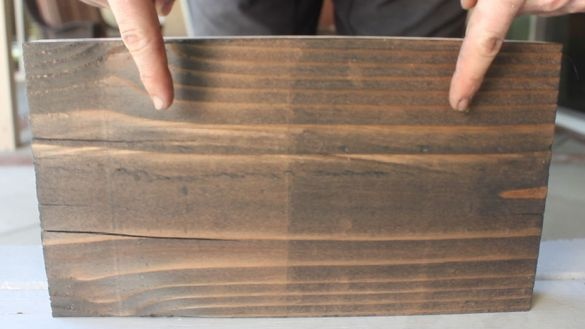
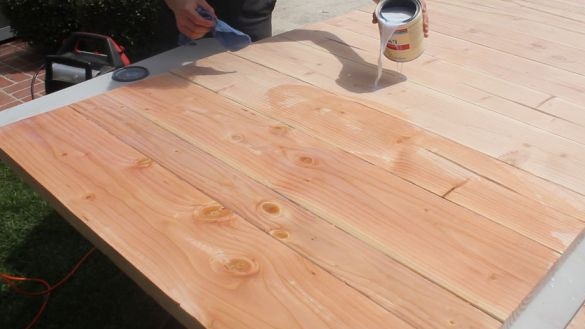
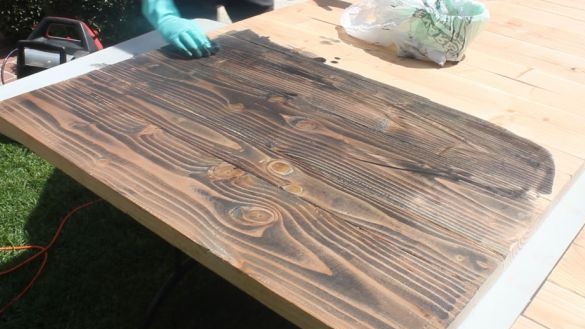
It impregnates the door. Then mixes the two colors of the coating. After drying, the impregnation stains the doors for 20 minutes.
Step Six: Install the Gimbal and Guide
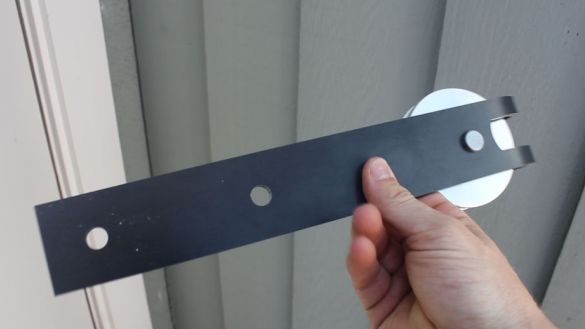
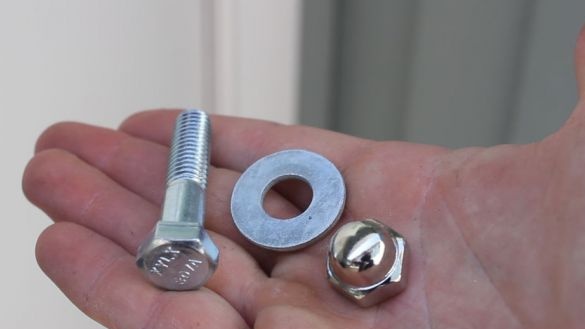
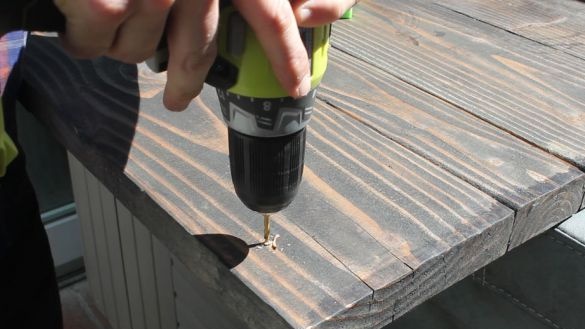
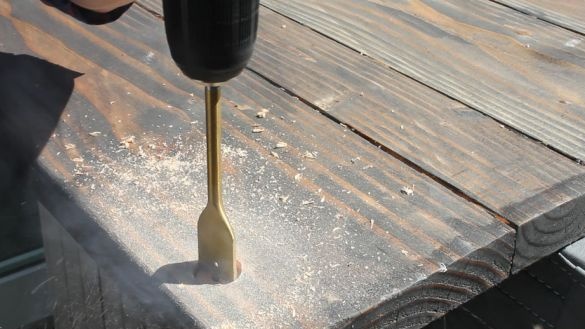
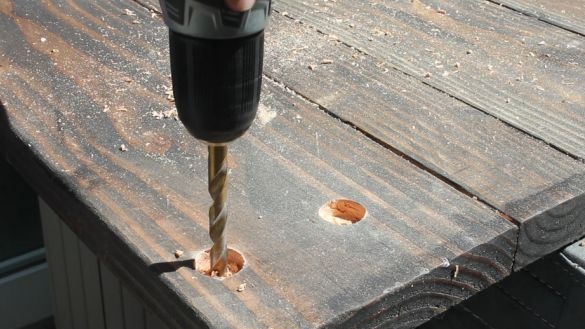
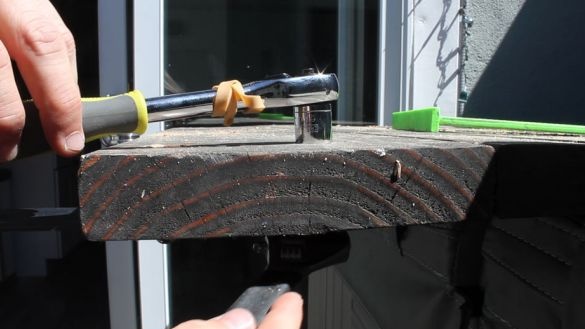
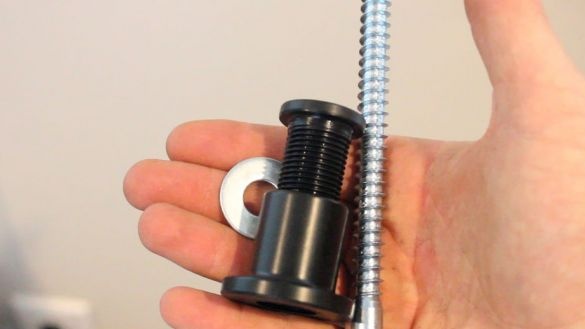
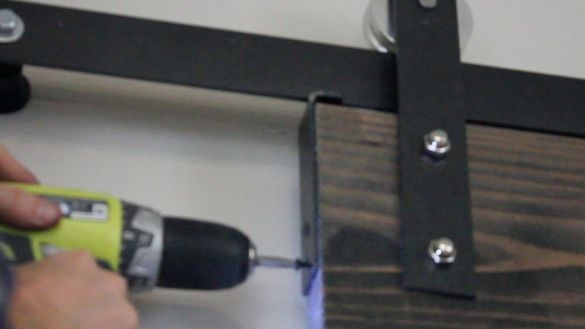
Marks places for installing suspensions with rollers on the doors. Drill holes. Screws the suspensions.
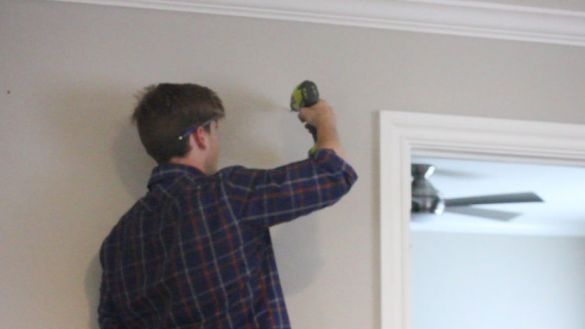
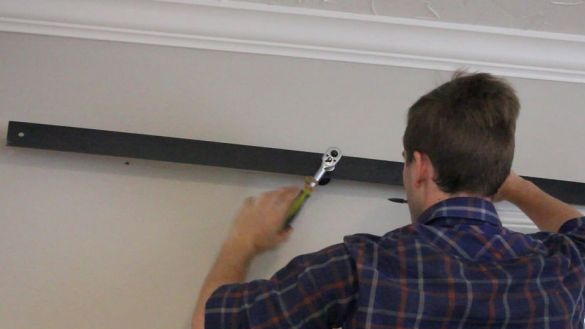
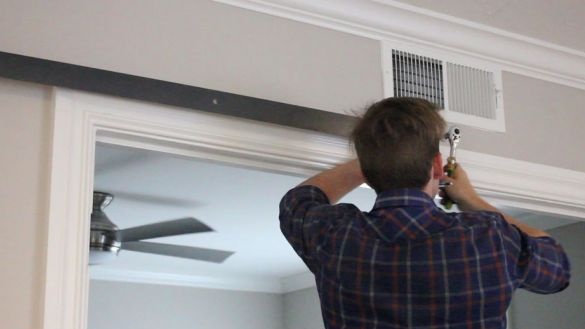
Installs a guide on the wall.
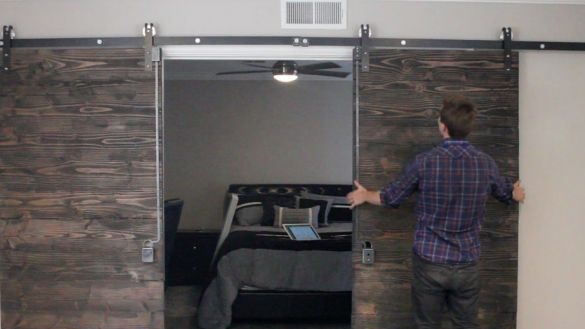
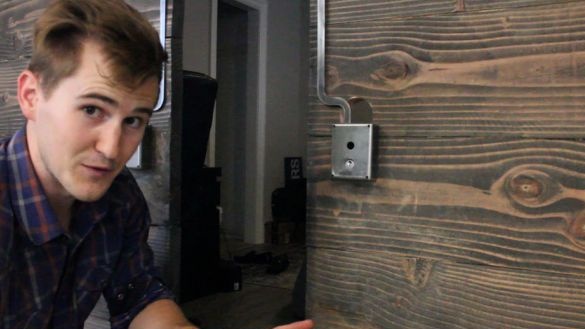
Suspends the door and tightens the stop. Installs a lock.
False doors are ready.
The whole process of manufacturing a pendant door can be seen in the video.

