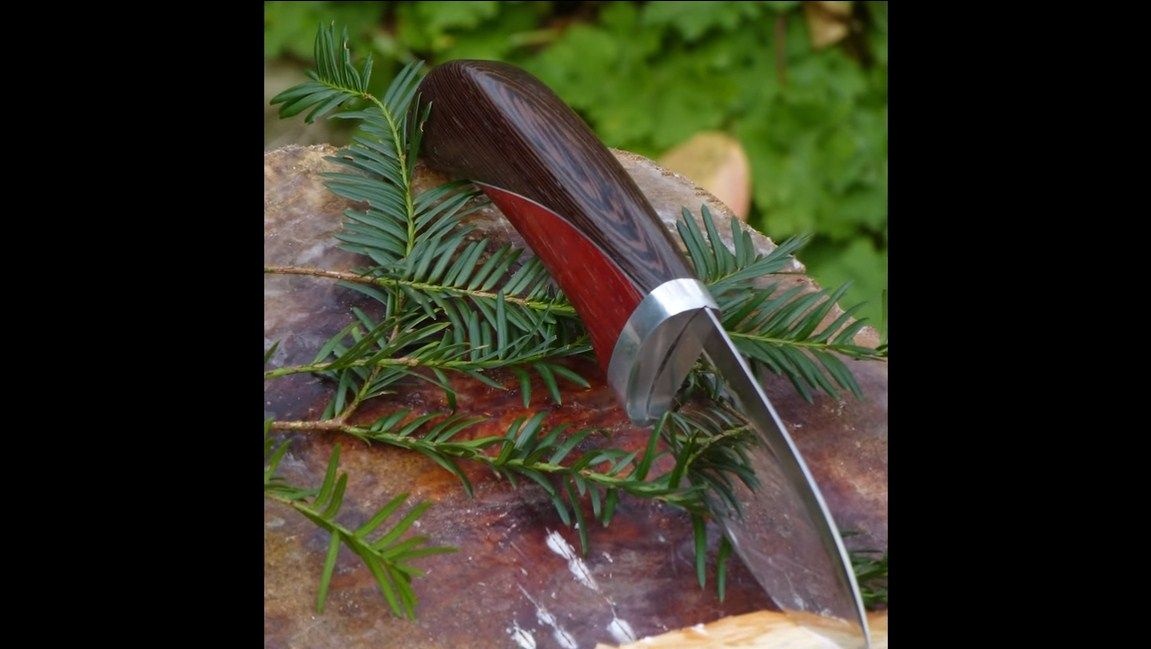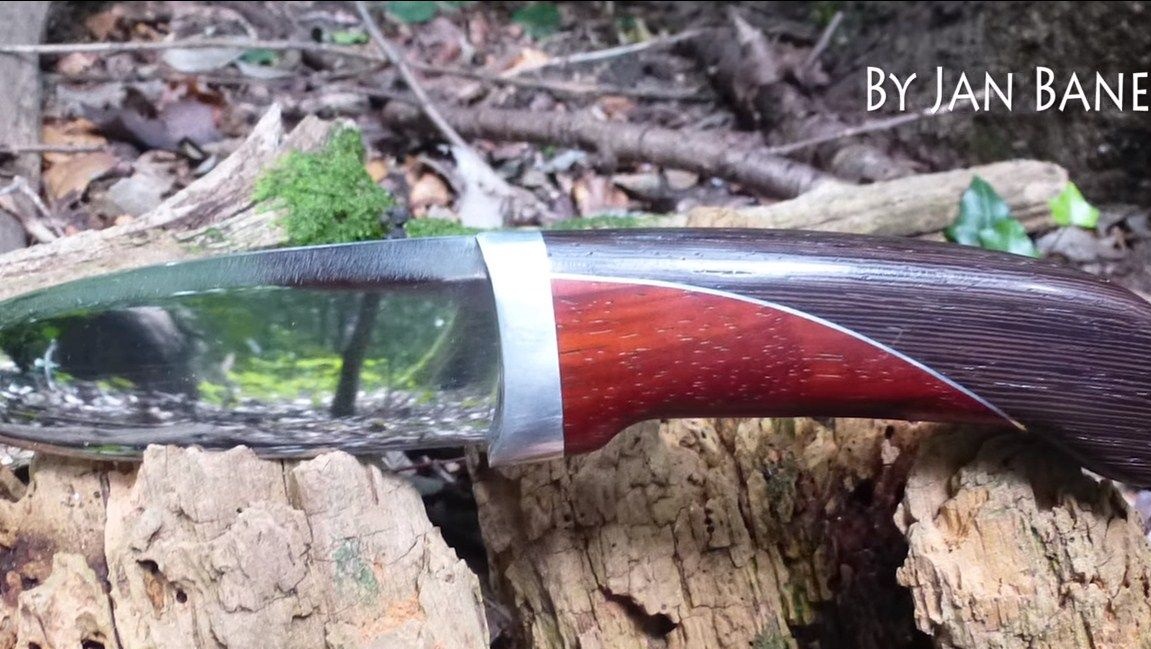
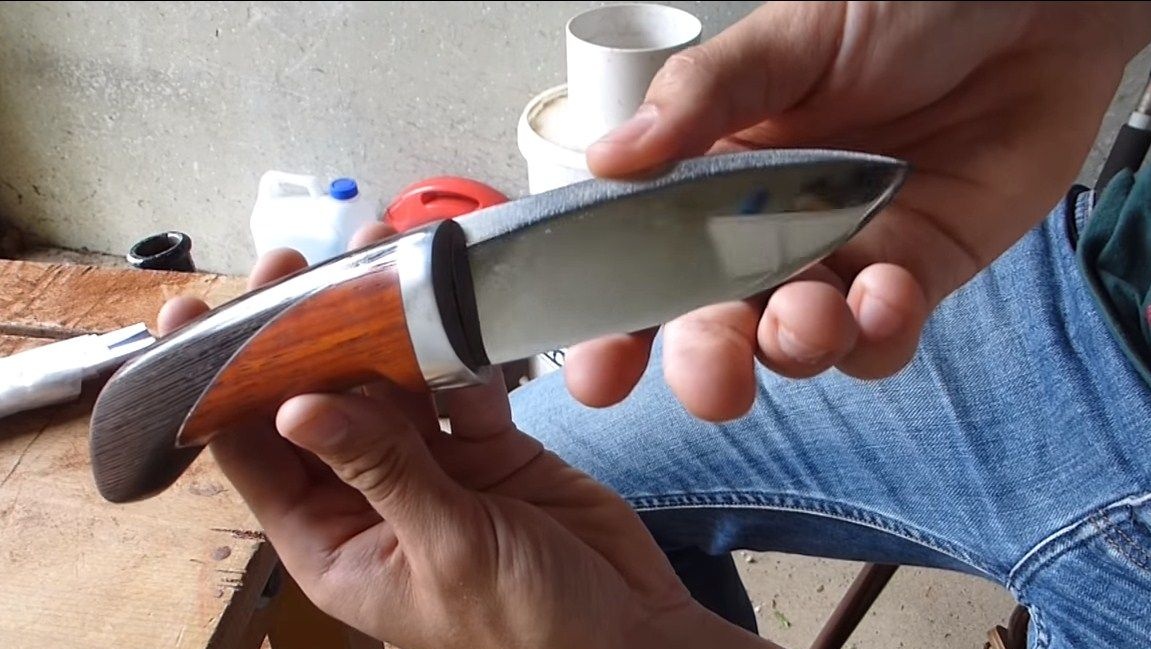
Greetings to all fans of working with metal. I propose to consider a homemade hunting knife with an unusual handle. The uniqueness of the pen in its design, it is assembled from three components, not counting the guards. The author used two types of wood in different colors, as a result, the pen looks amazing. To make such a knife is not difficult, you can do even with widespread tools. Only the speed of making a knife will depend on the availability of certain tools, but the quality will not suffer from this.
To make a really good hunting knife, you will need quality steel. It is recommended to choose a steel that is resistant to corrosion, then the knife will serve for a long time and will always be like new. In addition, the steel must be tempered, for this carbon must be in its composition. The hardened steel knife will hold sharpening for a long time and will be durable. You can buy knife steel over the Internet. So, we will consider in more detail how to make such a knife!
Materials and tools used by the author:
Material List:
- good steel;
- two types of wood;
- sheet aluminum (for the handle);
- aluminum or brass for the guard;
- oil for wood impregnation;
- epoxy adhesive.
Tool List:
- belt sander;
- drill;
- grinder;
- device for sharpening knives;
- sandpaper;
- clamps;
- jigsaw;
- a hacksaw for metal;
- vise;
- files.
The process of making a knife:
Step one. Production of the main profile of the blade
We start making the knife with a profile, draw it by hand on the metal from which we will cut it. If the knife has a complex shape, and you are not sure of its design, you can first cut the profile out of cardboard and hold it in your hands. Interesting knife designs that can be printed on a printer are on Pinterest.
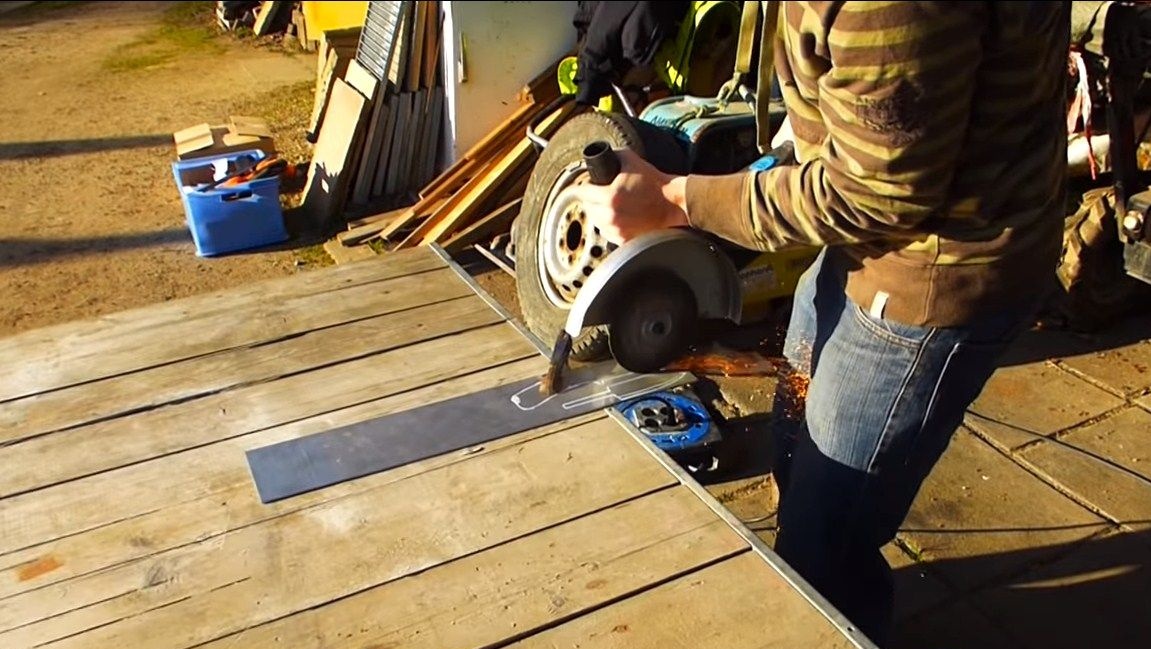
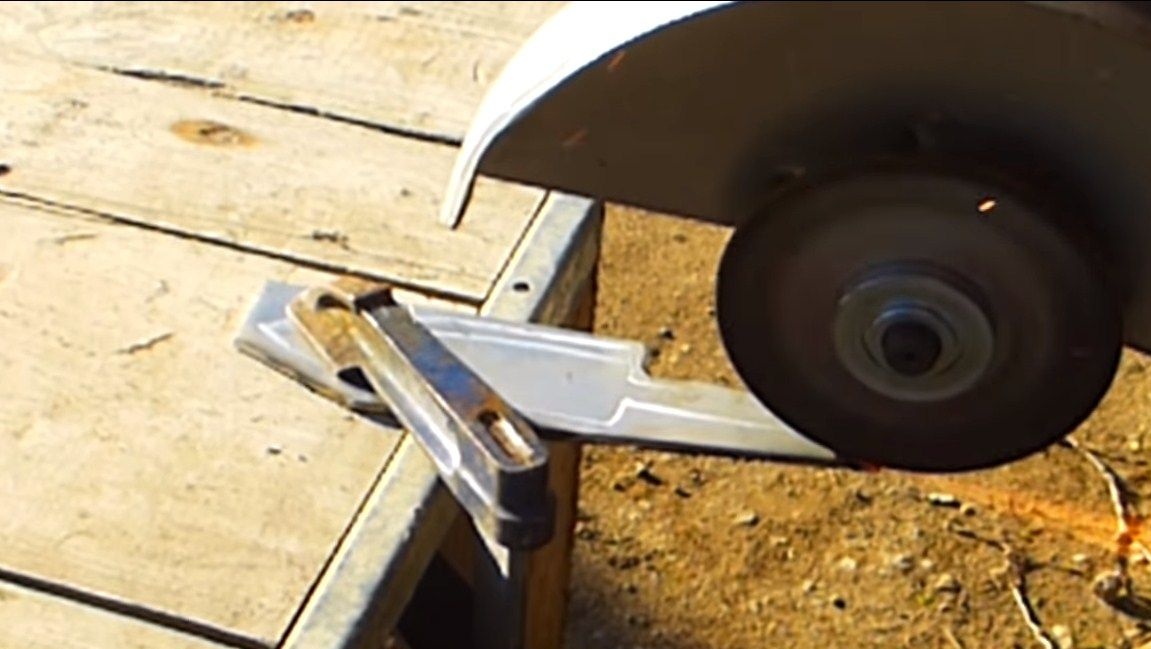
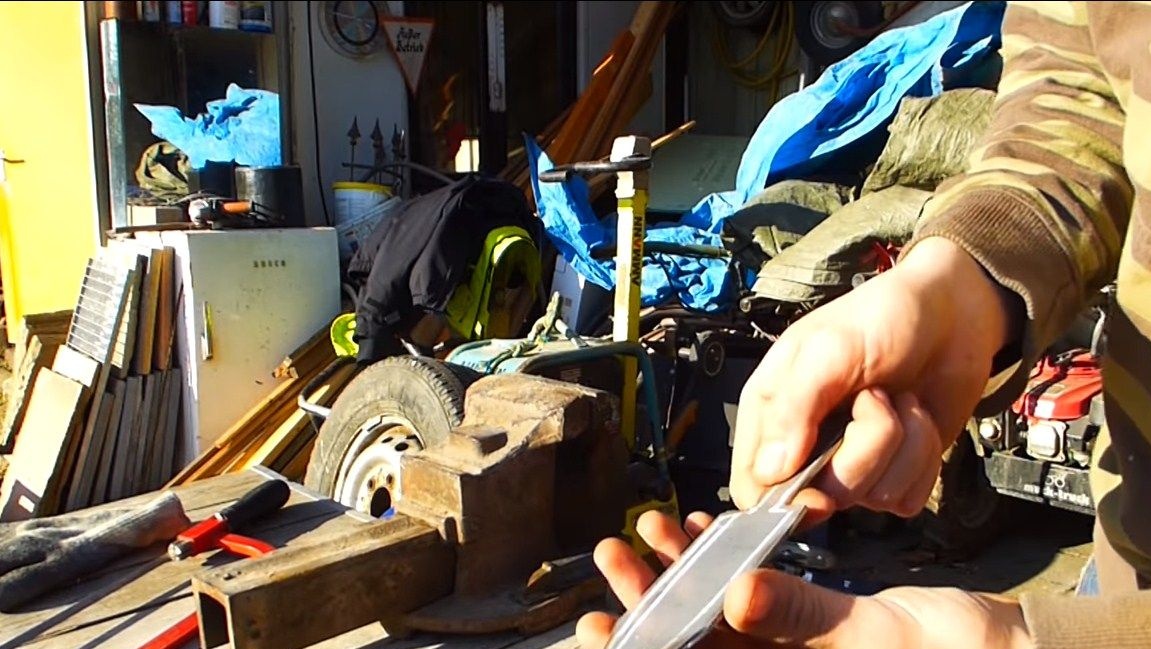
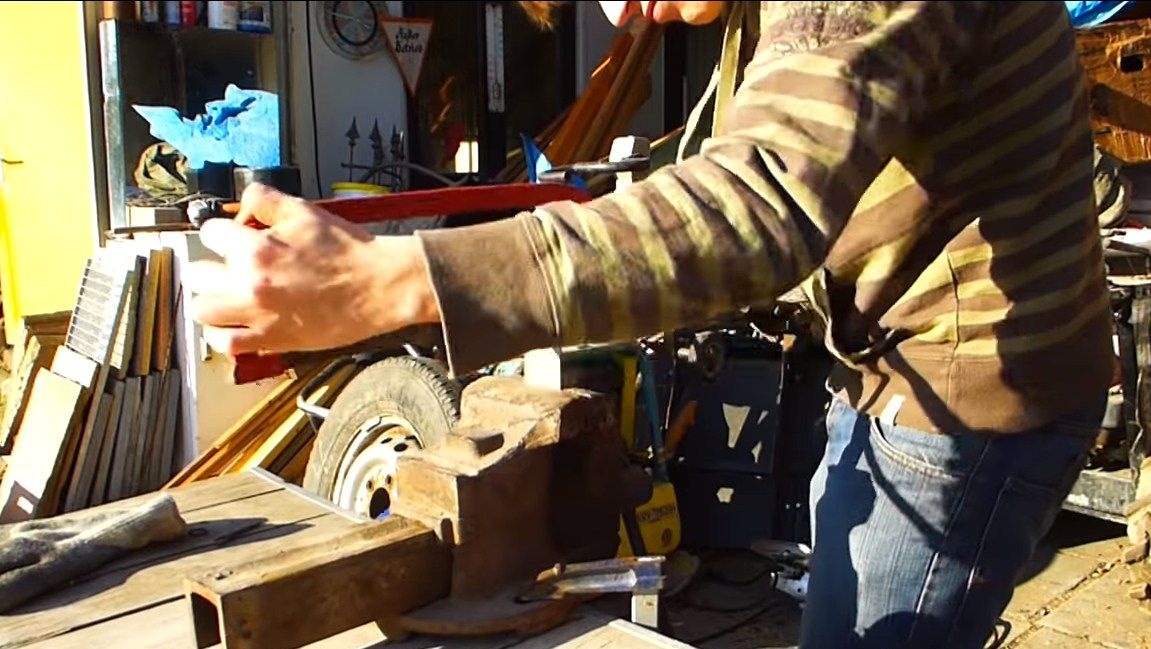
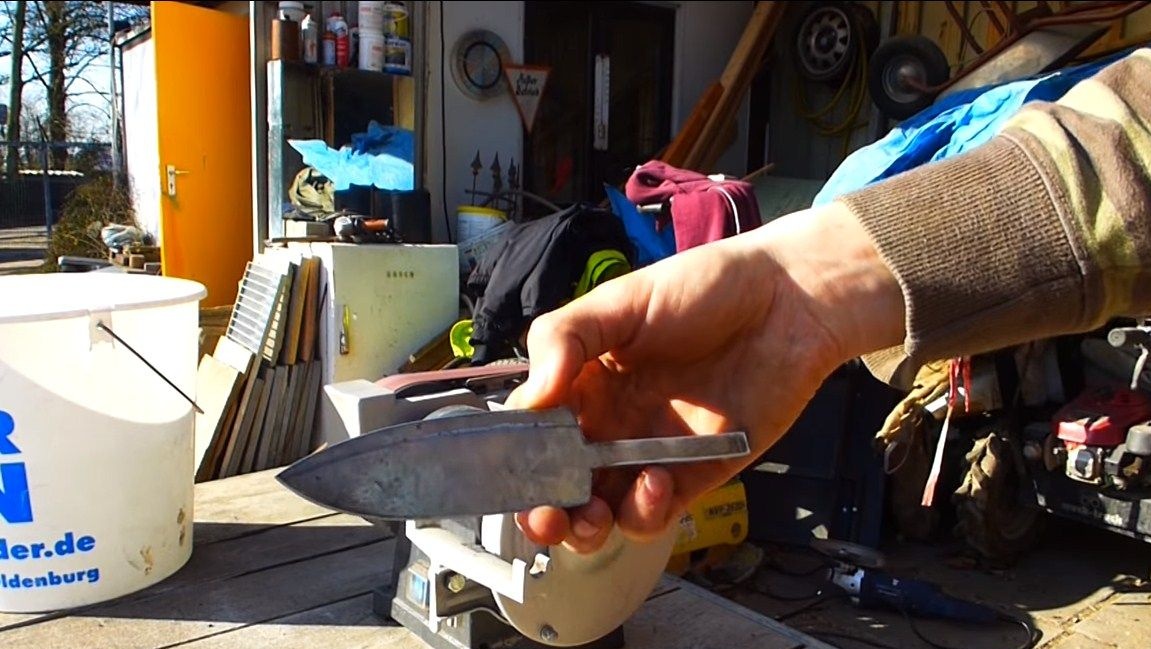
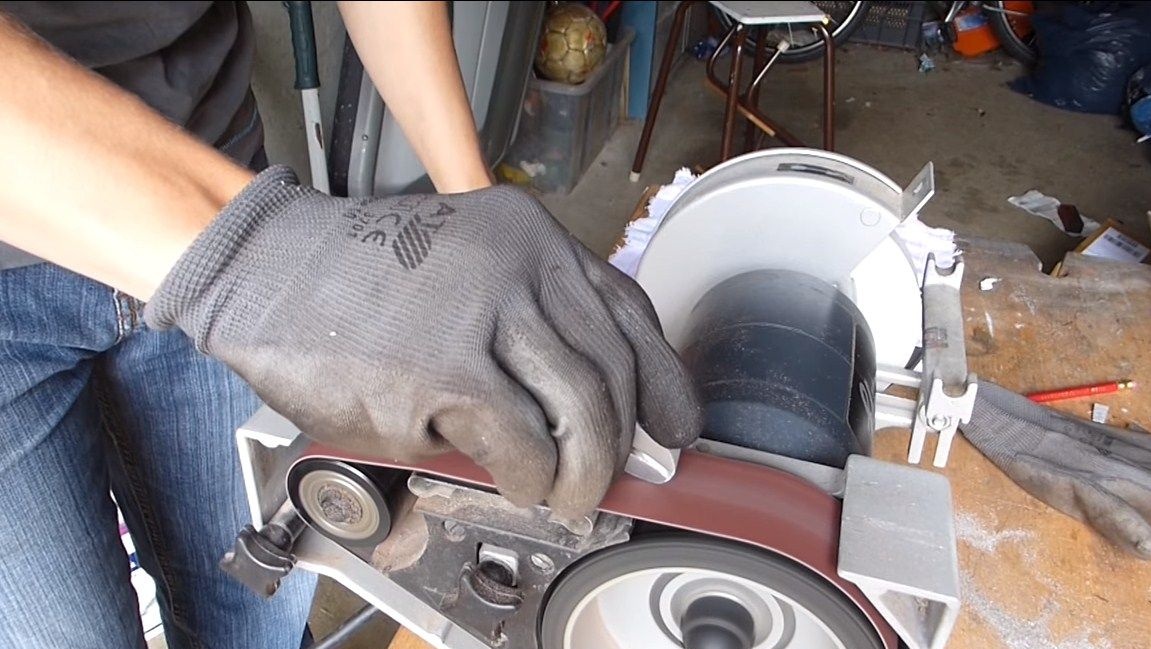
Now we cut out the profile, for this the author uses a grinder. Having cut out the main part, we work manually, removing those parts where we could not get the grinder. This can be done with files, on a grinder and so on. The author uses a belt sander for most works. As a result, we should get a blade of the form we originally intended.
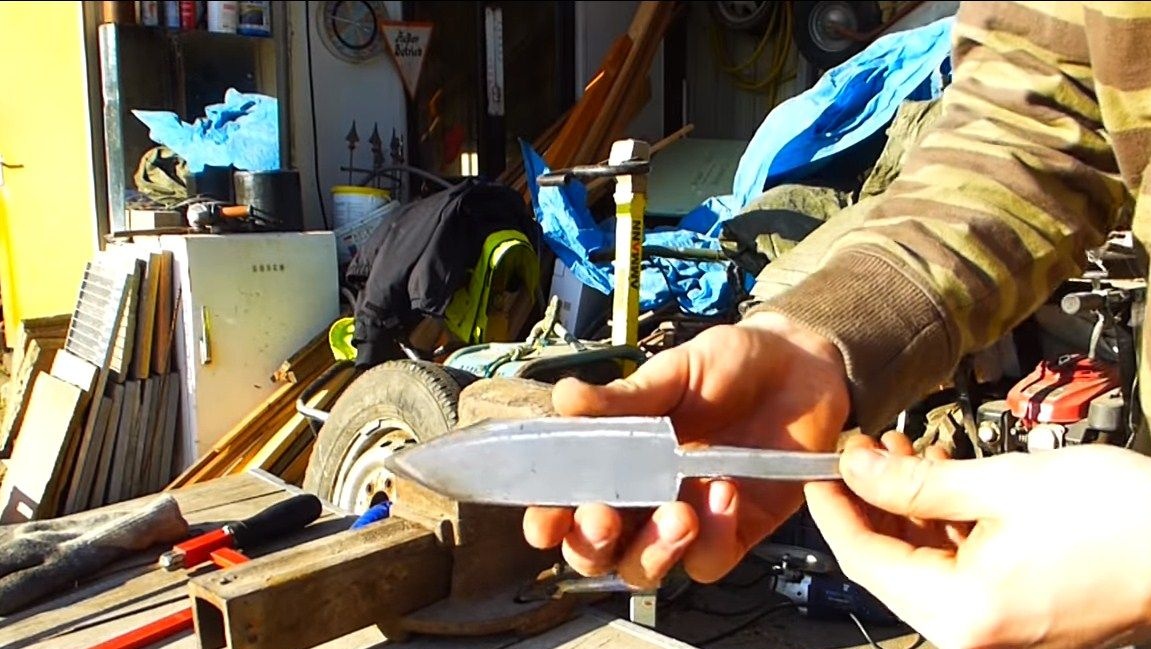
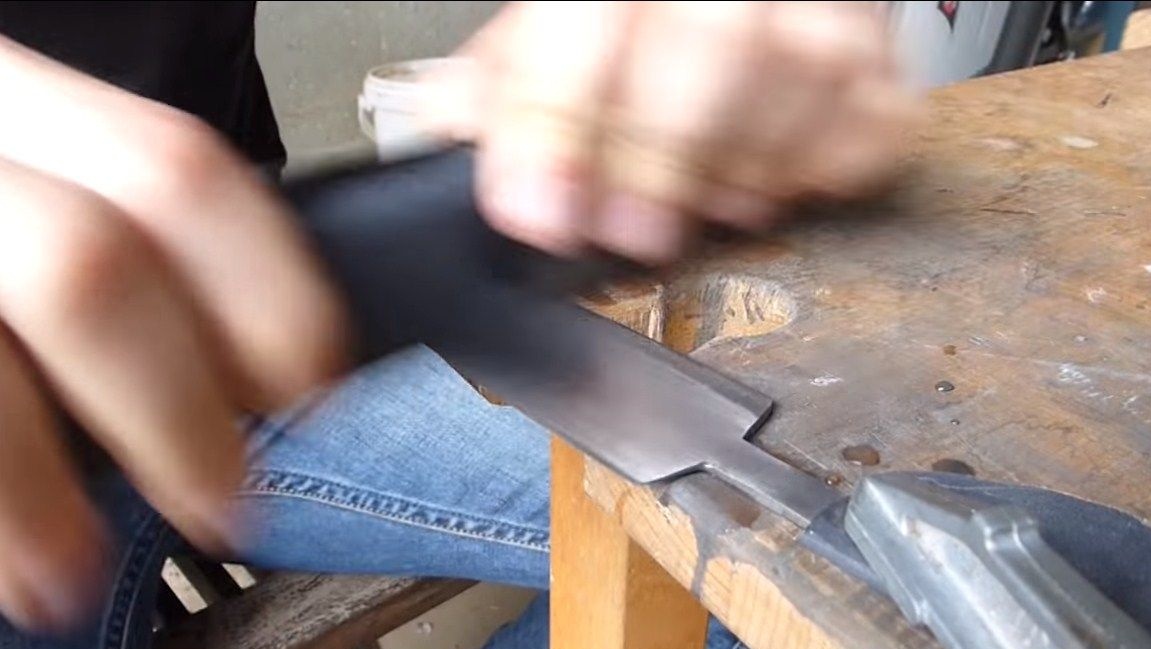
Step Two Finishing the blade
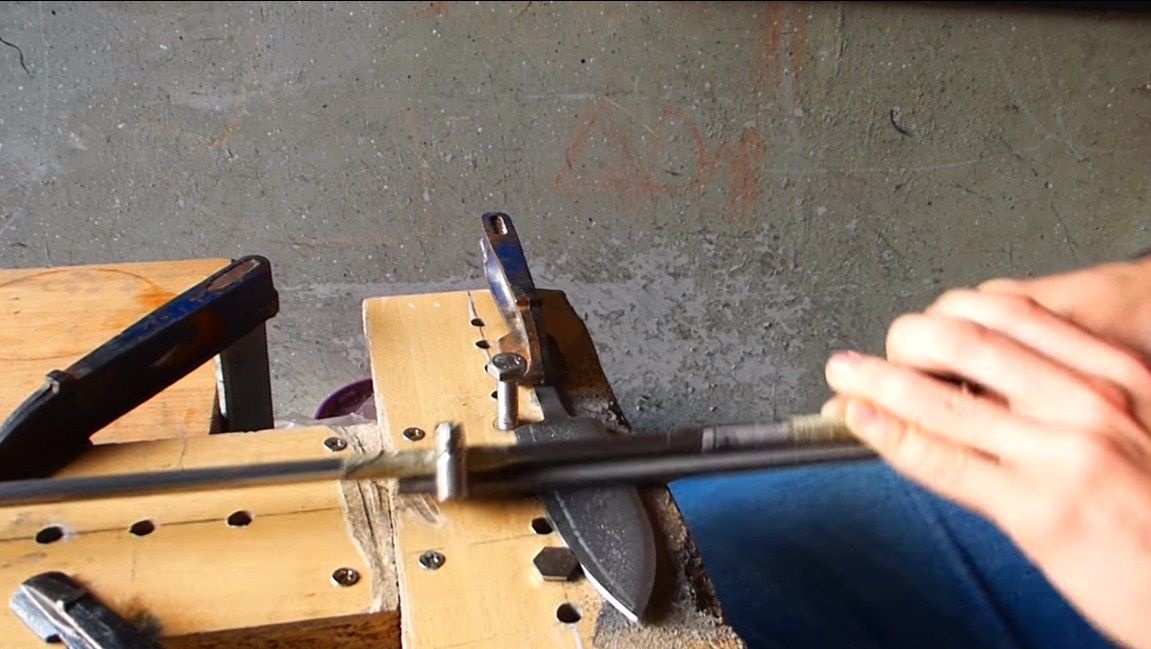
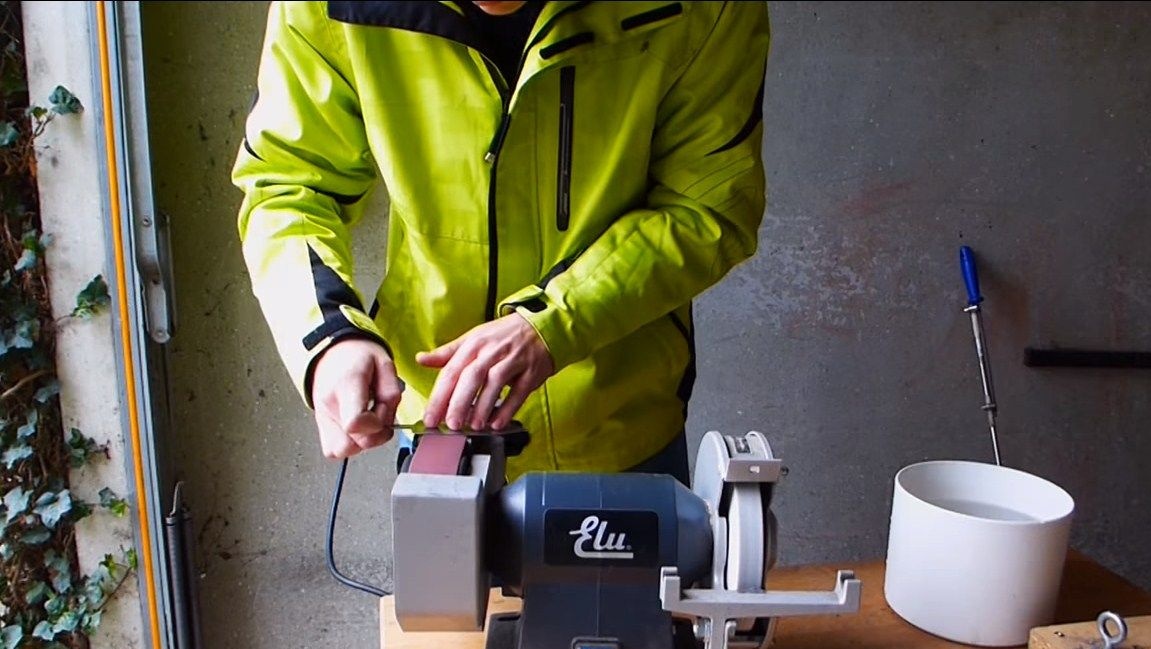
Now on the blade we need to form the bevels. It must be remembered that it is advisable to make the blade of a hunting knife thicker so that it is strong.We mark the width of the bevels, and also draw a central line along the blade, it will be as a guide. The author removes the base metal manually, using a special machine with a grindstone. Such a device will make it possible to make bevels qualitatively and fairly quickly, it will be so difficult to ruin the blade.

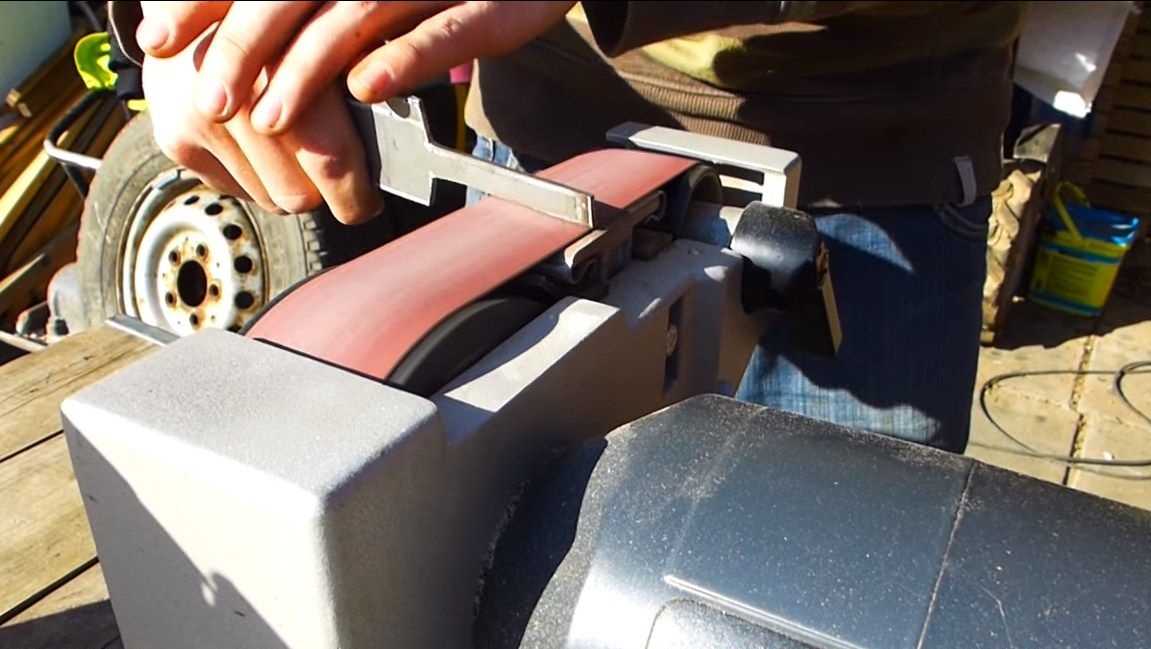
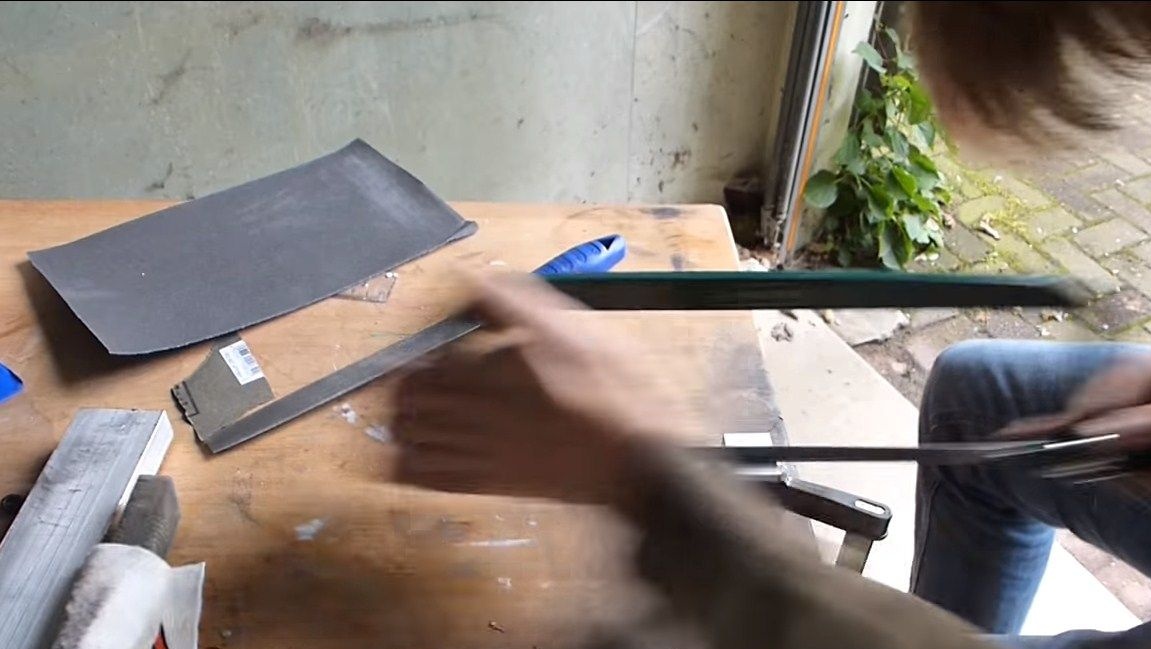
After that, we perform the grinding of the blade on a belt grinder to remove gross scratches. If the blade does not harden, we do not make the blade thinner than 2 mm, otherwise the steel will turn into raw. After that, the blade can be hardened, and the hardening mode is selected depending on the selected steel grade. The author did not show this process to us. If you do not know the grade of steel, you can try to harden it in oil, as most carbon steels harden.
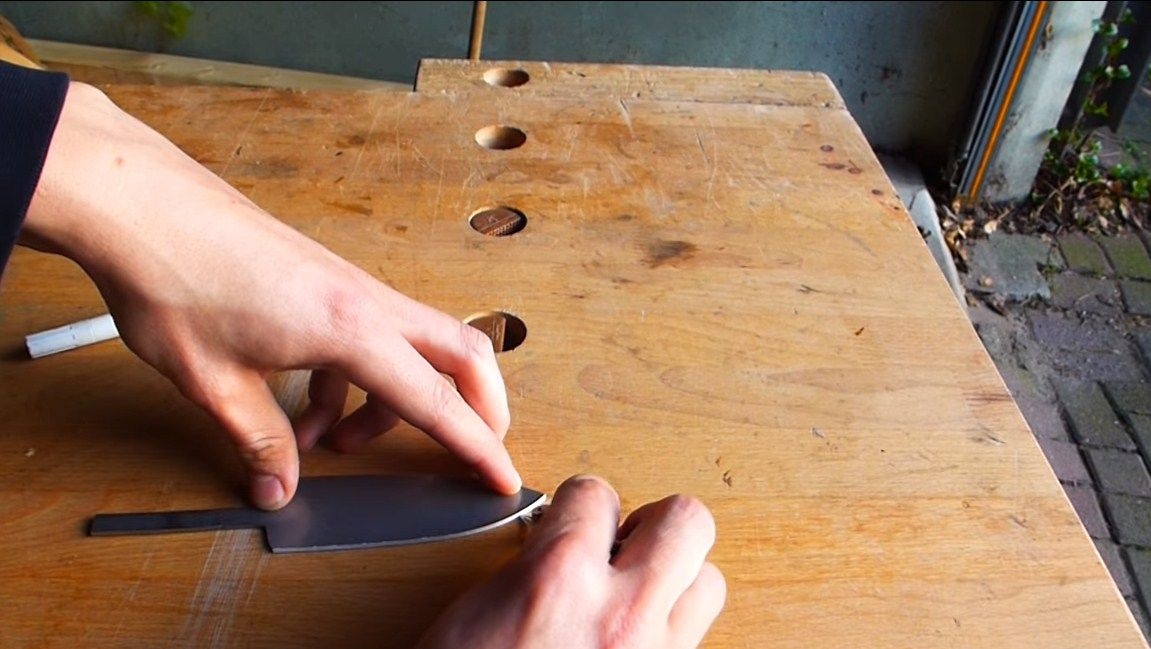
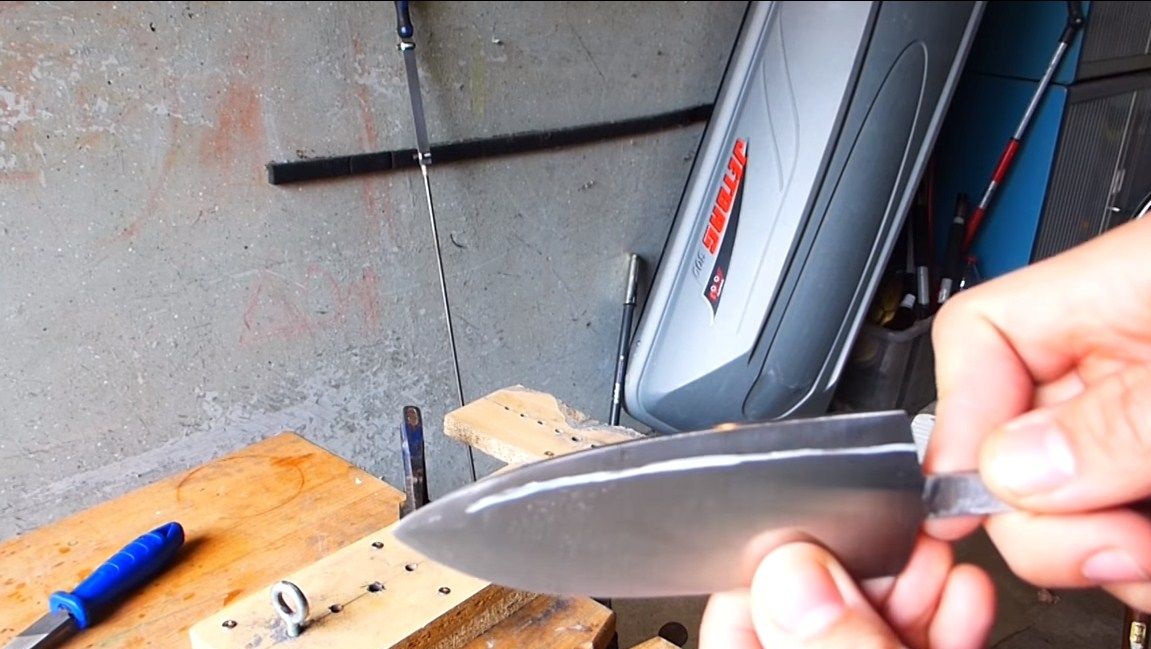
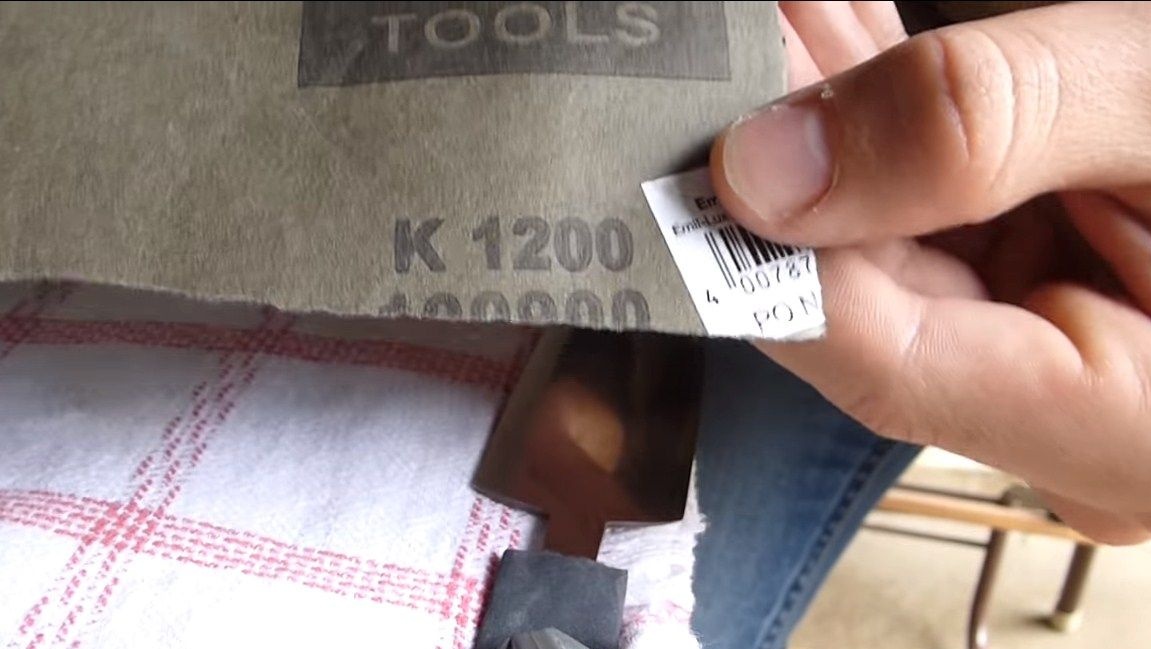
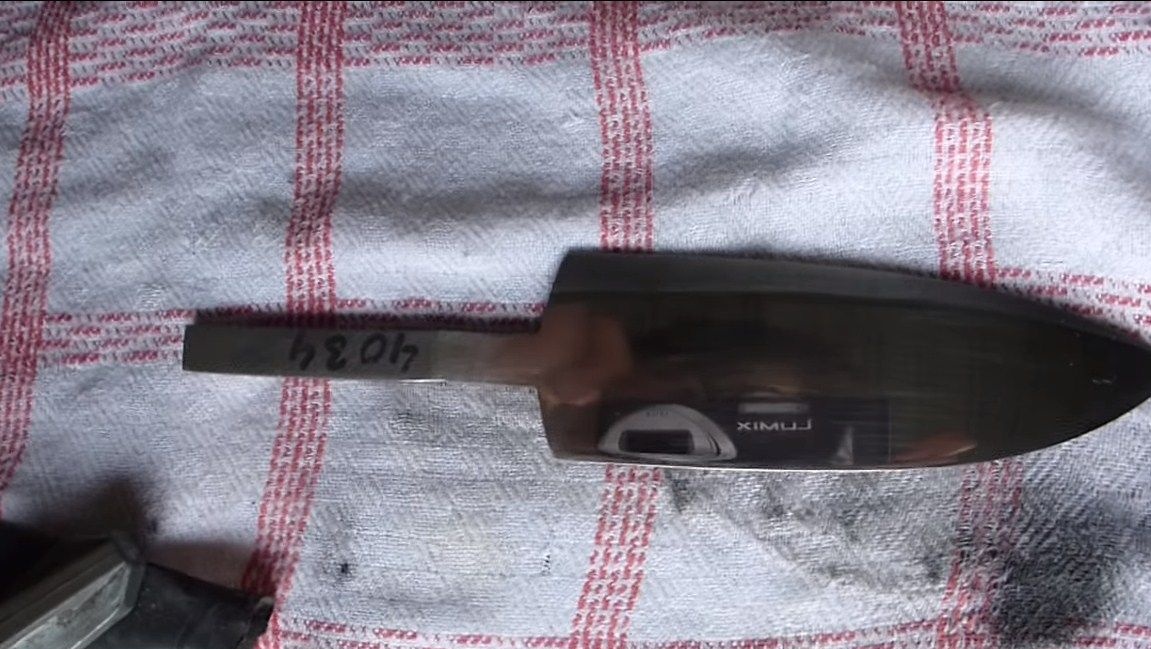
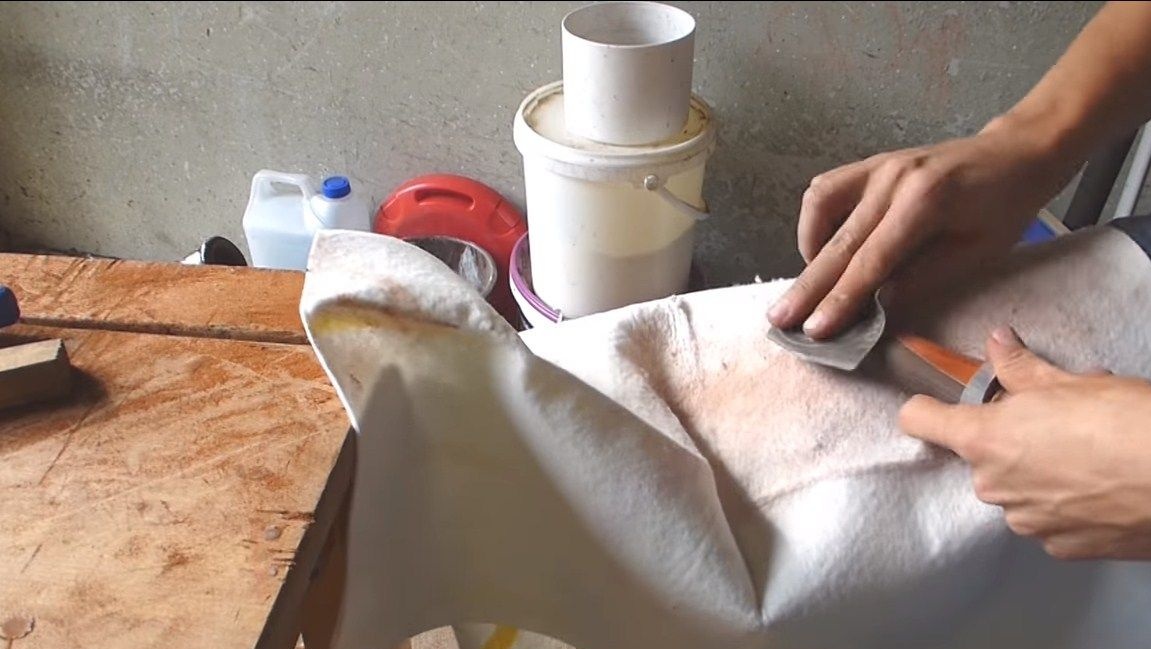
Well, after hardening, we proceed to the final grinding and polishing of the blade. The author works with 1200 grit sandpaper. For such a fine sandpaper to work, it needs to be moistened in water, so it will be cleaned. With such a fine emery, the metal is polished to a mirror shine.
Step Three Guard blank
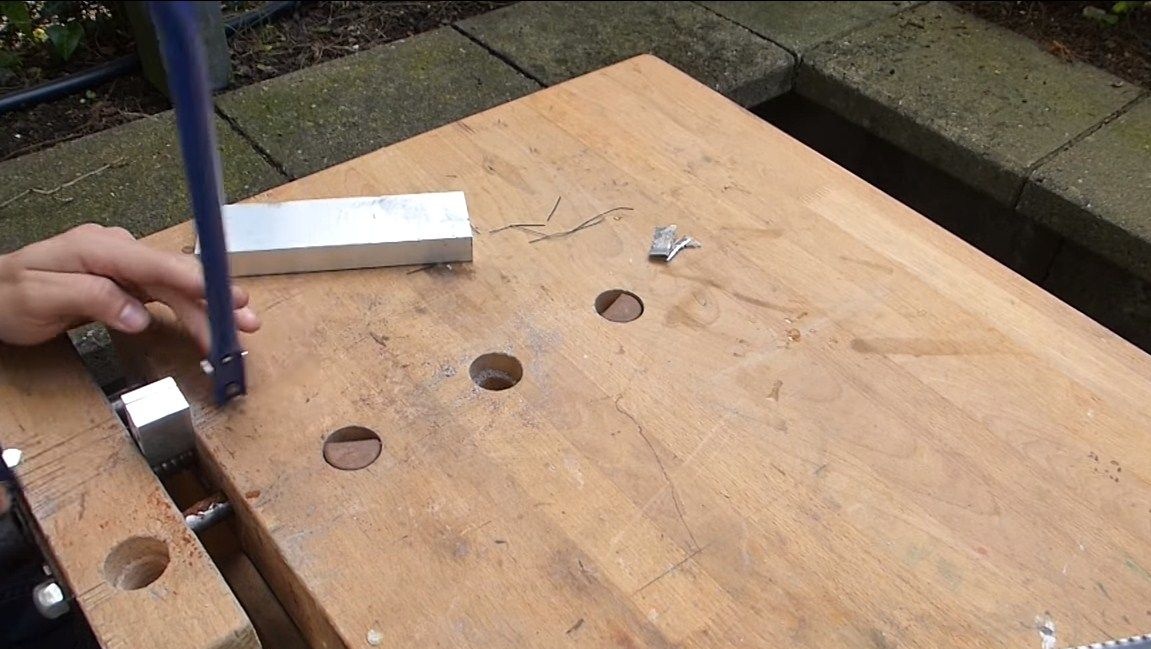
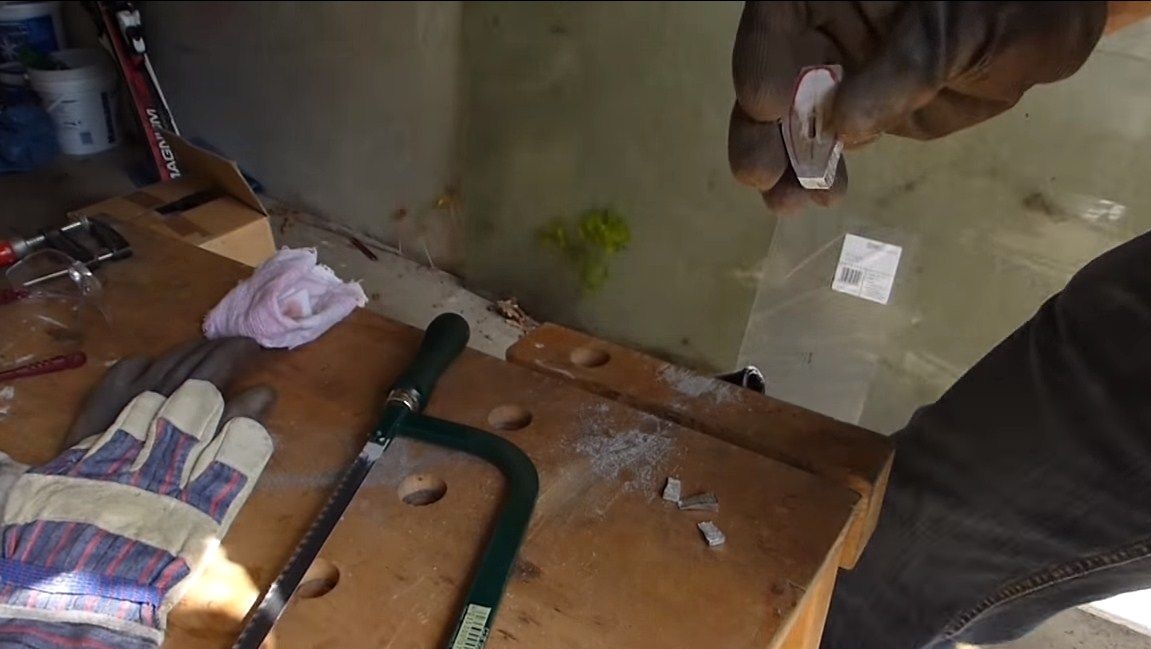
The author makes the gardu of aluminum. To do this, we need a suitable sized block, since the guard has a non-flat shape. The author cuts the desired shape in shape with a jigsaw.
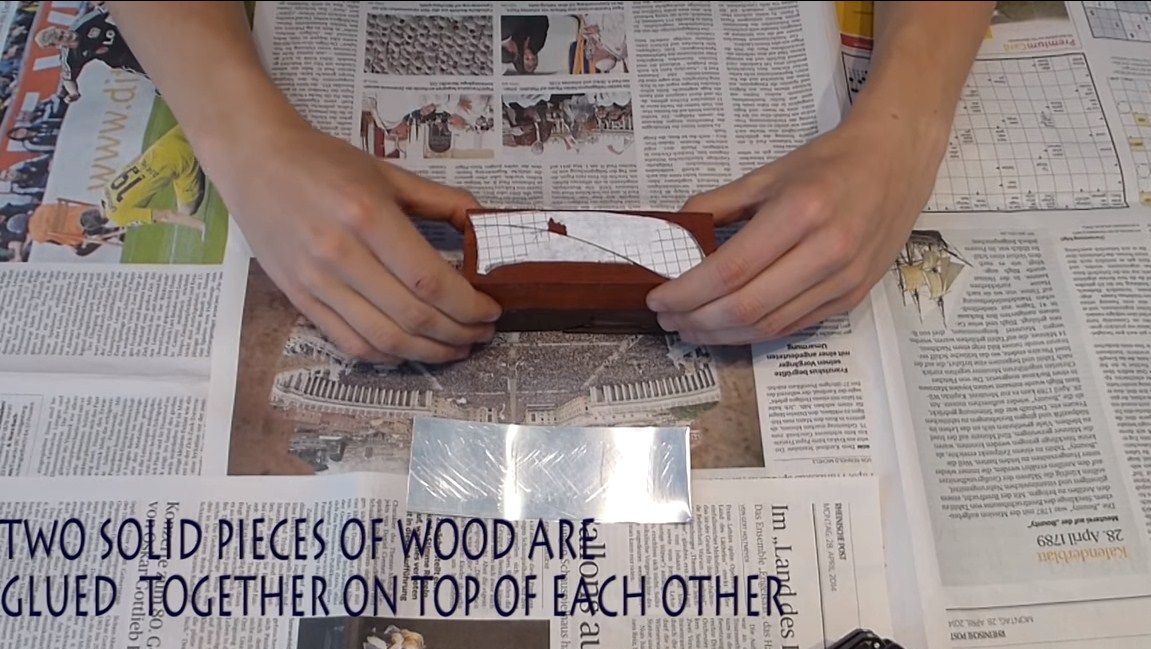
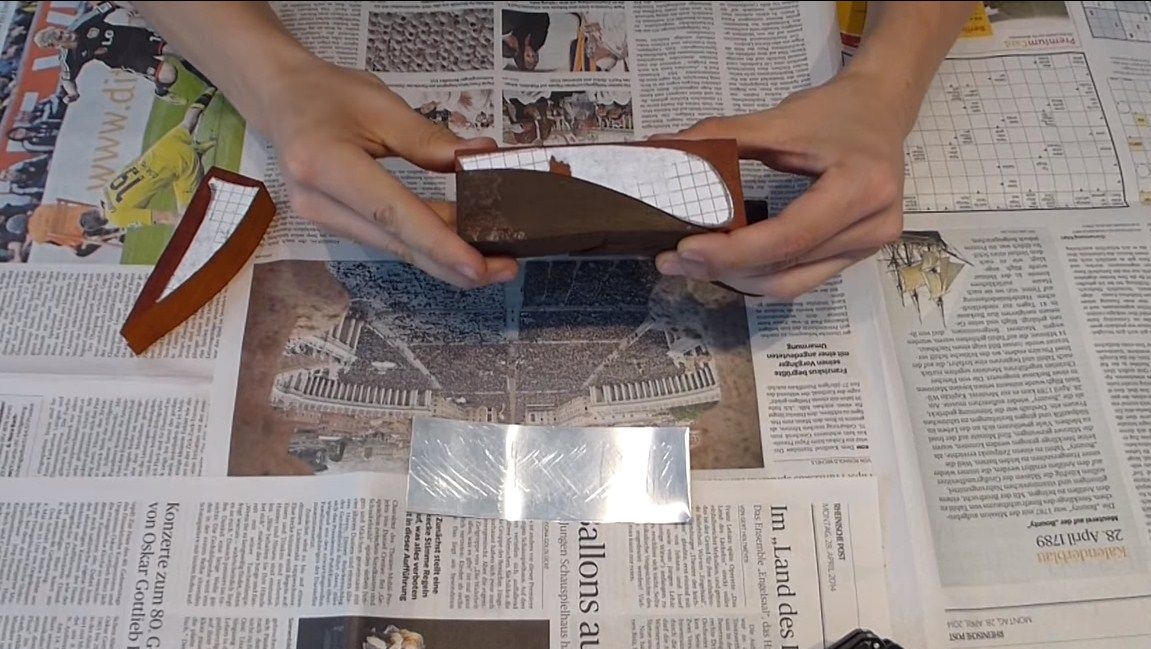
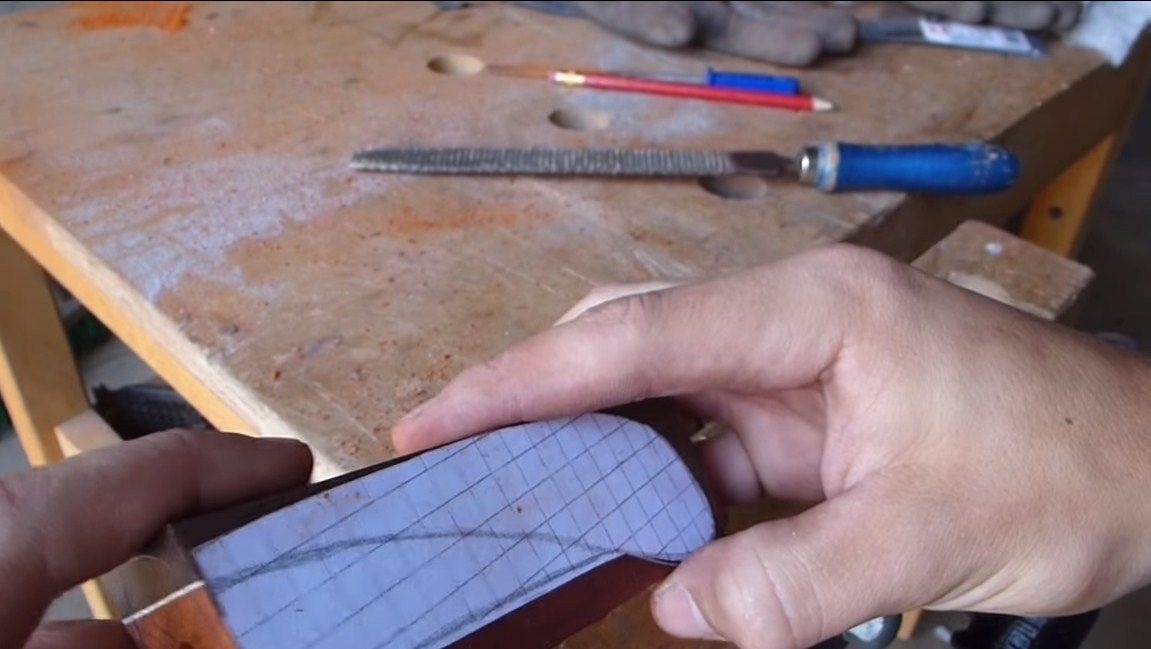
Step Four Handle blank
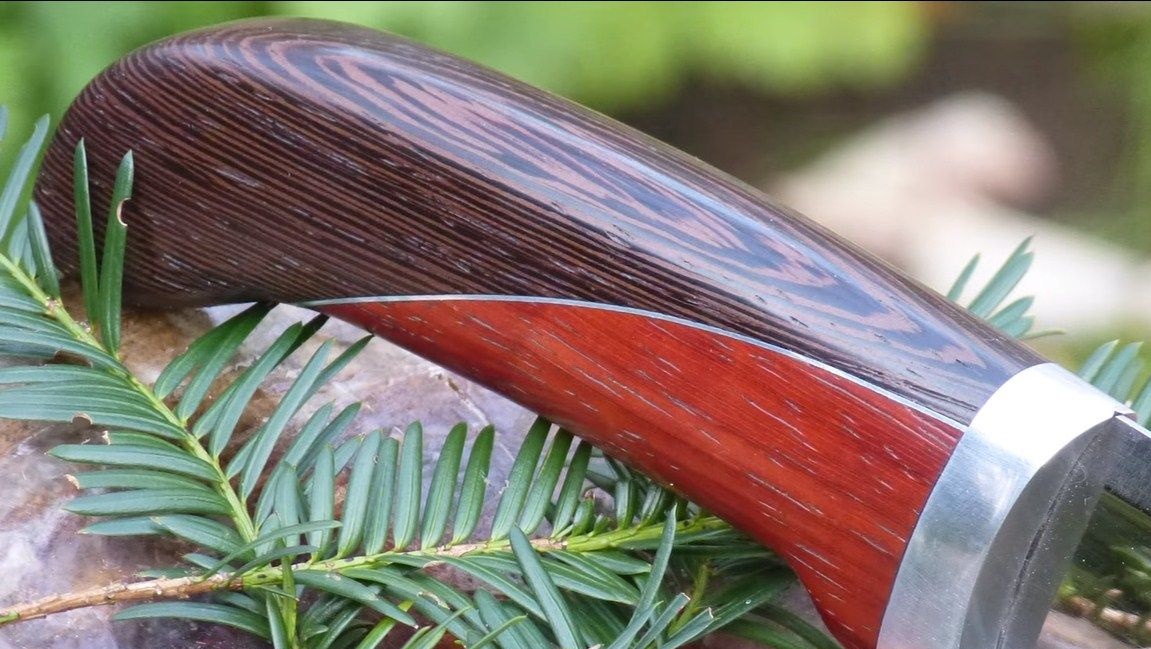
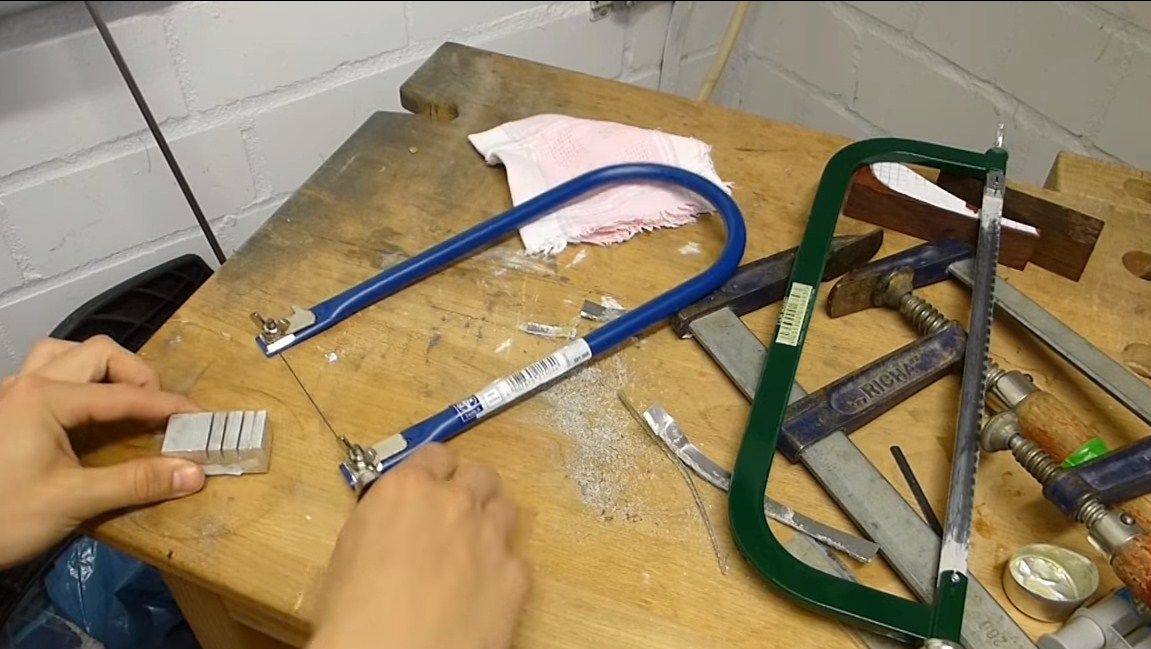
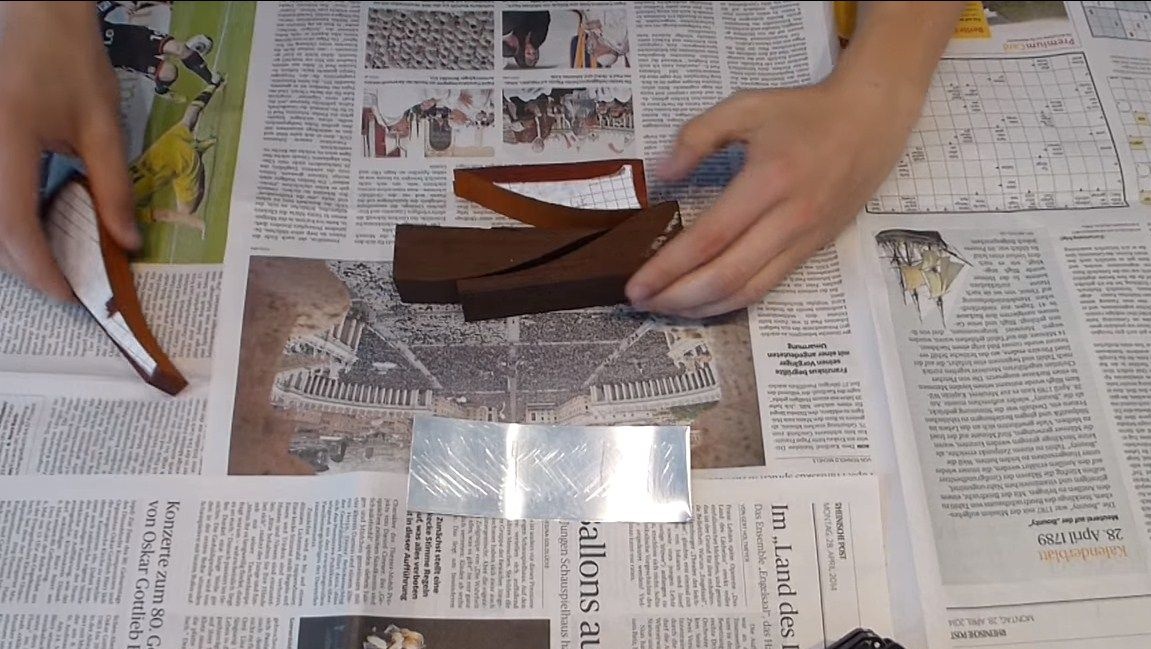
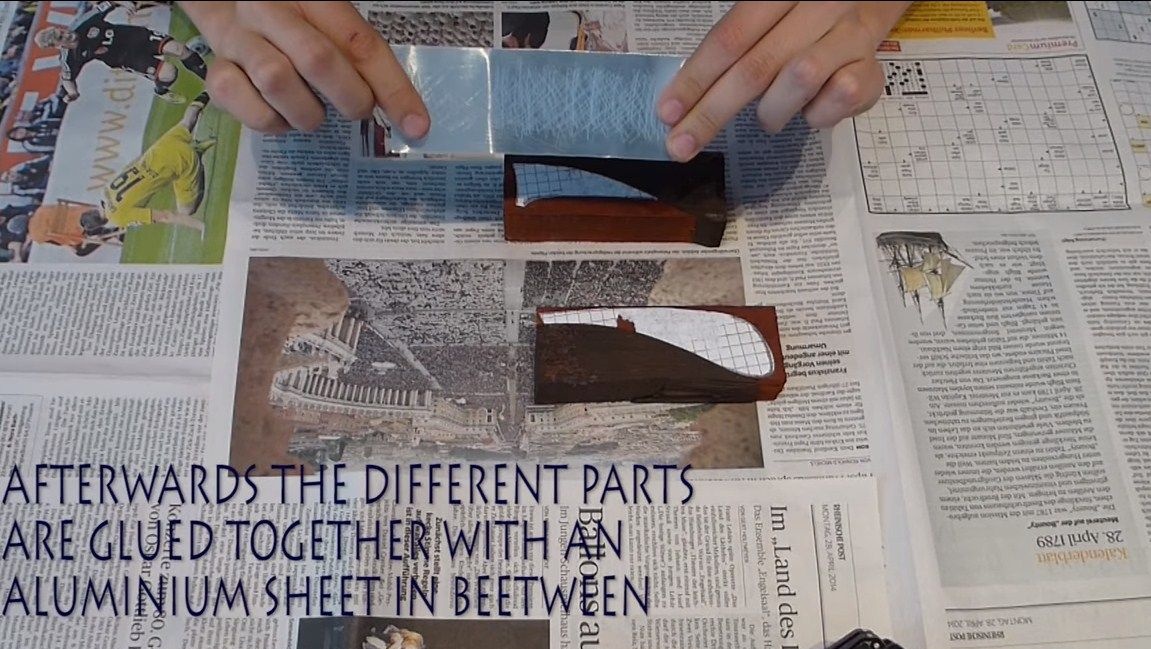
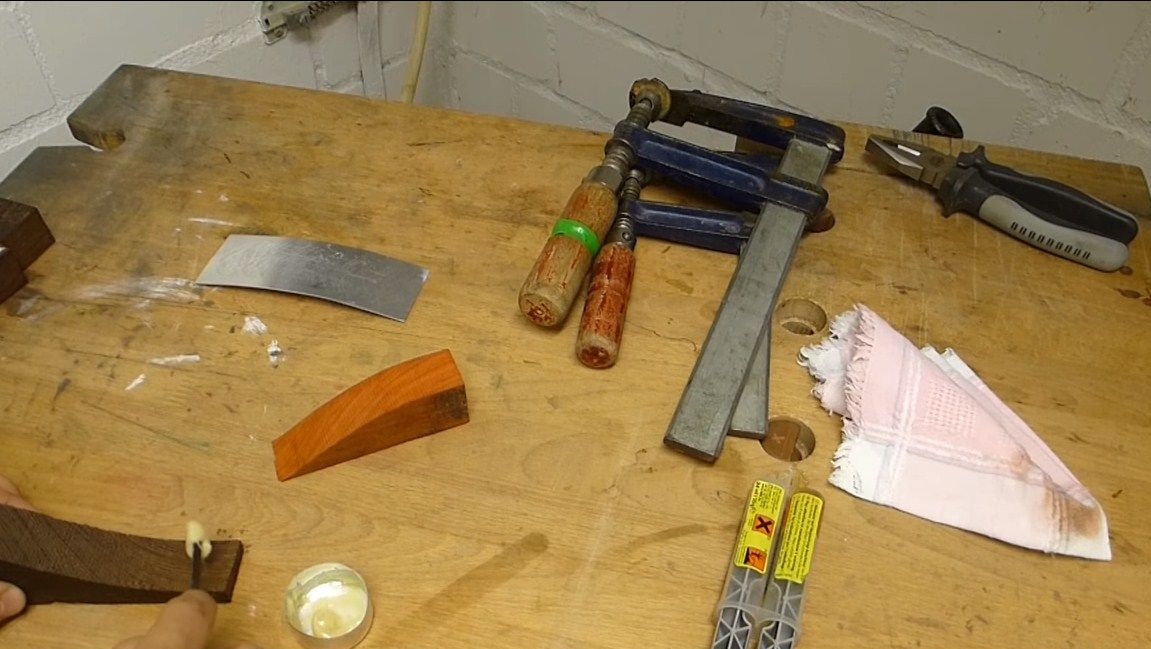
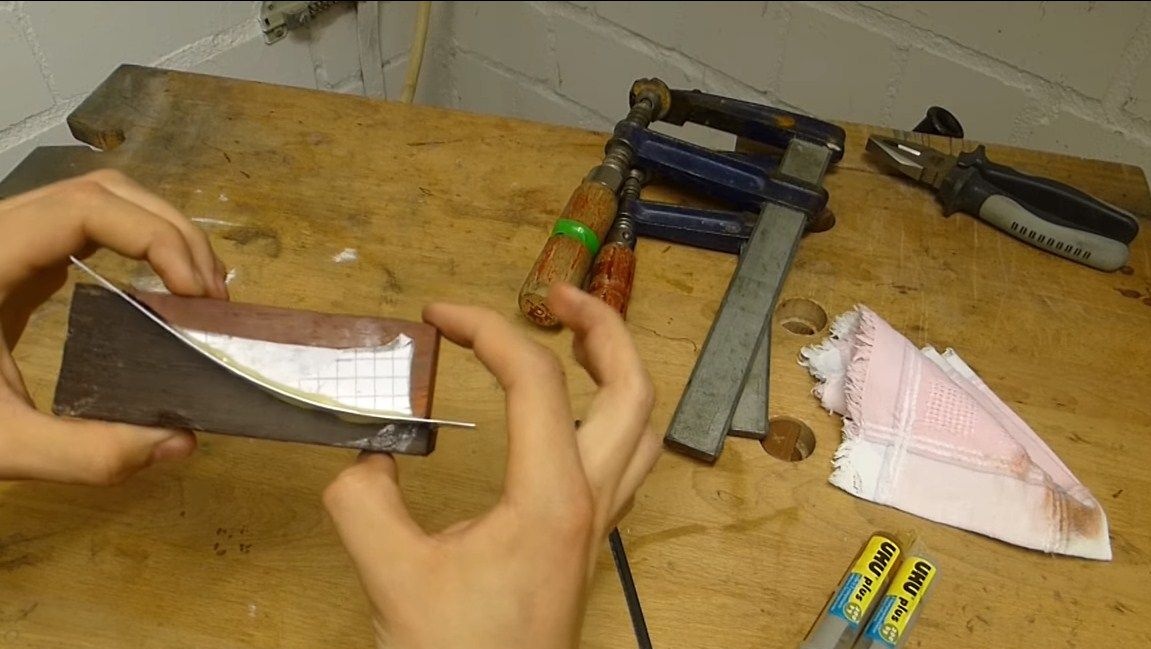
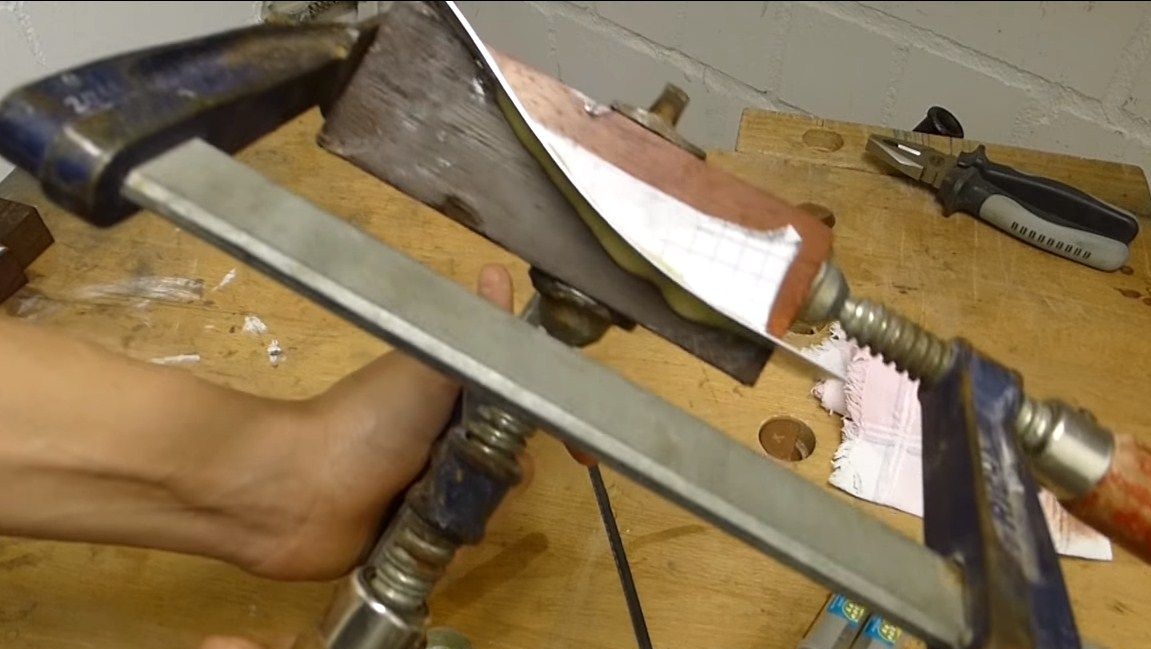
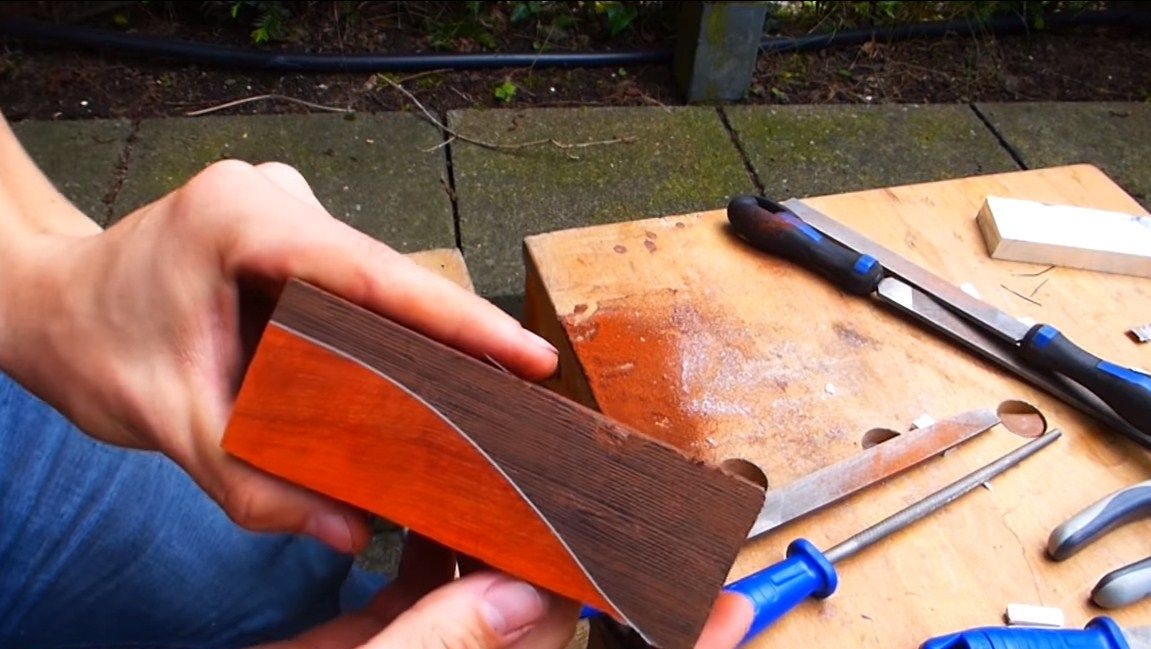
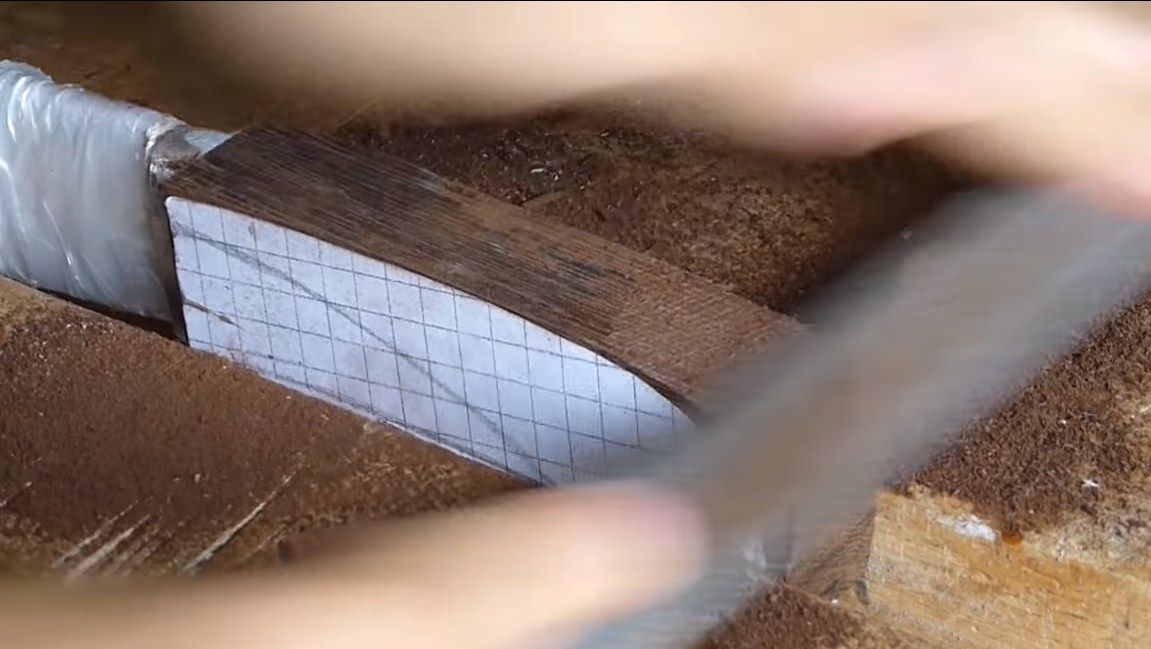
The author’s pen is combined and consists of three materials. First, prepare two types of wood and make a pen template. Next, using a jigsaw, we cut out two blanks, which will then be glued together. Between two halves, the author sets an aluminum plate, everything looks quite interesting. When all the blanks are ready, they will remain glued. We clean the surfaces well, and use epoxy as glue. We tighten the blanks well with clamps and let the glue dry. Drying should last at least 24 hours, only after this time it is already possible to work with the material.
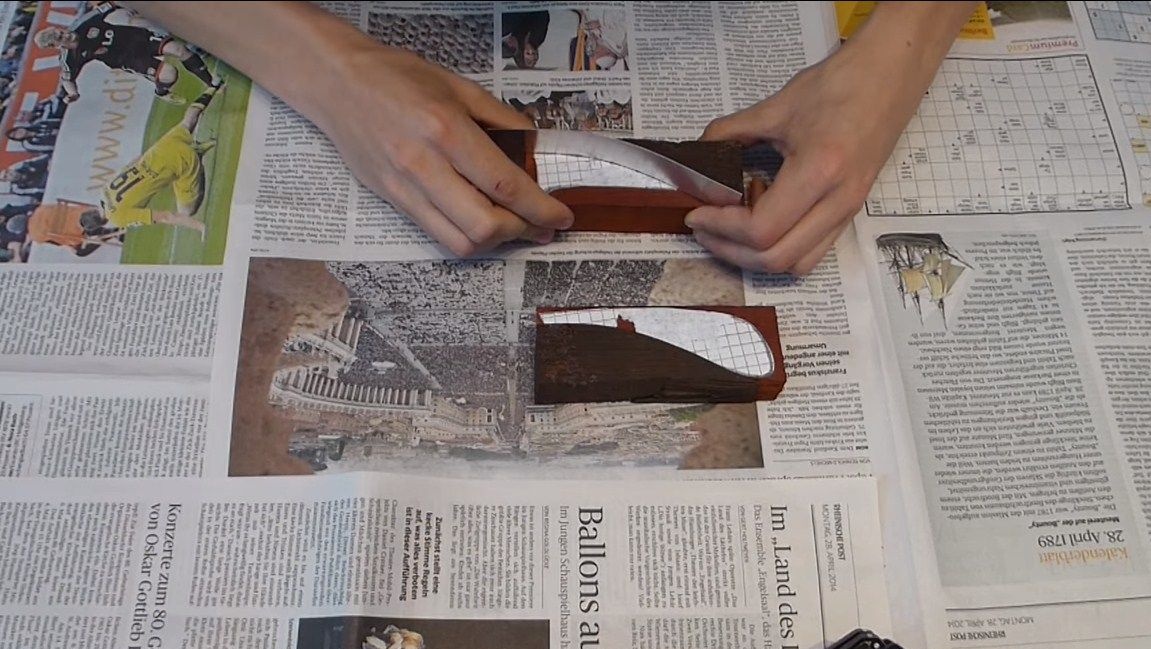
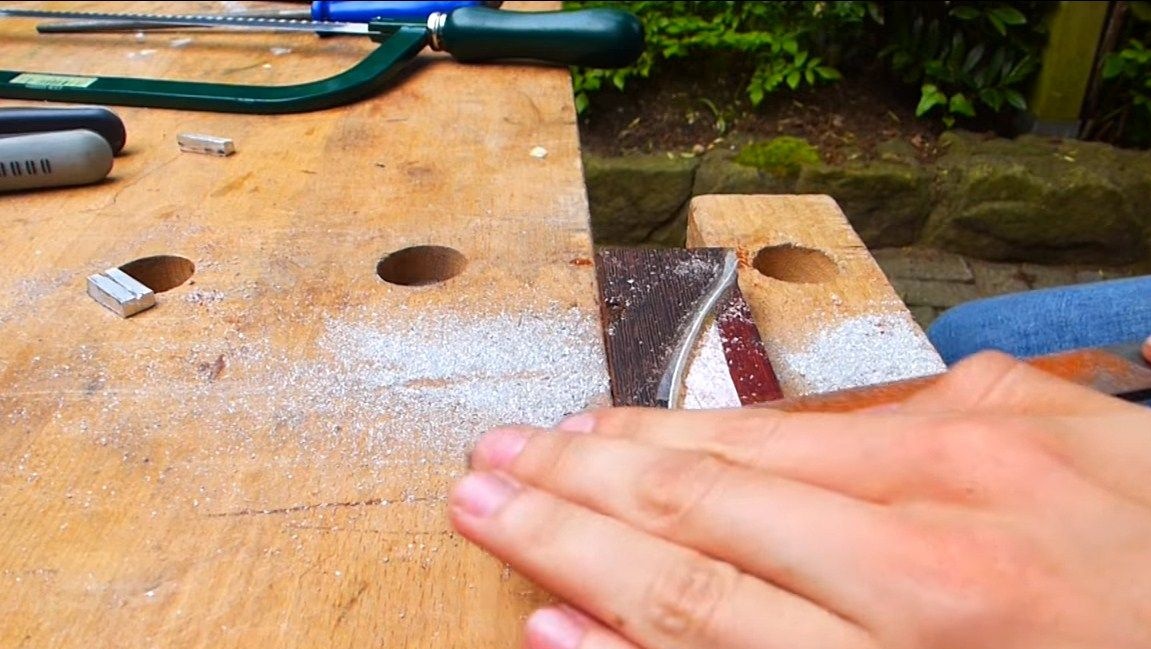
The glue has dried, now we proceed to grinding the resulting workpiece. First we go through the rasp, level the plane. Well, after that you can trim the plane with sandpaper.
Step Five Finalization of the guard
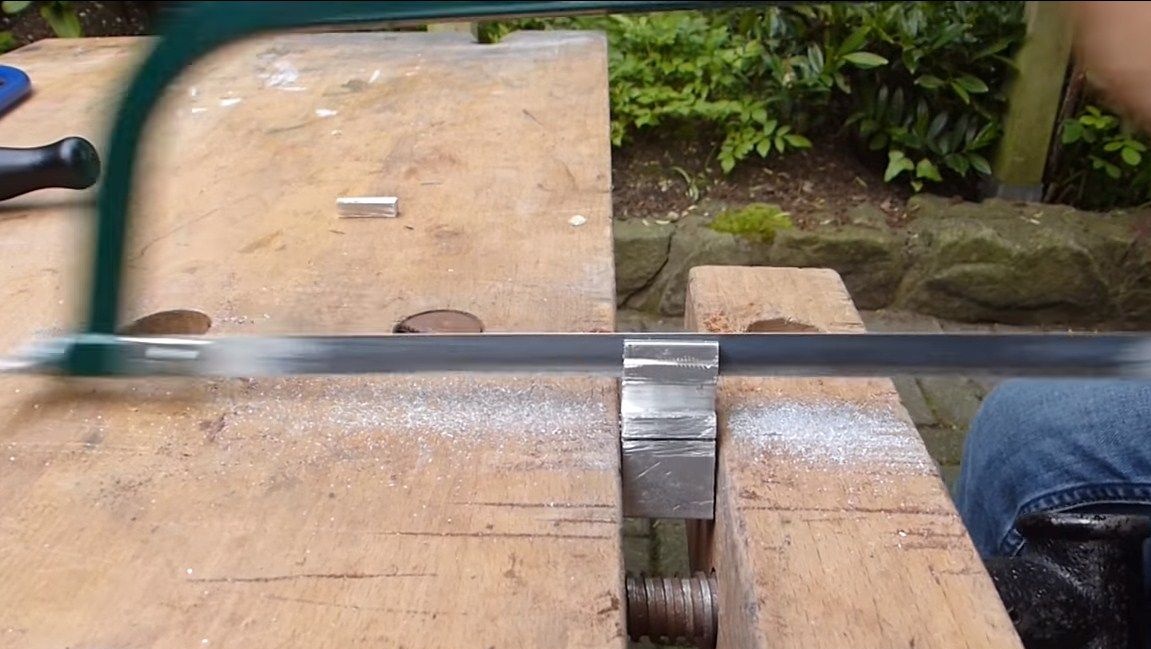
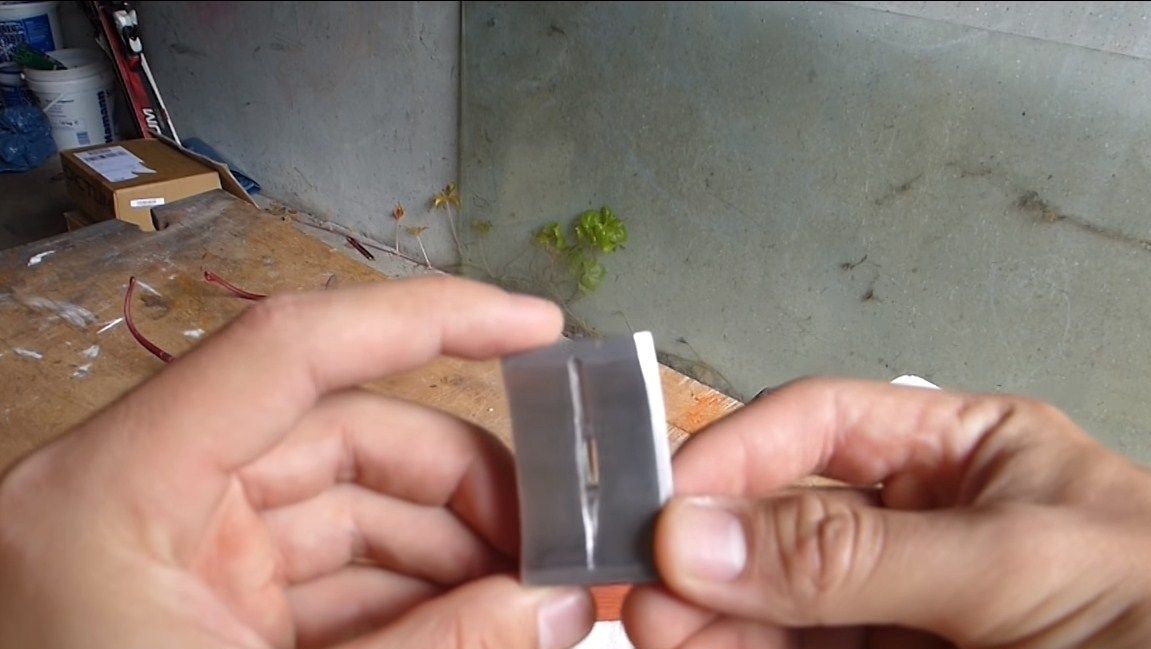
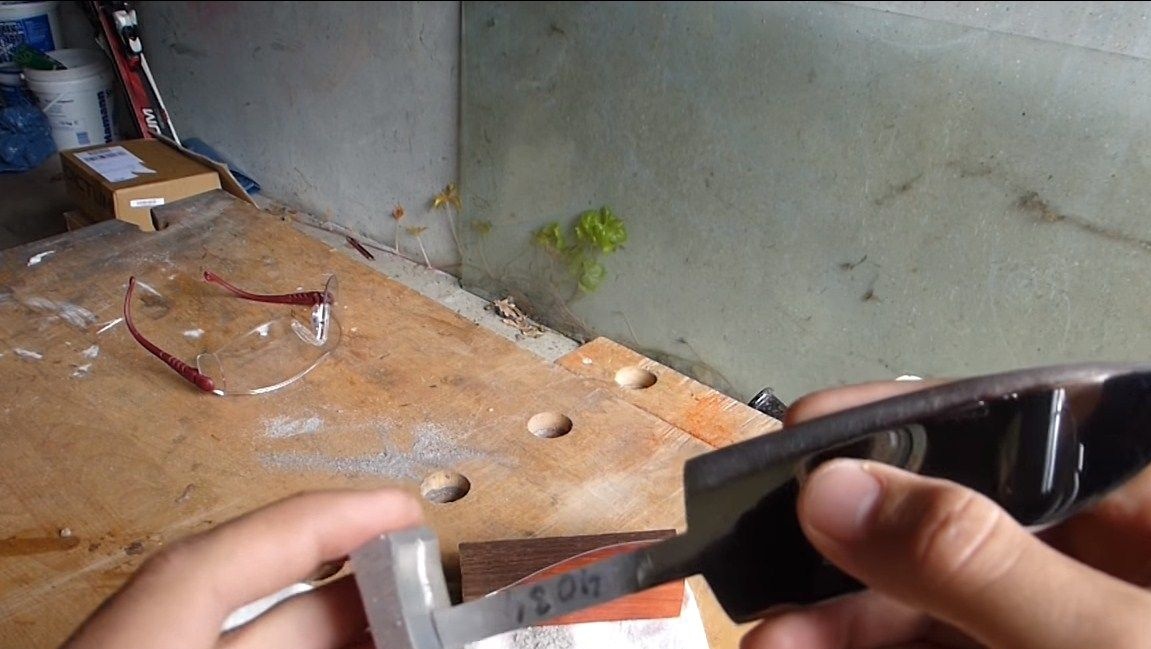
In the guard we cut a slotted hole for the tail of the knife. This can be done with a drill or with a flat file and drill. When the part can already be mounted on the knife, it can be given the final shape. We cut off the excess with a hacksaw for metal, and then proceed to grinding. Grinding is most conveniently performed on a belt grinder. In general, aluminum is processed quite easily and it is not difficult to do manually.

Step Six Set the handle on the blade
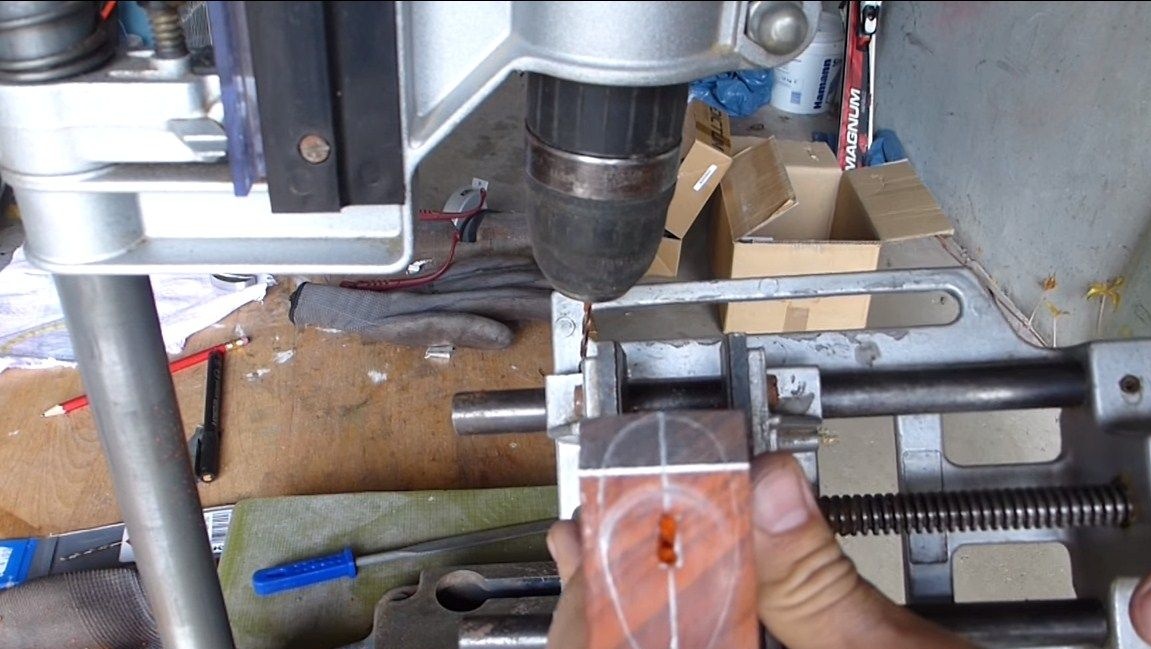
Glue the desired profile of the handle to our workpiece, and then drill a hole for the tail. The hole should be slotted, in the shape of a shank, it can be made using a drill and a drill of a suitable diameter, just drill a series of holes, and then combine them together. As a result, we bore a hole using a small file or another tool.
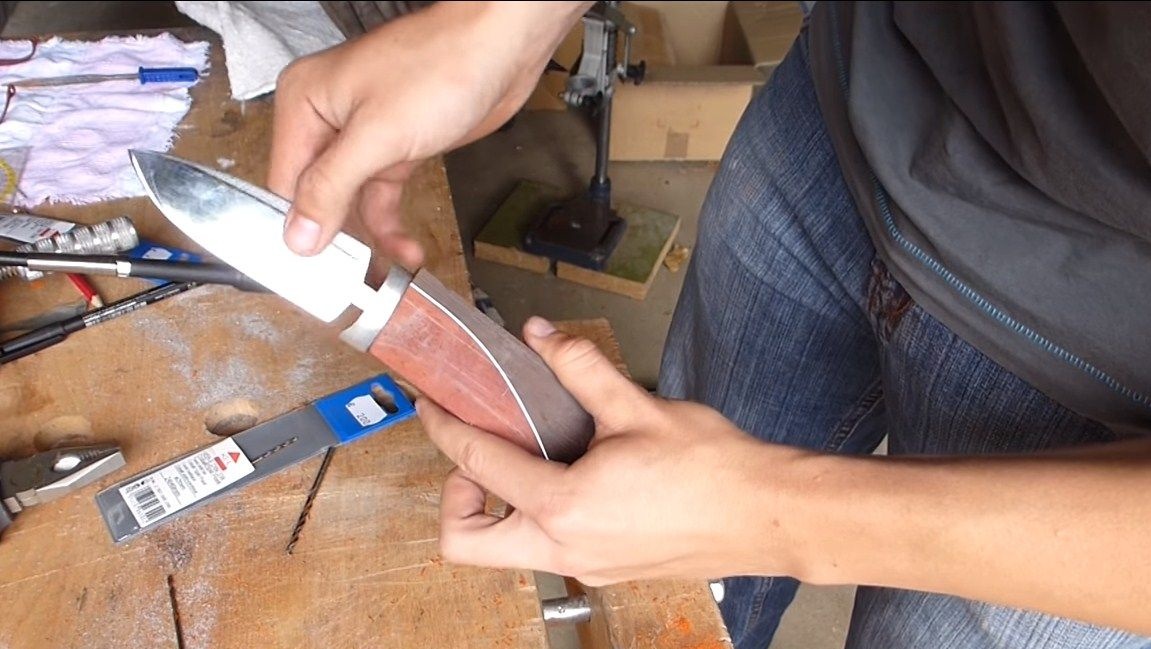
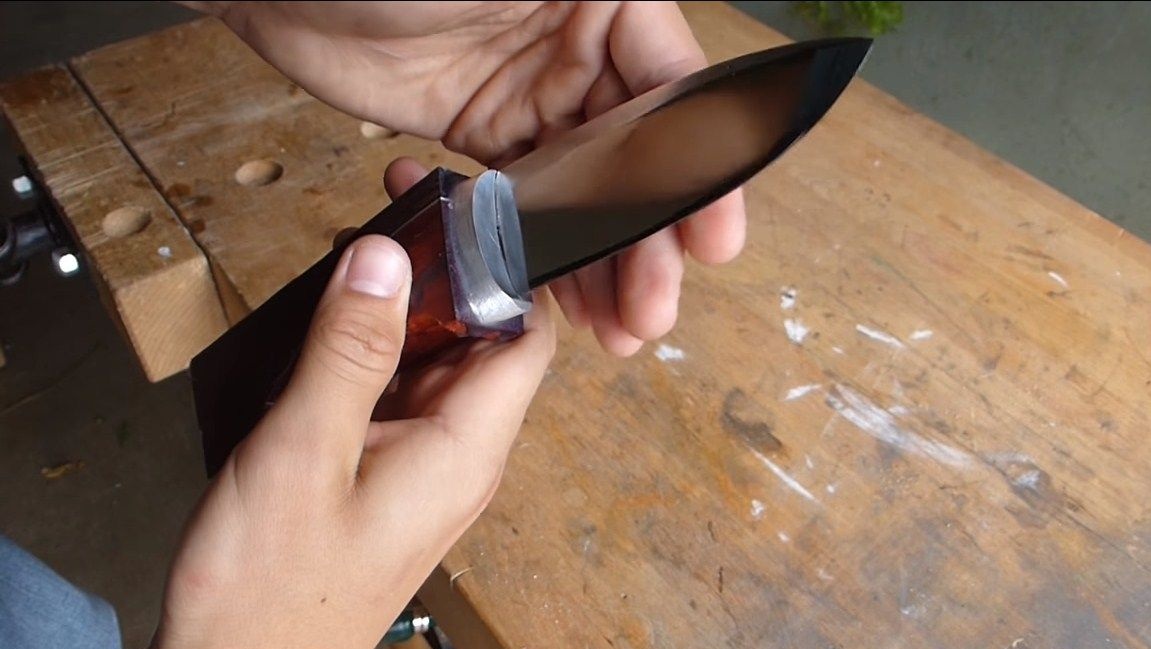
Everything, now the handle is ready to install the blade. We wrap the blade for further work with masking tape or electrical tape, so as not to cut ourselves. For bonding we use epoxy glue. We also apply it to the guard on both sides, so that everything keeps well. The blade is well pressed to the handle and allowed to dry for 24 hours.
Seventh step. Modifying the handle
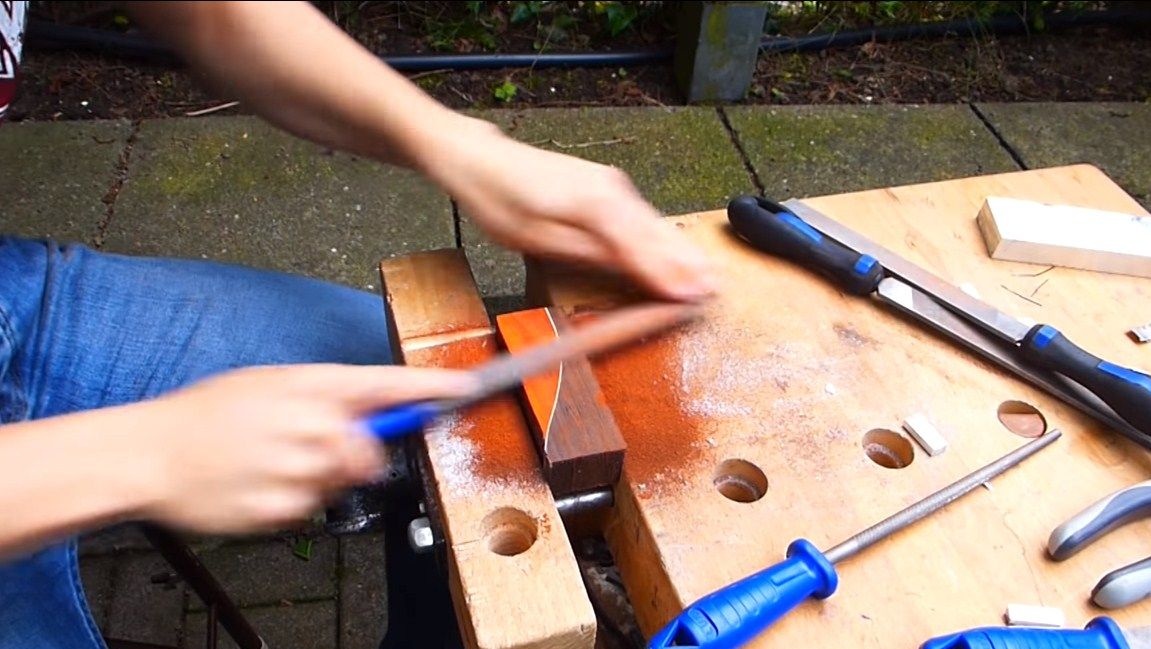
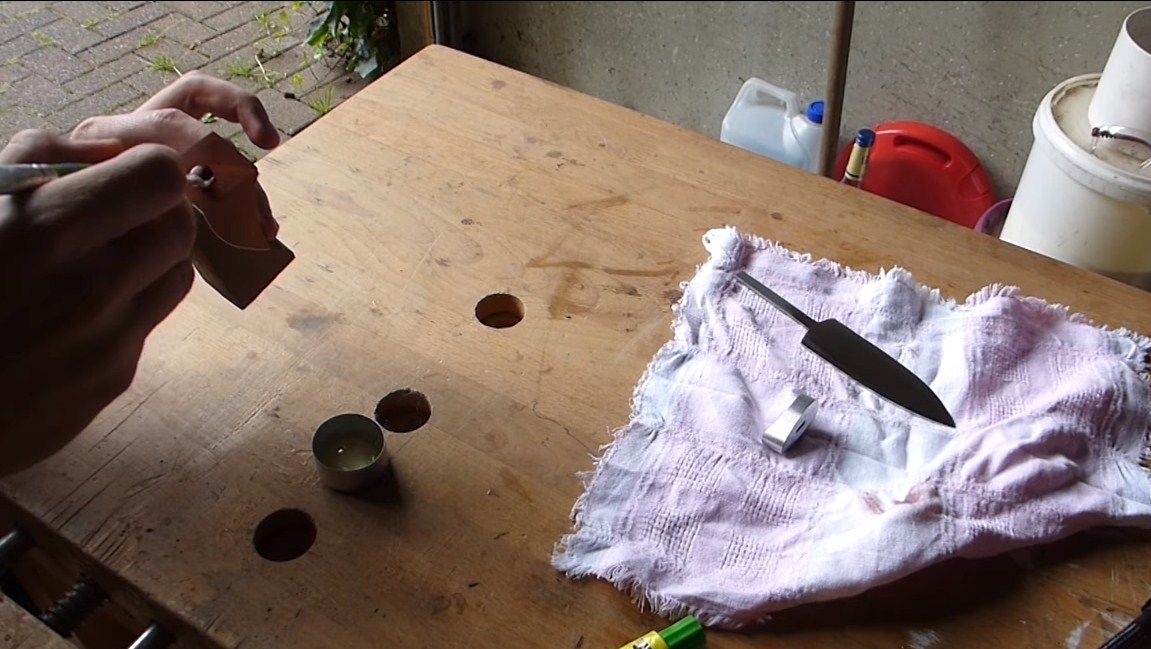
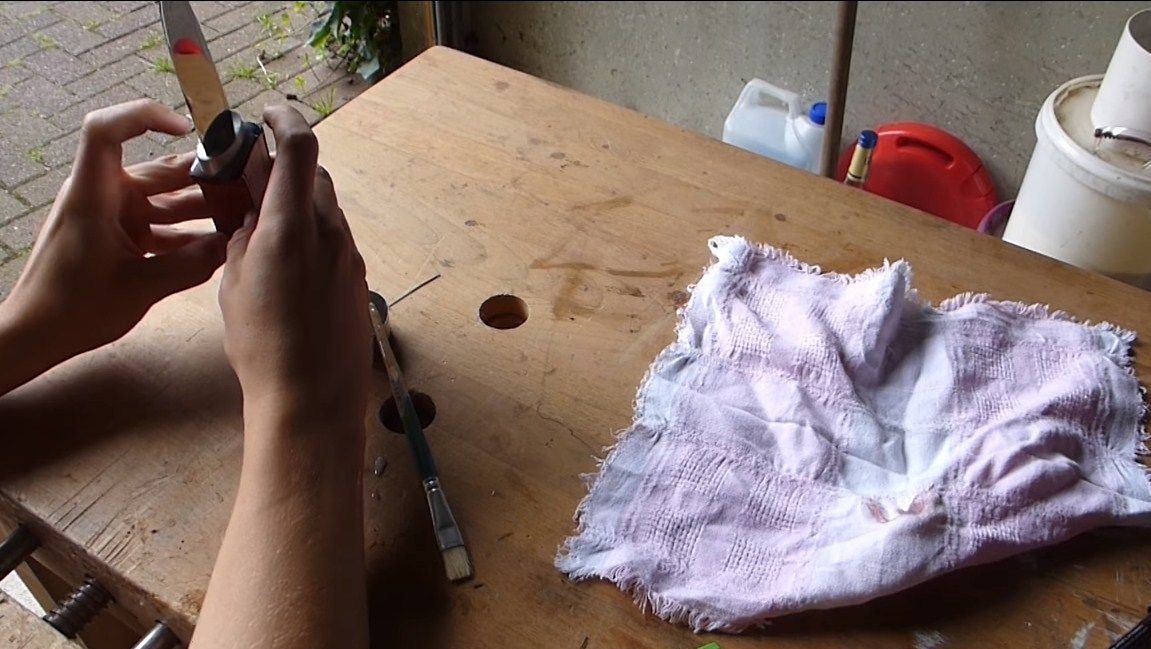
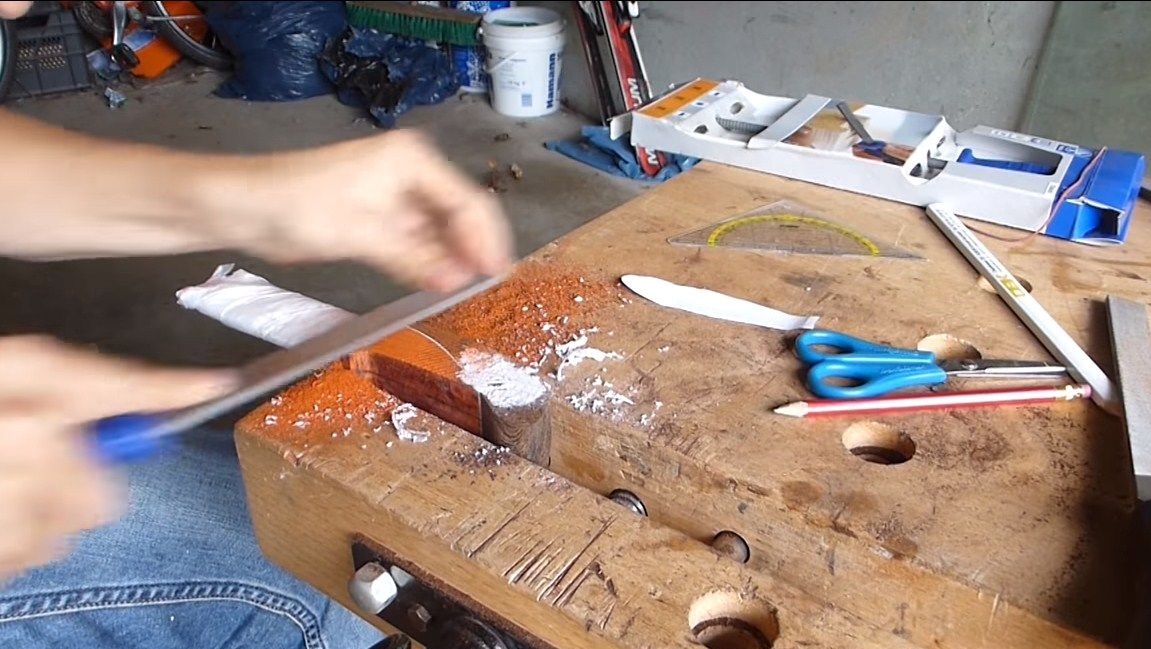
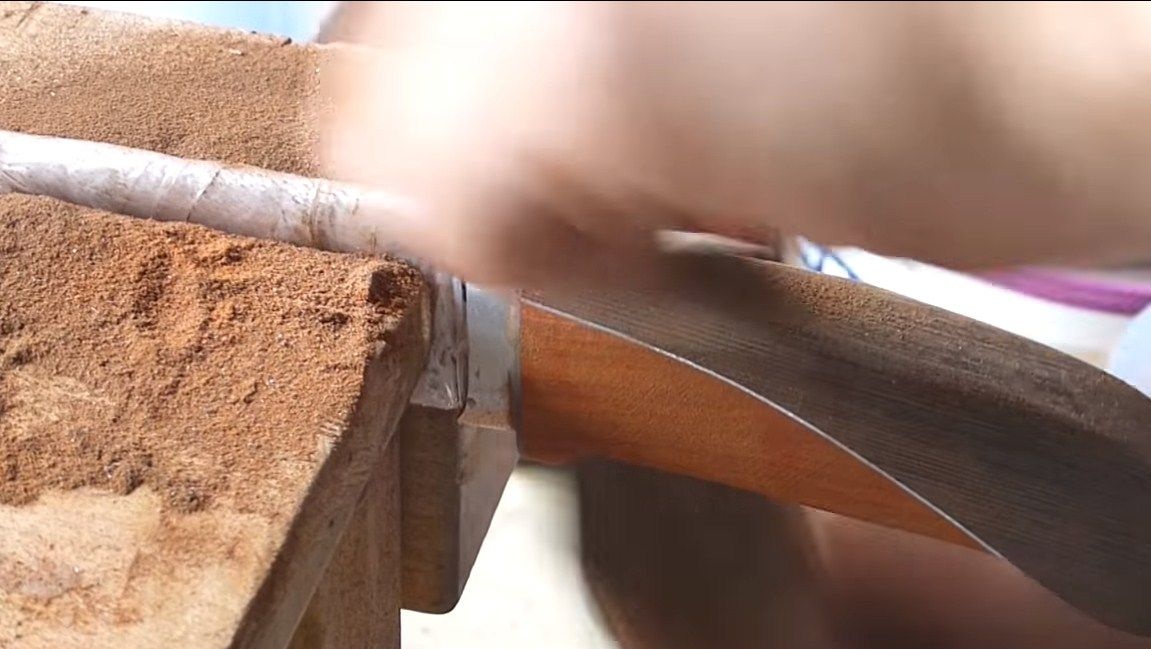
When the glue dries, proceed to the formation of the desired profile of the handle. You can remove the bulk of the material with a belt sander, but the author does it manually, so there is less chance of ruining the handle. To begin with, we work with files on wood, we form the desired shape. Next, go to large sandpaper and gradually reduce the grain size. The handle should be perfectly smooth.We grind on dry, as the work is carried out with wood.
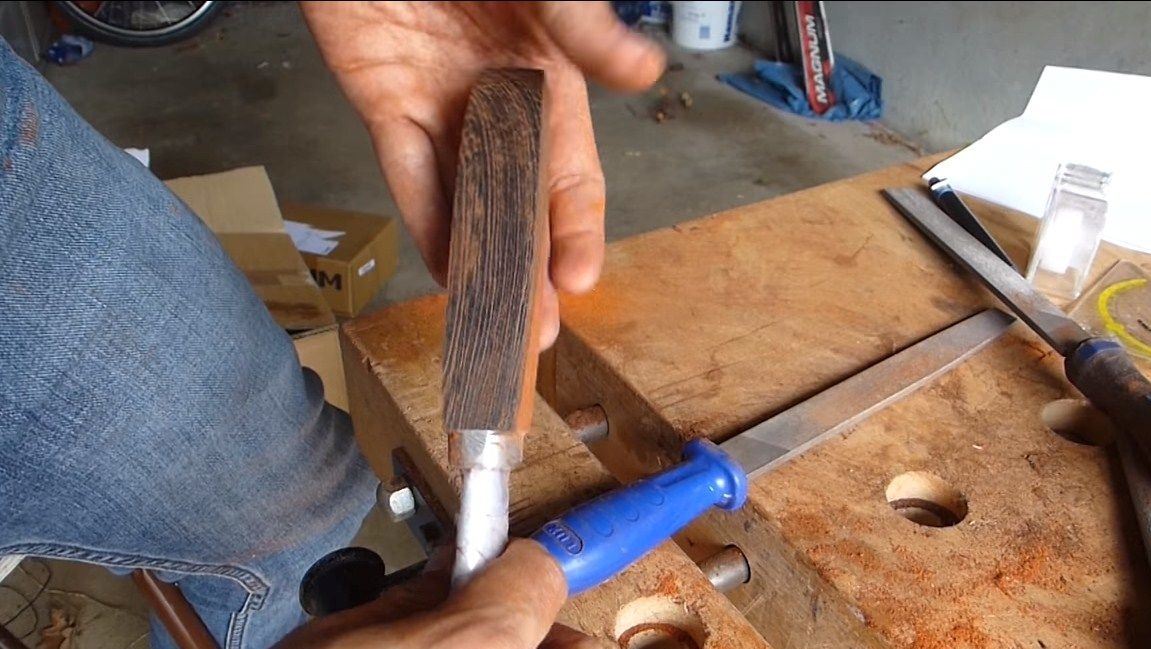
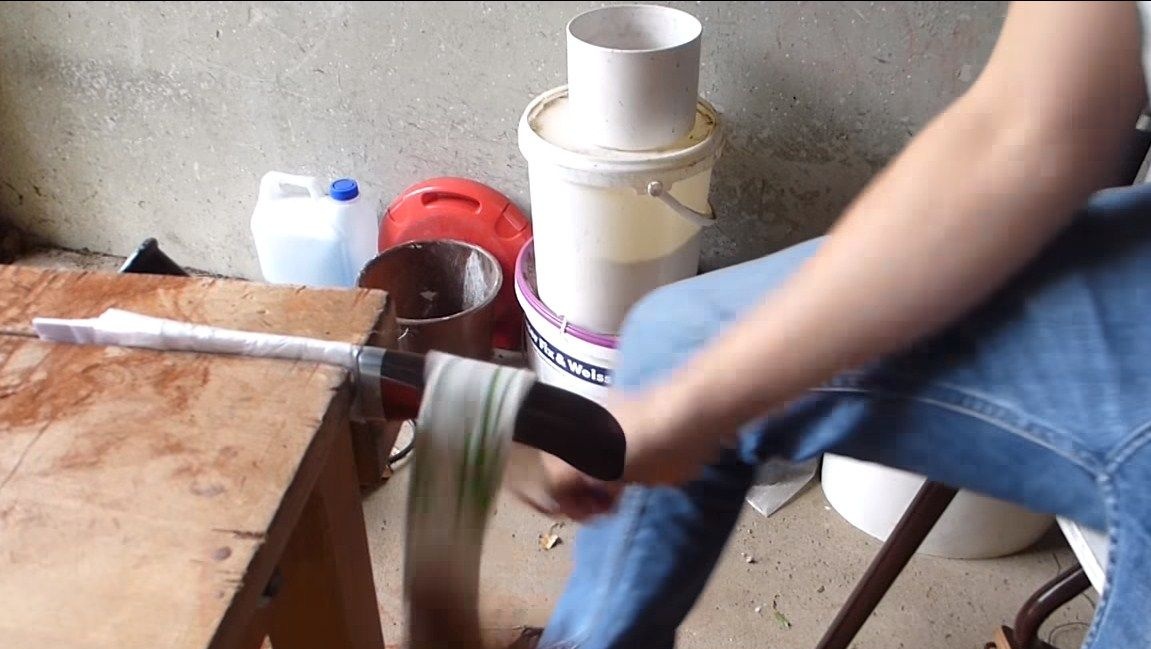

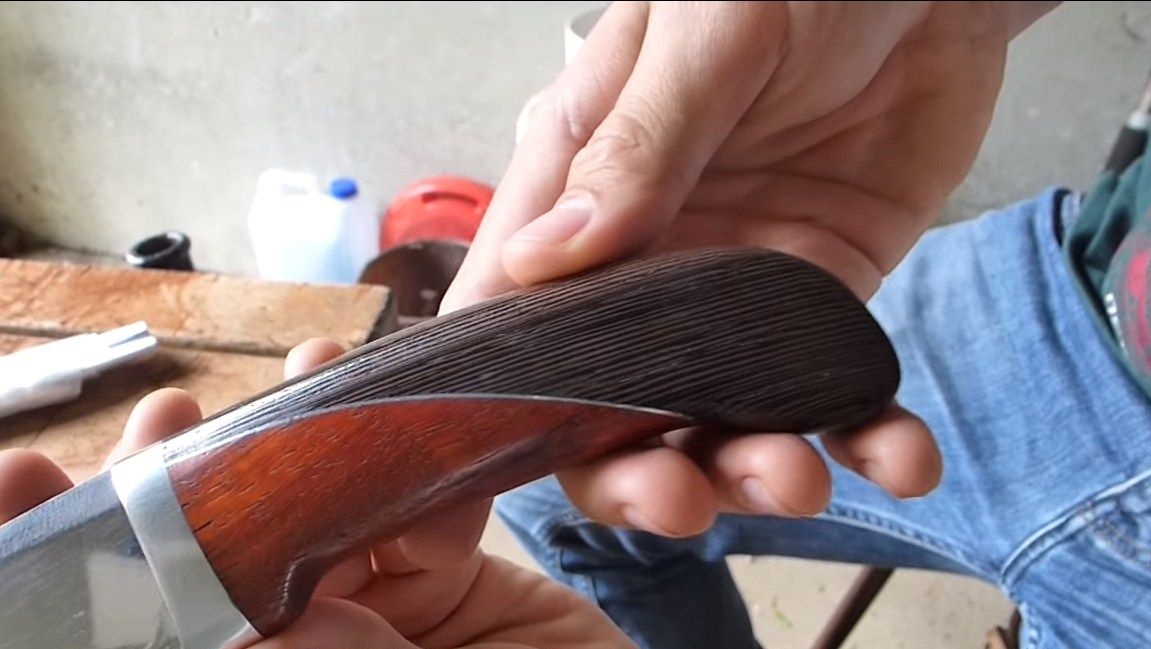
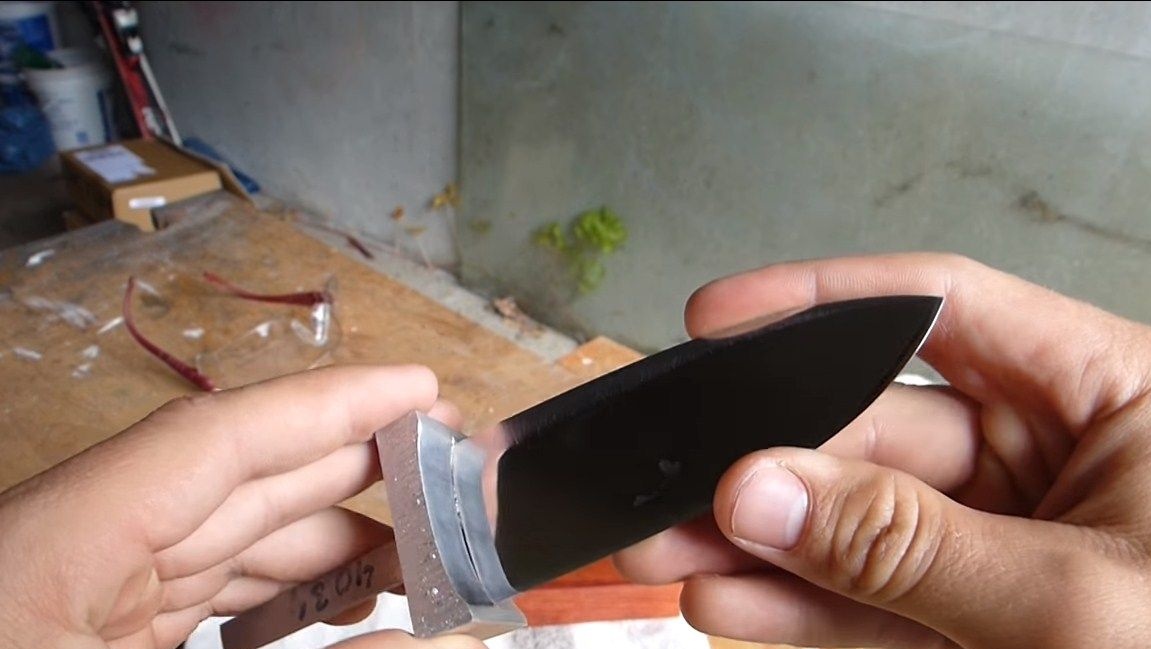
The final step will be the impregnation of the handle and polishing. The tree must be protected from moisture, otherwise the handle will quickly get dirty or even crack due to moisture and drying out. It is customary to use oil for impregnation, it does not change, but even emphasizes the natural beauty of wood. After impregnation, the wood can be polished. As a result, our pen looks great.
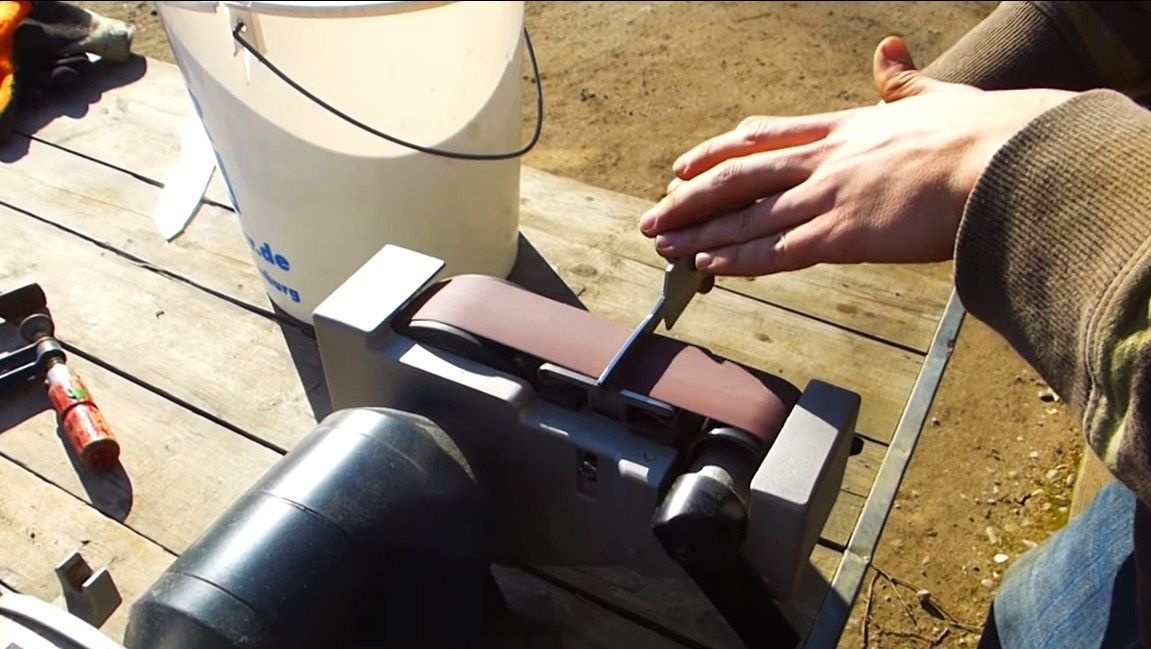
Step Eight. Sharpening and testing
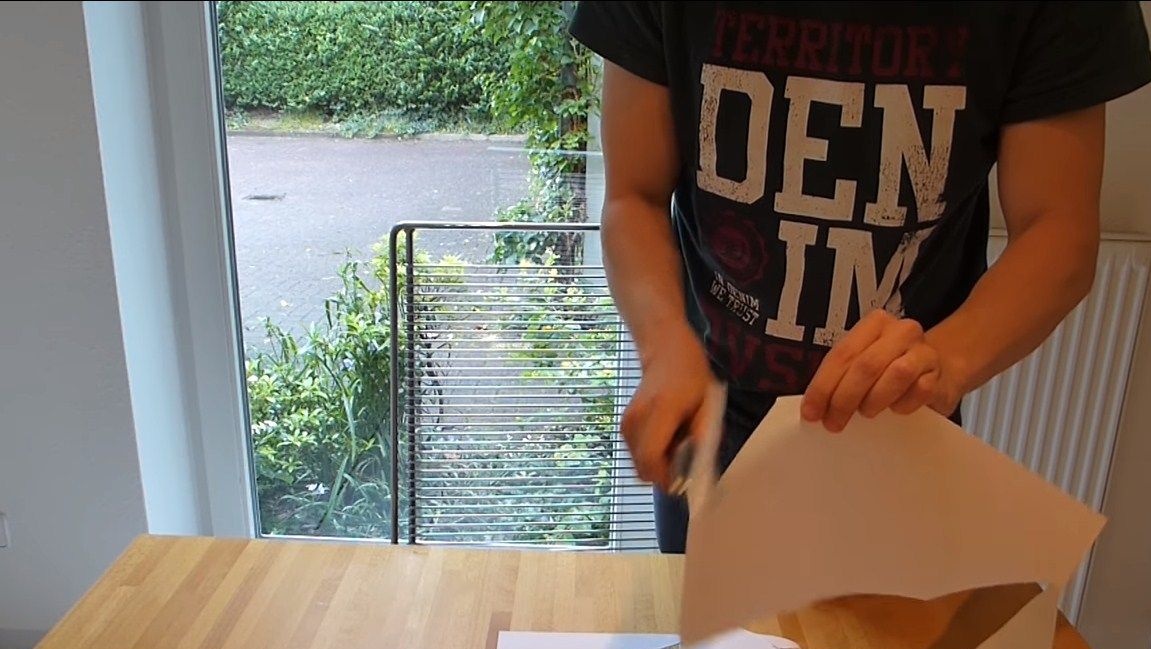
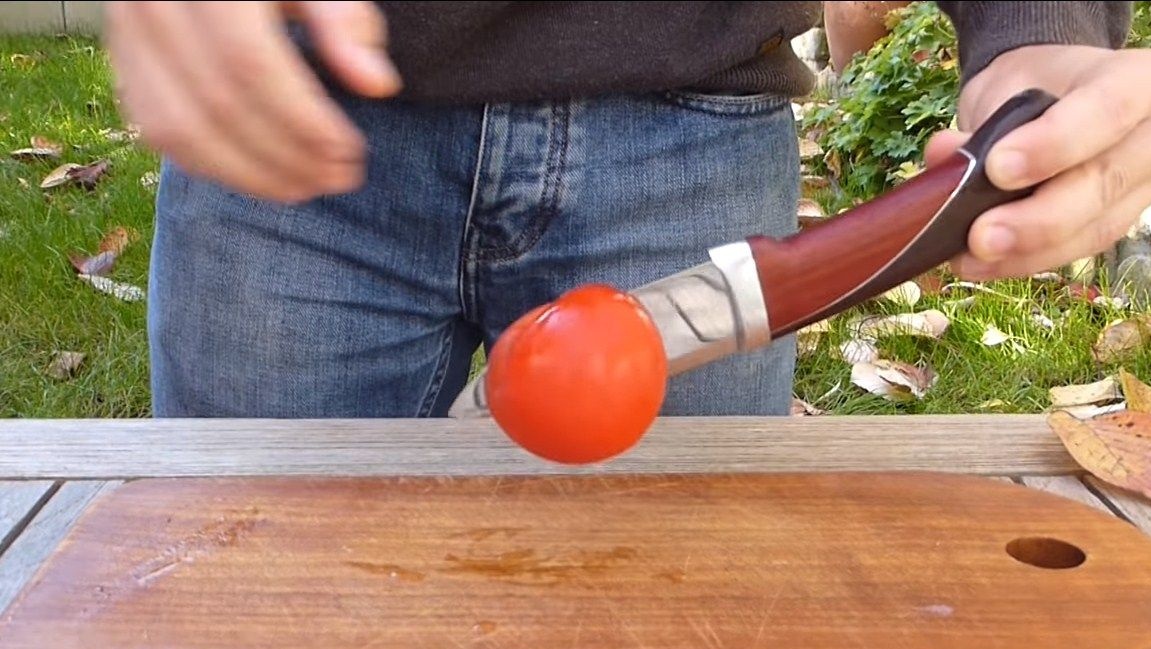
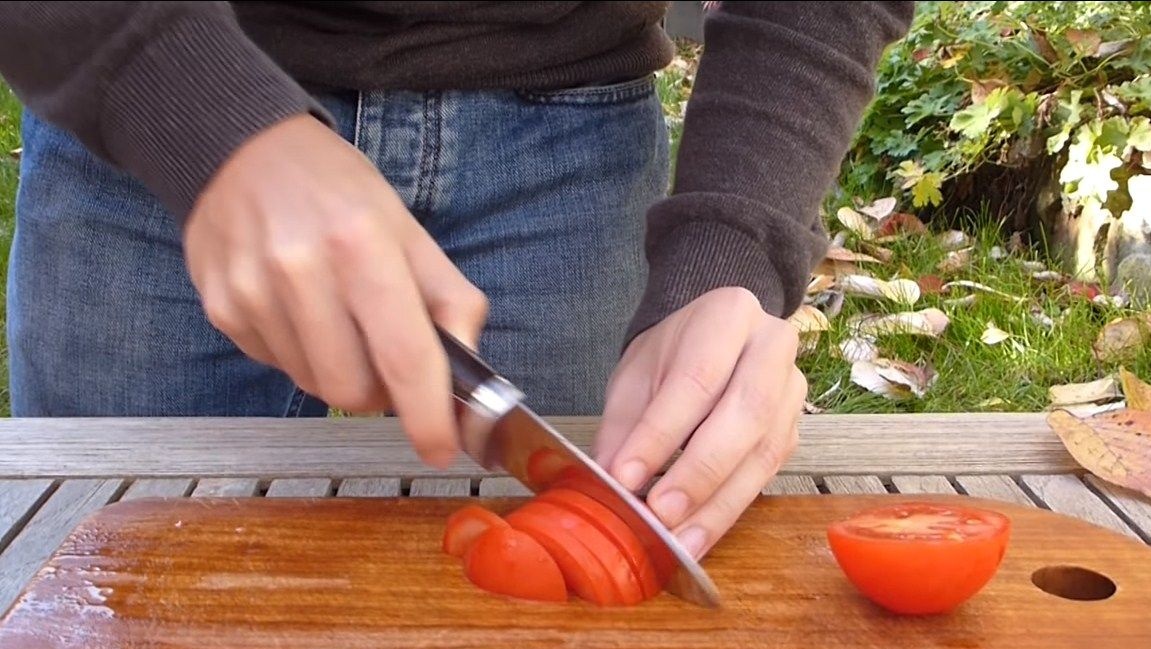
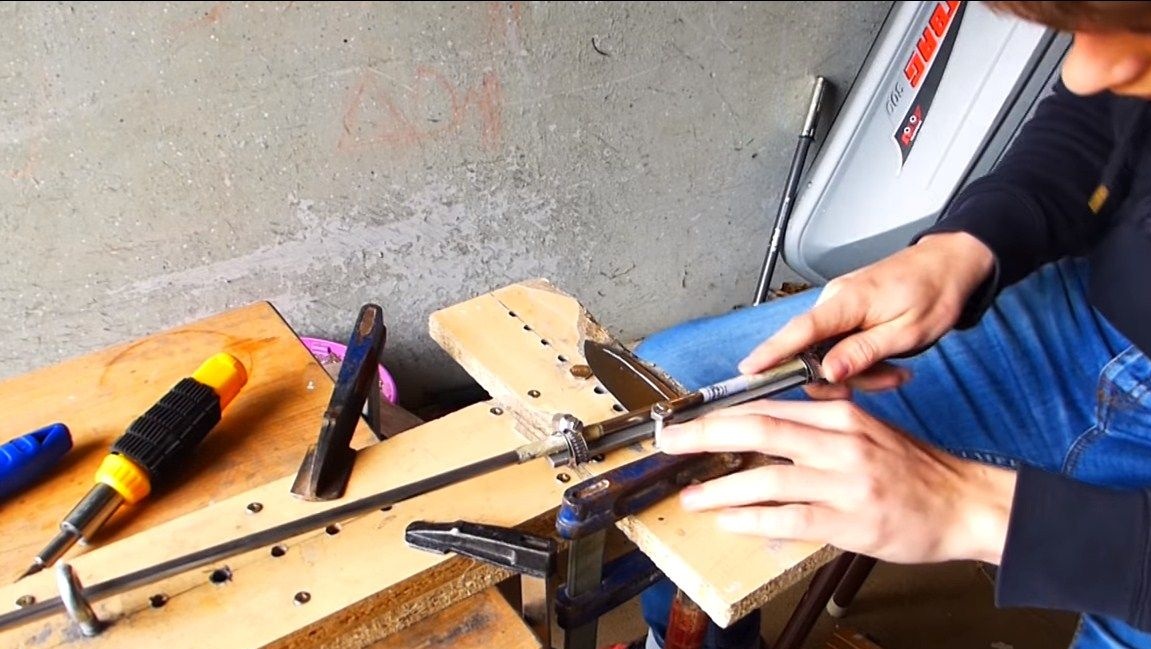
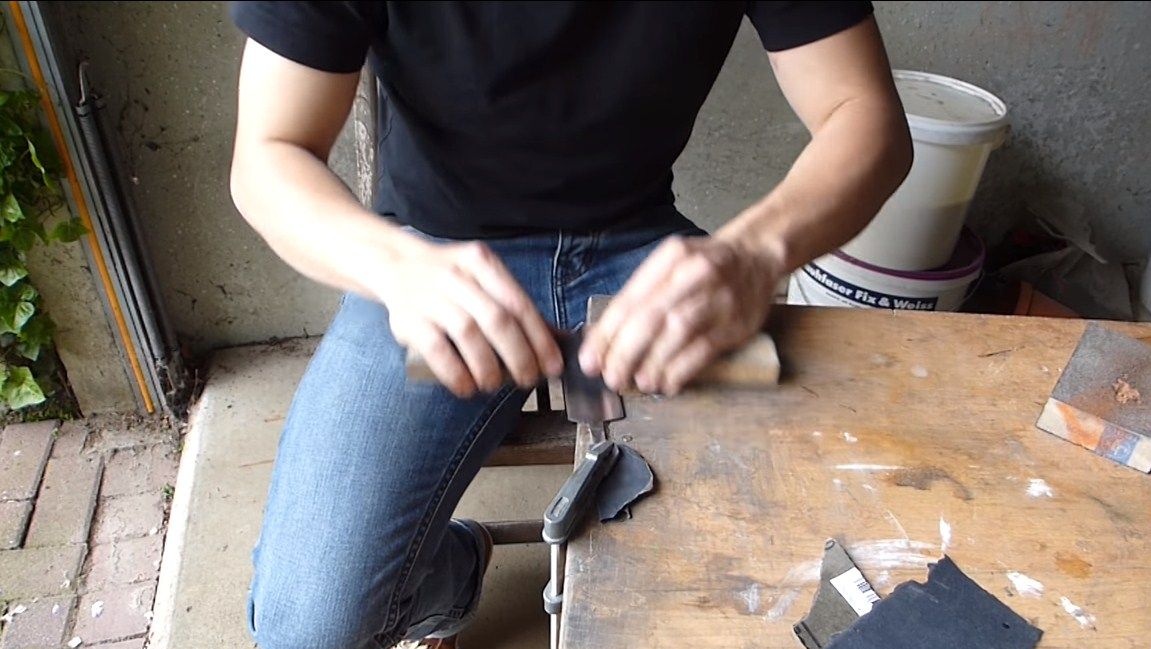
We only have to sharpen the knife. For such purposes, special grinding tools can be used. The simplest tool-grinding tool is a small sandpaper. The author sharpened his knife to the state of the blade. The blade easily cuts a canopy. And tomatoes are generally cut flawlessly thin slices. For such a sharp knife, be sure to make a sheath.
That's all, the project is over, I hope you liked it. Good luck and creative inspiration, if you want to repeat it. Do not forget to share your homemade and best practices with us!