
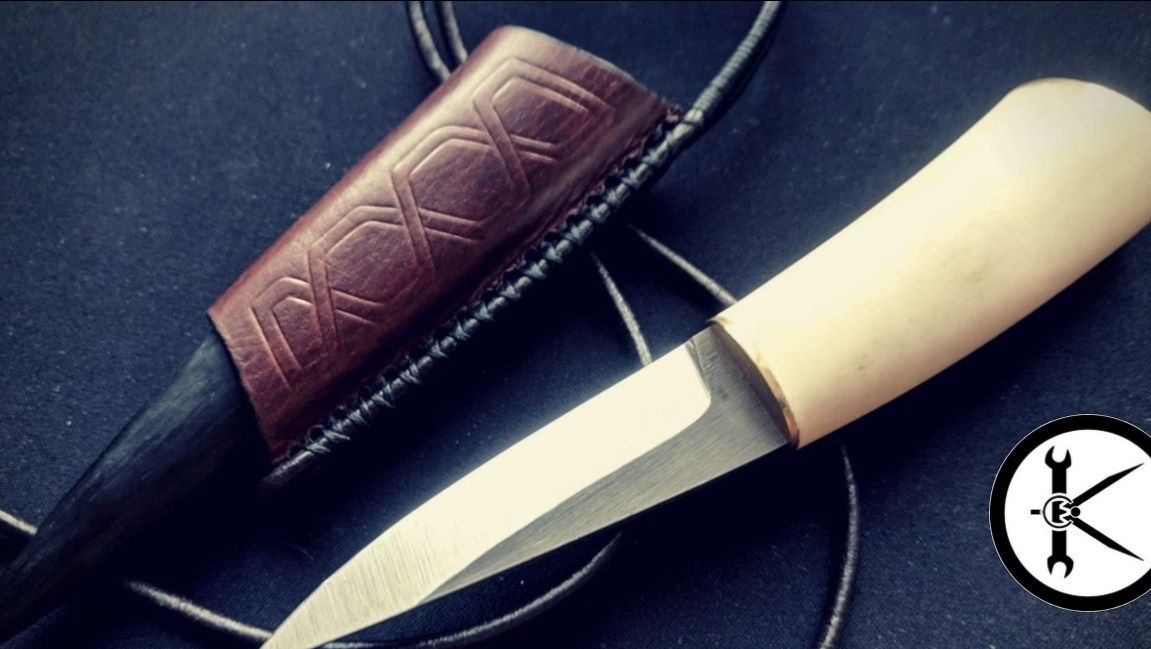
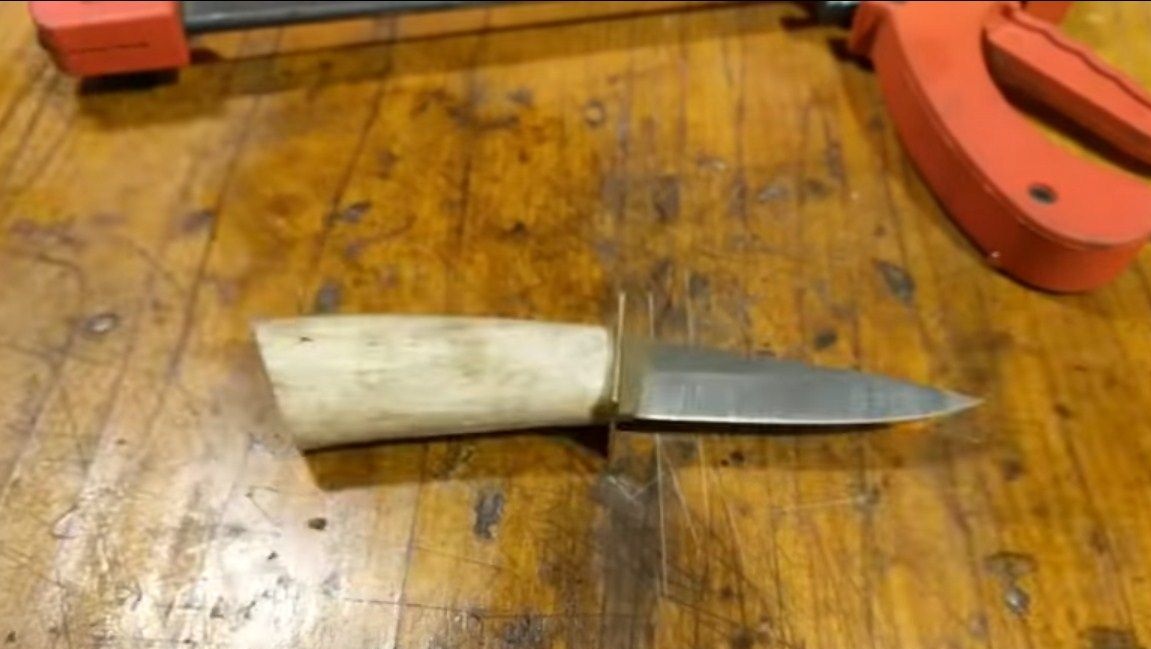
Hello. In this manual, we will look at how you can make a small, stylish, comfortable knife. Such a knife will never be left without attention among friends and not only. You can take it with you on fishing, hunting or hiking. The handle of the knife was made of horn, and he also has a sheath, which are made of wood. A convenient leather case is provided for convenient carrying of a knife. It is not difficult to make such a knife, the production time depends on the tools and materials you have.
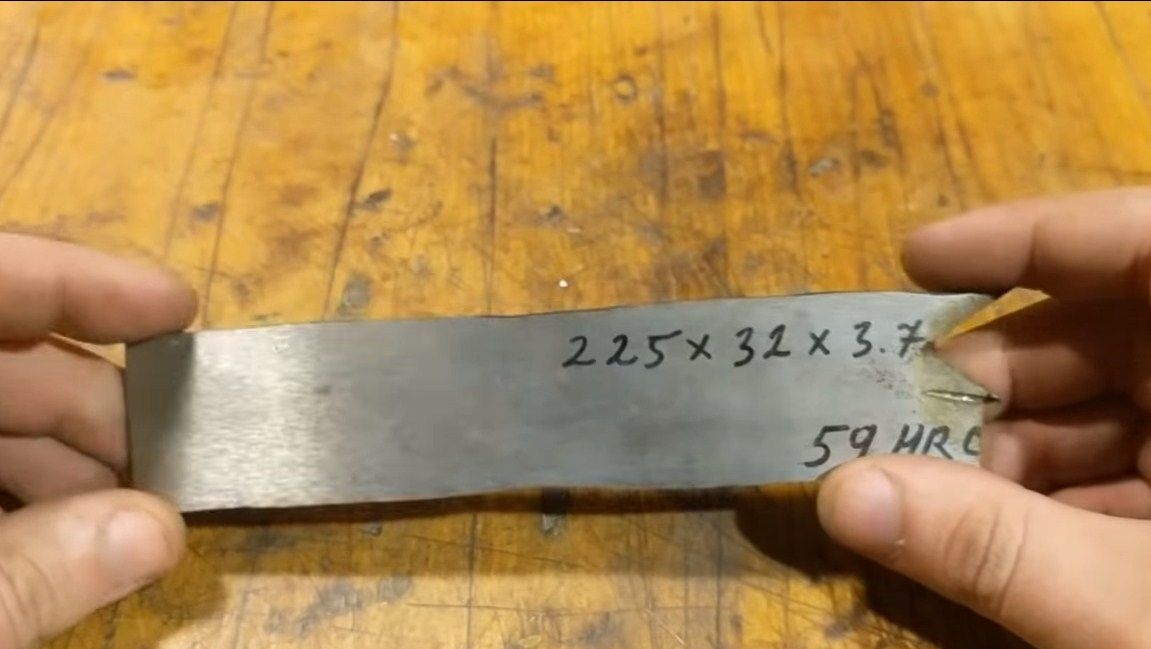
In order for the knife to serve for a long time and stay sharp for a long time, you need to choose a strong steel for the blade that can be hardened. For these purposes, you can completely use a flat file. But the file must be old, in the remake inside the file is bad metal, it is only cemented from above. A good file on the fracture is gray, the color is uniform, and even when it is cut, many bright and thick sparks are formed. The author used steel, which after hardening has a hardness of 59 HRC. Today you can easily buy a finished blank or even a knife blade via the Internet. So, let’s take a closer look at how to make such a wonderful knife!
Materials and tools used by the author:
Material List:
- good steel;
- a piece of horn for the handle;
- a tree for a sheath;
- leather for cover;
- sheet brass for the guard;
- epoxy adhesive;
- two cogs.
Tool List:
- sewing supplies;
- a grinder with cutting and grinding discs;
- belt sander;
- marker;
- a hacksaw for metal;
- sandpaper;
- drill;
- nadvili;
- clamps;
- solution for etching;
- drill.
The process of making a knife:
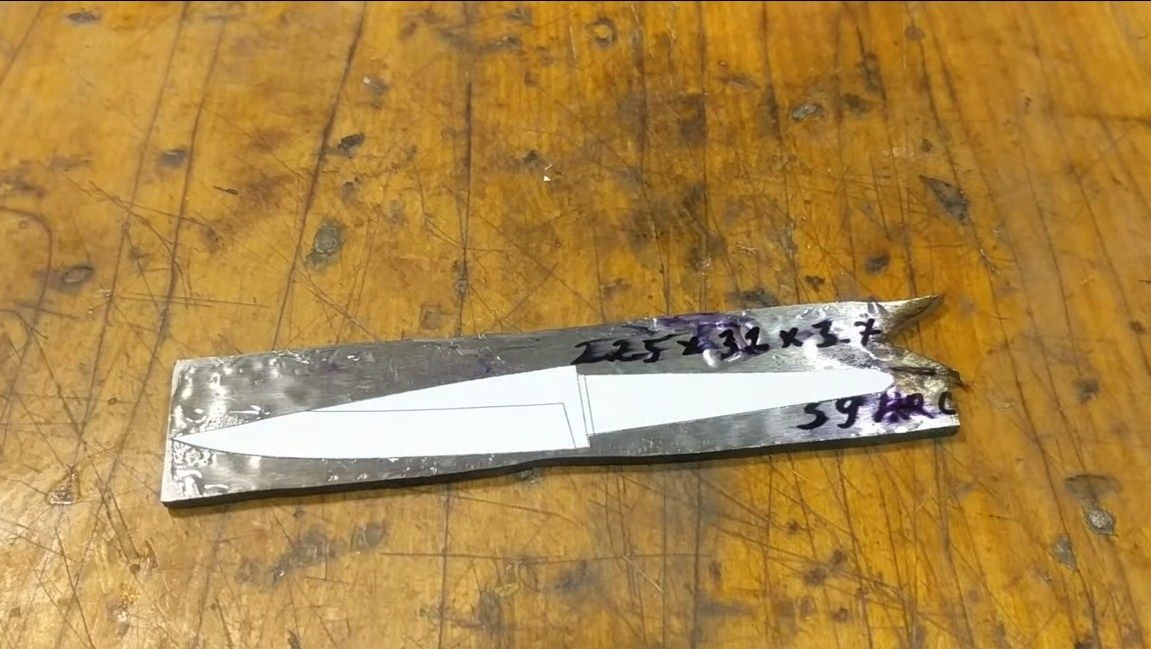
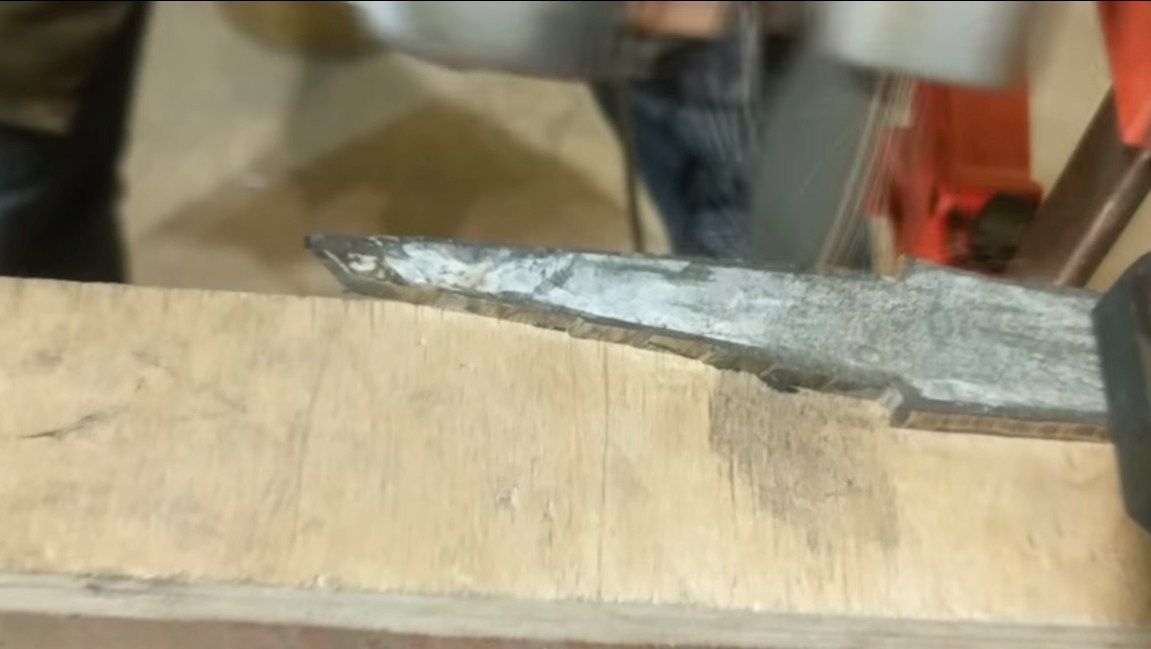
Step one. Cut the main profile
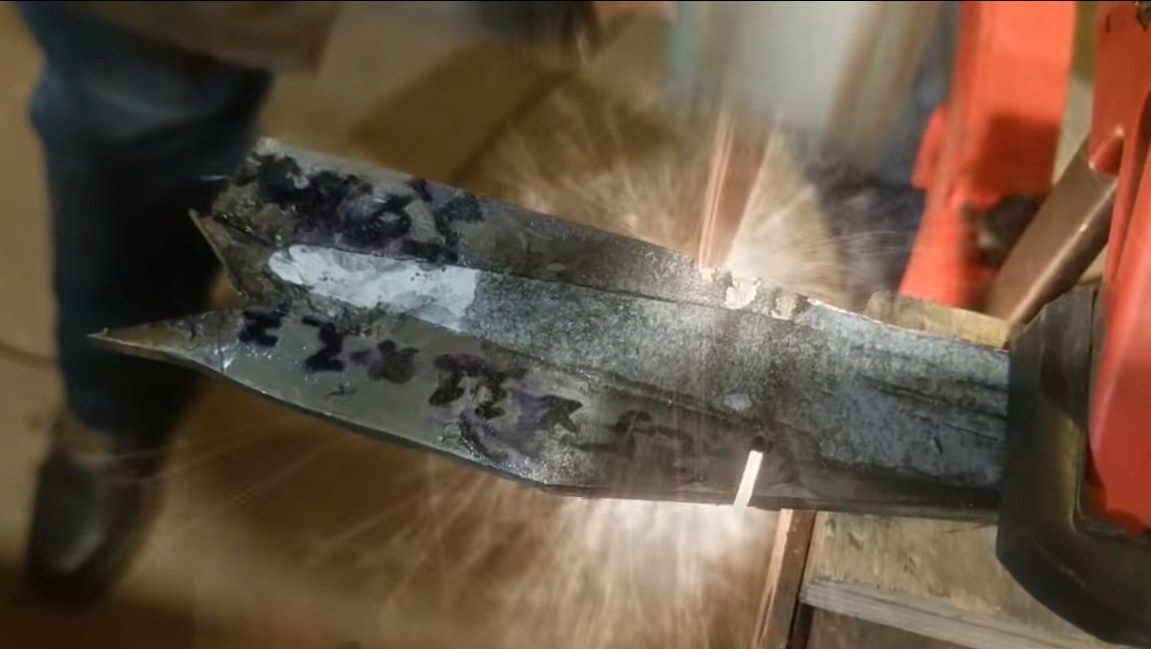
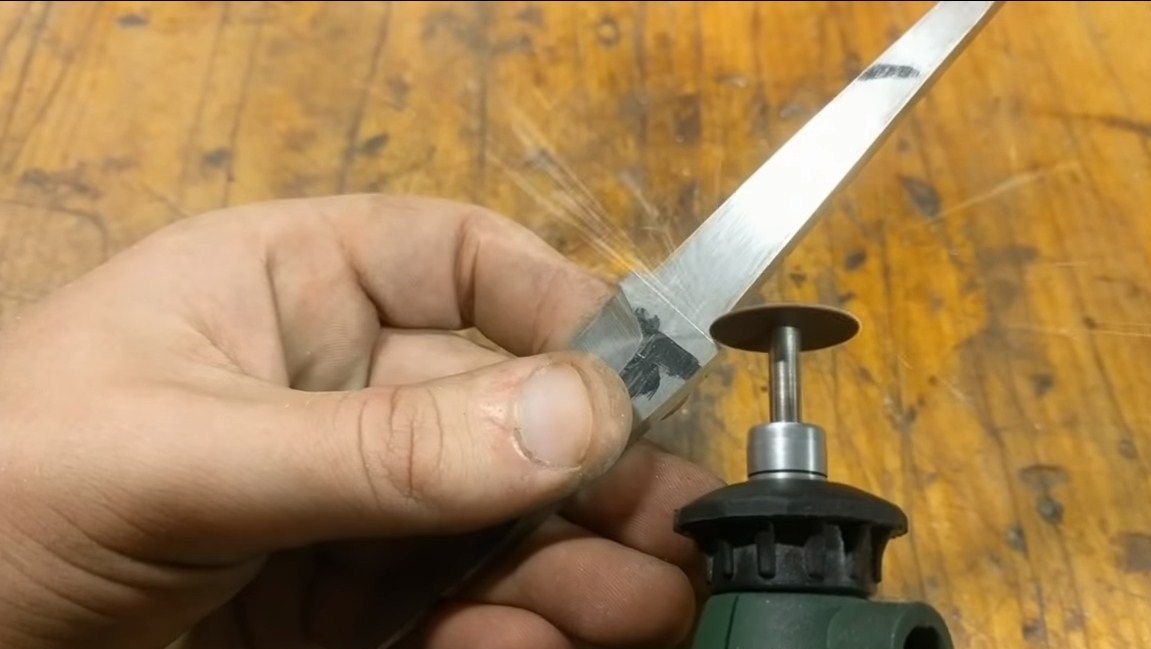
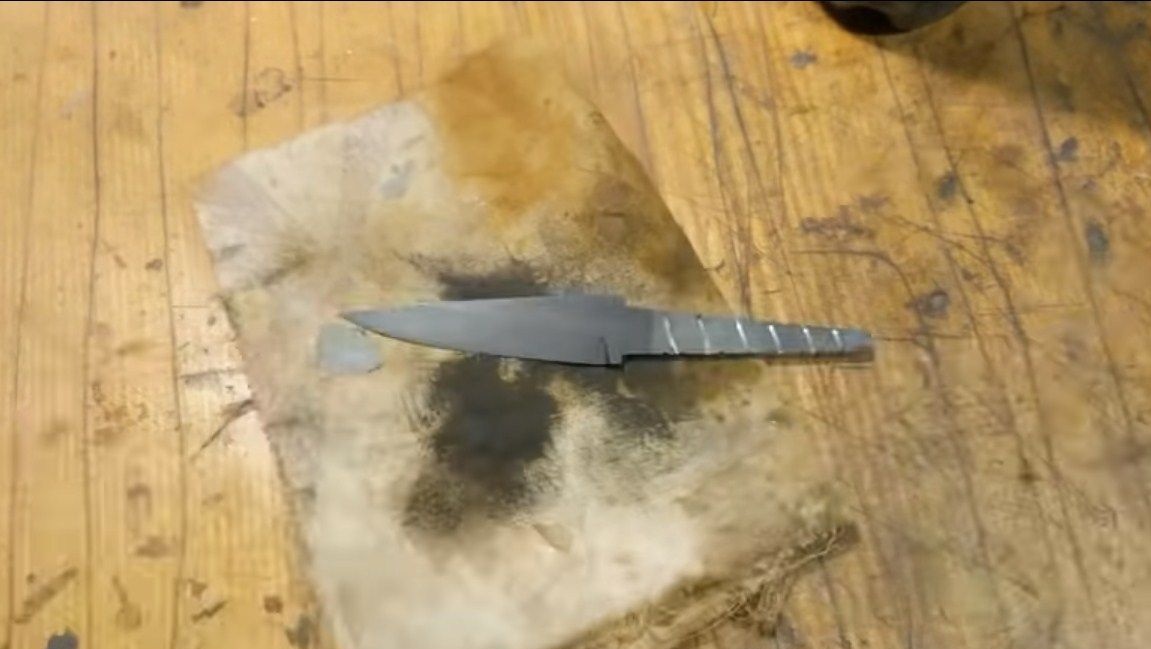
To begin with, we will produce a blade profile, it is better to do this on paper. The knife is small in size and has a simple shape resembling a canine. Next, we cut out the drawn template and glue it to the metal from which we will cut the blade. Now we clamp the metal in a vice or with a clamp and proceed to cutting. For such works, the author chose a grinder. We cut as straight as possible, partly cut out problem areas. Well, then we set up a thick wheel for grinding work and remove everything that we could not cut. As a result, we get a profile that is as close as possible to the plan.
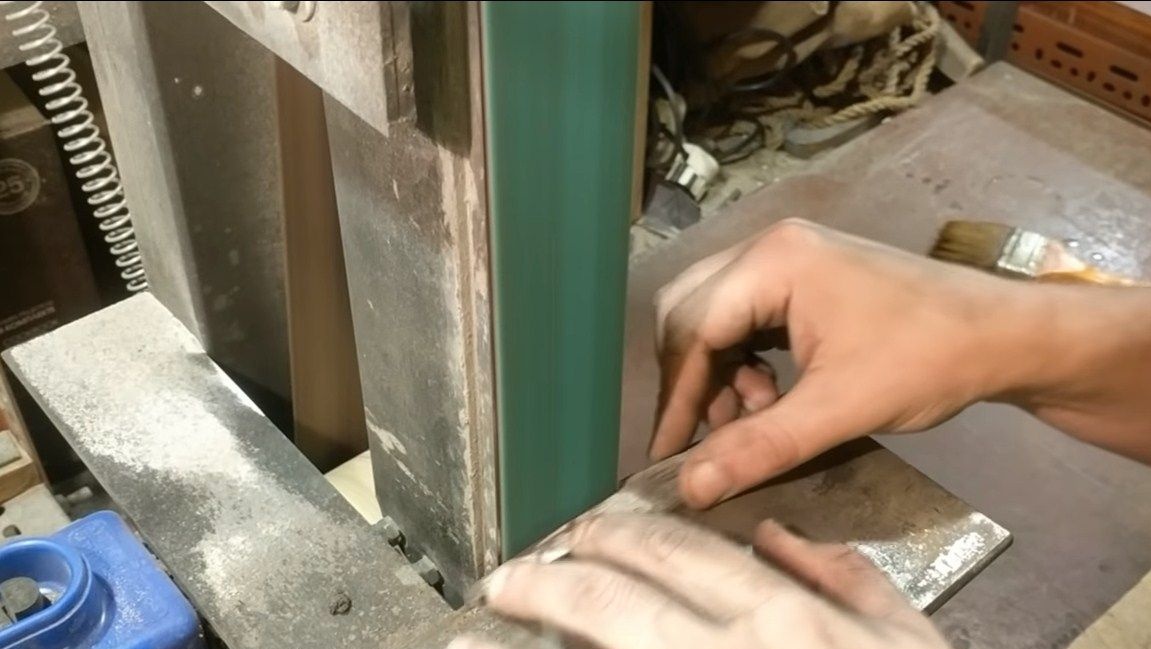
Step Two Work on the tape machine
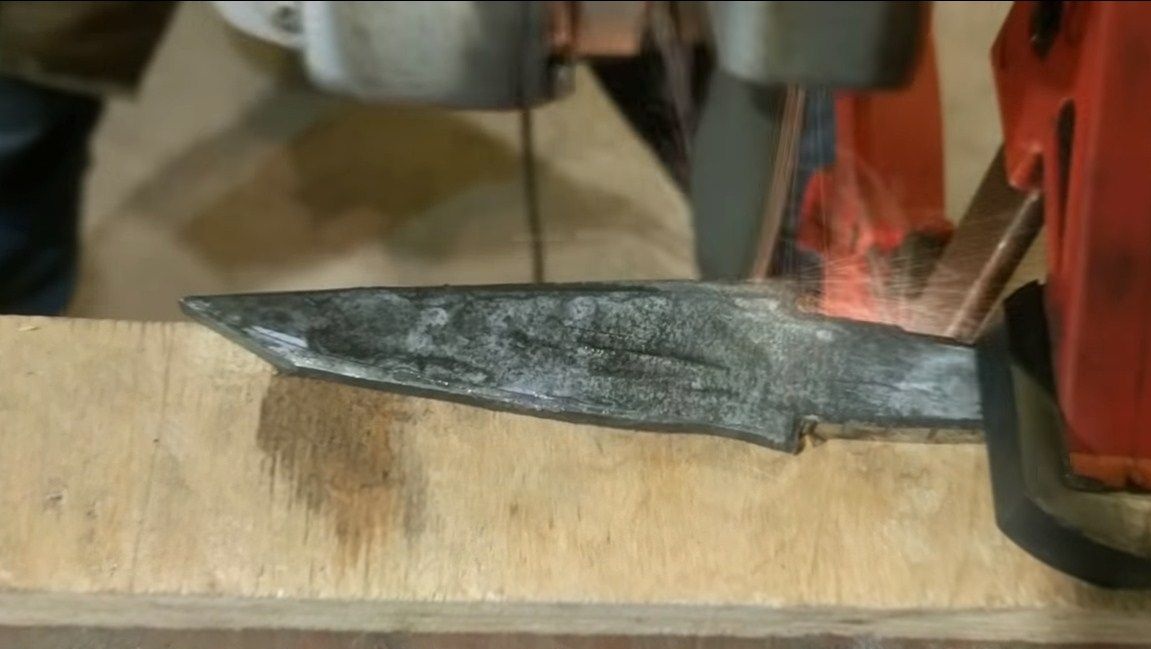
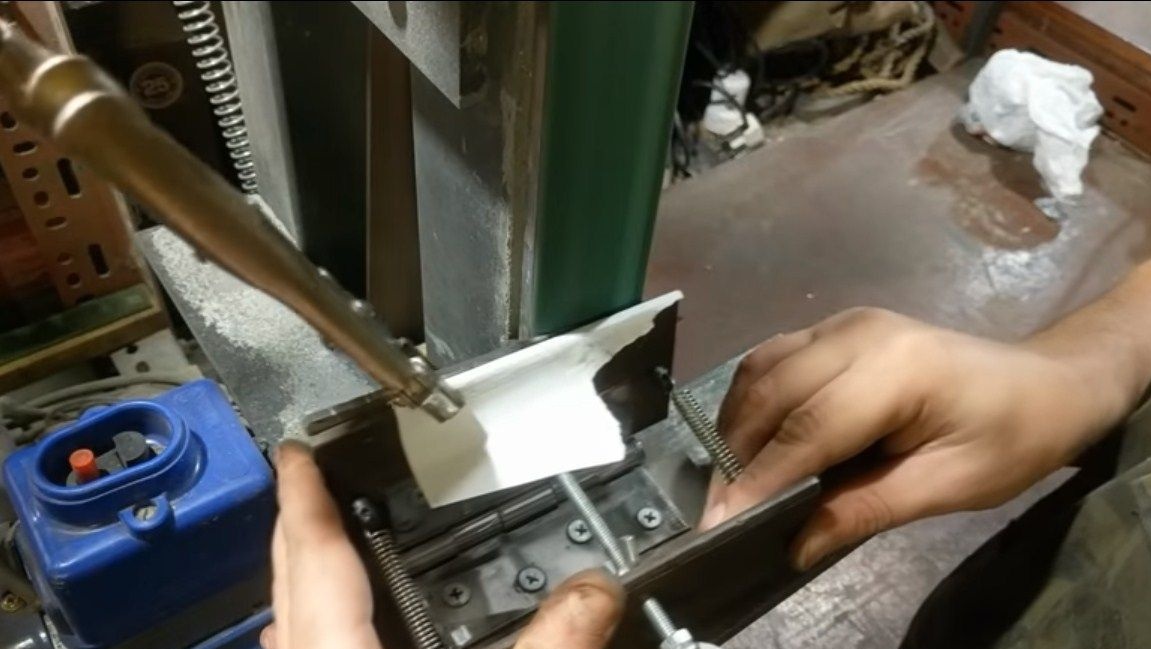
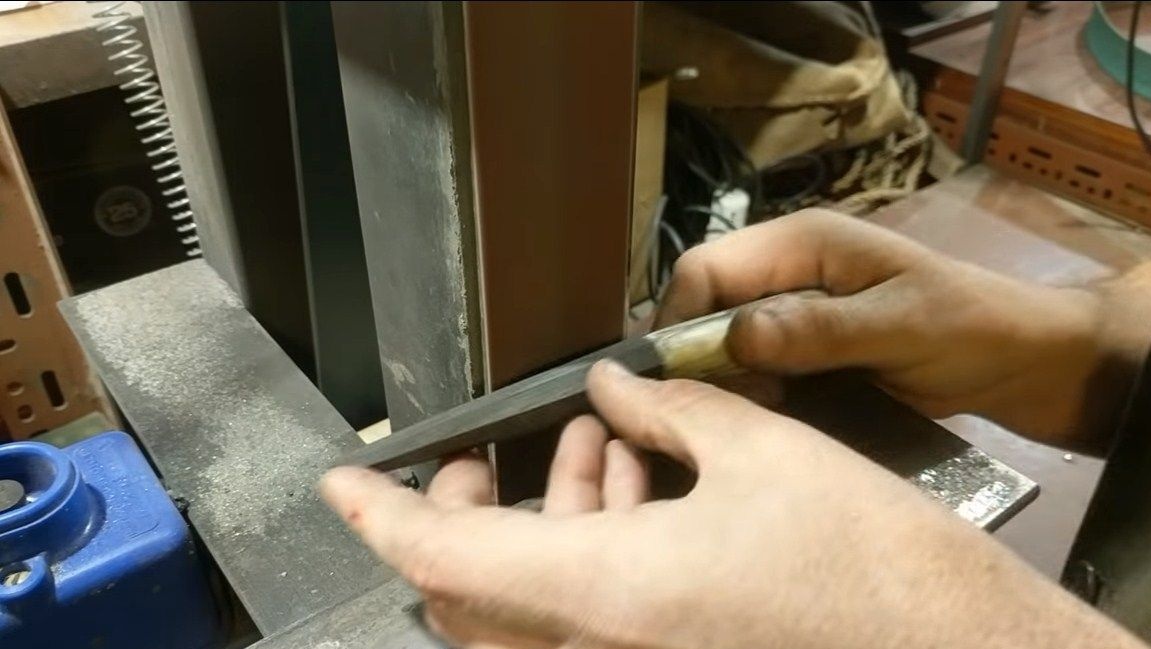
Next, we carefully process the profile on a belt grinder along the contour. And when everything is ready, we also grind the plane.
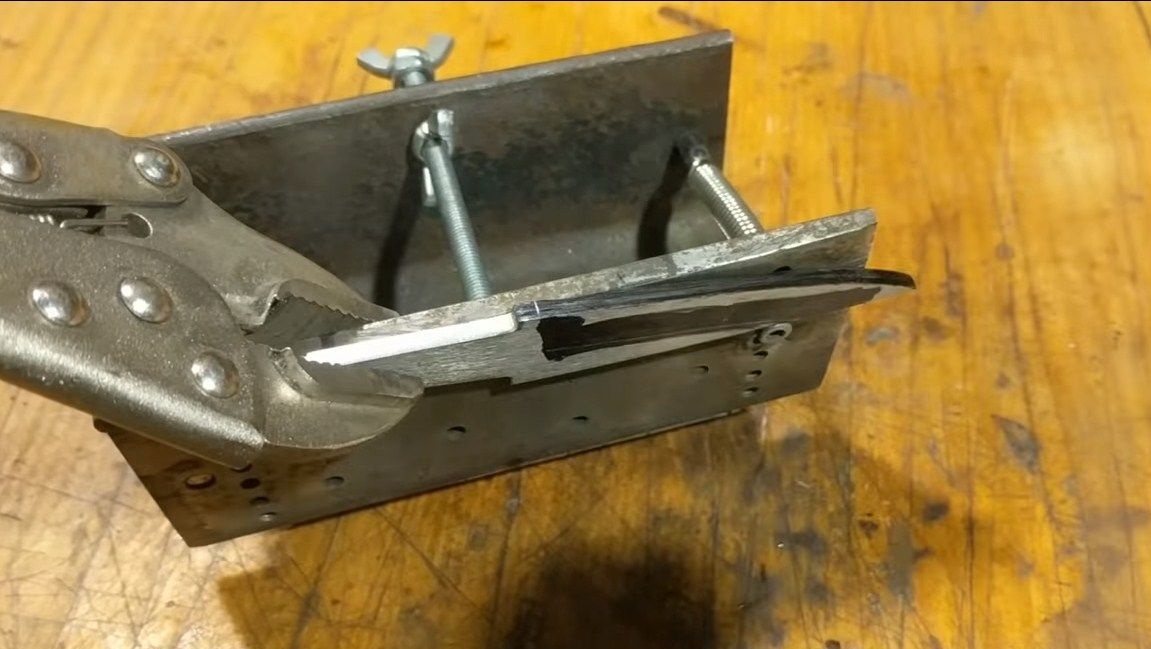
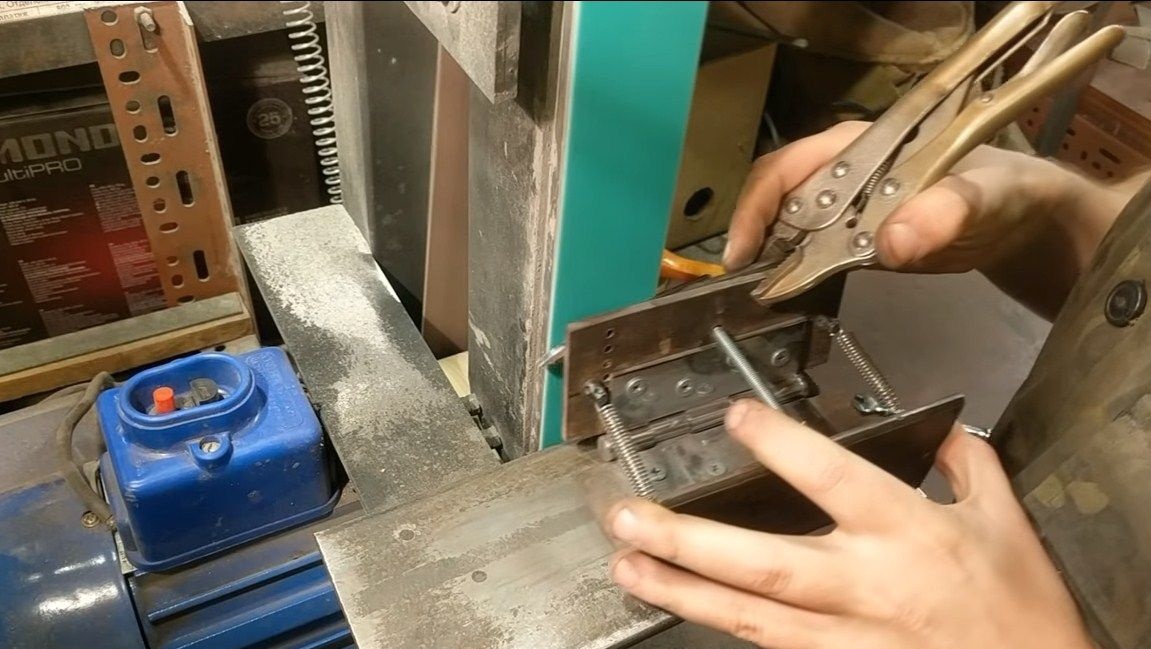
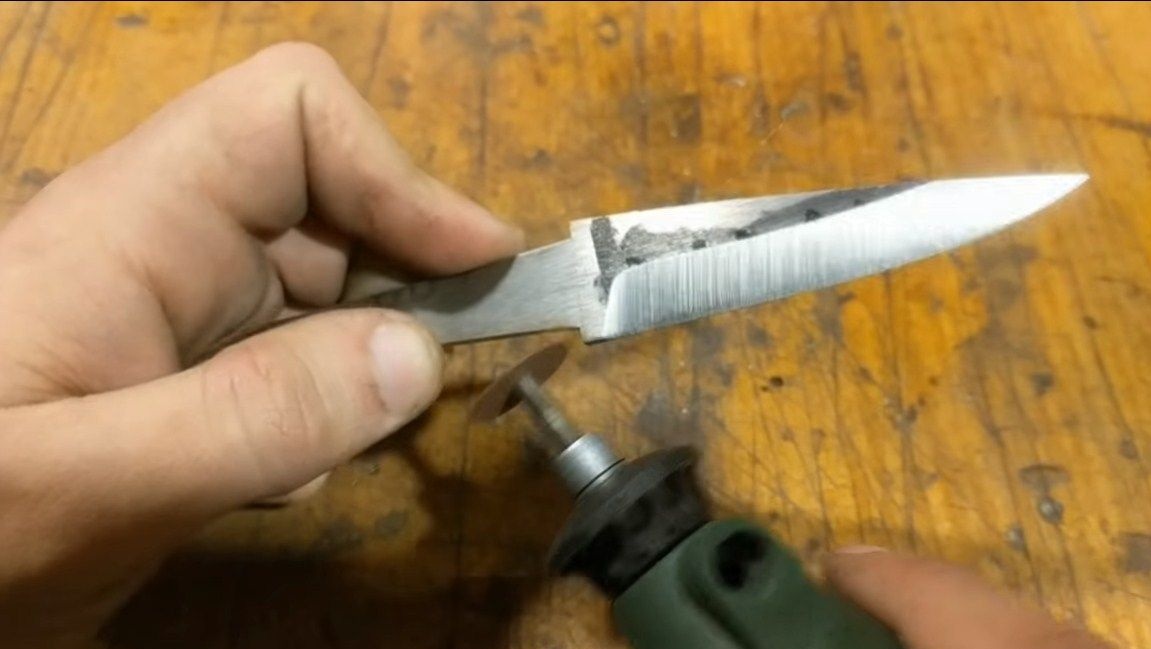
In conclusion, you will need to form the bevels. This can be done on a belt sander. We mark the width of the bevels, and along the blade we draw the center line, which will work as a guideline when grinding. That's all, it is possible to form bevels. During operation, the metal will become very hot, it will be impossible to hold it in your hands, and it’s dangerous. The author uses a special locking device for these purposes.
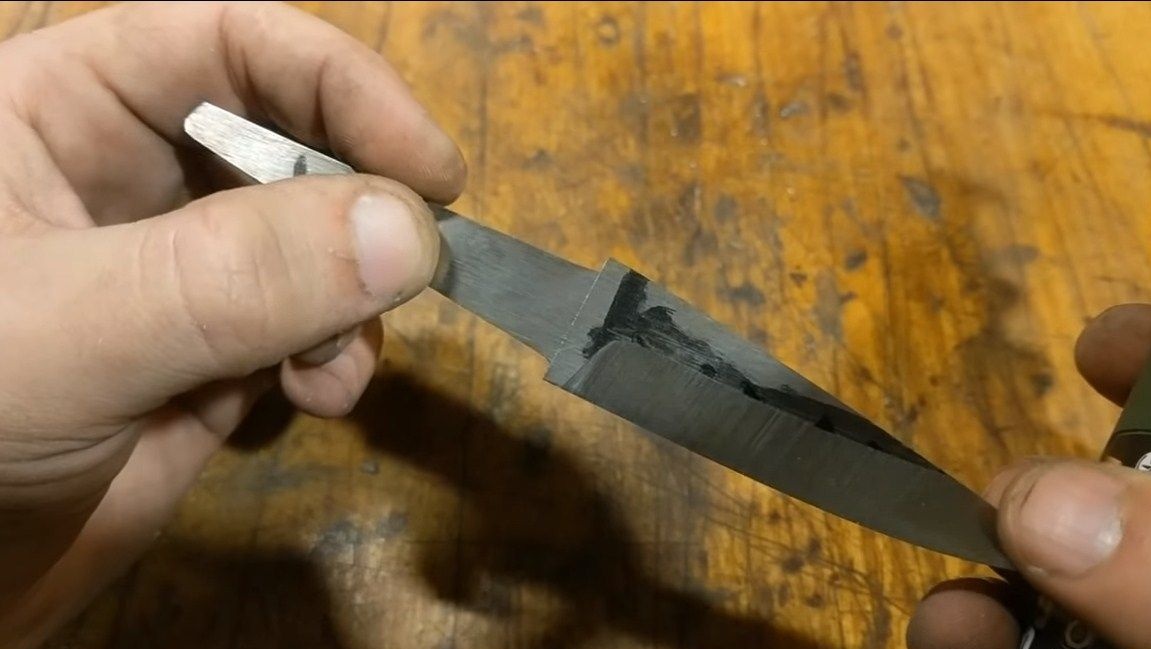
Then you can proceed to hardening. It is important to note that the minimum thickness of the blade should not be less than 2 mm, otherwise carbon can burn out in this place and the steel will turn into raw. We select the quenching mode based on the selected steel grade. After hardening, clean the blade from scale with sandpaper, moistening it in water.
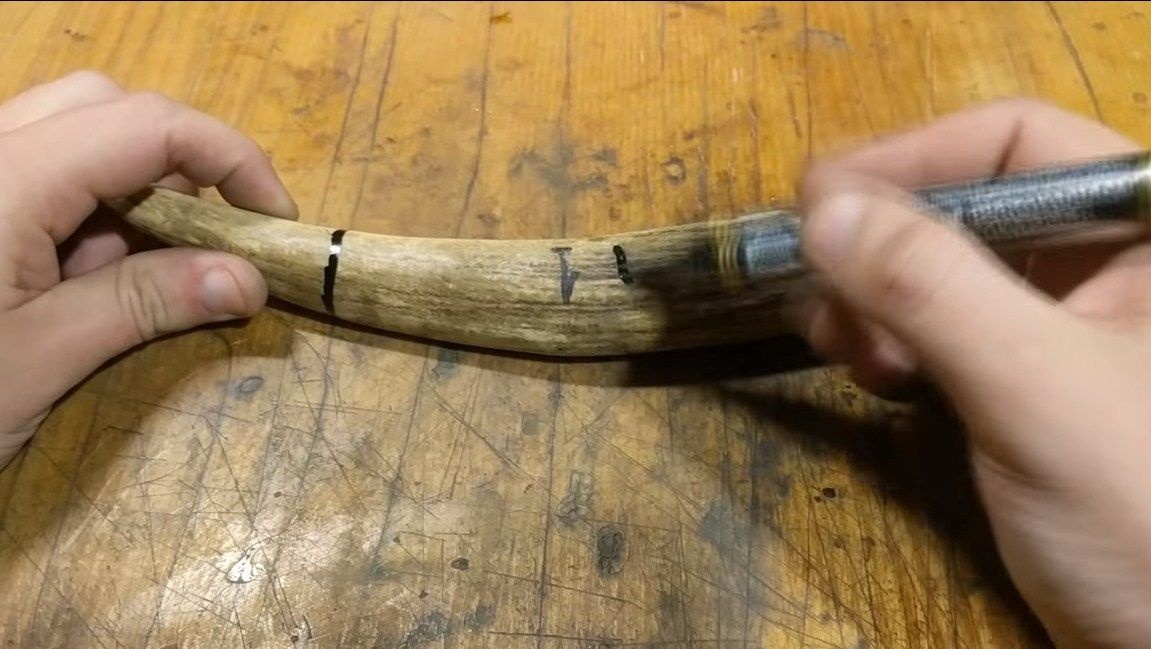
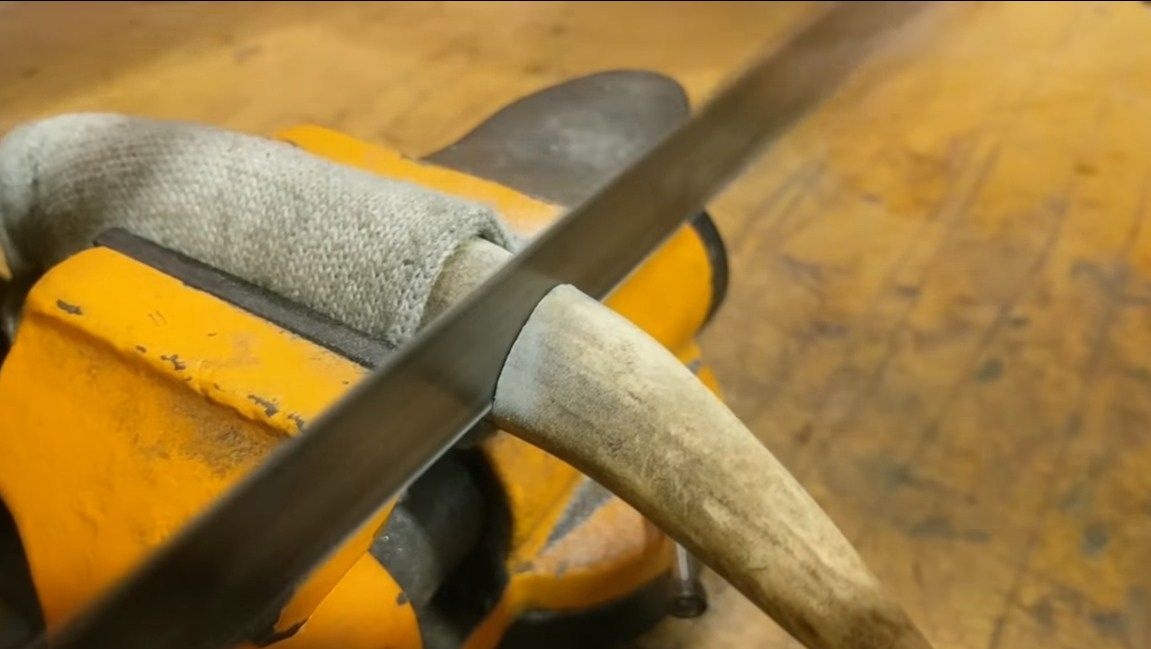
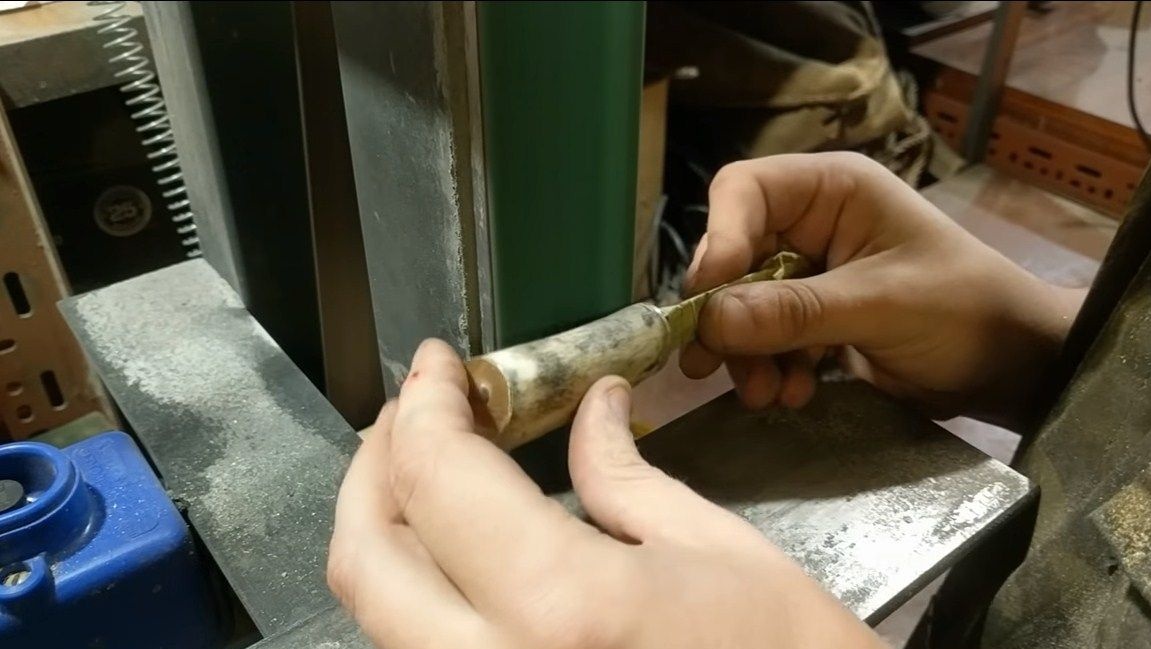
Step Three Handle blank
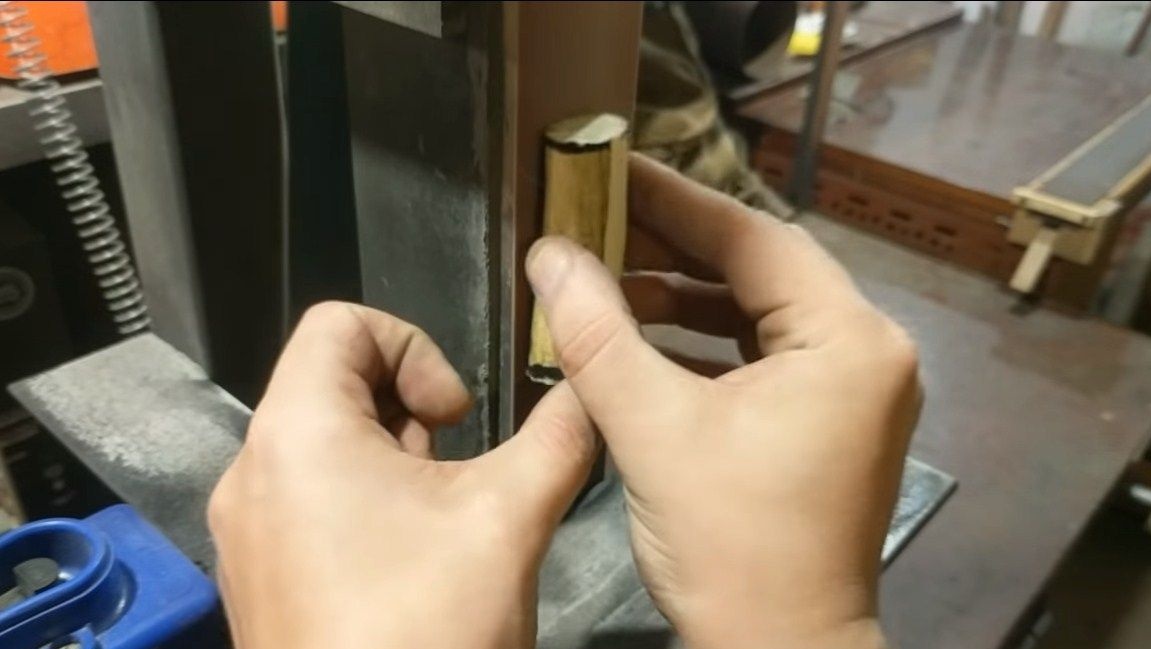
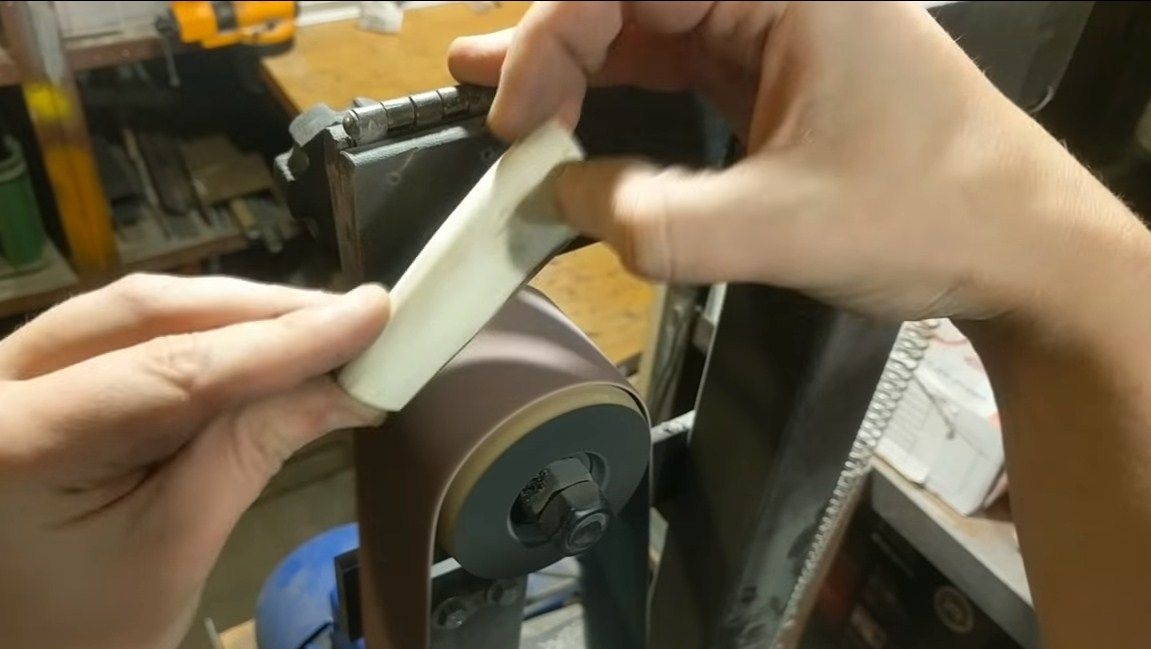
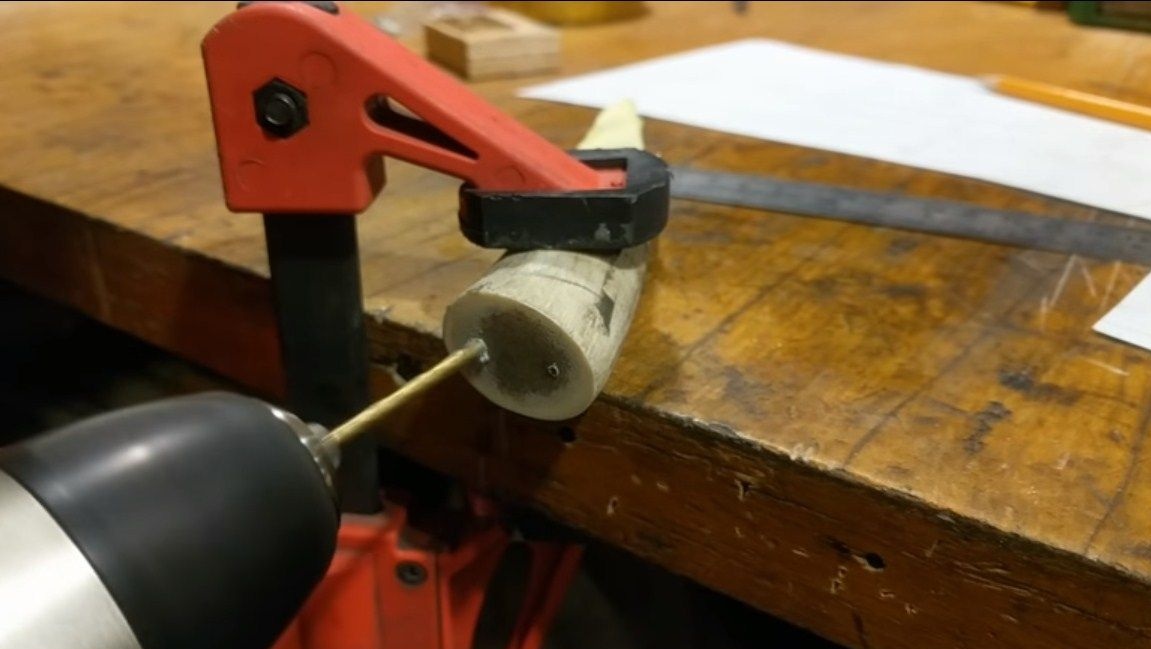
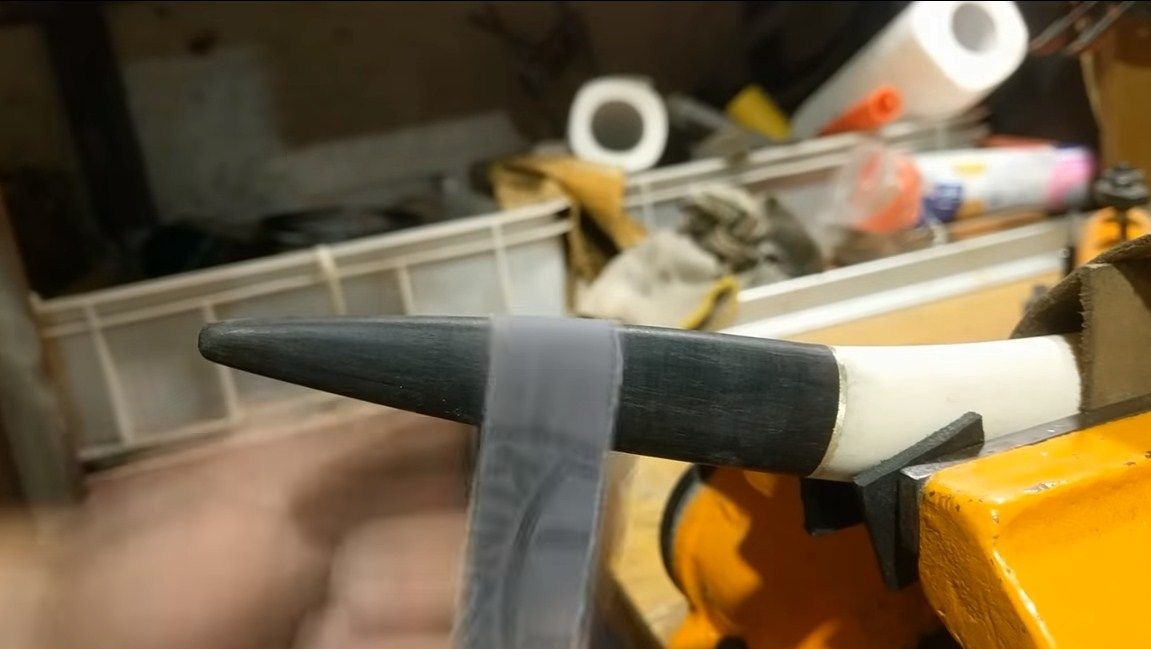
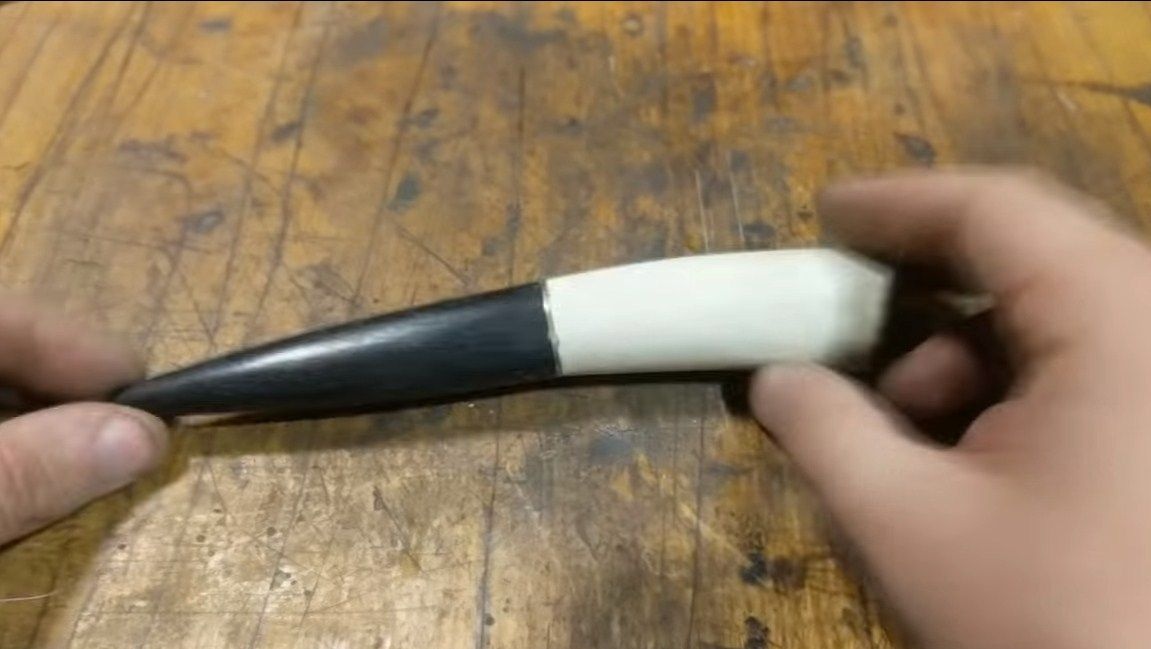
The author decided to make a pen out of a horn. You can use a tree, a piece of dry branch is suitable. We take a hacksaw for metal and saw off a piece of suitable size from the horn. Well, then we process it on a belt sander. We give the pen the desired shape, but the final grinding is not yet carried out.
We finalize the blade with a drill to the desired view. The handle should fit snugly against the blade.

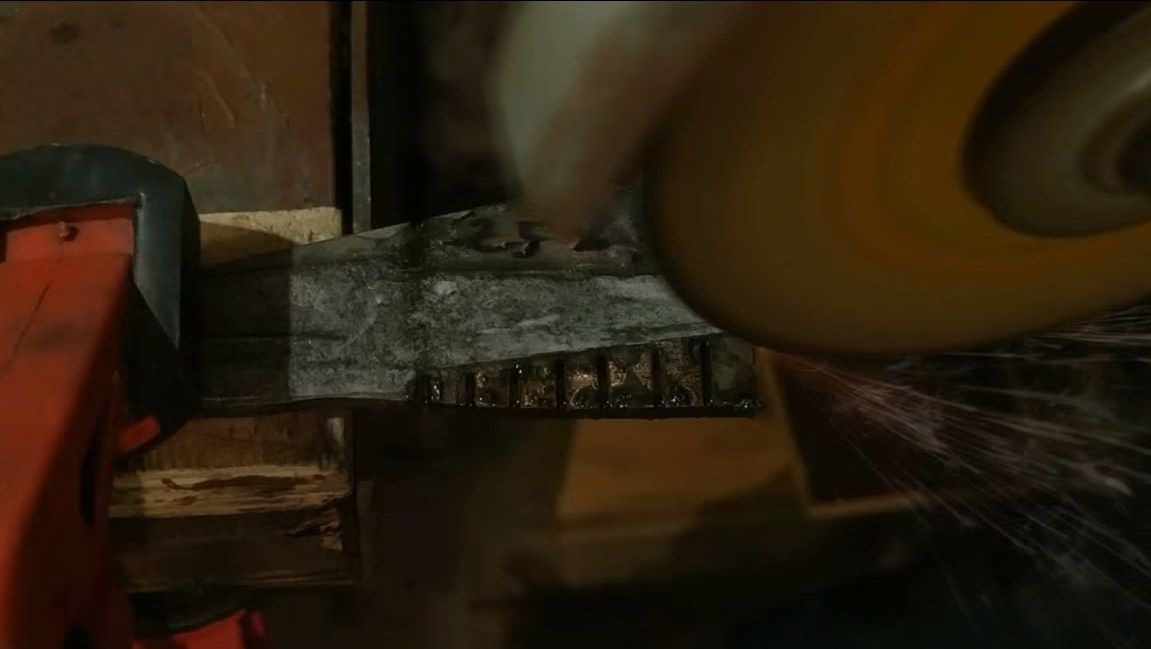
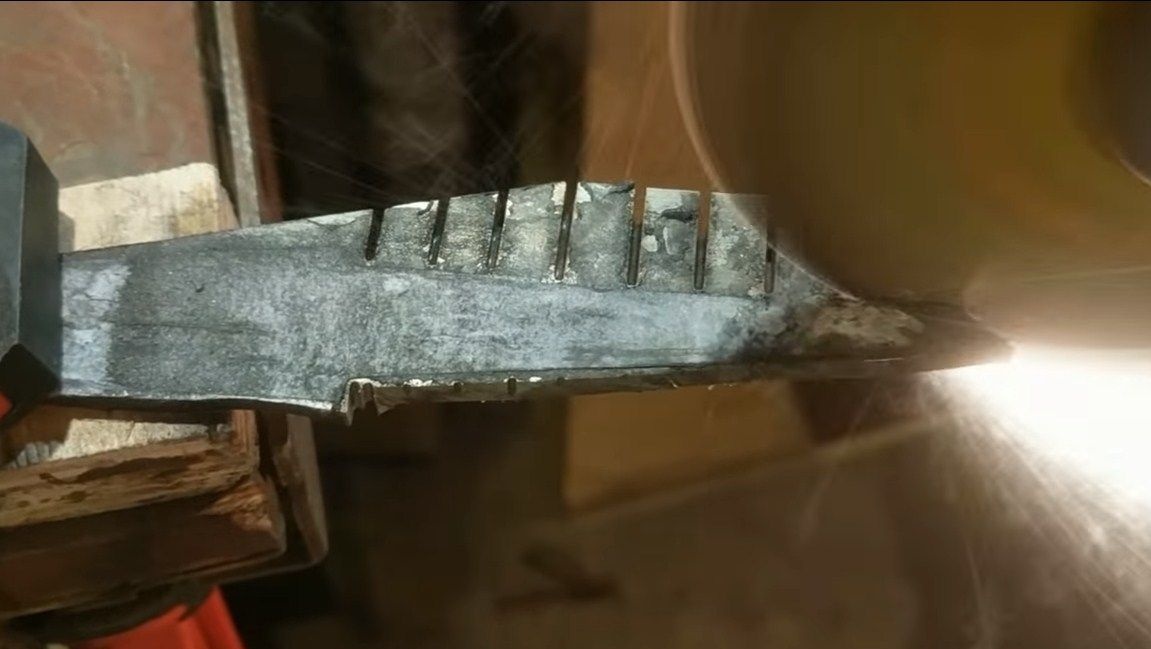
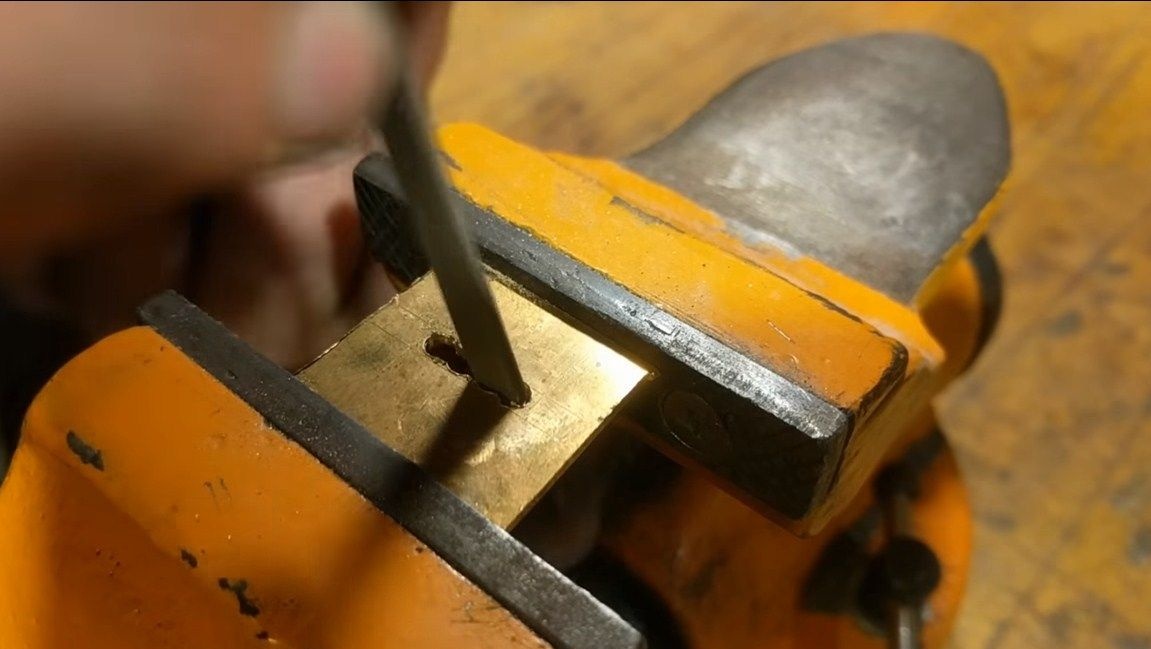
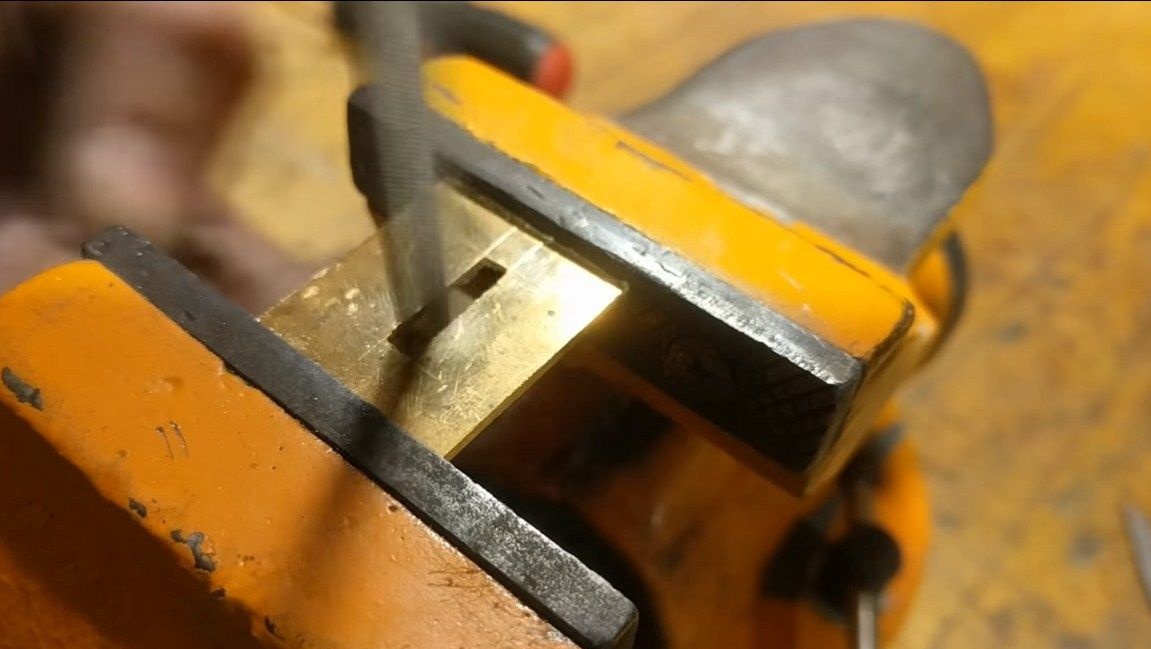
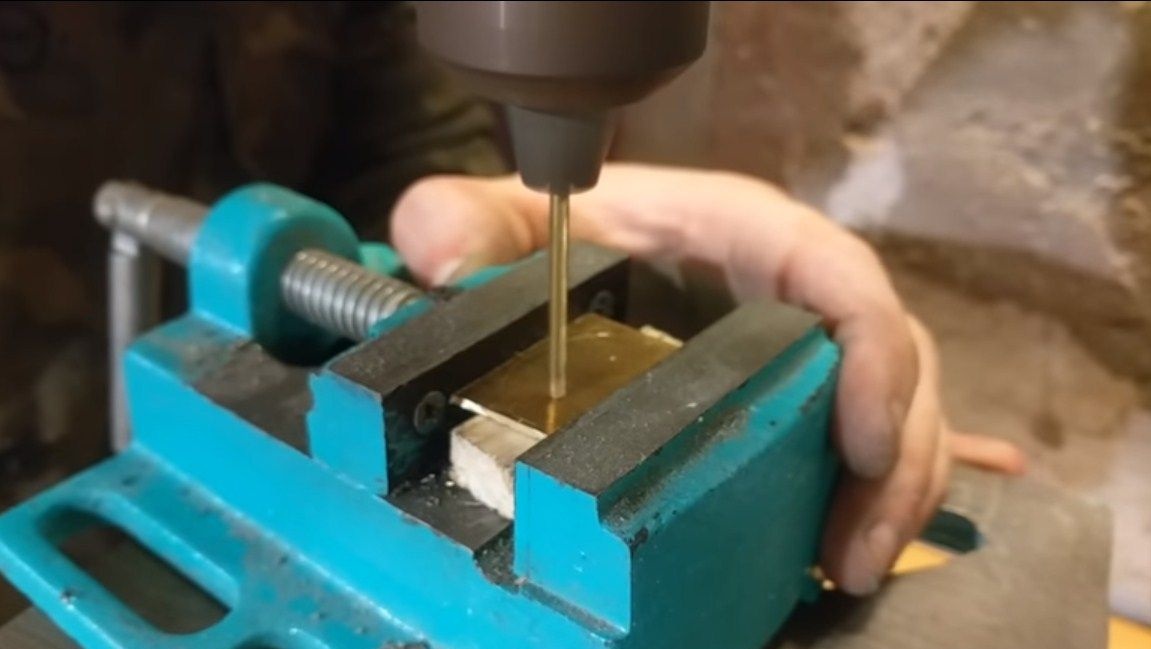
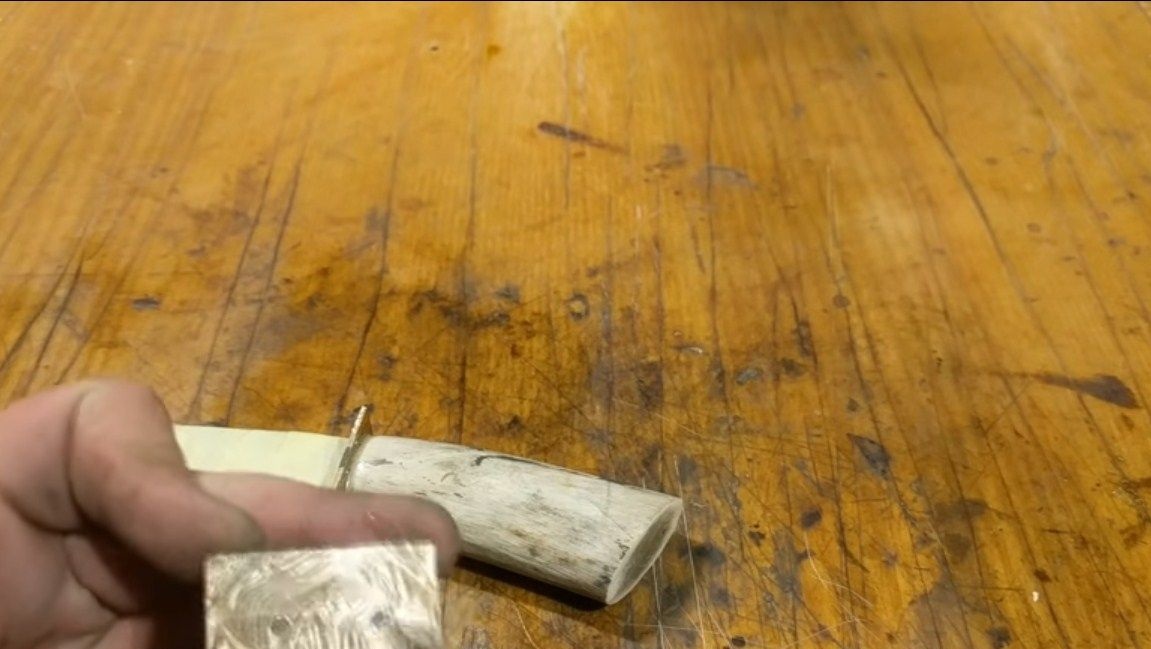
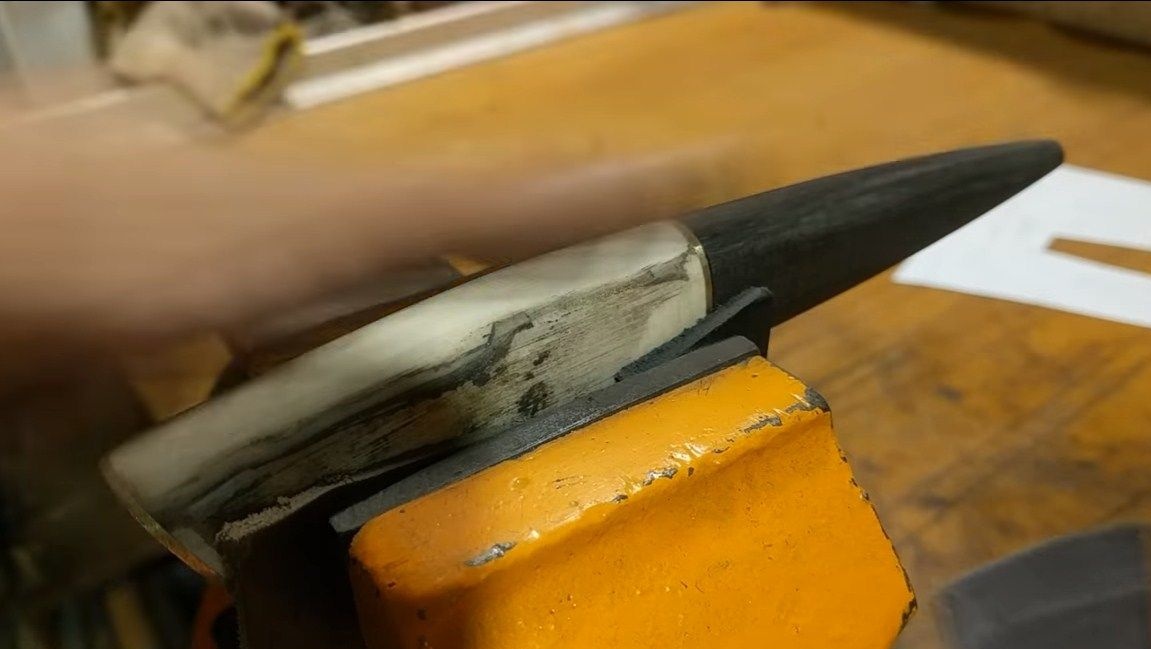
Step Four Making guards
The guard is made of such classic material as brass. We select the desired dimensions of the plate and drill a number of holes in it, which are then bored with needle files. We need to adjust the slotted hole so that the tail of the knife comes into it with minimal clearance. We drill a similar hole in the handle of the horn.

Step Five Etching
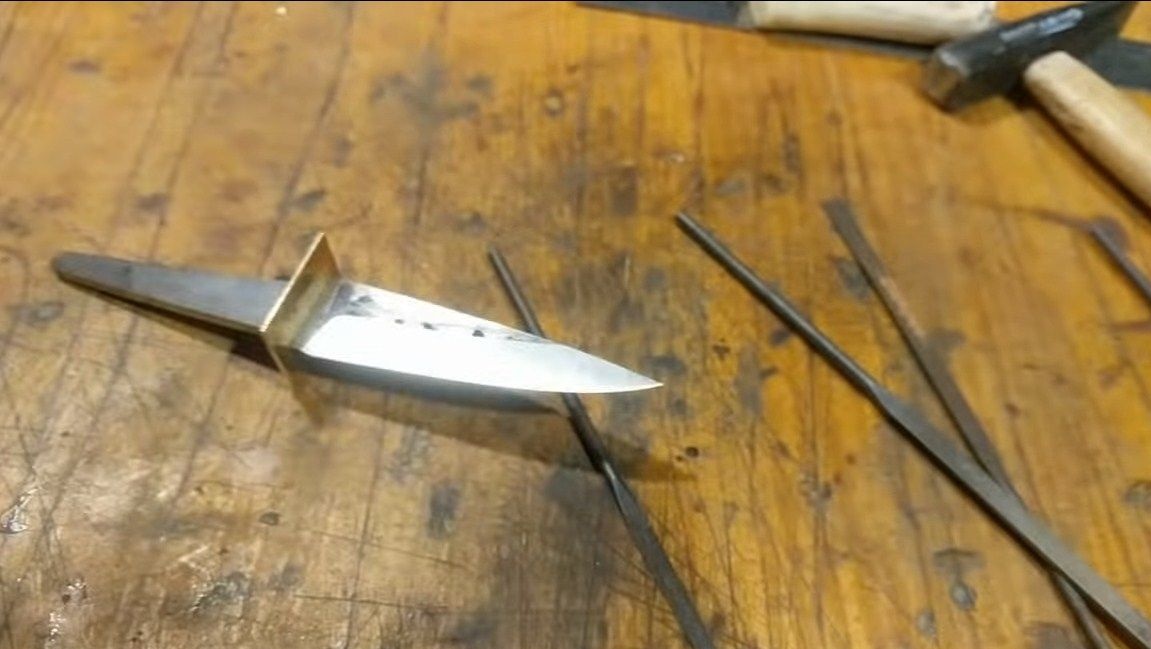
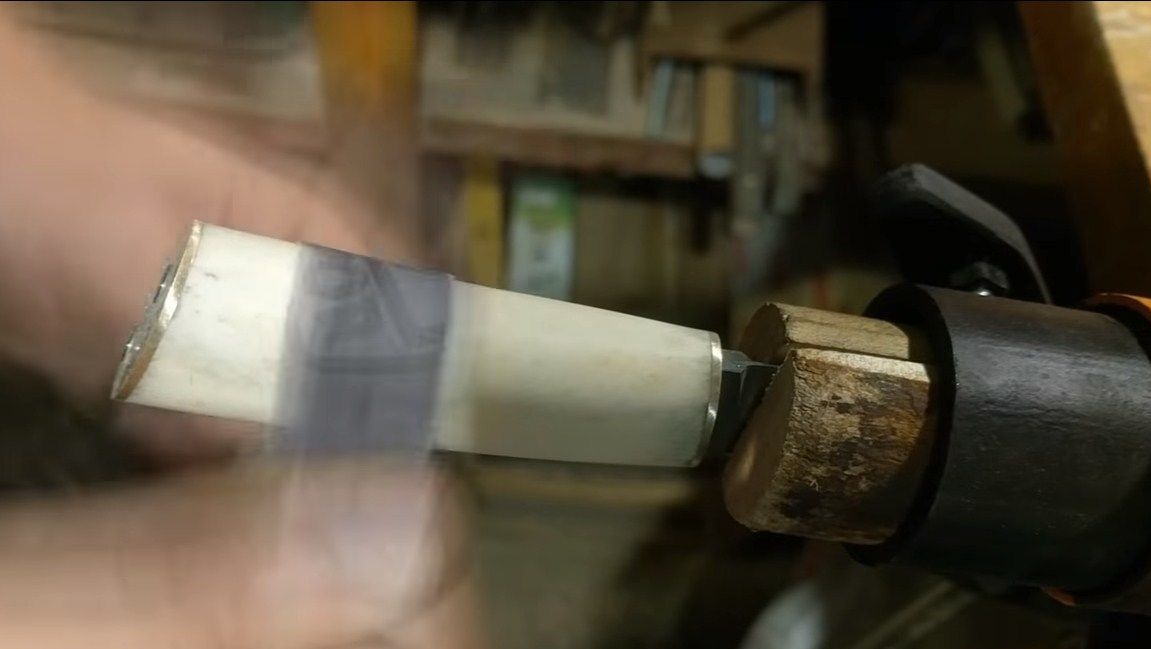
If you want your blade not to be afraid of rust and have a nice dark color, you can perform etching. To do this, you need a special solution. We immerse the blade for a given time and get it, rinse it under running water. After that, the author sharpened. When the blade is sharp, immediately wrap it with masking tape or electrical tape, so as not to cut yourself during further assembly.
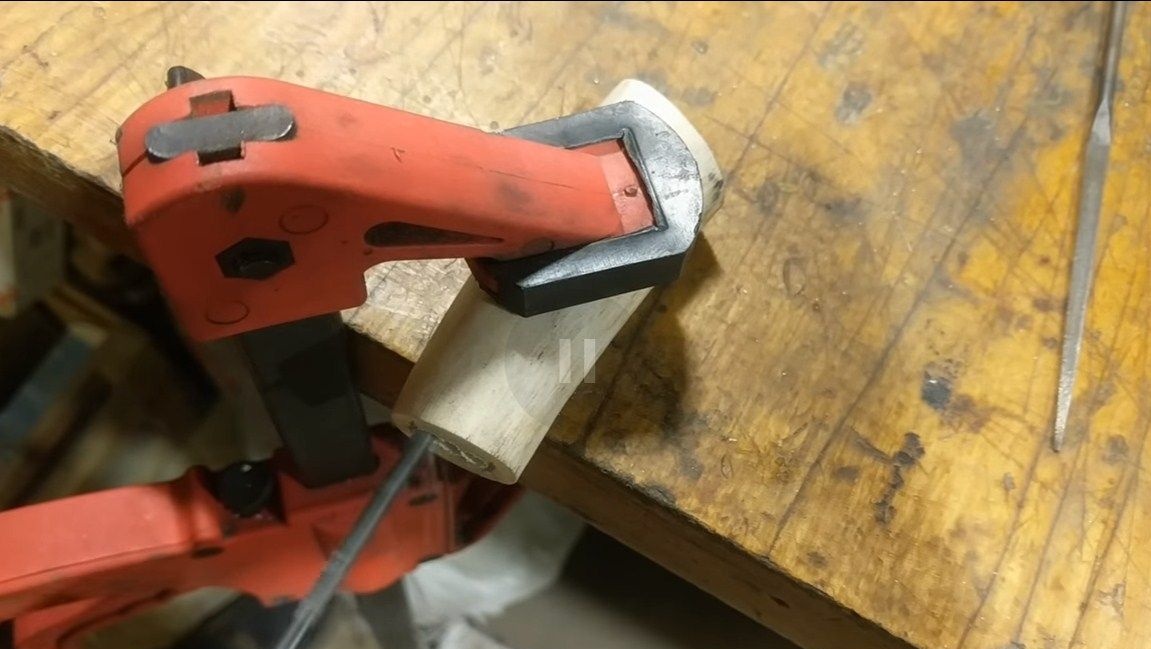
Step Six Handle Installation
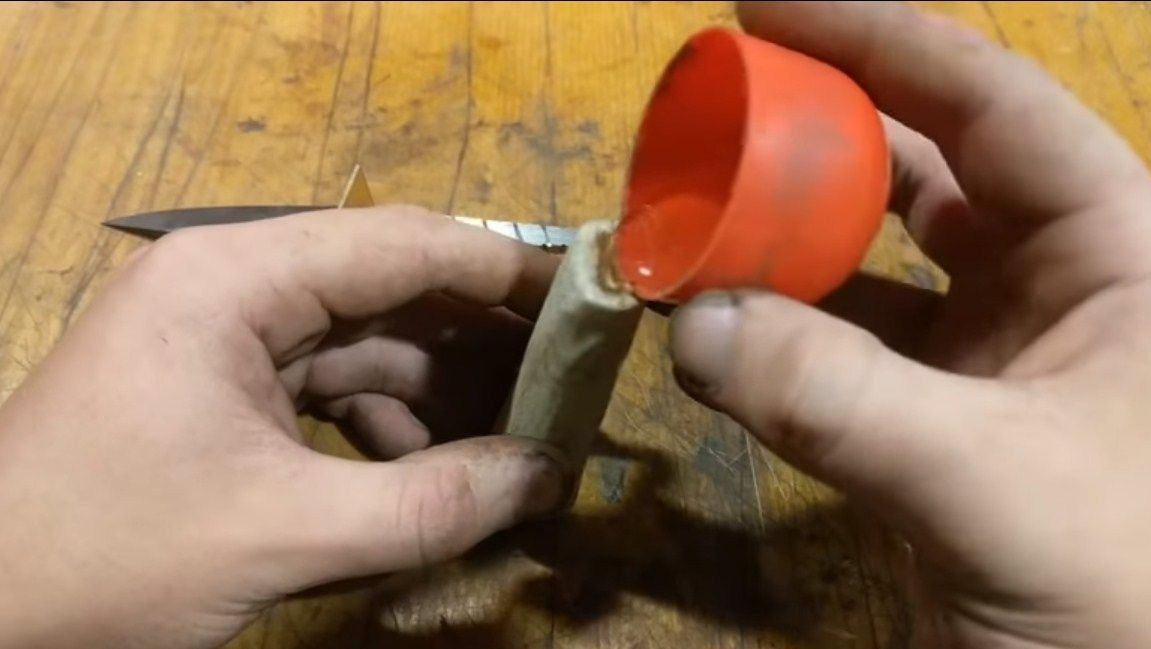
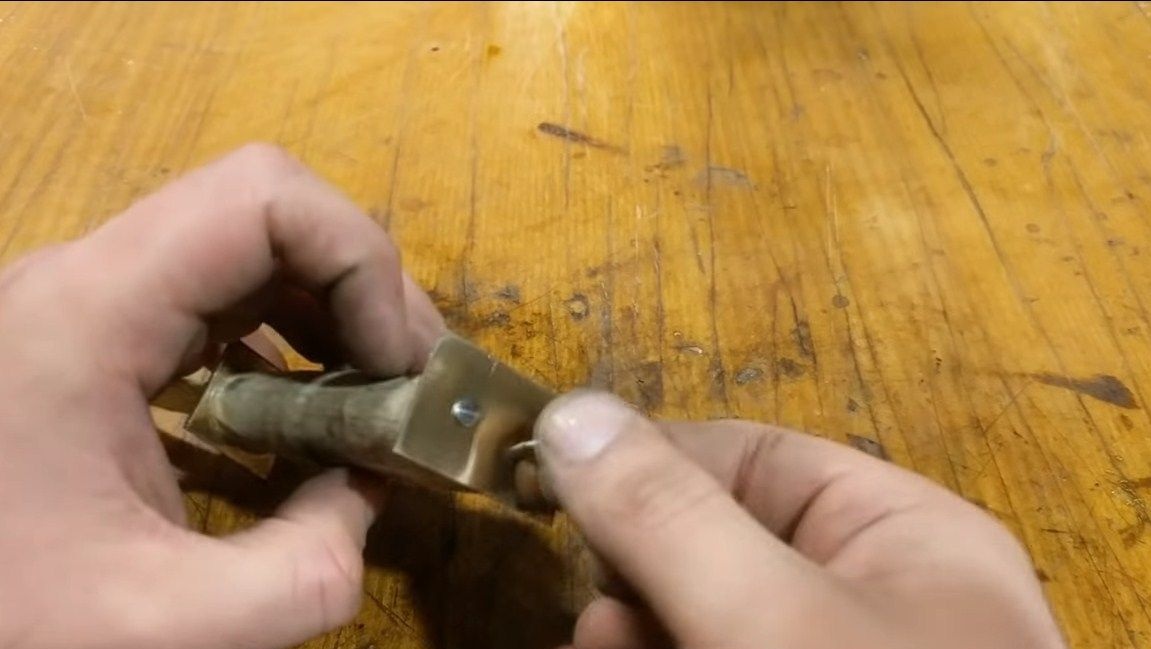
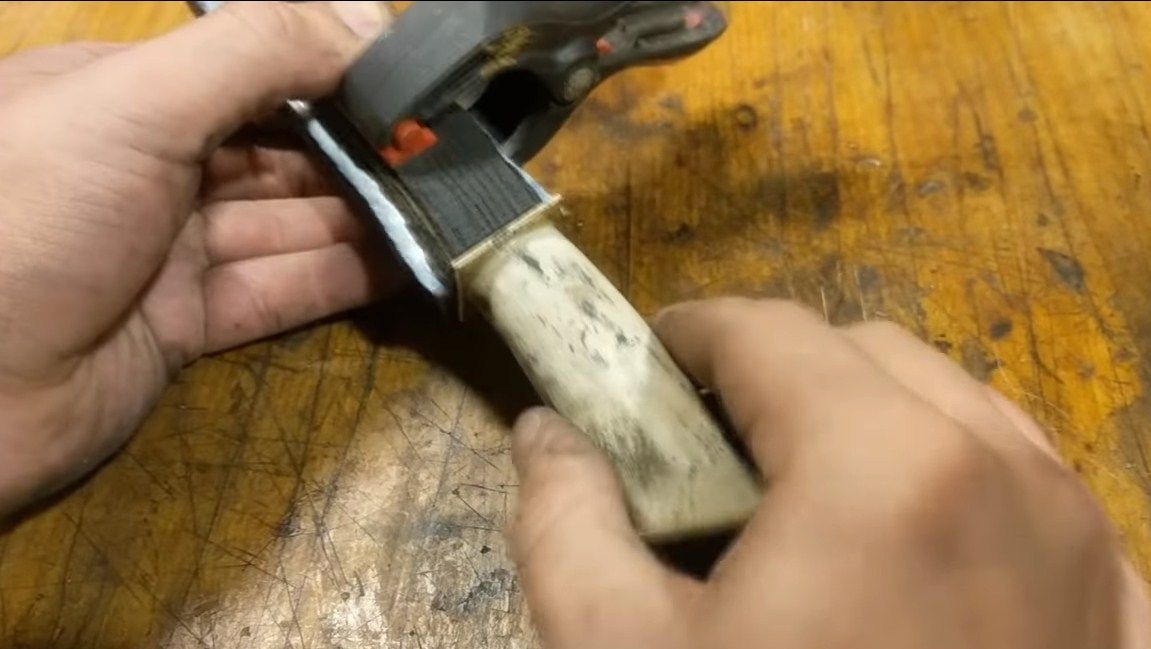
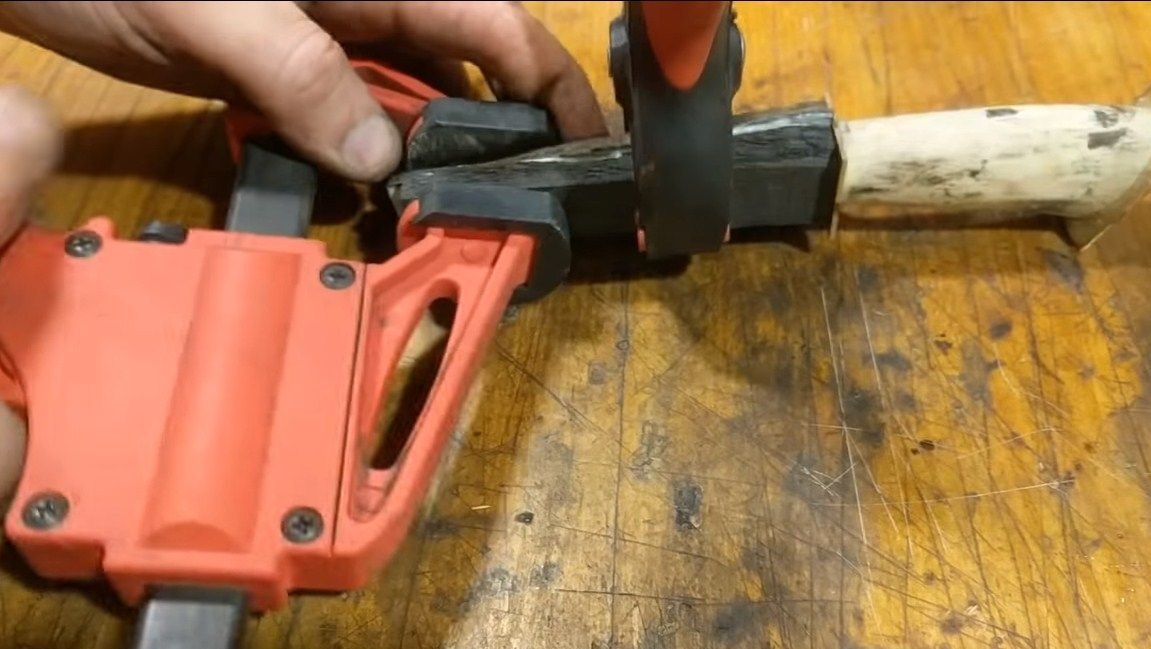
Now you can install the handle on the blade. To do this, we dilute the epoxy glue and pour a certain amount into the slotted hole in the handle. The excess can then be removed with a rag. First, install the guard and apply glue to it. After installing the handle, tighten everything and leave to dry for a day.
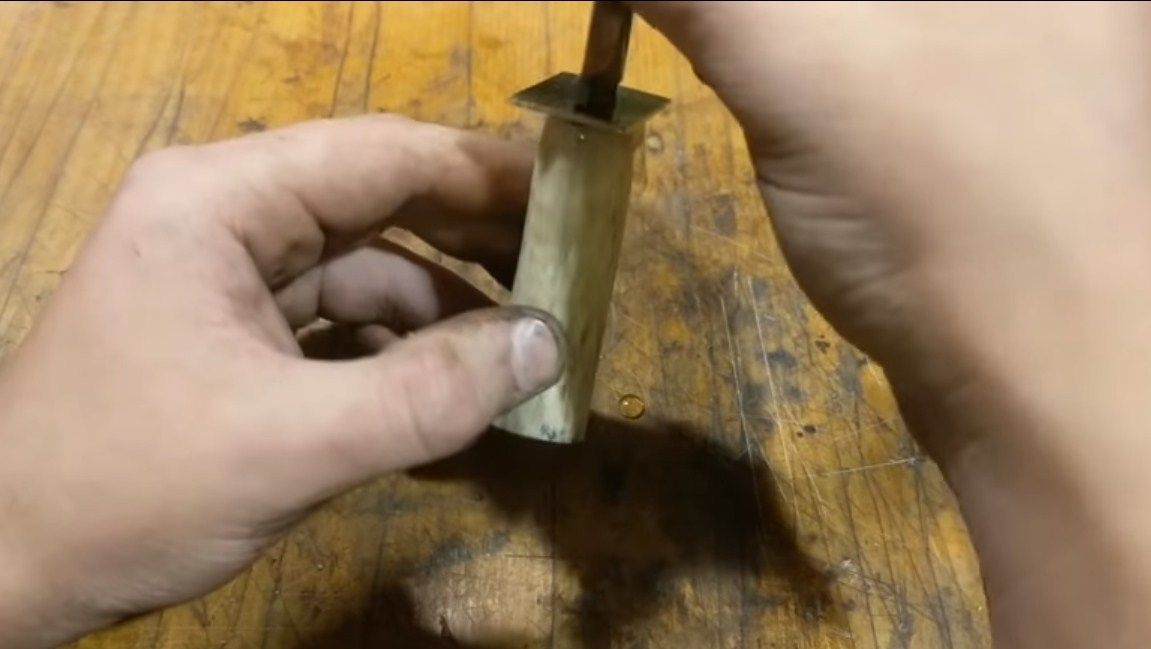
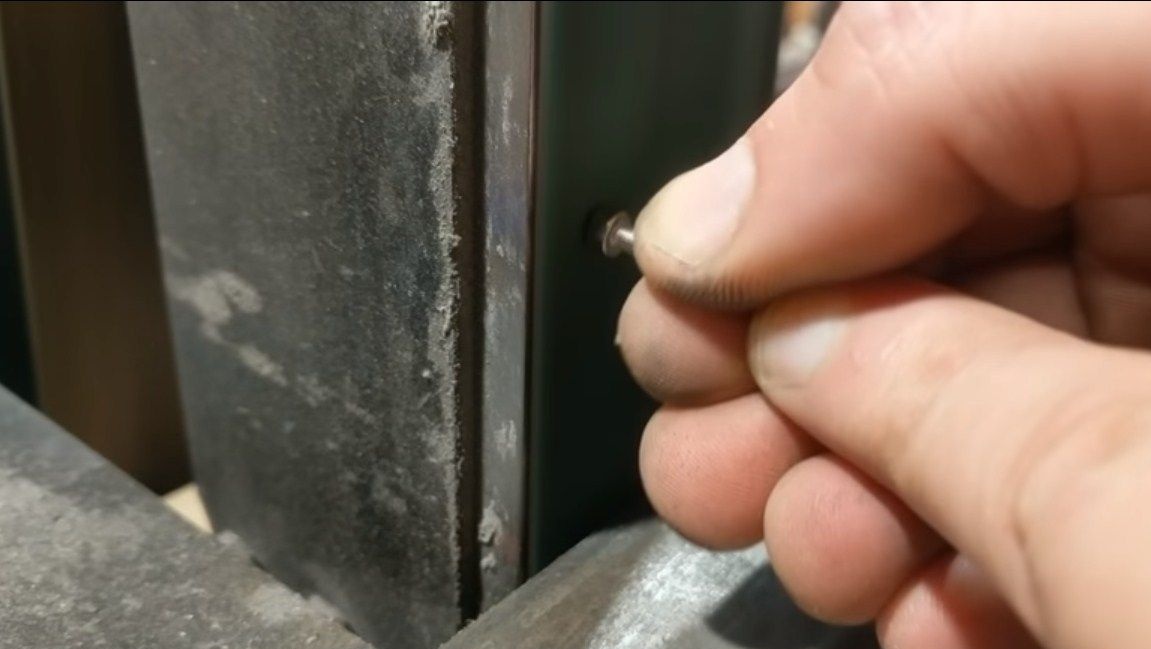
The author also installed a brass plate on the back of the handle. So the pen will be more beautiful and stronger. The plate was mounted on pins, for which the author used small cogs.
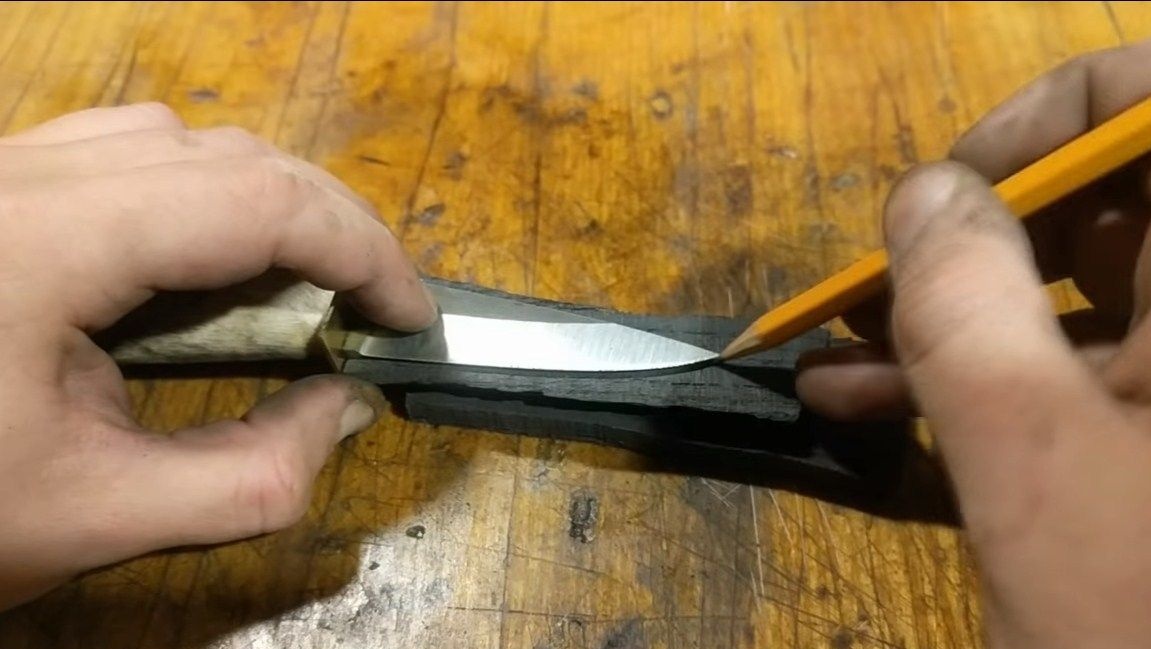
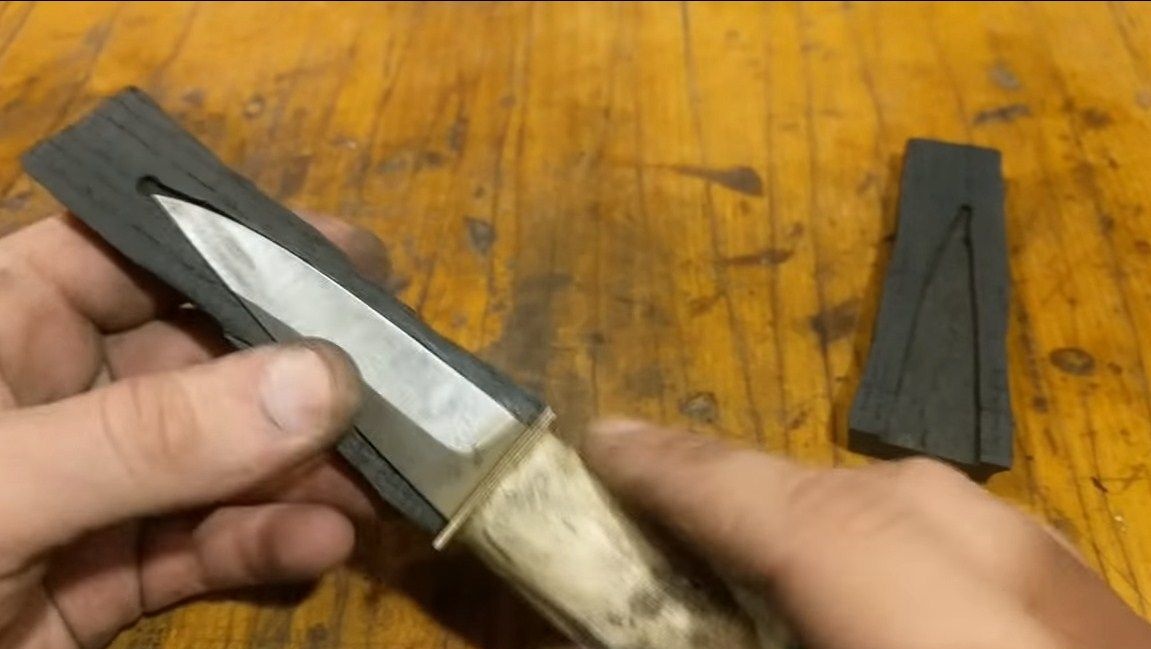
Seventh step. We make a scabbard
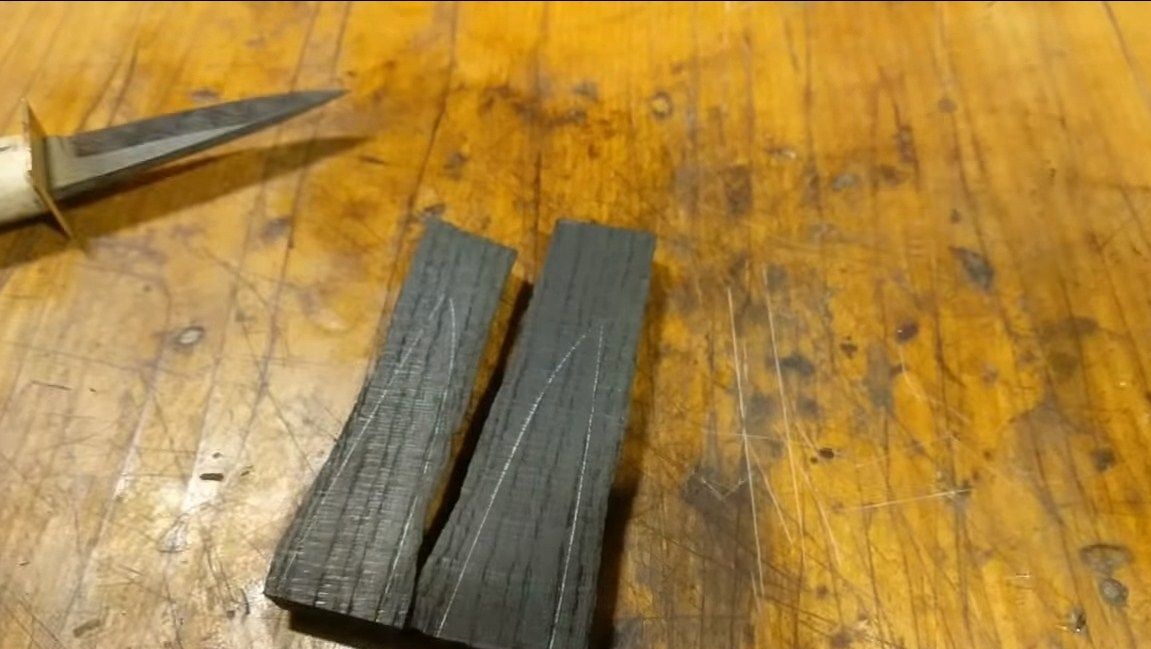
For such a sharp, albeit small knife, it is necessary to make a sheath so that it does not get lost and accidentally cut anyone. The author decided to make the scabbard from wood, and it is quite simple. First, take two tricks and draw a blade around them. Further, grooves are cut out in these trims, this can be done using a milling cutter. Or manually, using knives for woodcarving and so on.
As a result, it remains to glue two parts. So that everything sticks together smoothly, we set the blade inside. But be careful not to stick the blade to the knives. To prevent this, the blade can be lubricated. Clamp with clamps and wait a day.
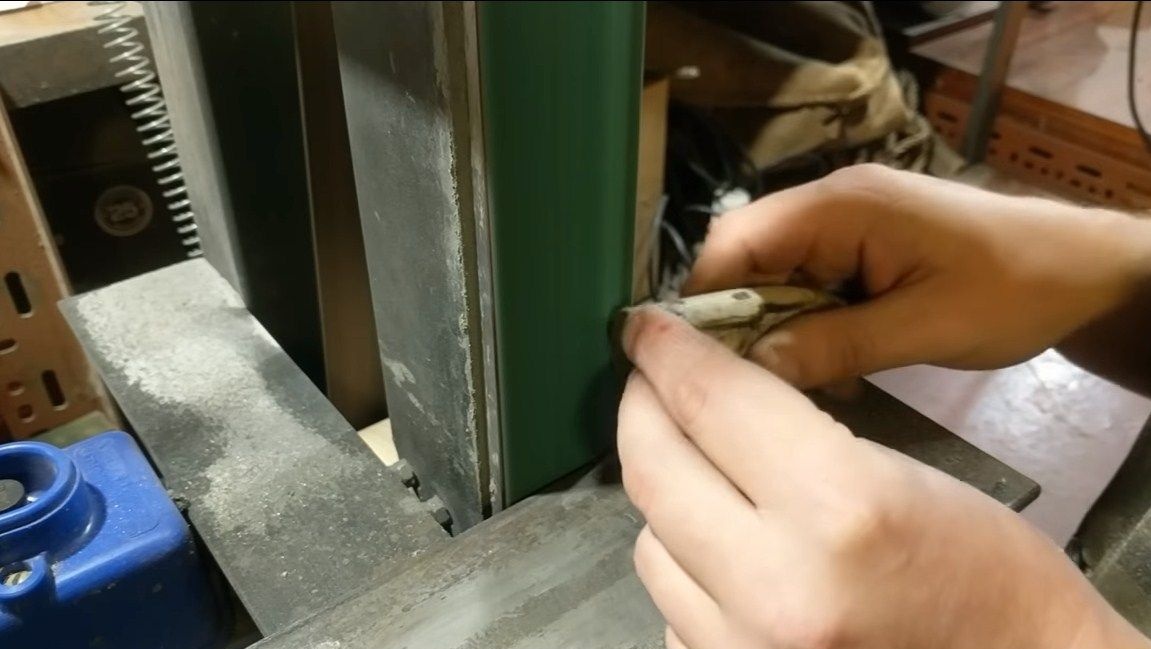
Step Eight. Grind
When the glue on all the parts has dried, you can proceed to sanding the products. To begin with, we work on a belt sander. We align the handle of the knife, the guard and the horn should be on the same level, this also applies to the back plate.
As for the scabbard, then cardinal grinding is needed, because we need to set the desired profile, which the author continues the profile of the handle.

After rough grinding we proceed to finer processing, it is carried out manually. To do this, we need sandpaper, first larger, and then smaller. We carry out the final grinding with fine sandpaper, everyone should look as if polished.When everything is ready, it is advisable to soak the scabbard with oil so that the wood does not deteriorate. The horn, in principle, is not afraid of moisture, but the oil will not harm him either.
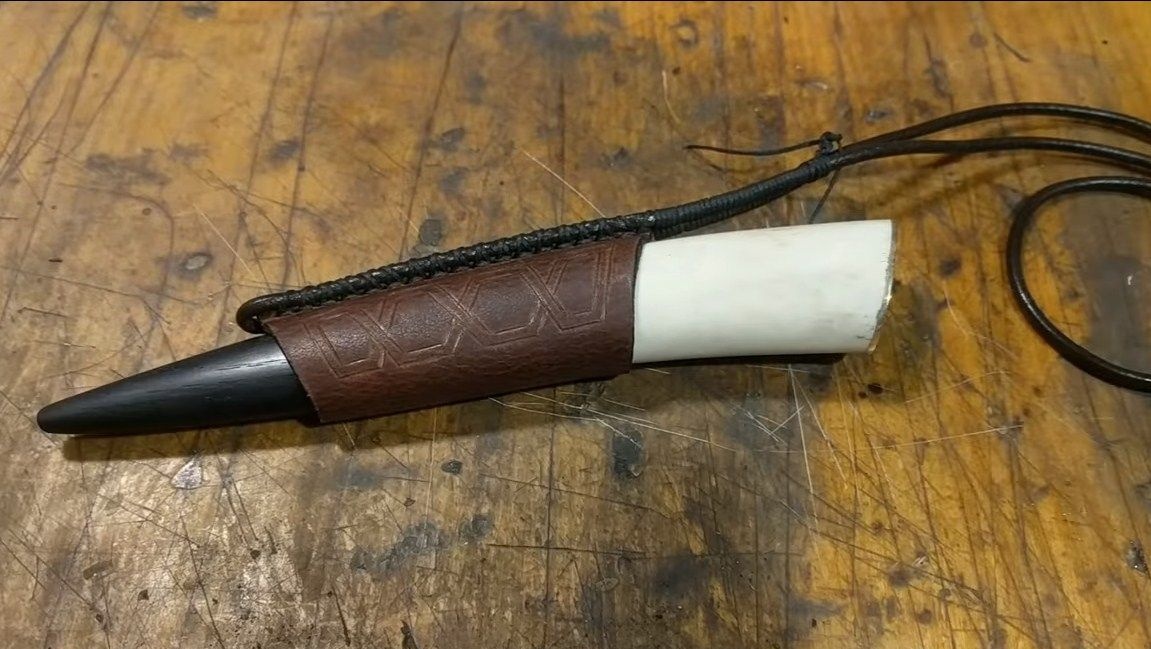
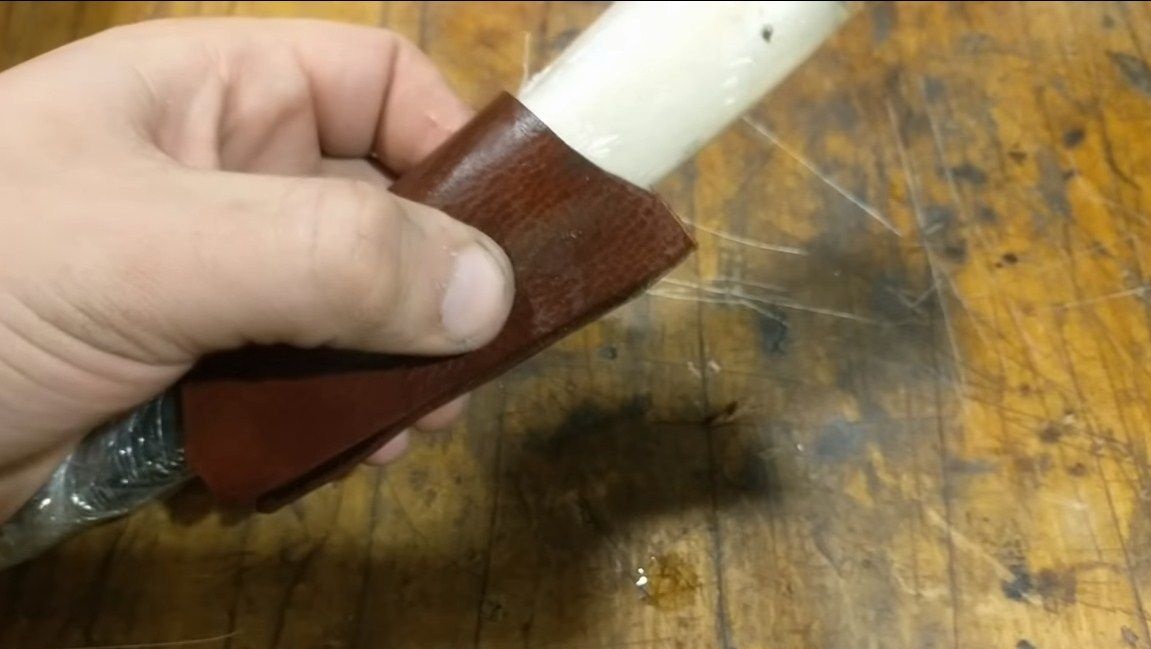
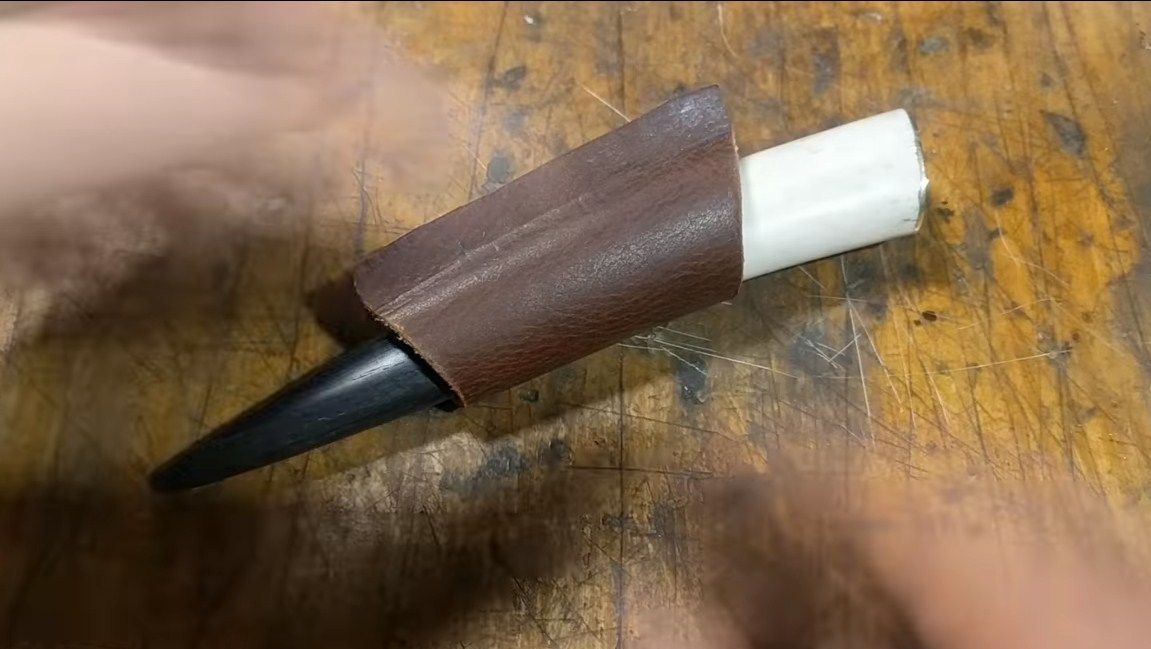
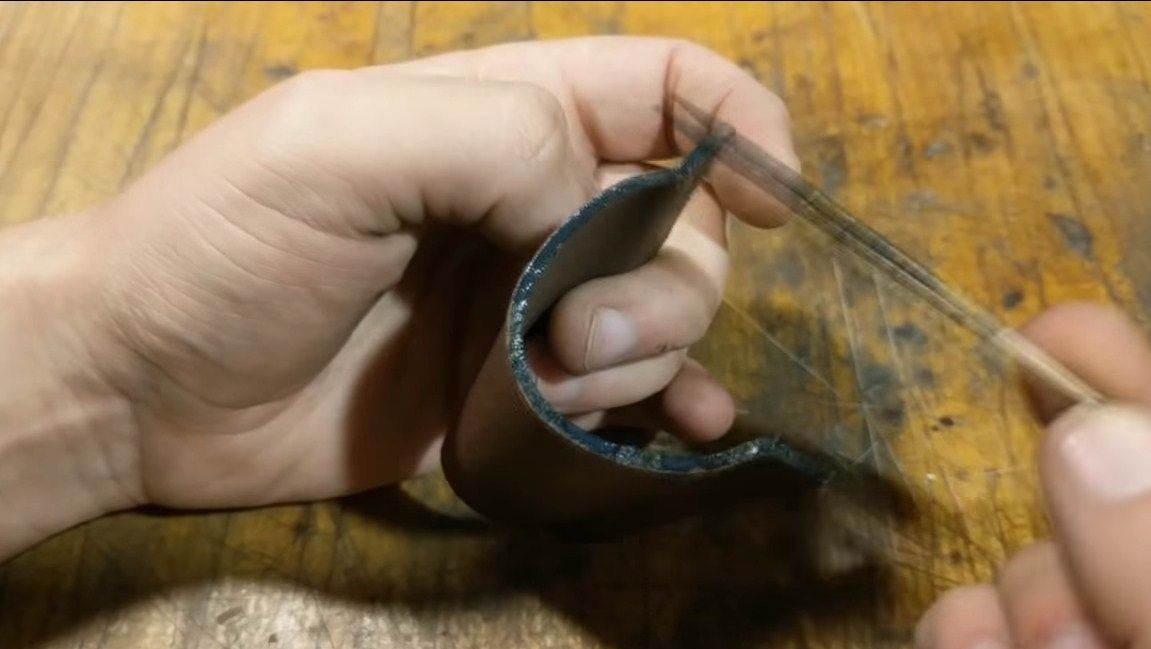
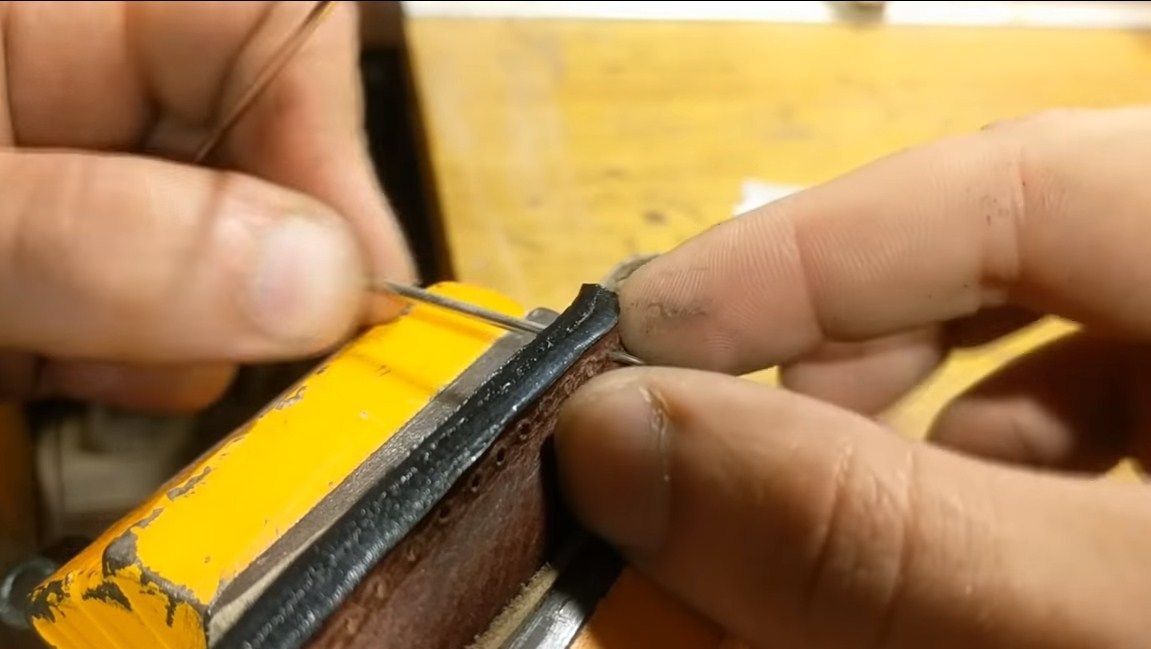
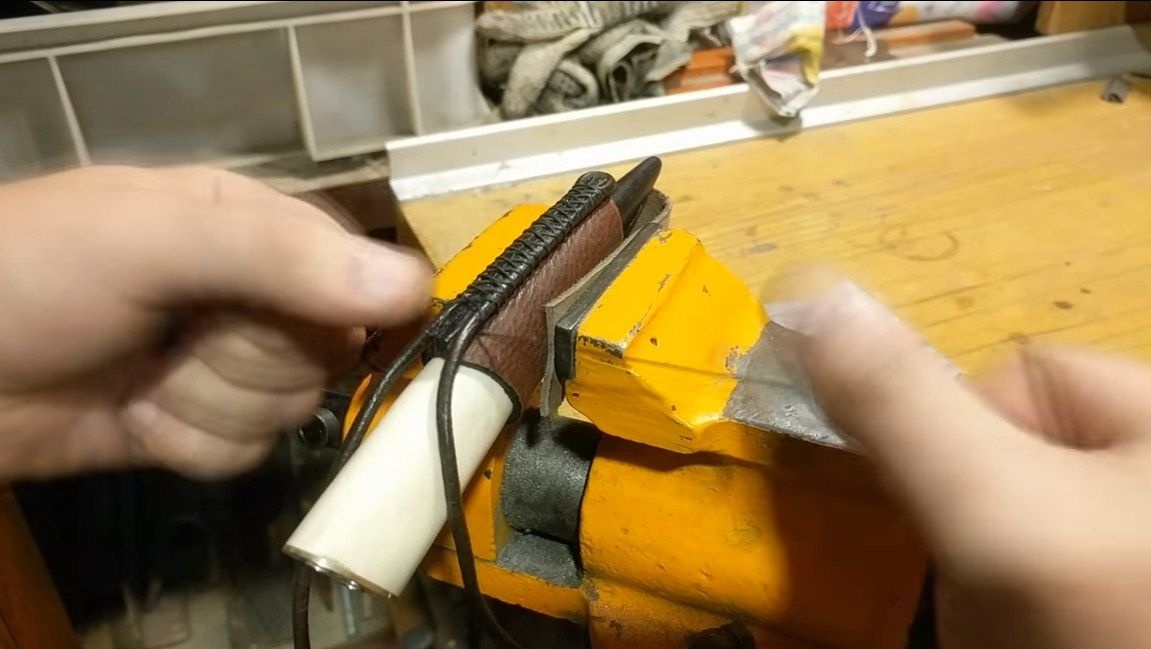
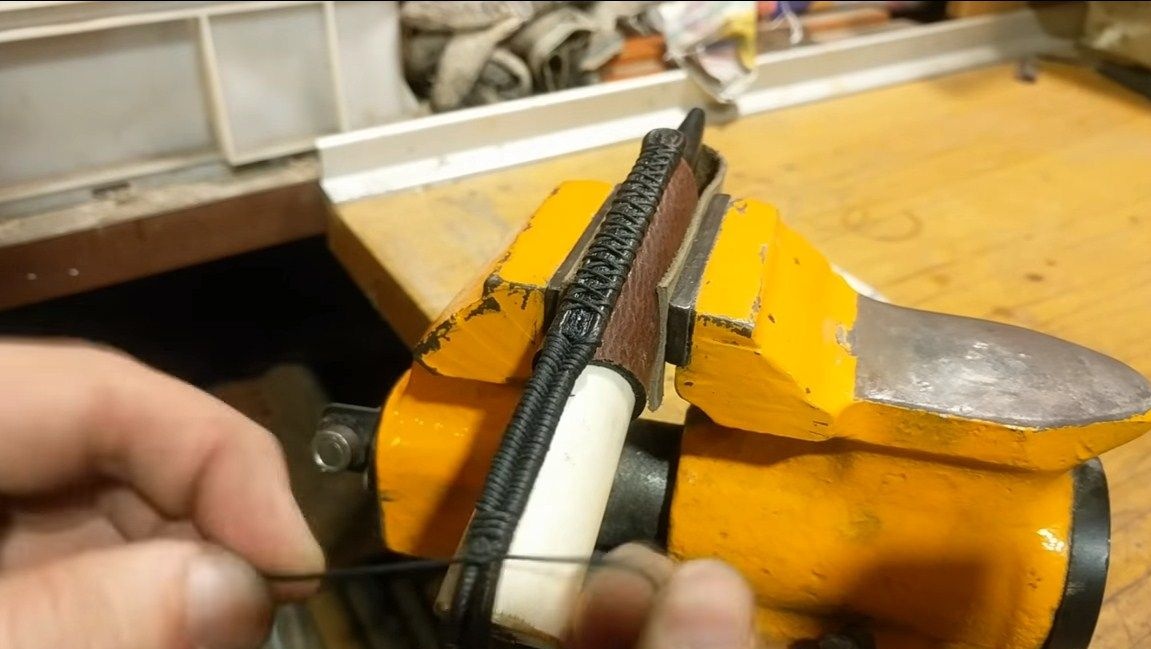
Step Nine. Making a knife case
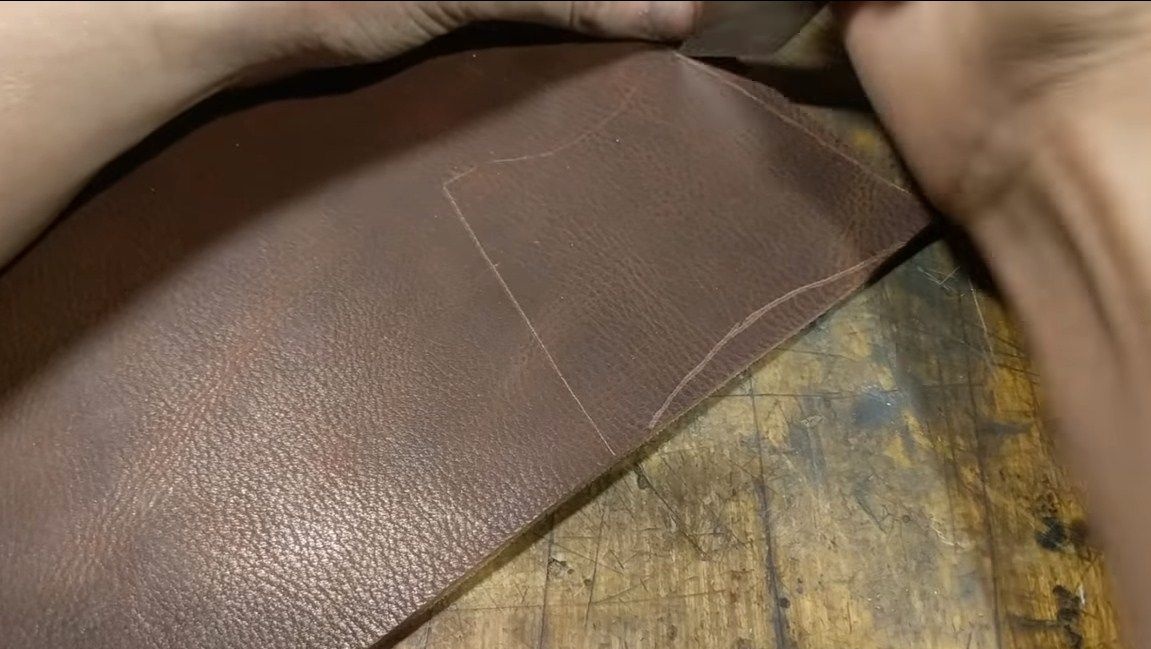
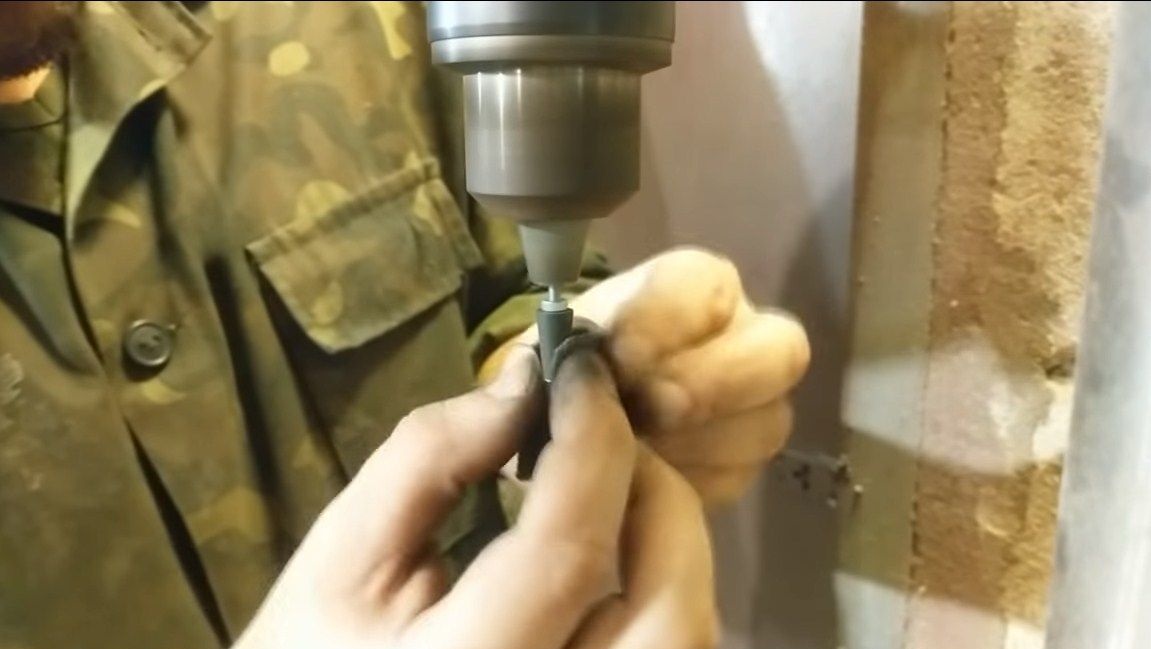
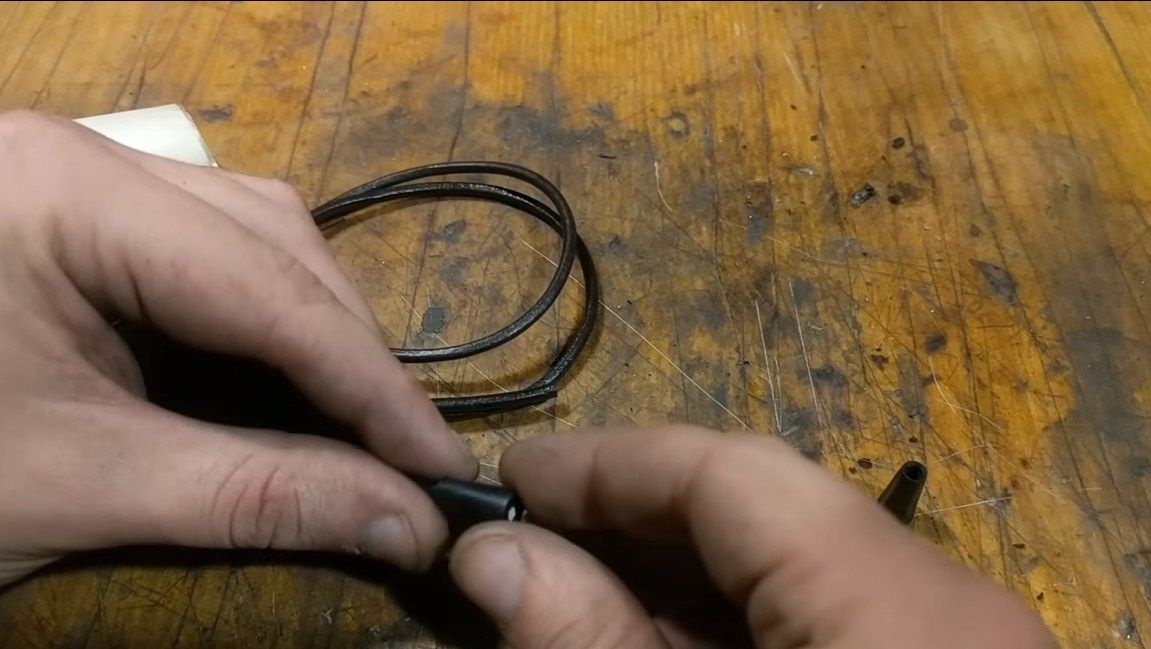
It is inconvenient to carry a knife in our hands constantly, and to prevent this from happening, we need to make a cover. This will allow you to hang the knife on your belt. The author makes the case out of leather. We take two pieces of a suitable shape and size and glue it directly on the scabbard. When the glue dries, we sew these parts. The author also decided to sew a rope that would allow him to hang a knife on his belt. How this is all done can be seen in the photo.

That's all, the knife is almost ready. It remains to sharpen it to the state of the blade using a variety of sharpening devices. Everything turned out pretty stylish and reliable, which is important. On this project can be considered completed. Good luck and creative inspiration, if you decide to repeat it. Do not forget to share your homemade and best practices with us!