

Hello. I bring to your attention the idea of how epoxy and wood can be combined. In this way, you can make various amazing things. It can be countertops, cutting boards, various coasters and much more. The most important thing in this business is to choose the right raw materials. It is by and large an epoxy resin, it should be designed exclusively for pouring. Such a resin is usually completely transparent and very fluid.
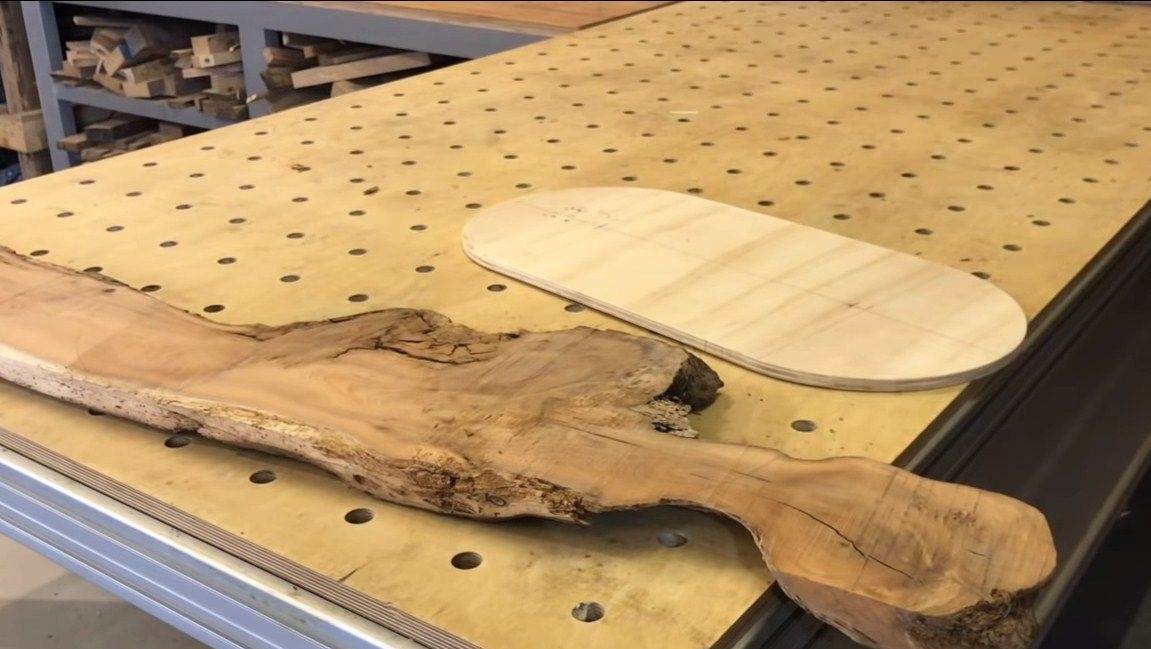
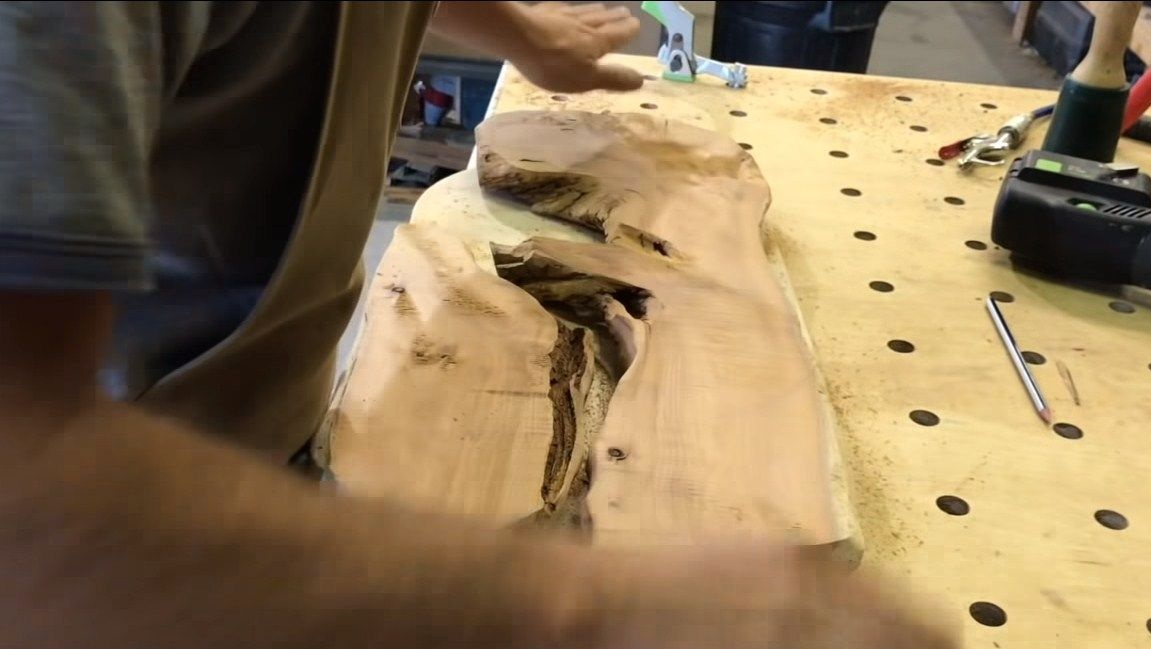
The author chose a piece of board of an interesting shape as wood. The board was already a little rotten, but this is not a problem, because it is in epoxy, which in itself is very durable. It is important that the remnants of the tree do not get into the resin. Well, after pouring you will need to polish the product well and polish it. So, we will consider in more detail how to make such homemade!
Materials and tools used by the author:
Material List:
- epoxy resin for pouring;
- a suitable dye;
- a tree for filling;
- boards, adhesive tape, self-tapping screws (to make formwork);
- plywood for the manufacture of the template.
Tool List:
- cutting tool;
- grinding machine (orbital or belt);
- drill;
- ruler and other drawing accessories.
Homemade manufacturing process:
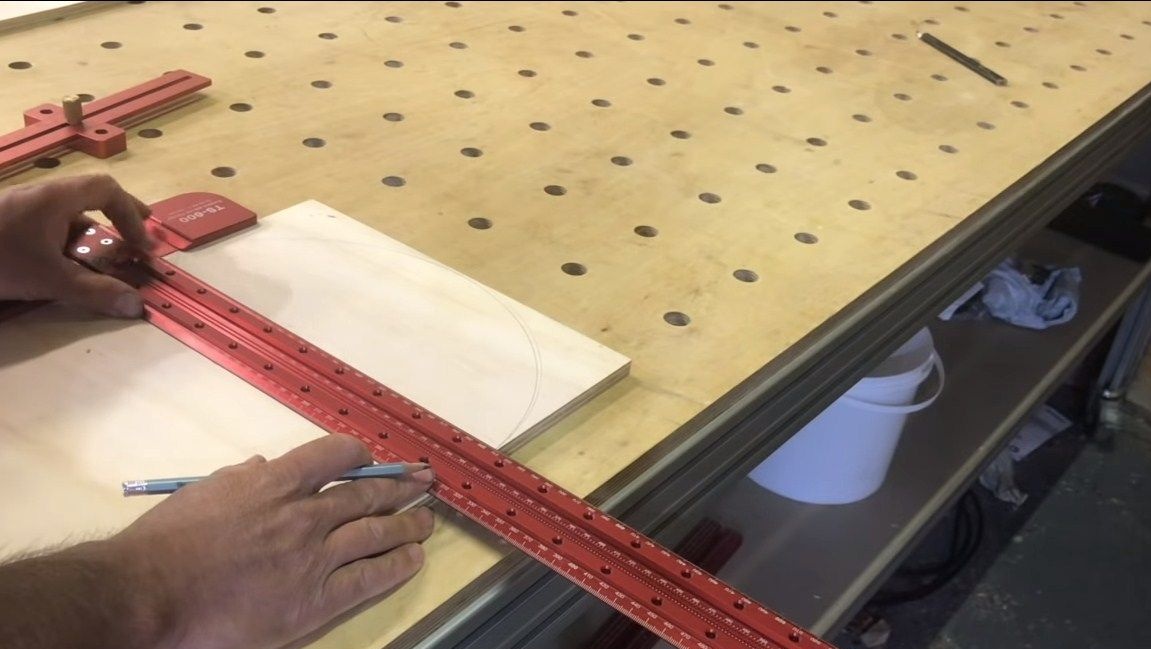
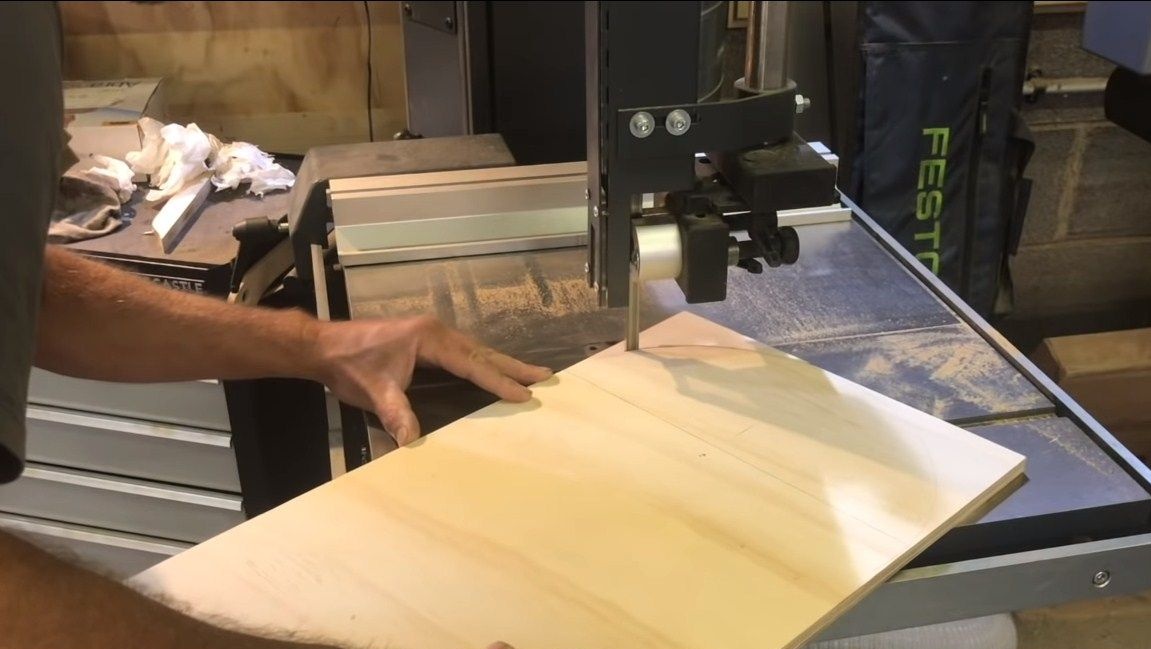
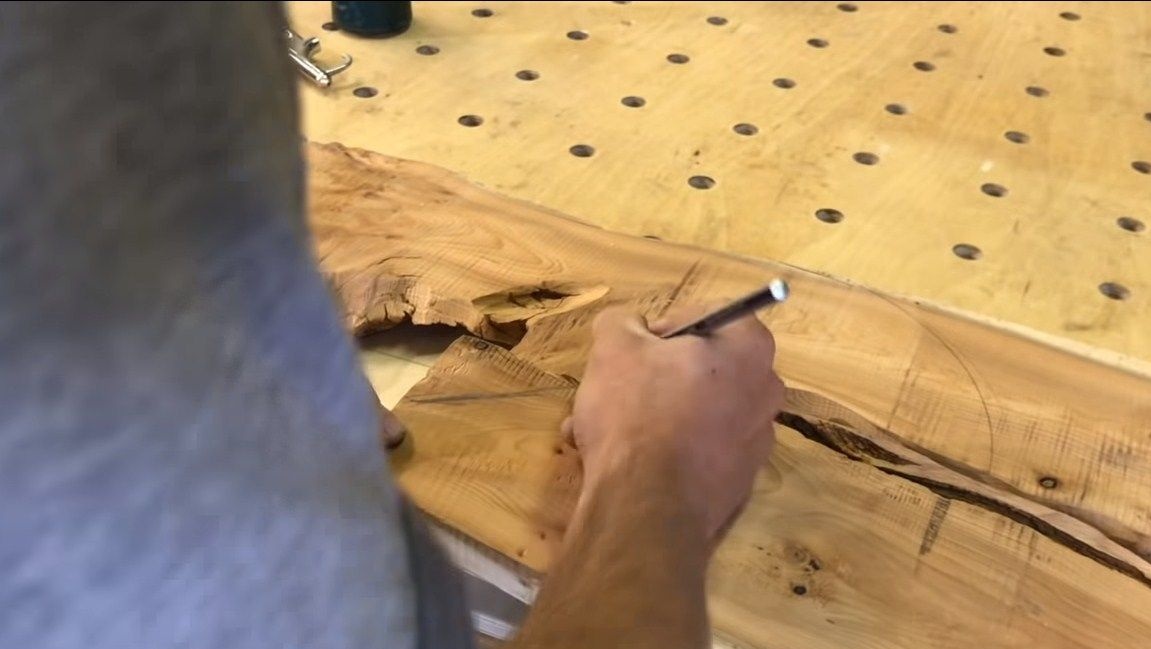
Step one. Cut out the pattern
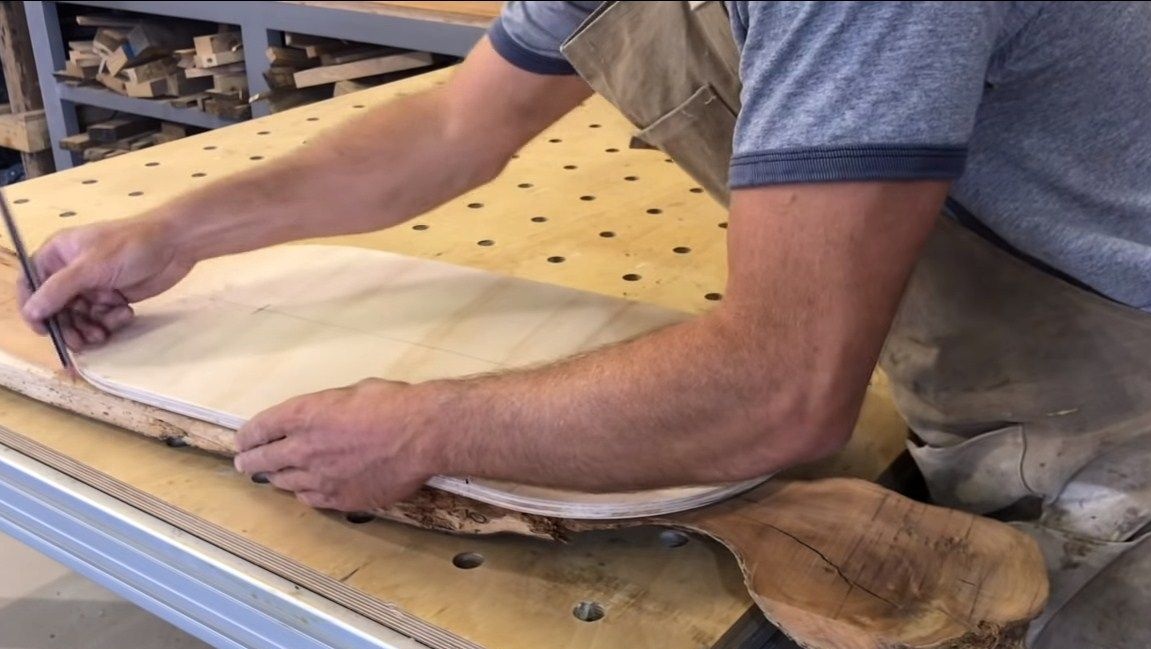
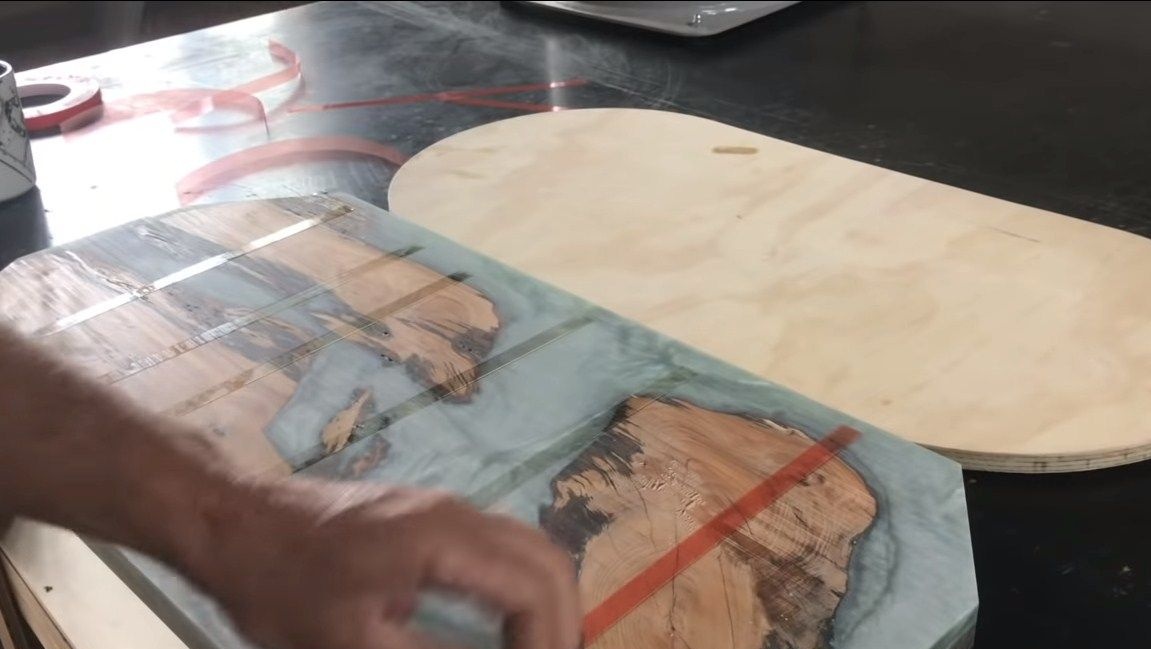
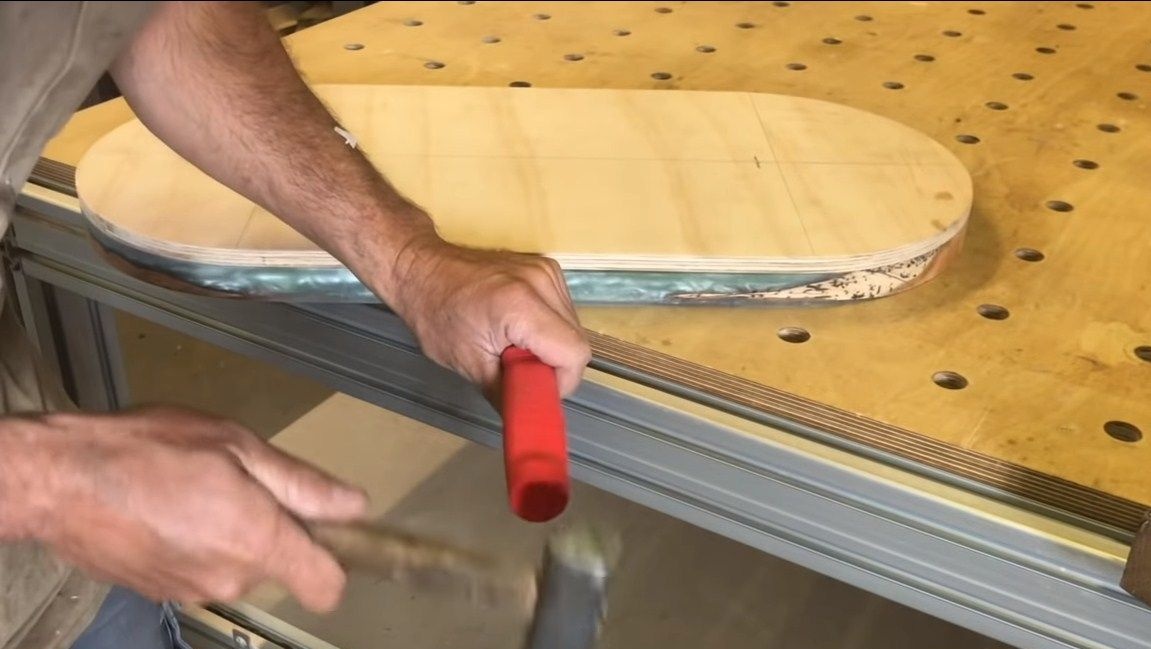
If you need to make a product of exactly the given shape, it is best to make a template first. The author cut it out of plywood, using a tape cutting machine for this.
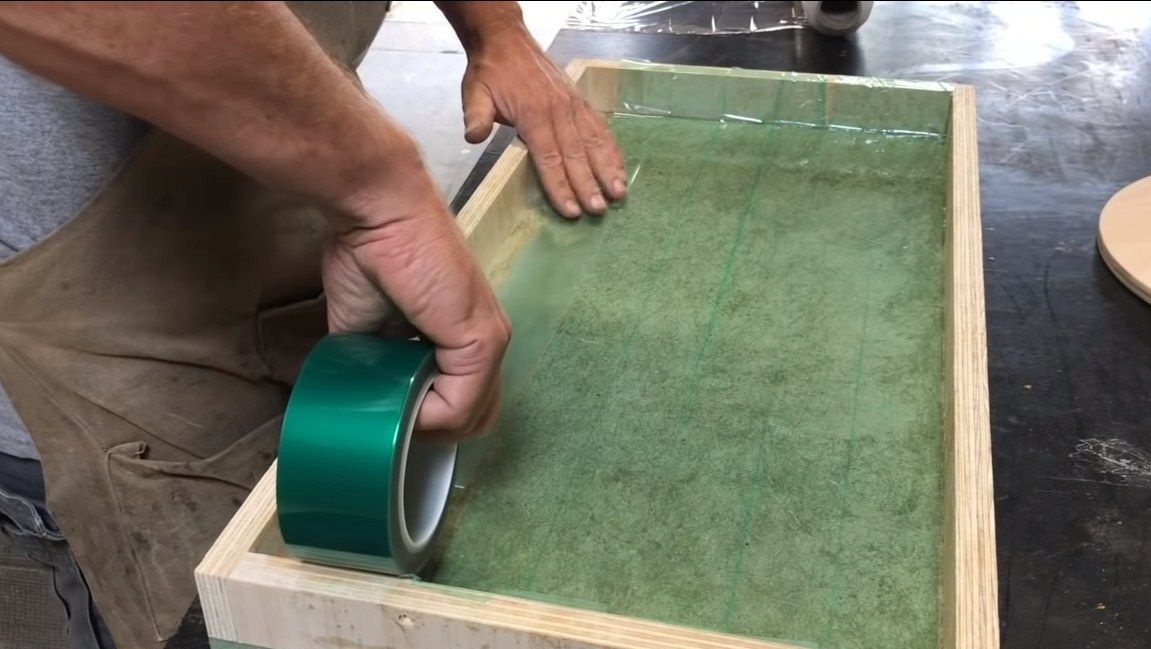
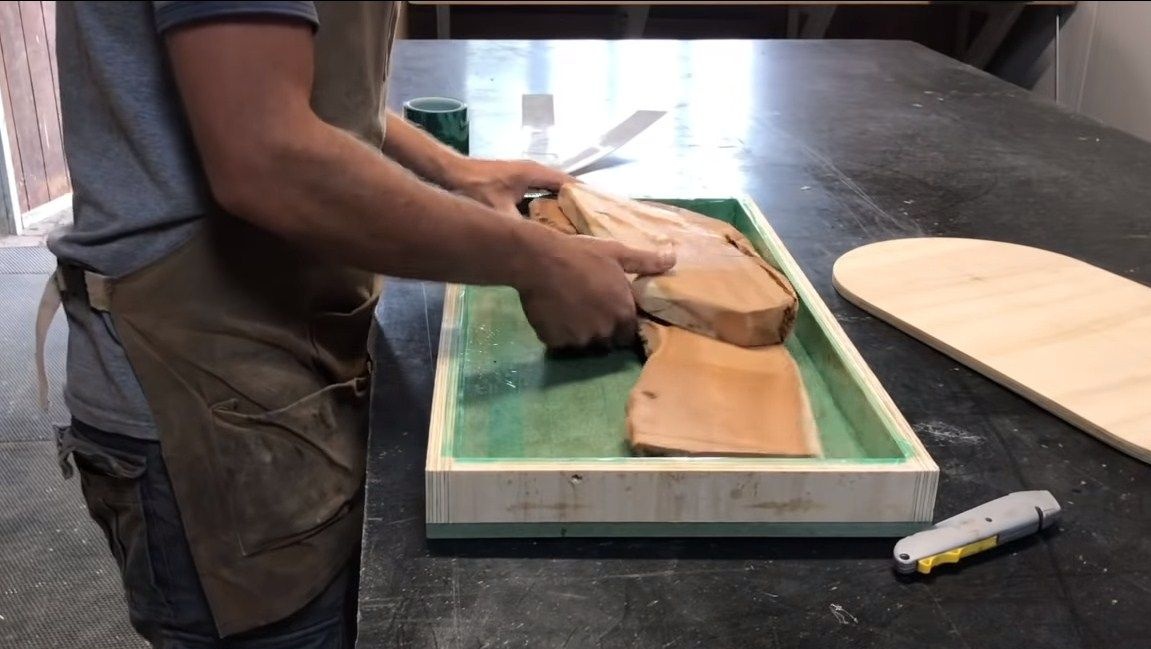
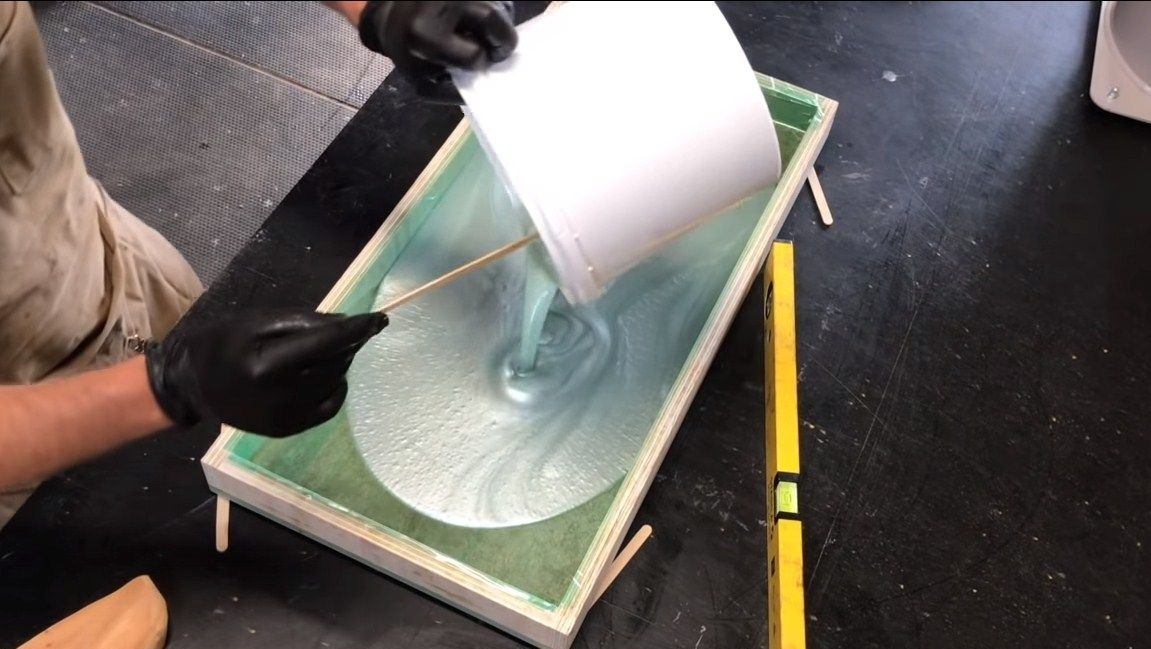
Step Two Formwork
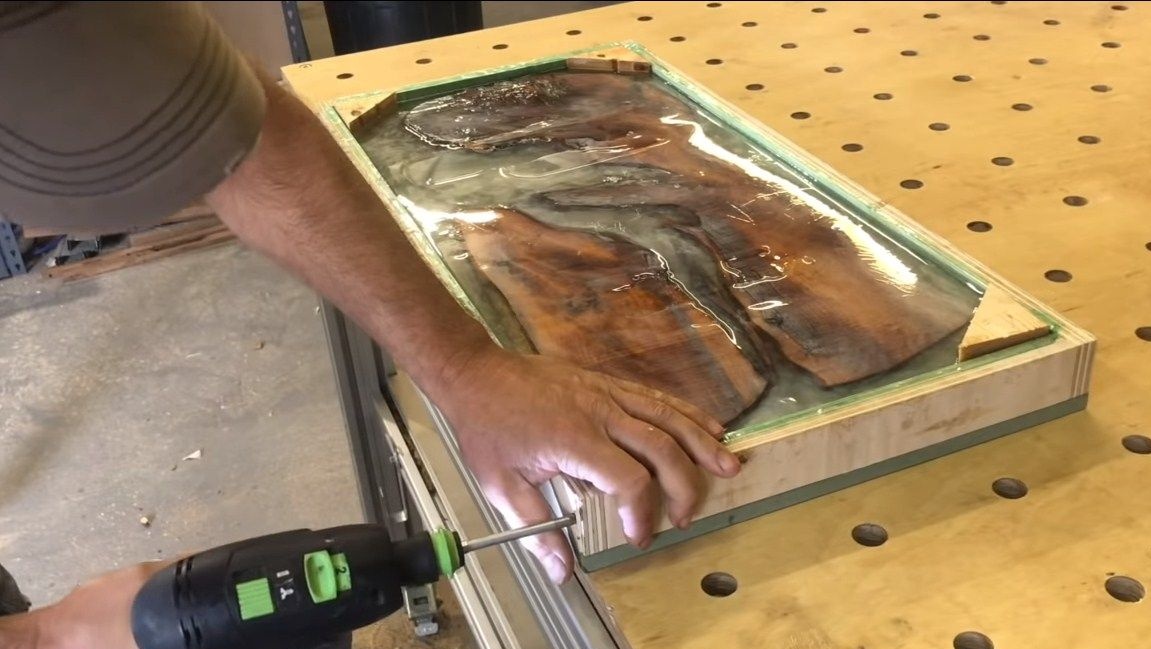
Now we need to make the formwork into which we will fill the epoxy resin. For this we need boards or plywood. We cut it into the necessary pieces, and then assemble the box using self-tapping screws. The next task will be to carefully seal everything. For these purposes, you need a good adhesive tape. Do not forget that the epoxy for pouring is very fluid, so everything should be airtight as for water.
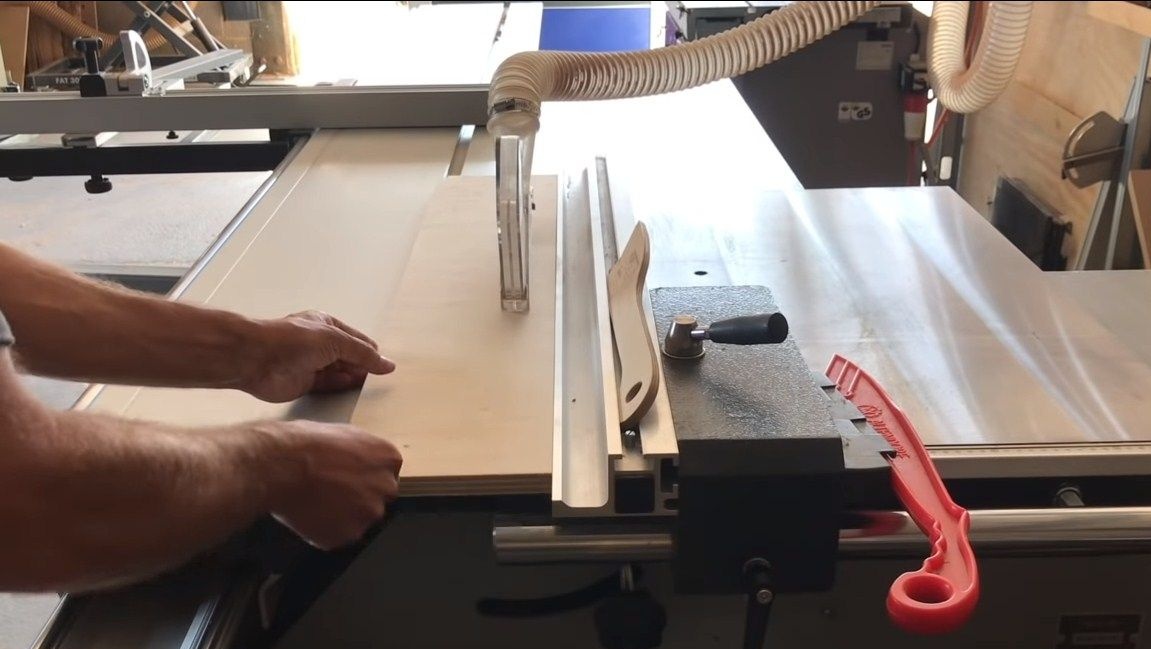
Step ThreePreparing the tree for pouring
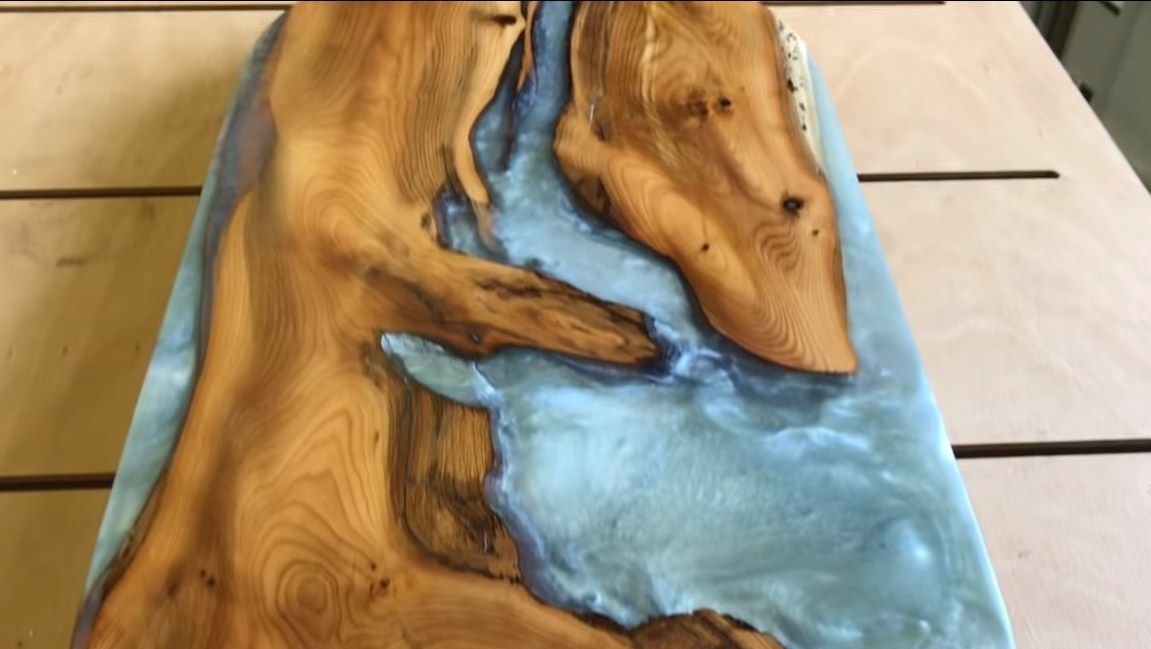
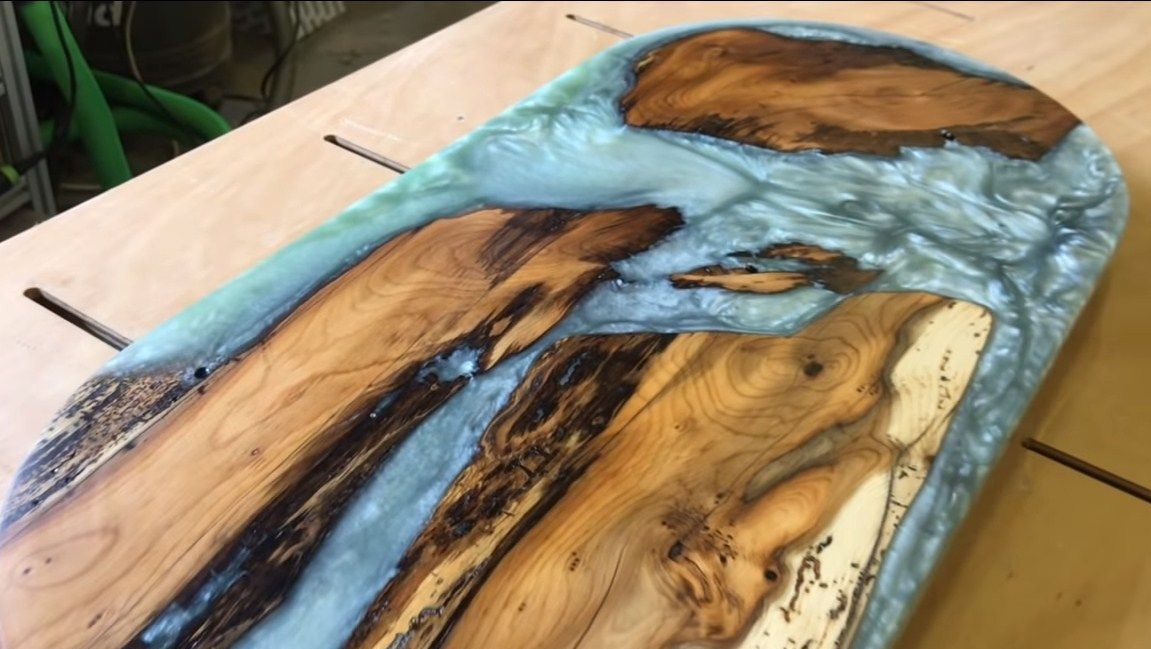
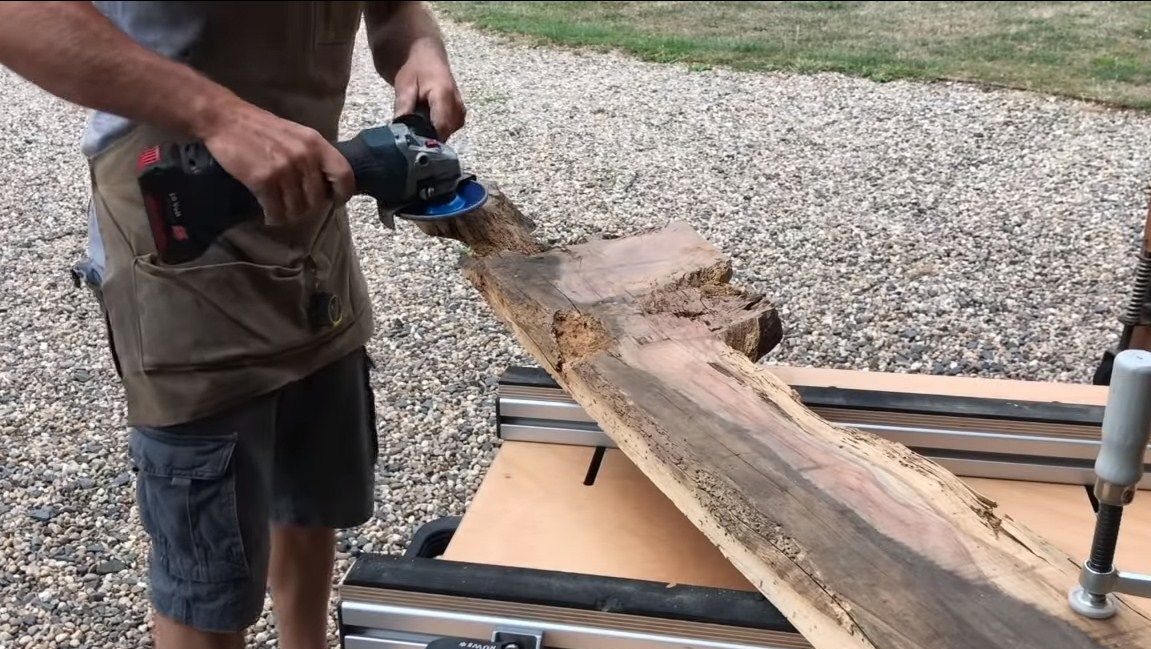
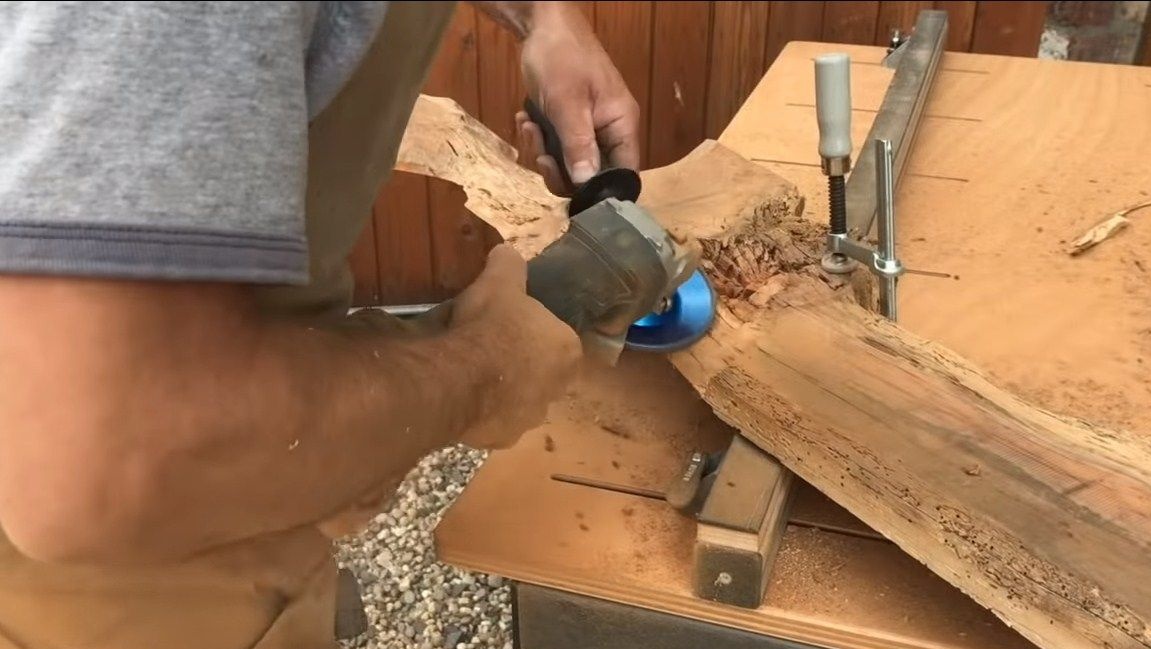
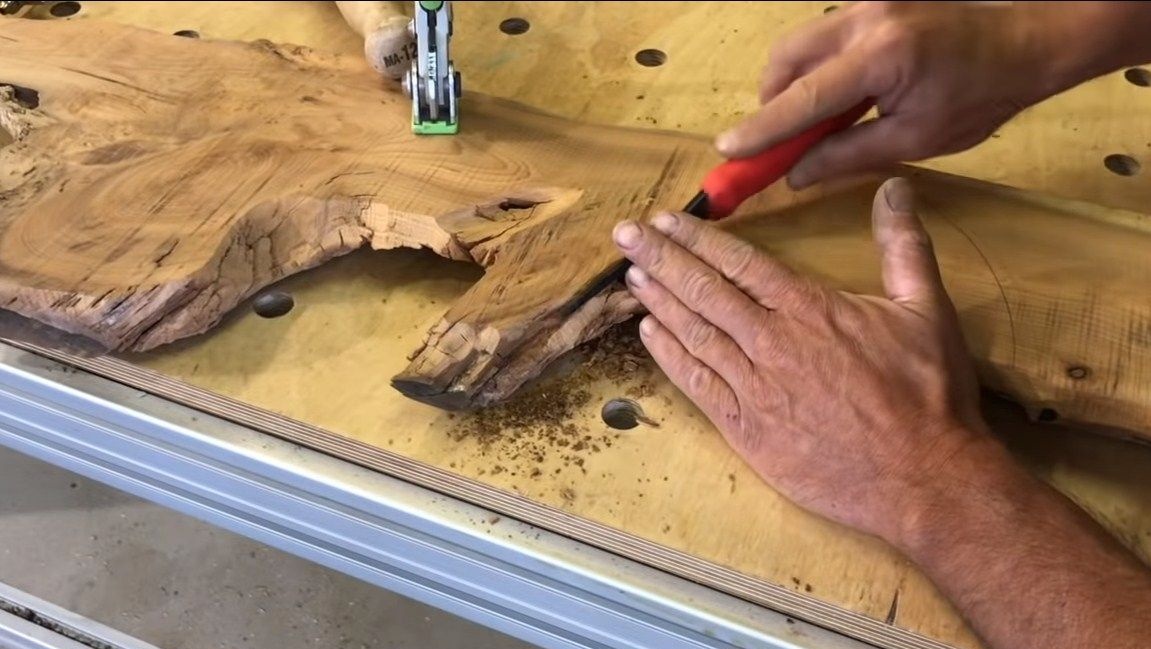
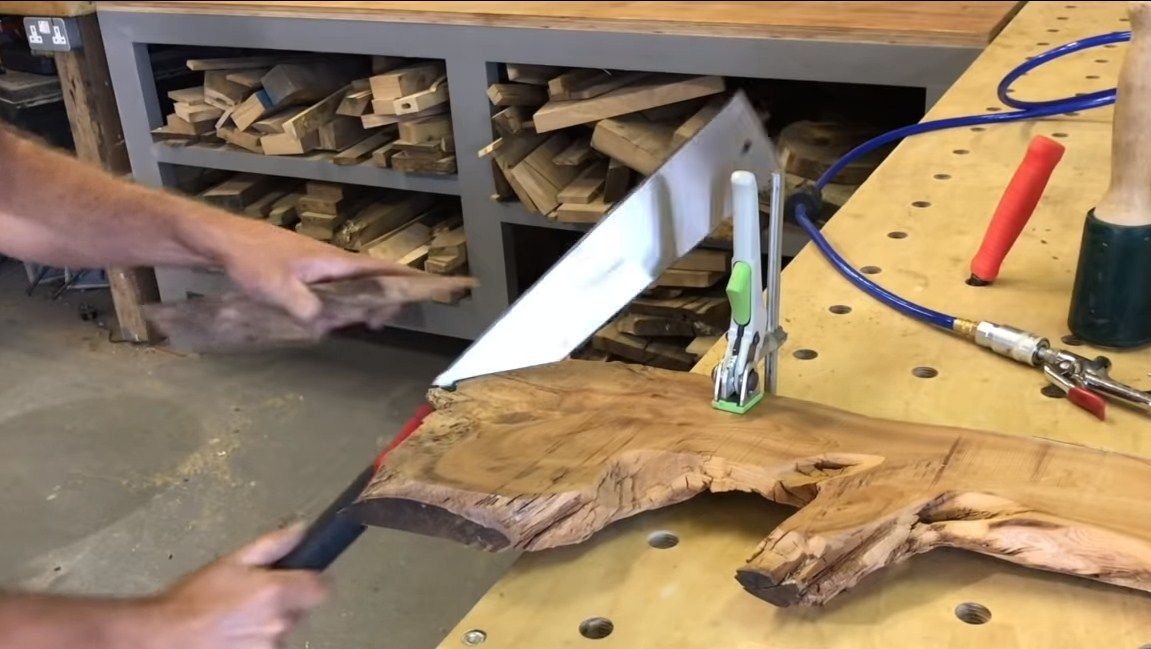
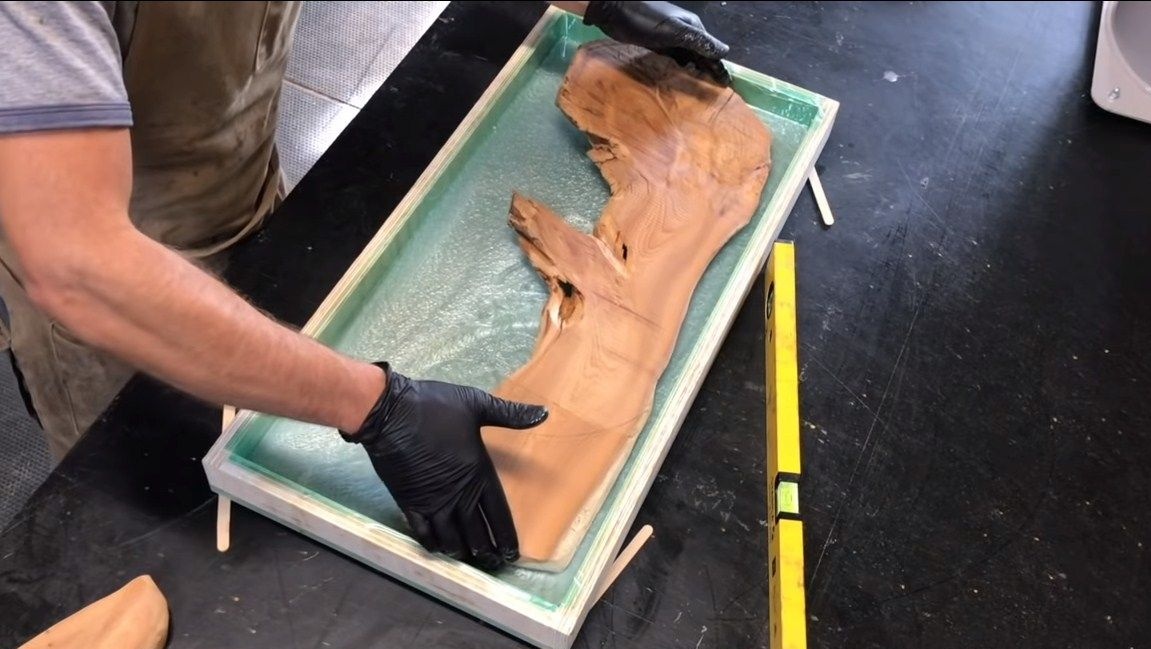
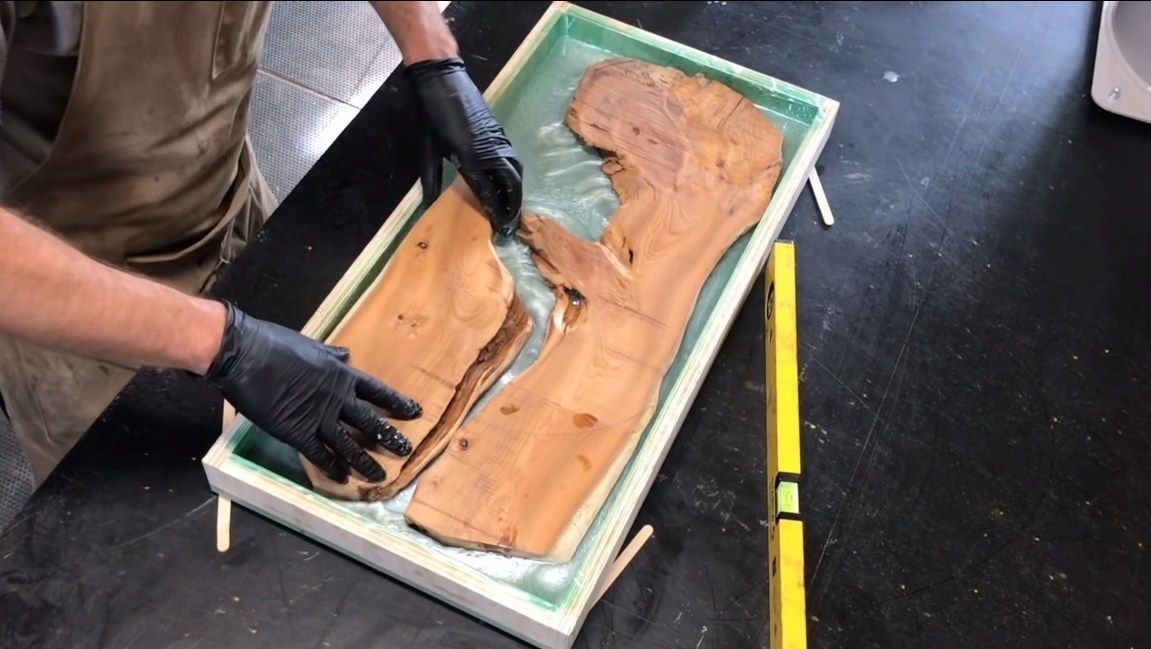
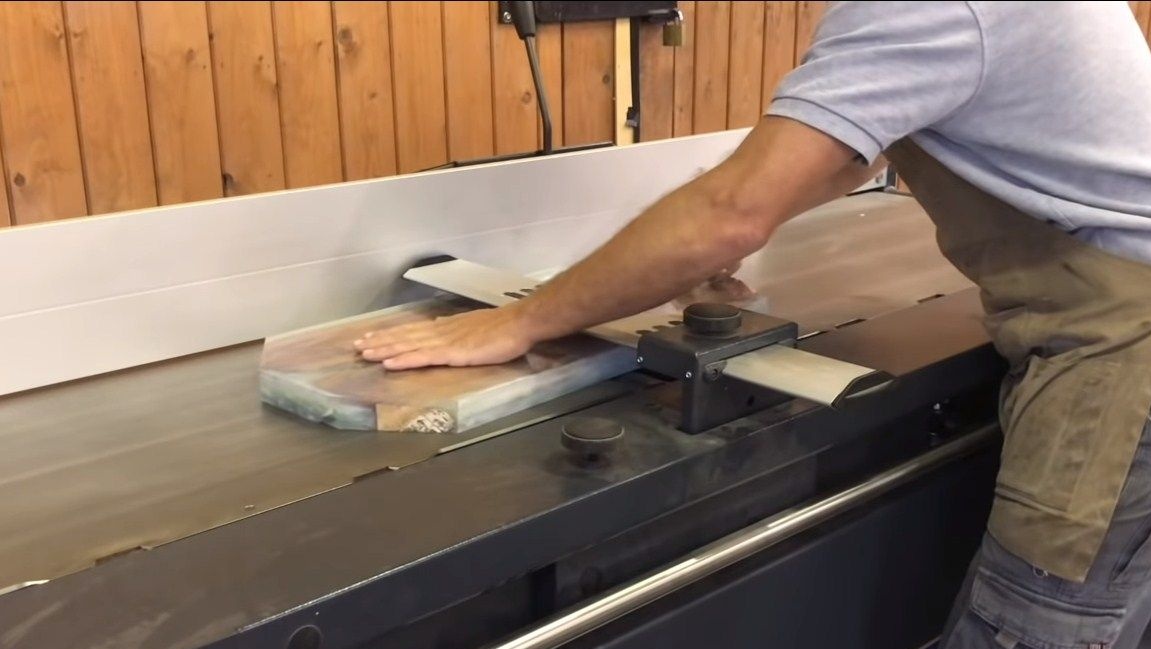
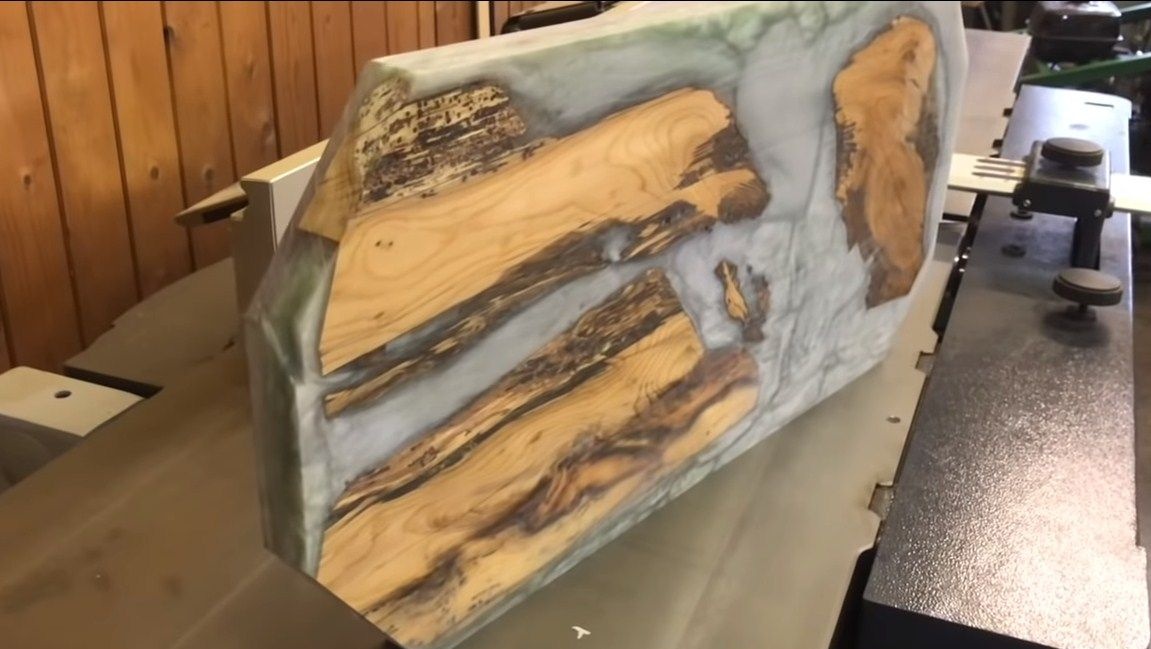
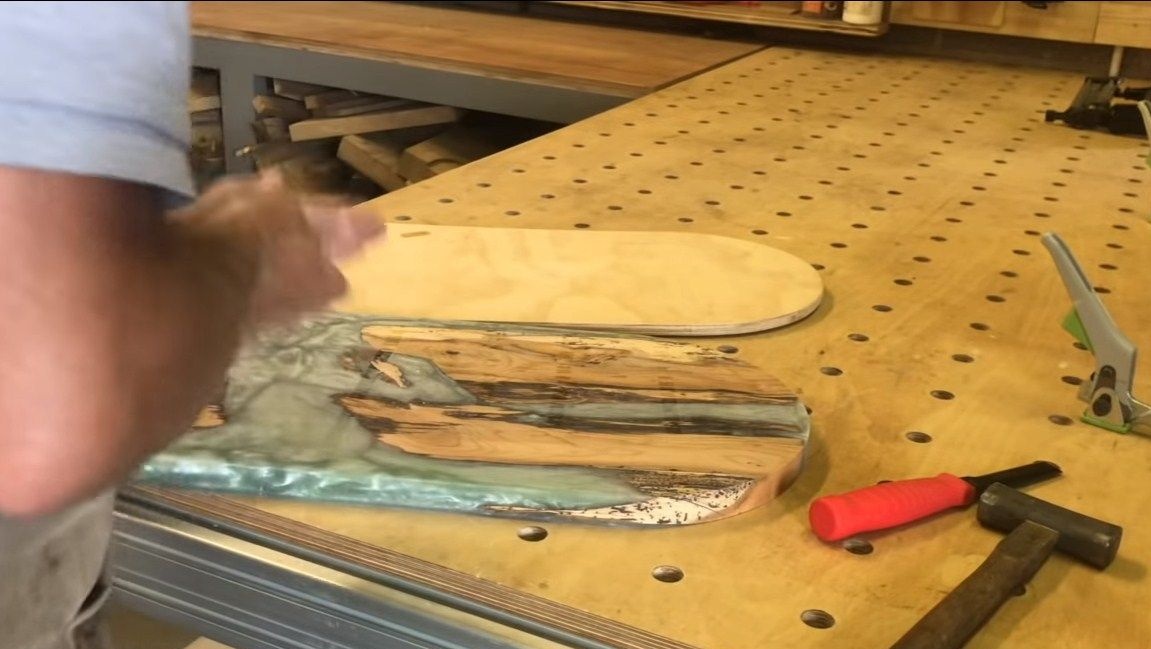
Next, we need to choose the wood that we will fill. This may be a cut of a tree, the author used trimmed boards of a bizarre shape. To make the material look beautiful under the resin, we take a grinder and carefully clean everything. We need to remove all the dirt, poorly held areas and so on. Dust should not be strewed from a tree, as it instantly appears in resin. We cut the material into the necessary pieces in accordance with the manufactured template. You must also try to beautifully lay the blanks. Grind also the planes on the grinder so that the tree looks beautiful.

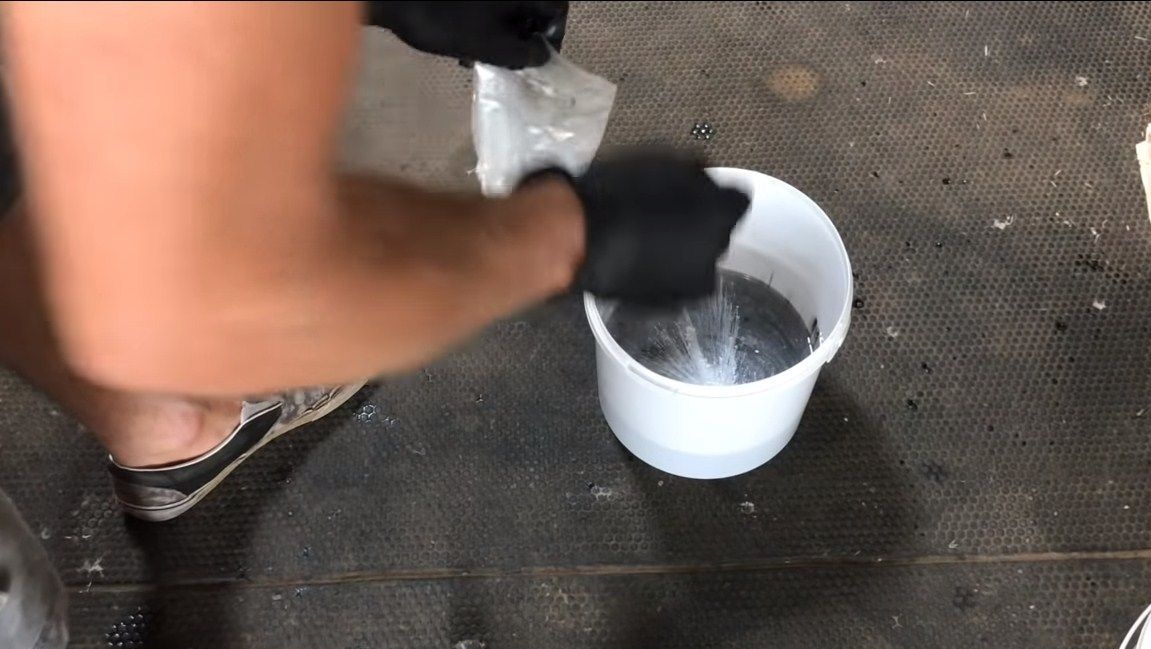
Step Four We breed epoxy and fill
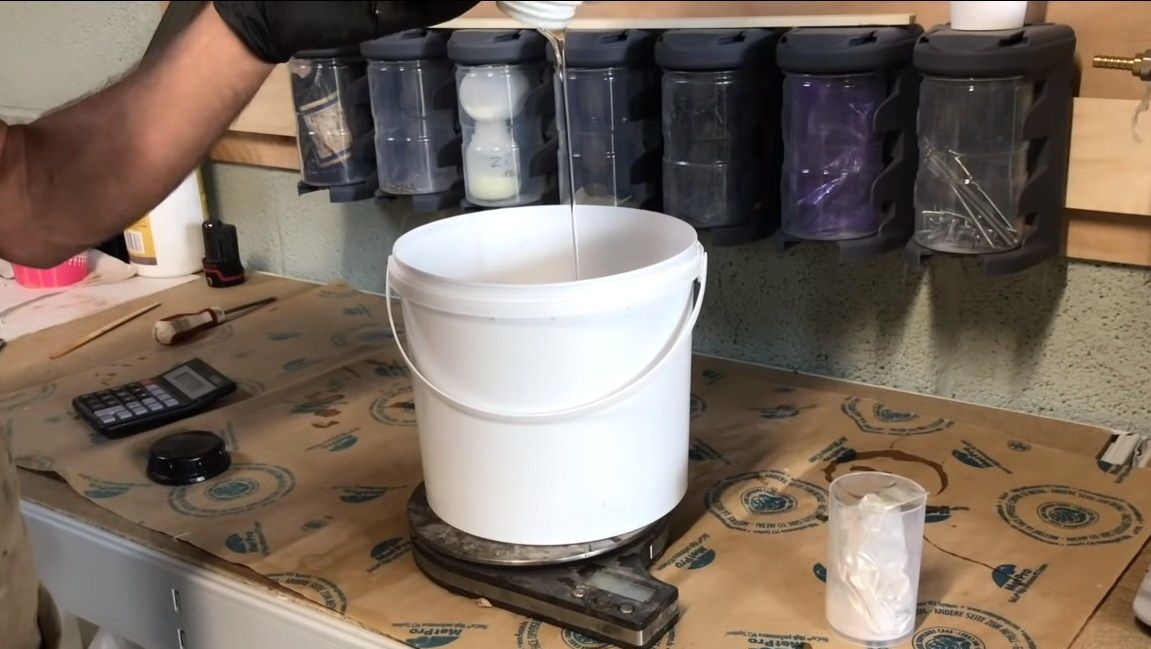
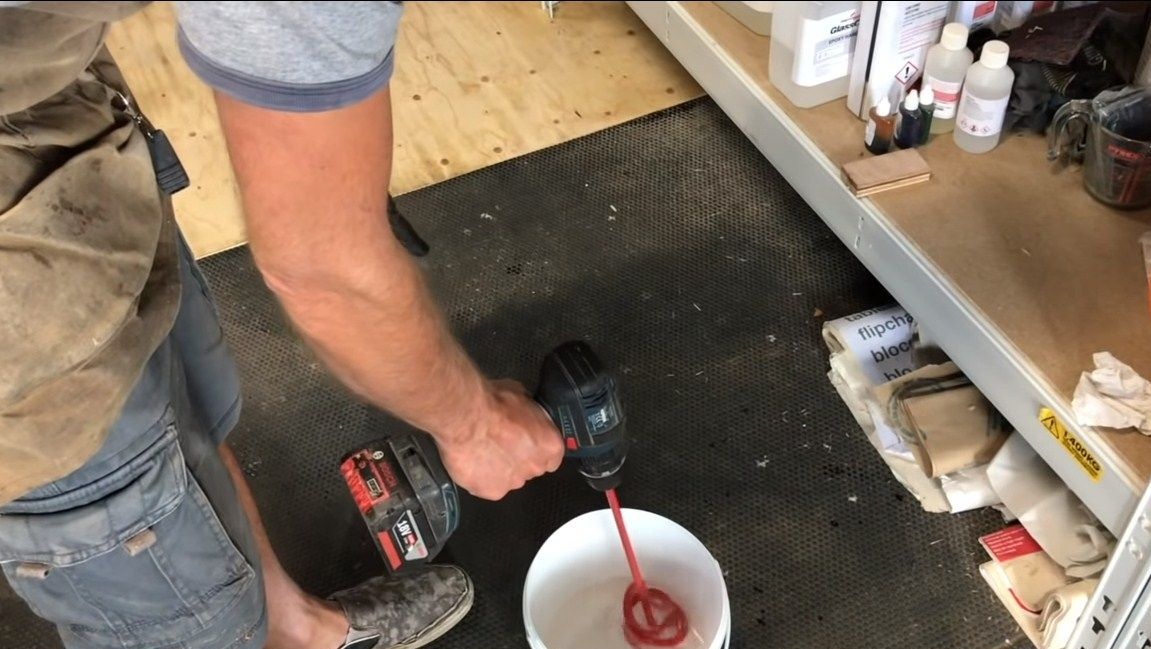
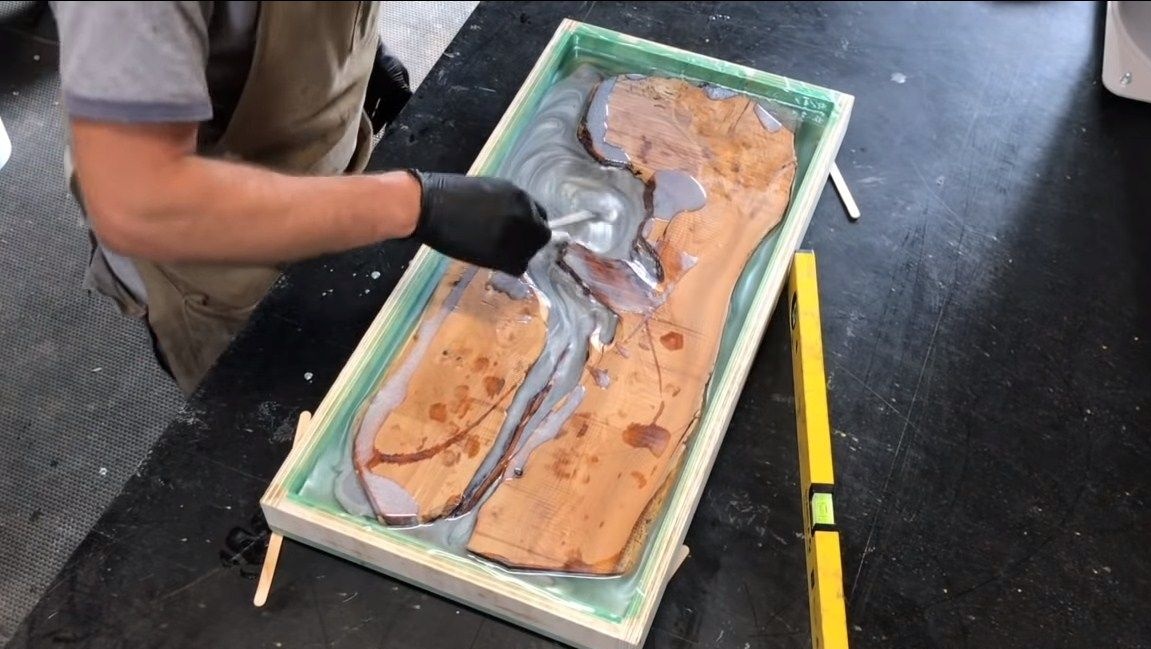
Cooking epoxy. To calculate the correct proportions with the witness, we use accurate digital scales. Mix everything well with a drill to get a homogeneous mass. Next, we select the epoxy temperature depending on the purpose. To increase fluidity, we need to heat the resin. And to make it thicker, on the contrary, we cool the resin. We also add dye to the epoxy of the desired color and mix well.
Pour the resin into the formwork, and then lay the tree. It can be done differently, after fixing the wood. We leave this whole thing to dry, such a volume can dry for a week, or even more.


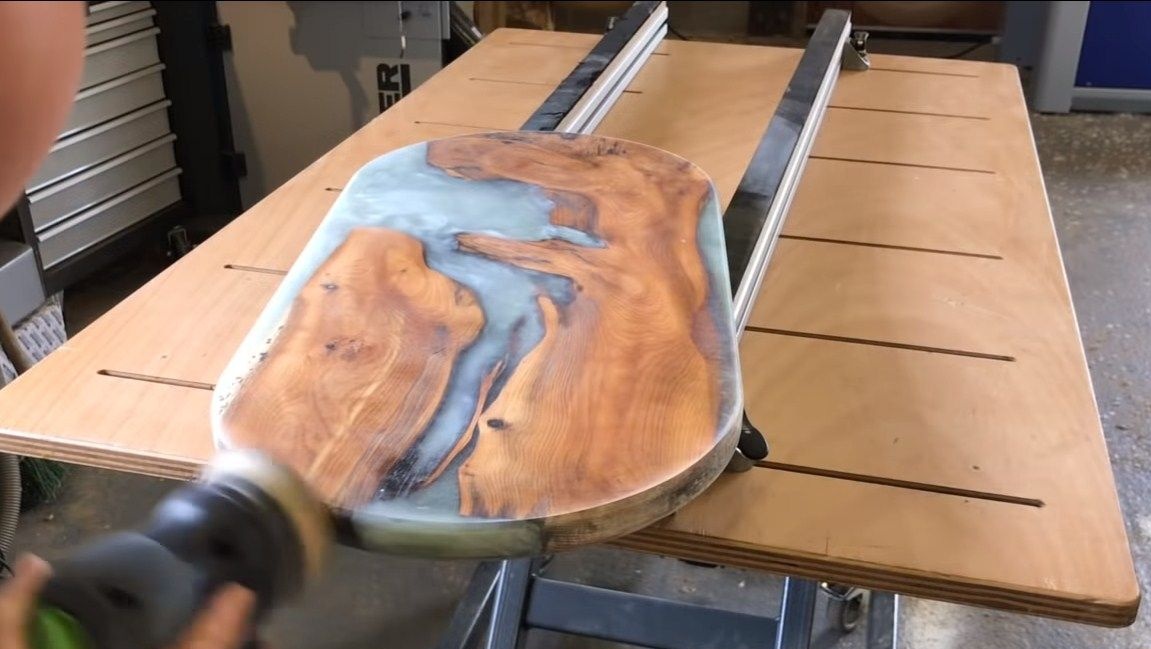
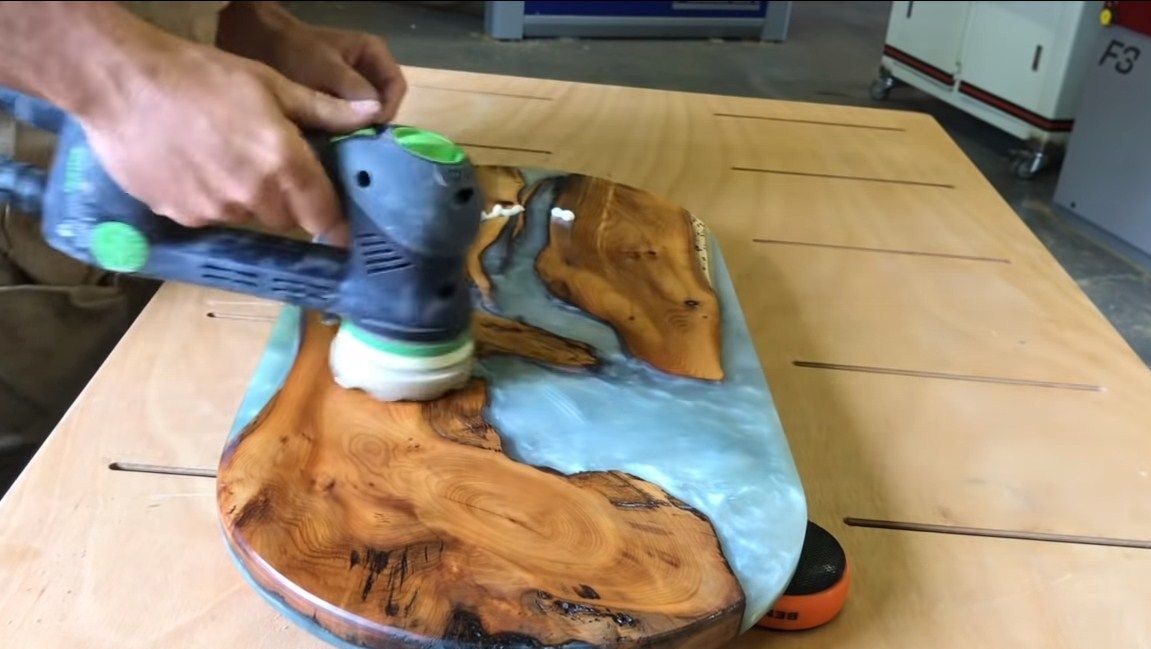
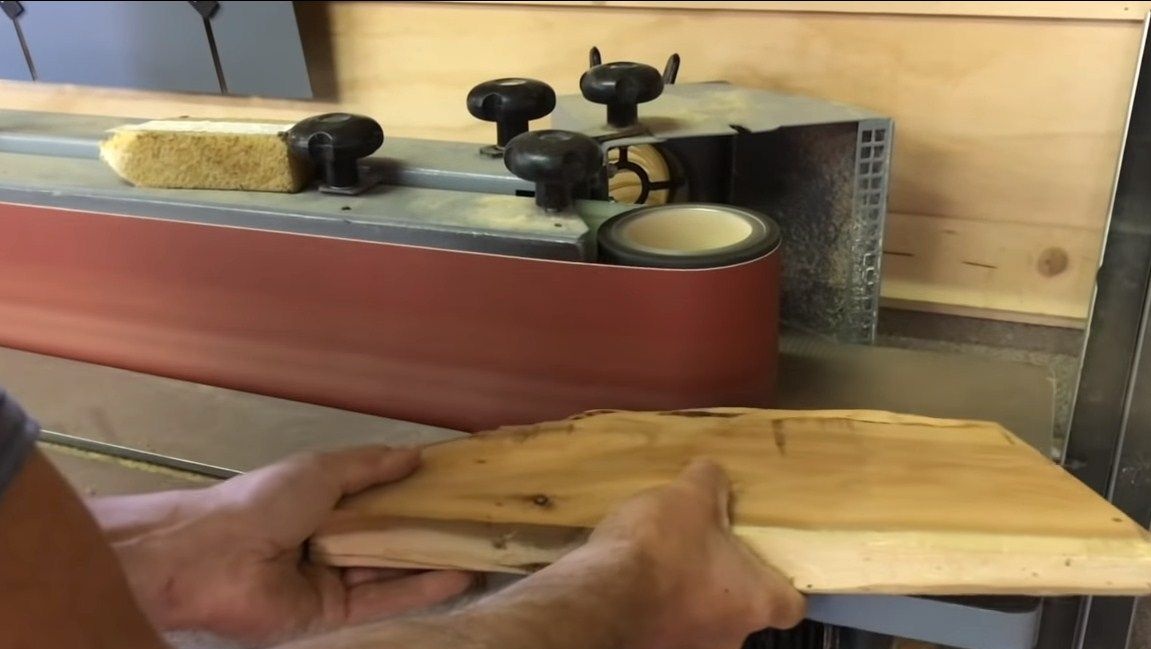
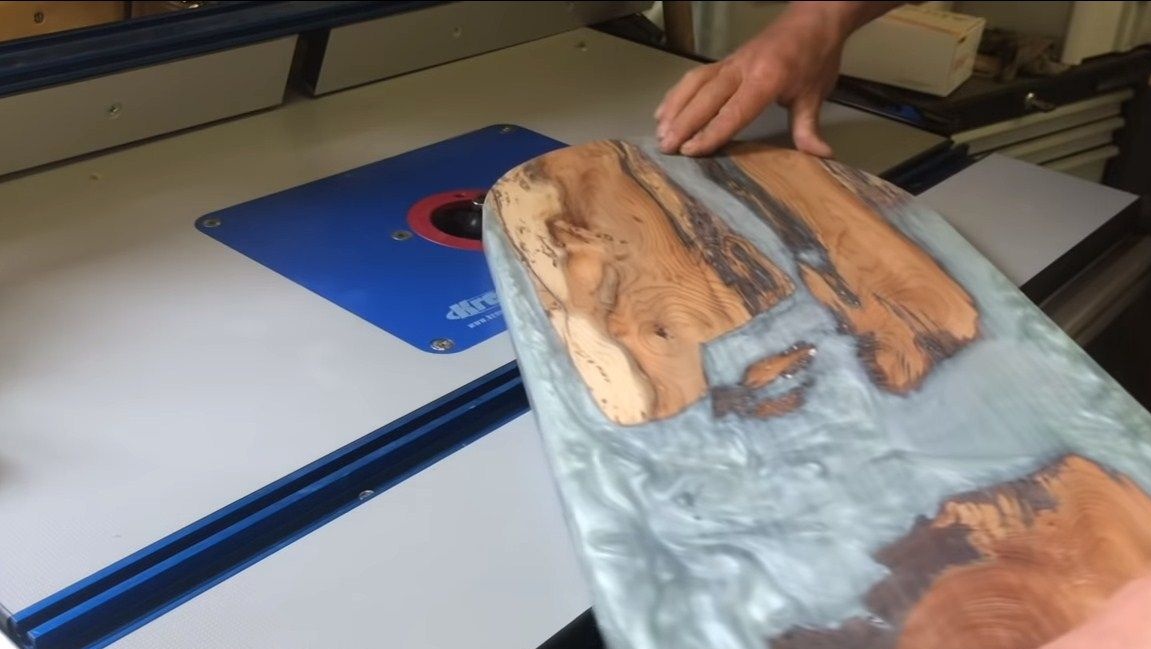
Step Five Grind the product
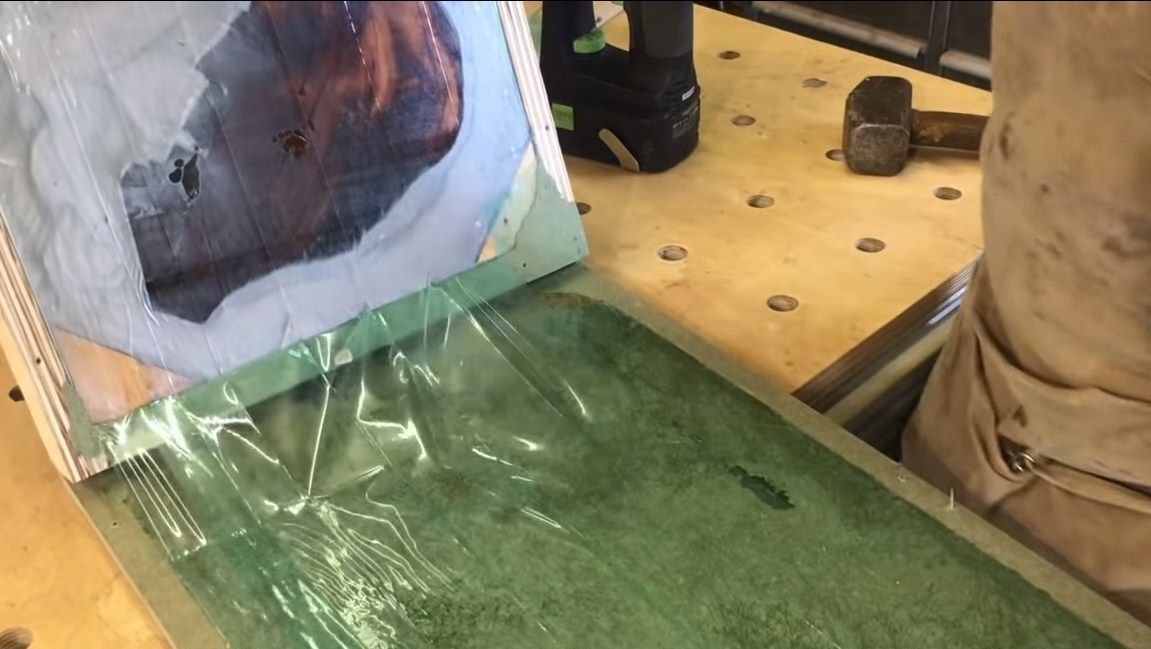
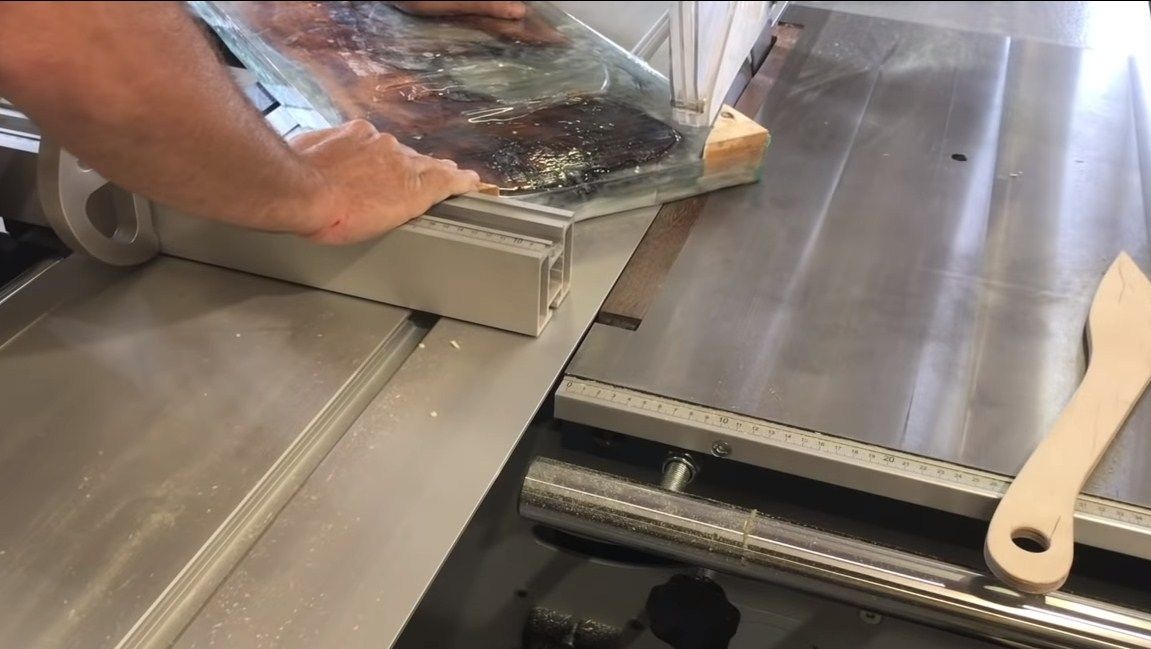
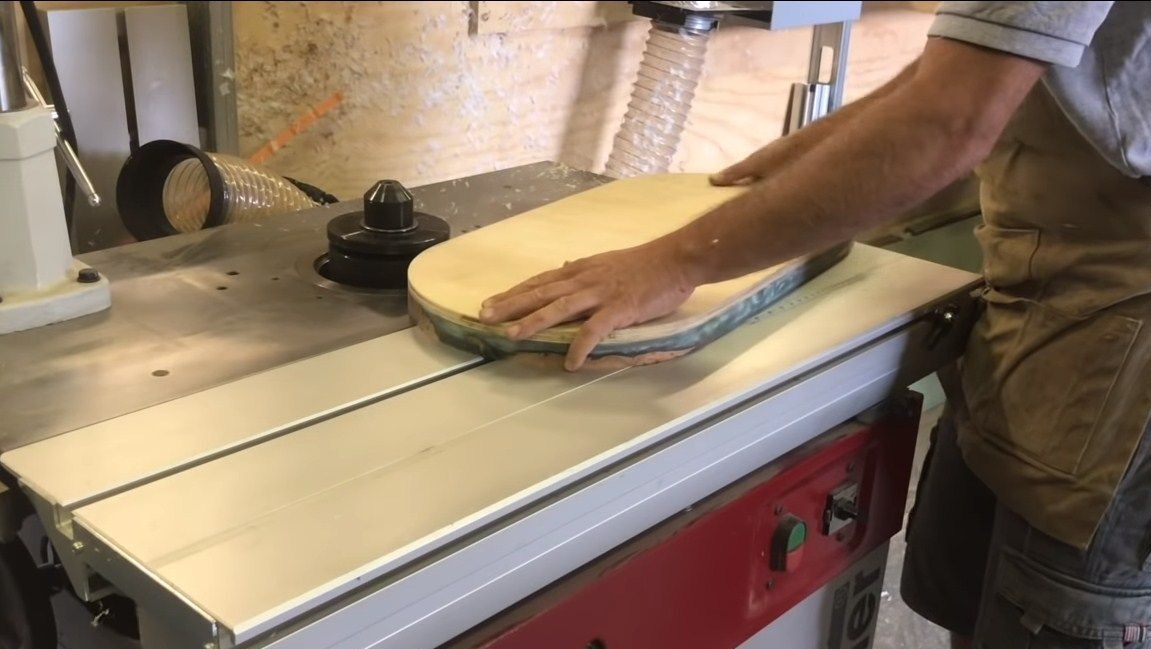
When the epoxy hardens, we take out the product from the mold and proceed to processing. First, you will need to trim all the excess. It all depends on your template. After cutting, you can start grinding. We grind the product along the contour, and then go to the planes. You can use a variety of fixtures. Of the simplest, a belt sander or orbital sander can be used.
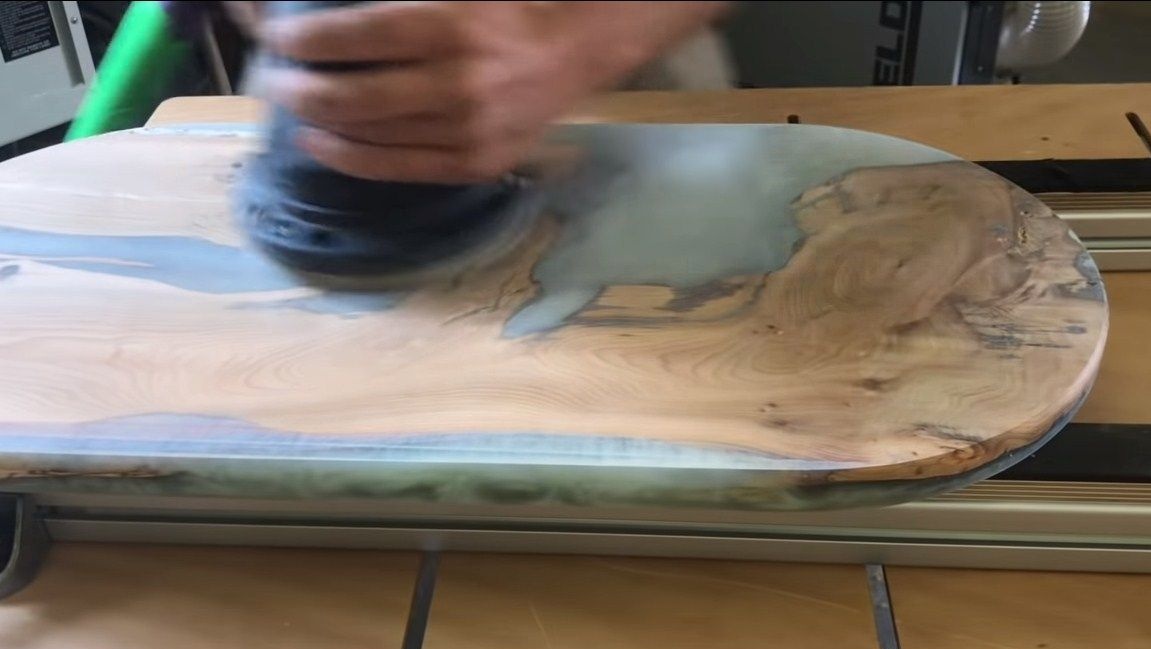
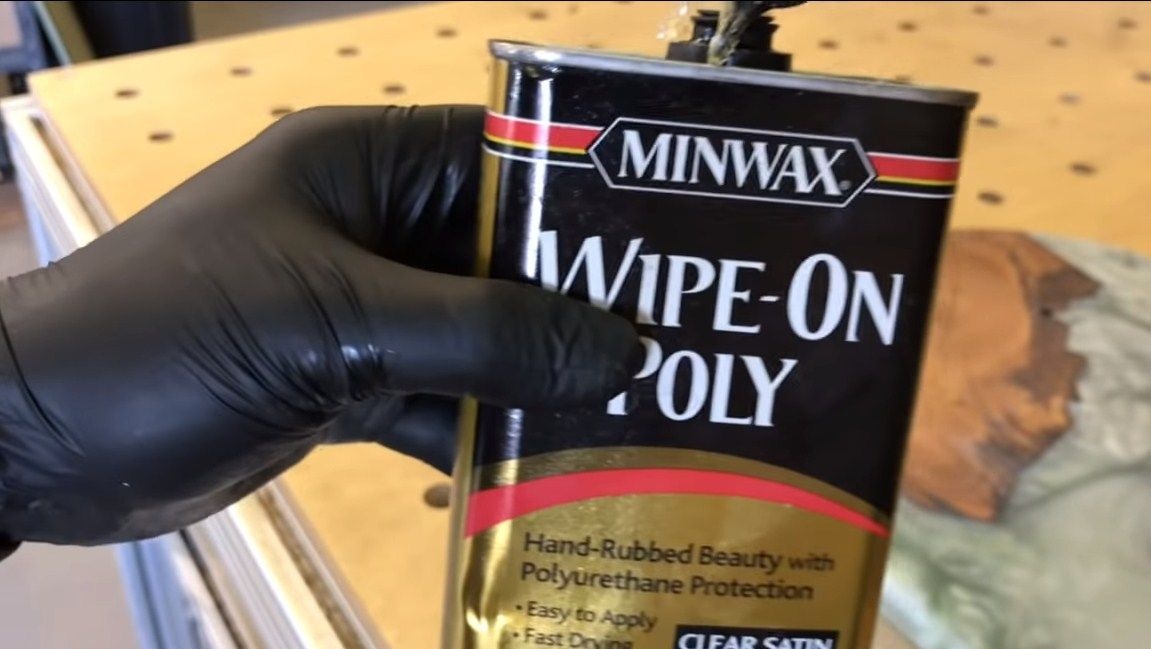
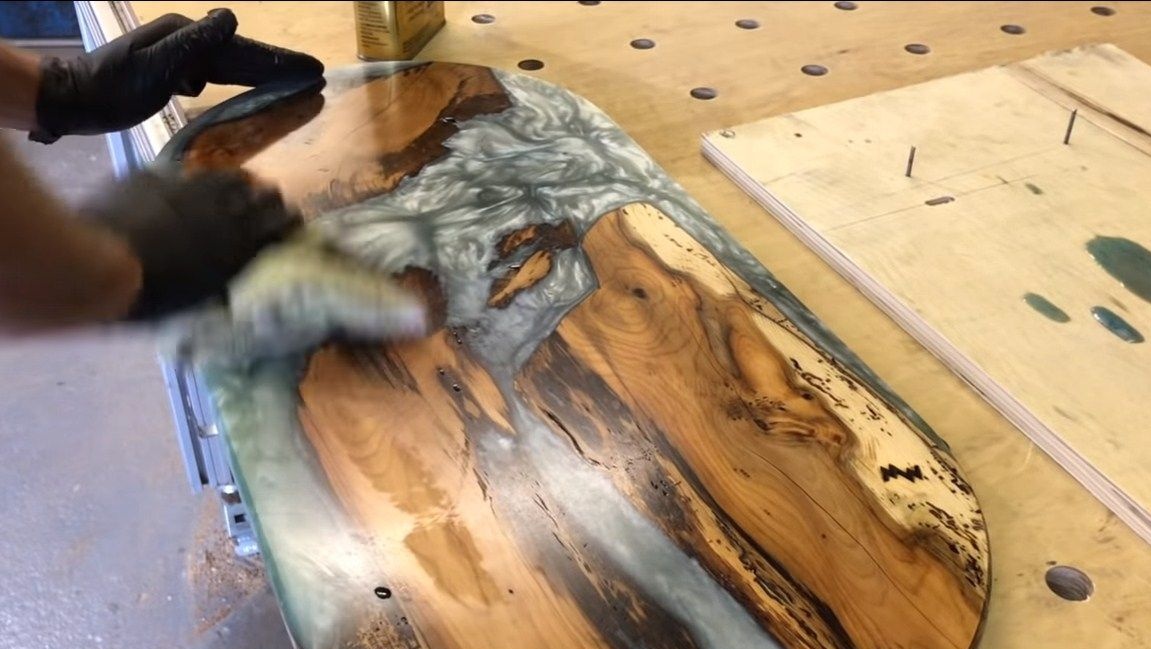
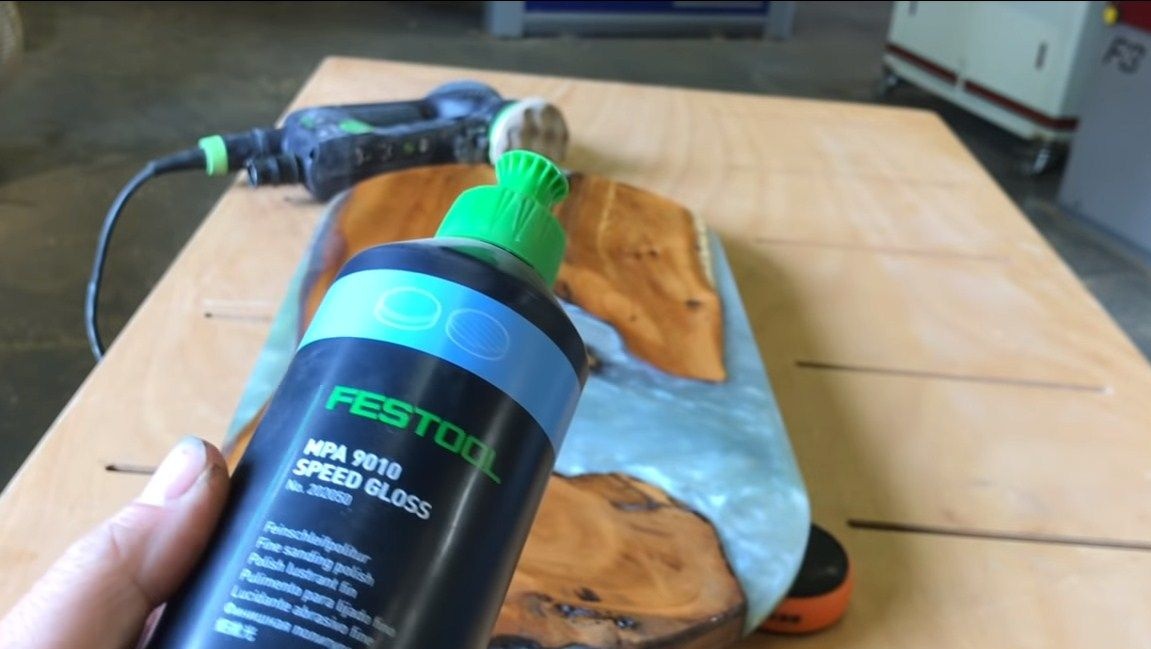
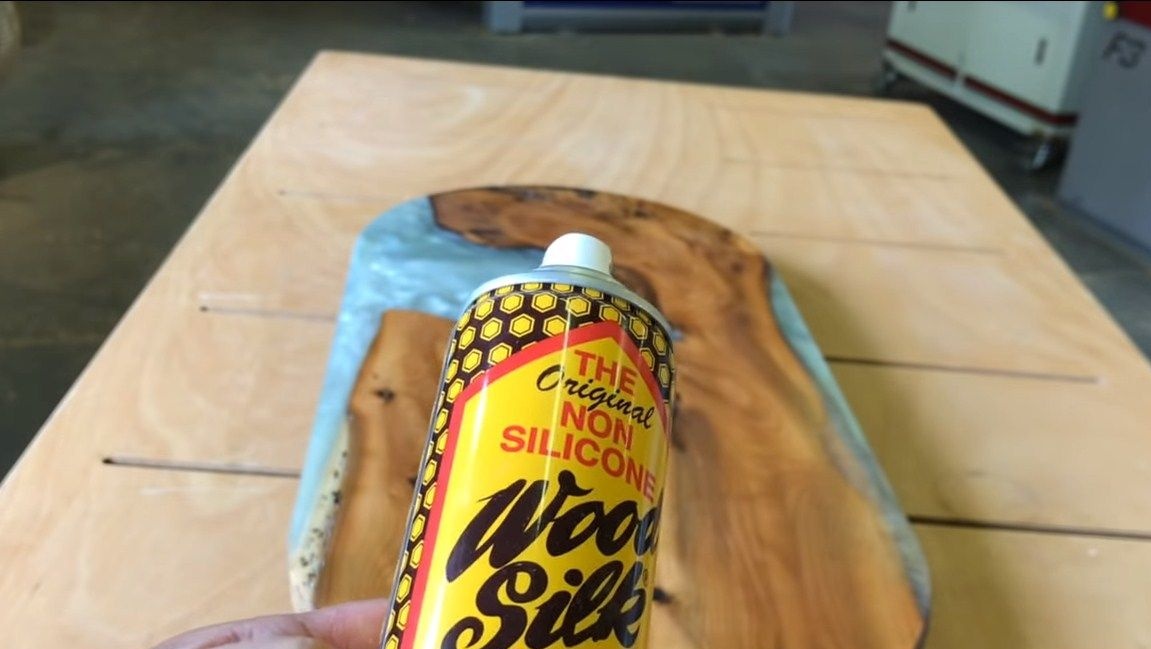
Step Six Final work
After grinding, the product will remain polished. First, a polyurethane-based protective coating is applied to it, and then polished. As a result, we get a beautiful glossy surface. That's all. Homemade finished. I hope you enjoyed the project. Good luck and creative inspiration, if you decide to repeat it. Do not forget to share your homemade products with us!