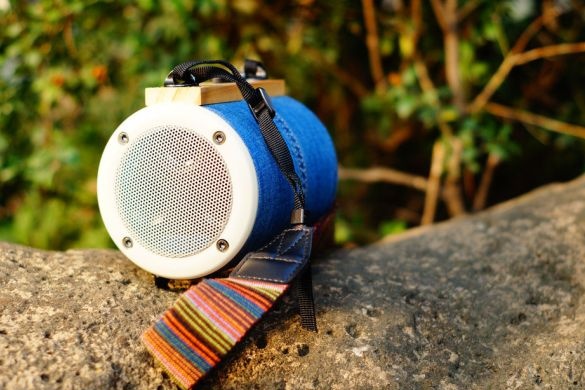
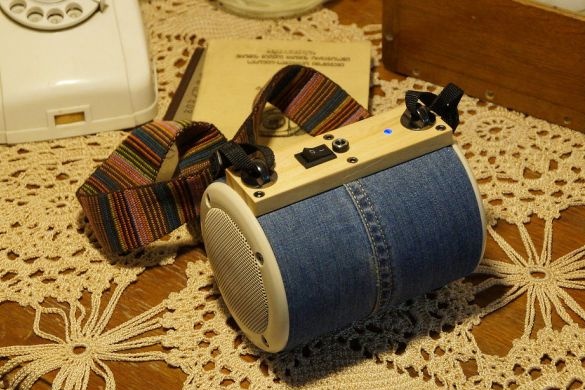
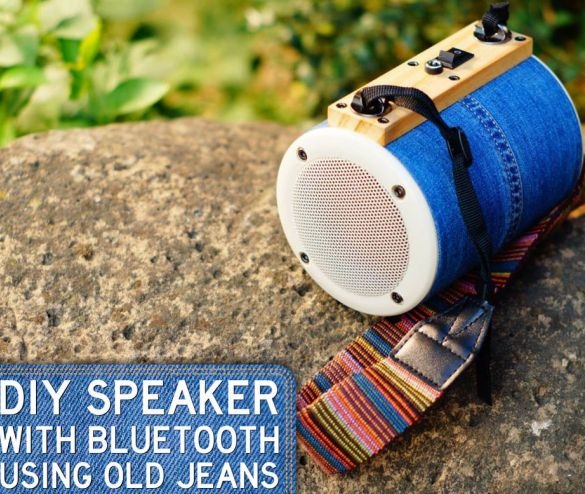
In the manufacture of the column, the Master set himself the task of making it from available materials, accessible materials, and its appearance should be similar to that of industrial designs. The tools listed in the list can be replaced with more affordable ones.
Tools and materials:
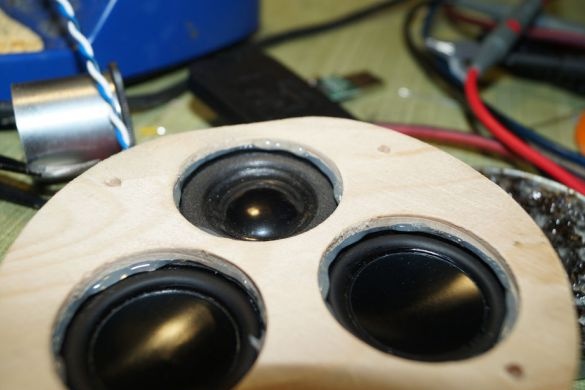
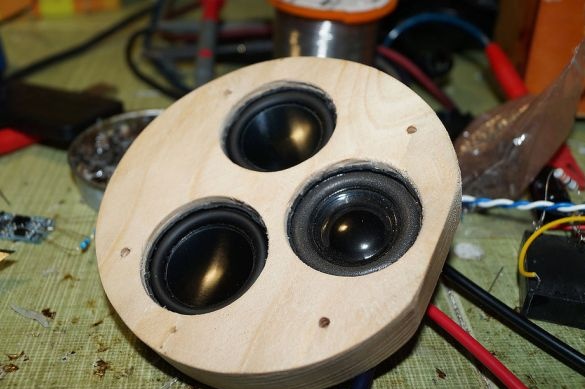
- Speaker 4ohm 5W 40mm - 3 pcs;
-Passive emitter - 1 pc;
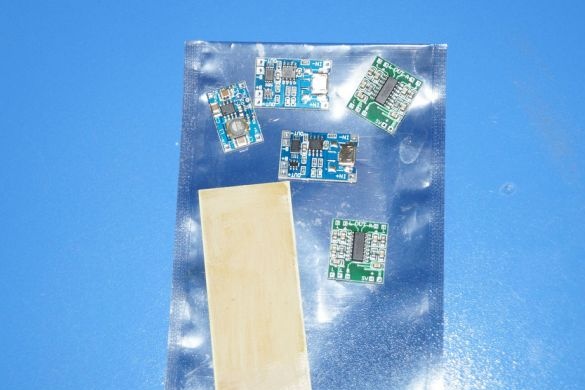
Amplifier PAM8603 - 2 pcs;
- TP4056 charging module - 2 pcs;
-Increasing converter 3-5V - 1 pc;
- DC / DC 5V voltage converter - 1 pc;
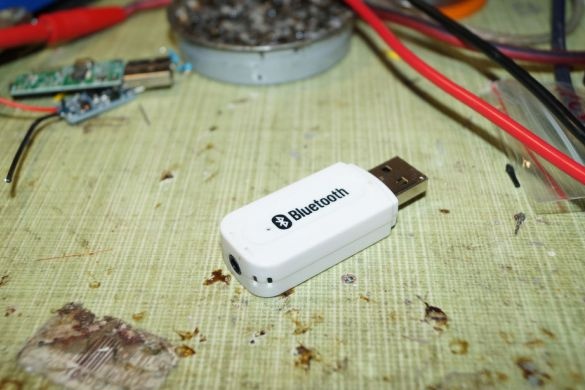
- Bluetooth module - 1 pc;
- Capacitors 1000-1500mkF 6.3V-10V - 2 pcs;
- Capacitor 0.1 μF and 0.01 μF -1 pc;
- Resistor 2.2 kOhm -2 pcs;
-5 mm milky white LED - 1 pc;
-Connector - 1 pc;
-Plug -1 pcs;
-Switch -1 pc;
-Camera tripod holders 2 pcs;
- Watchband - 1 pc;
- Brass rivets - 4 pcs;
- Lattices - 2 pcs;
-Batteries 18650 - 2 pcs;
-Old jeans;
- Joiner's glue;
-Wood;
-Epoxy adhesive;
-Soldering iron;
-Soldering accessories;
-Glue gun;
-Sandpaper;
-Acrylic spray varnish;
-Fasteners;
-Wire;
-Drill;
-Drill;
-Knife;
-Scissors;
-Rule;
-Screwdriver;
- CNC (optional);
Step one: scheme, plan
In the attached Pdf file the master gives a detailed wiring diagram and plan of parts of the column.
Further, the master explains in detail the work of electronics.
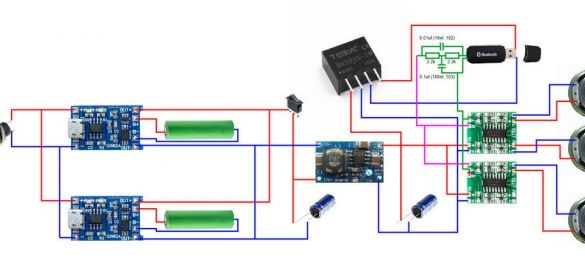
5 V comes to the connector and feeds two charging cards. The master explains the installation of two boards with faster charging and reliability. After the charge cards, power, through the switch, is supplied to the boost converter. 5 V is necessary for the operation of the bluetooth module. Before and after the converter, the master puts smoothing capacitors. At the output of the main amplifier, another 5V module is connected. Its purpose is to provide galvanic isolation of the bluetooth module. Two PAM8603 amplifier boards are connected to a power source and three speakers. The master explains the choice of two amplifiers and three speakers by limiting the power supply. When installing a more powerful speaker, you need a powerful amplifier and, accordingly, a higher voltage. The audio signal of the bluetooth module through a filter that cuts off the middle frequencies is fed to amplifiers and speakers.
Step Two: CNC Parts
For the manufacture of column parts, the master used CNC, but for those who do not have access to the machine, the master shows how to make parts manually.
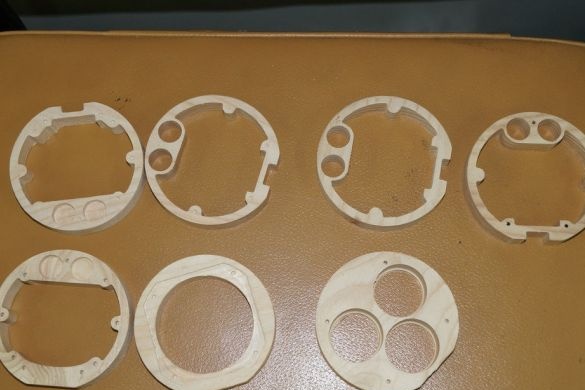
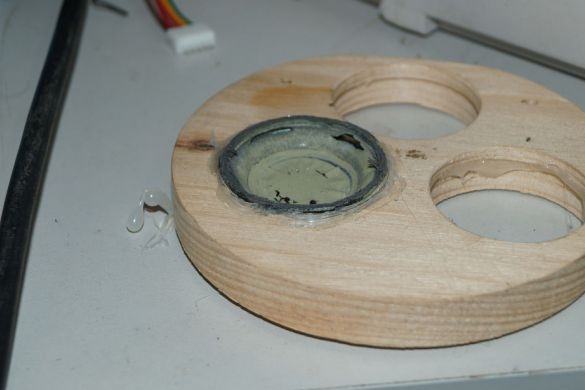
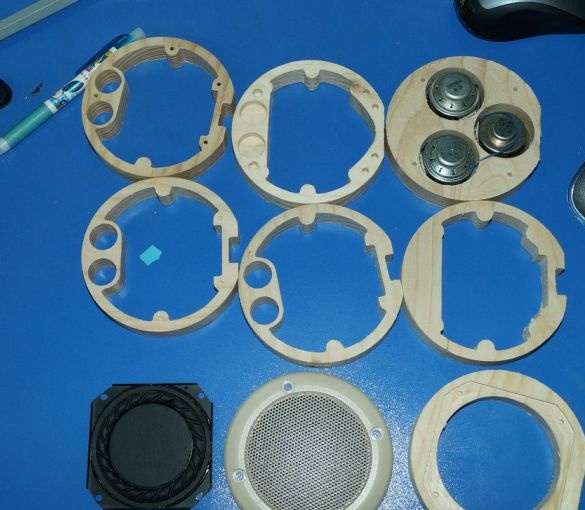
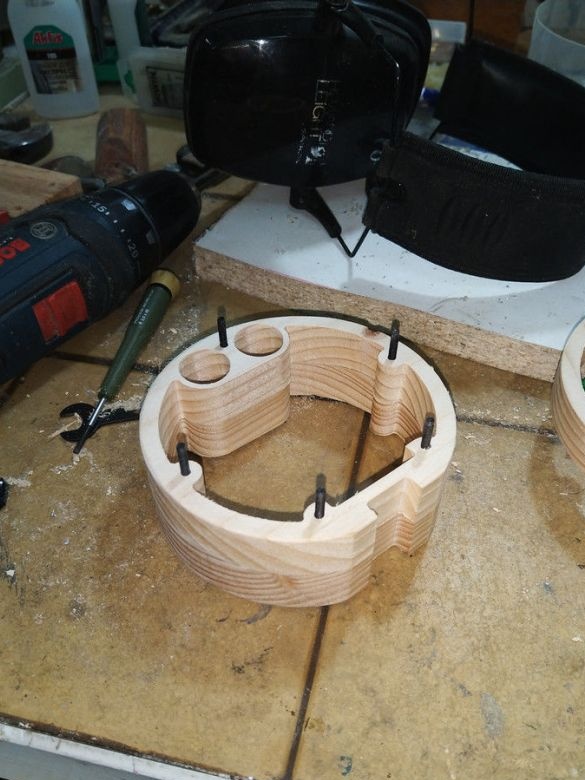
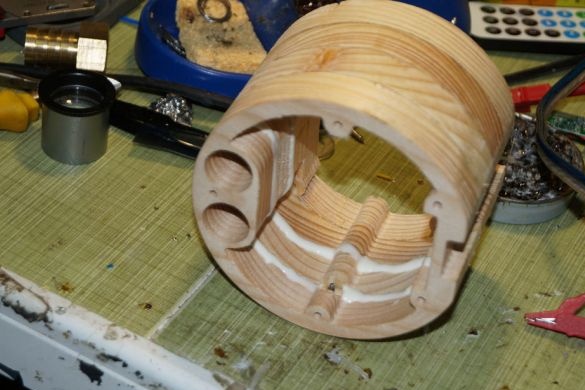
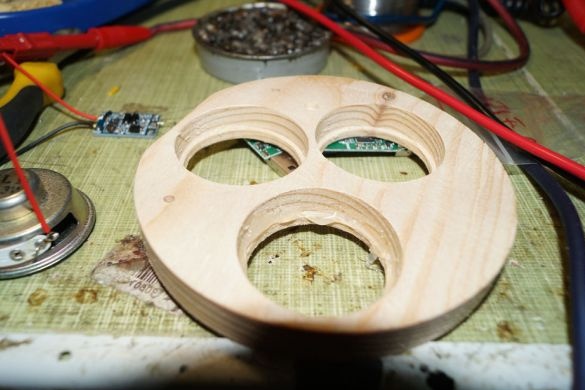
The following parts are required for the column: middle parts with a battery compartment-3 pcs., Two end caps of the battery compartment, a part for attaching a passive emitter and a component for attaching the speakers.
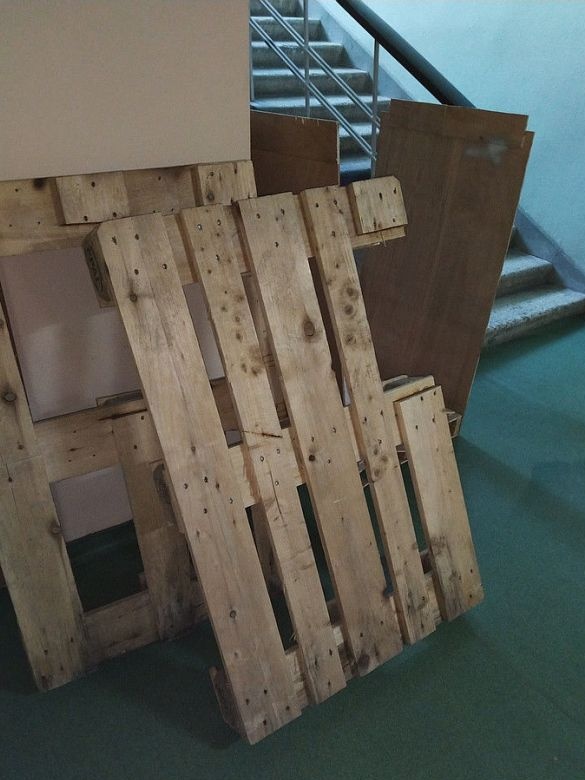
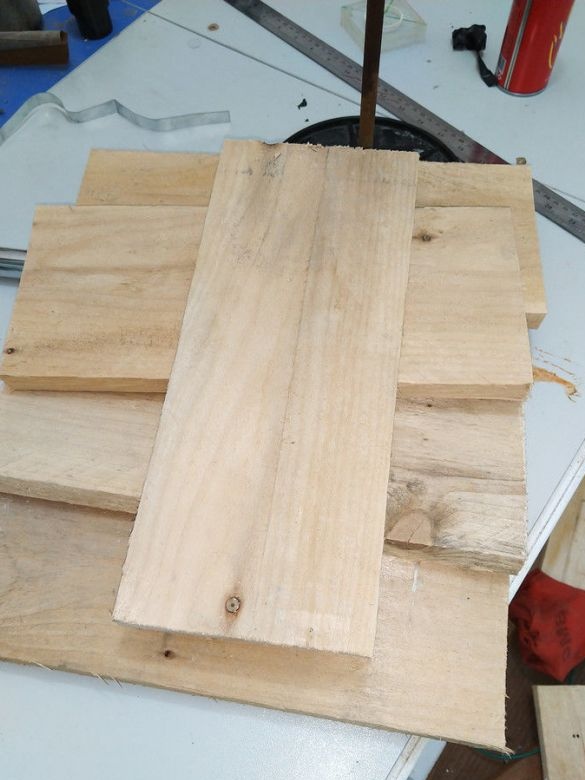
All parts are made from boards of pallets.The column length is 130 mm. Diameter 107 mm.
All data for the CNC are in the attached Pdf filewhere the through hole is marked in white, the 5 mm recess in yellow.
Step Three: Making Parts By Hand
For the manufacture of parts manually, the master offers four methods. Moreover, when manufacturing manually, some details can be neglected.
1. From a plastic sewer pipe of suitable diameter. Previously, the pipe segment must be covered with some anti-vibration compound or material.
2. If you have access to bamboo, then this is ideal.
3. Using a lathe.
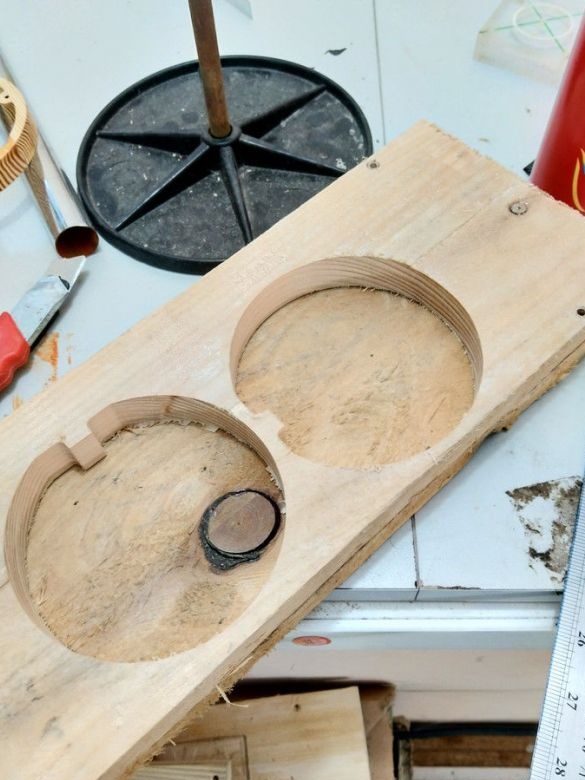
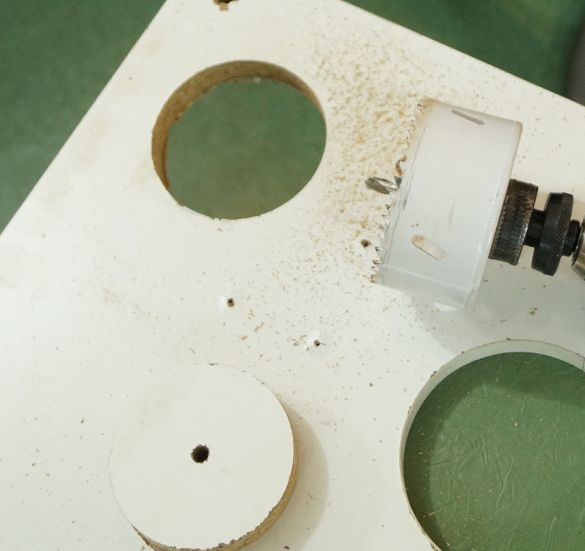
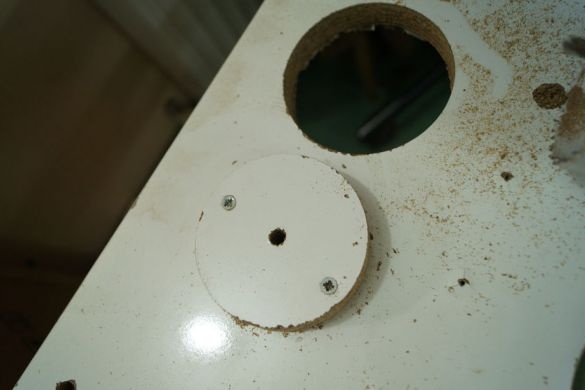
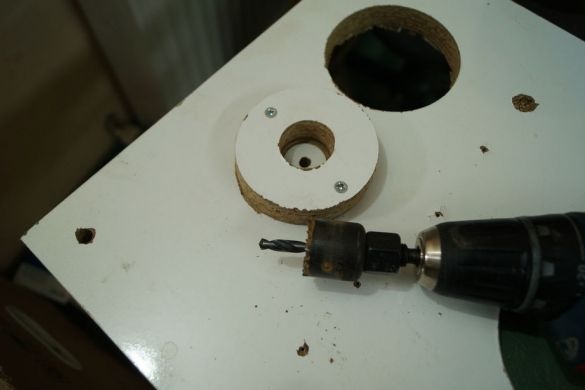
4. Using a drill, drill and crown on wood.
Step Four: Build
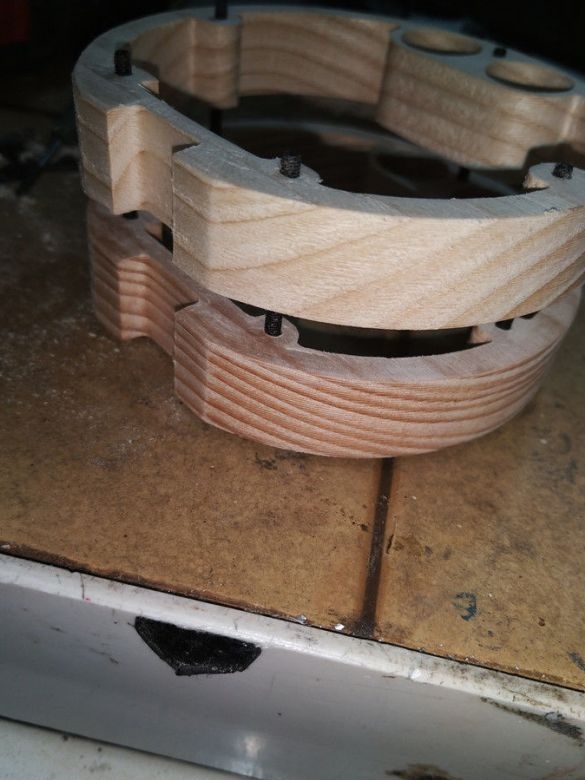
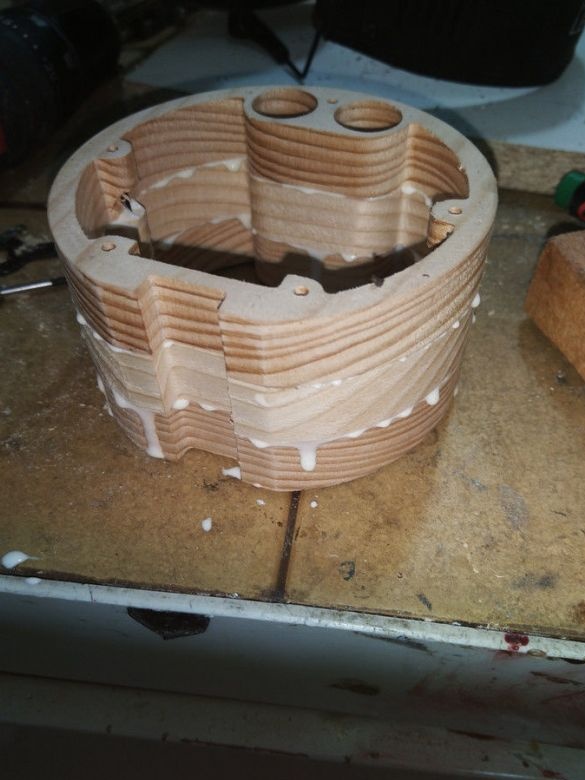
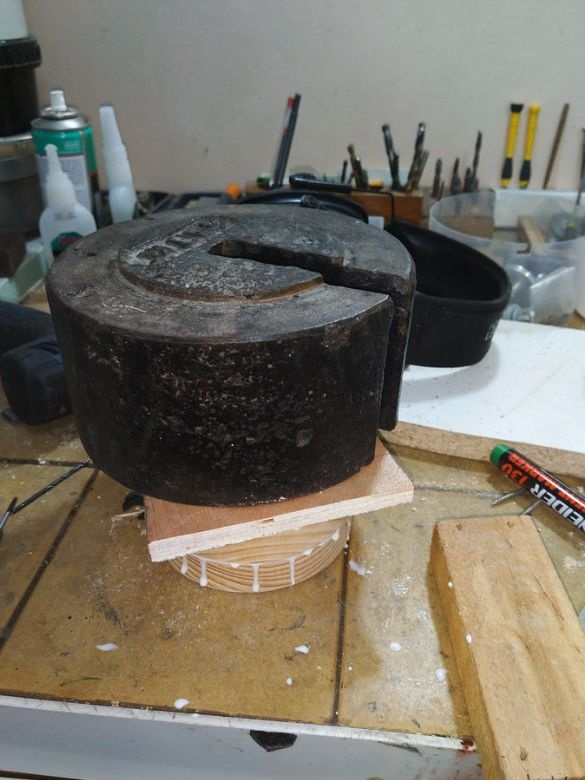
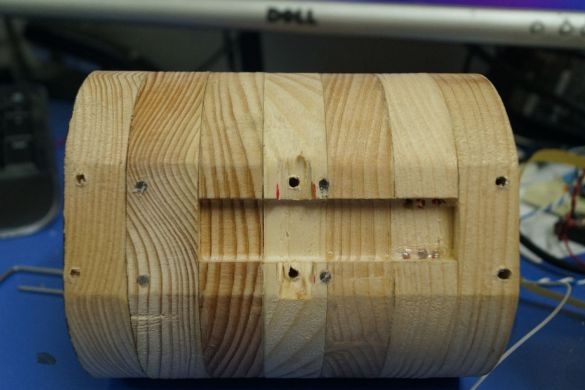
Using guides assembles the battery compartment. Apply glue to fix parts. After assembly, the unit removes residual glue. After waiting a day, the master checks the places of gluing. According to the author, if the glue does not completely fill the seam and there are gaps in it, then the column will not give out low frequencies.
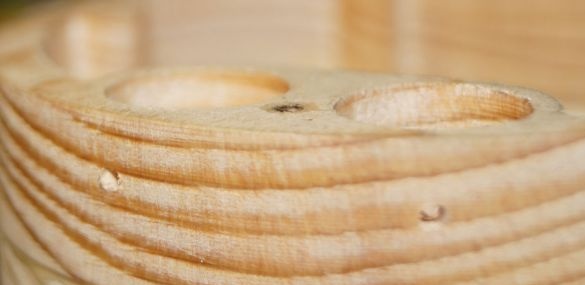
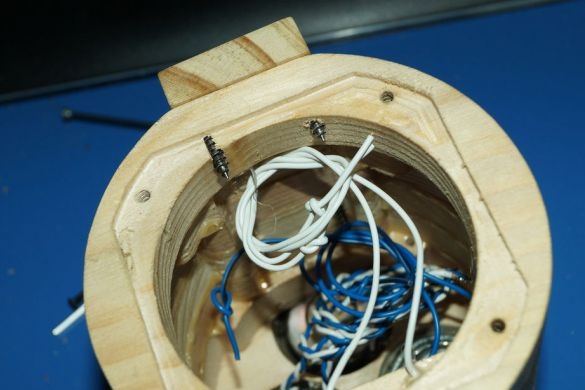
Two holes are drilled in the housing from the side of the battery compartment. This is necessary to relieve pressure when vapor is released during battery charging.
Solders wires to batteries. The master reminds that the soldering time should not exceed 3 seconds. If during this time it was not possible to solder, then let the battery cool.
Fits top cover. On different bluetooth modules, LEDs are located in different ways, this must be taken into account when manufacturing the upper part.
After the batteries are installed glues end caps. Glue the passive emitter to the part using silicone.
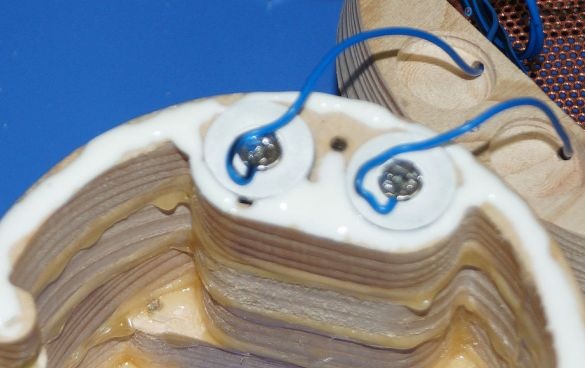
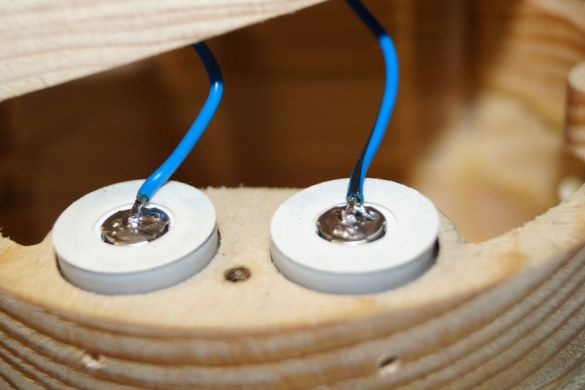
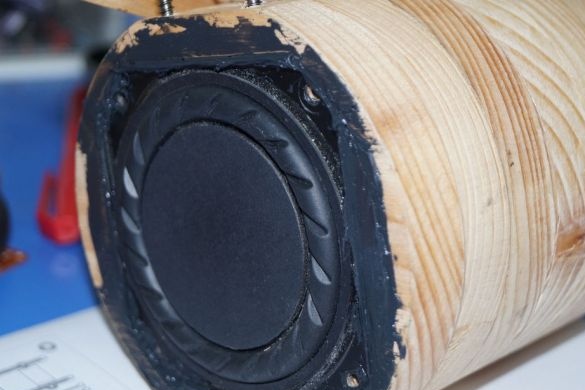
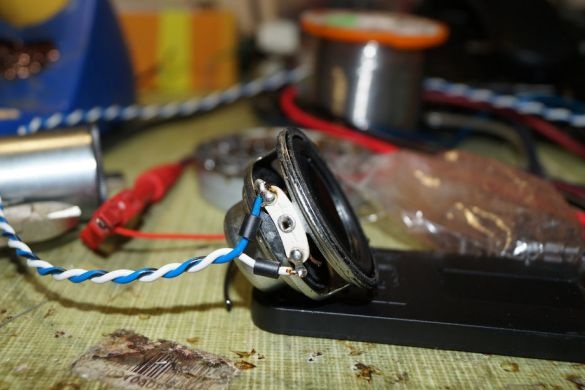
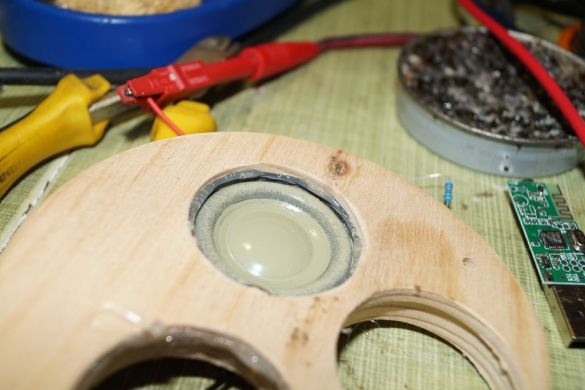
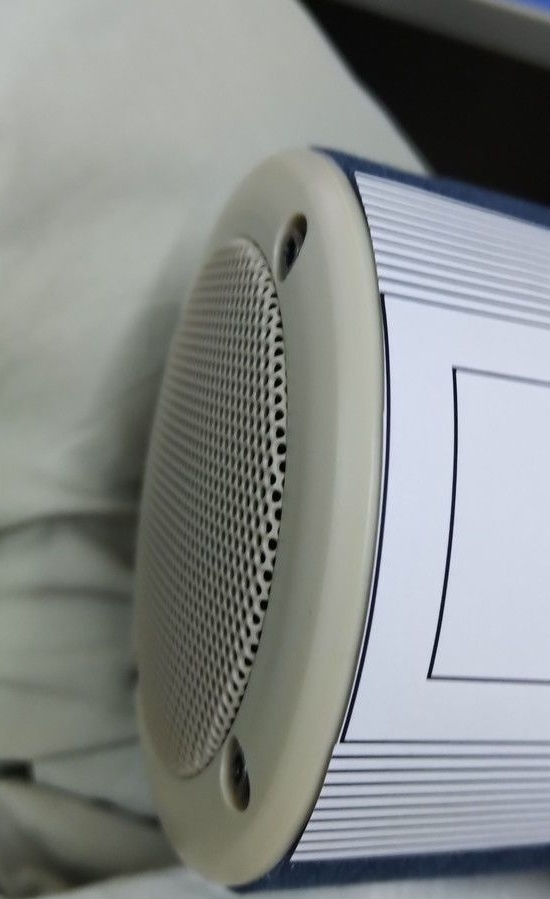
On hot glue glues speakers into the corresponding holes. Before installing the speakers, you need to solder the wires to them.
Step Five: Bluetooth Module
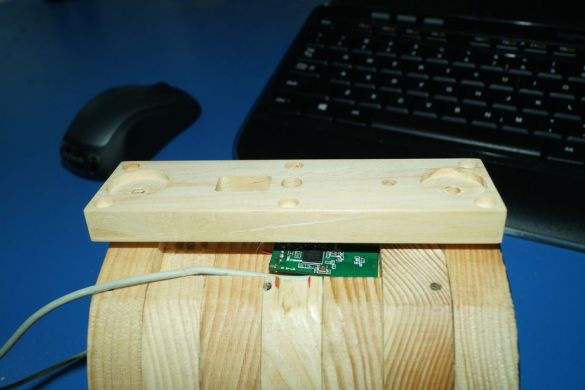
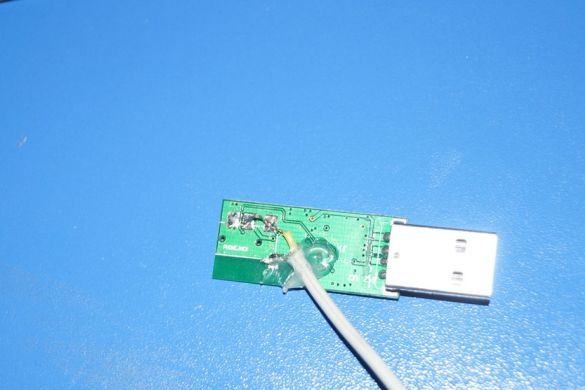
Disassembles the case of the bluetooth module. Solves the USB connector. Without forgetting about the pinout, it connects the module to the power supply. Solders to the input of the wire and connects to the amplifiers. Performs installation according to the scheme. After everything is mounted, the wizard checks the operation of the device. If everything works correctly, you can glue the upper part to the body. As in the previous step, all joints must be sealed tightly.
Step Six: Finish
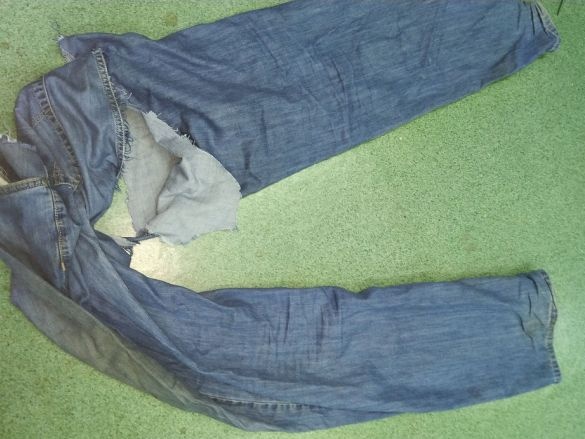
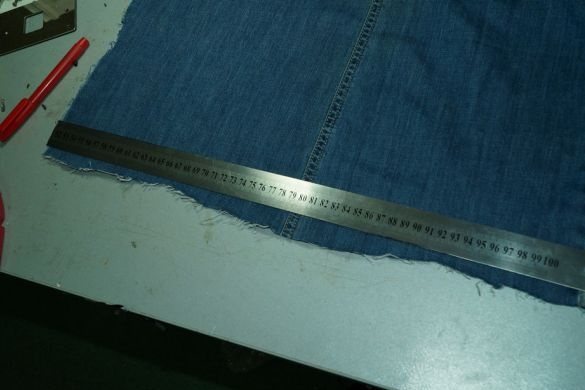
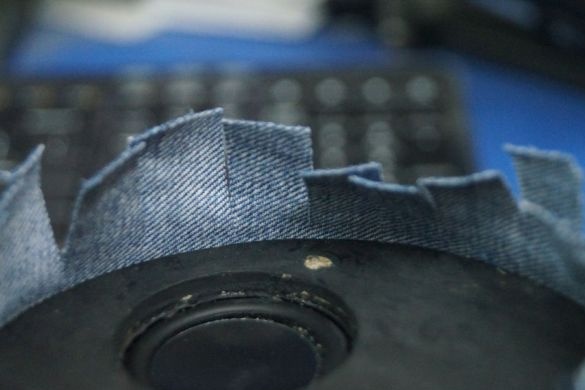
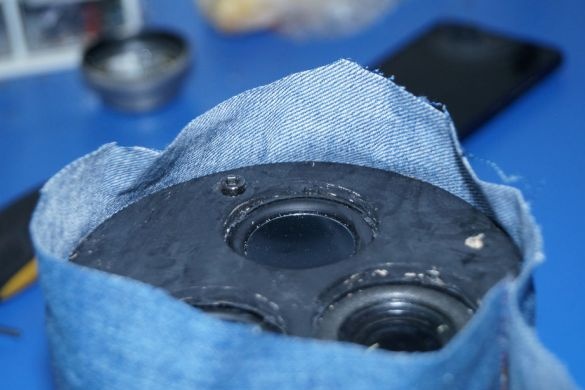
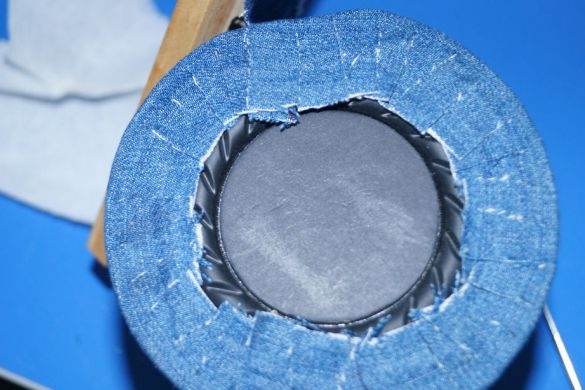
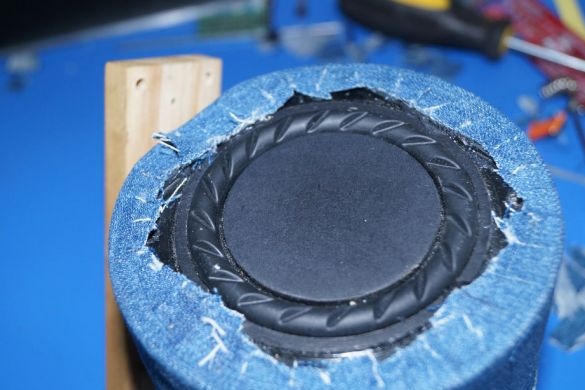
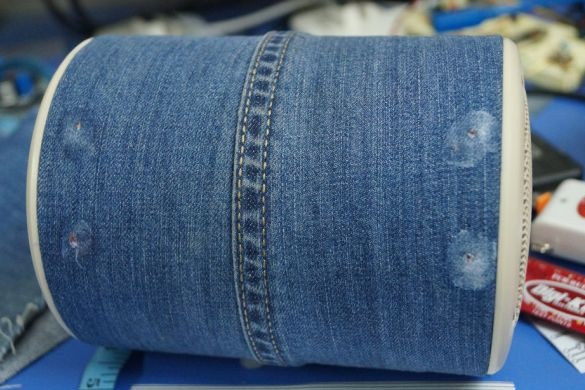
To finish the column, the master uses denim. Wraps fabric around the speaker. Cuts the desired length. Glues one edge of the fabric to the body and allows it to dry for 24 hours. Then wraps and glues the second edge. Dry again within 24 hours. Makes cuts in the fabric from the butt. Glues the fabric to the ends of the column.
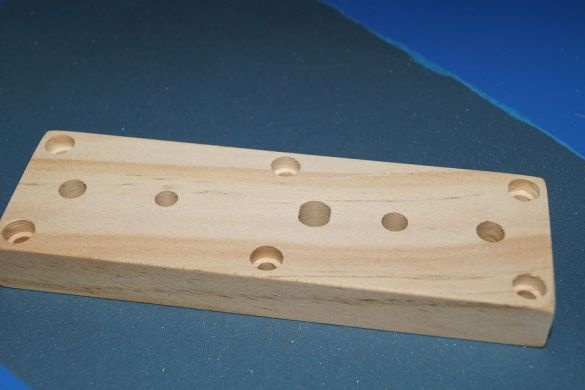
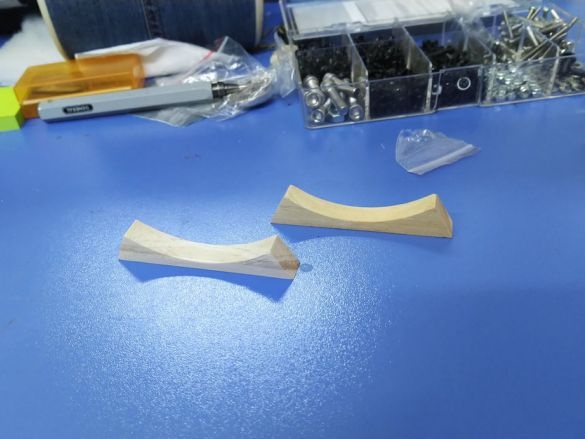
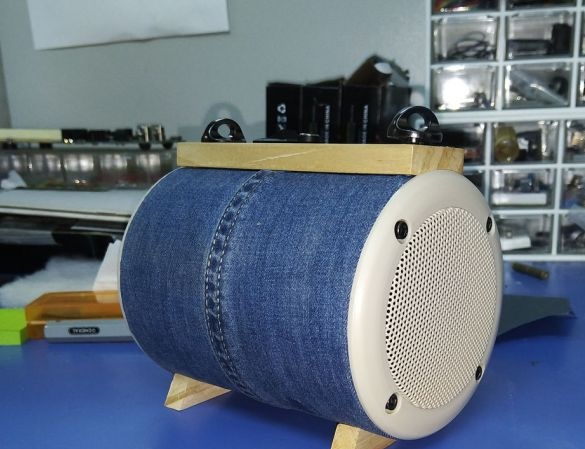
The master first made the legs of wood. But such legs spoiled the whole look and then the master installed four brass legs, bought in a store. To install them correctly, the master used a paper template. You also need not to damage electronics inside the column. The mounting hole must be sealed.
Now it remains to fix the end caps and the top panel.
The bluetooth speaker is ready.

