
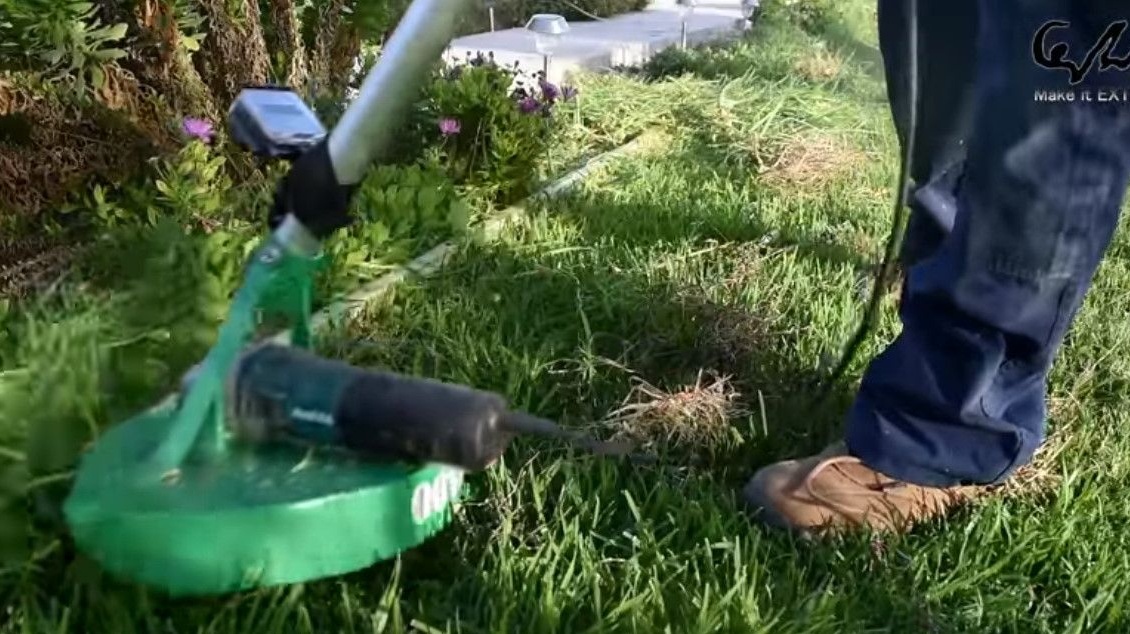
Many of us have country house or a house plot. Caring for it takes a lot of time, especially often growing grass and weeds require attention. The author of the channel "Make it Extreme" was also puzzled by this question. And he created another "nozzle", which, without changes in the design of the grinder, can turn it into a trimmer. As fast as changing a blade from a cutting wheel to a wiper, and changing the position of the handle. After reading this article, you will understand how this device You can do it yourself.
About the tool. No lathe needed!
The minimum set.
1. A screwdriver with nozzles and crowns for metal.
2. A grinder, after manufacturing - you can test it.
3. The welding machine.
4. Vise.
The author, of course, used an additional arsenal.
* Plasma cutter.
* Miter saw.
* Drilling machine.
* Gas-burner.
Materials also do not cause difficulties.
Aluminum pipe, a little steel strip.
Sheet steel 2-4 mm.
10cm steel pipe.
Nuts, washers, bolts.
Strong fabric tape, similar to a belt for bags or seat belts.
Spray paint.
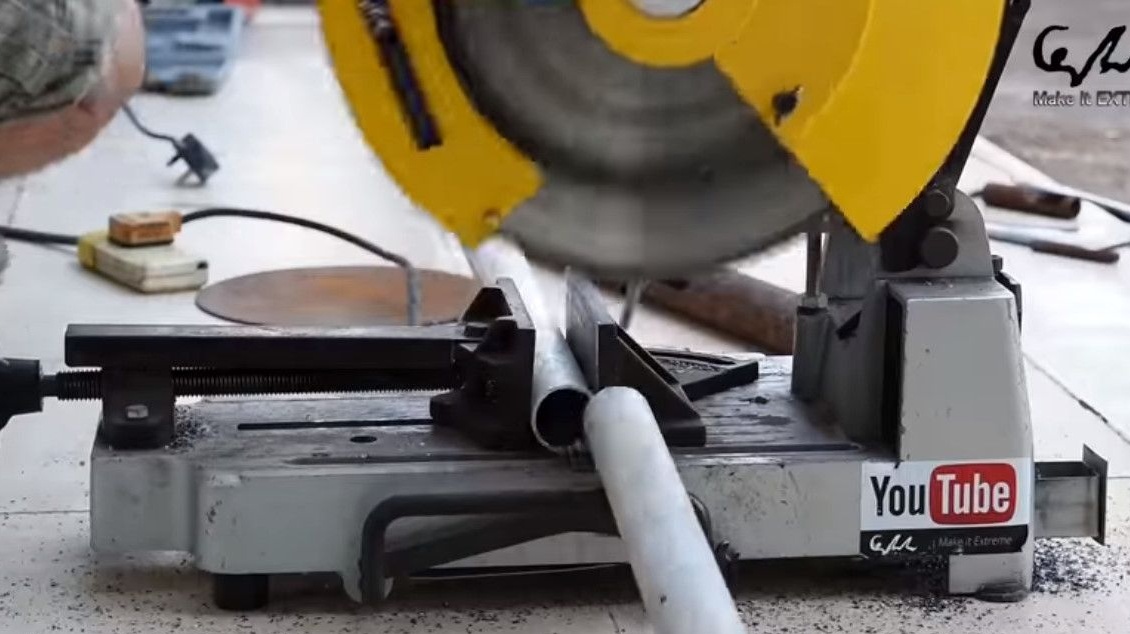
From a steel pipe (according to the diameter of the clamp of the protective casing of the grinder), the ring is cut using a miter saw.

Clamps the ring in a vise, and makes an incision with a grinder.
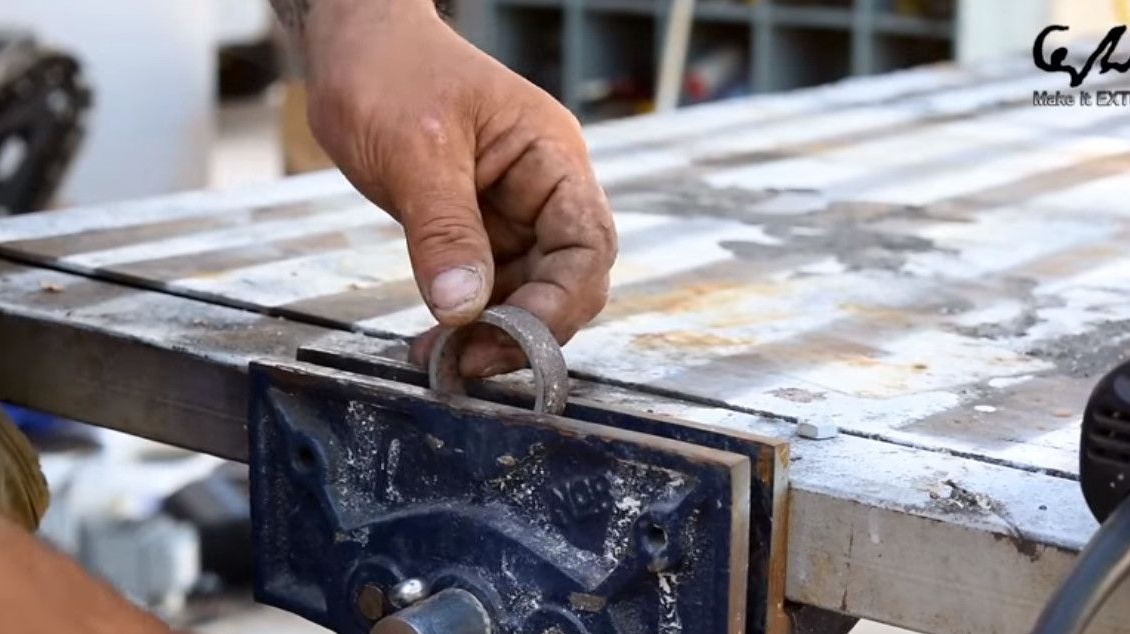
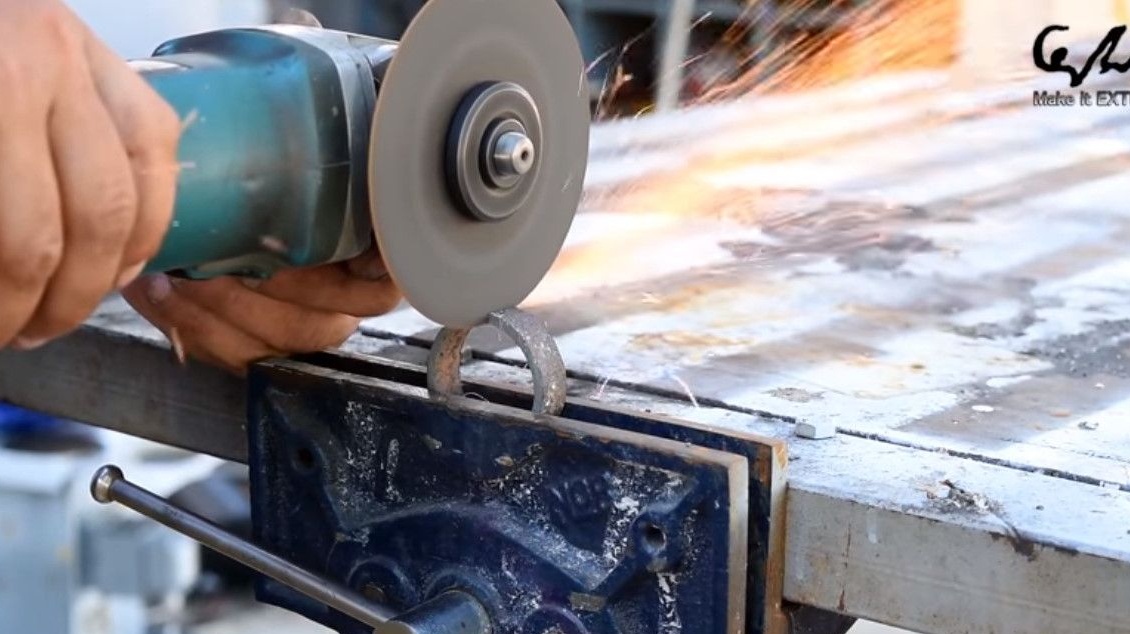
Here he must sit very tightly on this place.
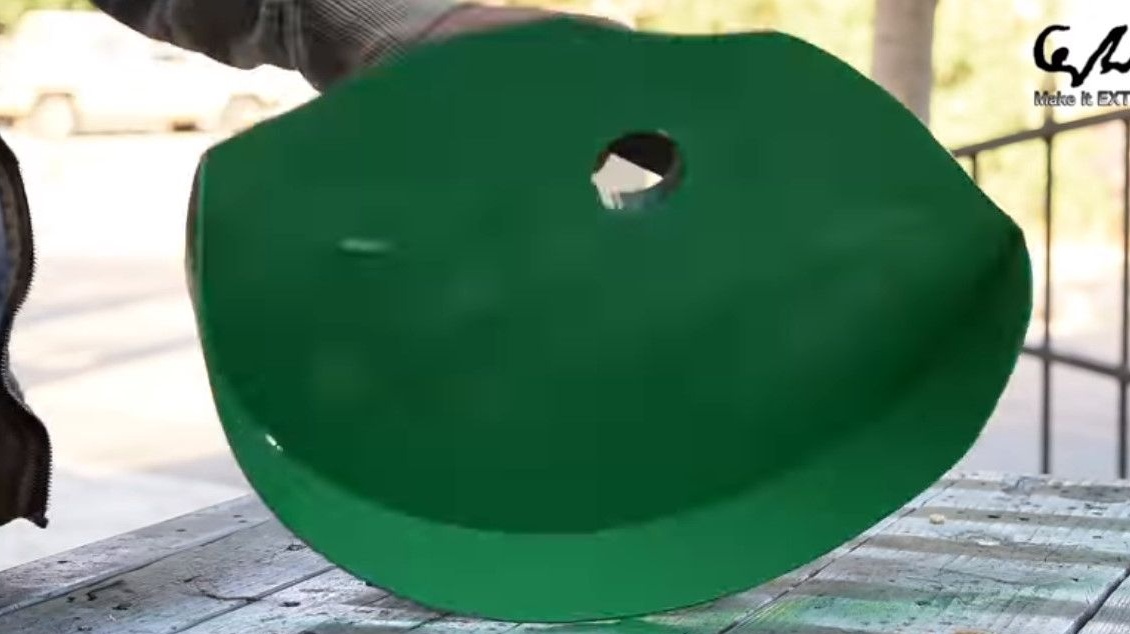
It starts the assembly process with a protective cover for the trimmer, and on its basis the entire structure will be built.
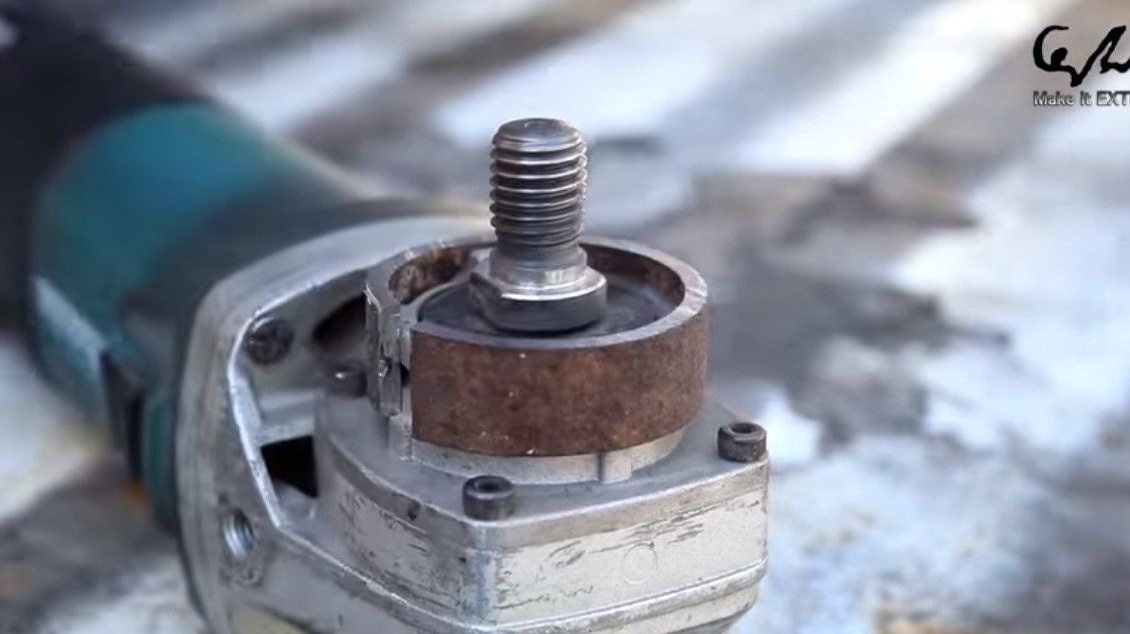
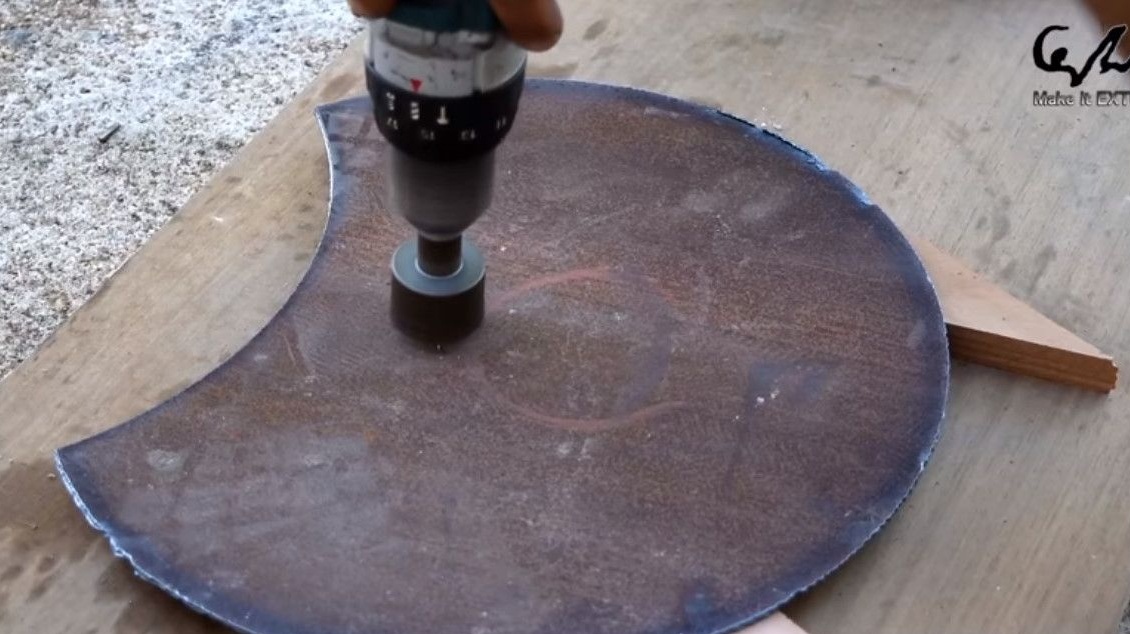
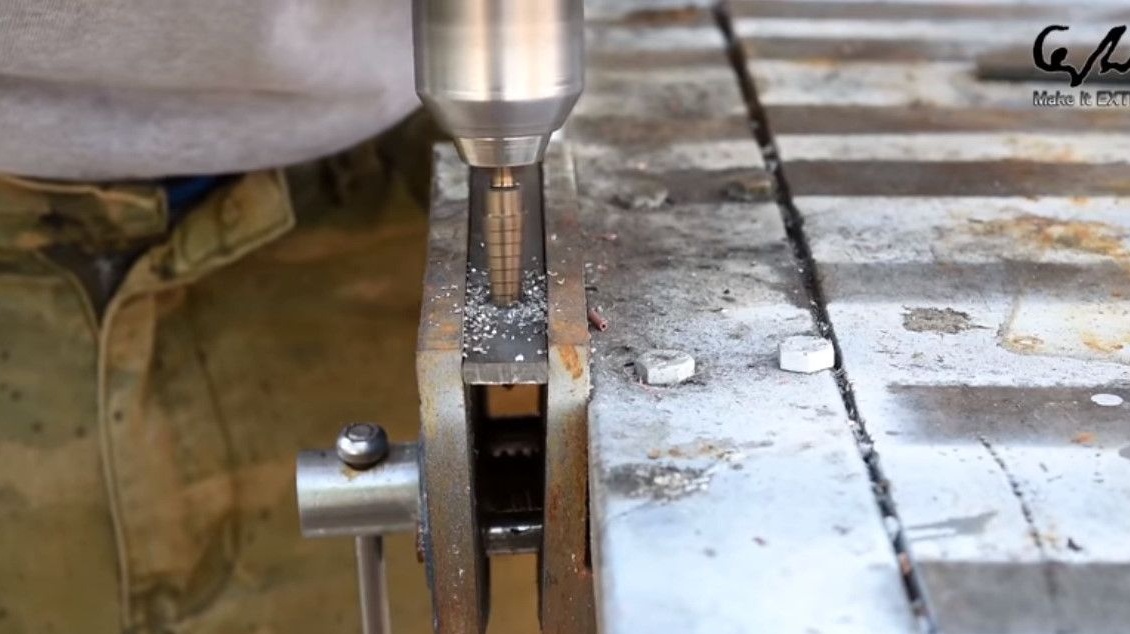
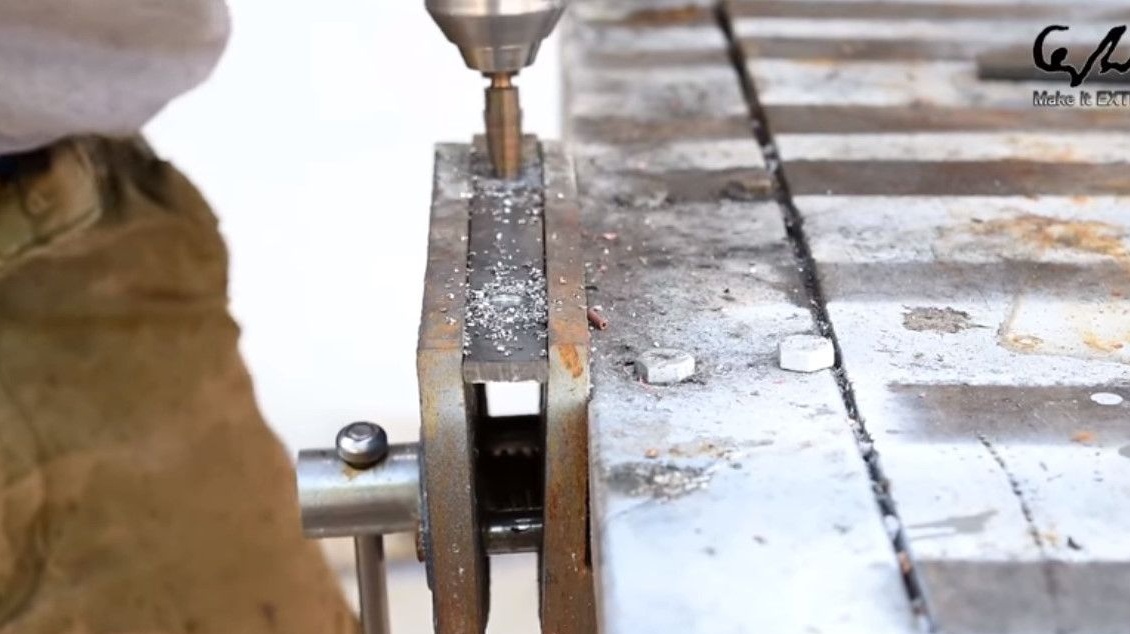
In a pre-made blank of steel sheet, a hole is drilled, its diameter should be equal to the inner diameter of the obtained crimp ring.

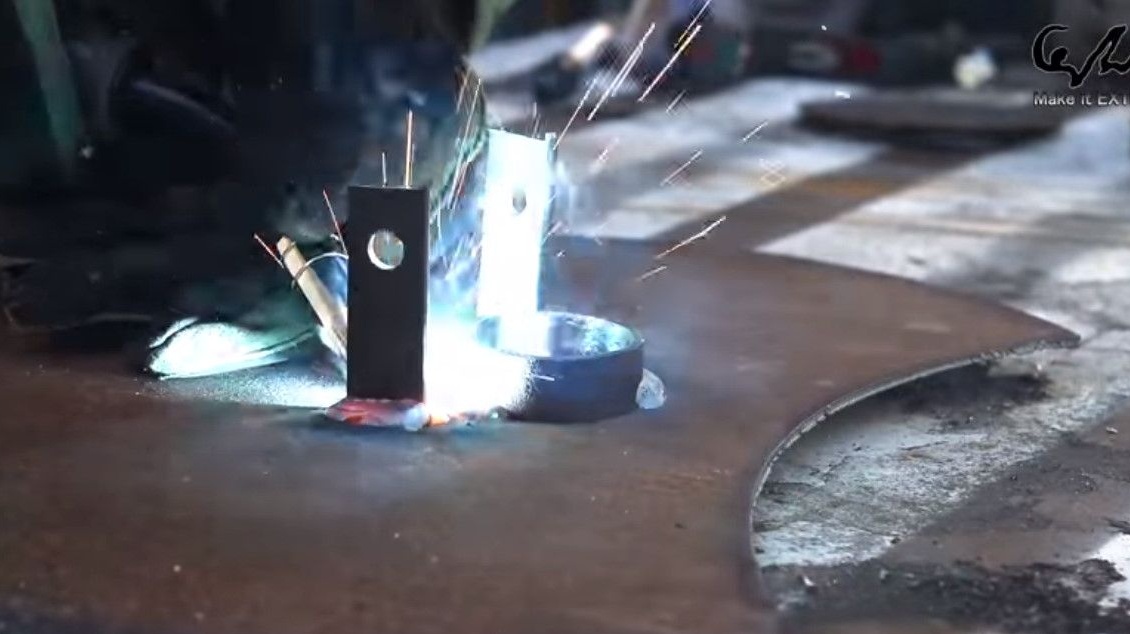
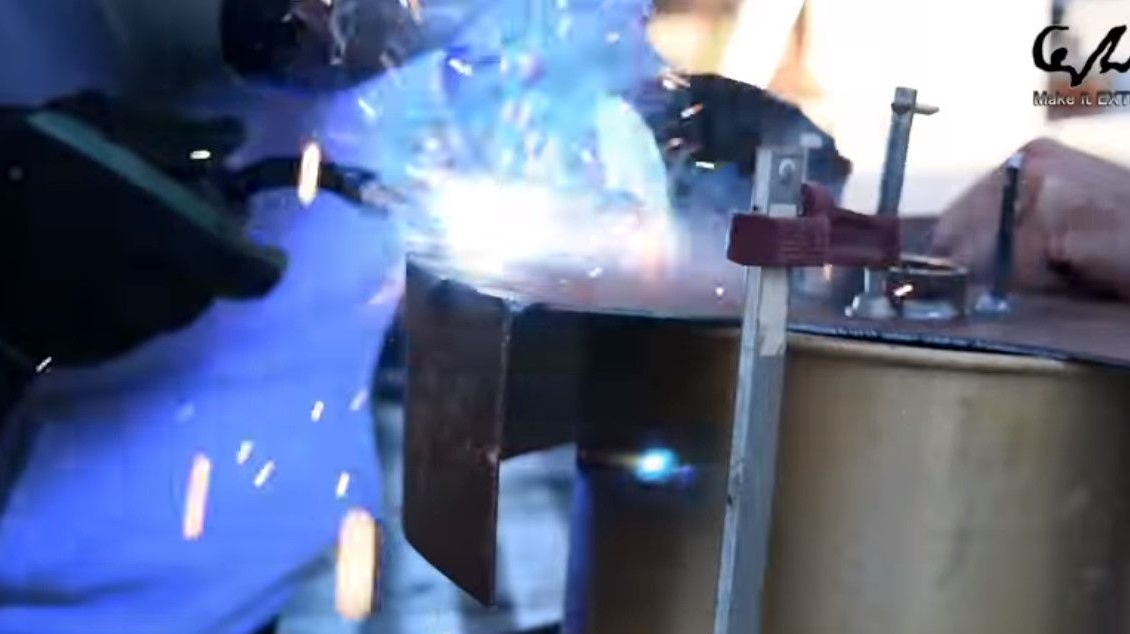
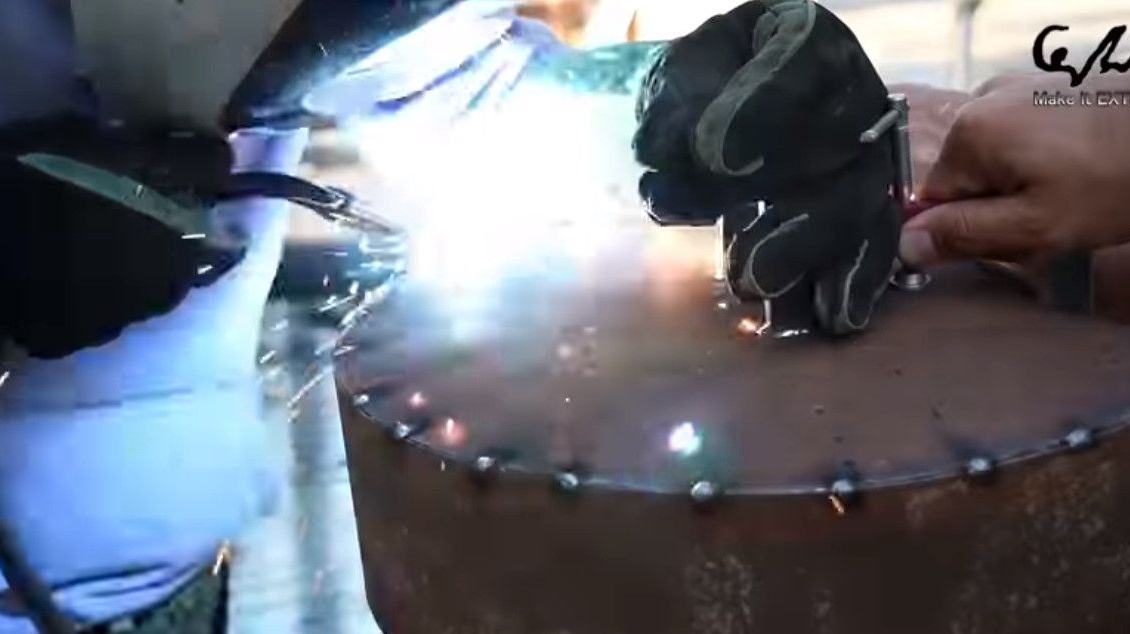
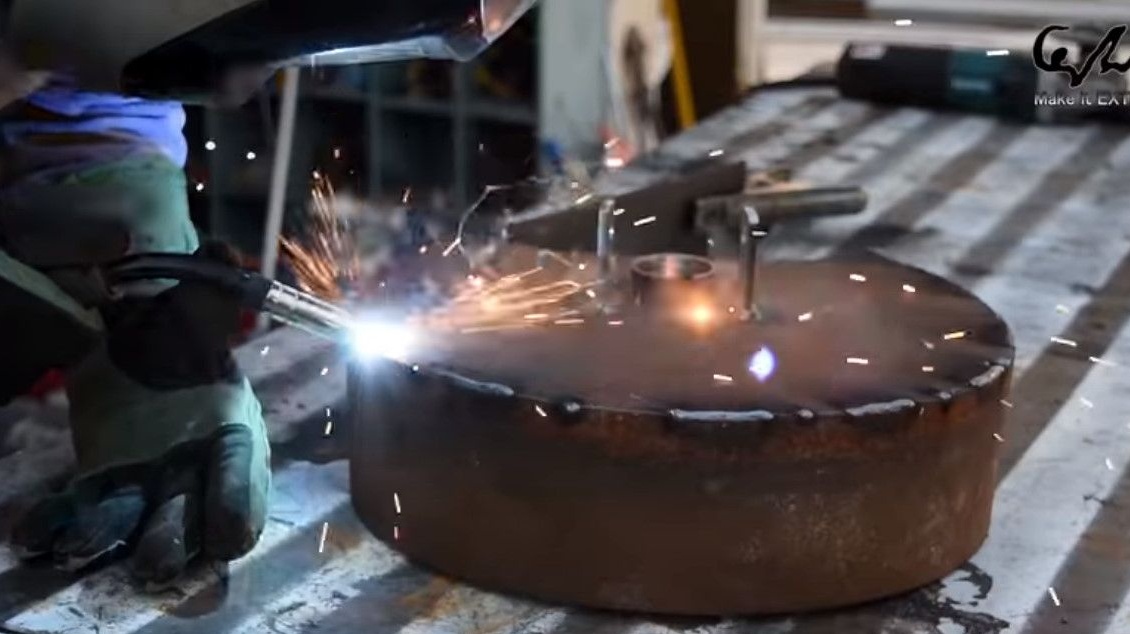
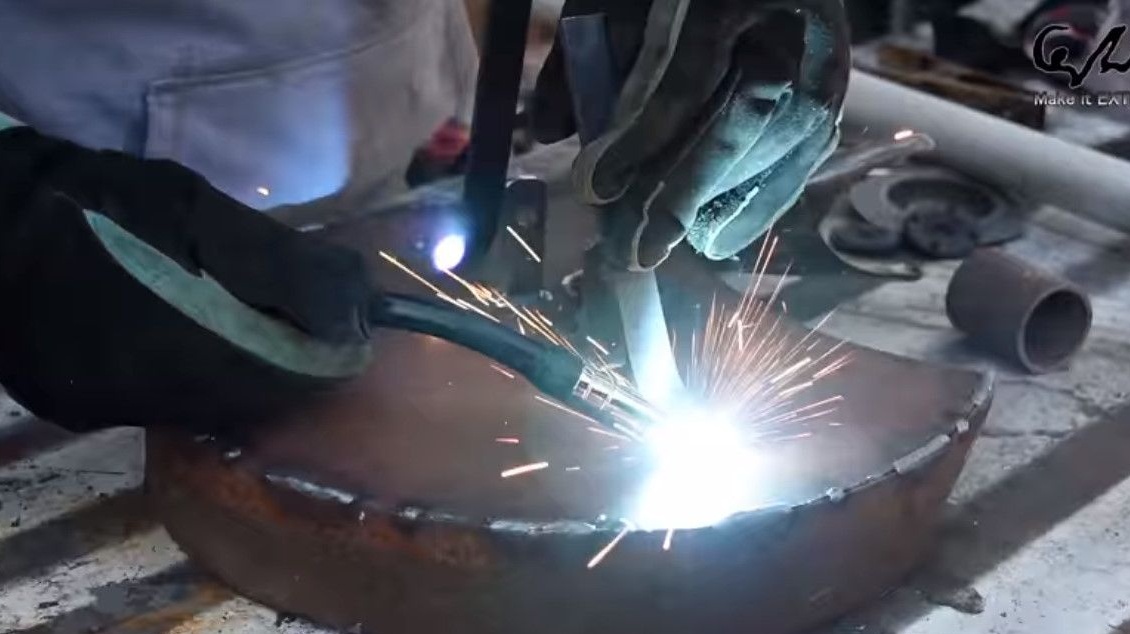
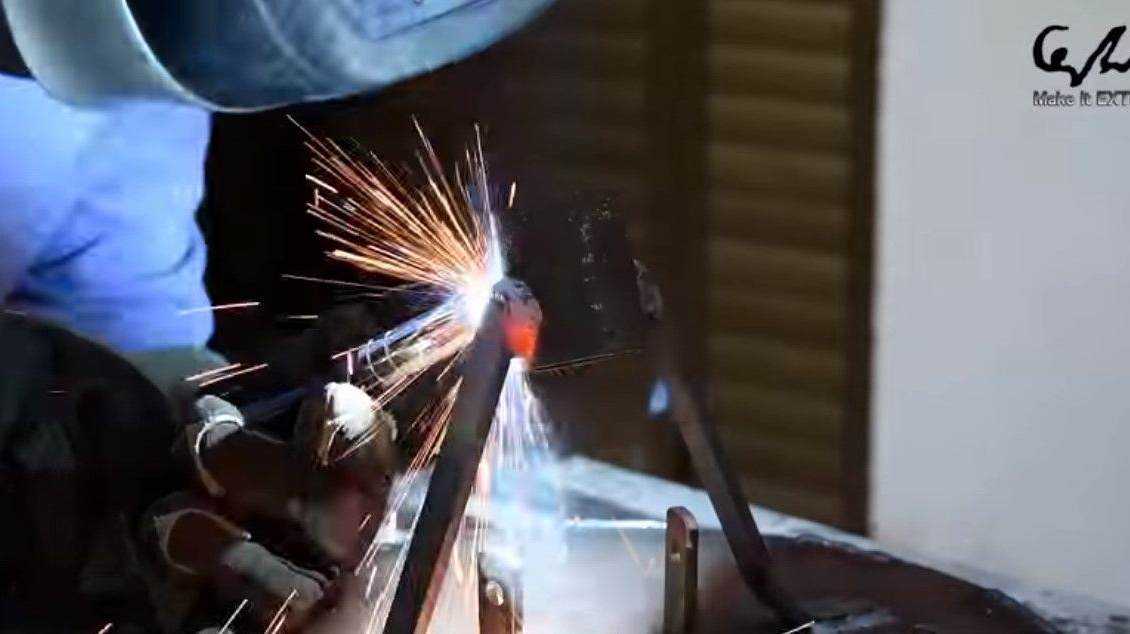
Welds the ring to the casing.
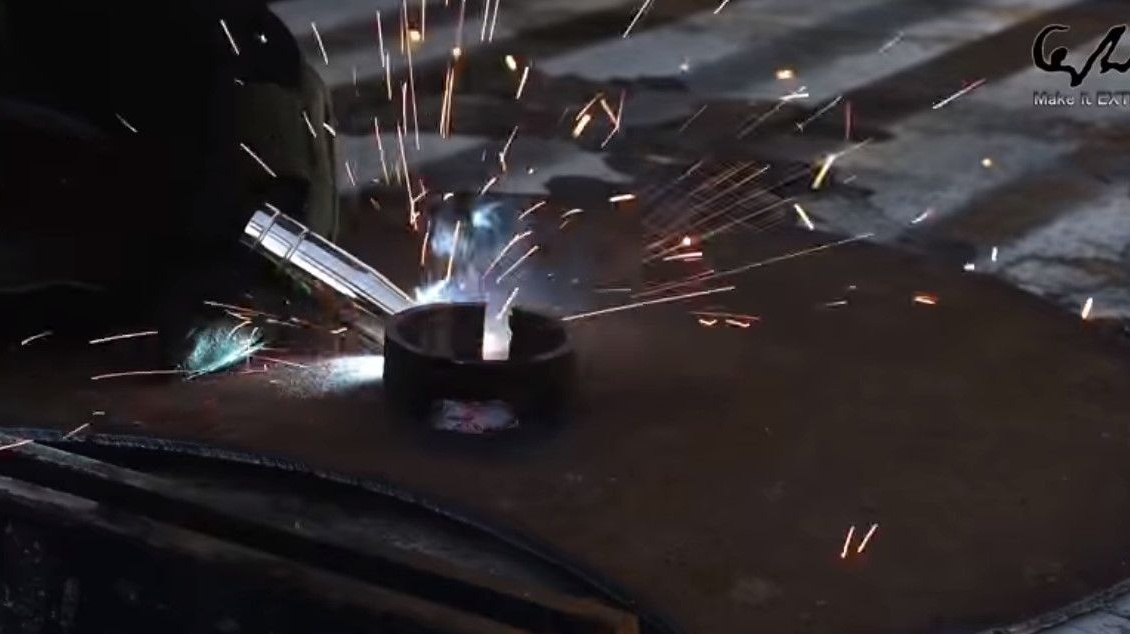

This is how it should turn out.
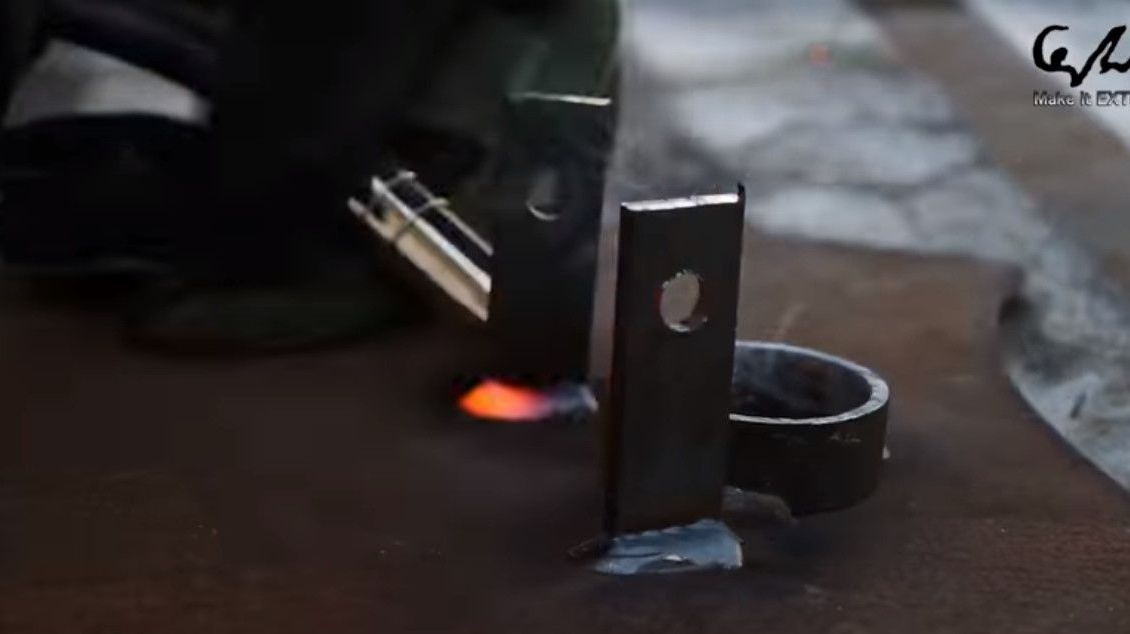
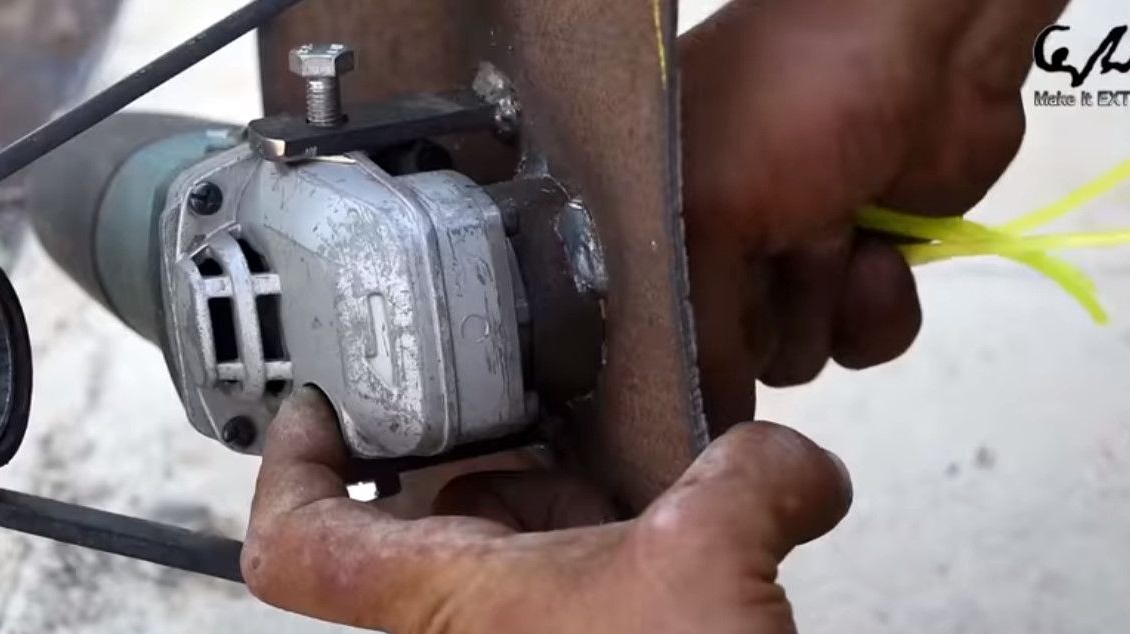
Of the steel strip makes the "ears" of mounting the grinder to the casing. Marks, drills with a step drill to
diameter of the handle of the grinder, usually it is 12 mm or 14 mm.

Having cut it, it gets such blanks.
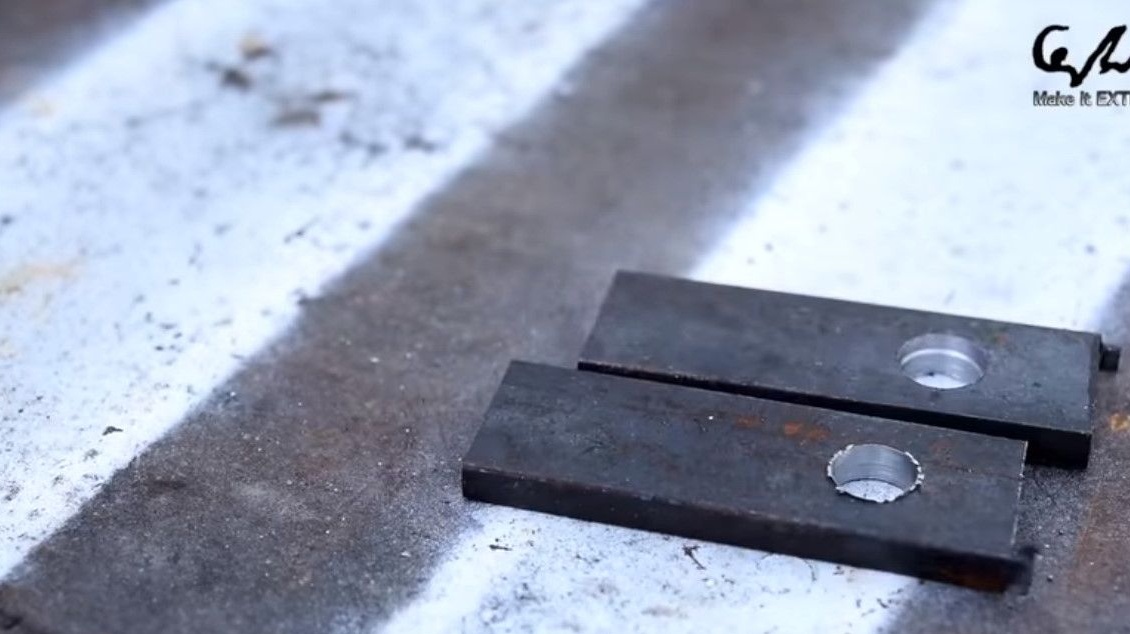
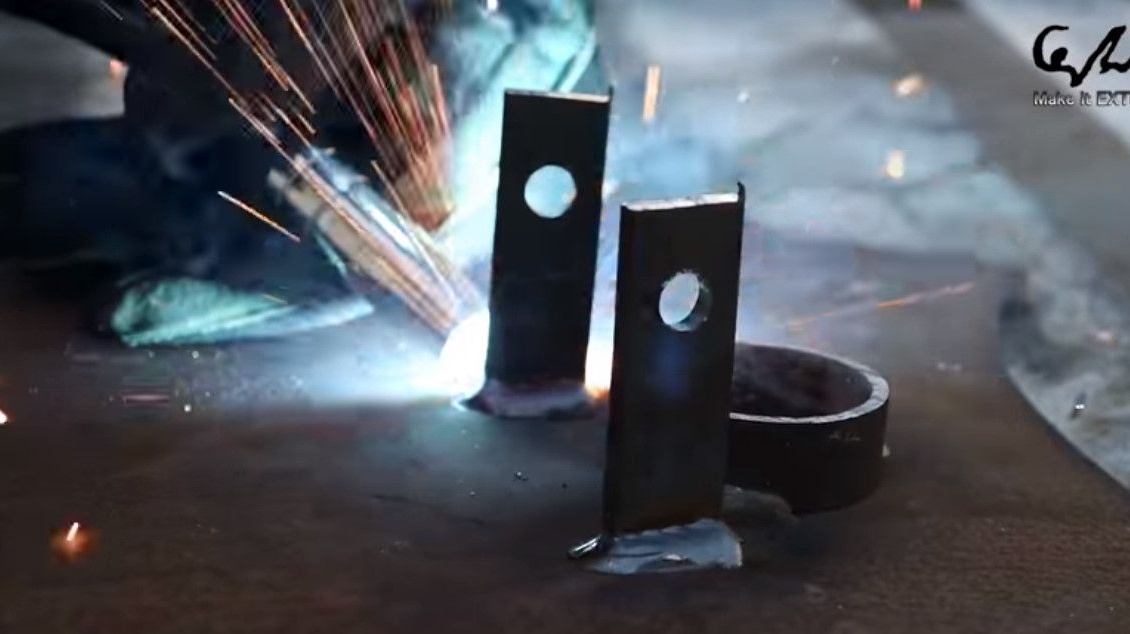
Welds them to the casing.
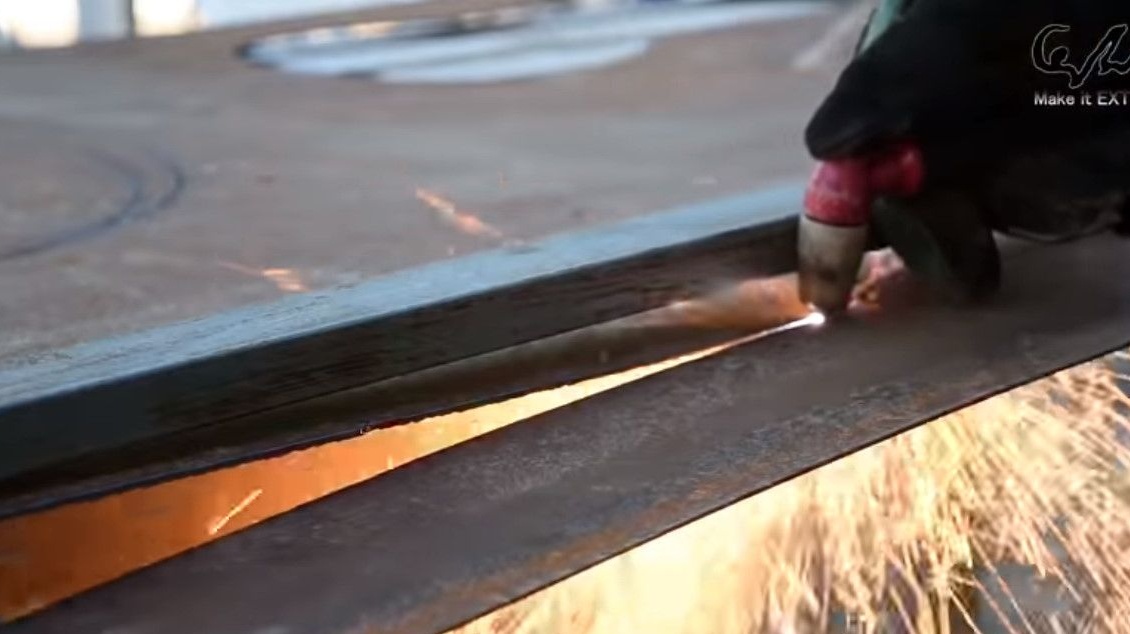
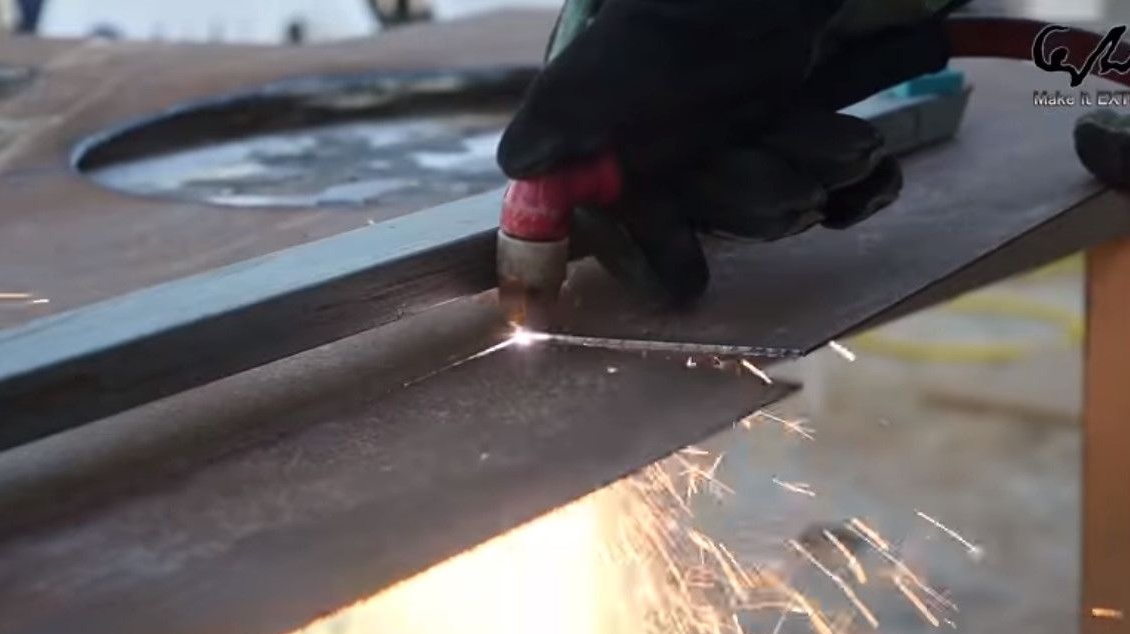
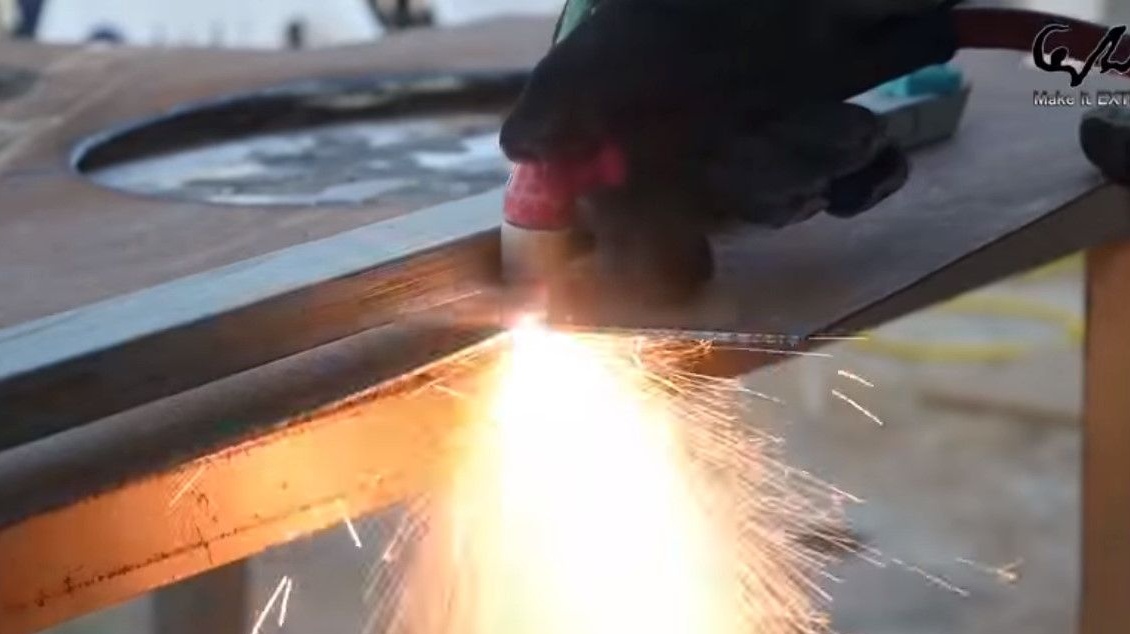
Further, from a steel sheet, makes a rectangle. This will be a skirt for the casing, using a plasma cutter.
Of course, you can grinder, but it’s so much more beautiful!


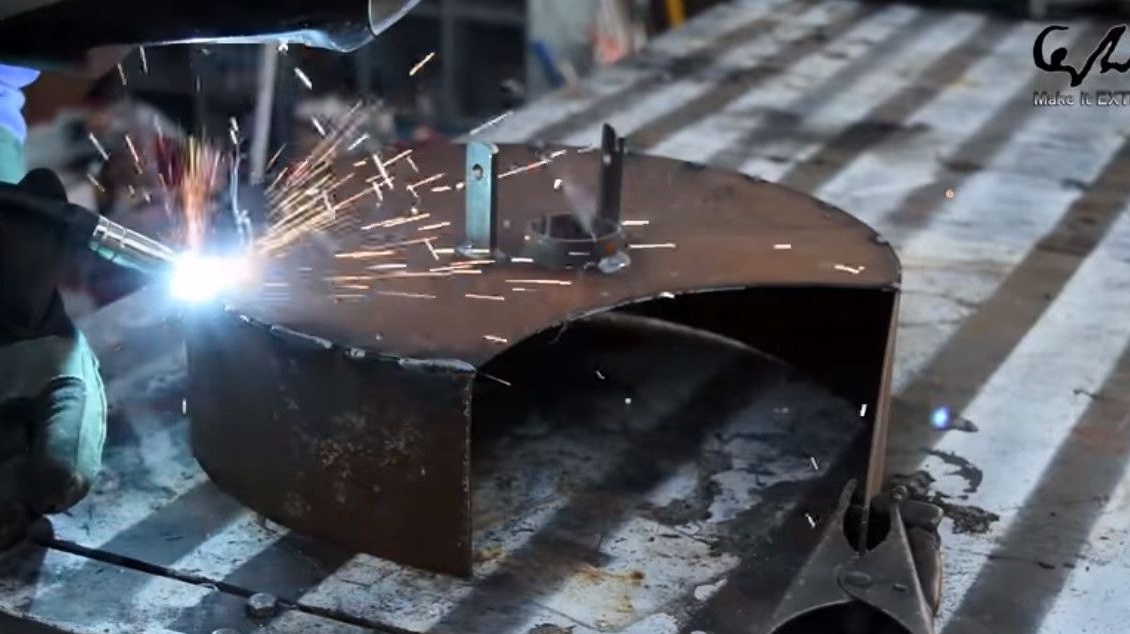
First, she picks up the skirt with welding.
Then he makes several long seams.

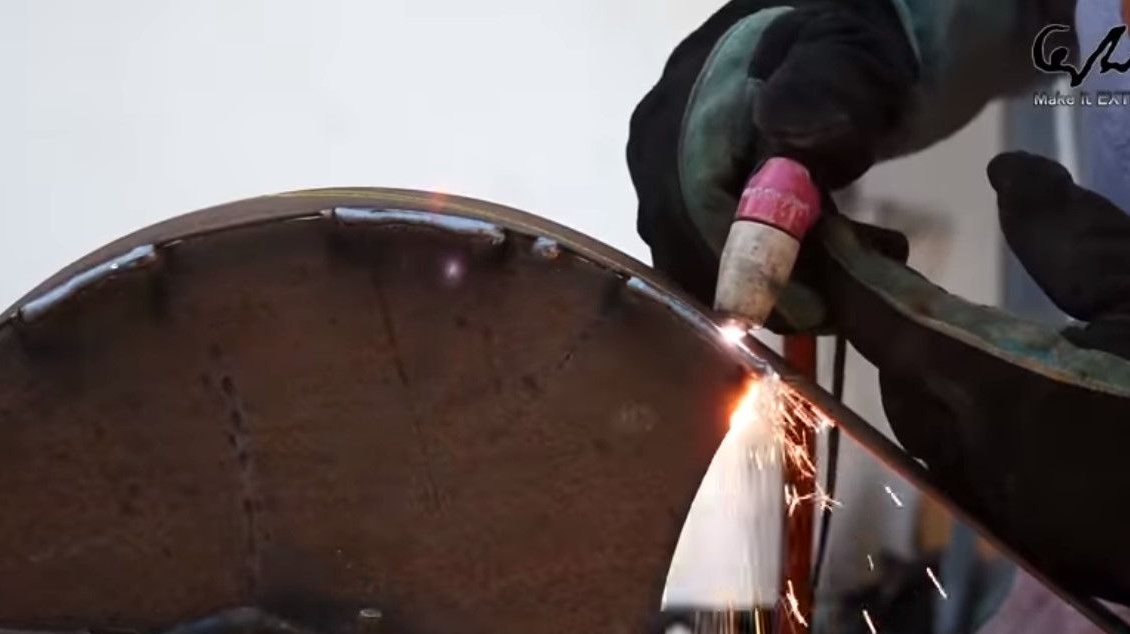
Using a plasma cutter, rounds the front corners of the skirt.
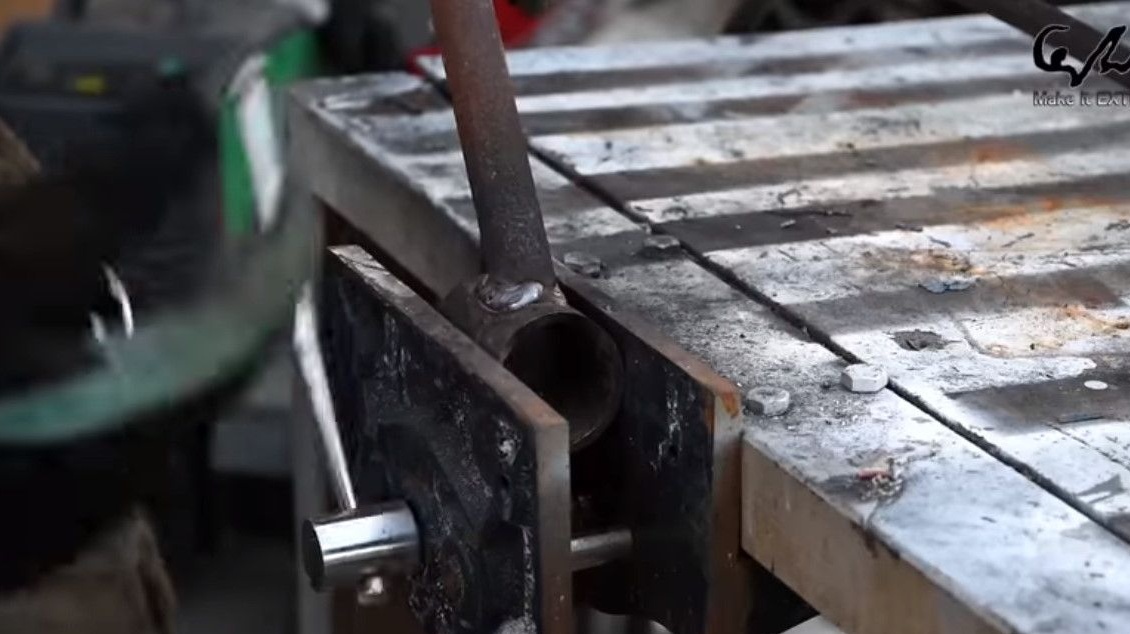
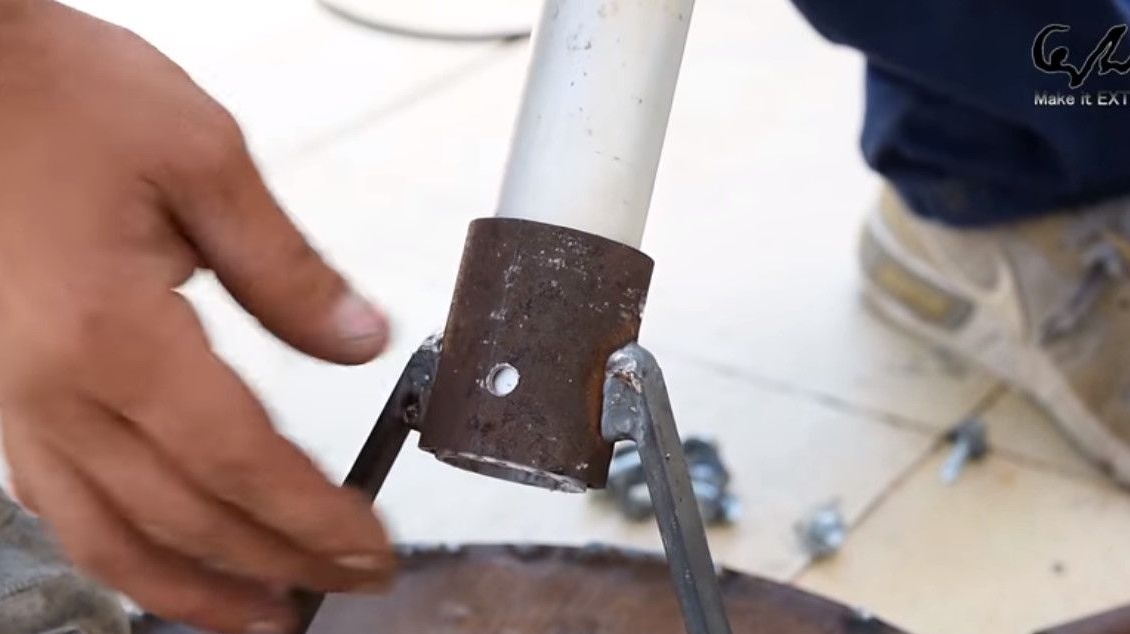
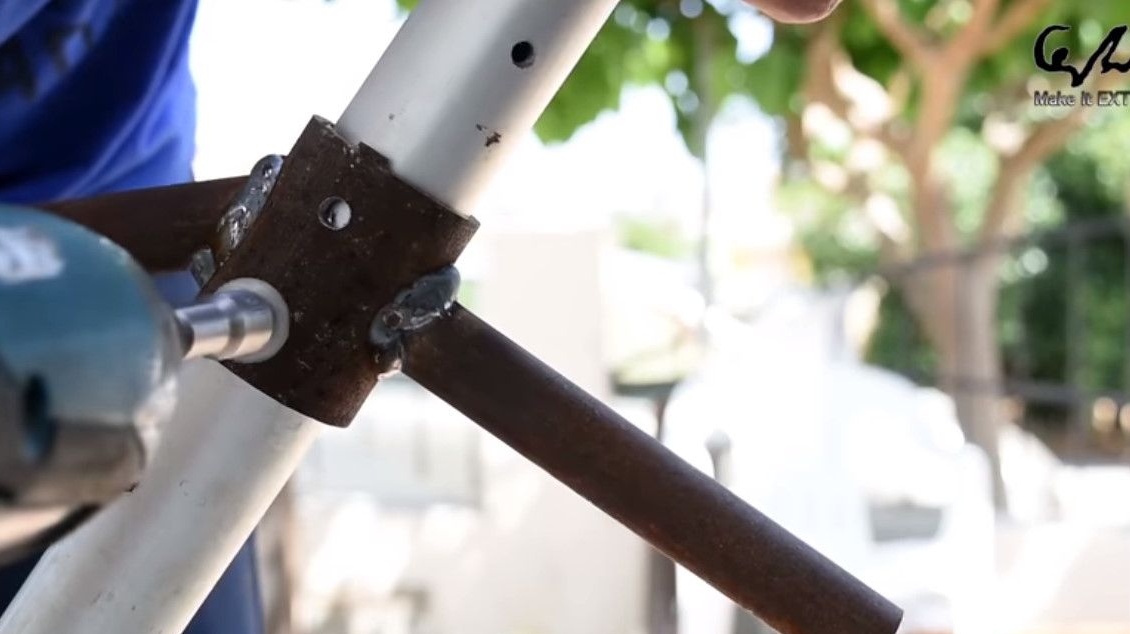
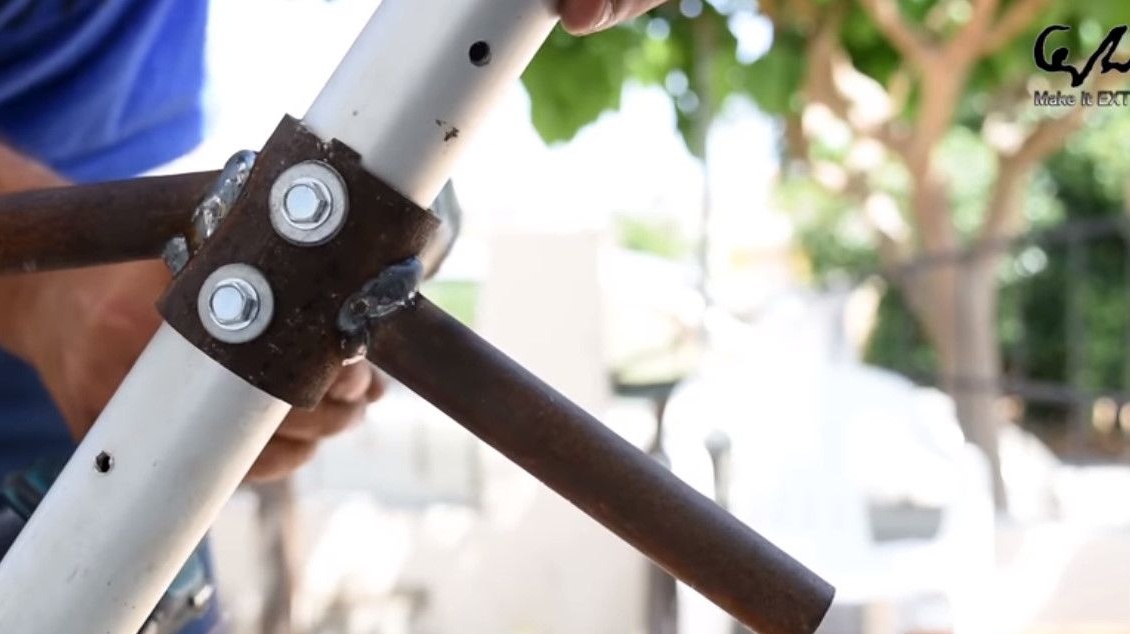
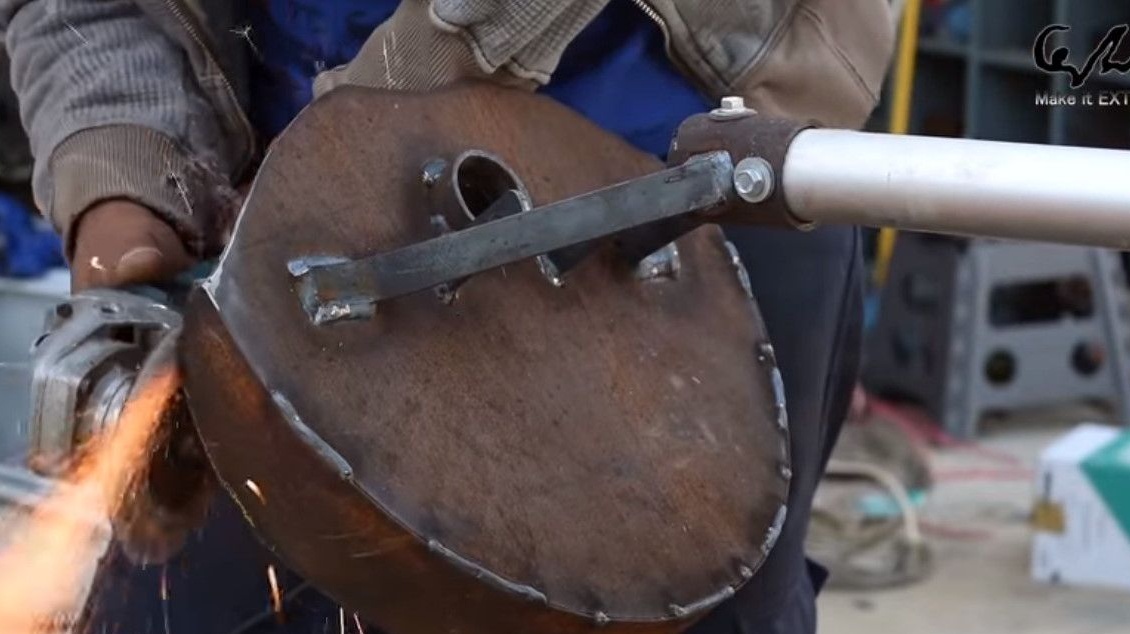
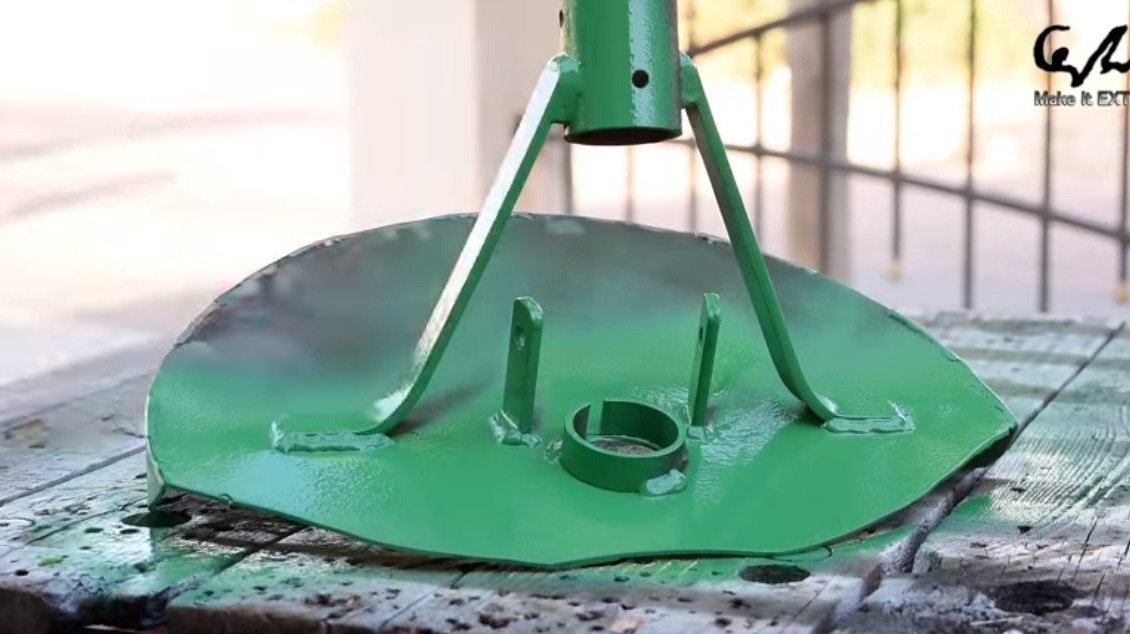
Clamping a steel strip in a vice, forms two fastenings for a bar.
Welds them to the cover of the casing.
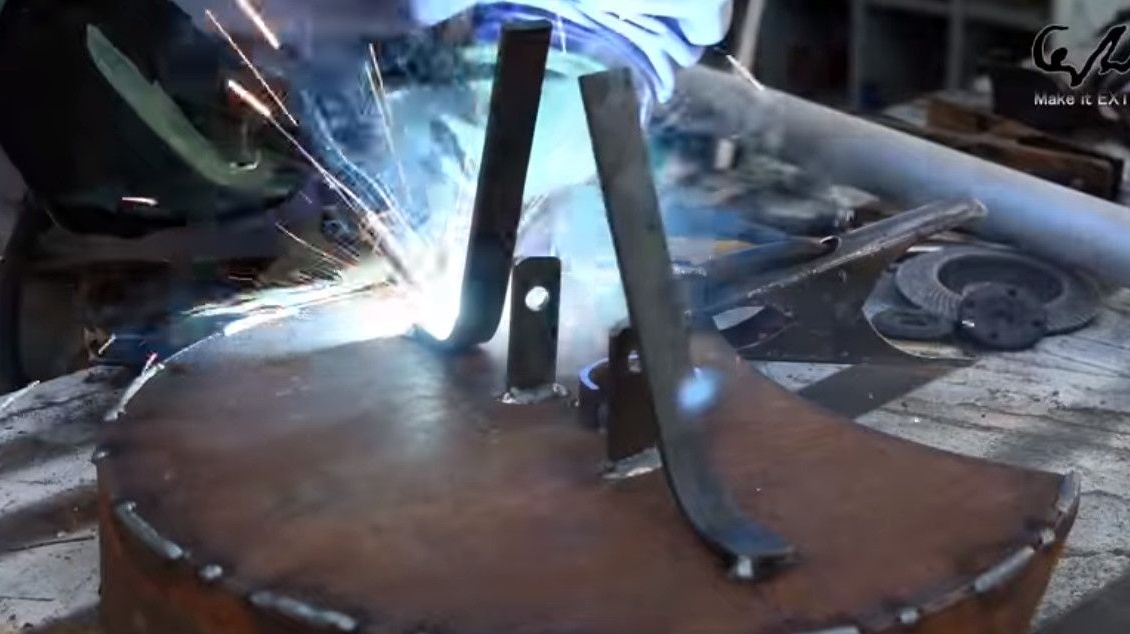
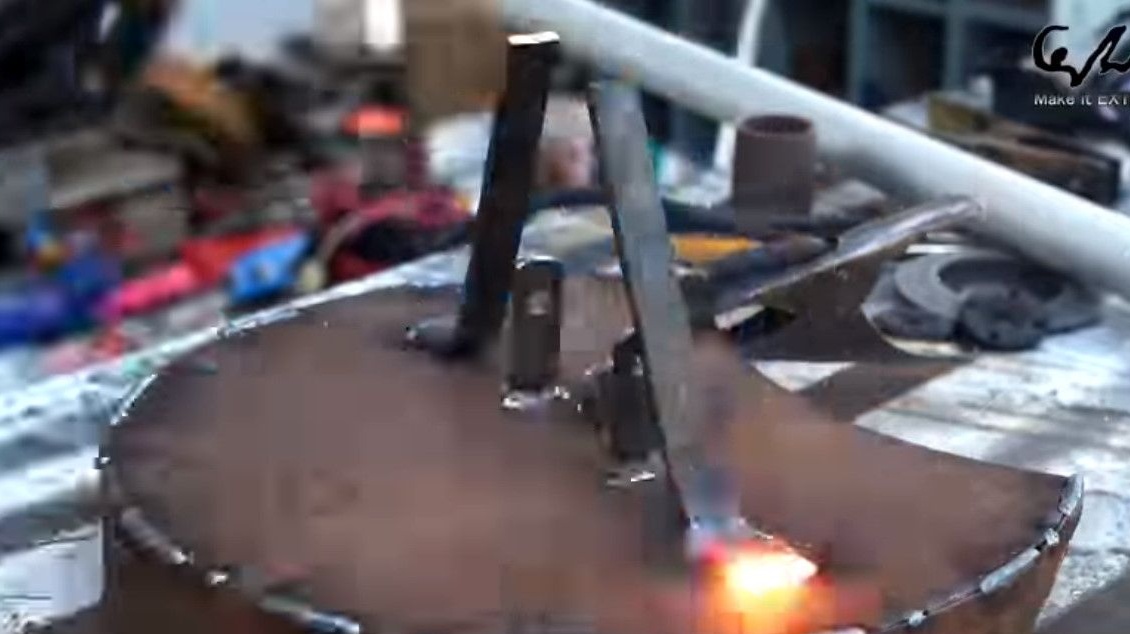
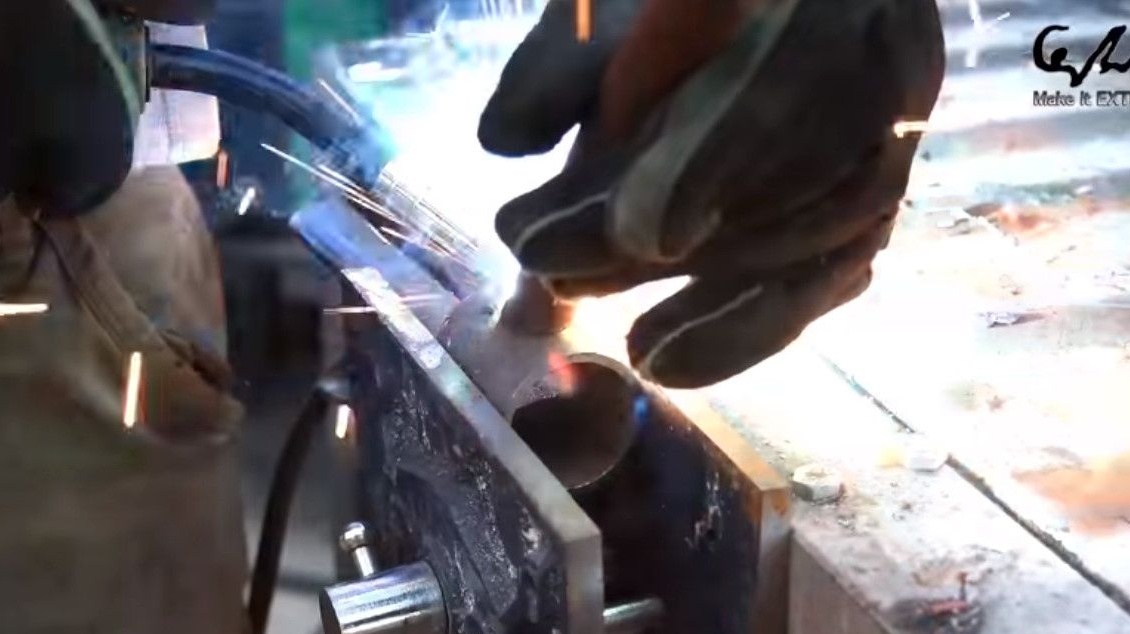
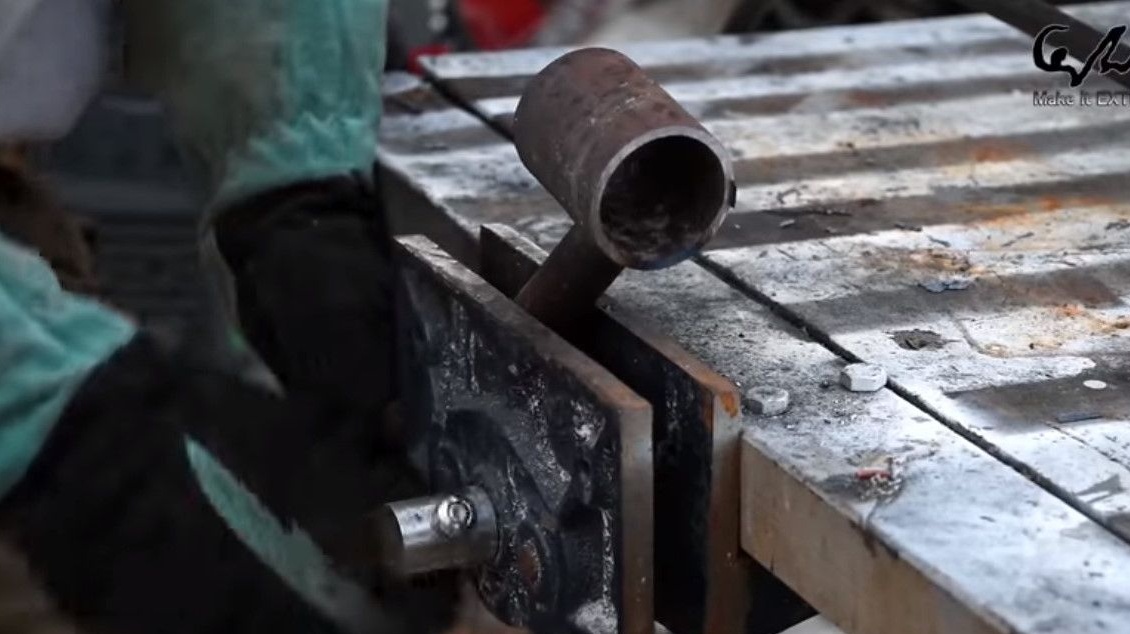
Between the upper parts of the fasteners, a sleeve of steel pipe is welded. A bar will be inserted into it.
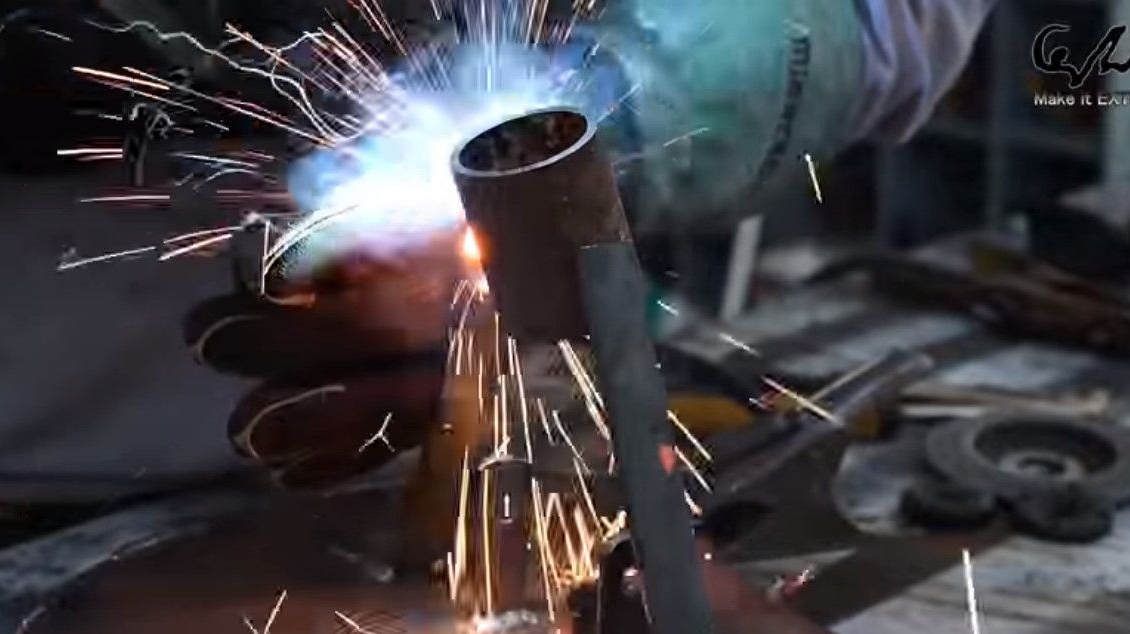
From another trimming of the pipe and thin tubes makes the upper handle.


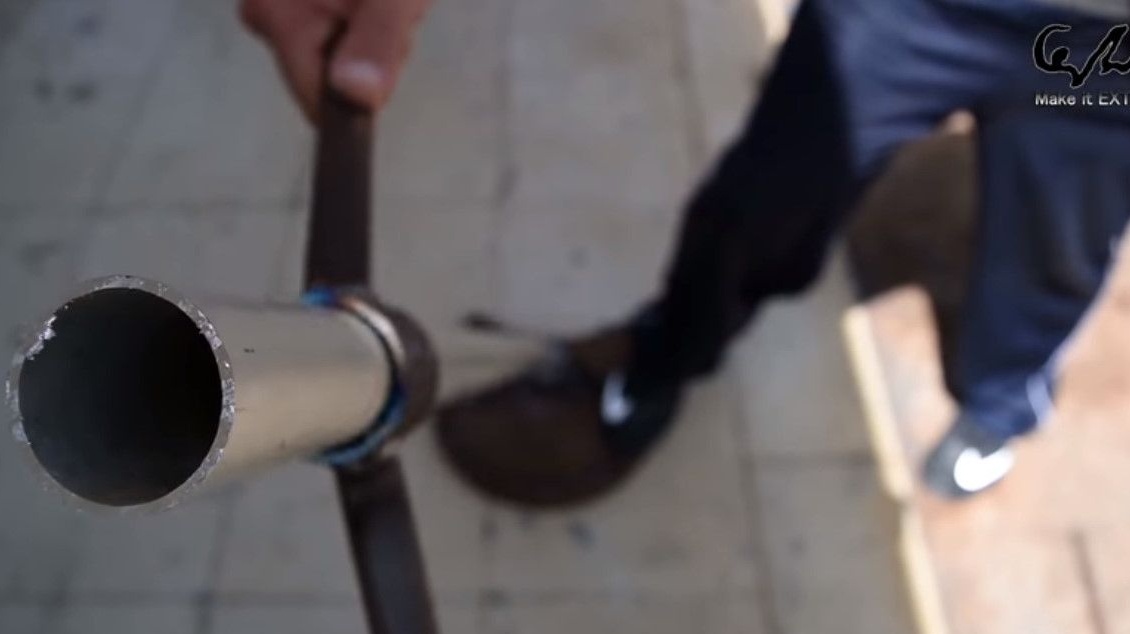
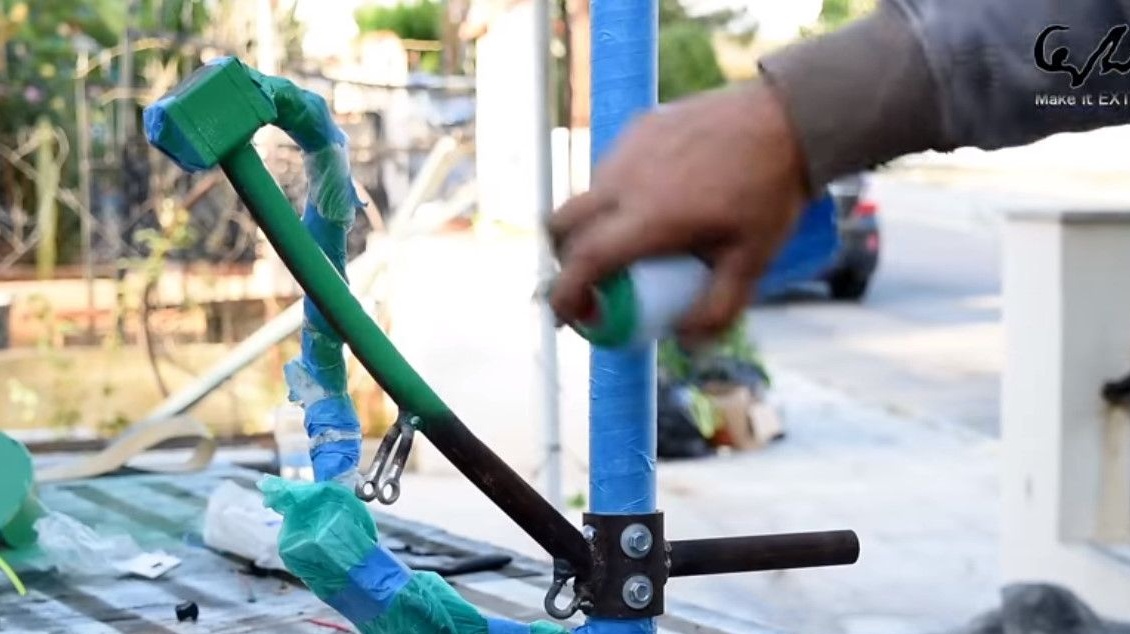
Slices a piece of aluminum pipe, it will be a rod.
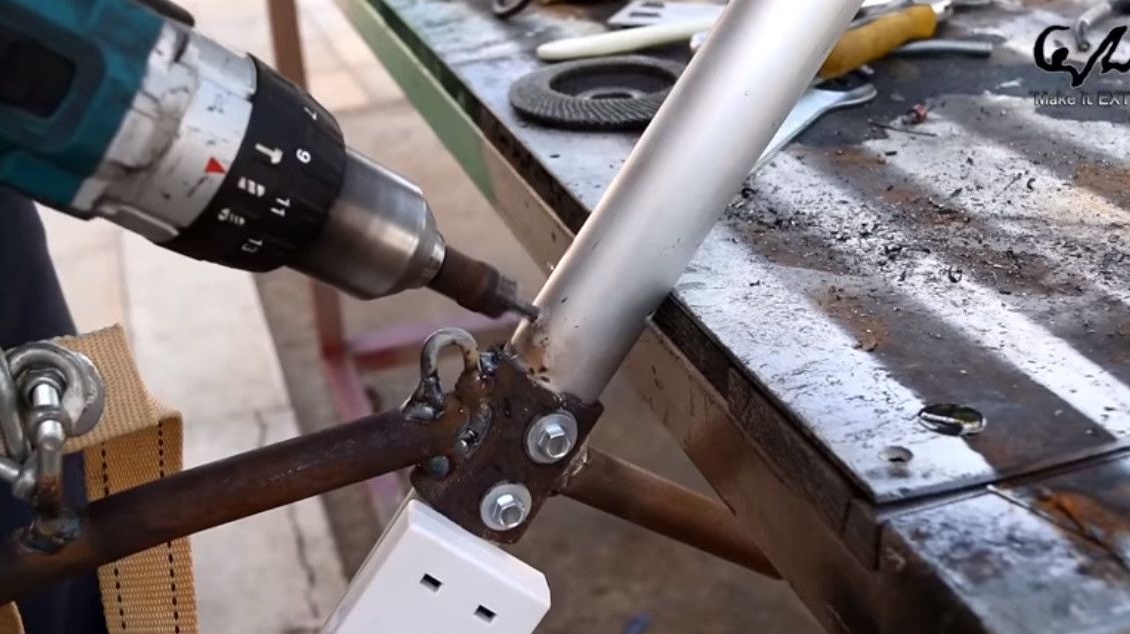
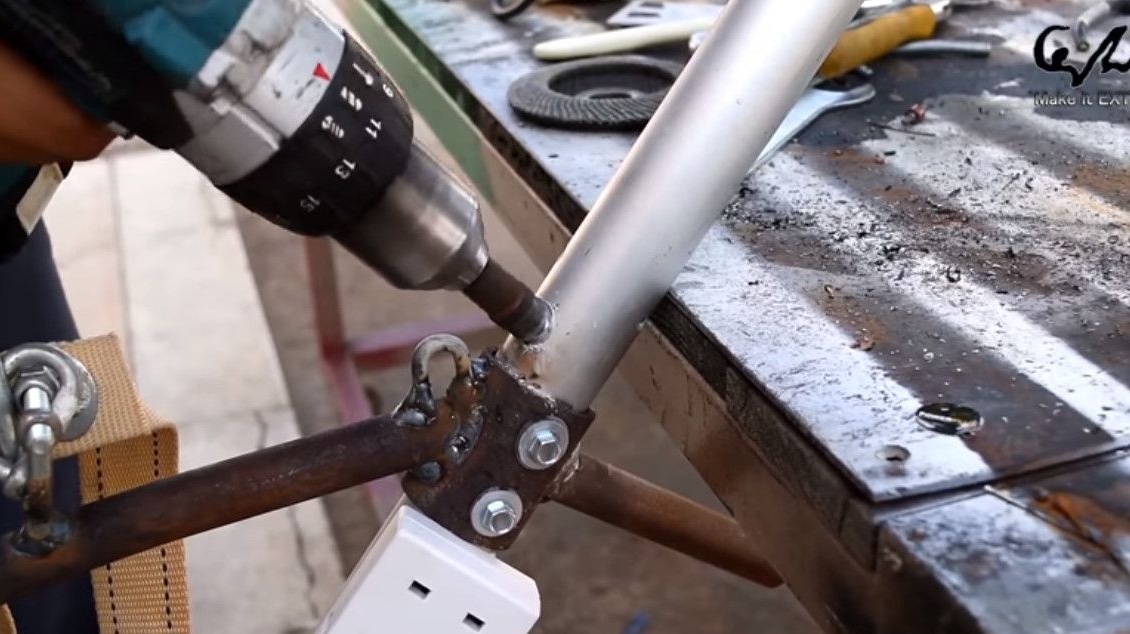
Inserts it into the holder, fixes it with self-tapping screws using a wrench.
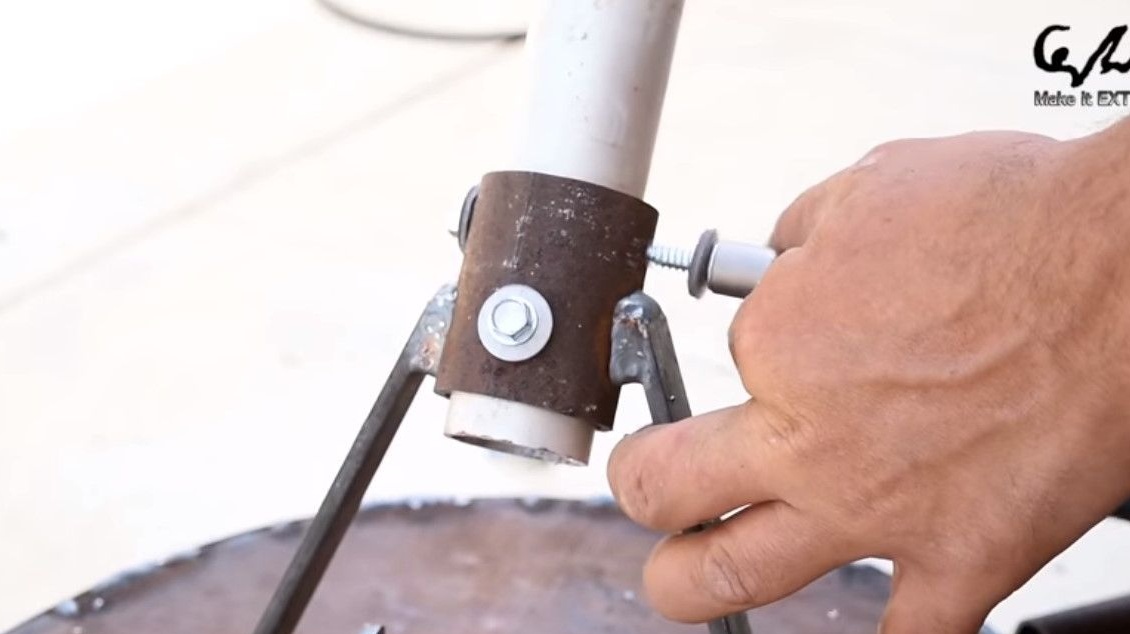
Puts the upper handle on the bar. Also fastens.
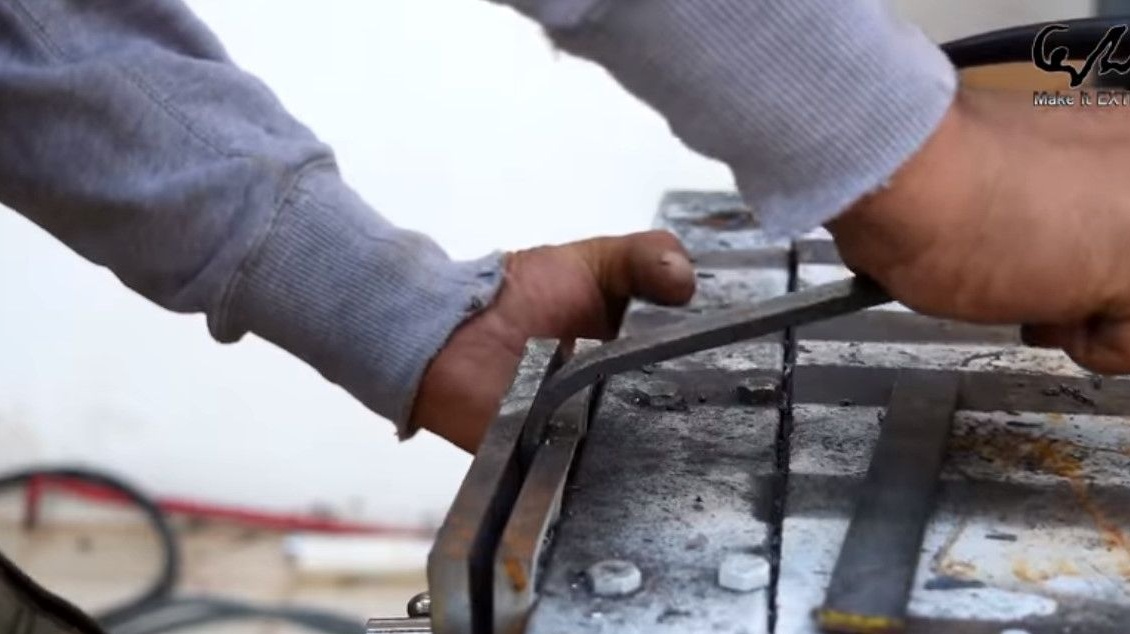
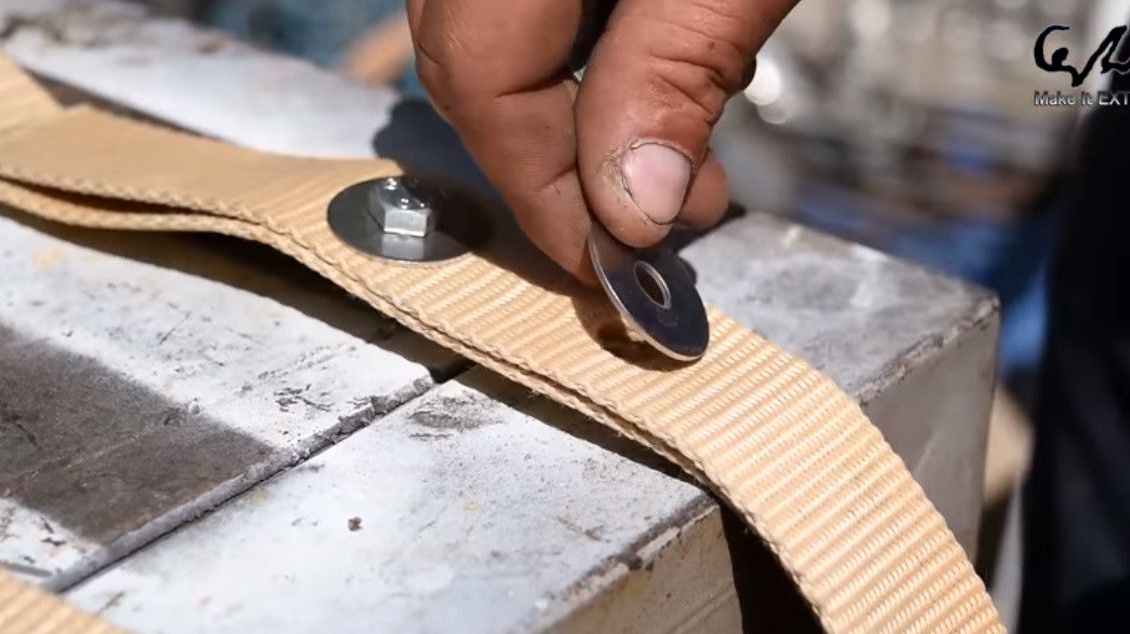
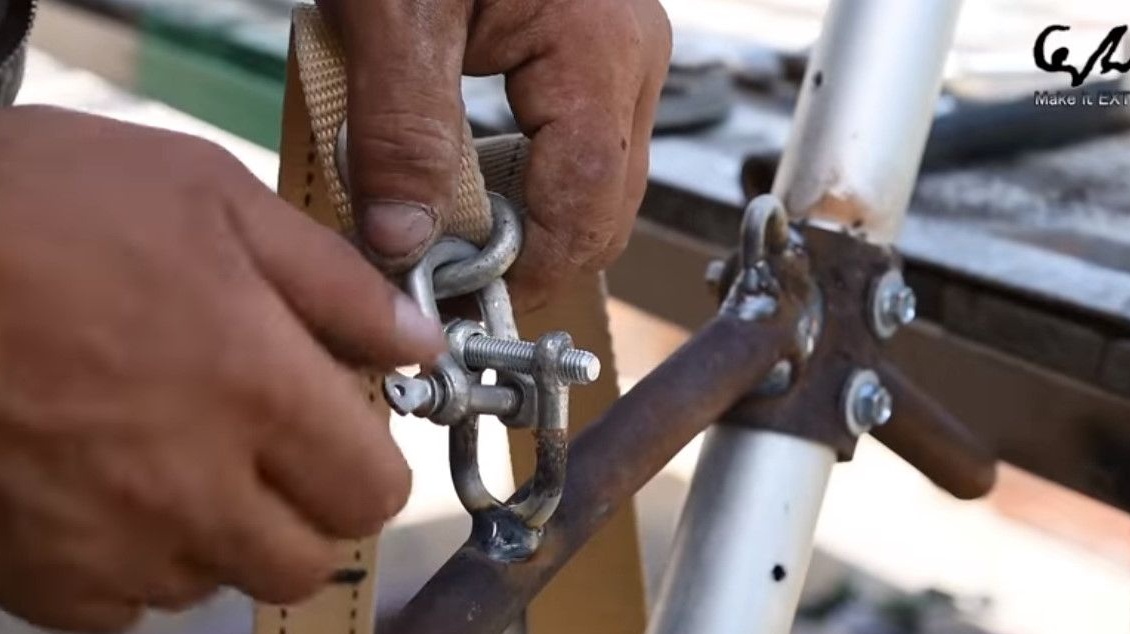
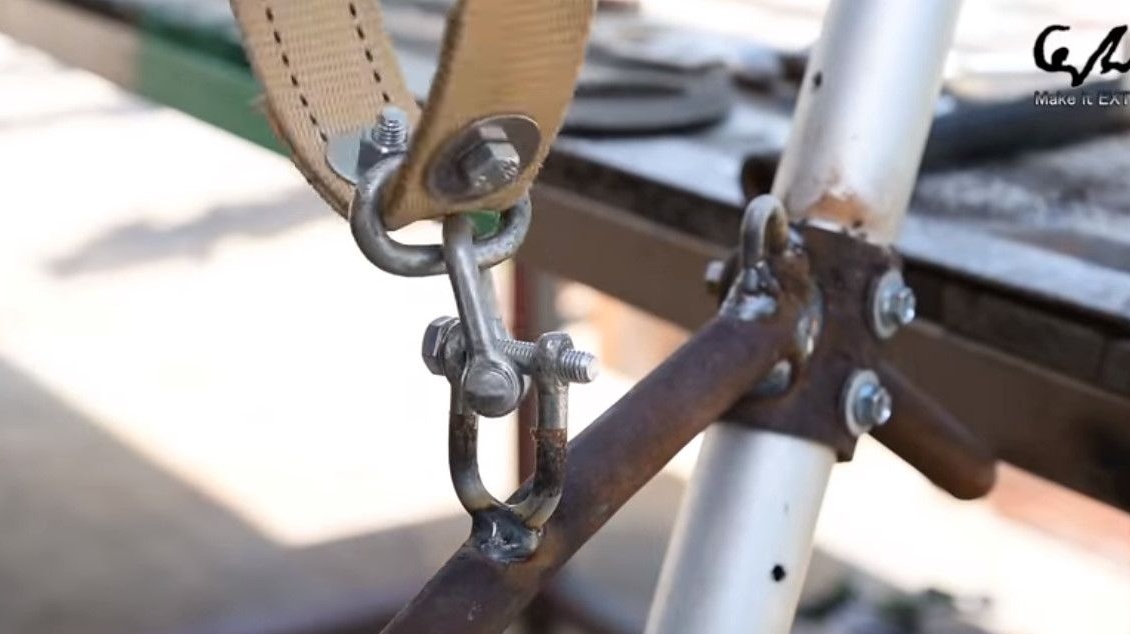
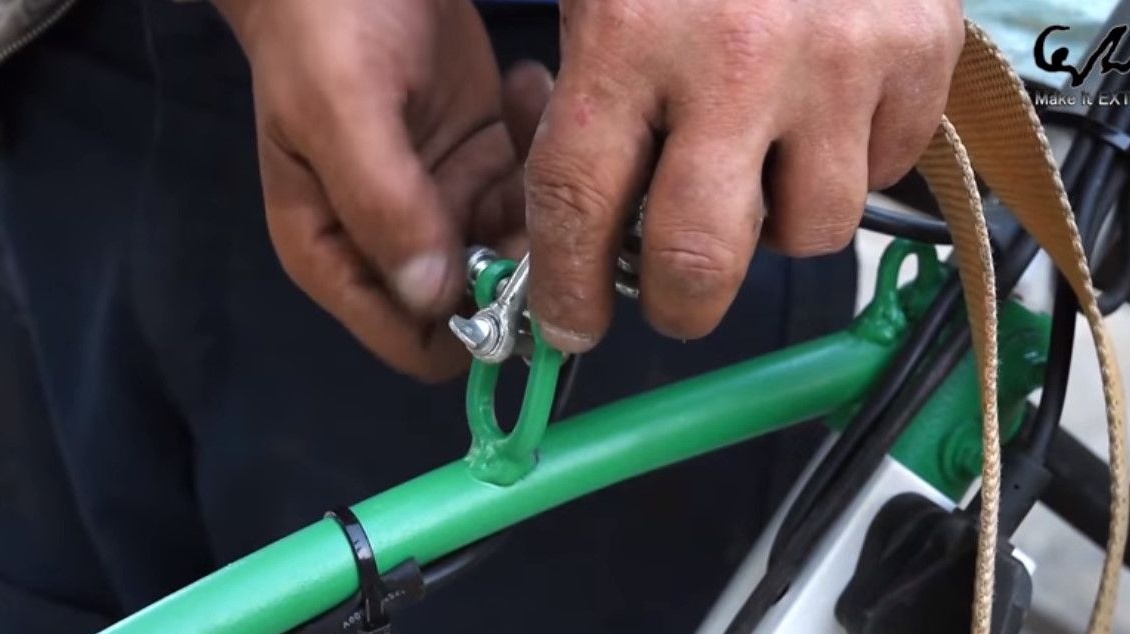
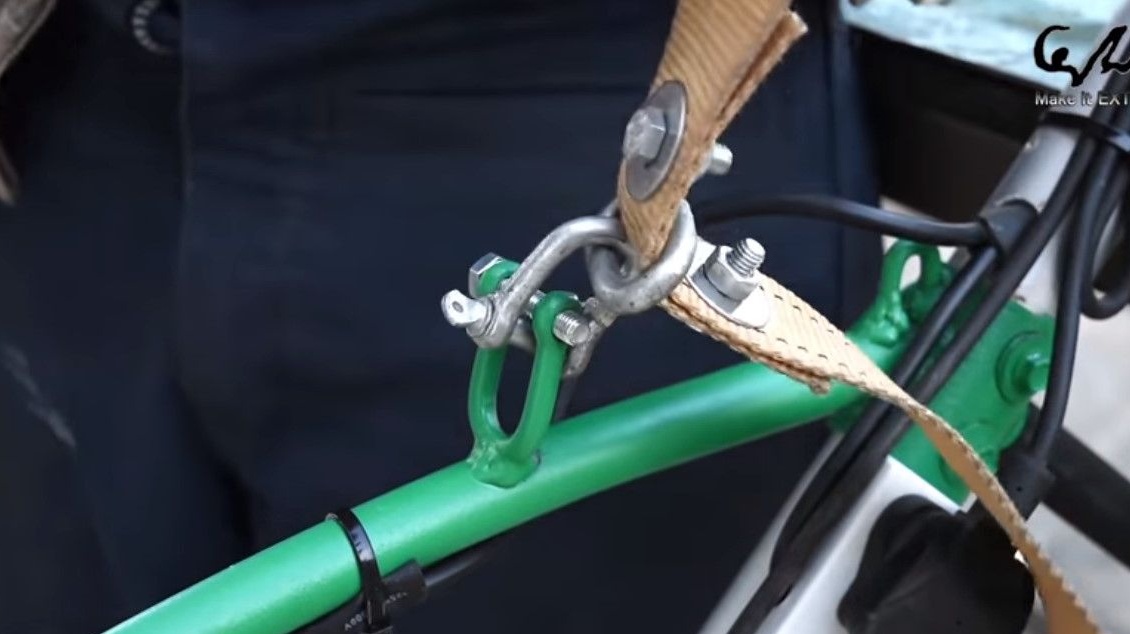
Now makes a belt from a strong fabric tape.
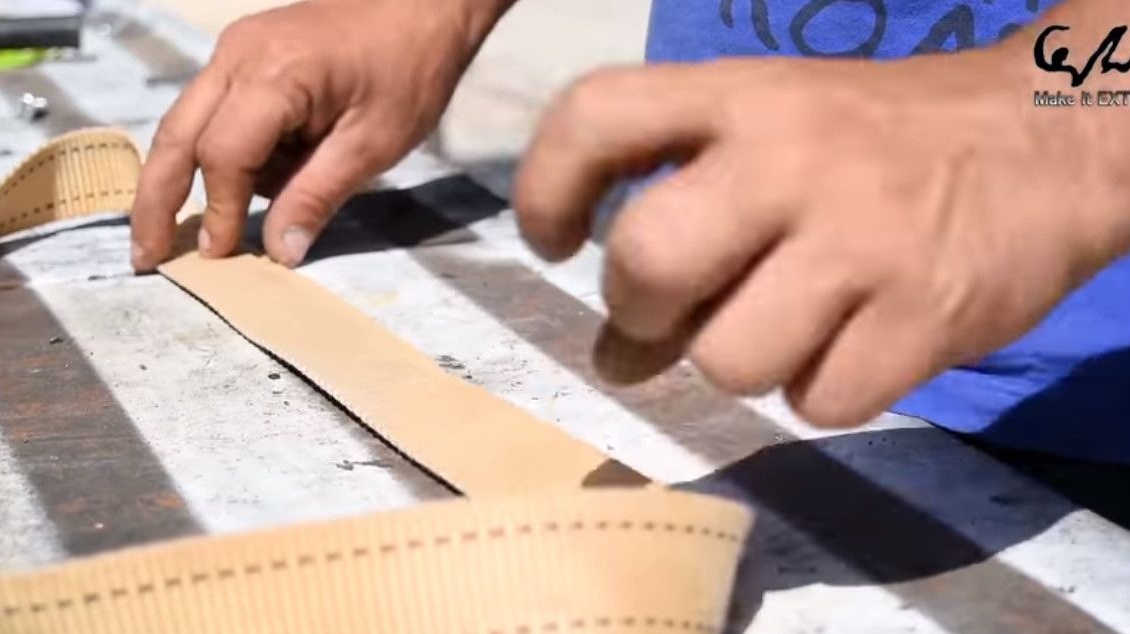
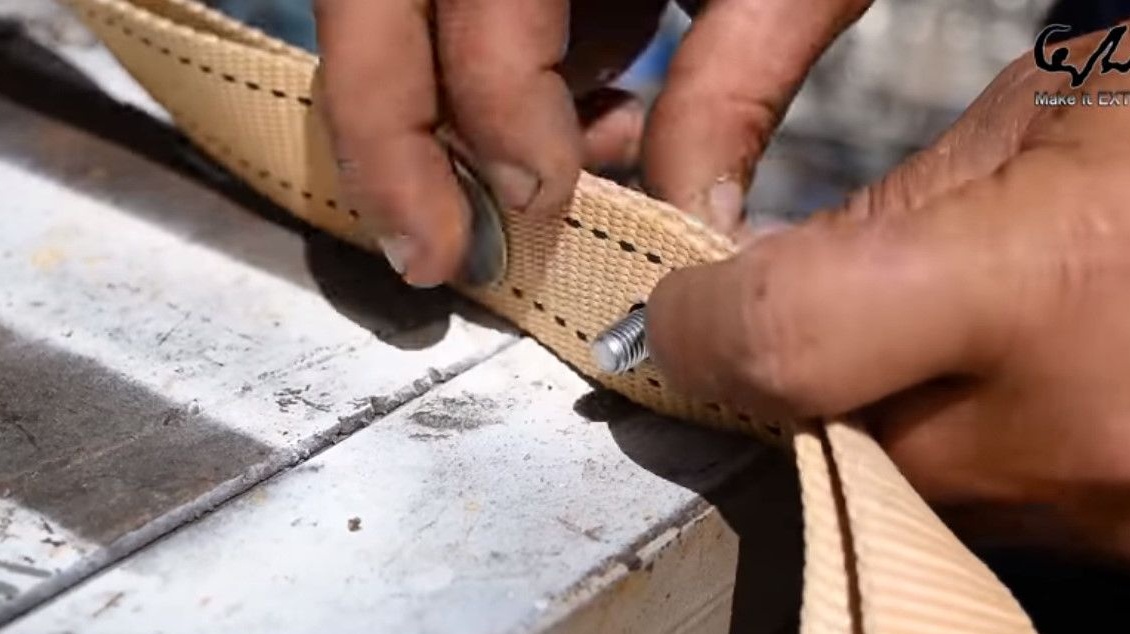
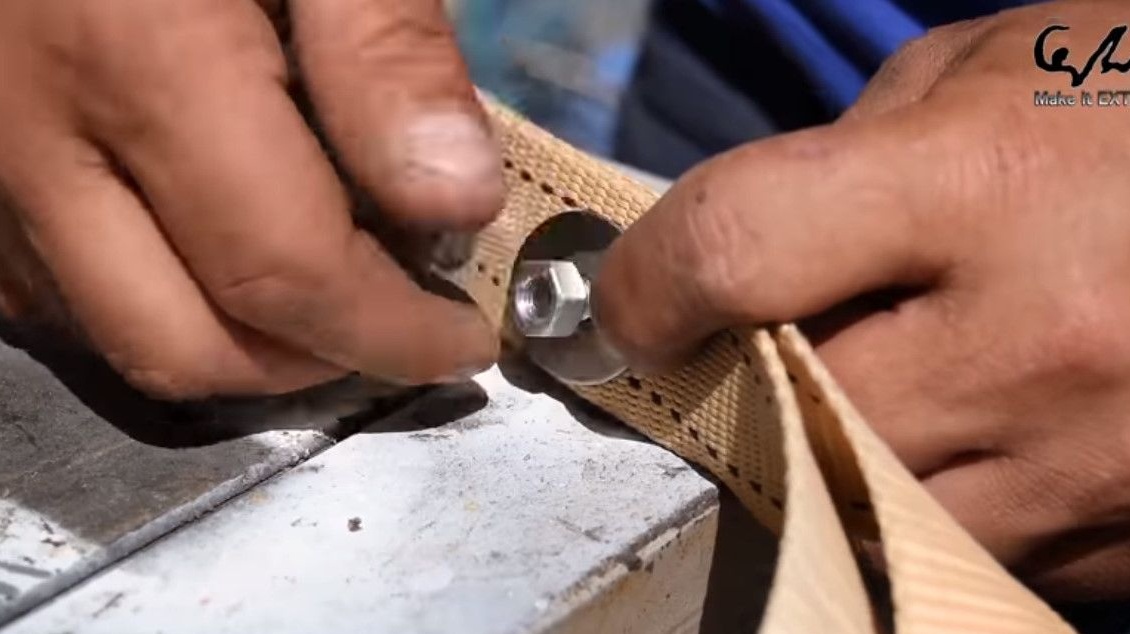
With the help of a punch, he makes a hole in the tape, clamps it with a bolt and nut, laying the washers.


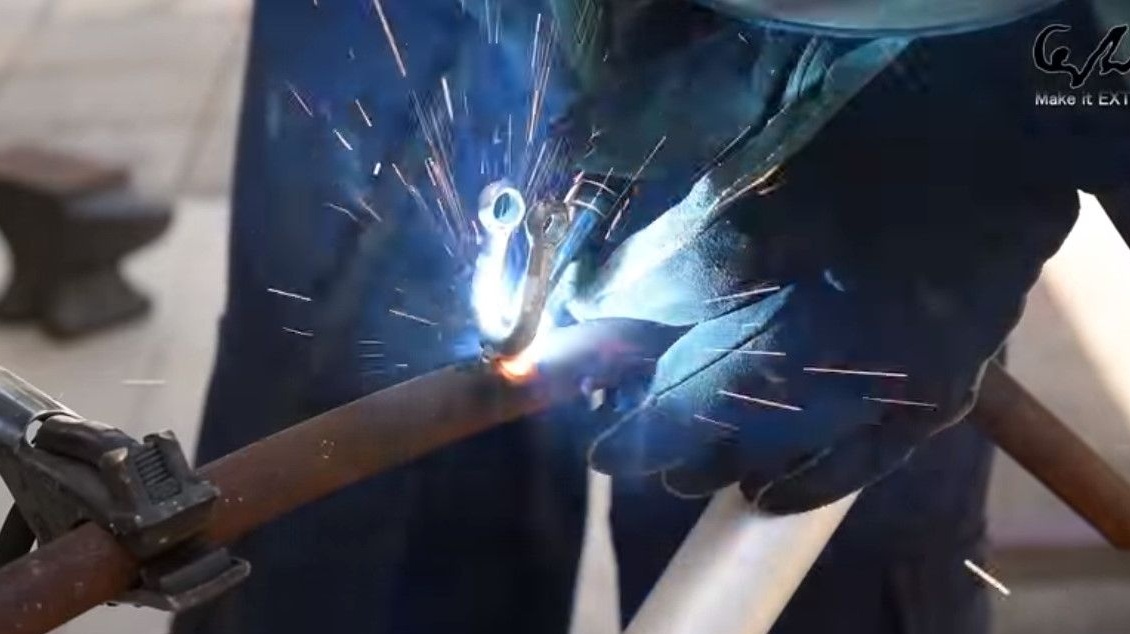
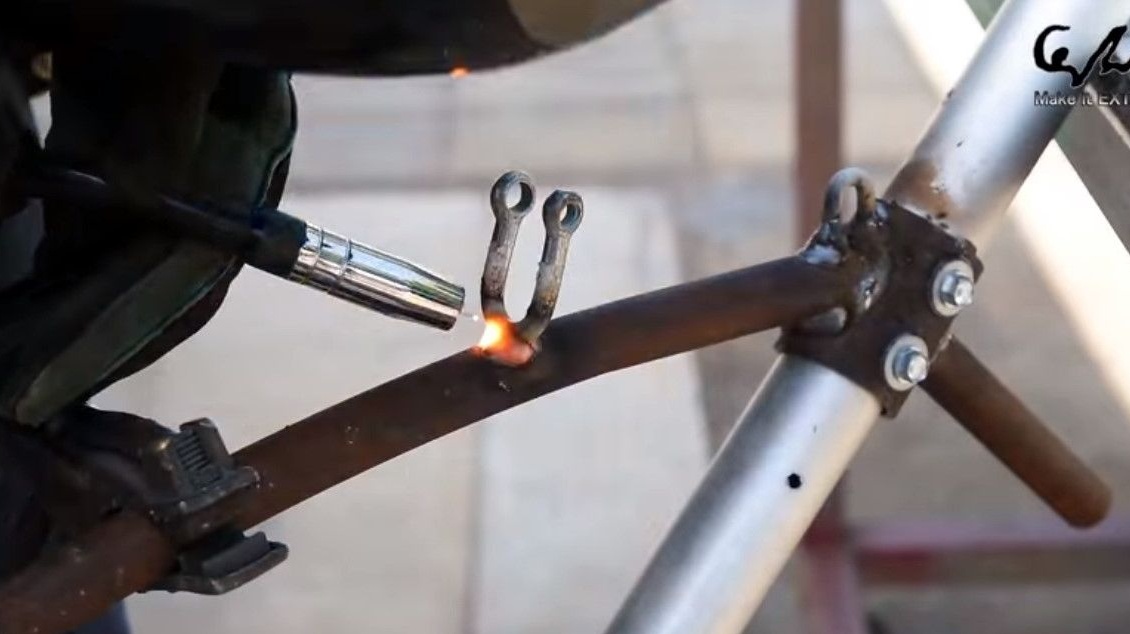
Welds a fork to the upper handle for fastening the belt. Fixes it.
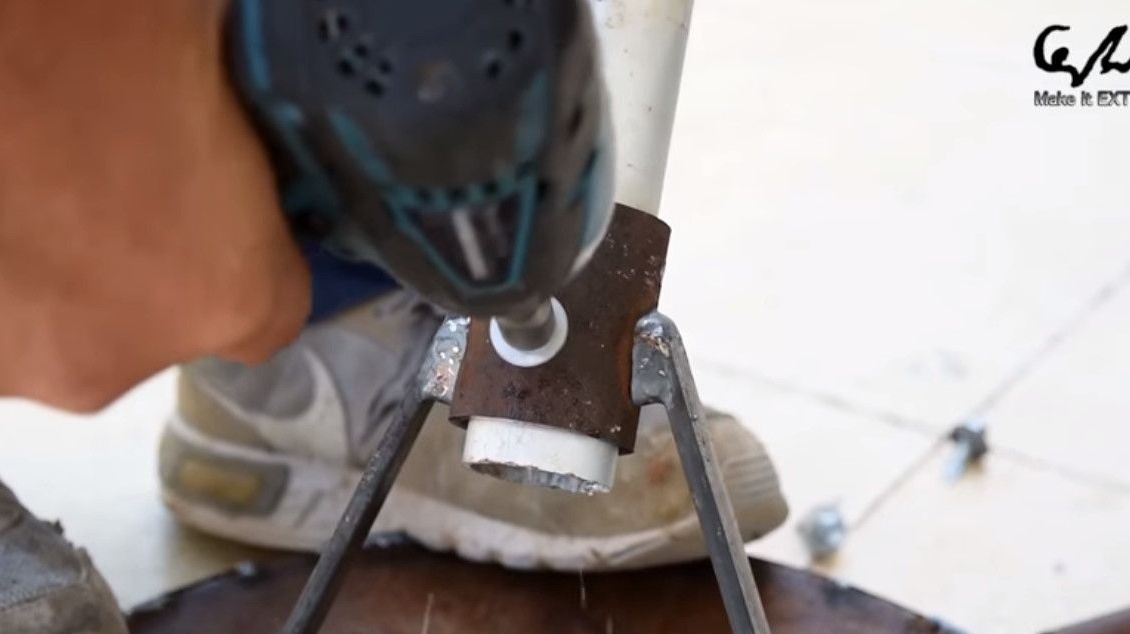
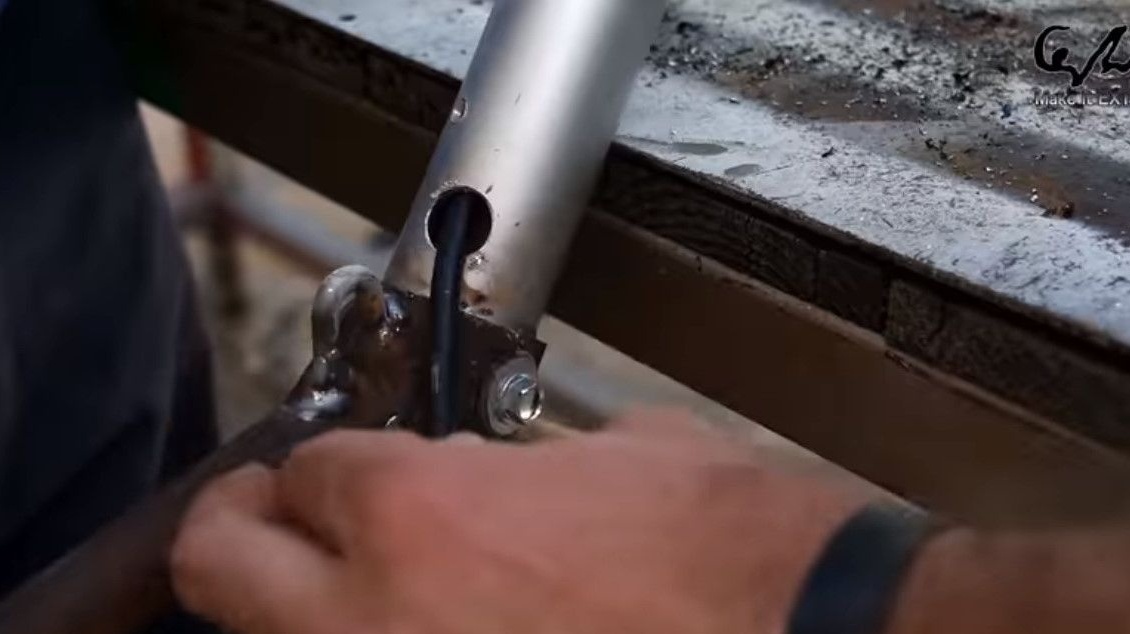
With a screwdriver with a crown, drills a hole for the wire in the rod. Passes the power cable through the bar.
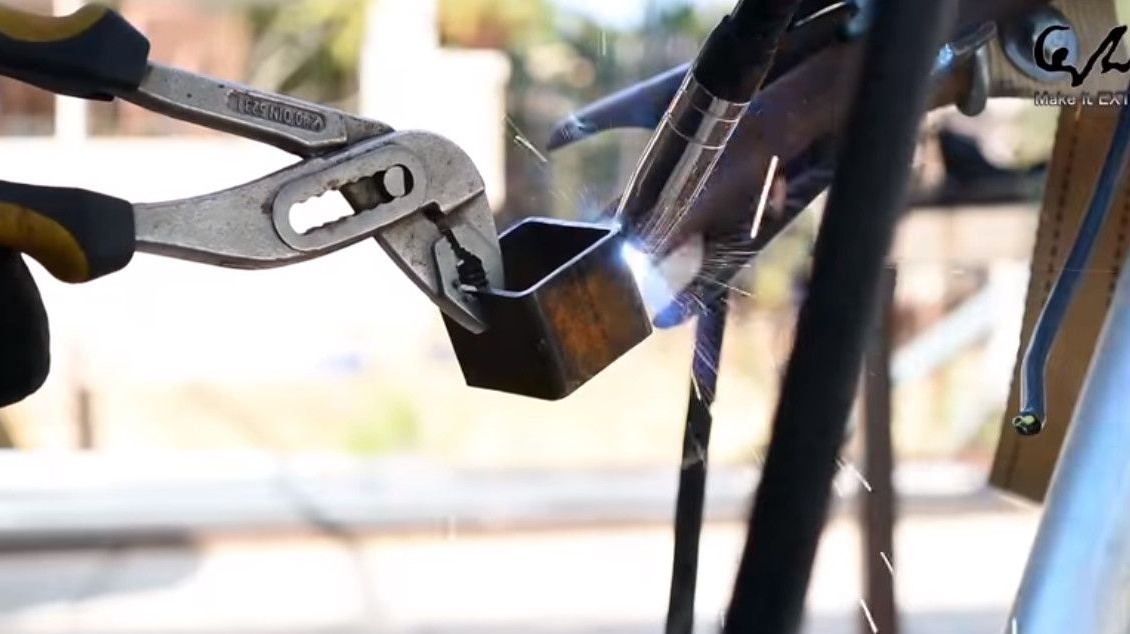
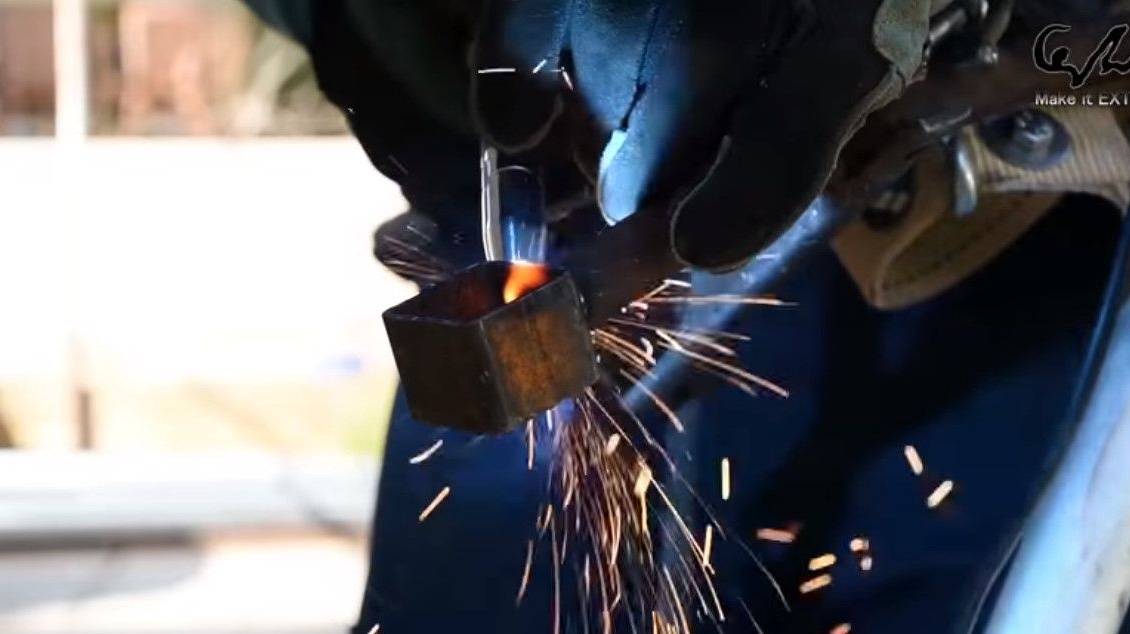
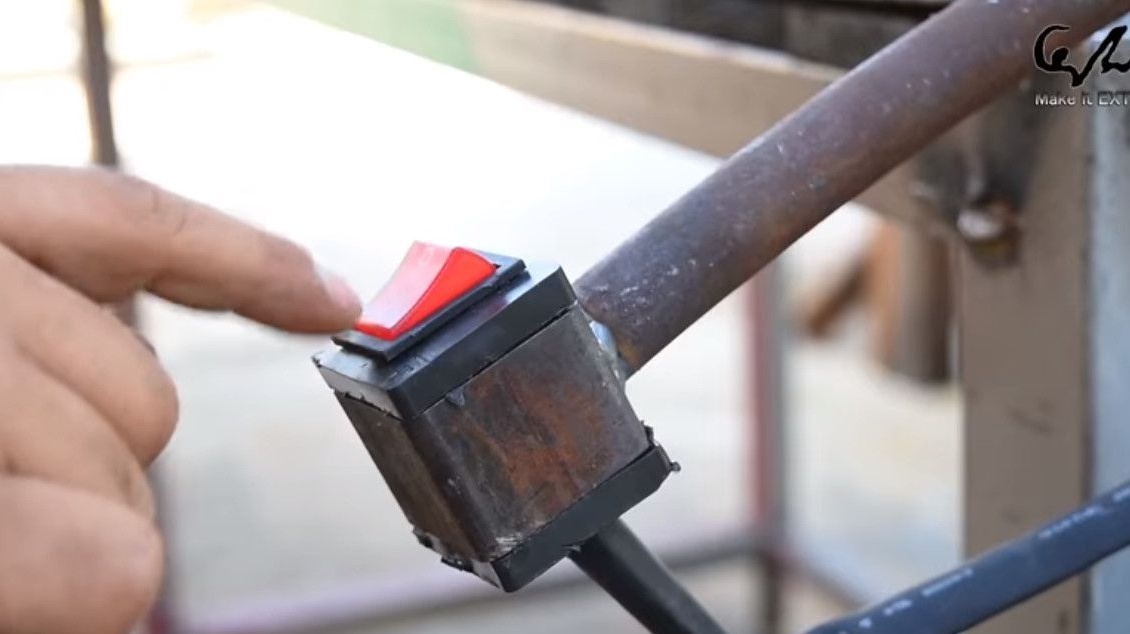
Welds to the handle a seat for the power button.
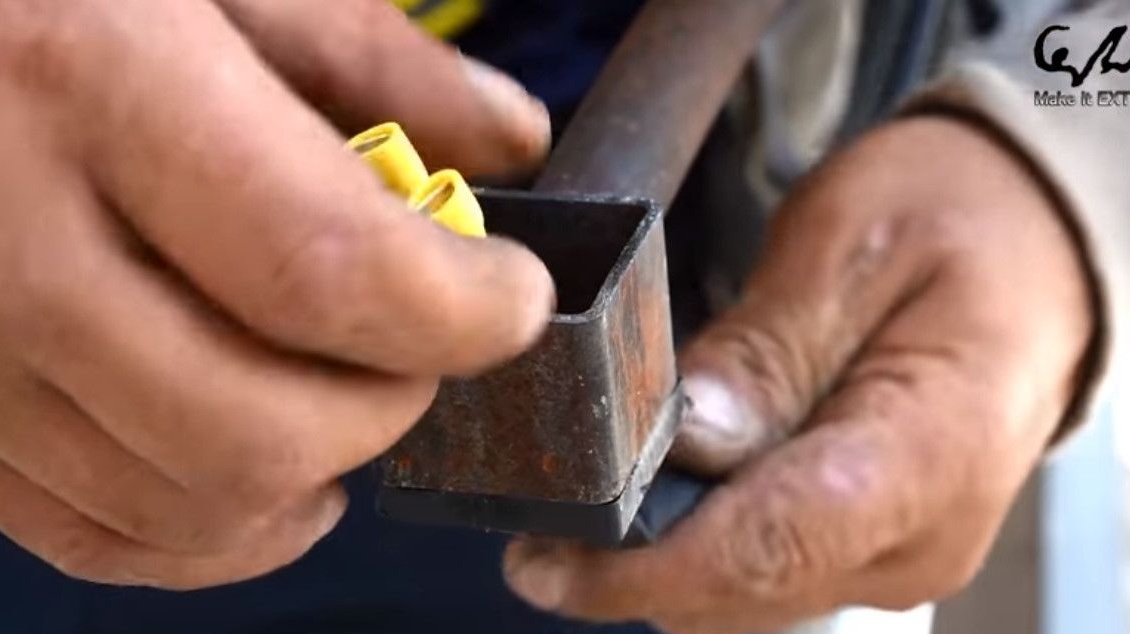
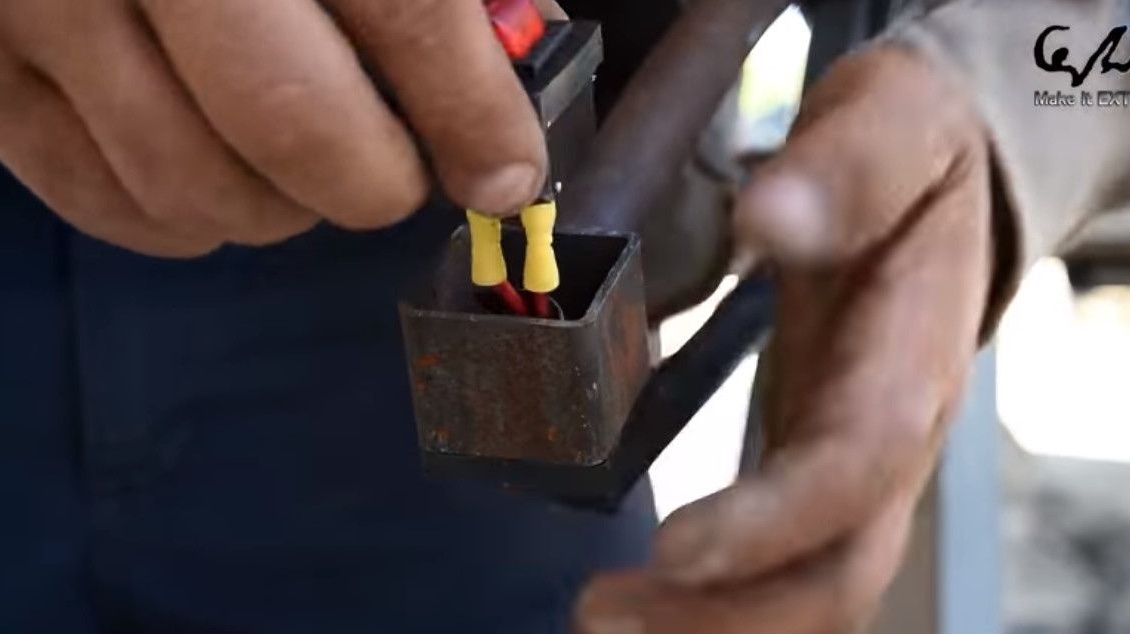
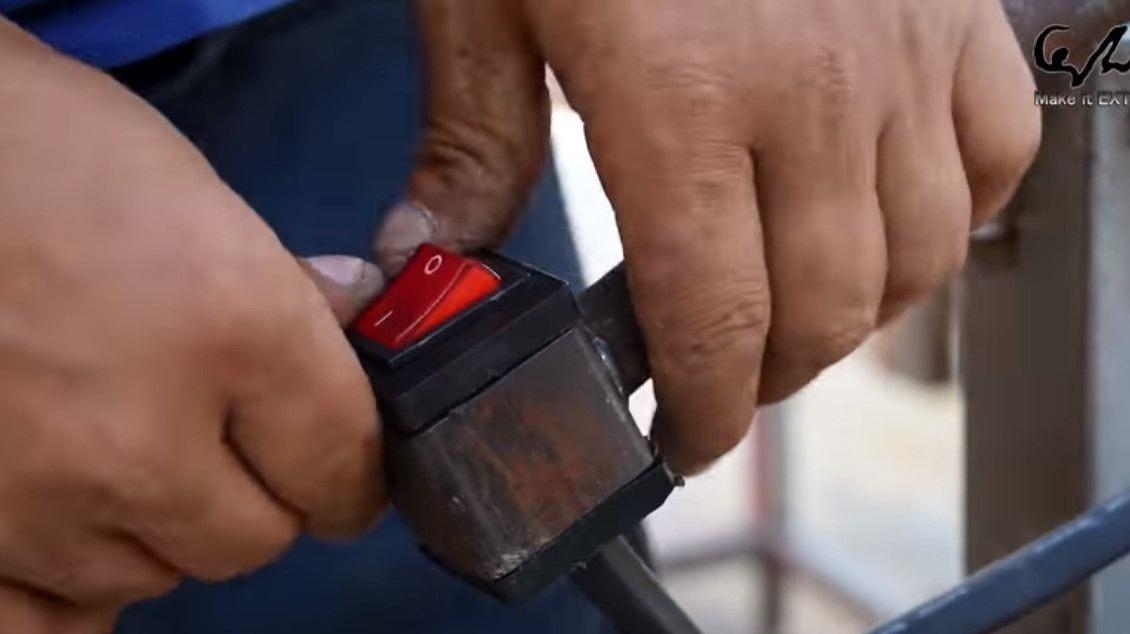
He pulls out the wire, crimps the terminals, connects and sets the button in its place.
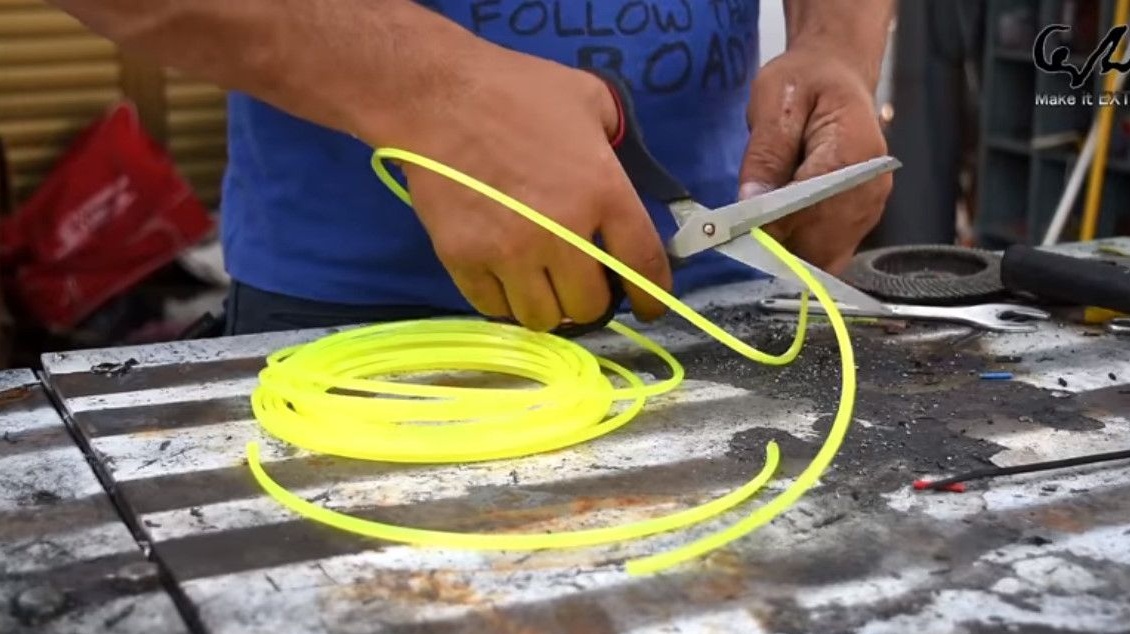
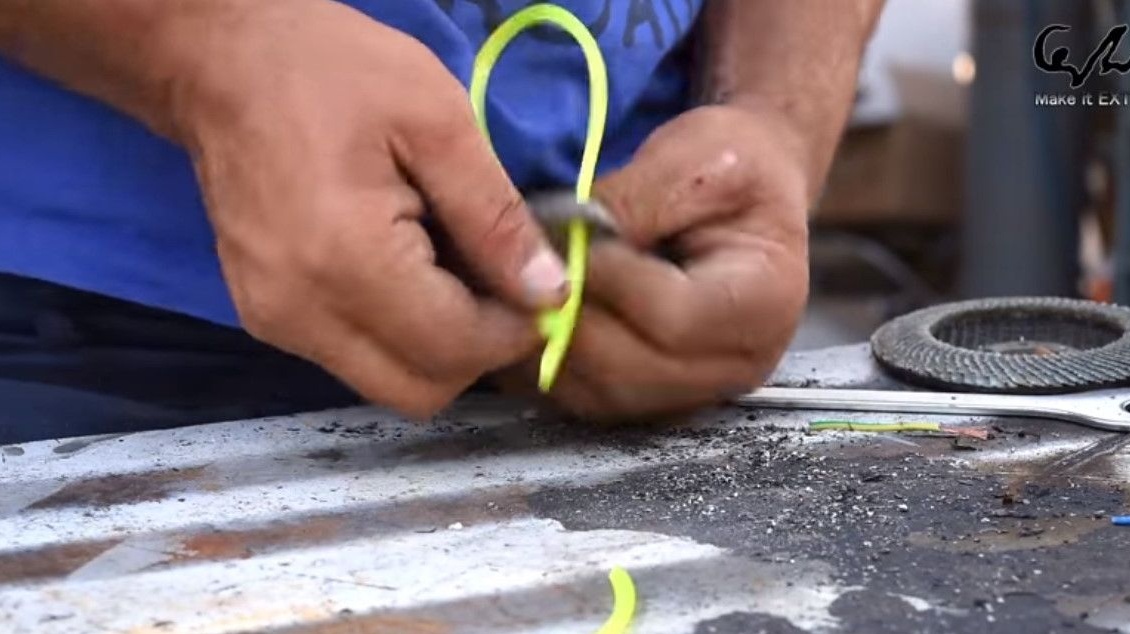
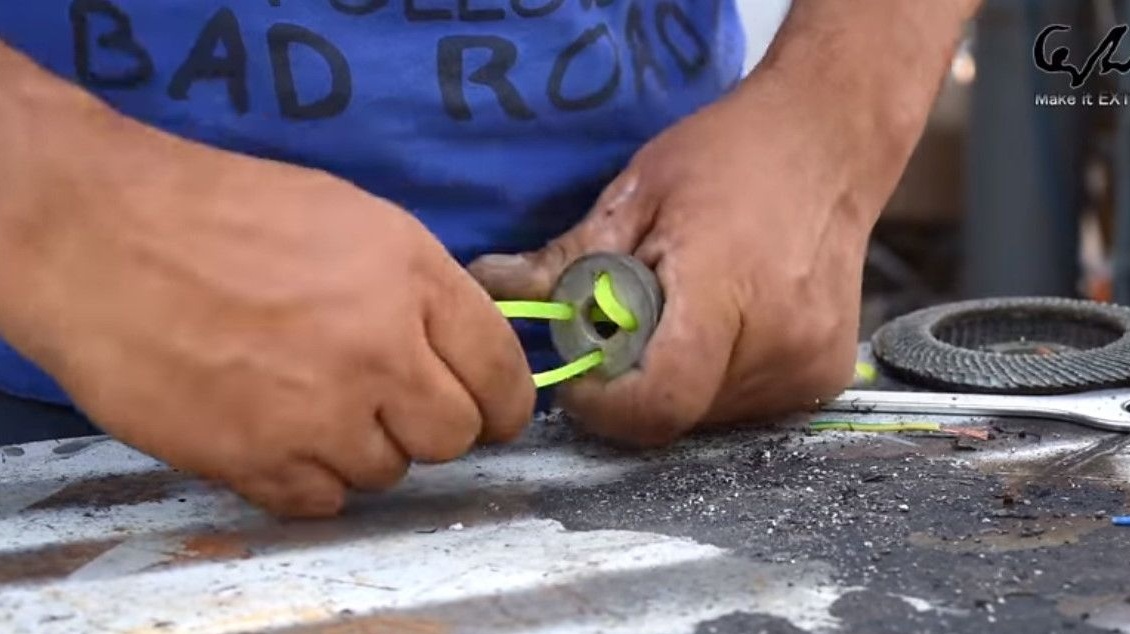
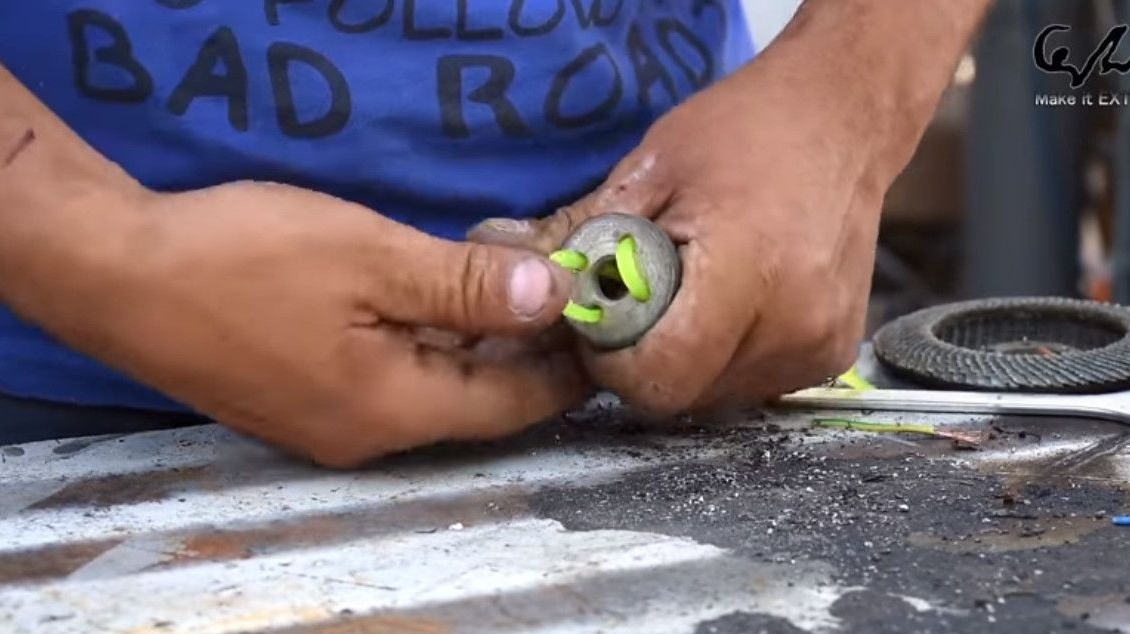
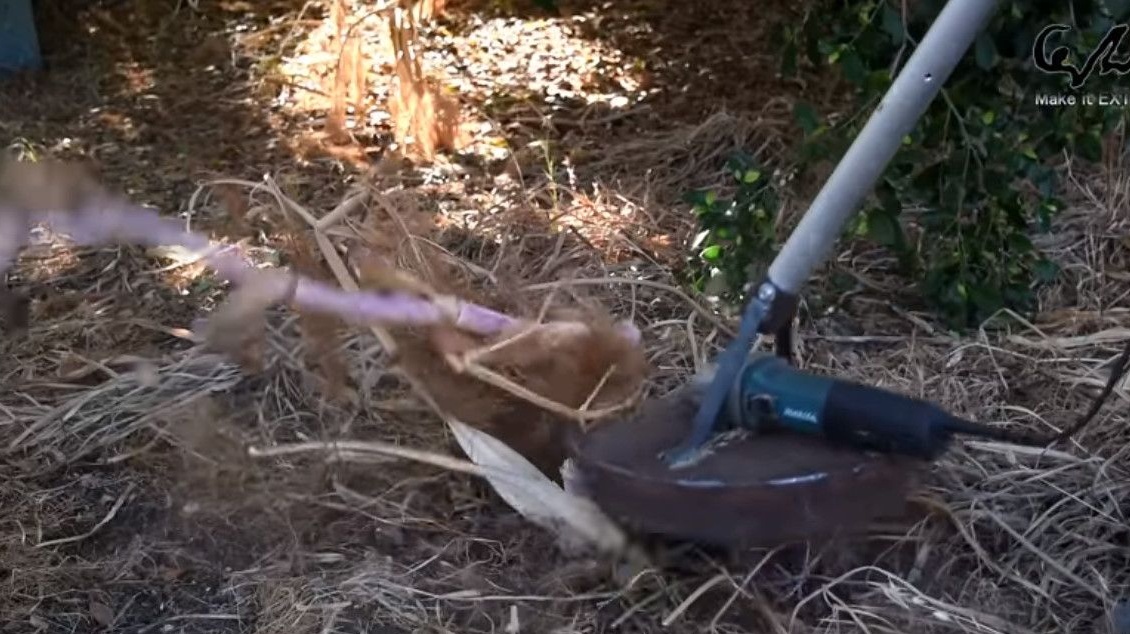
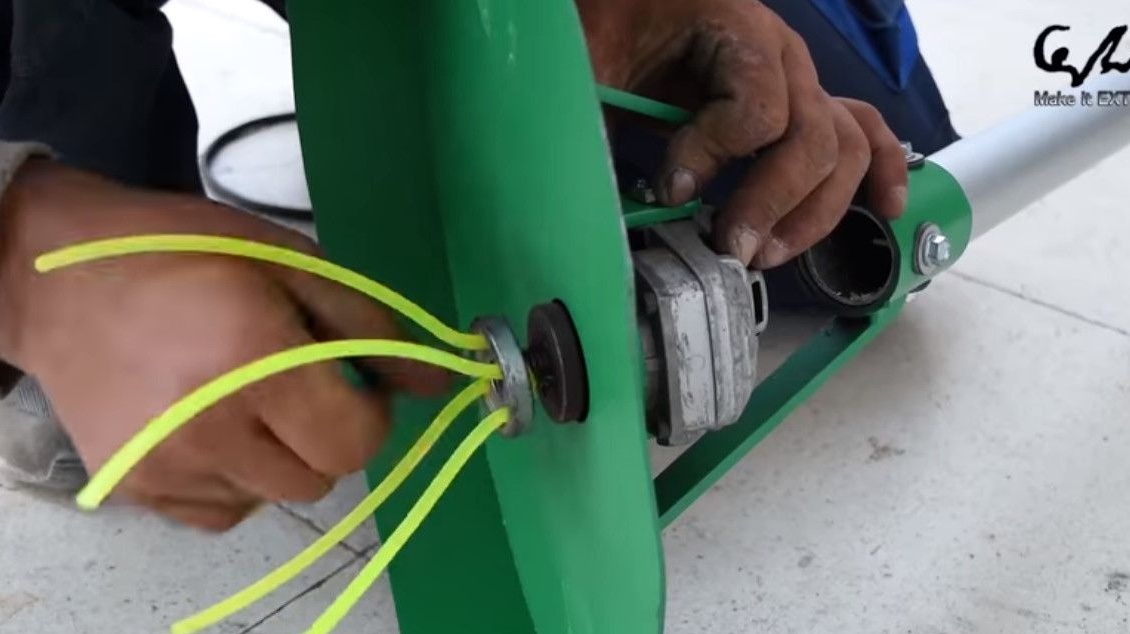
Prepares a “mowing” nozzle using a thread for trimmers. It simply passes two segments through the holes in the native nut from the grinder.
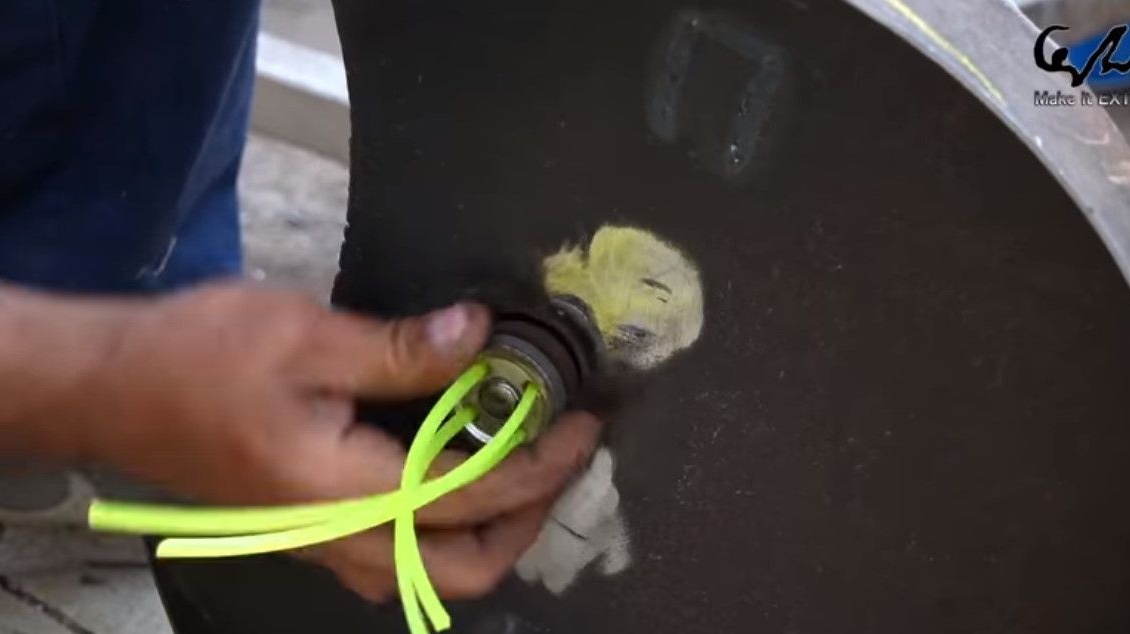
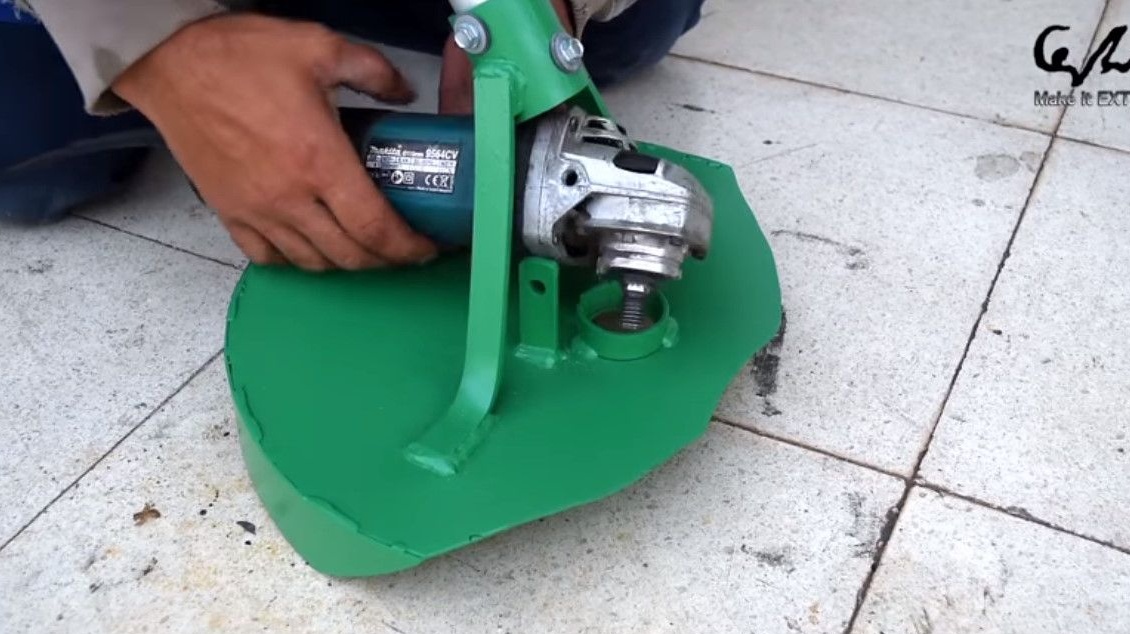
Fastens the grinder on the trimmer, sets the nozzle.
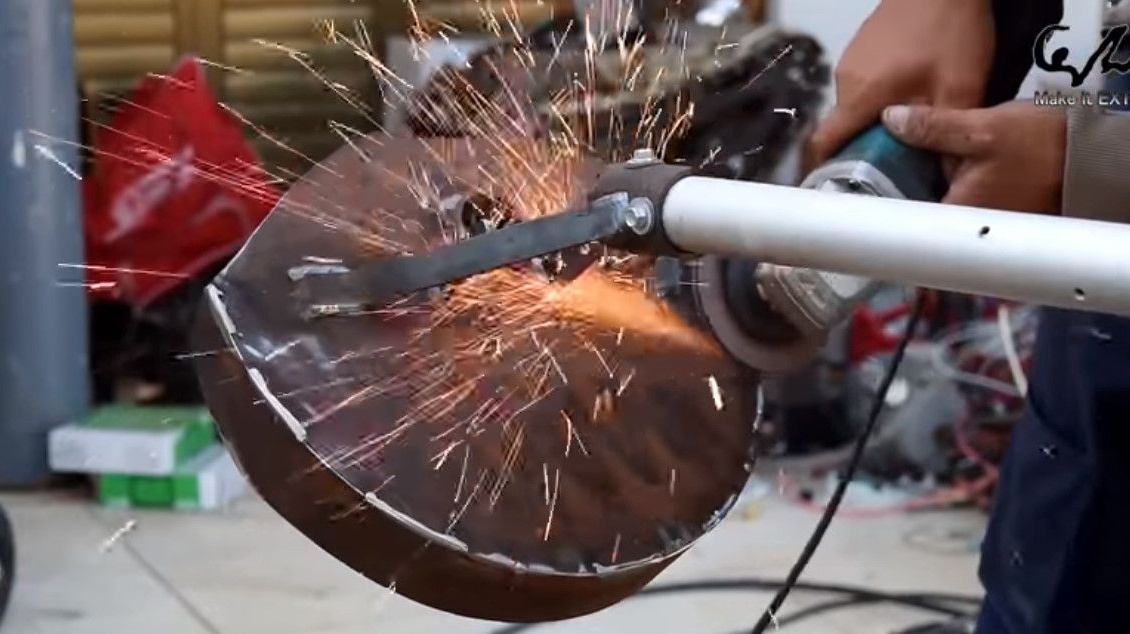
Conducts preliminary tests, may need improvements.
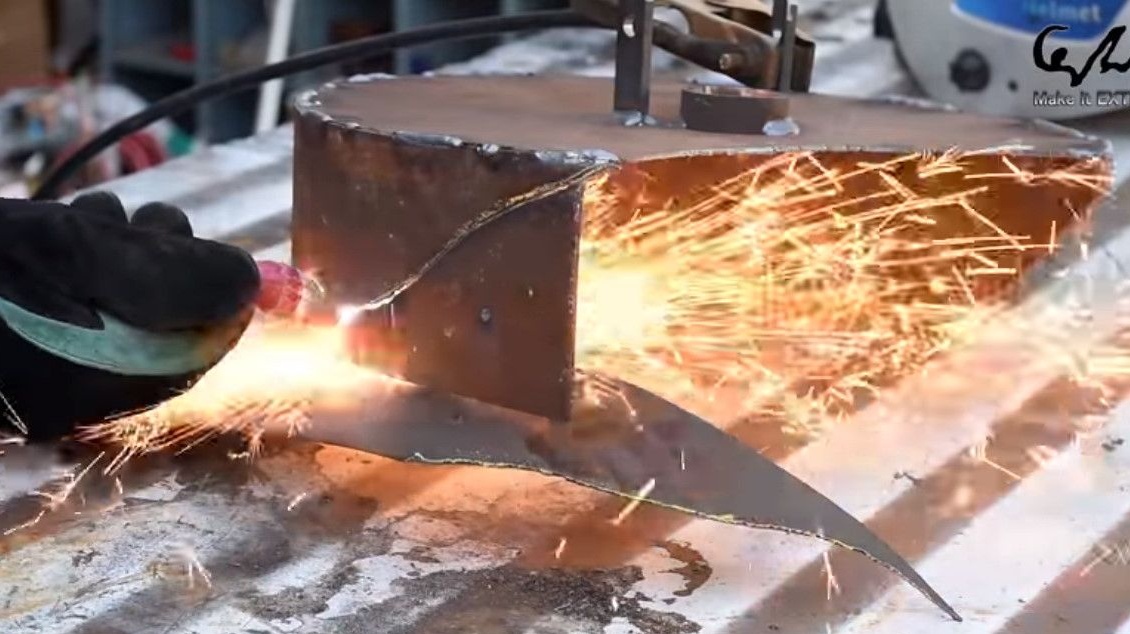
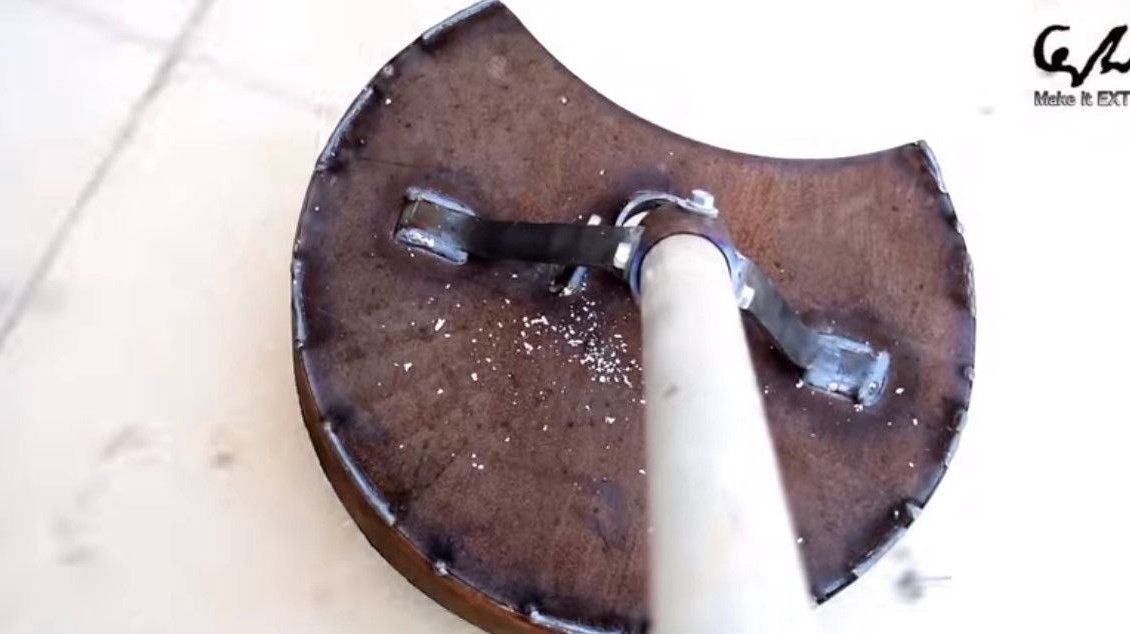
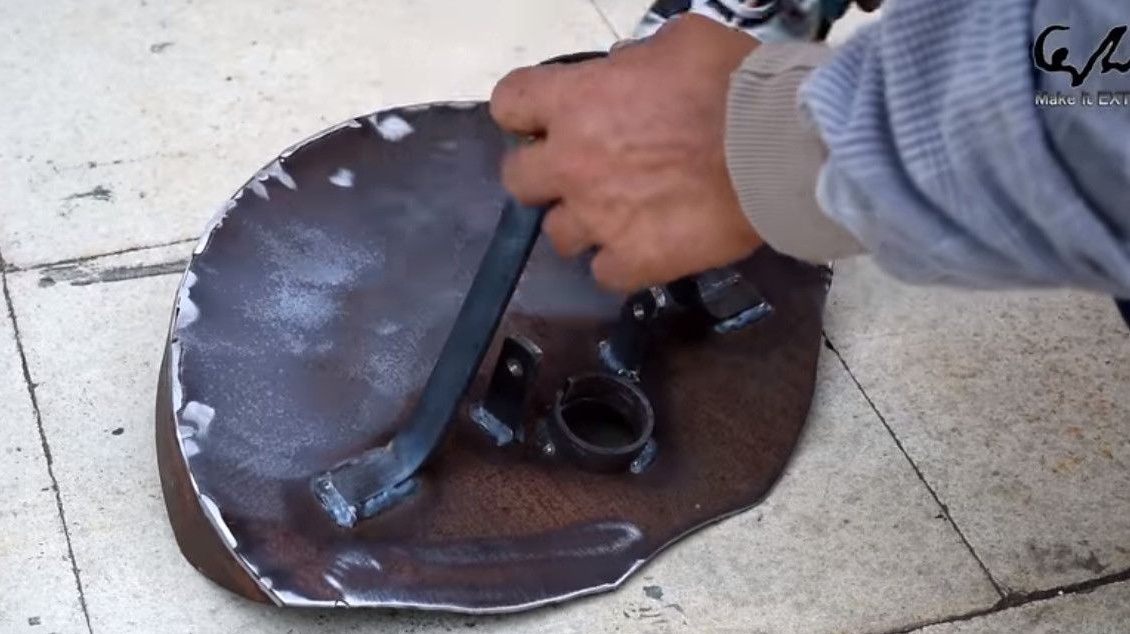
Yes, the author needs to change the shape of the skirt. Marks the place of cut with chalk, then a plasma cutter - to help.
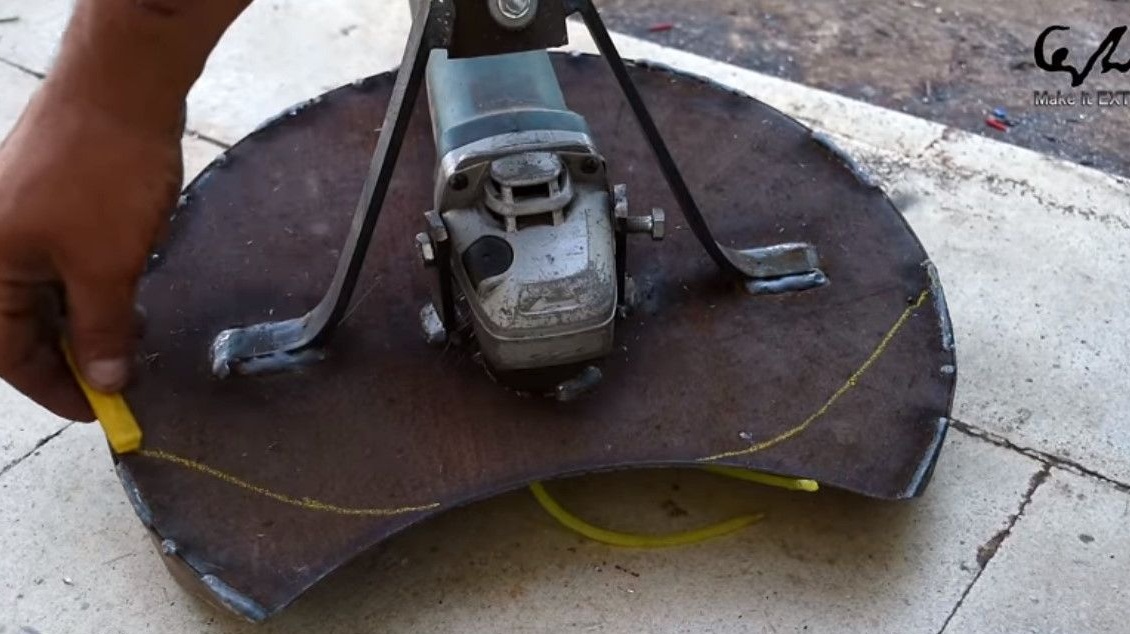
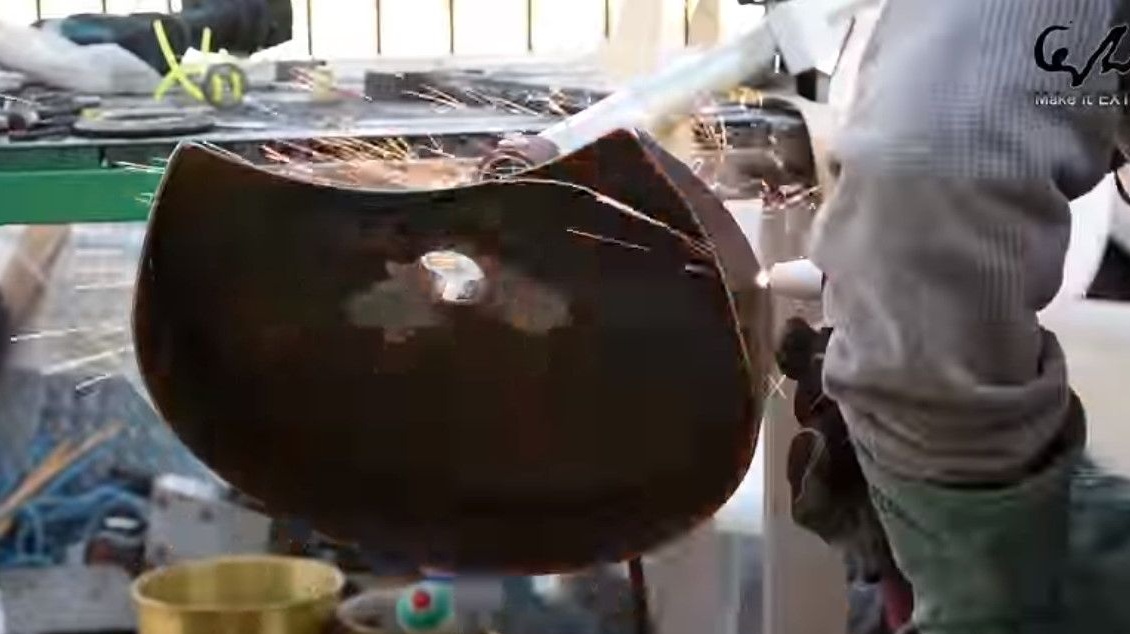
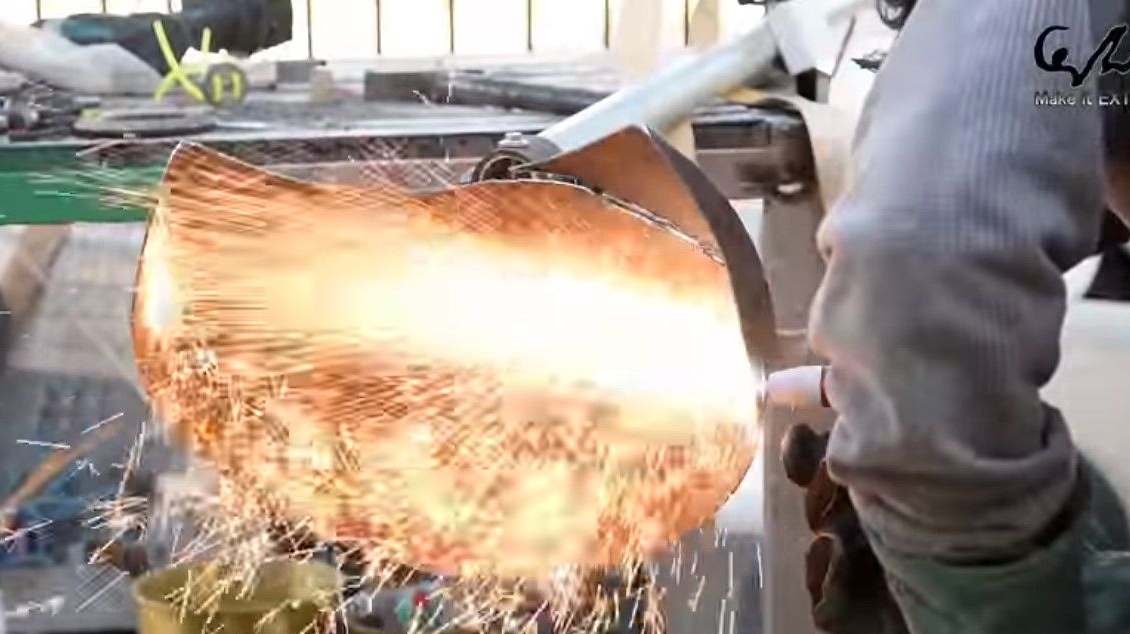
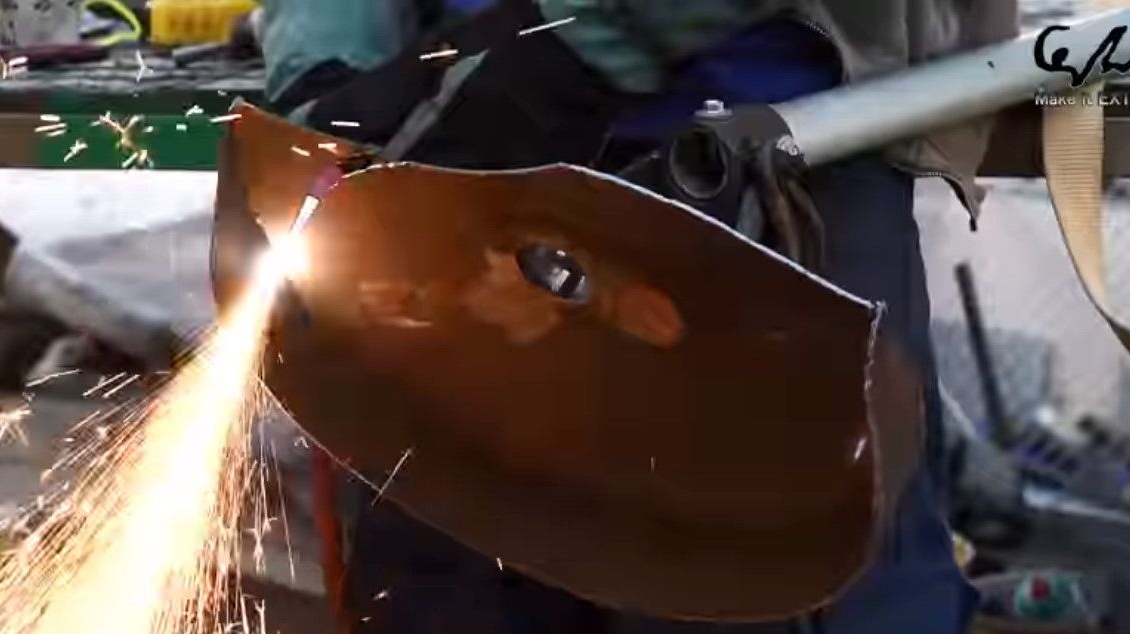
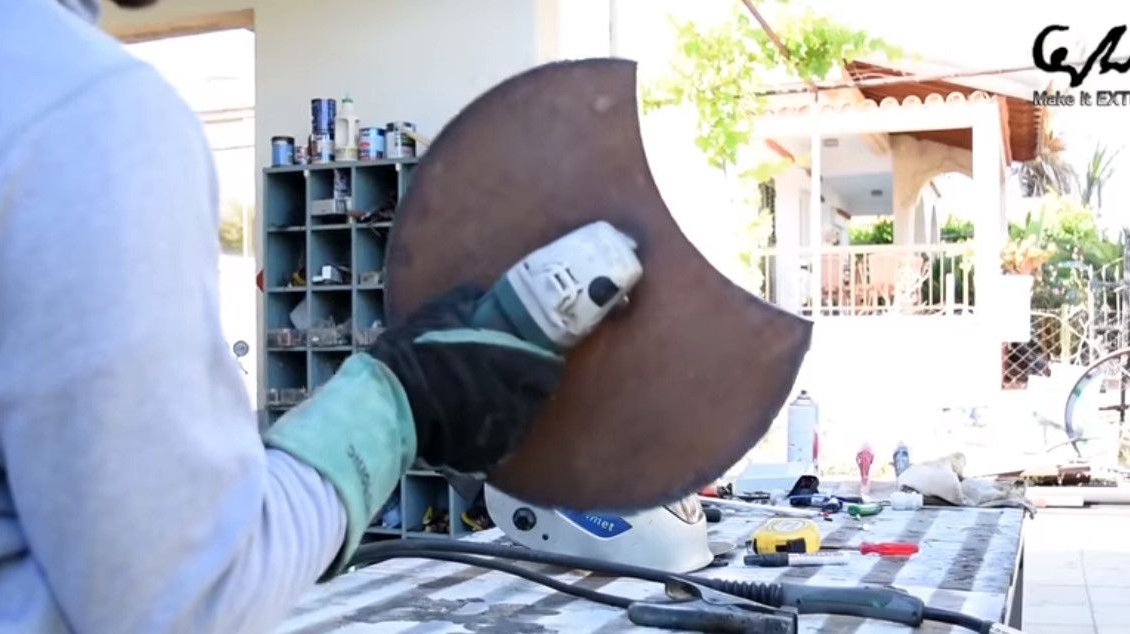
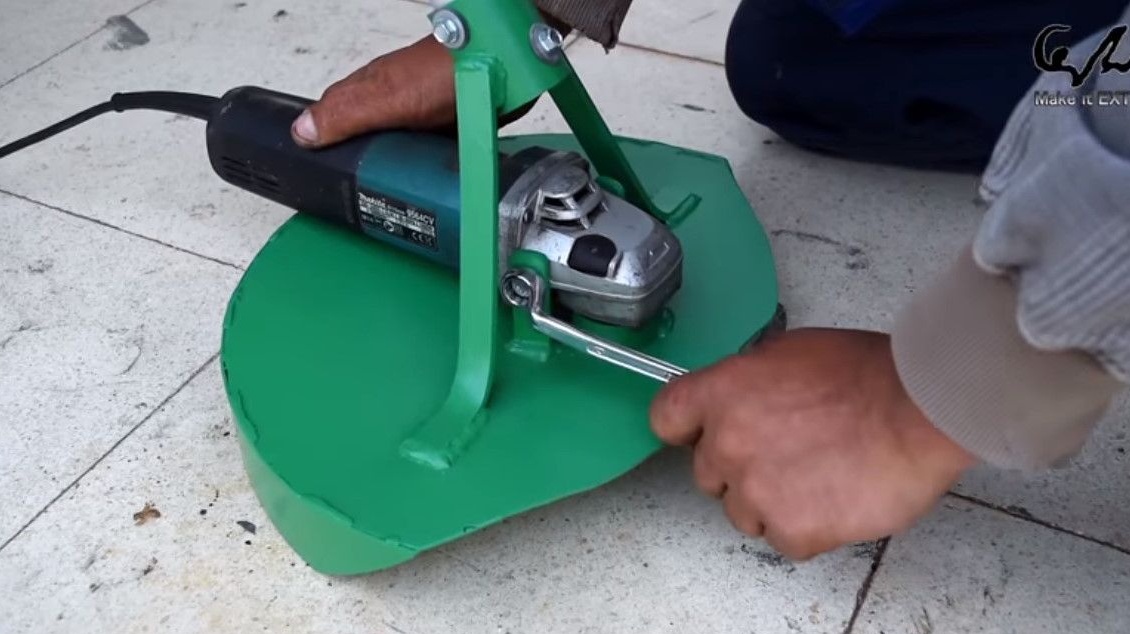
Here is such an optimized form of a protective casing.
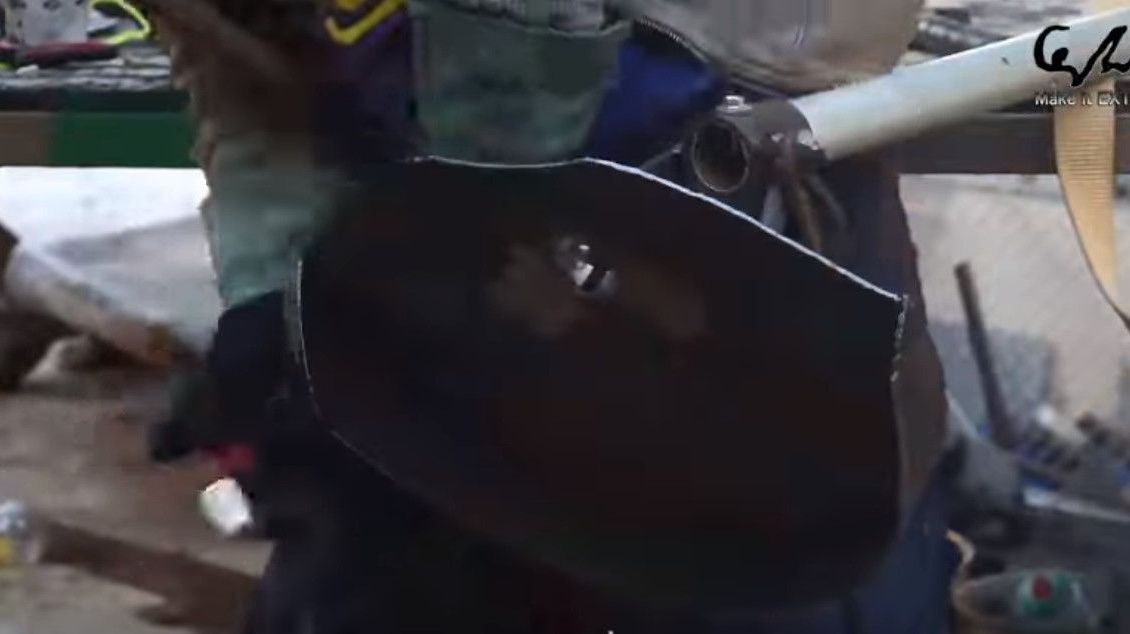
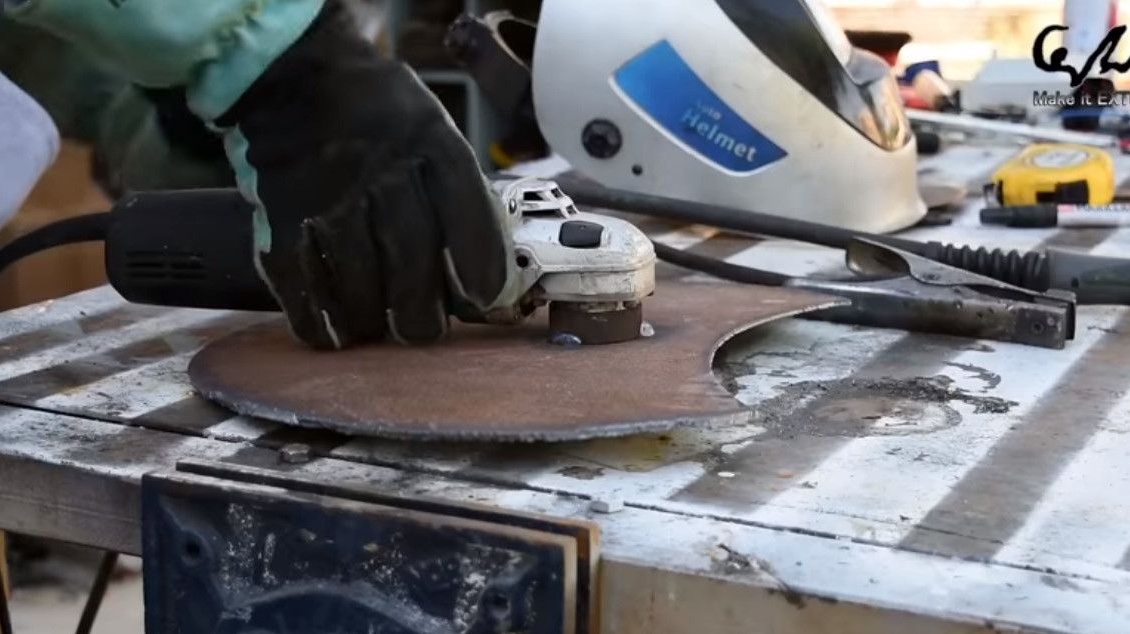
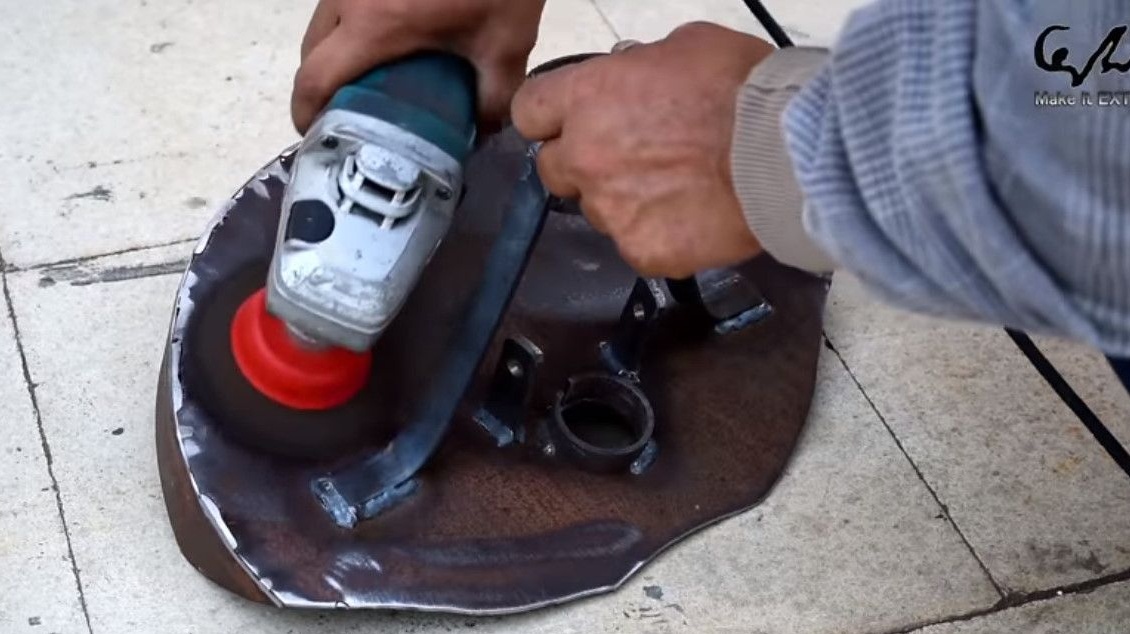
Removes gross imperfections and rounds off the edges with a cleaning disk.
Prepares for painting with a soft abrasive nozzle, removing rust.
Actually the finale, spray painting.

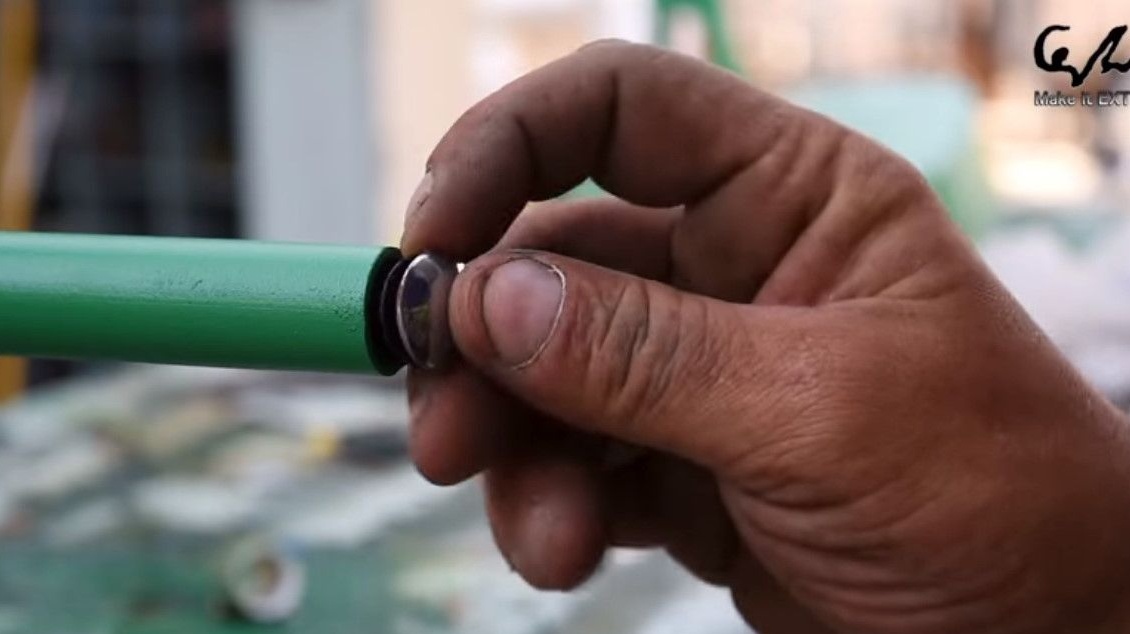
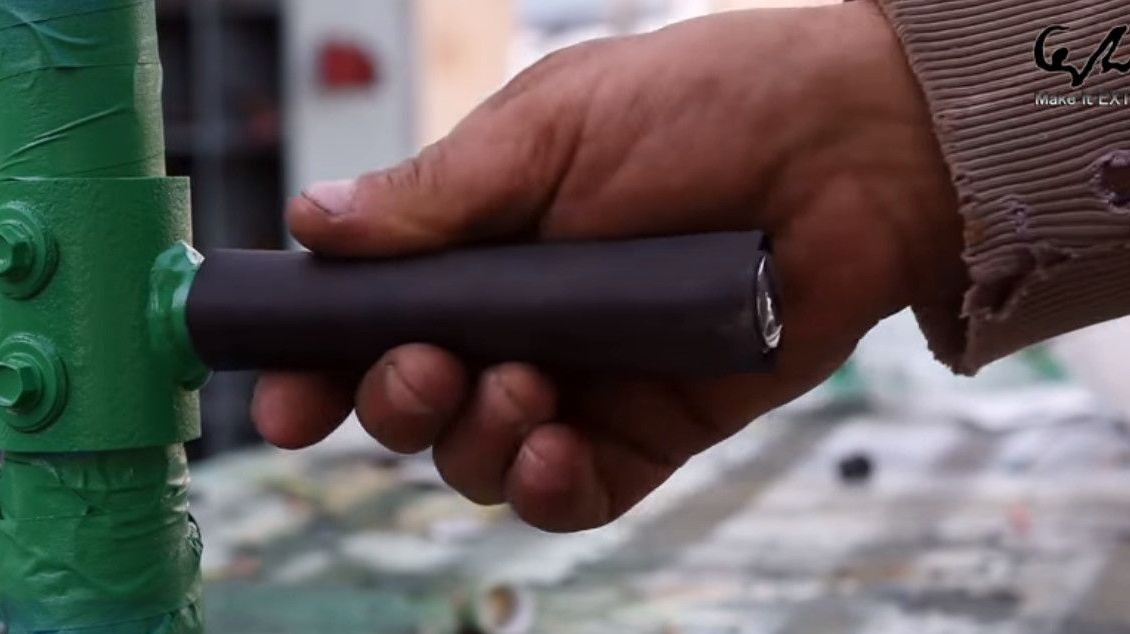
Yes, another small touch, a gag in the pen and heat shrink.

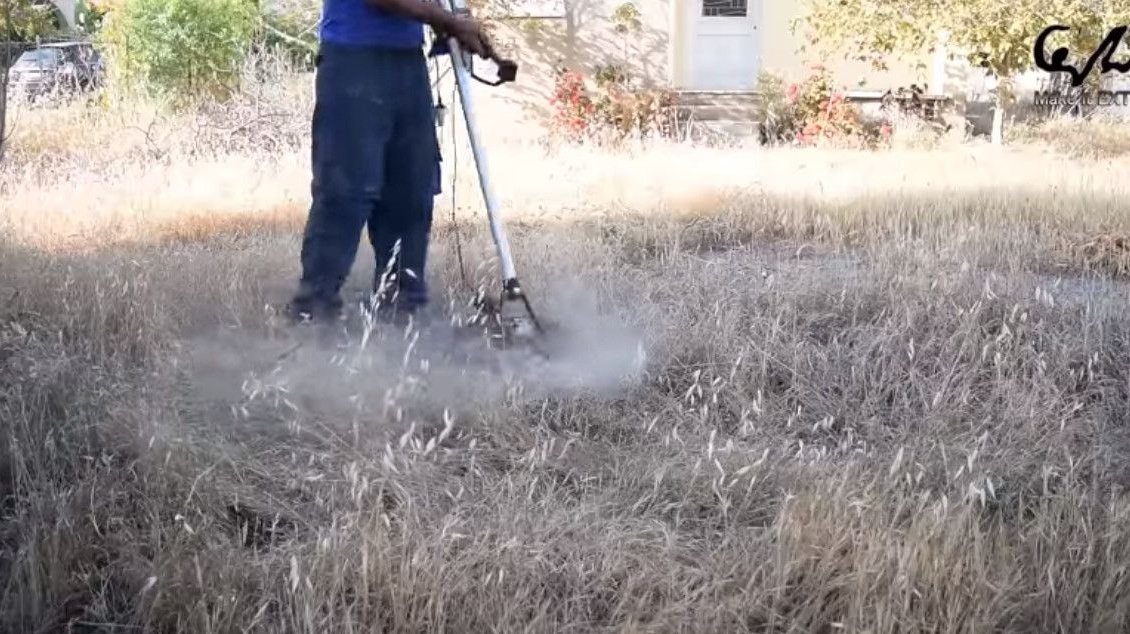
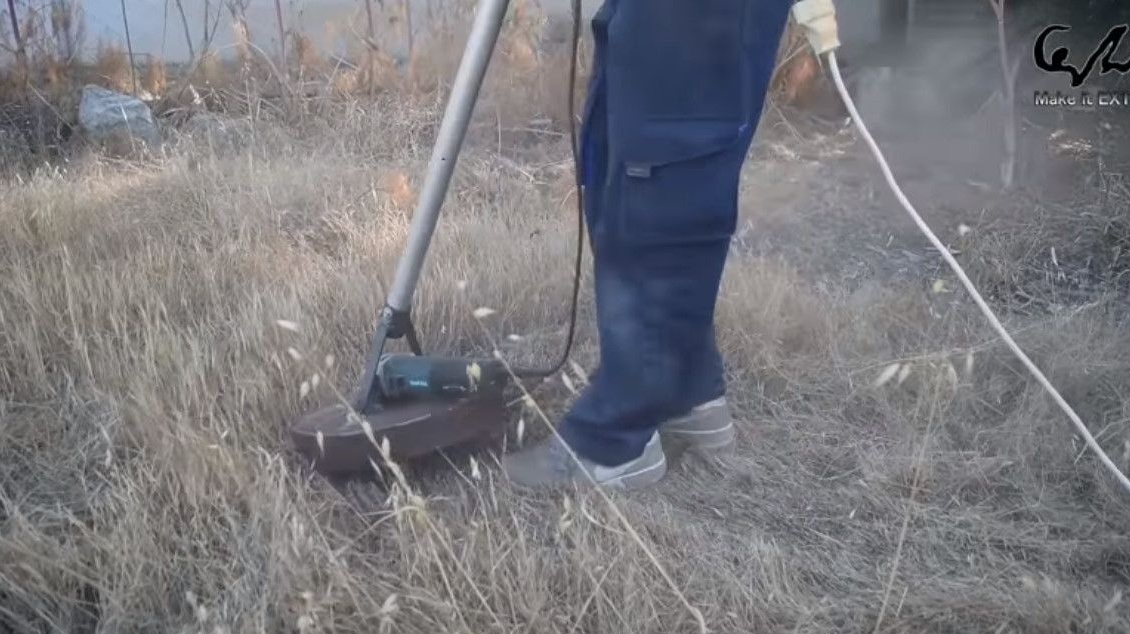
Installs the grinder, clamps the mounting bolts, puts on the nozzle and fastens the belt.

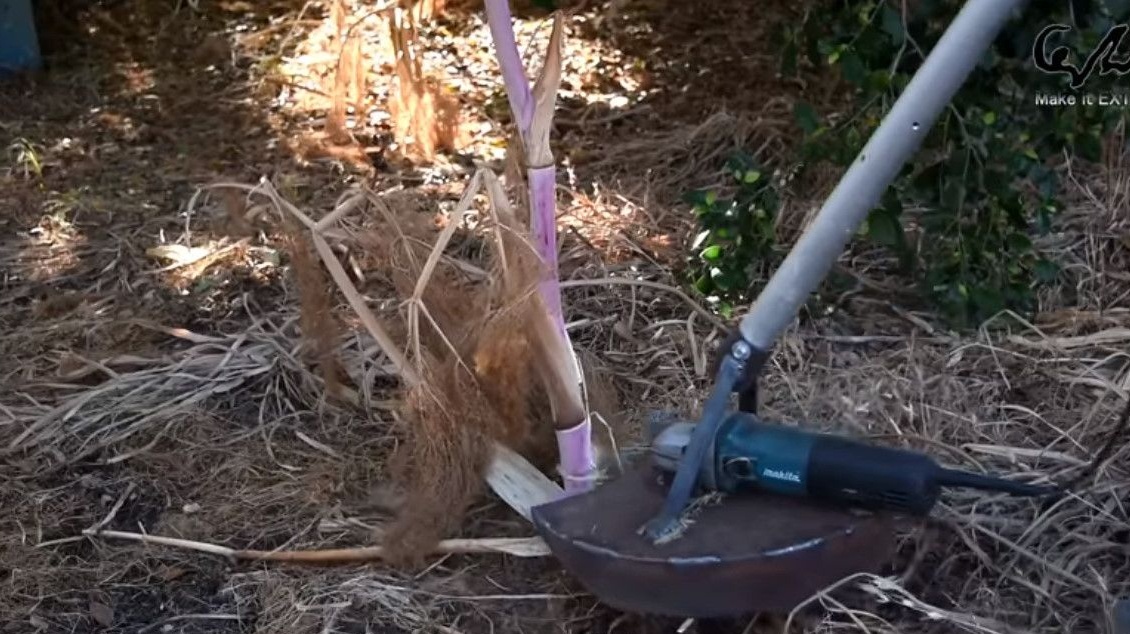
For tests, the trimmer and the author are ready!
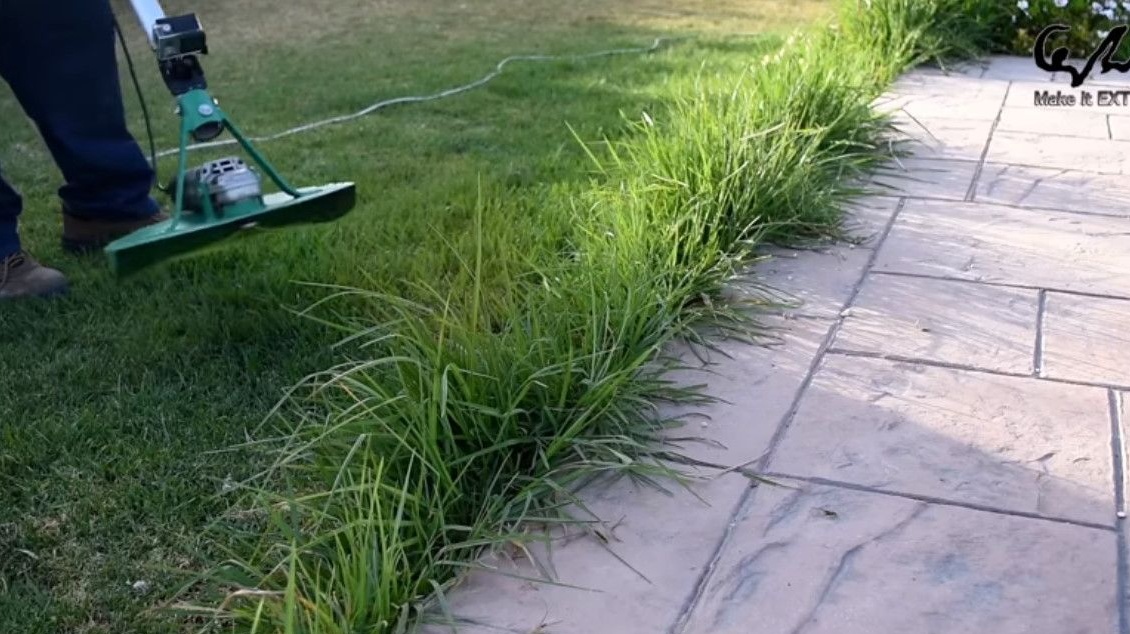
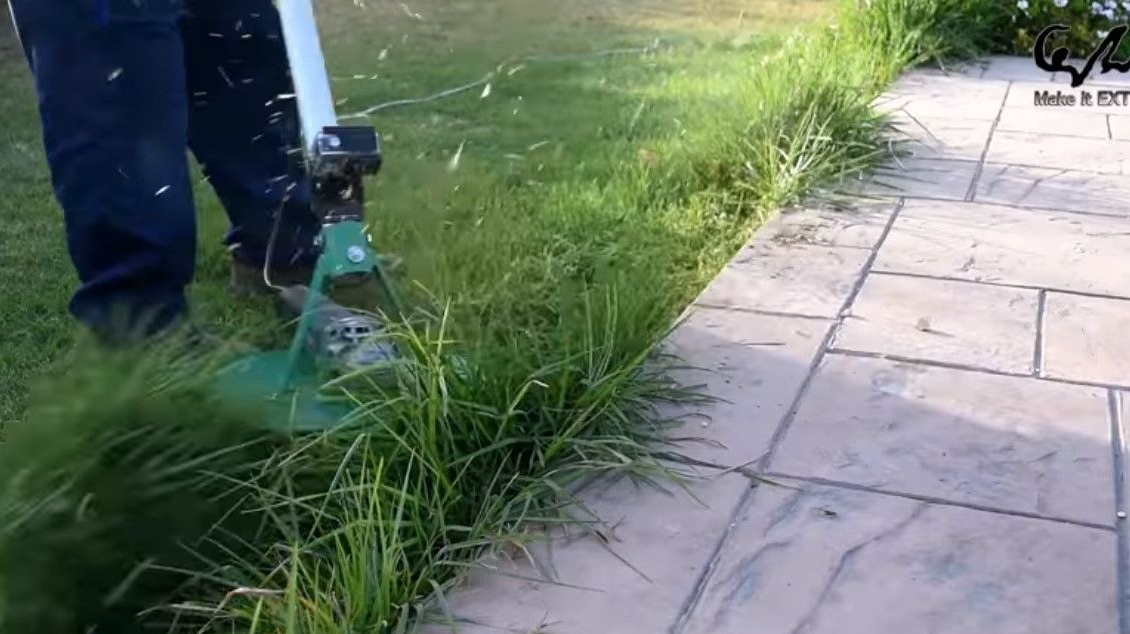
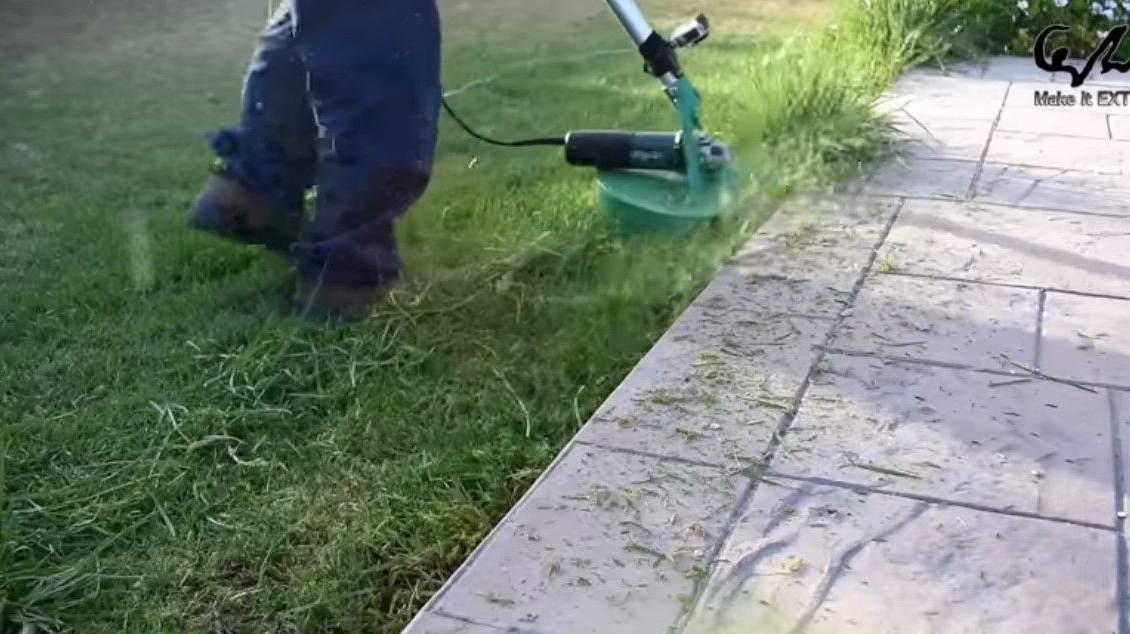

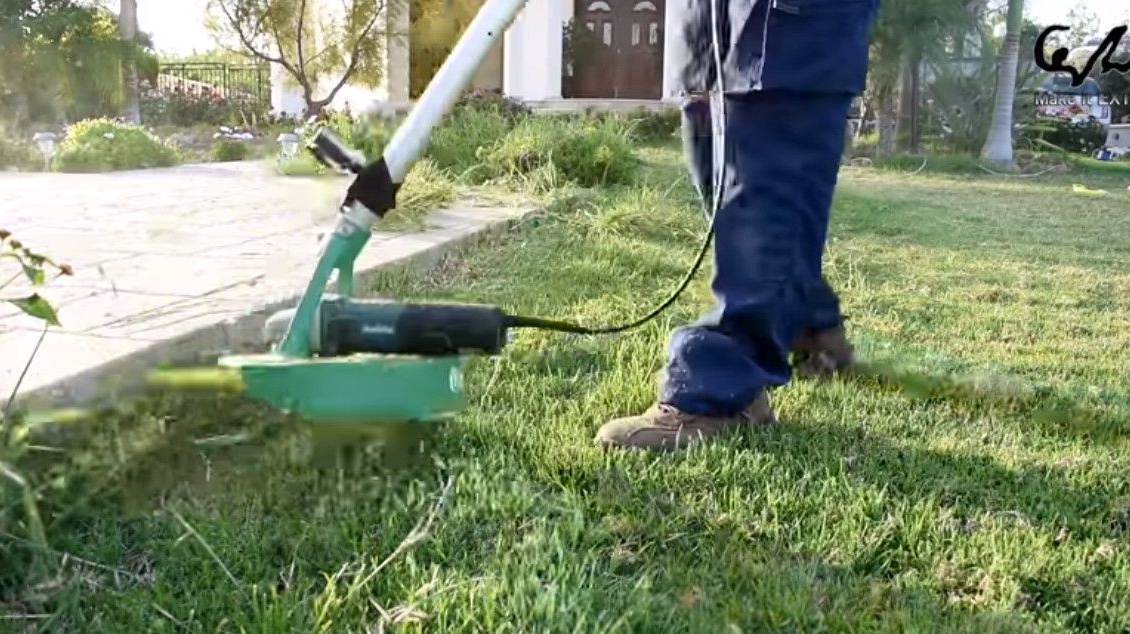
The result is at a very good level!
Thanks to the author for another great idea of using angle grinders for other purposes =)
Observe safety precautions!
All quality homemade tool!