This article will be interesting to everyone who has a drilling machine in the workshop.
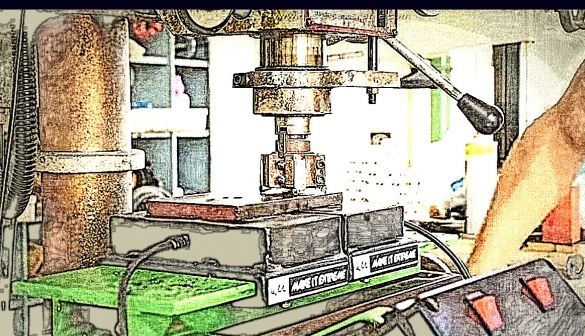
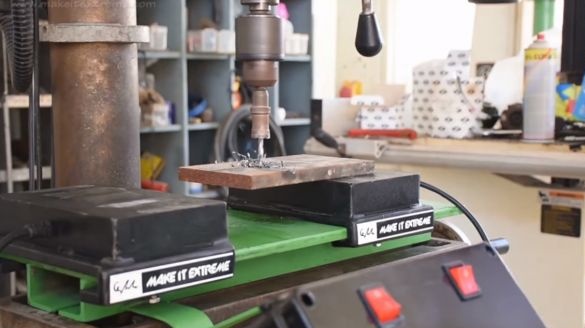
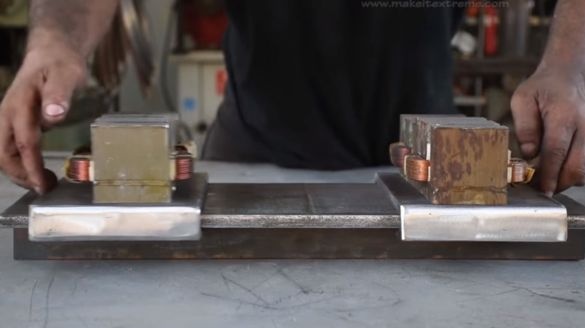
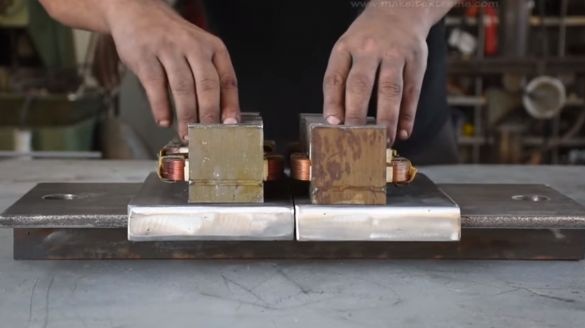
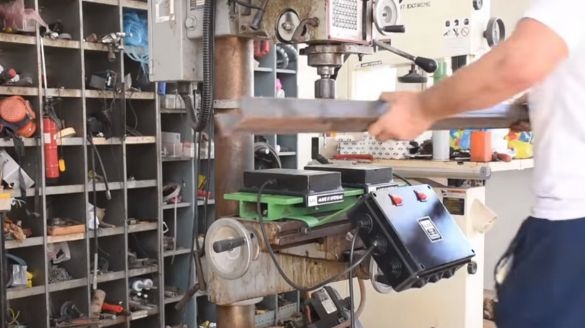
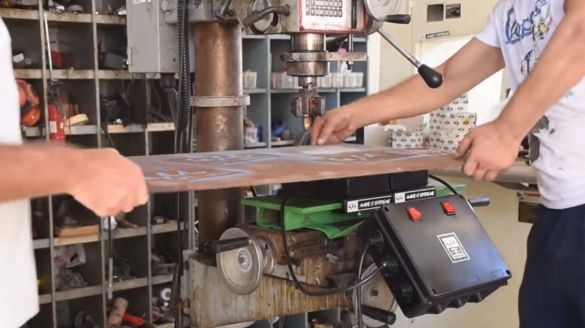
Improvements for such machines there are a great many. The author of the channel "Make it Extreme" made an electromagnetic table. It will greatly facilitate the work with ferrous metal blanks. For example, channels, corners, profile pipe, steel strips and sheets.
Instruments.
1. Miter Saw
2. Bulgarian with disks
3. Drilling machine, milling cutters for it
4. The welding machine.
Materials
1. Four transformers from the microwave
2. Two-component epoxy resin
3. Steel strip
4. Steel sheet, corner
5. Wires, terminals
6. Power supply 24 V, two switches
7. Spray paint
8. Small things - bolts, washers, nuts, etc.
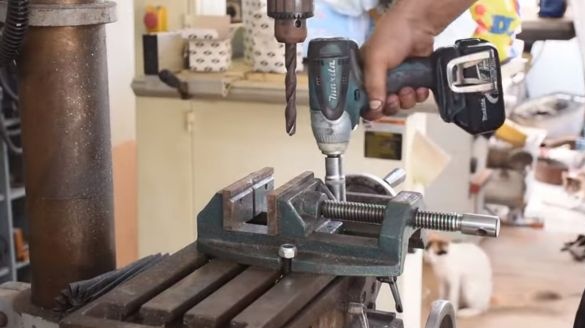
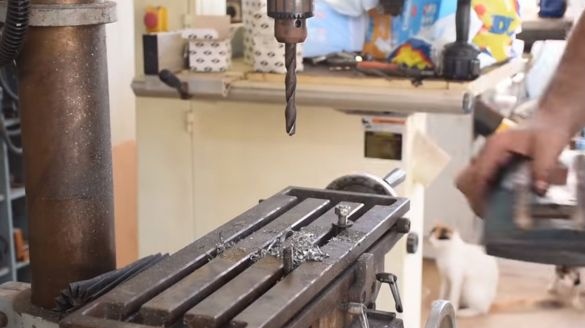
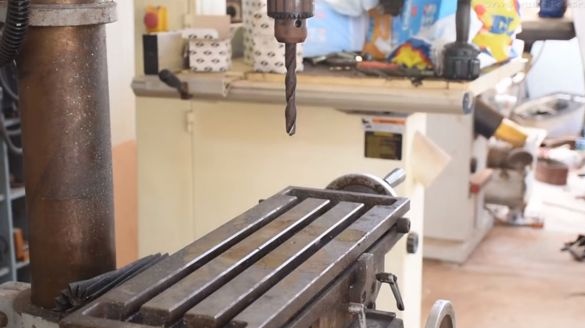
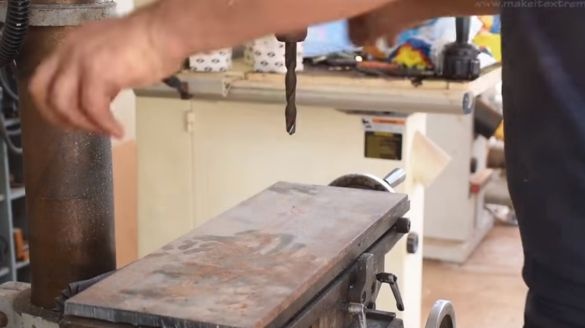
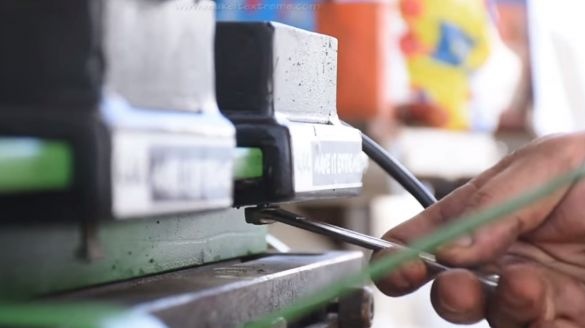
It starts the manufacturing process with the preparation of the base of the table. Cleans the vise and cleans the coordinate table of the machine.
As the basis will use a steel plate.
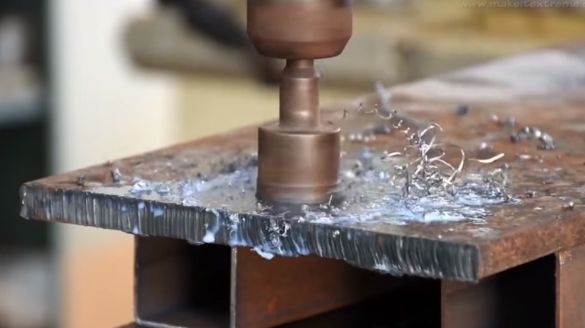
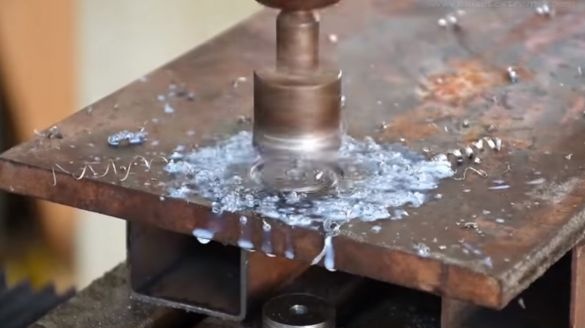
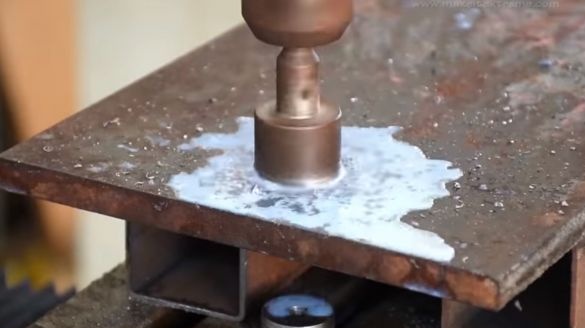
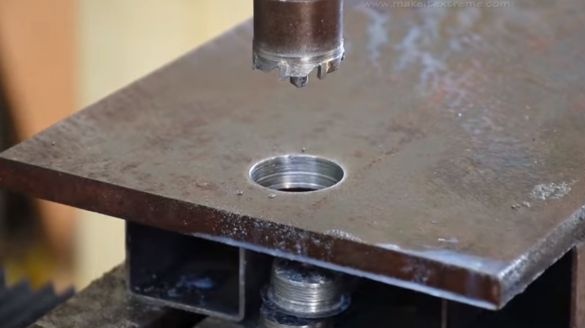
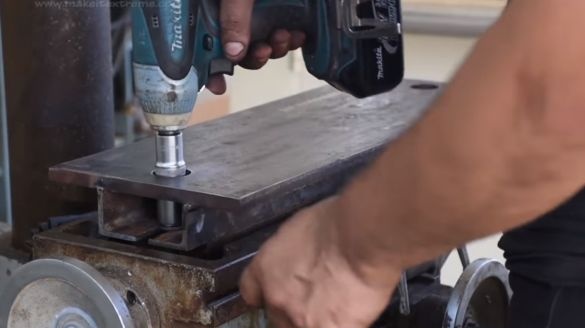
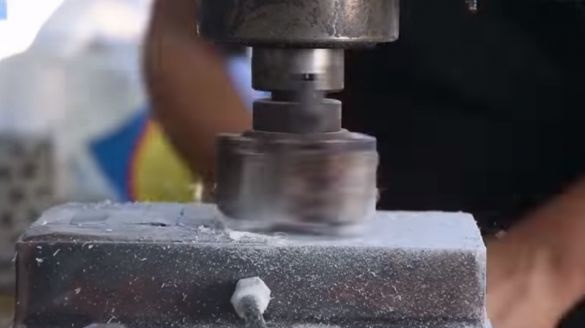
Using a crown, he drills a hole in it, not forgetting the coolant (cutting fluid).
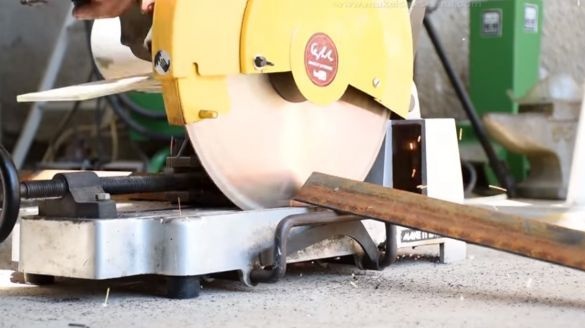
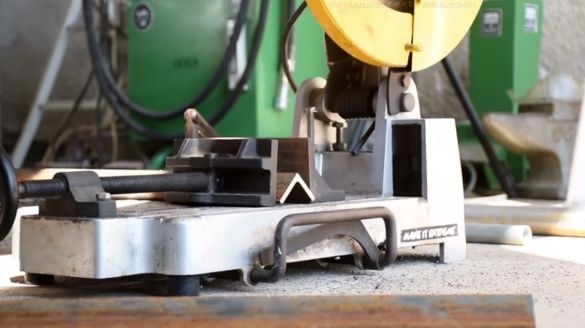
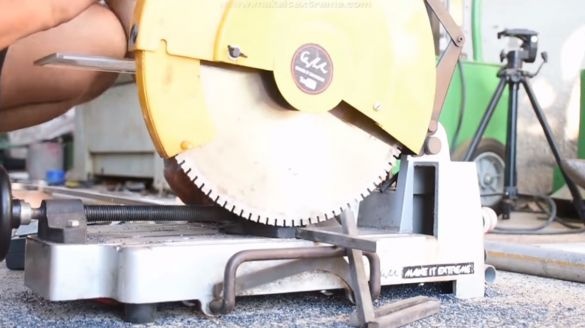
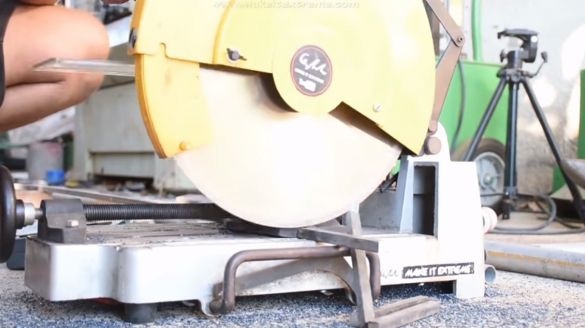
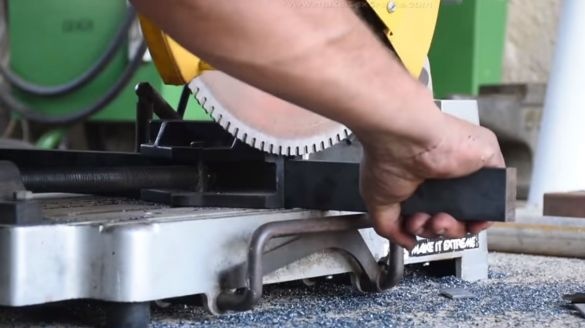
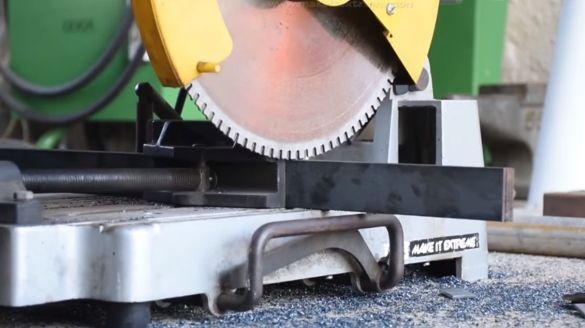
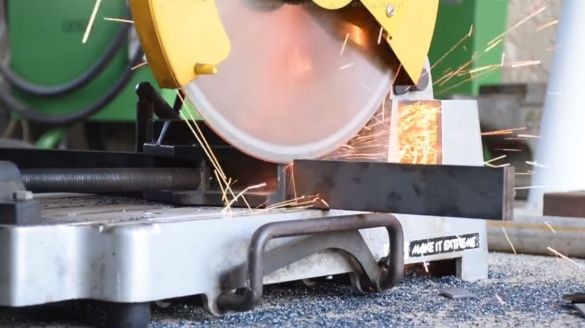
Using a miter saw, cuts out the necessary details of the base.
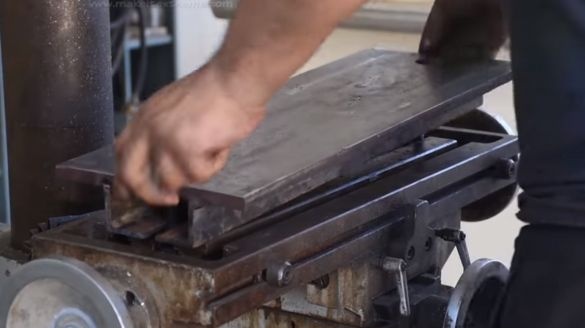
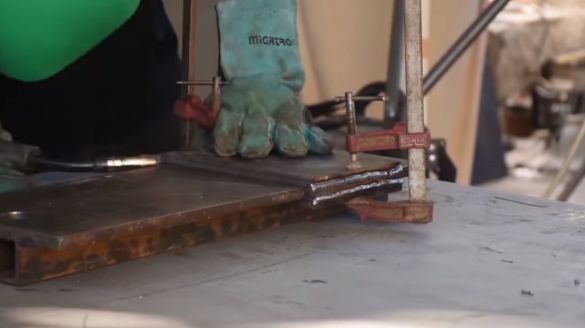
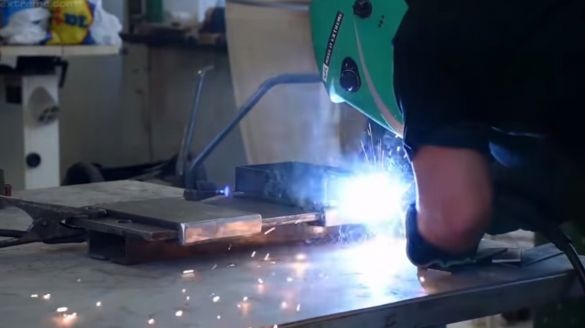
Welds the base, sets it on the coordinate table.
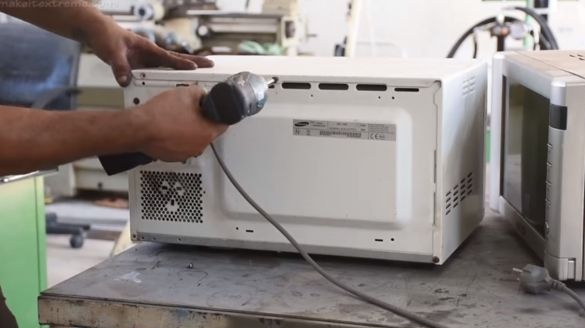
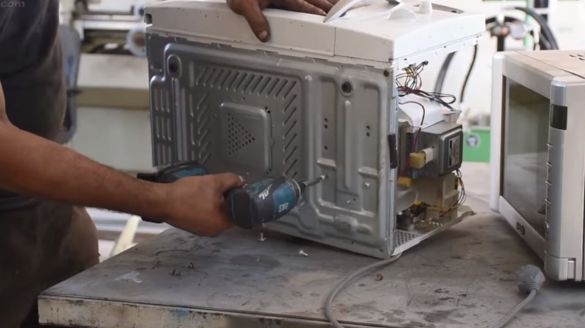
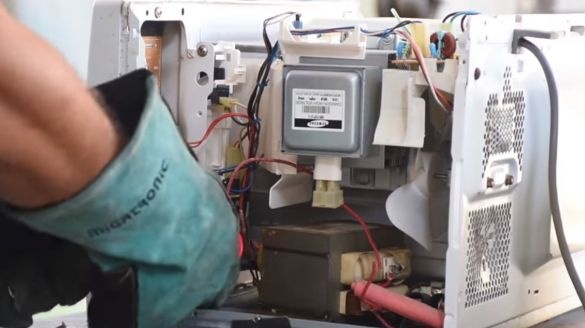
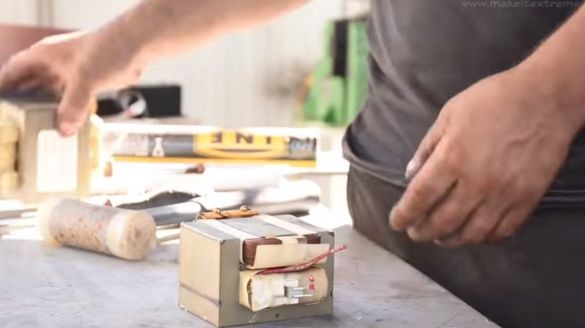
Then the author parses some old microwave ovens. From them you need to remove the transformers.
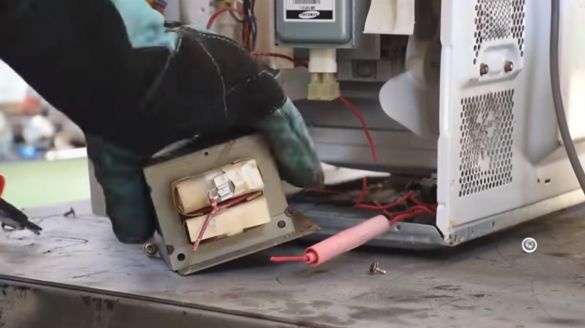
Bites unnecessary wires, pulls out the transformer.
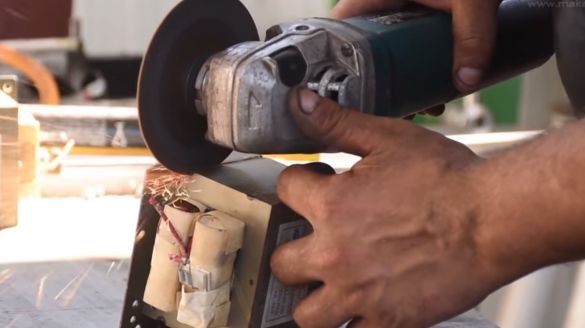
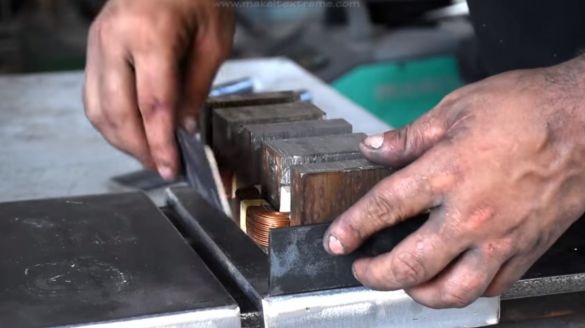
Now disassembles the transformers, notching the weld of the core with a grinder.
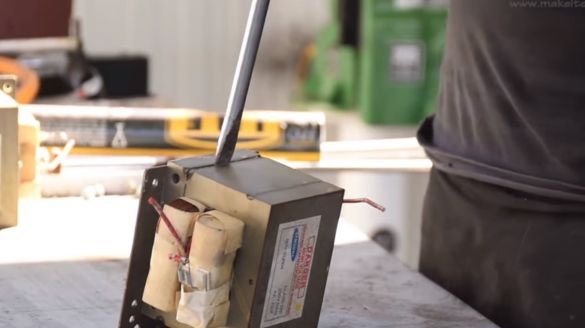
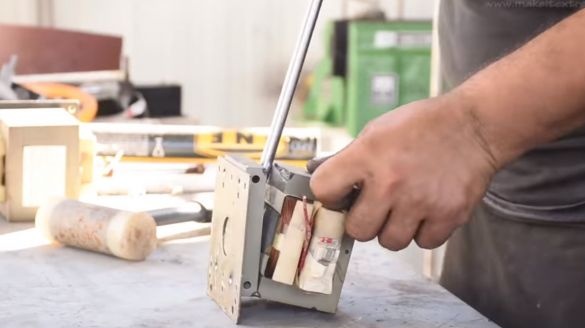
Using a screwdriver as a wedge disassembles the core, it is important not to damage the primary winding.
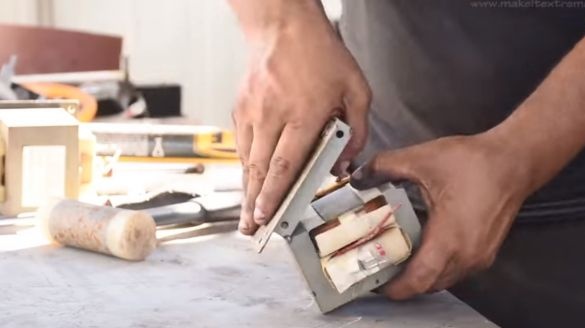
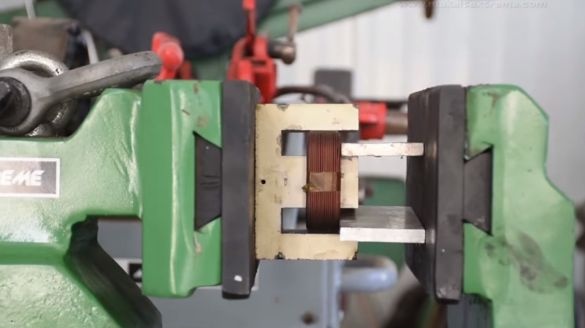
Removes the secondary winding, presses the primary into place.
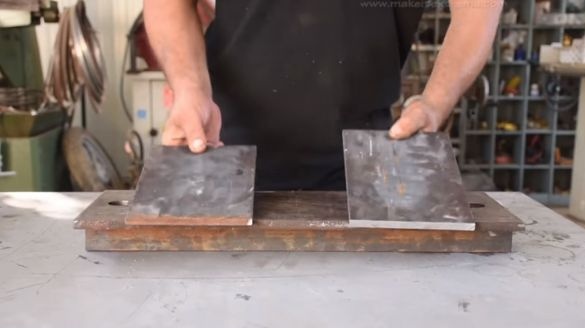
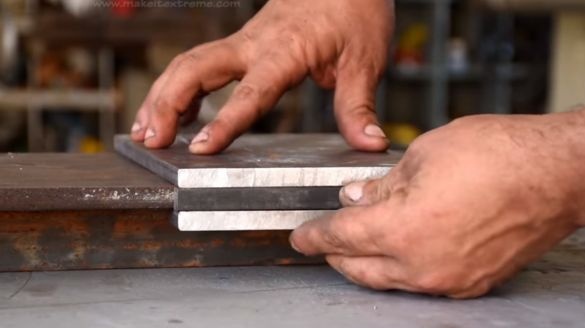
From the steel plates begins to produce the base of the carriage.
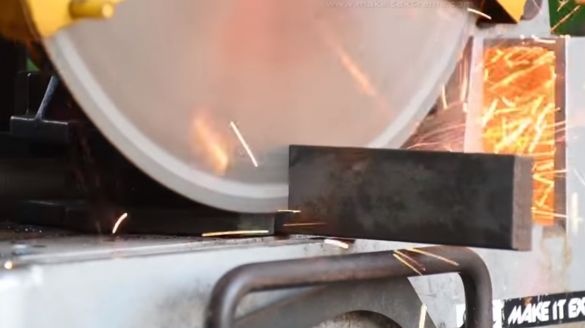
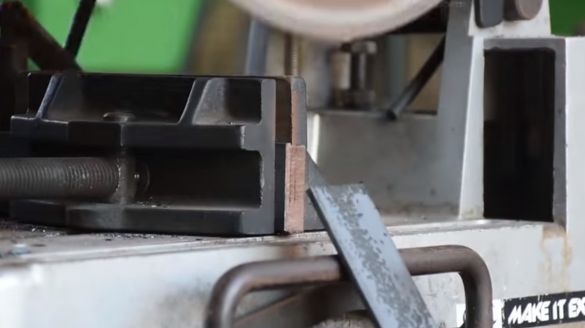
Cuts a square bar with a miter saw.
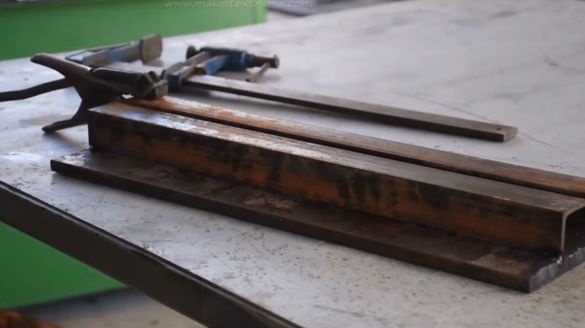
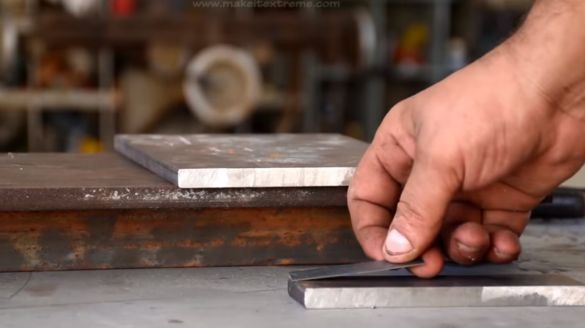
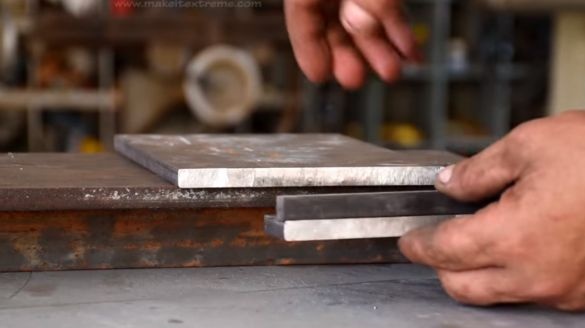
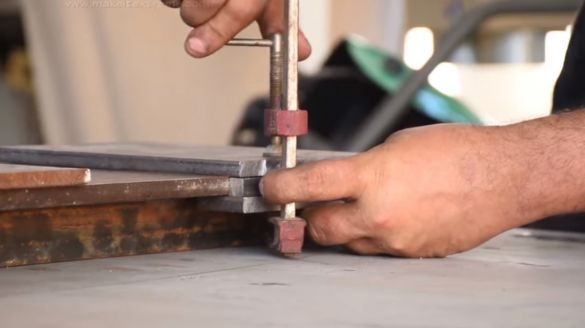
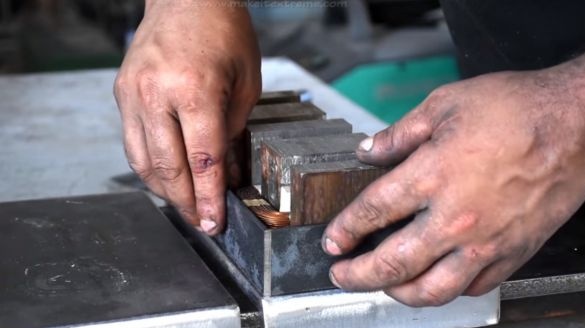
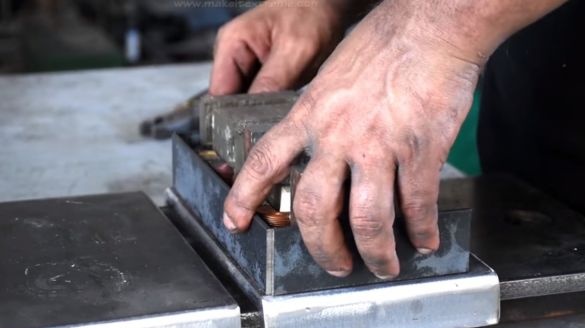
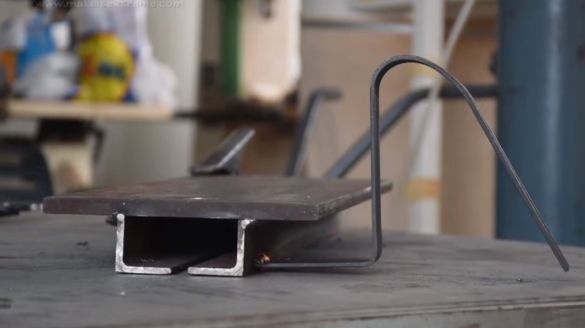
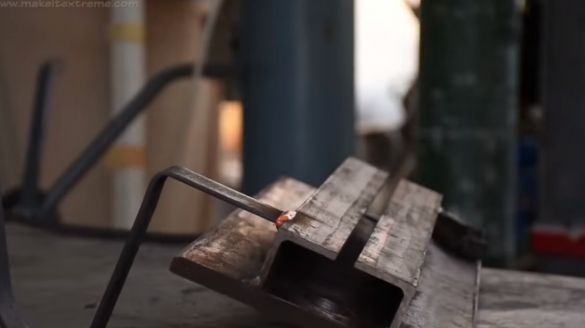
Lays a thin tin strip in order to create a small gap. It is needed for the free movement of the carriage.
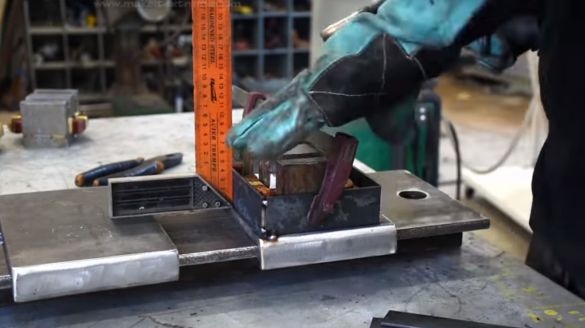
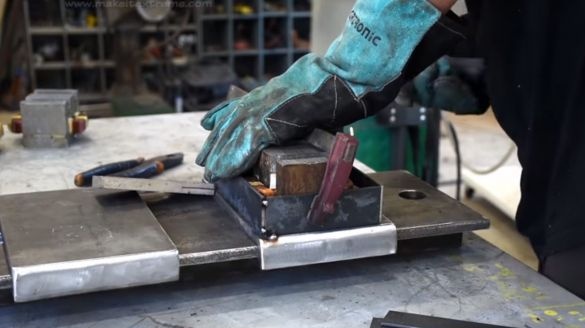
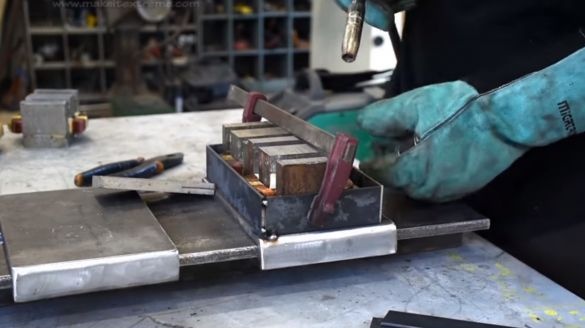
He puts the rods in place, clamps them with a clamp.
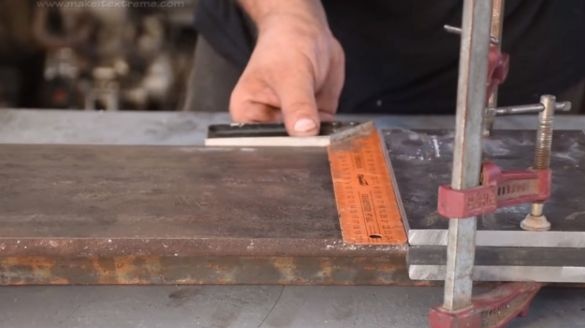
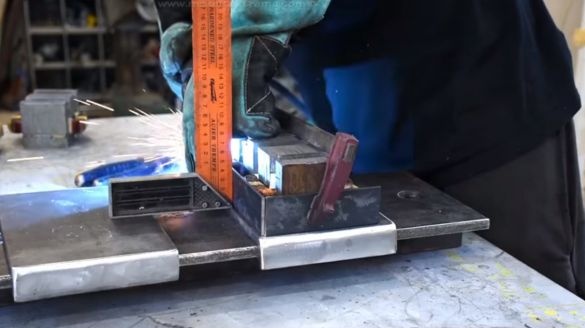
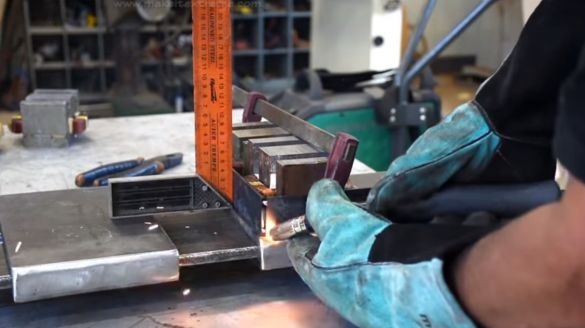
Using a corner, checks the geometry of the carriage.
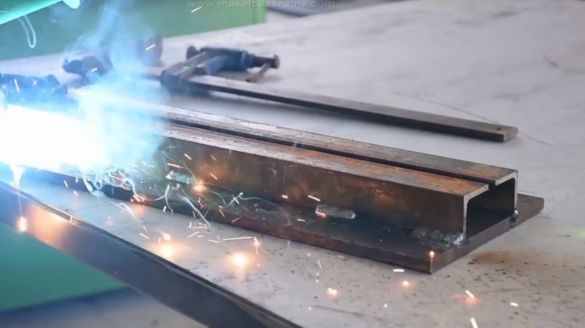
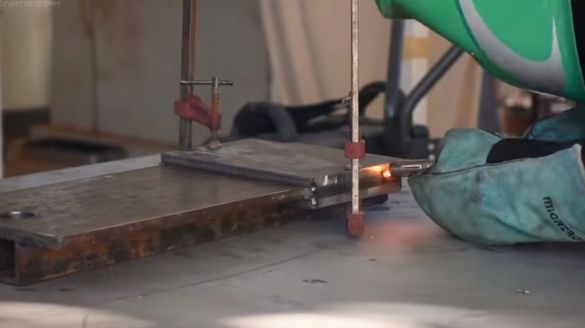
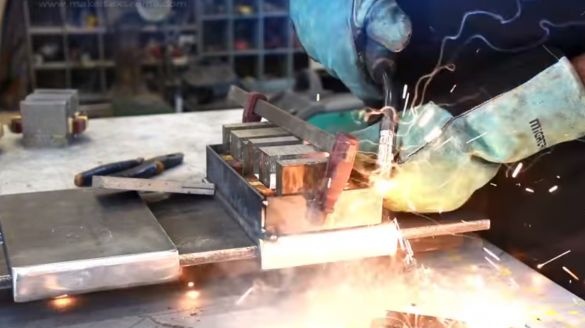
Welds both carriages.
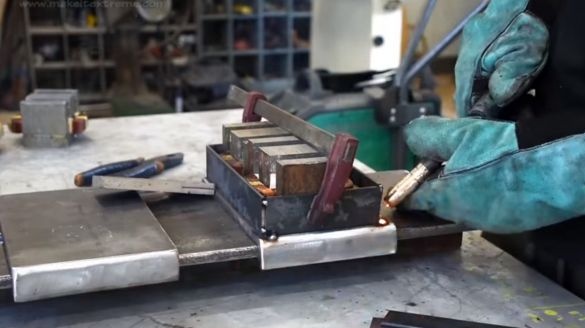
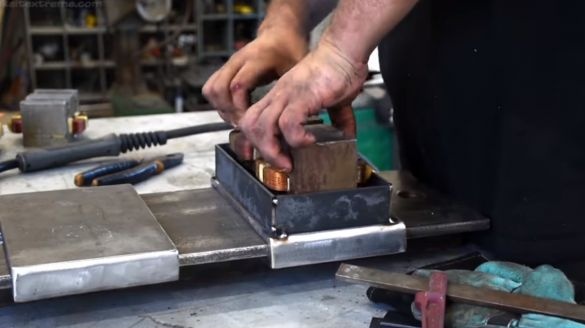
After stripping the carriages, it tries on transformers.
From the steel strip cuts the sides for the cases.
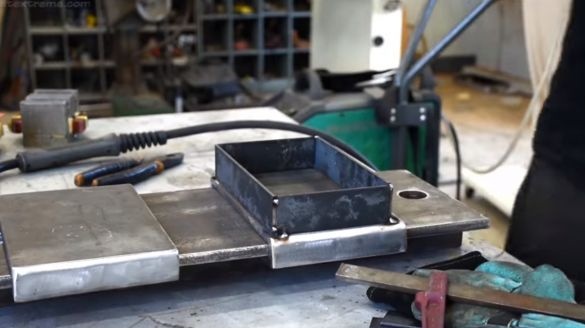
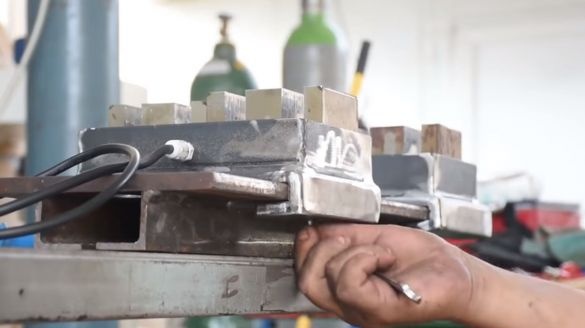
Forms the hull.
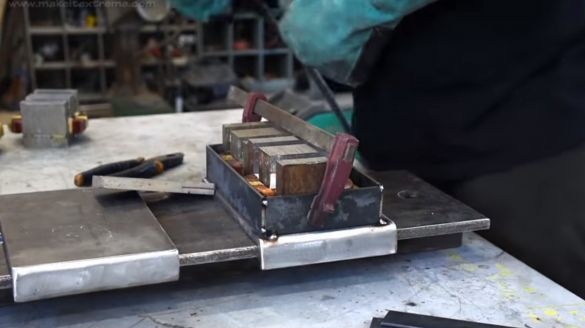
It grips the sides for welding, checking the geometry.
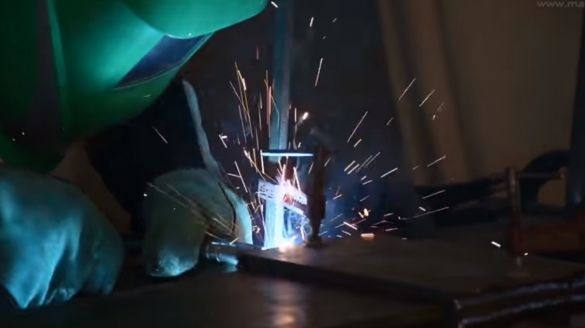
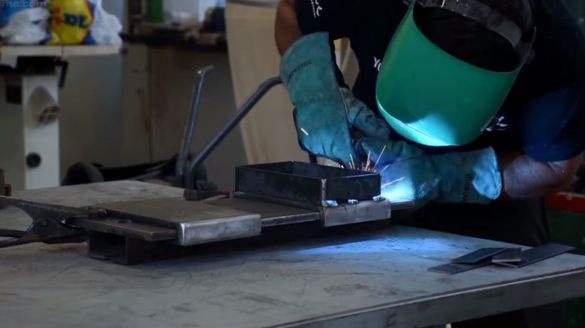
It removes the clamp, removes the transformers and boils all the joints of the sides and the base.
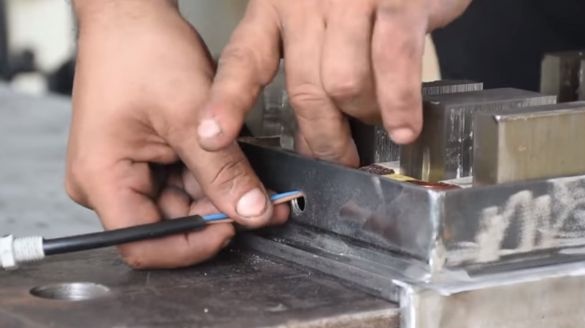
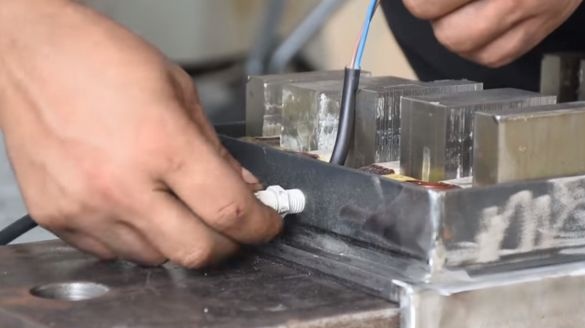
Starts a wire in the case, connects transformers in parallel.
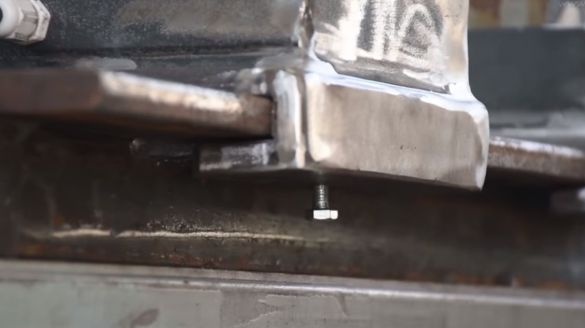
And here is the fixing screw.
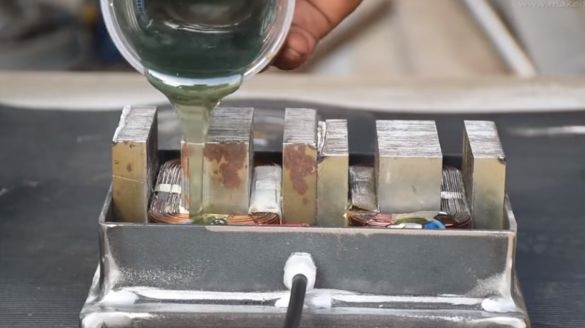
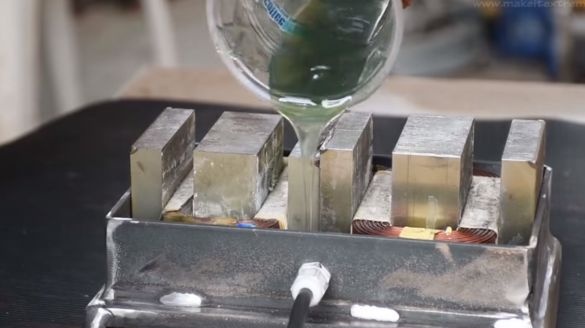
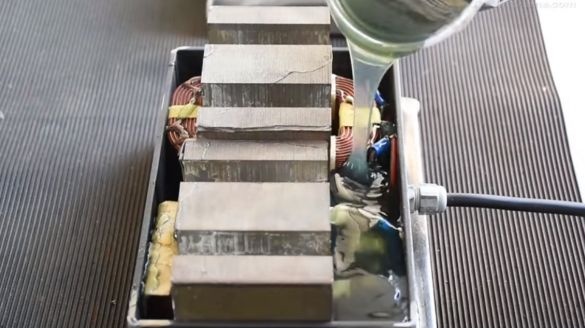
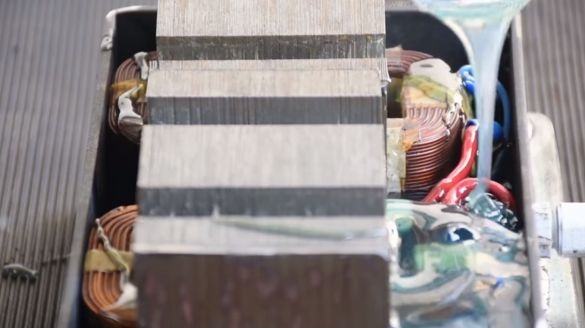
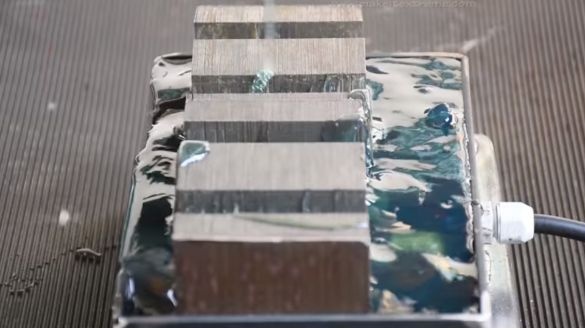
Mixes the components of epoxy resin, and pours it into a finished case.
From a steel strip forms a mount for the control unit.
Welds the mount to the base.
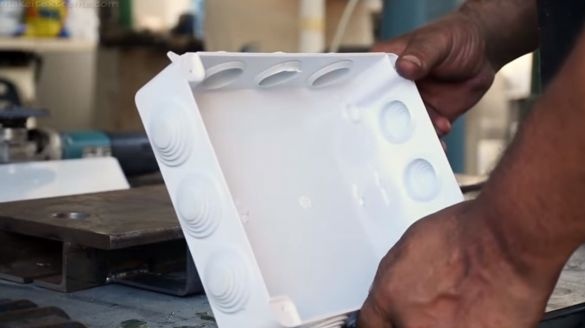
Screws the control unit housing onto the mount.
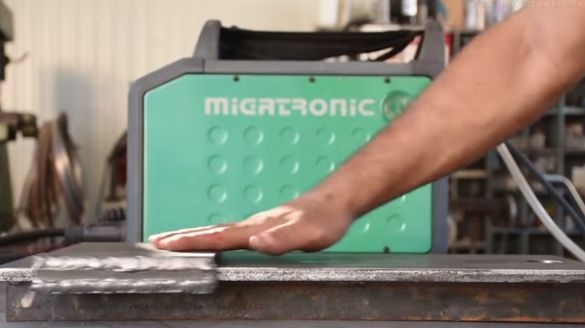
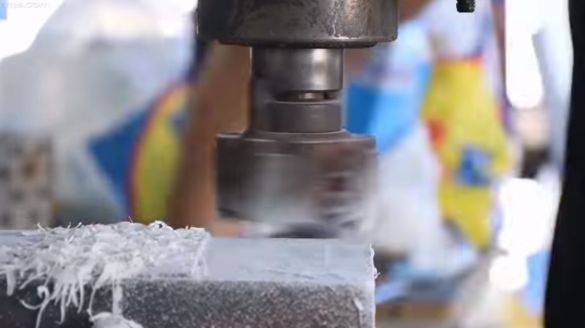
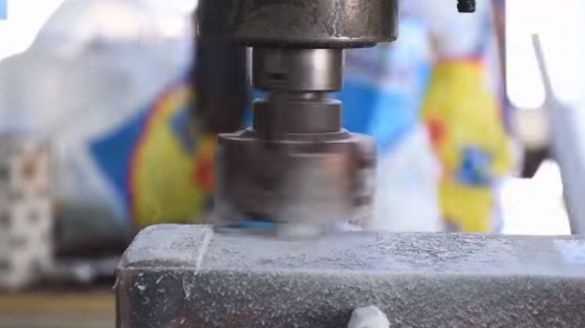
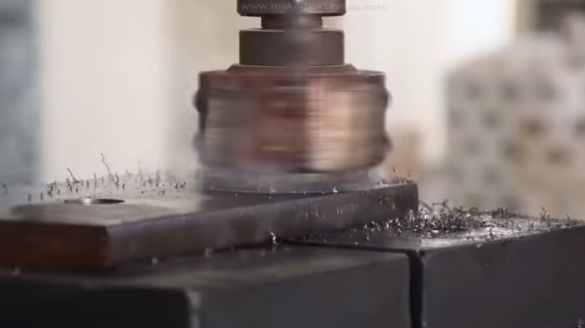
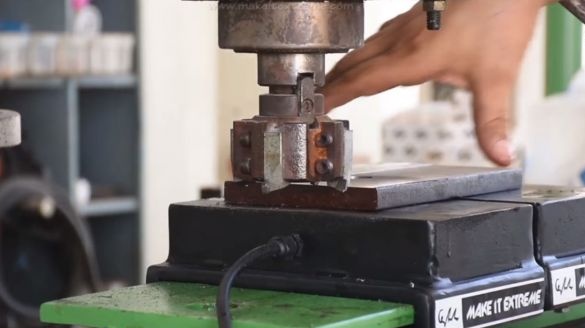
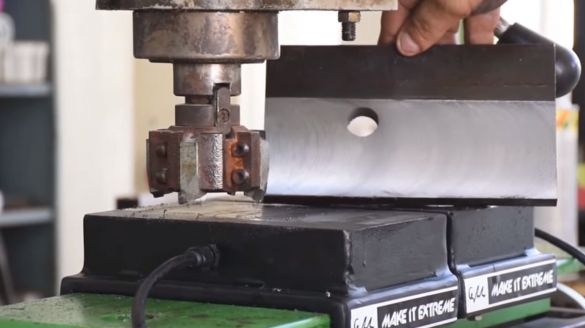
The epoxy resin polymerized, now you need to mill the surface of the magnets.
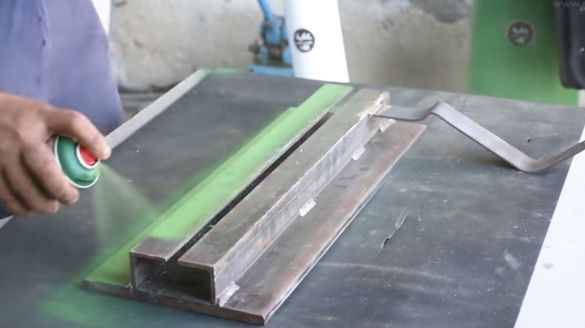
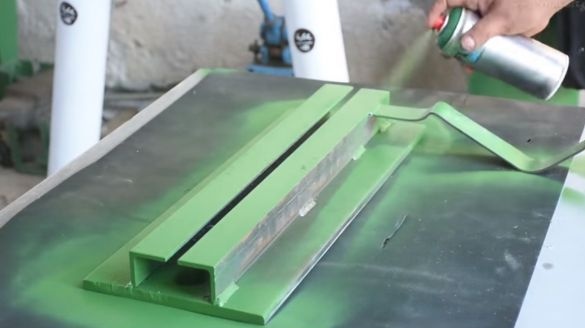
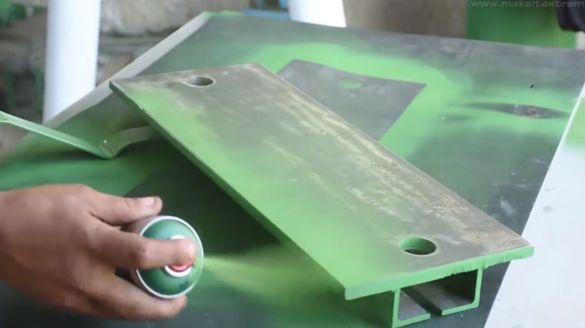
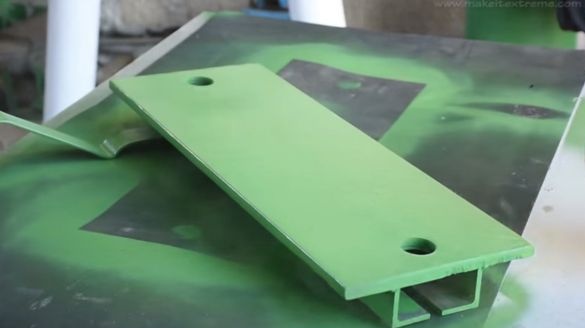
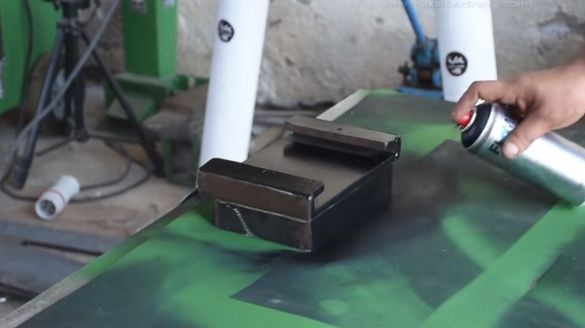
Almost everything is ready, it paints the surface with spray paint.
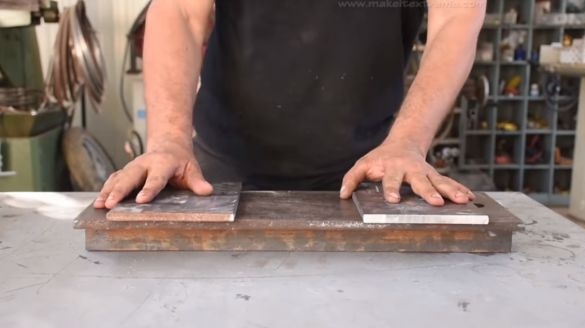
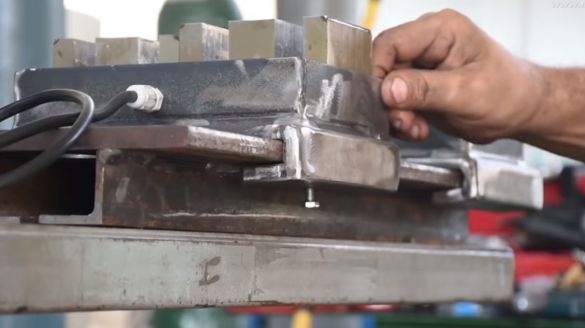
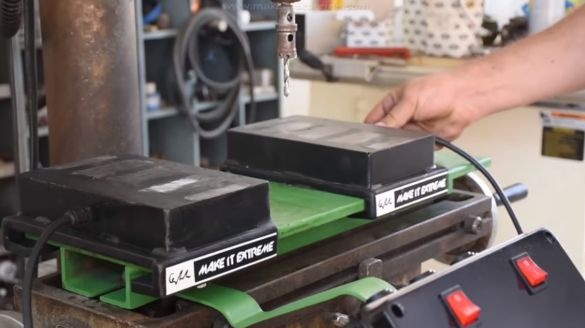
Assembles a table, fixes the carriage.
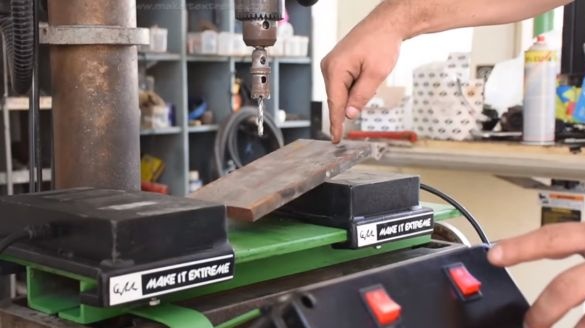
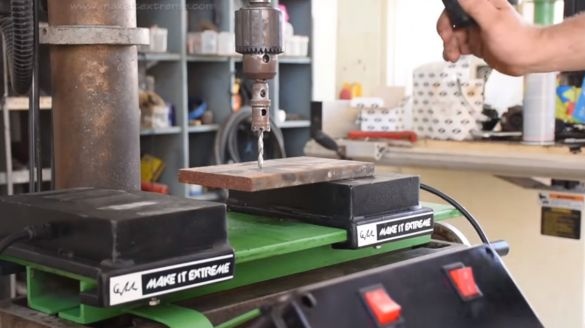
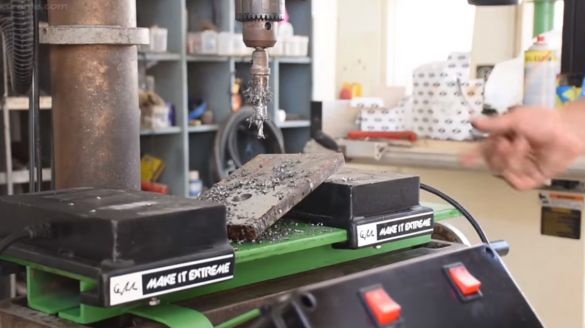
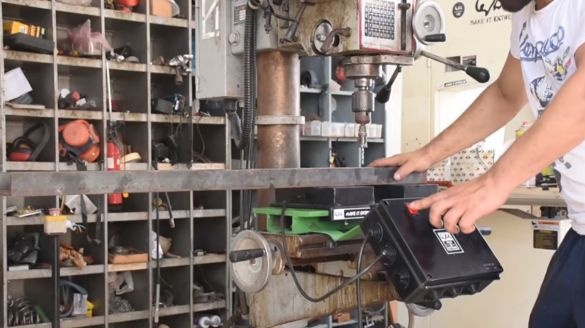
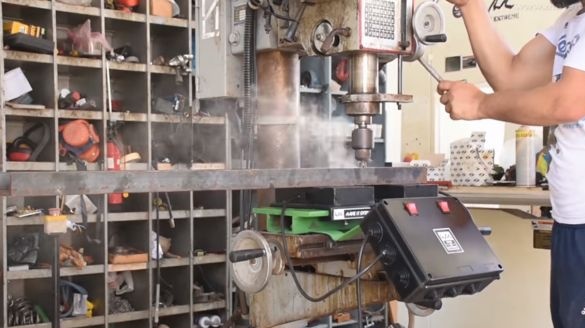
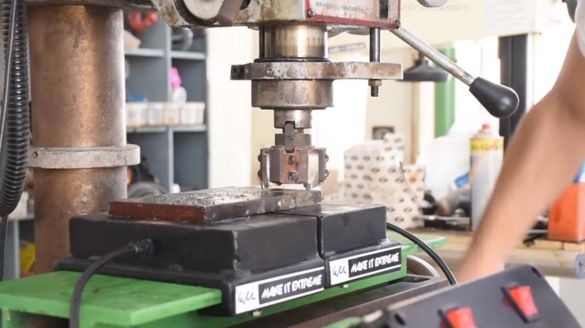
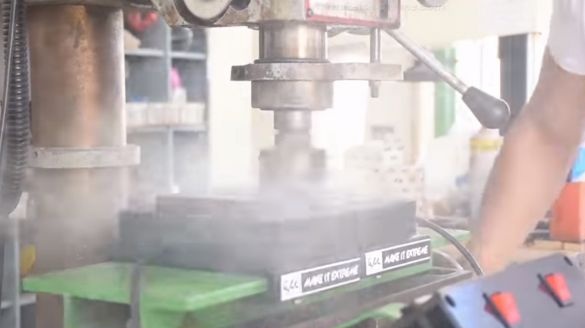
Gives power, checks magnets. Even the huge effort of the machine when drilling with a crown, the electromagnet practically does not notice.
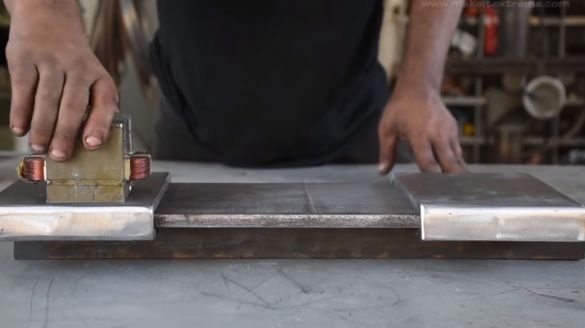
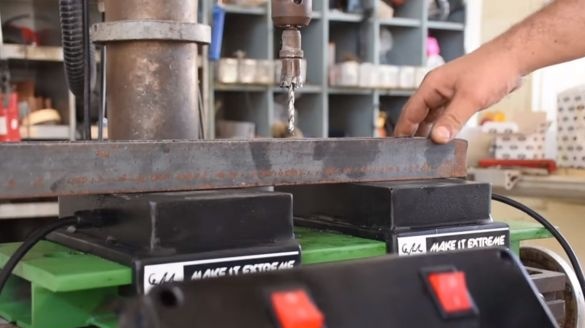
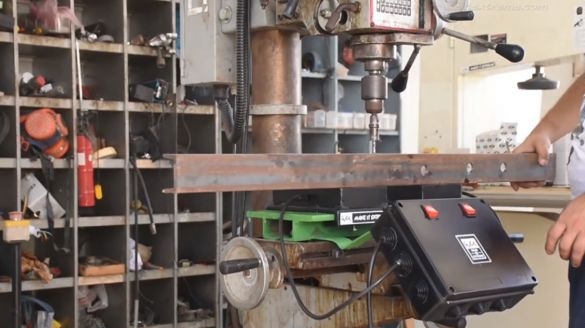
Now he tries both magnets, fixes the channel with them and drills.
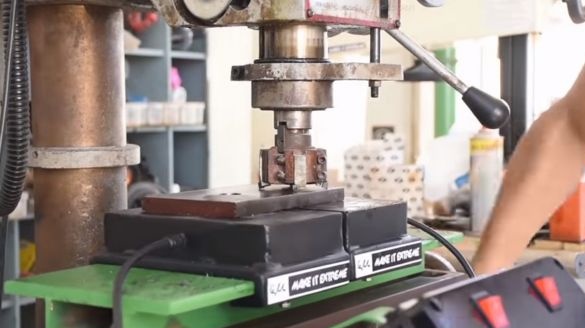
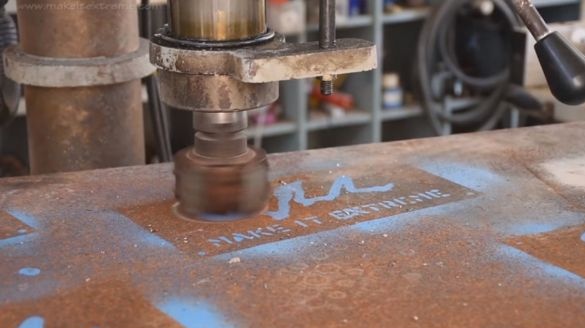
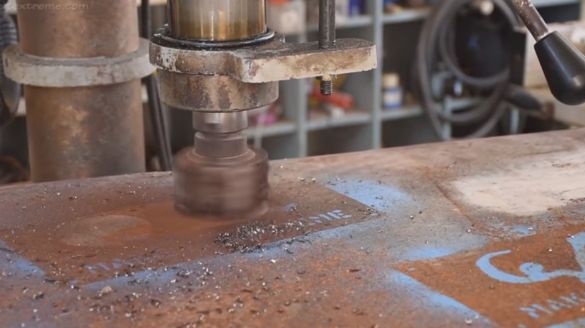
Now he is trying to mill a steel plate. The result is simply excellent.
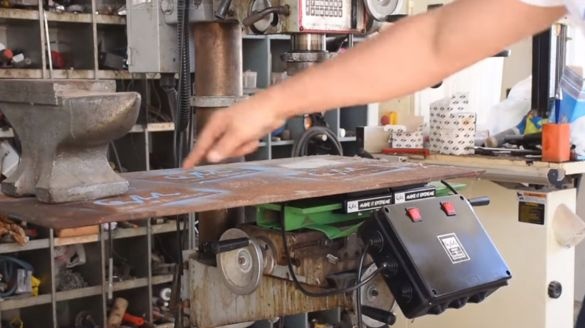
Even the load in the form of an anvil does not create any problems.
A little more milling.
That's all, thanks to the author for a great idea for optimizing a drilling machine!
All obedient instrument!
Here is another one article about a powerful electromagnet.

