
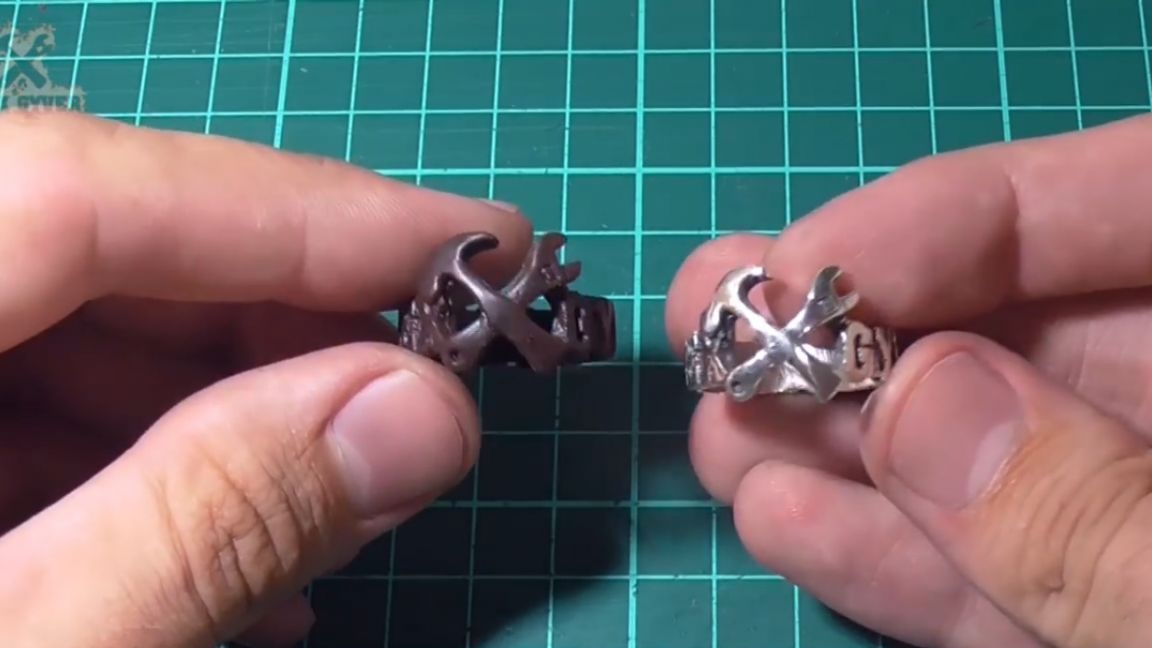
Today we will transfer to the distant Barnaul to the jewelry workshop, where Timofey will show you in as much detail as possible how a special fan version of the ring for the AlexGyver channel was created.
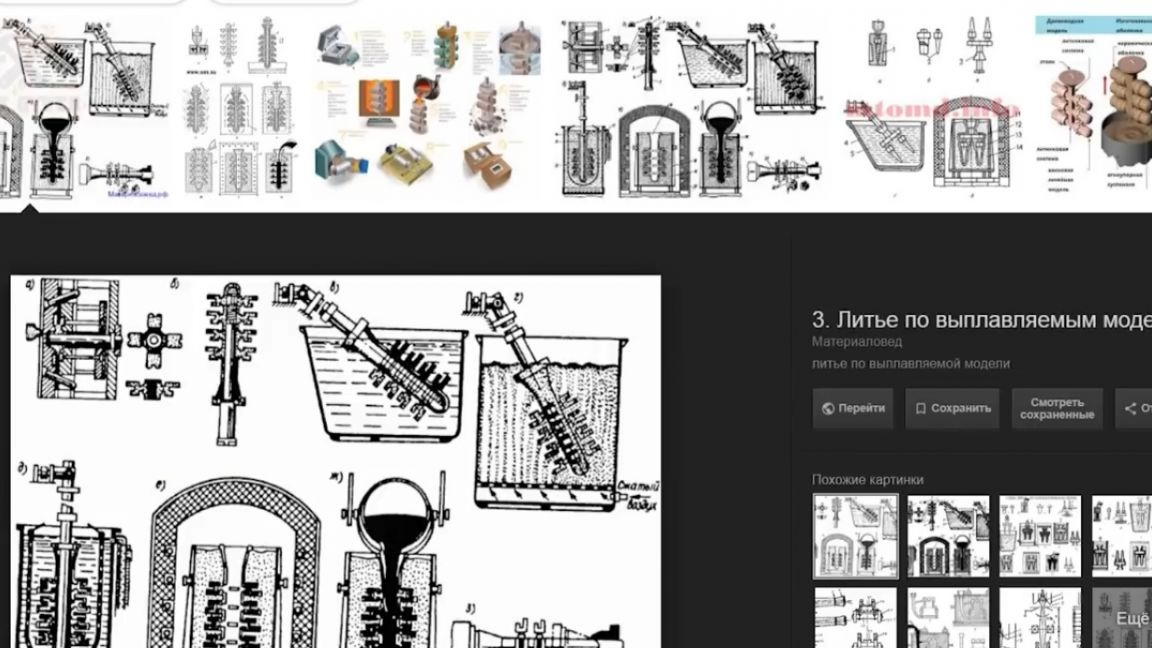
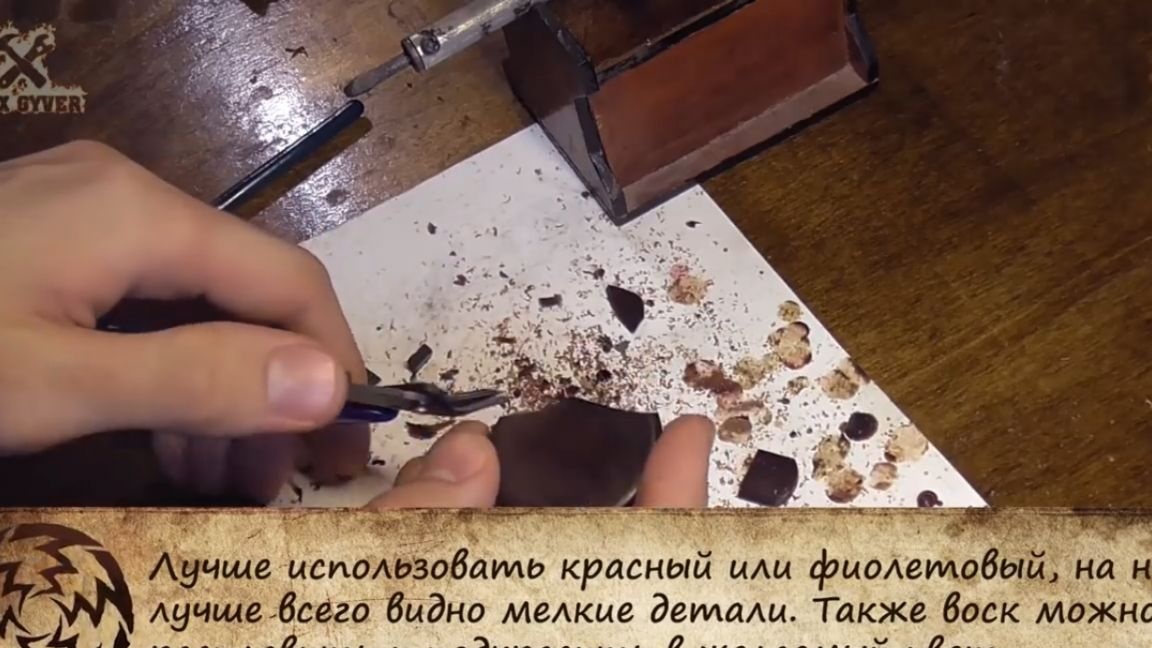
The most common manufacturing method in knee-high jewelry is wax lost wax casting. Respectively model first made of wax, the so-called wax, and then the mold is made of it. For the manufacture of waxes used purchased jewelry wax for modeling. It is more convenient to begin work with pieces of wax, which can be made from a circle obtained by pouring wax onto a sheet of foil.
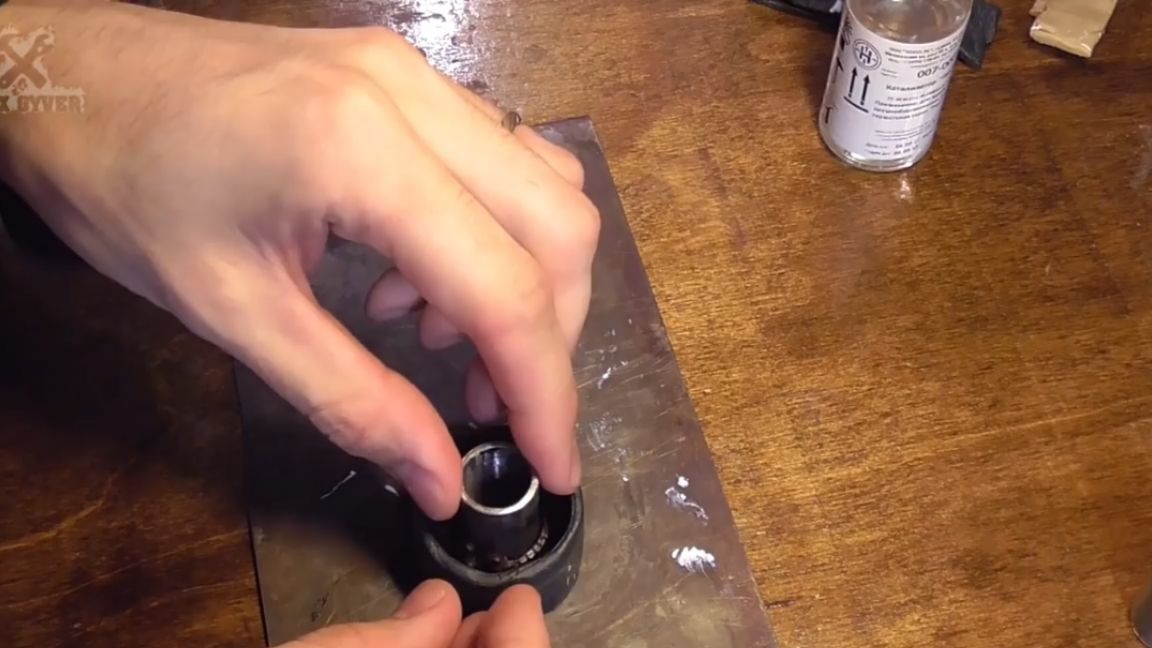
Wax with a soldering iron is applied to a metal finger of the diameter required for the ring. The finger is wrapped in foil for easier removal of wax in the future.
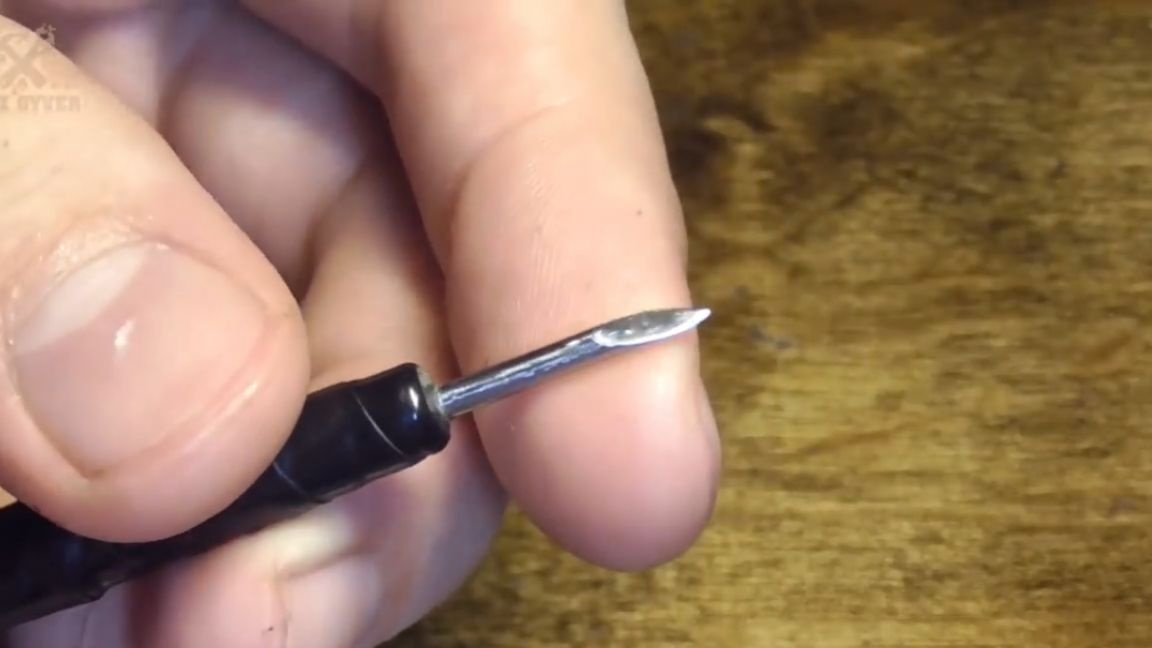
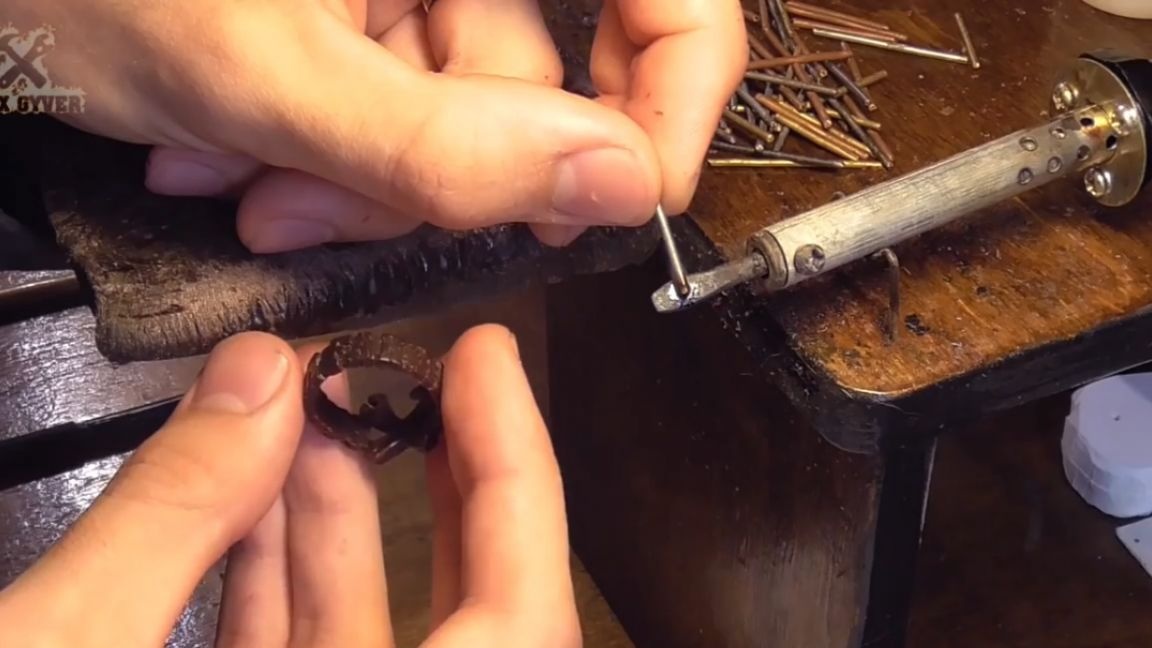
For wax carving, incisors are used, at Timothy they are home-made. Wide and flat for removing a large amount of material and creating a form, a needle for fine work and engraving, and a tubular cutter-spoon for universal work and deposition of wax, which will be shown later.

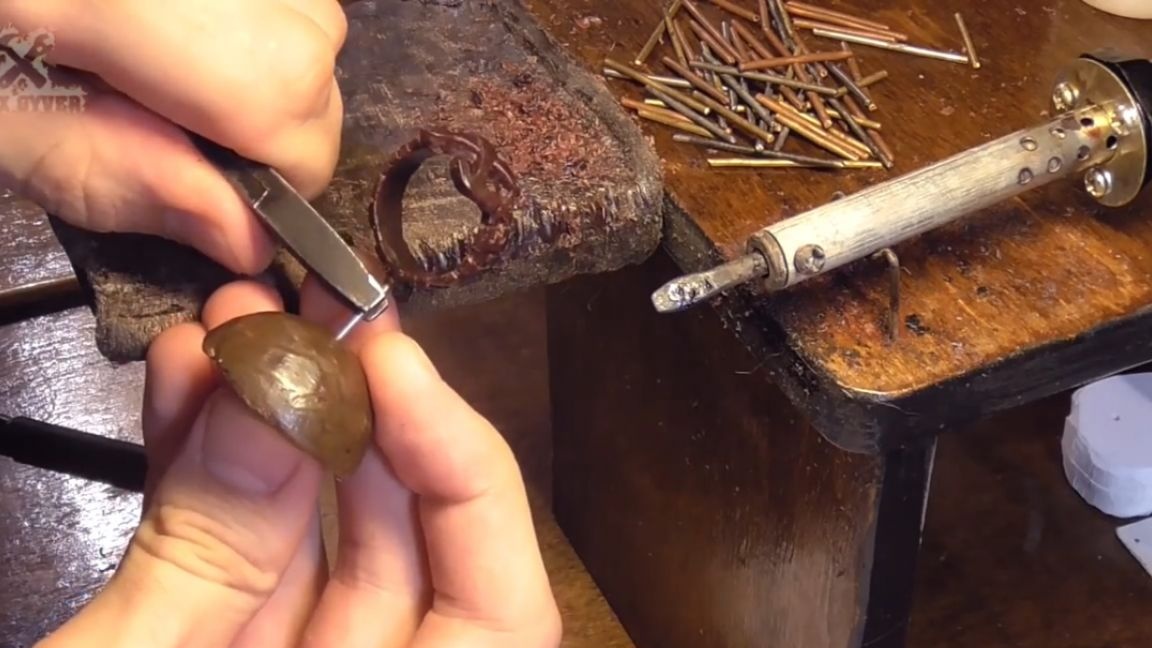
The workpiece processing sequence is as follows: first, remove the excess thickness of the wax sag. Chips will be used for further modeling, building up the model where it will be needed. And then begins the wax carving itself, the marking of the letters and the pattern. As you know, this is art, and if it is not given to you, then no instructions will help. Injection molding, and modeling is a creative process, but at the same time, in the age of modern technology, this stage can be skipped by printing models on a 3D printer.
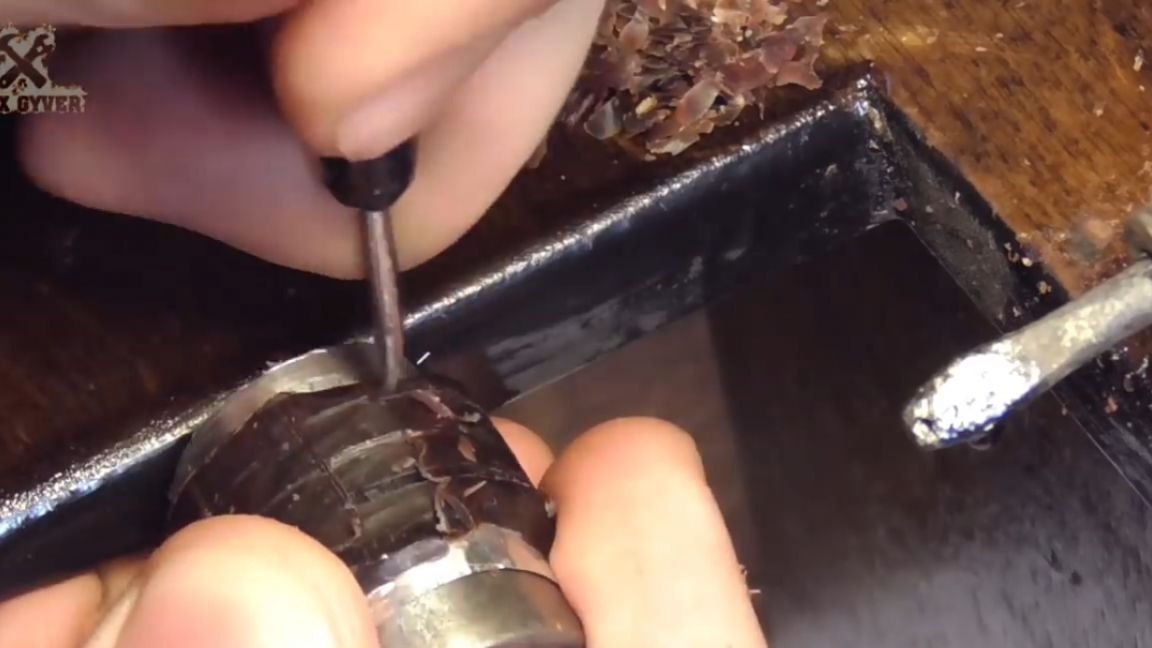
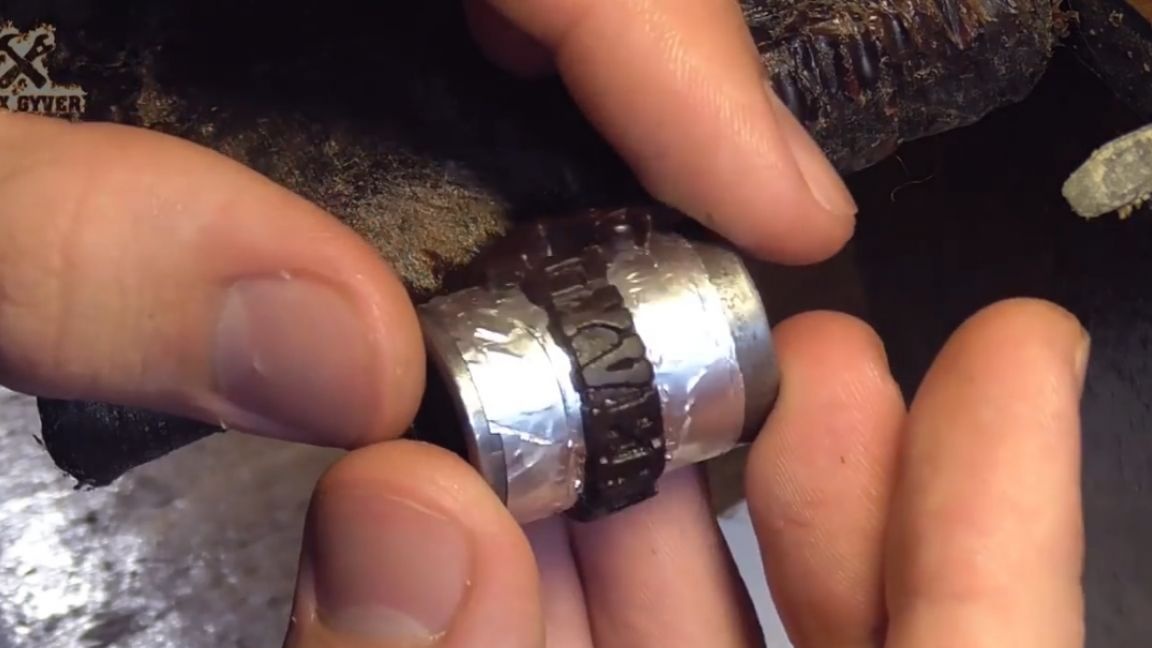
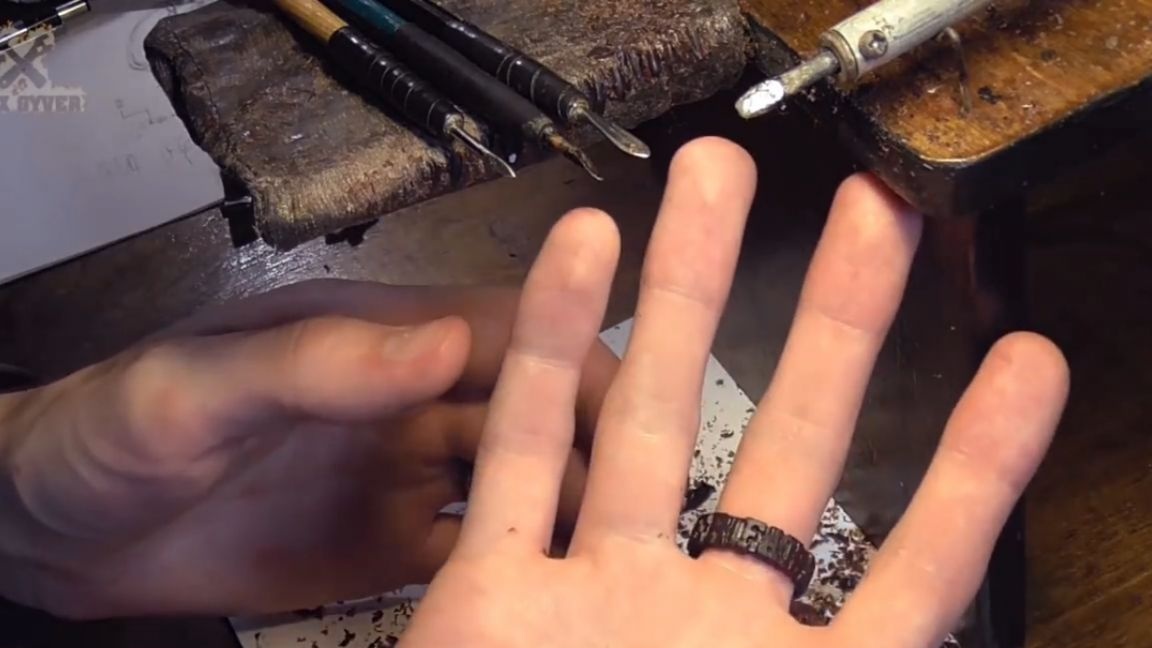
When the marking of the picture and letters is carried out, the lines gradually deepen and excess fragments are removed from the background. And after an undetermined amount of time, the model becomes similar to what you could see on the finger of the author of the channel AlexGyver. Then the iron finger is removed, the foil too. The following is an optional procedure for taking a mold from a model. The mold allows you to quickly make wax and replicate the model, for example, for fans. But at the same time, even in the manufacture of a single product, one wax provides one mold, and so as not to screw it up, you can also make an impression just in case, this is how it will be saved in the game or program.
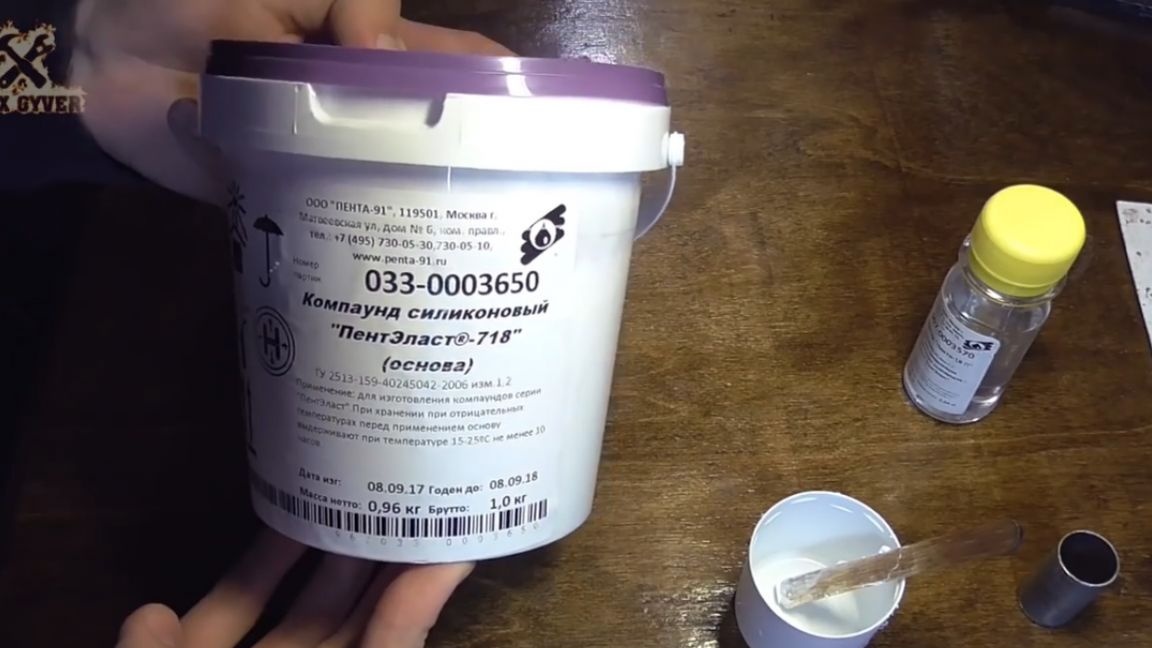
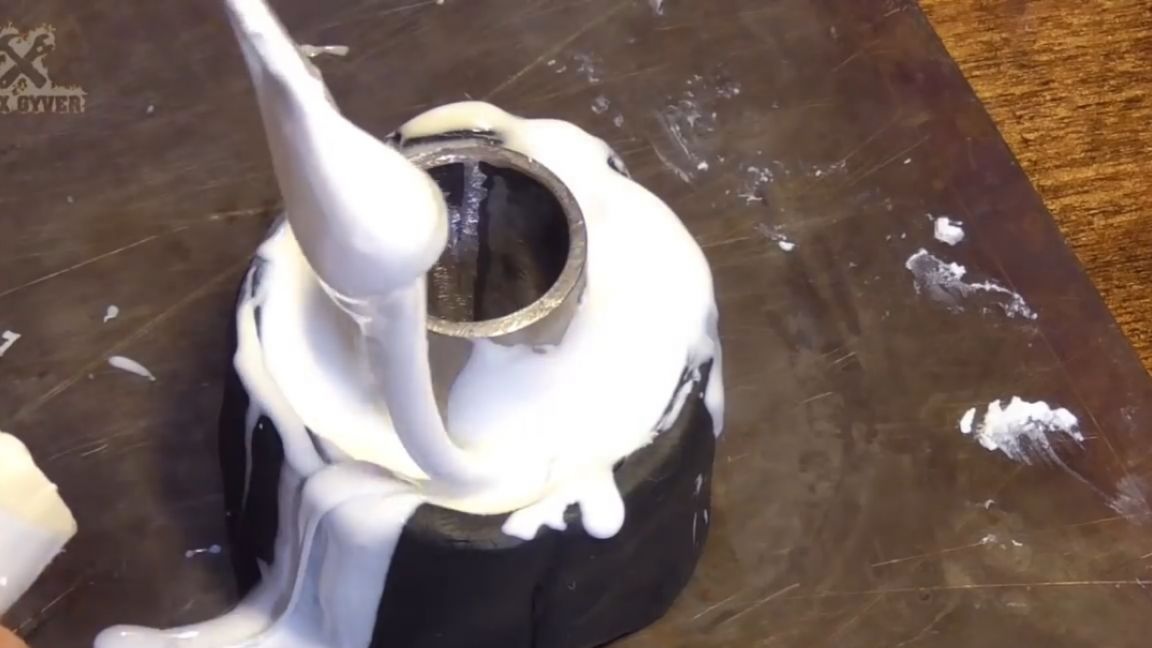
The model is poured with liquid rubber, for example, PentElast-718, which acts as an epoxy and cures when a catalyst is added. The mold for creating an impression is made of plasticine. To improve the transfer of small parts, the wax is also carefully coated with rubber, and then immersed in the mold. After curing, the impression is cleaned and everything is disassembled, the impression is cut.
Now, wax can be poured into the mold again, directly melting and rolling it with a soldering iron. And you get another model, which of course requires a little refinement, but in any case it is hundreds of times faster than cutting a new one. By the way, a copy obtained from a mold will be used to make a metal ring. The preparation of the mold begins. Stencil is fixed on pieces of wire over a hemisphere of soft wax or plasticine. Later in the mold they will become channels for metal - gates. In the case of this ring, they should be no more than 1.5 mm in diameter. Casting is a long and energy-consuming process, therefore several forms are poured at a time and in each several models.
From a bowl with molten wax, the wax is spread on the sprues to connect them together. This is necessary to ensure the correct flow and crystallization of the steamed metal. The following is the process of shaping (or molding). The resulting foundry tree needs to be washed from dirt and grease and fixed in a steel pipe, where it will be filled with refractory gypsum. A tube is a frame; it is called a flask.
Models are washed in tincture of hawthorn, in soap, and then in clean water. Using masking tape, the pipe walls rise. Plaster is bred in accordance with the instructions.
It’s not enough just to fill it, you need to completely remove all the bubbles from it, otherwise the molten metal will fill them and then the product will be covered with a bunch of small balls that will not be possible to remove everywhere and the picture on the model will be damaged.

The pump pumps air out from under the hood, and the countertop vibrates from the motor with an eccentric. Thus, all bubbles are knocked out and blown out of the gypsum. Gypsum mixes in time, because the process is severely limited. Plaster is not just dirt that dries. When kneading, it is liquid and pours like kefir, but after 8-10 minutes it hardens, since a chemical reaction occurs in it. If you mix it further in this state, then it will generally remain porridge forever.
In a vacuum, gypsum boils, air comes out of it. First, the batch itself is evacuated, then it is poured into the flasks and vacuum again. All this needs to be done in 8 minutes. In the flask, gypsum again boils and rises, and for this we need adhesive tape. The flask is poured to the top and gypsum can begin to flow out. An hour or two after molding, the gypsum is already solid, it can be processed mechanically.
The flasks are printed, the adhesive tape is removed, the supply is with plasticine and the wire is pulled out. This opens the sprues leading to the model. Stencils have already fulfilled their mission, passing their form to plaster. That's all, there is no turning back, the wax model has turned into a wax puddle, now you need to remove water from the forms, it is almost a third by weight there.
The forms are super raw now, they need not only to be dried, but calcined so that all the water comes out of the gypsum crystal lattice. To do this, the furnace should gradually raise the temperature to 730-750 degrees and then lower it slightly before casting. This is done by the temperature controller. Calculation under the supervision of a temperature controller takes 9 hours.

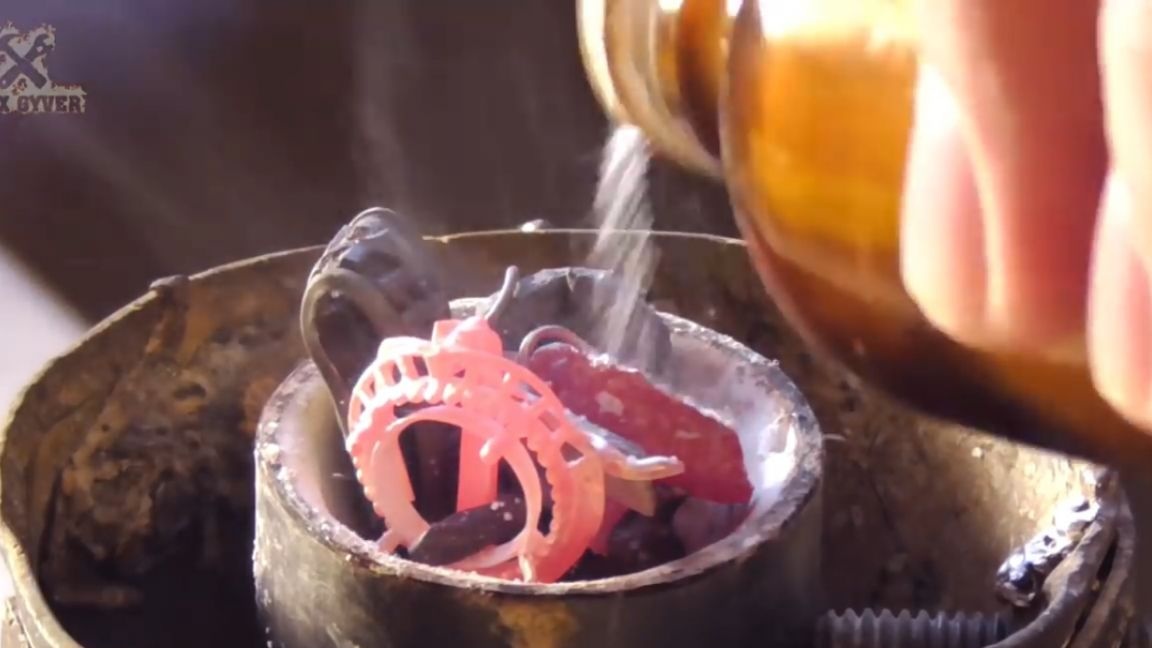
The casting will be carried out under pressure from inertia, and the form is fixed in a special high-tech device. Any silver scrap is used as metal and is melted with an ordinary burner.
Regular boric acid (sold at the pharmacy) is added to the hot metal. It becomes an oil film that covers the metal and protects it from oxidation, absorbs slag and cleans the melt, in general, performs the same functions as with conventional soldering. Boric acid, by the way, produces a green flame.
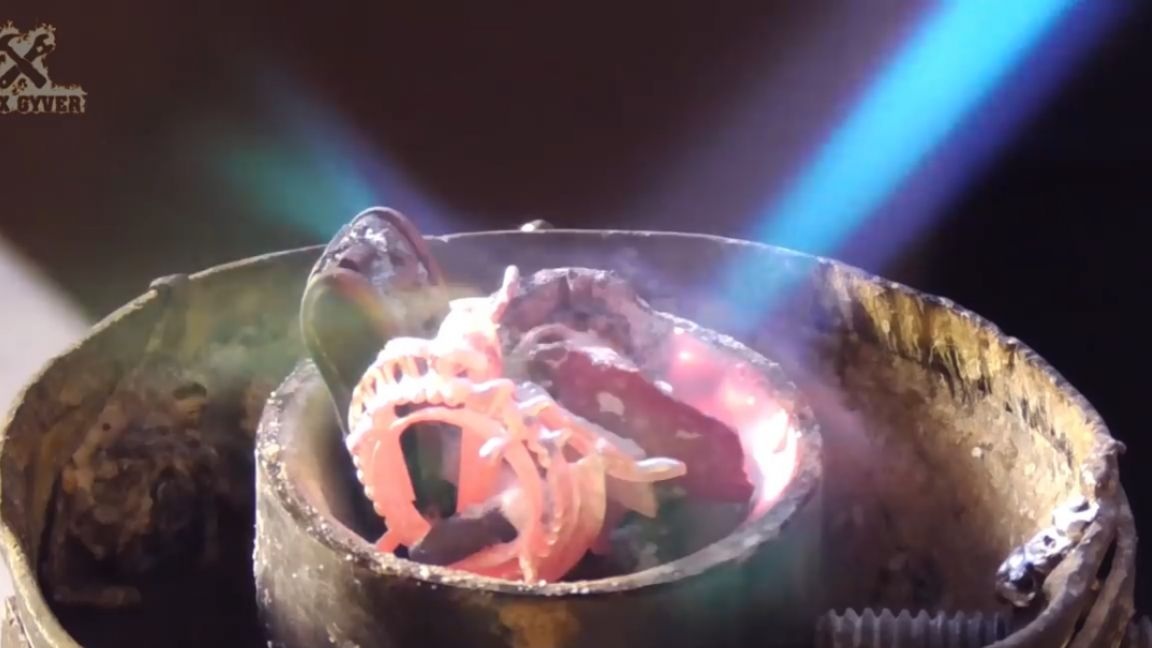
Next, for reliability, there is a second flux - this is sodium tetraborate (aka borax), does everything the same as a regular flux should do.The melting metal is mixed with a titanium spoke. By the way, the metal does not pour into the sprues by itself, because the surface tension that rolls it into a mercury ball prevents it from spilling into the thin corridor of the foundry system. For this, they are made thin so that it is possible to melt and prepare the metal and only after that fill the whole mass at once.
The following is an injection molding process in which an inertia force clogs the metal inside the mold. No matter how crazy it may look, this method is actually practiced to this day, although more often masters prefer to use more stationary carousel installations. For example, dental crowns are poured into such ones and everyone is happy. The metal crystallizes under pressure - this gives it the best characteristics. Next, the casting is removed and cleaned of gypsum.
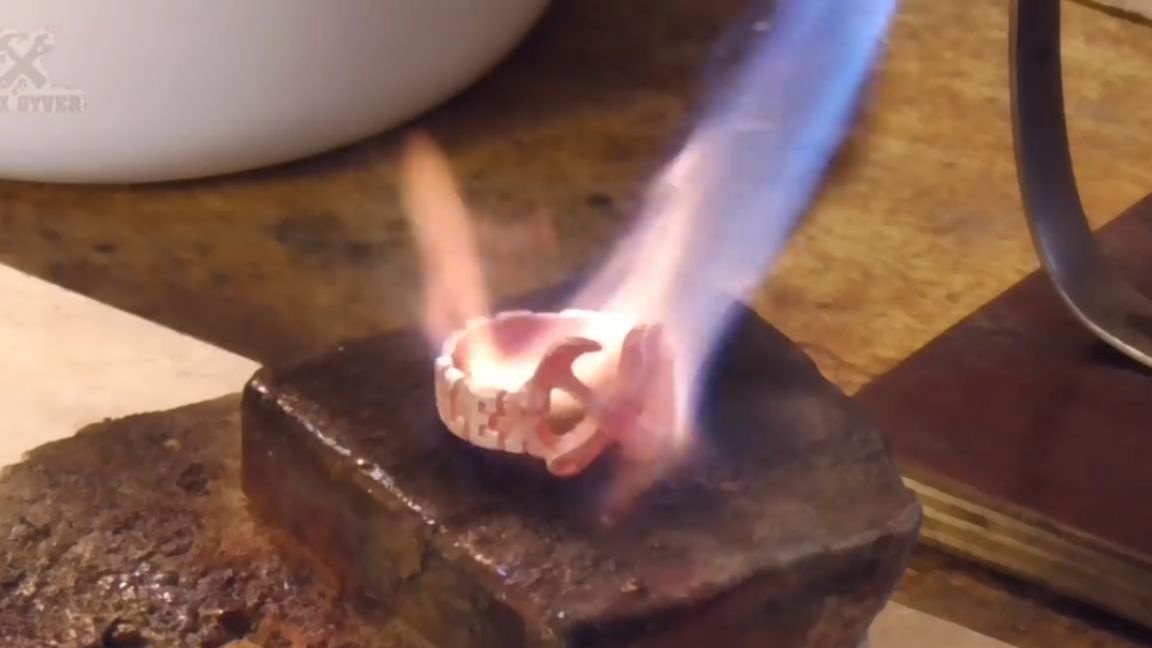
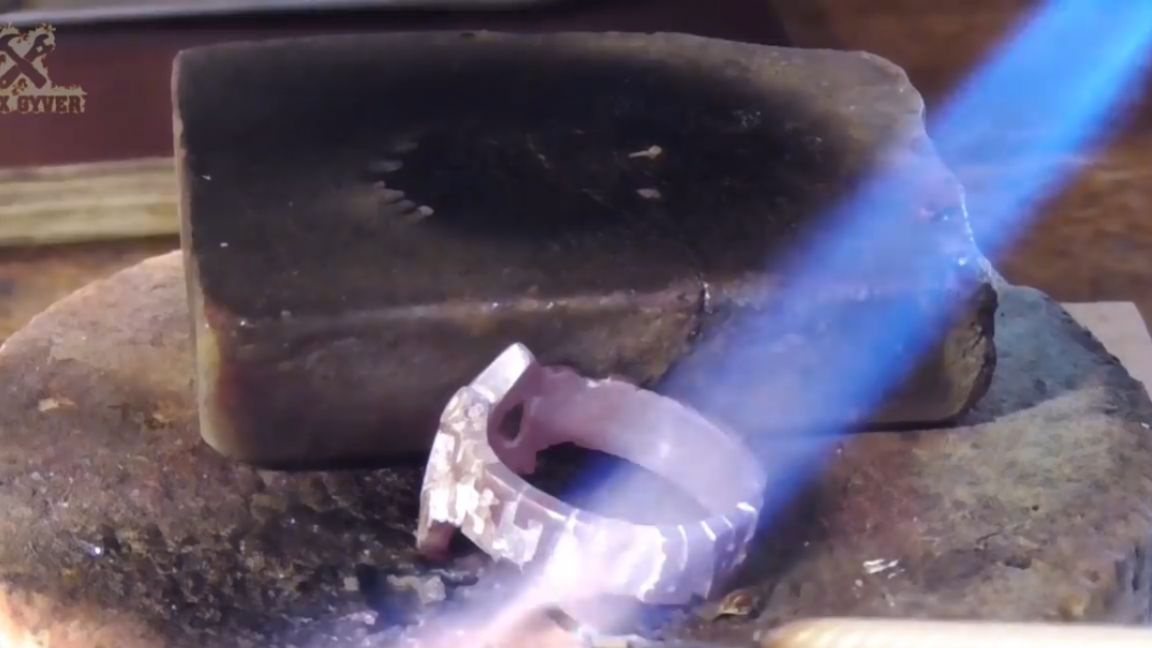
We proceed to the processing of the casting. After biting or sawing off the sprues, the casting must be burned red-hot to relieve tension in the metal and clean the mold from the soot. After heating, the casting is dipped in a solution of ordinary food citric acid from a grocery store and the whole thing is boiled with a burner. When citric acid boils, it acts like a real acid - it corrodes and rinses away excess from the metal, silver becomes white.
We begin processing with a drill with a coarse emery cloth - 600, and we move towards a decrease in grain. A defect appeared on the casting - it’s time, it needs to be sealed with silver solder. The product is placed on a refractory tile, the place of soldering under fire is covered with a solution of the same borax and boric acid. The flux makes a white coating, which after fusion and provides clean soldering.

With a thin titanium leash (it is called that), a cut piece of silver solder with a silver content of 72% is captured and put in place.
This is followed by polishing to give the surface a gloss, and then blackening or oxidation is performed, the process of artificial aging in a solution of sulfuric liver.
A pinch of powder melts until it breaks out, then it is filled with water and brought to a boil. In the resulting solution, silver blackens in seconds.
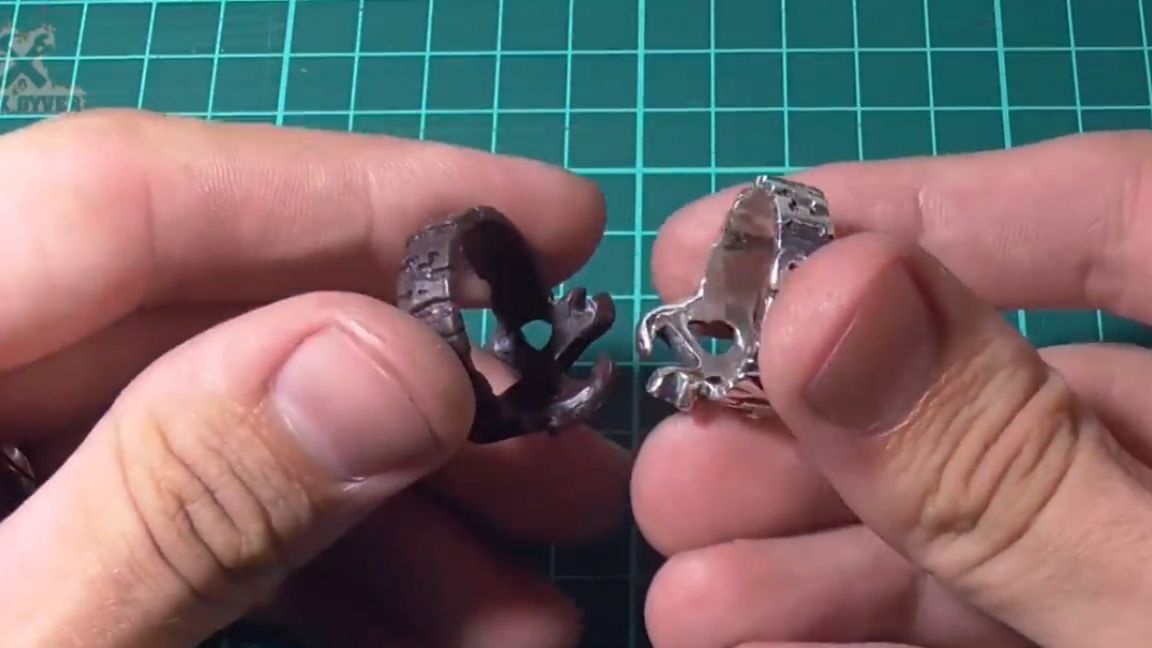
The ring is ready. That's how the original wax model turned into a shiny silver ring.
Thank you for attention. See you soon!
Video: