
Today, together with the author of the YouTube channel "China Master", we will make a universal machine tool from an old screwdriver, as well as one fixtures bought in China.
So let's get started. And for starters, we need a screwdriver itself, the author is the very first Makita, on which the chuck is already poorly clamped and the speed from pressing a button is not regulated. For a long time he just lay there and waited for his fate.

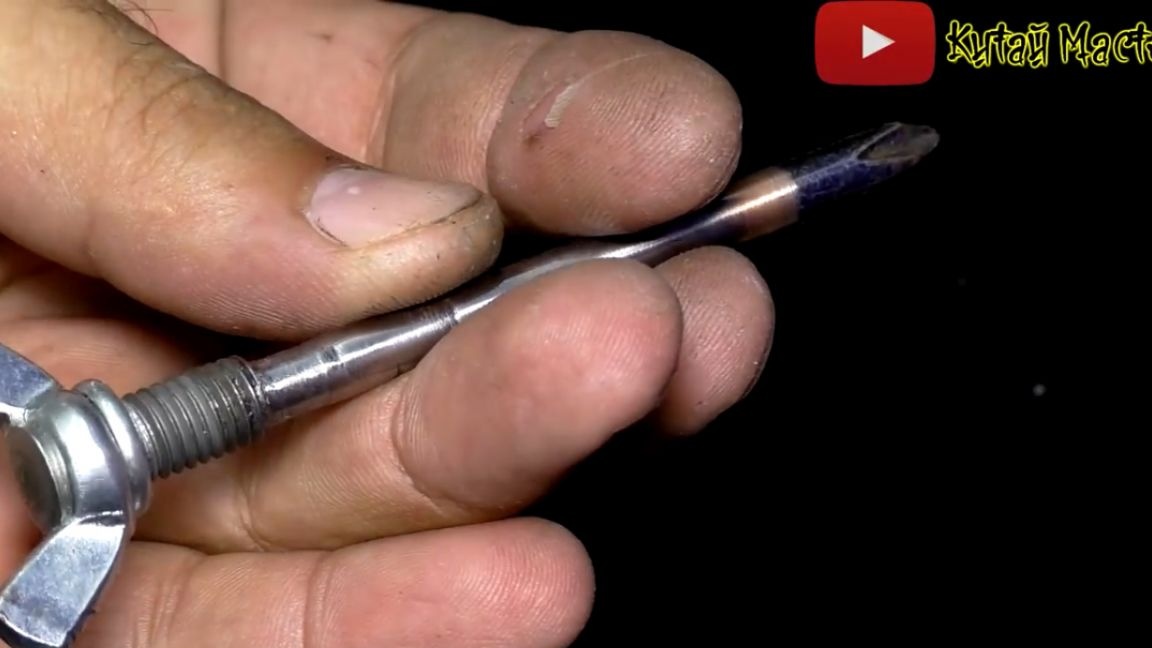
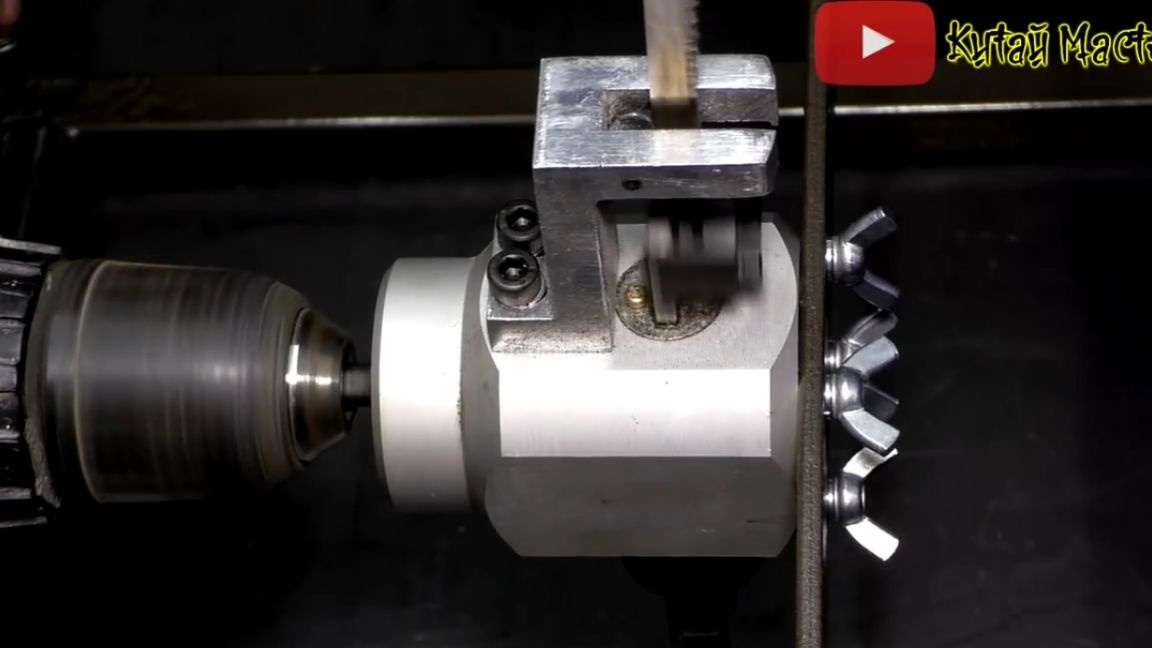
Also, we need here such a nozzle for a screwdriver, which was purchased in a well-known Chinese online store.
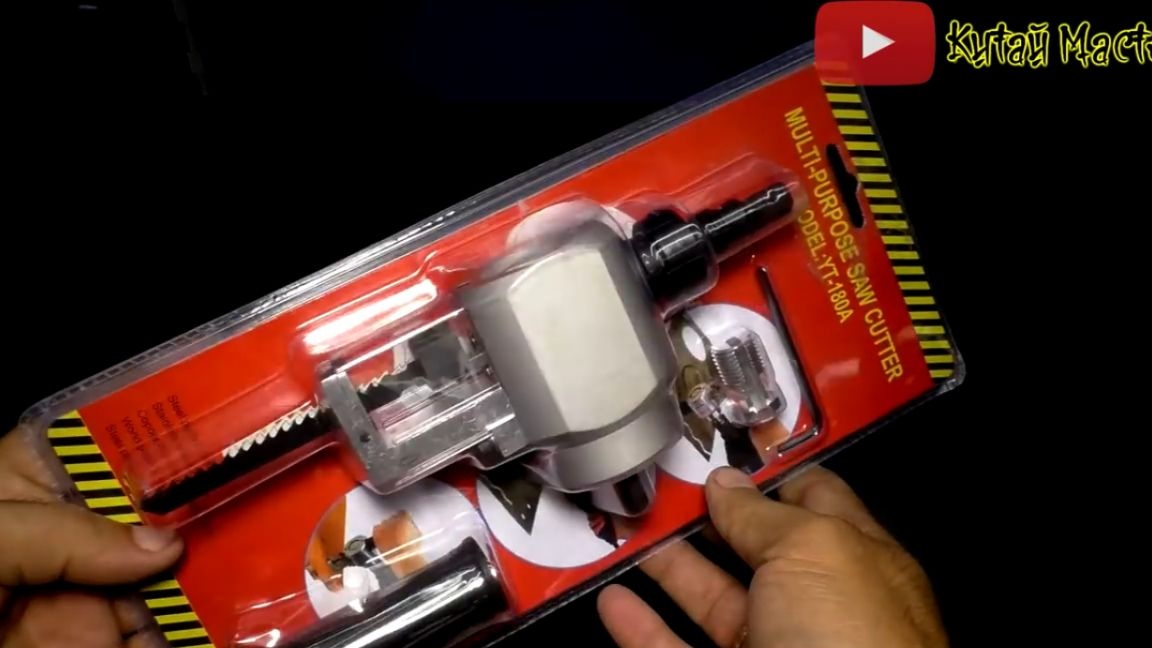
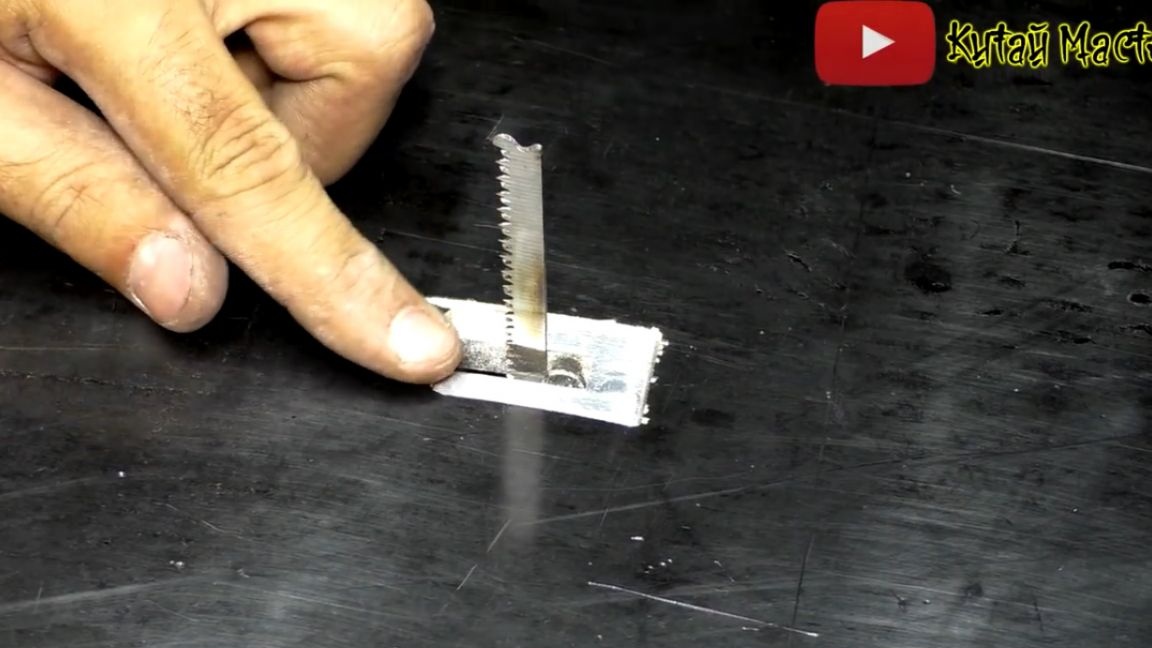
You will find a link to it and other objects used by the author in the description under the original video (the SOURCE link at the end of the article). This nozzle is double-sided. On the one hand, you can install a nail file and you get a real jigsaw, but on the other hand, the nozzle has cutting scissors for metal.

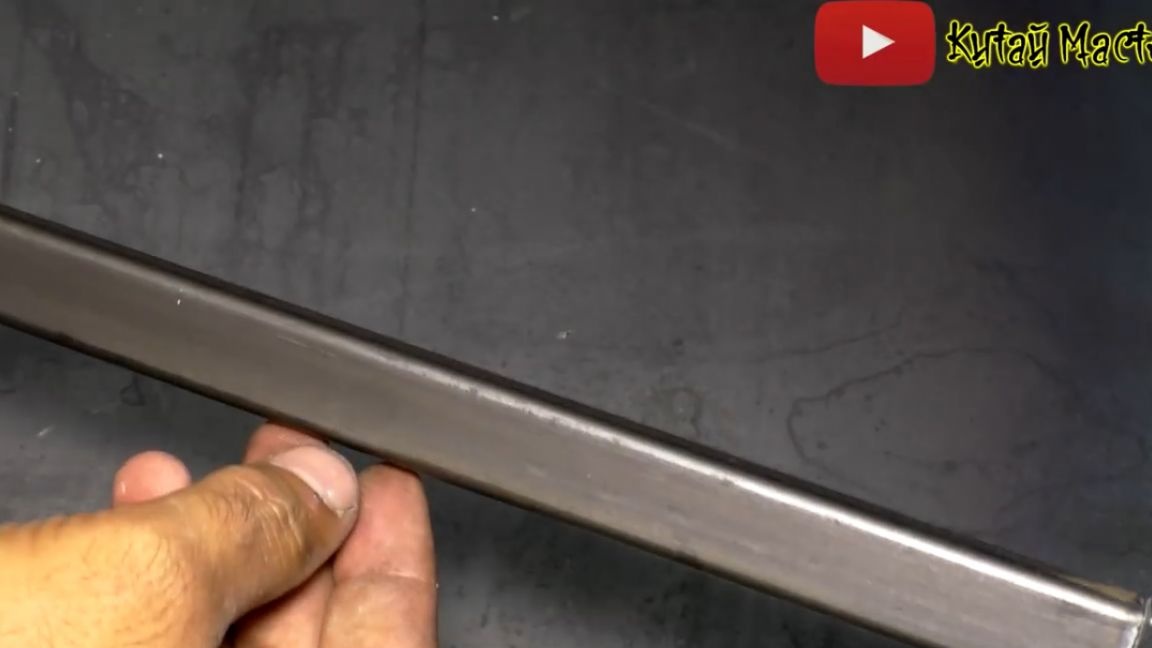
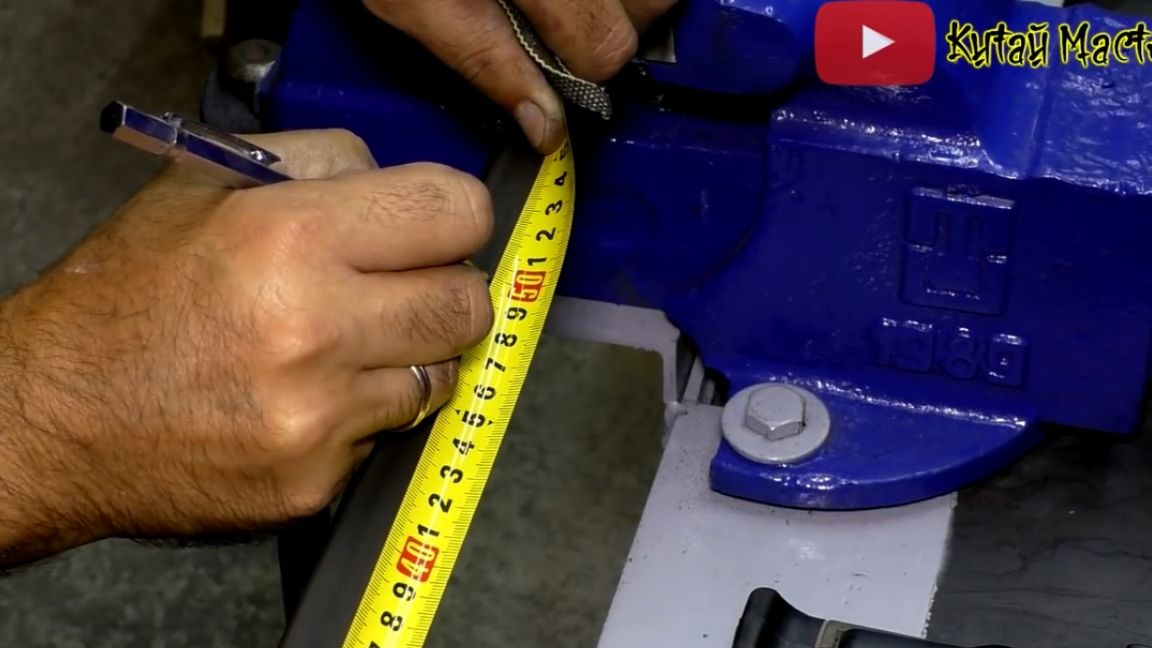
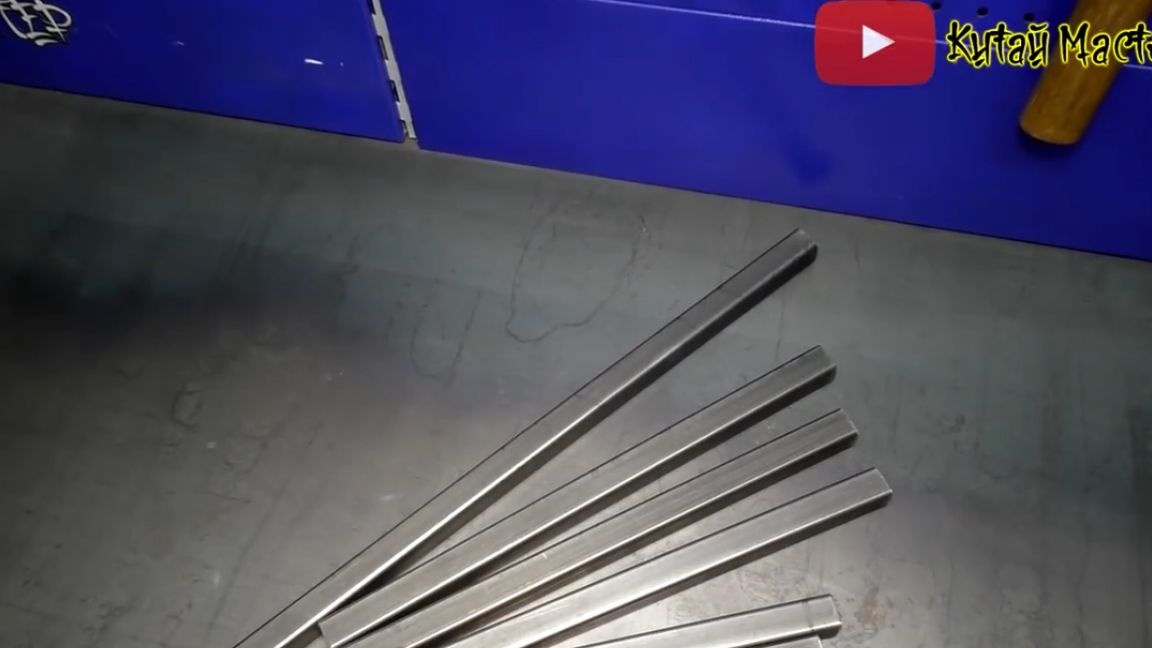
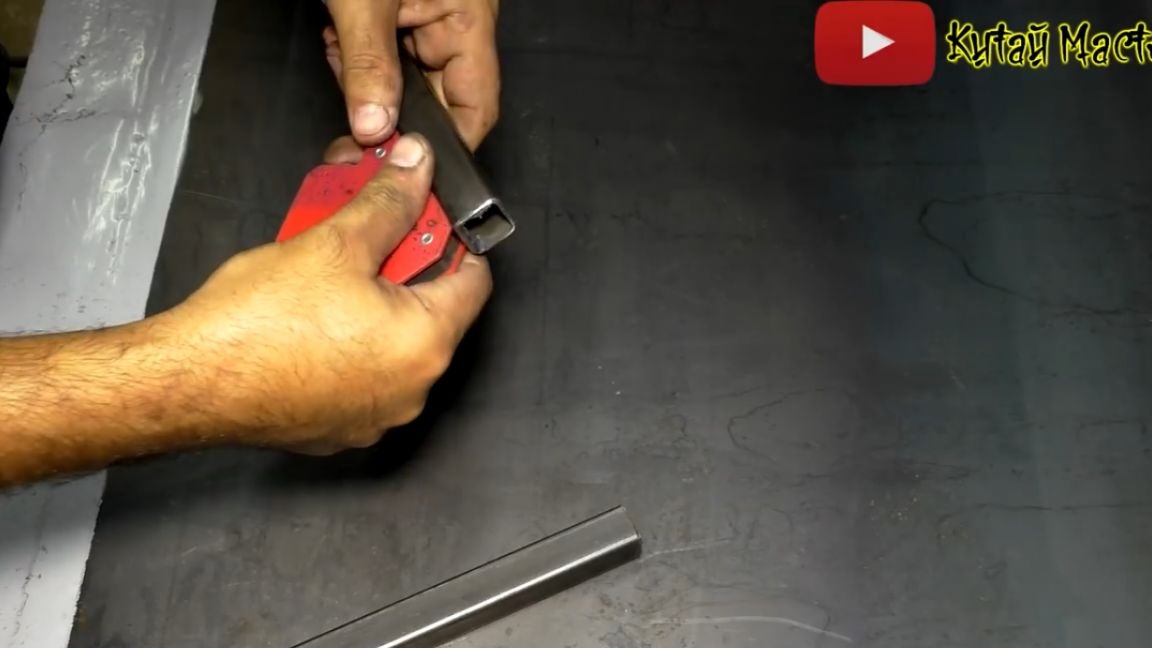
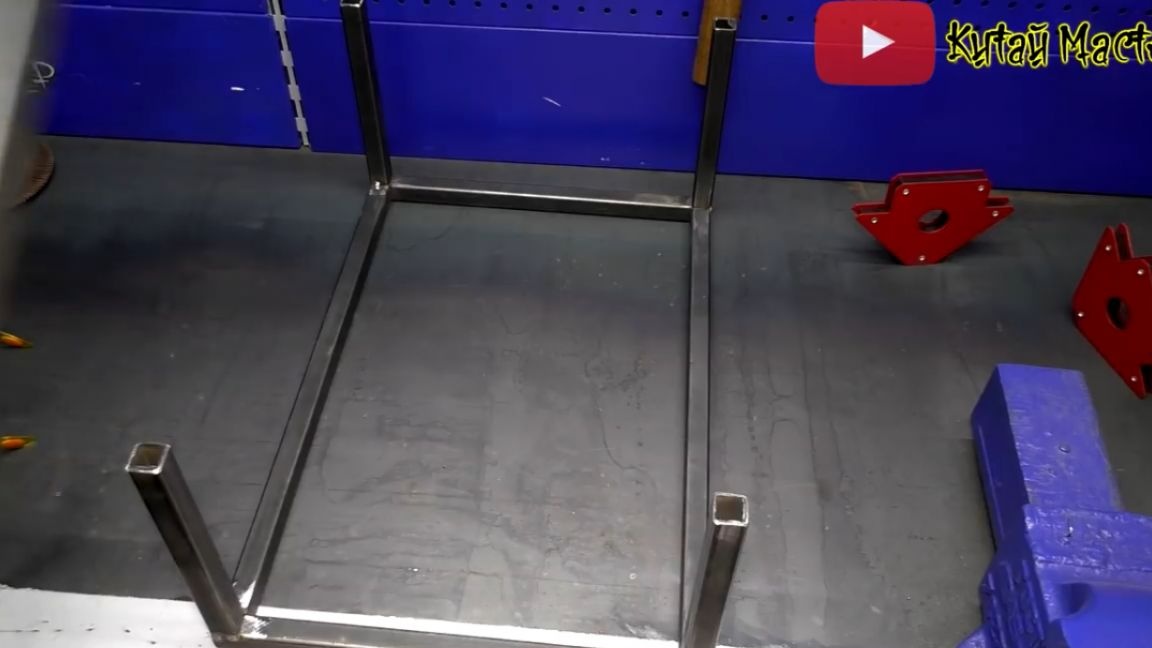
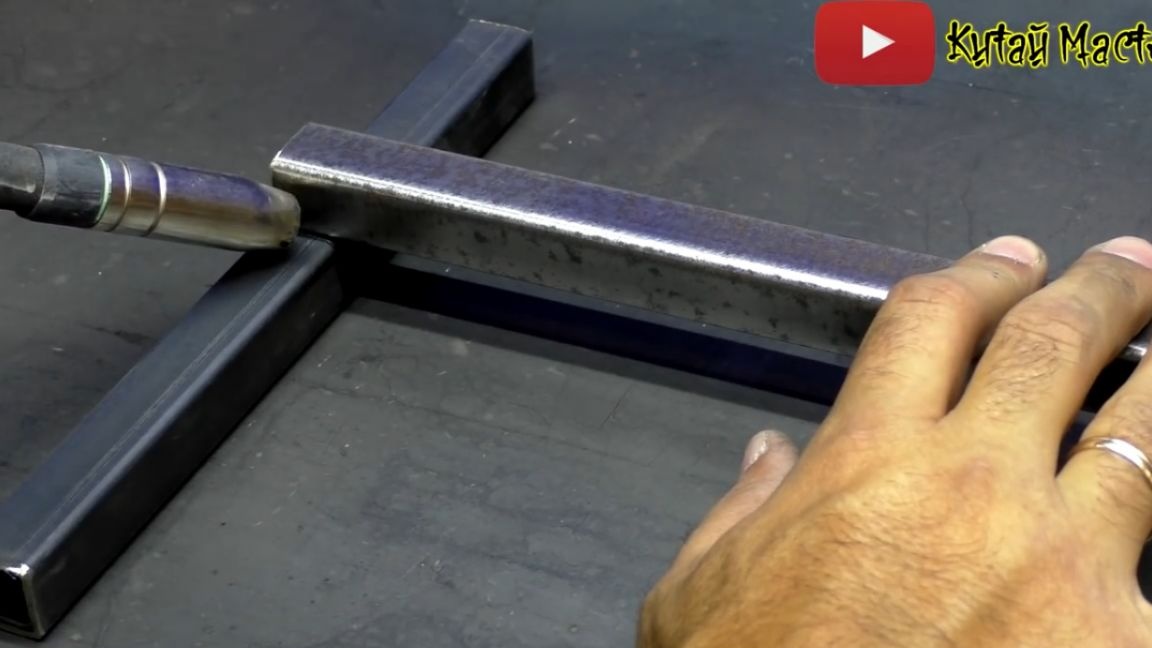
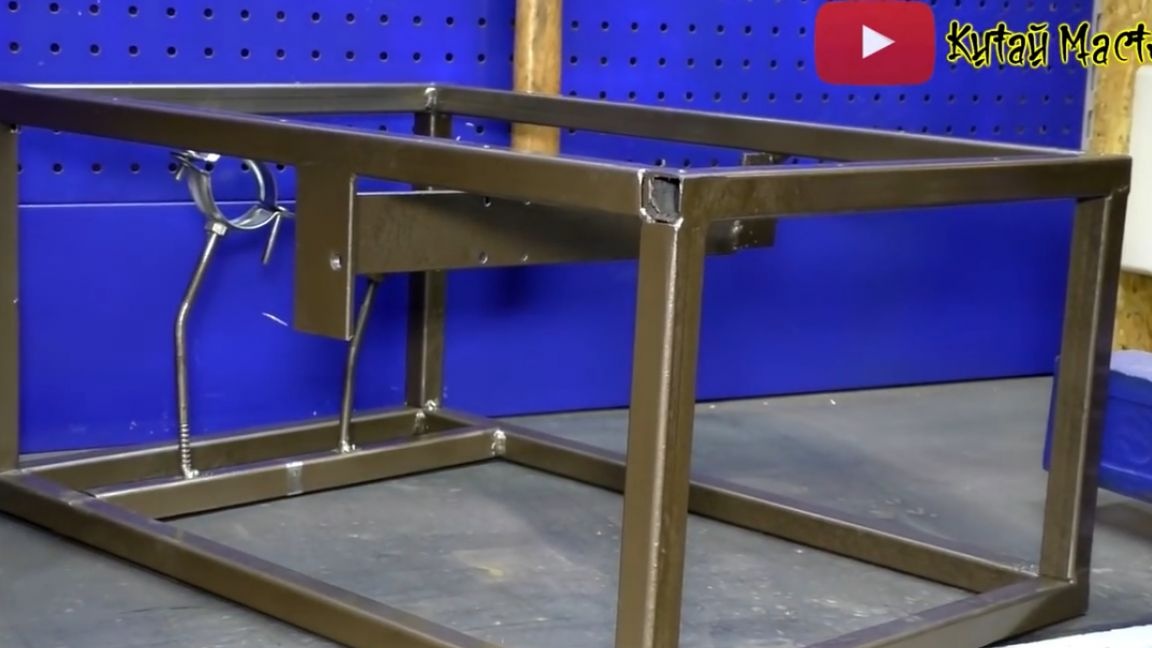
So let's go. First we make the frame of the future machine. It will be made of a profile pipe with dimensions of 20 by 20 mm. We cut two pieces of 50, 35 and 20 cm long.
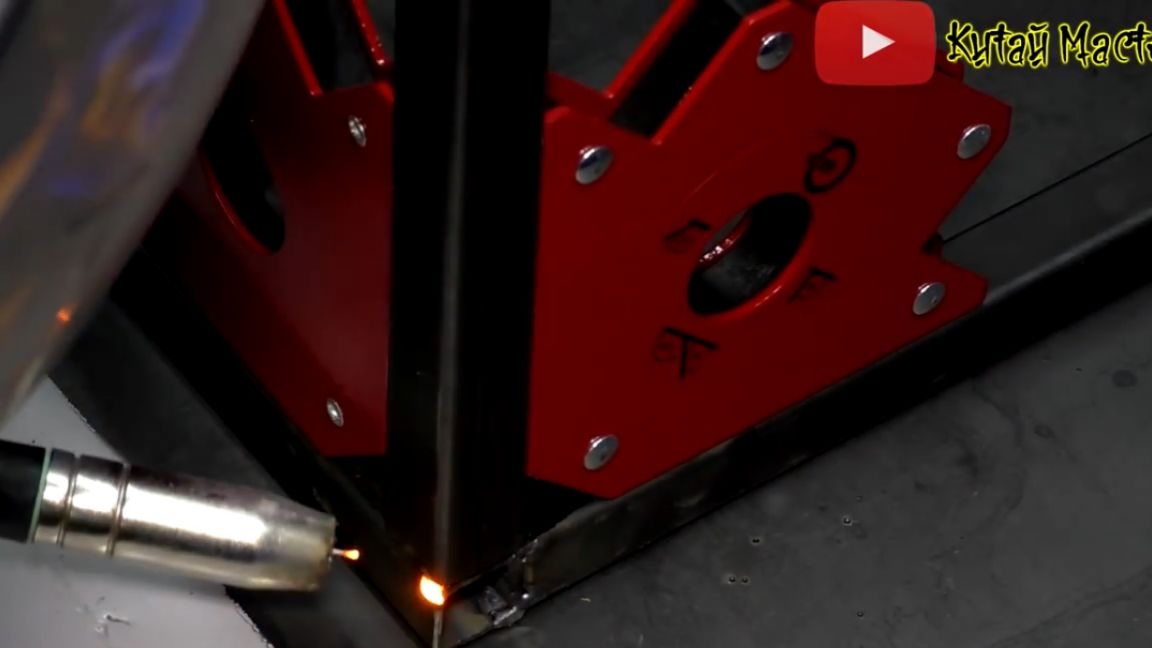
Now everything is neatly welded. The author of the YouTube channel "China Master" uses welding corners to hold the blanks. They also help to maintain a right angle, but once again check with a square will not hurt.

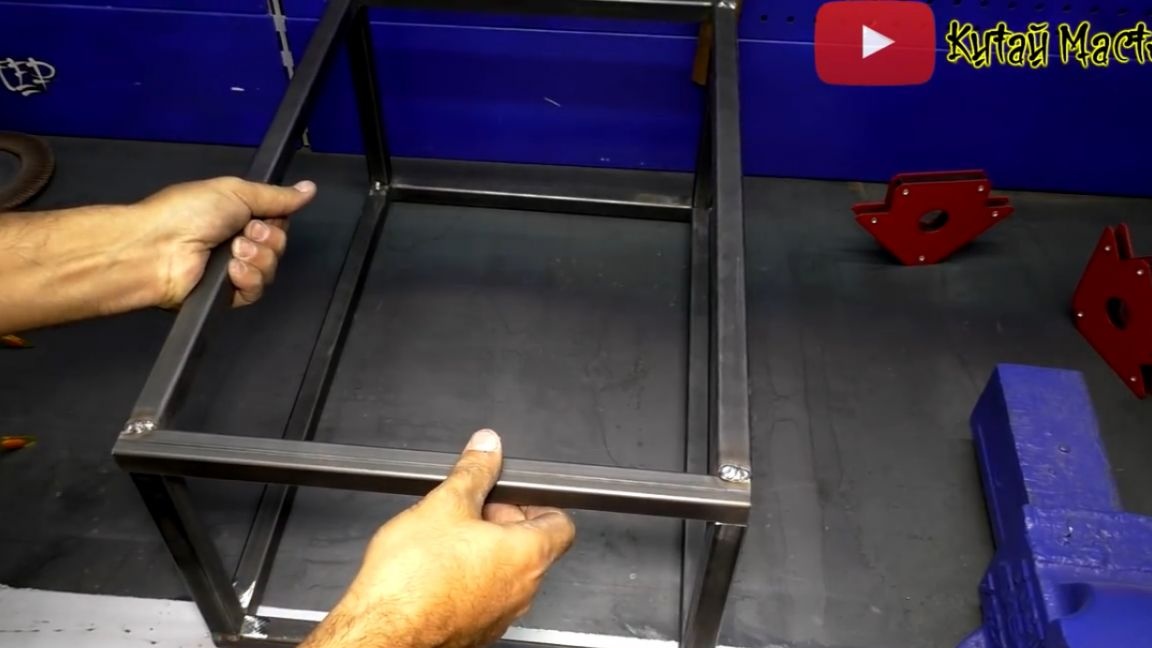
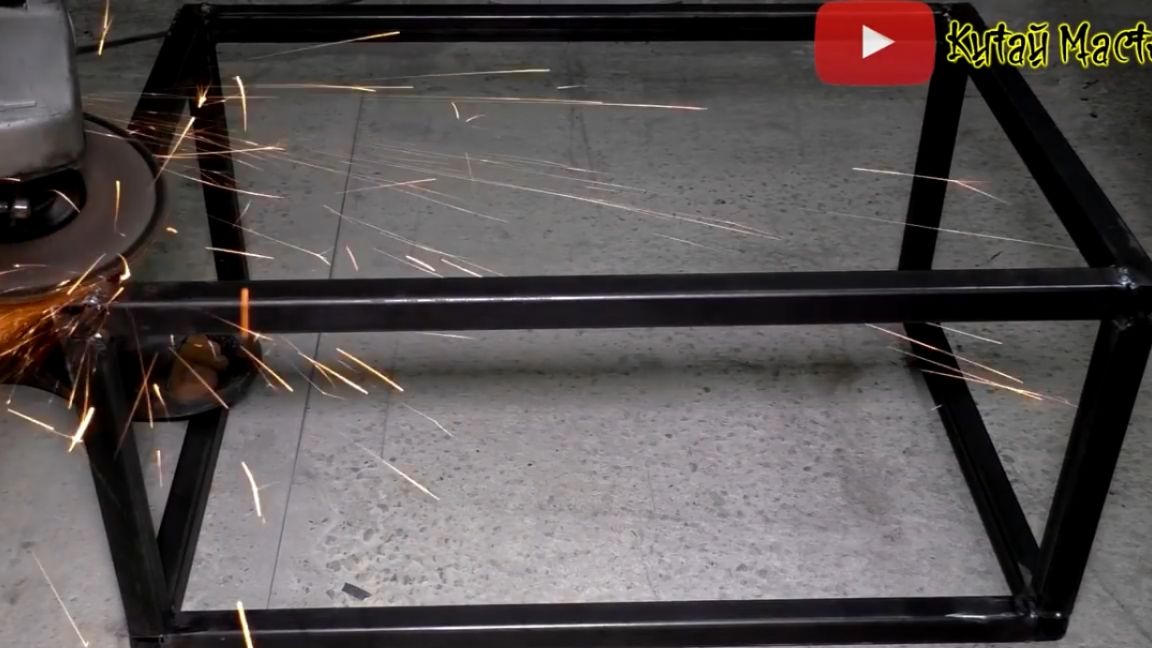
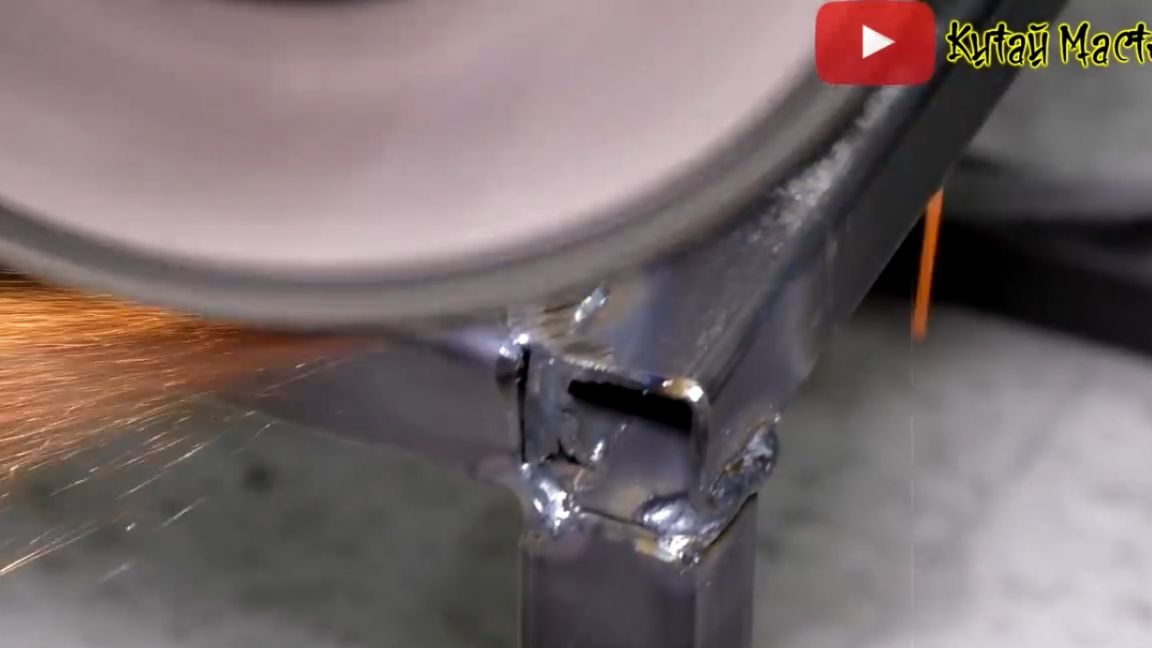
Our frame is ready and it remains only to sharpen the welds a little.
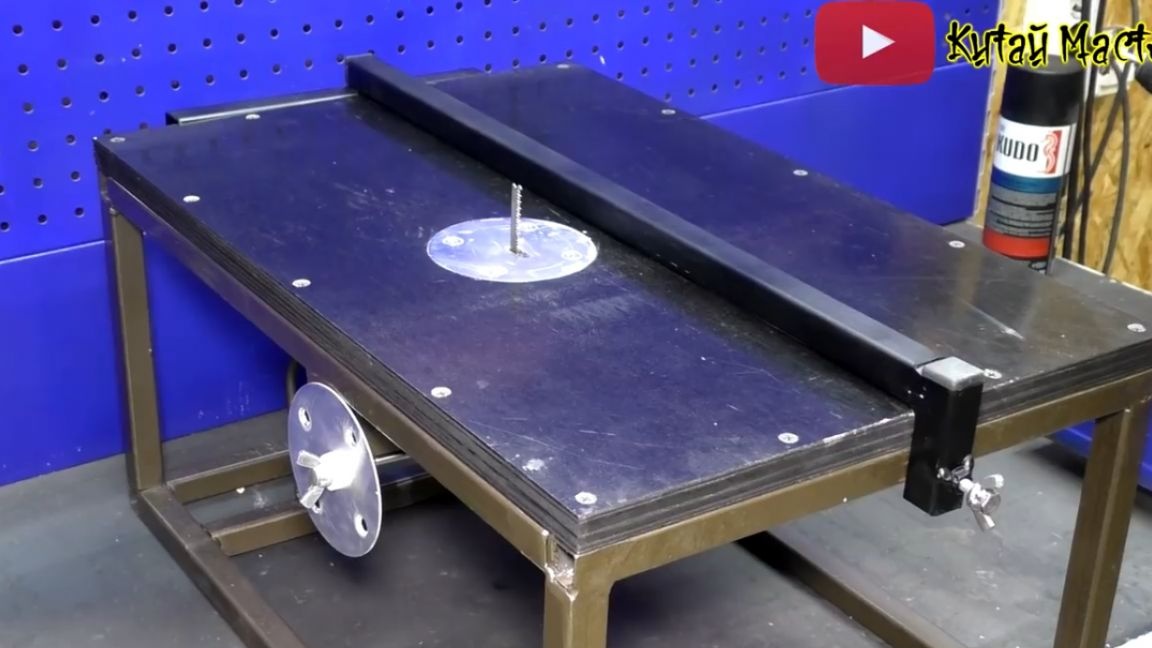
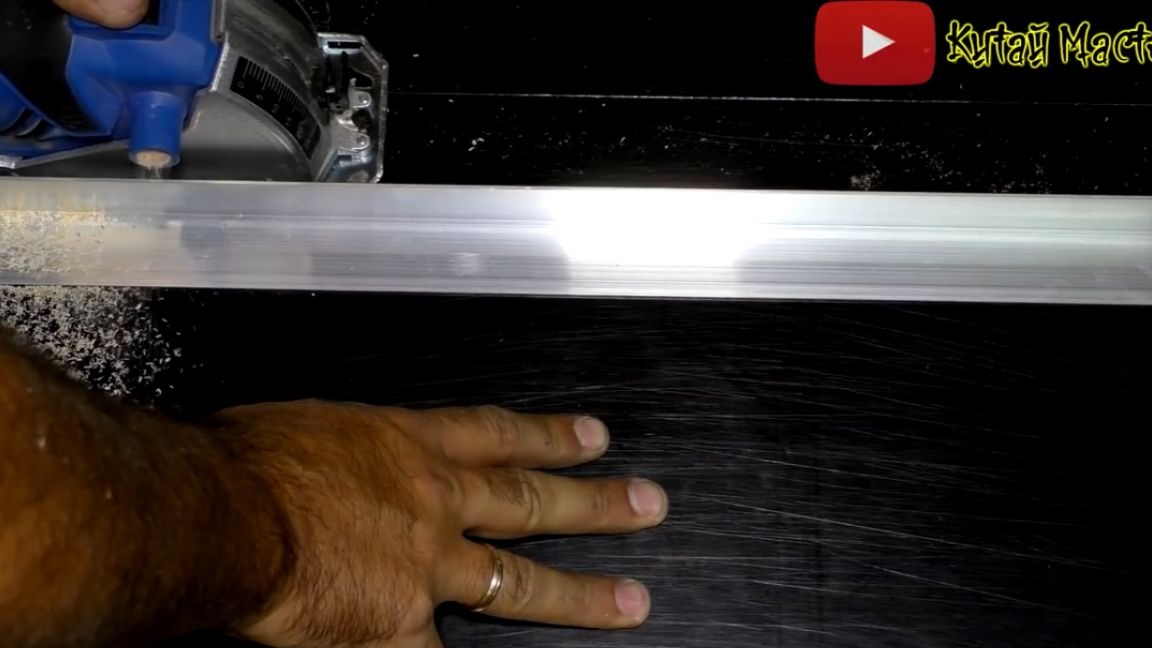
Now let's take a worktop, it will be made of moisture-proof plywood, which the author has left from the assembly of the workbench. He considers this material worthy for these purposes. We make markings for our welded frame and cut. The author will do this according to the line, which uses the most ordinary aluminum corner. The author produces a cut with a mini circular saw.

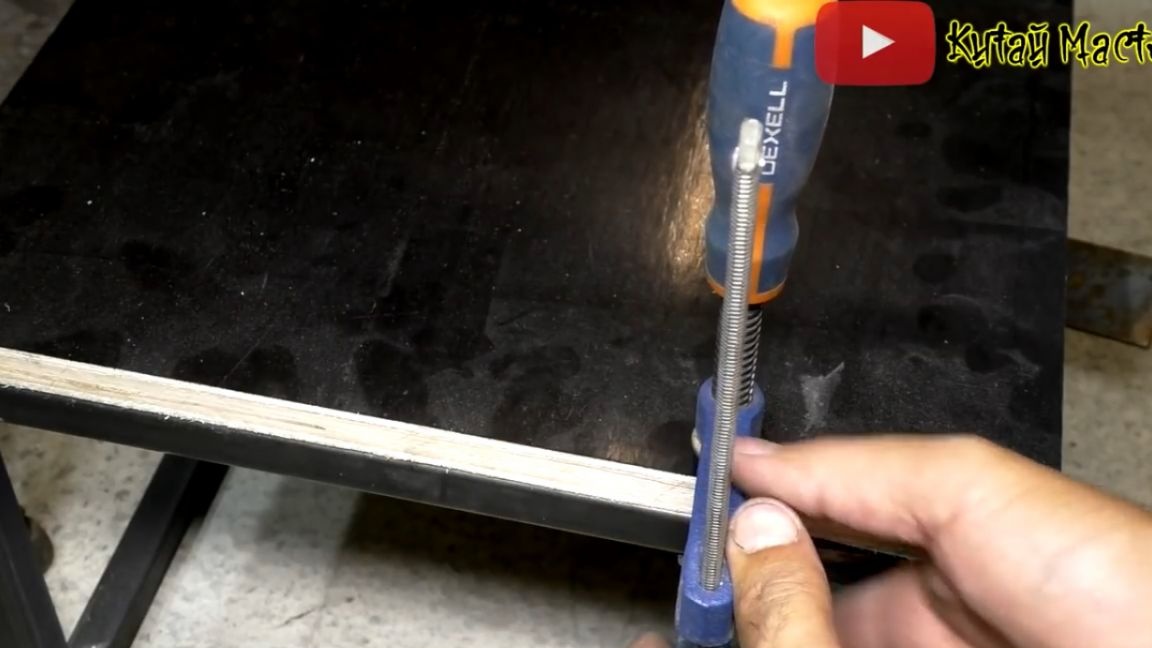
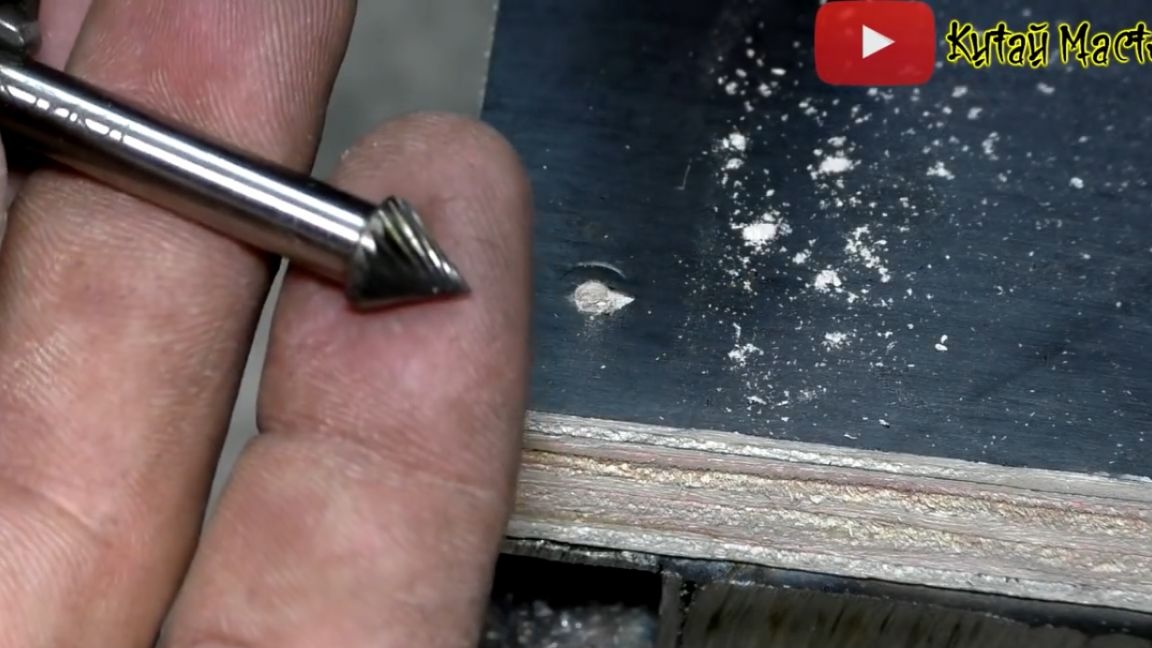
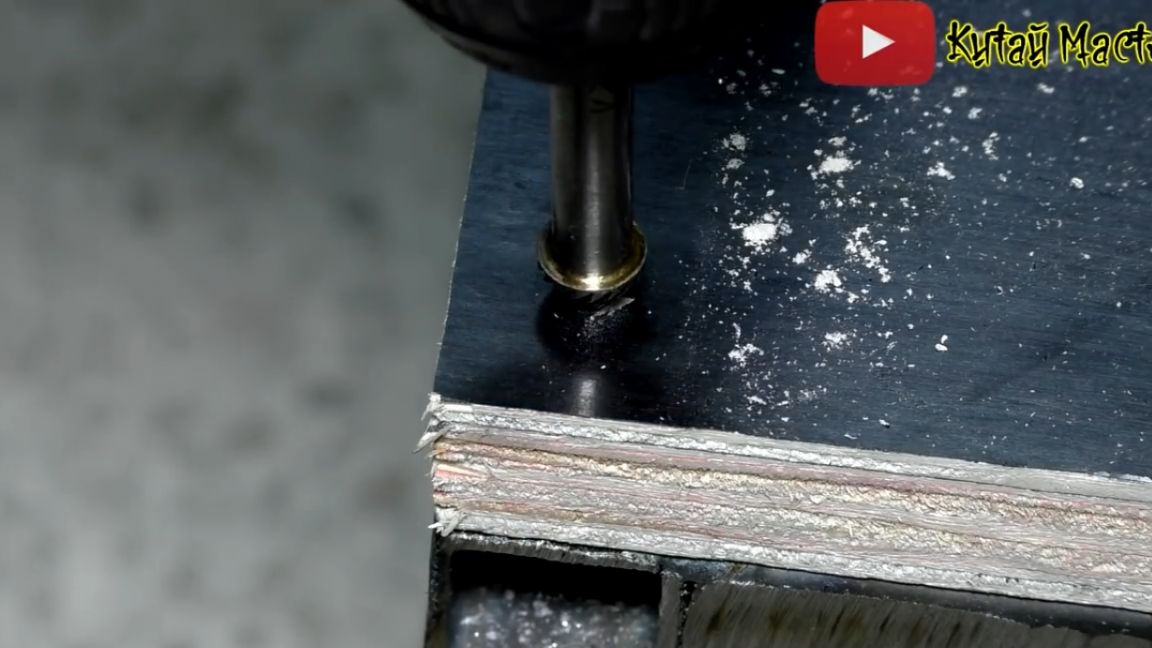
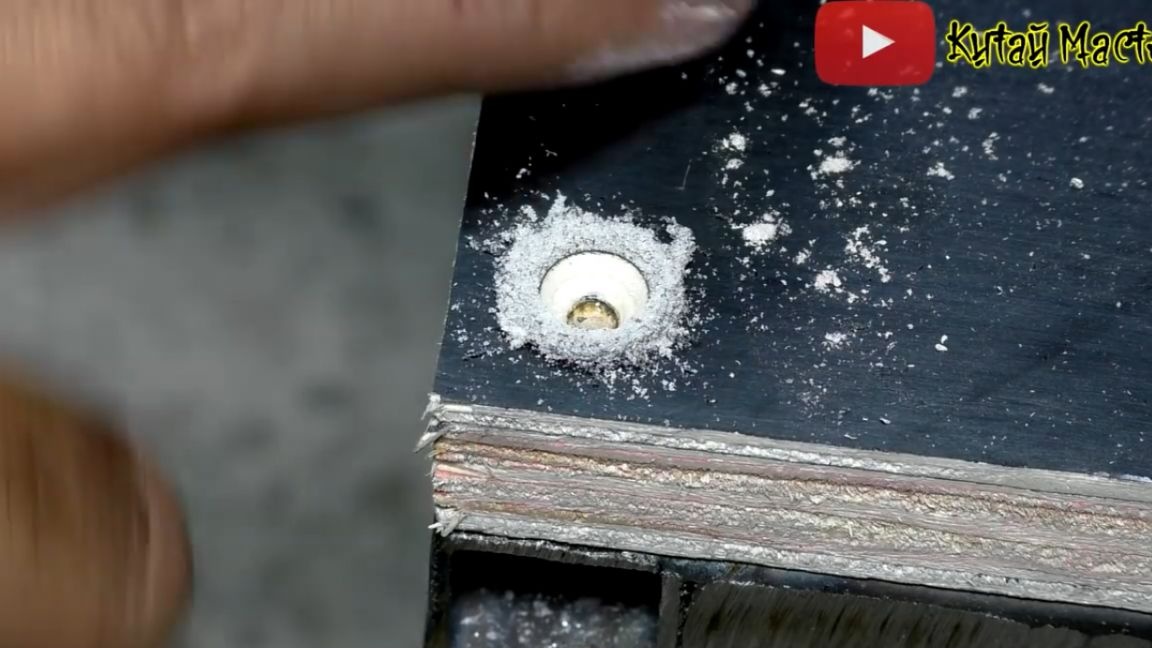
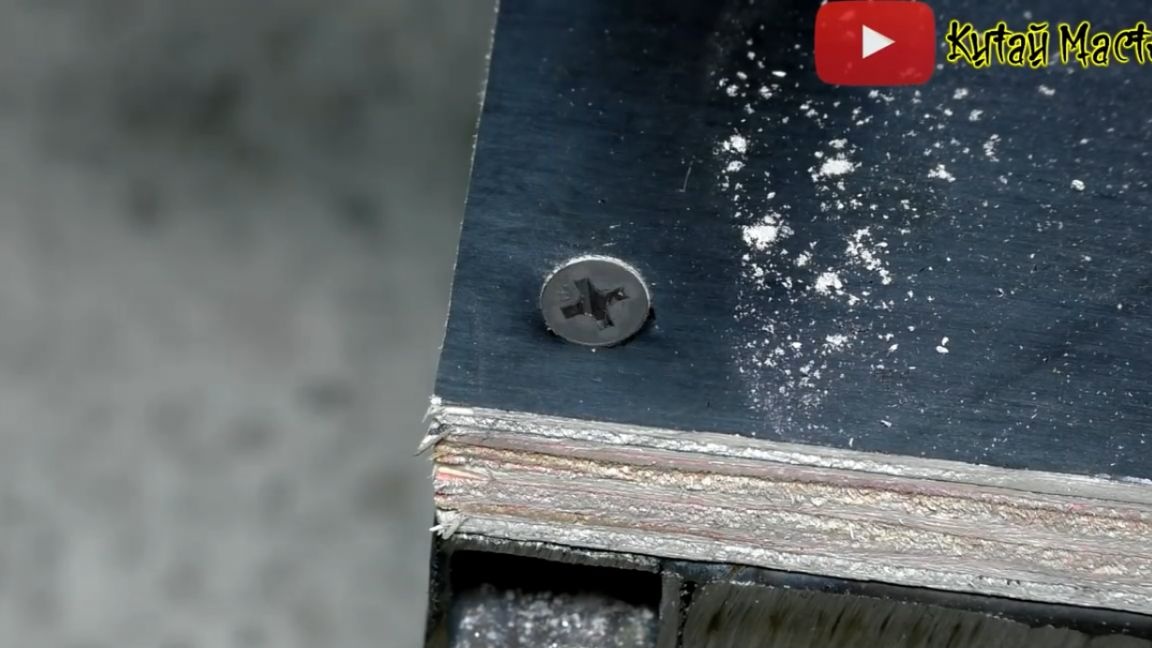
To fasten plywood to the frame, we will use self-tapping screws with a drill for flush. But first, we tighten the countertop itself with clamps so that it does not run away anywhere.
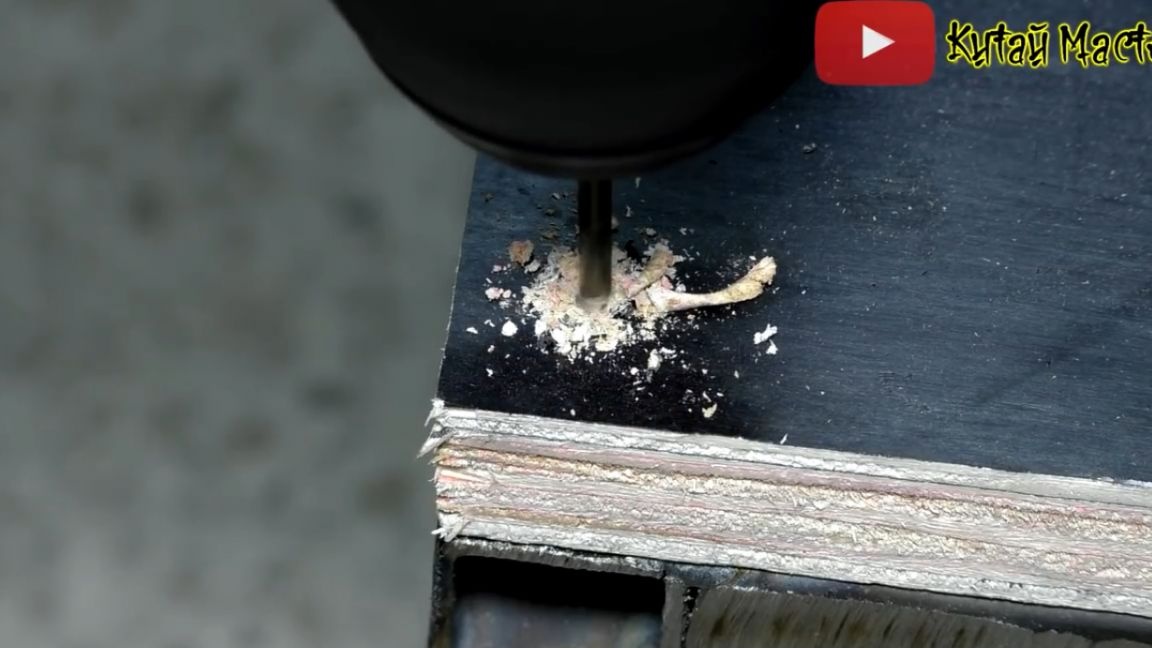
For sweating, the author will use just such a boring mill, he likes the way it processes it, but do not forget to clean it from sawdust.
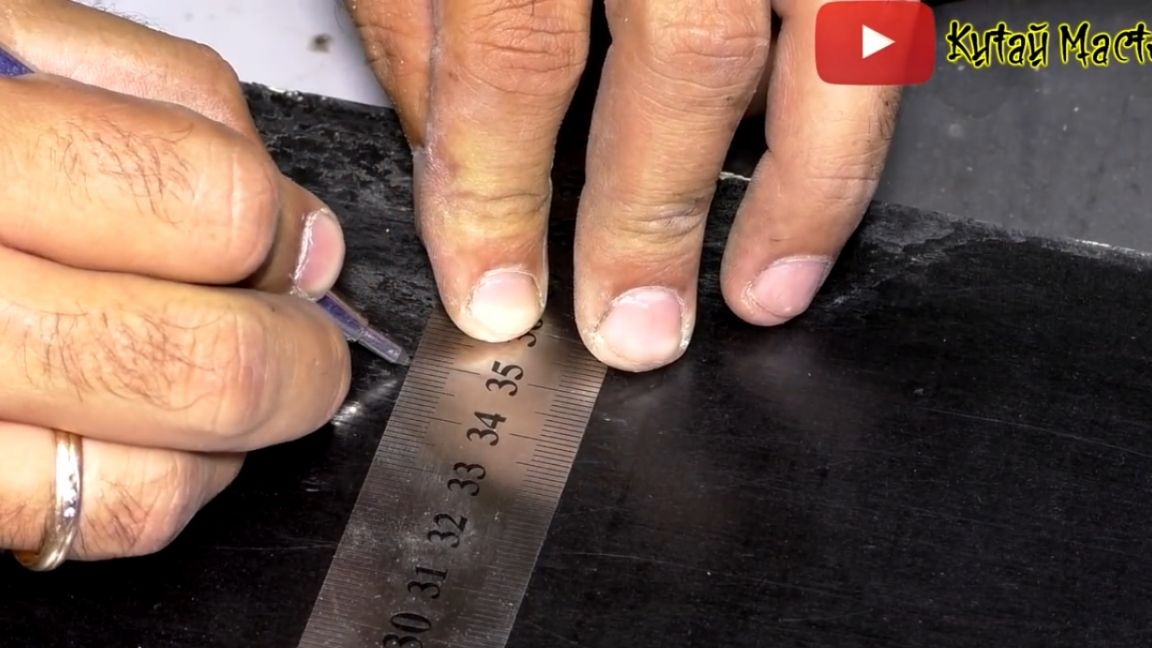
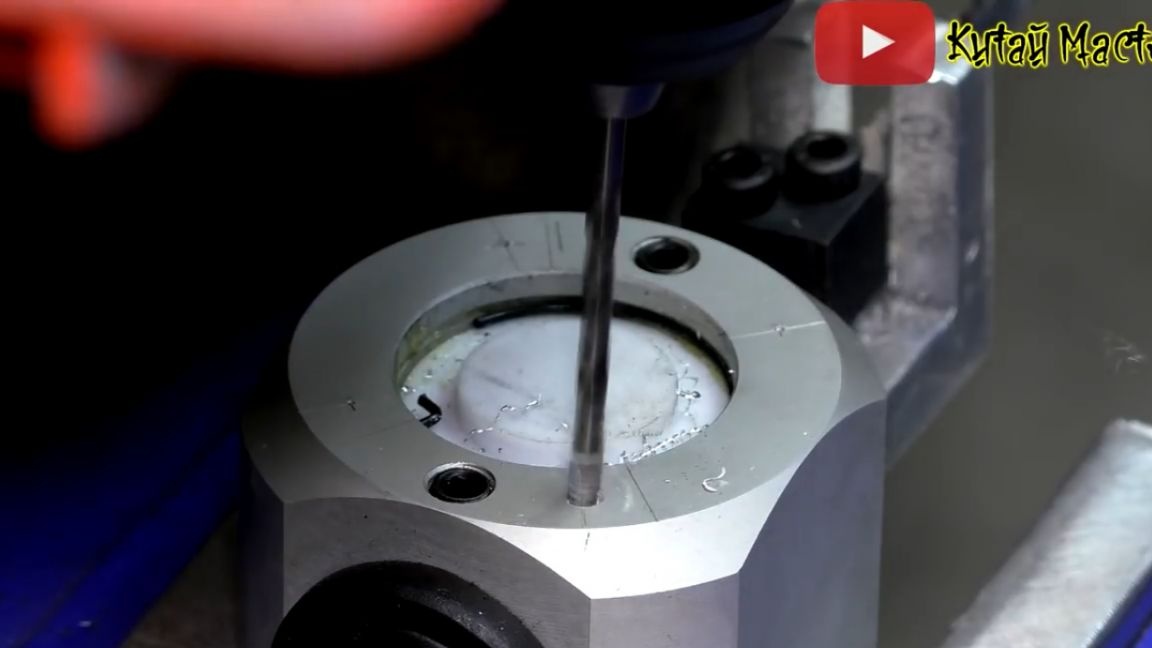
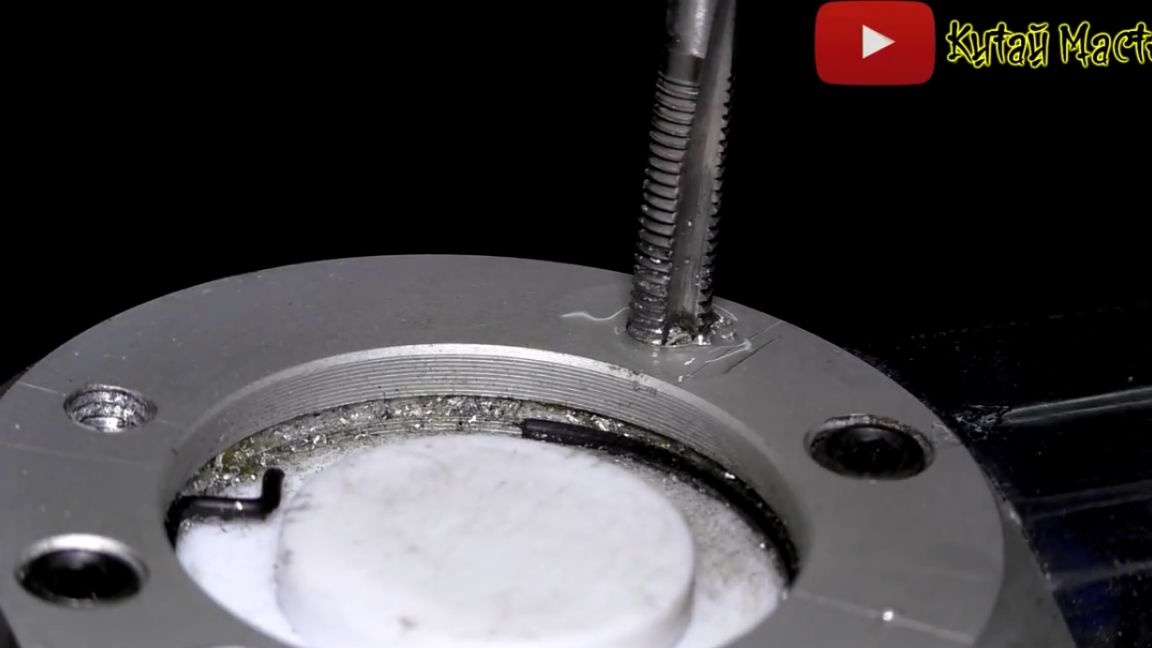
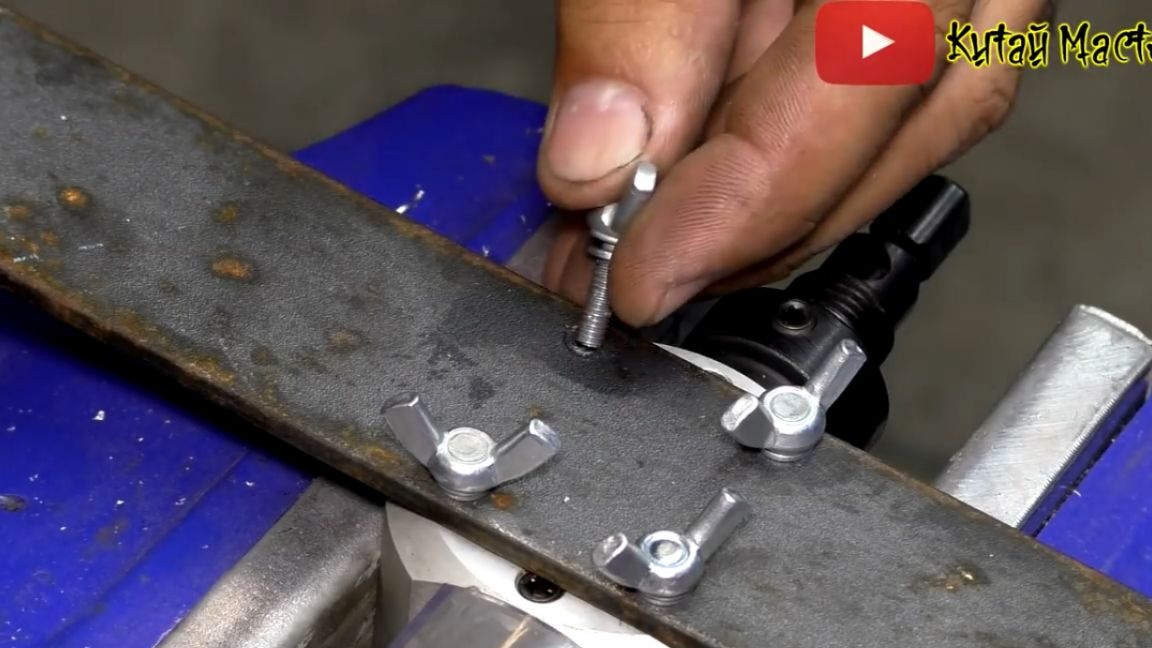
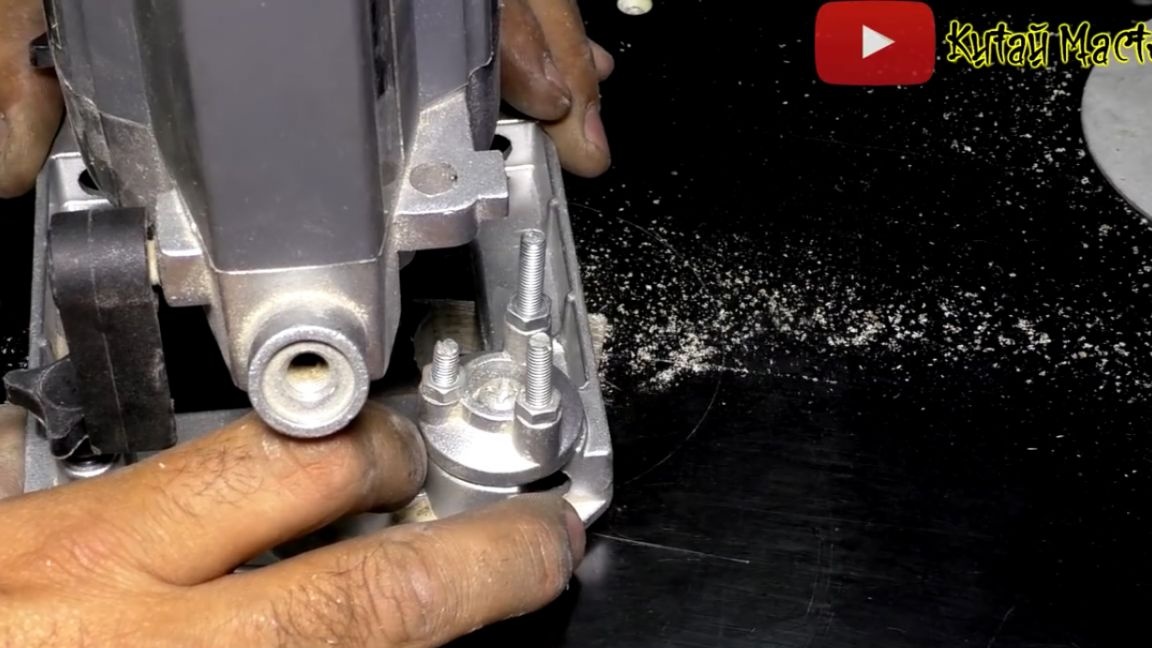
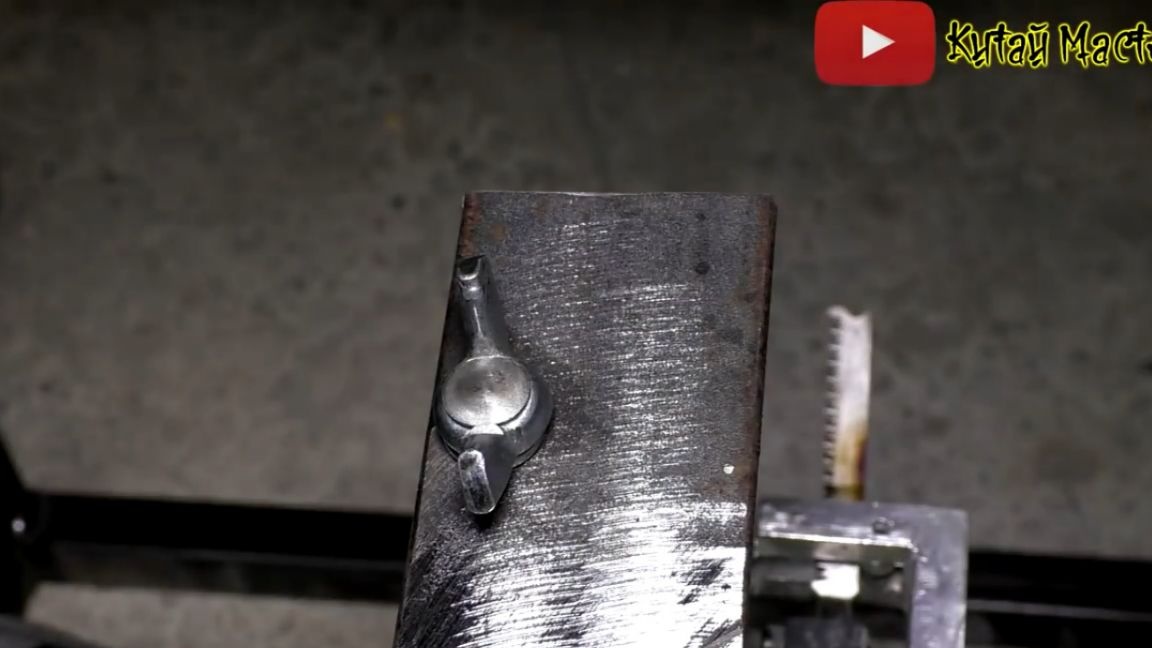
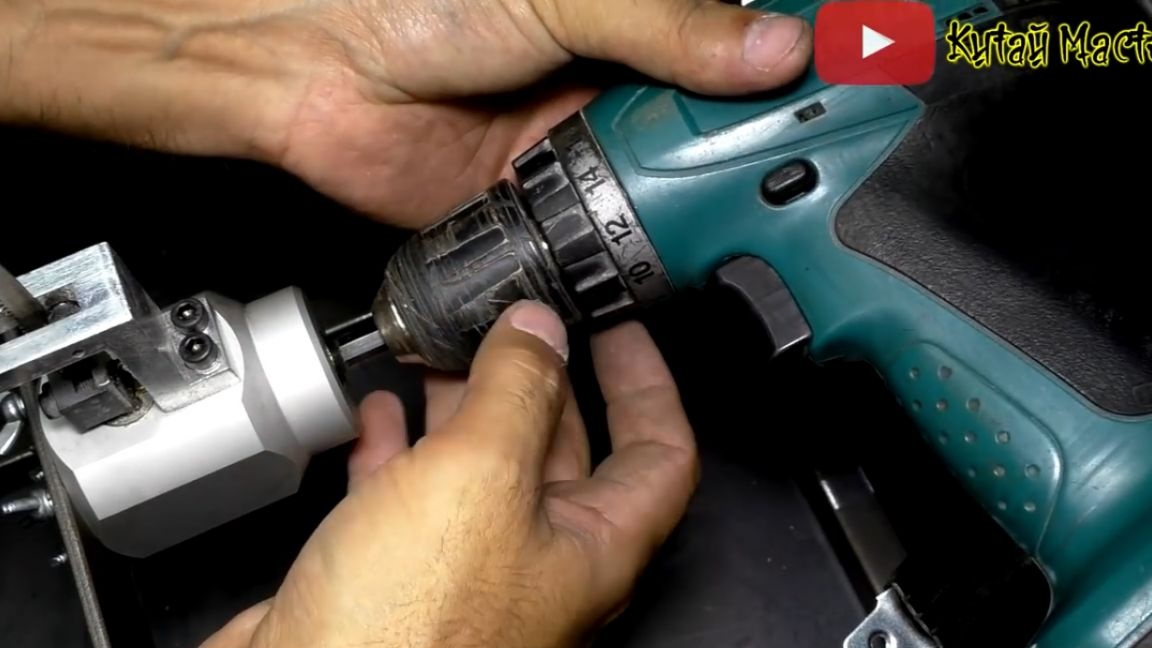
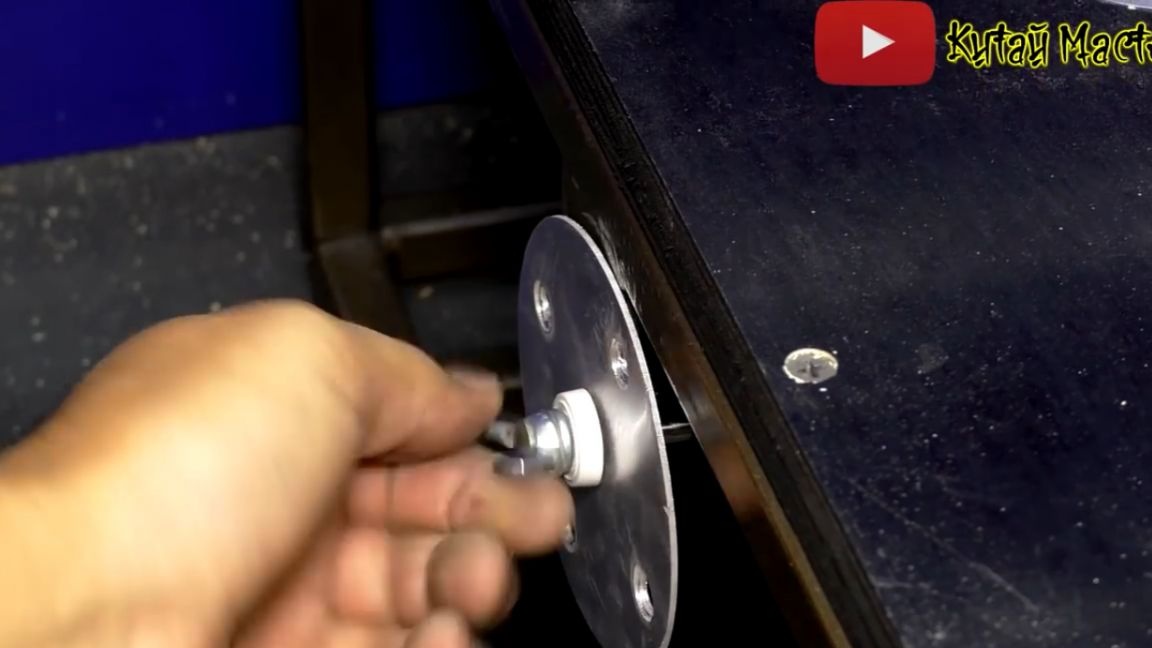
Now we will make mounting holes in the Chinese fixture. Dismantling of this unit showed that the wall of the body is thick and you can easily drill into it and thread it. And so we mark, drill and cut.
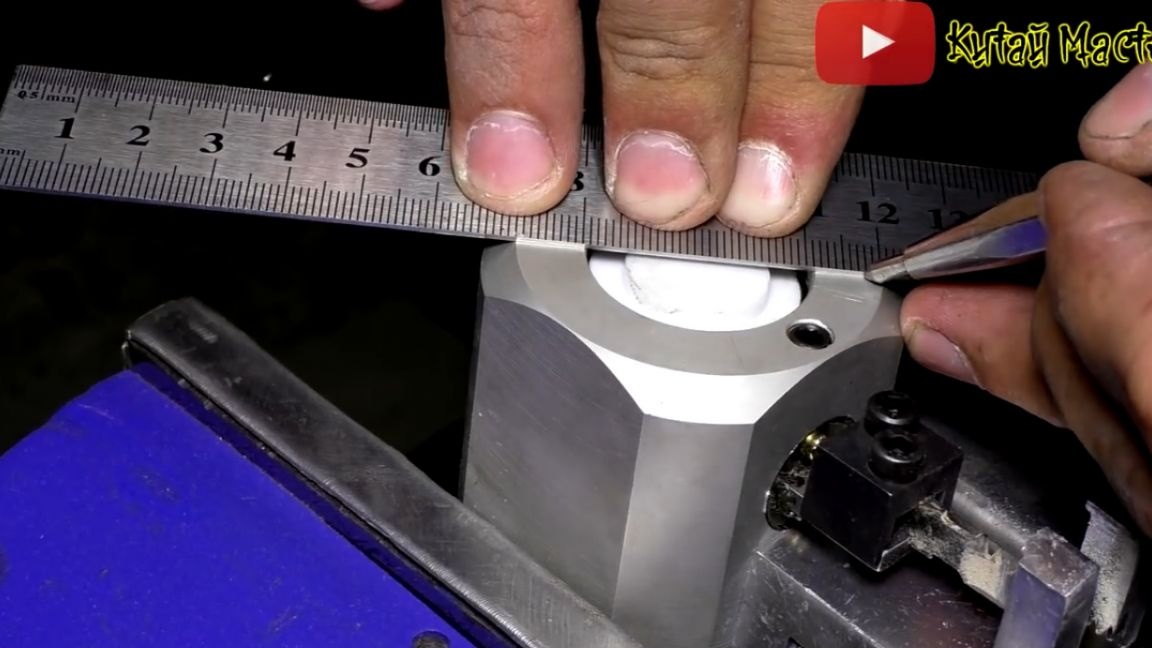
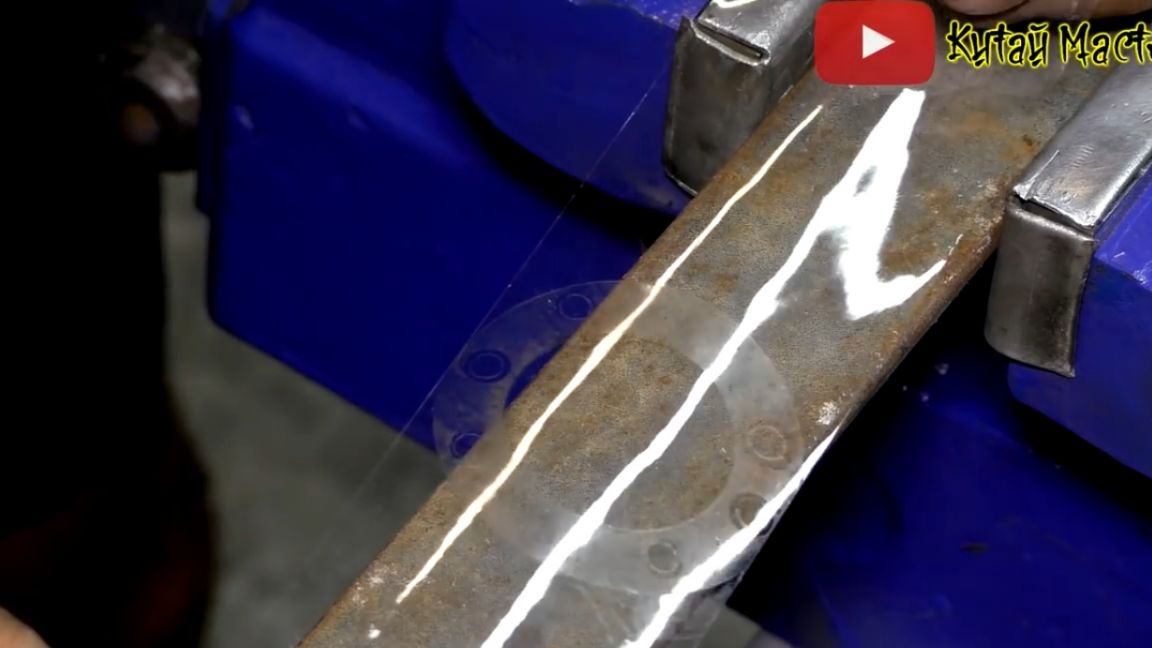
We will fix the device on a metal fortieth strip, and for accurate marking, the author decided not to use masking tape, as many advise, but ordinary.The hole for drilling is better displayed on it, it remains only to stick it on and you can start drilling.
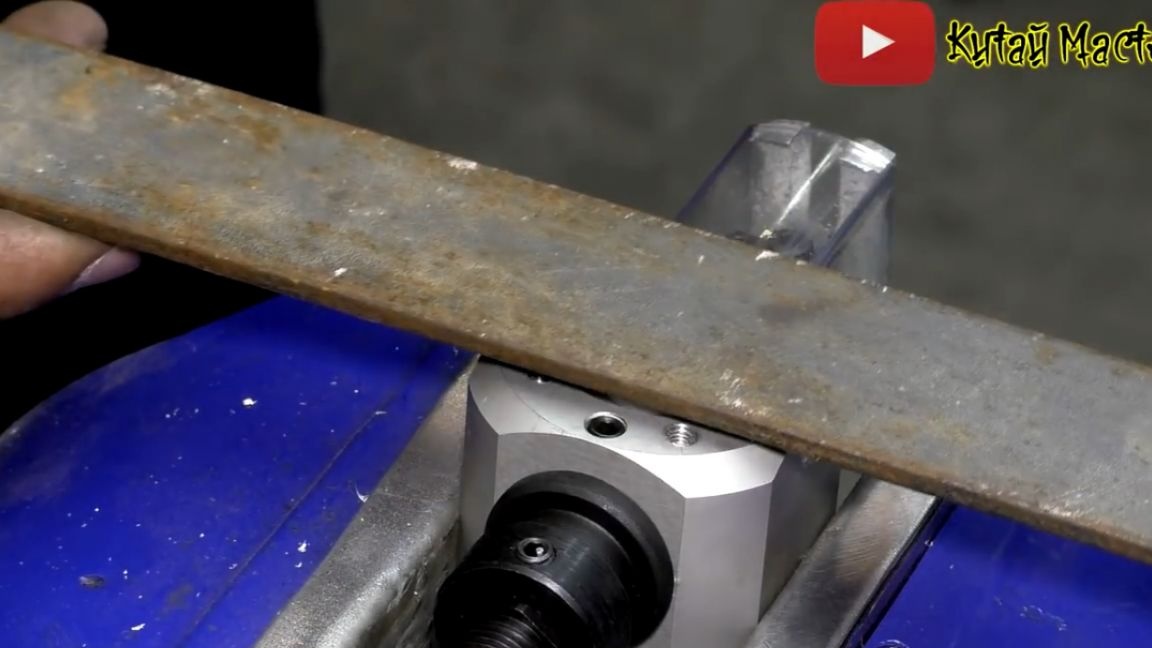

At this stage, it makes sense to check the alignment of the holes, and if all is well, then you can continue. We grab the mechanism with a strip to the frame. In this design, it will be very easy to replace the tool, just unscrew the wing screws and turn it around.
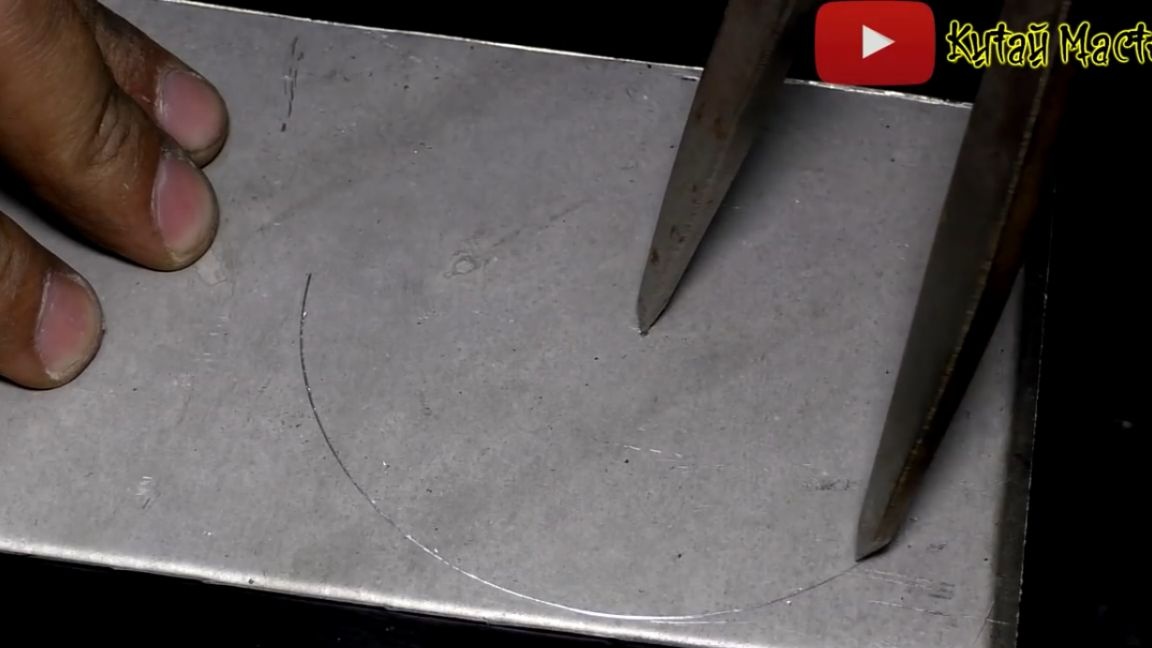
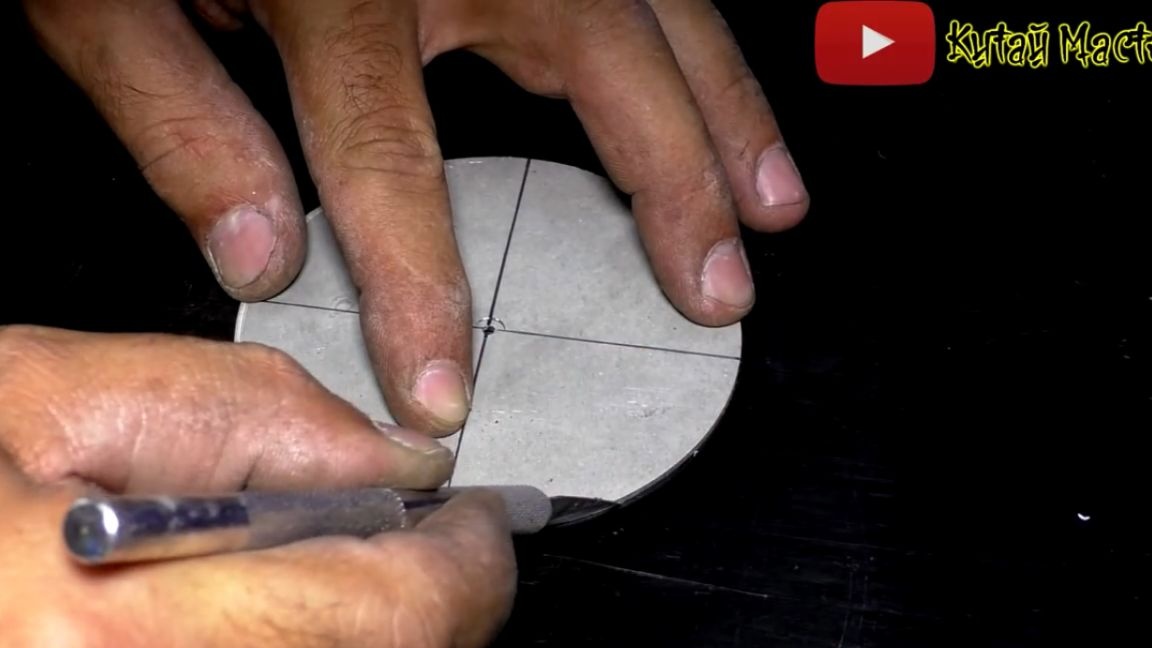
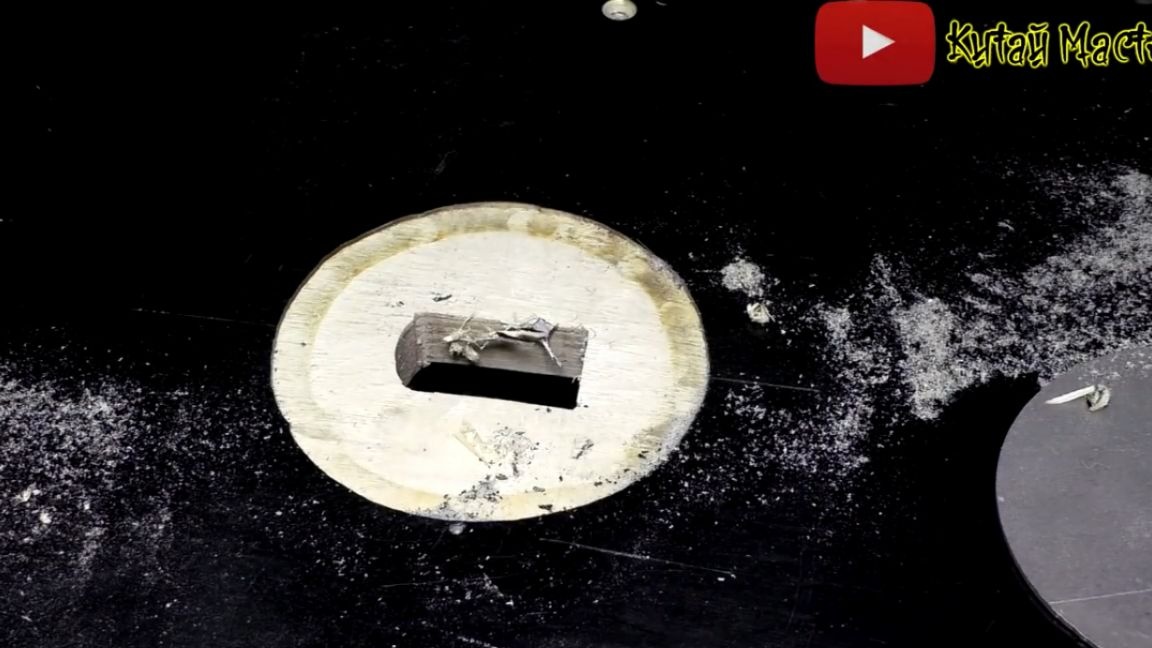
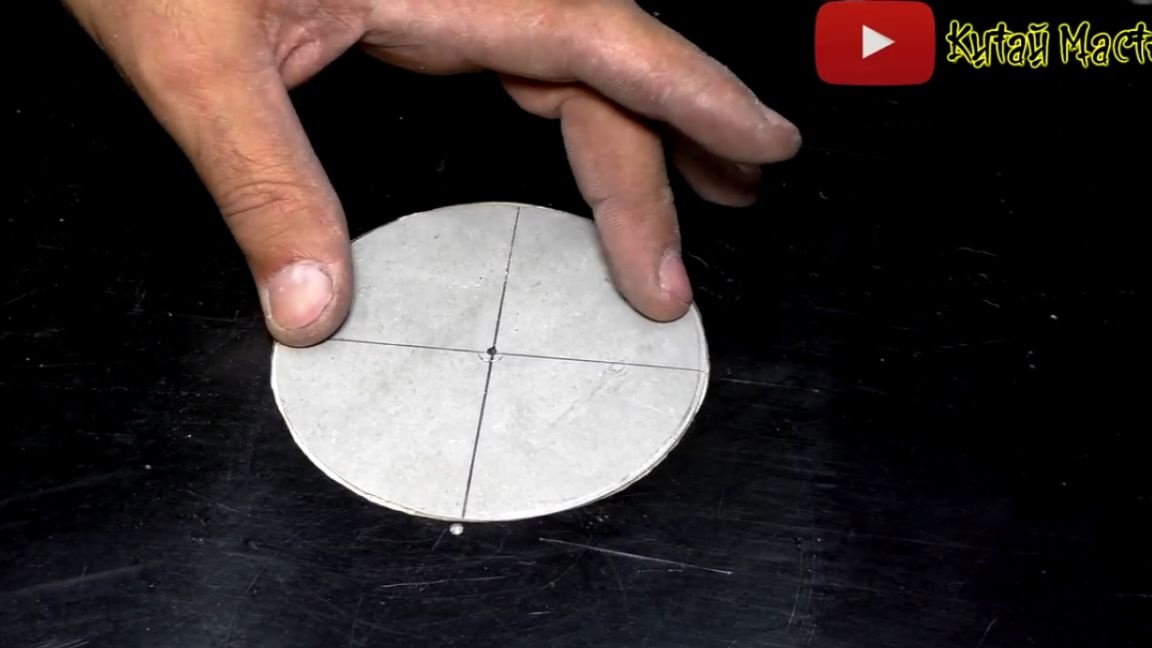
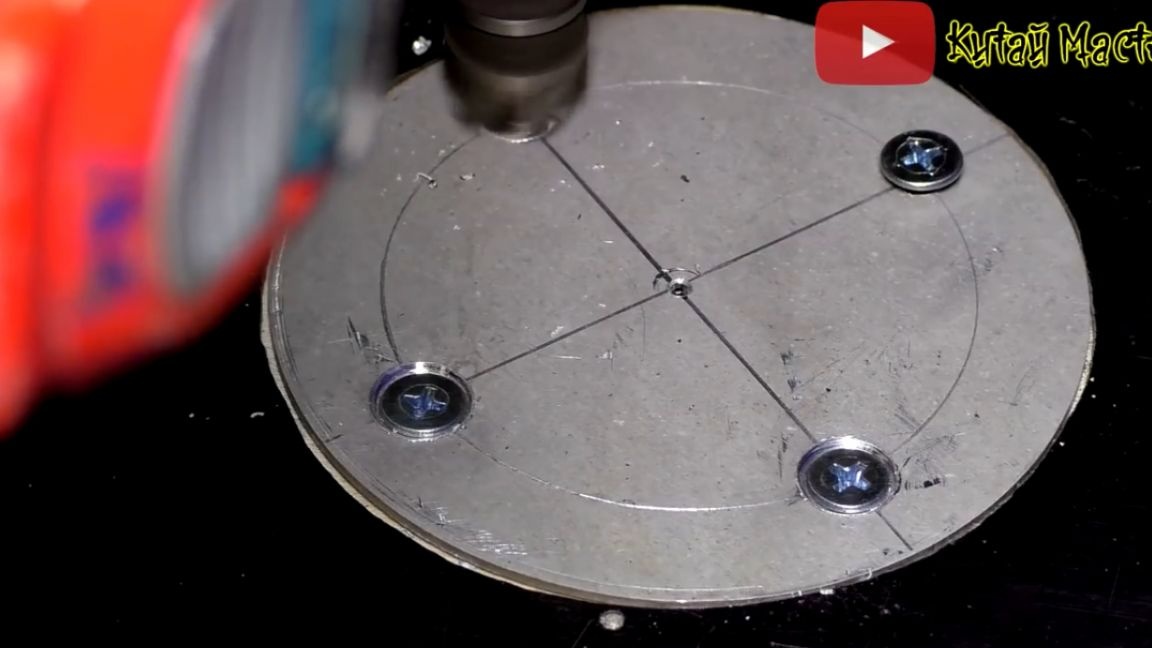
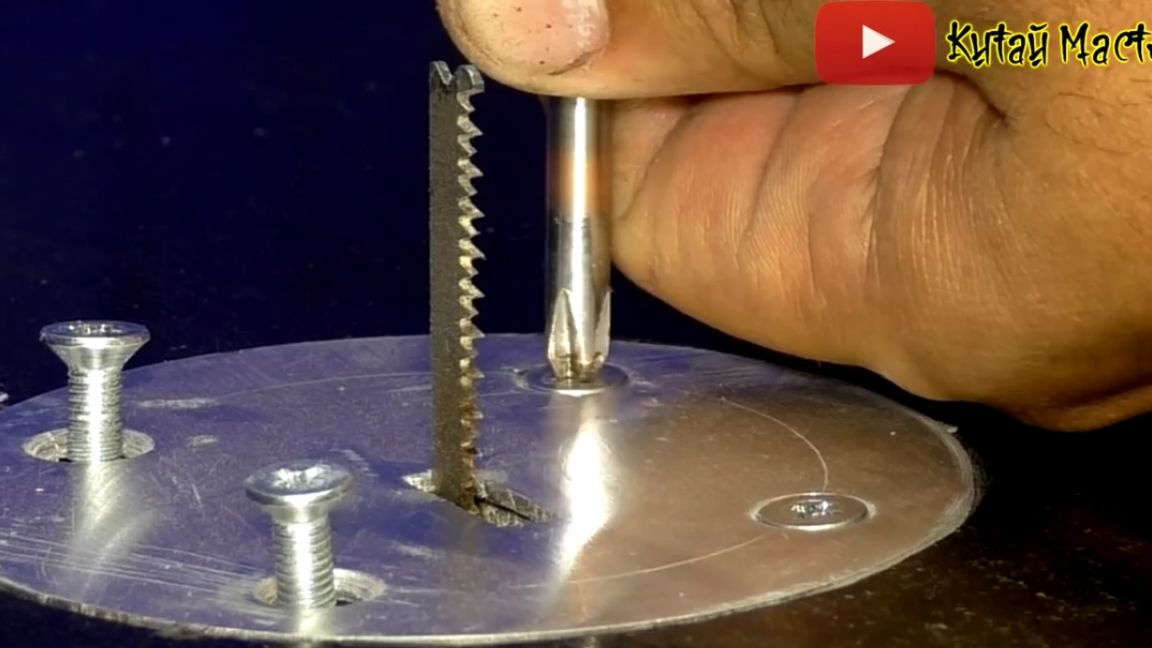
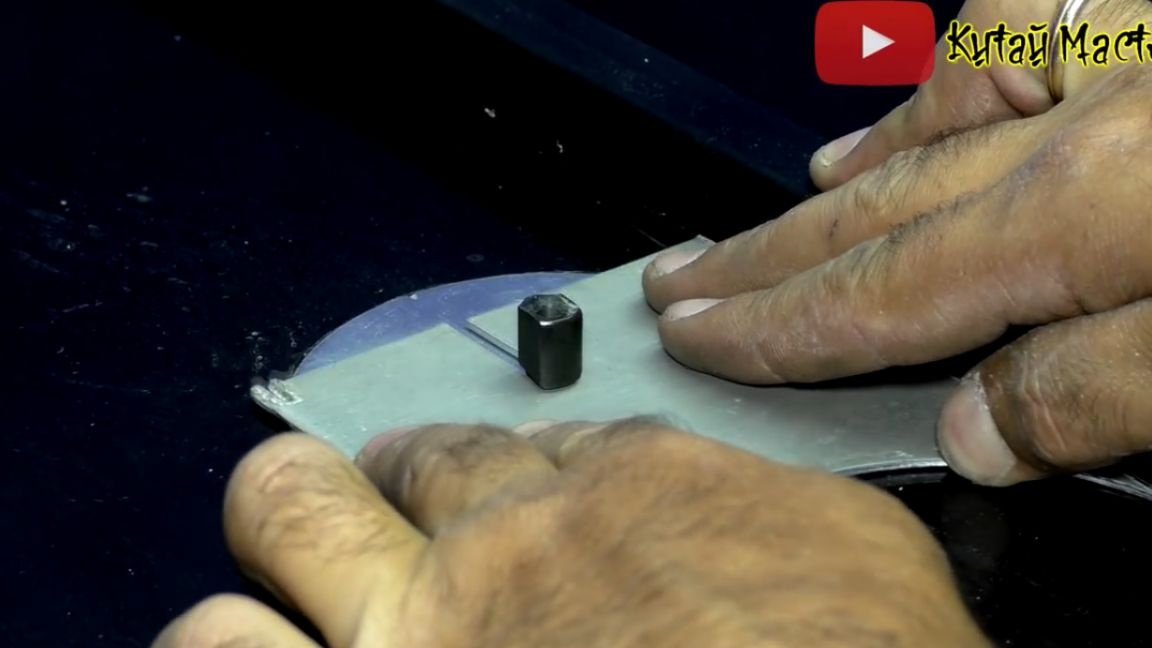
The sole of the jigsaw is slightly recessed into the countertop, this is done so that subsequently there is a removable liner. The machine, although small, but everything should be in an adult way. We will make the insert round, and the material for its manufacture will be ordinary sheet aluminum 1.5 mm thick. The author understands that this is not enough for the inserts, but unfortunately he did not have another. Then do the marking with a compass and cut it out. We will cut it already on this machine. At first, the author wanted to do it all manually, but he was not satisfied with the quality of the cut due to crooked hands. Therefore, we make a hole in the middle of the workpiece and in the countertop, insert the pin and go.
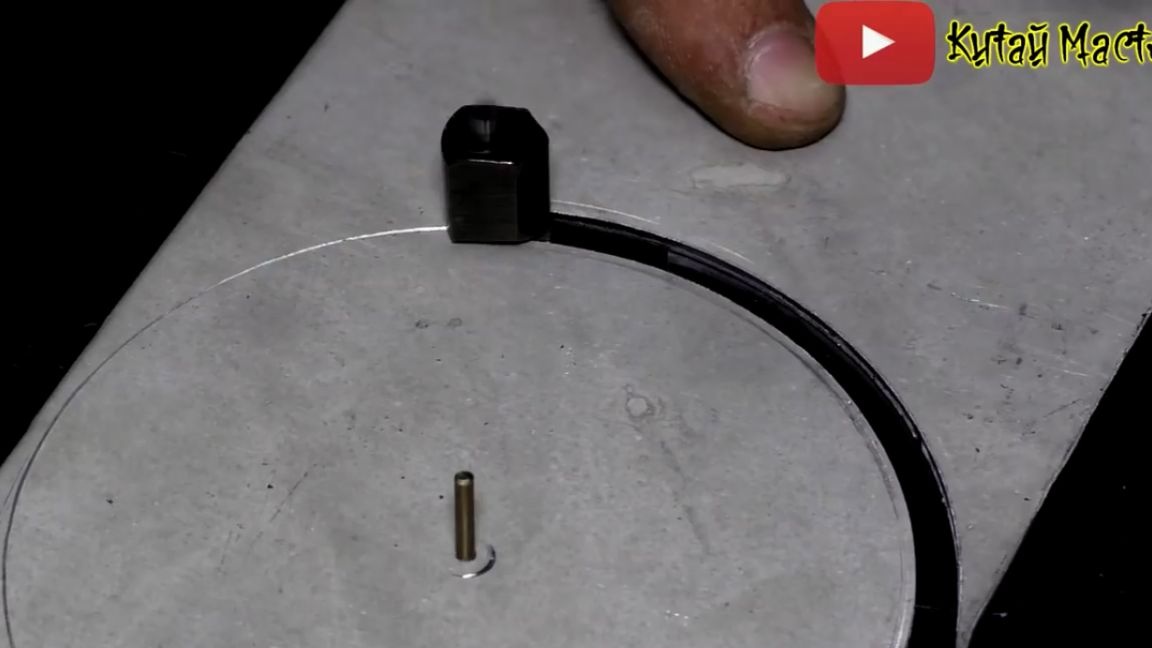
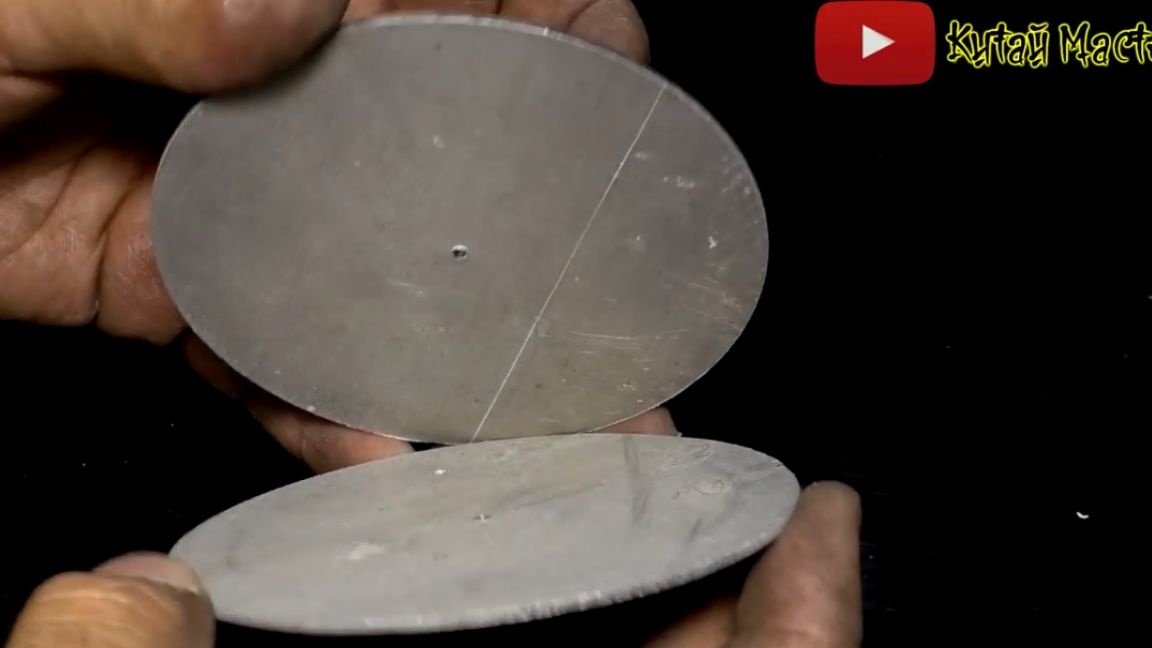
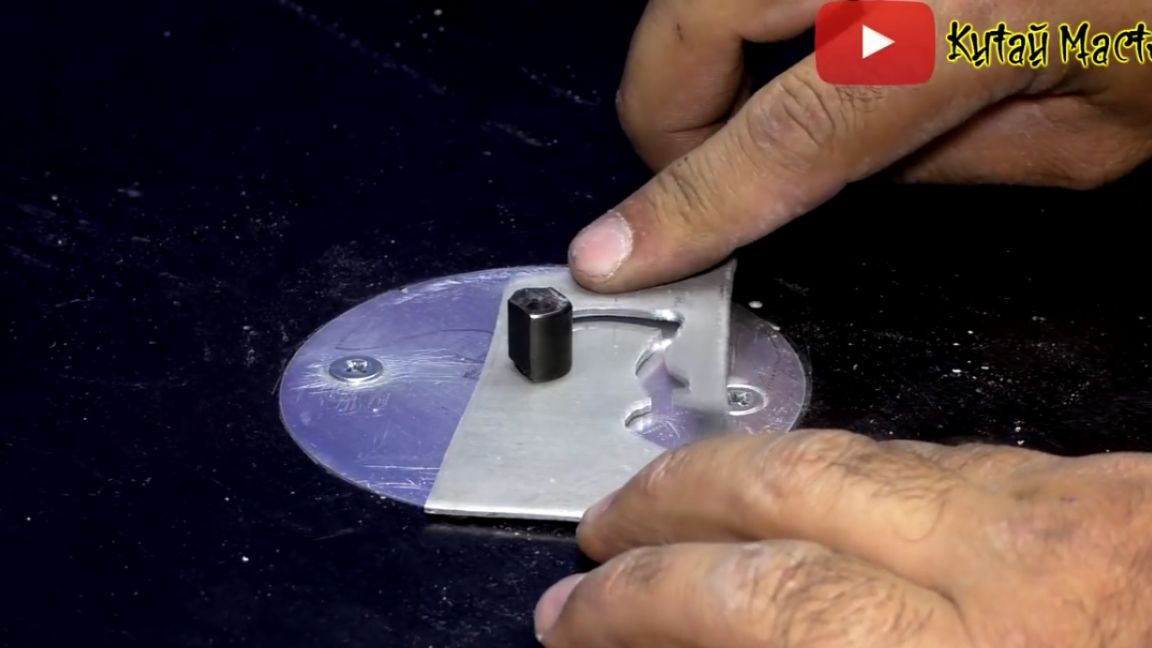
Now the author likes the blank more. Also, we will do in the manufacture of the second liner. As a result, we have two absolutely identical parts. Now the layout for milling the table. We find its center and this time we will mark it with a scalpel. The line is thin and clear. Choose a plane under the pad using a conventional router. Here the author did everything manually, so there are small shoals.
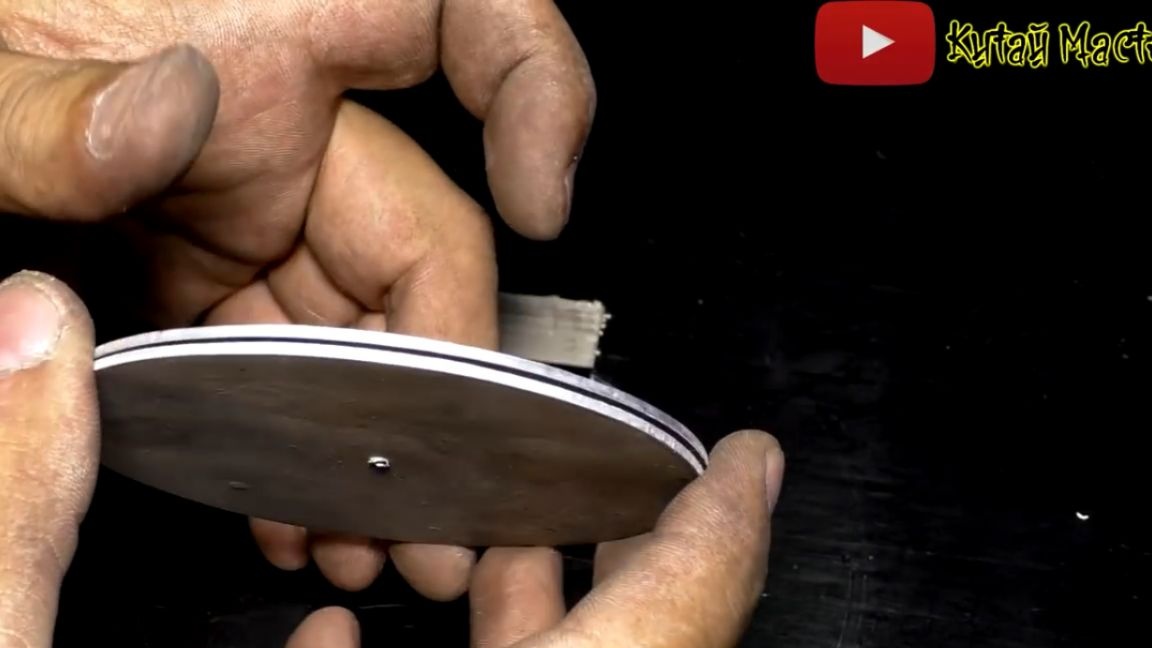
Well, the liner sat just perfect. We will fix the liners on the bolts with a sweat, and on the reverse side we will hammer with a special nut.
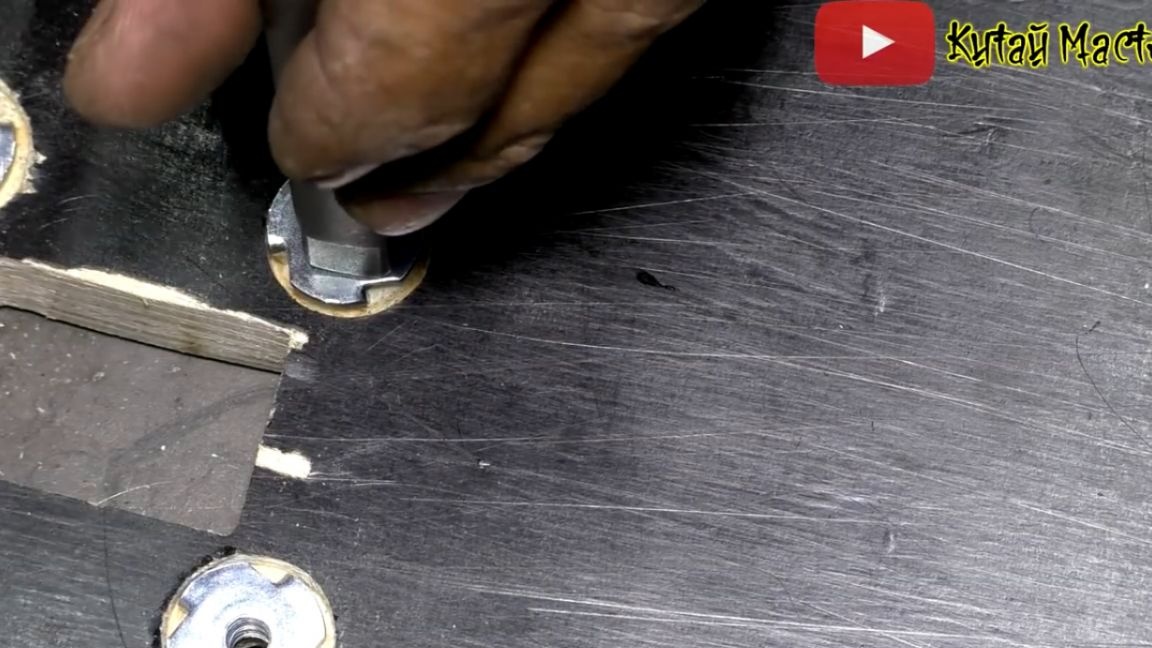
Then the author polished a little, made a hole for the tool, and the inserts took a completely different look.

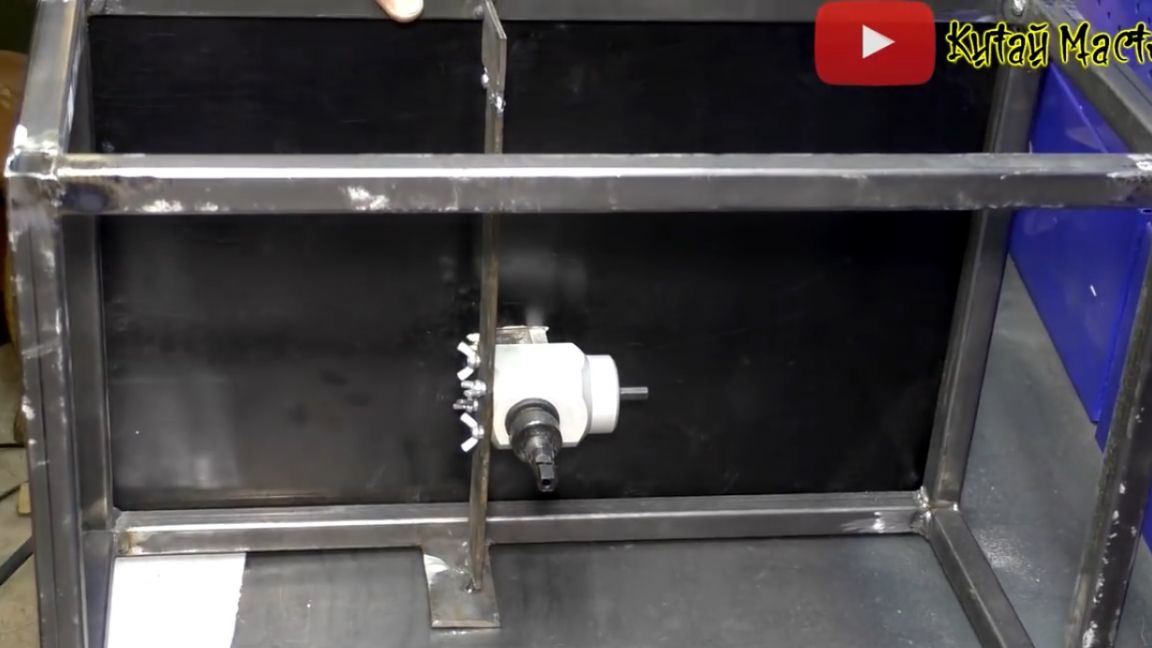
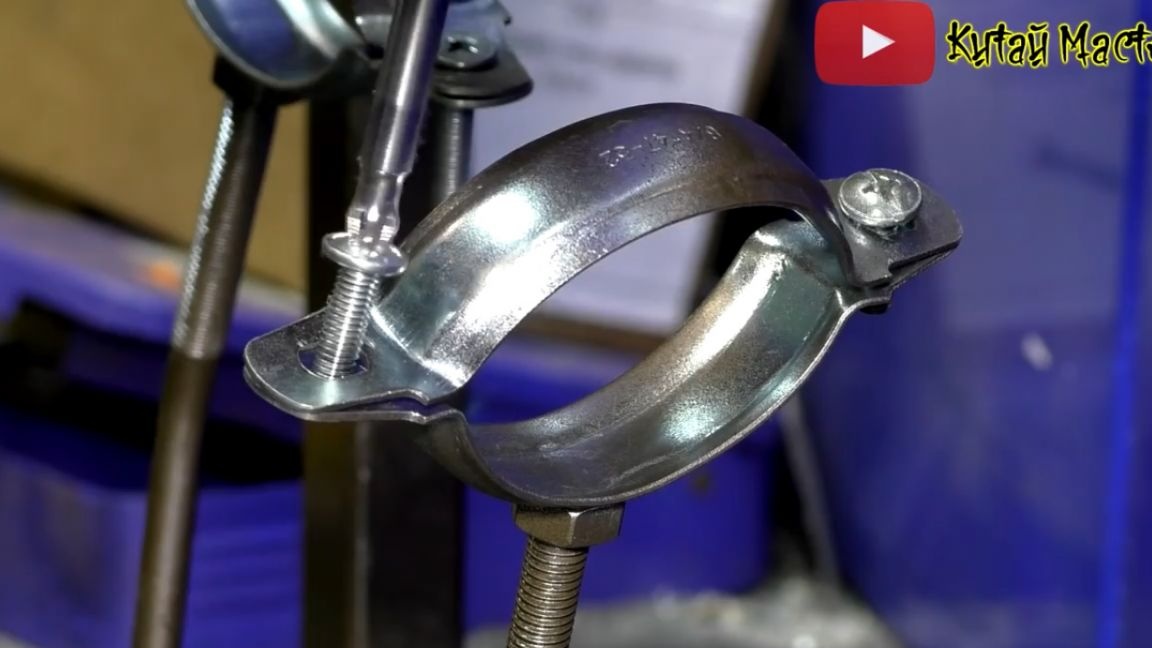
To fix the screwdriver to the bed, it was decided to use the most ordinary plumbing clamps. 3 attachment points will be enough.
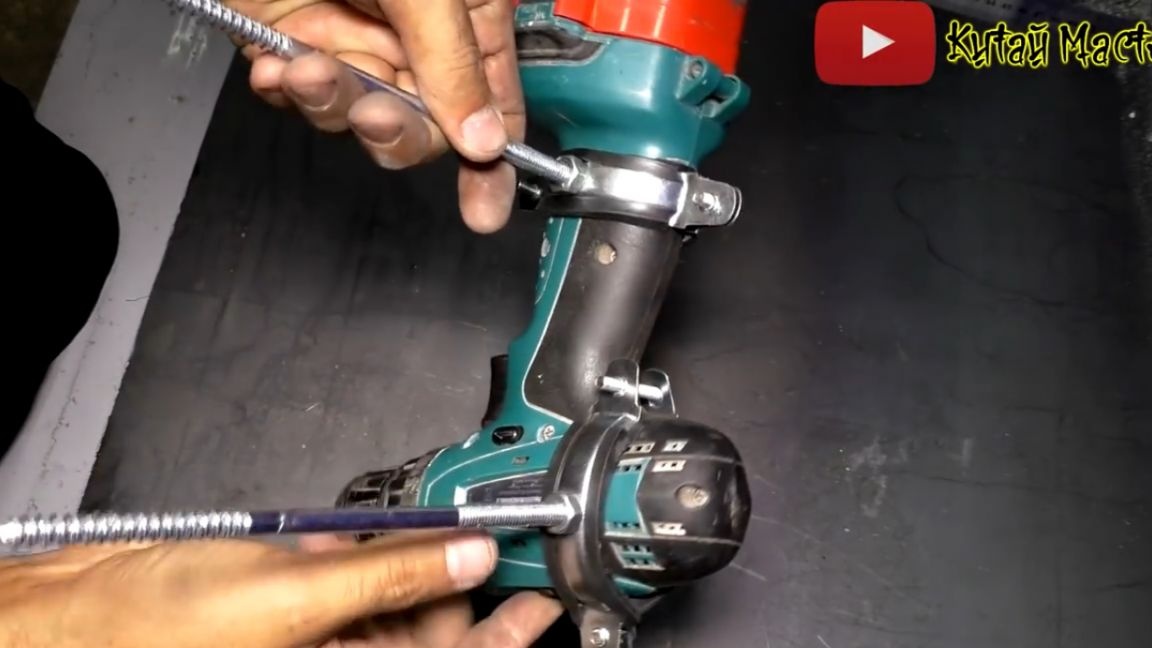
For easy removal of the battery, the carcass of the screwdriver, it was decided to fix it at an angle. To do this, bend the studs of the clamps. Just because they did not want to bend, so they had to be heated.
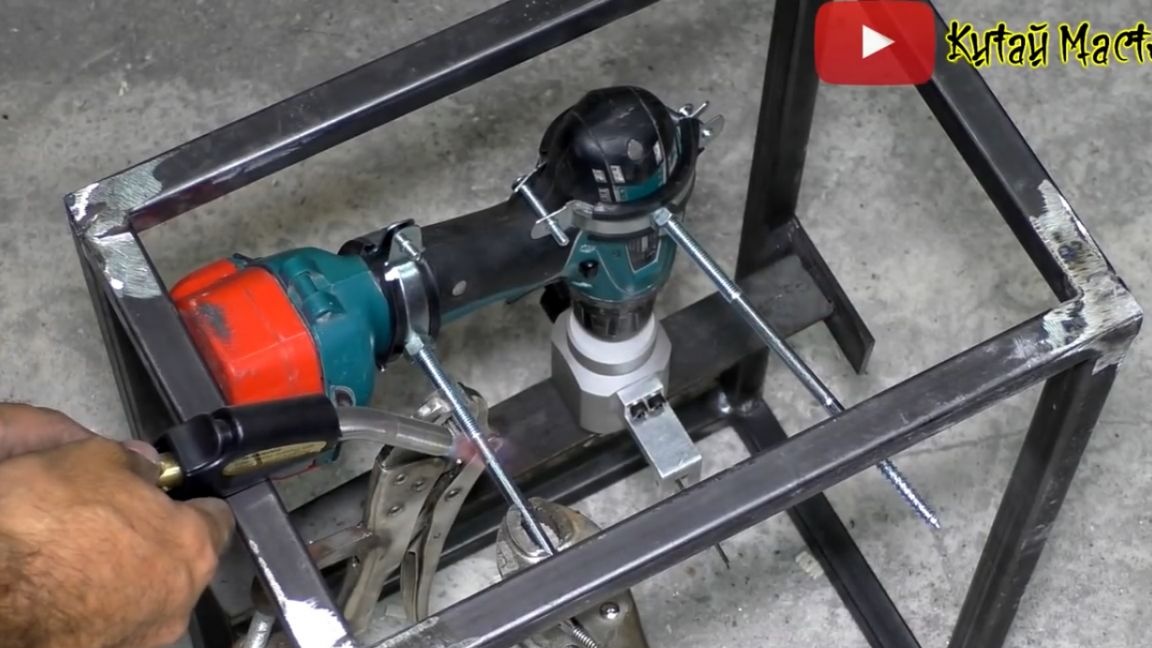
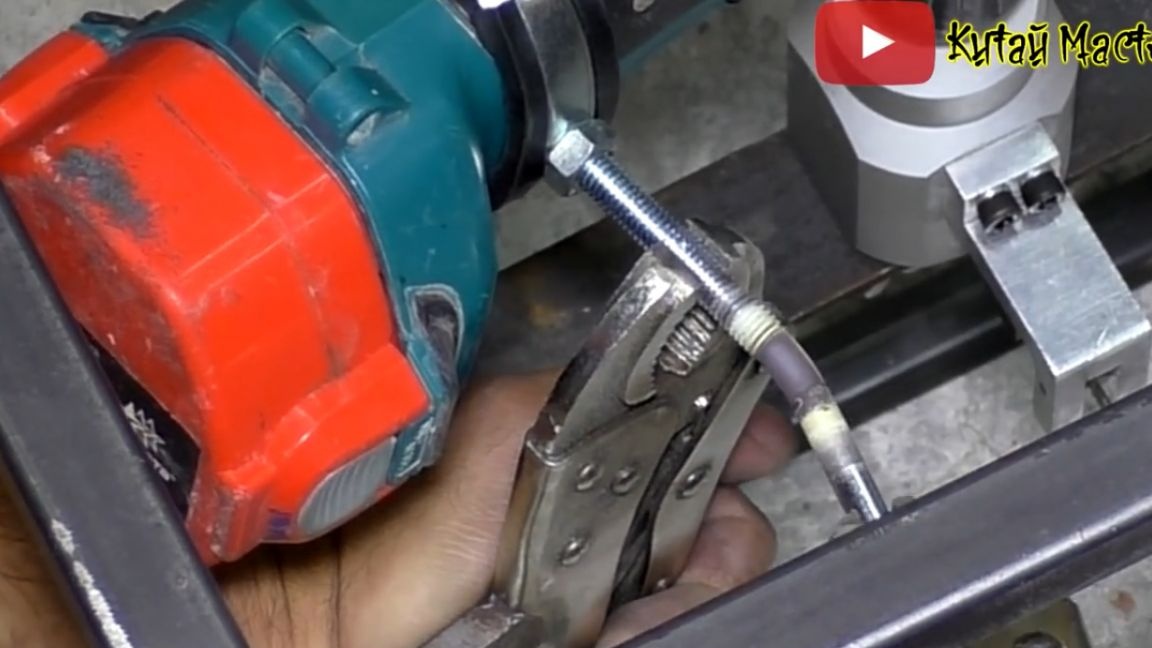
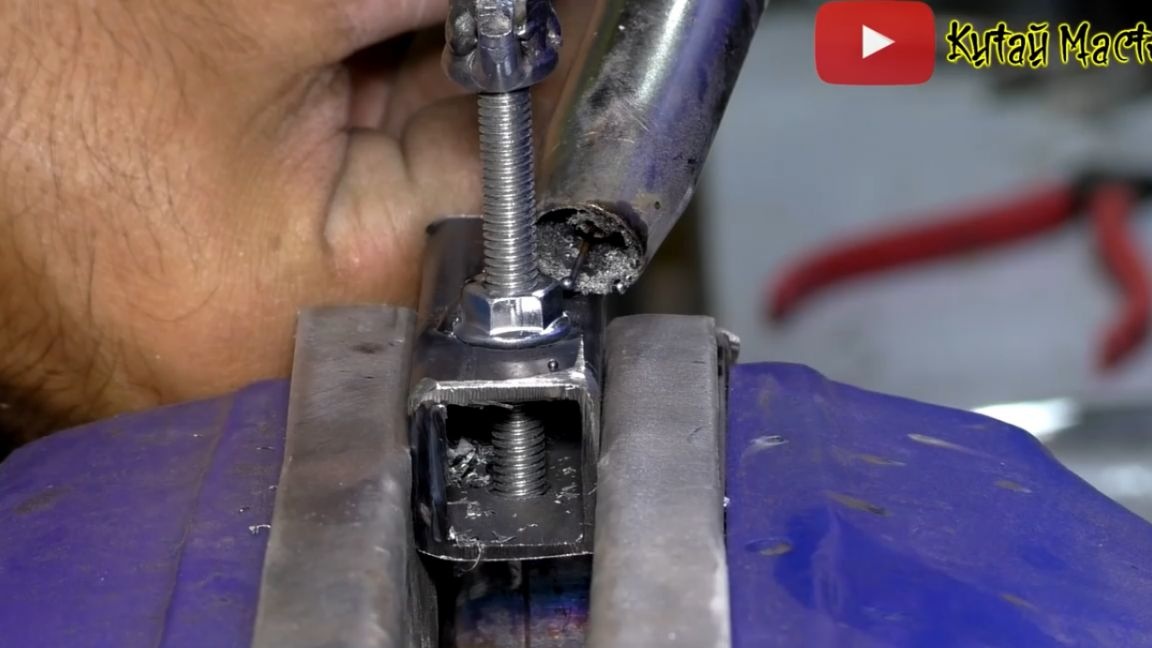
Now we make a special tool for the machine, we pierce the wing bolt under the diameter of the screwdriver and try to weld them. For this, the author made such a simple construction of two magnets.
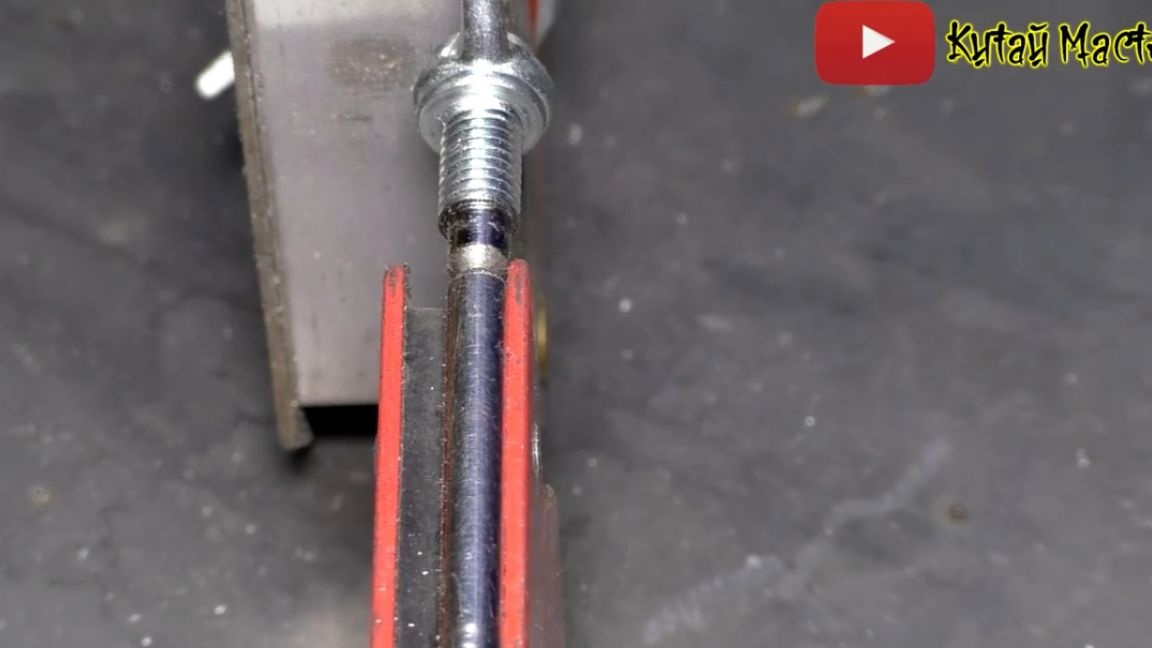
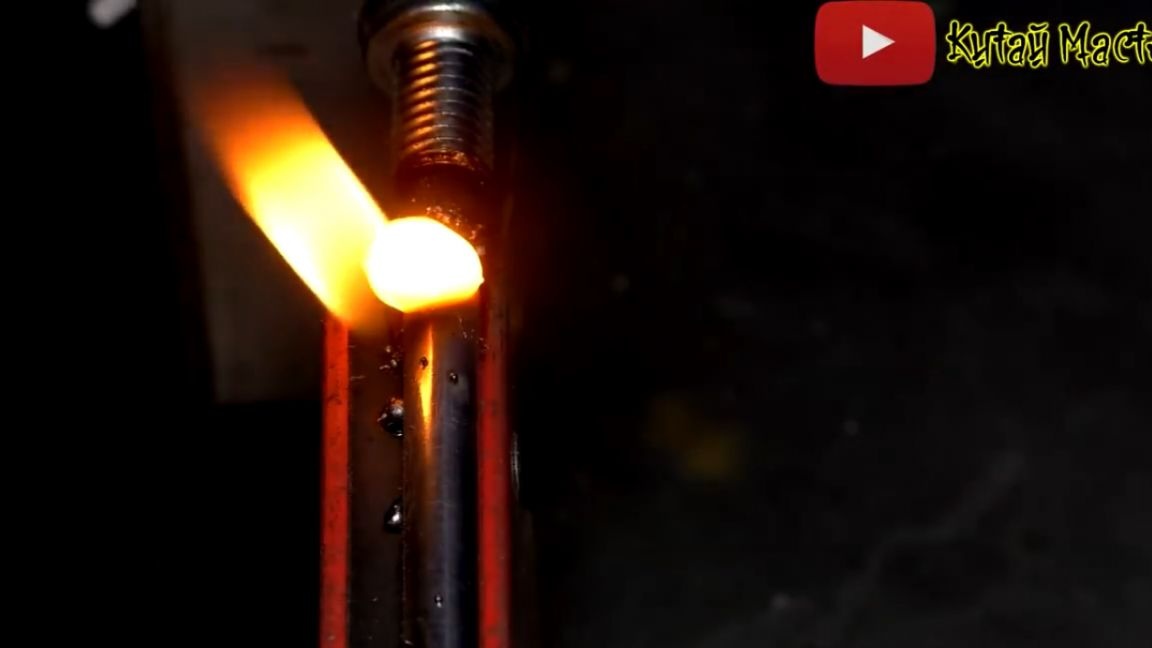
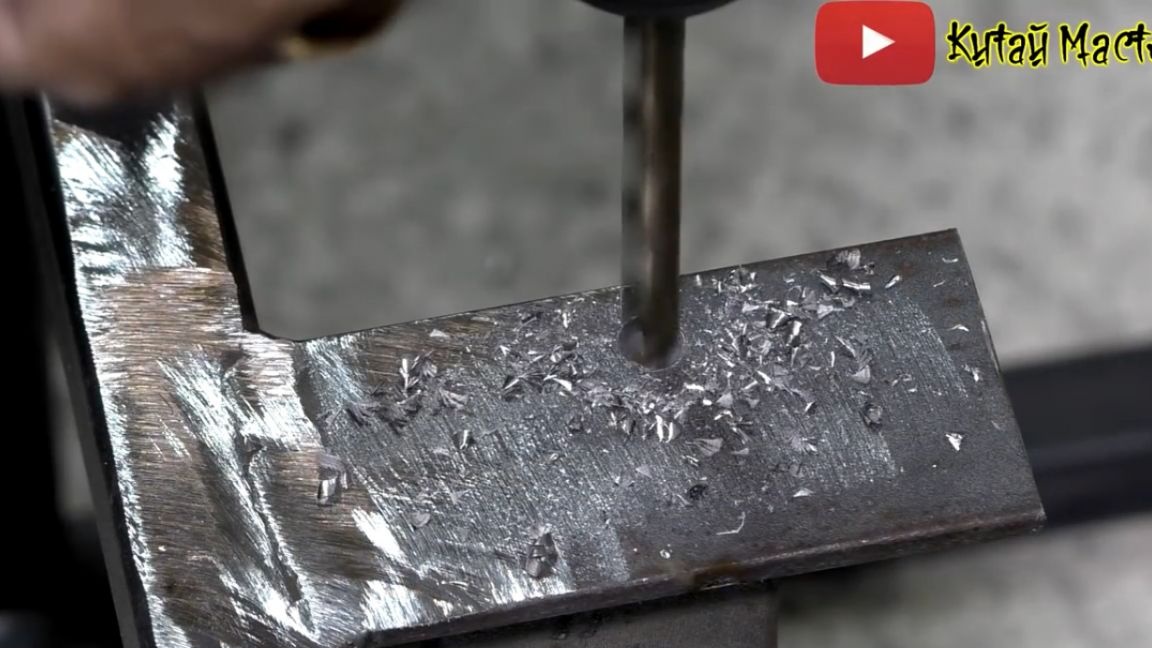
Well, then we process the weld on a lathe. And the last thing we do in the machine before painting is looking for a place for a screwdriver. Then we make a hole and cut the thread.
Well, what kind of machine without emphasis. Therefore, the simplest emphasis is made, which is made of three profiles and one screw pair.
When everything is painted go to the assembly.
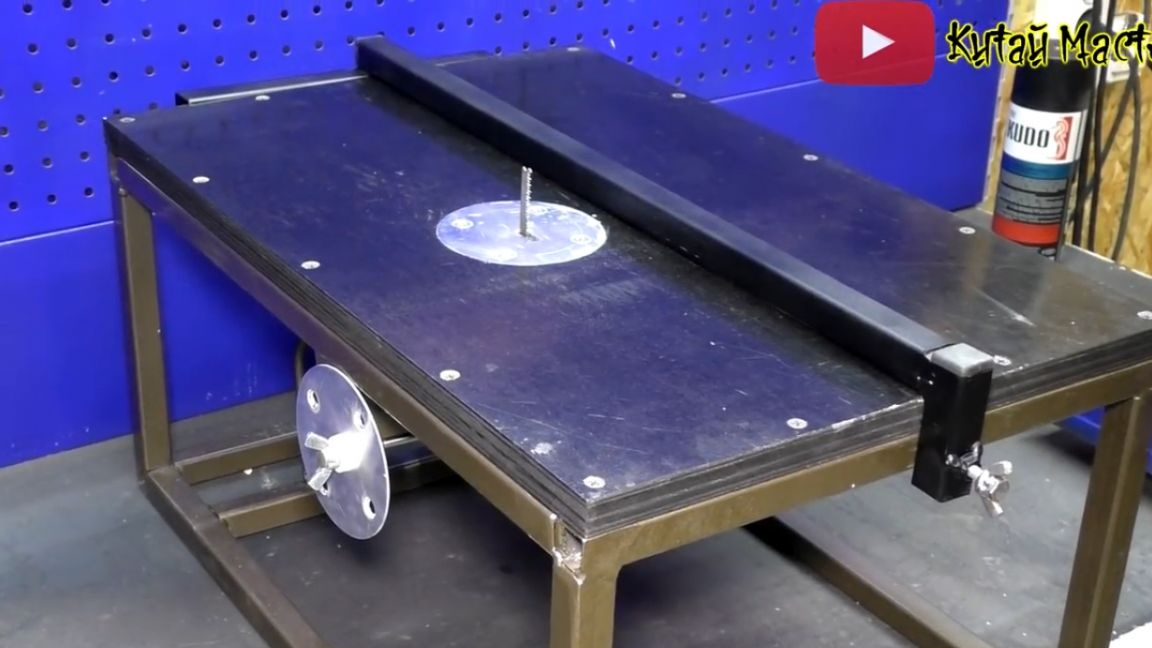
So, our stanochka is assembled. Sheathing it until the author sees a lot of sense, since in the future, perhaps he will add new functions to it. In the meantime, let's test it.
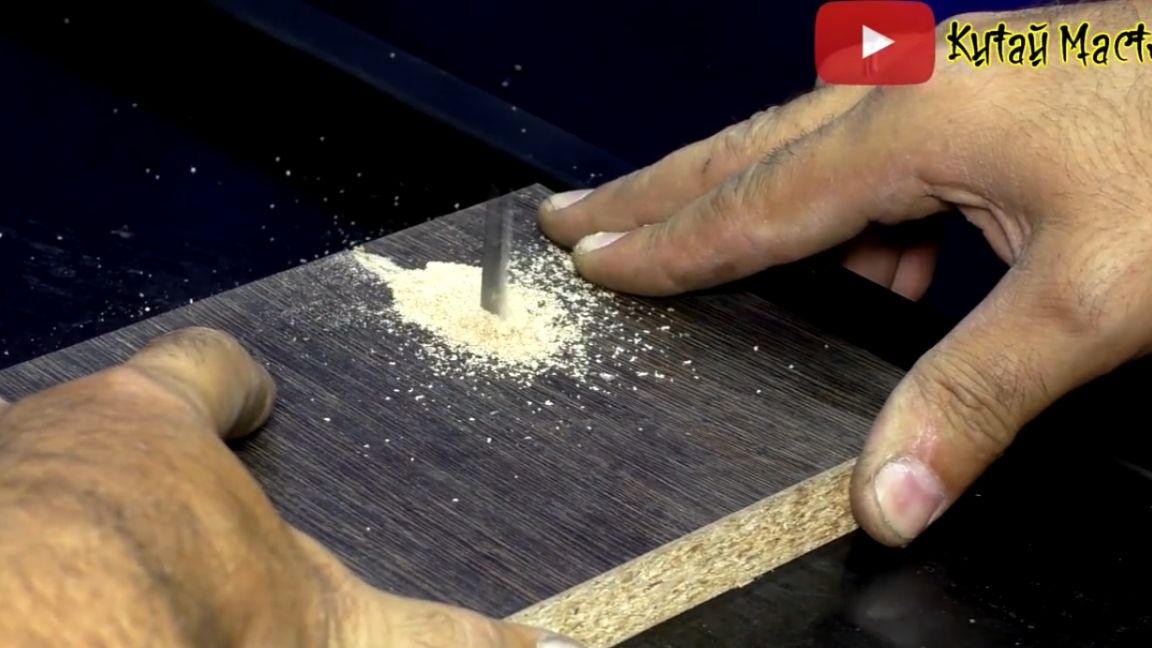
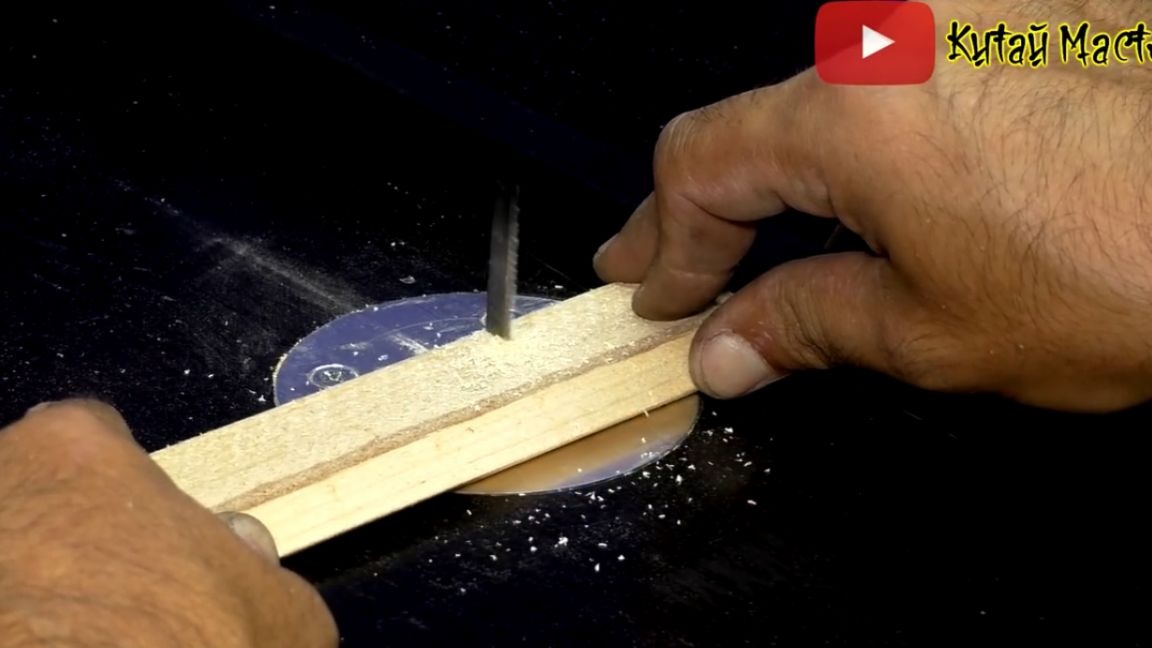
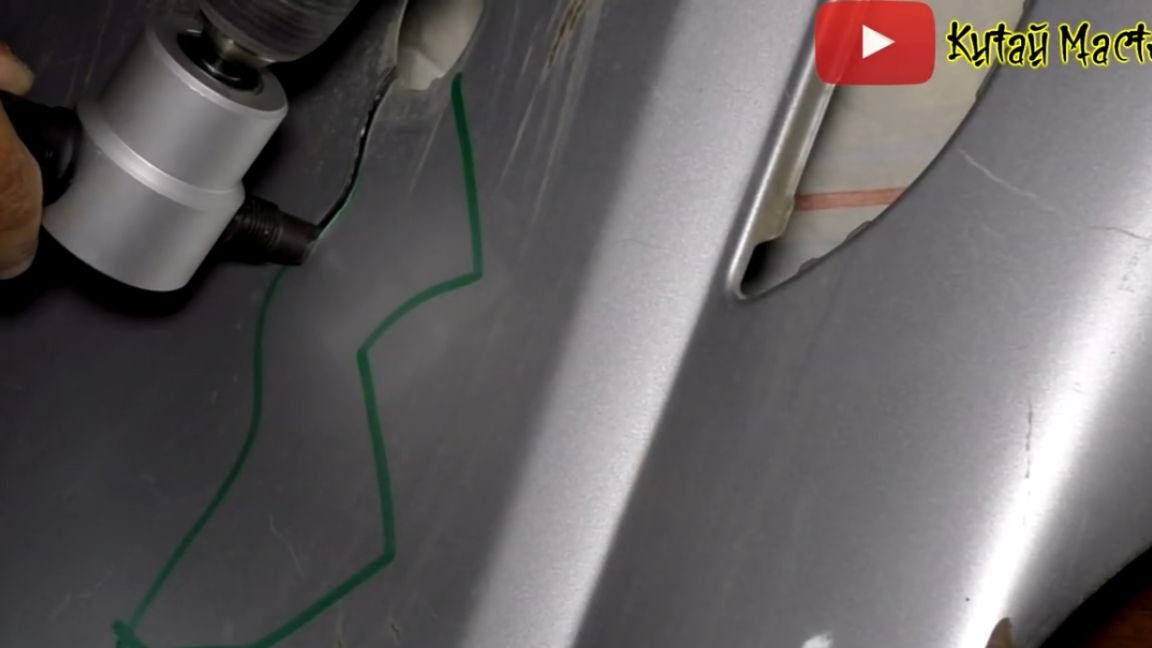
For a small amount of work, this machine copes with its task. The tree, like the chipboard, is sawn well, and to check the scissors you just need to rearrange the insert and turn the nozzle over. Although we already checked this side when we made 2 inserts from an aluminum sheet, but now we will make a cut on the finished machine.
Thanks to such scissors, it is possible to cut not only at right angles, but the material shavings fall under the machine and do not interfere. Well, I think you can end here. Thank you for attention. See you soon!
Video: