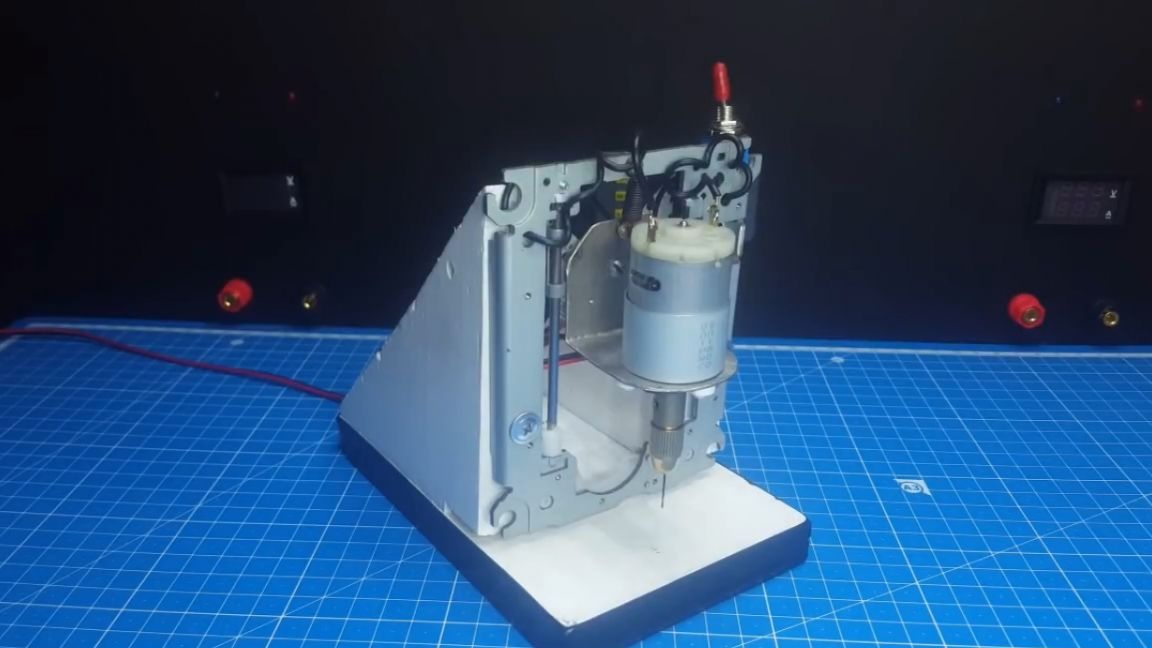
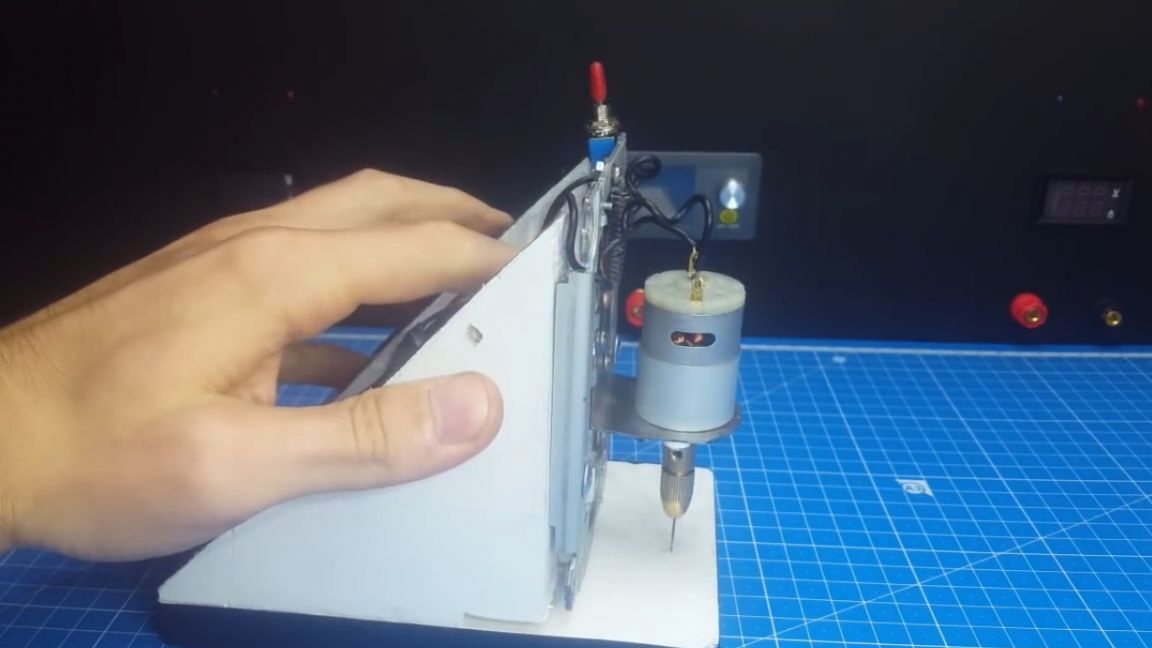
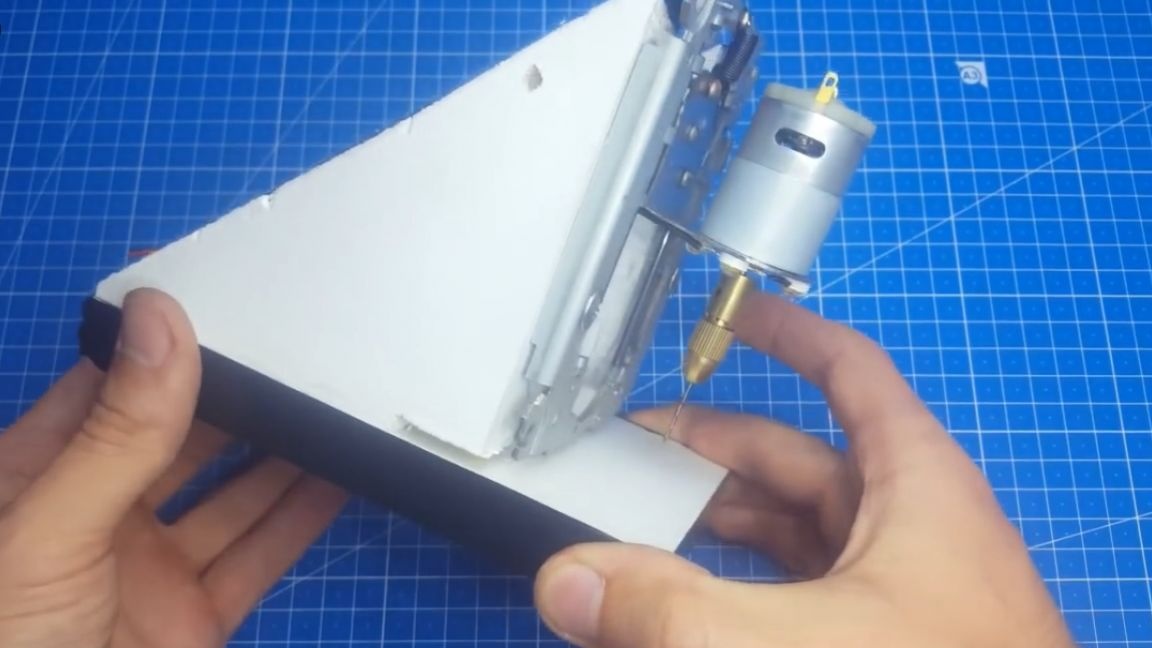
And now we will be engaged in the manufacture of a drilling machine for printed circuit boards from improvised materials. The author of this homemade product is Roman (YouTube channel "Open Frime TV"). This is how a home-made drilling machine for printed circuit boards looks like:

So let's get started. I think that almost all hams sooner or later began to make their own printed circuit boards (drawn or printed on a printer is not important), and in the manufacturing process they had to be drilled.
And then there were problems. Okay, with a millimeter drill, you can still drill something, but a drill of a smaller diameter, for example, 0.7 mm, can already be pinched by some drills at all in a chuck. Well, this is the first of the problems that arise, and the second is that even with a slight skew, the drill breaks and you have to take a new one.
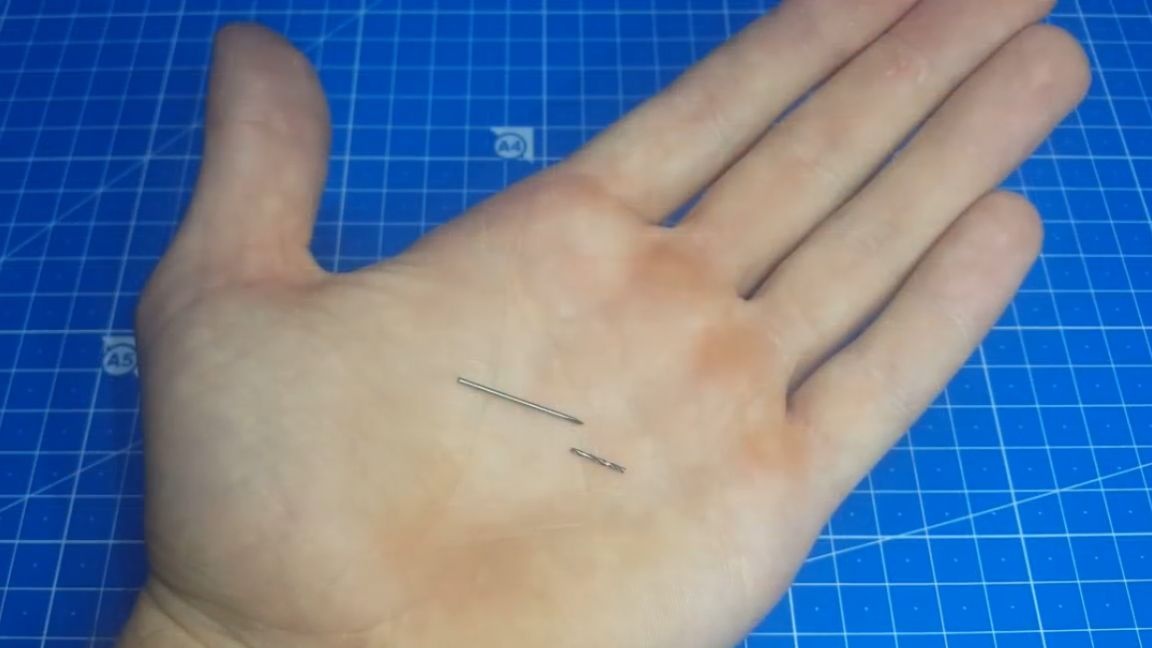
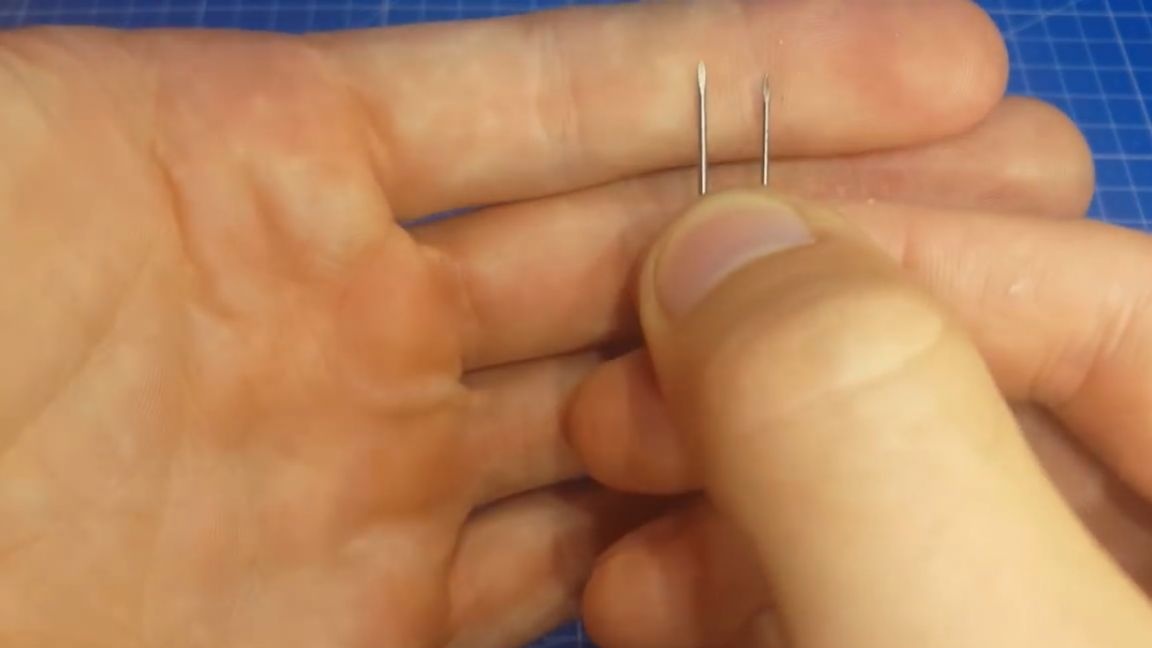
The author suffered for a long time with this, he really has a drill that can clamp a drill with a diameter of 0.7 mm without any problems, but they often broke. And the drills broke so often that in the end he had to take a broken drill, sharpen it in the form of peaks and drill boards in such a Neanderthal way.
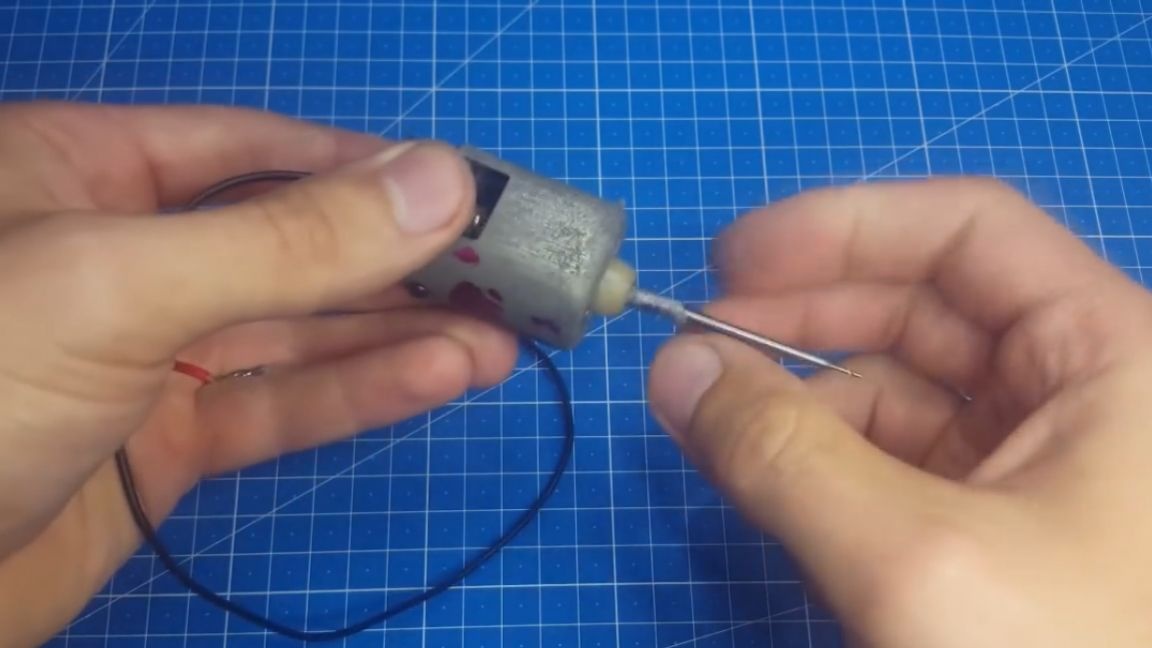
As a result, the holes were torn and ugly, it was hard to solder such boards. And so, when the author’s patience snapped, he decided to make himself a drilling machine. At first, he wanted to make it completely from improvised materials, but then he realized that it would be inconvenient, since he thought of using such an engine from some toy, even fixed a drill on it, but when drilling one board, at least 2 different drill diameters are needed , but here it’s impossible to change them.
Therefore, it was decided to order here such a set of engine and collets.
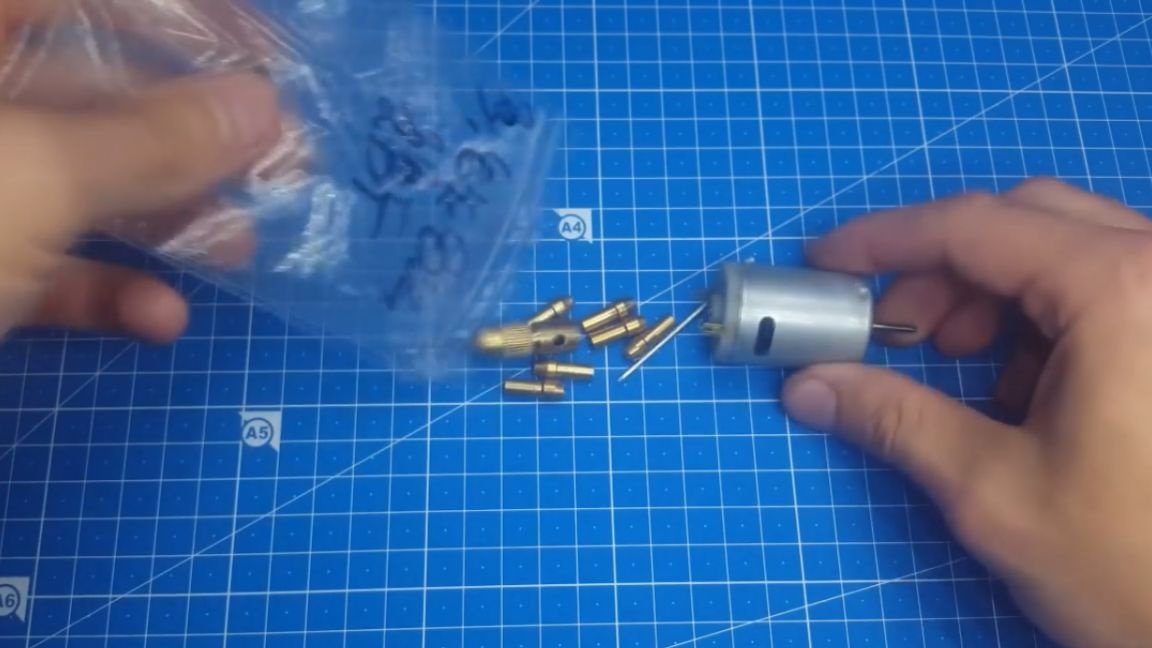
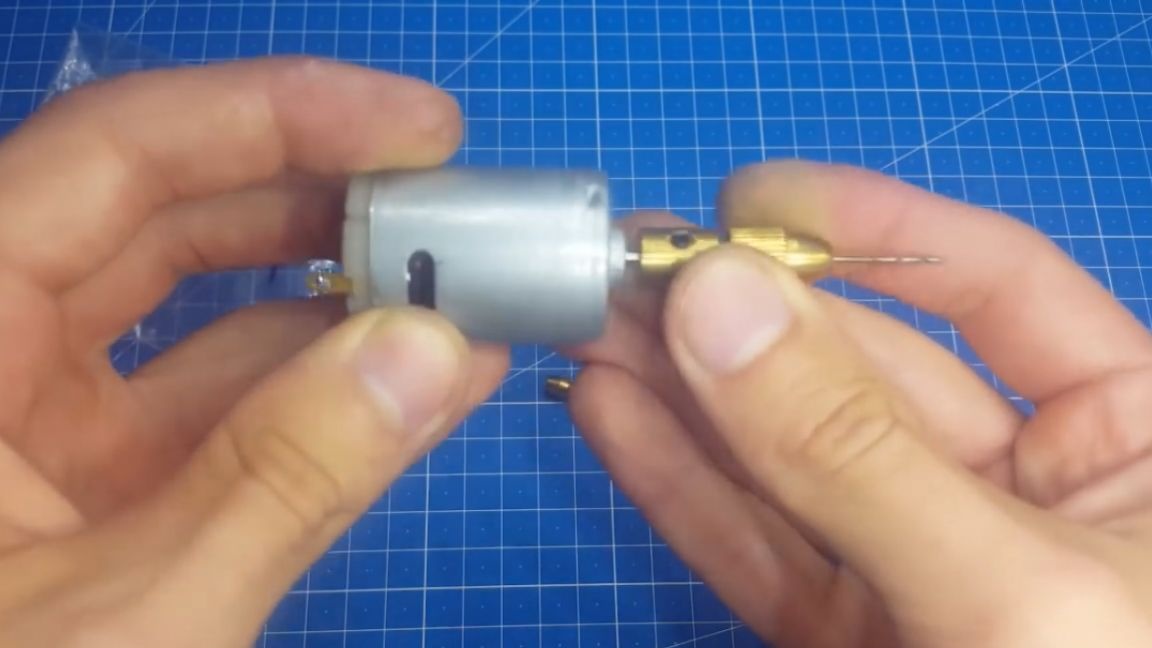
This set is the cheapest of those that were on the market at that time, but quite suitable for this homemade product. Now you need to decide on the moving mechanism. For these purposes, carriages from old CD / DVD drives are great. And rummaging in his the garage, the author found several different kinds of old non-working CD drives from a computer.

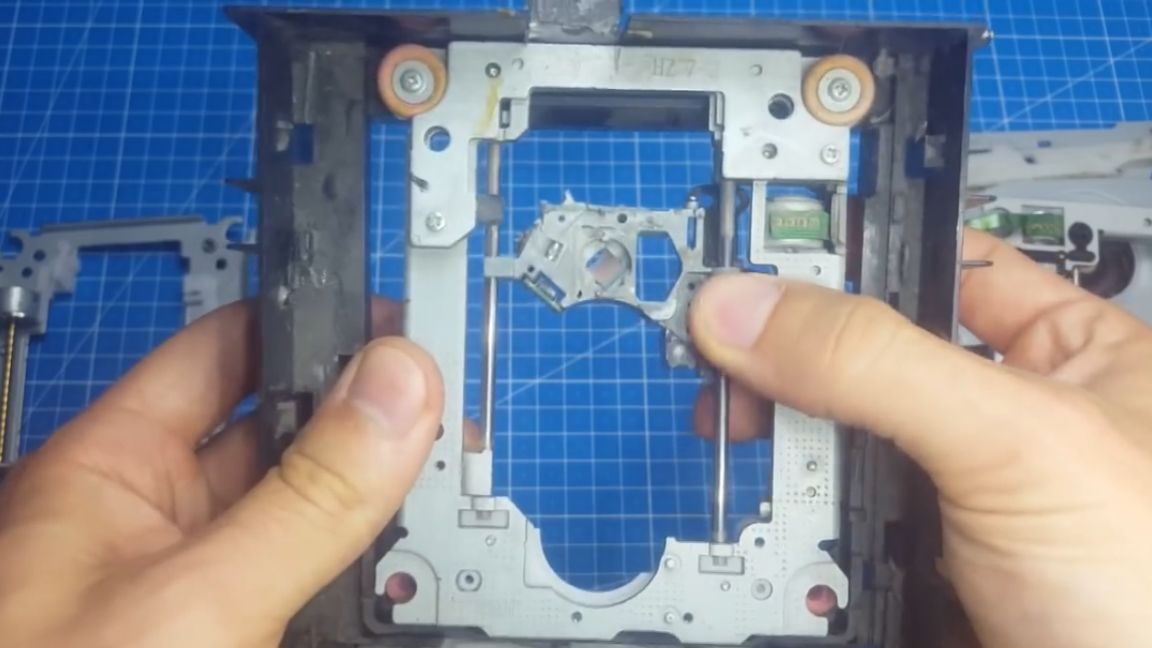
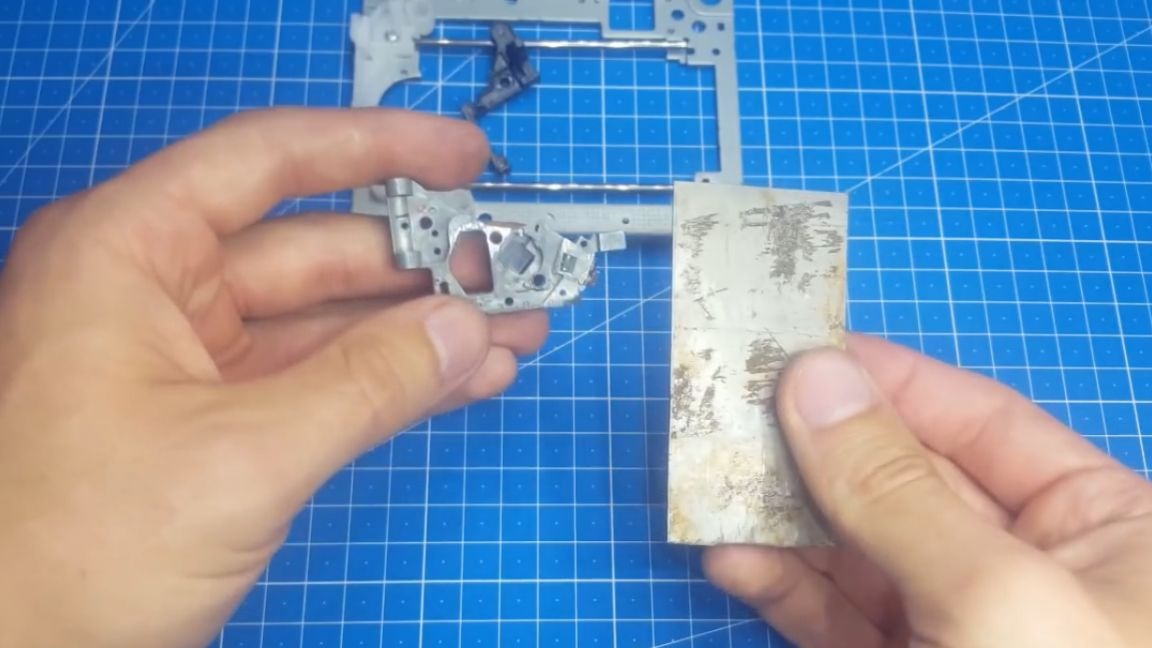
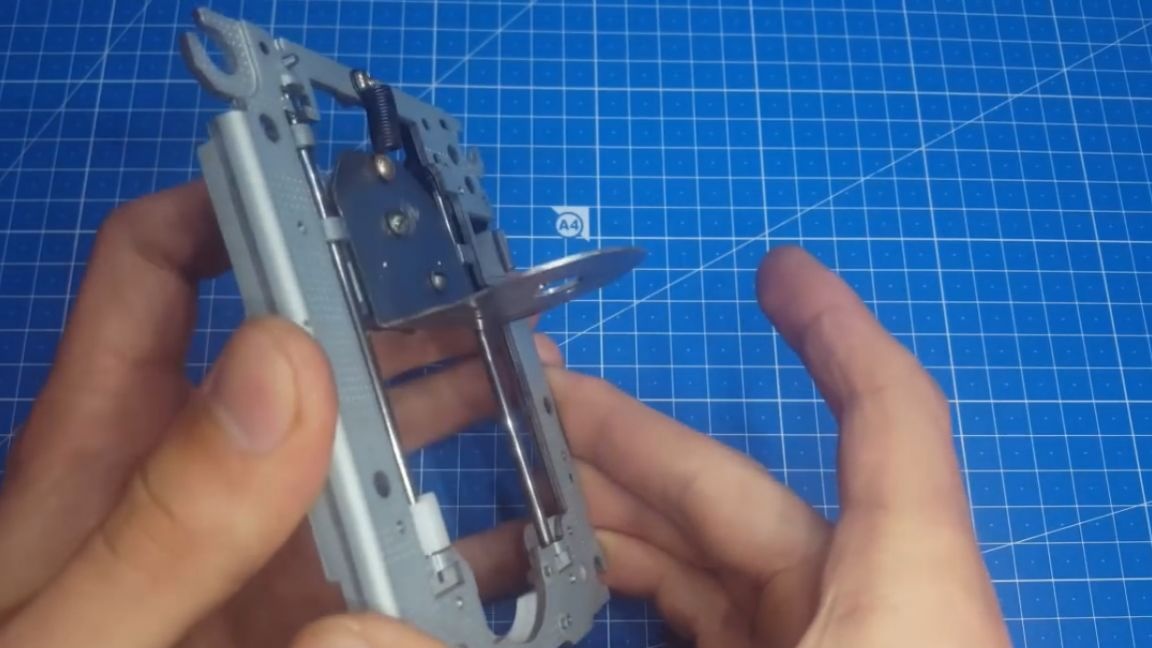
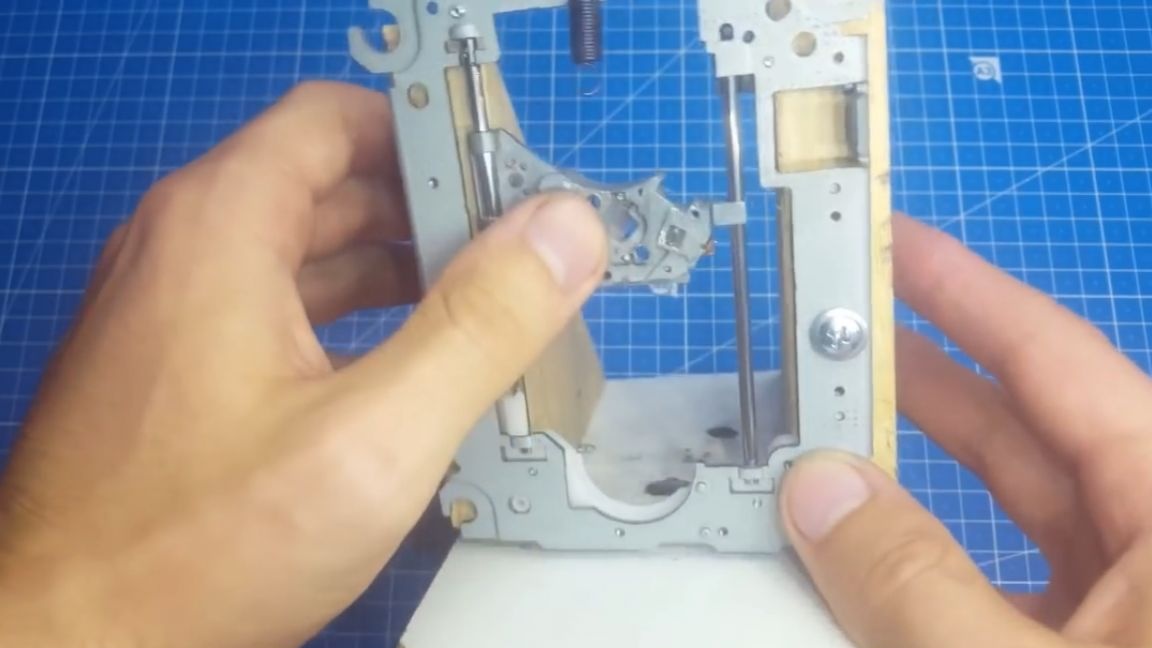
But it is best to use a carriage in which both racks are metal - it will be more reliable, otherwise the carriage with only one rack somehow does not inspire confidence. Now we disassemble the drive mechanism and leave only the moving part and its fastenings.
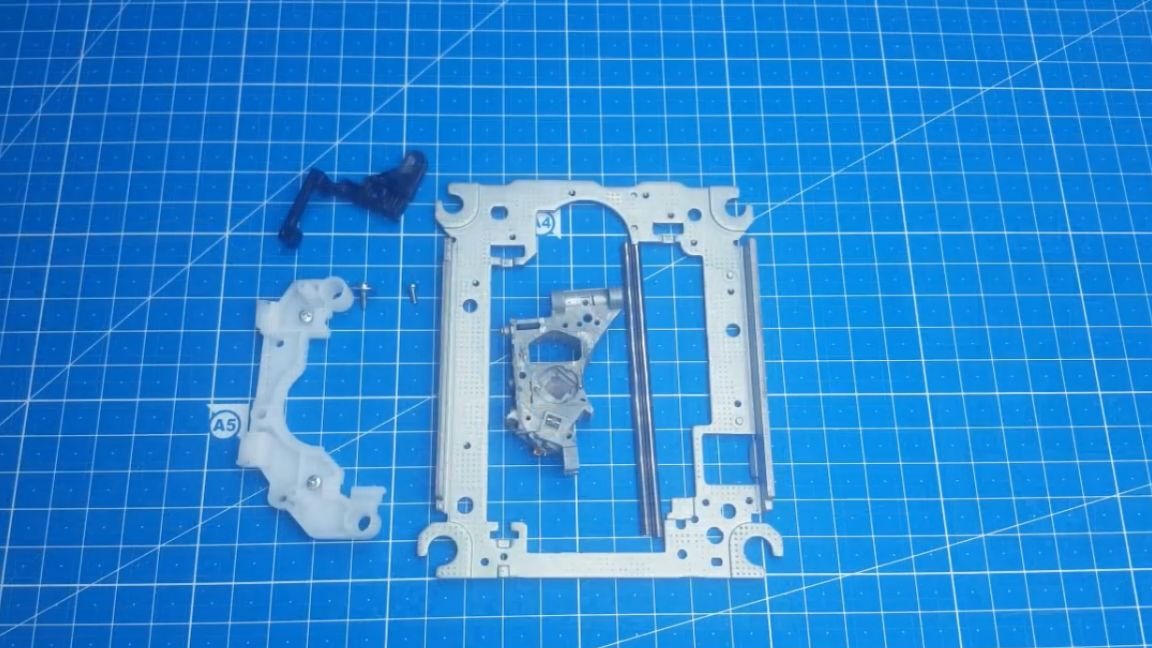
The next step is to grind all the protrusions from the carriage so that there is a flat surface, and also find a hard metal plate on which the engine will be mounted. It will be necessary to drill a hole in the plate and bend it at a right angle (90 degrees).
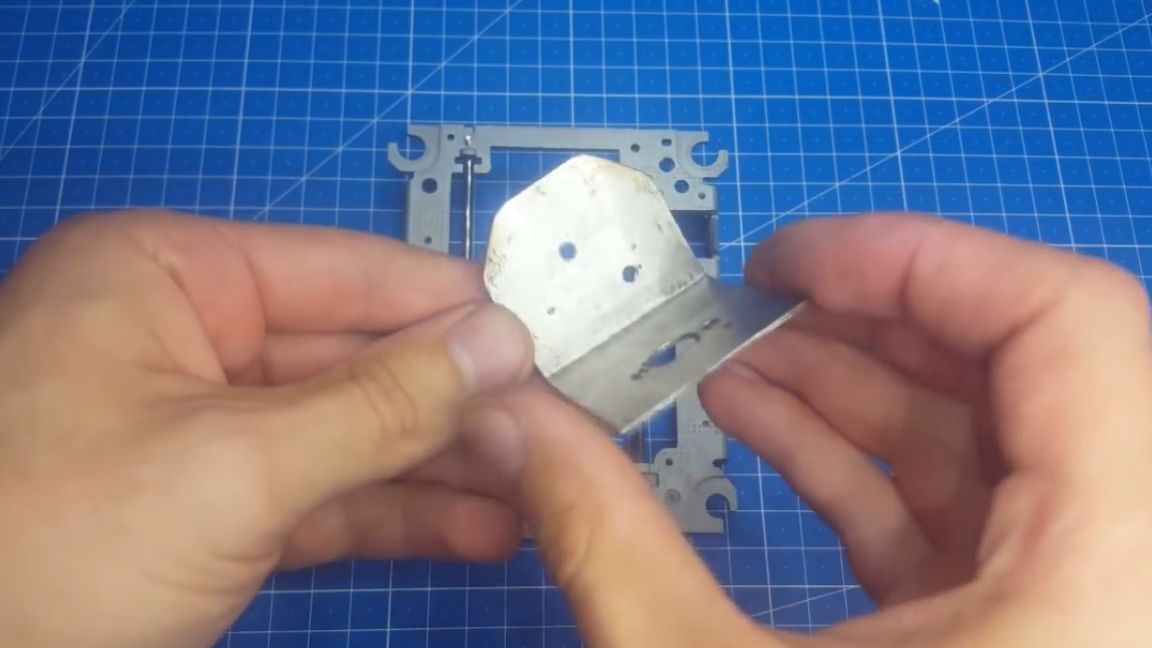
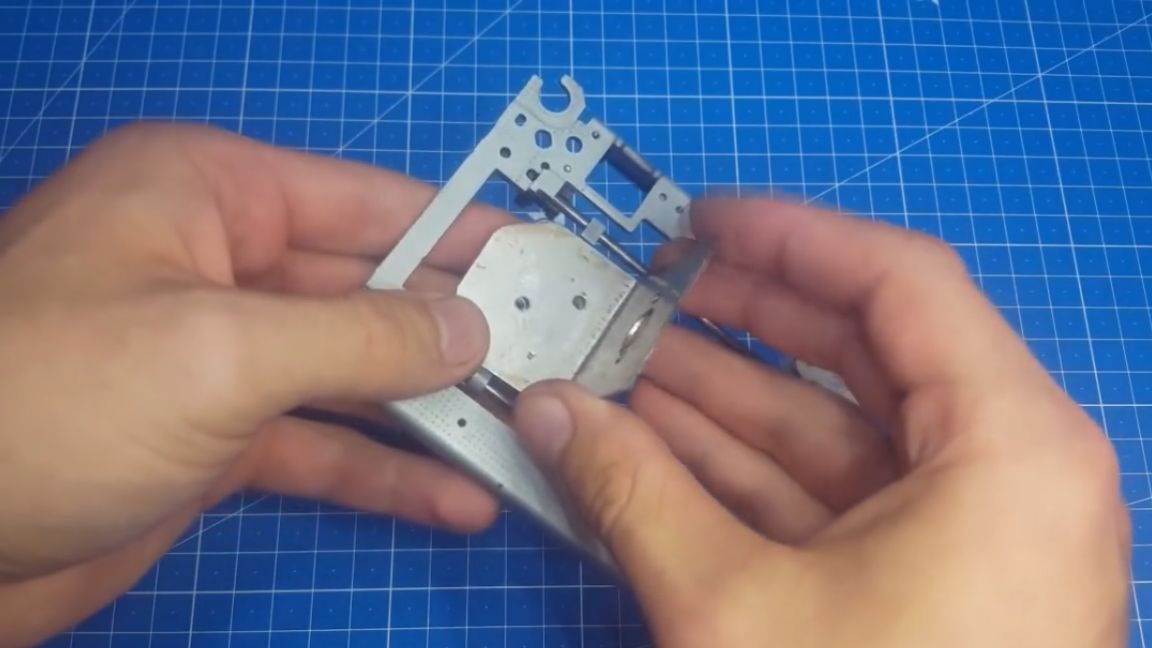
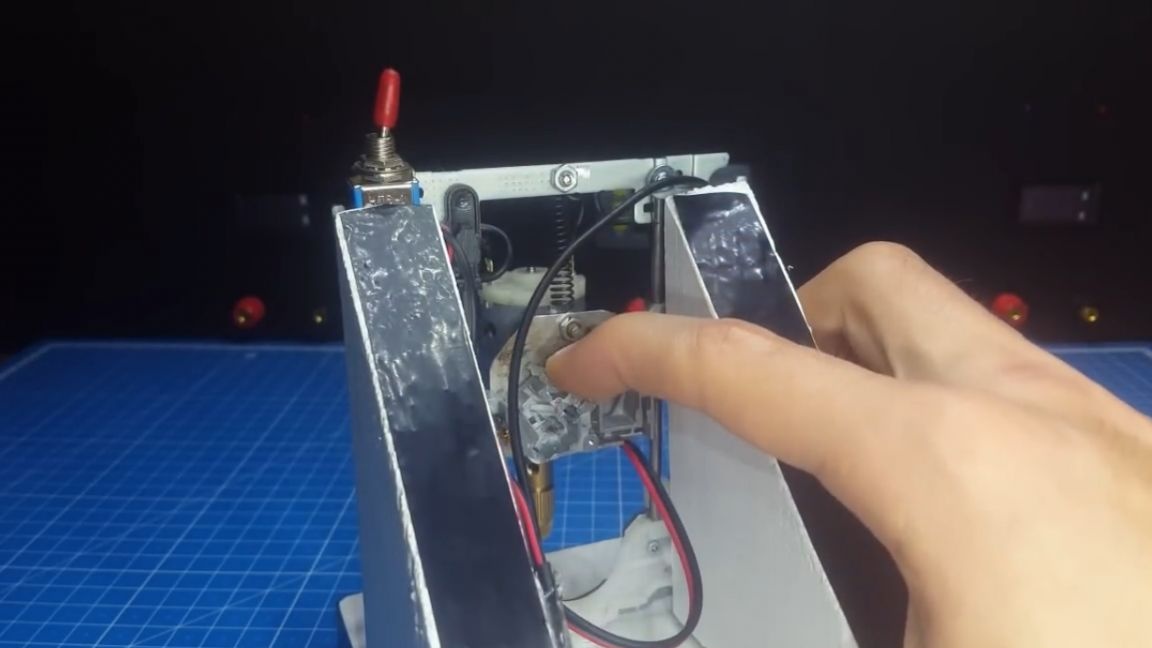
As you can see, this procedure is not complicated. These mounting holes match. For convenience, they can be done literally half a millimeter more. It will also be necessary to manufacture a return mechanism. For this, any sufficiently powerful spring is suitable. The author will not tell you exactly where to get this, since he has a lot of them, where exactly this one he no longer remembers from.
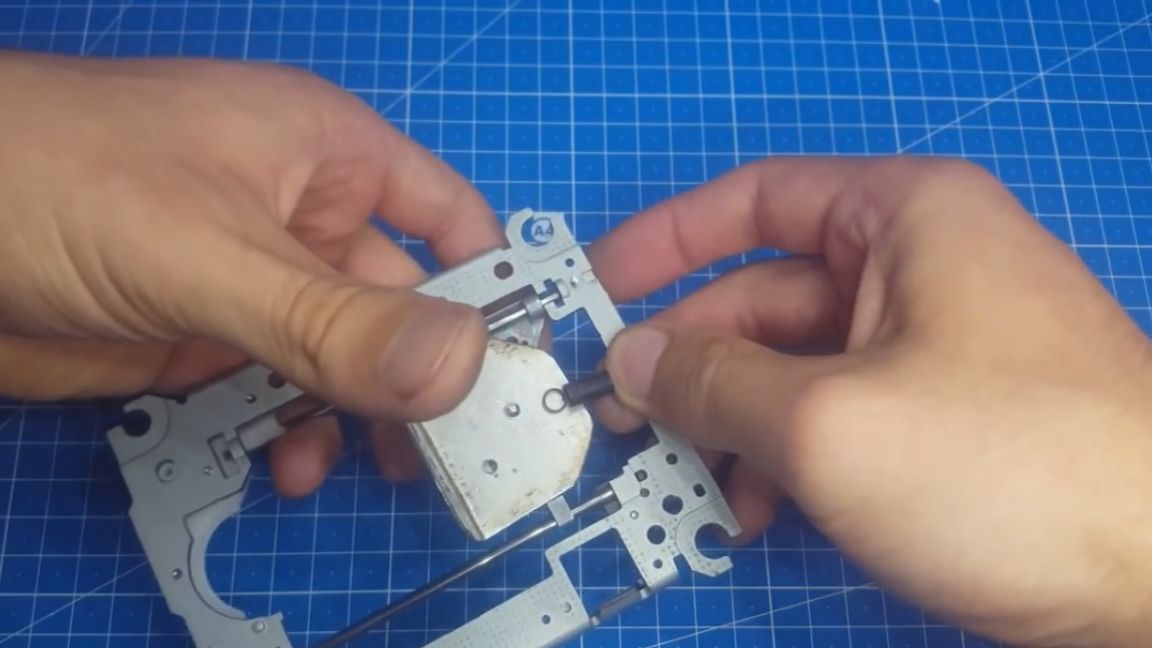
That secured our mechanism. As you can see, it is pressed with little effort, but it should be so that the spring has the strength to lift the engine. To facilitate work with the machine, it is necessary to provide sufficient illumination of the work area. We realize this with the help of such Chinese LEDs with a power of 1 W each.
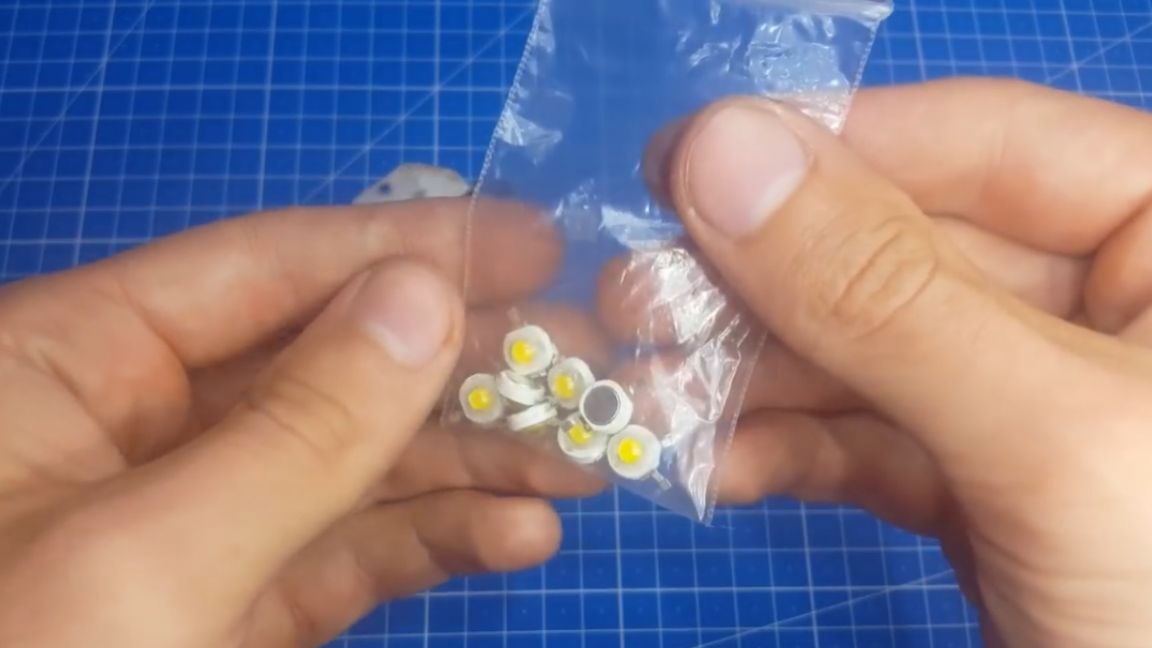
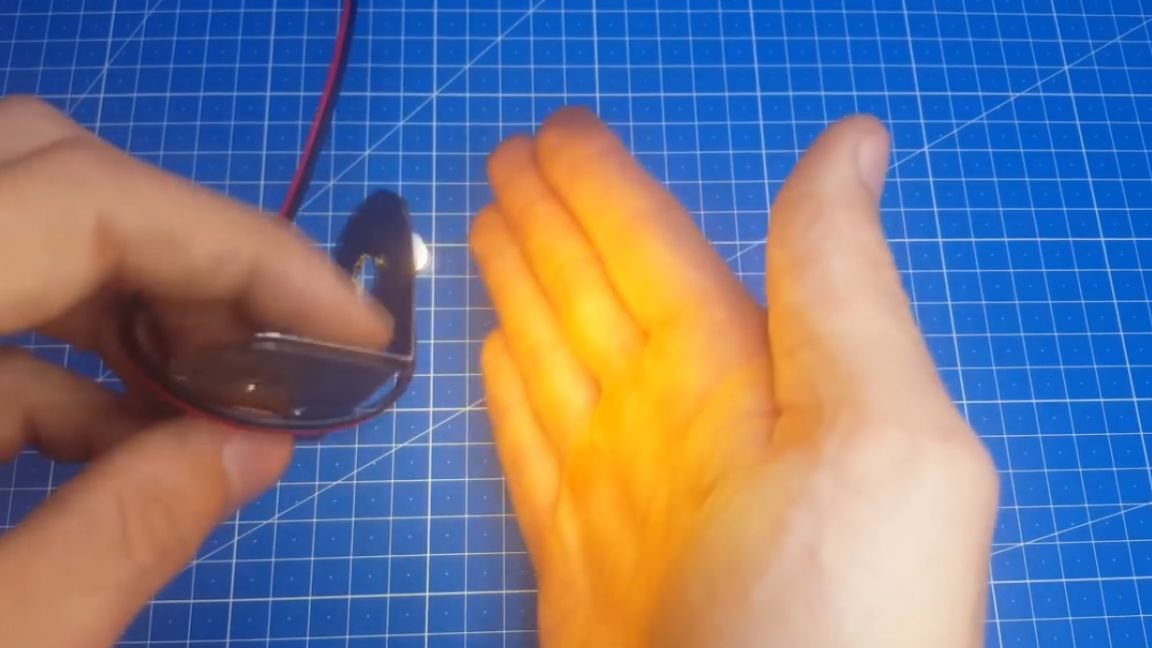
It is necessary to connect the LEDs in series to get a total of 12 volts. The engine needs just as much. After connecting the LEDs, they must be checked for operability, otherwise you never know if they are defective, anything can happen.

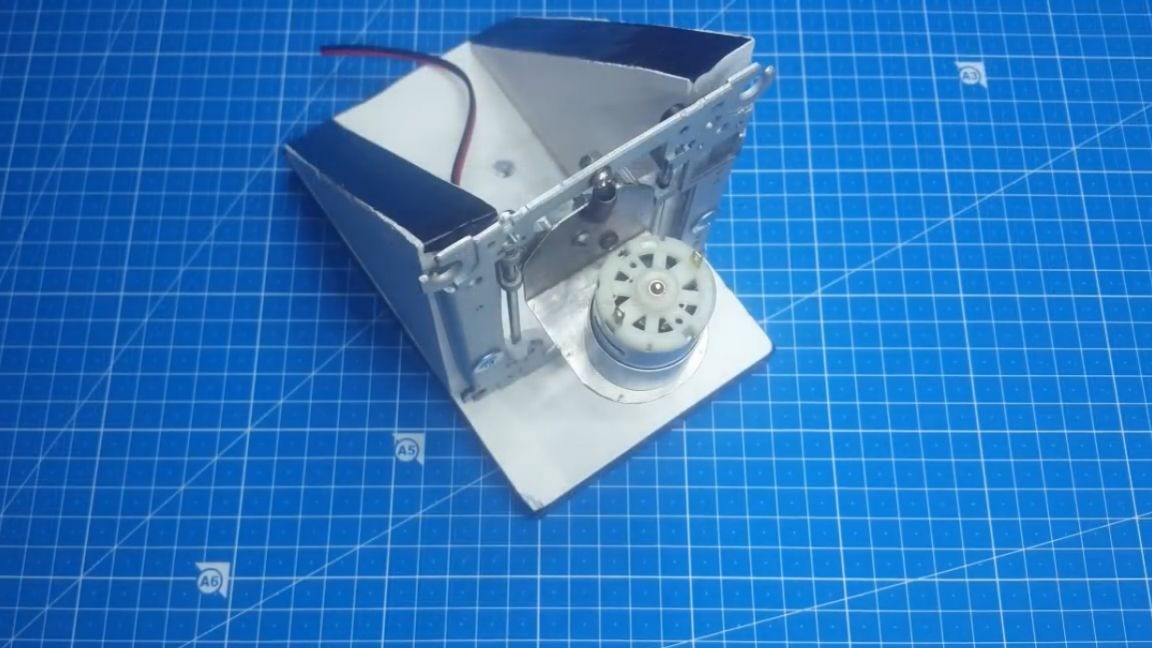
Next, we collect the resulting part into a single whole and check.
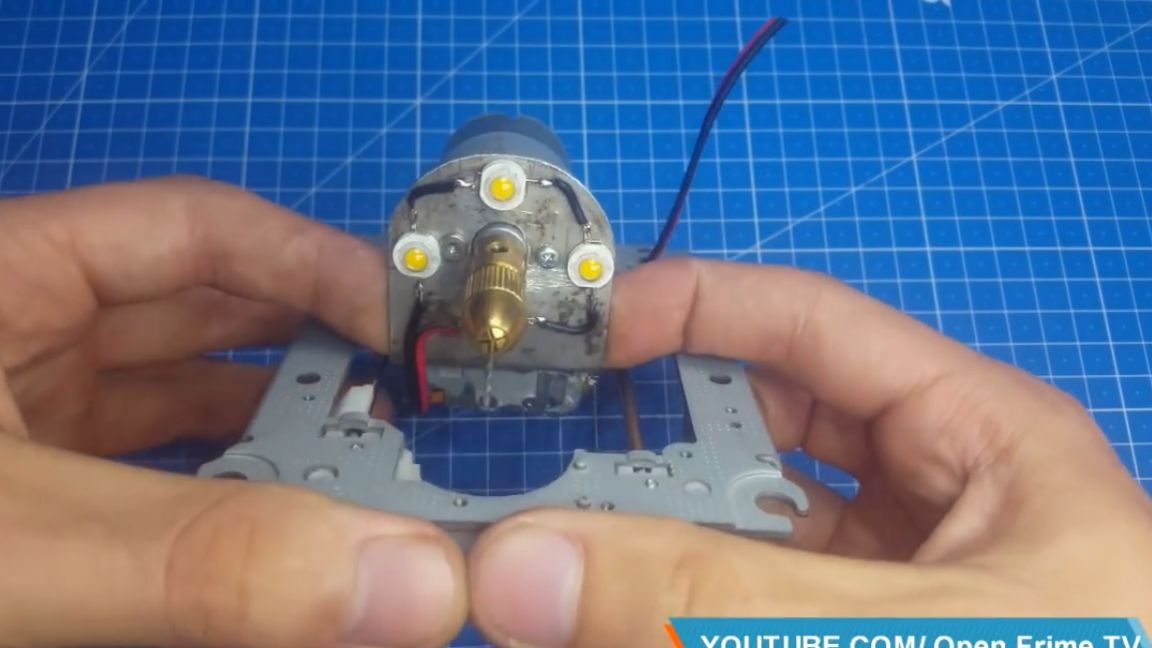
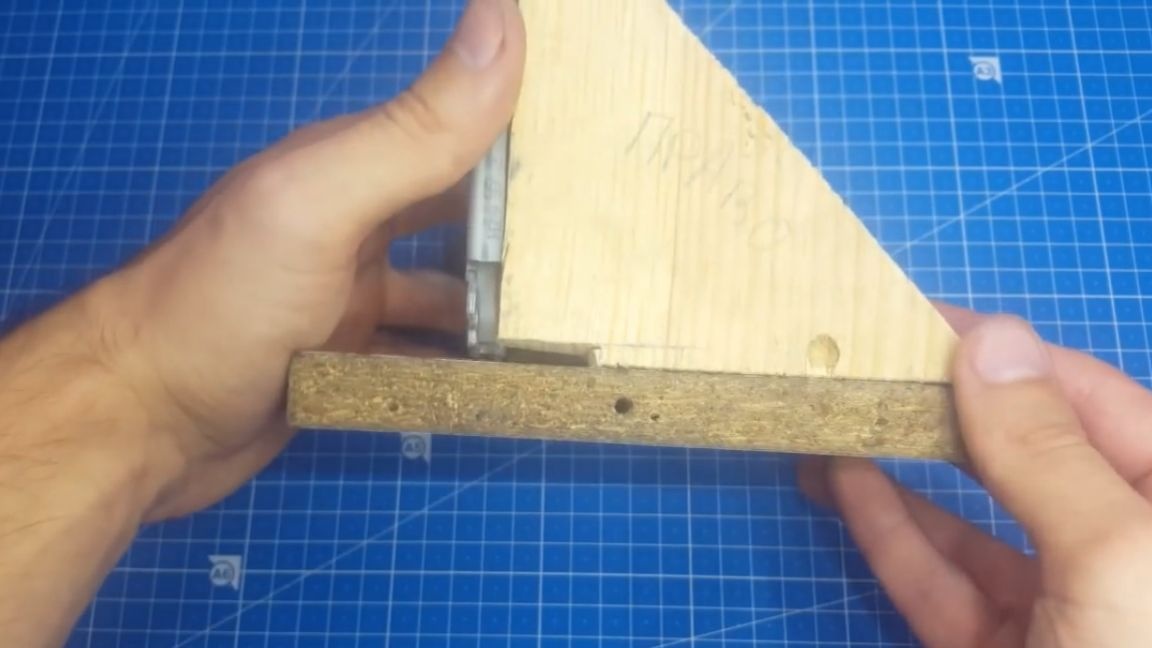
While everything is fine, everything is going according to plan. Then you need to fix this mechanism vertically on the stand. In this case, the stand will be made of wood. To do this, cut out 2 triangles and fix everything with screws.
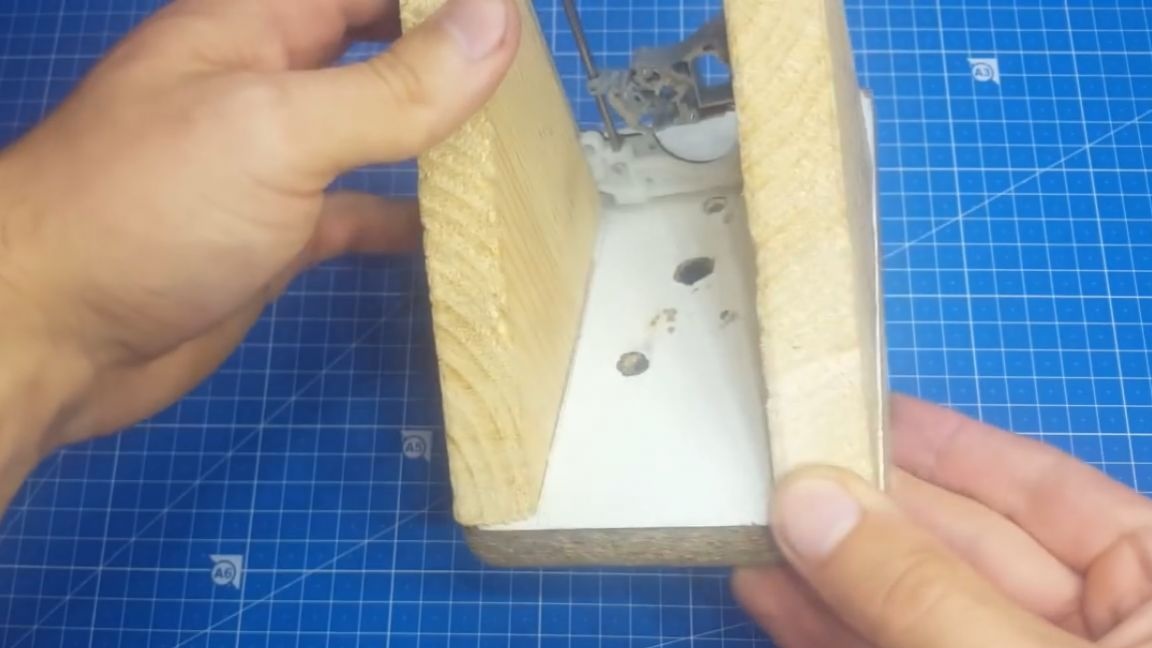
It turned out pretty interesting. It remains only to give our homemade product a presentation, or rather paint. The author had white paint available, and he used it. The sides were poorly painted, so the author wrapped them with electrical tape, it definitely didn’t get any worse.
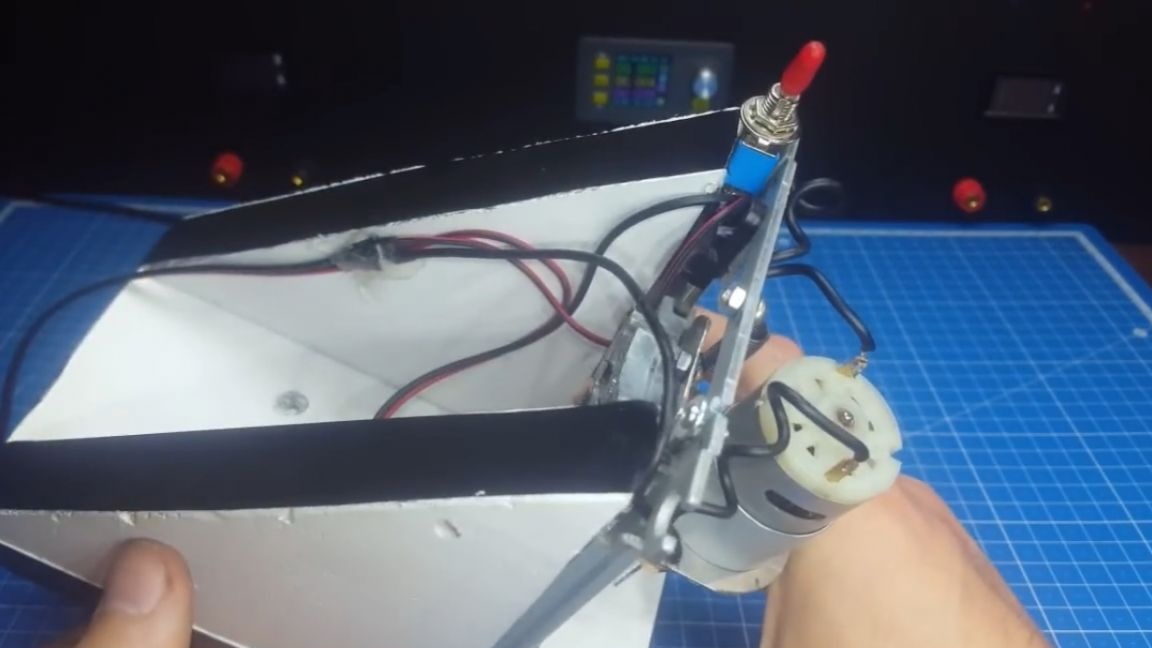
And now it began to connect electronics and to switch the switch. You can see the diagram on your screens:
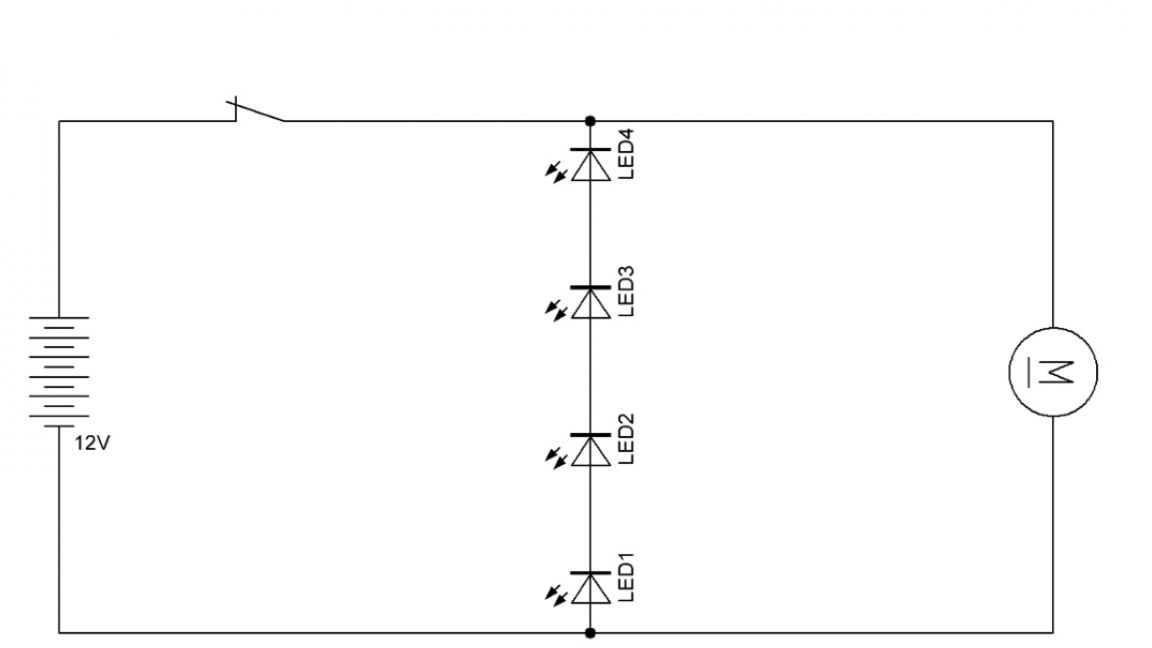
Everything is extremely simple here, we connect everything with a hinged installation, solder the wires and strengthen them with hot glue.
This completes the assembly of the device, you can proceed to the tests. But before that, we should talk about how to set the mechanism in motion. It is necessary to press directly on the carriage; there is even such a depression in it; this is the easiest option.

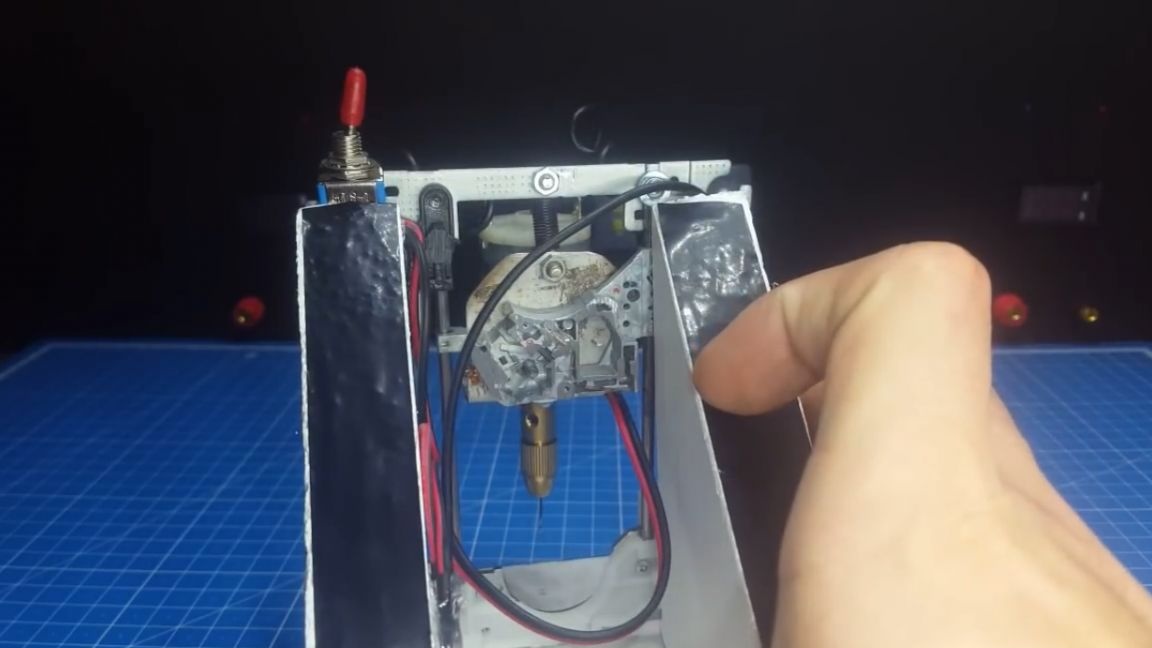
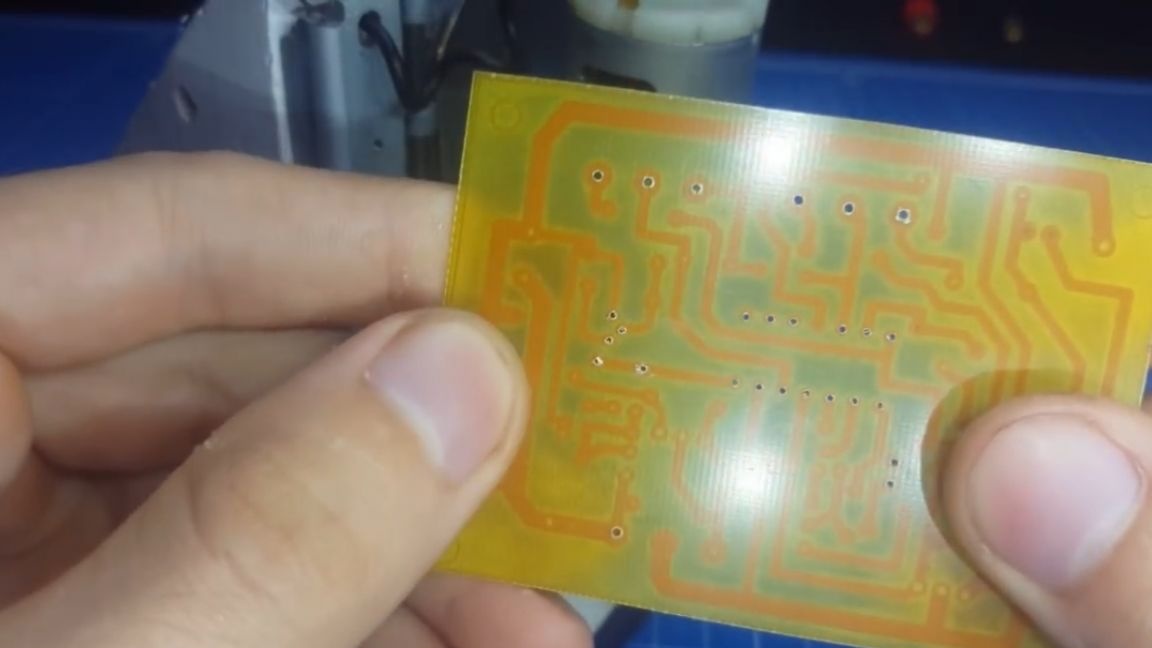
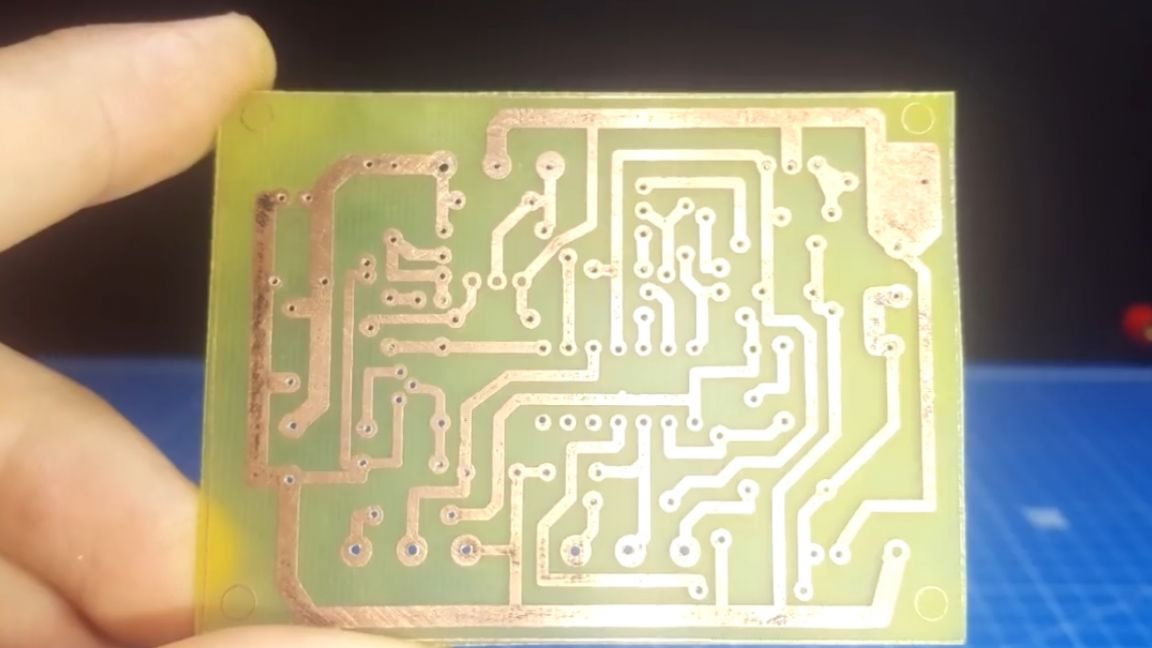
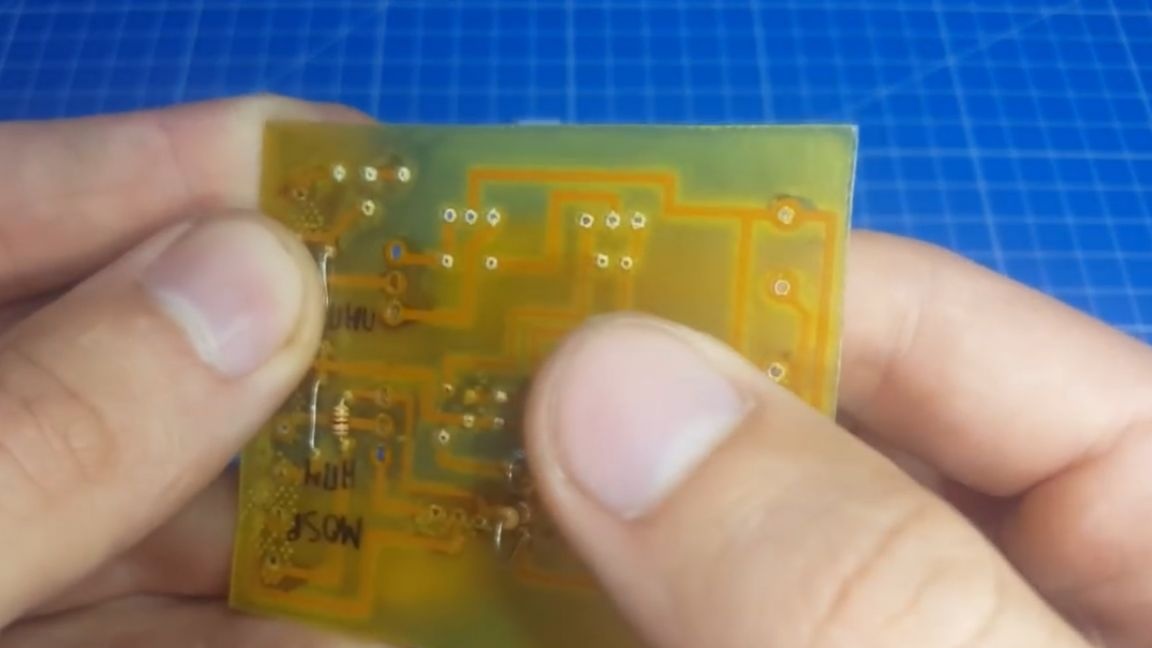
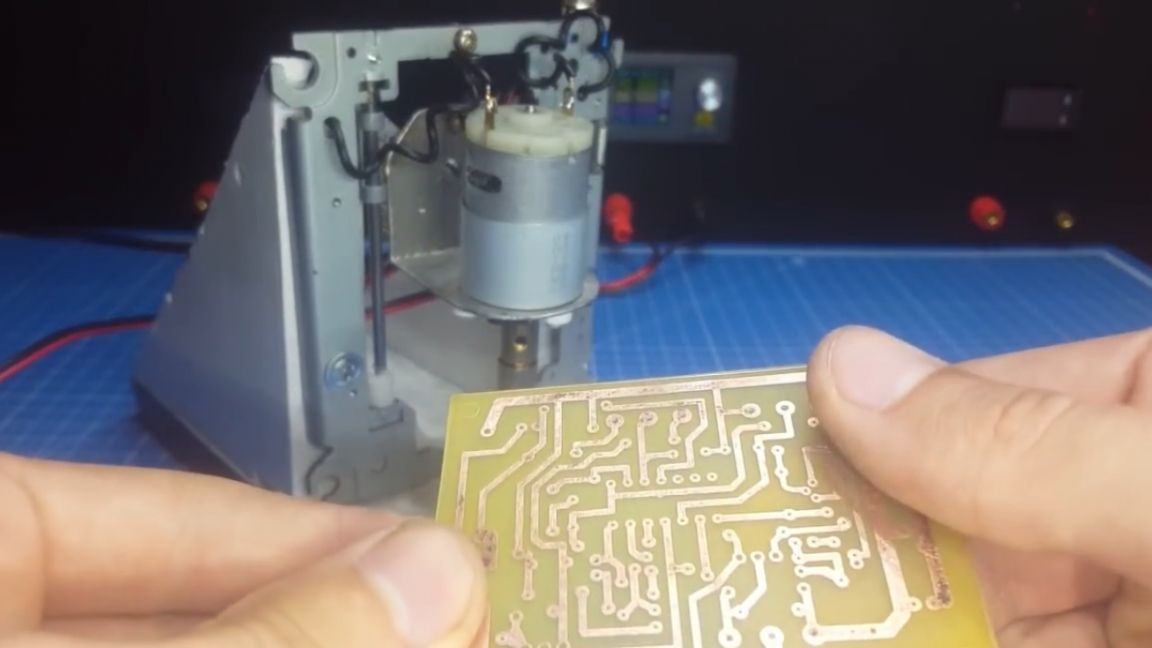
It would be more creative to make some kind of leverage, but then there is a bias and is pressed with difficulty, so the author settled on this method. For the test we will use this board for one of the following projects.
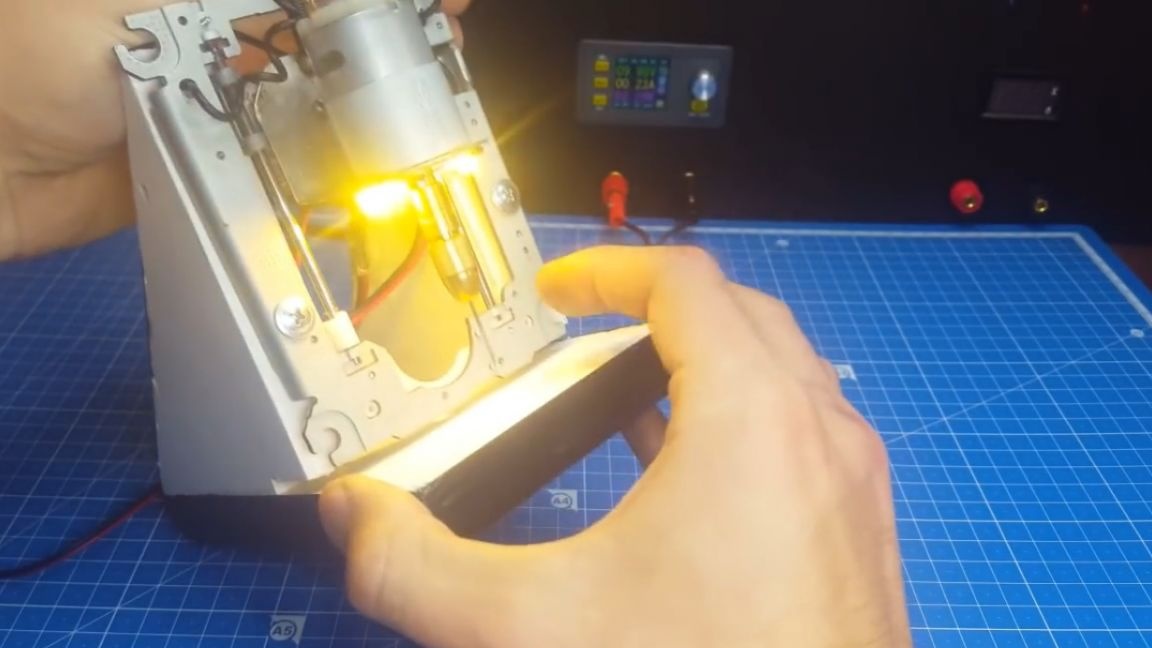
True, when filming the process of drilling a board, the author was expecting shoals. Due to the too bright LEDs, the whole process was not visible.
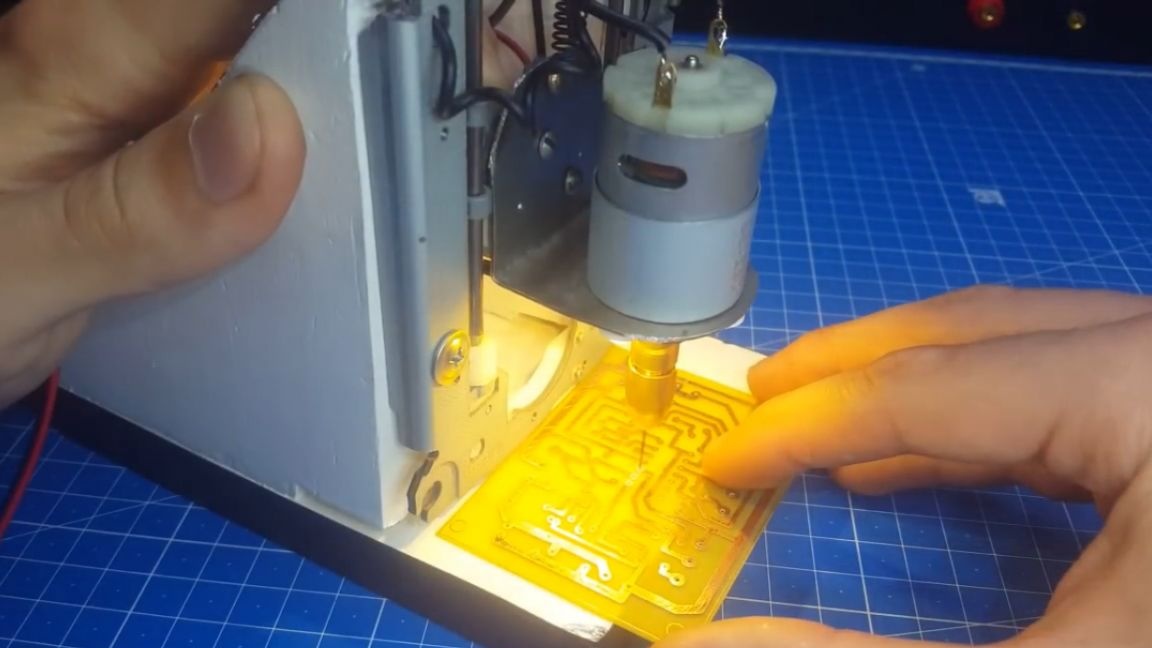
Having tried both this way and that, but normally it didn’t work out. Therefore, the author had to temporarily solder the LEDs, and now you can see the entire drilling process in all its glory.

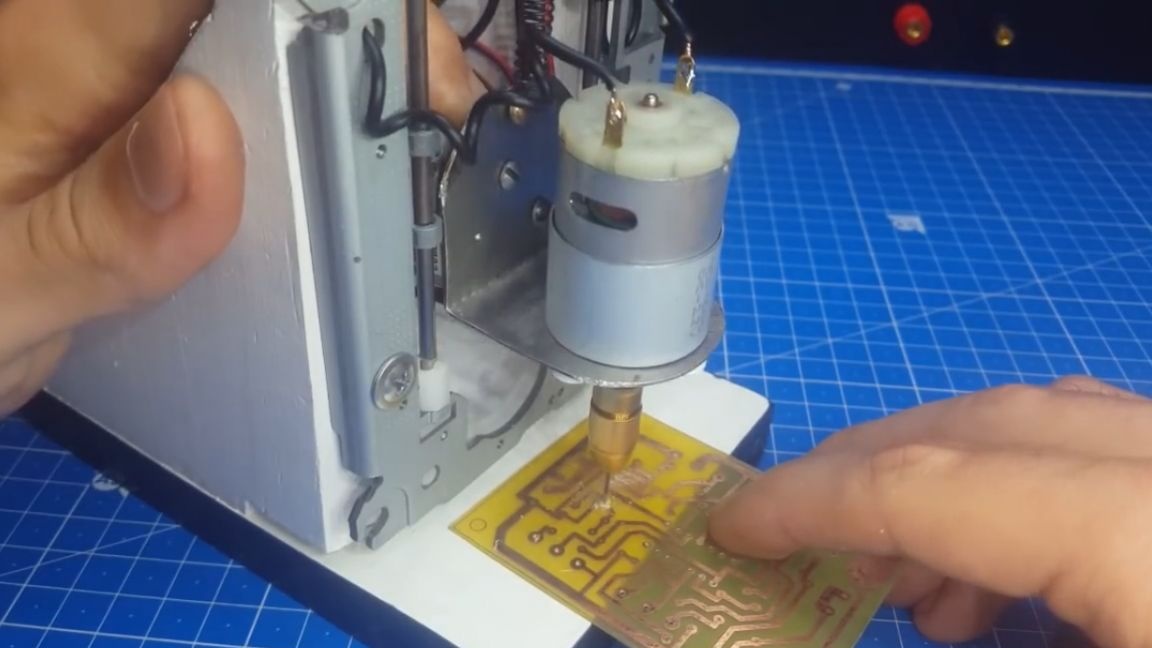
And you can watch this project in more detail by watching this video:
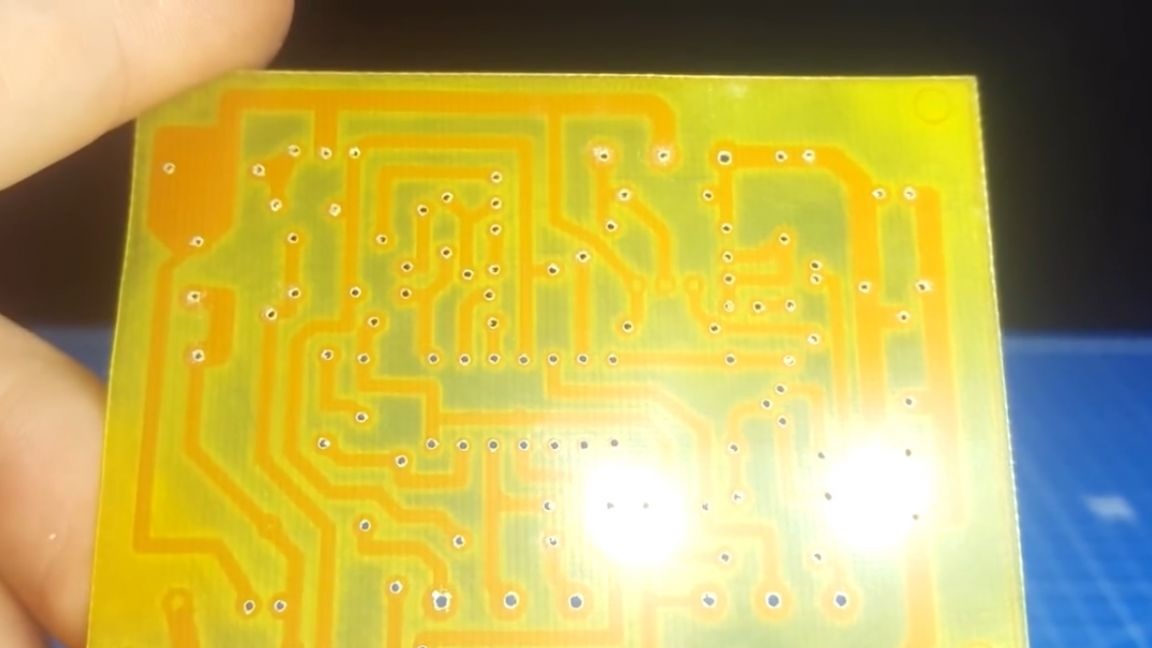
As you can see, the holes are smooth and neat, and this is what we originally wanted. That's all. I think this homemade product will make life easier for many people. Thank you for attention. See you soon!