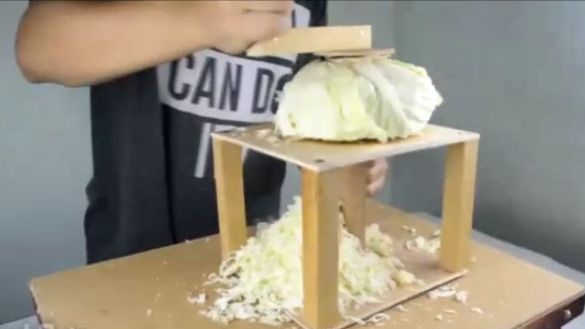
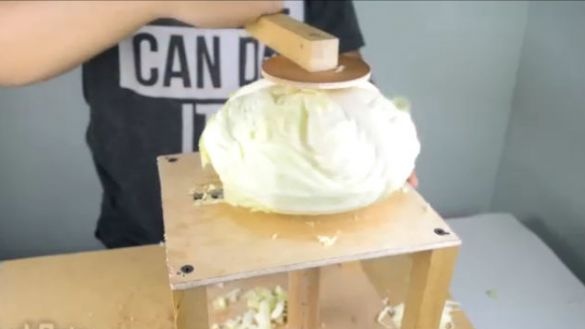
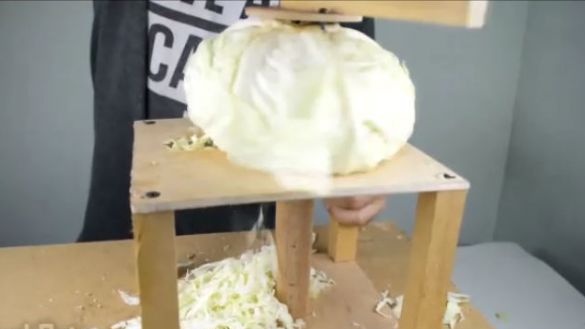
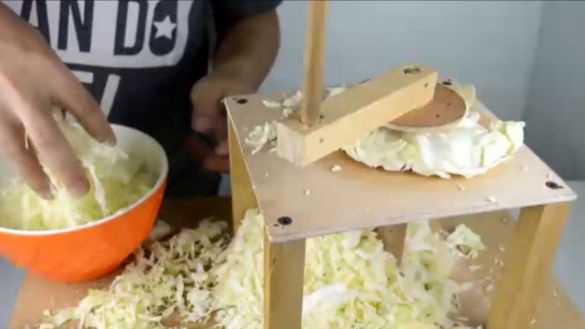
Good day to all dear friends! In today's article, I would like to show you how to make pretty relevant at the moment homemade. So, as the sunset season is in full swing - this is the season when many of us make preparations for the winter from what we grew up in the summer at the cottage. Namely, we will consider how to make a shredder for cabbage. Many of us love sauerkraut and many know how difficult it is to harvest. One of the problems of harvesting cabbage for the winter is its shredding, of course, when you are going to prepare one, two liter cans, you will not have any particular problems with this. But when it comes to ten three-liter cans, then chopping the forks of cabbage will be quite problematic, long and not as neat as it could be with our shredder. This homemade product will have a very simple and primitive design of the parts that are likely to be found in your home, in the country or in the garage. Well, enough of the long introductions, and already begin the assembly of this homemade product. Let's go!
And so, for this homemade product you will need:
- Plywood sheet (1m * 1m).
- Shank from a shovel.
- Wooden block.
- 2pcs round wooden stick (for example, from a wooden clothes hanger).
- Furniture nails.
- Self-tapping screws.
- Blades for clerical knife.
- A couple of goals.
From the tools you will also need:
- Hammer.
- Jigsaw.
- Manual jigsaw.
- Ruler.
- Black helium or capillary pen.
- Drill and drill.
- Screwdrivers.
- Hot melt adhesive.
- Stationery knife.
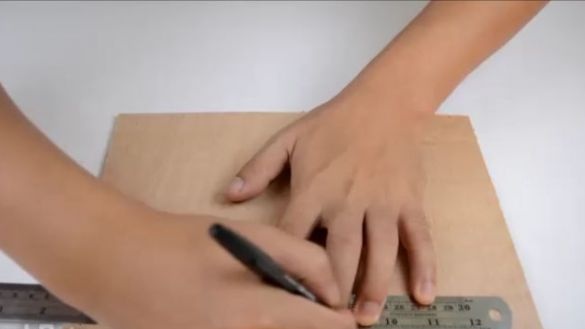
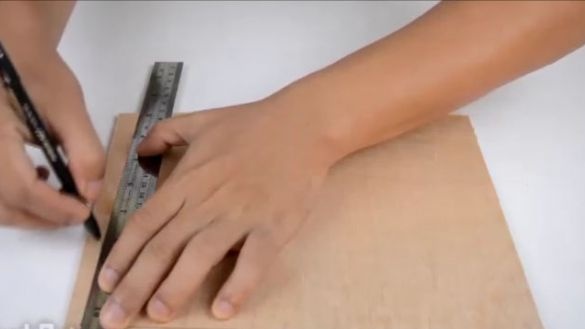
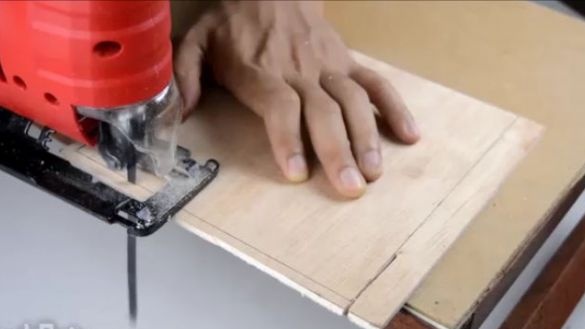
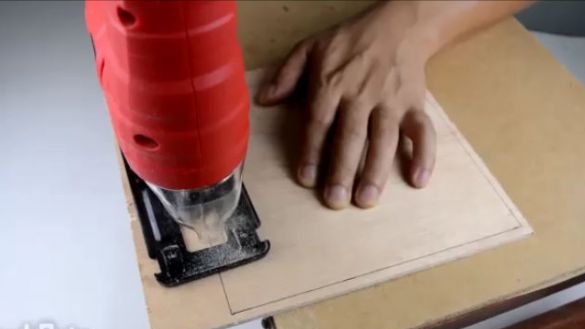
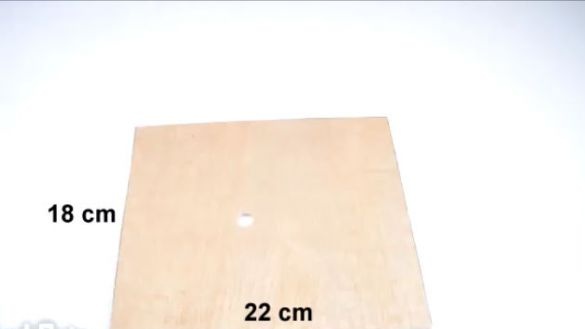
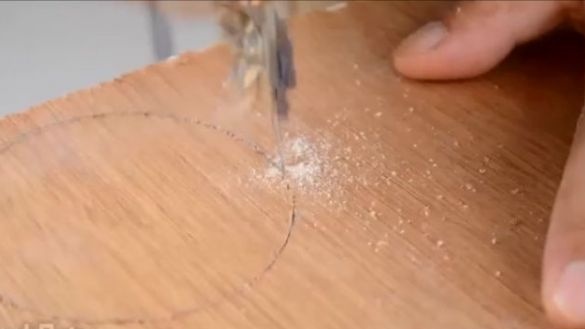
First, take a sheet of plywood, on it we should draw four squares. To do this, we need a black helium or capillary pen (using a pen instead of a marker, you will achieve a finer and more accurate contour) and a ruler. The sides of the four squares must be equal to 18 cm and 22 cm. We will need 2 pieces of such four squares. After drawing with the help of a jigsaw, we cut out our blanks. It should also be noted that on the blanks just made, a hole should be made in the center relative to the upper and lower sides and slightly offset to one of the sides. The diameter of the hole should be equal to the outer diameter of the round stick.
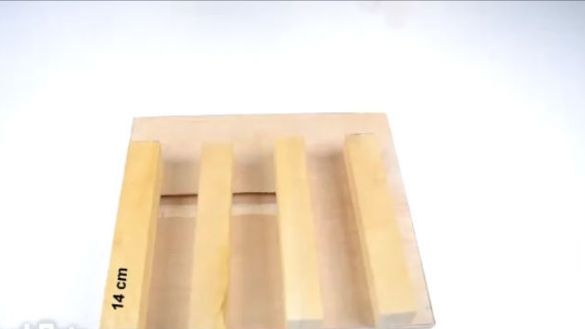
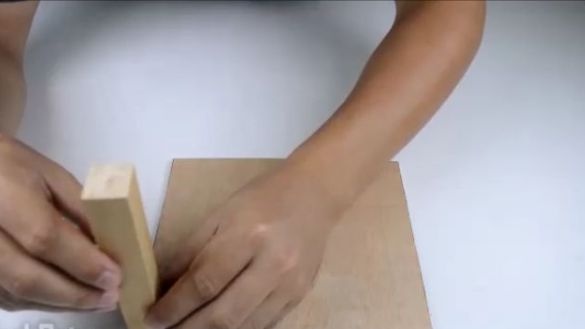
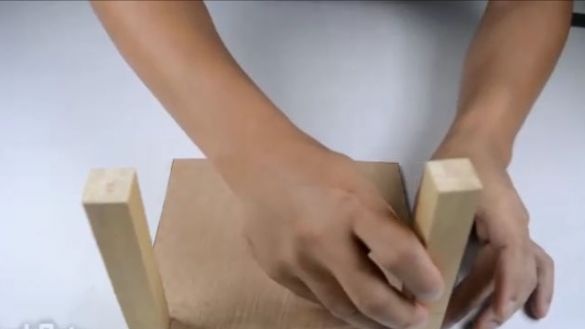
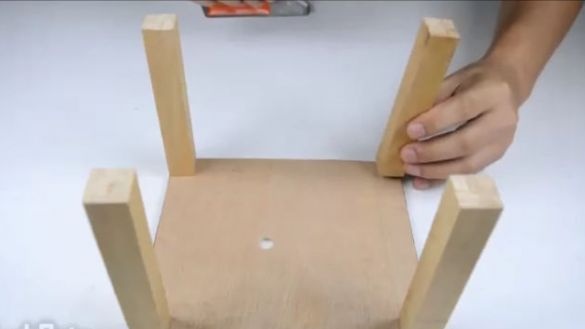
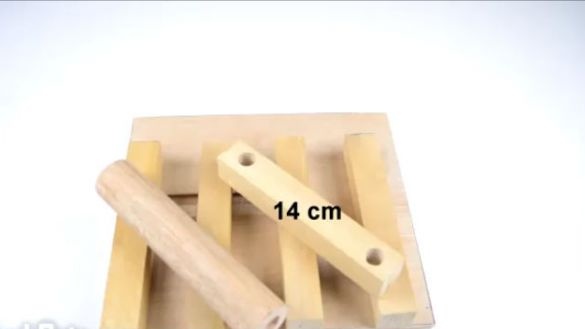
After the above actions, we should do the following actions. Namely, four racks in order to interconnect previously made workpieces.For them, we will need to take a wooden block and use a hacksaw to divide it into four equal parts of 14 cm. After we have made the stands, we will temporarily fix them using hot-melt adhesive, as indicated in the photo below, that is, along the edges Four plywood squares.
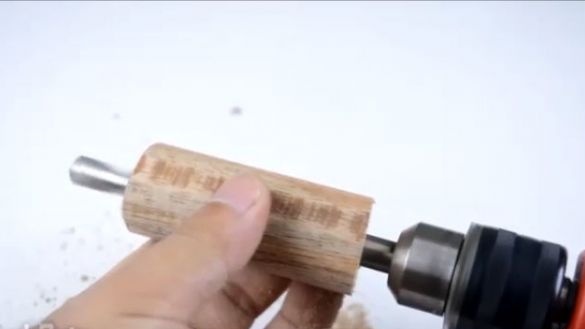
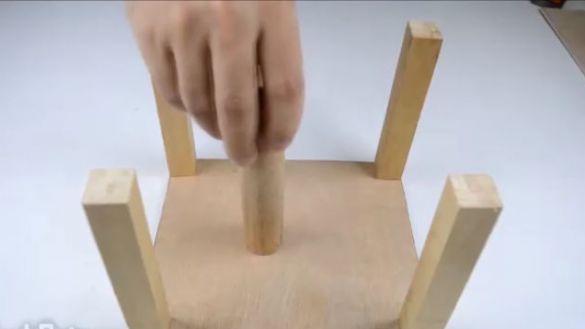
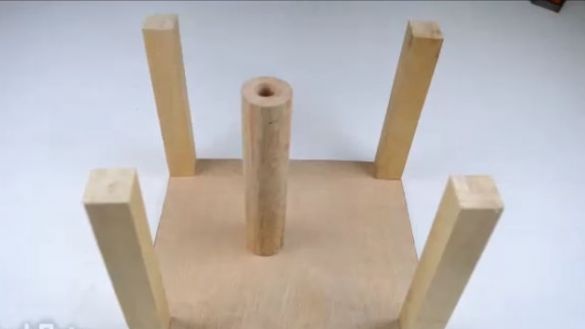
The next step is to take a handle of medium diameter and saw off a cylinder with a height equal to the height of the posts in our case, this is 14 cm. And in the center of this cylinder we make holes whose diameter will be equal to the diameter of the hole made on plywood quadrangles earlier, that is, the diameter of the round wooden stick you took. Next, set the cylinder to the place indicated in the photo so that the holes of the cylinder and the quadrangle coincide. We will fasten using hot melt adhesive.
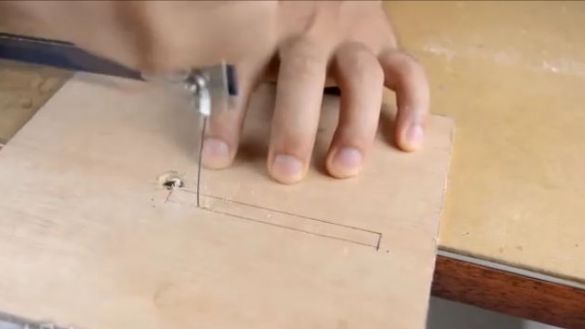
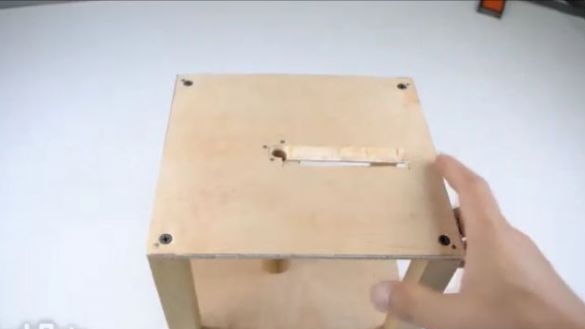
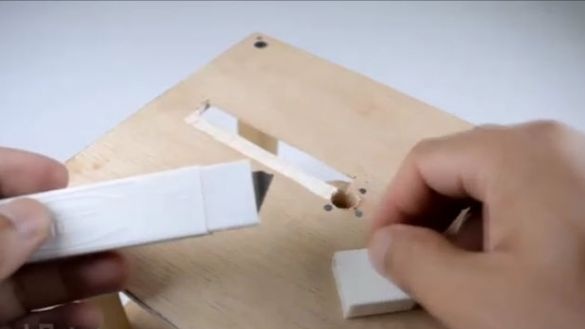
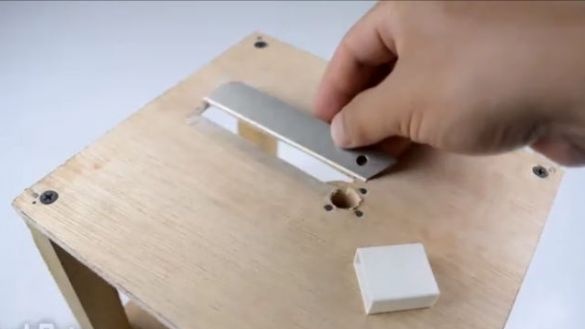
Then we should take and modify the second plywood quadrangle made earlier. Near the previously made hole, draw a rectangle towards the far side, that is, towards the center relative to the sides (see photo). The width of this rectangle should be about 1 cm, and the length should be slightly less than the length of the blades you took for the stationery knife.
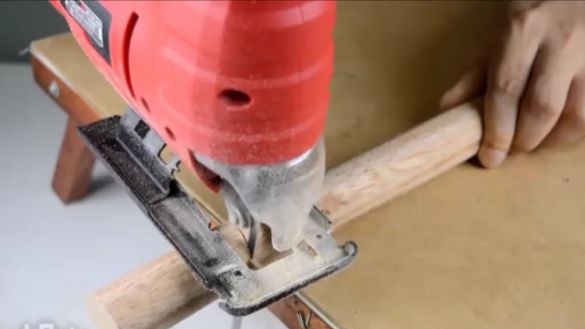
We cut it out, it should be cut out with a hand jigsaw exactly along the drawn outline. And with the help of a clerical knife, we mow one of the sides of just that done rectangular hole (see photo).
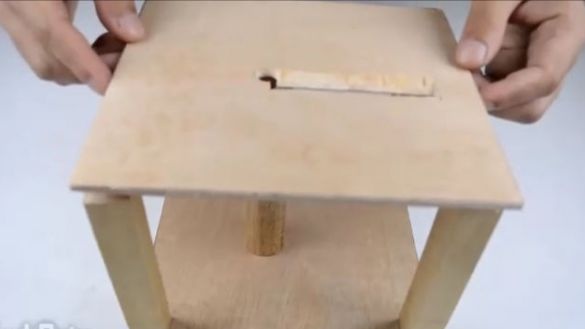
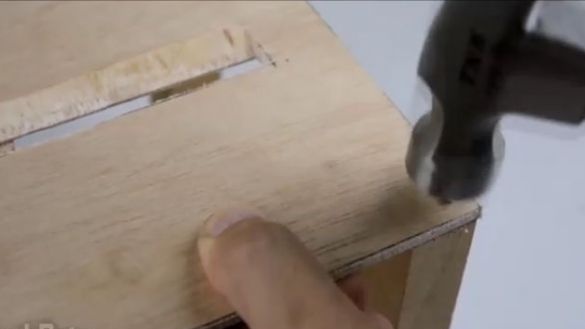
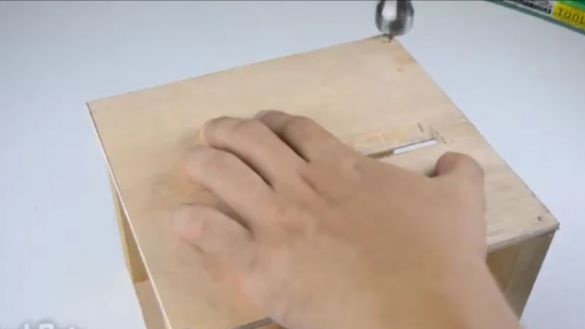
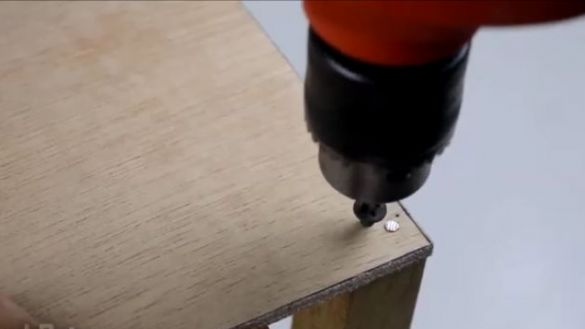
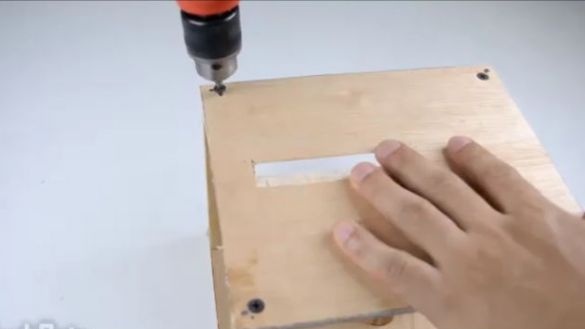
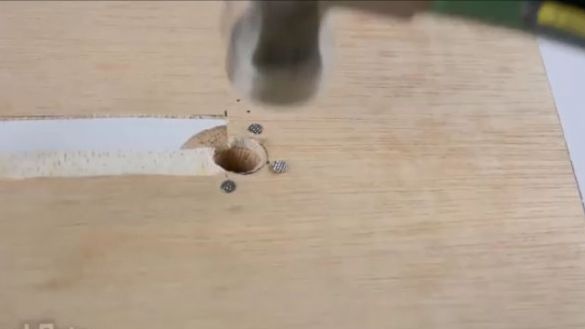
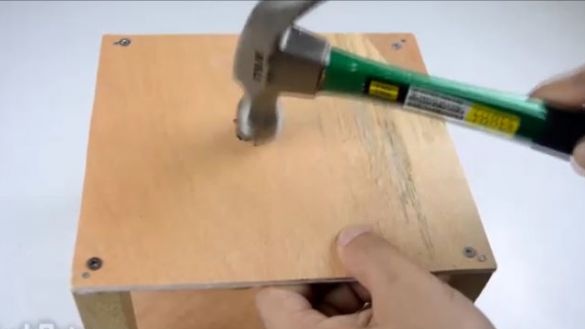
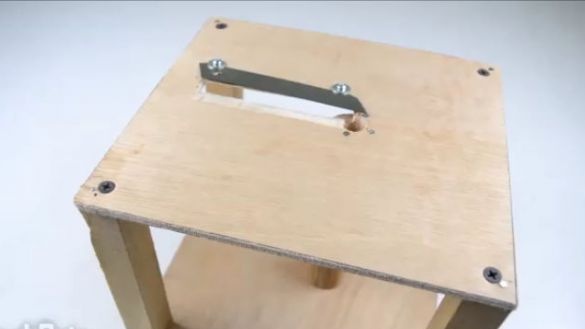
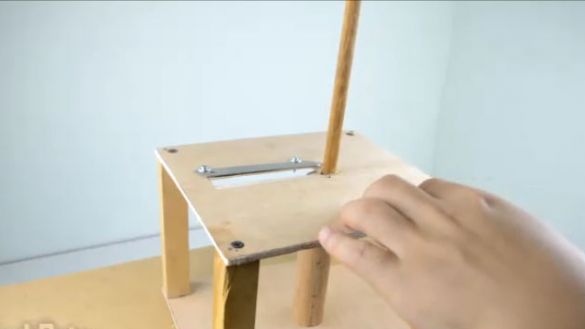
We finalize the four squares with the previously completed workpiece using hot-melt adhesive. Then we knock together the entire structure with furniture nails and twist it with wood screws. This will give us the strength and reliability of the structure.
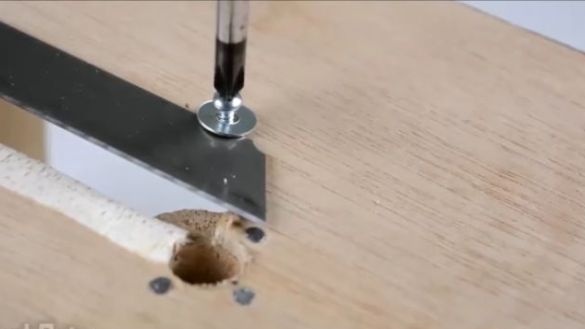
Next, we need a blade from a clerical knife. The blade should be fixed in the place indicated in the photo (see below). In order for the blade to hold firmly, it should be secured using self-tapping screws through metal washers.
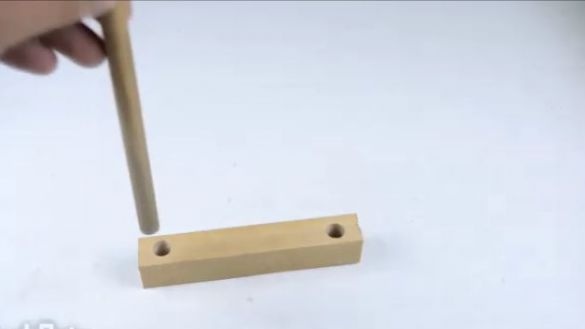
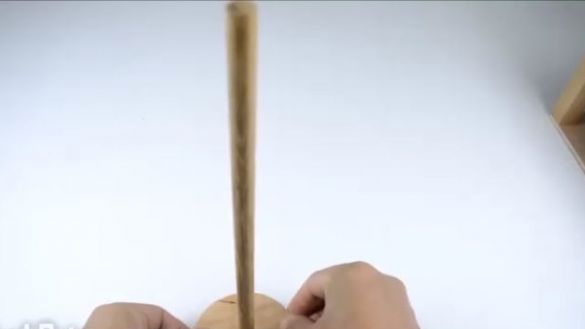
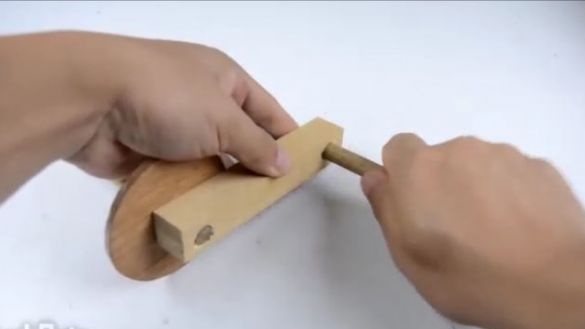
Next, we will make the next blank, on which cabbage will rotate. To do this, cut a 14 cm length from a small block of a little smaller than the size of the racks and at the edges as drilled through holes, the diameter of which will be equal to the outer diameter of the round stick. Insert a round stick into one of the holes made.
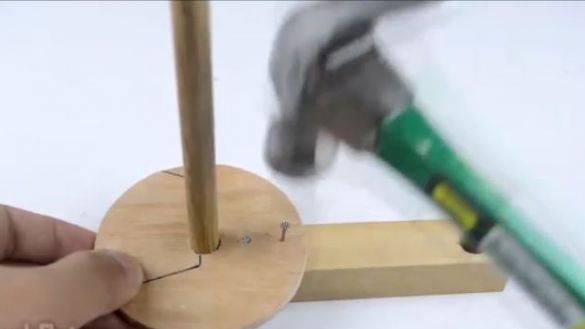
Then we cut out a circle of plywood with a diameter of 5-6 cm with a hole in the center, and the diameter of the hole in the center should be equal to the diameter of a round stick. This part will serve as a large wooden washer. And set it in place, as indicated in the photo. In order for the plywood washer not to rotate, but to sit tightly and not movably in its place, we strengthen the connection with a pair of furniture nails.
And in the second hole we insert a round stick about 14 cm long, it will act as a handle, for which we will hold on and rotate the cabbage around its axis.
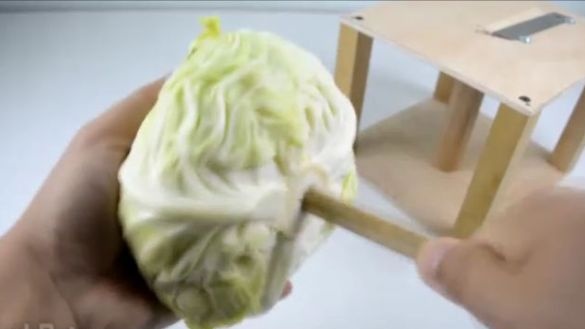
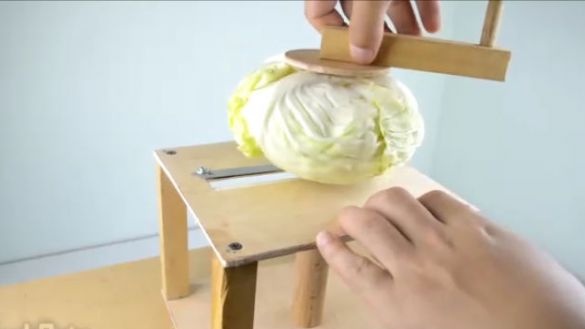
All is ready! It remains only to test, for this we string a head of cabbage on the axis of the "handle", put it in place and rotate the swing of cabbage clockwise until it ends. As a result, we got a very simple and useful design, which is probably useful for harvesting cabbage for the winter.
Here is a detailed video from the author with a detailed assembly and testing of this homemade product:
Thank you all for your attention and good luck in future projects, friends!

