
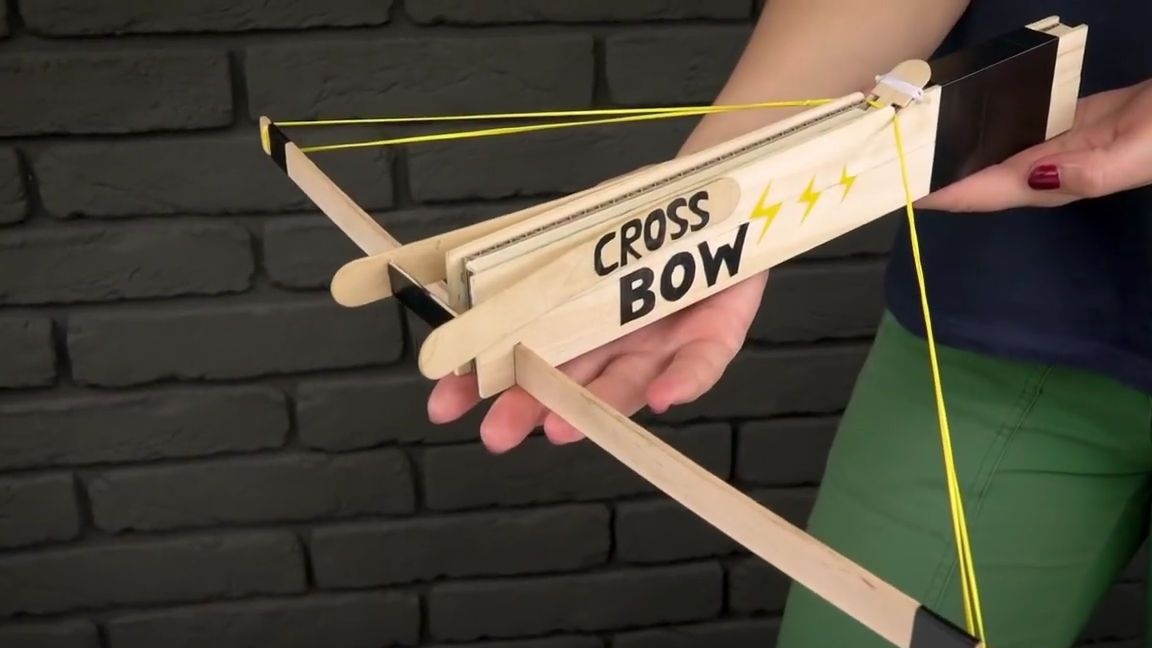
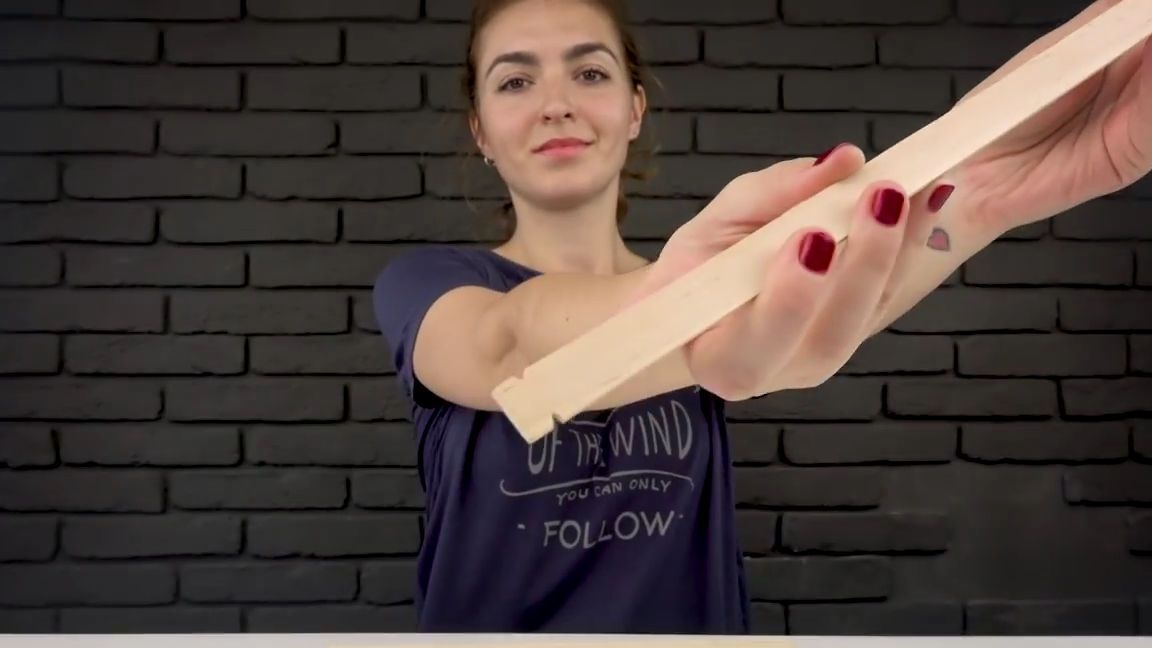
Good day to all dear friends! In today's article, together with you I would like to consider a very interesting homemade. This homemade product is perfect for leisure activities and just for lovers of easy modeling. In general, today we will consider how to make a simple crossbow from wooden rulers and corrugated cardboard. By the way, the homemade product is very simple and I think almost everyone can do it.
Well, let's not pull with a long introduction, we drove.
And so, for a simple crossbow made of corrugated cardboard and other materials, we need:
-corrugated cardboard
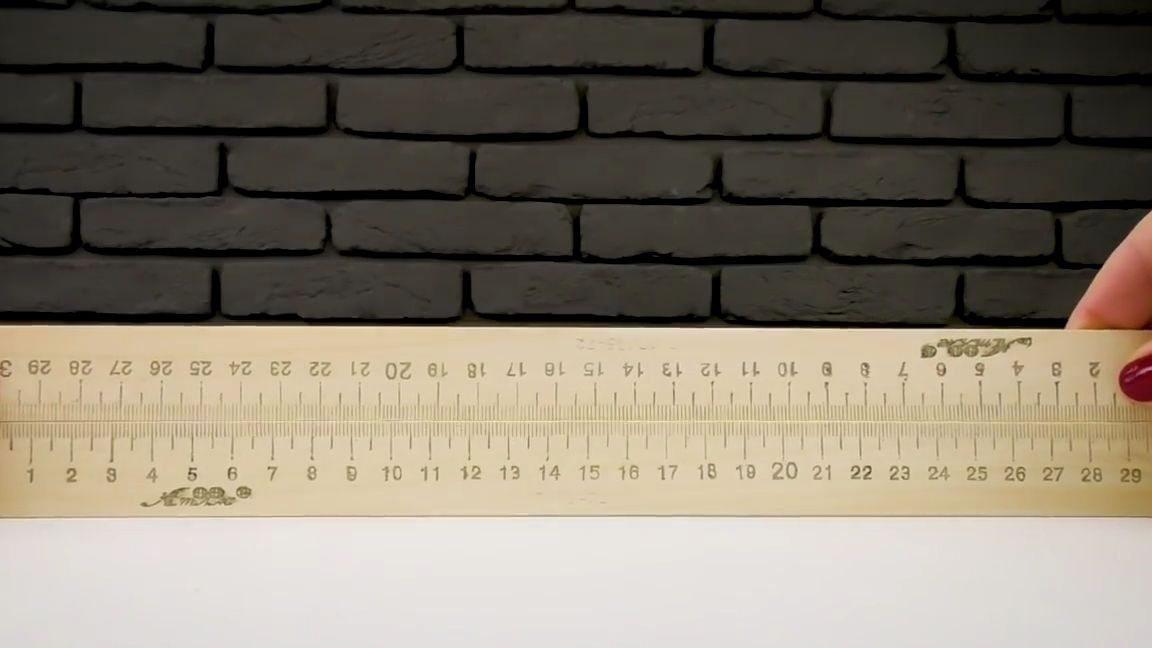
- four long wooden rulers of equal length (it is best to use 30 centimeters)
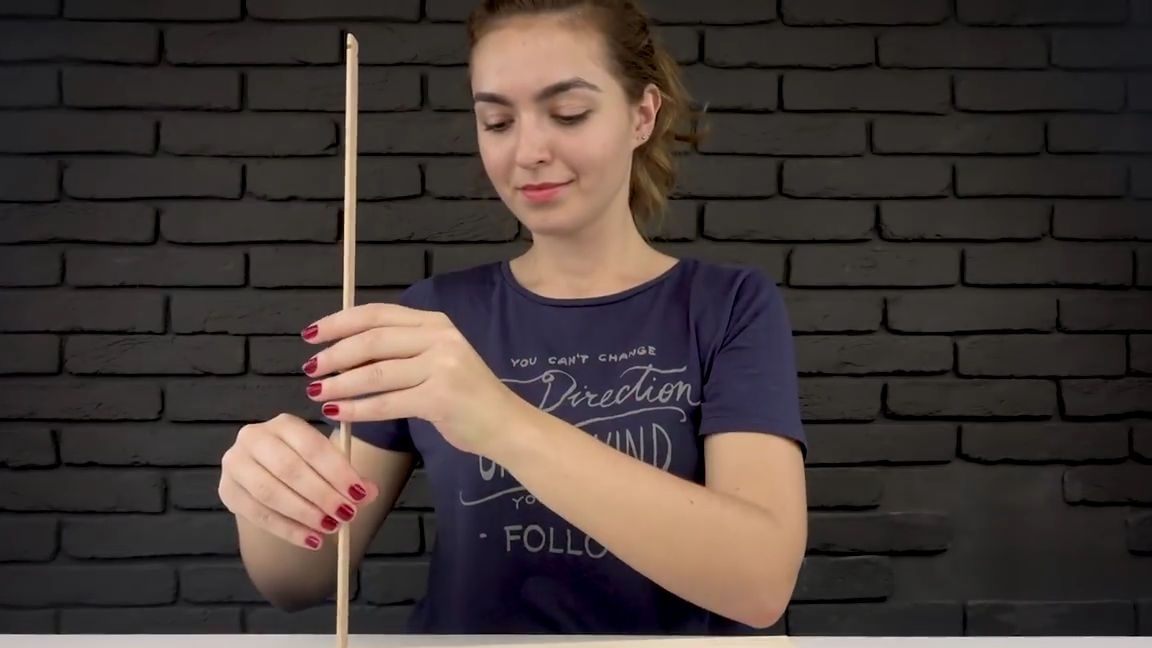
- not a thick wooden slat (approximately as thick as a ruler, in length, slightly more than rulers)
-Two or more stationery erasers
barbecue skewers
- unusual, not very thick threads
- several wooden spatulas
-insulating tape
Of the tools we will also need:
nippers
line
-pencil
hotmelt
super end
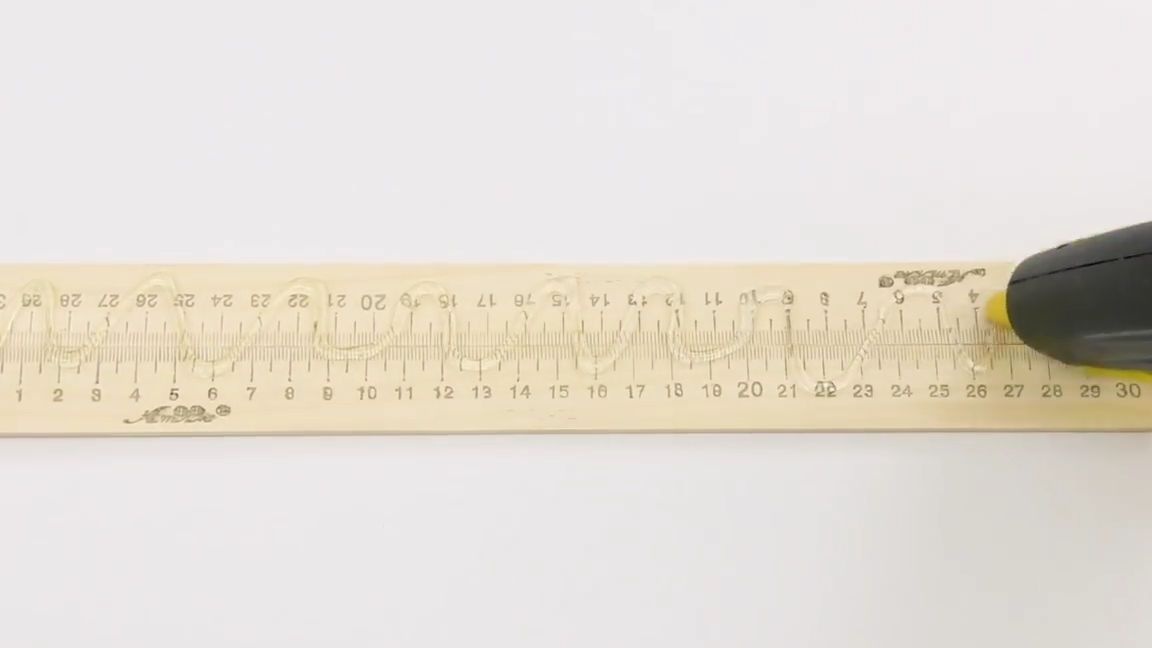
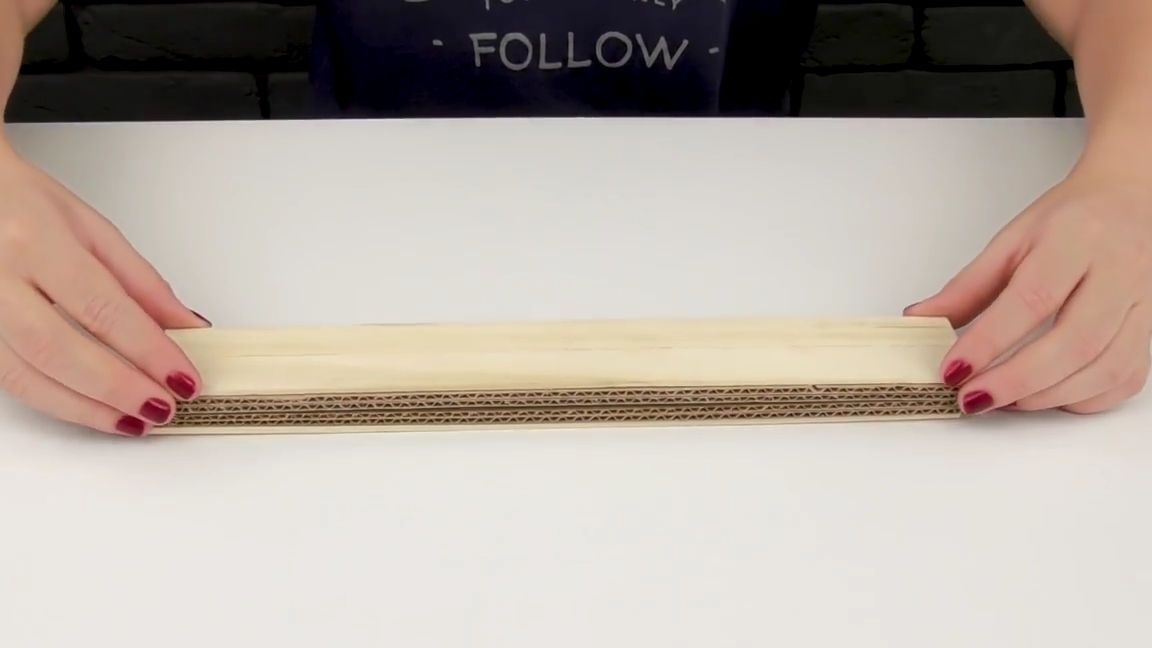
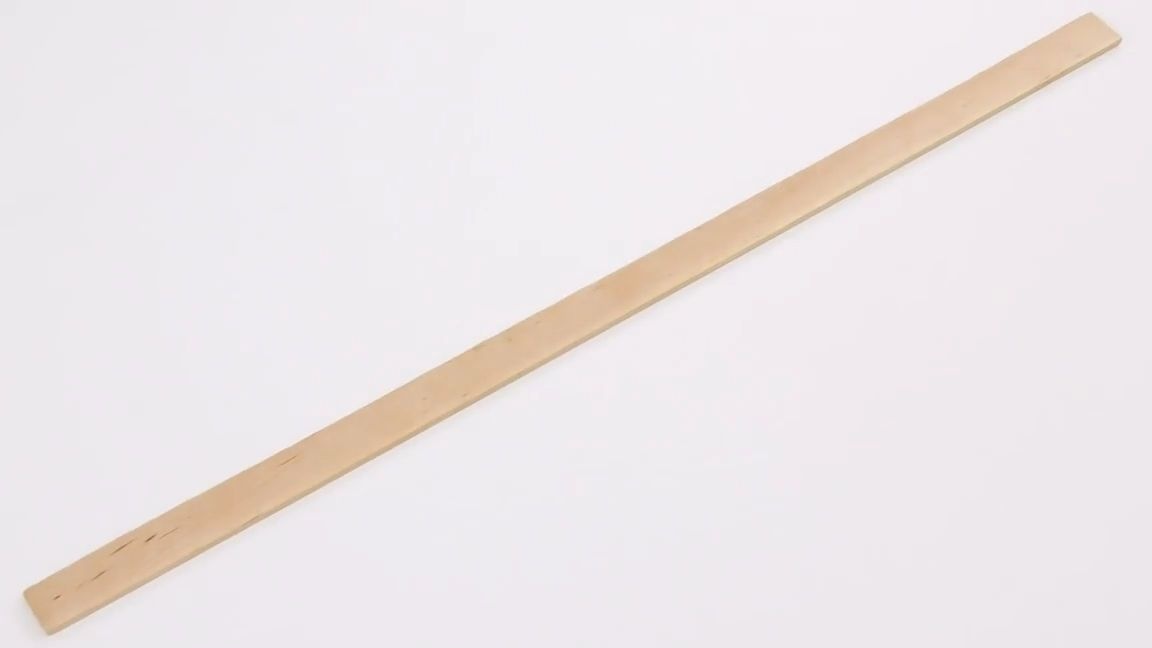
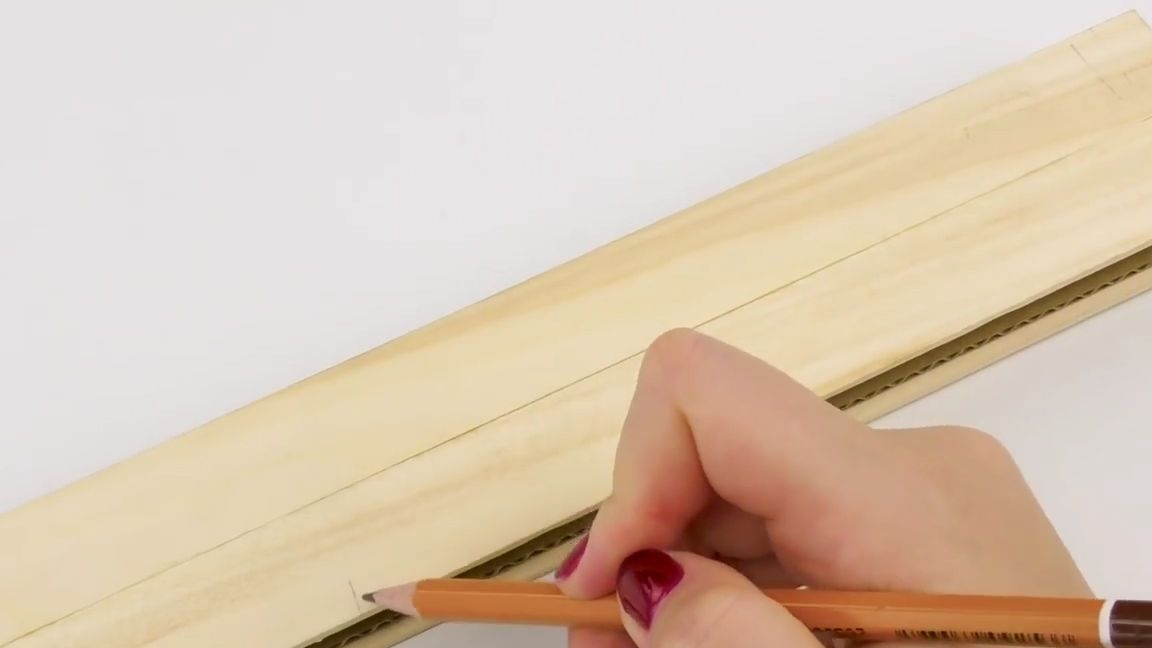
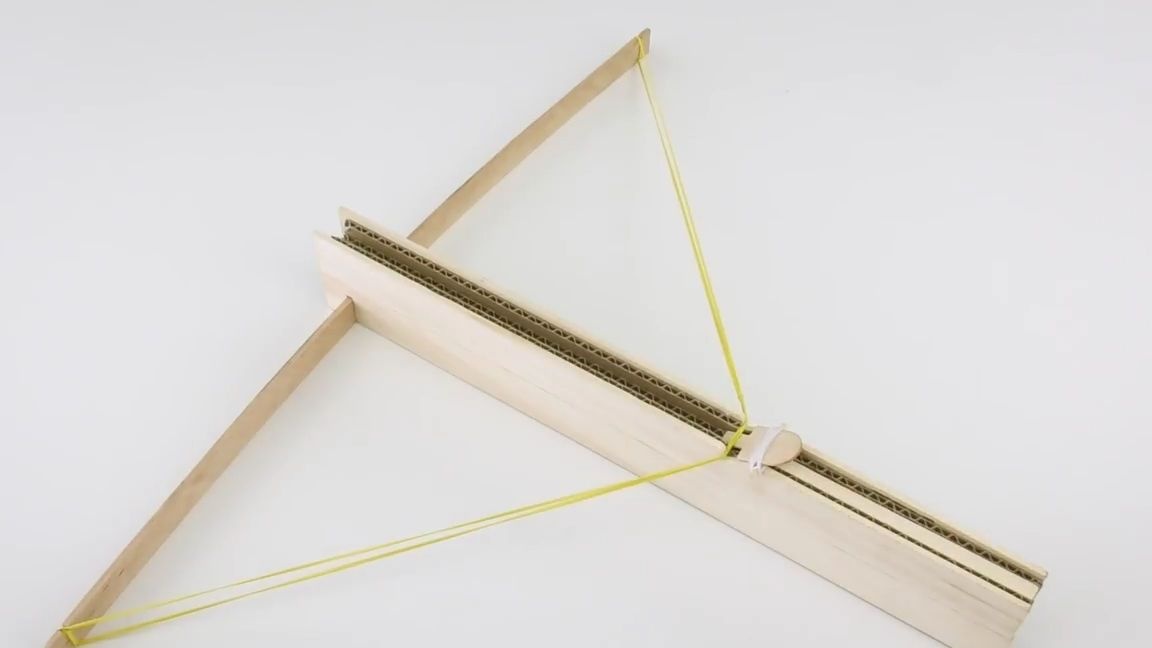
The first step is to take two long wooden rulers and connect them together as evenly as possible. It is necessary to connect on the sides, that is, the junction will be the thinnest side of the line. It is necessary to connect using super glue, after gluing two rulers, you can once again go to the joints with the same super glue, for reliability.
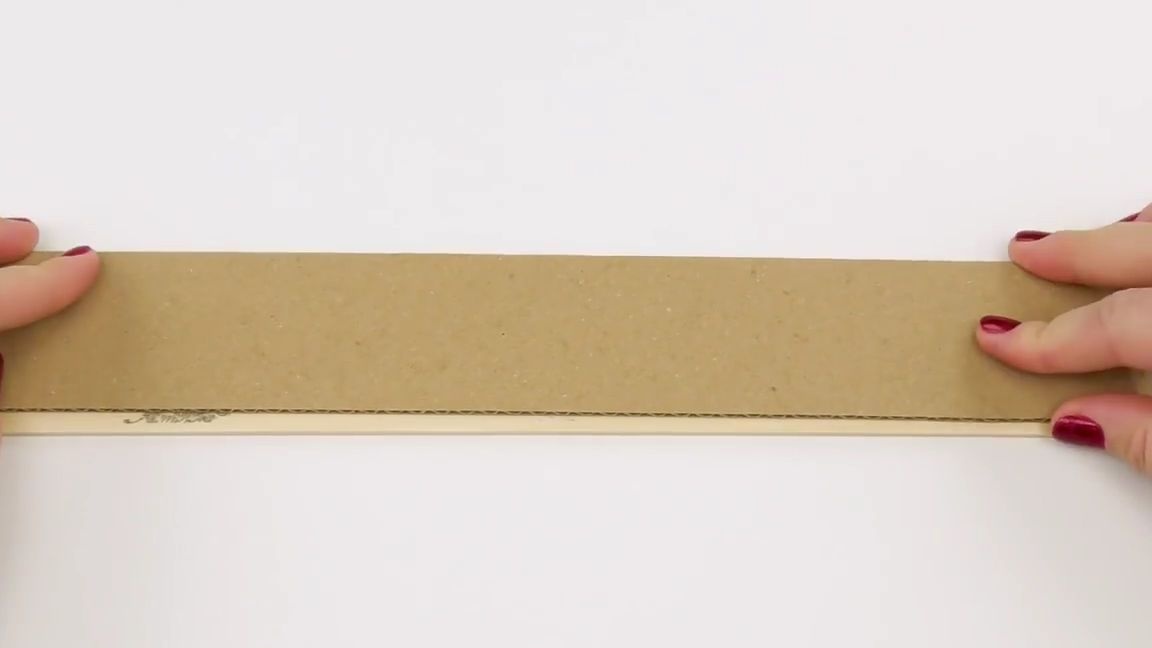
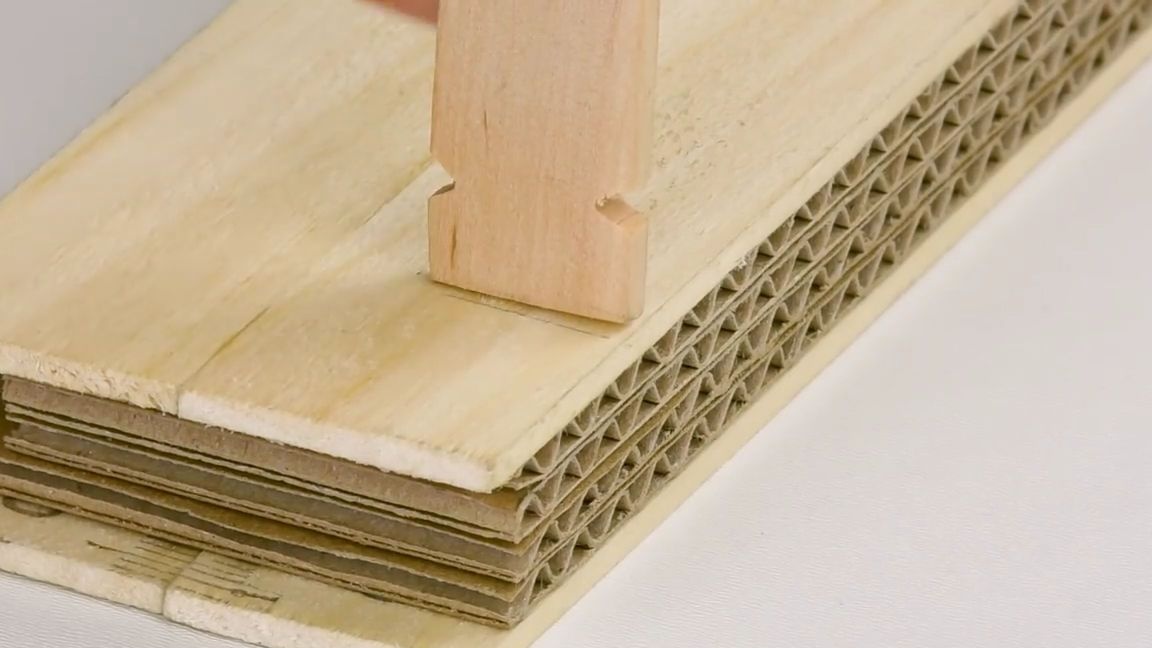
From the corrugated cardboard we cut a rectangle, in length it should approximately coincide with the rulers, but in height should be slightly less, literally half a centimeter.
Apply a little hot glue to the blank from the rulers and glue the cardboard part as shown in the photo below.
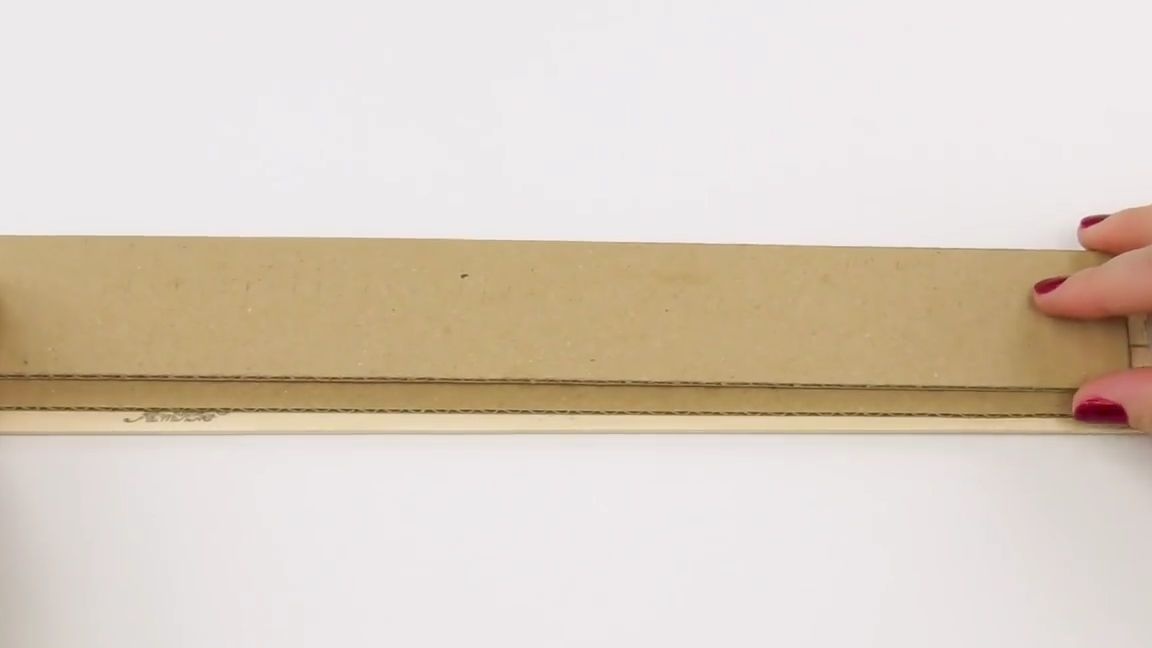
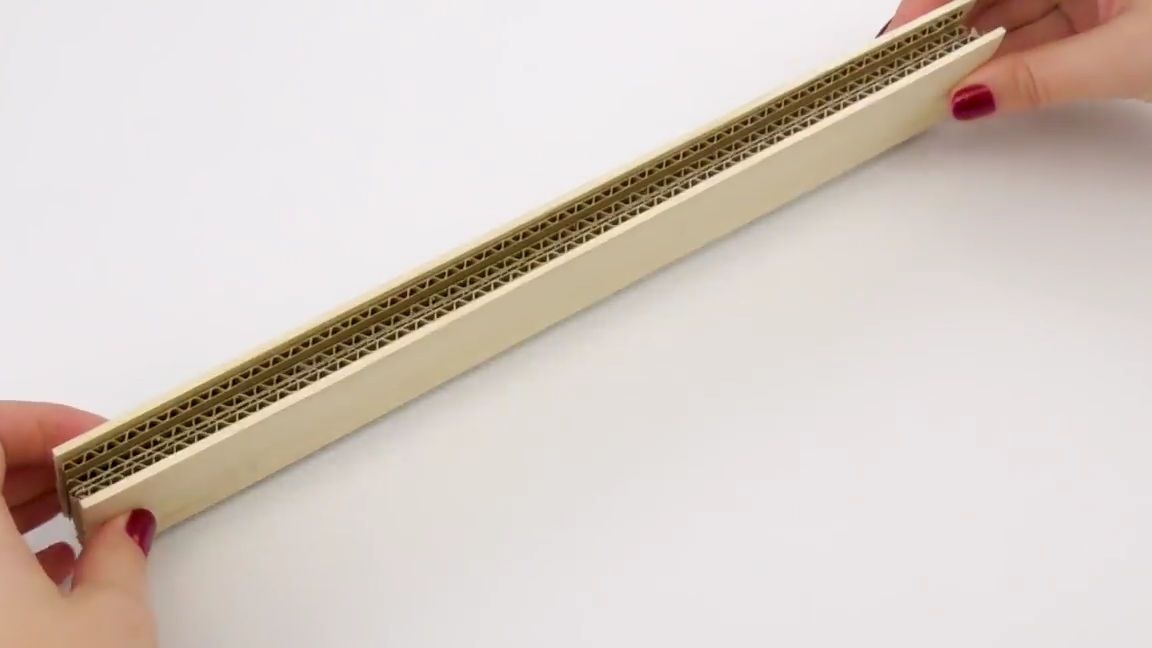
All of the same corrugated cardboard we cut out another cardboard rectangle, now even lower than the first, but the same in length. It must also be glued with hot melt adhesive to the entire workpiece.
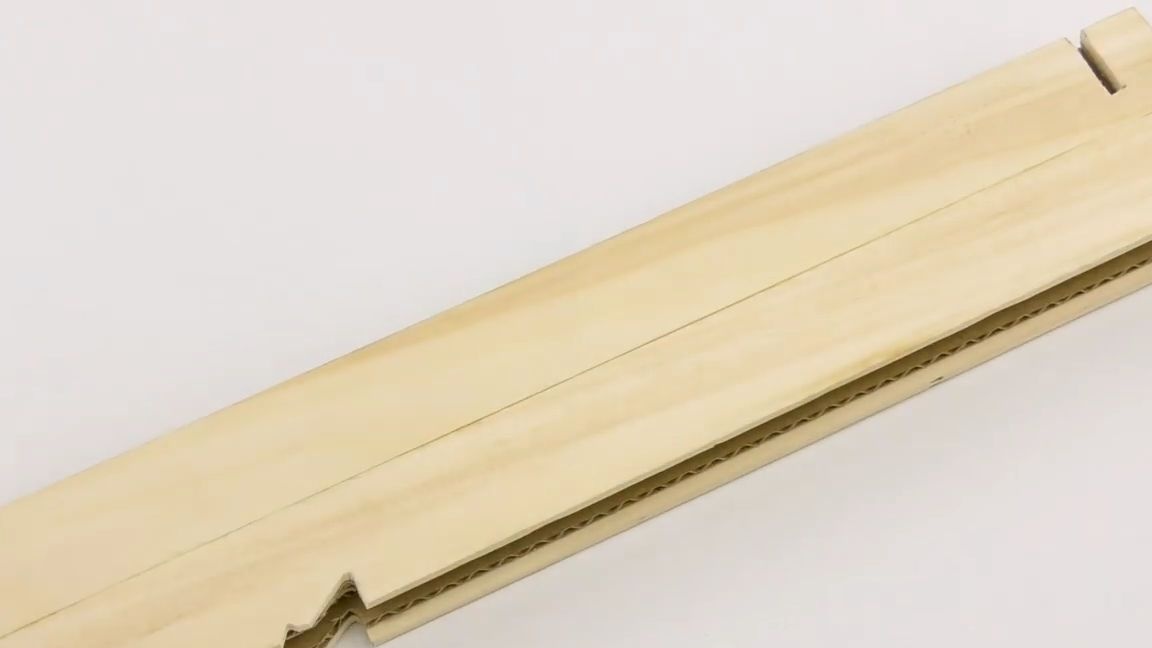
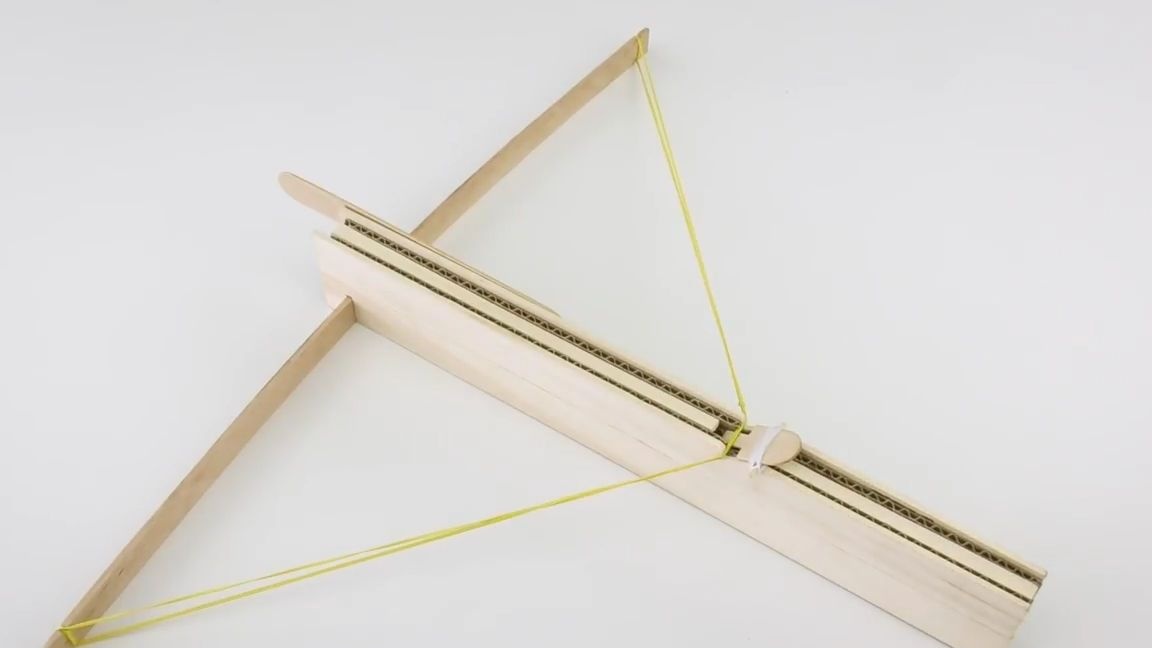
Now we need to repeat all the actions that we did earlier, but in a mirror order, that is, first we glue the smallest cardboard rectangle, then a larger cardboard rectangle, and then we already make another blank from the rulers and glue it to the very top of the whole designs. Everything should turn out as in the photo below (also on the upper side of the workpiece, a groove should be obtained for the “arrow”, that is, a small depression):
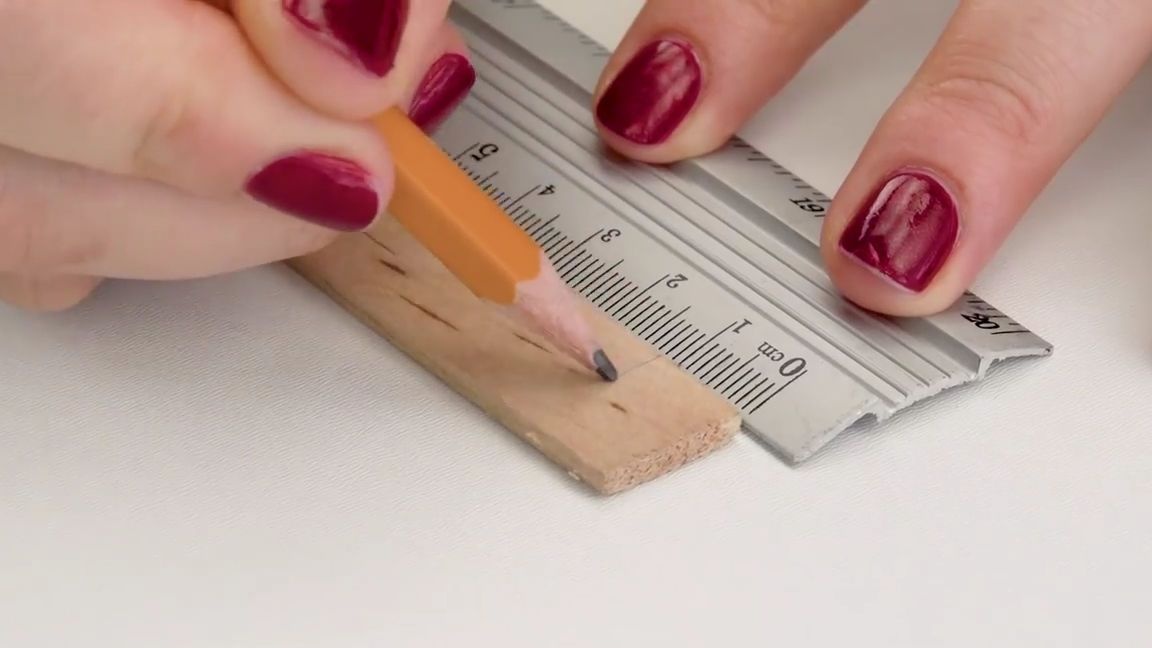
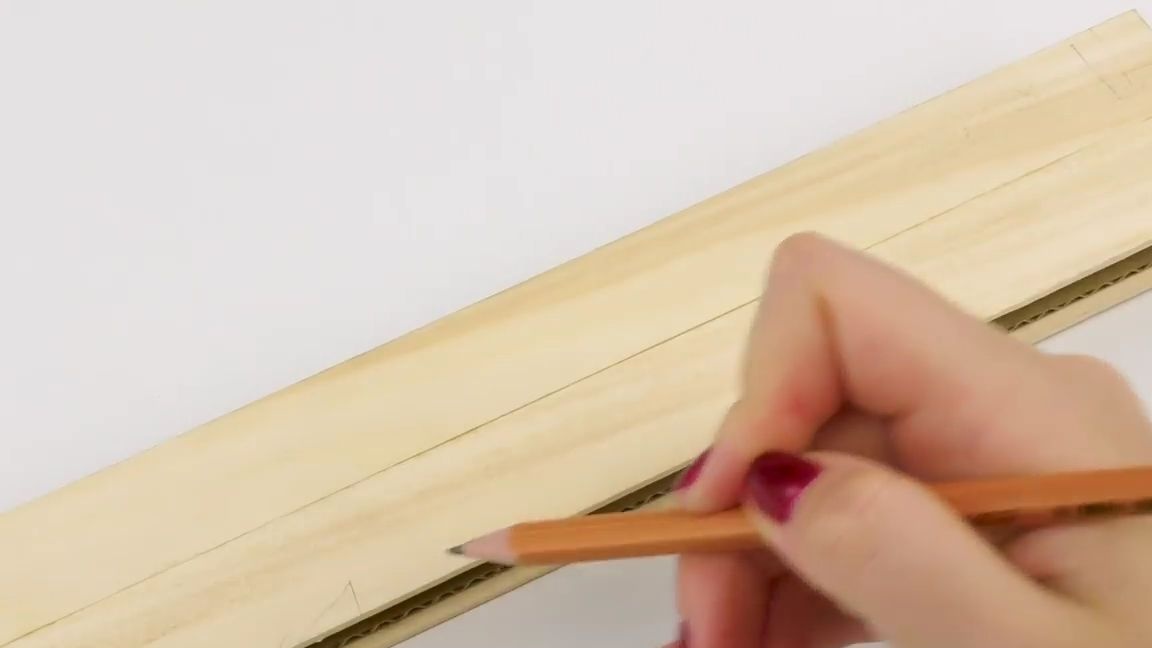
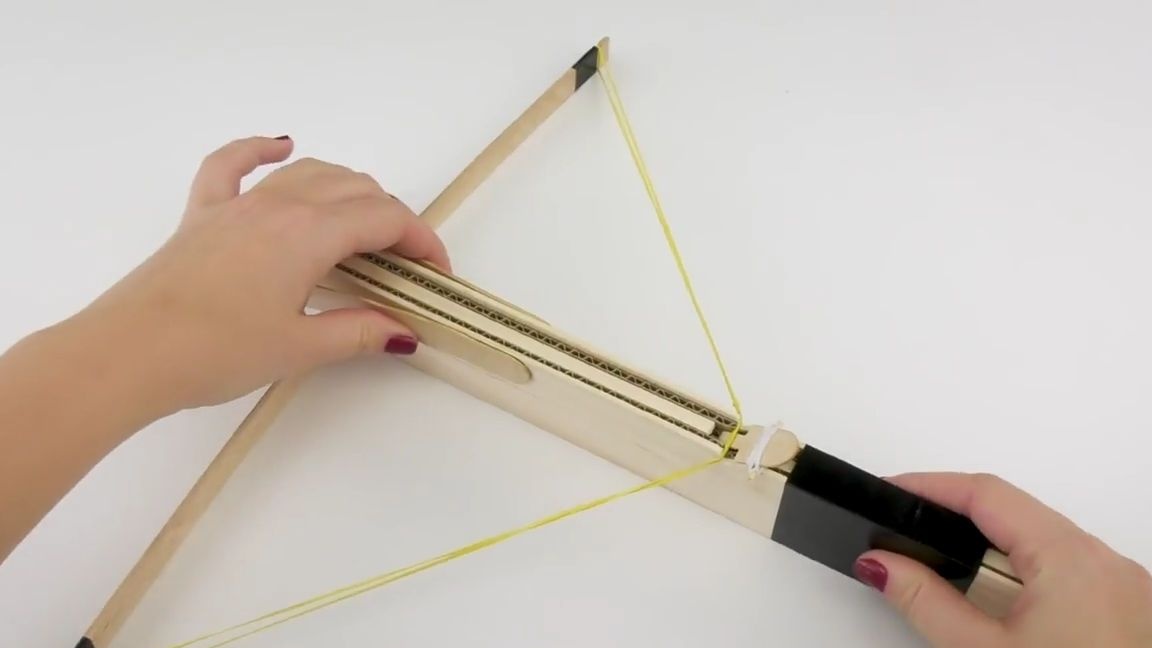
Take a small wooden small rack and use a regular ruler and a pencil to make two marks, opposite each other. Such marks must be made on both sides of the rack. Then cut out two small grooves, at these marks. By the way, the rack is best taken of medium thickness, because if you take a thin one, it will break due to the elastic bands, and of course you can take too thick, but it will not be very convenient, the main thing is that it does not break. It should turn out exactly the same as in the photo below:
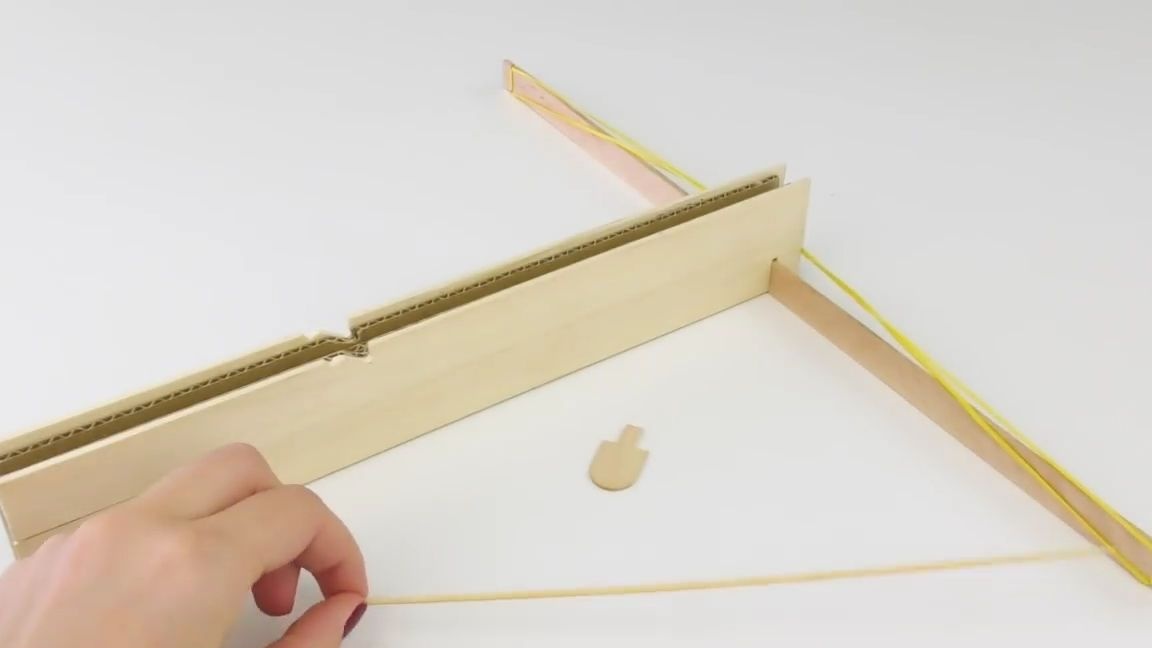
We substitute the previous workpiece to the base of the crossbow and mark the place where the rack will be located, then make several marks based on the design and cut it out. It is quite difficult and long to explain which marks you need to make, so it’s much easier and more visual to see how to do this in the photo below:
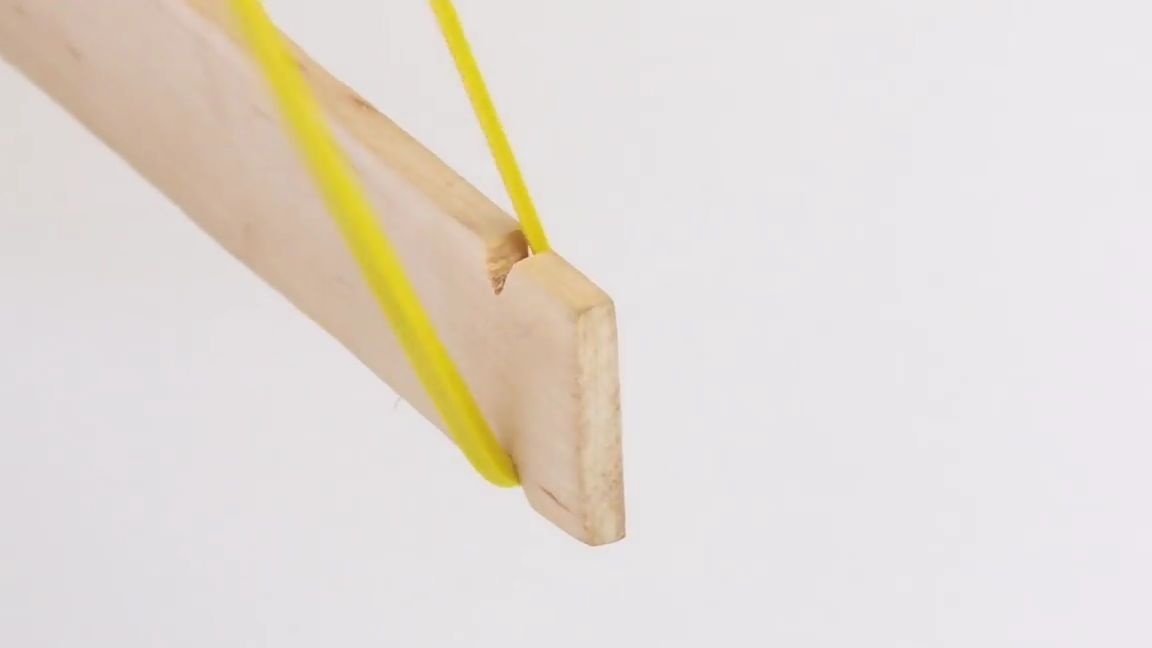
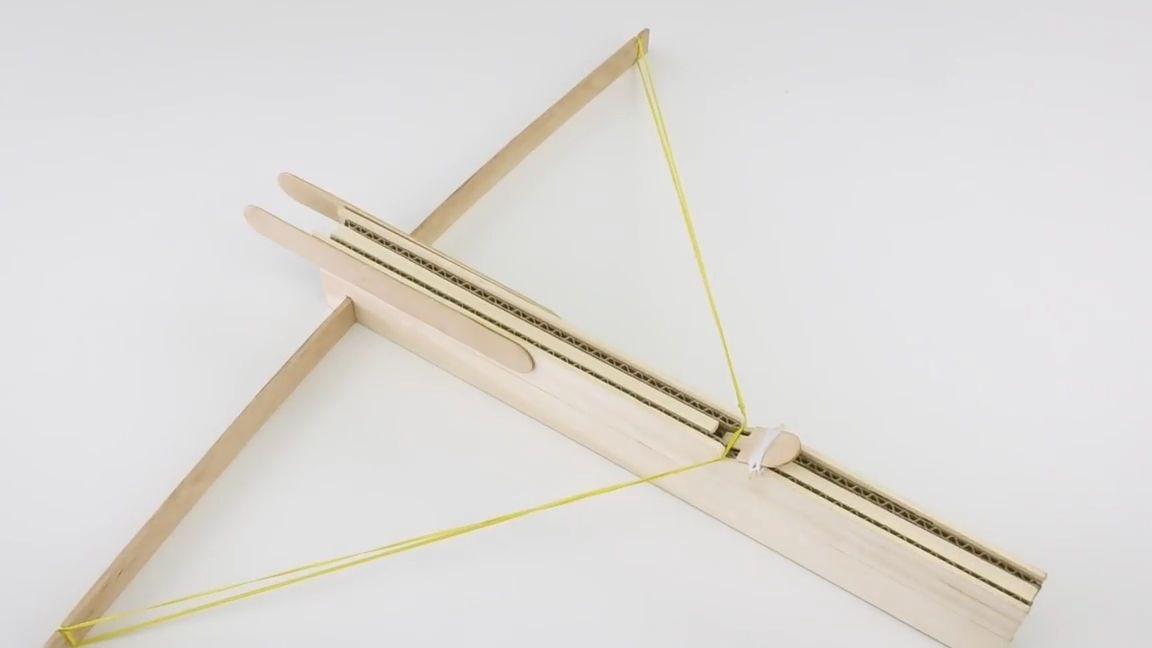
We insert a wooden slit with slots into the groove, which was cut earlier and fixed with super glue. You need to install the rack exactly in the center.
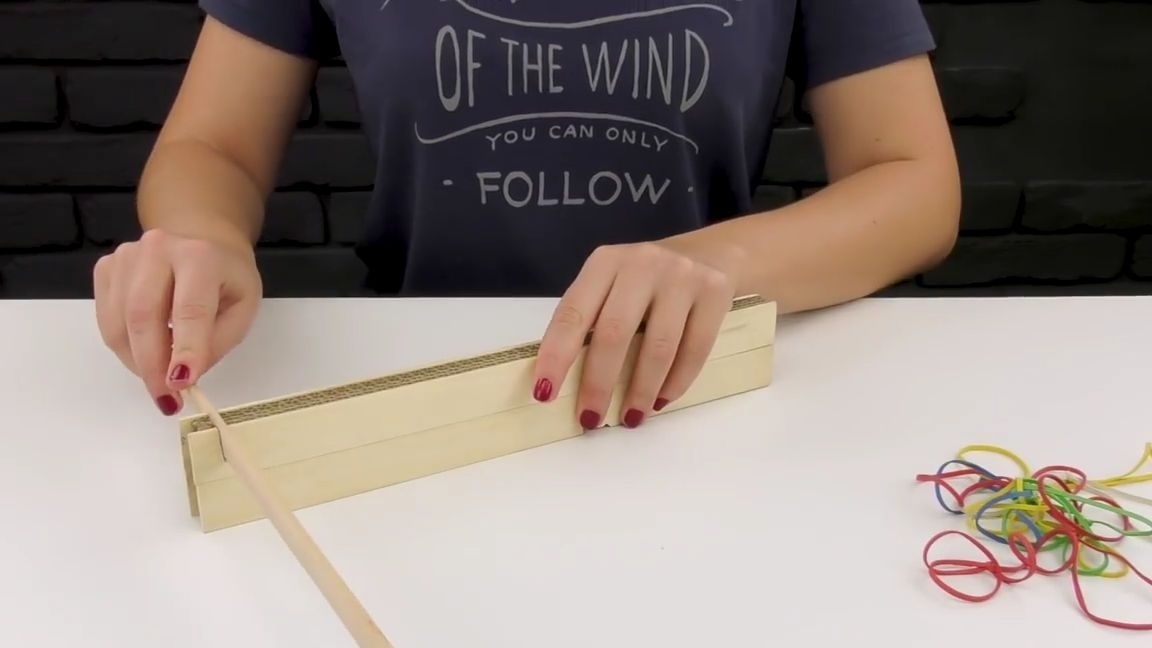
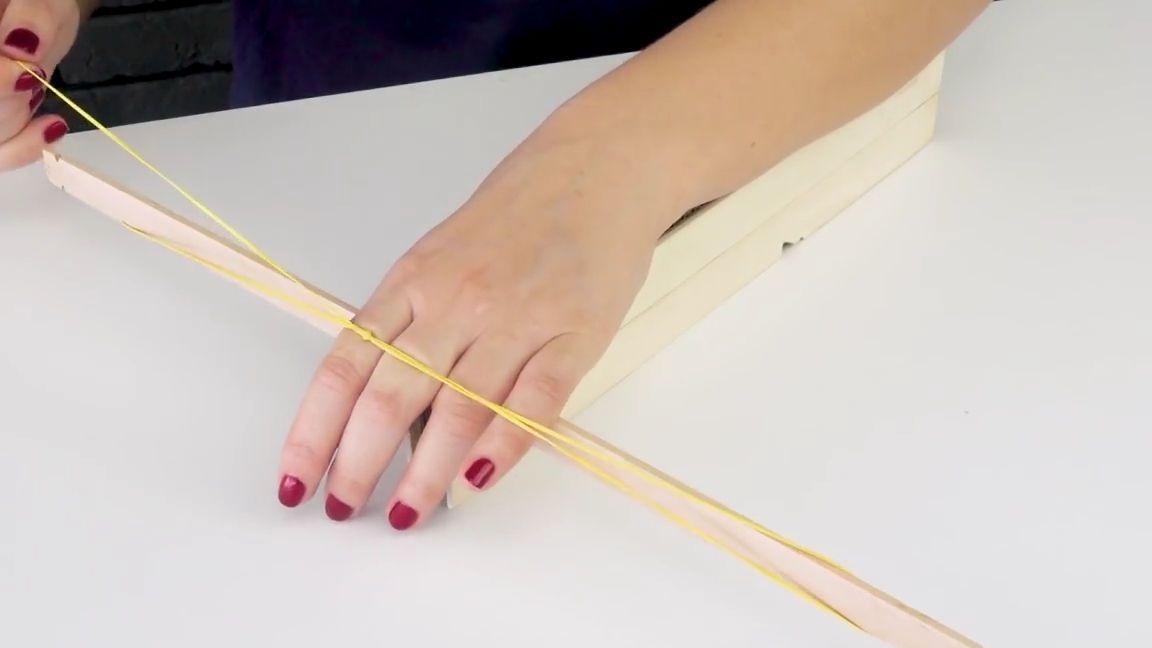
We put on a slot in a special way two connected, office gum. In the photo it is not very clear how to do this, but in the video the author of the homemade product showed it very well:
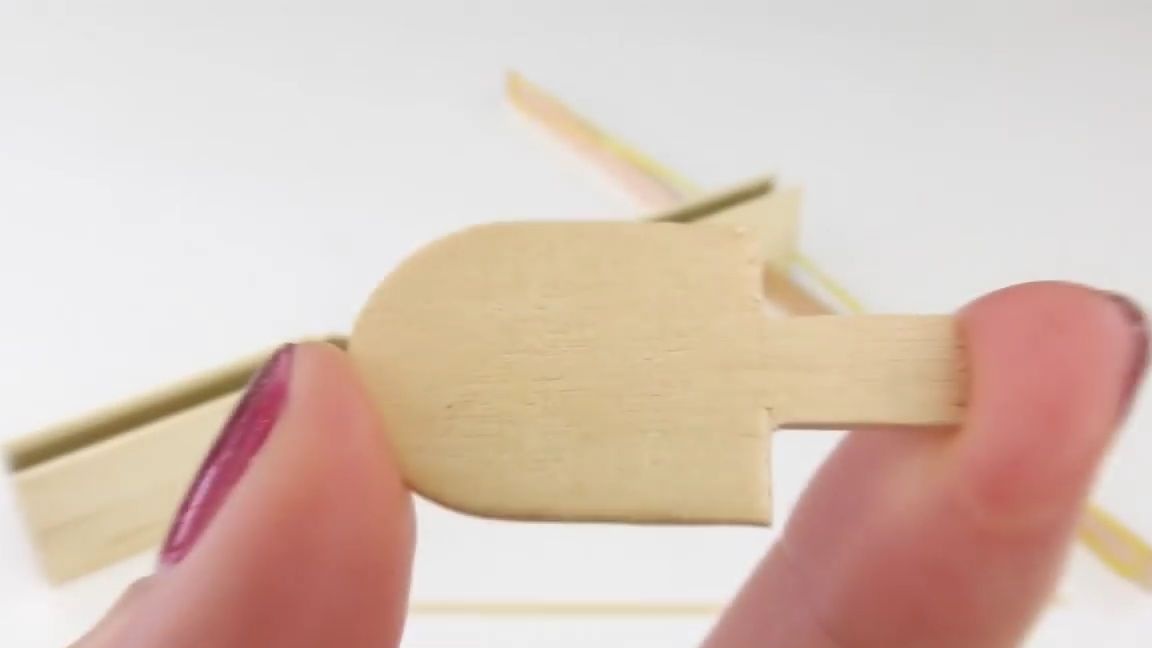
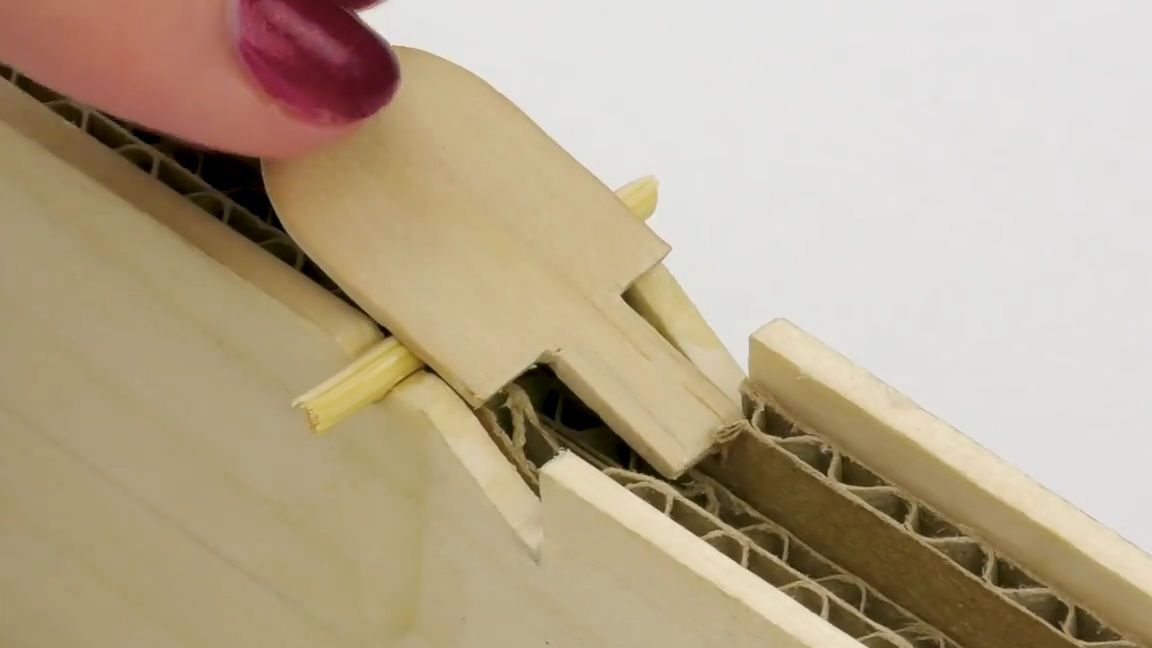
Take a wooden spatula and a pencil. At the end of the spatula, draw a few marks. We cut or saw out the workpiece, as you can see, it should turn out in the form of a kind of spatula. This will be a detail of the crossbow trigger.
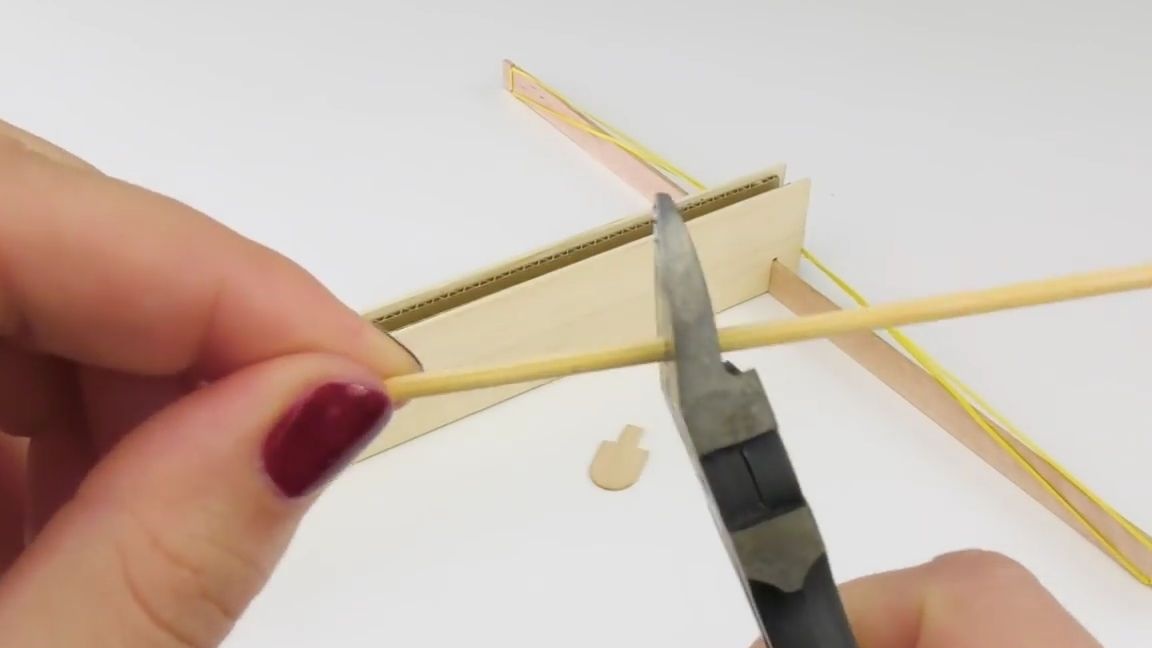
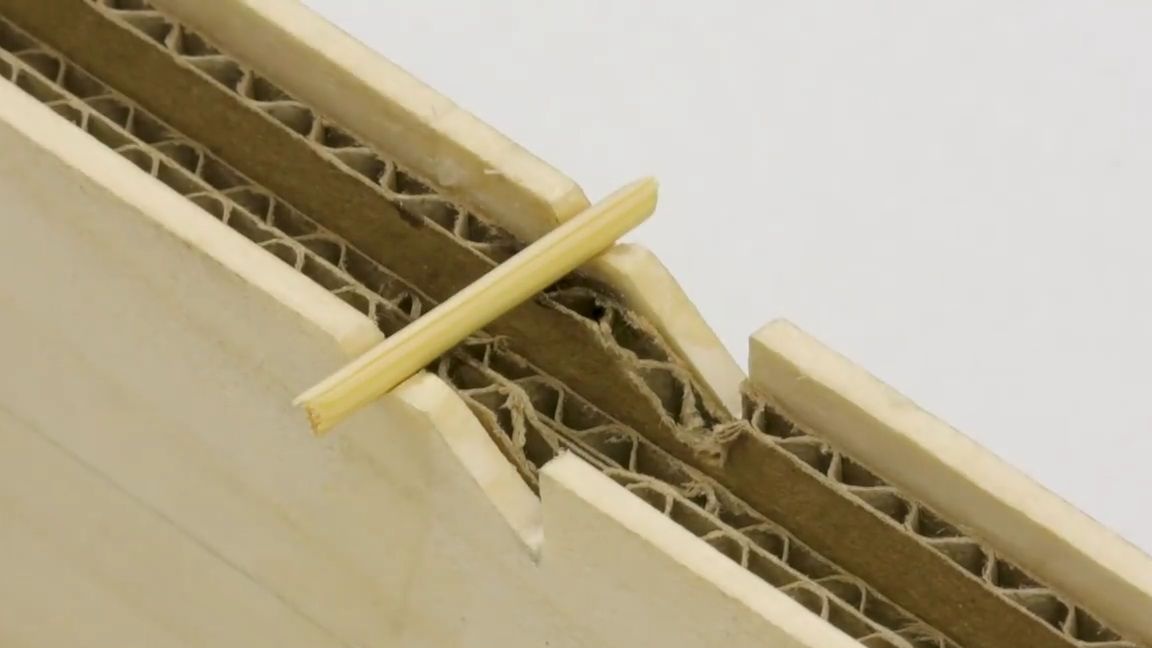
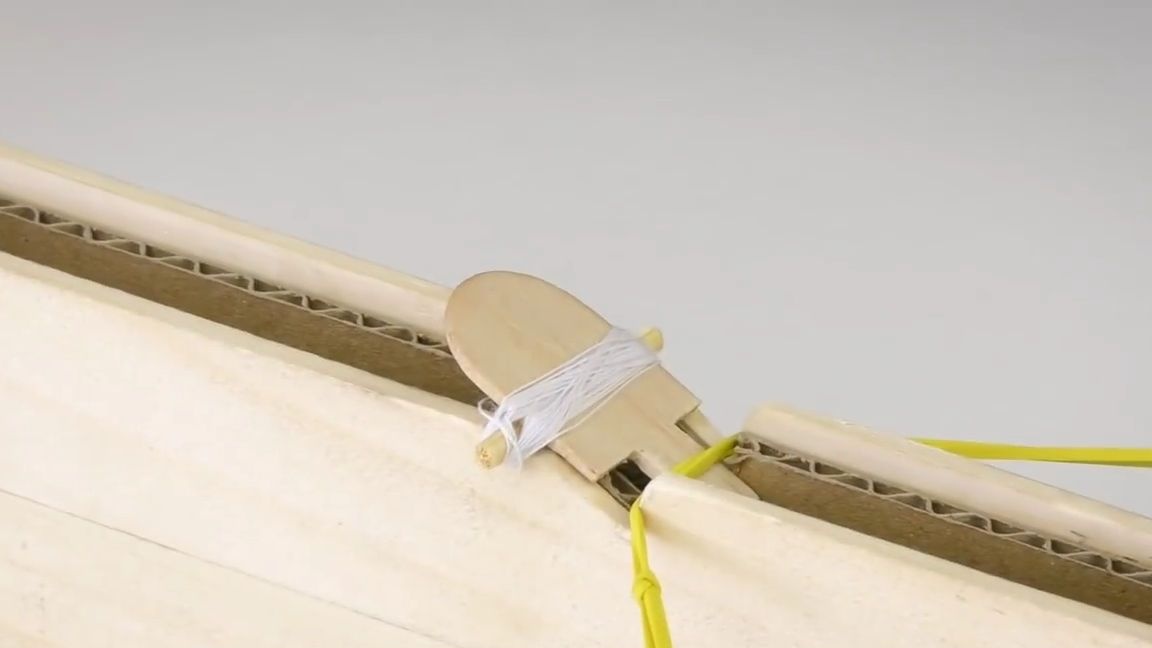
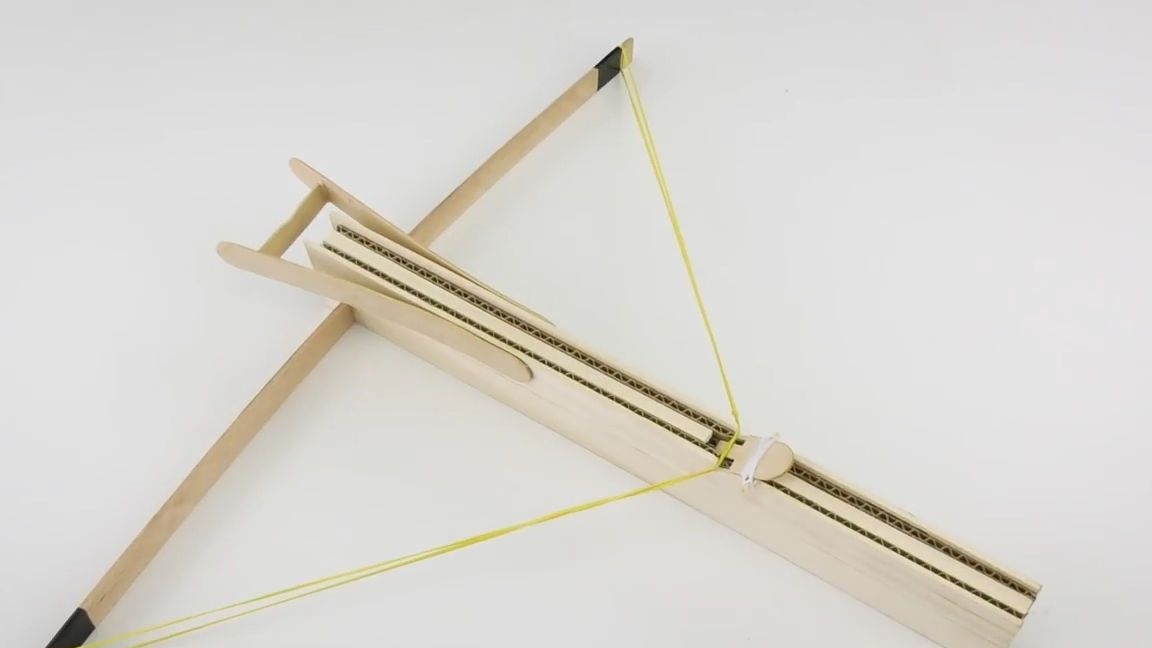
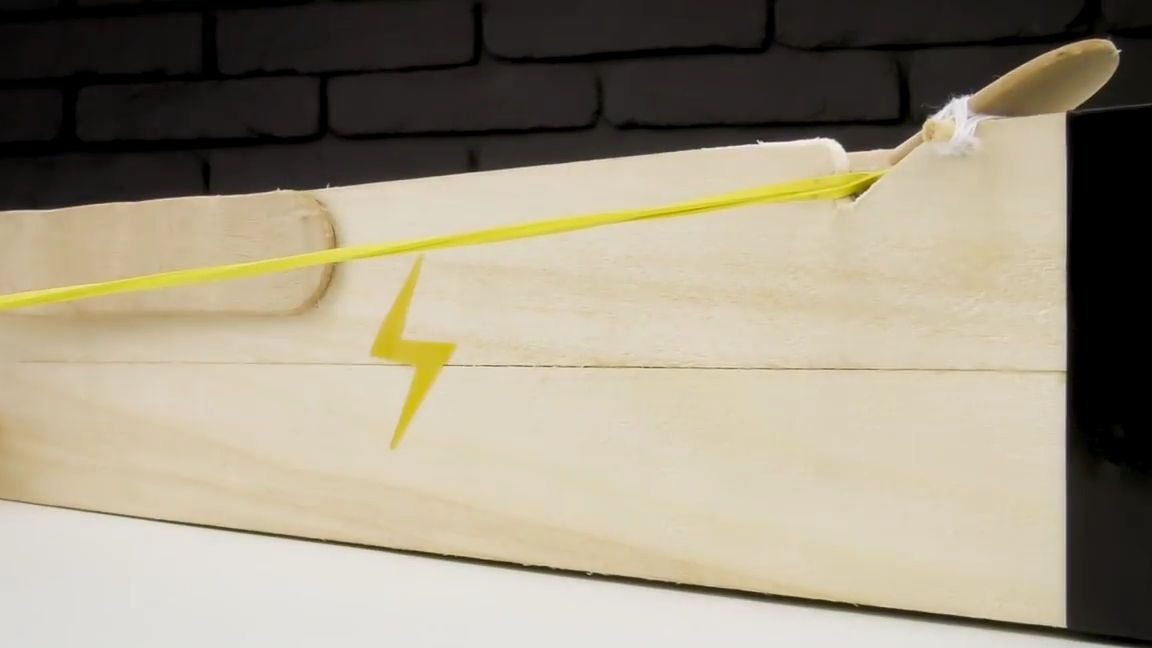
Now take a barbecue skewer and use a pair of cutters to cut a small piece. This "piece" of the skewer must be installed and glued with super glue to the general design of the crossbow. You need to install in the smallest groove that was cut out earlier. On top of the skewer, you need to install the trigger part that was done earlier. You need to install as shown in the photo below. After installation, this part must be wrapped tightly with ordinary threads, it should hold tight, but the part should move up and down, when you click on a large surface.

Testing the trigger:
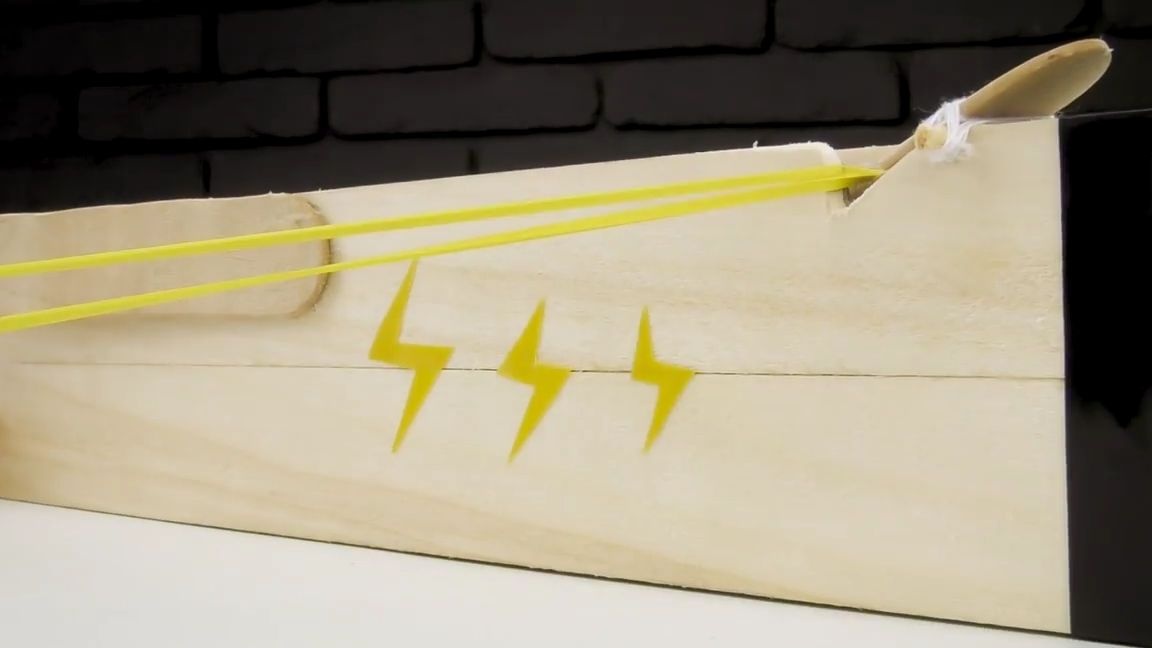
We pull the elastic and fix it in the larger of the grooves, press the “trigger” and if the elastic flies off the first time and sharply returns to its original position, then everything is done correctly.
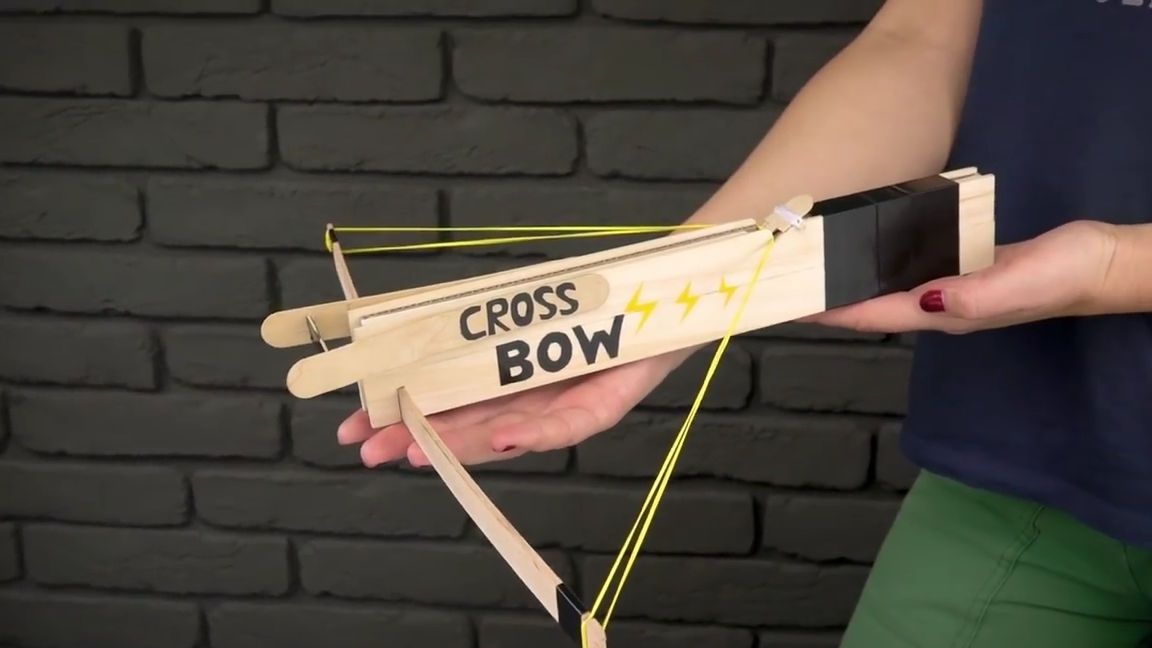
We decorate the crossbow with wooden spatulas, colored paper and markers. Also, it is advisable to strengthen some places with ordinary electrical tape, of course it is best to wind up the mounting points of the elastic bands.
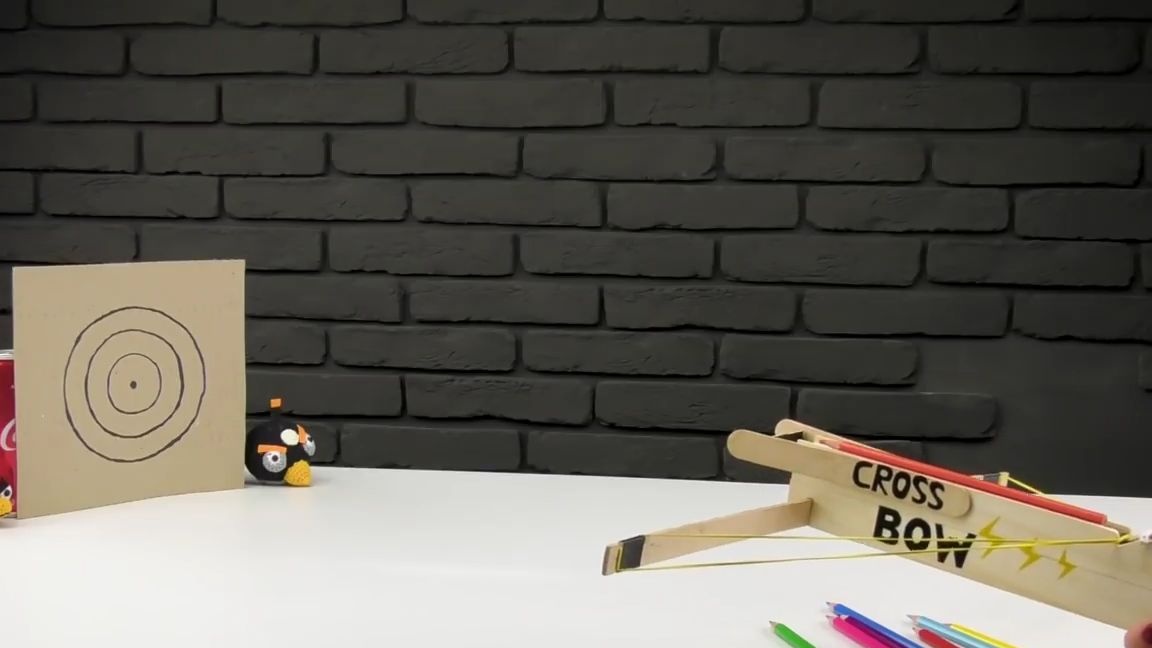
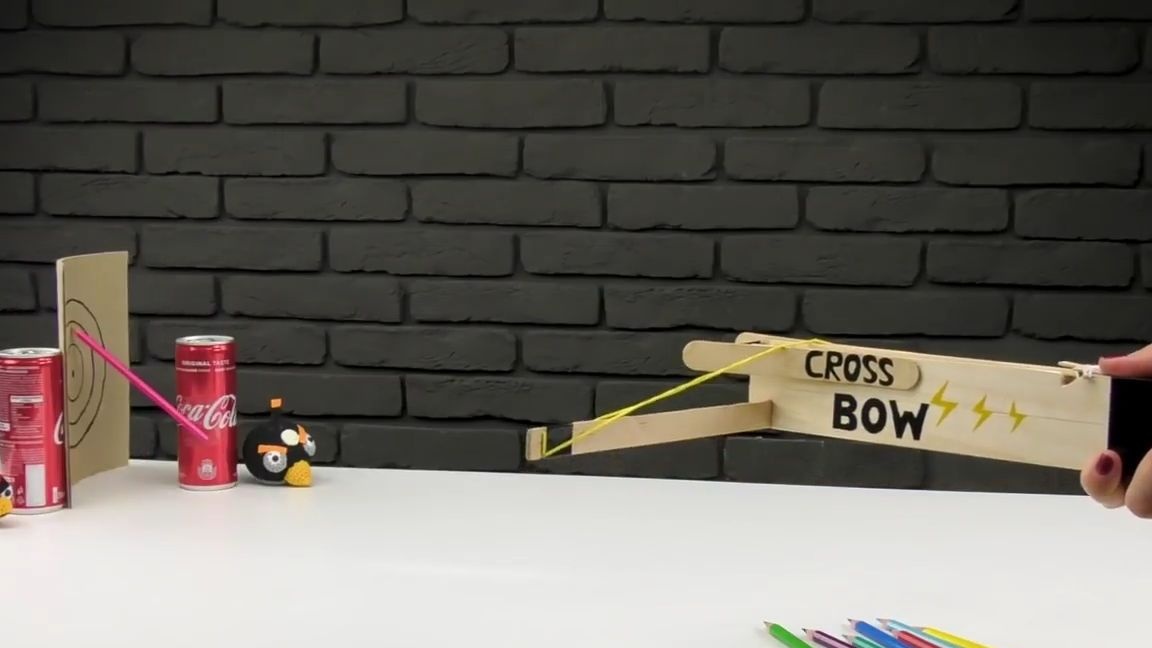
That's it! A simple crossbow from the means at hand is ready and it remains only to test it. To do this, you need to make a simple target, all from the same cardboard. Then take a pencil, install it in a special groove in the crossbow, pull and fix the elastic, aim and shoot. This crossbow shoots well and is ideal for home entertainment.
Important! In no case do not aim and do not shoot at people and animals! It is dangerous and will not end in anything good!
Here is a video from the author with a detailed assembly and testing of this homemade product:
Well, thank you all for your attention and good luck in future projects, friends!