I welcome all fans to work with metal. I propose to consider the instructions for making a quality knife in the Japanese style of "tanto". In general, initially such knives were swords, but then the masters liked this form of the blade and began making knives in this style. Such knives are very convenient for woodworking, they can also be successfully cut and chopped, some chefs have also approved such a blade profile.
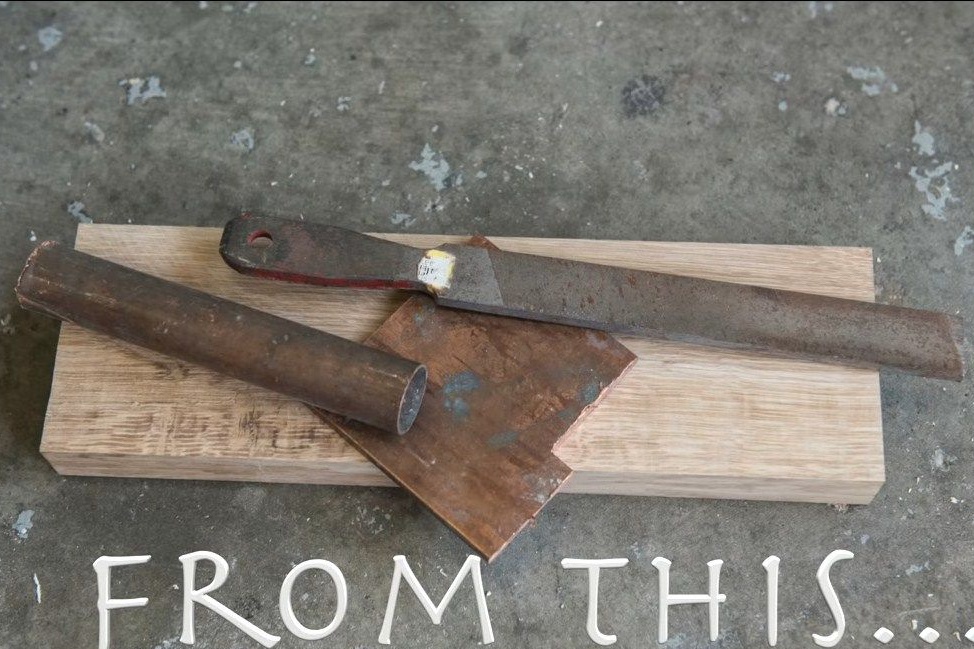
The author decided to make his knife out of a file, this metal is strong, can be hardened, the knife will be sharp and durable. The file must be correct, good metal is found only in old samples. At the fracture, the file metal should be uniform gray in color, and even when cutting the core, thick bright sparks should pour in. Modern files are made of bad metal, cementing only the outer part. In addition, the manufactured blade must be hardened correctly, otherwise carbon may burn out, which makes the steel strong.
For the manufacture of a knife, the author used mainly hand tools. Of the power tools, only a grinder and a drill were needed. So, let’s take a closer look at how to make such a knife!
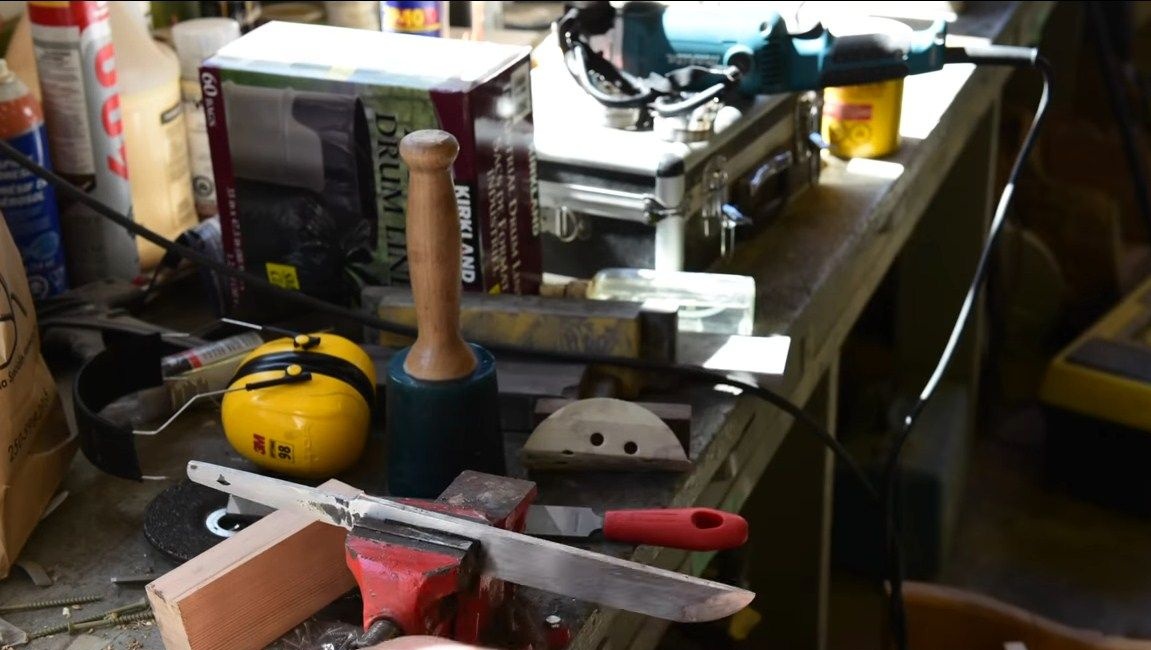
Materials and tools used by the author:
Material List:
- old file;
- wood for the handle;
- epoxy with black dye;
- rope;
- copper tubes and sheet copper;
- a deer horn and a thick board (for stand);
- wood for scabbard;
- oil for wood impregnation.
Tool List:
- grinder;
- drill;
- files for metal and wood;
- a planer;
- sandpaper;
- hammer;
- chisels;
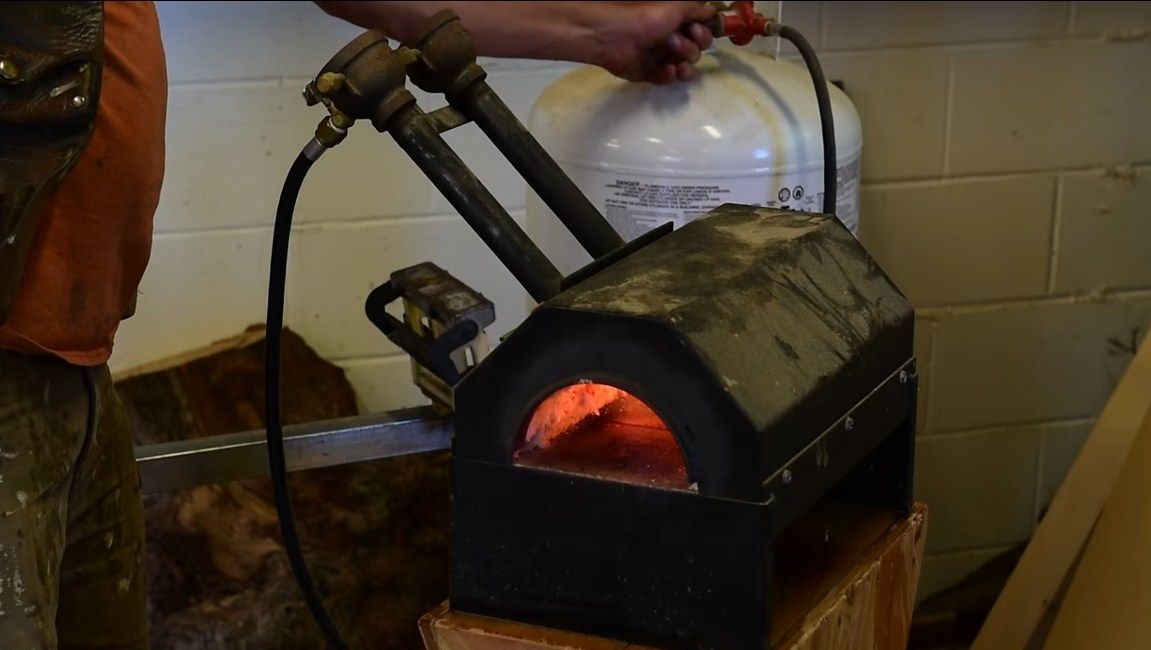
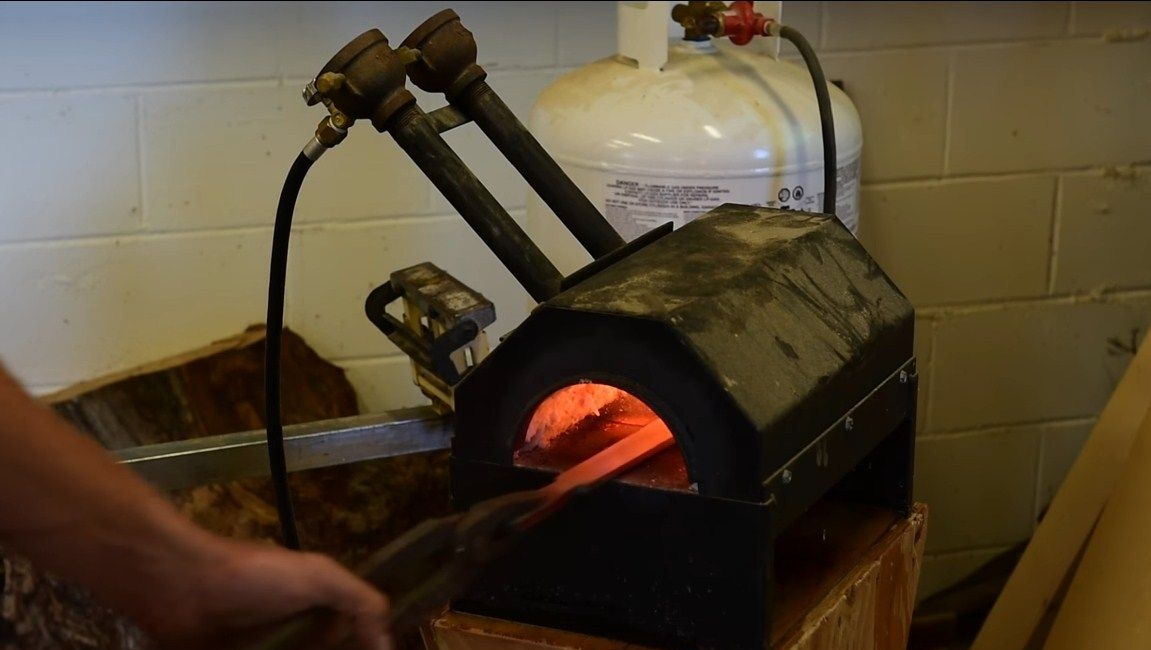
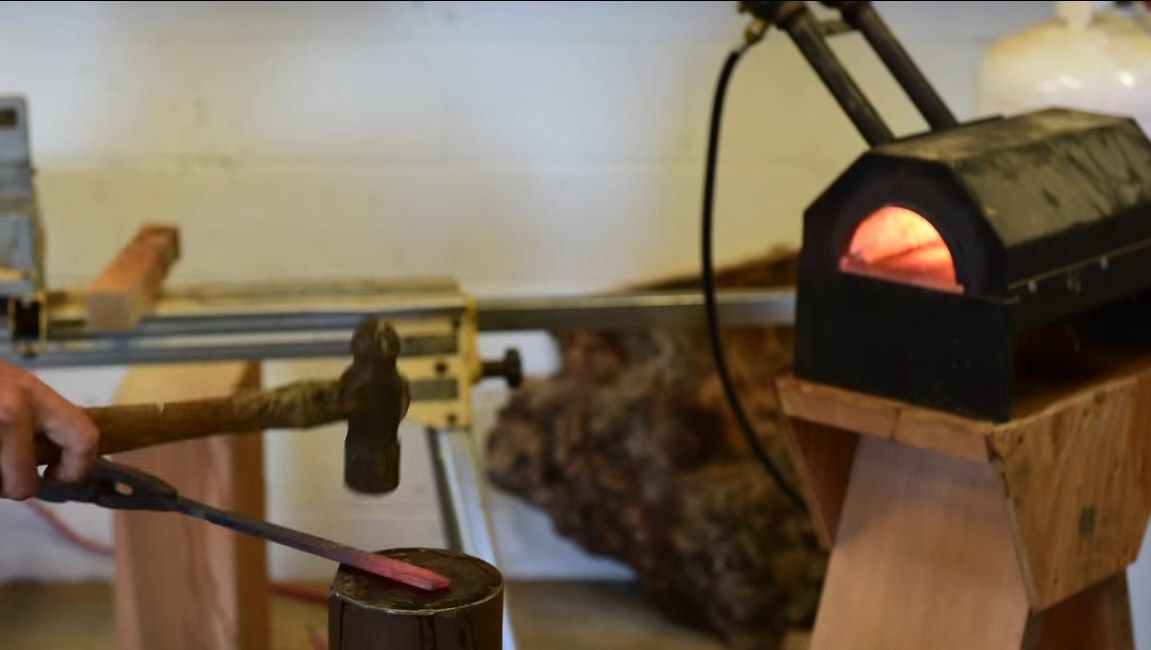
- blacksmith furnace and accessories for forging;
- a hacksaw;
- vise;
- hammer;
- gas-burner;
- clamps;
- polishing paste or fine sandpaper.
The process of making a knife:
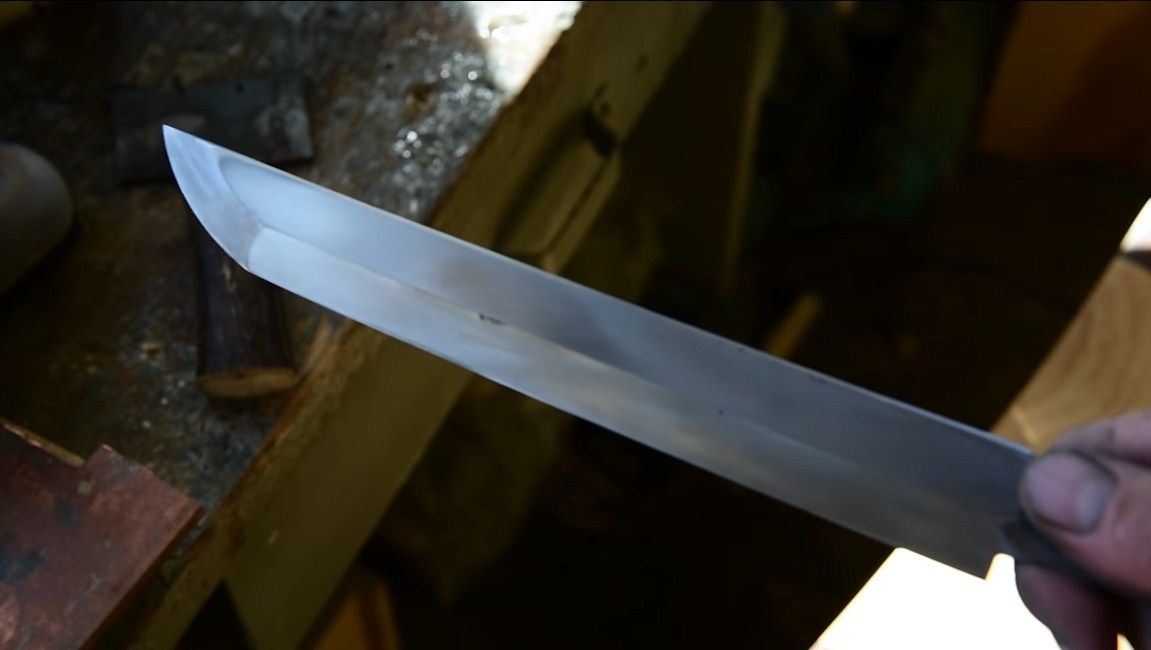
Step one. Production of the main profile
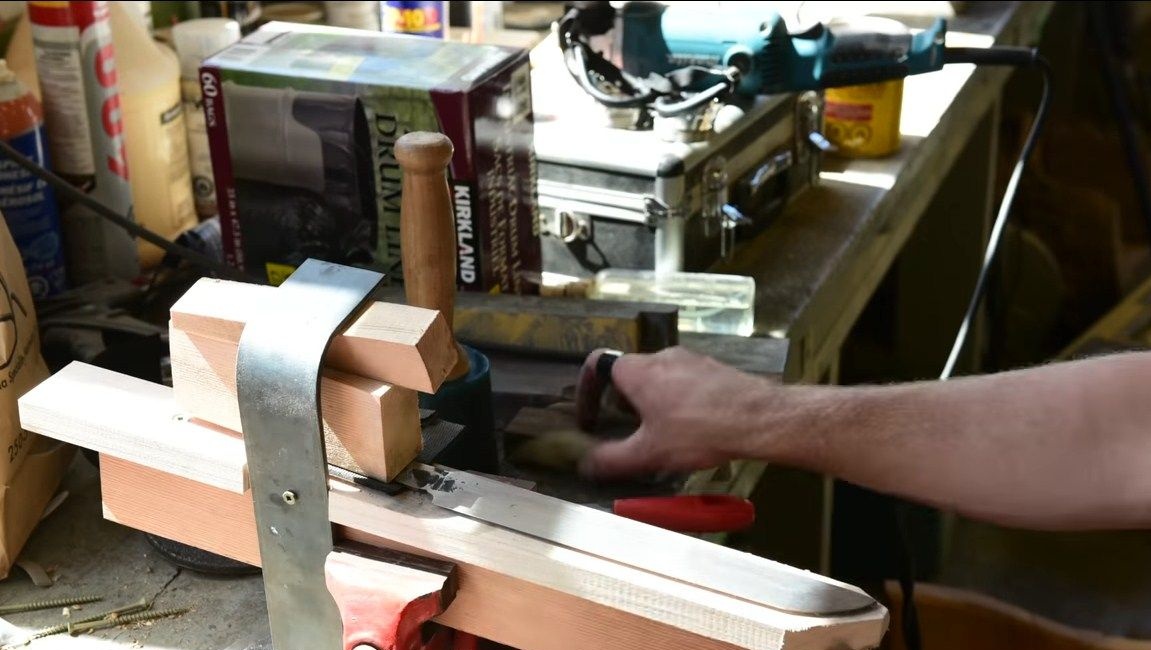
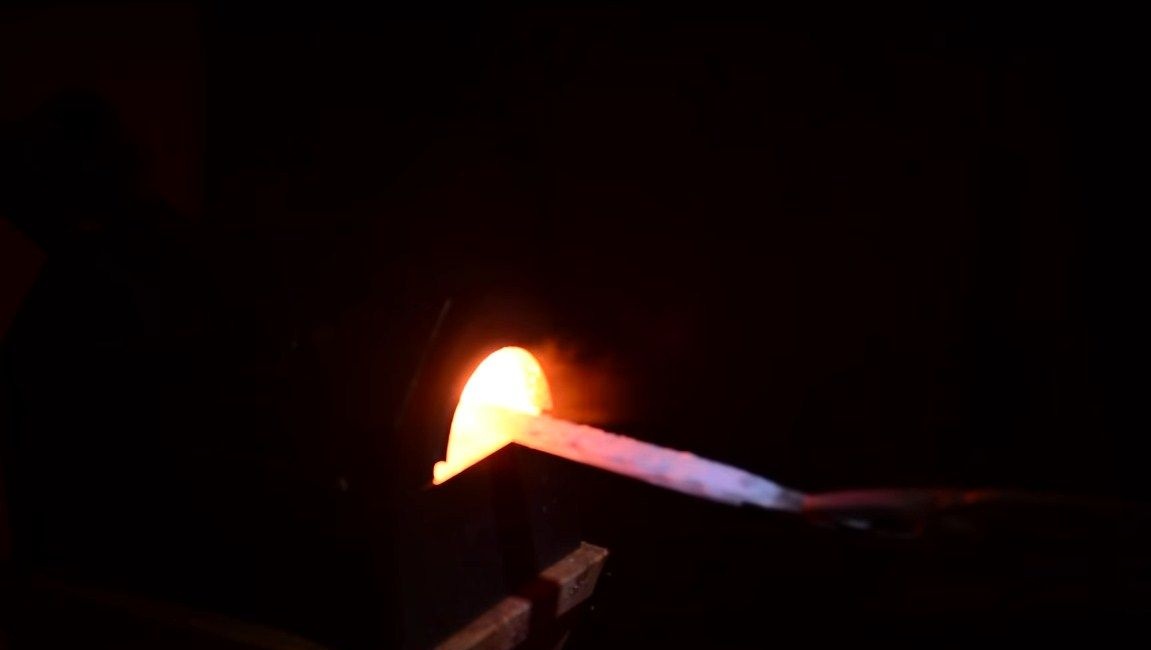
It should be noted right away that it is simply impossible to manually process the file, since the steel is hardened and very durable. Here you need either a vacation, or you can just use forging, as our author did. We warm the metal to a red glow and slowly with the help of a hammer and anvil we set the desired profile of the blade. Do not overheat the metal strongly, since the alloying element can burn out, and the steel will turn into raw material. Forging is desirable to perform as high quality as possible, so then you will have less time for grinding.


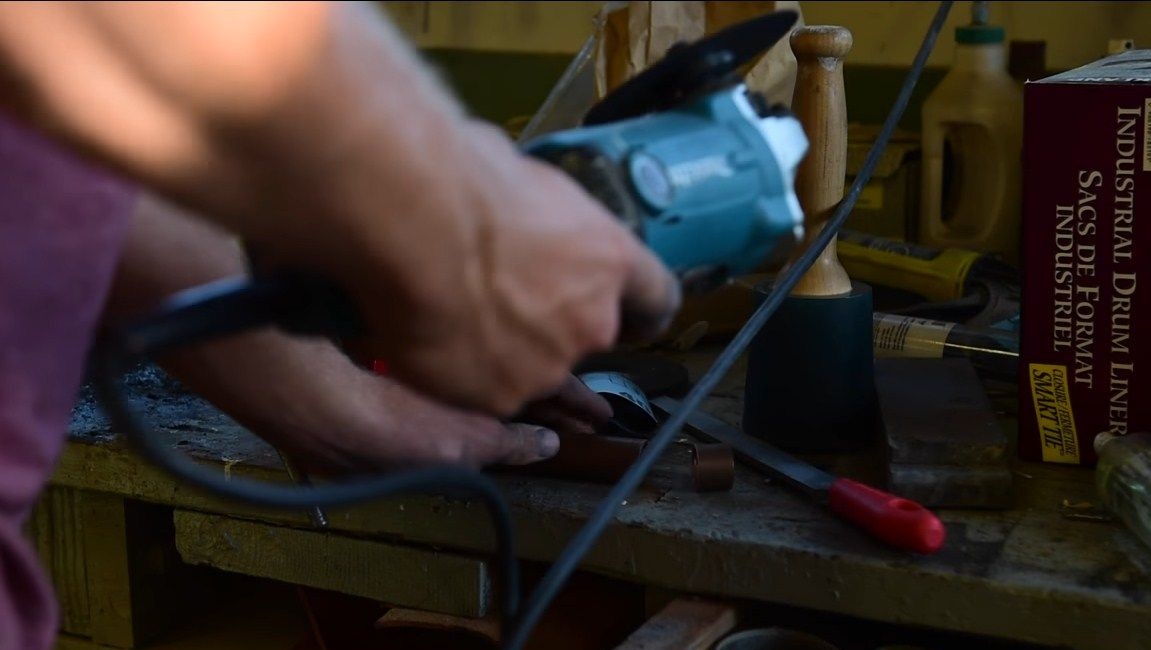
Step TwoGetting down to grinding
Next, we need to polish the blade to remove all the defects left after forging. To do this, we need files, hold the blade and process. Of course, the fastest way to do this is on a belt sander. Metal can now be processed manually, since we released it.
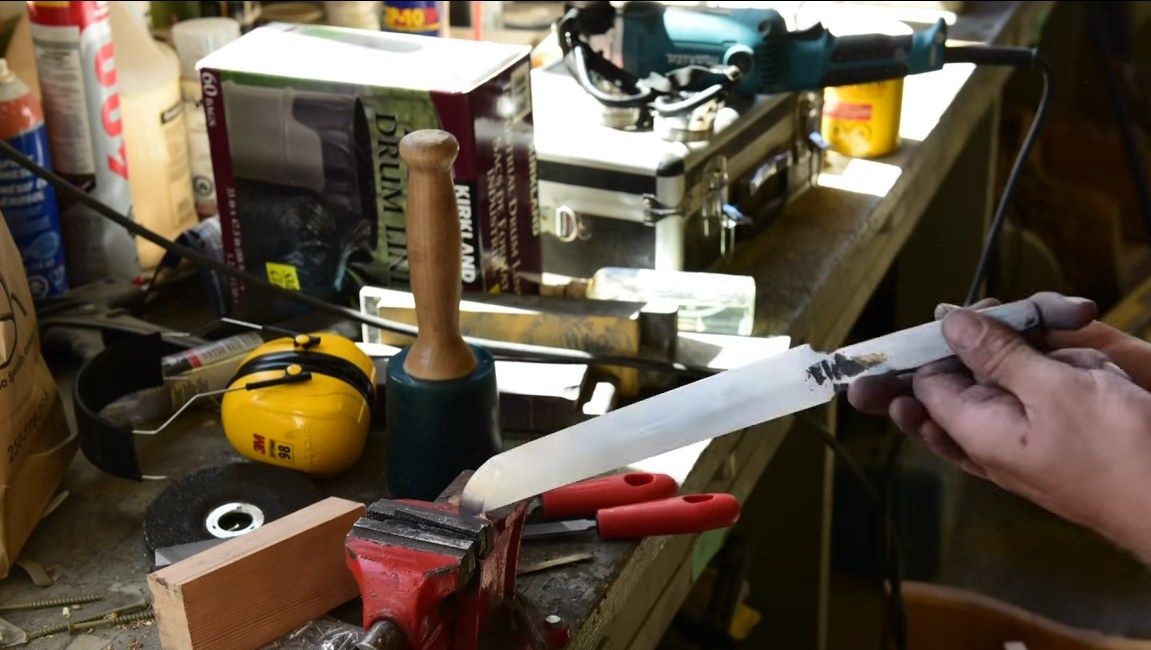
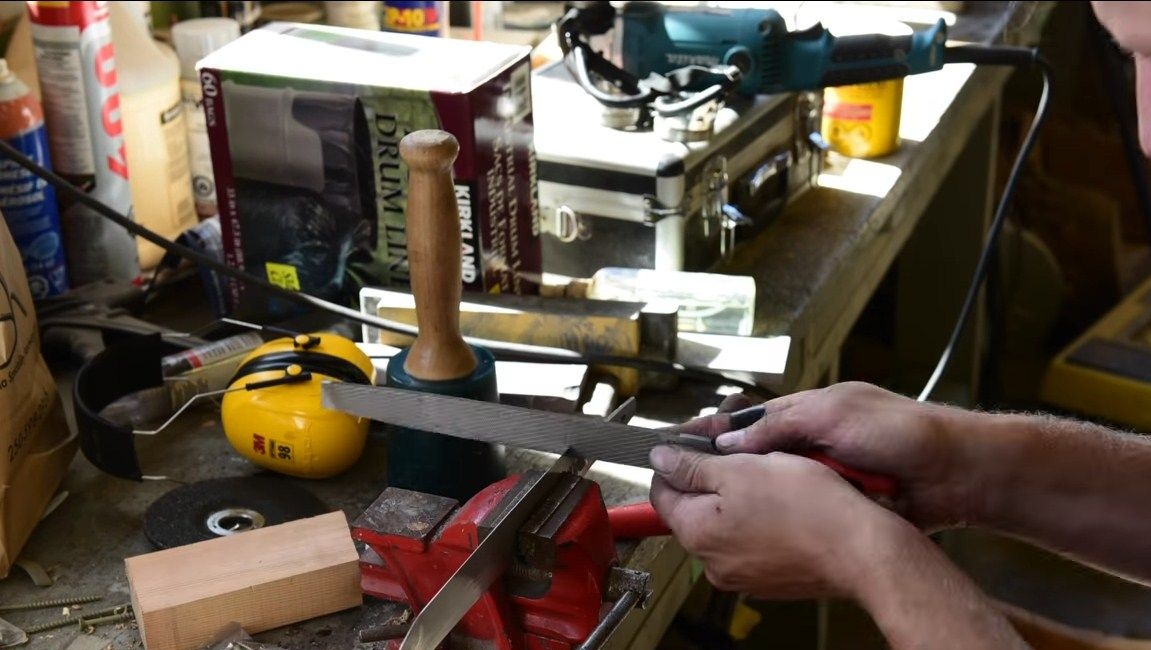
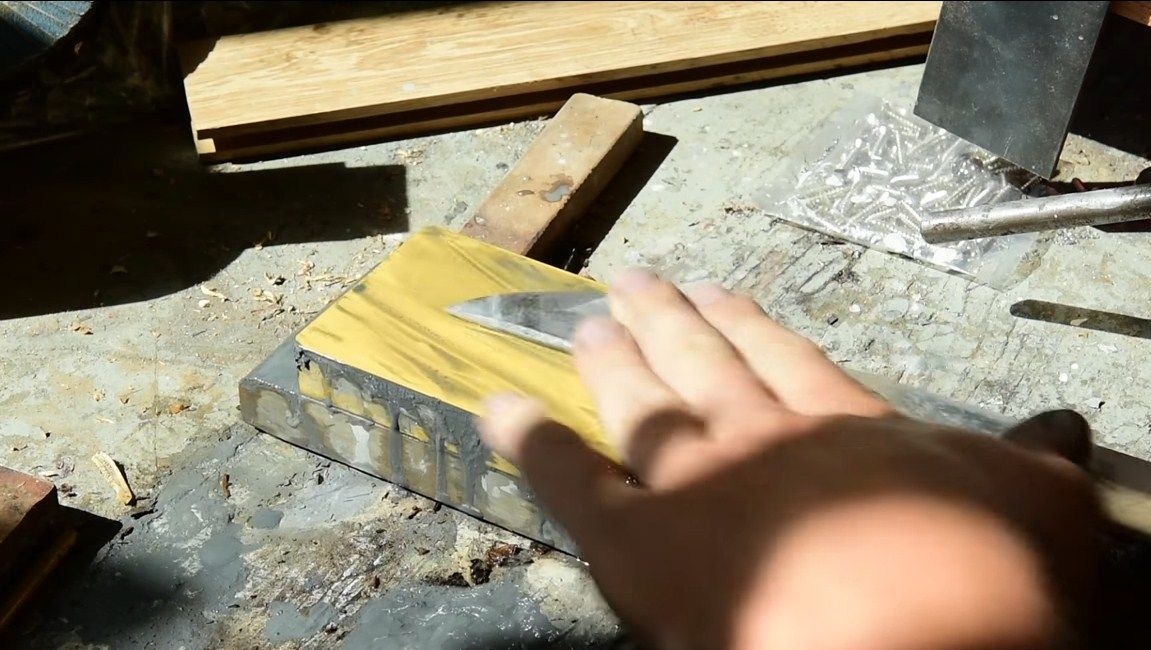
Next, you can use already sandpaper, mounted on a block. It is useful to wet the paper in water, as it works much more efficiently by cleaning. As a result, we work with the smallest sandpaper or on a fine-grained grinding stone. The metal must be brought to an almost perfect condition, as it will be hardened further.
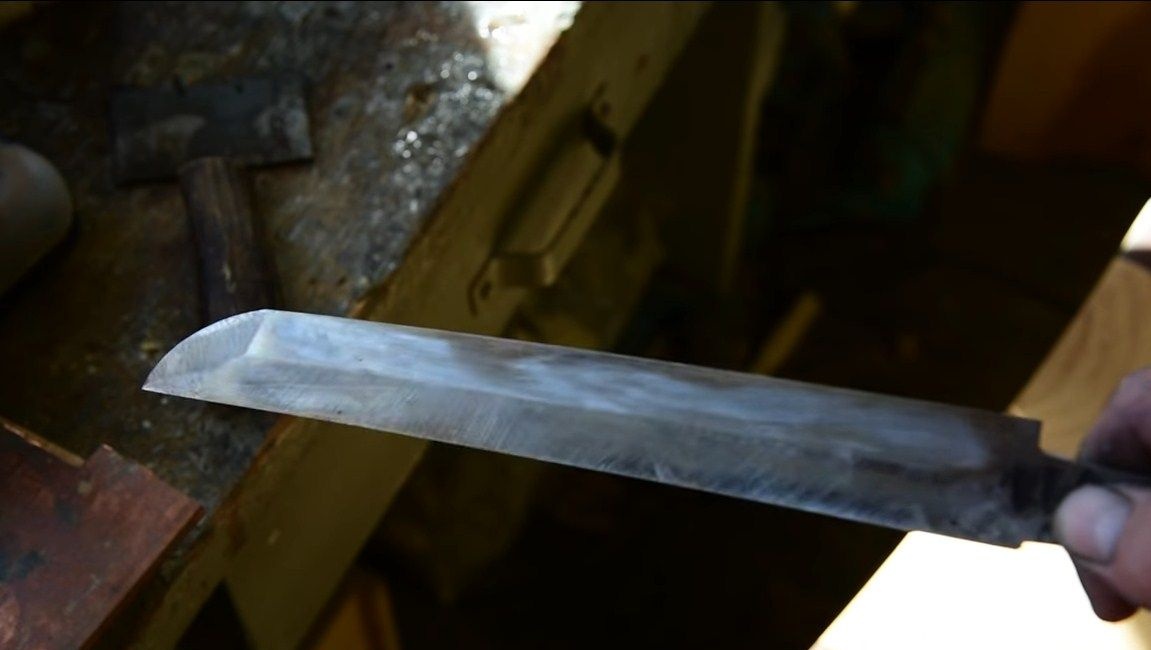
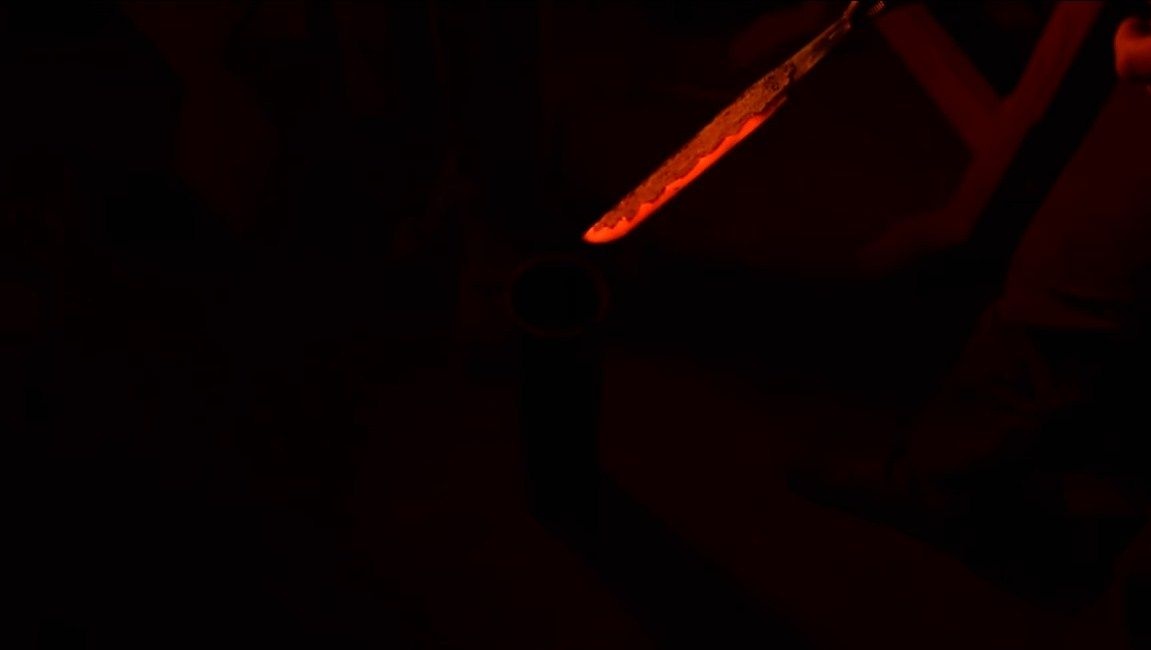
Step Three Quenching
We proceed to hardening, since earlier we released the metal. For this, the author coated the blade with a heat-resistant composition so that the alloying elements remained in place. Well, then warm the blade to a bright red glow and dip in oil. After that, we check the blade, trying to scratch it with a file. If there are no scratches, excellent, then the steel is hardened. As for such a moment as a vacation, its author did not, but it is recommended.
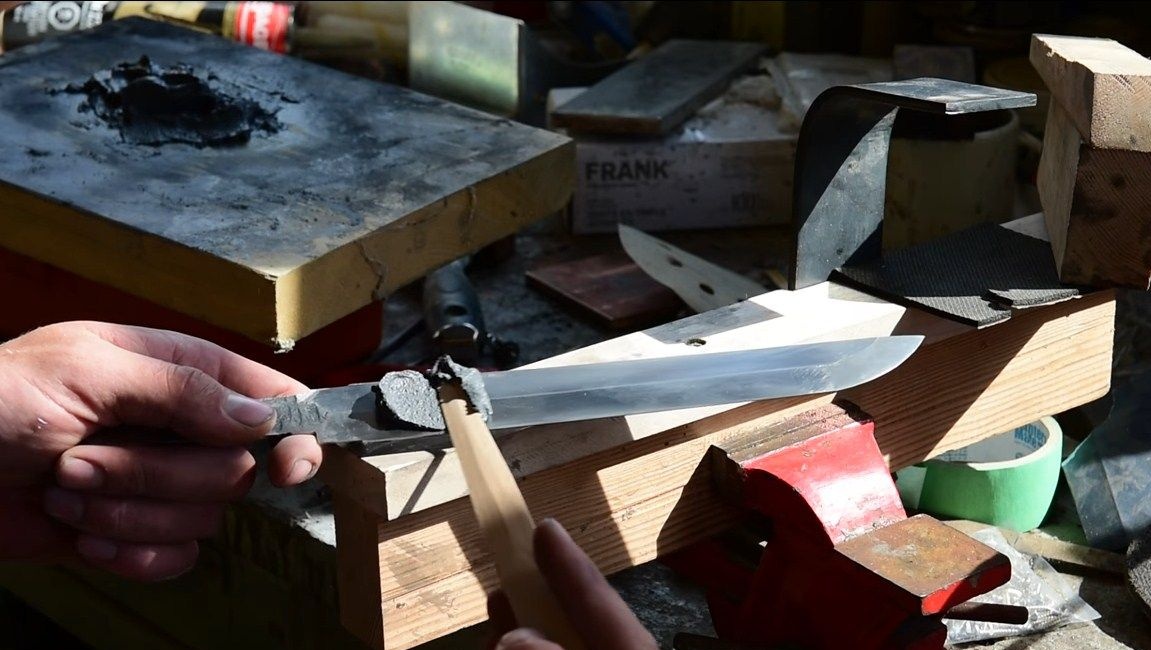
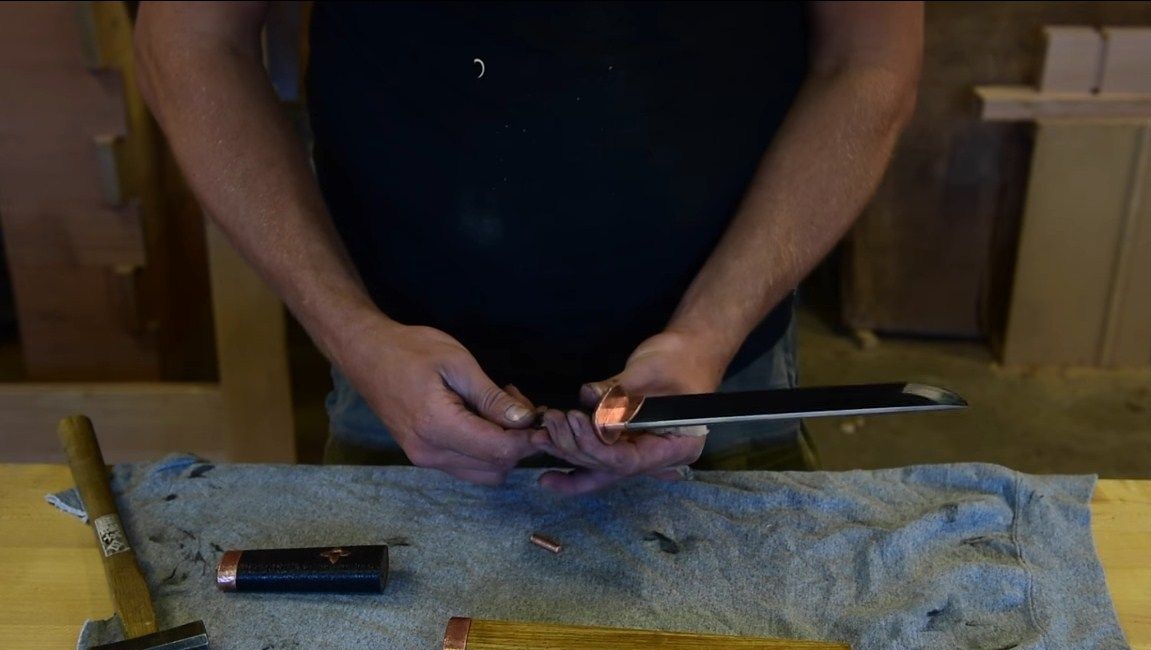
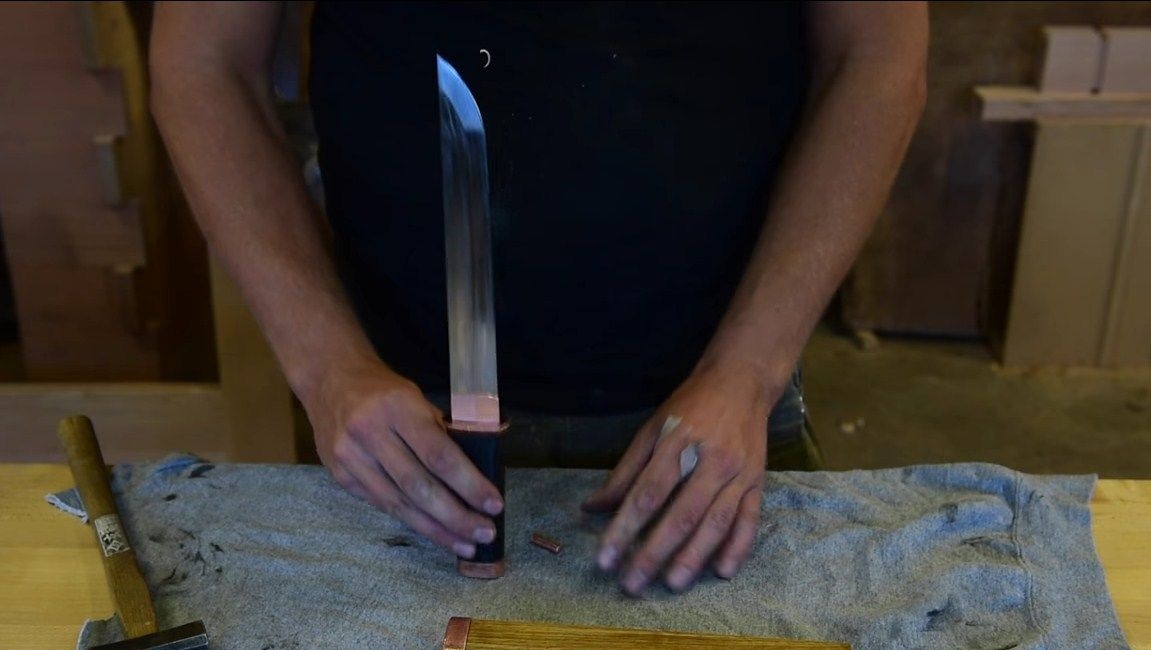
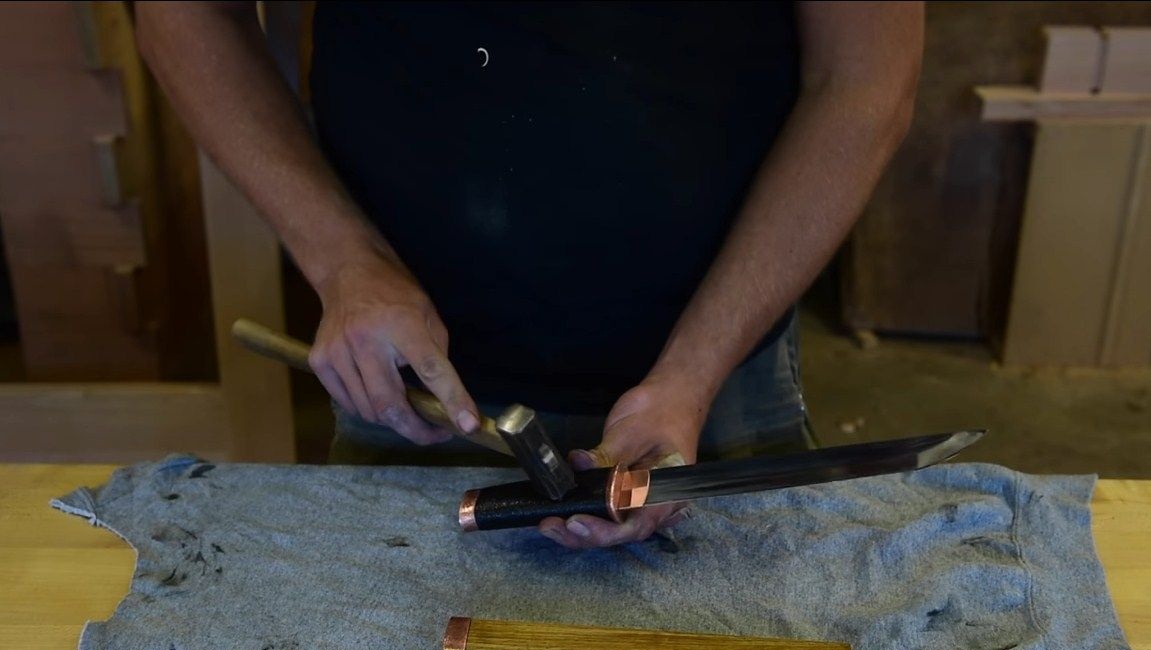
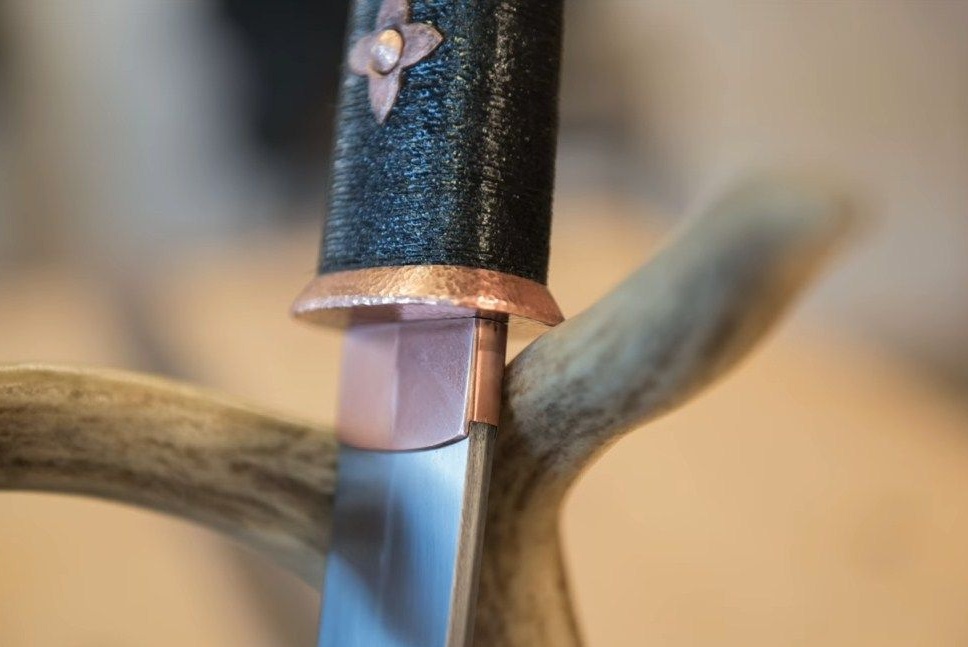
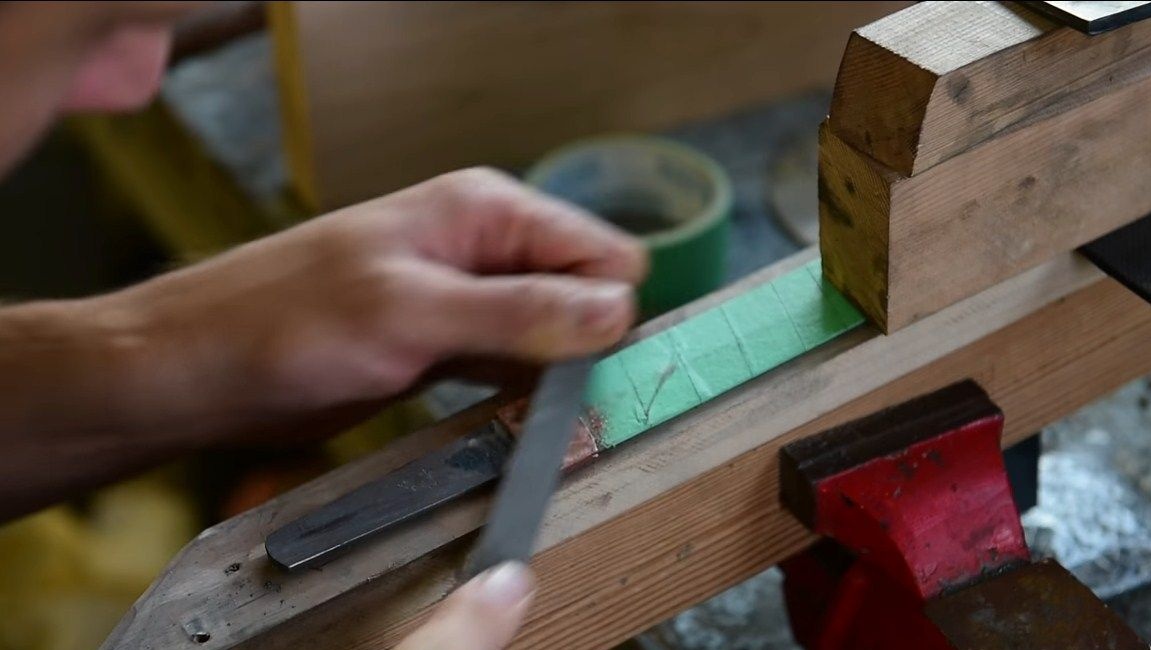
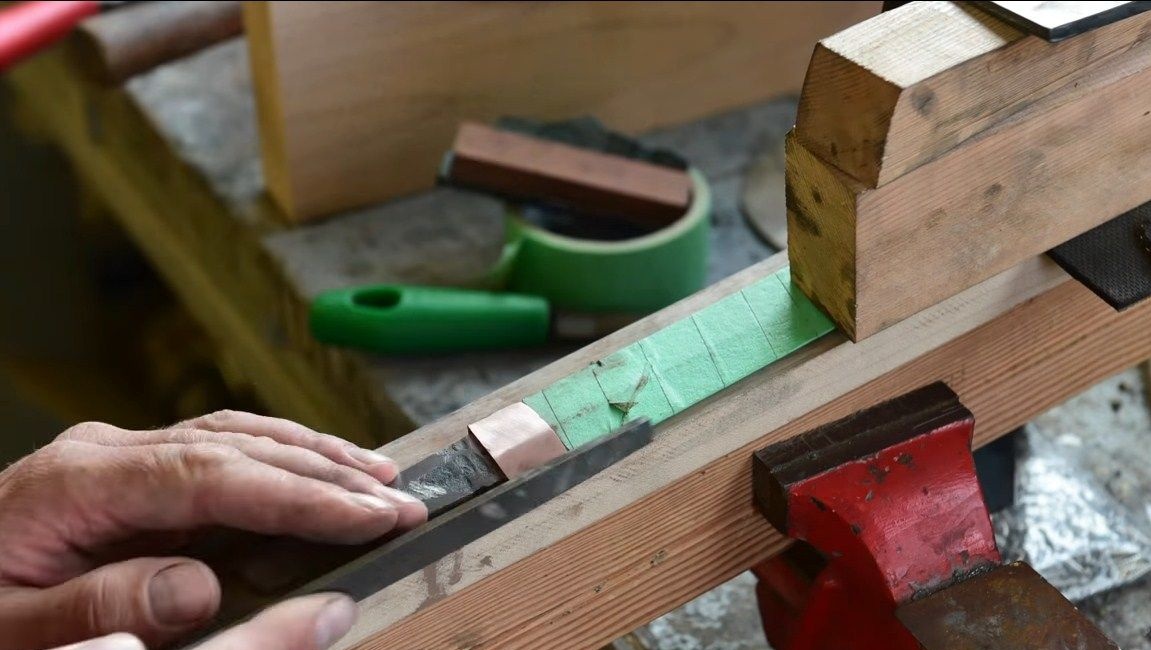
Step Four Bolster and focus
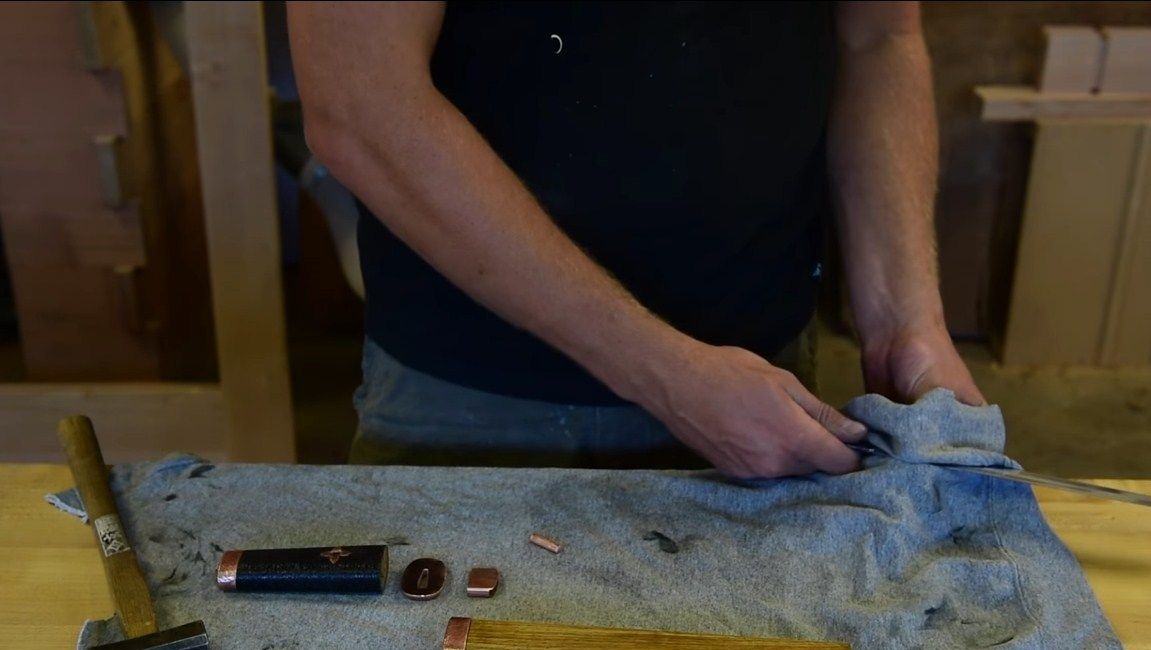
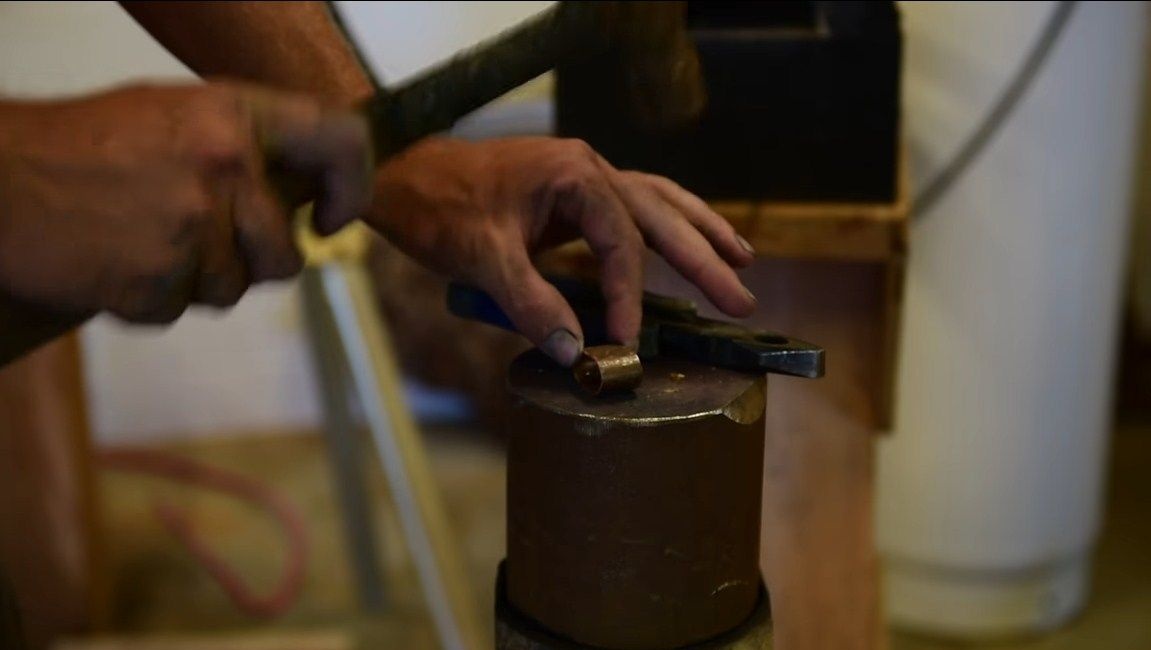
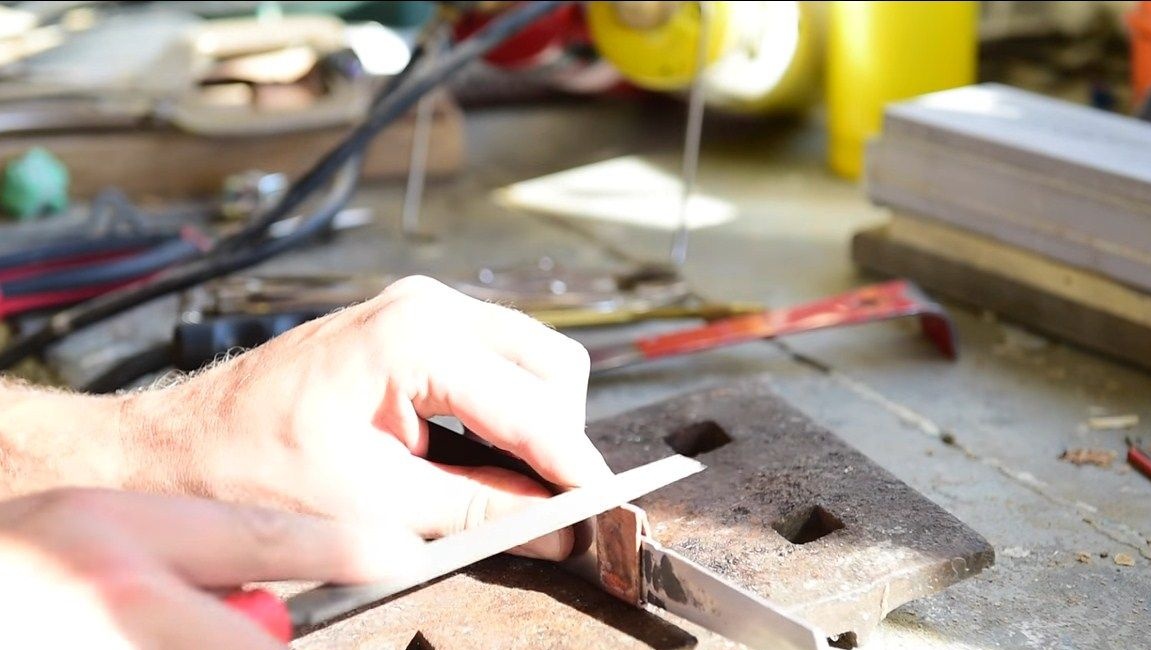
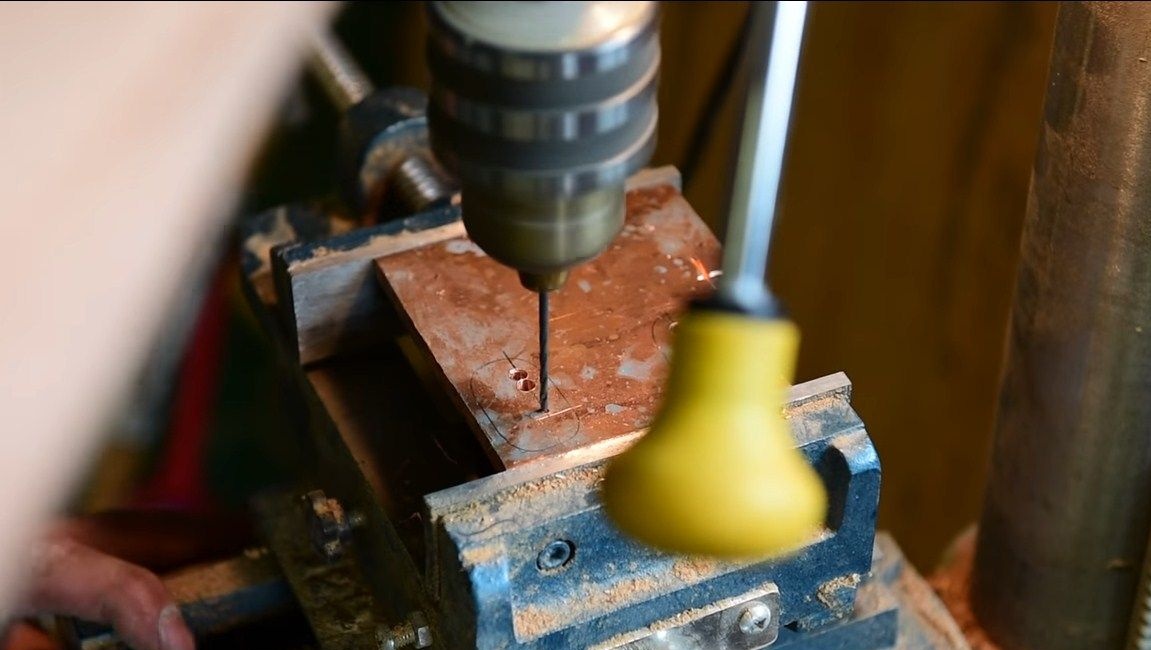
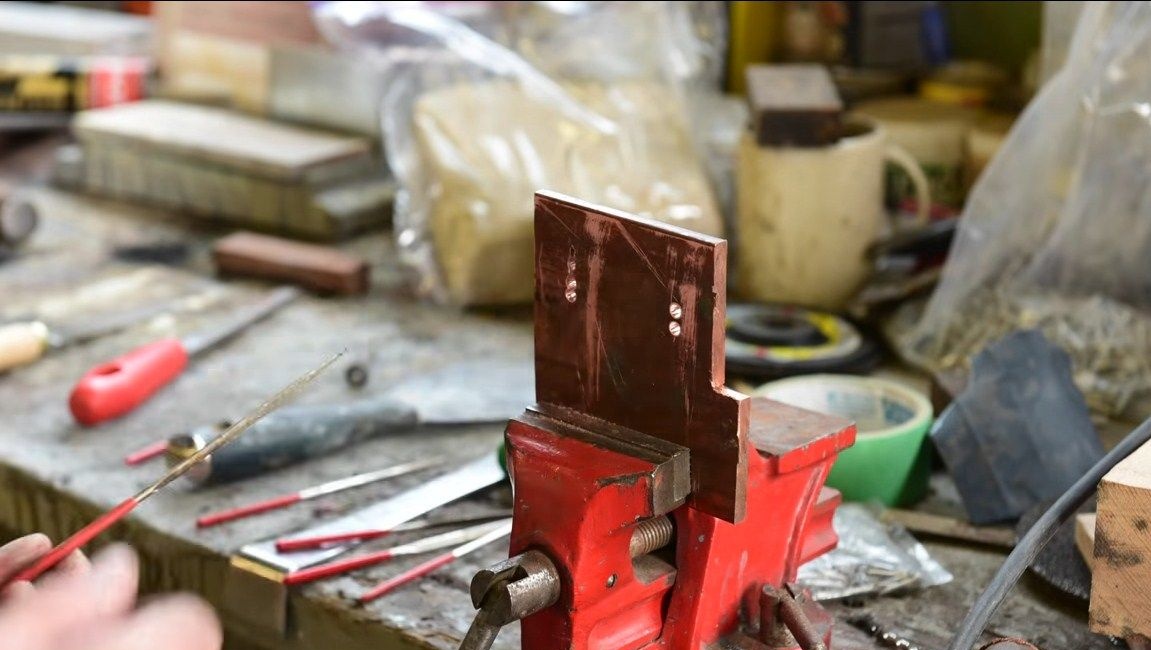
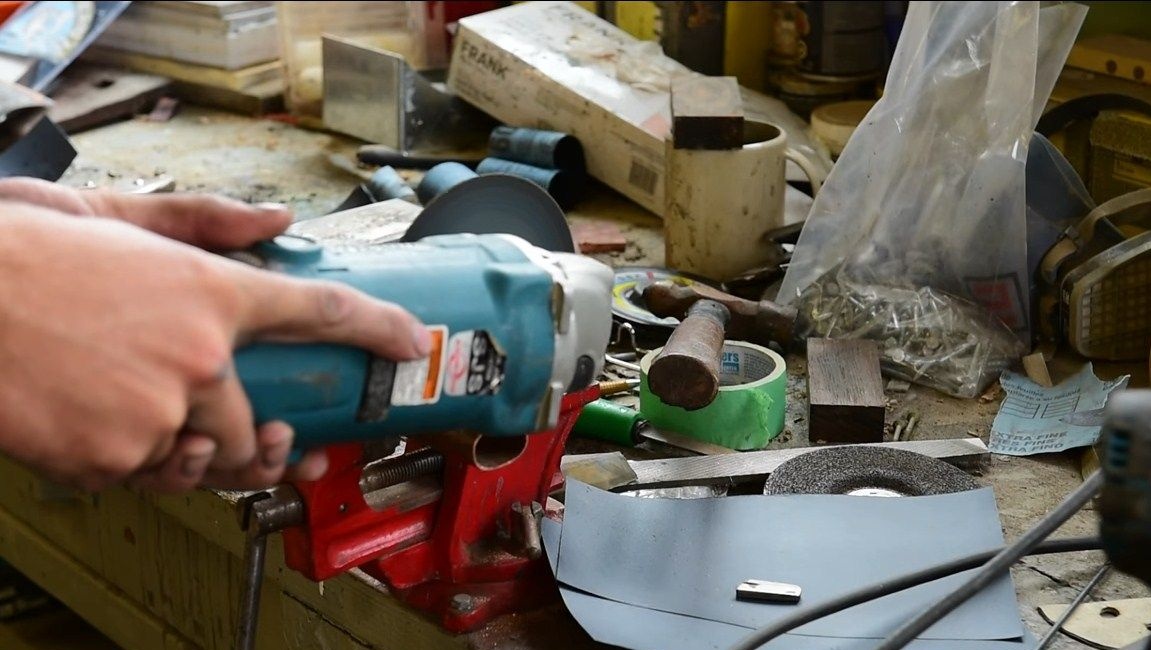
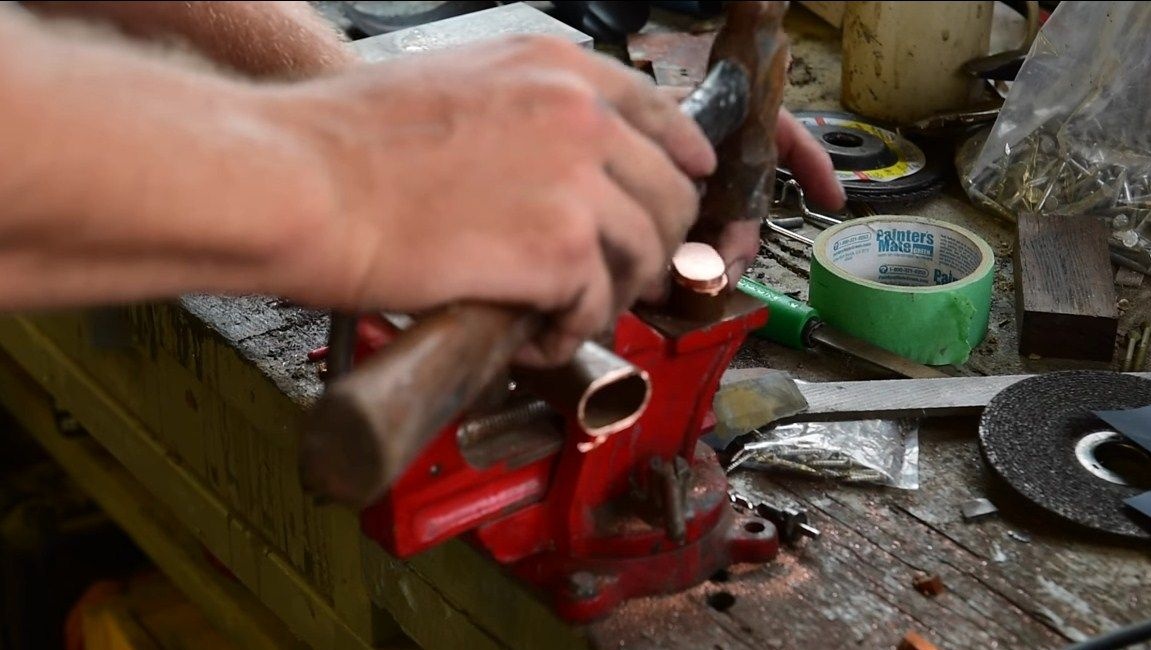
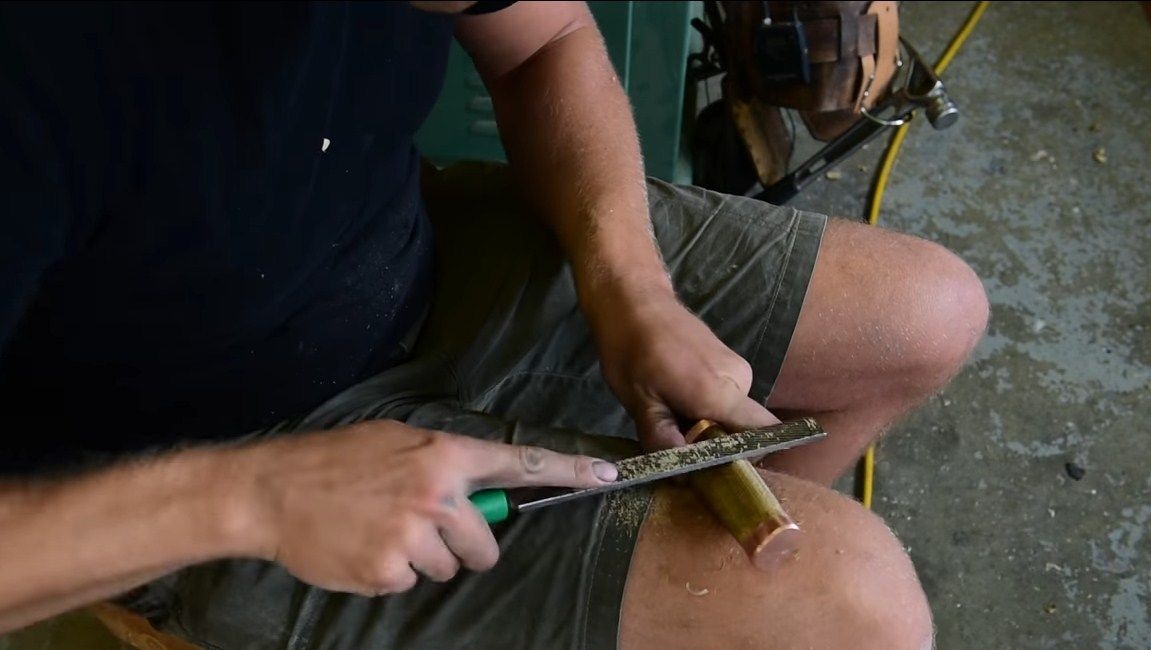
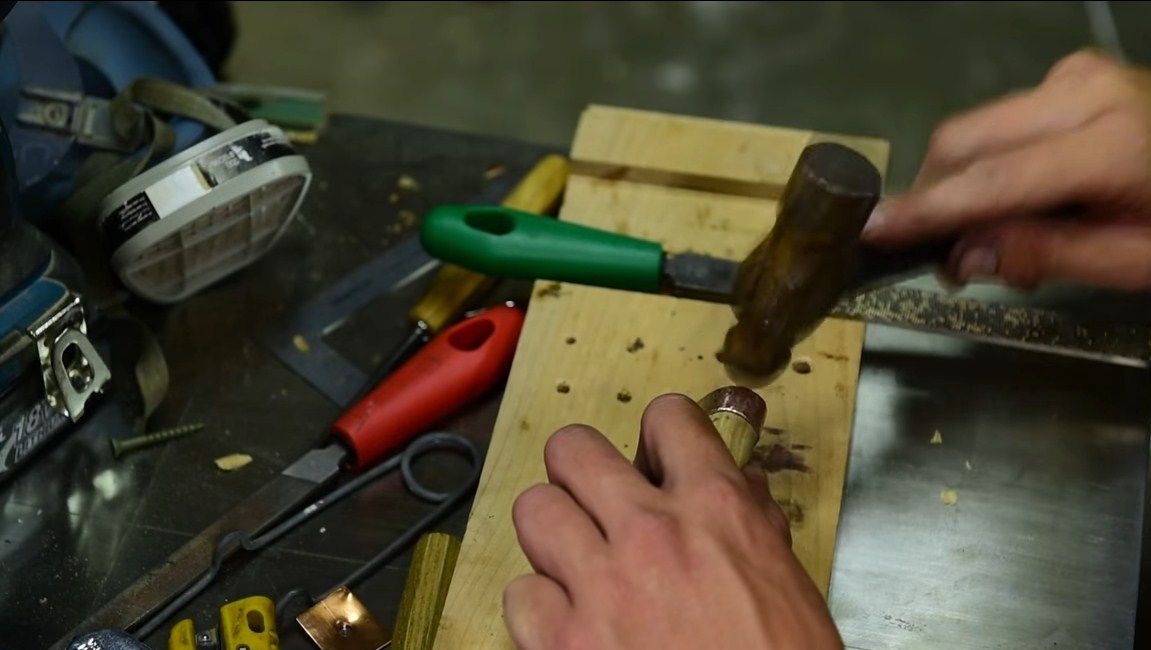
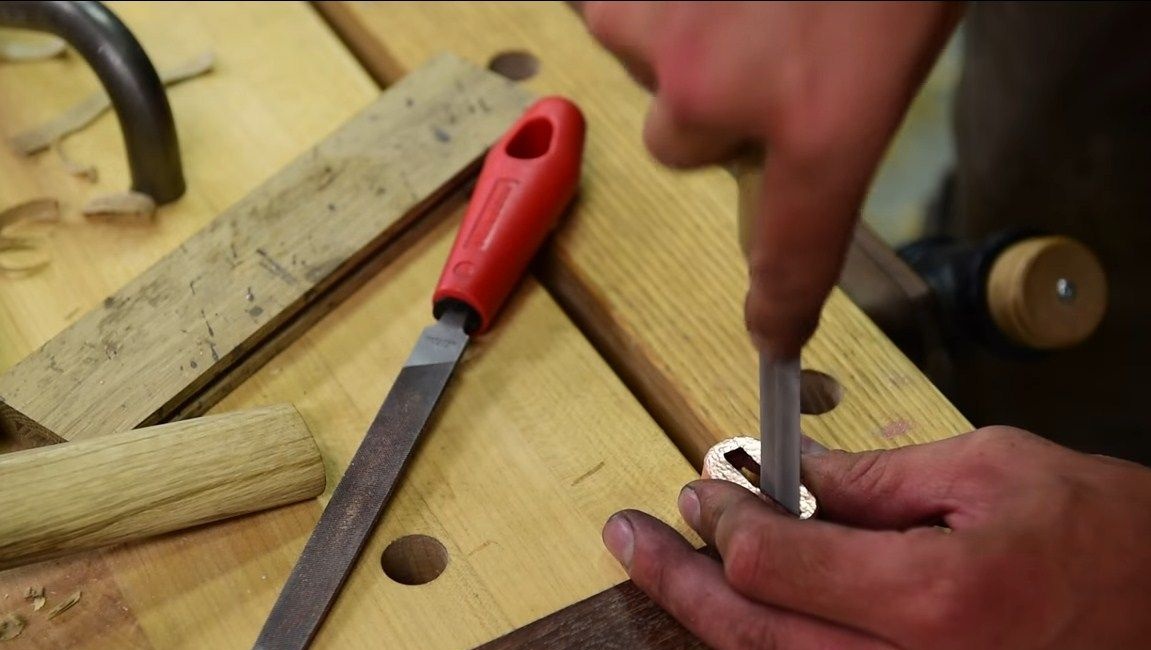
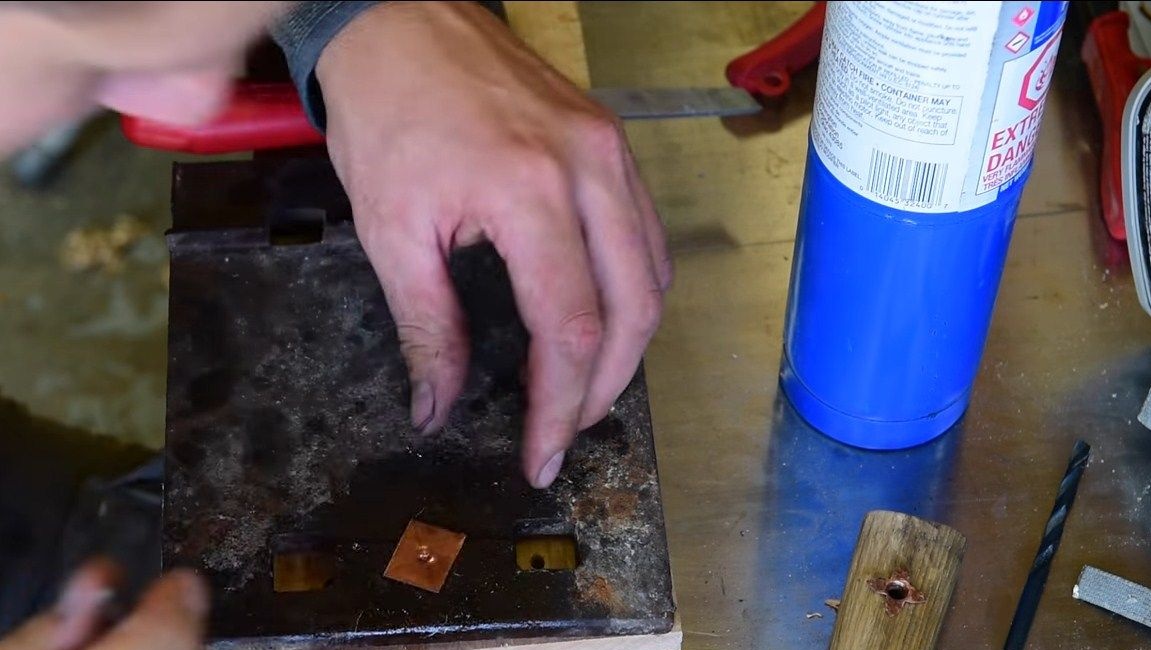
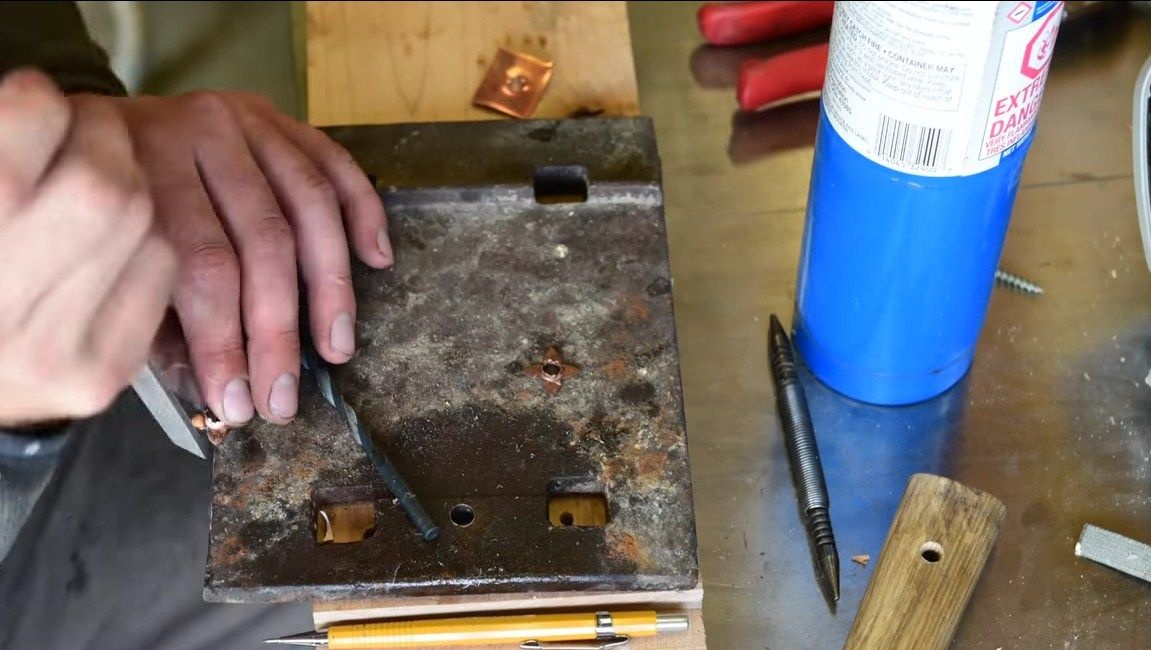
On the blade is the so-called bolster or pad, due to which the sheath is fixed. In addition, this detail has ethical significance, with it the knife looks more beautiful. We make this part from a piece of copper pipe, cut off the desired piece, and then form the desired profile with a hammer. The author brewed the ends of the pipe, they can also be soldered. In addition to this, we need to focus, here we need sheet copper. Cut the desired workpiece and cut a hole for the profile of the tail of the blade.
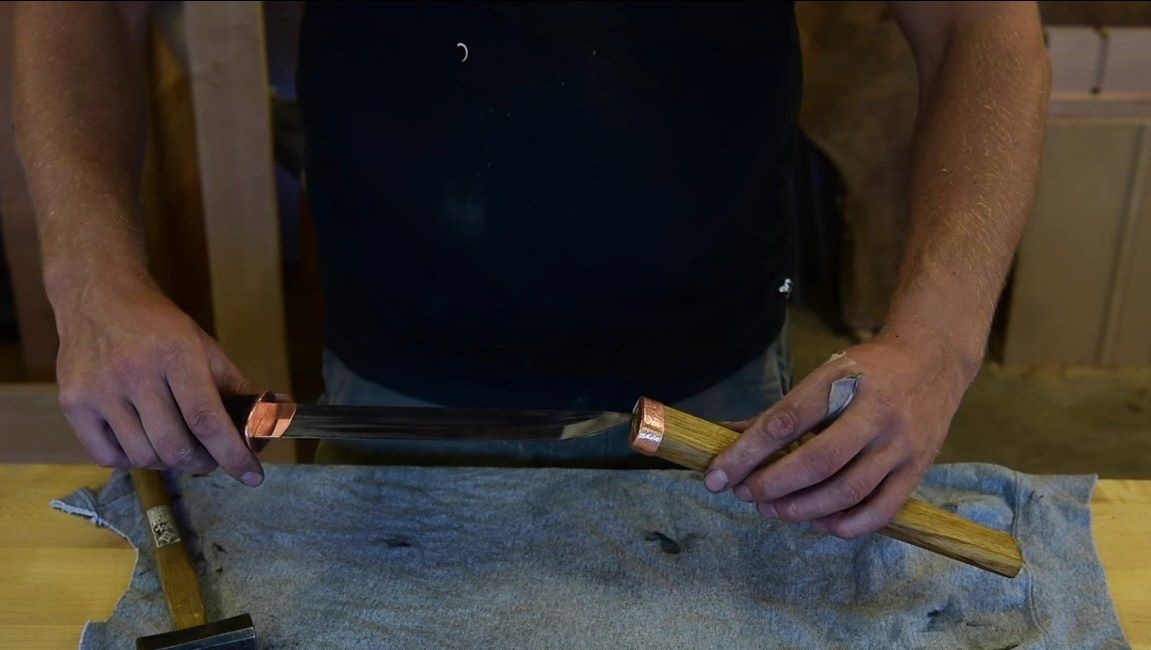
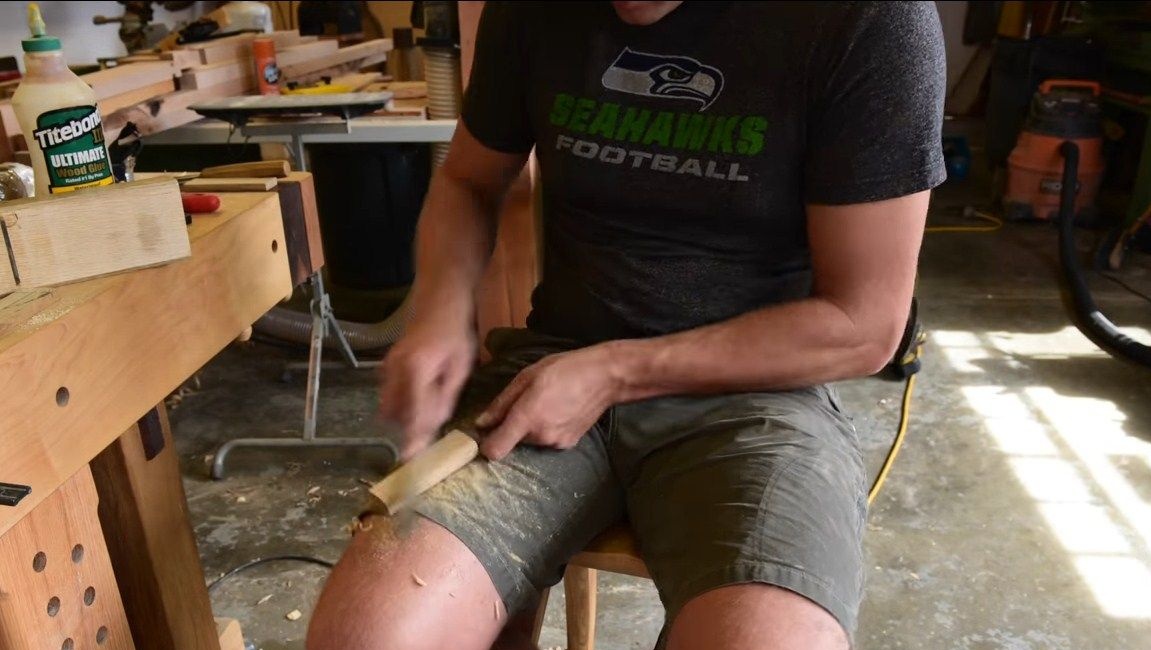
Step Five The back and pen
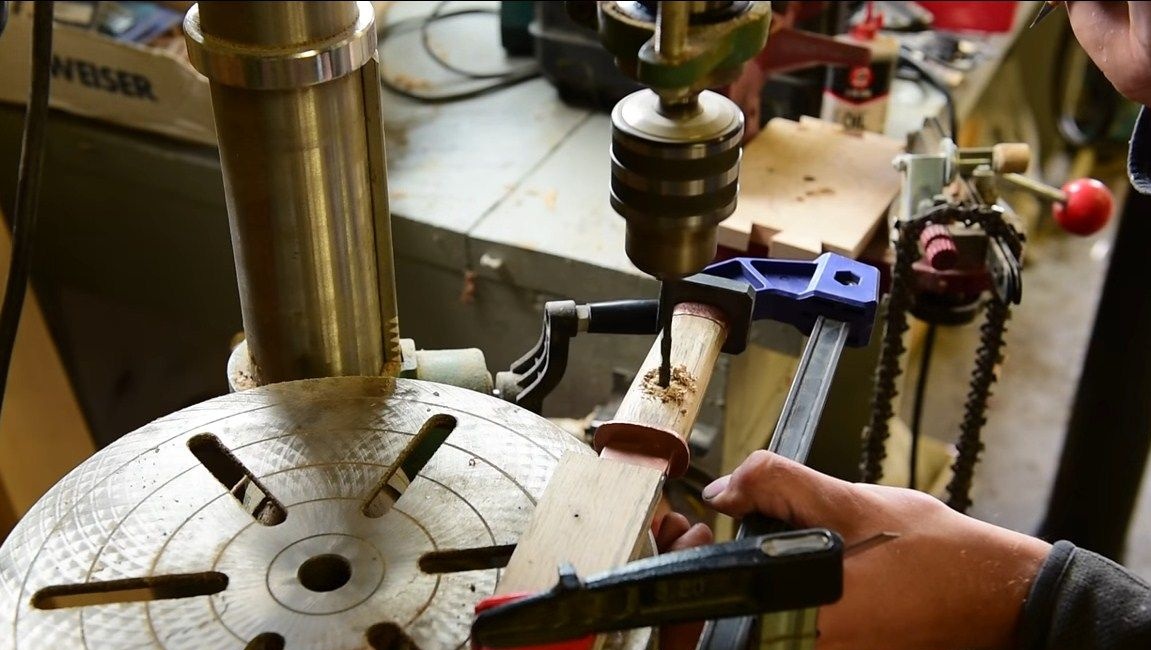
The author makes the basis for the pen from wood. We select a block of hard wood and form the desired profile with a planer. Next, we drill and bore a hole for the knife shank. We form the final profile using files.
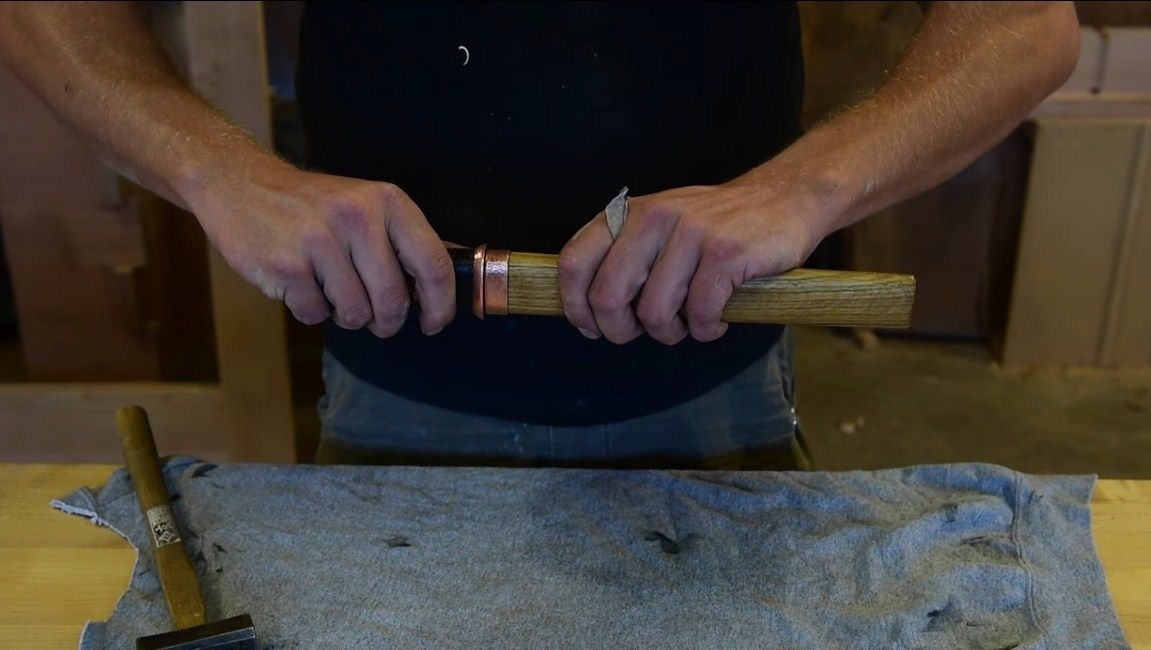
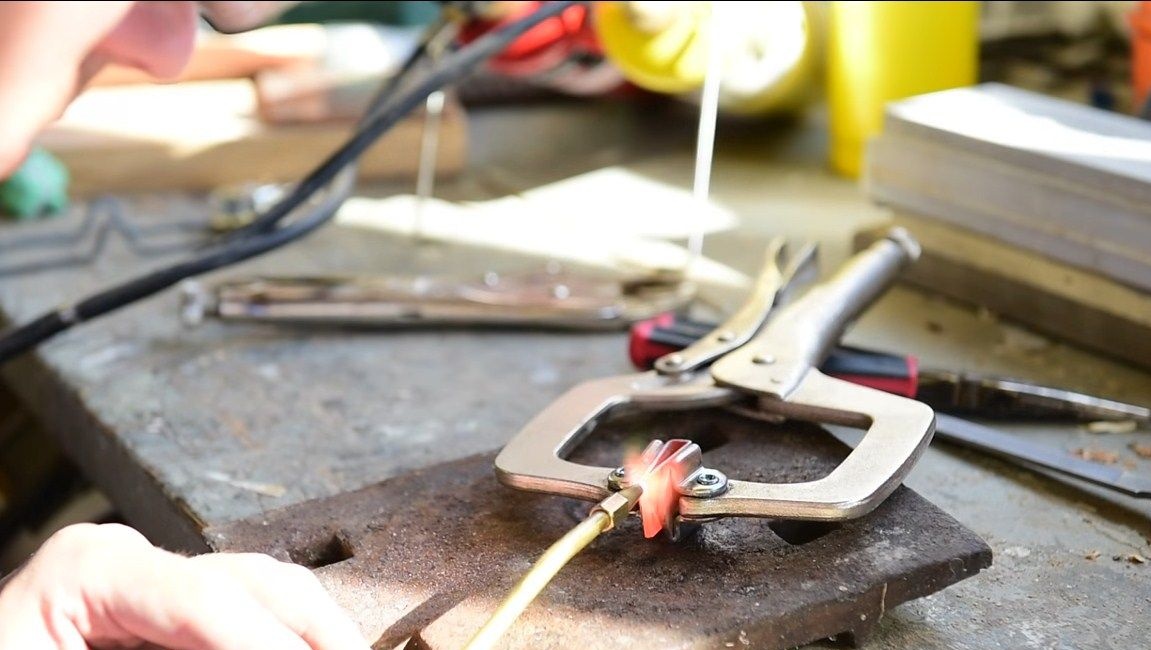
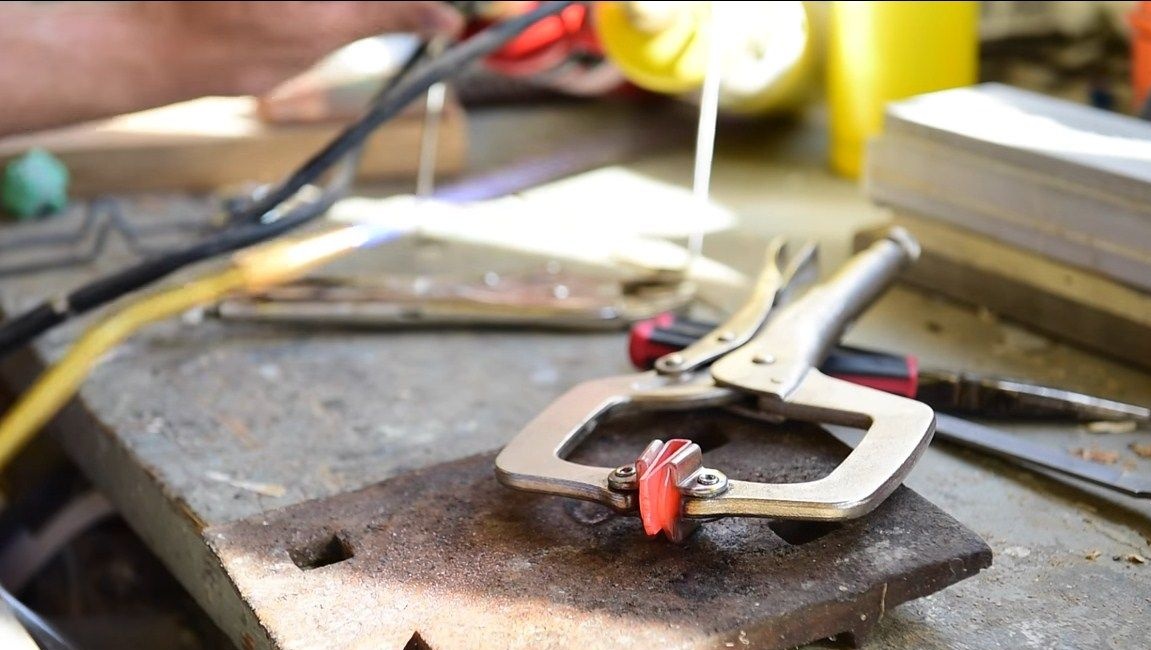
The author also made a back for the handle, so it will last longer, and it looks amazing. The tailpiece is made of a piece of copper pipe and a piece of sheet copper. Both parts are welded together by a gas torch, they can also be soldered or glued with epoxy. The author walks over the emphasis and the back of the hammer, making dents. This gives the impression that the knife is made in antiquity, it looks beautiful.

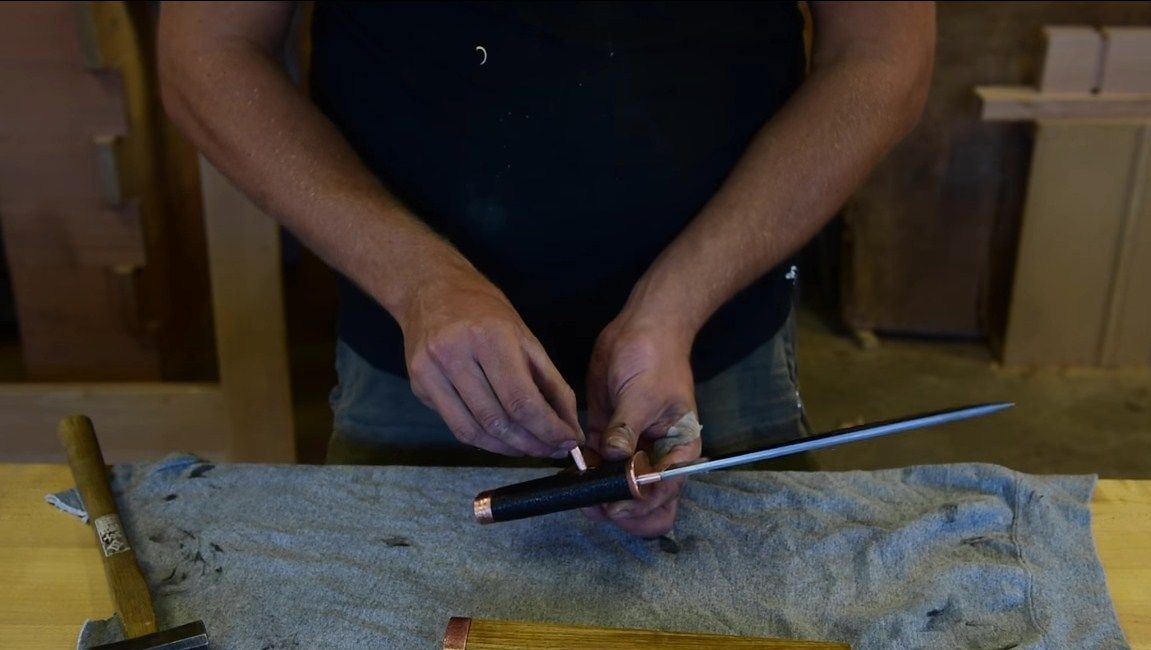
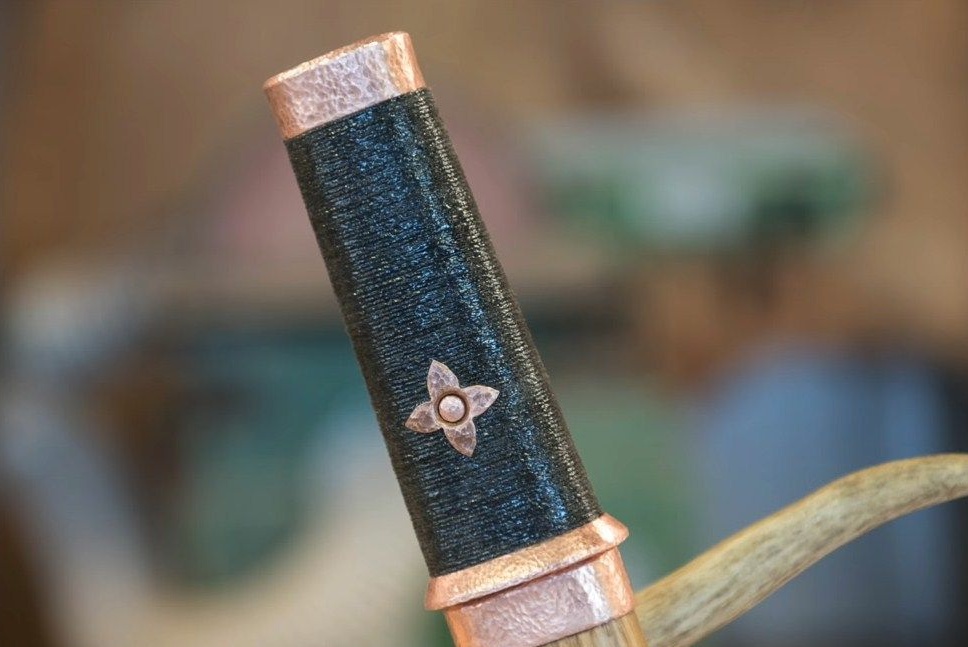
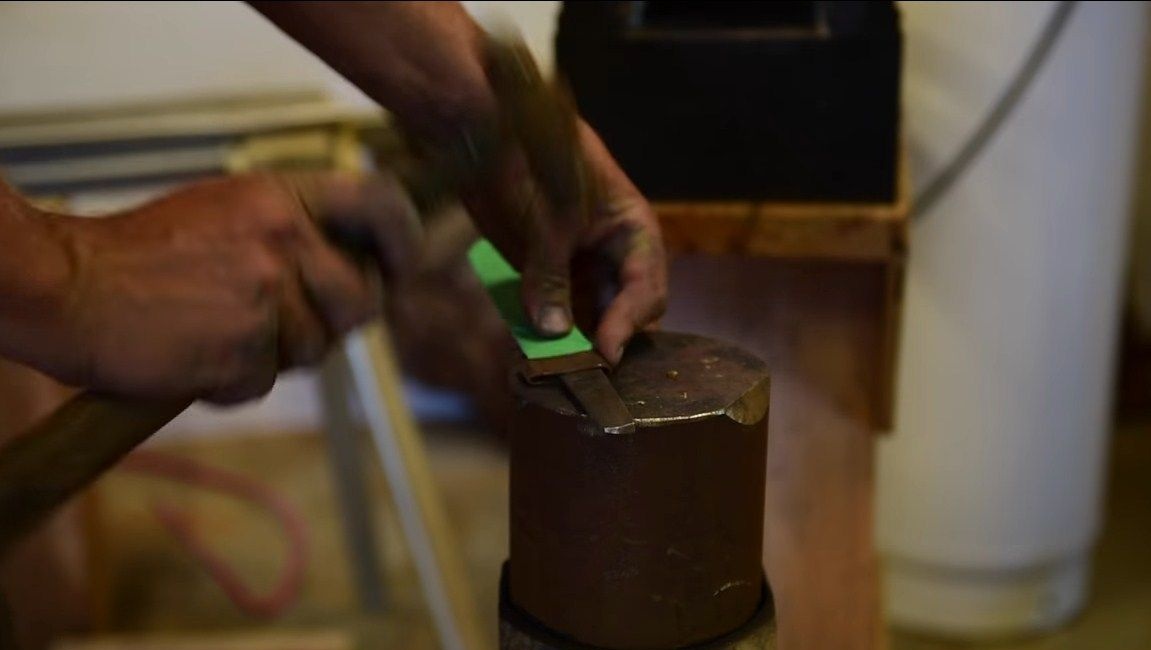
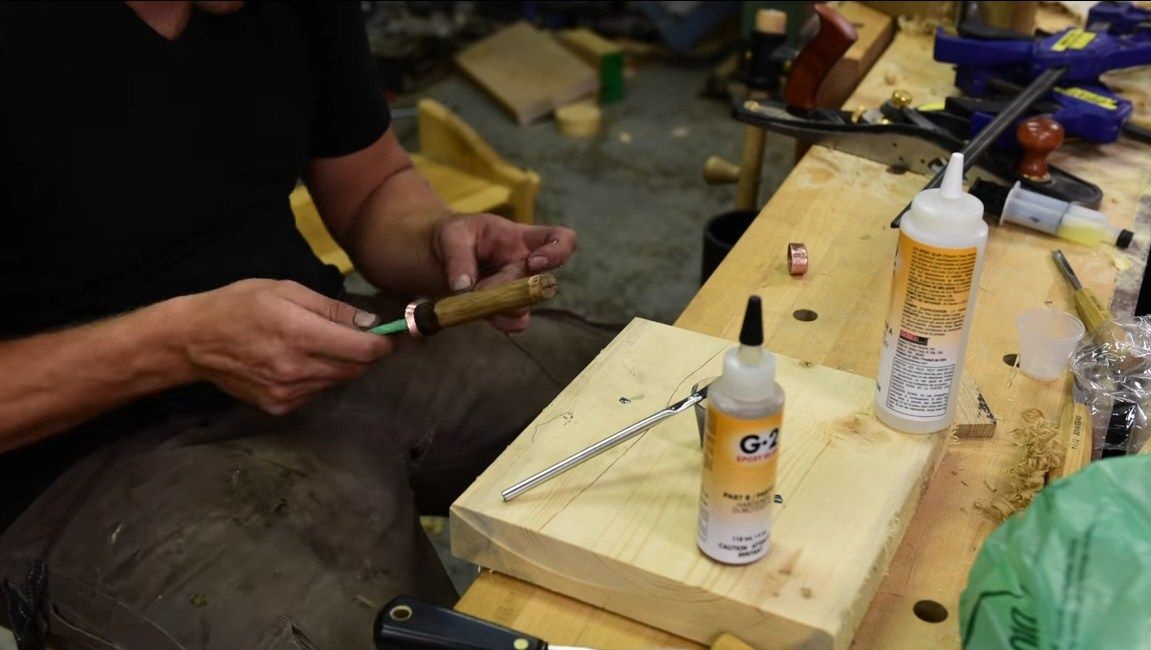
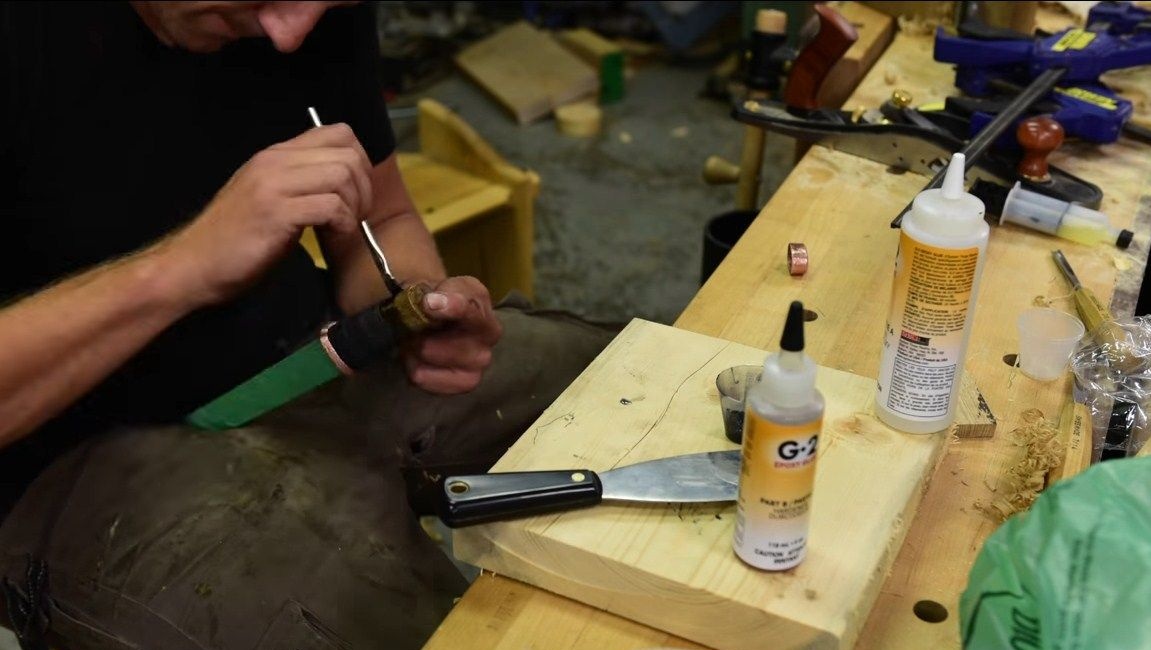
Step Six Pin and decoration
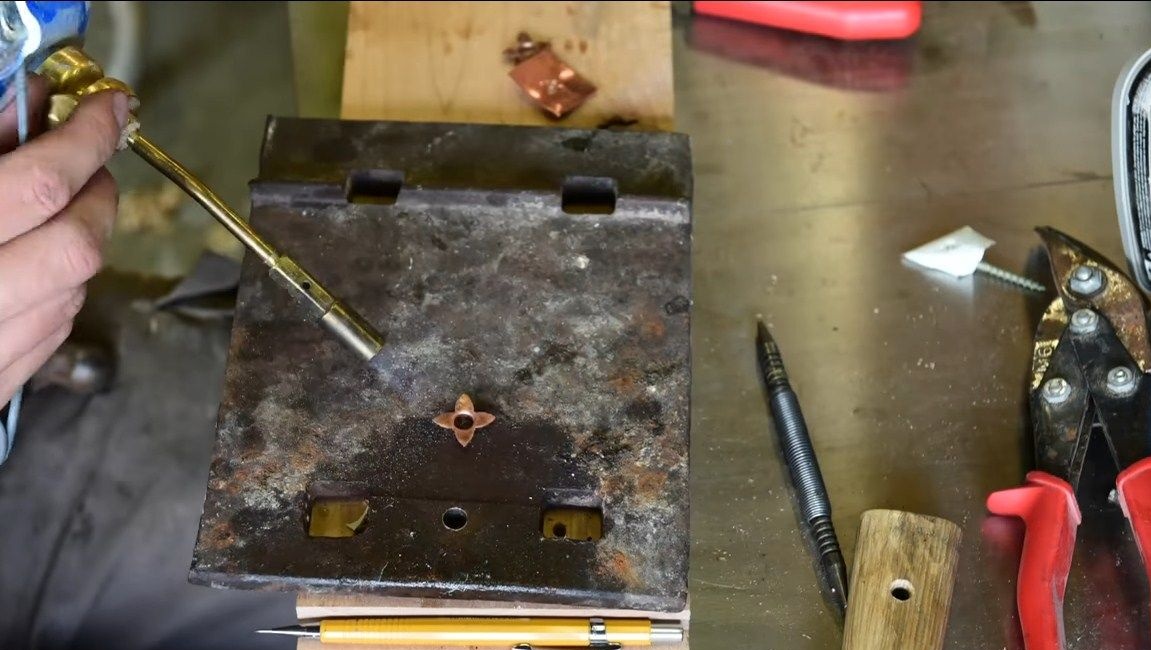
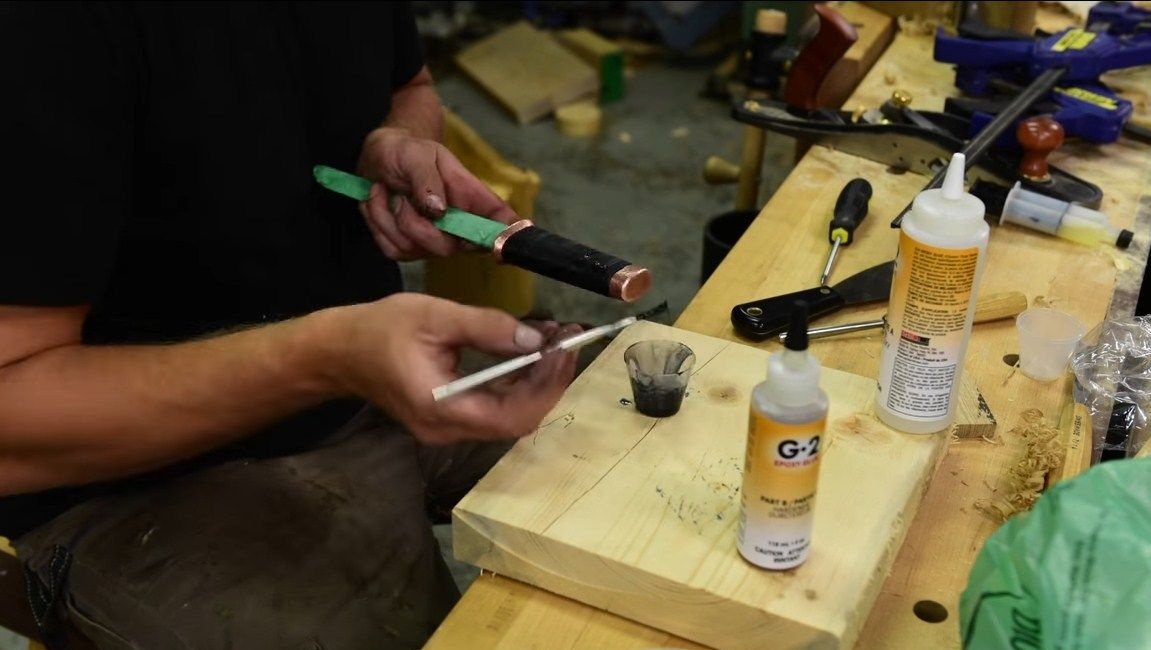
An interesting feature of this knife is that the handle is installed without glue, it rests on one carefully fitted pin. But if desired, it can be planted on glue. First, drill a hole in the place of the handle where the pin will be installed. As a pin, you can use a brass or copper rod. Next, we make two "flowers" as a decoration. Their author makes of sheet copper, the hole needs to be punched, so the flower will be firmly fixed. In more detail, how such details are made, look at the photo.
Seventh step. Finish the handle
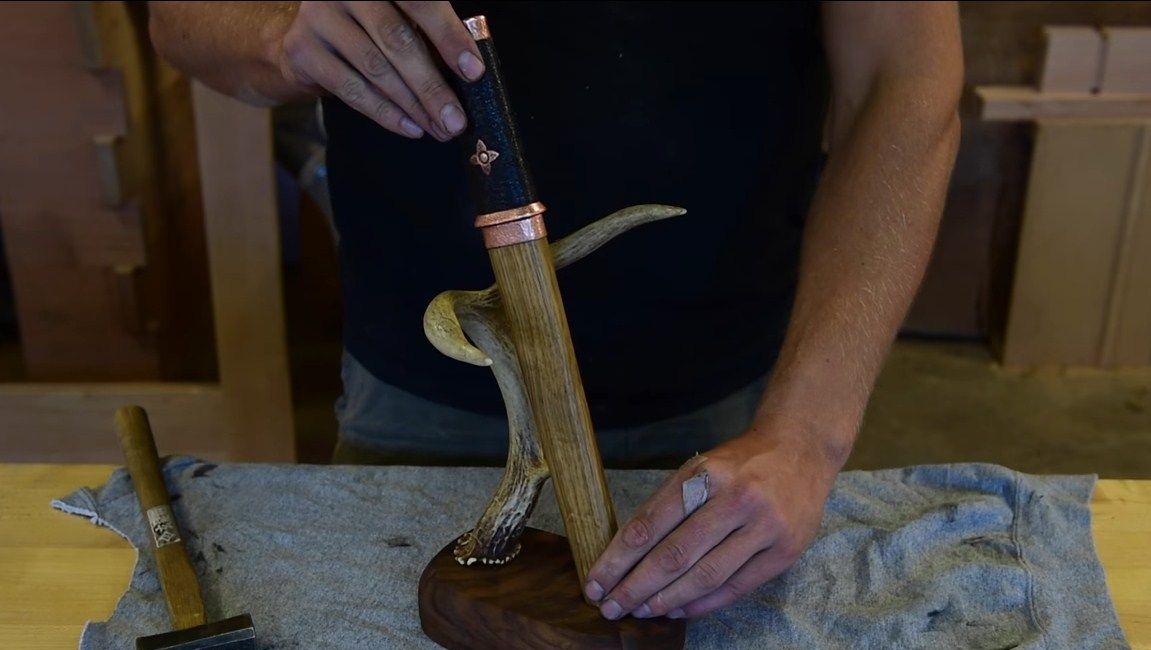
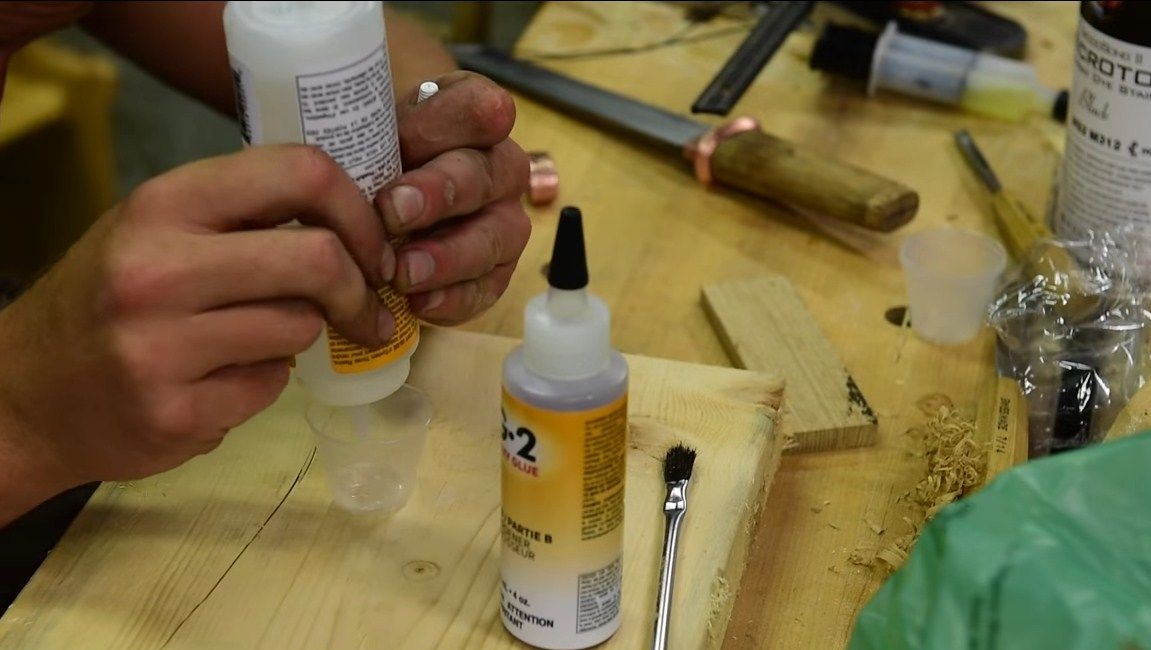
The main material of the handle is wood. From above it is wrapped with a black rope impregnated with glue. The result is a very strong and beautiful pen. For these purposes, we need an epoxy and a black dye. We wind the rope and saturate it well with glue. When the glue dries, we get an excellent resistant coating. The backcloth is also installed on an epoxy. Let the glue dry for a day.
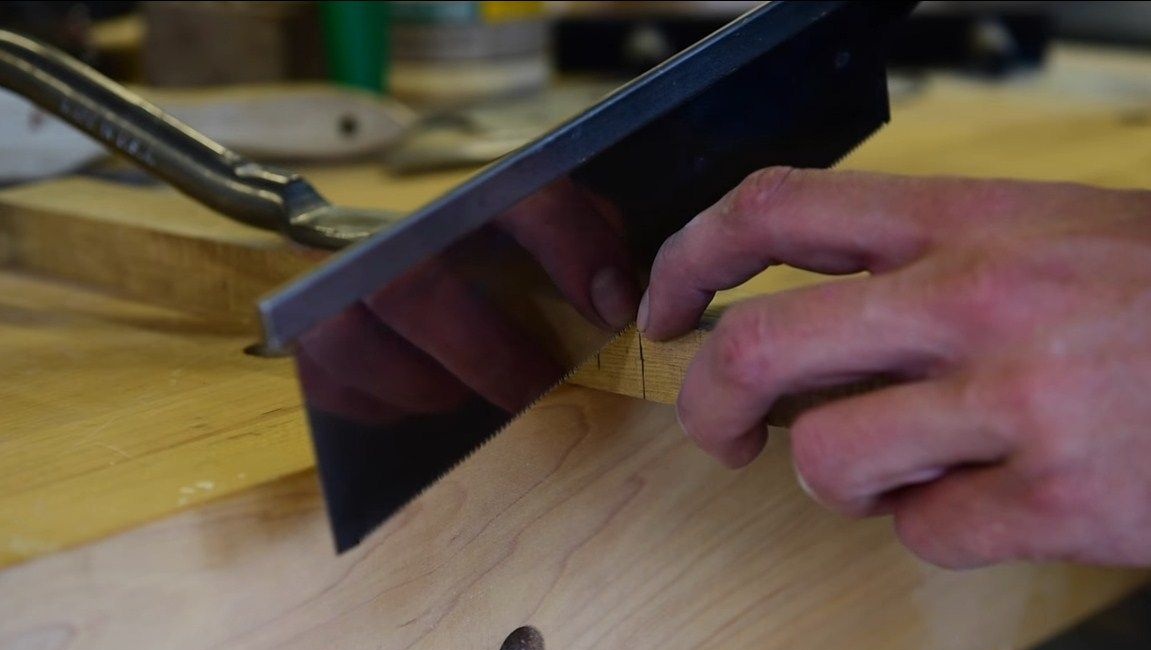
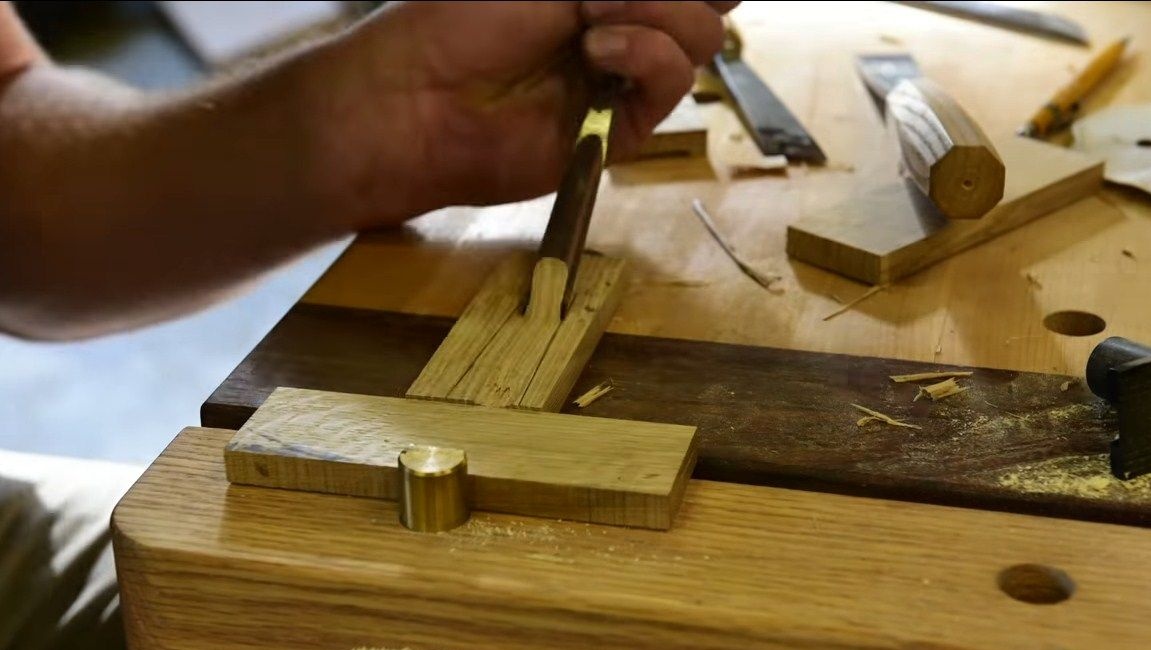
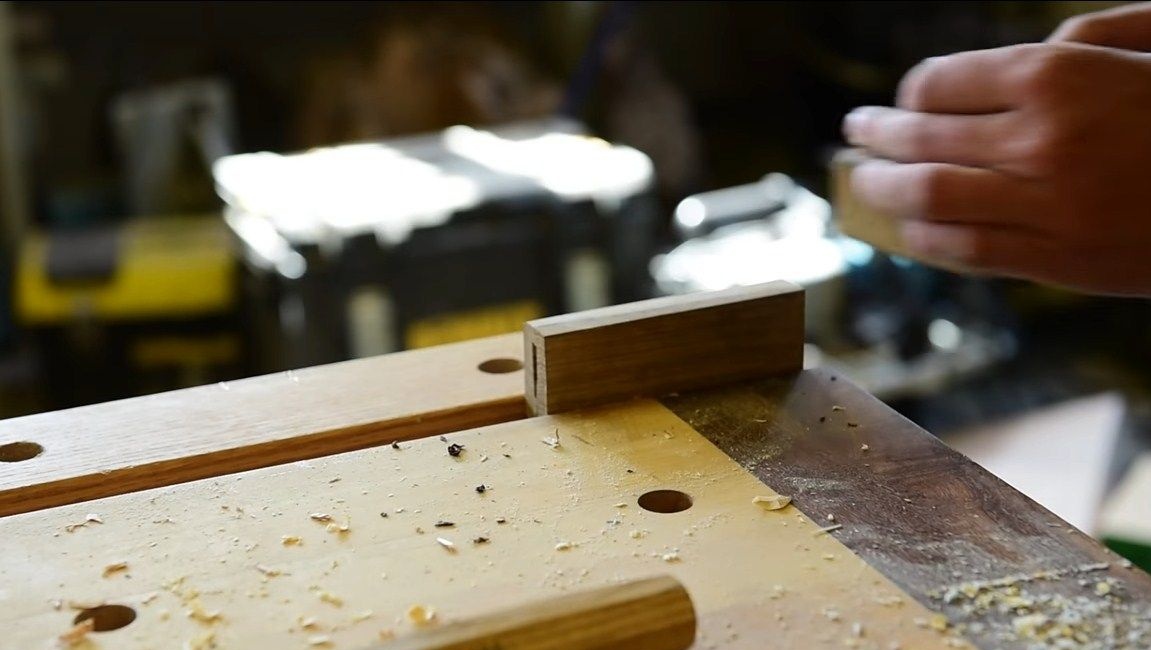
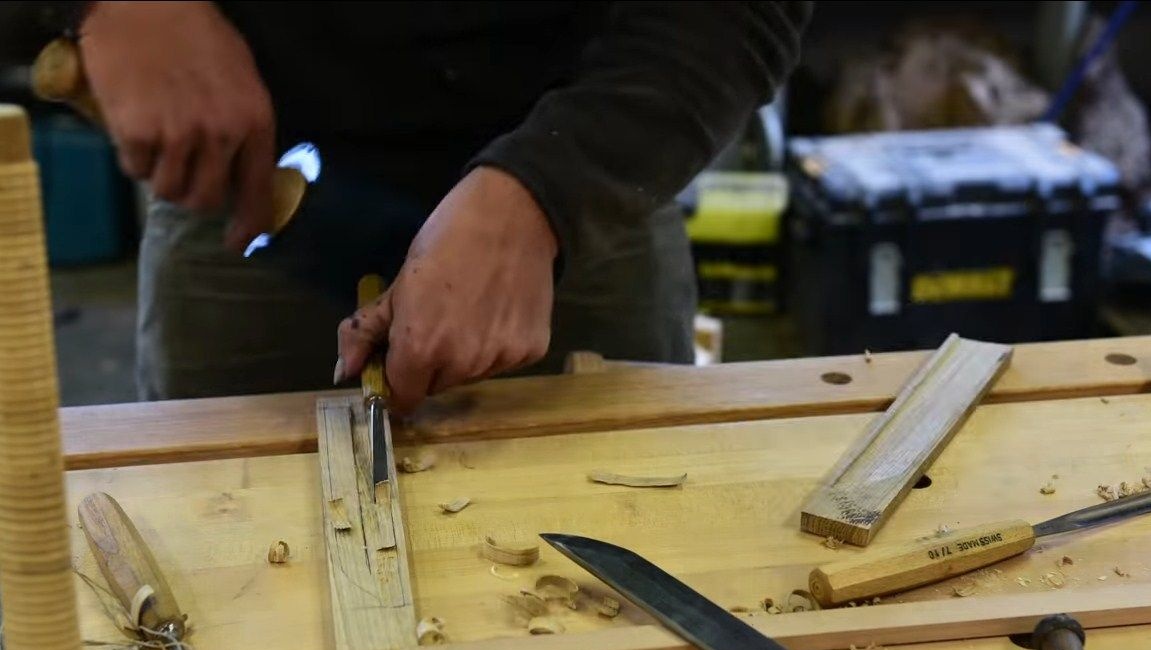
Step Eight. Scabbard and stand
We make scabbard for a knife, they are wooden by the author. We take two boards and with the help of a chisel we form the hollow part into which the blade will go. Further, these parts are glued together with epoxy and the desired profile is formed using files and sandpaper. More rough processing can be carried out by a plane.
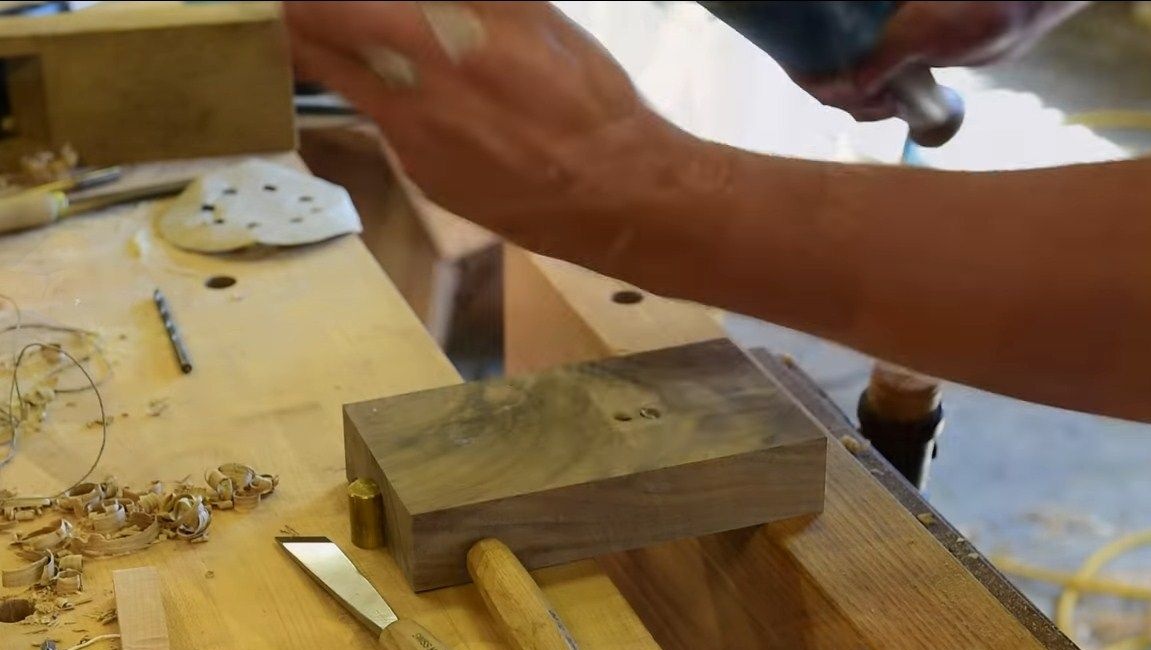
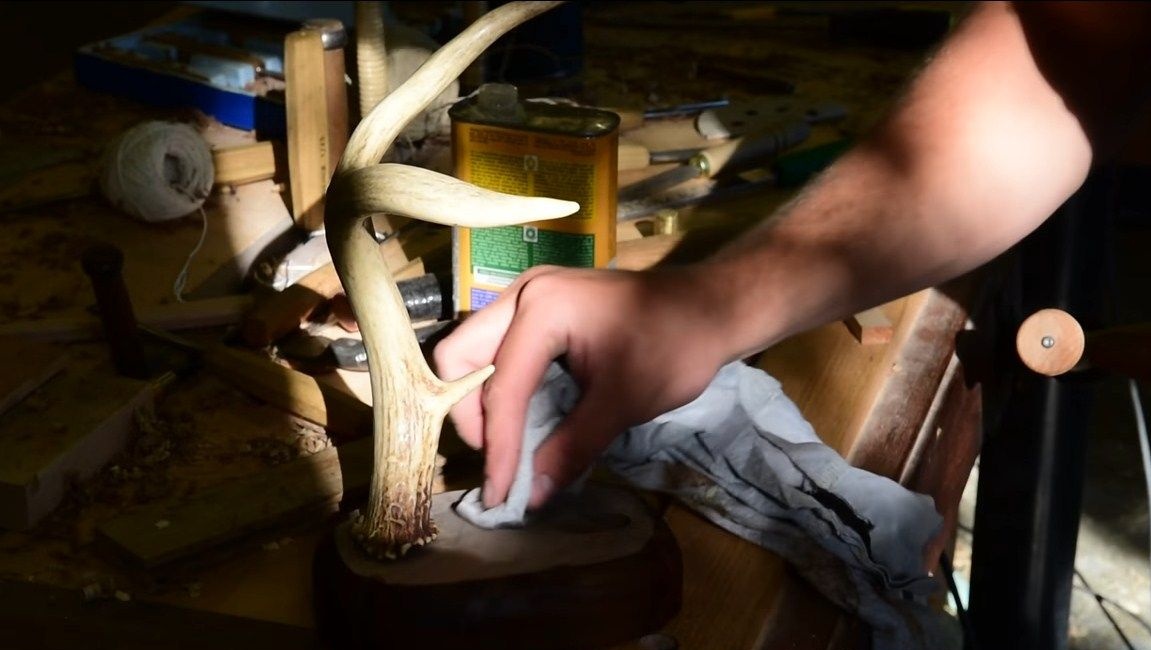
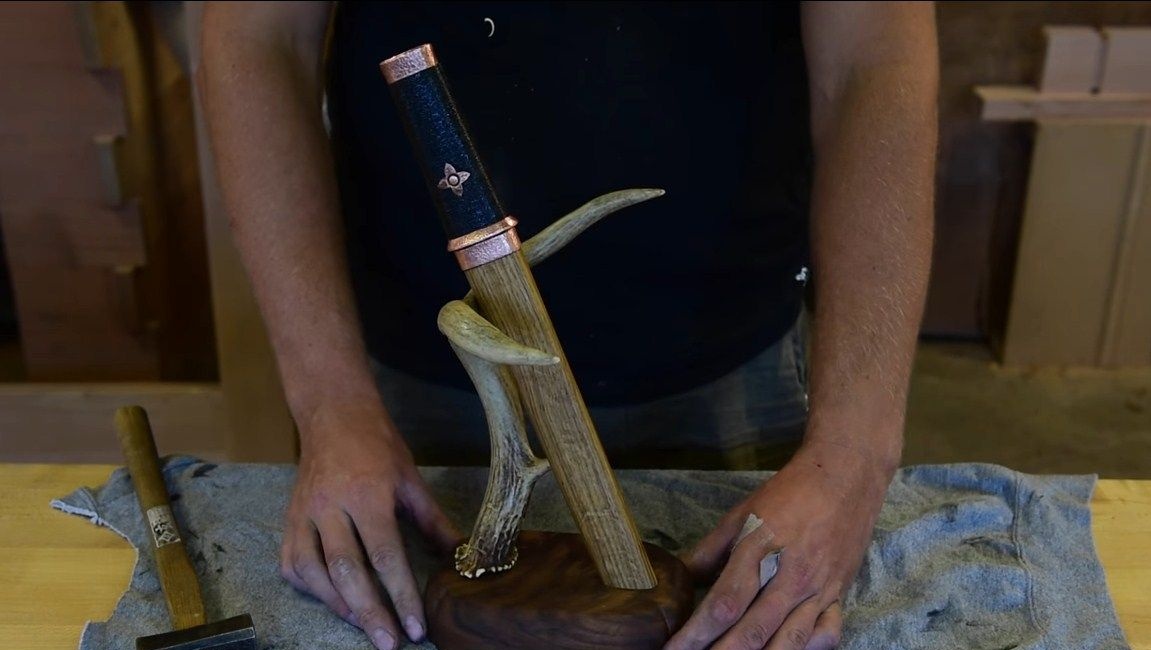
Also, the author decided to make a stand for his masterpiece. Of course, this is not necessary at all. For these purposes, the author used deer horns.We select the material for the base, it can be a piece of a thick board. Using a chisel, we make a recess in it under the nose of the scabbard. The horns should be fixed so that the knife rests on them. We fix the horns using epoxy glue, additionally we fix the horns with a screw and so on.
Step Nine. We collect the knife and test
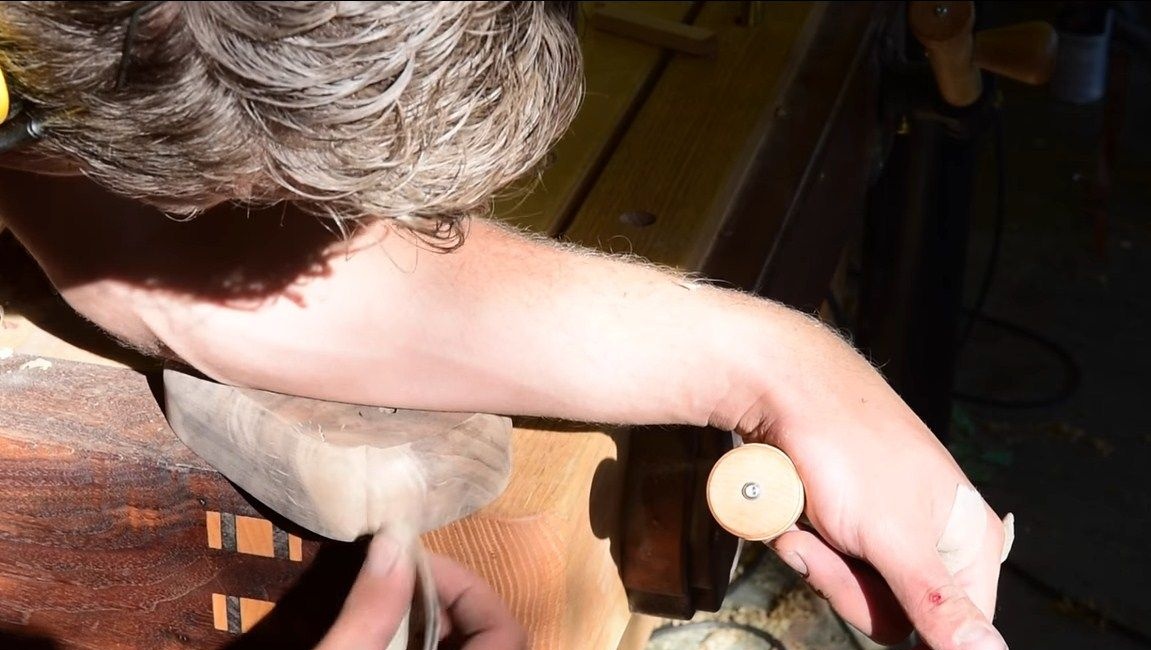
Polish all the details of the knife. For its assembly, the author did not use glue, everything rests on a pin, which is very precisely adjusted to the location. Thanks to this design, the handle can be quickly disassembled and polished or its parts replaced. If you use brass instead of honey, you can collect everything on glue, because brass is much more resistant to oxidation.
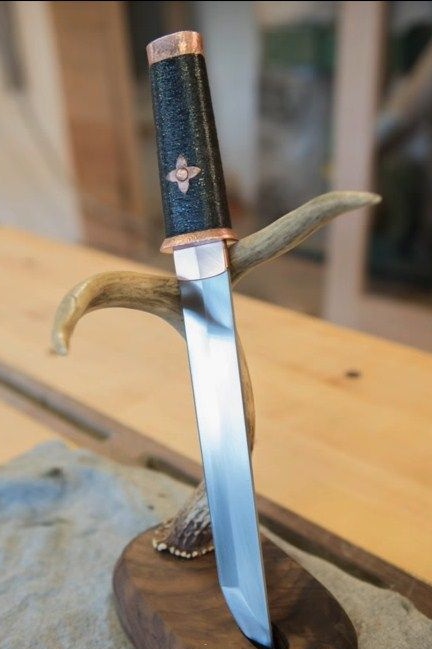
That's all, now the knife is ready, it remains to sharpen it to the state of the blade and put in the scabbard on a chic stand made of horns. Everything looks amazing. That's all, the project is over, I hope you liked it. Good luck and creative inspiration, if you want to repeat it. Do not forget to share your homemade with us!