The site provides several instructions on how to make a whistle. There are difficult to execute, there is easier. Making the whistle presented in this article requires a lathe, but the result is worth it. So, to make the whistle, the master used the following
Tools and materials:
- Brass bar;
-Solder;
-Wooden bar;
-Lathe;
-Cone drill;
- Files;
-Burner;
-Sandpaper;
-Polishing disc;
-Vise;
Step One: Theory
In the first step, the Master reminds us how the whistle works.
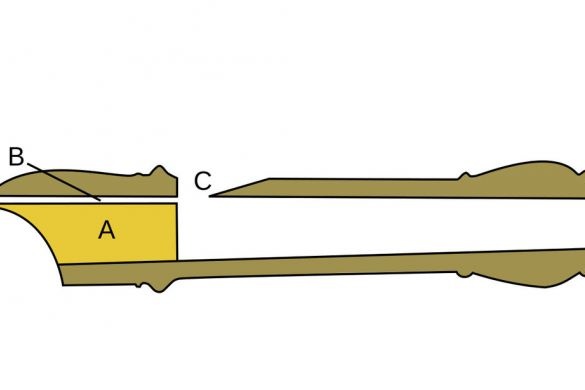
Air, under pressure, passing through channel B and reaching resonator C makes a sound. The greater the pressure and flow rate, the lower the tone, and vice versa.
Step Two: Workpiece Processing
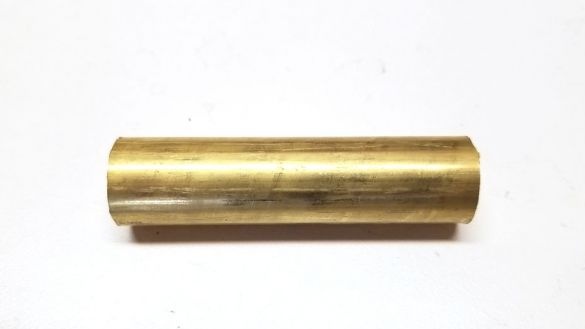
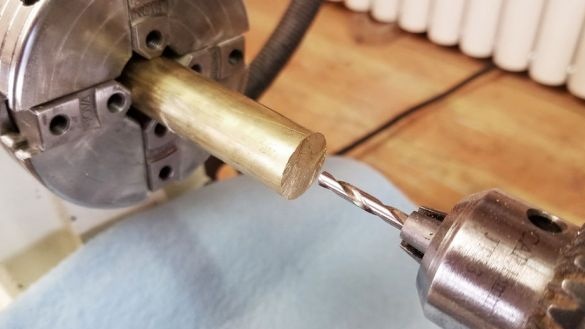
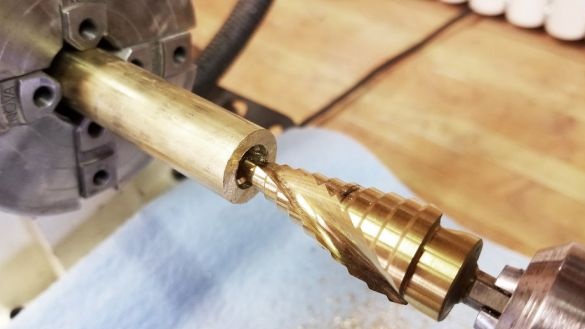
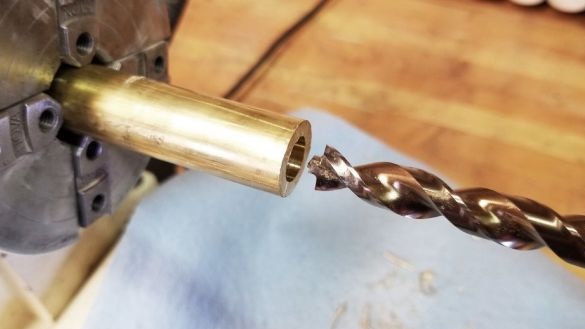
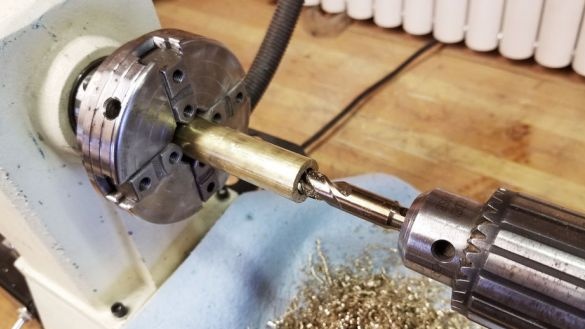
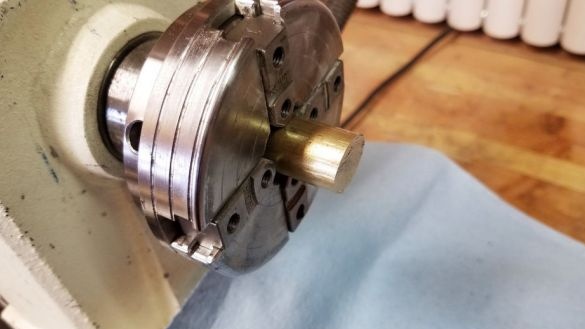
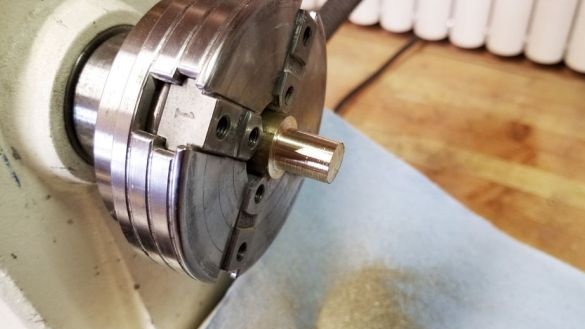
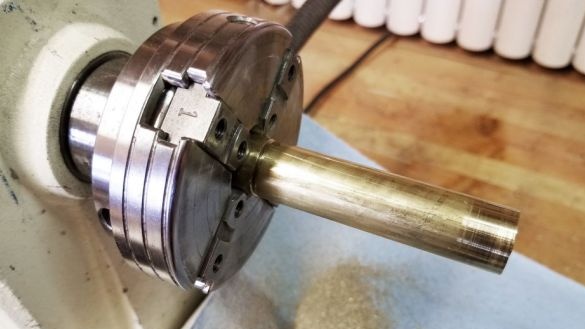
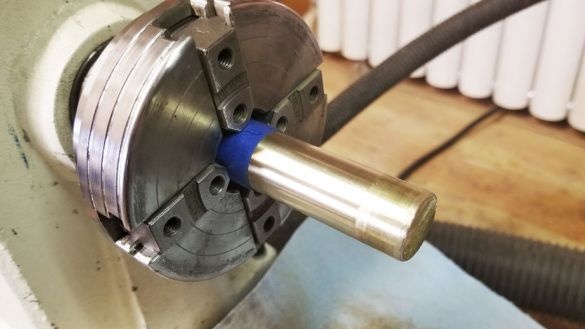
Clamps a brass blank in a lathe chuck. A hole is drilled in the center of the workpiece.
Step Three: Insert
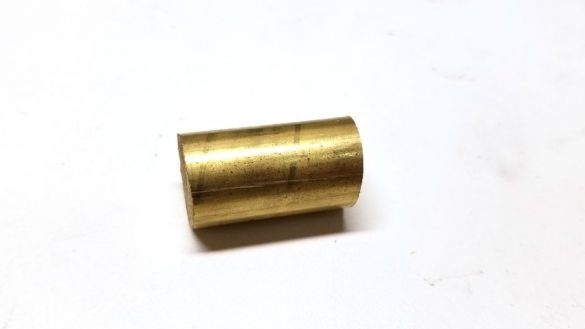
Turns a brass insert along the diameter of the billet hole.
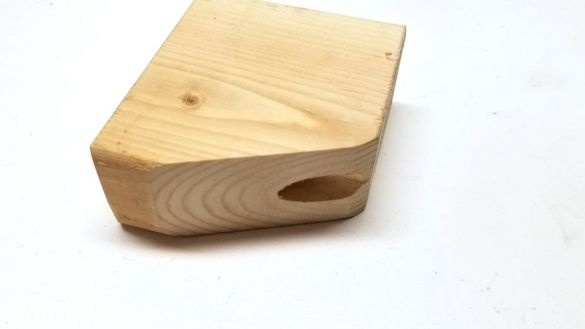
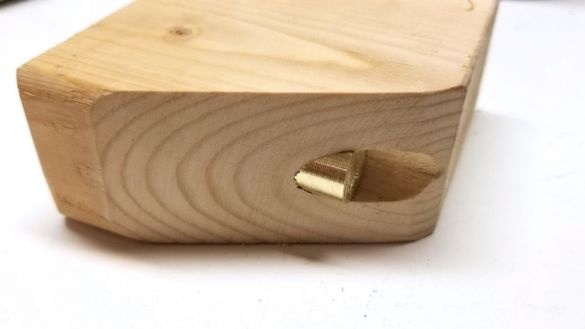
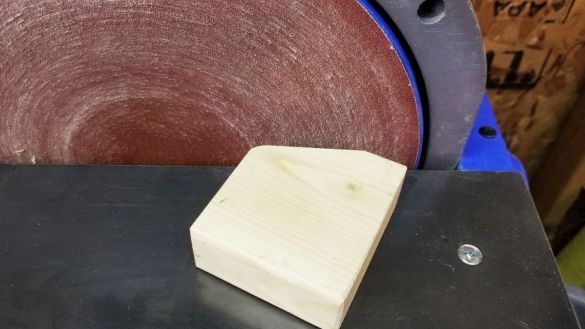
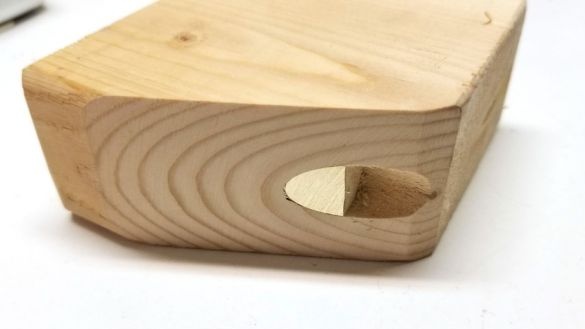
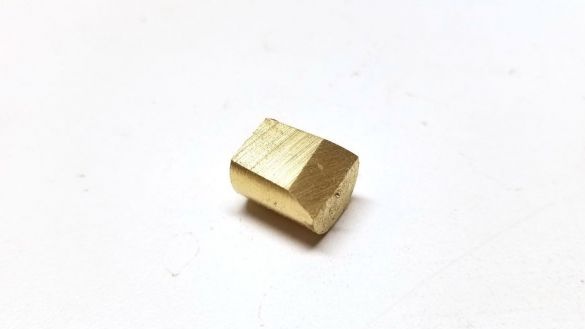
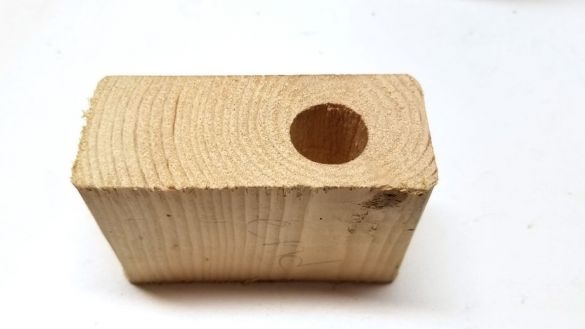
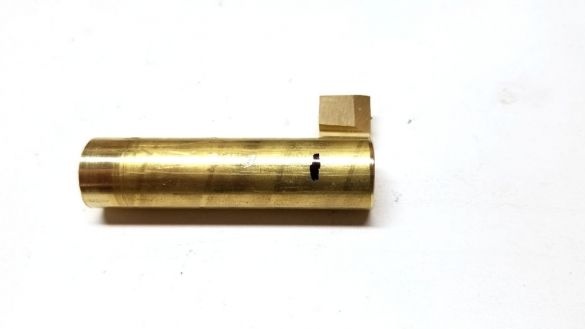
Now the insert (sleeve) needs to be cut at a certain angle. To do this, the master drills a hole in a wooden block at an angle of 25 degrees. Inserts a sleeve into the hole. Sews the sleeve.
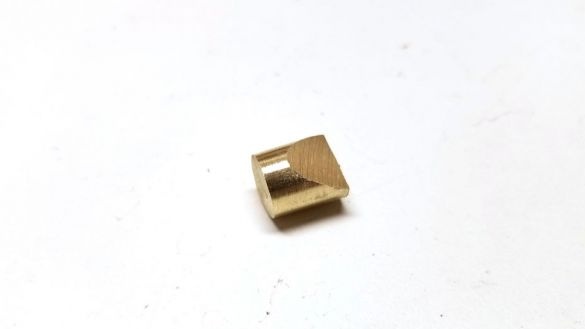
Drills another hole in the bar. Inserts a sleeve into it. Cutting off part of the sleeve.
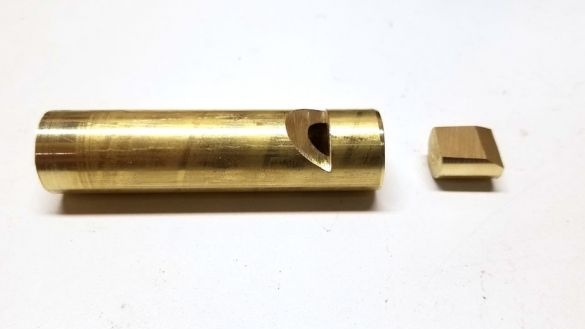
This is the shape of the insert.
Step Four: Resonator
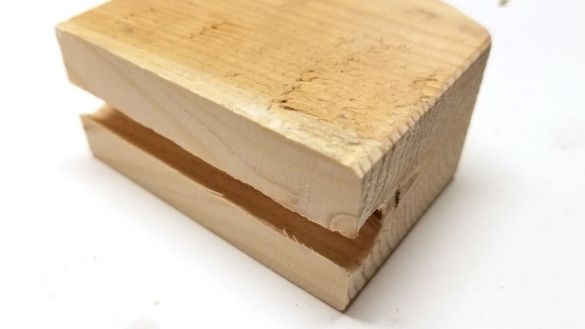
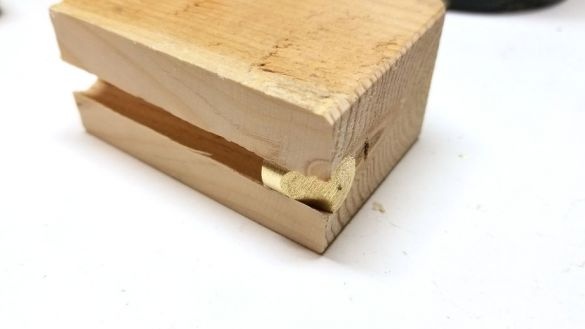
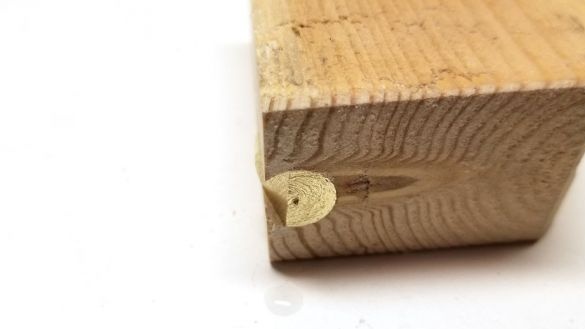
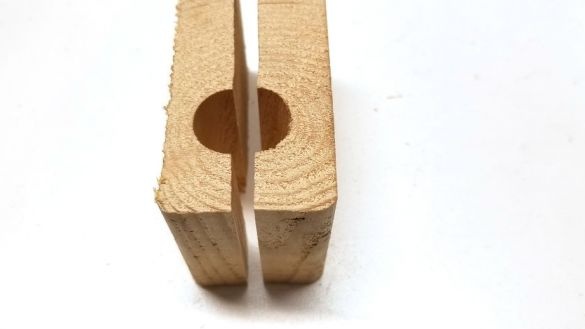
For further processing of the workpiece, the master makes wooden "sponges". In a wooden block, drills a hole and cuts the block into two parts.
Marks the place of cutting on the workpiece.
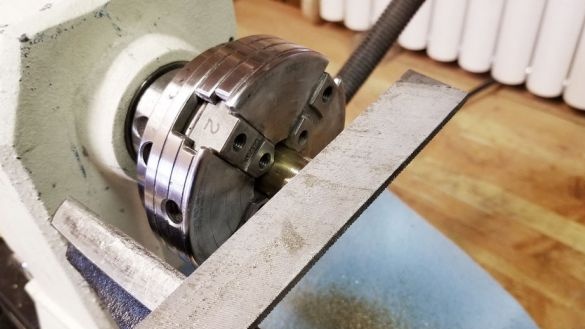
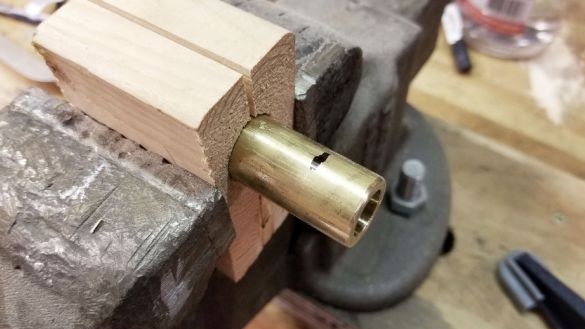
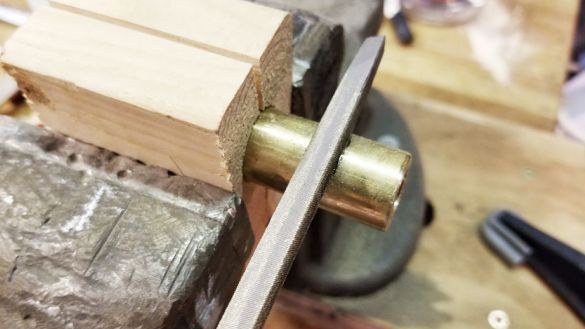
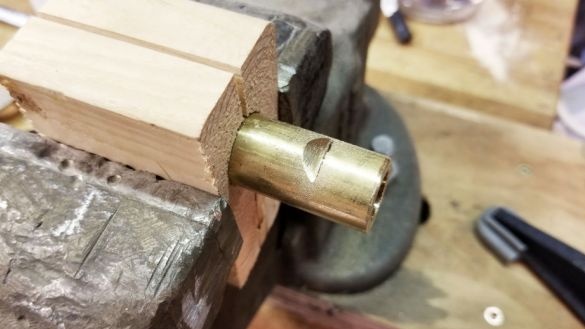
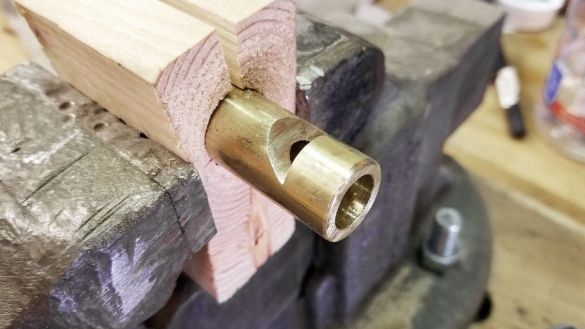
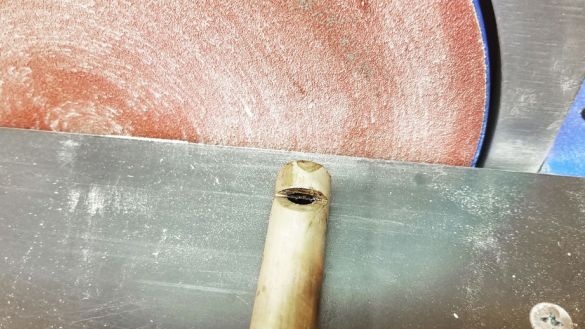
Clamps the workpiece in a vise and makes a cut.
Step Five: Soldering
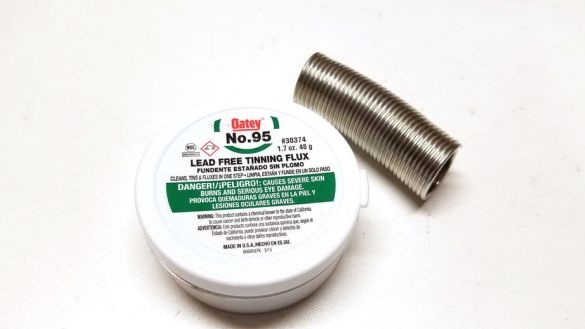
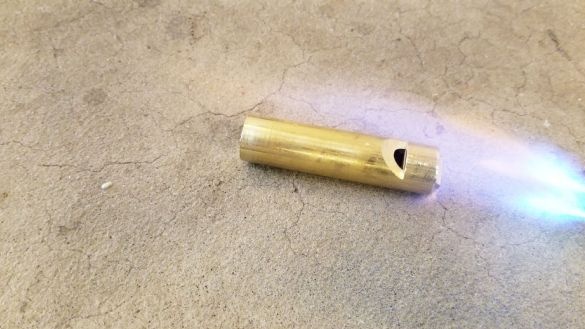
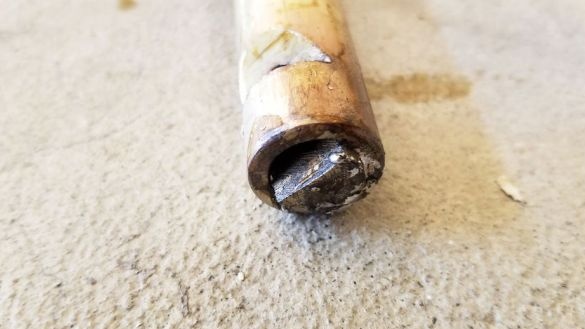
Apply solder to the sleeve. Sets the sleeve to the whistle not completely. Heats the edge of the whistle with a torch until the solder melts.
Stitches the edge of the sleeve in one plane with the edge of the whistle.
Step Six: Polishing
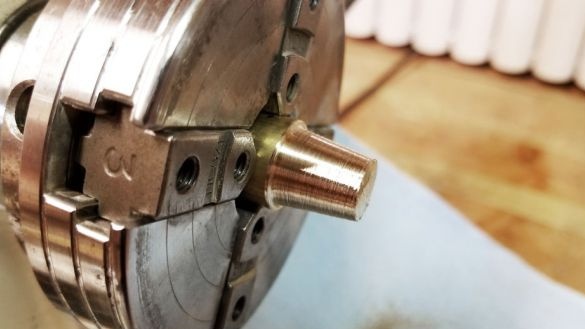
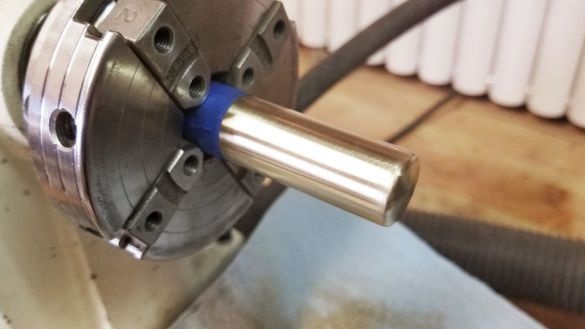
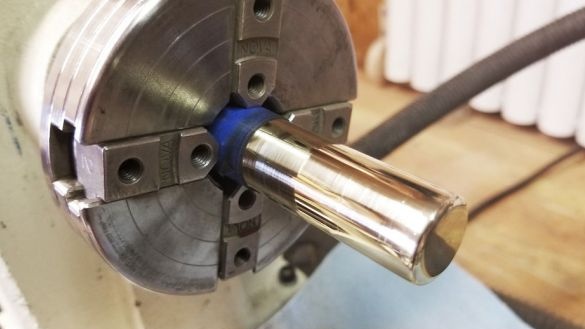
Clamps the whistle in a lathe and polishes.
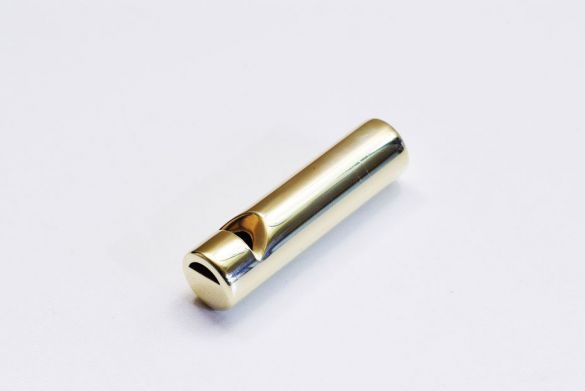
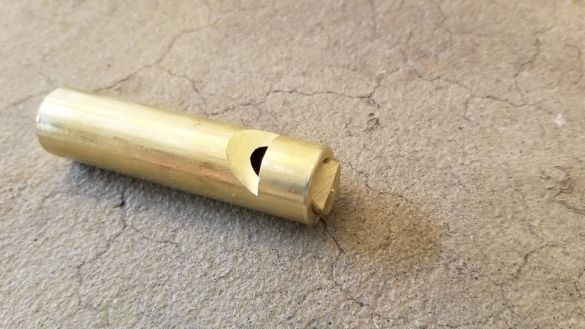
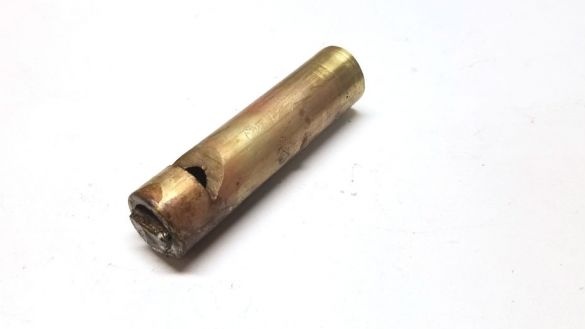
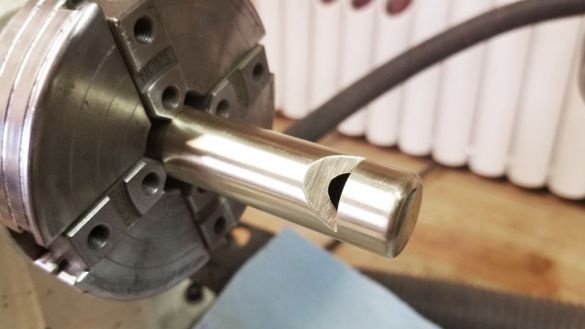
The whistle is ready.

