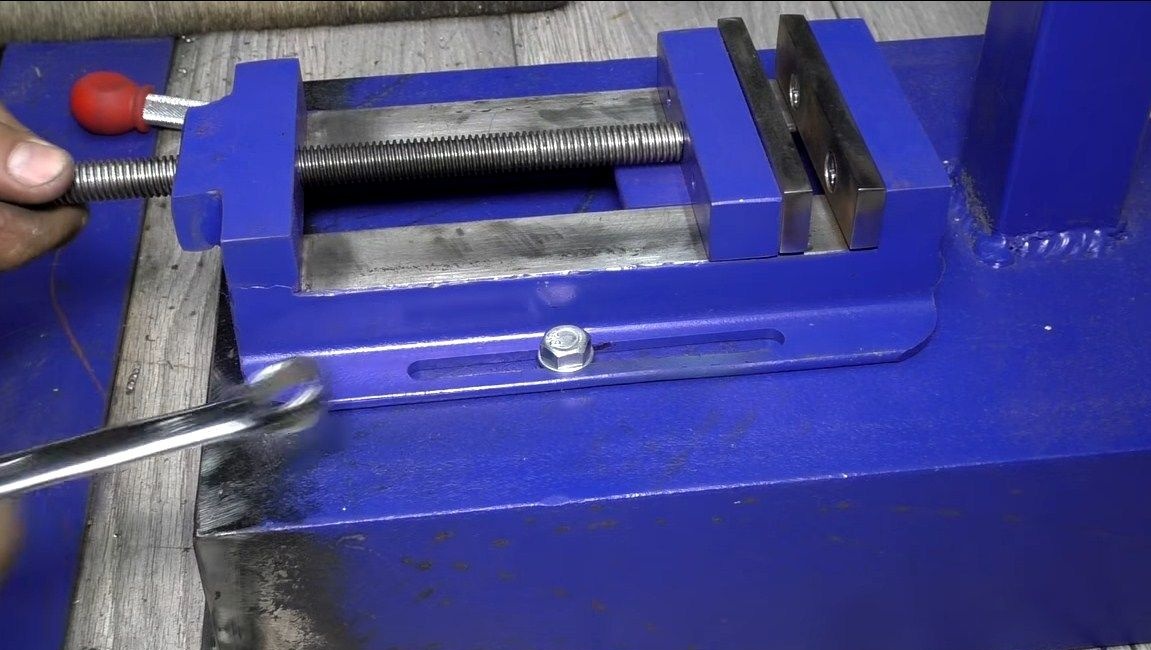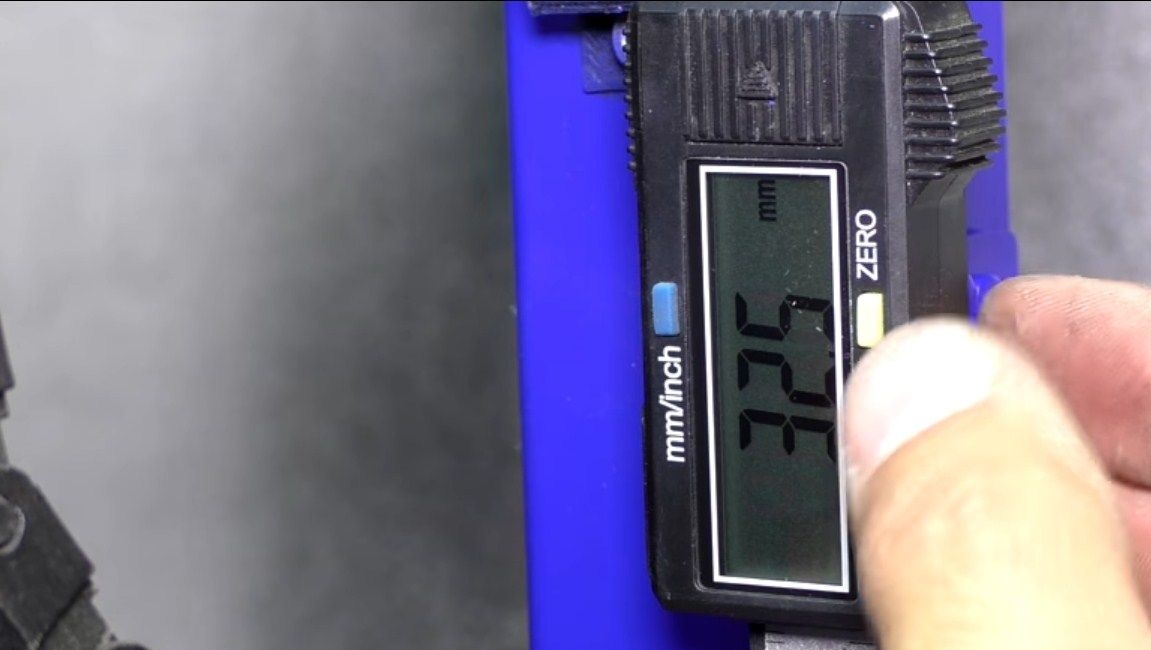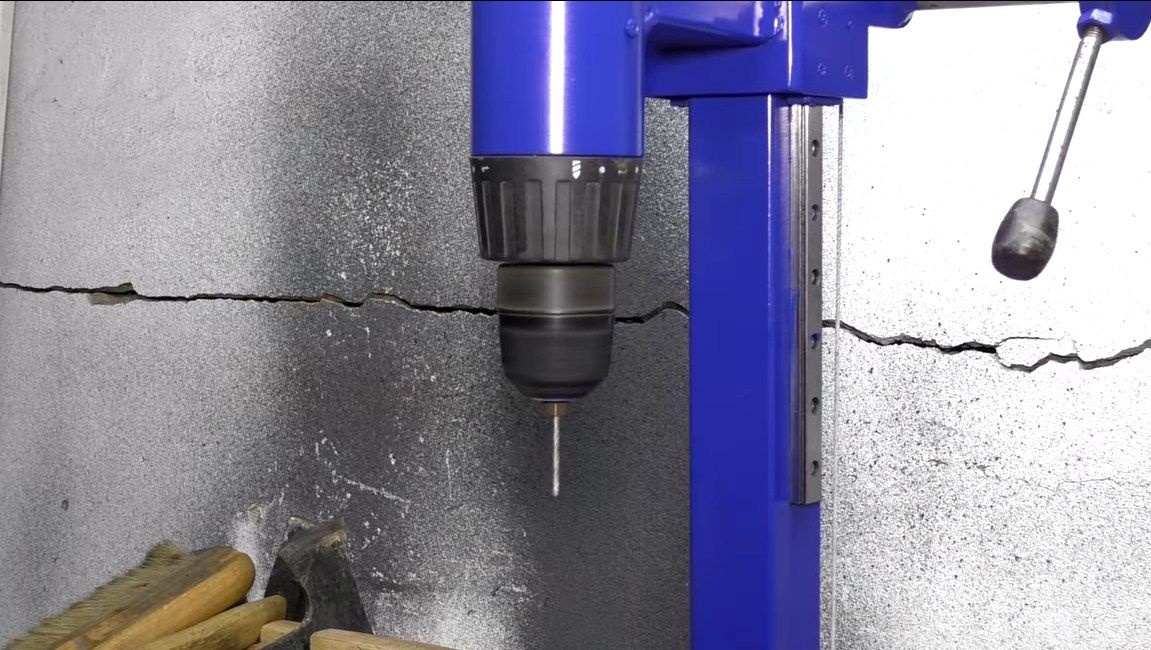
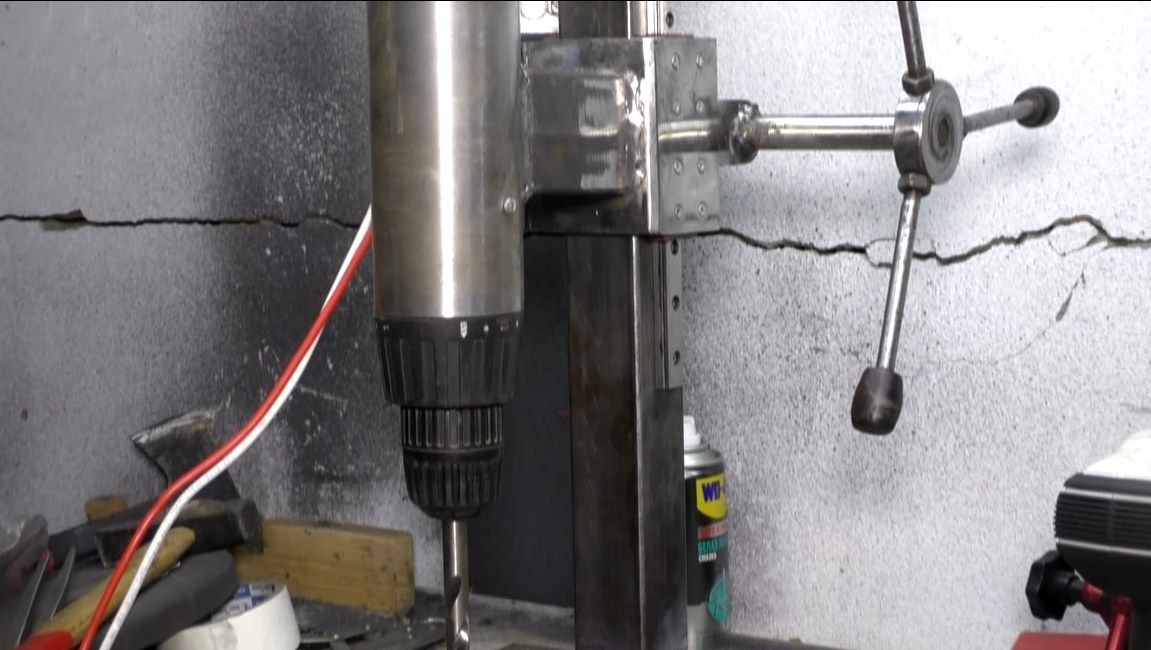
Greetings to fans to craft. I present to you the professional version of a miniature drilling machine. There is almost everything you need for high-quality and accurate drilling. An LED flashlight is installed on the machine, which can be easily installed in any position. Also, a digital vernier caliper is installed on the stand, it will allow you to drill holes to a clearly defined depth. There is also a drilling vice, which is installed on the basis. A convenient handle allows you to easily and accurately lower the drill like on a real drilling machine.
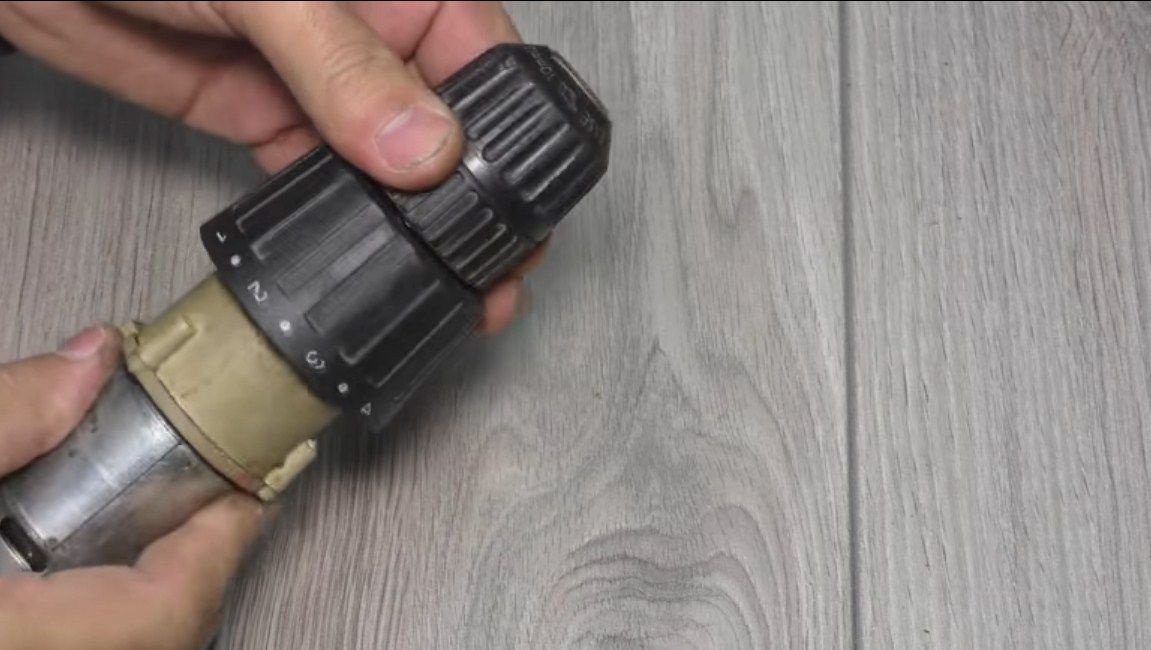
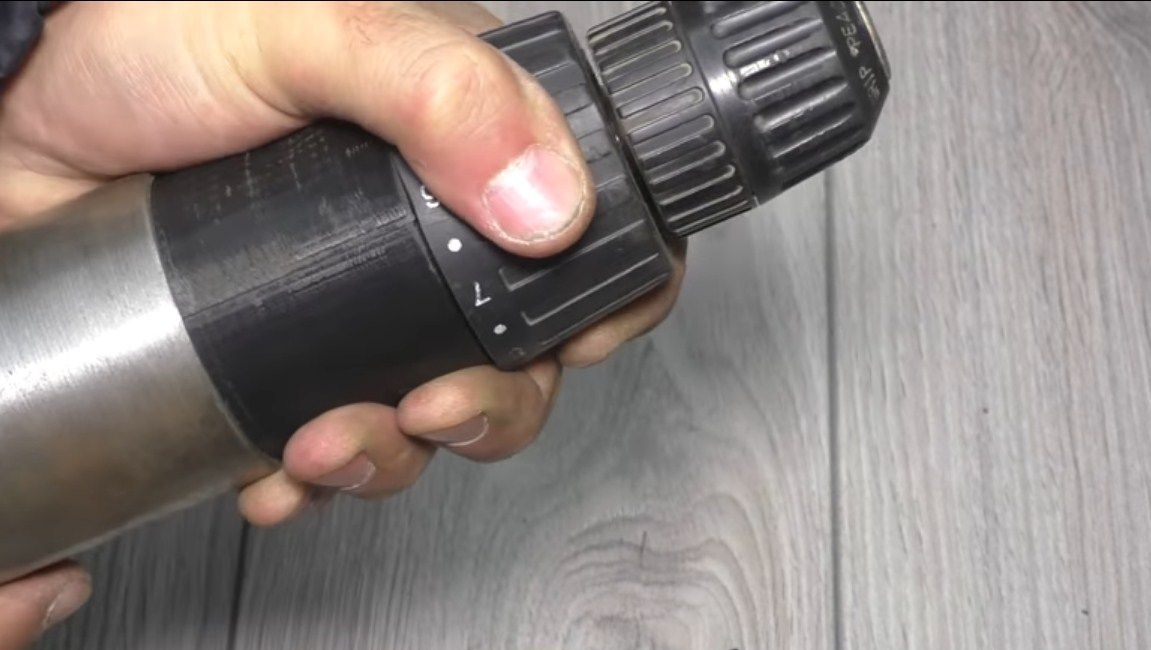
As an engine, the author used a unit from a screwdriver. This will allow you to power the machine from the battery or from the power supply. If accuracy is important to you, choose a unit with a good gearbox, without cartridge backlash. The frame is assembled from available materials, like other components. So, let’s take a closer look at how you can make such a machine!
Materials and tools used by the author:
Material List:
- a piece of channel (for the basis);
- a piece of a square pipe (for a rack);
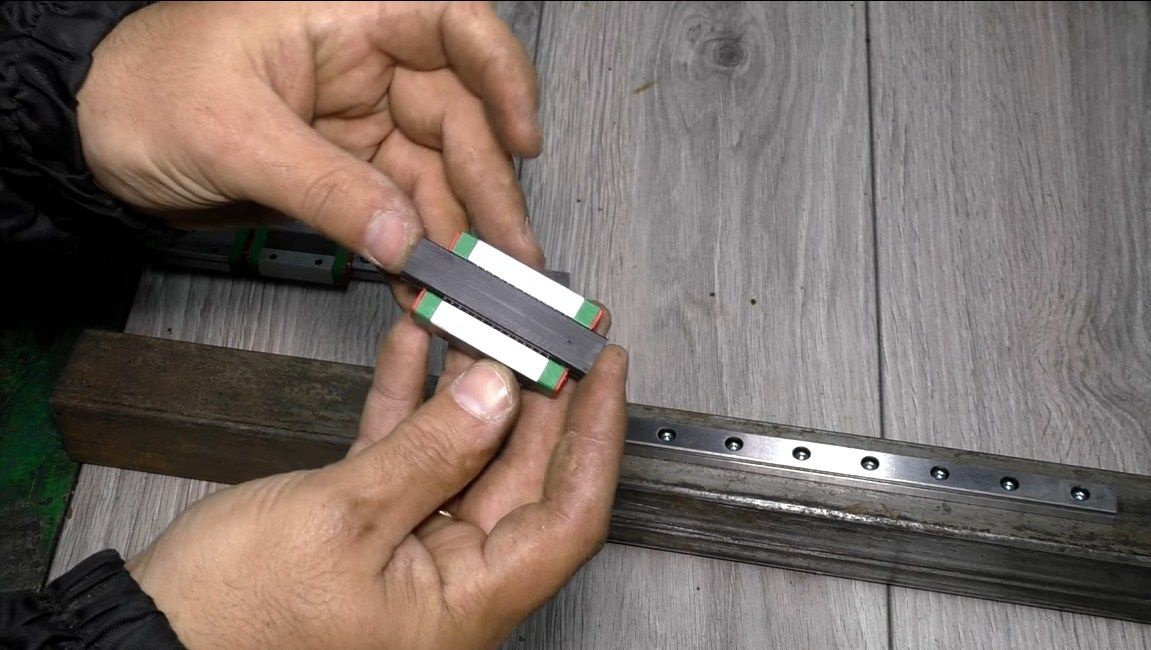
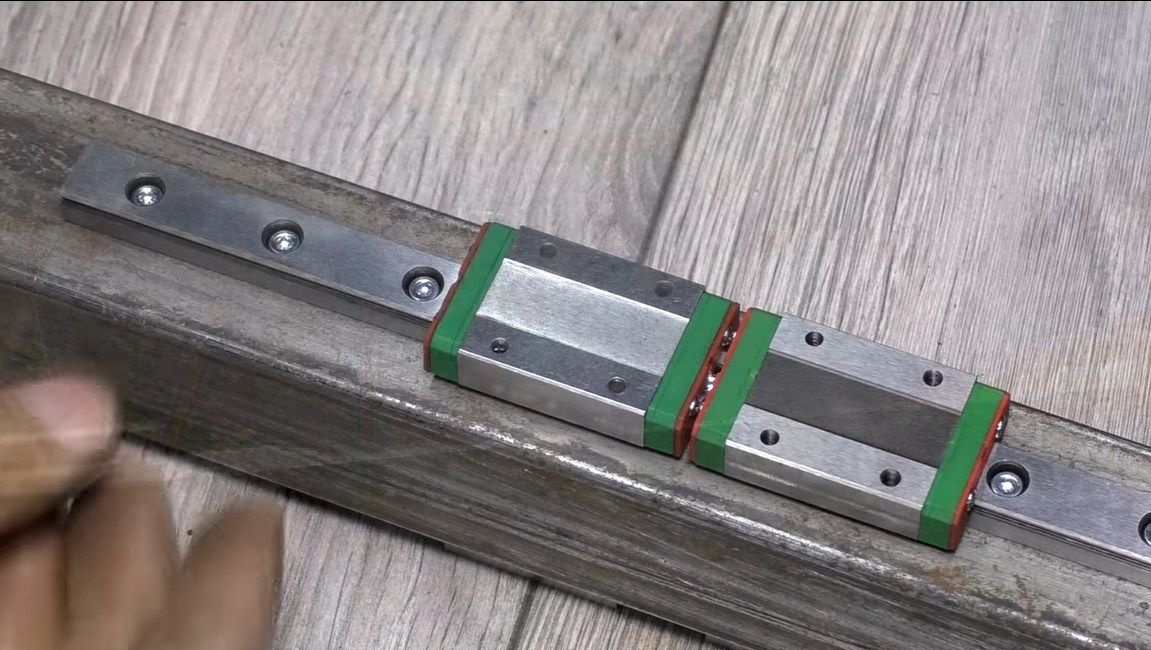
- two sliders (with minimal backlash);
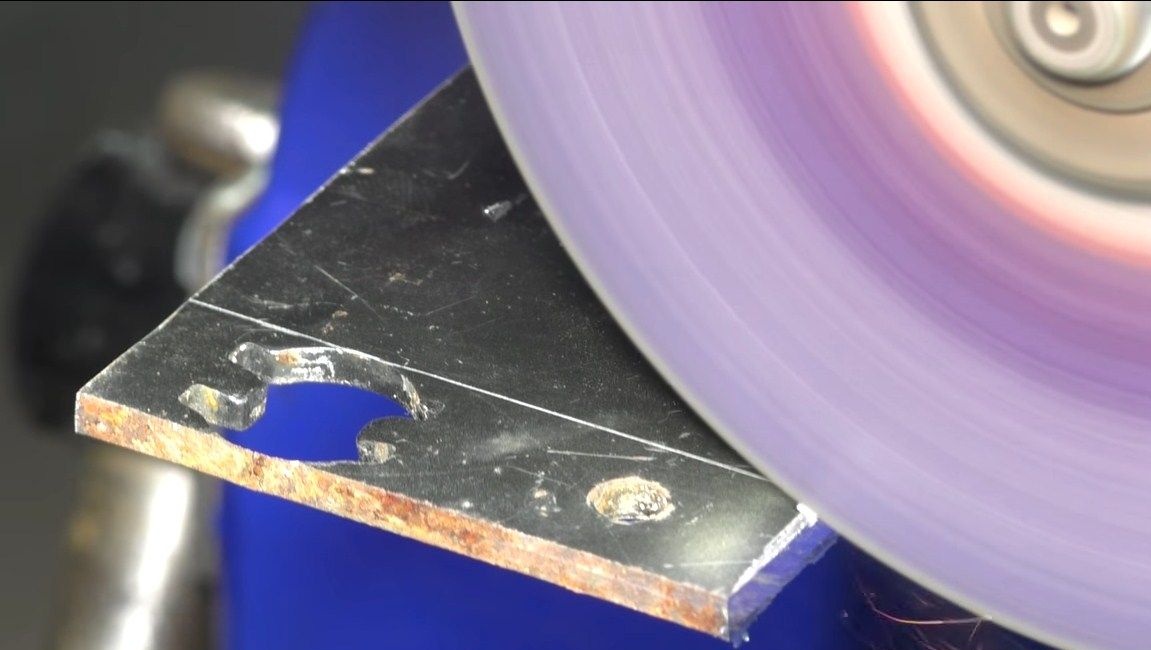
- Sheet steel;
- a node from the screwdriver;
- a piece of a round pipe (to fix the engine);
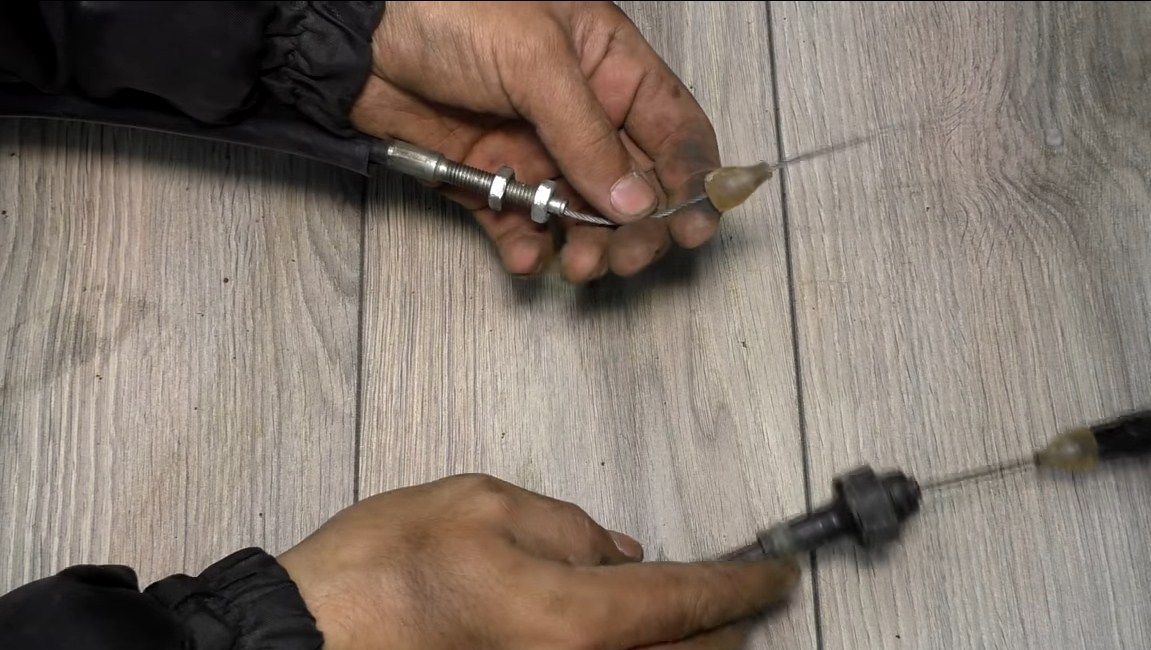
- a cable from a bicycle;
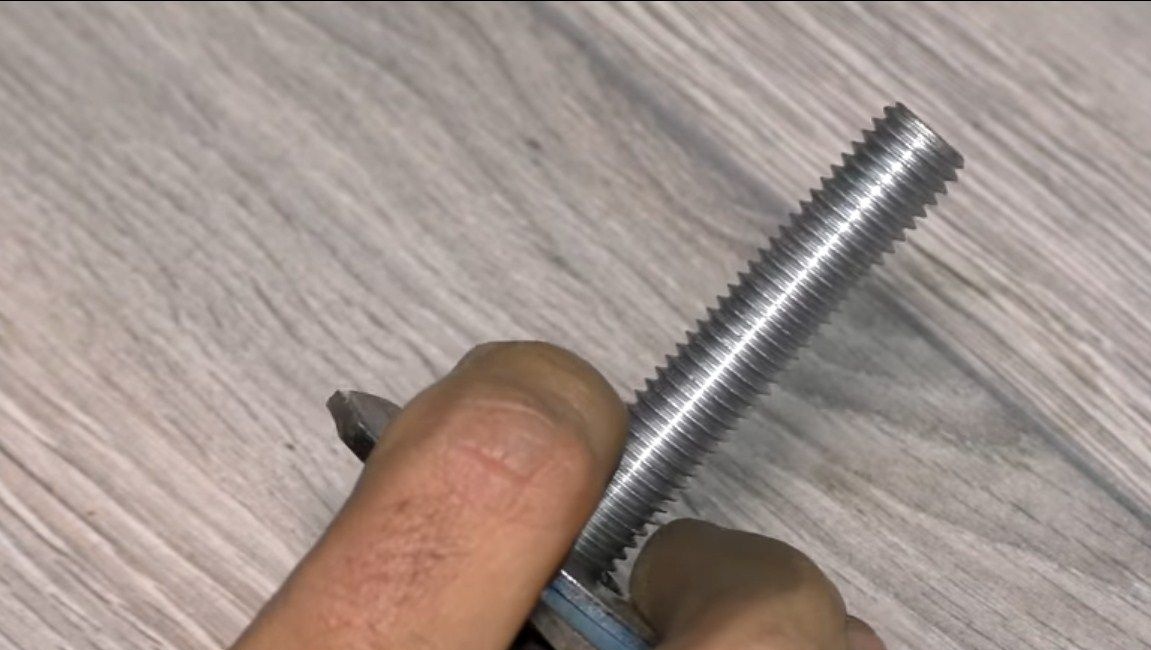
- screws, nuts, bolts and other little things;
- LED strip, vernier caliper, drill vice (optional).
Tool List:
-
- grinder;
- roulette;
- drill;
- grinder and more.
The manufacturing process of the drilling machine:
Step one. Install the engine in the housing
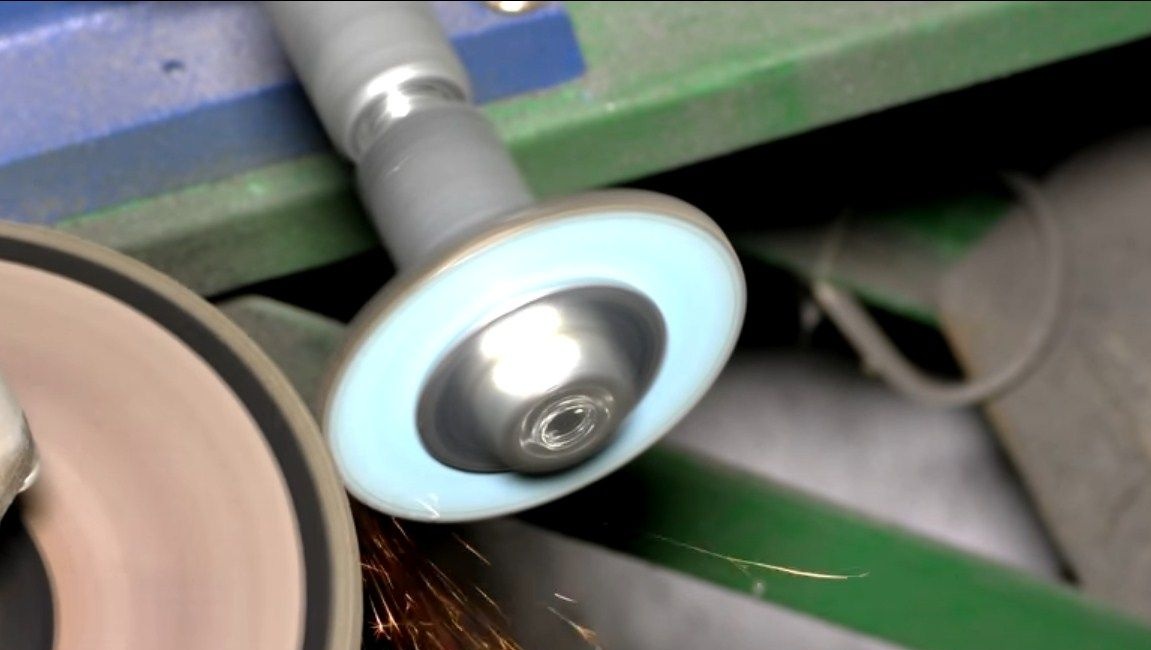
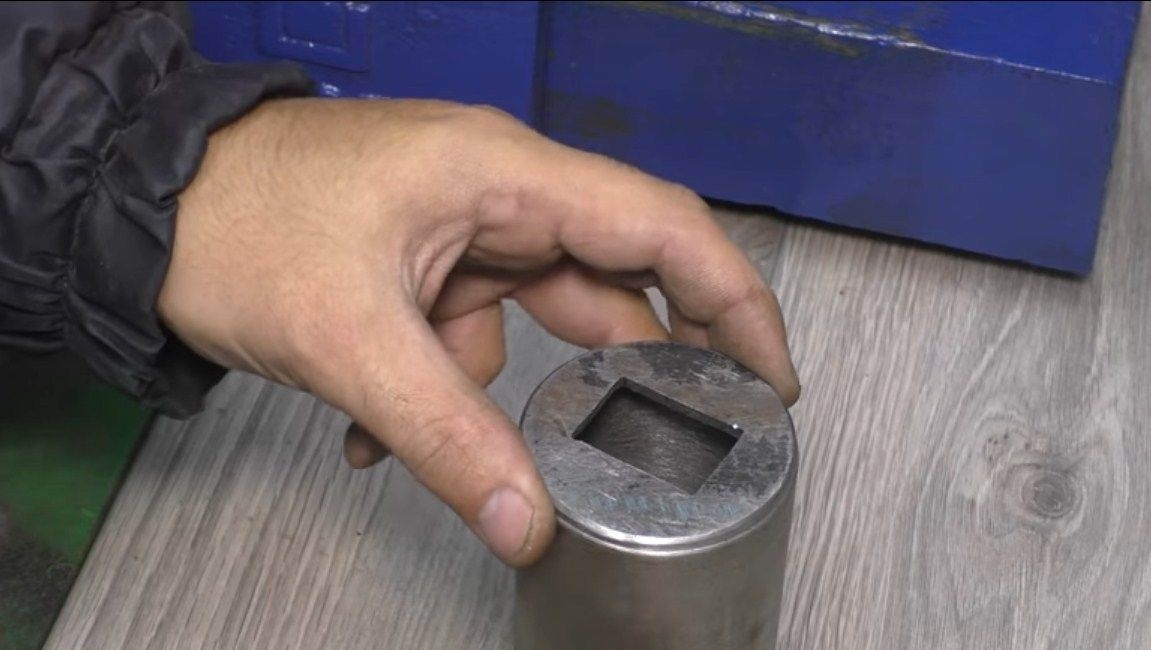
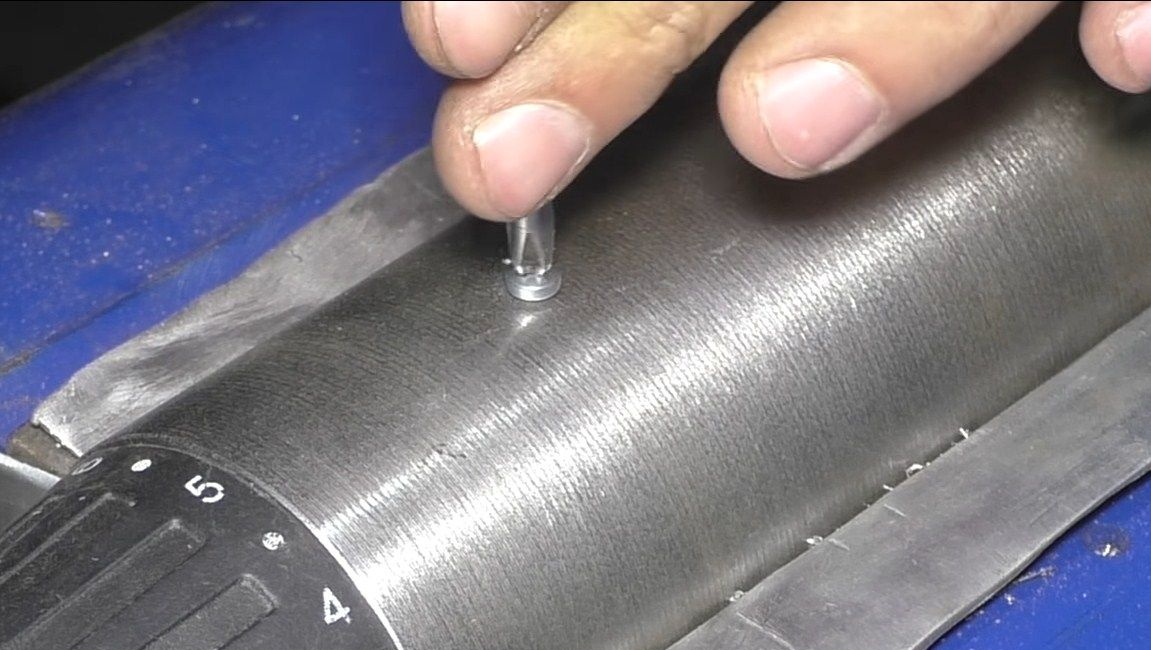
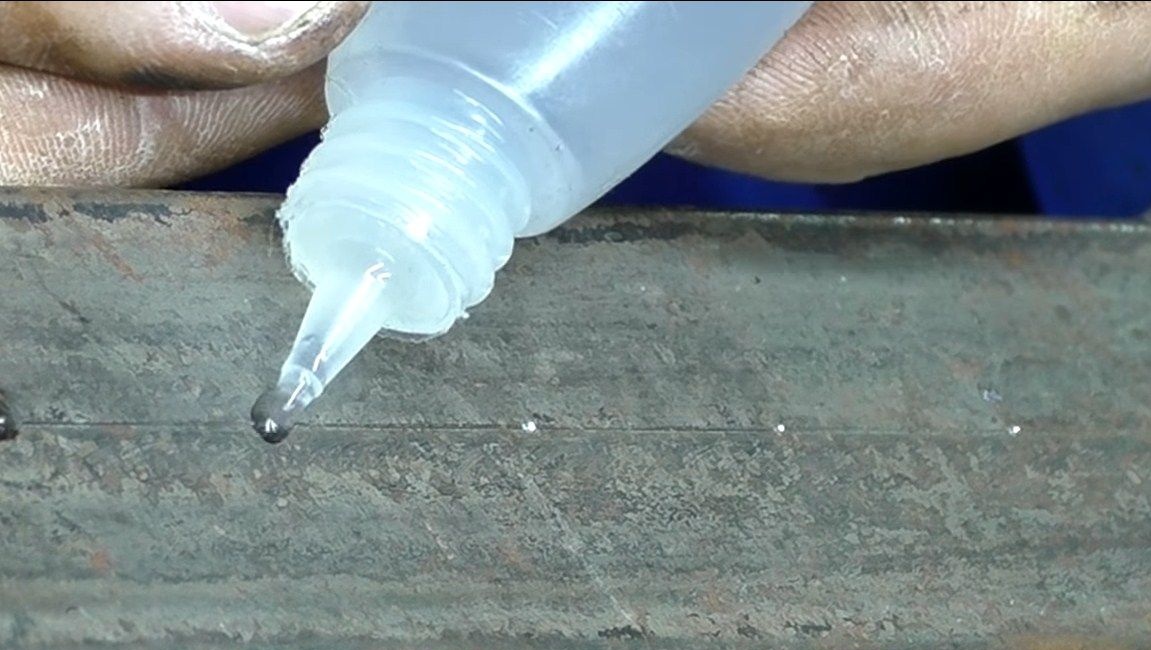
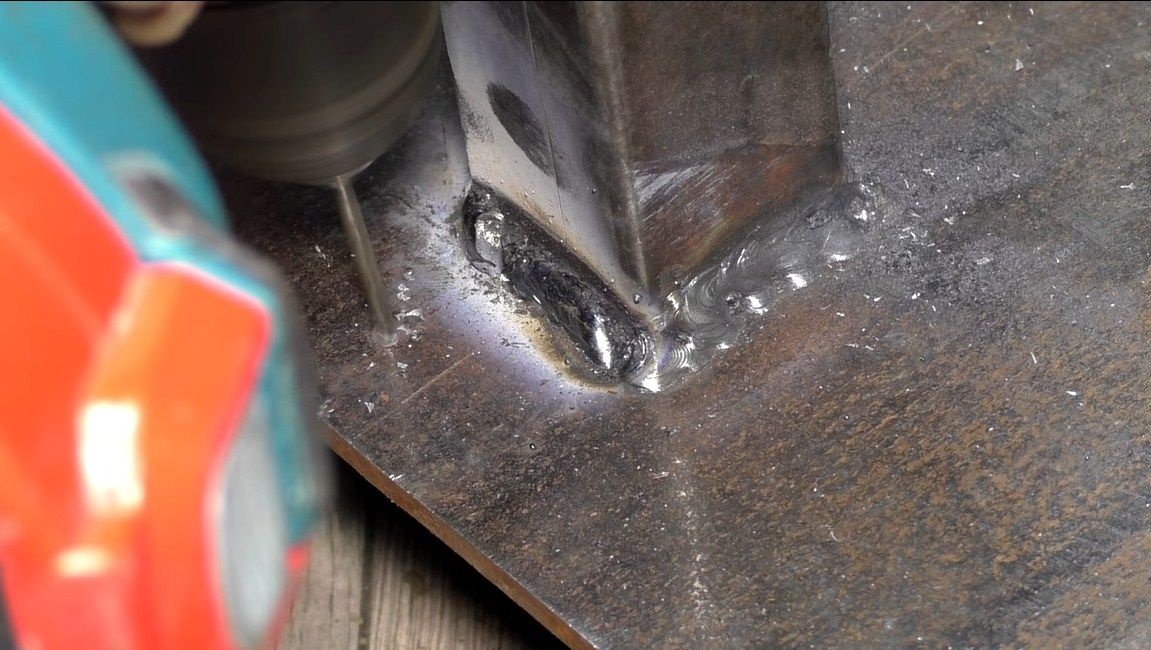
First of all, we’ll make a housing in which we install the engine. For these firs, we need a piece of round steel pipe. The engine should go inside tightly, the author for these purposes cut out special spacers from plastic. To solve this problem easier, you can try to cut along a piece of plastic pipe. We install the engine and fasten it with a screw so that it does not fall out.
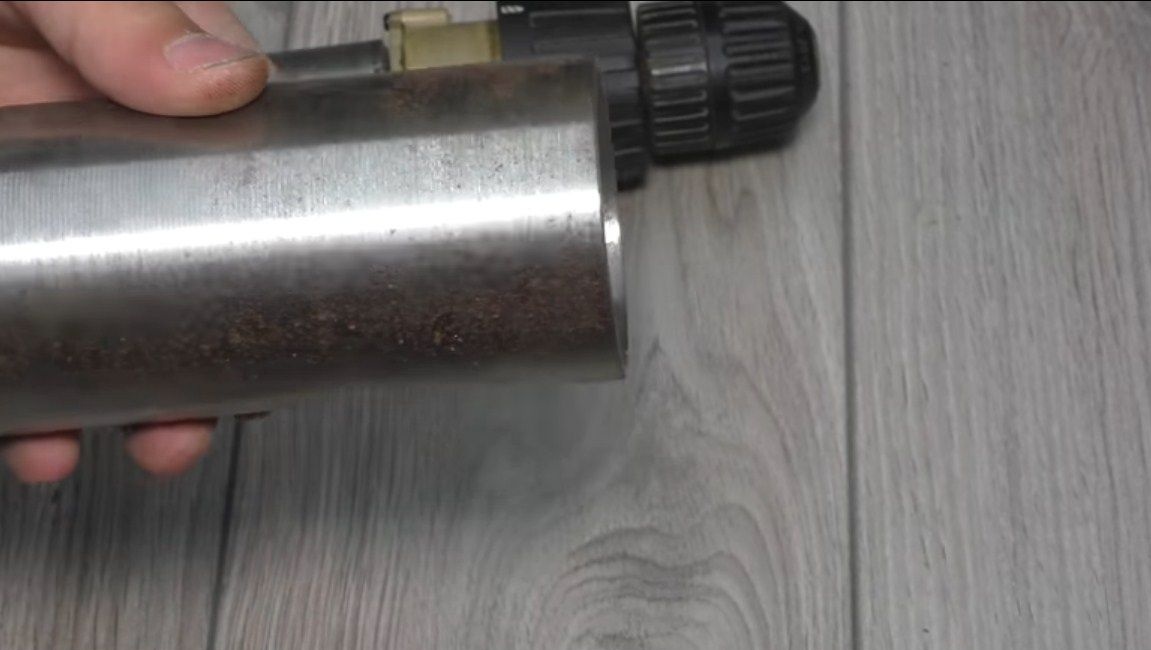
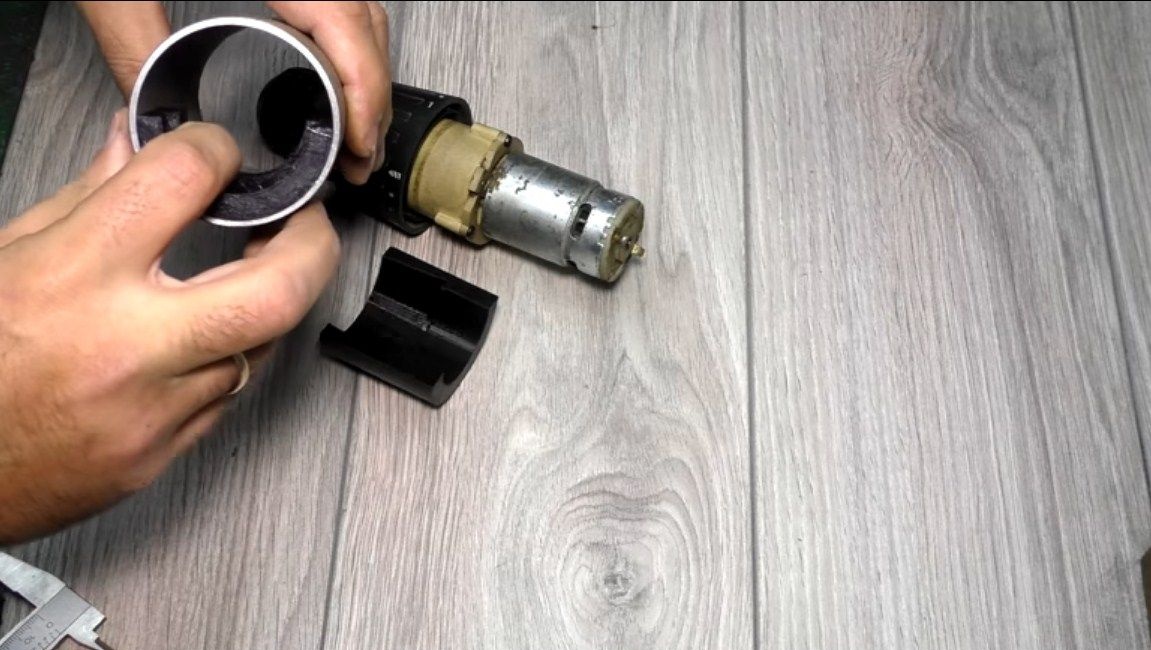
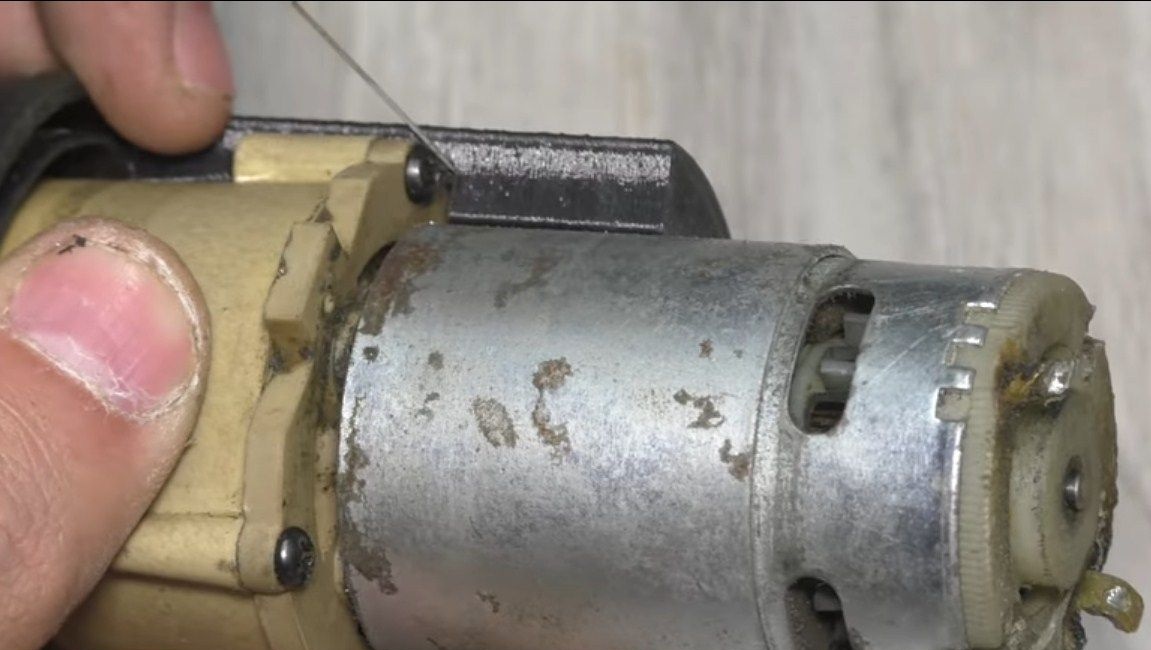
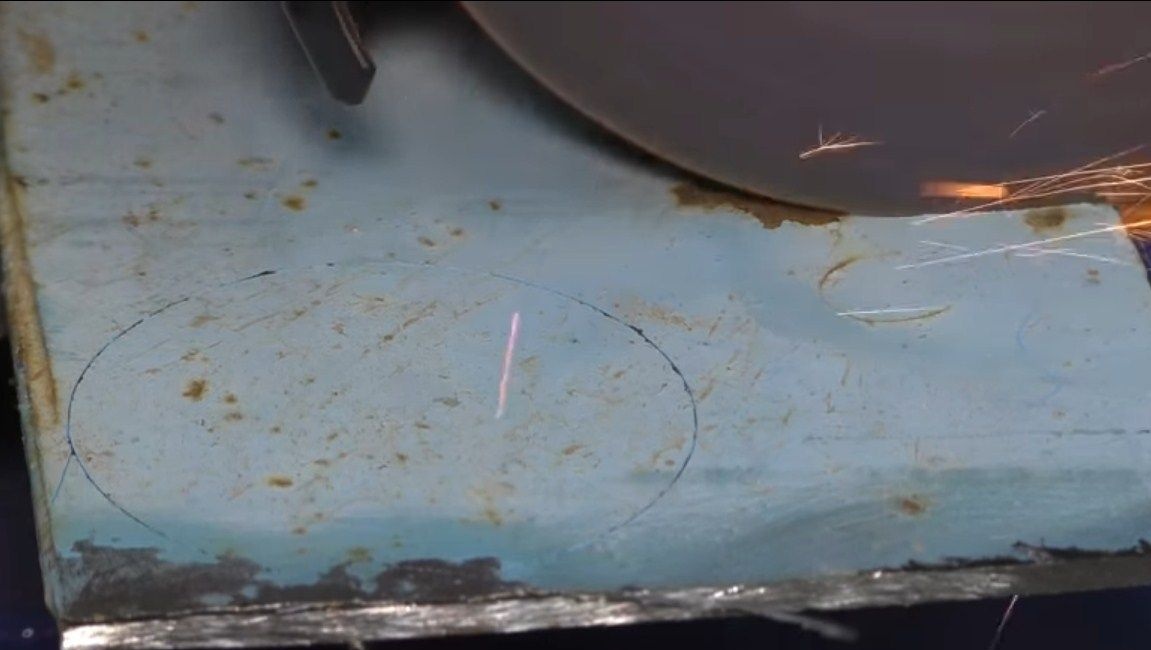
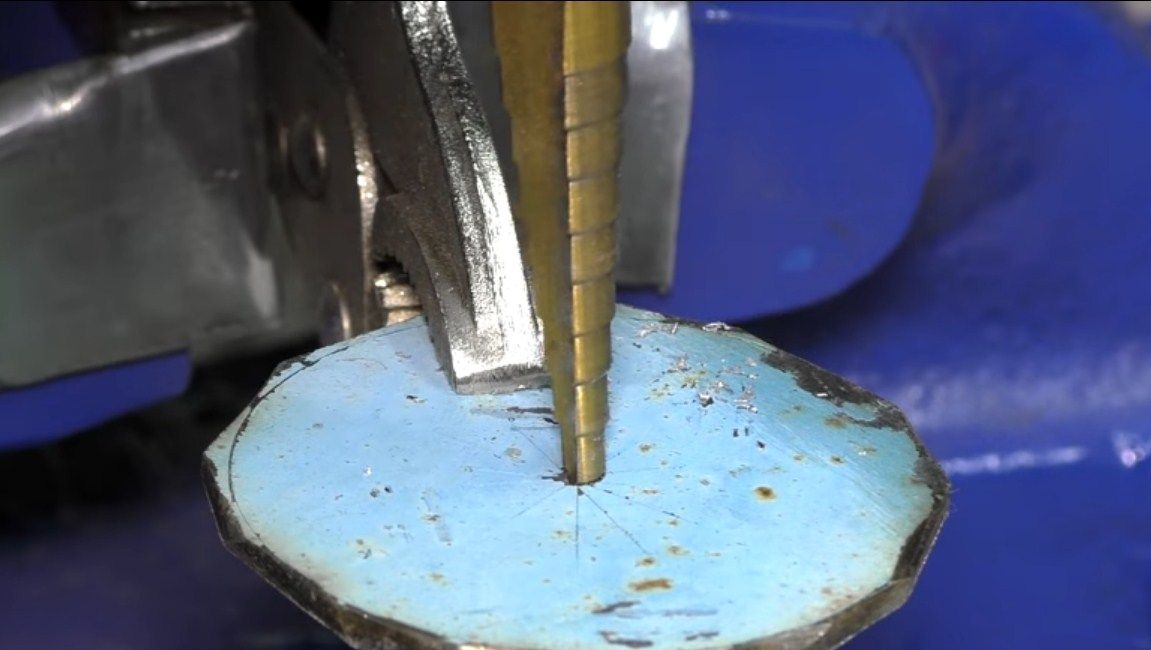
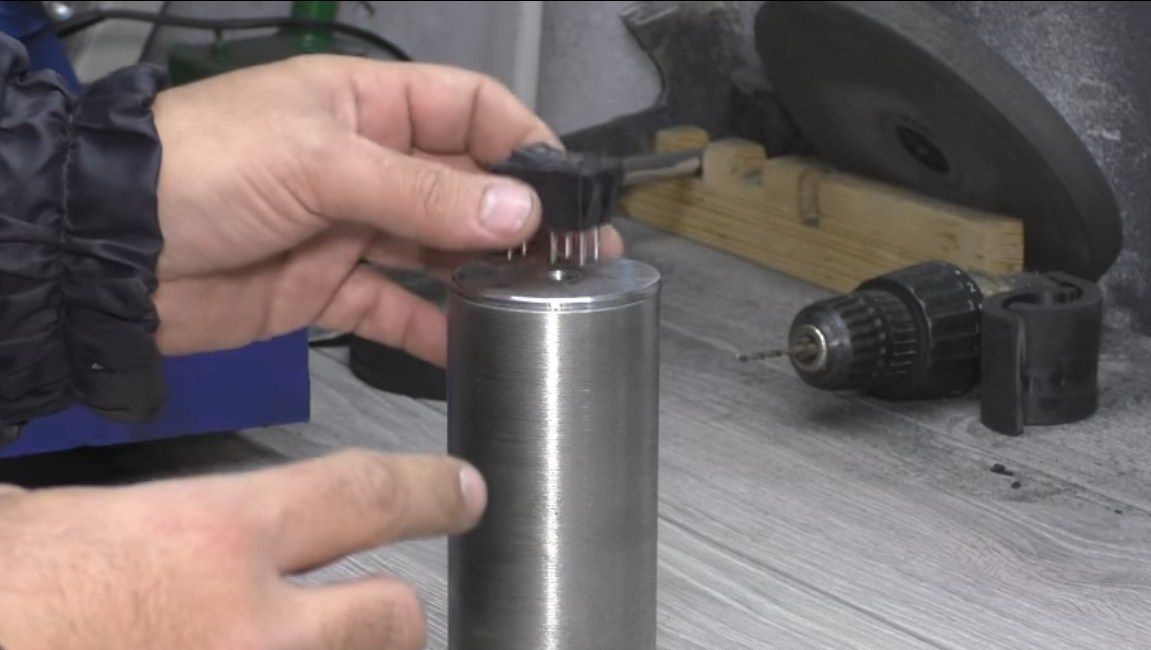
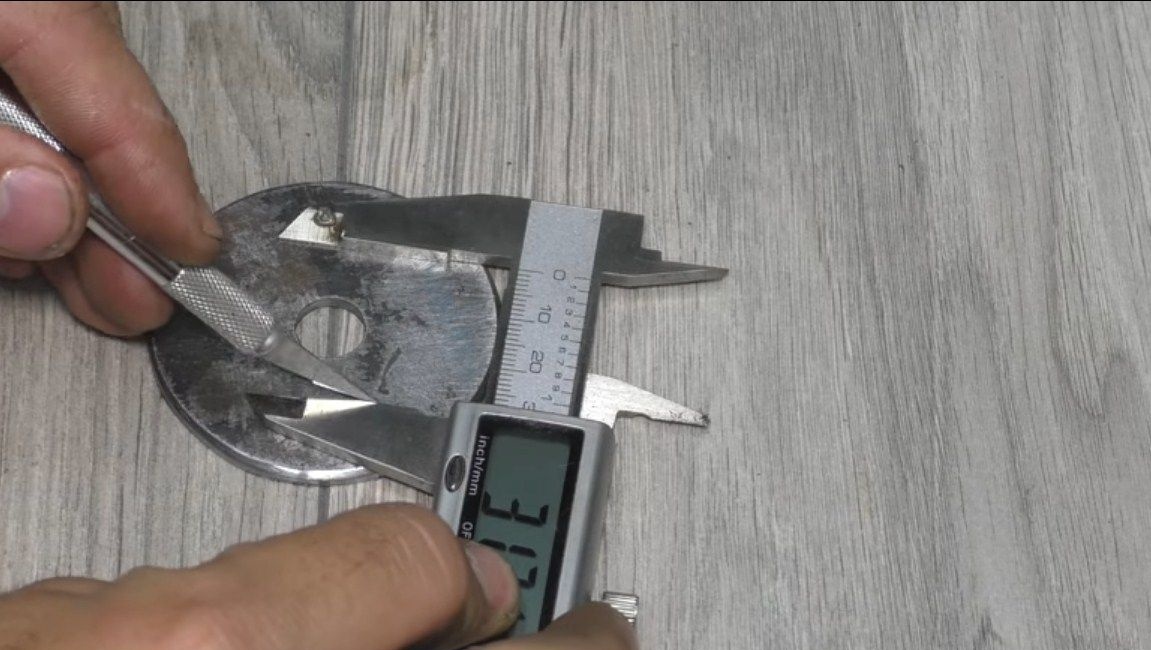
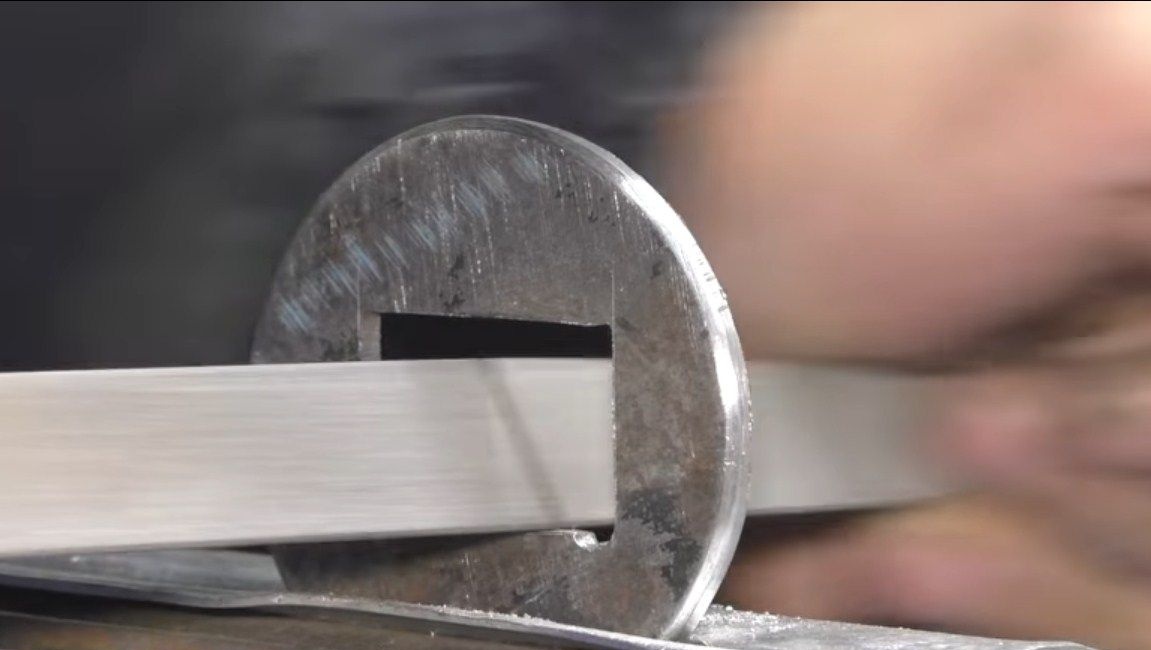
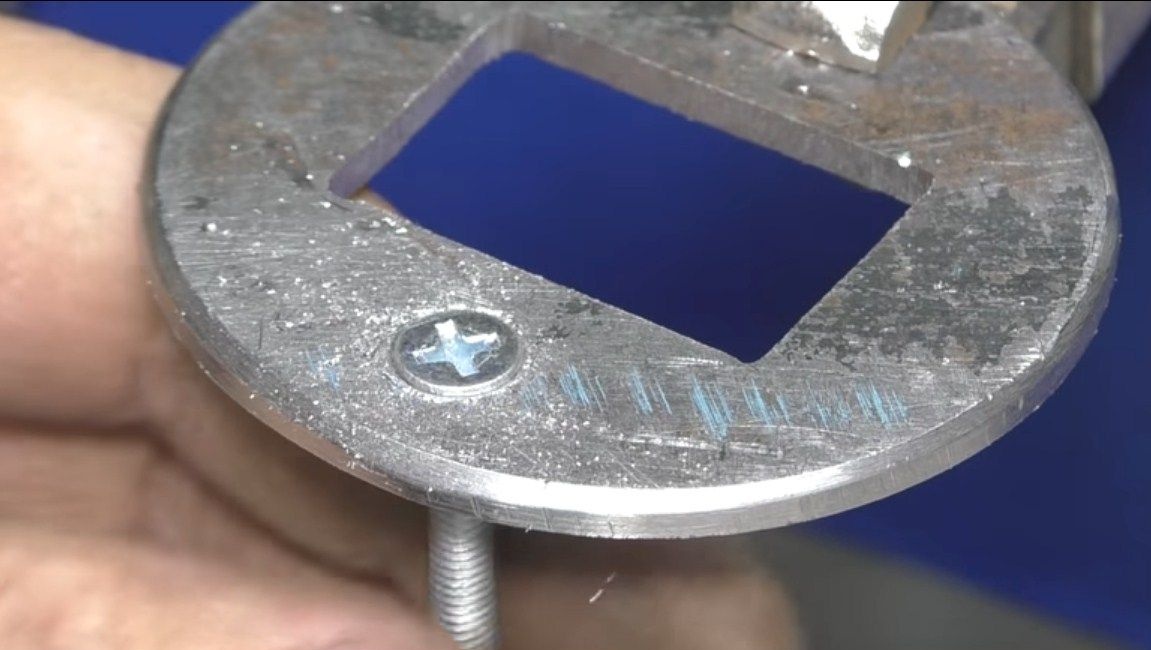
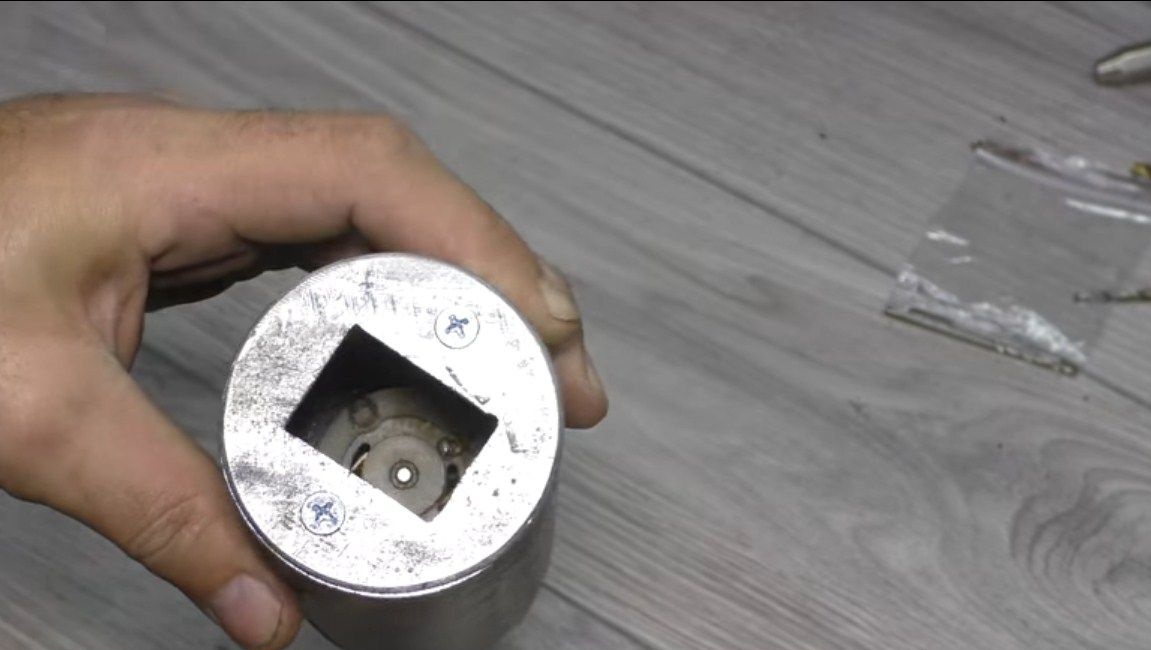

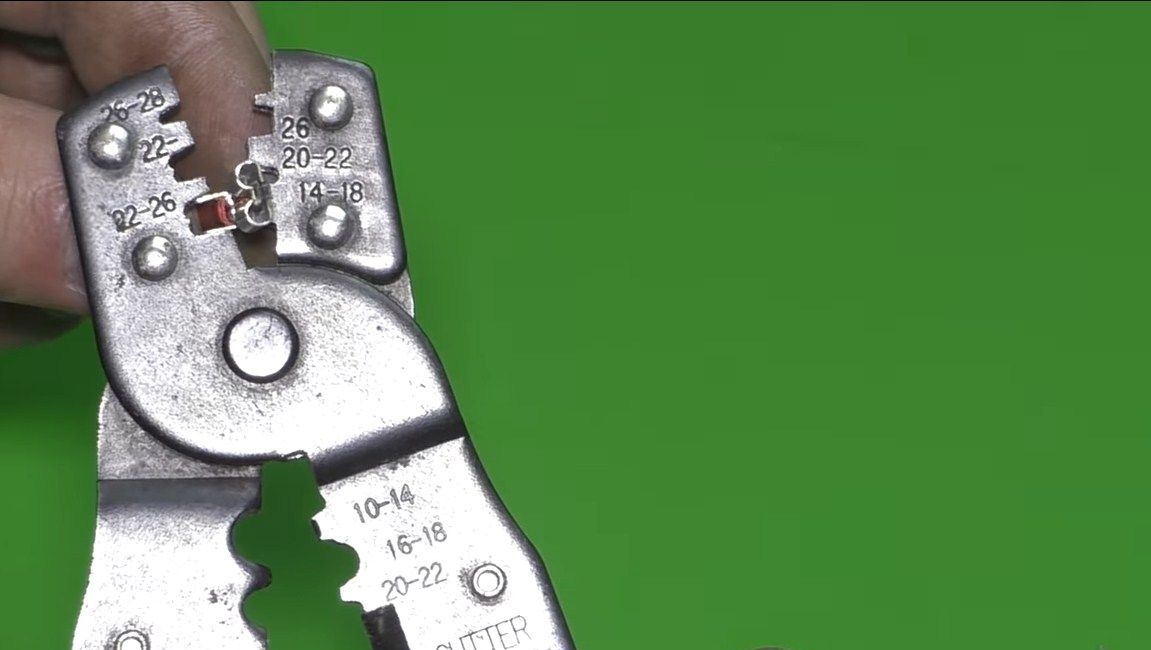
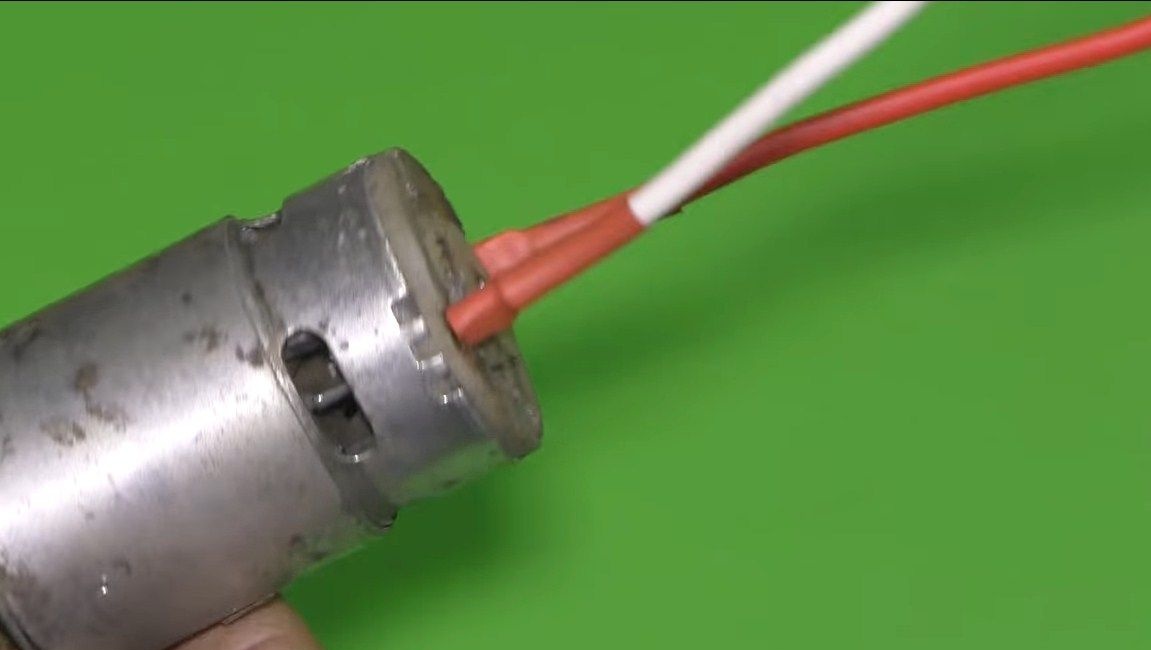
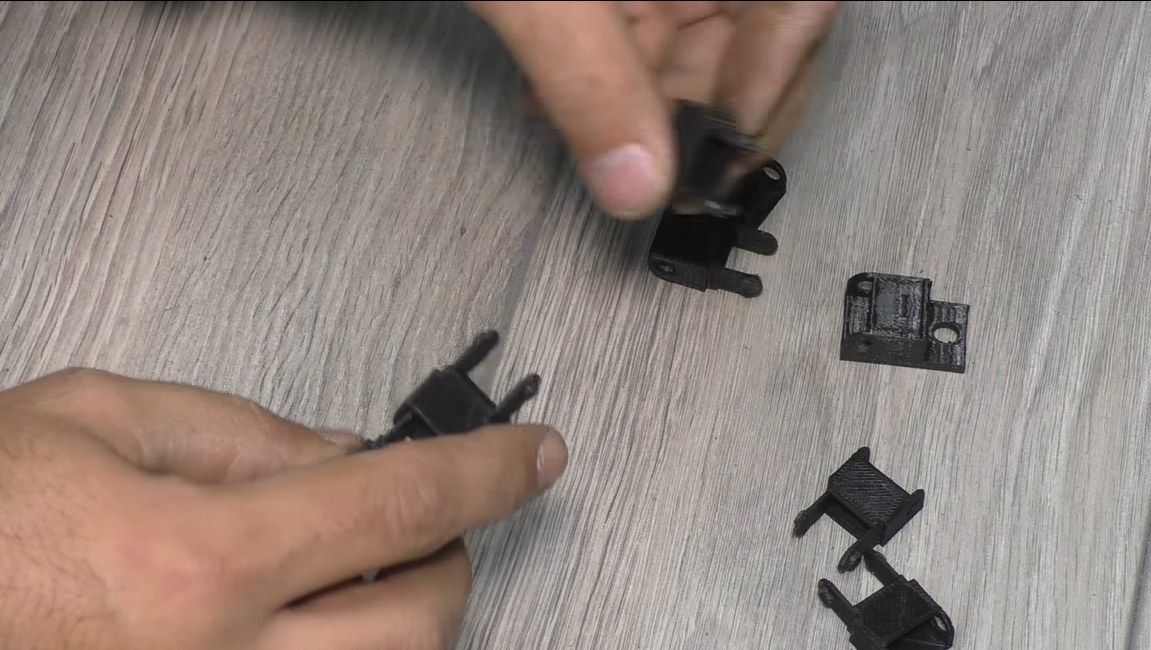
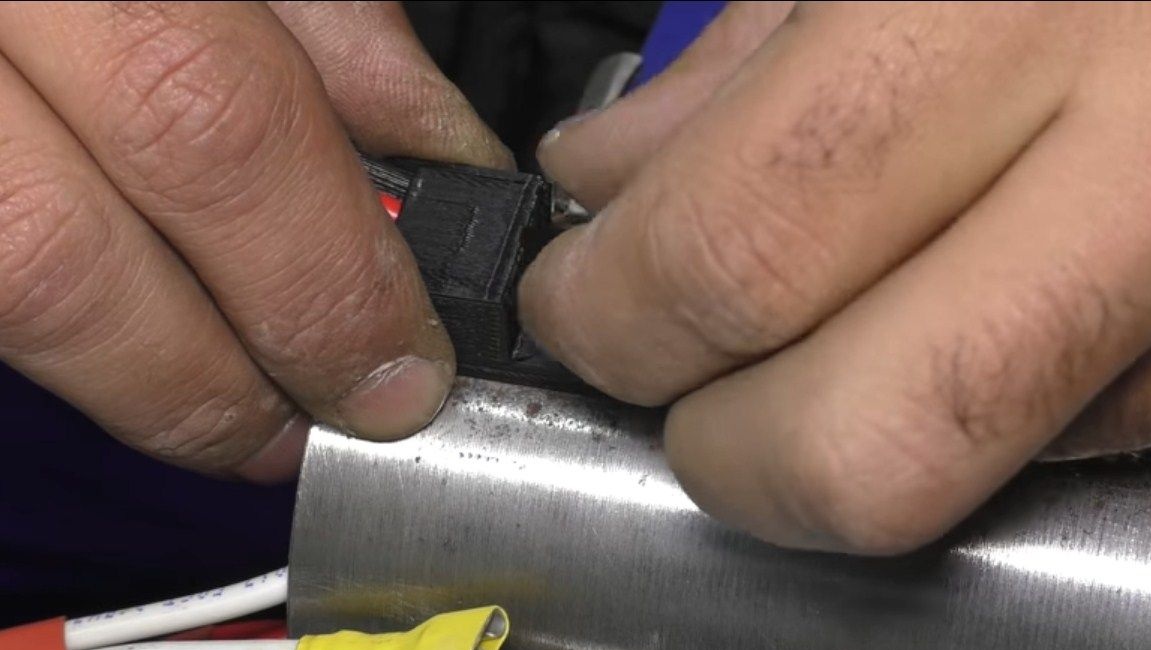
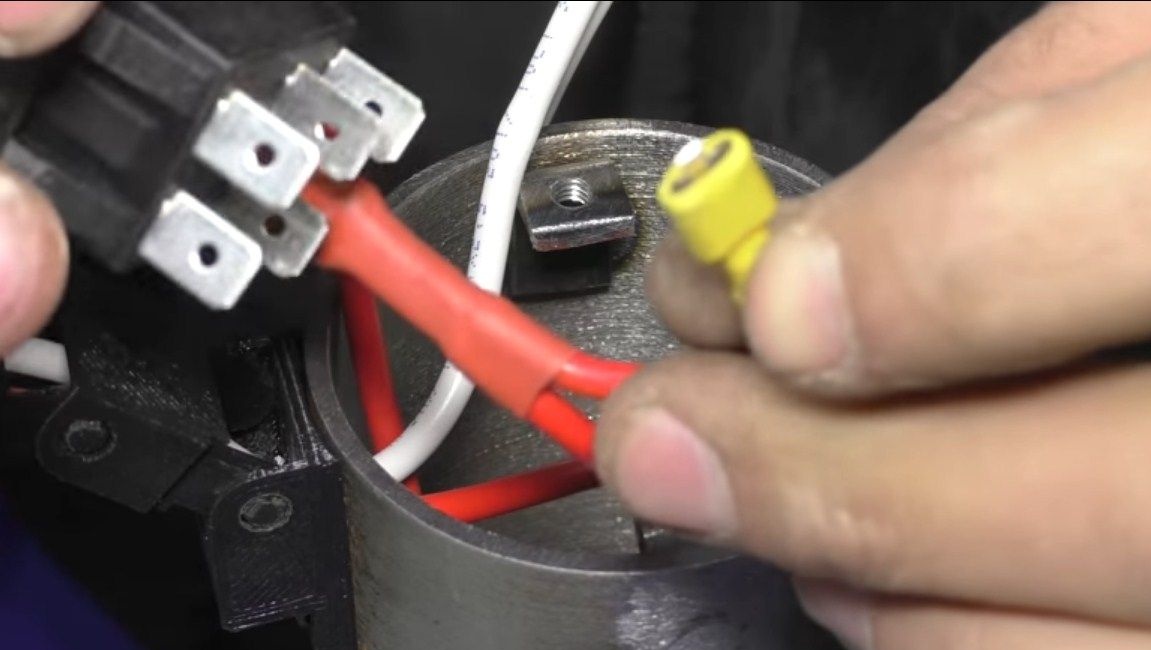
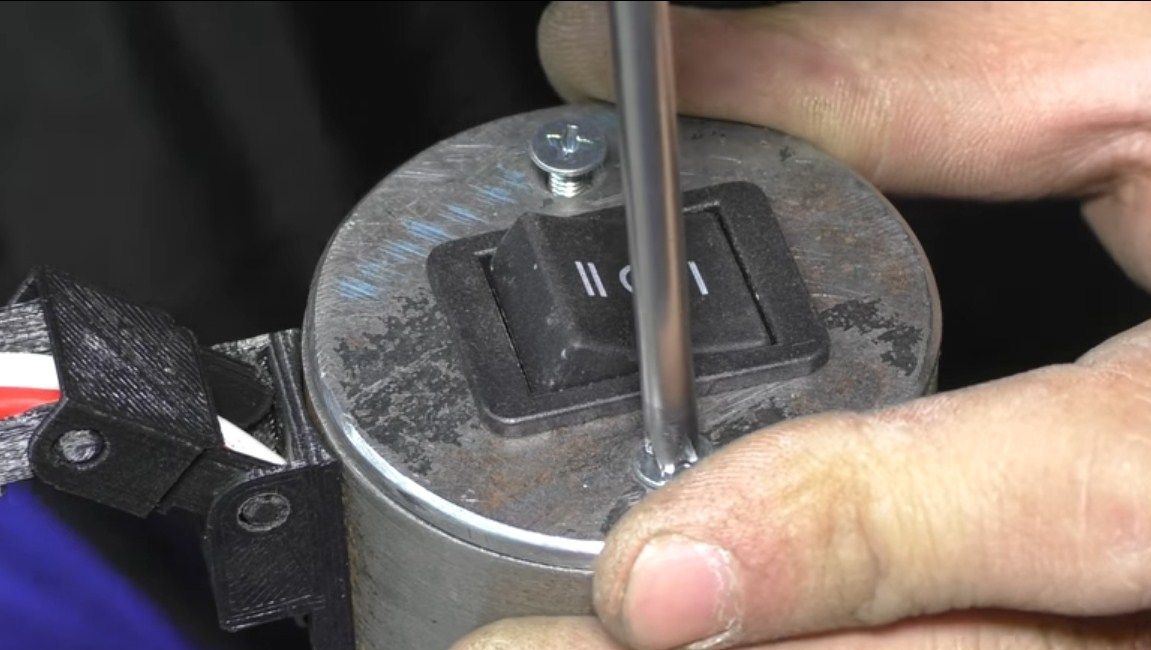
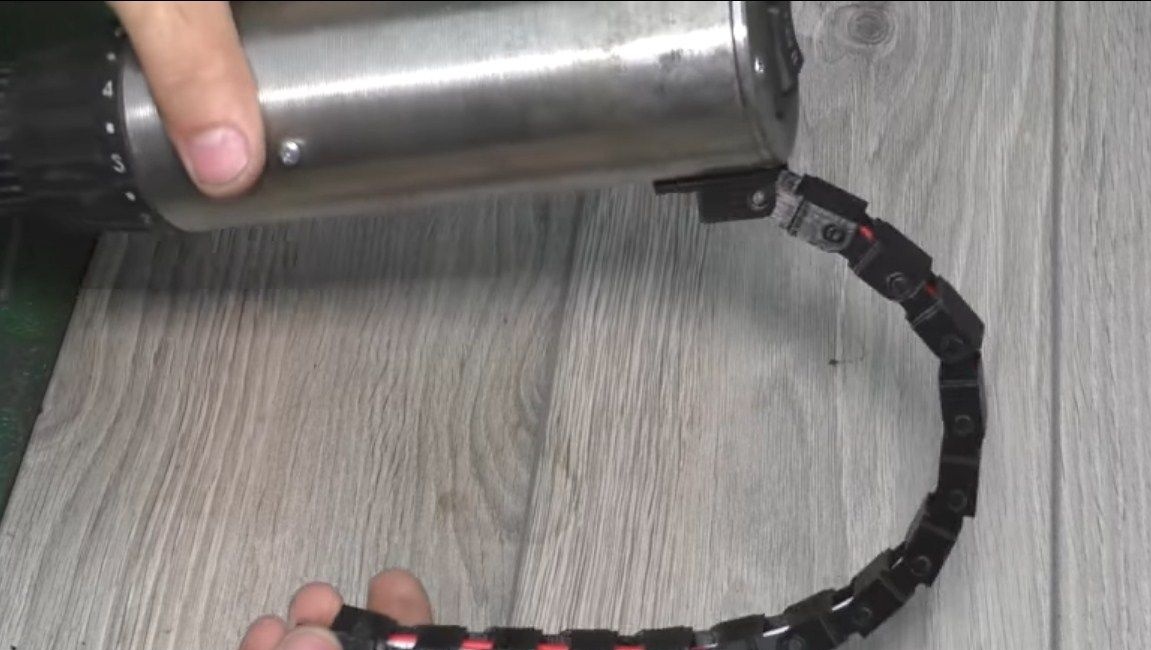
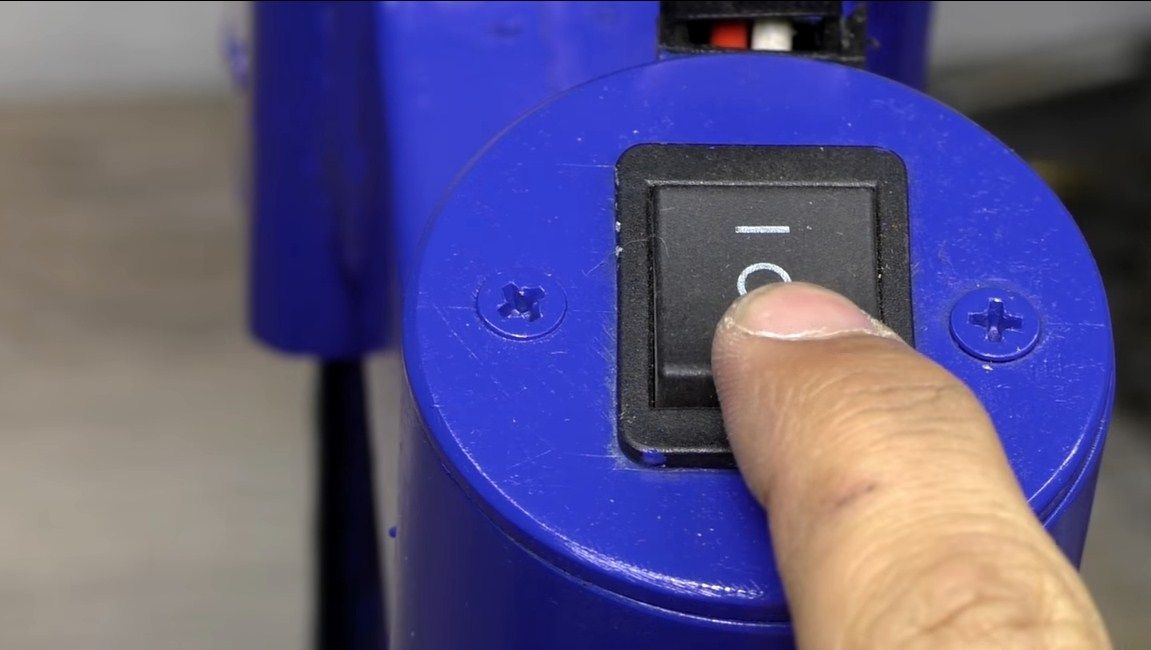
Next, we need to make a plug on the other side of the pipe, the switch will also be in it.The author makes a stub out of sheet metal by simply cutting a circle with a grinder. This part must be removed, so we weld the plates to the pipe, cut the thread and screw the part with screws. Install the switch in the cut hole. As a result, it remains to connect and output the power wires. The author used an interesting plastic chain for this, inside which the wires pass. This design protects the wires and they do not dangle.
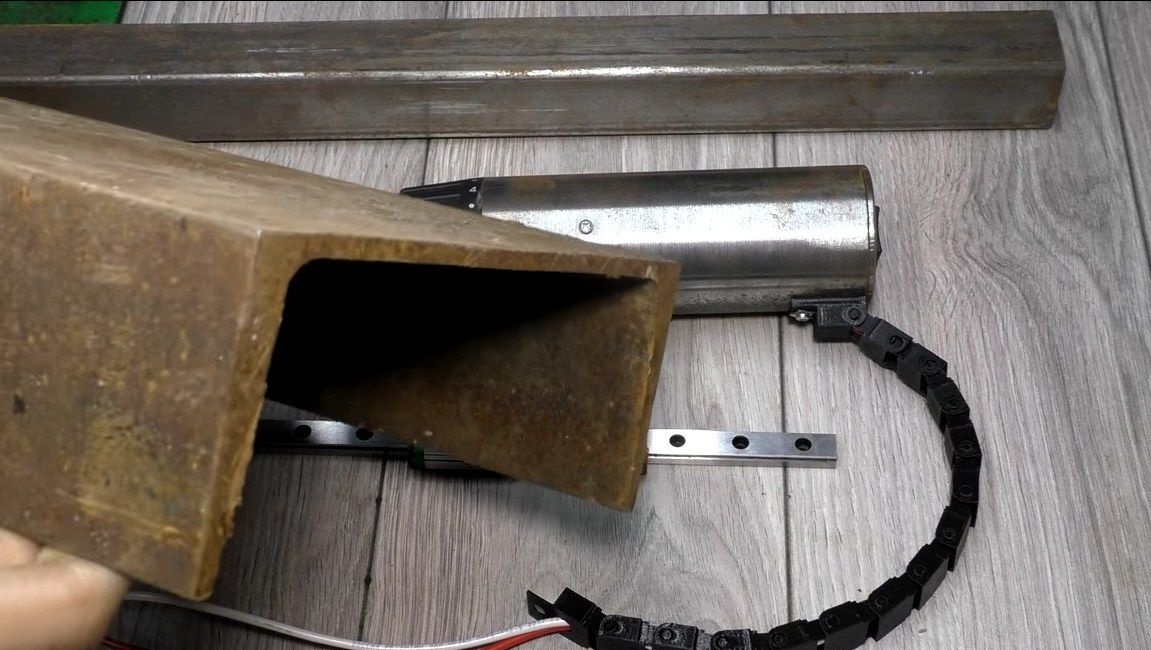
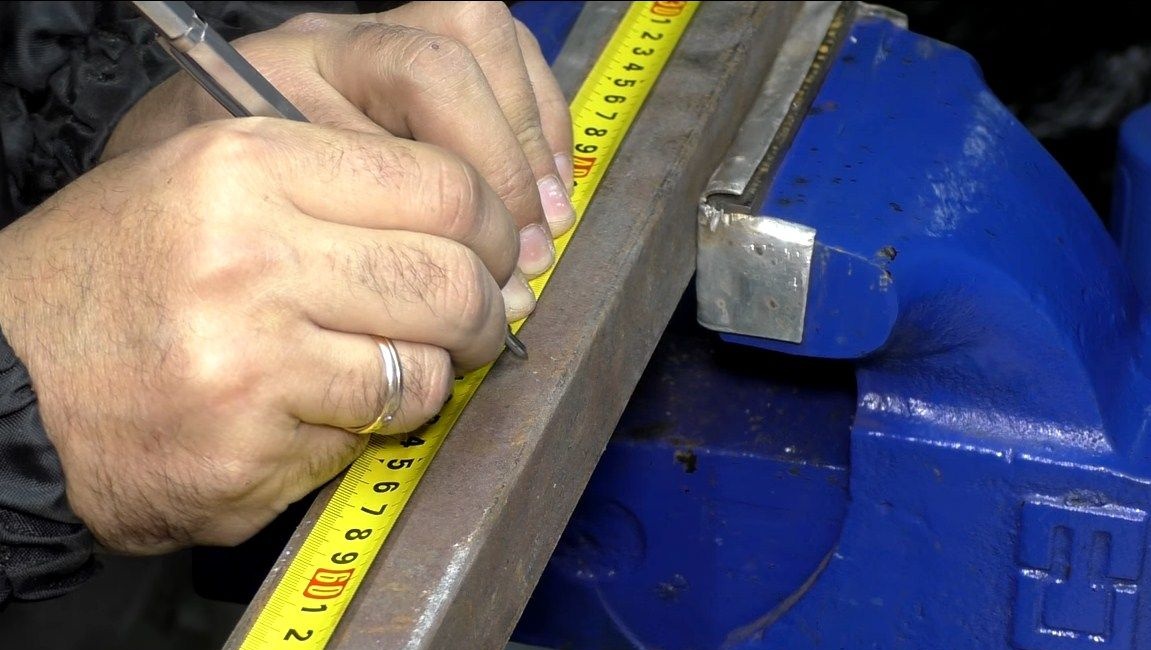
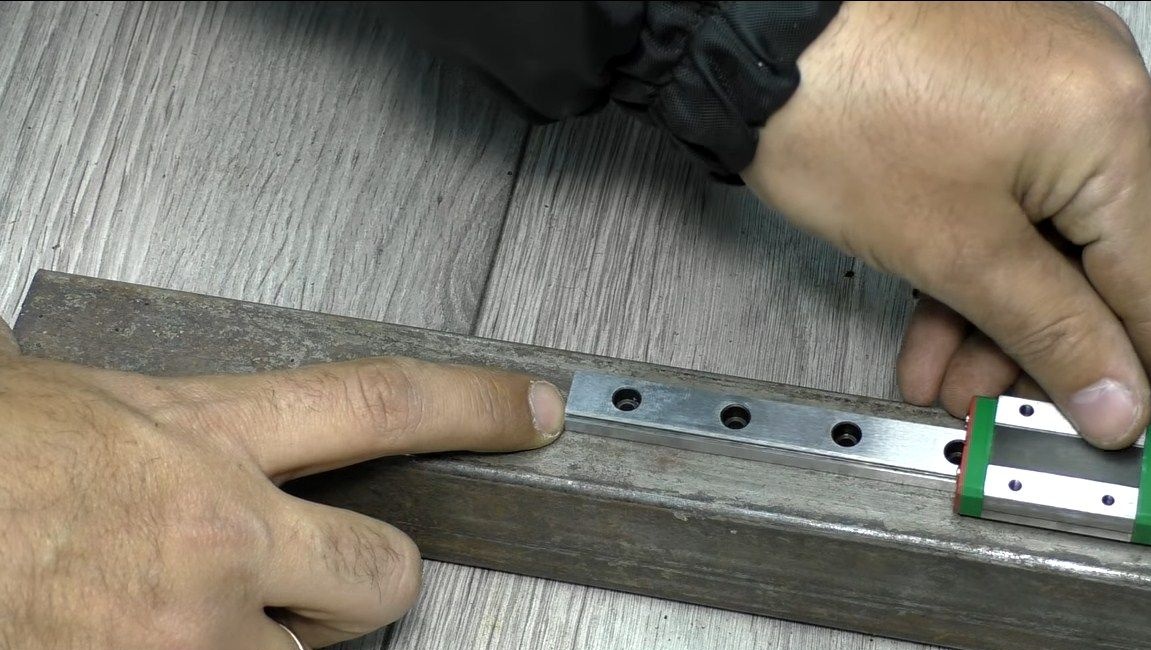
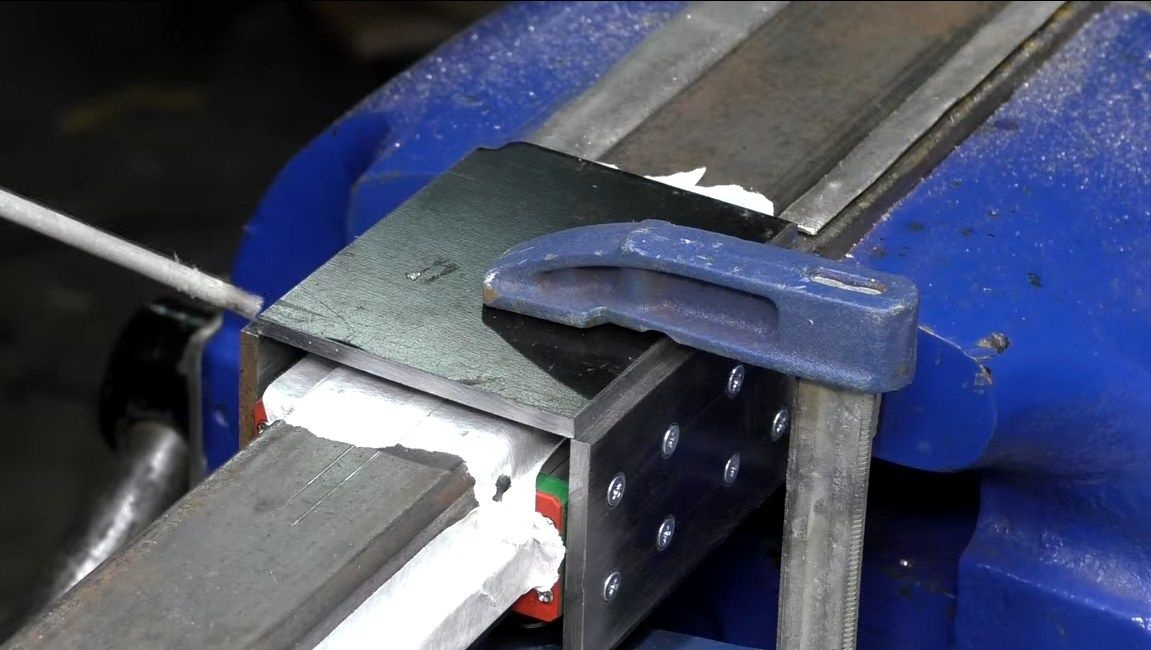
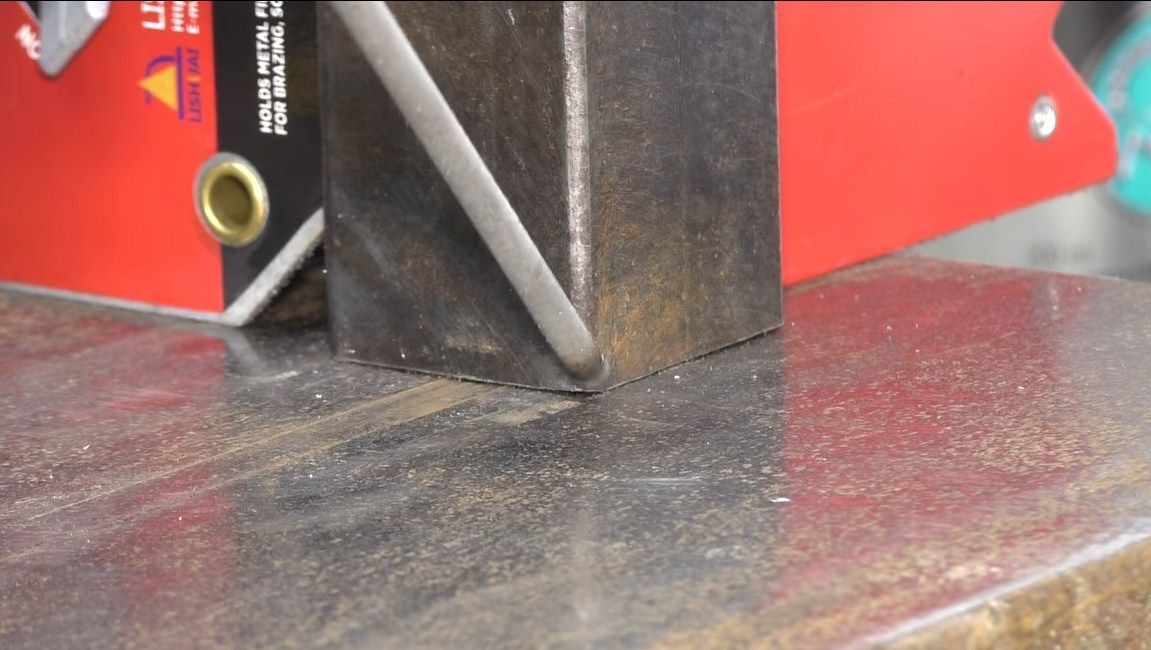
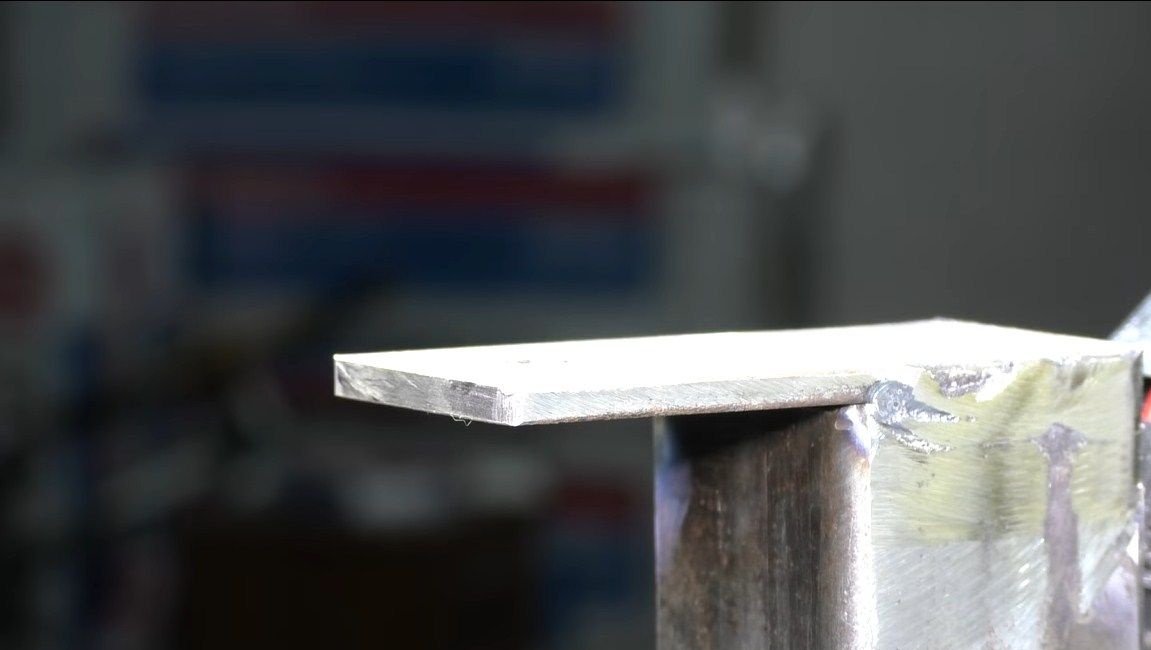
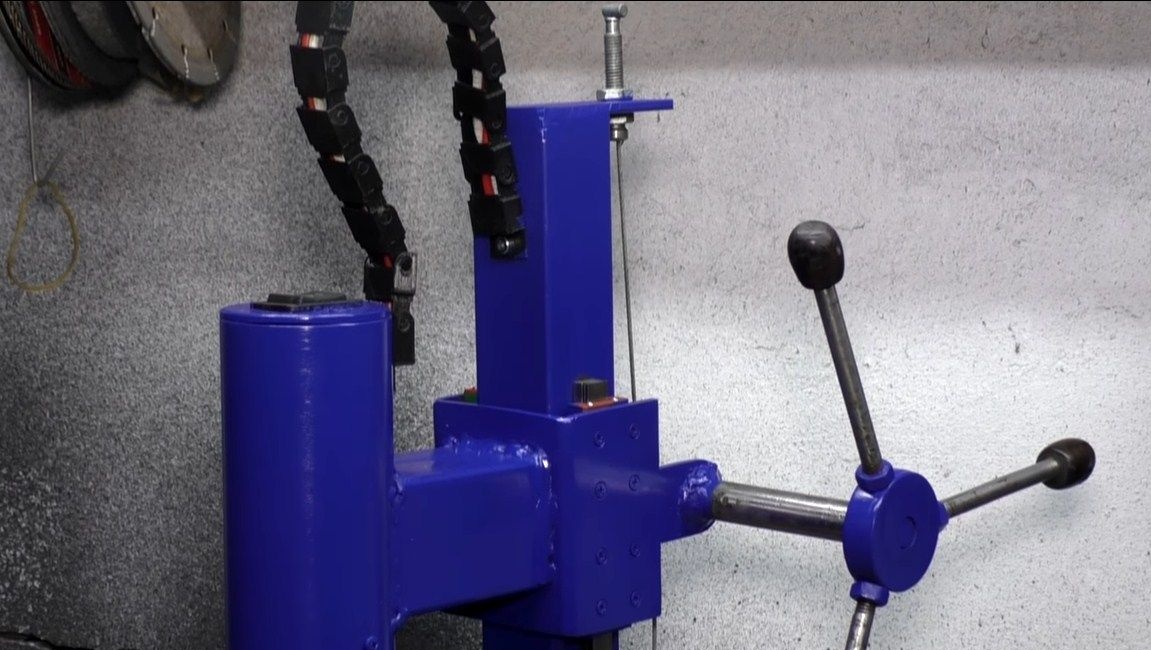
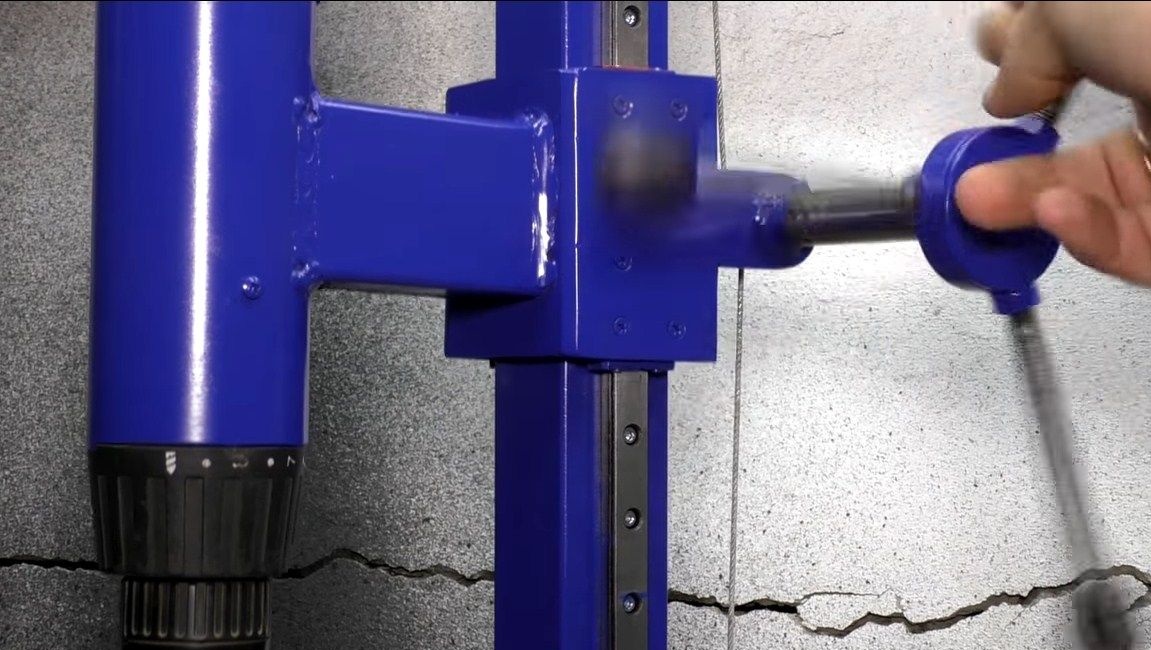
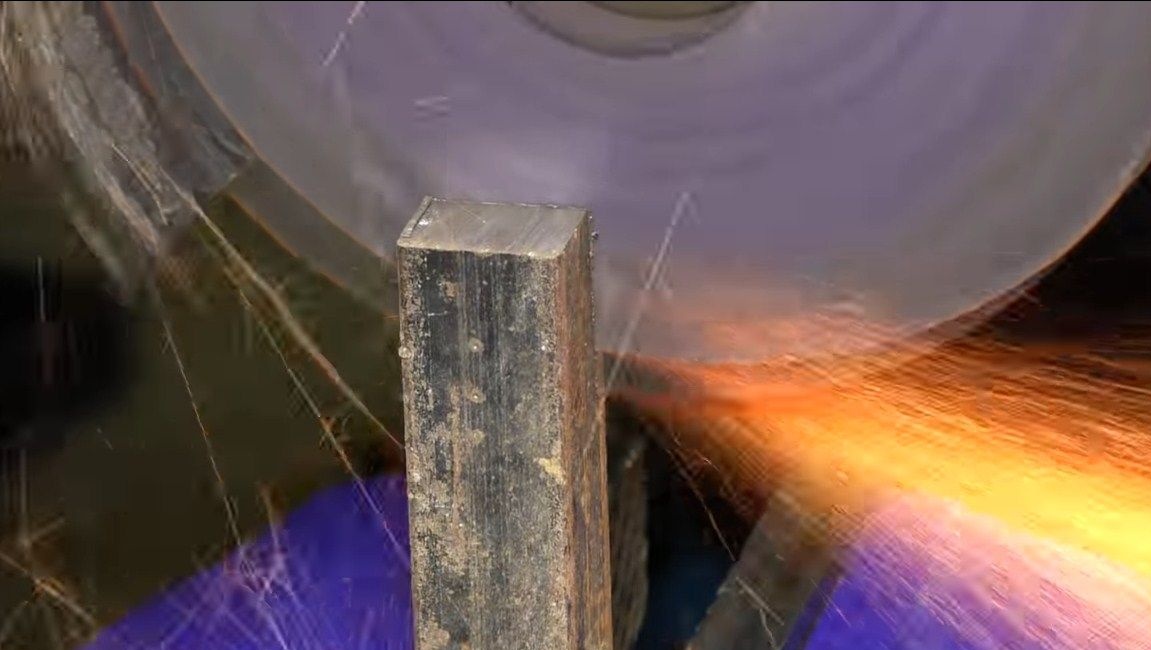
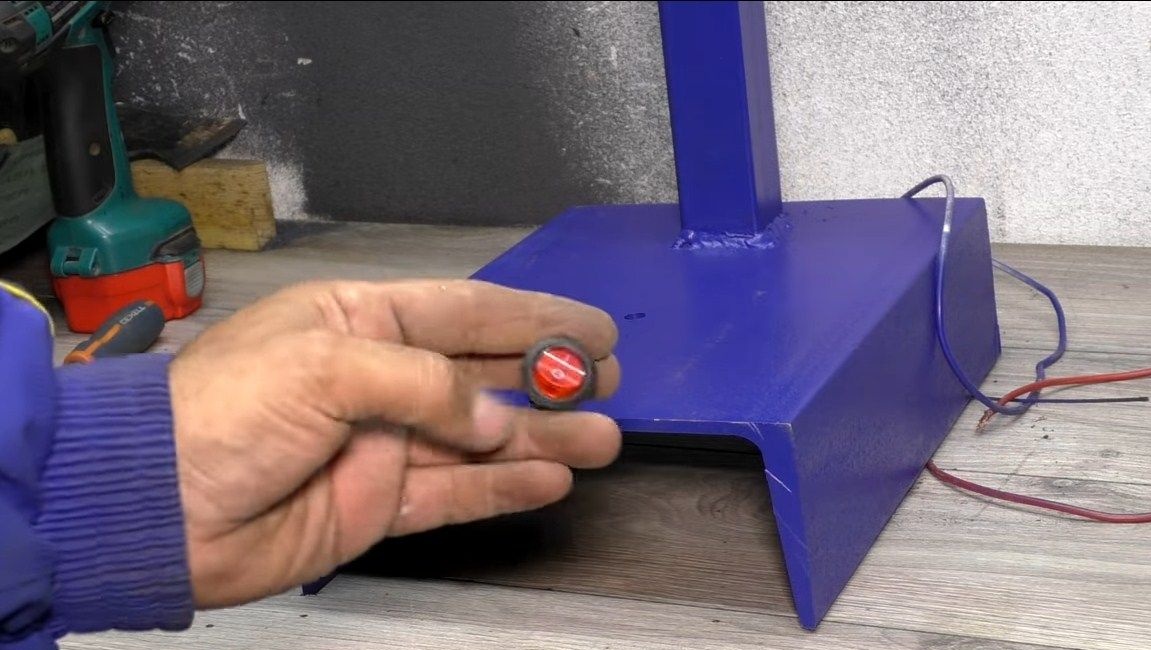
Step Two We work with the frame
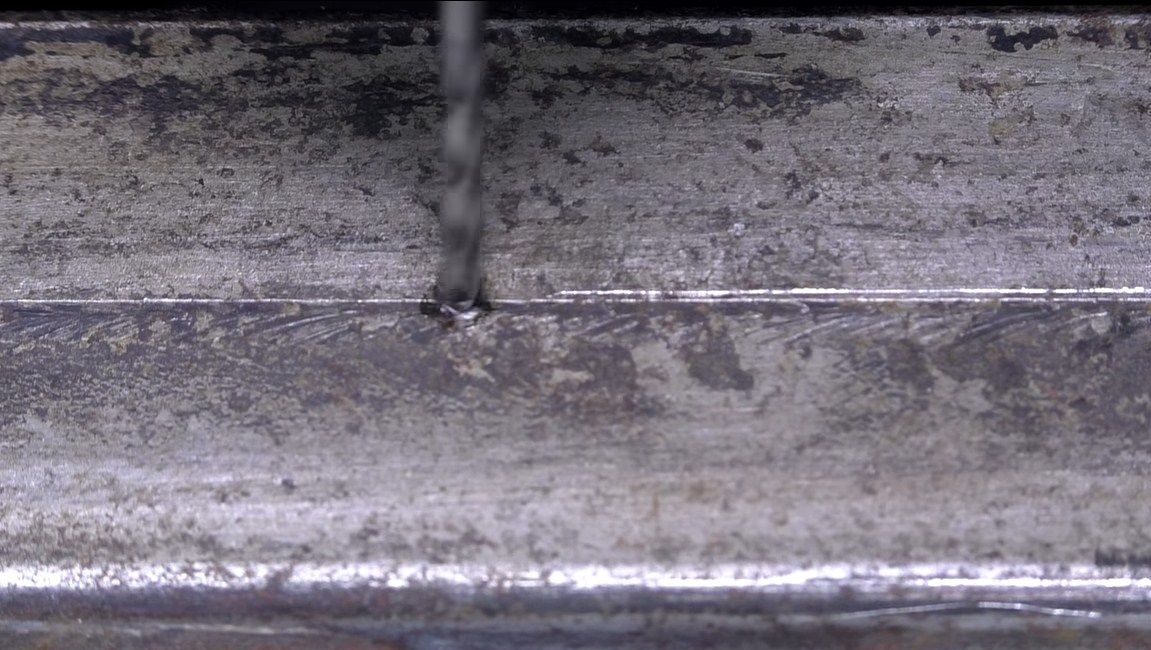
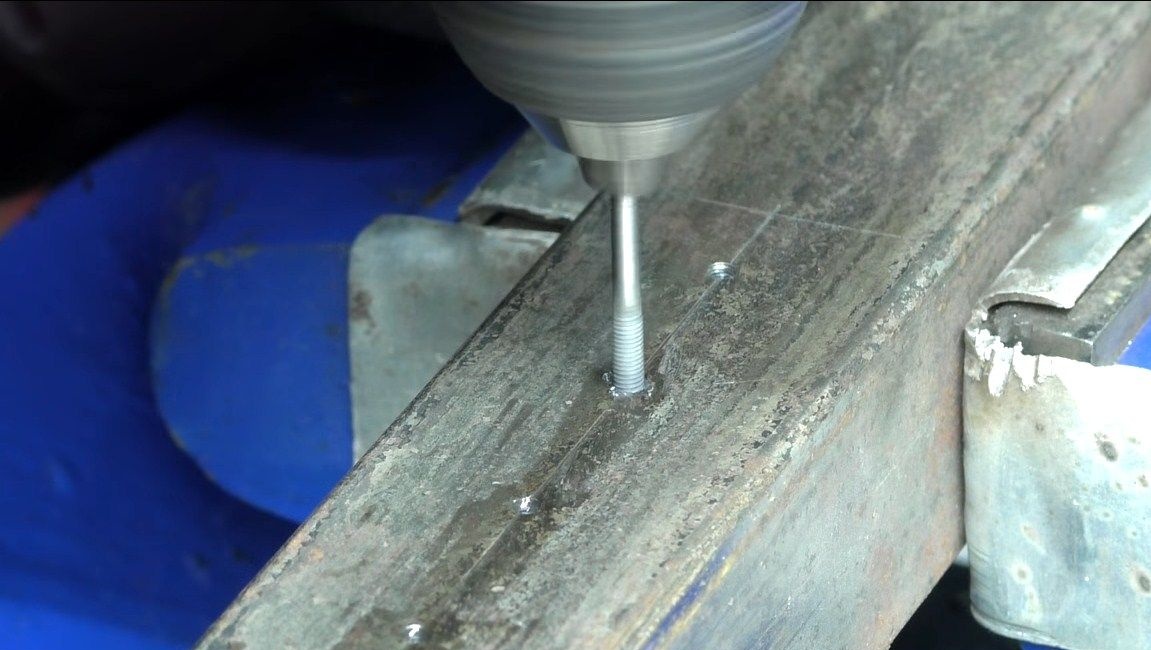
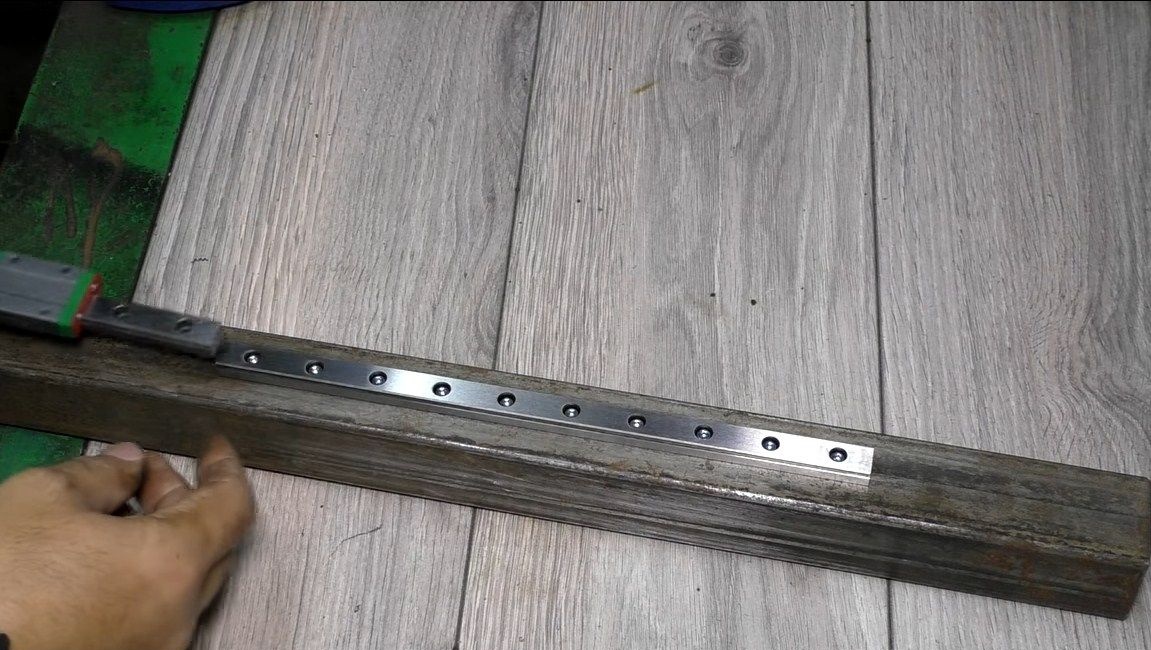
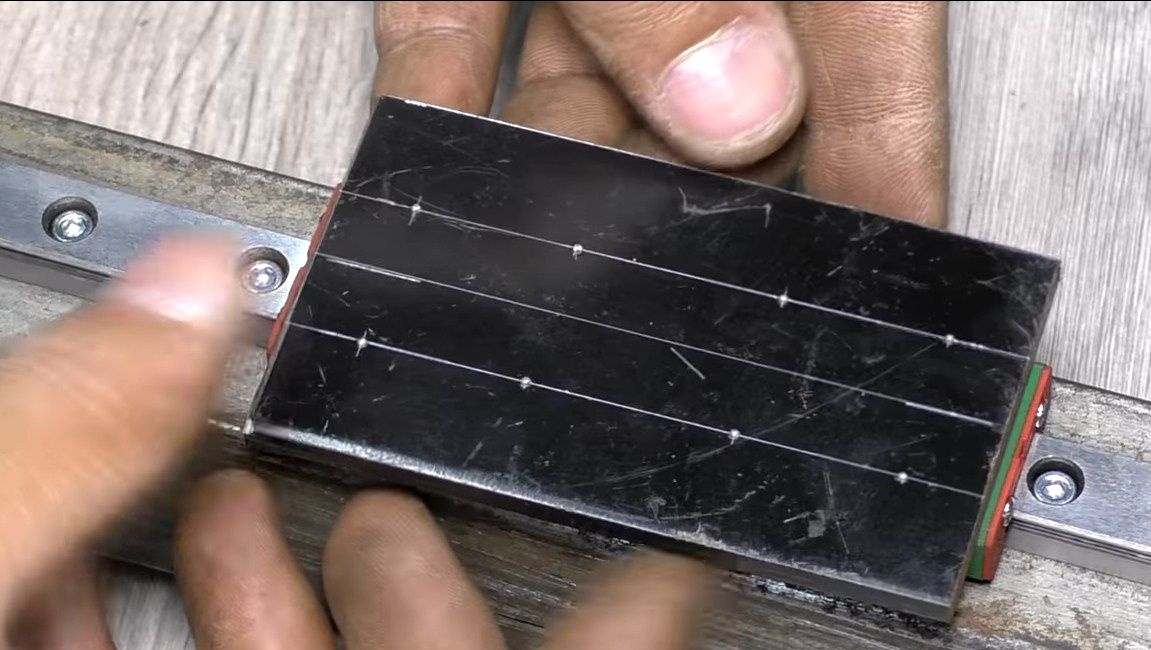
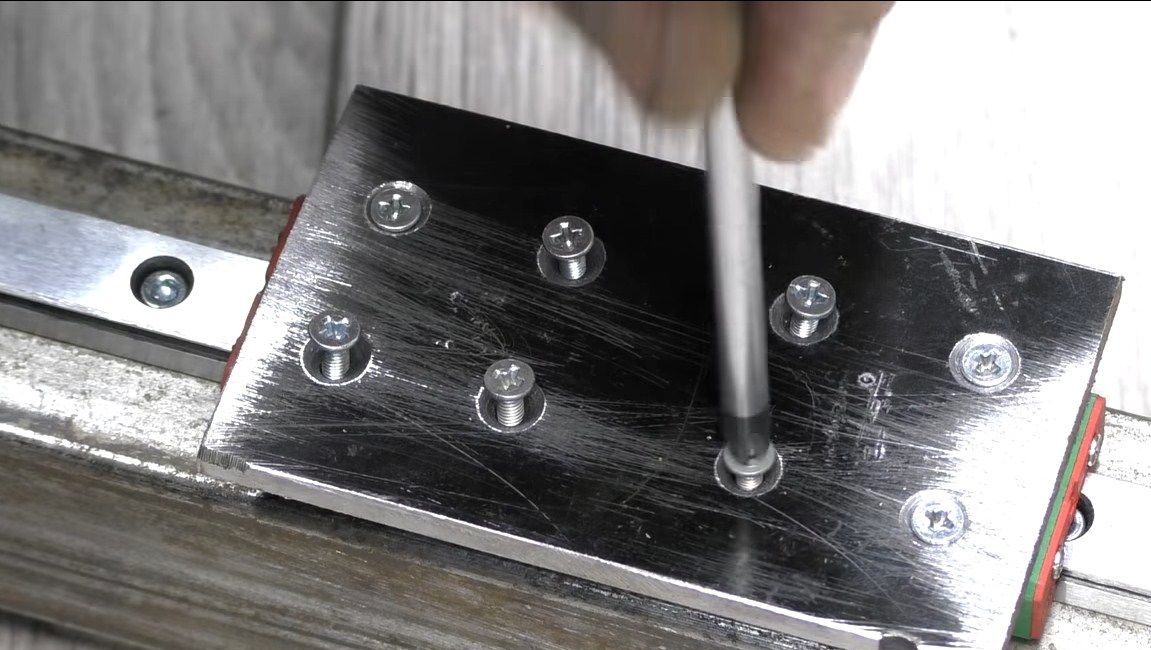
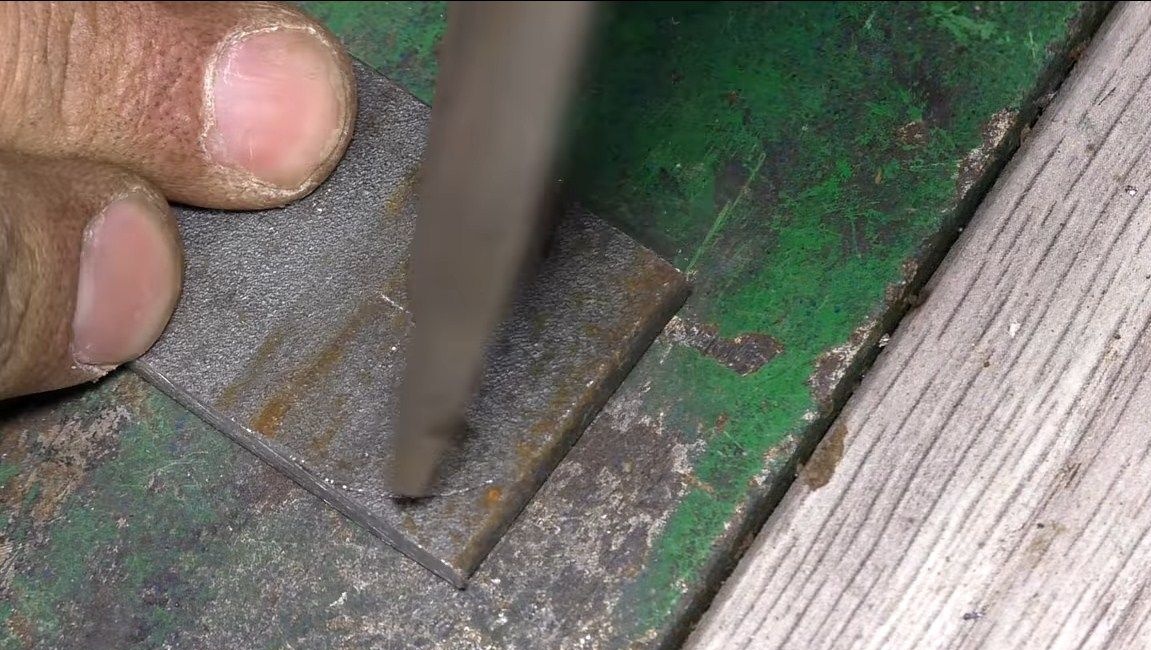
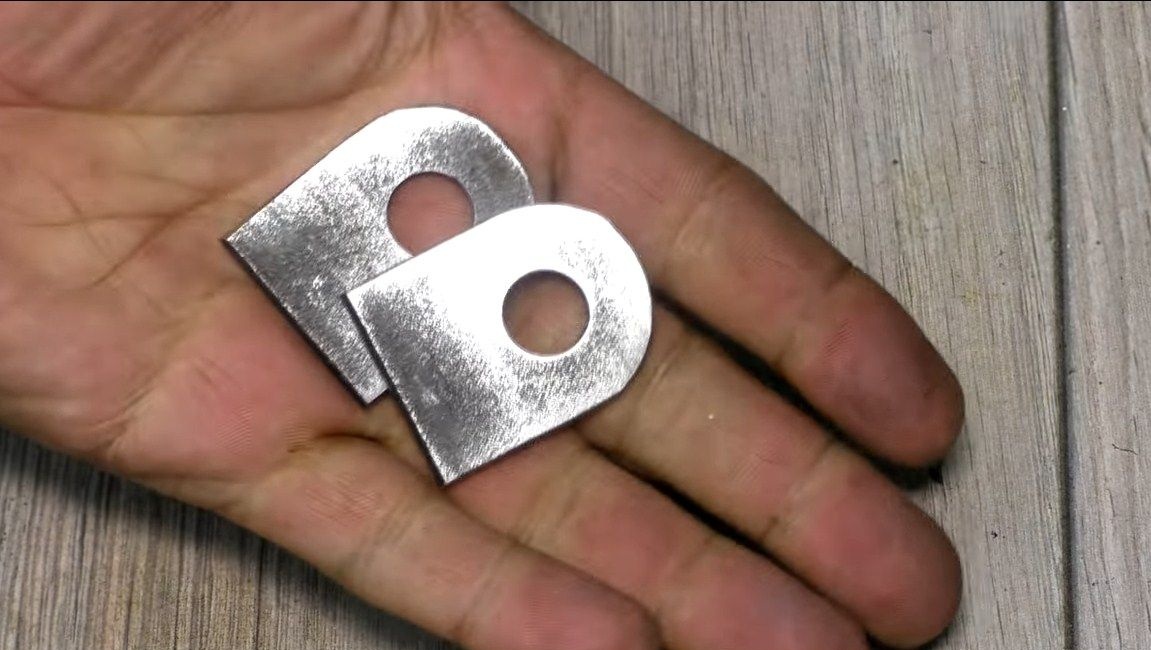
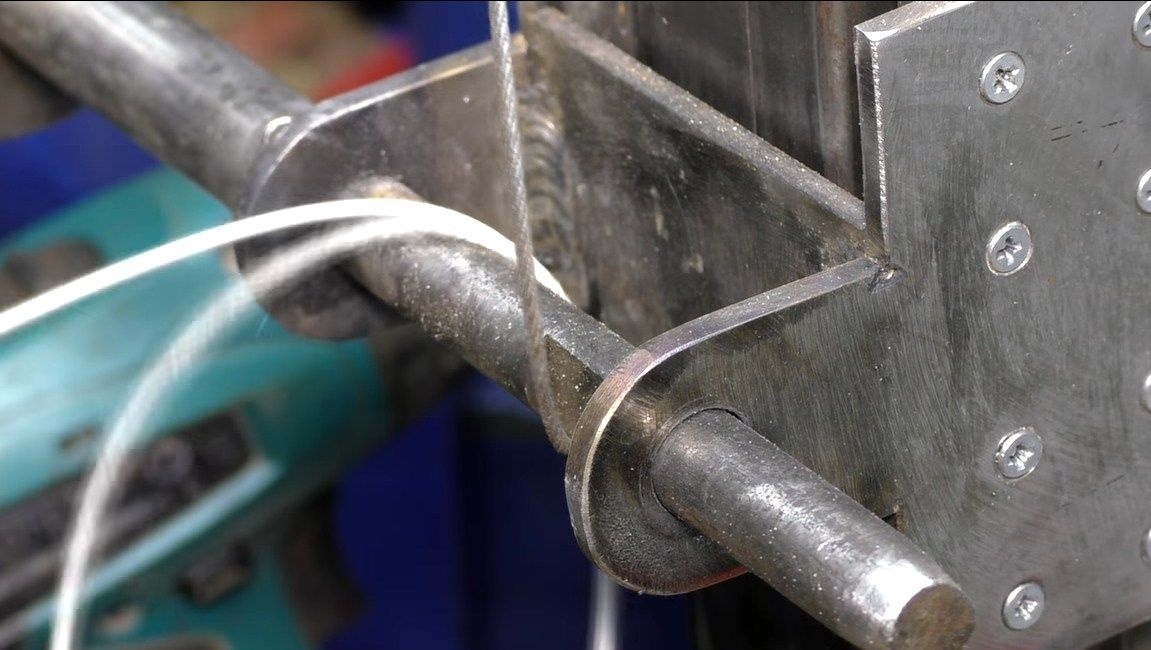
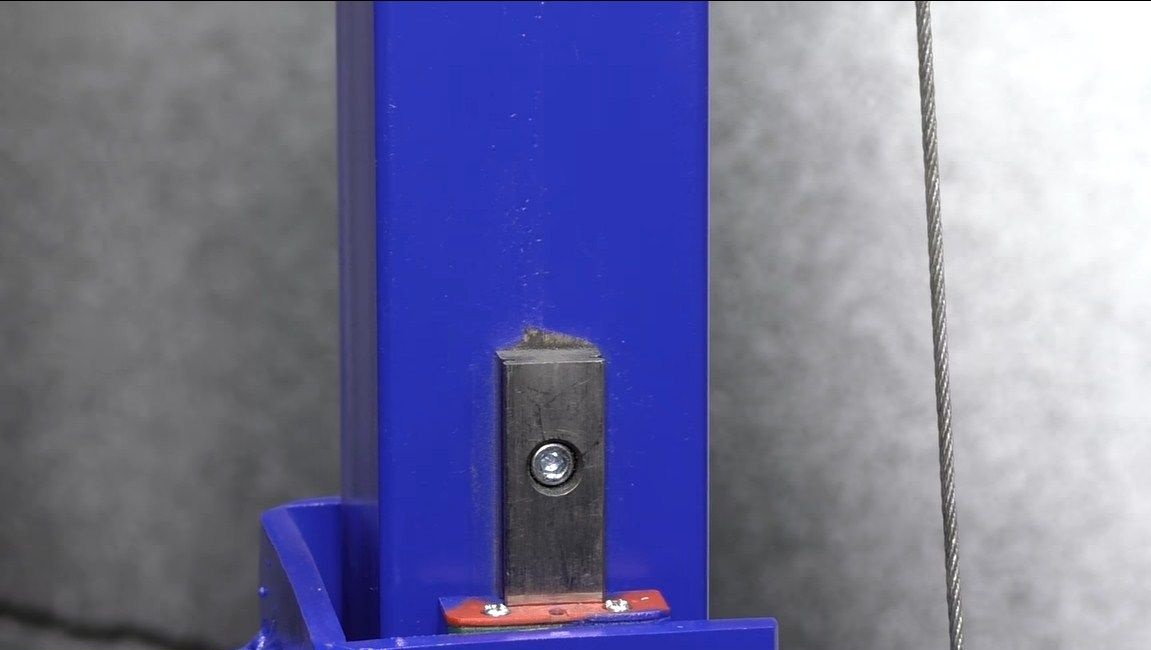
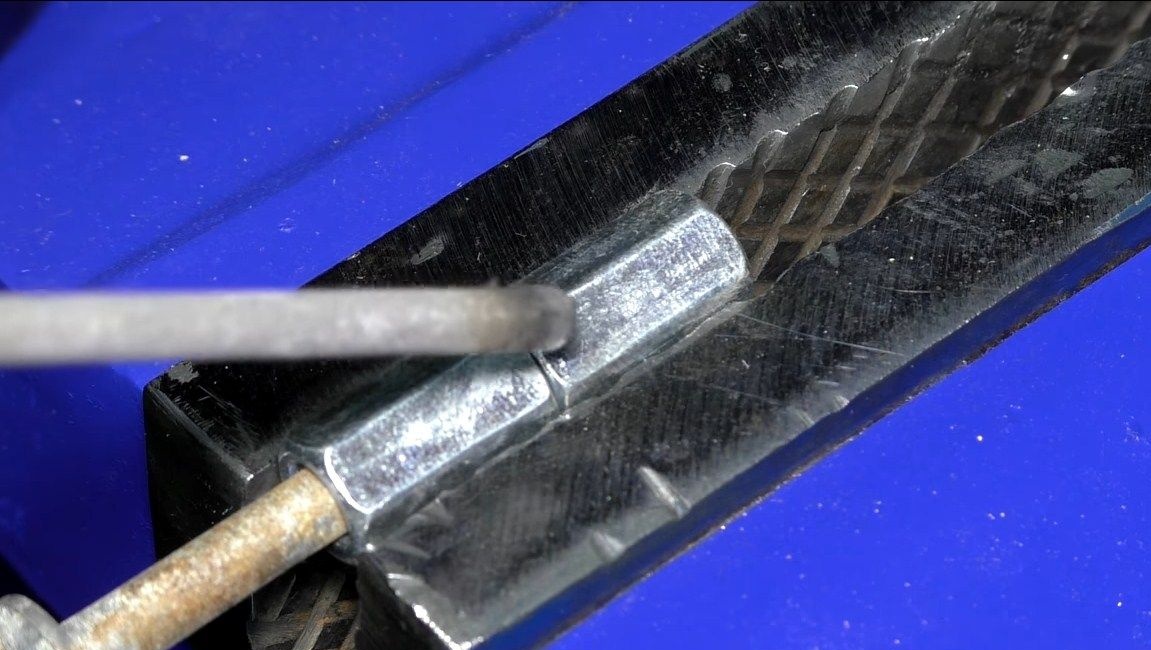
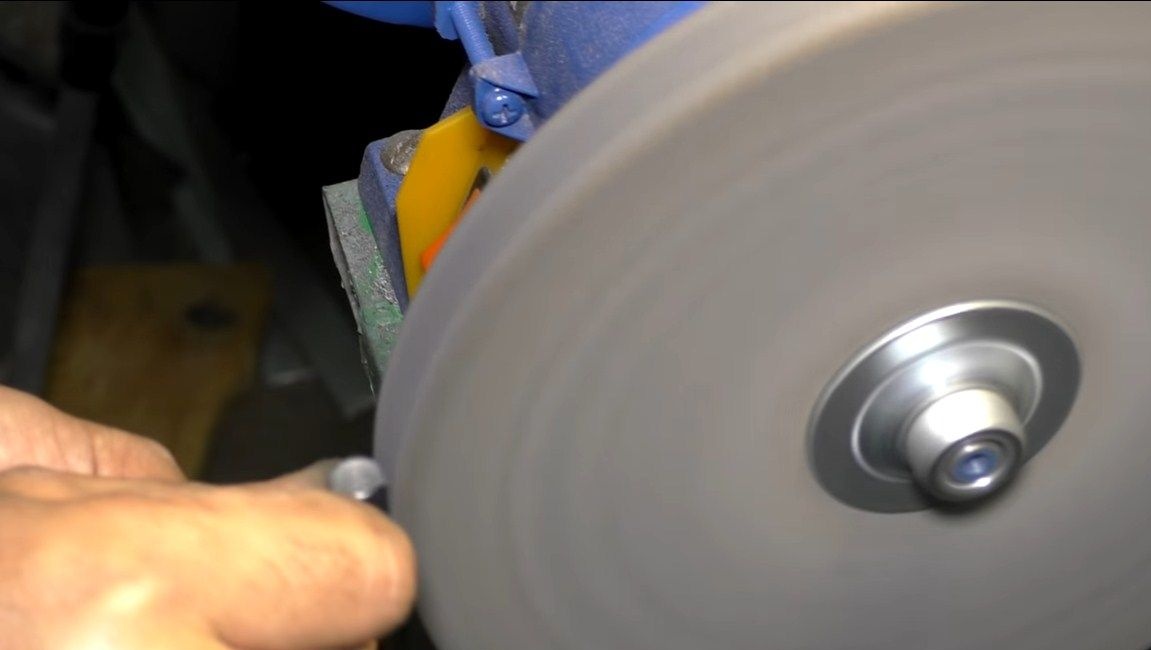
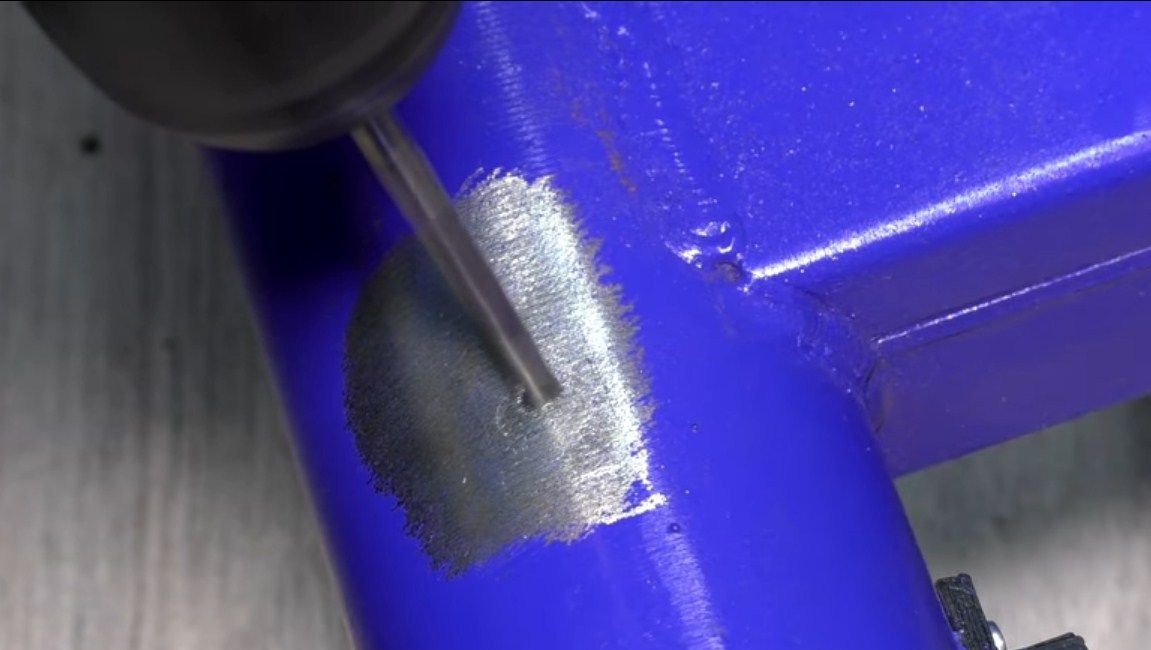
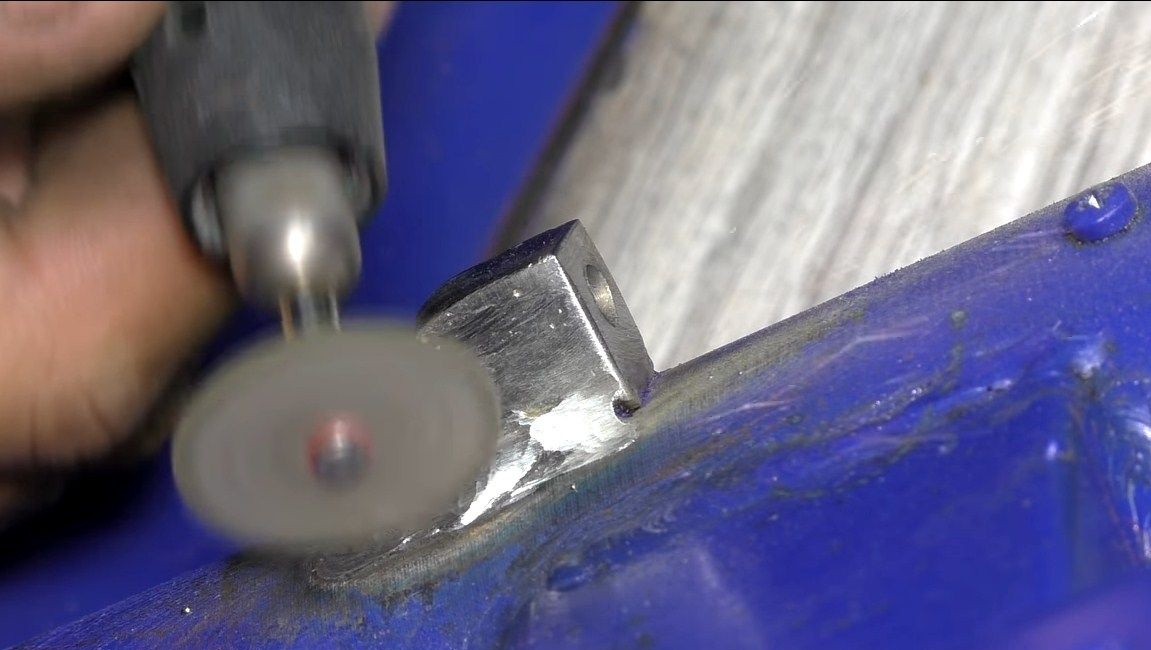
The frame consists of two main components - a rack and a base. As for the base, then a piece of the channel was used for it. And the stand is made of a piece of square pipe. On the rack, we need to install sliders that will lower and raise the drill. Where the author took such sliders, it is not known, it is quite possible, this is something for of furniture. We drill holes, cut the threads in the rack and screw the sliders on both sides. Next, we fasten square pieces of plates to the moving parts. In conclusion, we will just need to weld the moving parts into a single unit. We will attach a drill to this block. At the end, we attach the handle to the same moving part, it will work like a winch. For fastening, we make two loops under the shaft, we weld them into place.
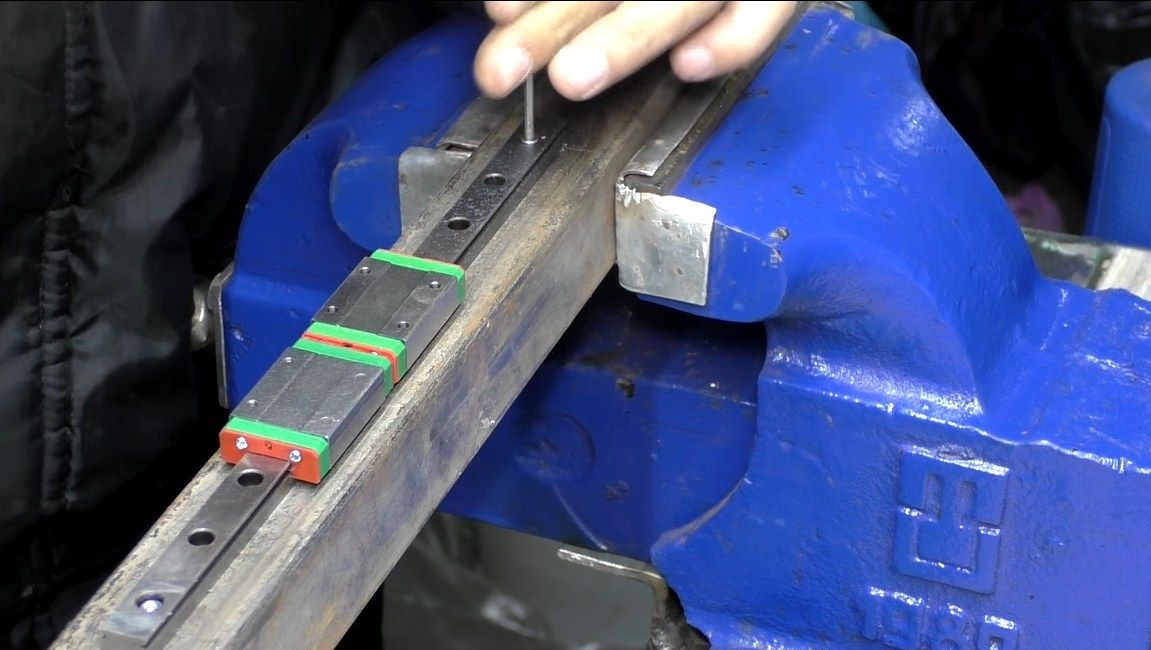
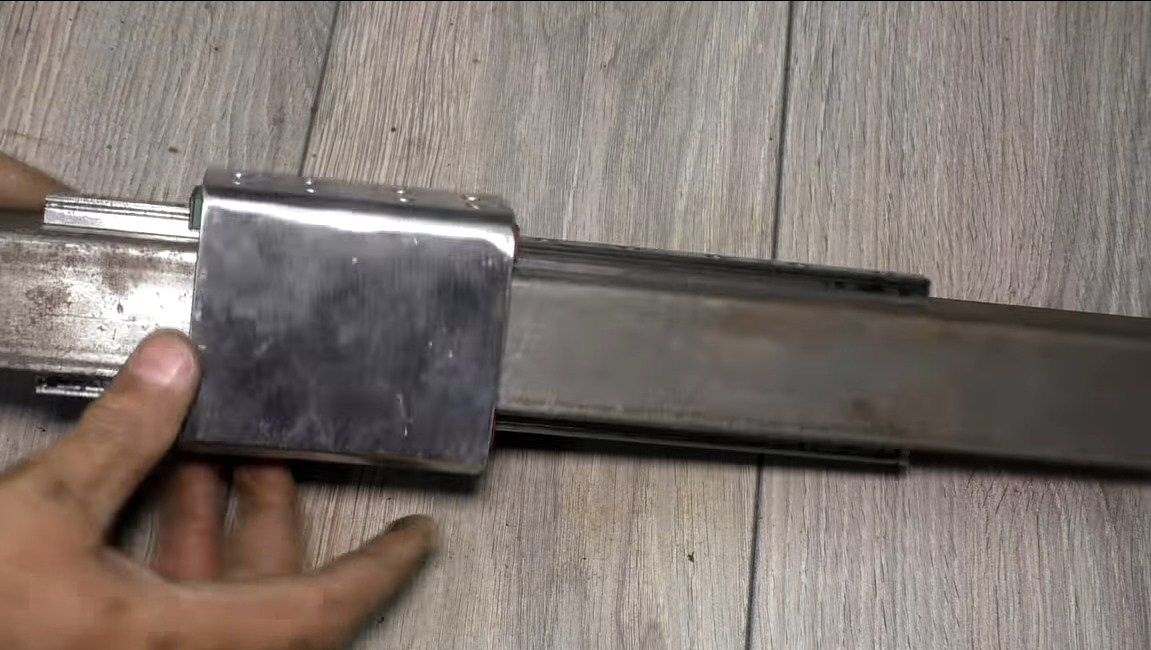
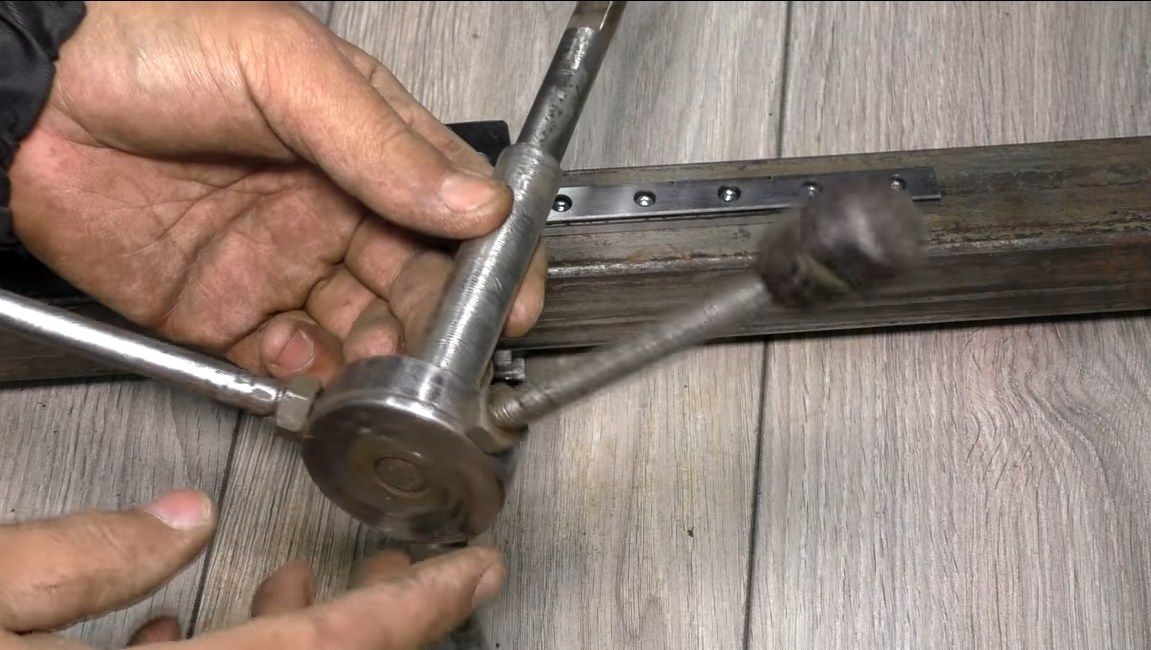

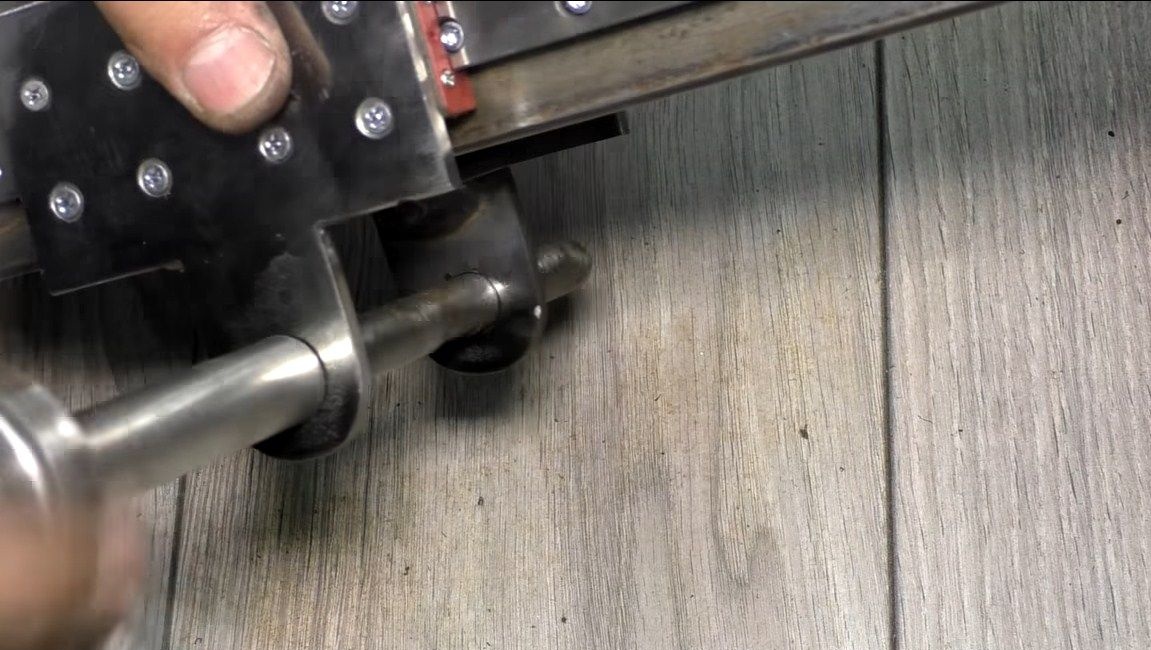

The stand is ready, you can weld it to the base, in our case it is a channel. Next, it remains to install the cable, thanks to which we will control the machine. It needs to be fixed below and above, we also wrap a few turns on the handle shaft. We weld our drill through a channel or a piece of a square pipe to the moving part. That's all, the car can only be painted and the machine can already work.


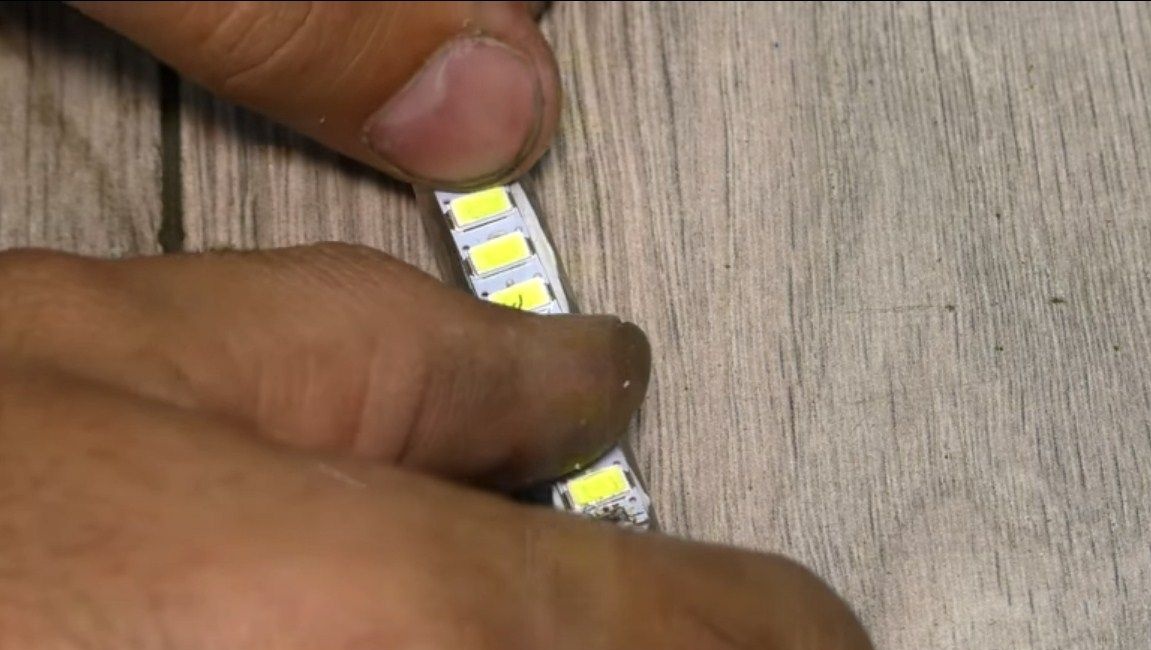
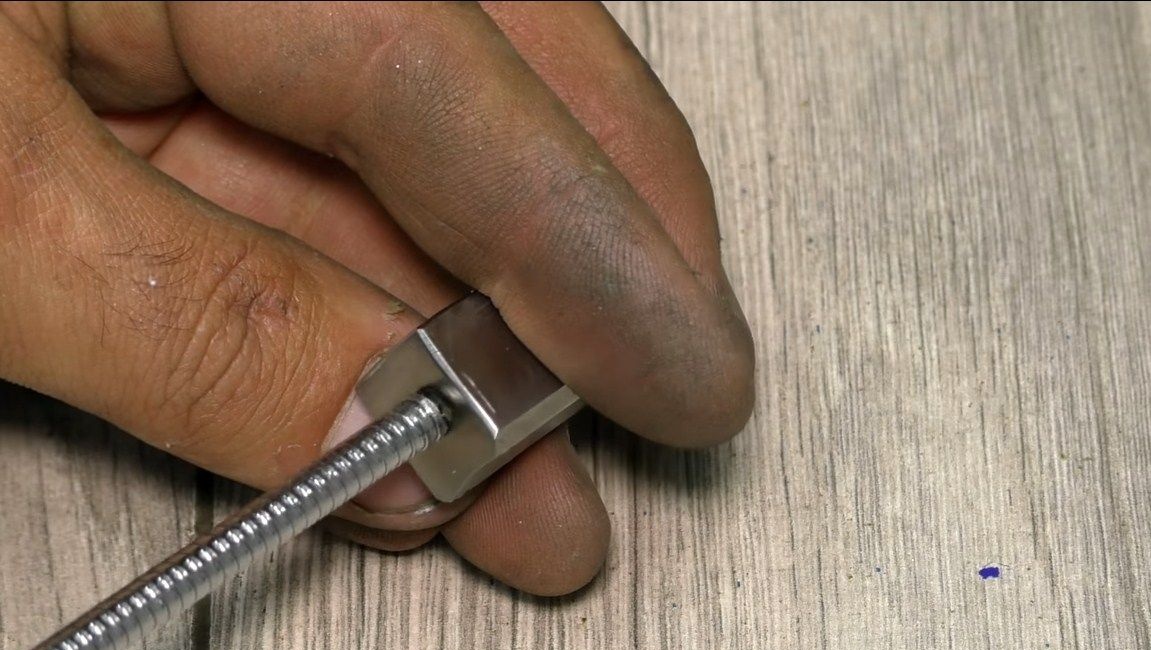
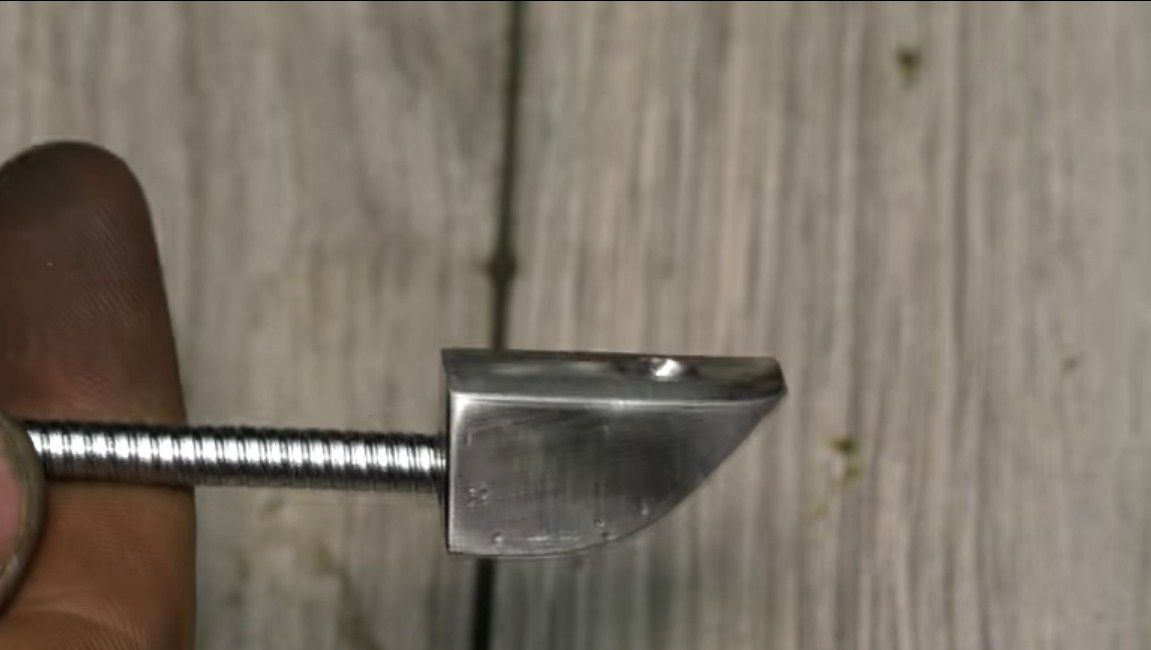
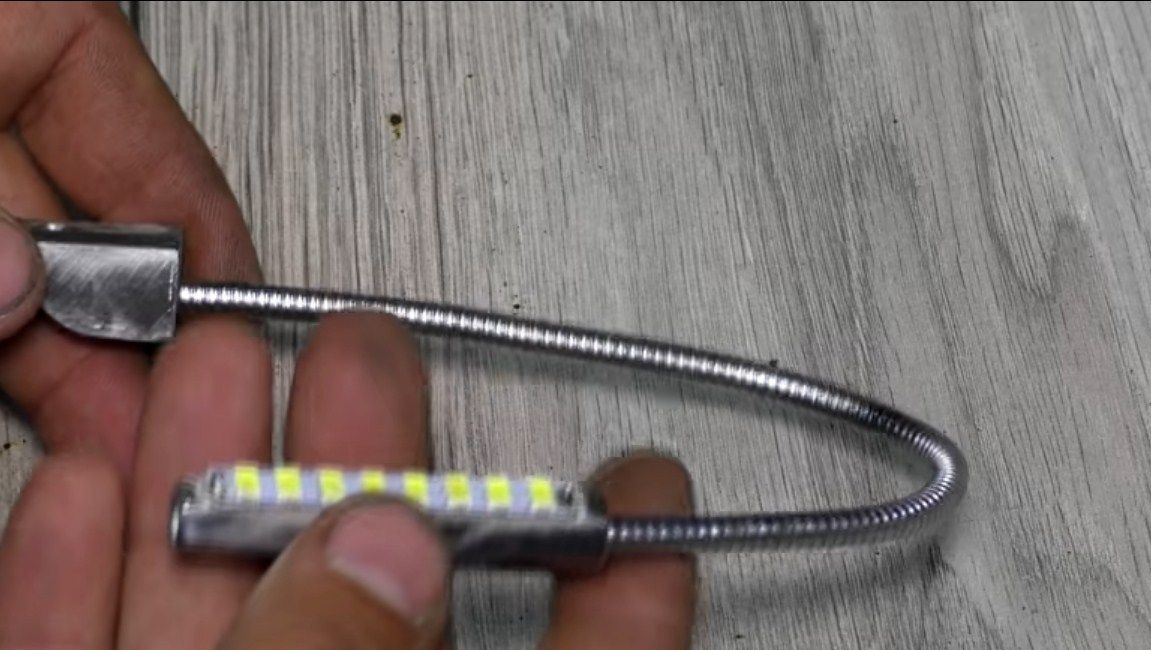
Step Three Lamp
To make everything clearly visible at work, make a flashlight for the machine. The author made it from LED strip. It was installed on the basis of two welded nuts, which work as a heat sink. As a result, it remains to install the flashlight, and do not forget to make a button for it to turn on.
Step Four Final touches and testing
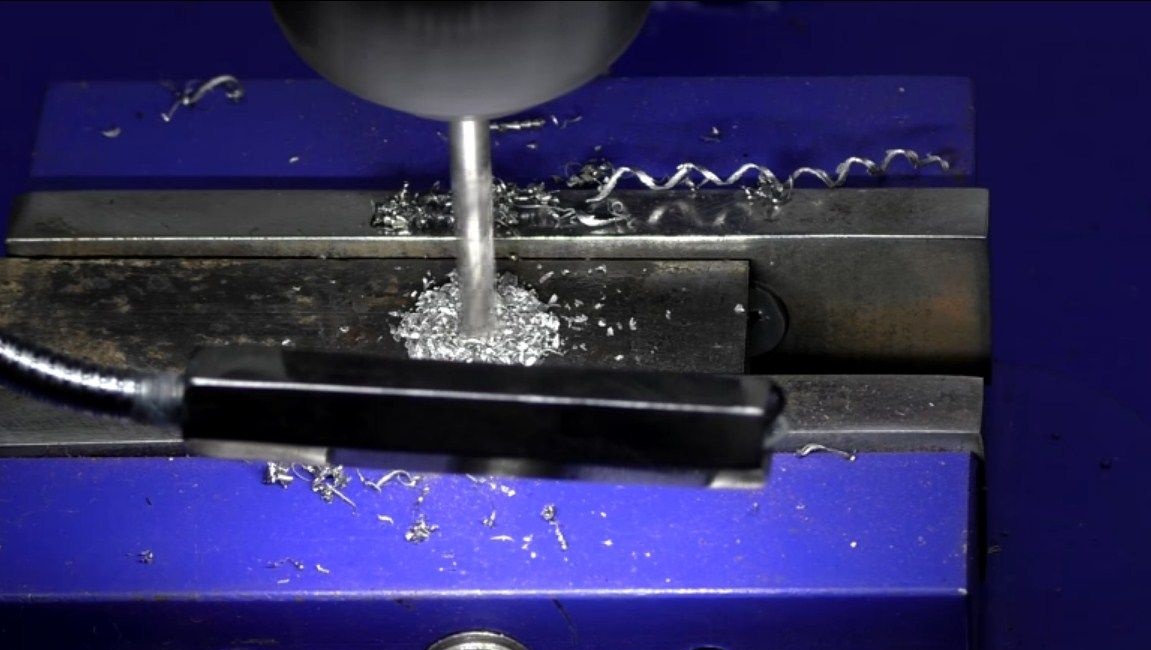
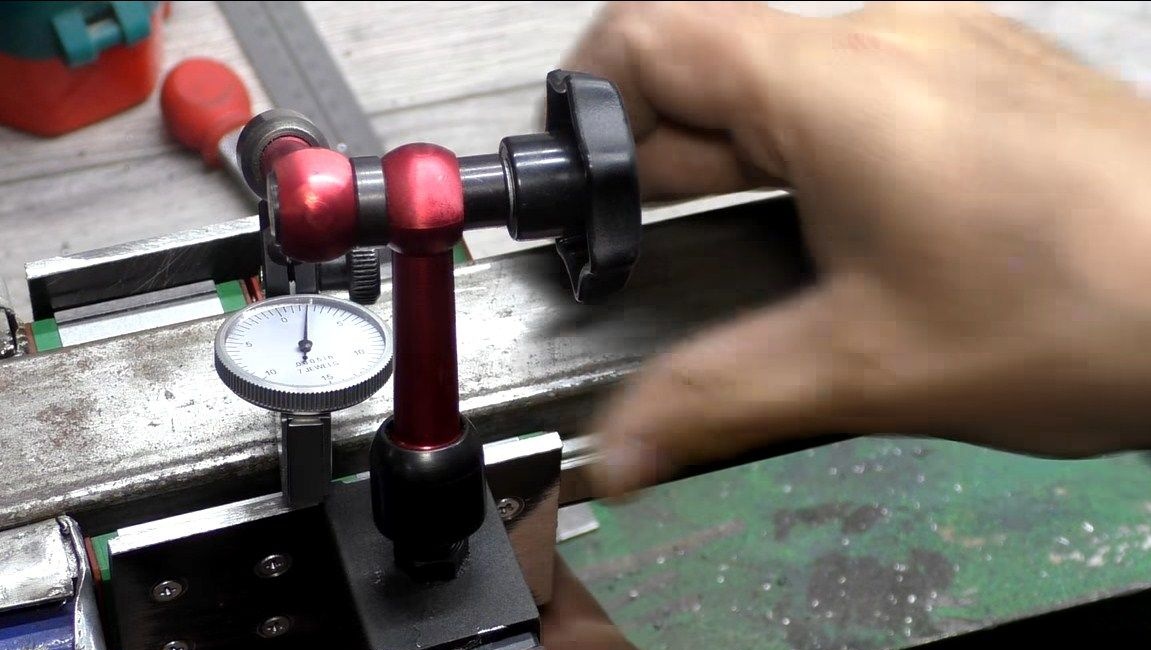
As a conclusion, the author installed a drilling vice on the basis. Also, a digital caliper was installed on the rack. Thanks to this interesting addition, you can drill holes to a clearly defined depth.
That's all, the machine is ready. We connect the 12V power and try to work. For the author, the car works pretty well and accurately. That's all, I hope you liked the project. Good luck and creative inspiration, if you want to repeat it. Do not forget to share your homemade with us!