
Good day to all dear friends! In today's article, together with you I would like to consider a very interesting homemade. This homemade product is perfect for leisure activities and just for lovers of easy modeling. In general, today we will consider how to do it model tow truck from improvised materials. This model will be interesting to collect with your child. The assembly of this model will free your child from computer games in a way that will take all his free time. By collecting this model, the child will receive minimal knowledge about the operation of technical and electrical devices. The budget for the homemade product will be relatively small so that the materials at hand and electronic components purchased from our Chinese friends in a popular online store. Well, let's not pull with a long introduction, we drove.
And so, to assemble a tow truck model from corrugated cardboard and other materials, we need:
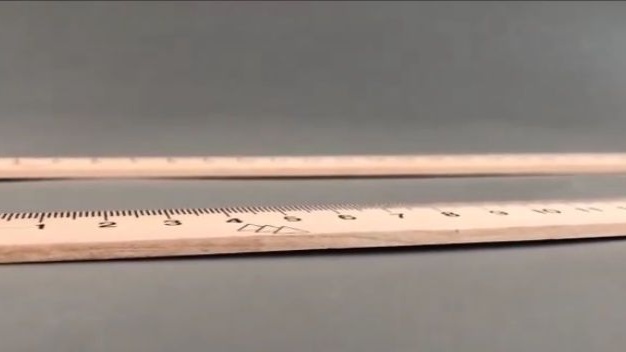
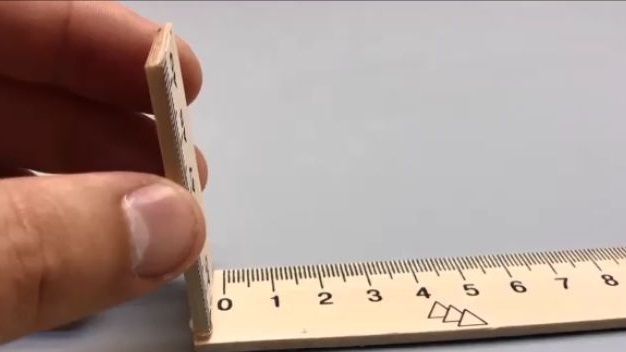
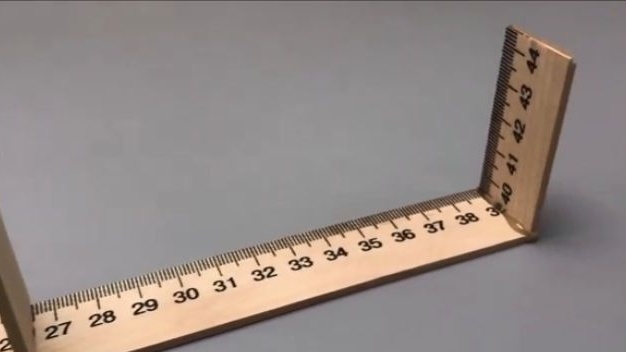
- Wooden rulers 50 cm at least 5 pcs.
- Ice cream sticks
- Wheels 4 pcs. (set from Arduino)
- Electric motors with gears 7 pcs
- Battery compartment for 6 finger batteries
- Cardboard sheet
- hairpin
- nuts
- Round ballpoint pen housing
- Wooden kebab skewer
- Sewing thread
- Small carabiner (e.g. from a bag strap)
- switch
- Multichannel radio equipment and a receiver for it (it will be possible to use electronics from a tank or helicopter)
- 6 finger batteries.
Of the tools we will also need:
- Nippers
- pencil
- Hot glue
- Super end
- scissors
- Shrink
- Plastic ties
- Bor is a machine.
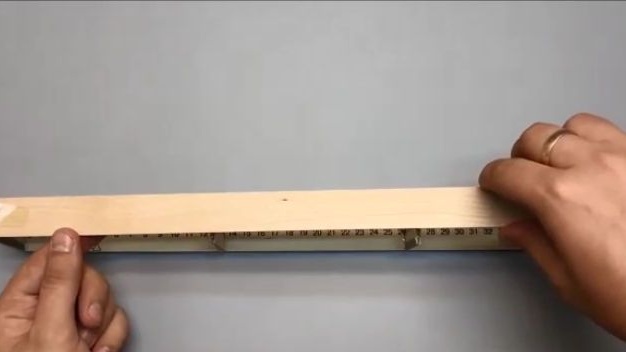
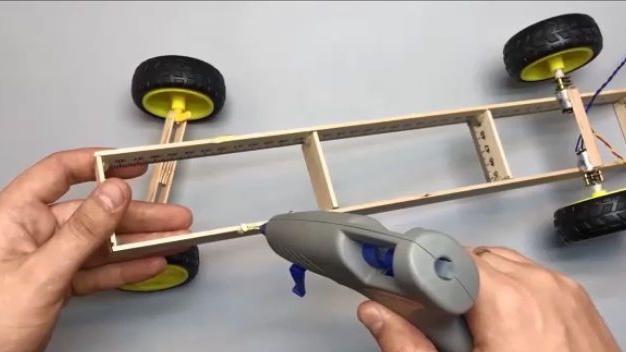
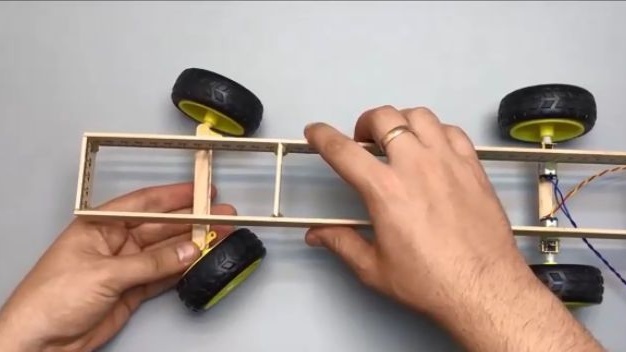
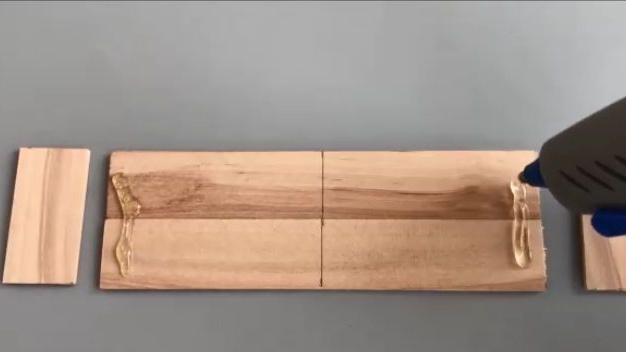
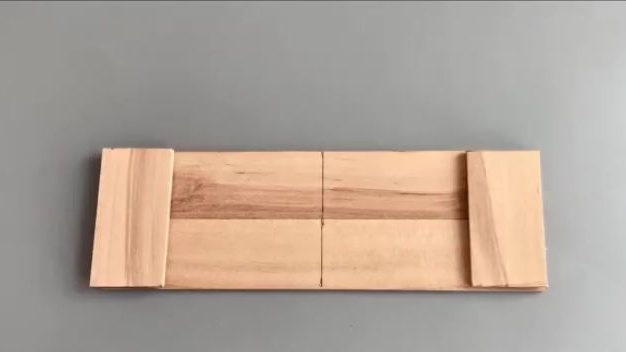
First, we should make a frame for our tow truck, on which the whole structure will actually be assembled. For the frame itself, we need three wooden rulers of 50 cm each (the length of the rulers is selected individually, but I do not advise using less than 50 cm as it would be inconvenient to assemble components on a small frame). First, take one ruler and glue the crossbars to it, which we cut from the exact same ruler (the length is transverse, it is also individually selected as the length of the rulers, that is, the longer the crosspiece, the wider the wheelbase and vice versa), we will glue the frame, using hot glue.And after the cross members are glued, we glue the second exactly the same ruler to them so that we get a frame (see photo below).
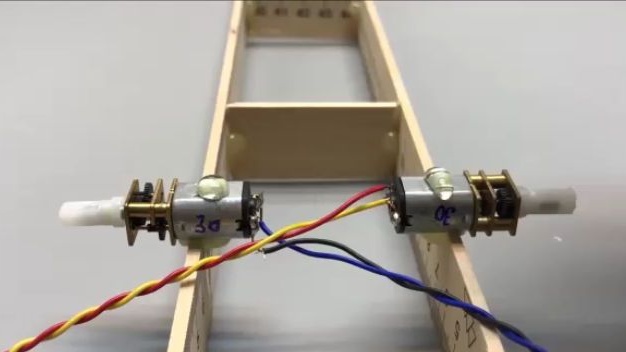
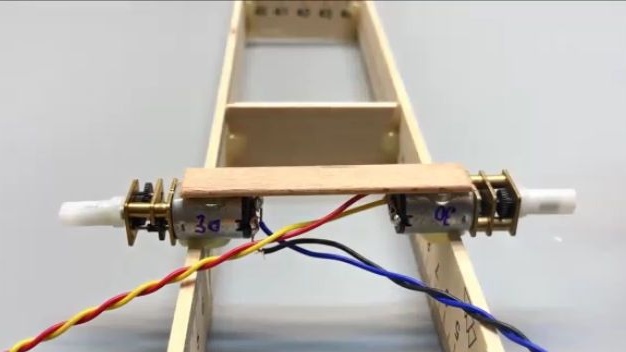
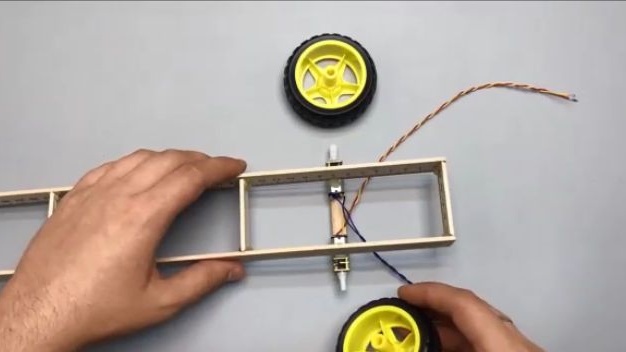
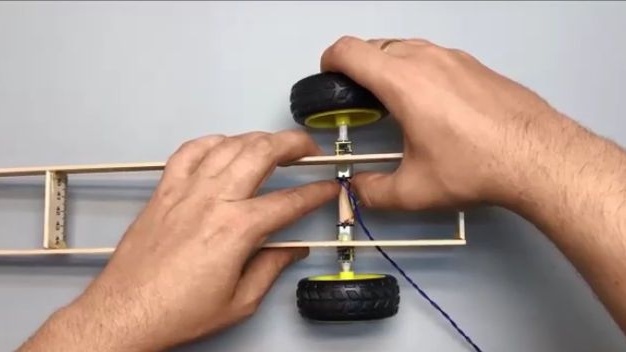
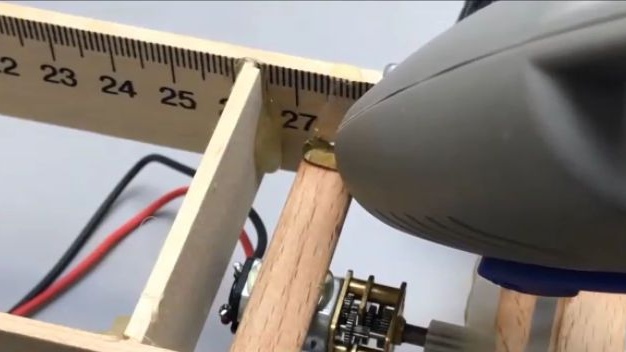
Then we will make the rear "continuous" bridge. To do this, we should take a pair of electric motors with gearboxes and stick them to the frame opposite each other (for plausibility, leave the rear overhang so that the rear axle is located approximately in the center of the cargo platform). It is clear that simply gluing electric motors to the frame on hot-melt adhesive is not enough and you need to make some kind of spacer from a wooden stick of ice cream. And we put the wheels on the "bridge".

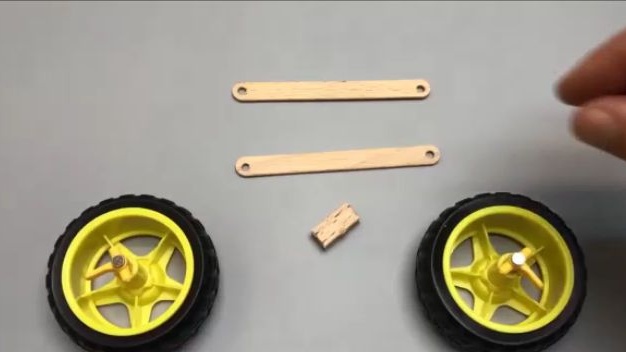
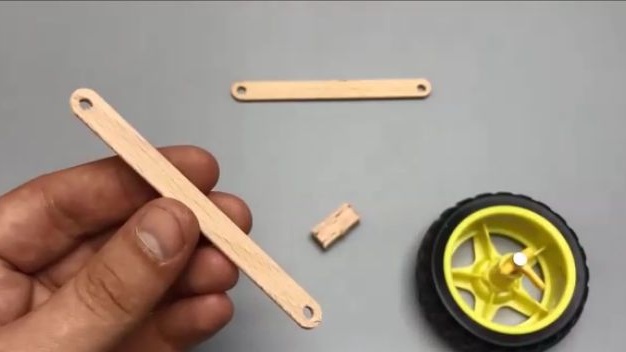
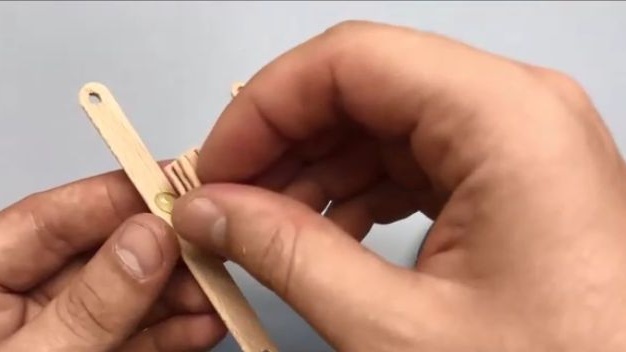
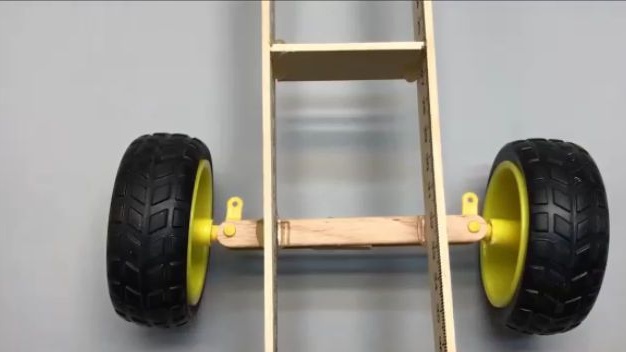
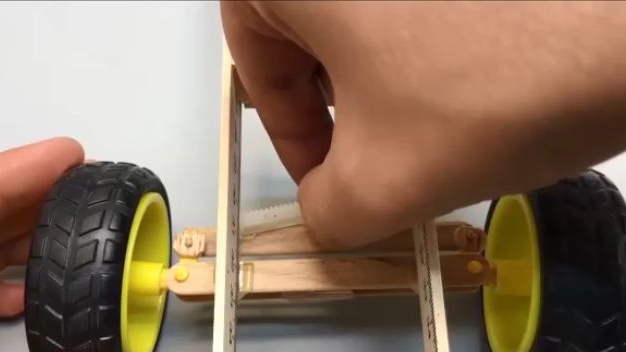
The most logical thing after making the rear driving “bridge” is to make the front rotary axis. For her we need a couple of wooden sticks of ice cream and a pair of steering wheels with hubs. At the edges, two absolutely identical sticks, we make through holes. In the center of one of the sticks we glue the so-called sandwich made of the same stick, it will act as a “gasket” for the stiffness of the front axle. Then we install the wheels in their seats and cover with a second stick, before doing this, apply a couple of drops of hot glue to it.
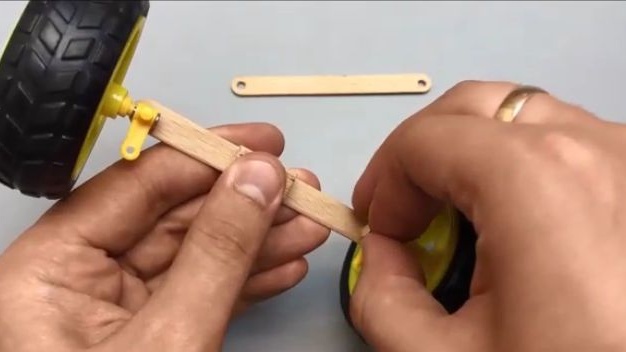
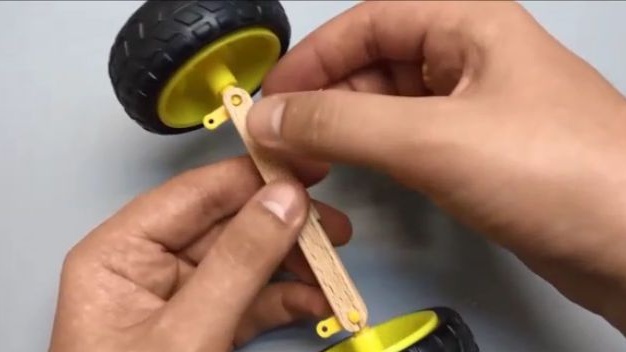
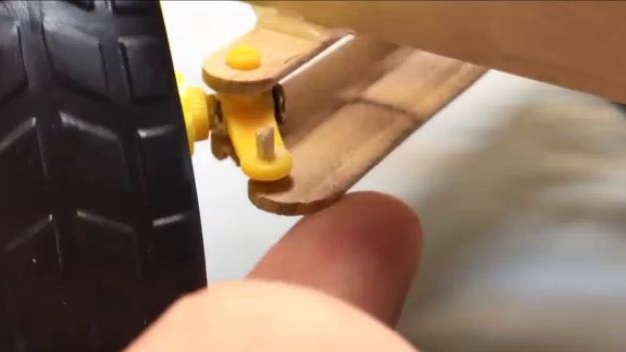
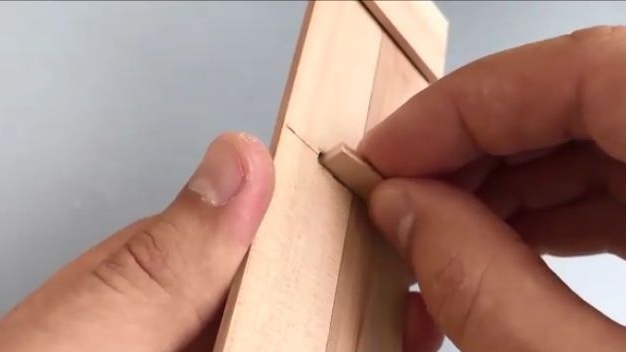
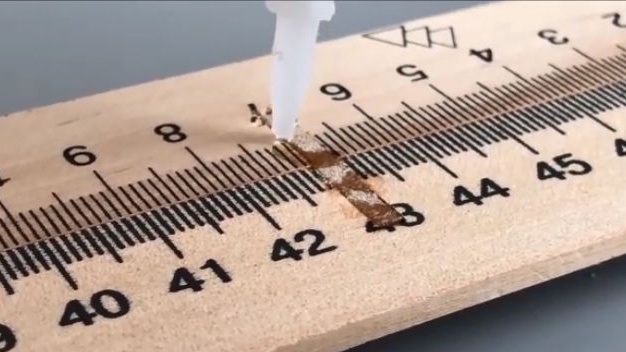
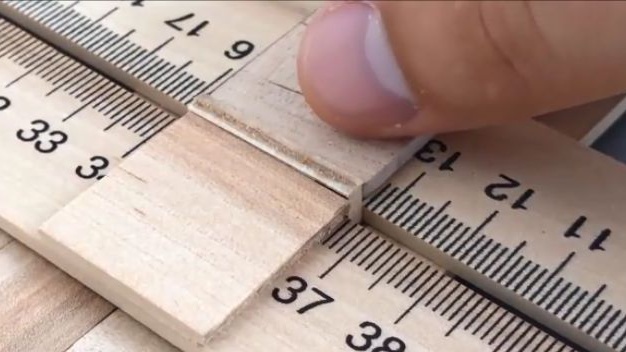
Glue the newly made axis to the frame using hot-melt adhesive. Now we begin to manufacture the steering gear. Take a wooden stick, (it will act as a tie rod), we lean it against the wheel hubs so that both wheels at this moment are exactly parallel to the frame. And with a pen we leave marks (see photo) where with the help of superglue two small pieces from the barbecue stick should be glued. And so that the thrust does not fall out, on top of a piece of barbecue sticks with super glue we glue a small square that will not let the steering drop out.
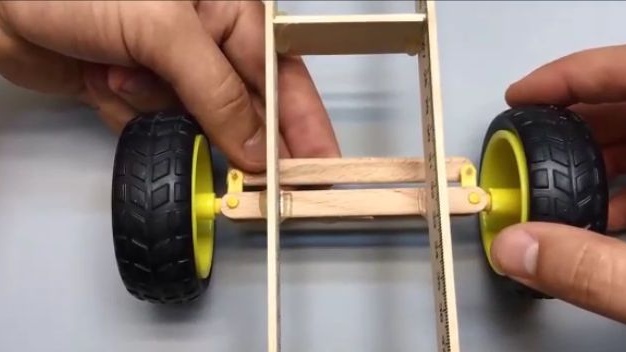

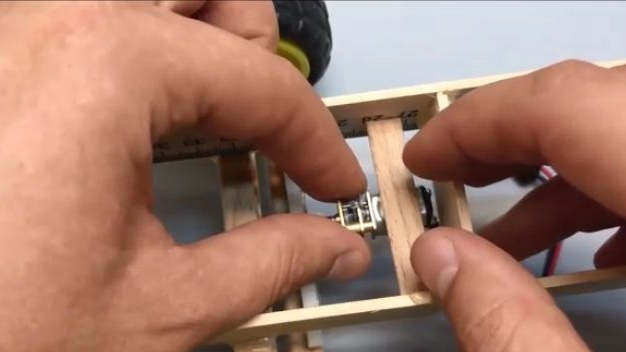
Further, for the steering mechanism to work and turn the wheels, the following should be done, namely. Namely, to stick with a hot glue a straight stick with teeth (they are sold in sets with various plastic gears for toys). On the contrary, you should glue the electric motor with the gear onto the shaft, which should be installed drive gear, which would fit in size to the teeth on the link itself. The engine should be glued in the center relative to the traction. For this, the electric motor itself is glued to the center of the wooden stick, the length of which is equal to the spacer on the frame. And only after that we glue the electric motor to the place indicated in the photo. Suspension and chassis ready.
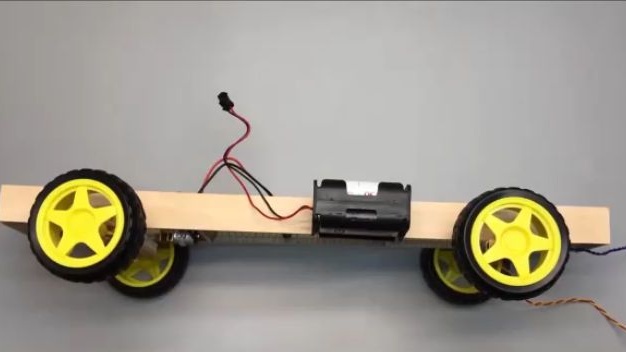
We glue the battery compartment to the truck frame (I advise you in advance so that the tow truck is less outweighed, it is recommended that the battery compartment be glued closer to the front).
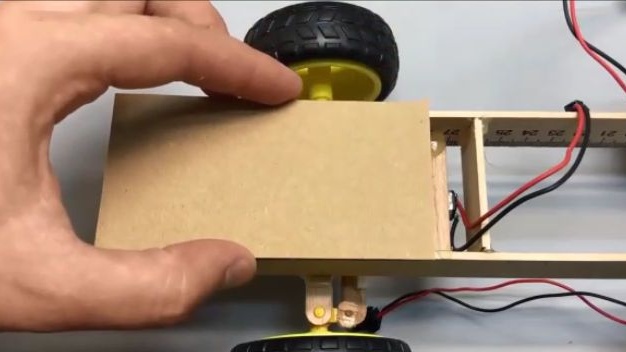
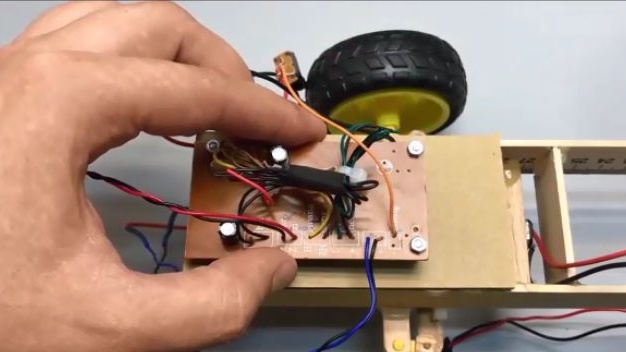
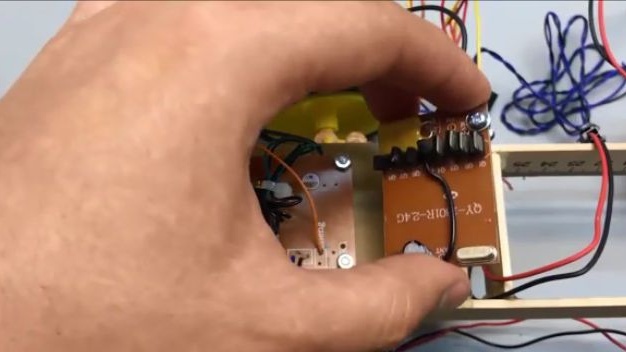
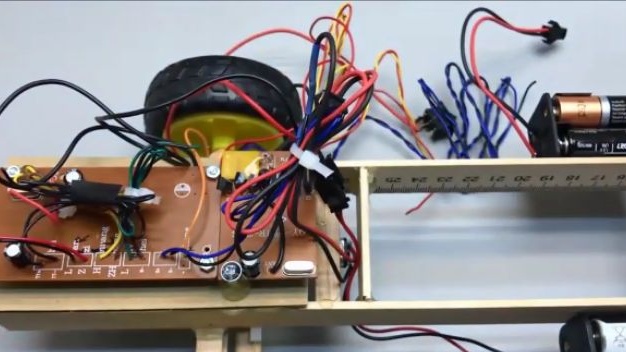
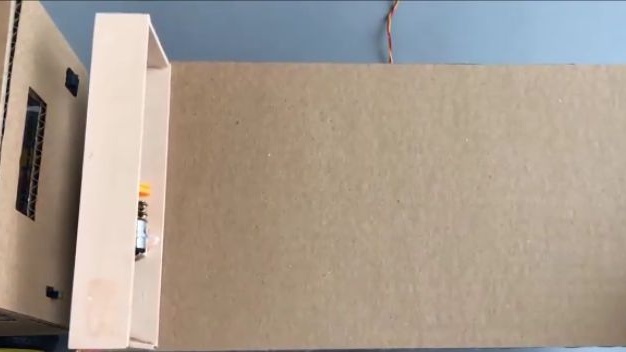
We cut out a rectangle from cardboard, the width of which will be equal to the width of the frame, and the length is about 10 cm. Glue the cut rectangle to the front of the frame, on hot melt adhesive. All electronic filling of the model will be attached to this platform. We glue two printed circuit boards onto the site, apparently these are the boards from the old radio-controlled toy, namely from the tank. But you can use ordinary radio equipment with a receiver and speed control, most importantly, the more channels it has, the better. We connect all the wiring according to the instructions of your chosen electronics. When connecting wires, do not forget to use heat shrink.
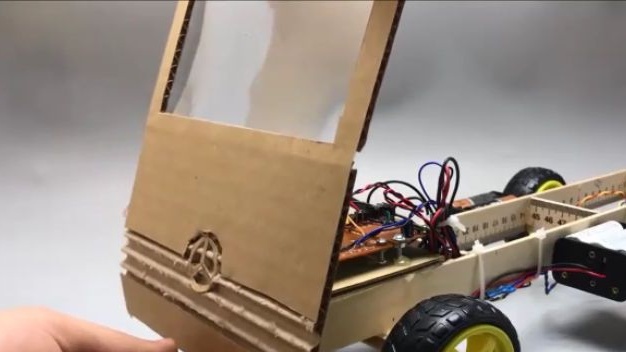
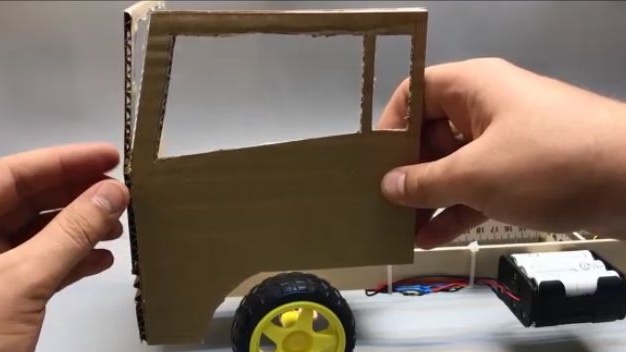
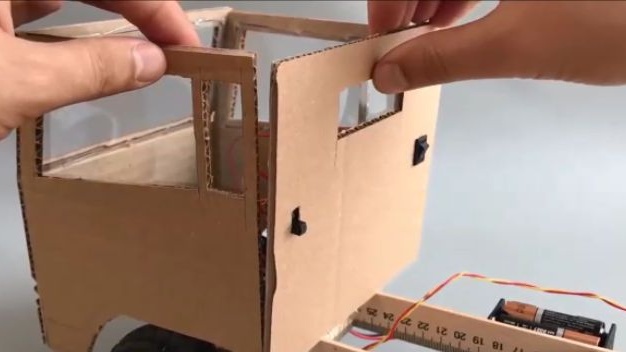
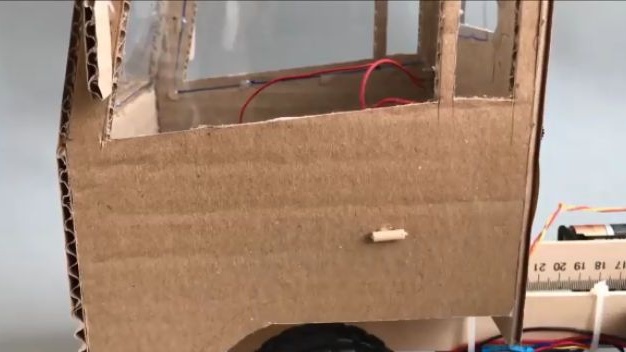
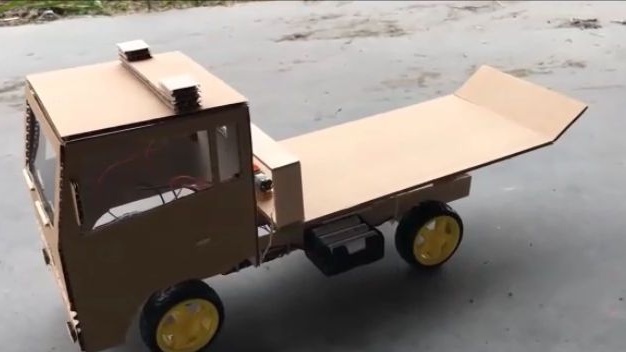
We assemble the truck’s cabin, it already depends on how your imagination works, you can do exactly the same as the author did, or you can even install the cabin from the toy that you have. The author of the homemade product installed a couple of switches on the back of the cab, one switch is responsible for powering the entire system, and the second court for everything is responsible for the operation of the winch. The winch is displayed in a separate switch because the author and his electronics did not have enough channels to control it.
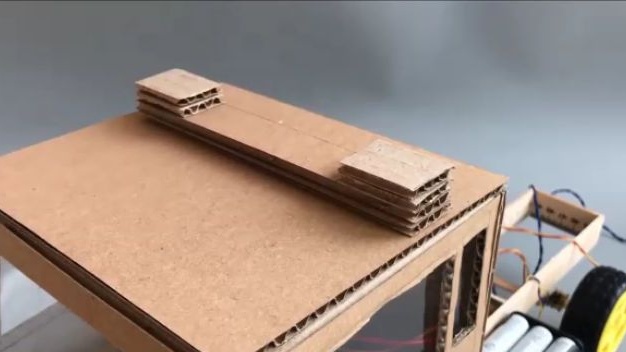
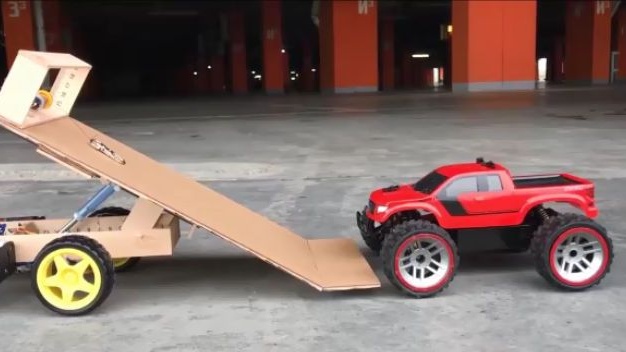
In fact, the truck itself is already ready for radio control, but the cargo platform itself is still not enough to be called a tow truck. We take two wooden rulers, but only shorter (the length of the loading platform depends on the length of the rulers). Repeat all the steps below.
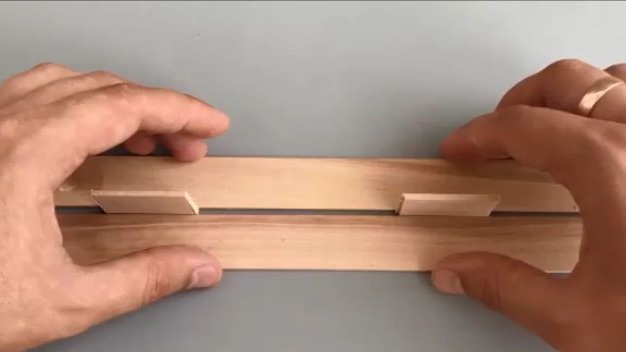
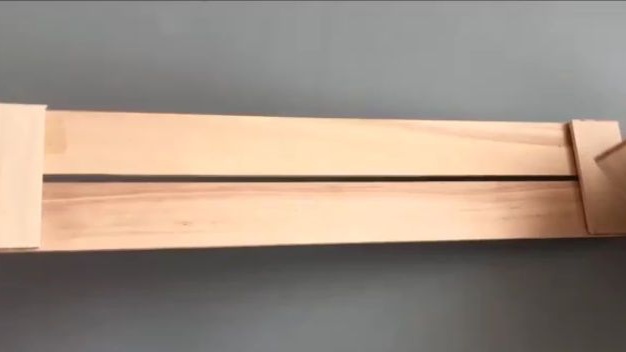

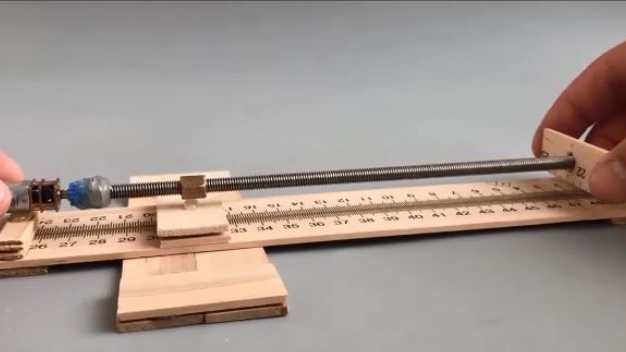
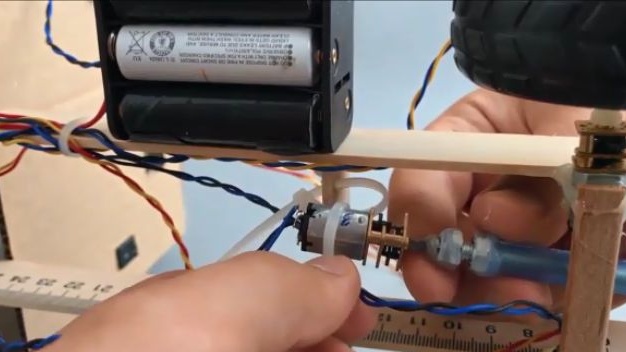
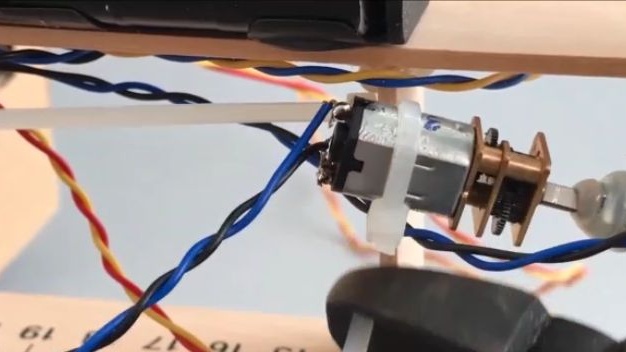
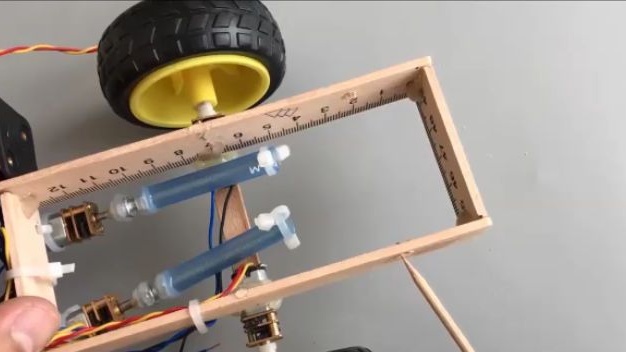
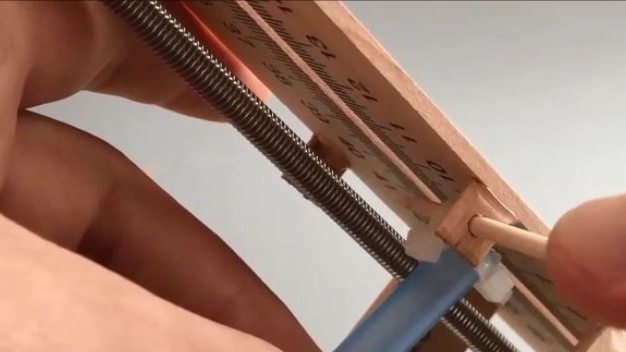
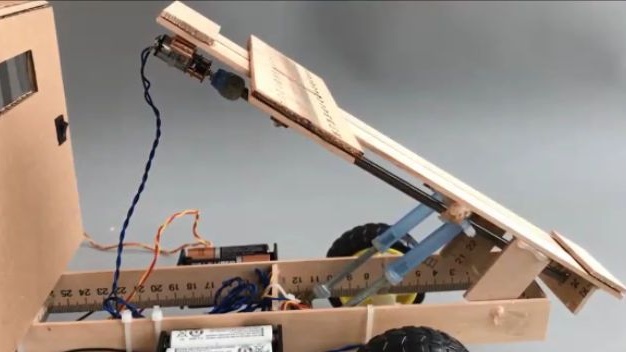
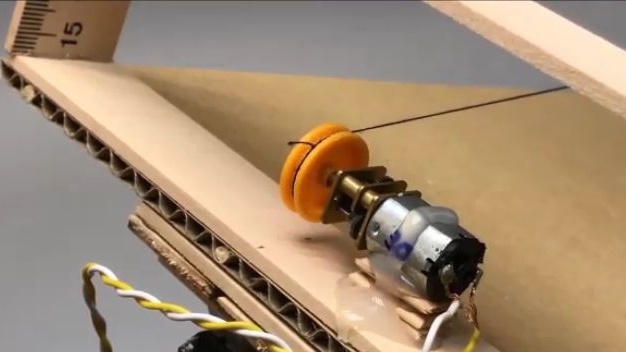
Repeating all the above steps, we have a sliding mechanism of the loading platform.After manufacturing the sliding mechanism, the lifting mechanism of the loading platform should be made. To do this, we need to do something like hydraulic cylinders, but only mechanical ones. Take an electric motor and glue a pin on its shaft, a diameter that would be slightly less than the diameter of the body from the ballpoint pen. Glue a nut suitable for the stud to one end of the body. And we connect the two workpieces so that when the shaft of the electric motor is rotated, the housing from the ballpoint pen leaves and drives back. There are two such mechanisms and set as in the photo.
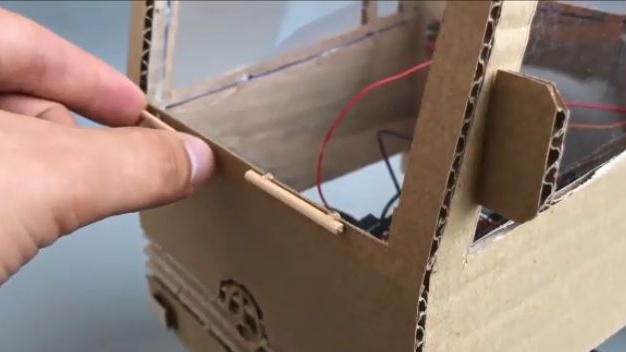
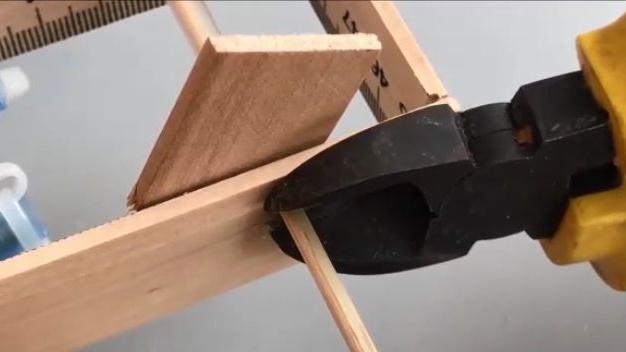
In order for the body to be able to raise and lower, it needs an axis on which it would rotate. To do this, we will drill two through holes in parallel to each other in the back of the frame, take a wooden skewer skewer, and put it through the holes, first placing a square from the ruler on it and then a tube so that the square does not go away, and then the second square. Cut the excess from the skewer and fix it with hot glue.
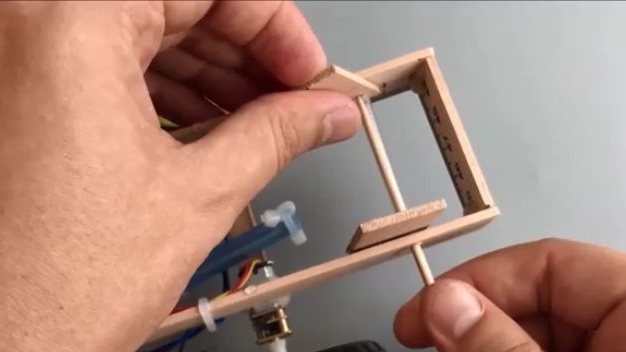
We glue the loading platform to the newly installed squares. And we fix the second ends of the lifting cylinders to the ears of the platform, which should be glued.
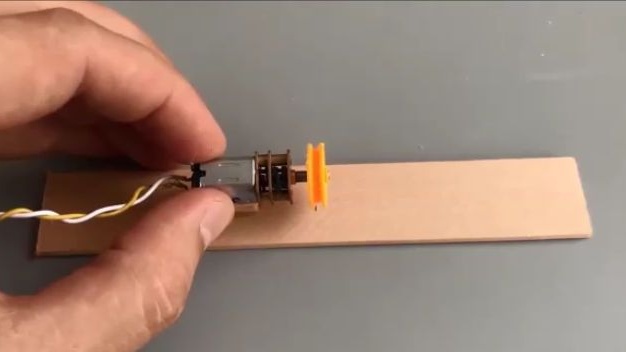
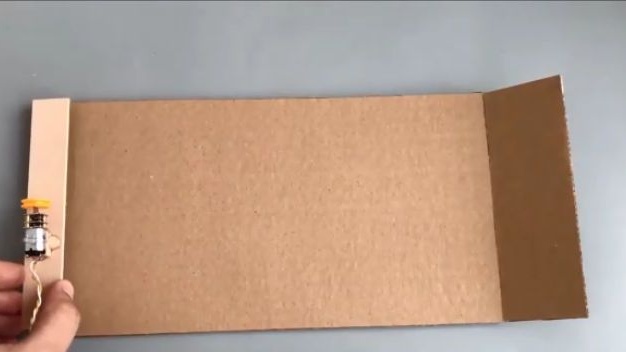
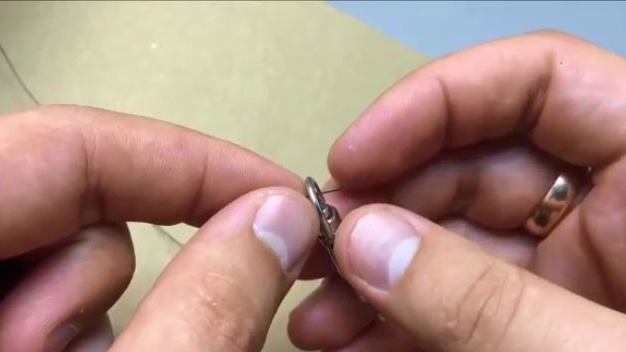
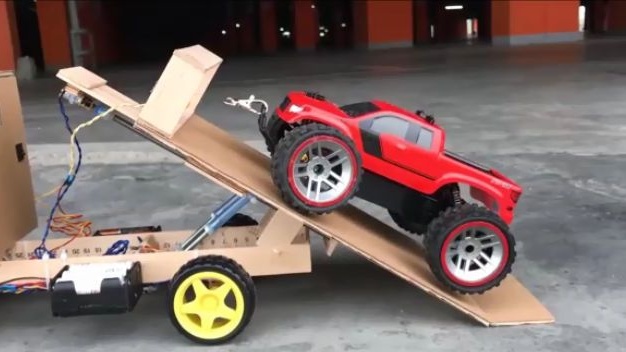
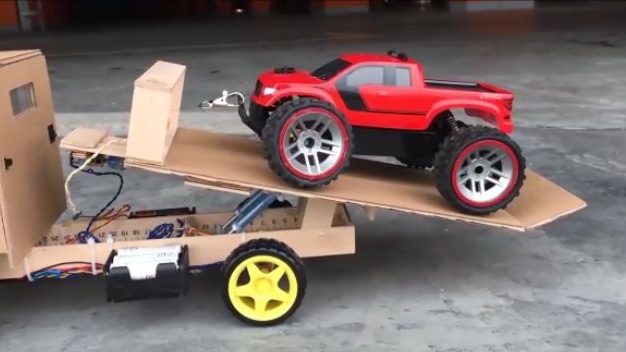
The next step is to assemble the cargo platform itself and the winch. We will make a winch from an electric motor and a coil, which should be fixed on its shaft. Glue the winch to another wooden ruler so that the coil is in the center. Glue the ruler with a winch to a sheet of cardboard, which will act as a loading platform. For some pathos, the author added an arch over the winch. We glue the platform to the frame and wind the thread on the spool, and we hook the carabiner on its other end.
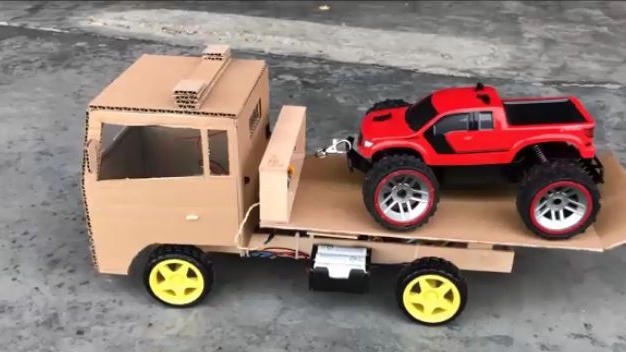
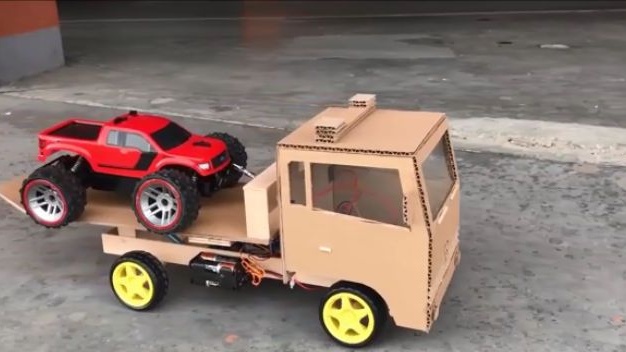
All is ready! As a result, we got a very cool tow truck for radio control assembled literally on my knees and almost from the trash. Test and enjoy the build!
Here is a video from the author with a detailed assembly and testing of this homemade product:
Well, thank you all for your attention and good luck in future projects, friends!