
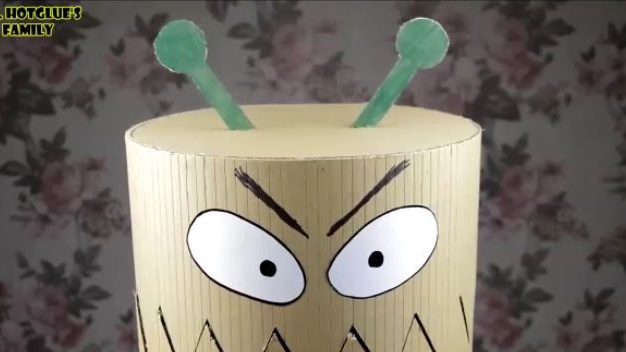
Good day to all dear friends! In today's article, I would like to show you a very interesting idea about homemade. Namely, in this article we will consider how to make a trash bin with an opening mechanism when pressed. This homemade product may appeal to children as it will be performed in a cartoony and unusual style. The homemade product will consist of as simple details as possible. In the manufacture of this homemade product, there should not be any difficulties as the design will be very simple and primitive, and therefore anyone who liked this idea, even a child, can repeat it. You can put this trash in your workplace, for example in the garage or a workshop, well, as well as it can be placed in a children's room. Oh well, enough of the long preface, let's go!
And so, for this homemade product we need:
- Wooden rulers of different sizes
- A large sheet of thick corrugated cardboard (the quantity of cardboard depends on the size of the bin you want to make)
- Wooden barbecue skewers
- A pair of sheets of plain white paper for an A4 printer
- Wooden sticks of ice cream
- Thick aluminum wire.
Of the tools we will also need:
- Stationery knife
- scissors
- Super glue
-Thermokley
- Large line
- Black helium or capillary pen
- Compass.
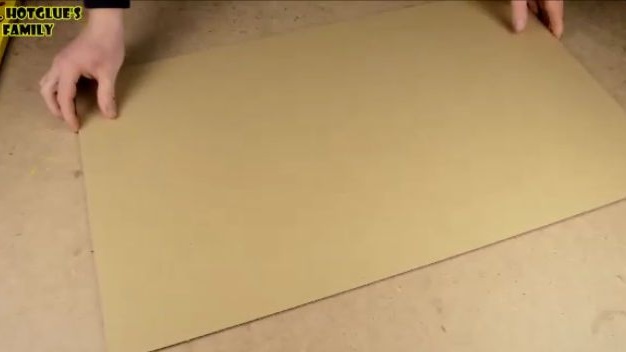
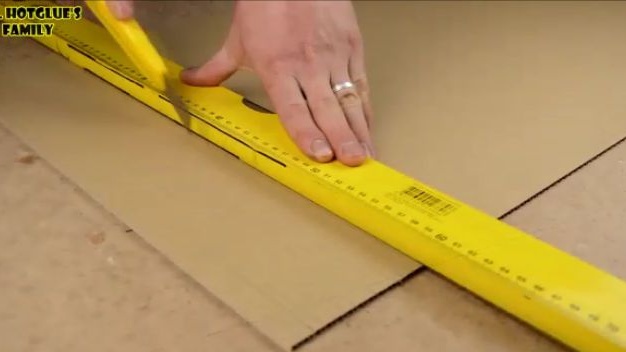
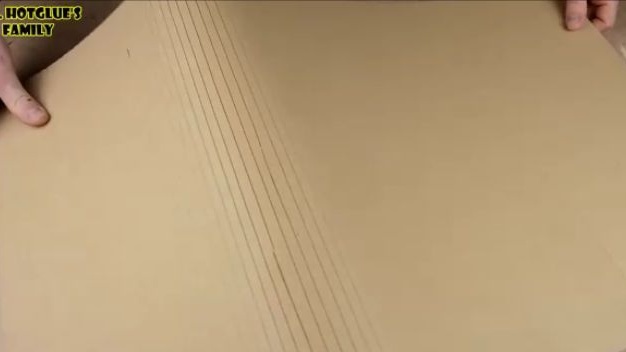
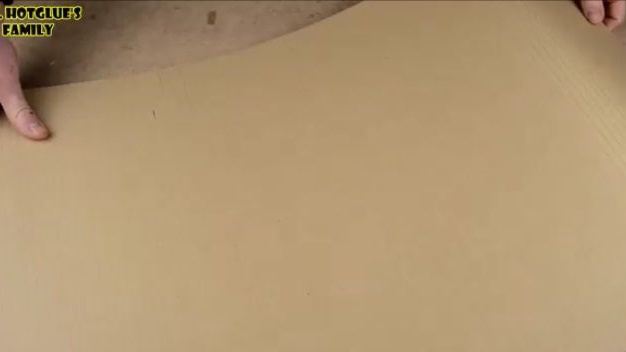
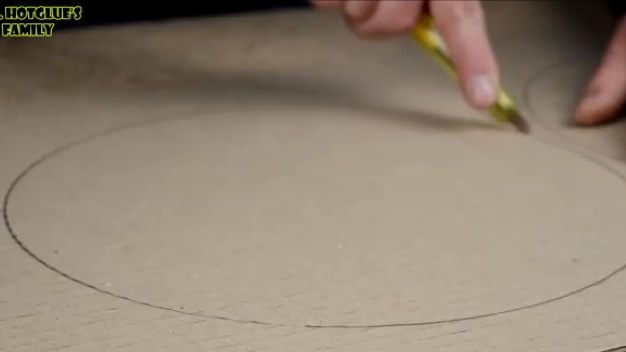
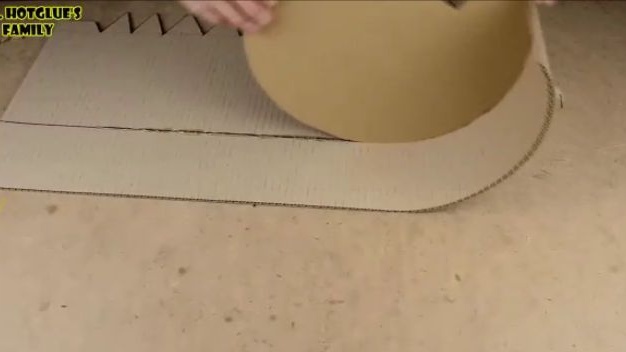
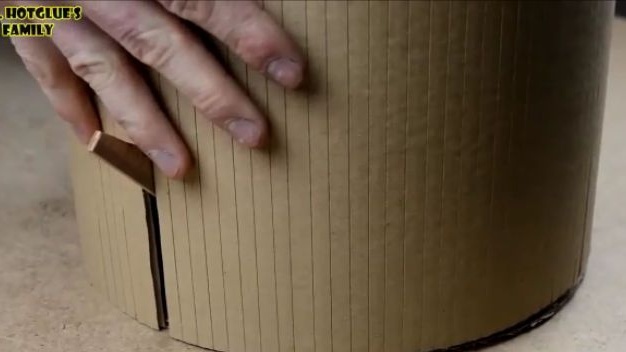
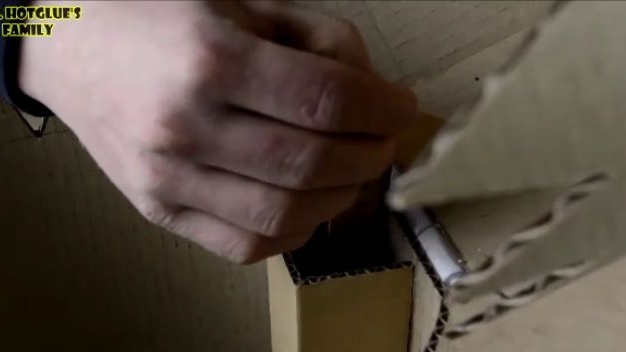
To begin with, we need one sheet of cardboard on which the size of the bin will directly depend. That is, the higher the sheet of cardboard, the higher the trash and vice versa, as well as the wider the sheet, the wider the bucket. Having picked up a sheet of the size you need, you should do the following, namely take a clerical knife and a large ruler (it is better of course that the ruler is longer than a sheet of cardboard). We place a sheet of corrugated cardboard so that its stripes look at us, and substituting a ruler with a clerical knife, we make not deep cuts so that only the top layer of paper is cut (see photo). Having done these actions, the cardboard will become easy to bend, and at the same time will not wrinkle as it would on a solid sheet of cardboard.
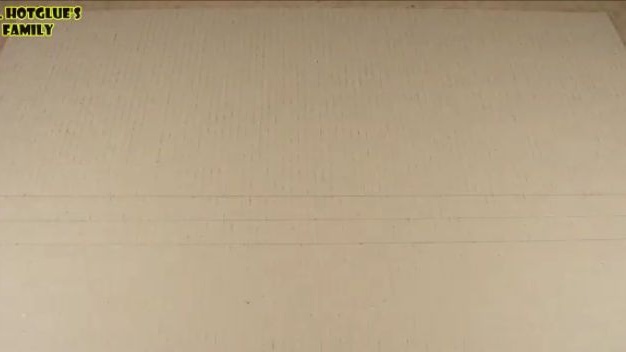
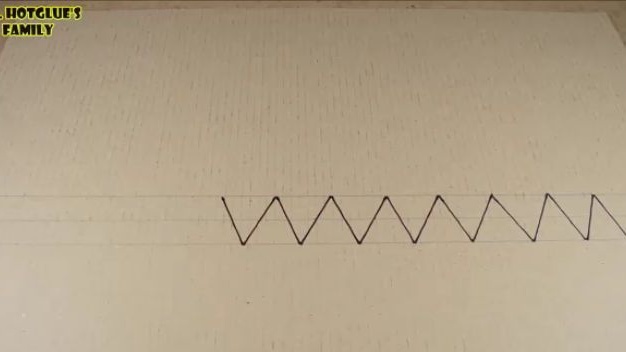
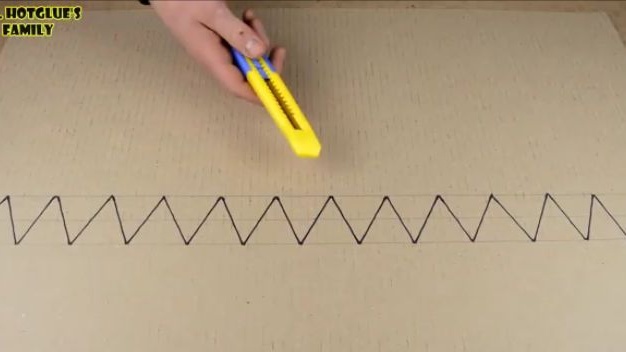
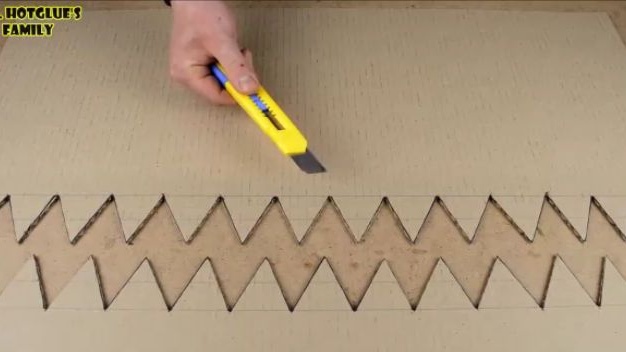
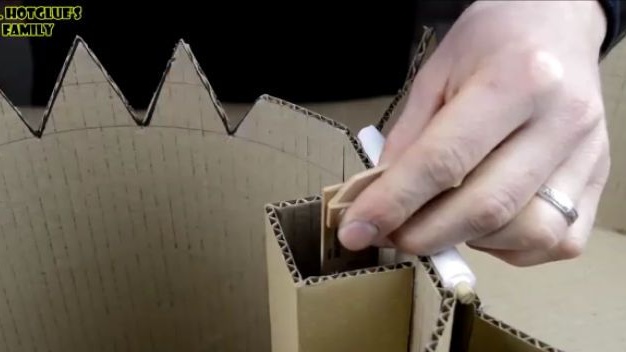
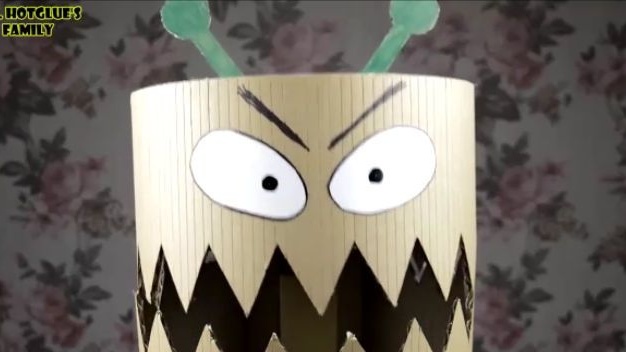
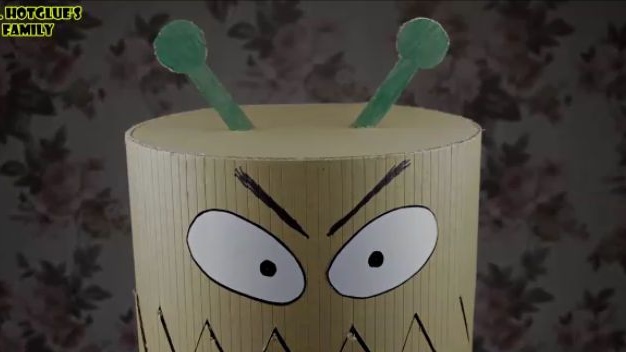
After the actions done, the following should be done. Take a pen or pencil and divide across the cut strips our large sheet of cardboard.We will divide it into two parts in a proportion of about 70 to 30. Then, departing from the dividing line about 2-3 cm, draw another line on one side and the other. Then, between the lines just drawn and the dividing line, “teeth” should be drawn. The teeth will serve purely for decoration and to add a cartoonish design, which means that you can do without teeth. Having drawn the teeth, we cut them out with the help of a clerical knife.
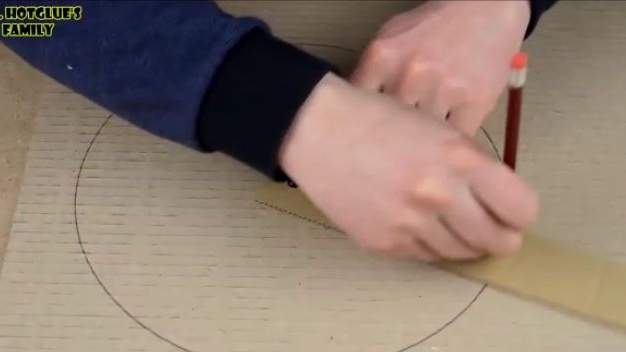
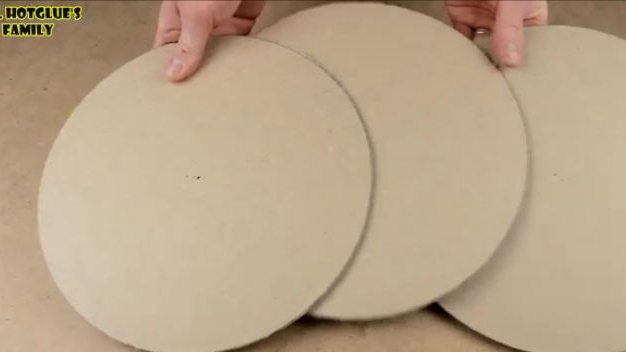
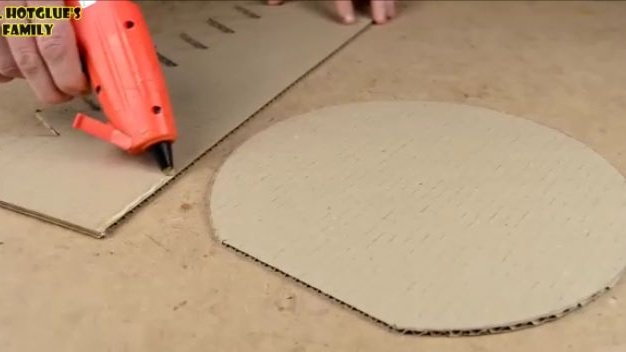
After which we will need another sheet of cardboard on which to draw three circles. The diameter of the circle must be such that its perimeter is greater than the width of the first cardboard sheet. If you, like the author of this homemade product, did not find such a large compass, then to draw circles we need a piece of cardboard, an office button and a simple pencil. With an office button with an edge, we pierce a through hole, and insert the button along with the segment into a cardboard on which it will be necessary to draw a circle. We calculate the radius we need with a ruler and transfer the dimensions to the cardboard segment, pierce the cardboard segment with a sharpened simple pencil in the right place, and simply rotate it 360 degrees. As a result, we should get three absolutely identical circles.
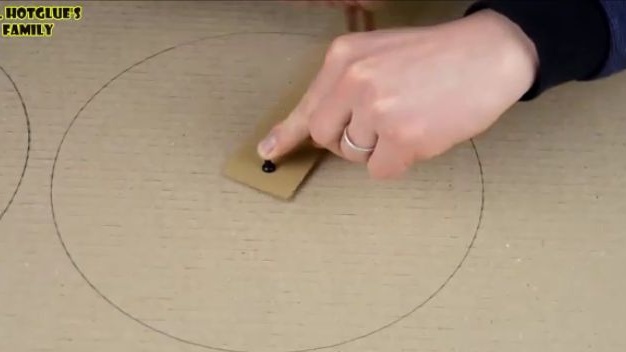
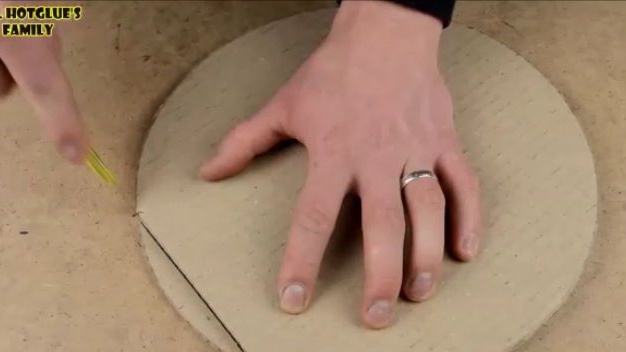
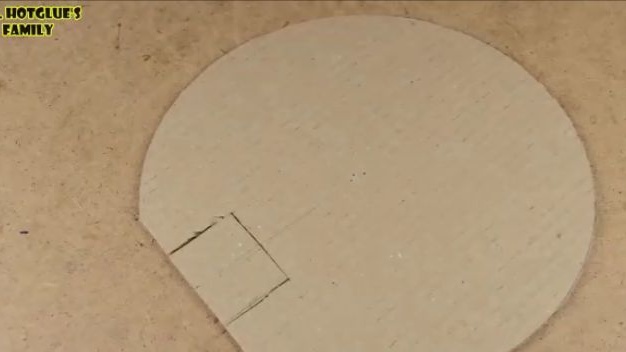
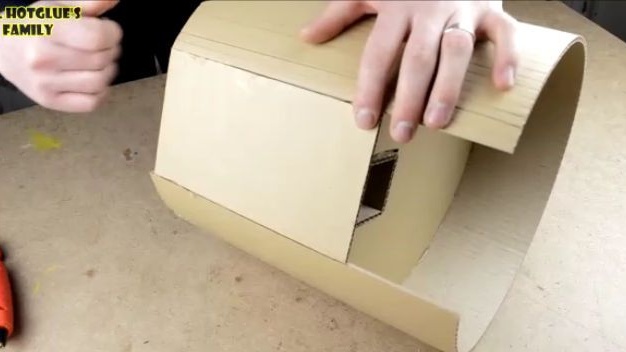
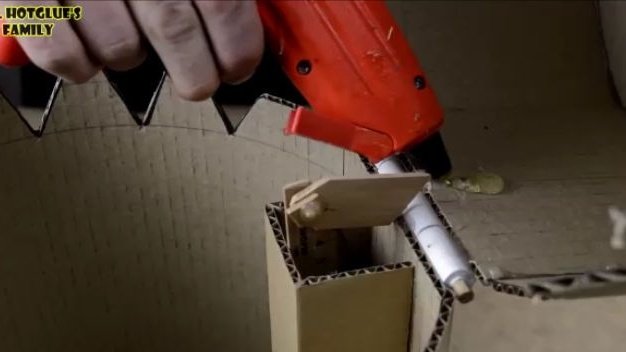
Take them and use a clerical knife to cut off the edge as shown in the photo. And then on one of the cut circles we cut a square (see photo). On a large cardboard sheet, we make a groove for installing one of the circles so that the circle is 10 cm above the floor. And we connect the circle with a large cardboard sheet as shown in the photo.
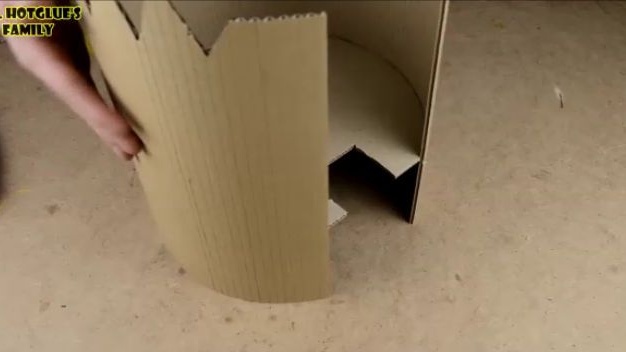
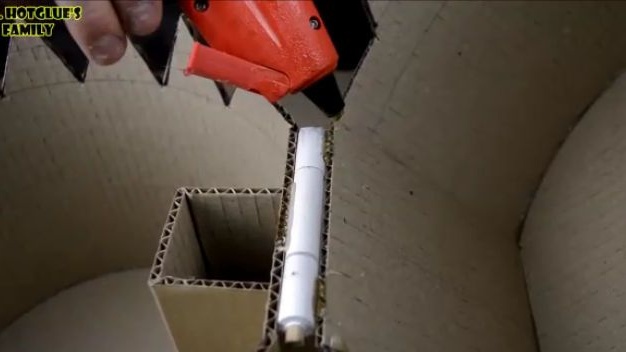
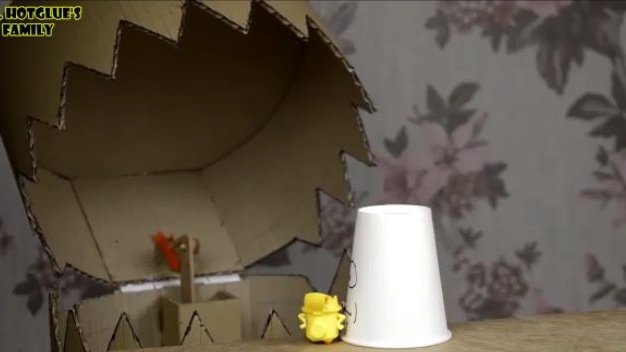
As you have probably noticed, our bucket is not completely closed. This is what we are right now and we will correct. To do this, we cut out a rectangle from the same cardboard as tall as a bucket, but as wide as the width of an unopened hole in the bucket. But do not rush to stick it like this is not all. It is necessary to make the so-called gutter inside, which will pass the mechanism for opening the lid. But after that we glue two blanks in the place indicated in the photo.
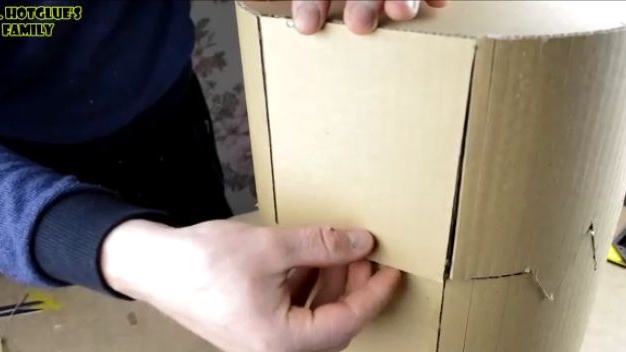
After doing the same with the top of the bucket only without a gutter.
Then we make a loop with the help of which it will open and close the lid of the bin. To do this, take a wooden skewer skewer and wind three strips of plain printer paper of the same width on it, so that in the end the three strips can rotate, regardless of each other. And glue the loop to the bucket so that the lid opens and closes without any problems.


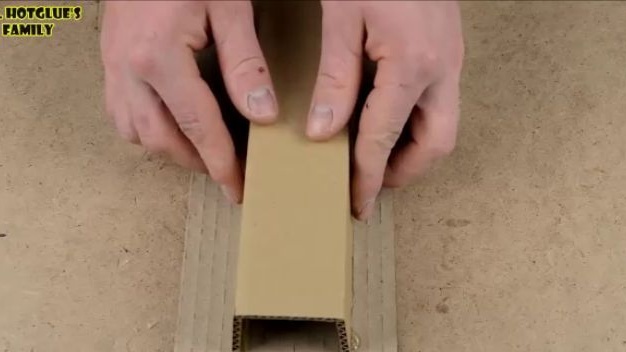
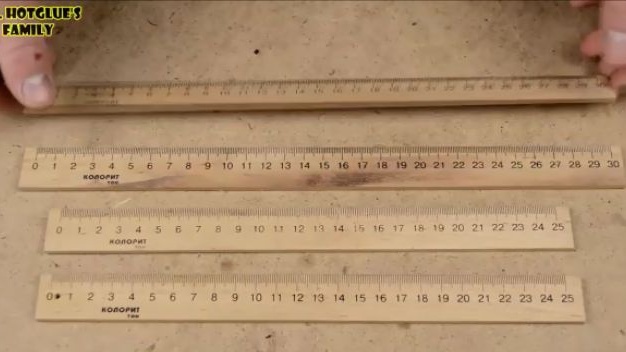
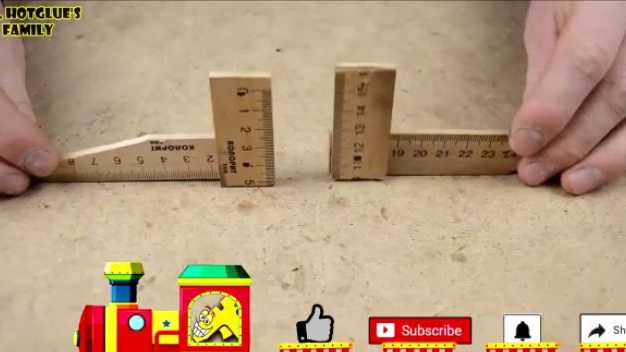
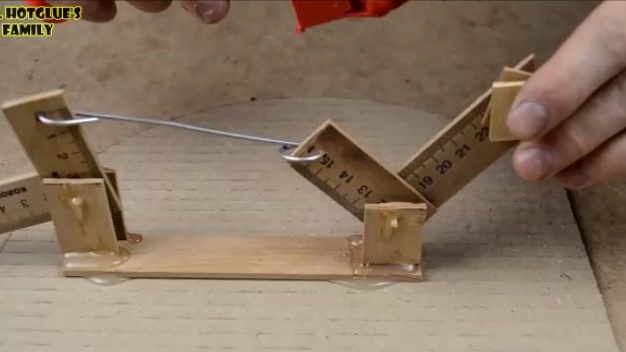
The next step is to make an opening mechanism. Take four wooden rulers, two of them at 30 cm and the other two at 25 cm. We’ll transfer the marks to the rulers just like they are shown in the photo below. Cut out.
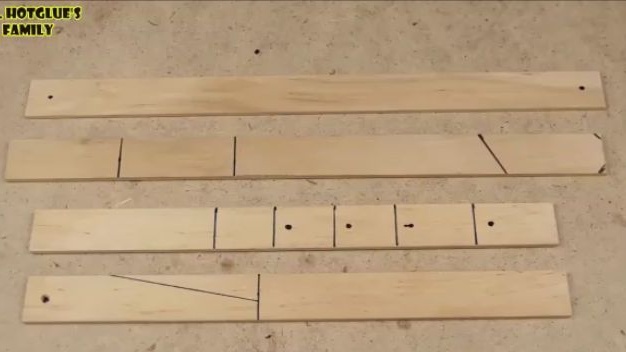
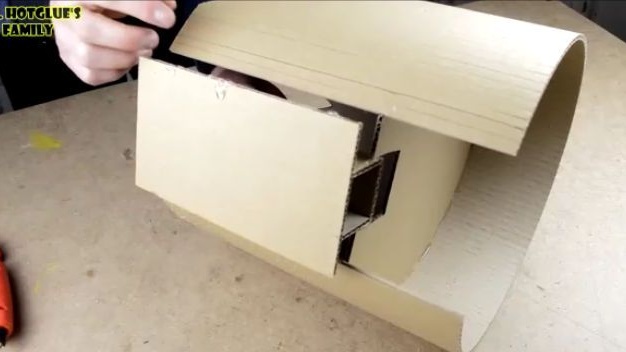
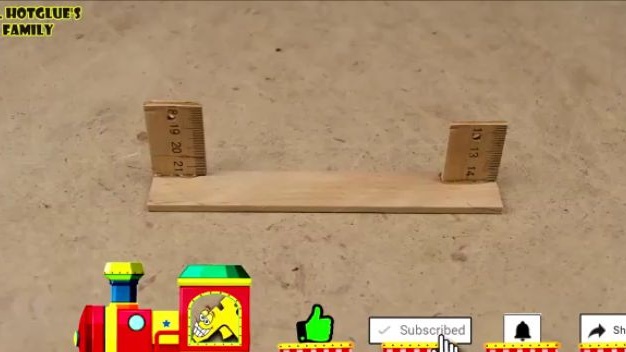
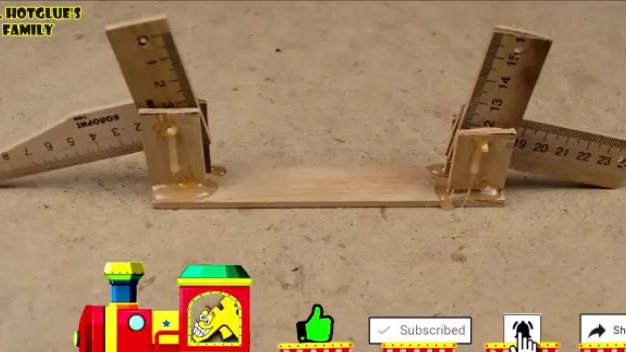
We take two rectangular parts with drilled holes, connect one with a long beveled part, and a thief with a short beveled part. Then, on the edges of the long rectangle, glue small rectangles with holes. They will serve as racks for the newly made “g” shaped parts. We connect the two blanks so that the “G” shaped parts can move. We connect two “G” shaped parts with each other with aluminum wire. And glue this mechanism to the third circle. To the side where the gutter will be located, glue a long ruler (the length of which should be slightly less than the height of the bucket without a lid). Glue the bottom with hot melt adhesive.
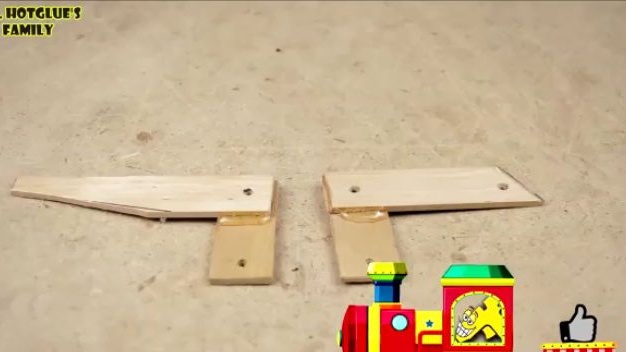

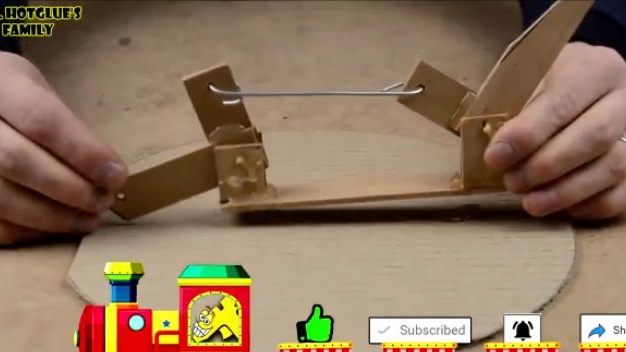
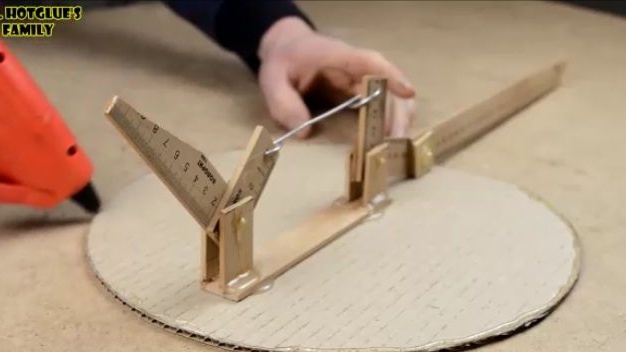
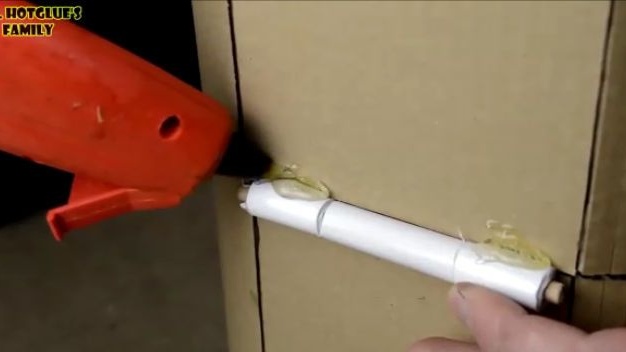
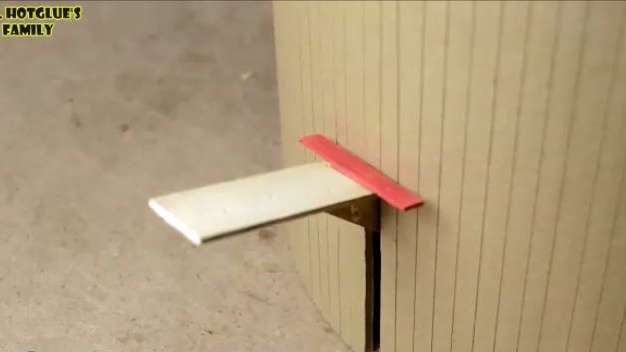
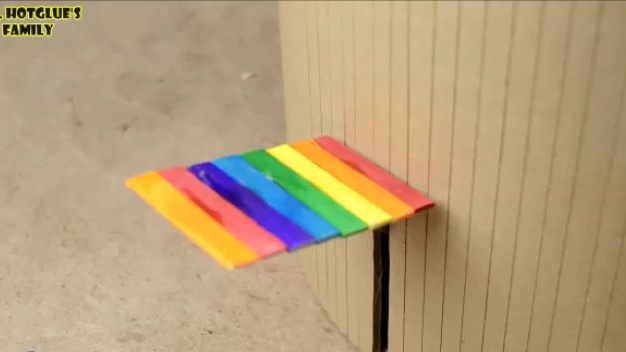
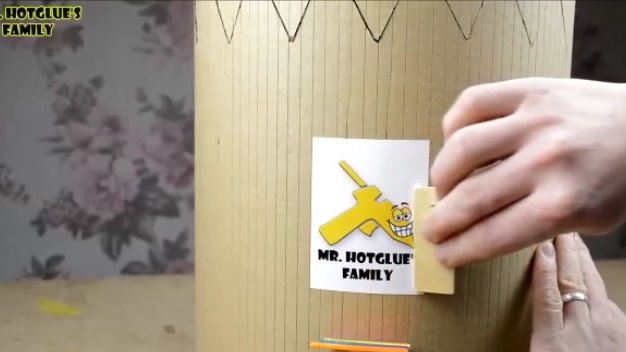
After gluing the bottom and sticking a long ruler through a specially designed for this groove. We finish the opening mechanism by gluing the missing part to the cover (see photo). And to the foot that you should press to open the lid, glue the ice cream sticks. Finally, decorate the bin.
All is ready! In the end, we got a cool bucket for trash, which will definitely take a place in the corner of your room.
Here is a video from the author with a detailed assembly and testing of this homemade product:
Well, thank you all for your attention and good luck in future projects, friends!