
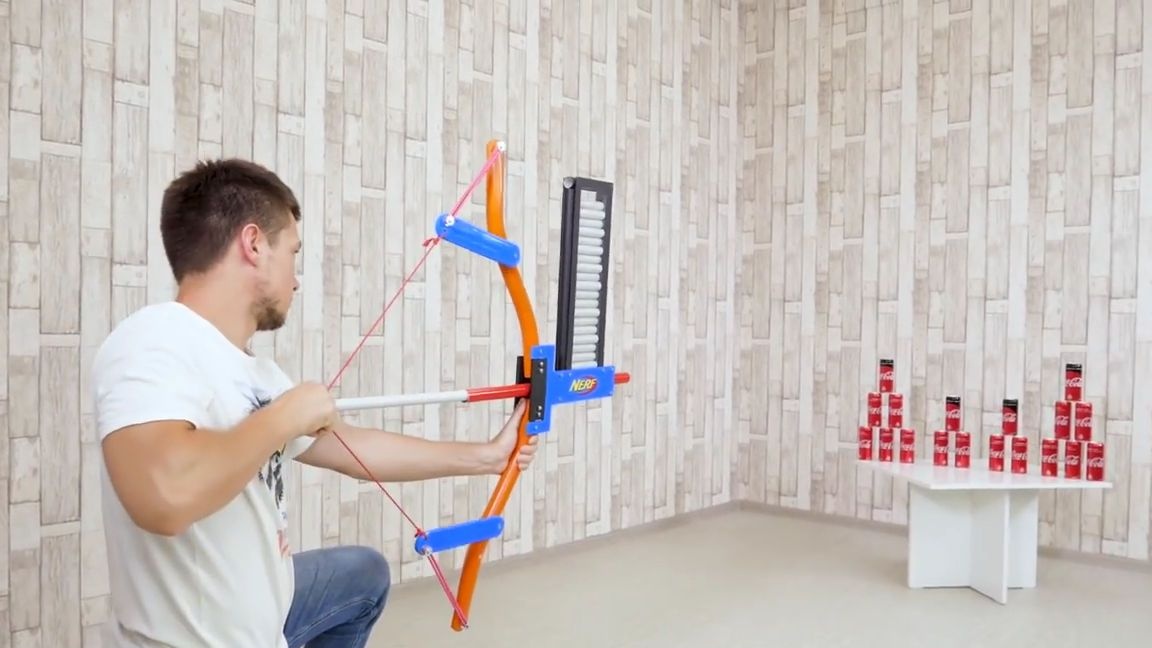
Good day to all dear friends! In today's article I would like to consider a very interesting idea homemade. This homemade product will not only help pass the time, but also be suitable for constant entertainment and hanging out. In general, today we will consider how you can make a not very difficult, but cool shooting bow from ordinary PVC pipes. But this bow is not quite ordinary, firstly, it has a "store" with shells and is in fact semi-automatic, and secondly, this bow has an unusual mechanism for firing, it is neither blocky nor classic. Rather, something in between.
In general, the homemade product is very interesting, so let's not delay with a long introduction, we drove it.

For this homemade product we need:
PVC pipes of different diameters (mainly 32 mm)
office gum
bolts
-nuts
-washers (bolts, nuts and washers must be of the same type and fit together)
-plywood
-orc glass, or transparent thin plastic
- strong, but not very thick thread
Of the tools we will also need:
-marker
-construction hair dryer
-mini drill with cutting nozzles
line
metal knife
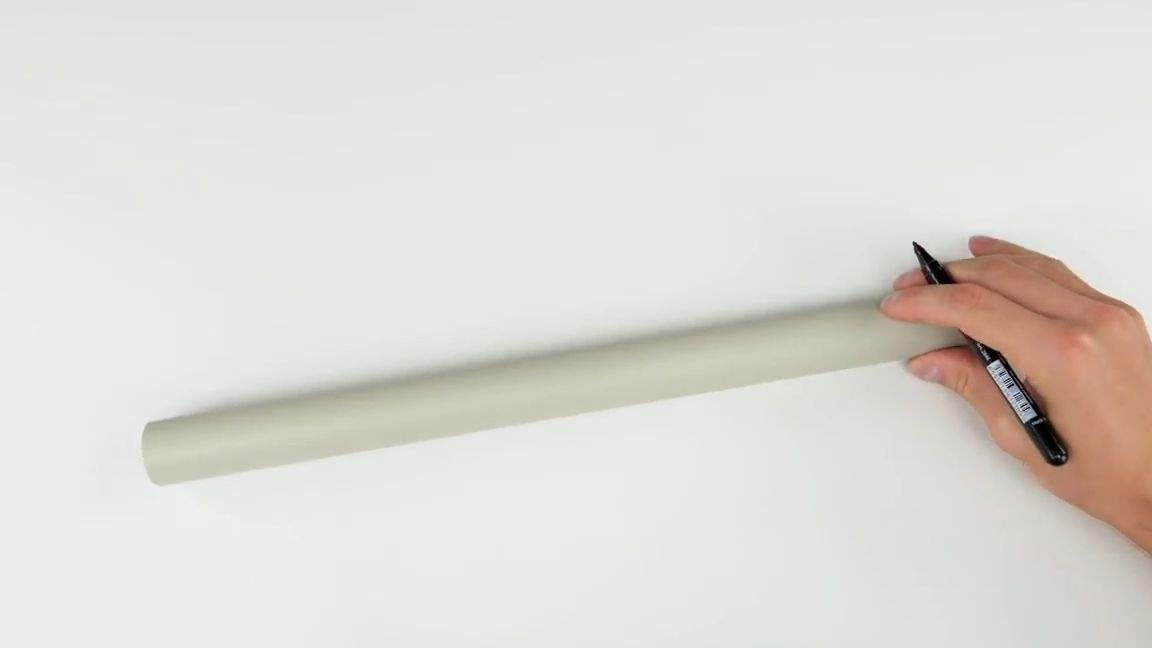
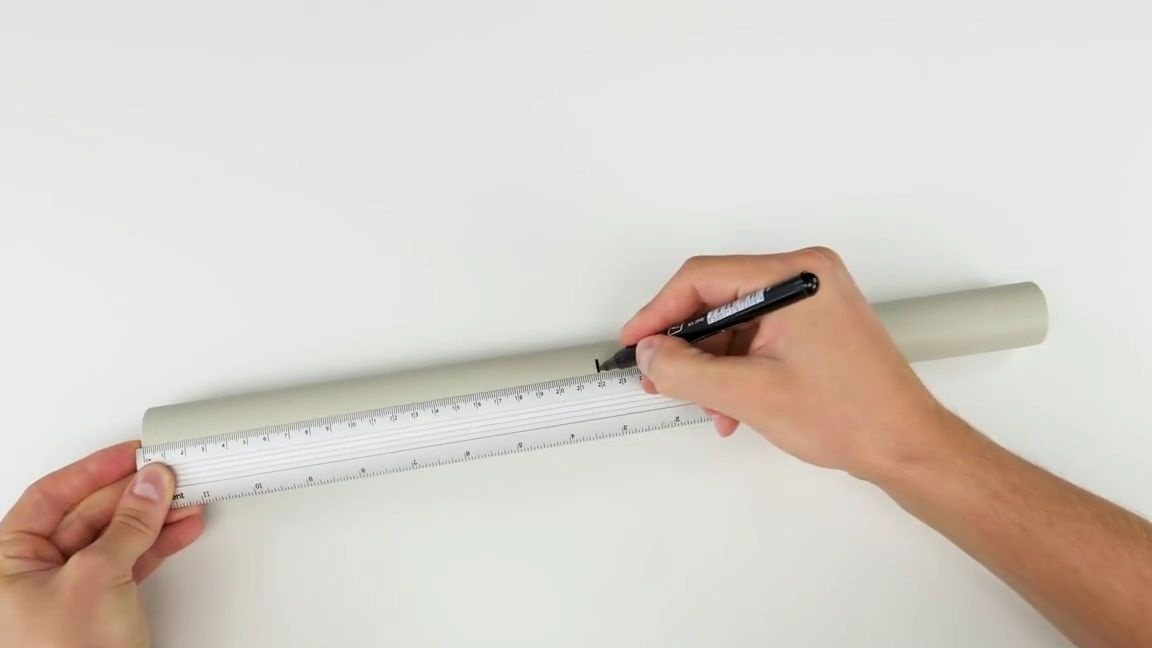
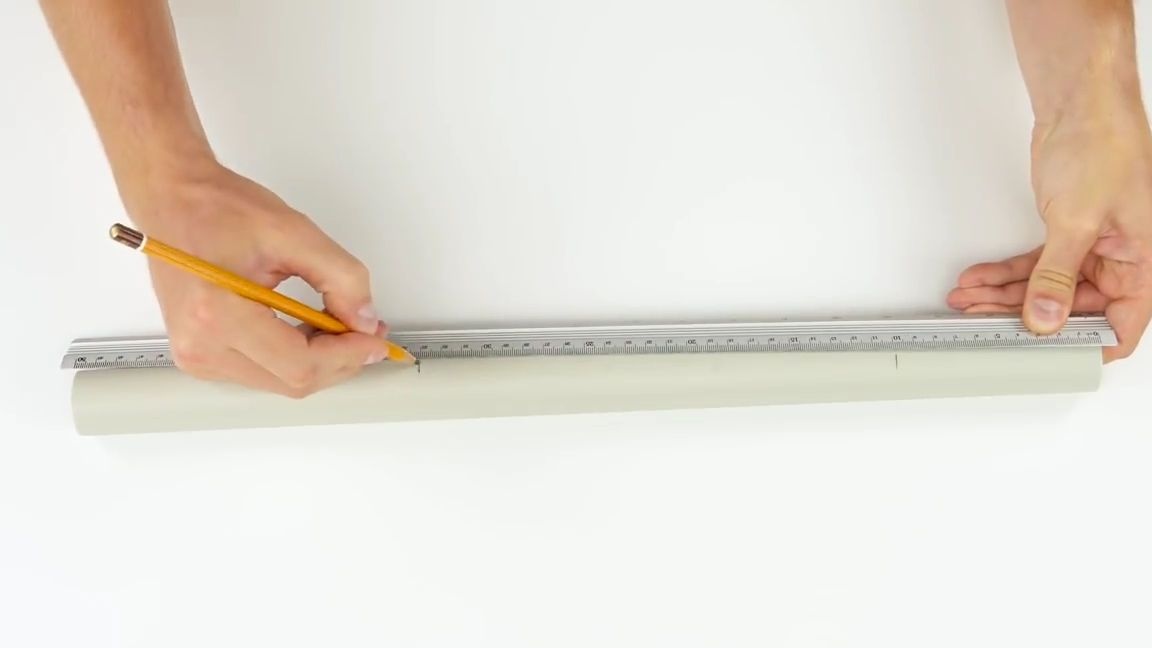
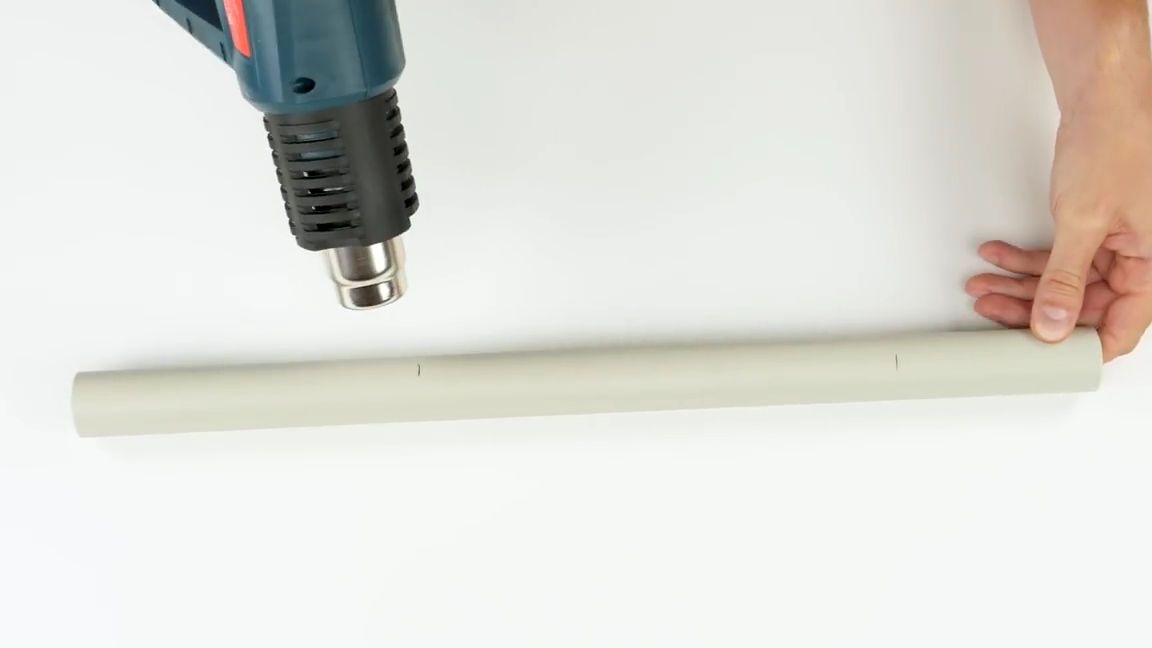
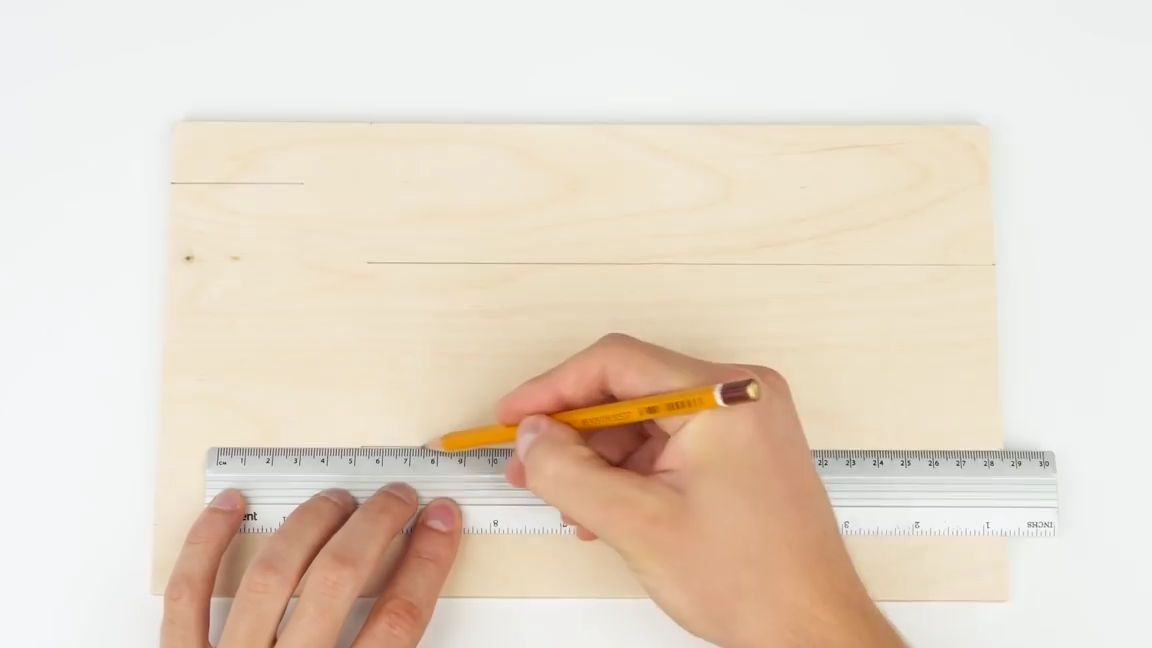
And so, first of all, you need to take a 32 mm PVC pipe, a ruler and a marker. We measure 22 cm using a ruler, make a mark and using a hacksaw for metal cut a piece from the pipe at the mark.
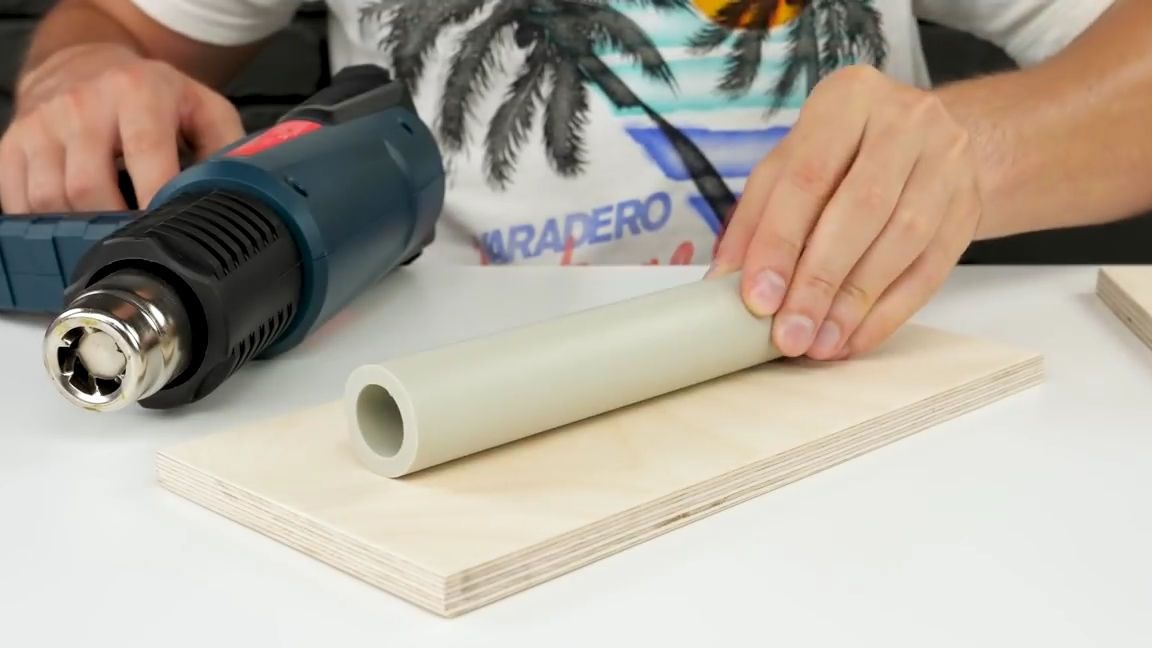
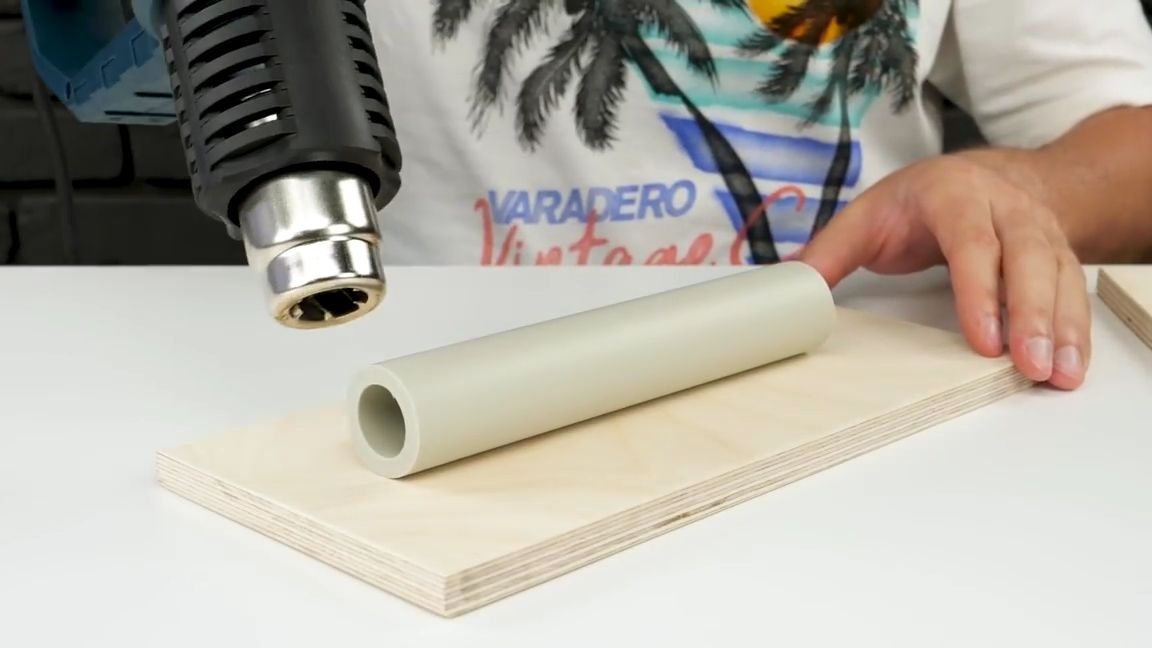
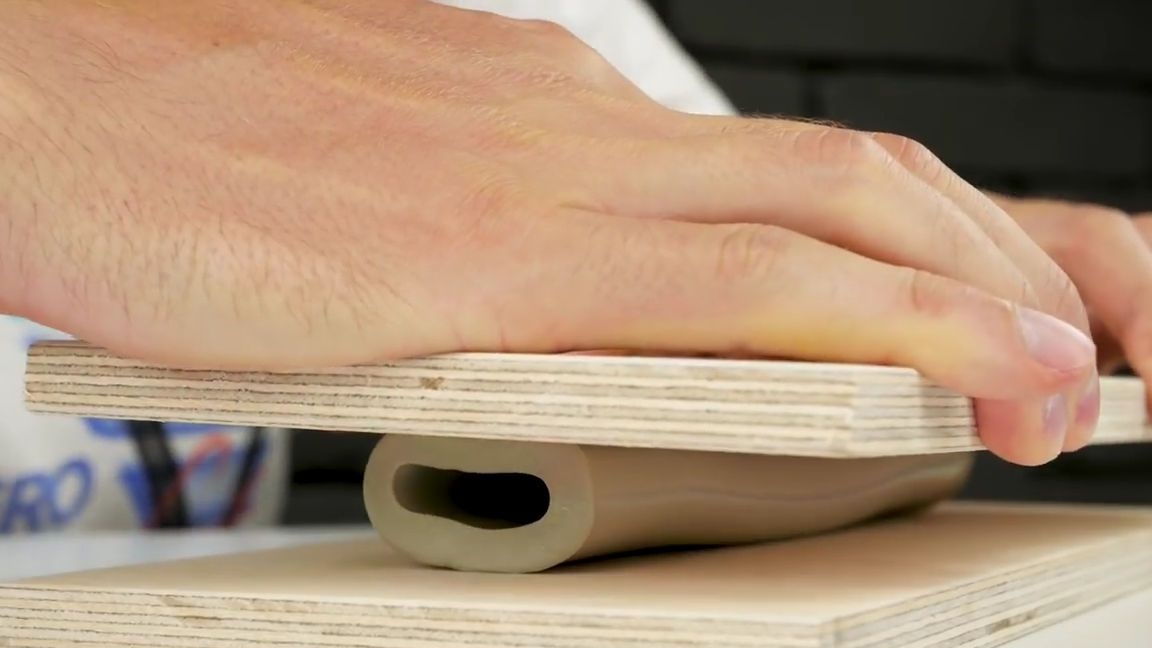
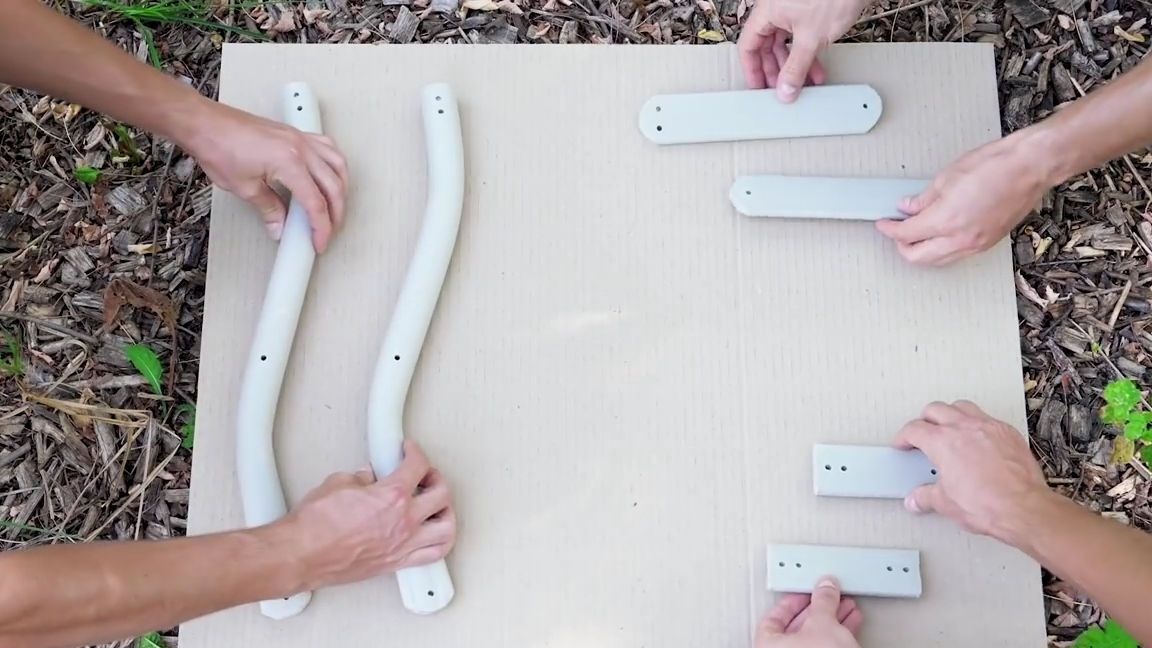
After cutting the workpiece, it must be put on a flat, strong, non-melting and unnecessary surface, the author of the video used a piece of thick plywood. Then we take a building hair dryer and begin to gradually and accurately heat up the pipe. After the pipe softens, you need to take another piece of plywood and press the pipe so that it is flattened, but not very much. In general, everything needs to be done as in the photo below:
Using a marker, round off the edges of the workpiece that was made earlier and mark 3 marks for the holes, one mark in the center on one side and the other two on the opposite.
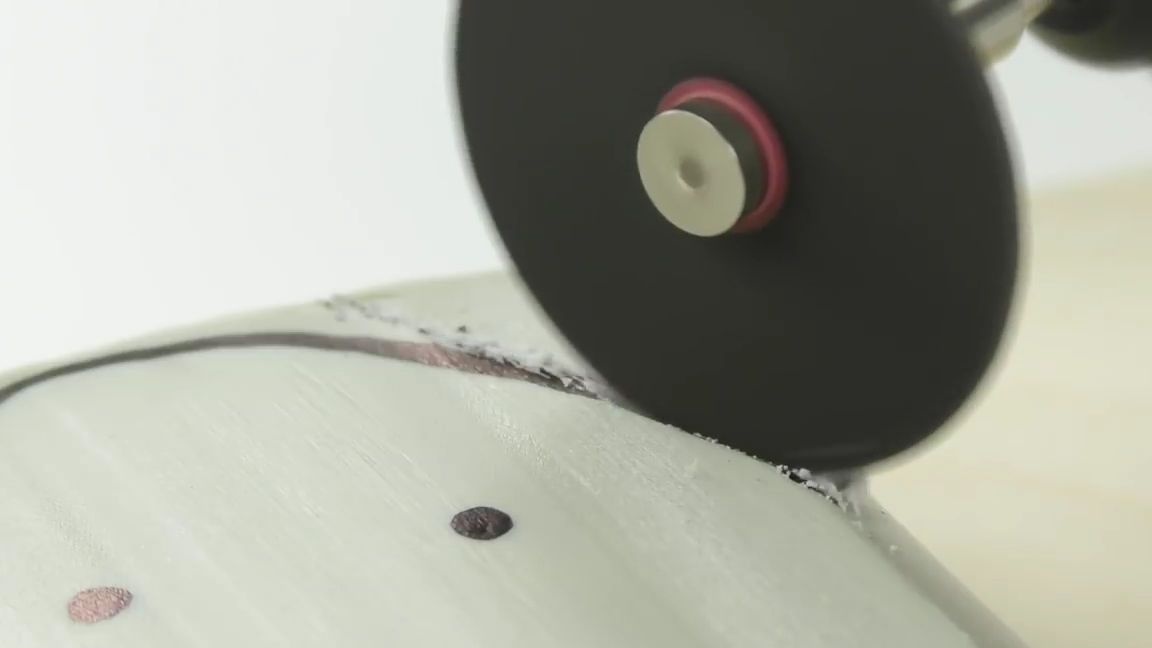
We trim the edges with a mini drill or a small electric grinder (if there are disks for threading the right size and type). Then we replace the disk with a drill for a drill and drill those three holes, you need to drill through and as evenly as possible. In the same way, we make one more the same blank from the PVC pipe and two more identical blanks, but shorter and with 4 holes, instead 3.The way you need to make two additional blanks can be seen in the photo below, but more clearly, the author showed this in the video:

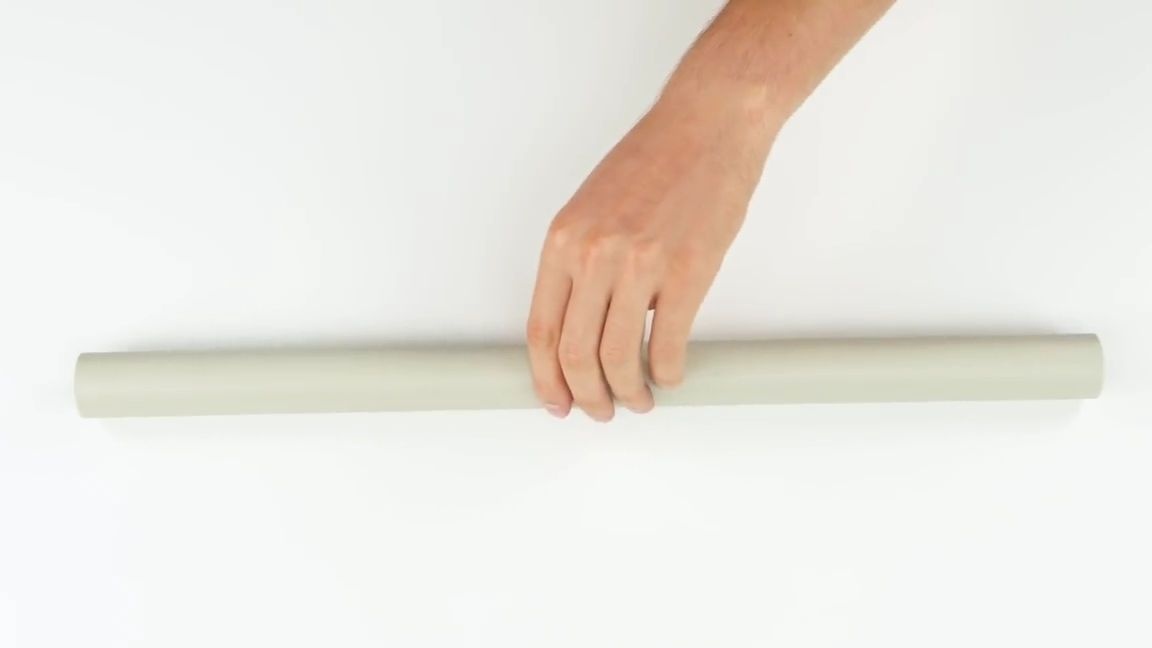
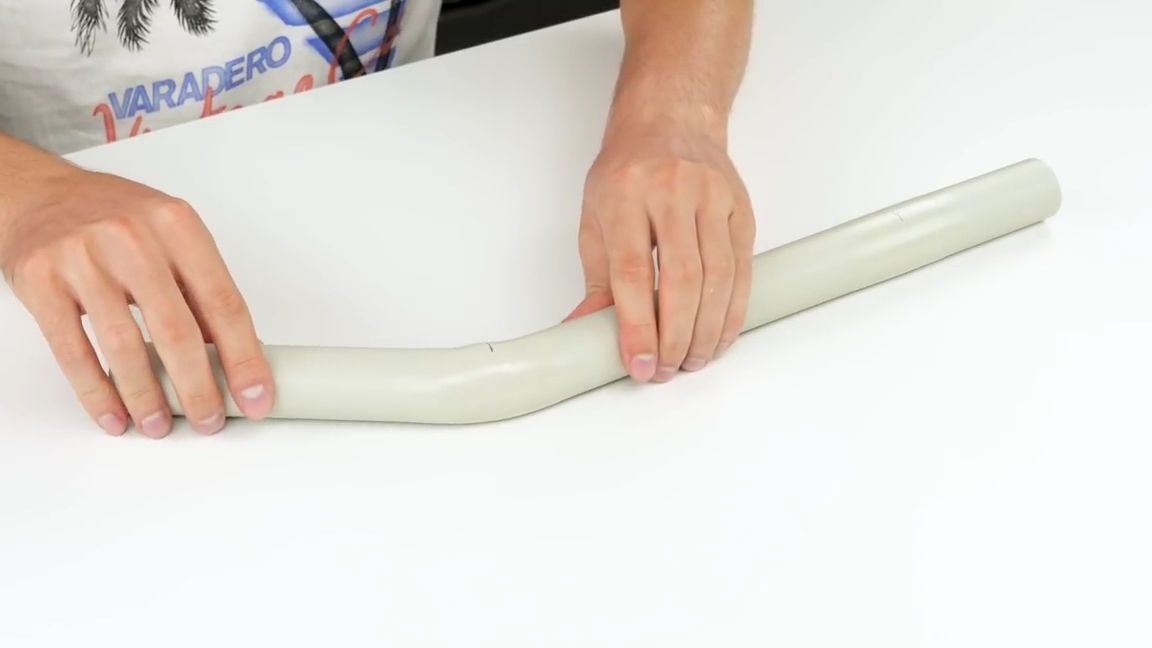
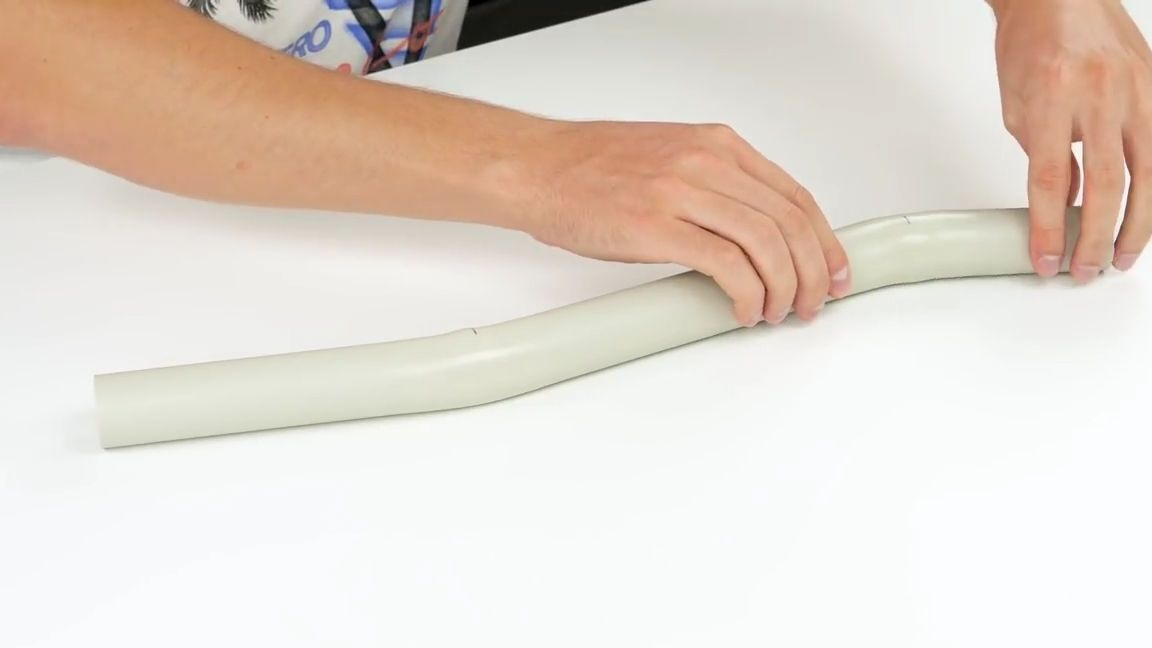
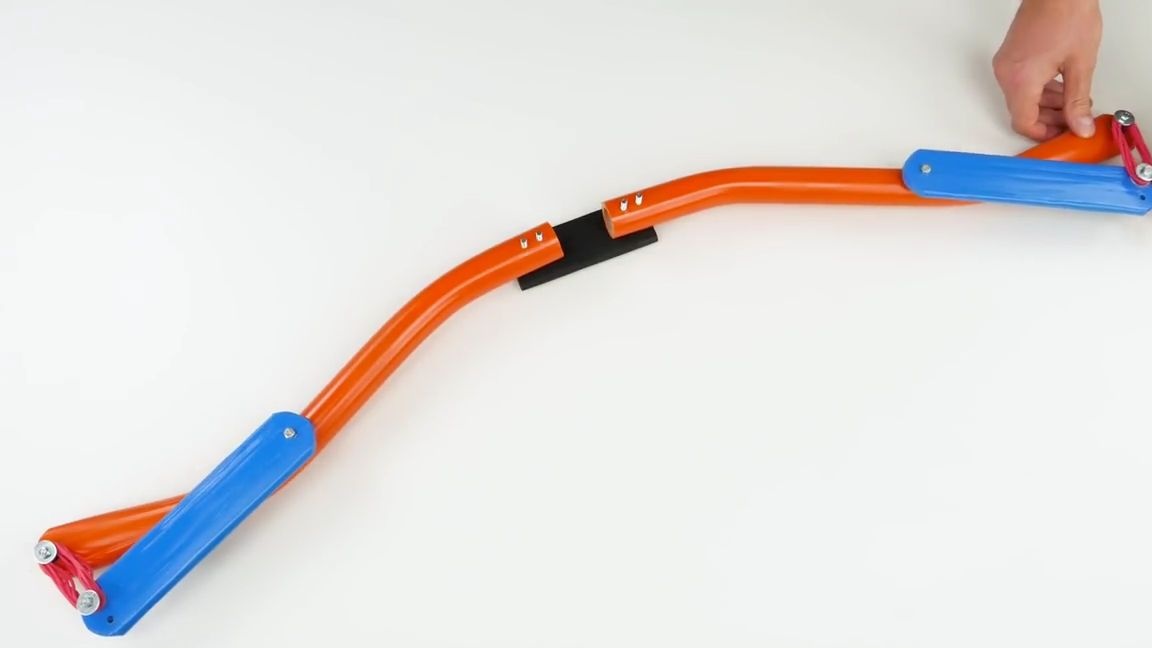
We take a long PVC pipe and make two marks with a marker and a ruler on it, one by 10 cm, the second by 33 cm. Again we take a building hair dryer and heat the whole pipe, but not very much. After that, we bend the pipe in the places of marks as shown in the photo below (it is best of course, for safety reasons, to do this with construction gloves). Then, we drill 4 holes in this workpiece: two from the smallest edge, one in the center and another from the other edge. By the way, during bending the pipe, a larger edge, you need to flatten a little.
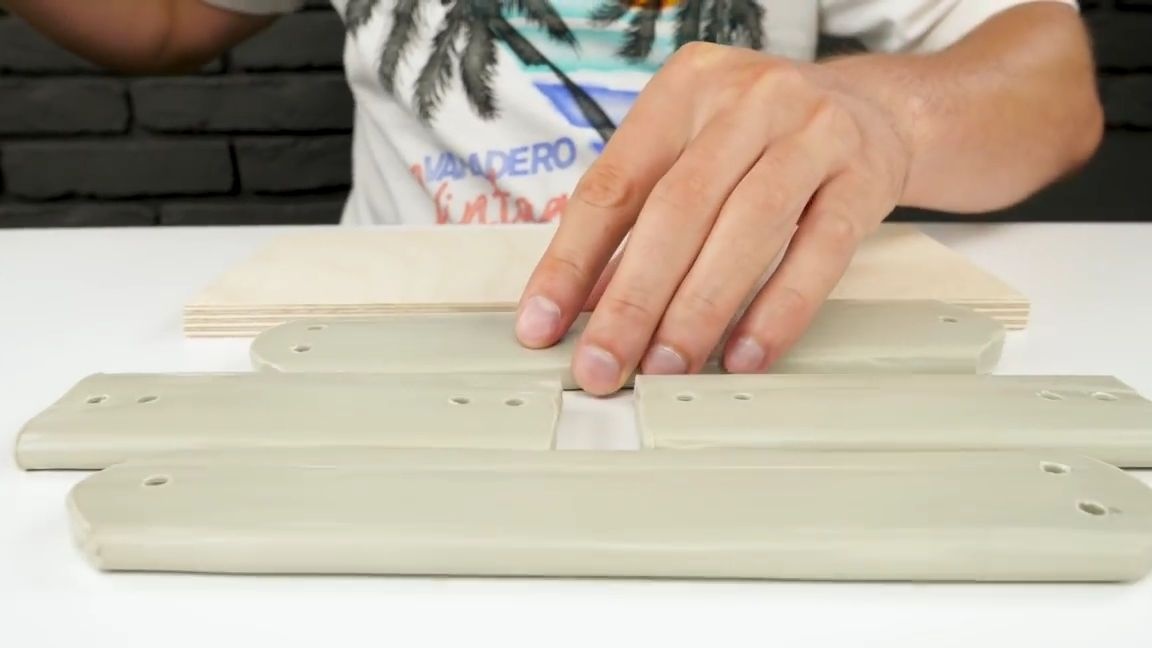
All you need to do two such blanks:
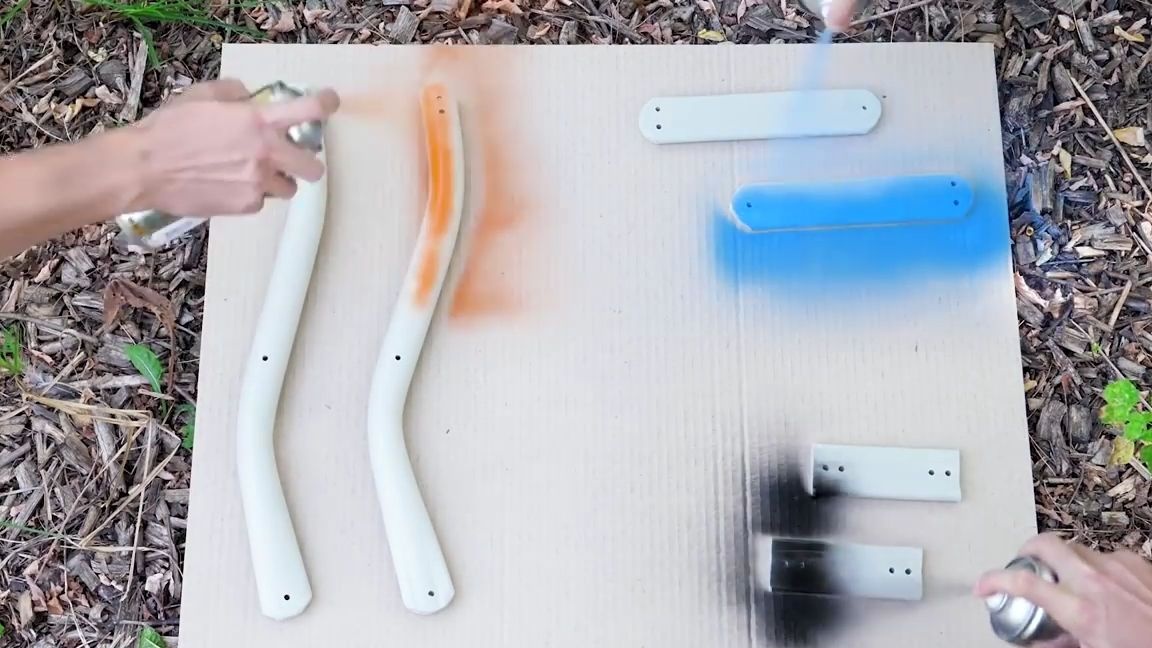
We color the resulting blanks in different colors, the author decided to cover them with spray paint, orange, blue and black:
We start on the side of the main part of the onion.
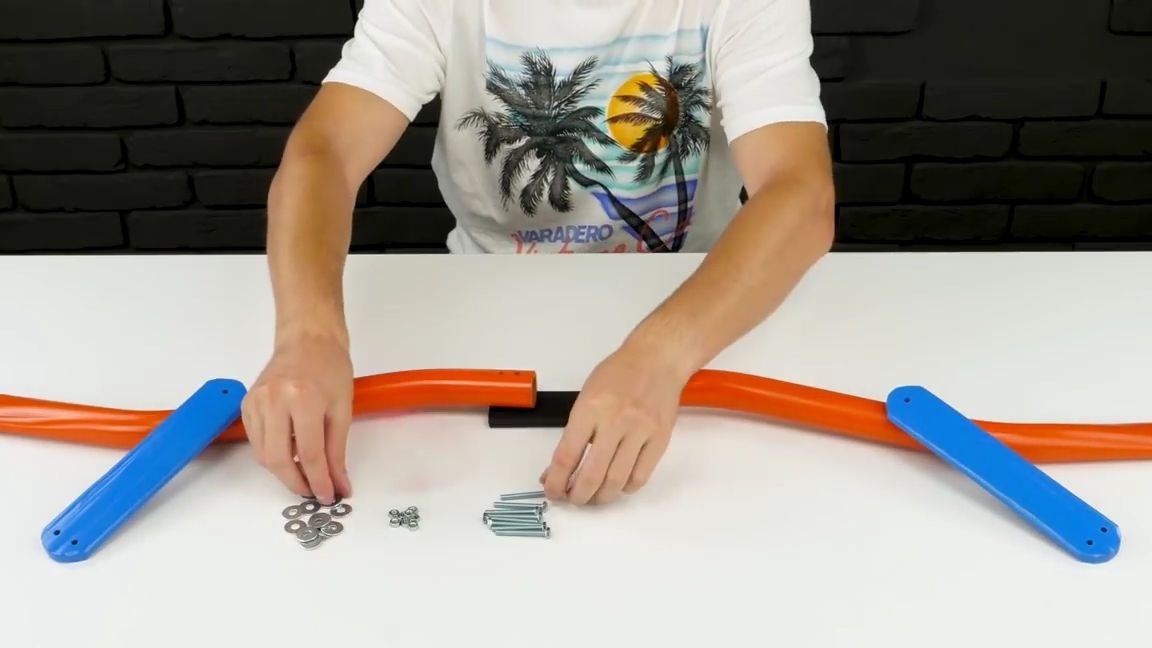
On the smallest workpiece, put the two largest, so that the holes coincide with each other. Then we insert the bolts into the holes, but so far we do not fix them with nuts and washers.
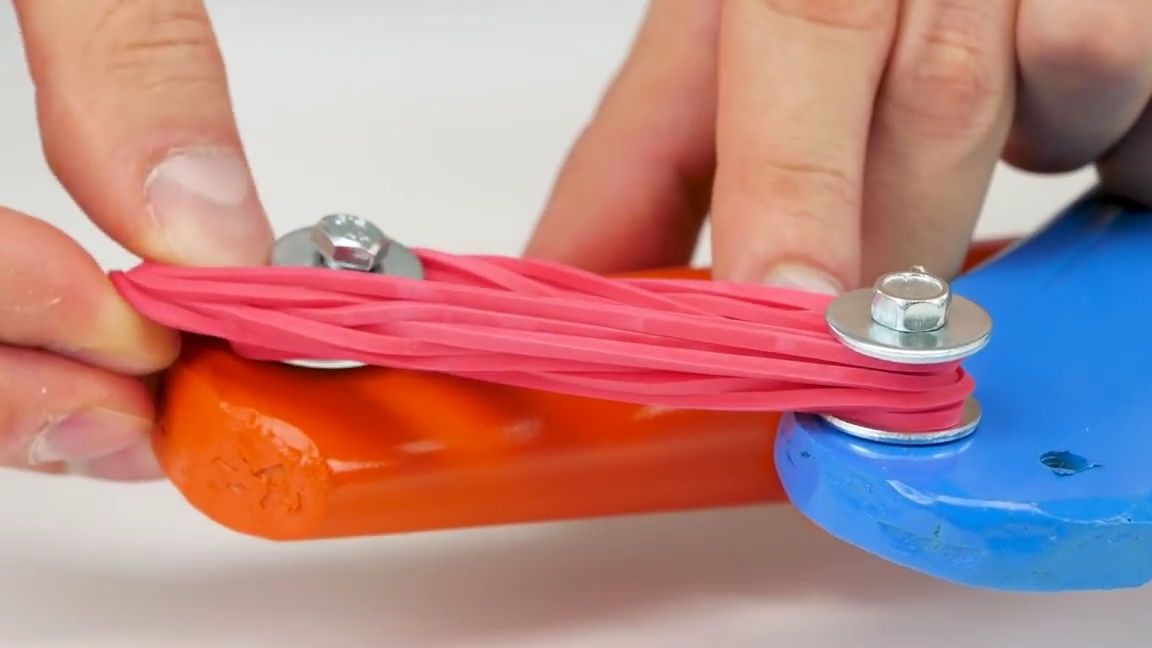
At the ends of long workpieces, we install medium workpieces and fix them with nuts and bolts. Then, on the very edge of the long workpieces, install the bolts and screw them a little with nuts so that they can put on office gum, which we actually do as the next step. We put several stationery gum on the edge of the length and middle blank. By the way, the average workpiece should move freely along its axis. In general, we do everything as shown in the photo below:

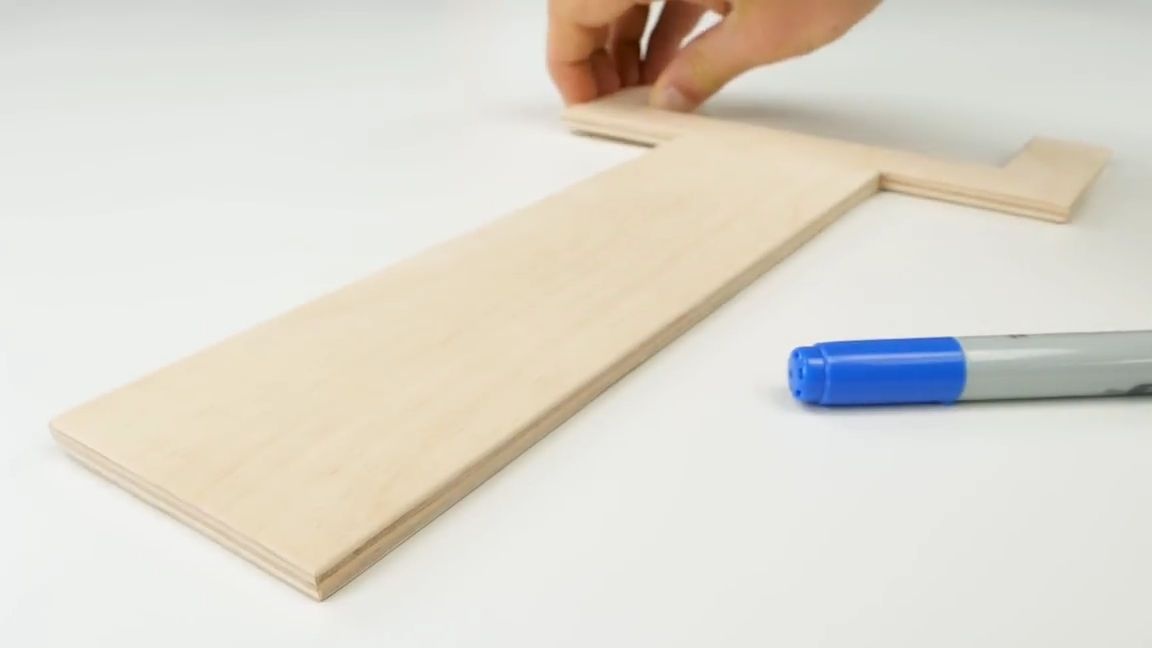
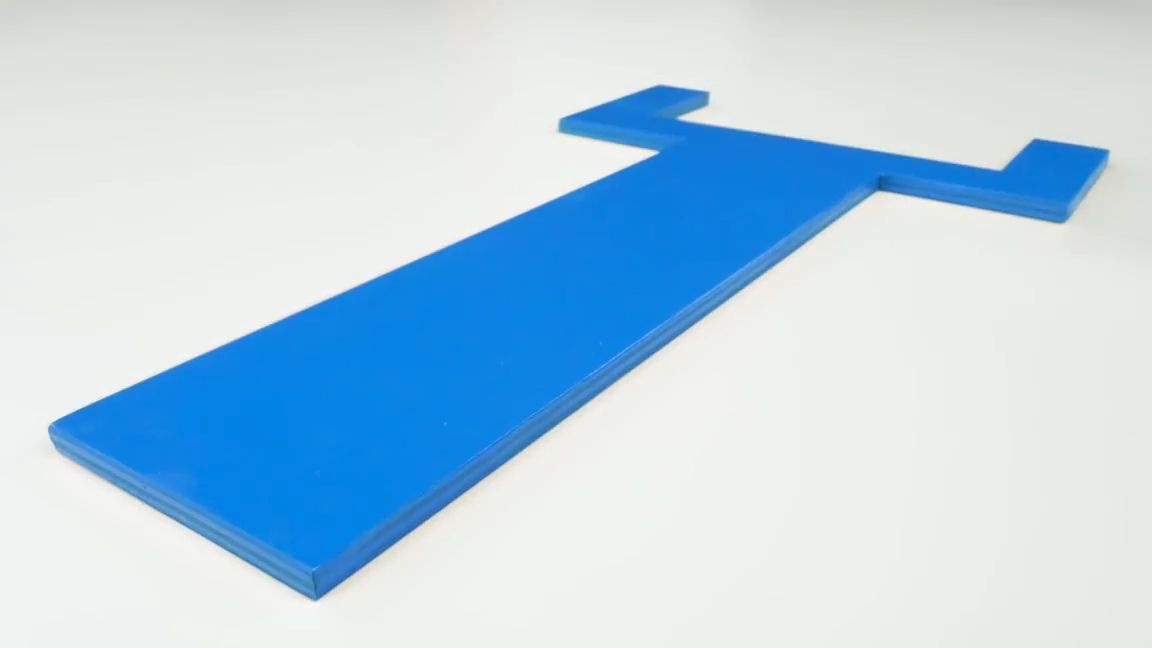
On a piece of plywood, using a ruler and a pencil we make a drawing. The dimensions and shape of the drawing can be seen in the photo below. Using an electric jigsaw, we cut out this workpiece and repaint it in a different color, you can do it with a marker, but not every marker can paint the plywood qualitatively:
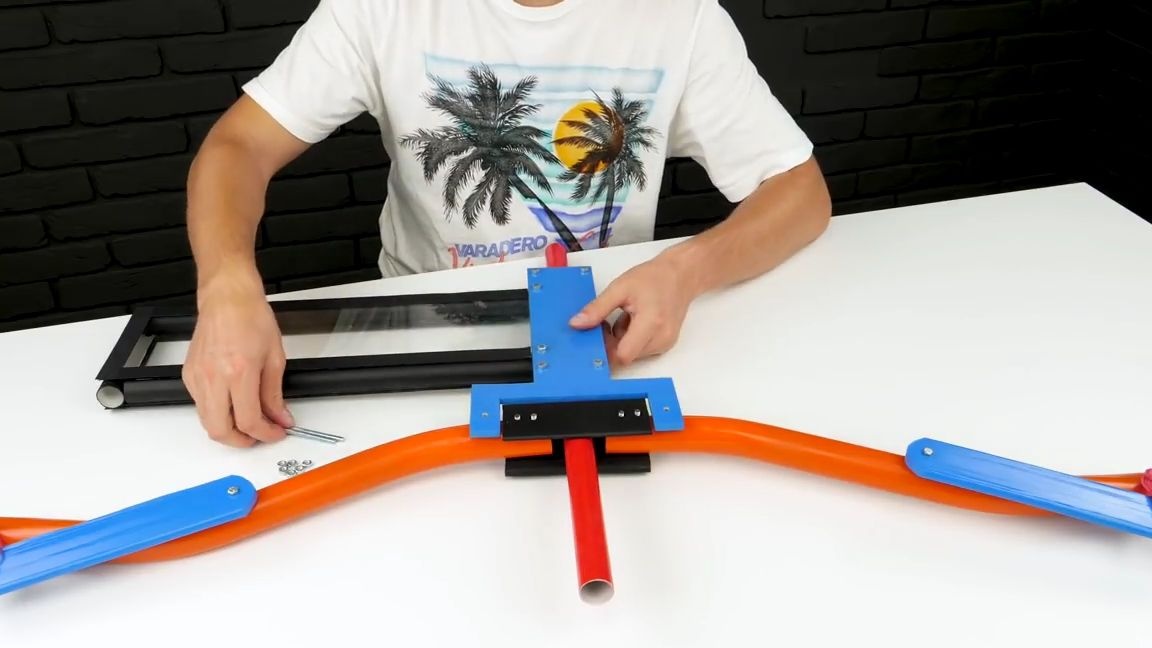
Now you need to make a mechanism with the supply of shells from the "store" in the "trunk" of the bow and the actual "store" for shells. There is nothing complicated here, you just need to do everything as shown in the photo below and precisely adjust the dimensions of the shells and the hole for them:

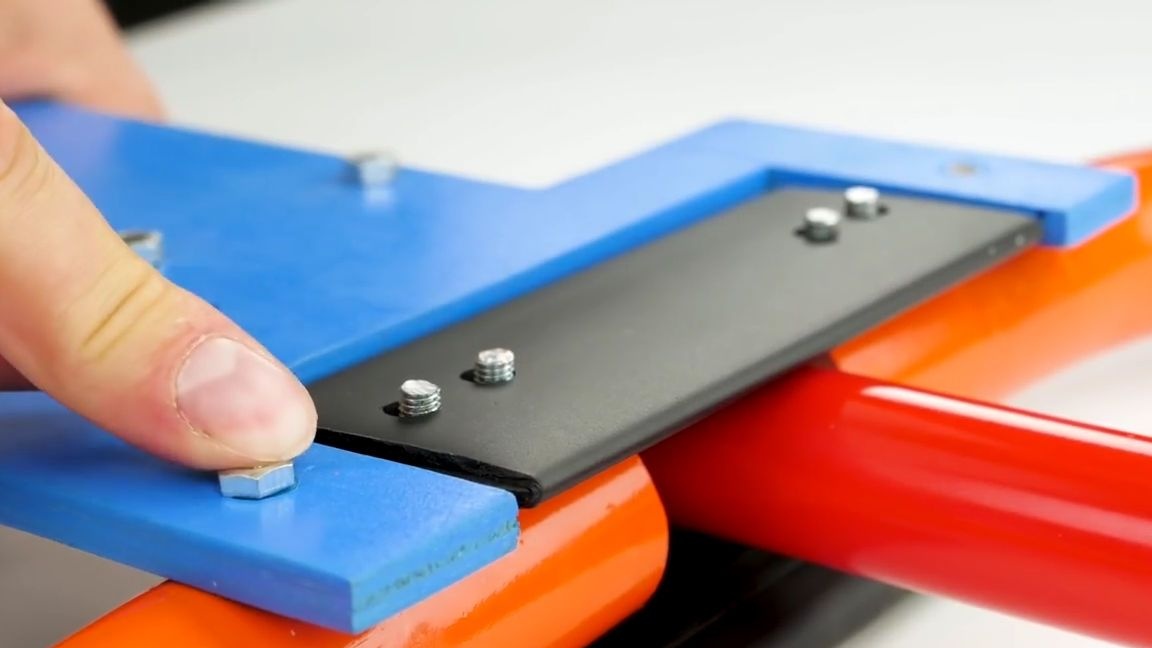
We install the resulting mechanism to the general design and fix it with bolts and nuts, everything should be smooth and tidy. Well, from above, finally close the remaining smallest piece of PVC pipe:
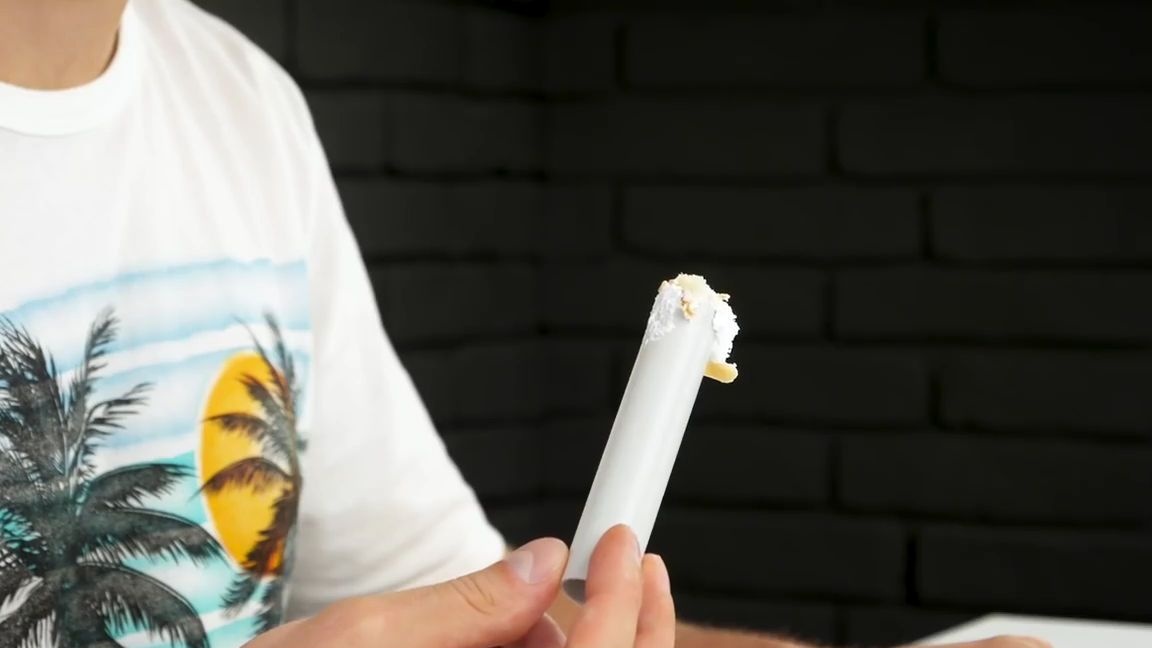
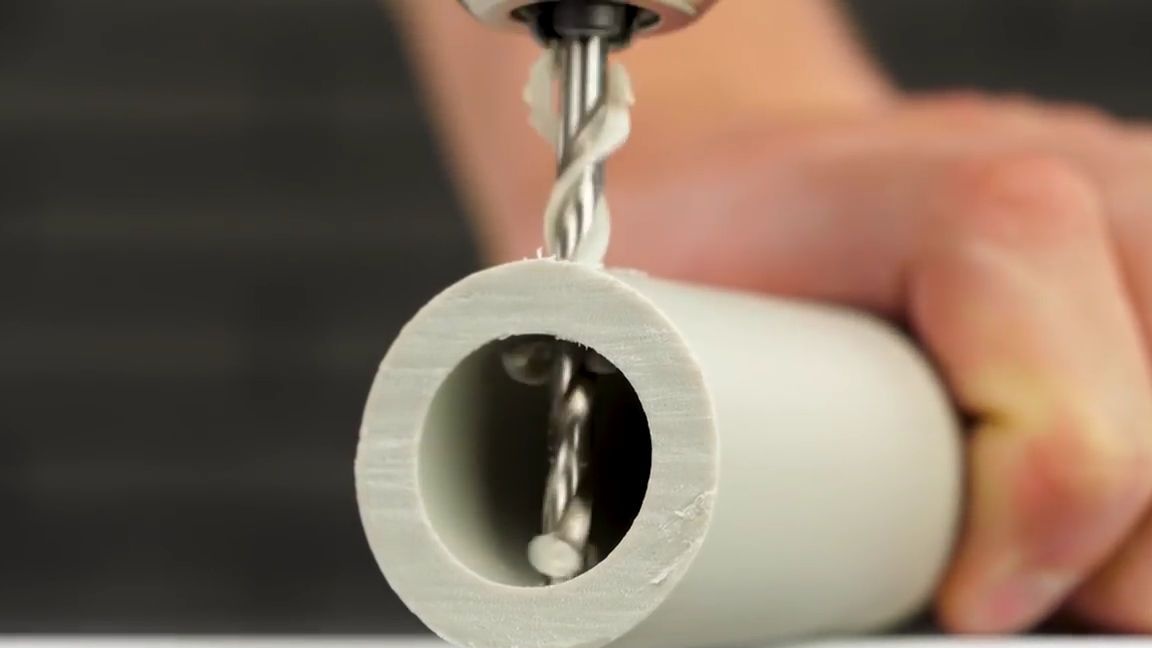
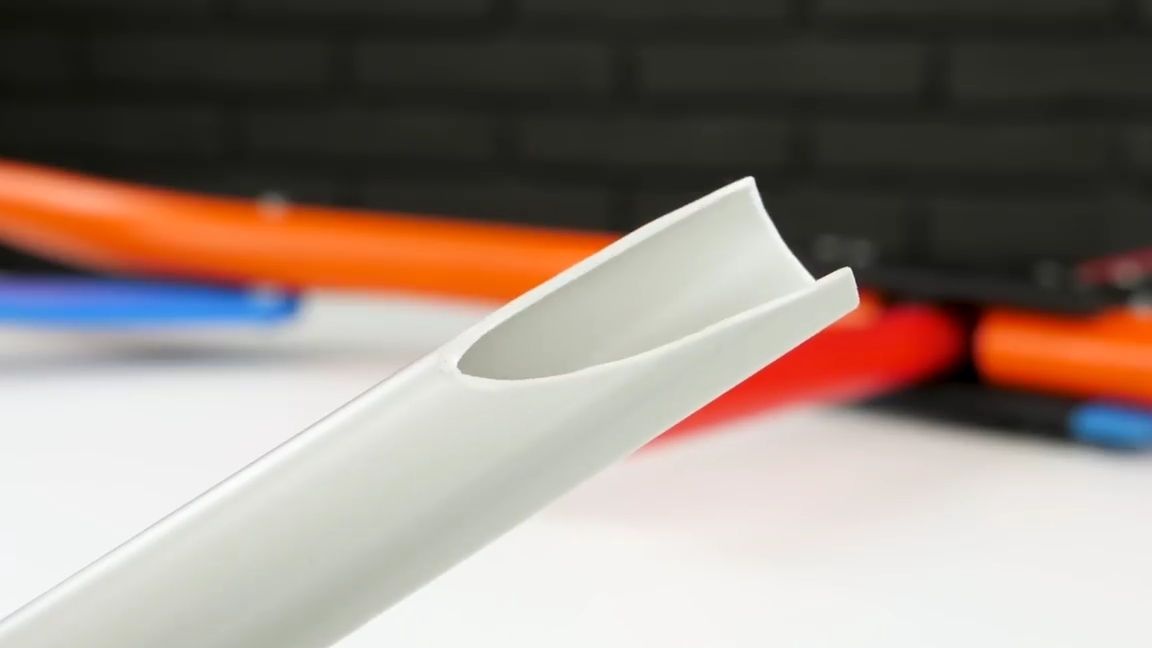
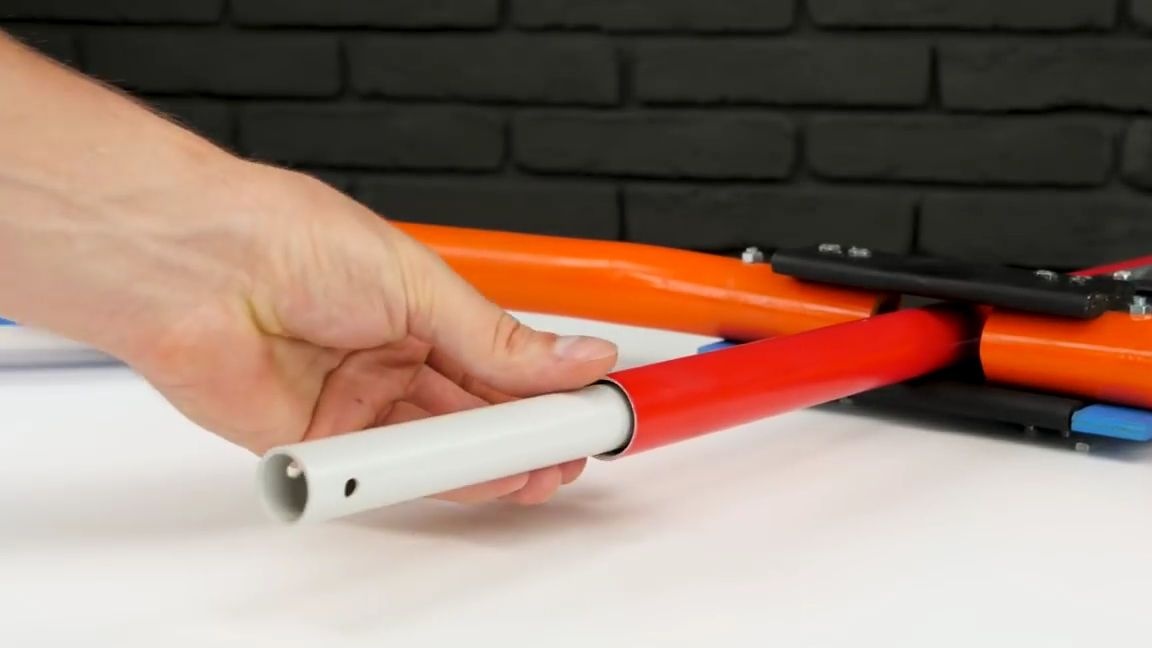
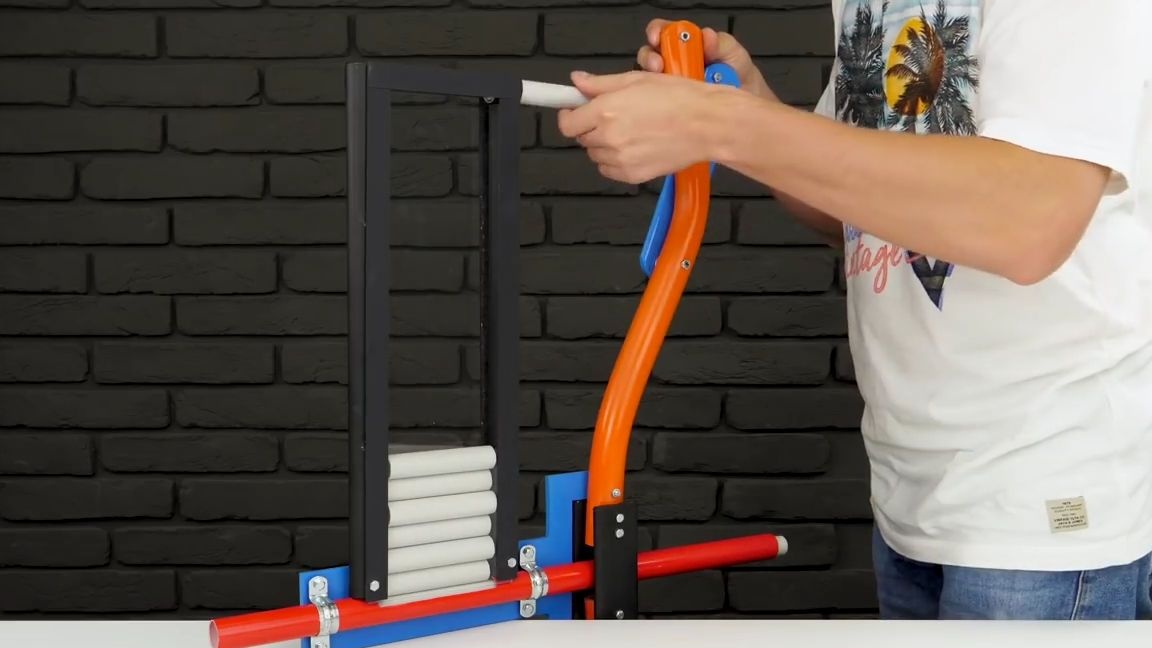
For not very thick PVC pipes we make an even cut at an angle, and on the opposite side we drill a straight through hole. This tube should freely enter the tube of the mechanism with the supply of shells, but it should not be very thin. This blank will push shells from the "trunk" of the bow.
Testing what happened:

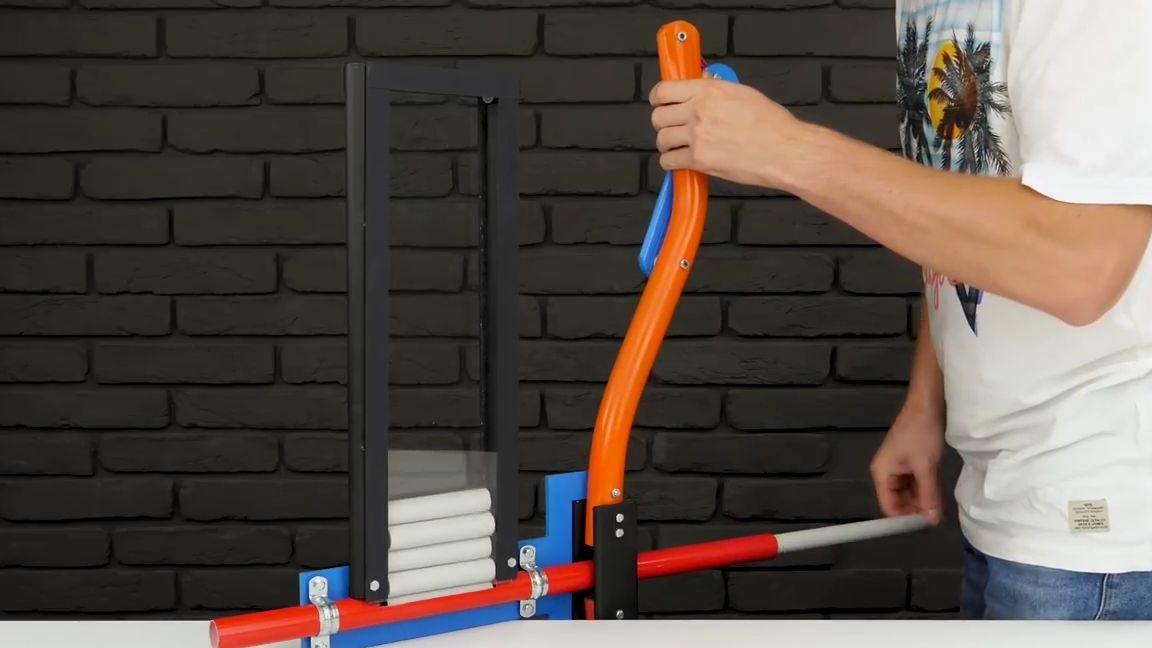
We put as many shells in the "store" and begin to move the tube, which was installed in the mechanism, forward and backward. If shells start to be fed from the “store” and fly out of it when the pipe returns to its original position, then everything is done correctly and you can continue:
We take the thread, pass it through the through hole in the tube and tie the ends to the edges of the middle blanks. In general, we do everything like this, everything is shown in the photo below:
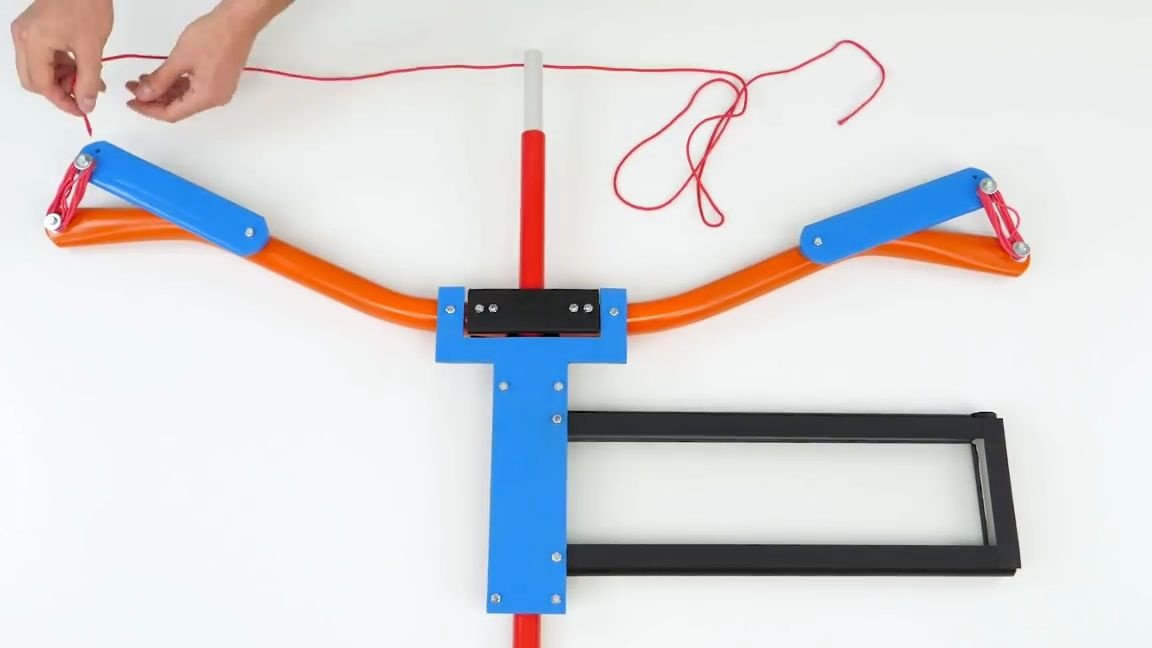
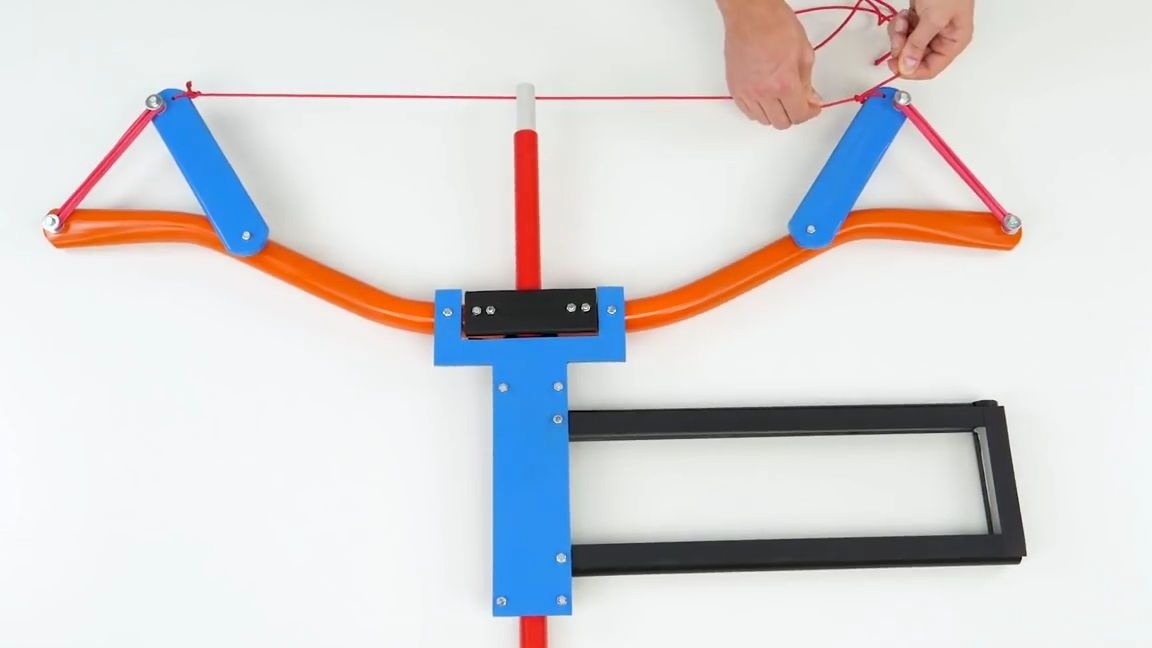
Decorate the bow:
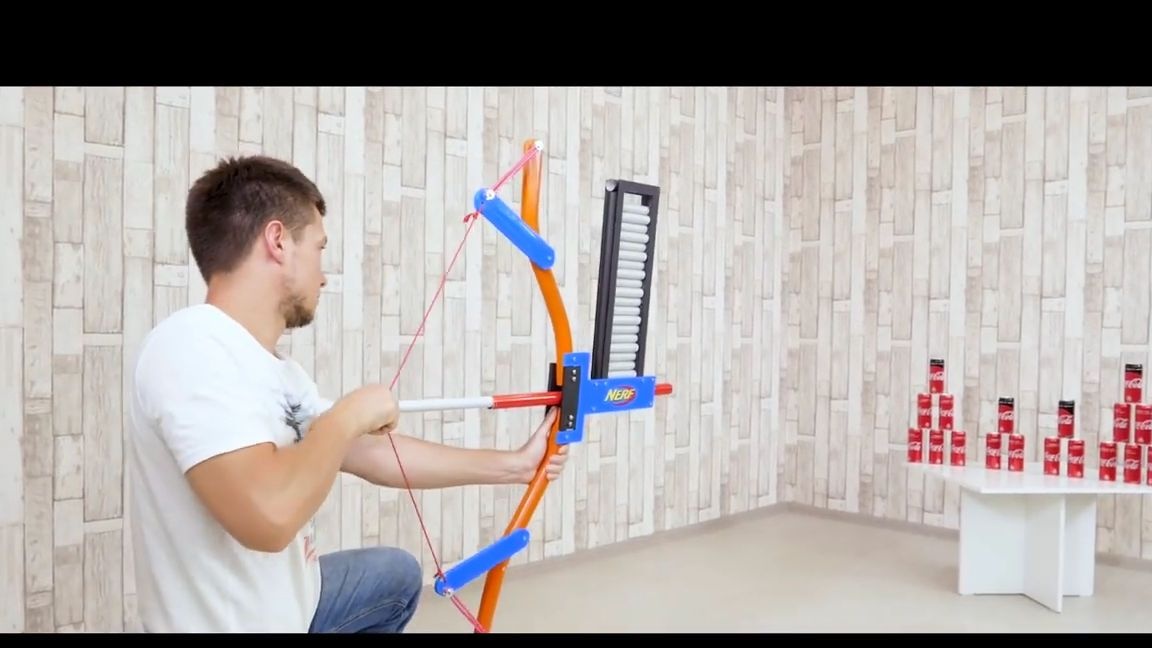
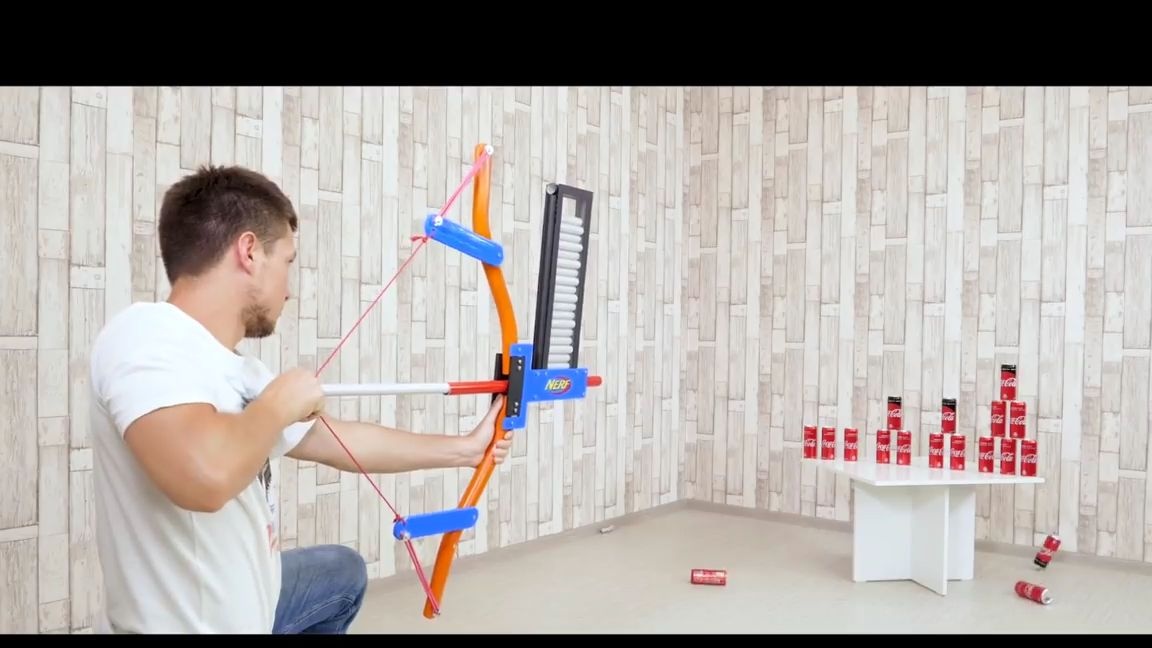
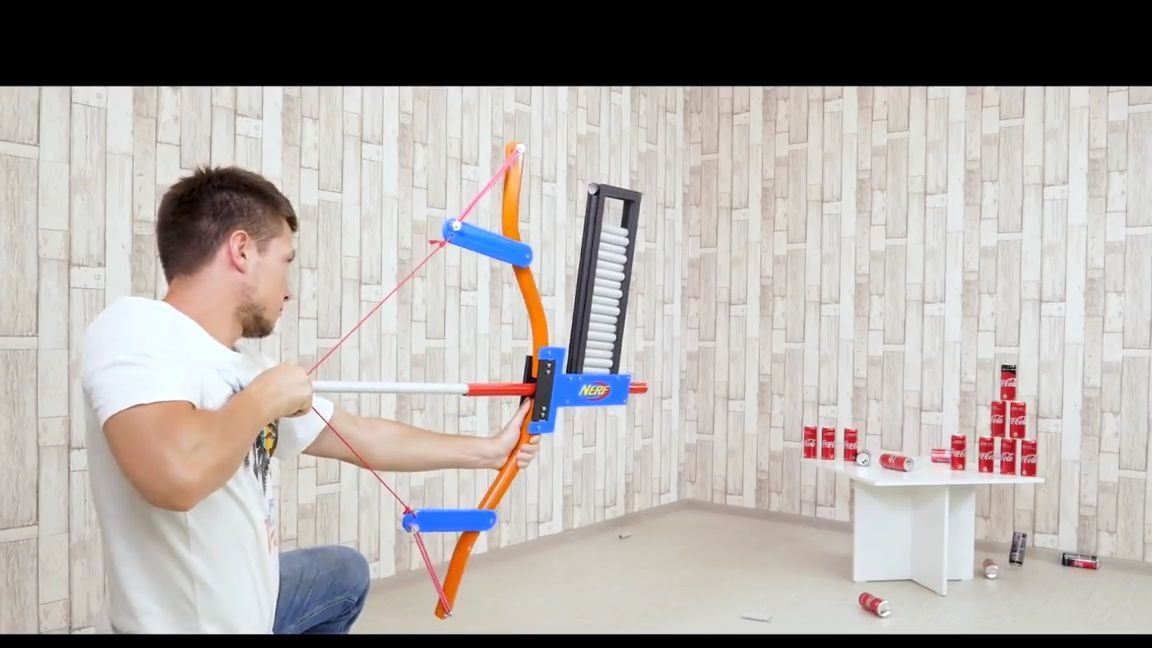
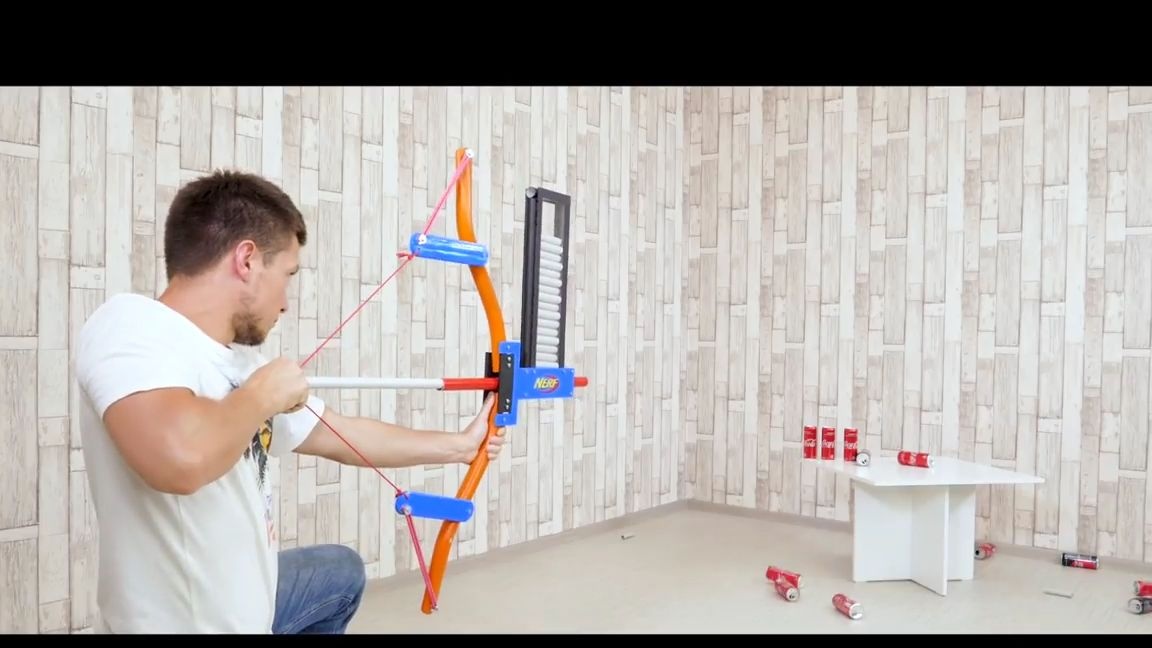
That's it! A simple and rather original bow from PVC pipes is ready and it remains only to test it.
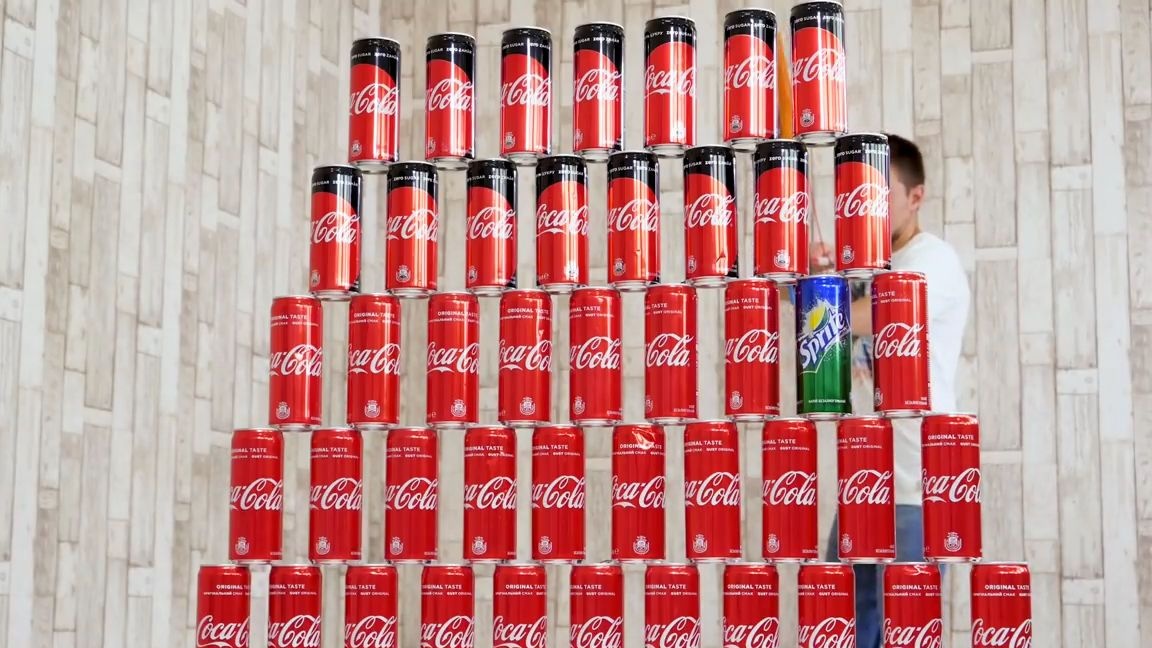
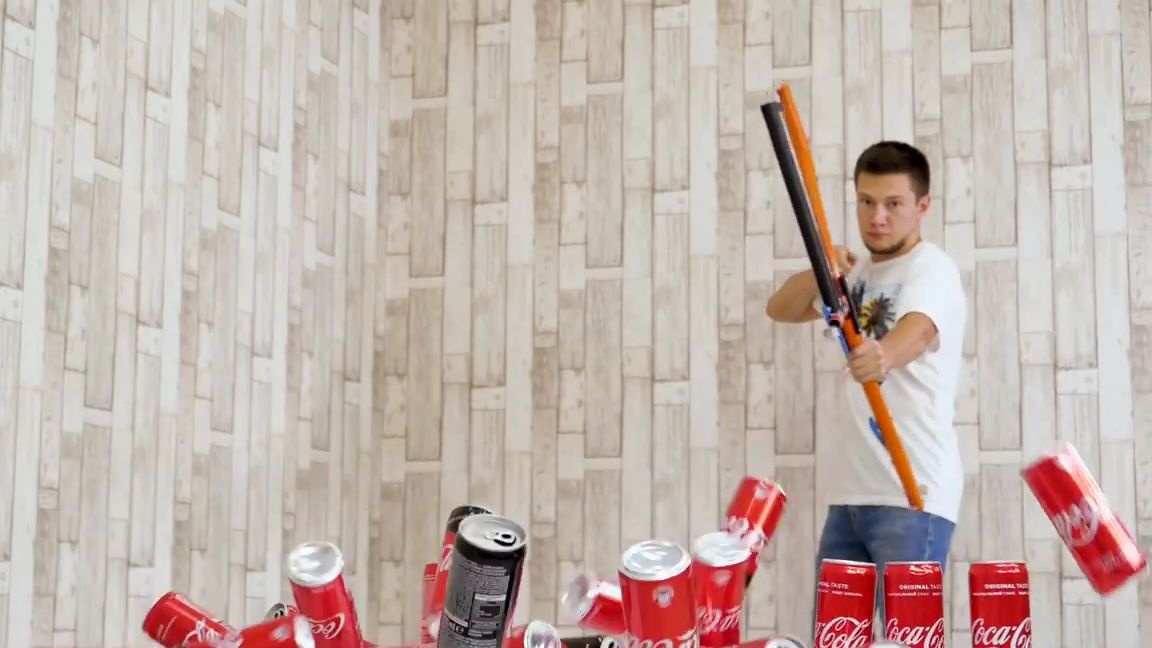
To do this, make a target, put shells in the "store" (shells, these are equal sections of thin PVC pipe), pull on the "tita", aim and shoot. The bow is pretty cool and perfect for entertainment and leisure activities. Never aim and do not shoot at people! This is dangerous!
Here is a video from the author with a detailed assembly and testing of this homemade product:
Well, thank you all for your attention and good luck in future projects, friends!