
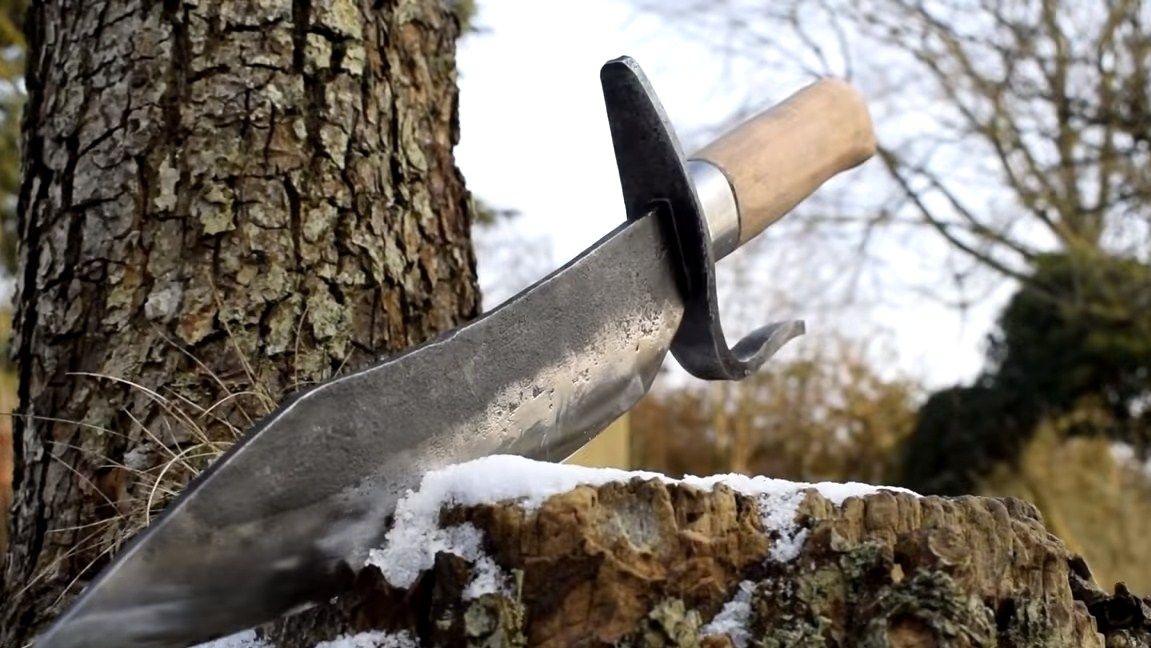
Hello to fans of the Game of Thrones series and just those who like to knock on hot metal. I bring to your attention a unique knife, which was created by analogy with what was used in the film by Locke. The author forged this knife, including the blade and guard, which allowed him to look like the original. The knife will attract the attention of those who are completely unfamiliar with this film.
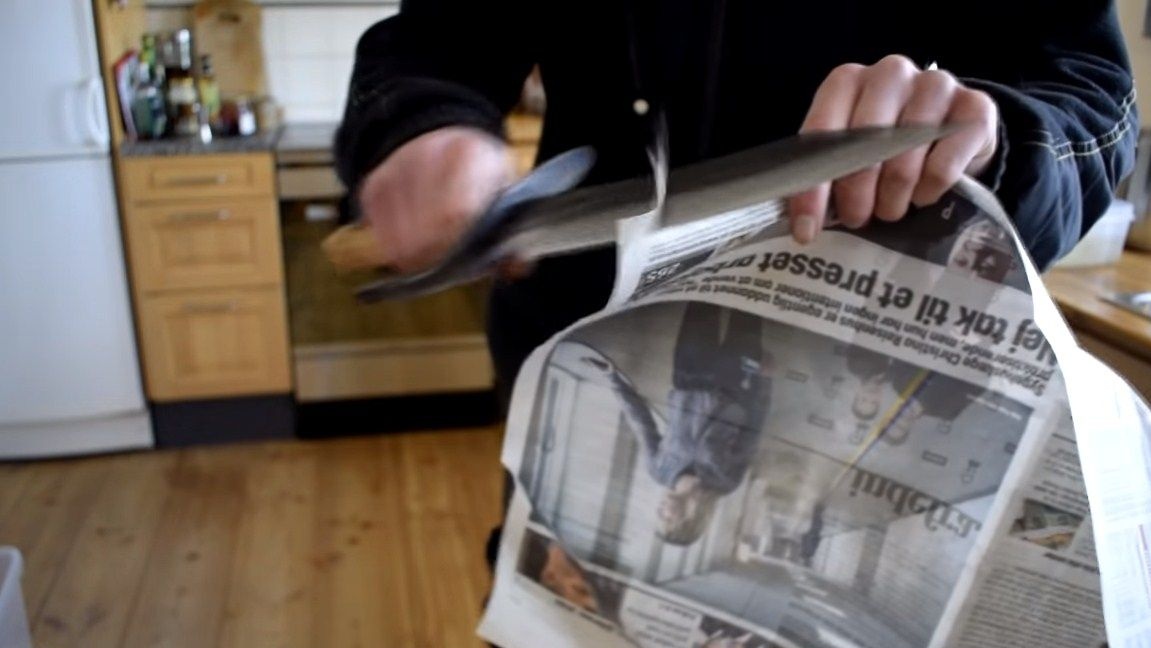
The knife made is quite massive and strong, outwardly it is somewhat reminiscent of a Bowie knife, it also has a certain spirit of piracy. The knife was made of crowbar or a similar object, steel was used strong, carbon and the author hardened it. As a result, it became possible to sharpen the knife to the state of the blade, it easily cuts the newspaper, and the blade also has resistance to dulling. Well, of course, thanks to modern materials and tools, our product has turned out to be more reliable and high-quality. By the way, not considering the belt sander, a minimum of tools was needed to make this knife, since everything is mostly forged. So, we will consider in more detail how to make such a knife.
Materials and tools used by the author:
Material List:
- crowbar or other carbon steel source;
- steel for the manufacture of guards (it is also forged);
- a wooden bar for the handle;
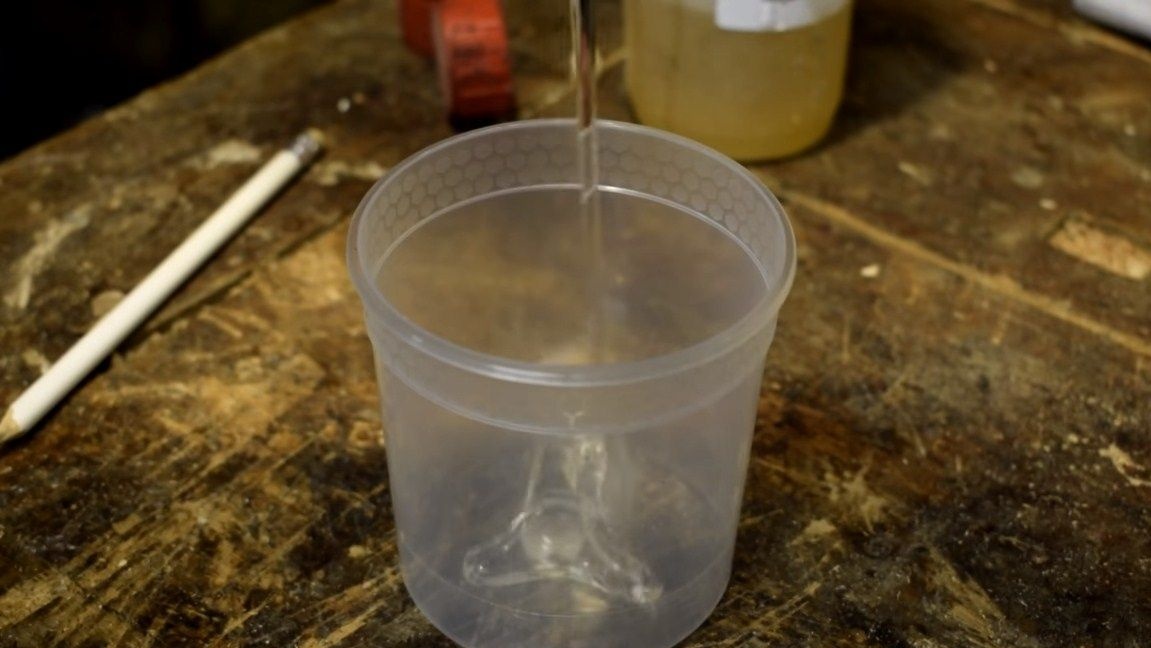
- epoxy adhesive;
- oil for wood impregnation.
Tool List:
- belt sander;
- drill with drills;
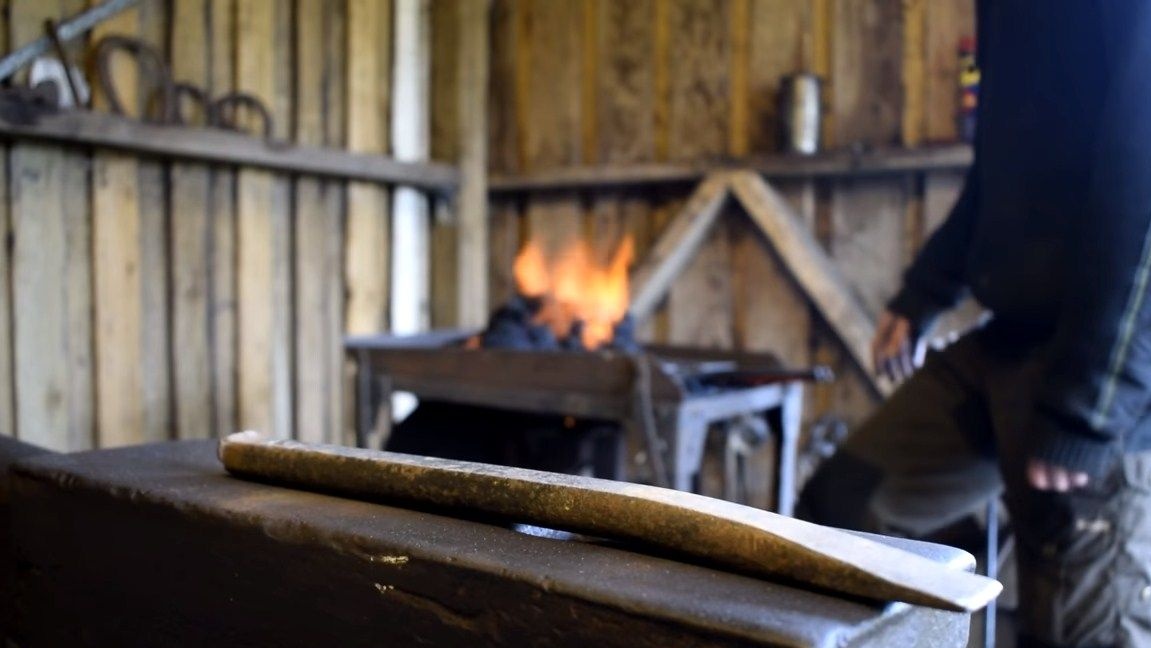
- blacksmith furnace and accessories for forging;
- quenching oil and a domestic oven;
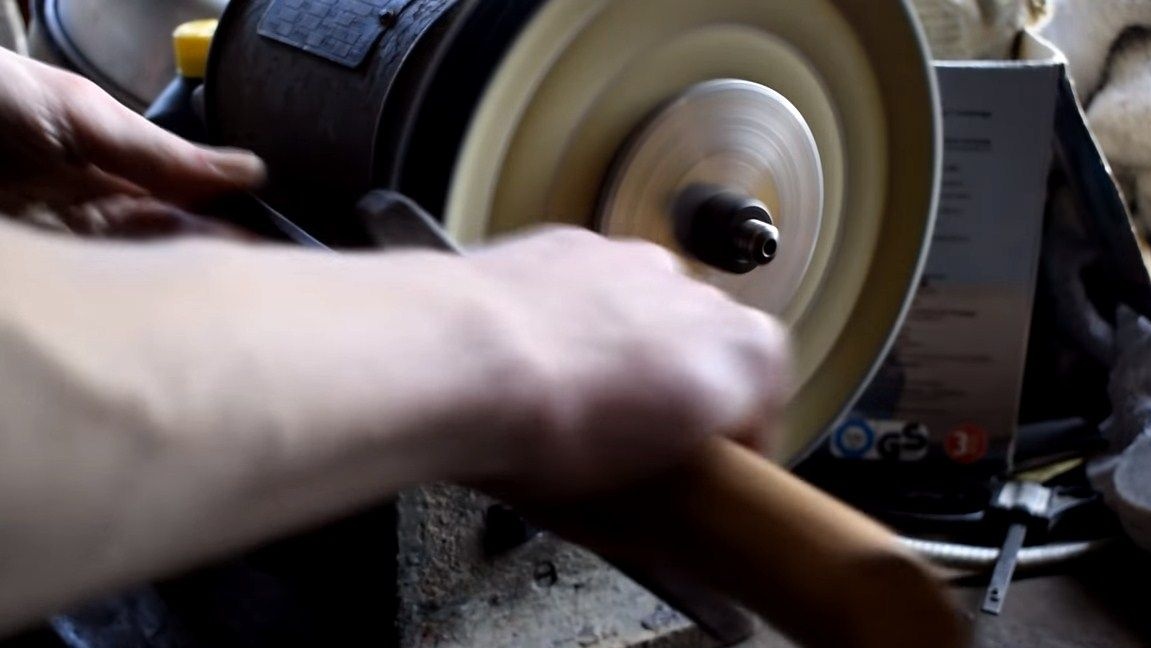
- polishing machine;
- whetstones;
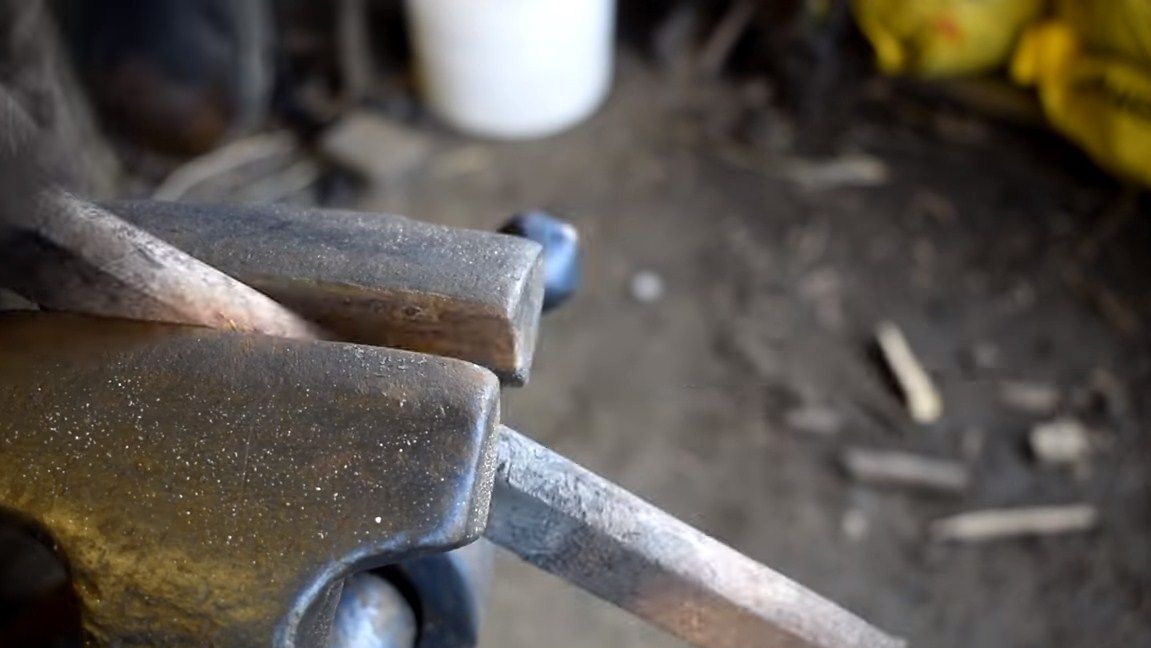
- vise;
- a hacksaw for metal;
- files.
The process of making a knife:
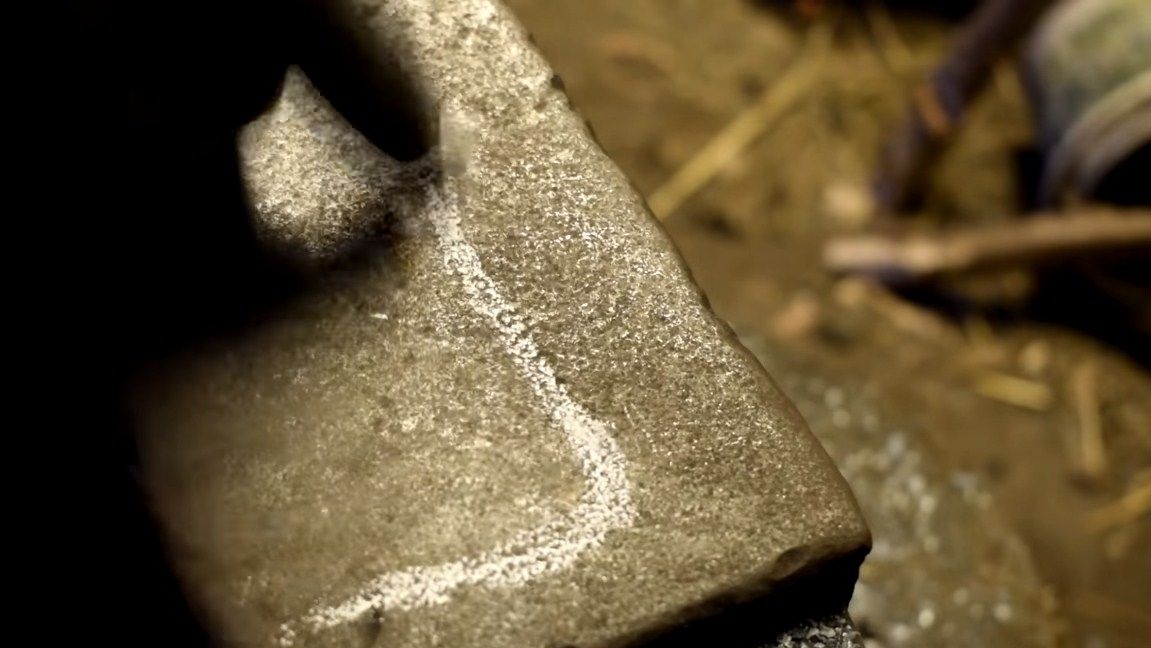
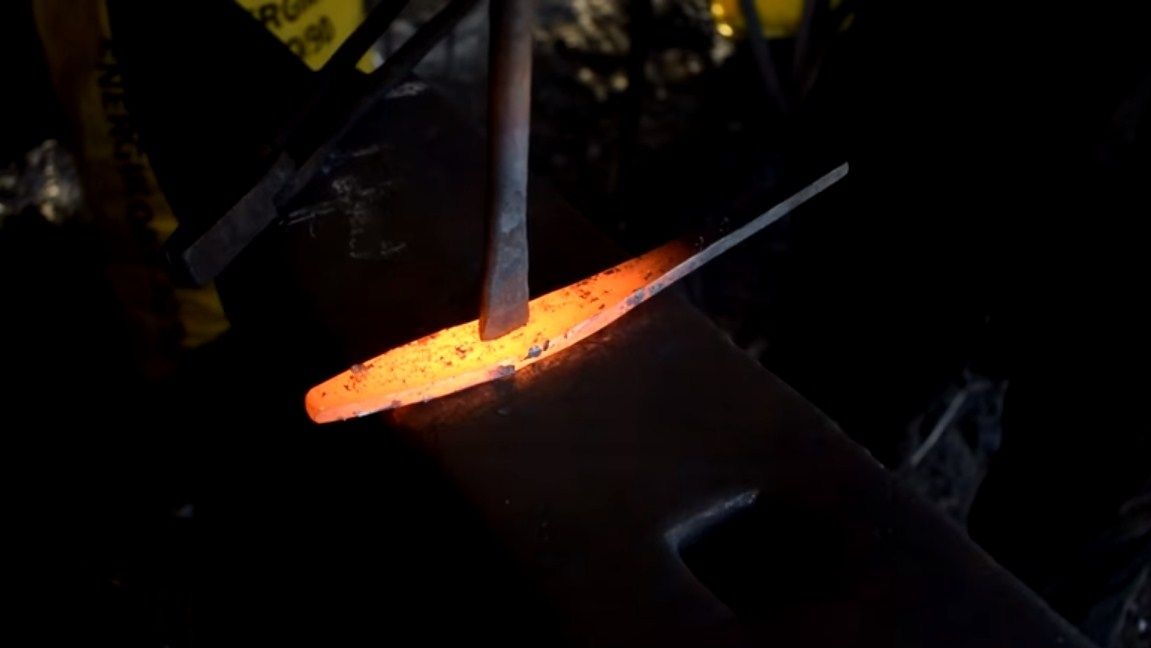
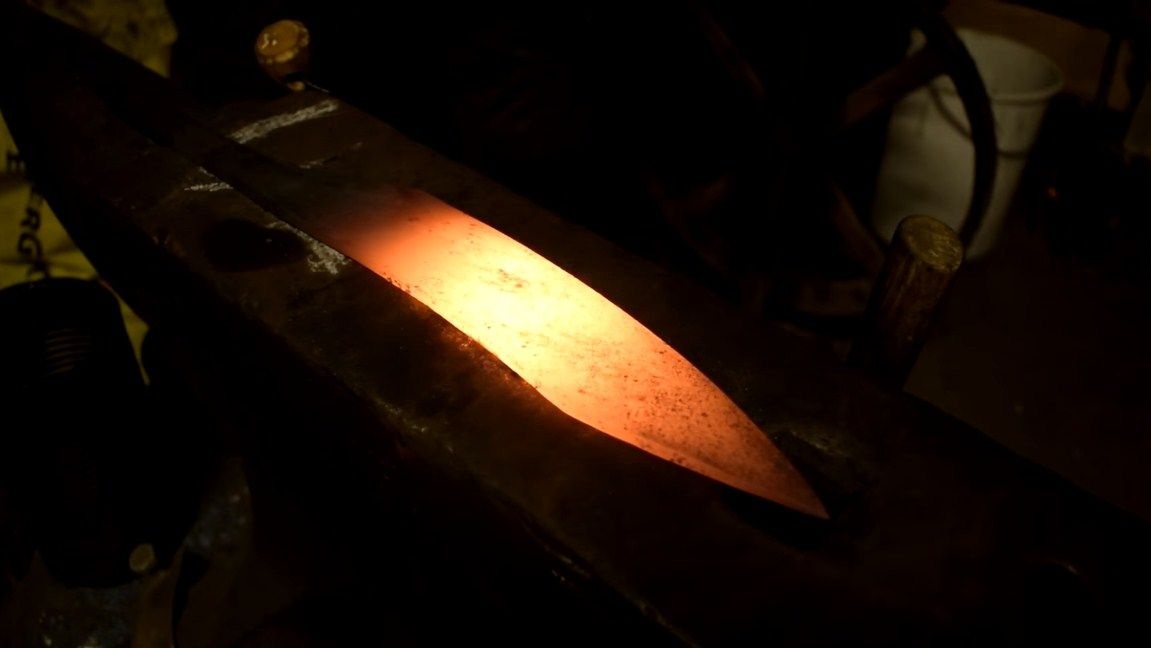
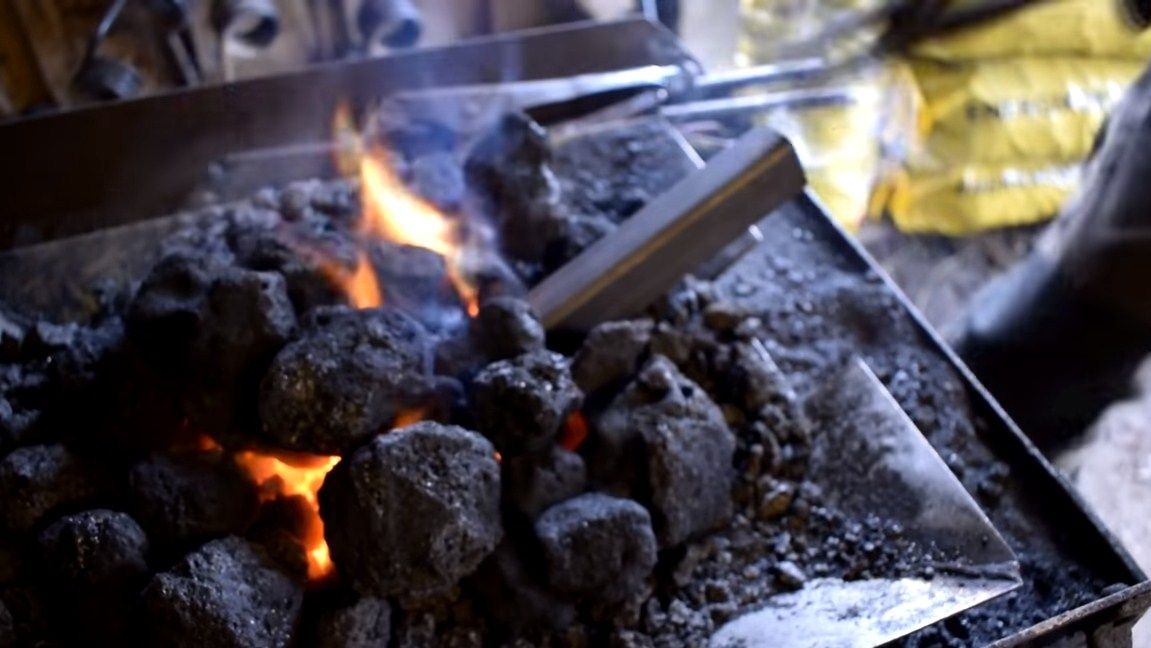
Step one. We forge a blade
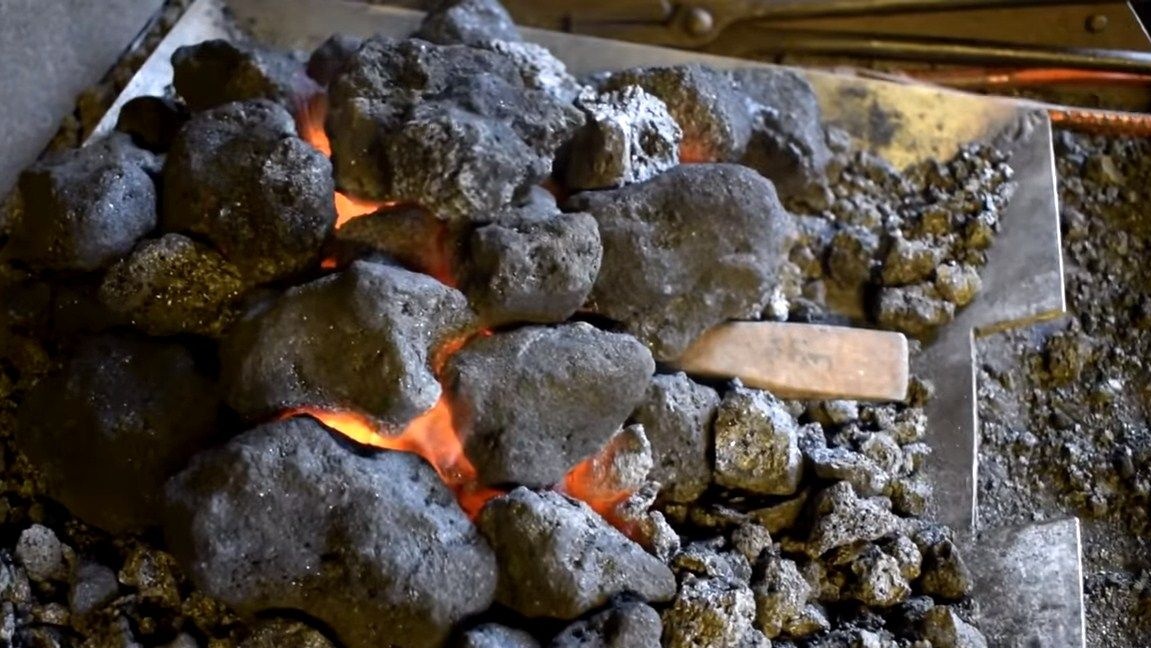
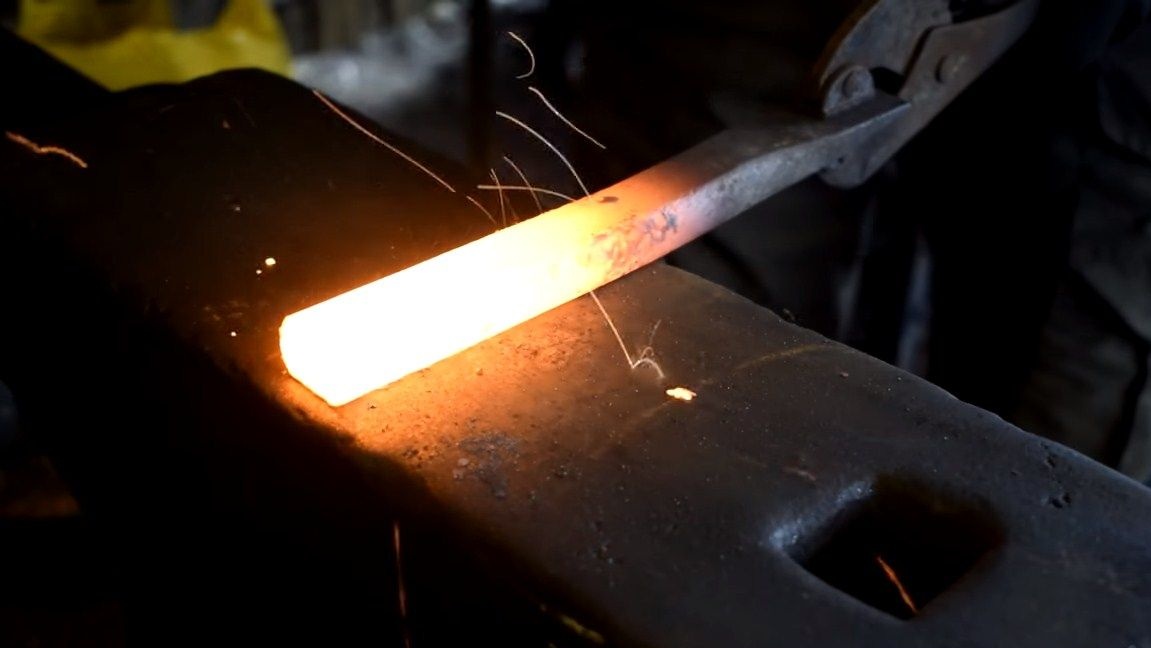
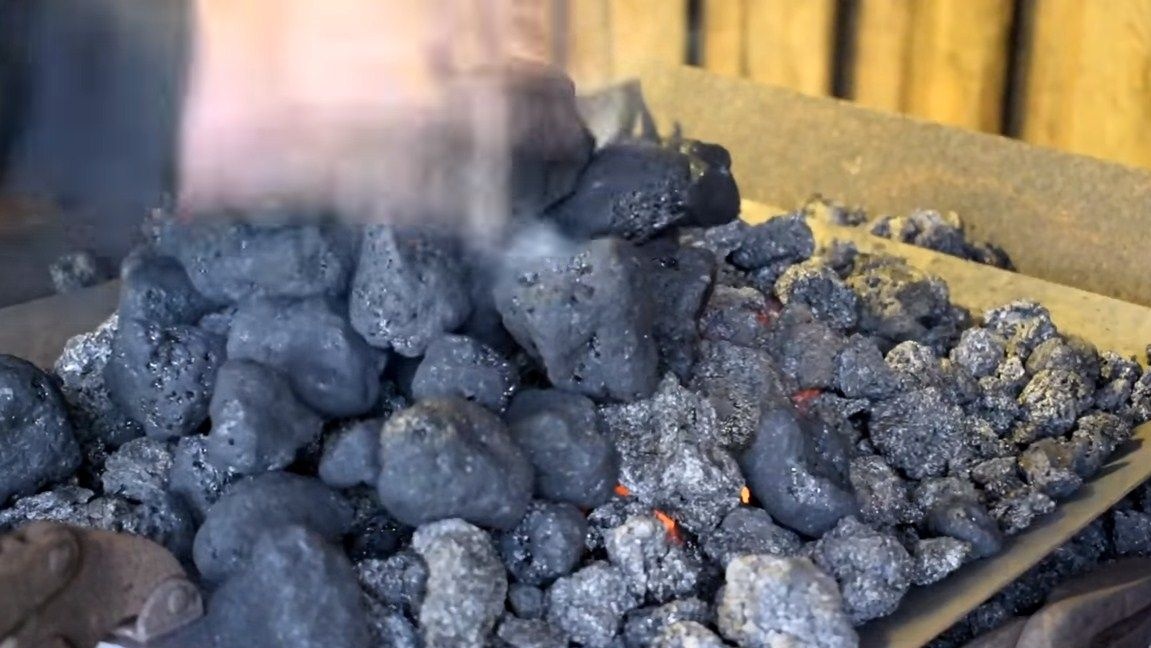
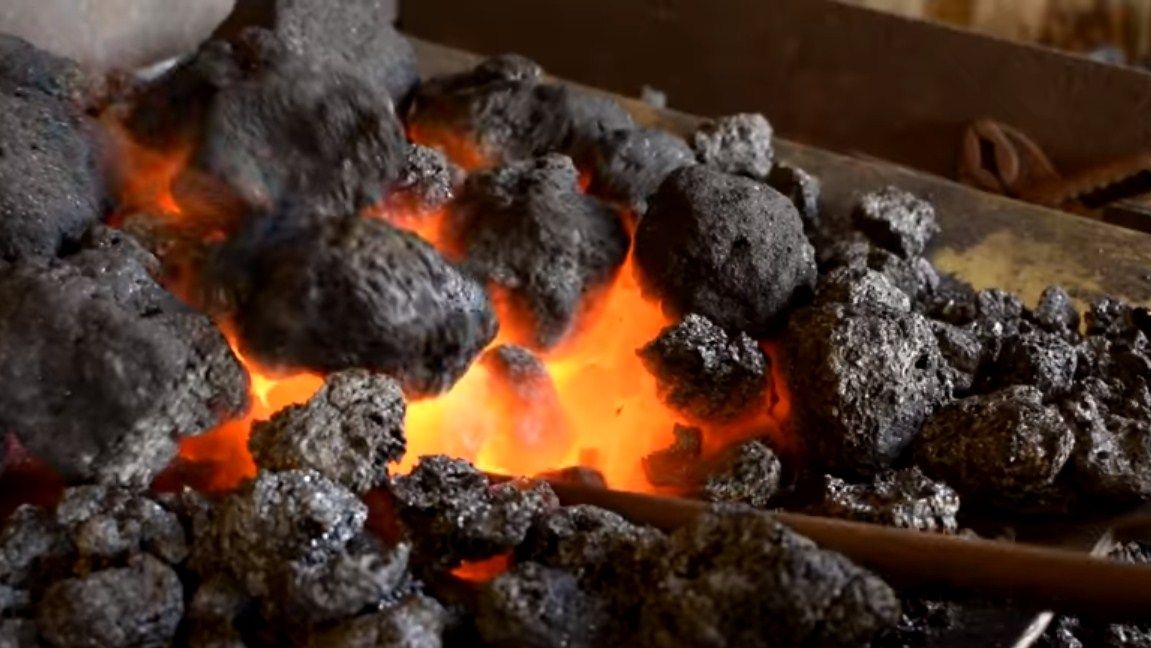
First we need to do the most important thing - to forge a blade. For this, the author took a piece of crowbar. Choose a good carbon steel that can be hardened, it is used in tools. The author decided to cut a piece of metal manually using a hacksaw. To make this possible, we need to let go of the metal, make it smooth. We heat the desired area in red coals to red and let it cool in air, after which the steel will be cut manually.
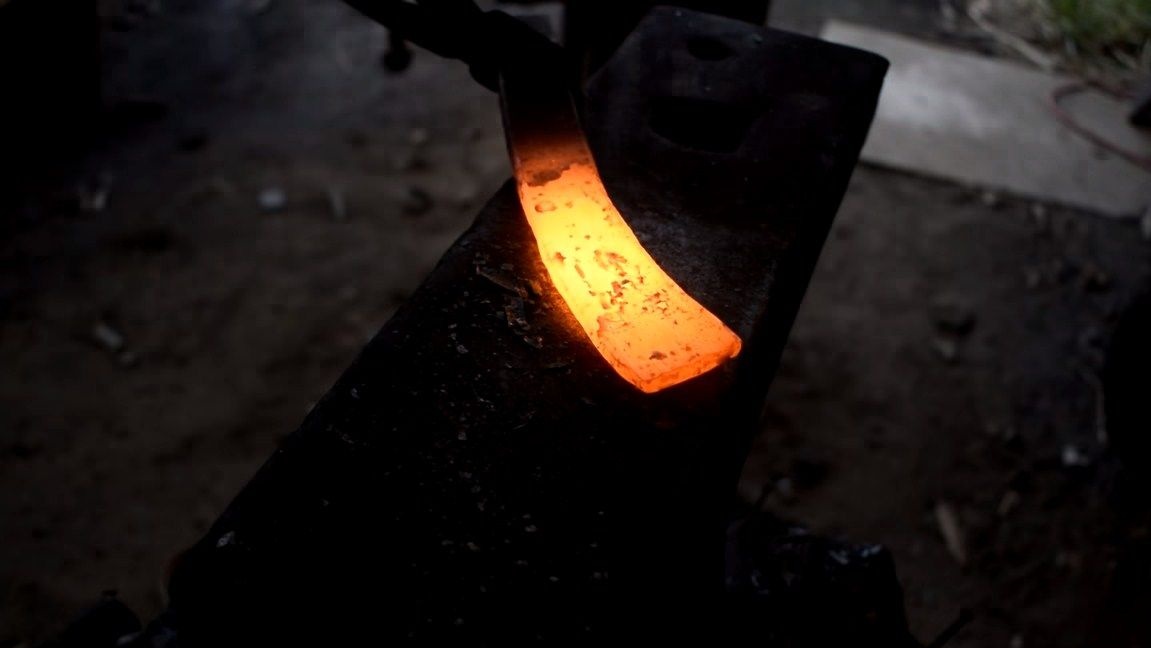
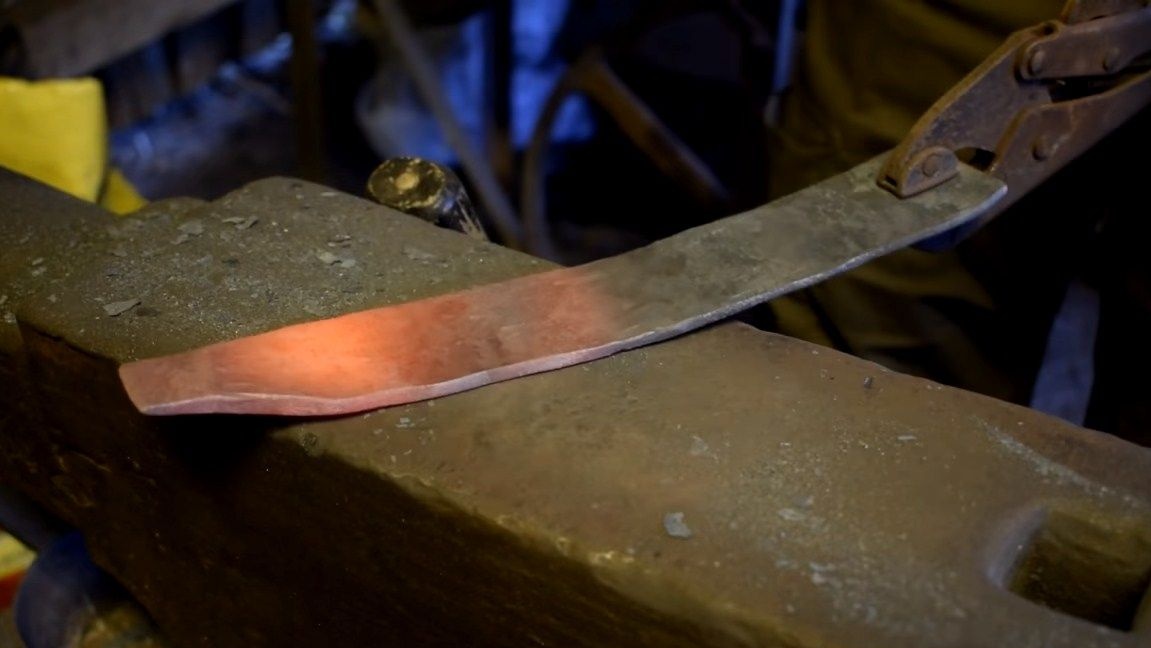
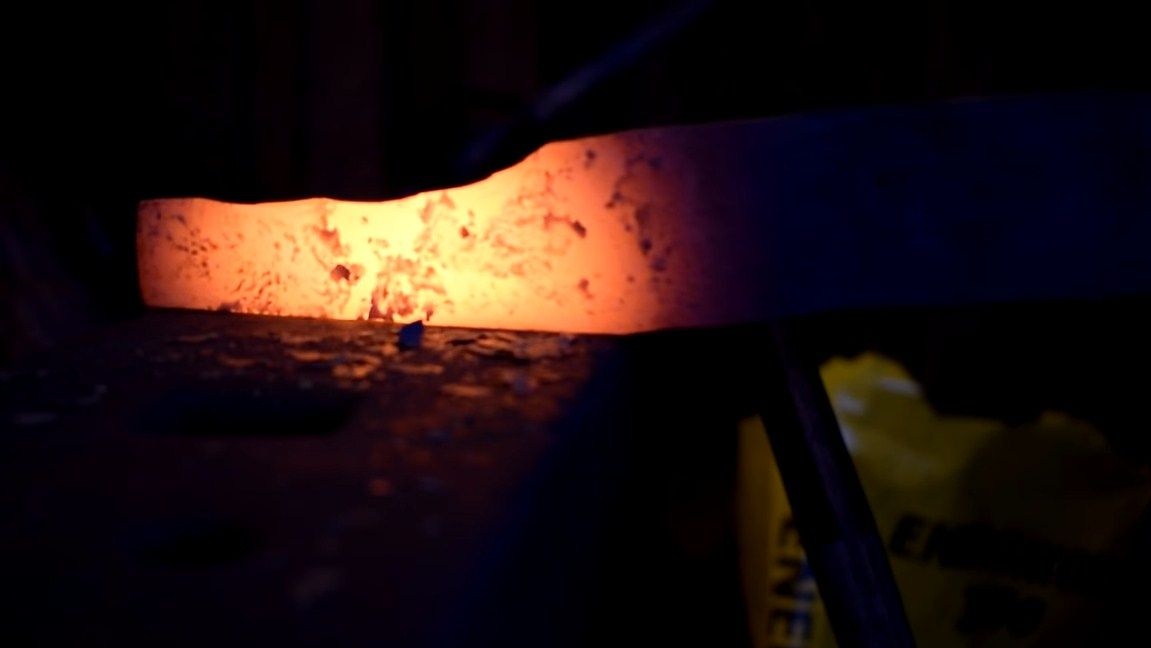
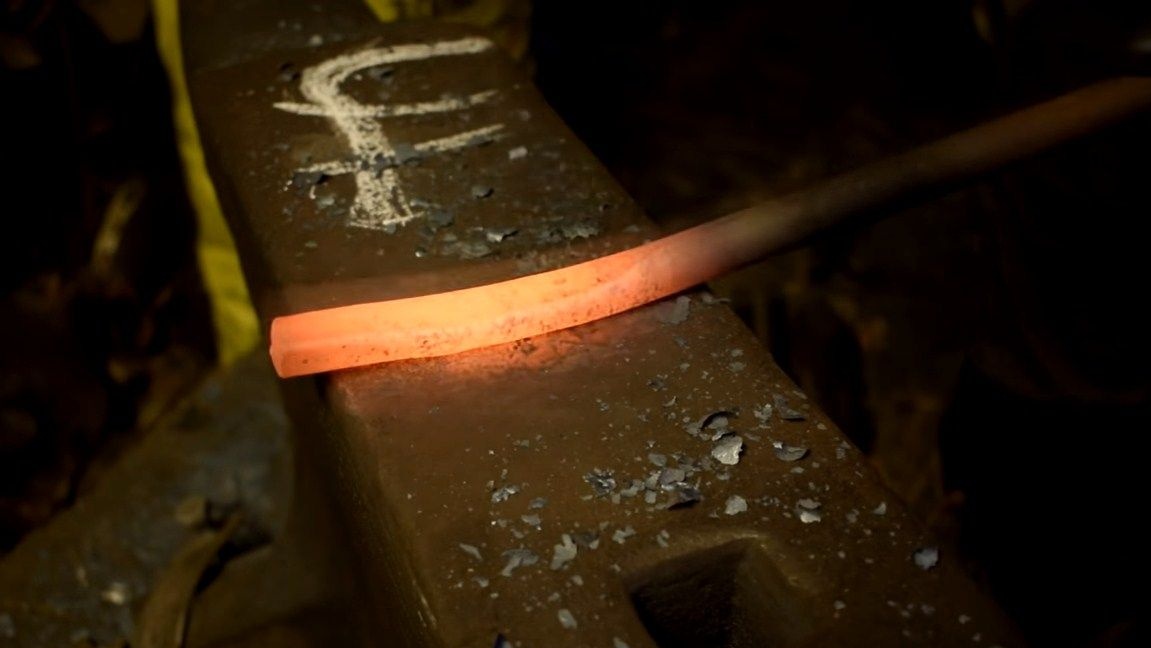
That's all, then we form the desired profile of the blade. Gray, beat with a hammer and so on until victory. The task is of course laborious, but you can feel yourself in the role of an ancient blacksmith.
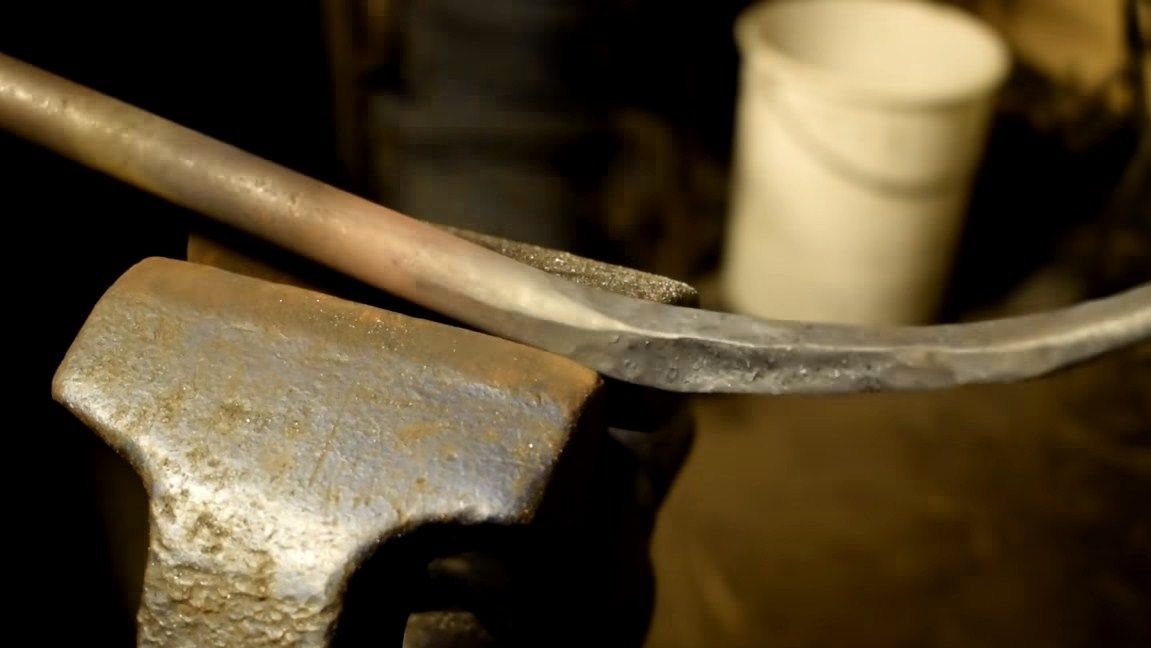
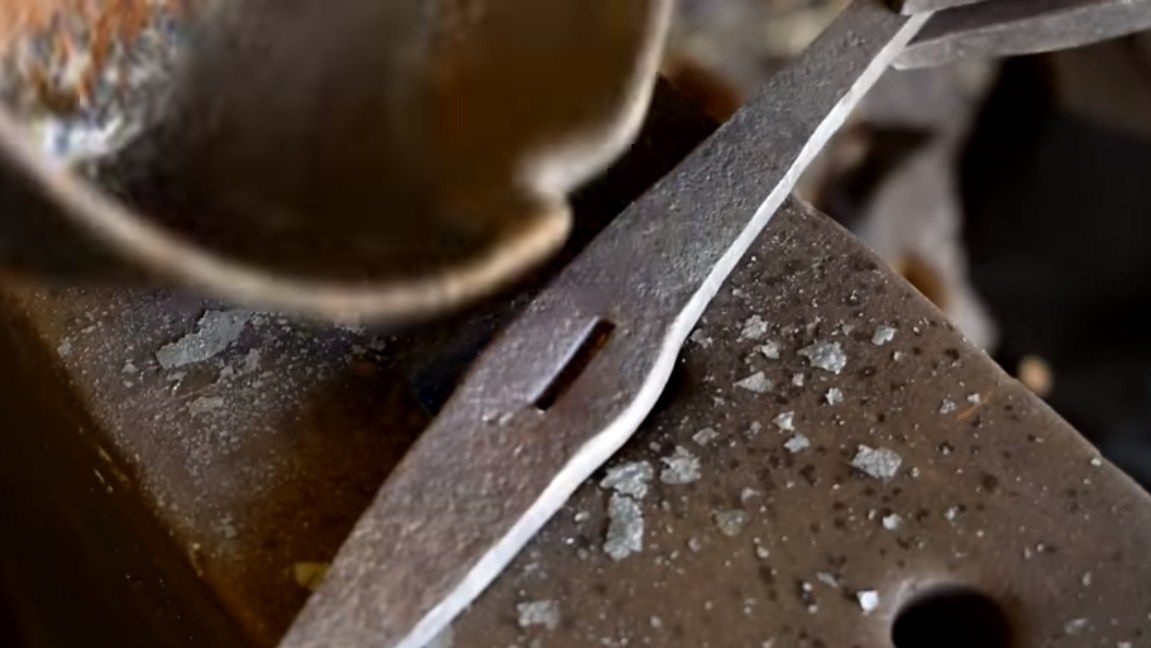
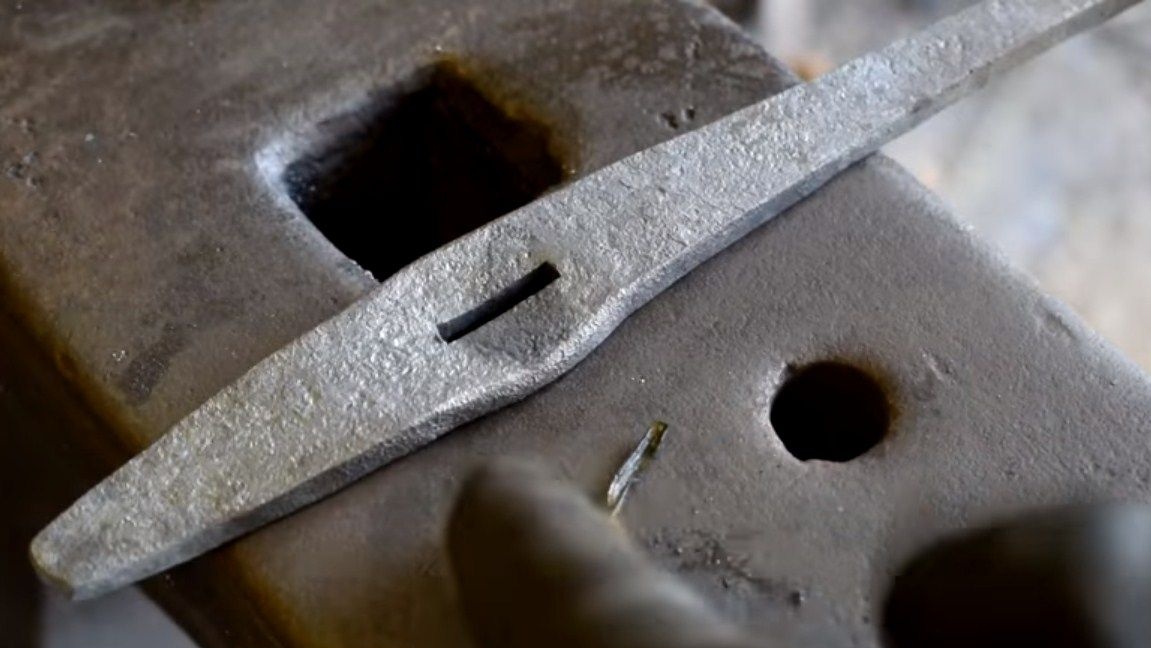
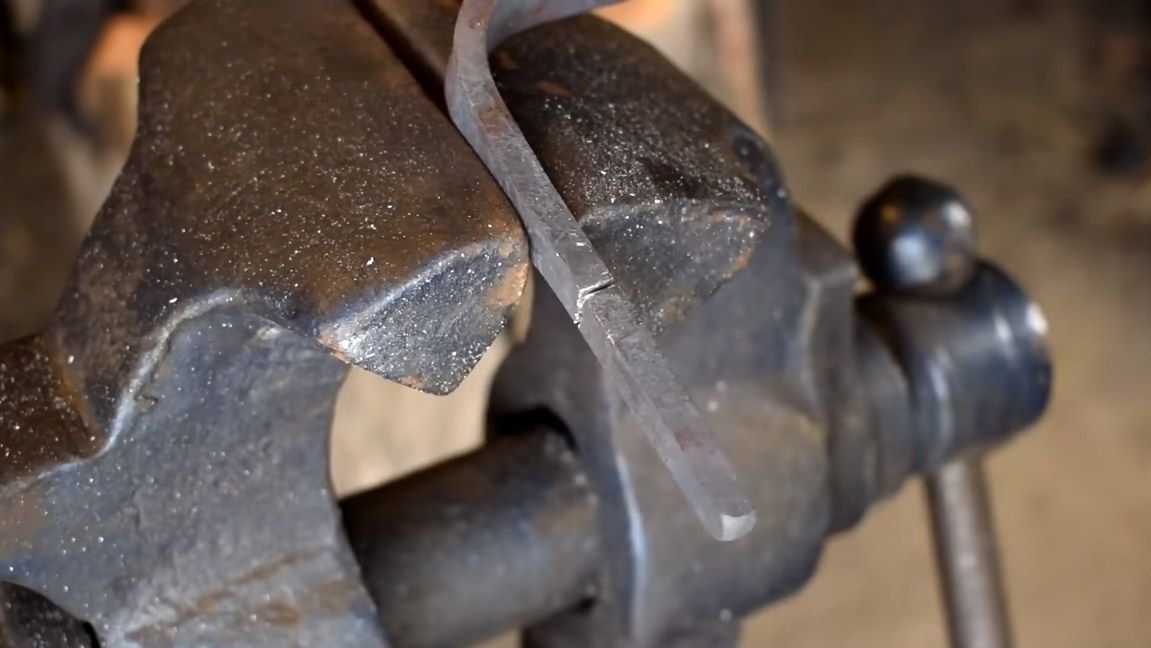
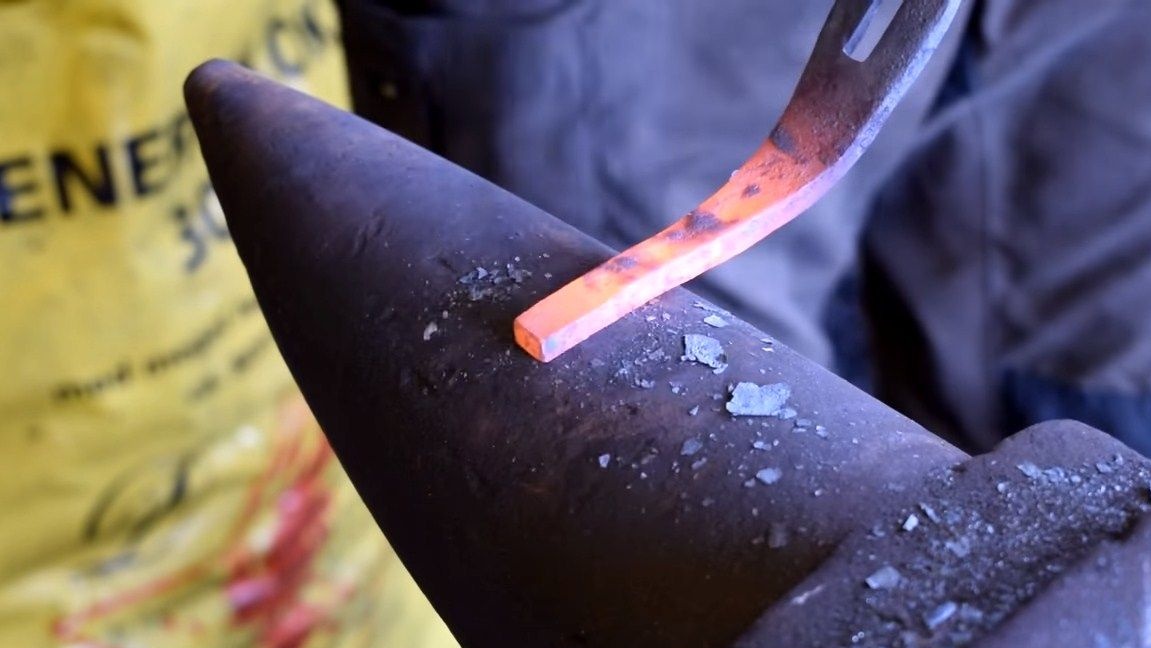
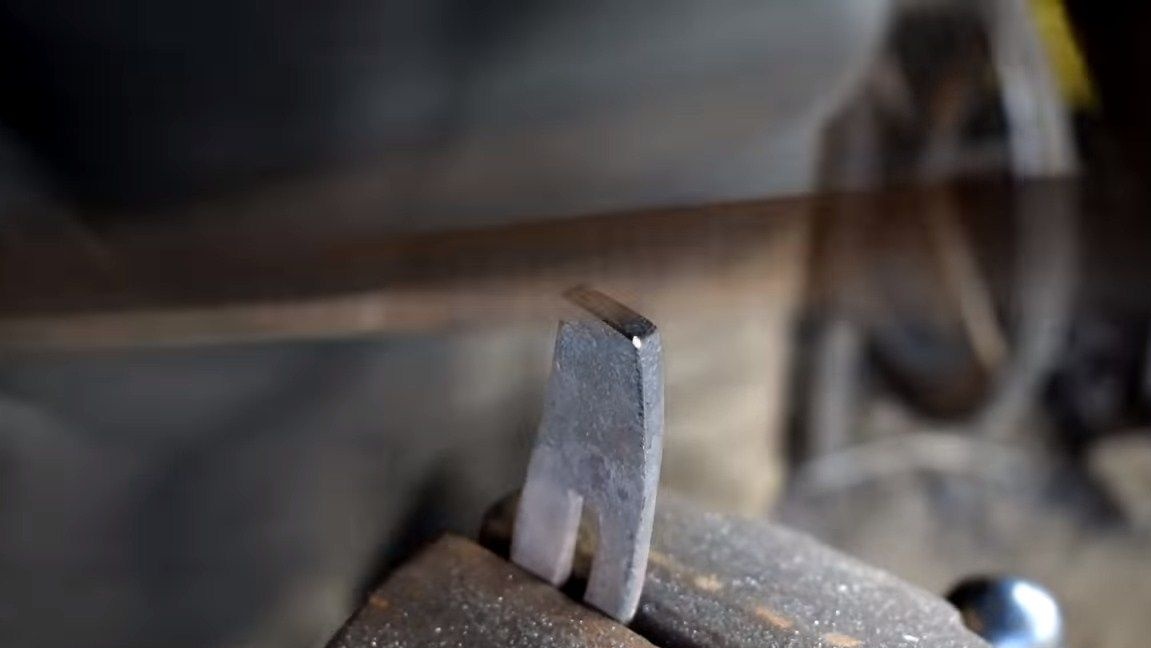
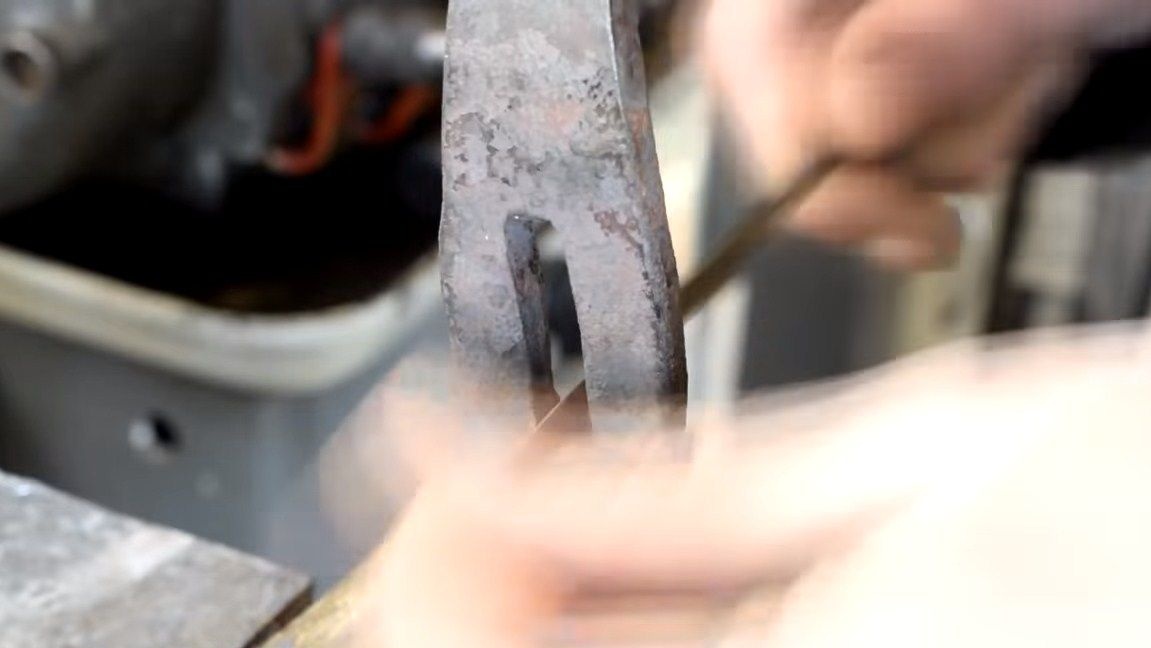
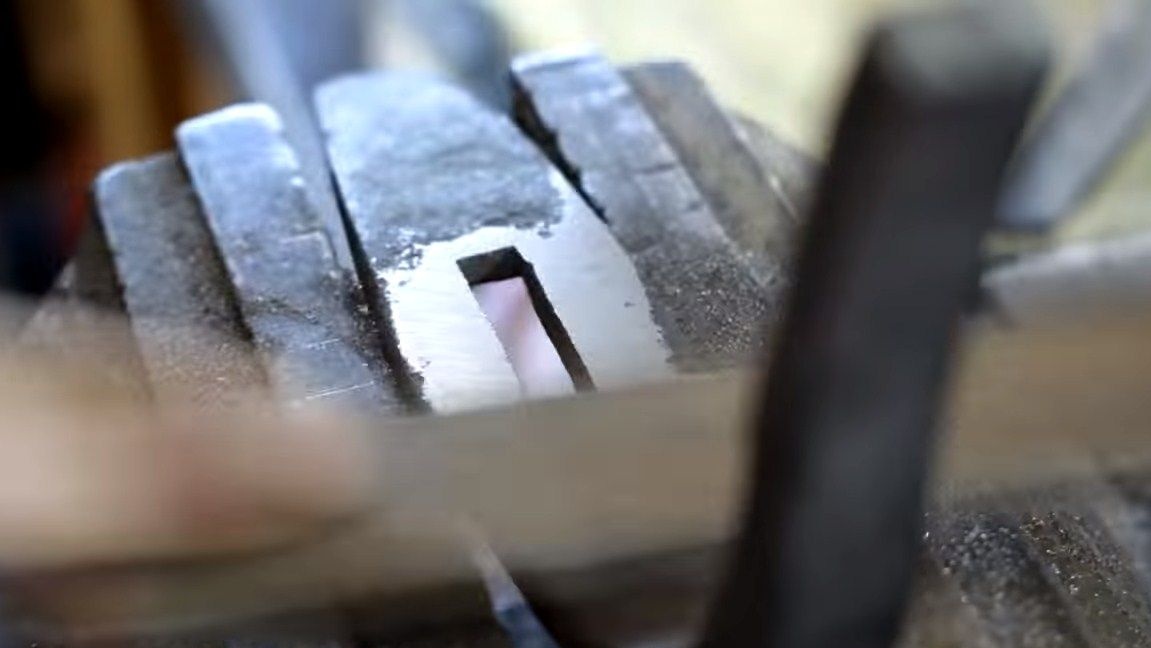
Step Two We make a guard
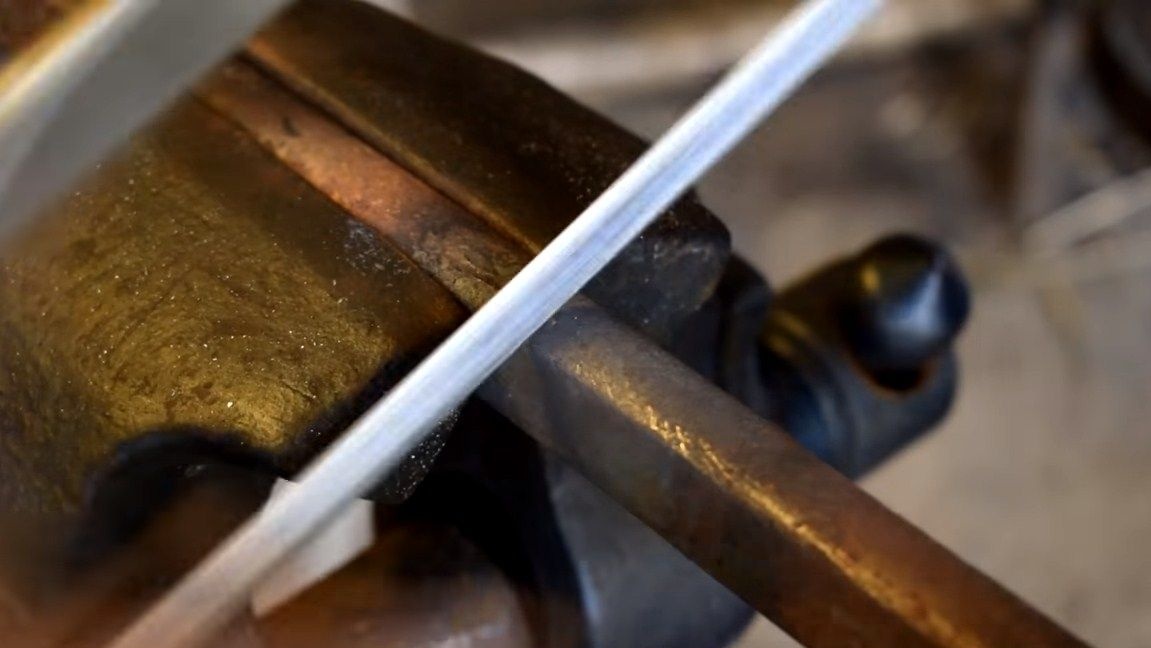
A massive guard is provided for in the design of the knife; its author also makes it by forging.To prevent the guard from bending upon impact, it must also be made of carbon steel. The author used a steel rod for manufacturing, a plate was forged from it. As for the slotted hole in the guard, its author punched it with a chisel, heating the workpiece to a red glow. The final stage of punching was held by the tail of the knife, so that the hole turned out perfectly as needed. When the desired shape is obtained, we refine it with files, grind, clean and so on.
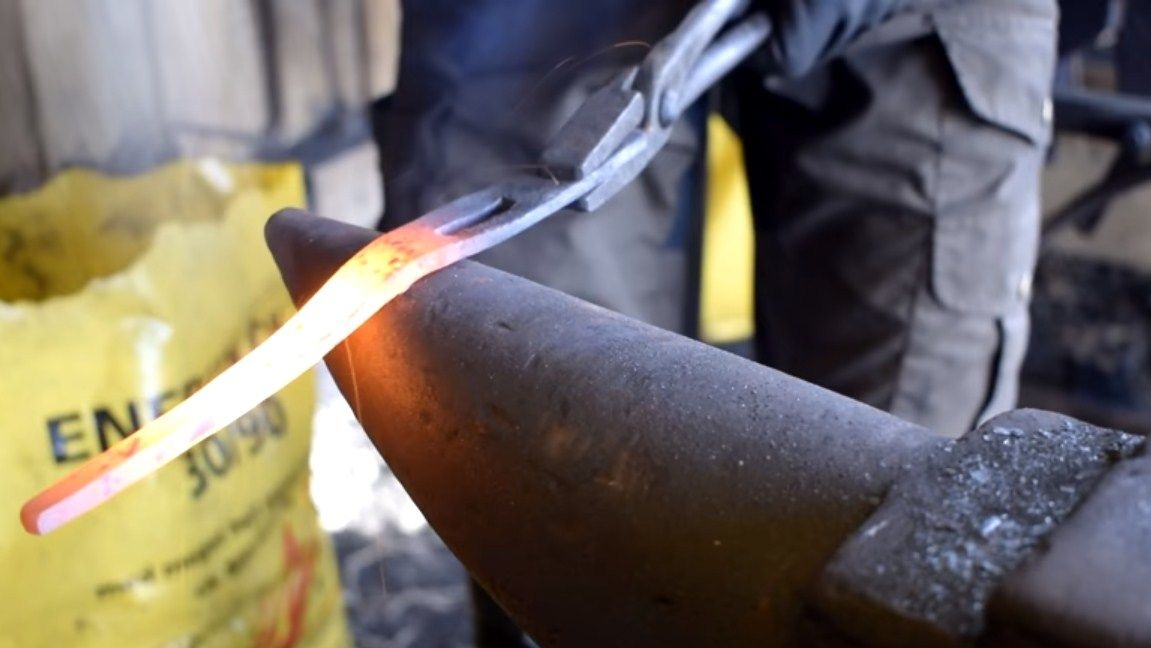
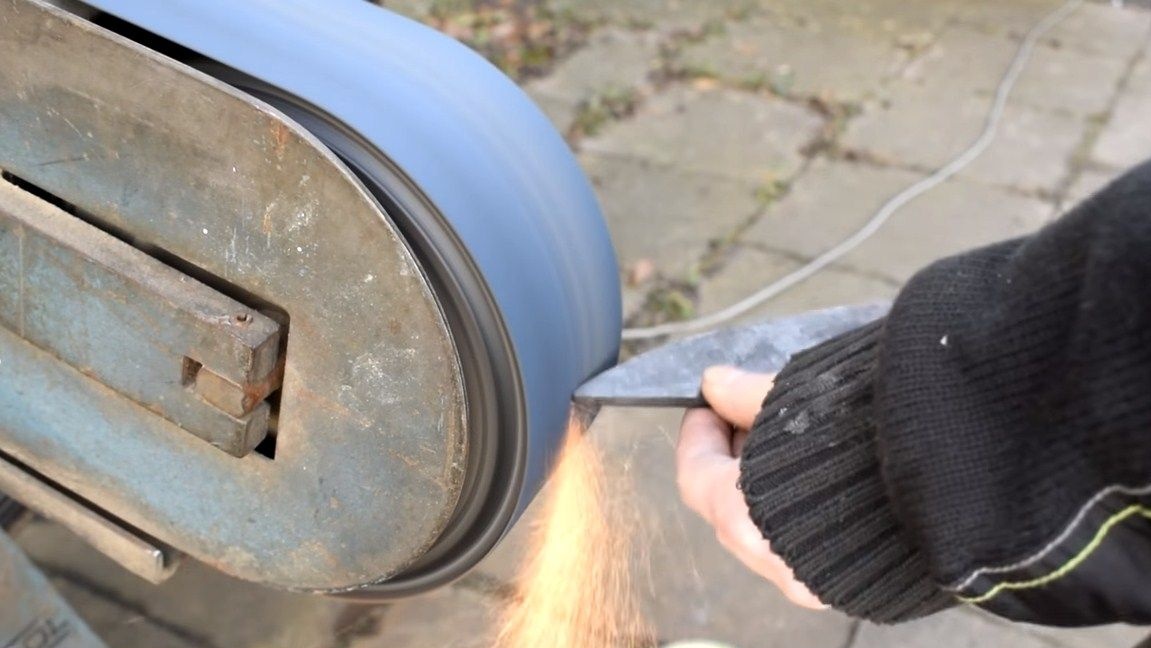
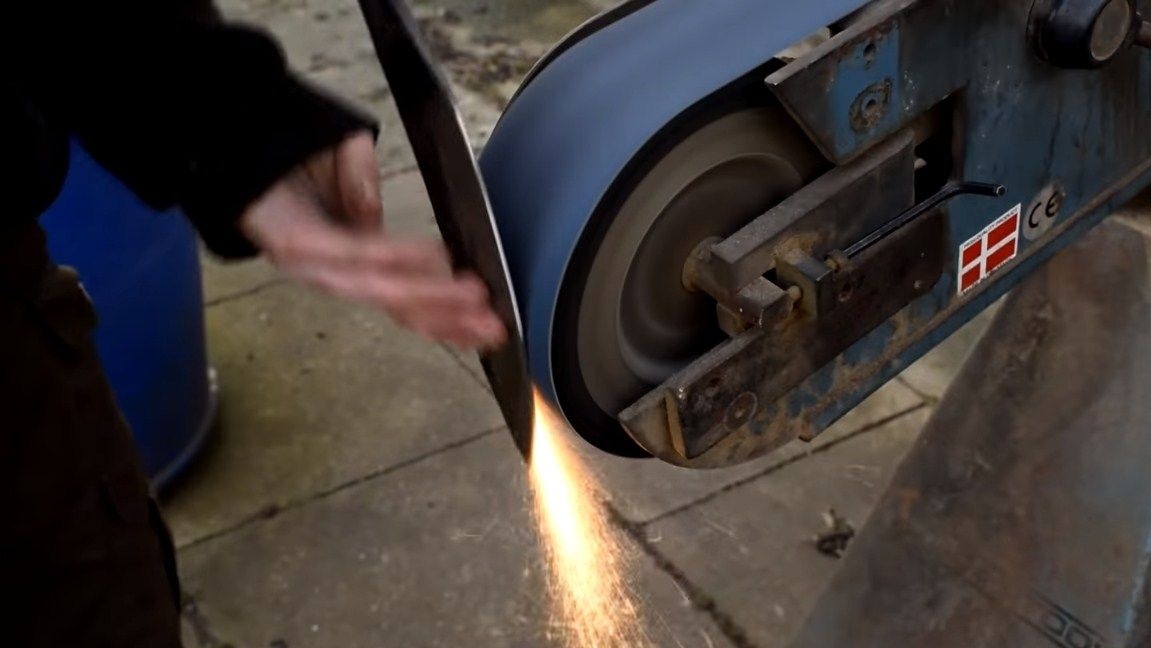
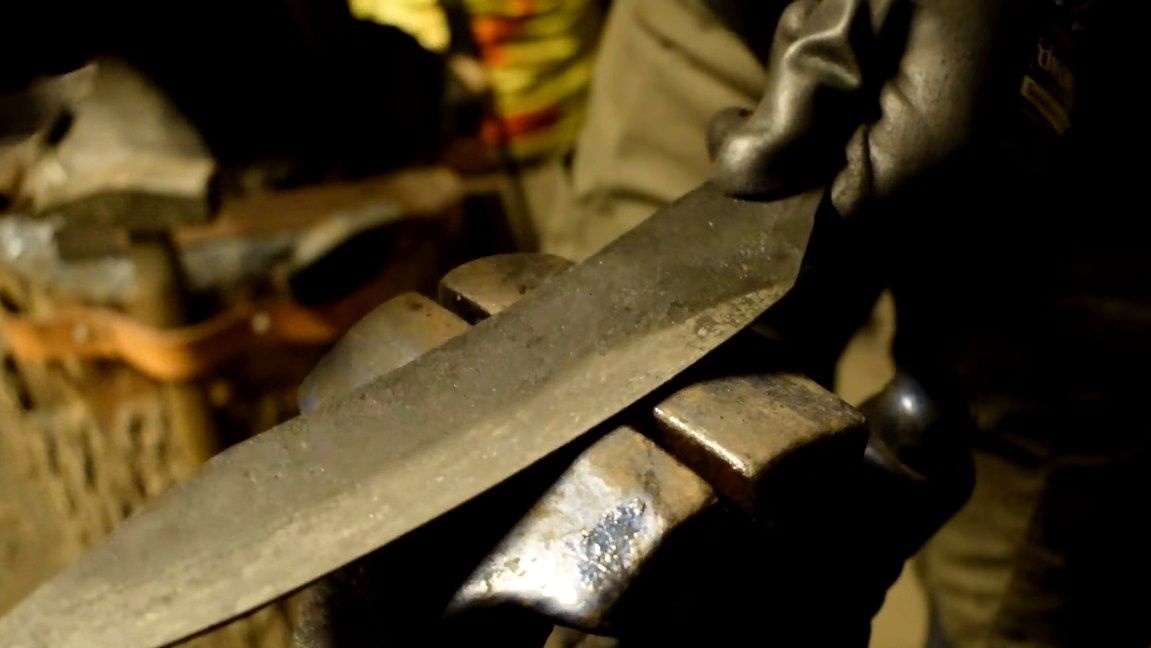
Step Three We form bevels
We proceed to the formation of bevels on the blade. Of course, in ancient times this was also done by forging, but all this is troublesome, the blade can lead and so on. Therefore, the author decided to use a belt sander. As a result, everything turned out quickly and efficiently. At this step, the blade is not sharp, its minimum thickness should not be less than 2 mm. If this rule is not followed, carbon can burn out in a thin area and steel will turn into raw.
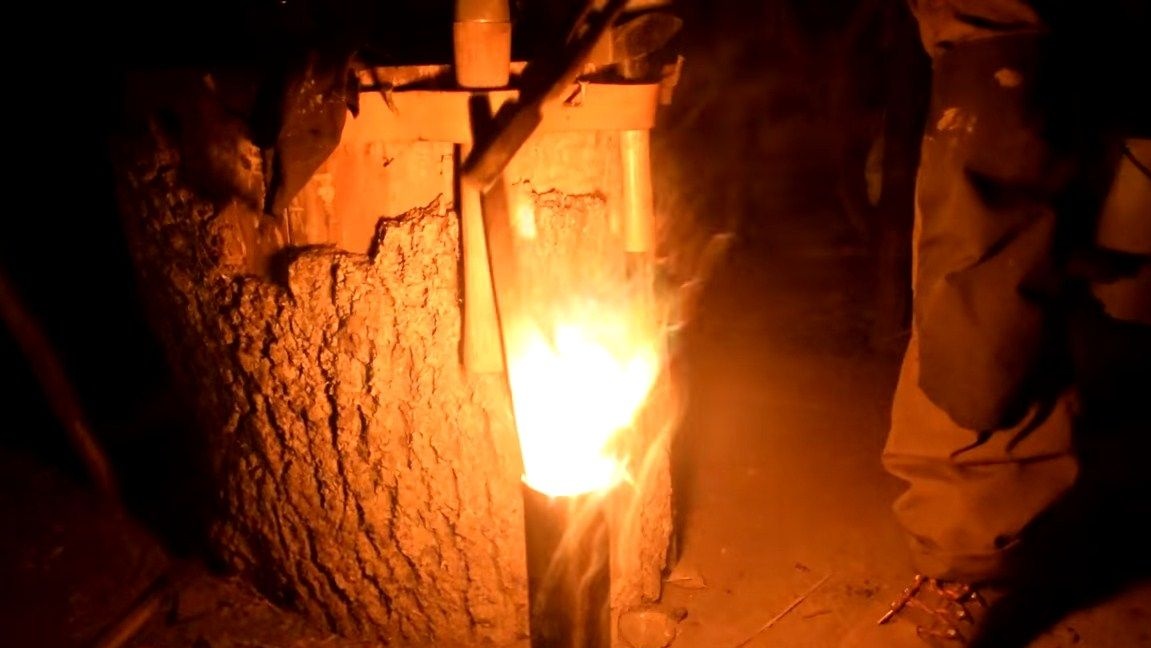
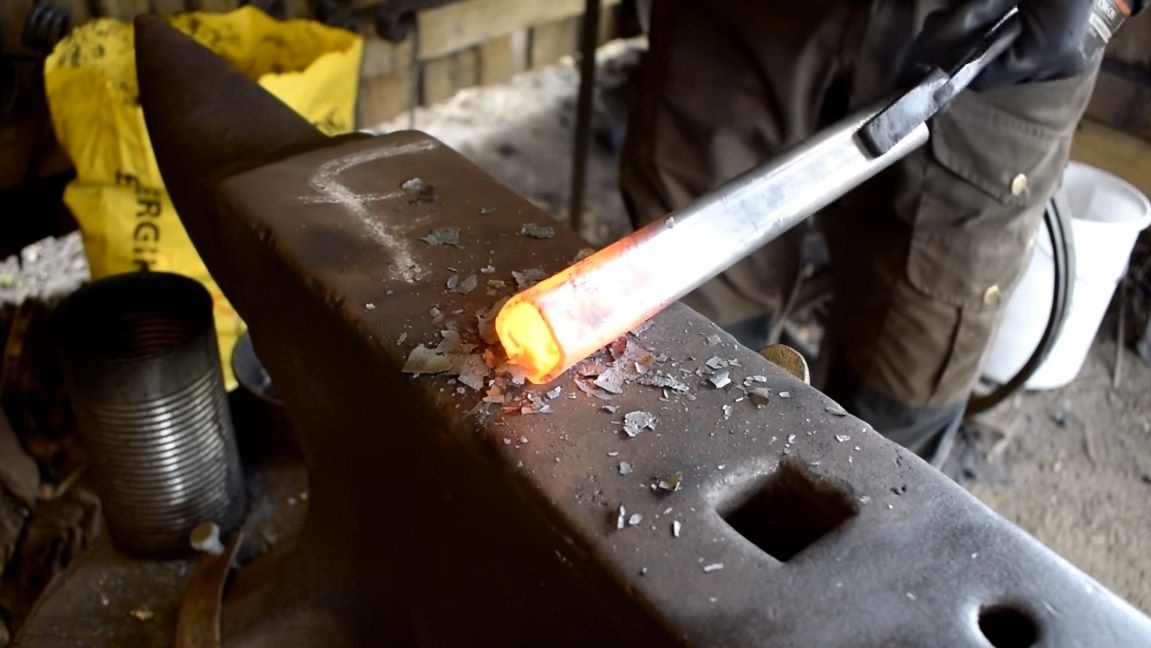
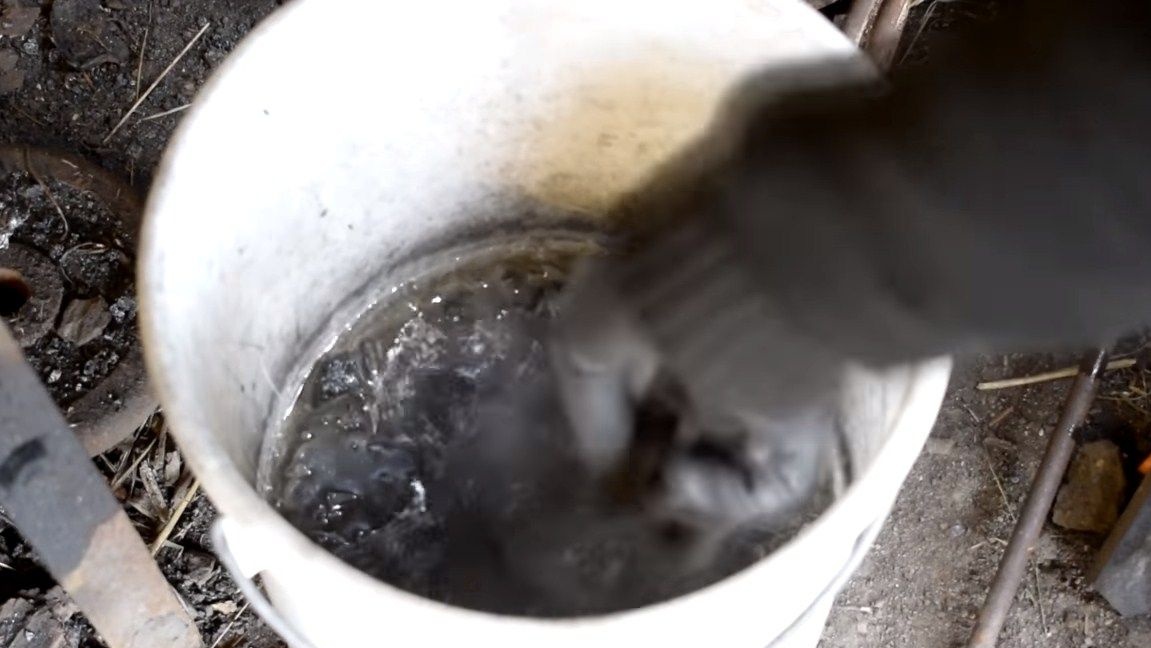
Step Four Blade hardening
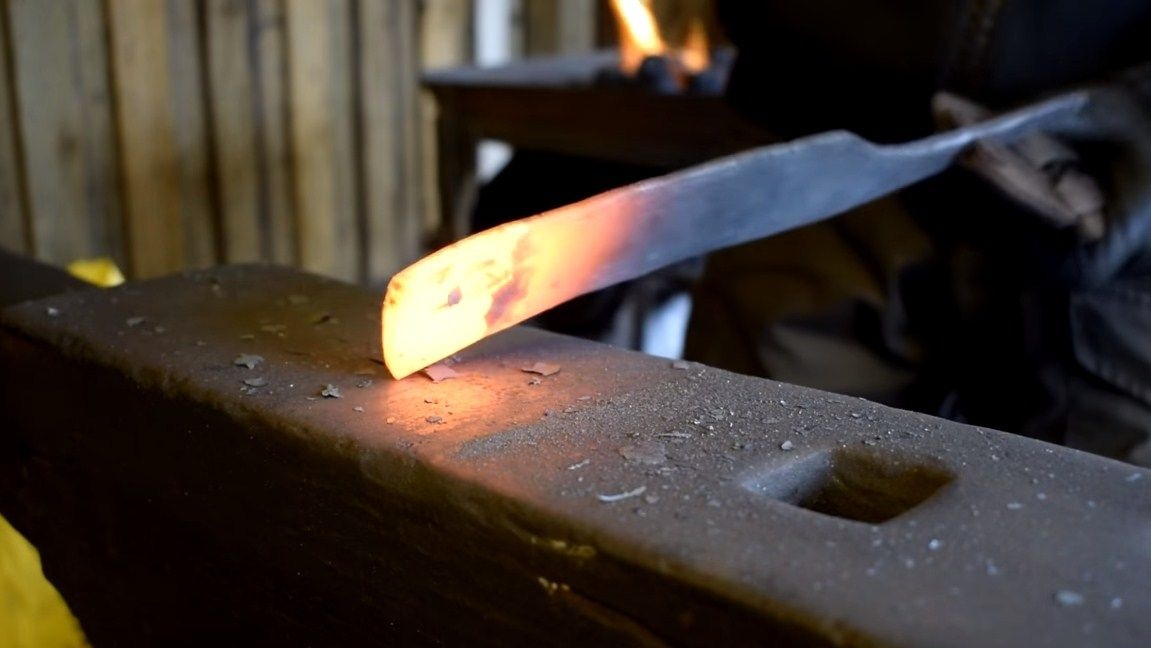
We proceed to hardening, this will make the blade durable, it will hold sharpening for a long time. Do not forget that tempering should be followed by tempering, as the metal will be very fragile. We heat the blade to a bright red glow and dip in oil. If tempering is obtained, we will try to scratch the metal with a file, if there are no scratches, then everything is fine. In general, each steel grade is tempered at a certain temperature and in a certain environment.
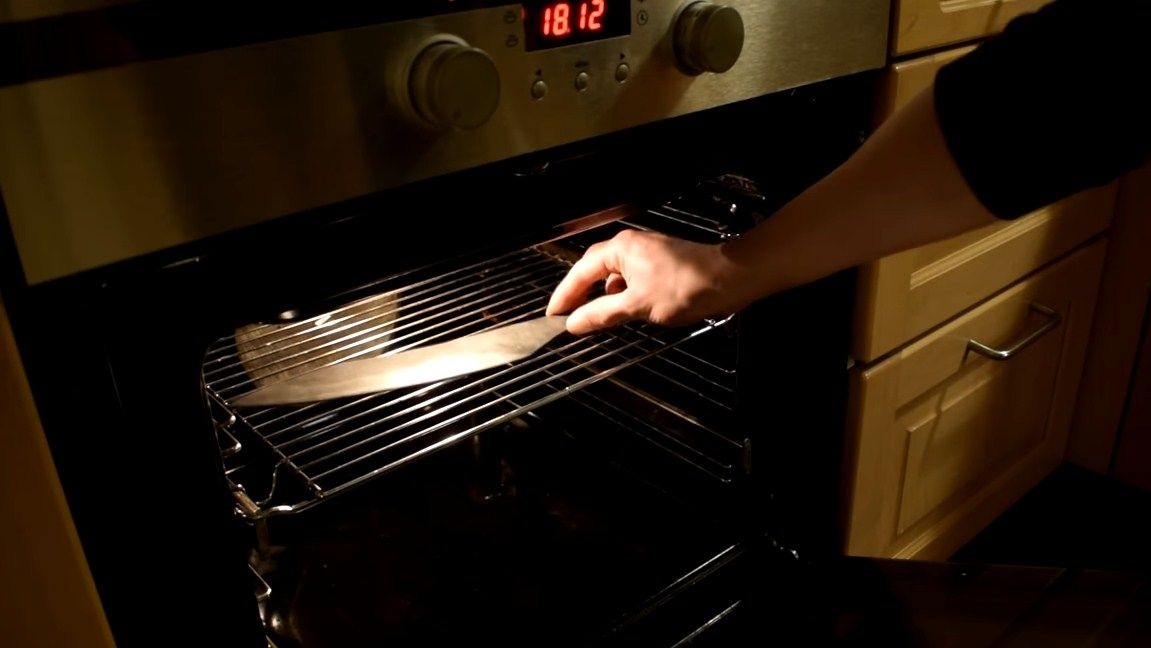
This is followed by a vacation, this will make the blade a little softer, it will spring and will not break when hit, dropped, and so on. Here, a domestic oven will come to our aid, it needs to be heated to a temperature of about 200 ° C. You need to warm the blade until the metal becomes golden or straw color. This usually takes an hour, but for such a large blade it may take all 2 hours. It all depends again on the steel grade. Garda we temper in the same way.
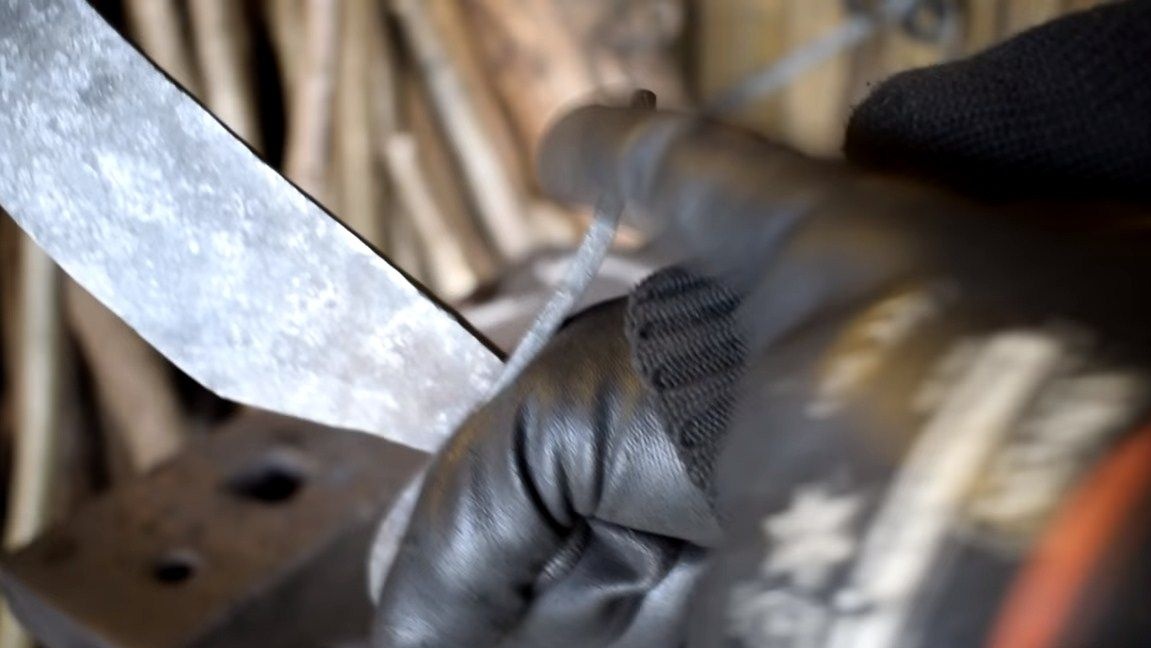
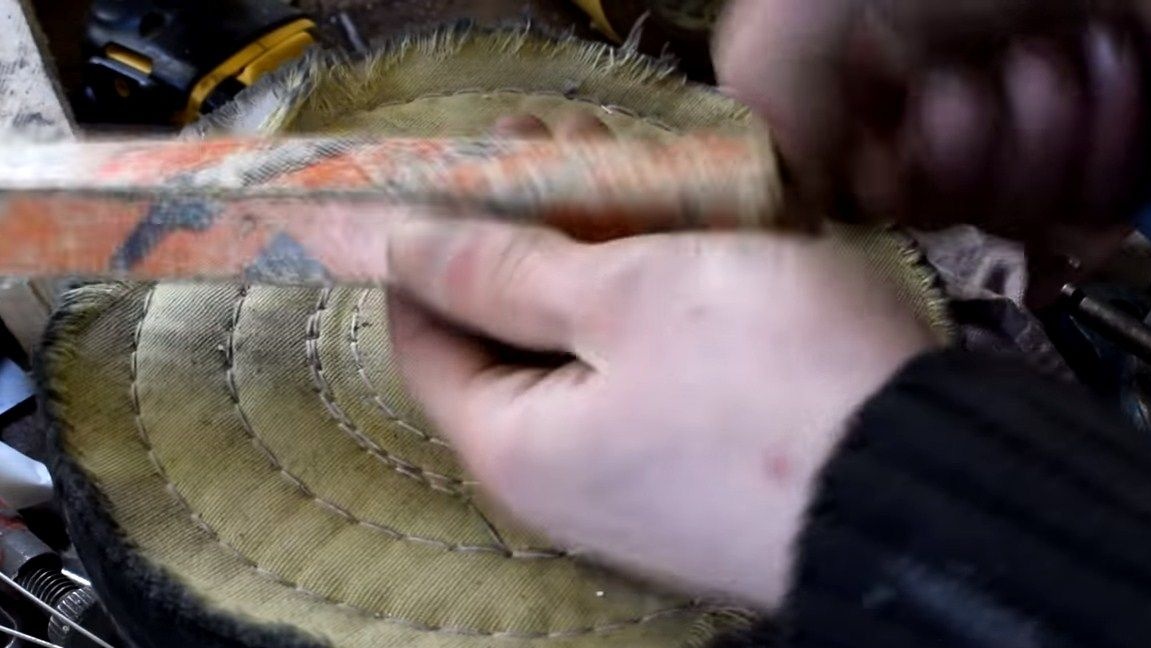
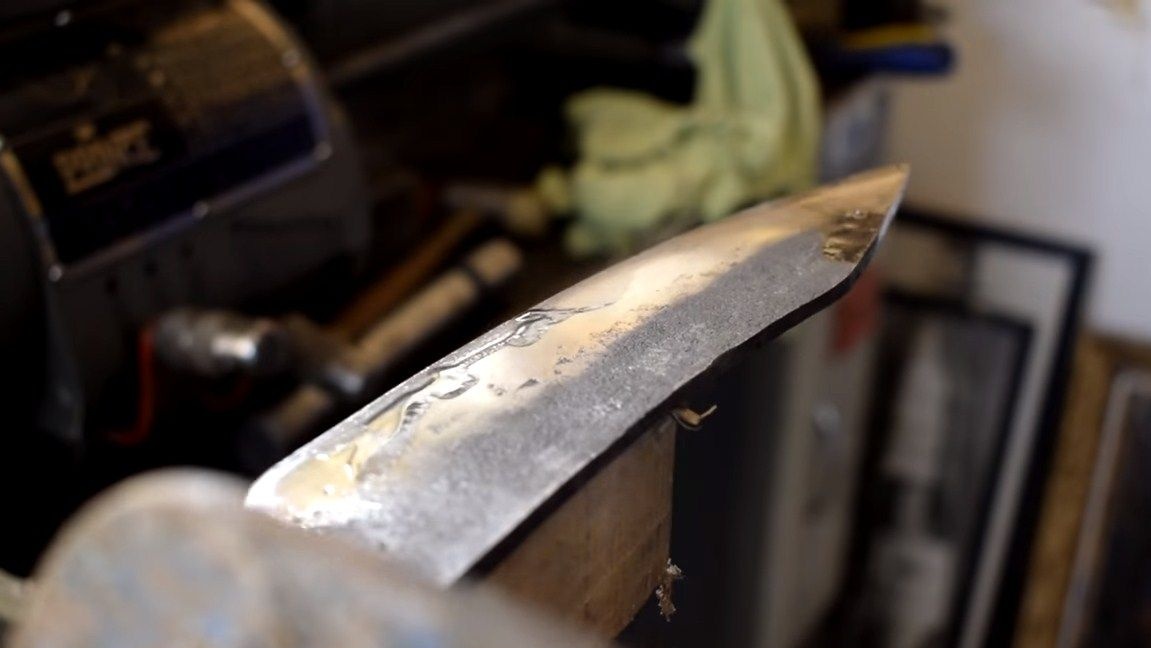
Step Five Refining details
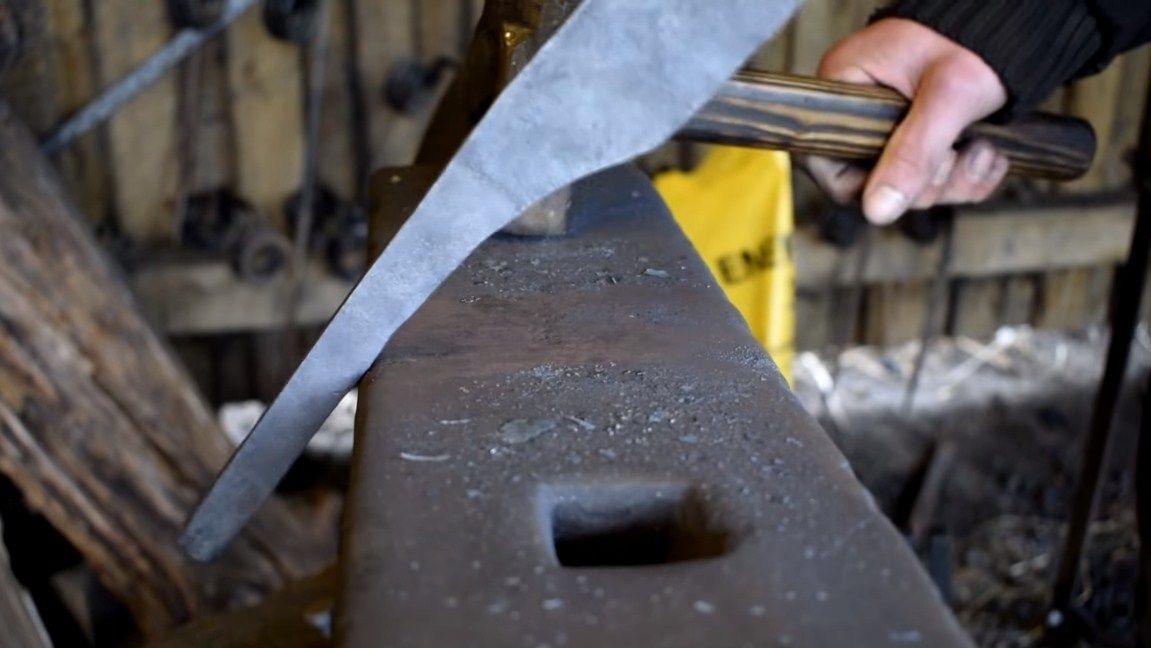
After heat treatment, we clean the metal and lightly grind it. You can also polish the area of the blade. We finalize the guard, grind the excess. The blade can be finished manually by using the smallest sandpaper soaked in water. We especially carefully process the area with sandpaper, where the handle will be glued to the guard.
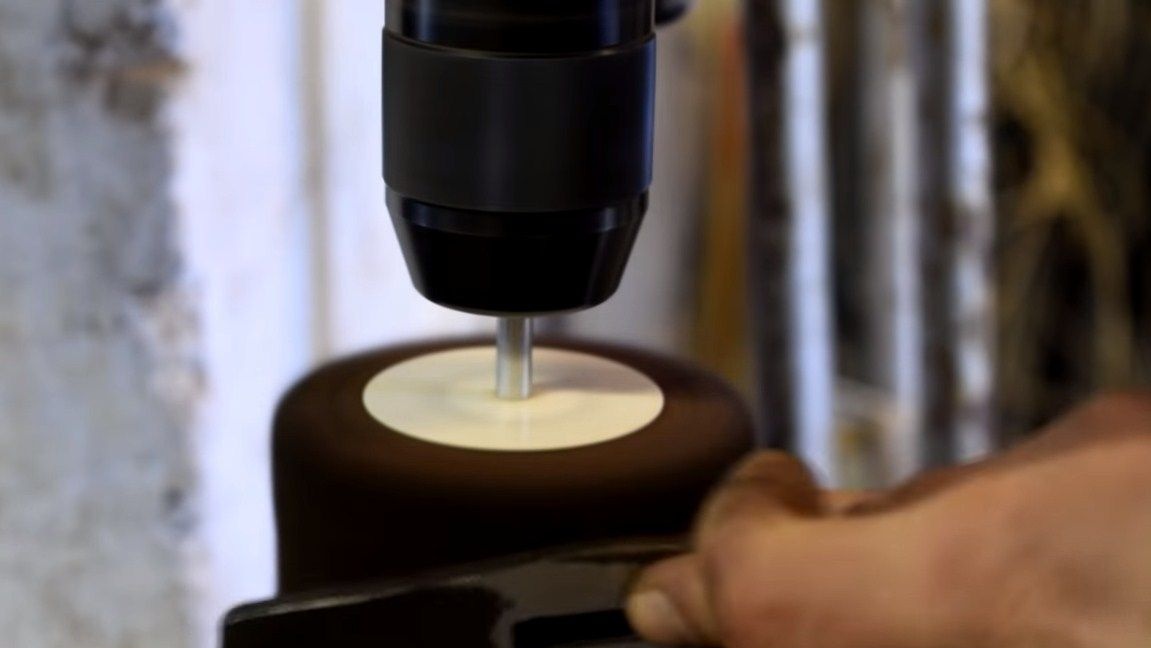
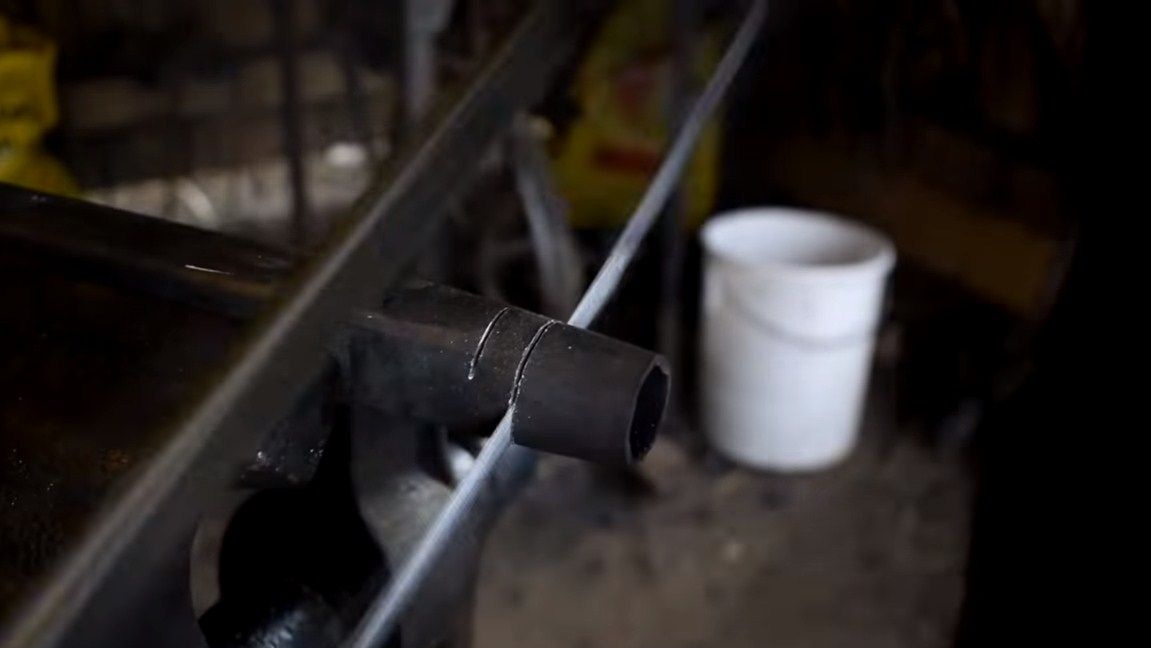
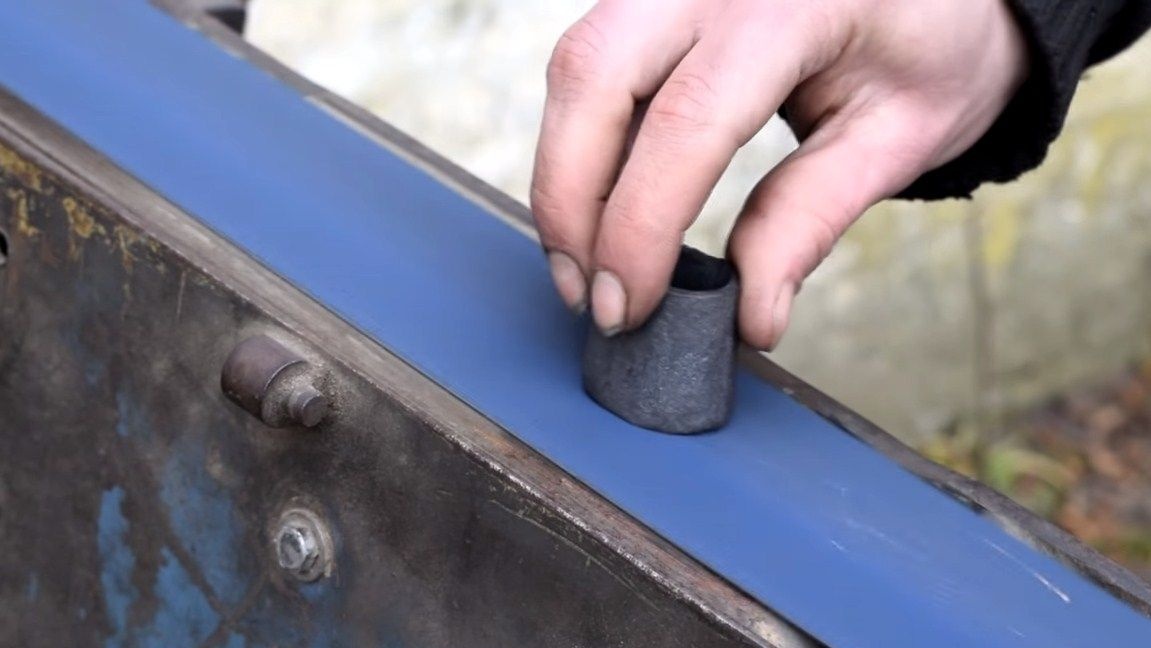
Step Six Handle hub manufacturing
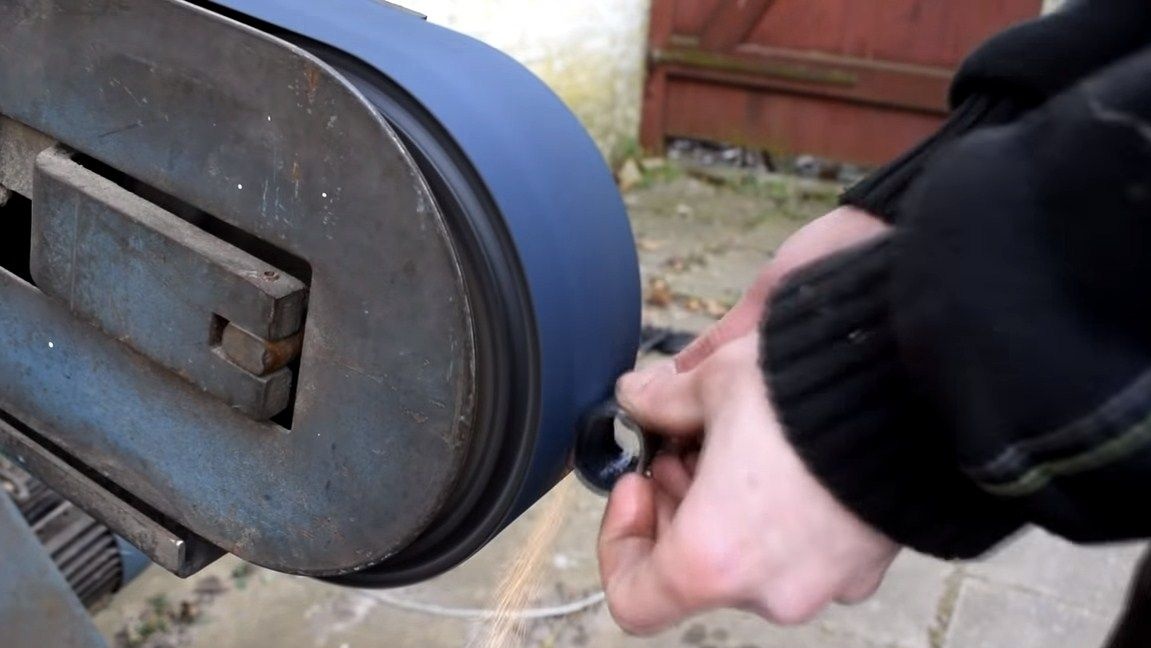
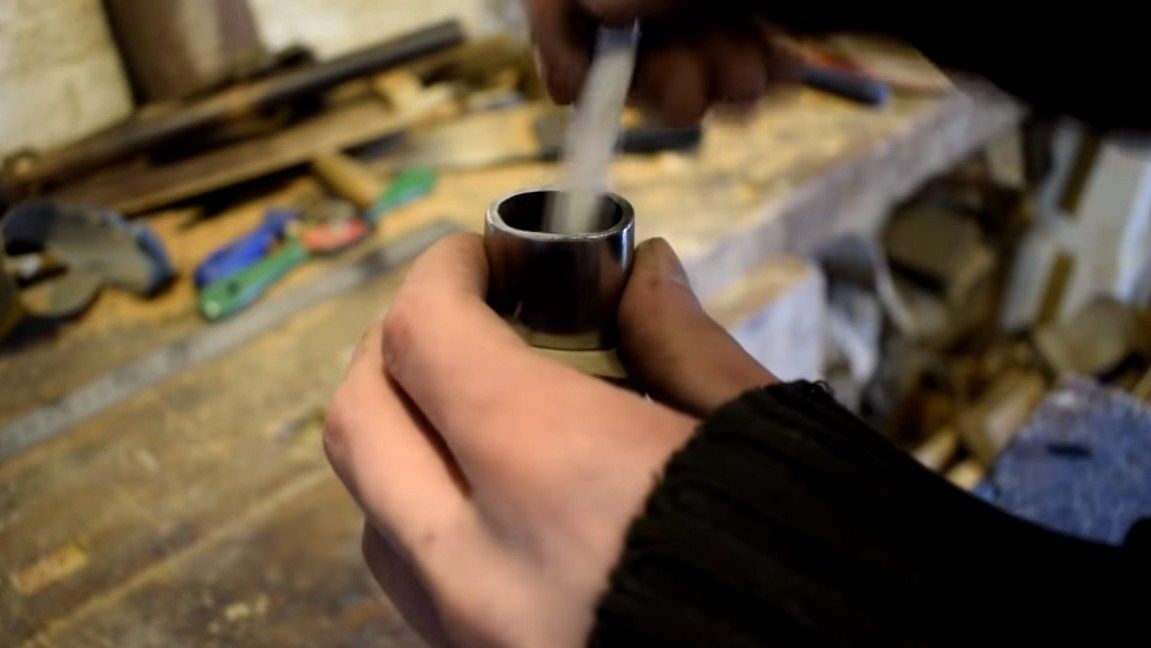
In order for the handle to be strong and hold the sharpener for a long time, a sleeve must be installed in front of it. To make it, we need a piece of steel square pipe, and you can use the round one that exists. We heat it in coals or an oven and forge it to the desired shape. Well, then cut off the excess, grind. It turns out a strong, stylish antique product.
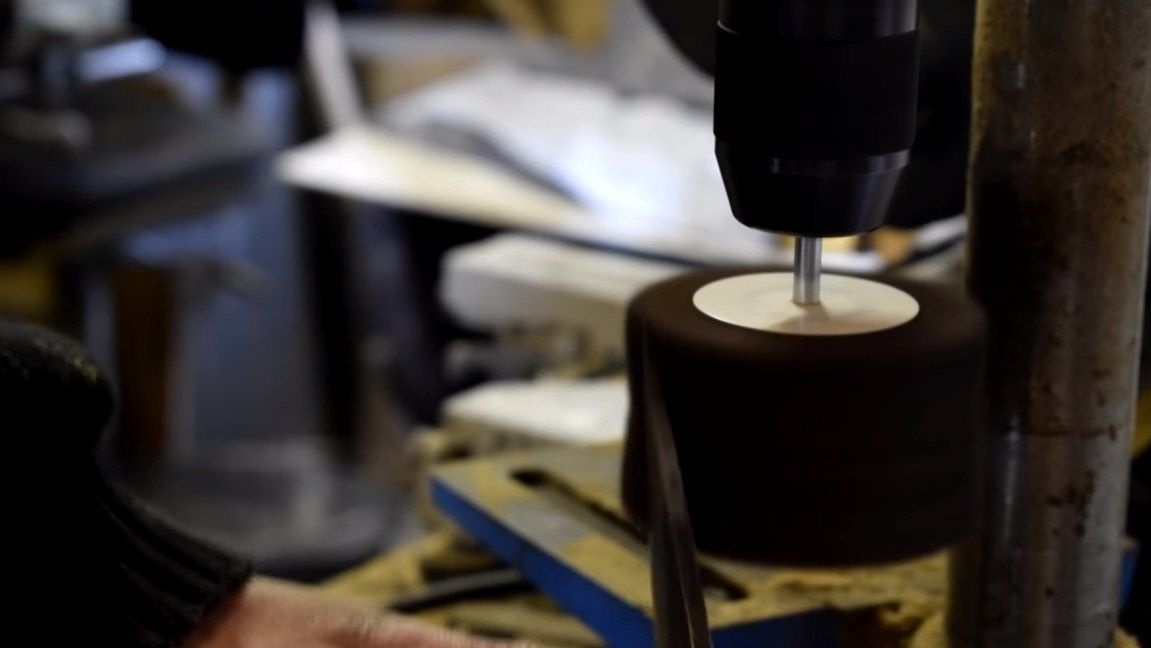
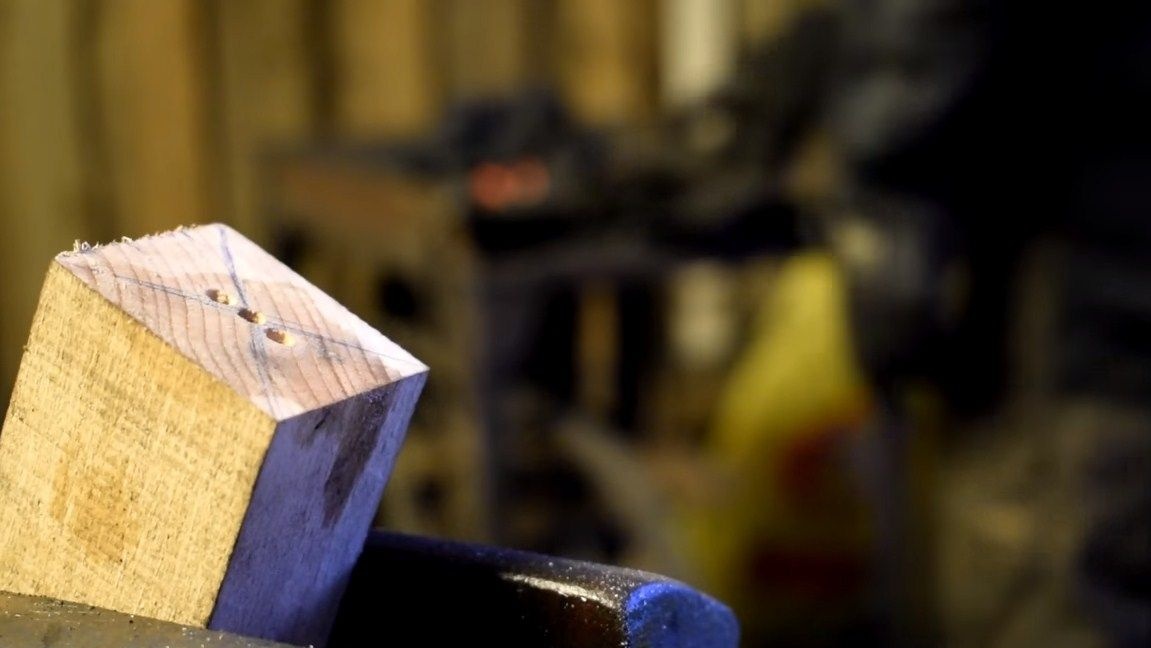
Seventh step. Pen making
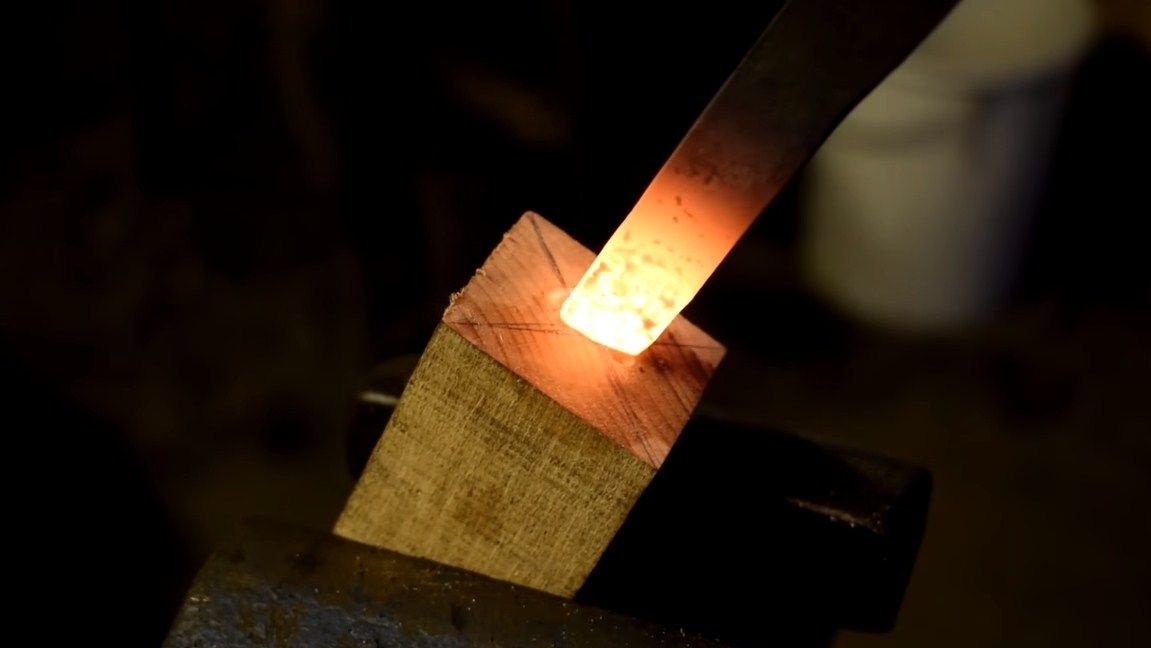
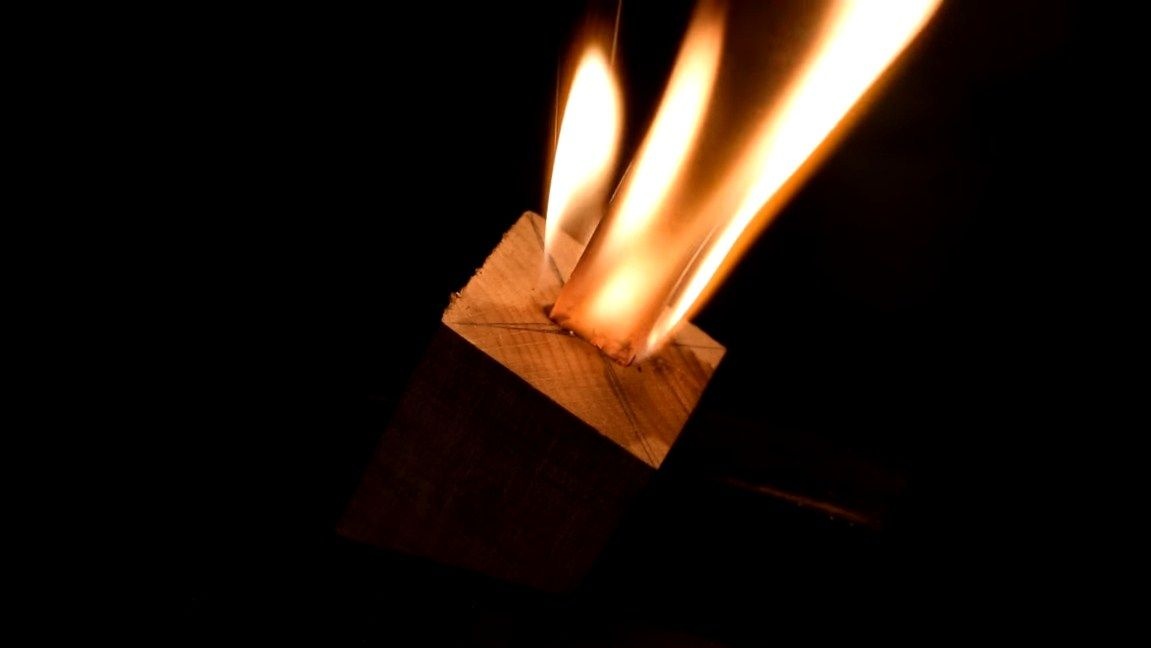
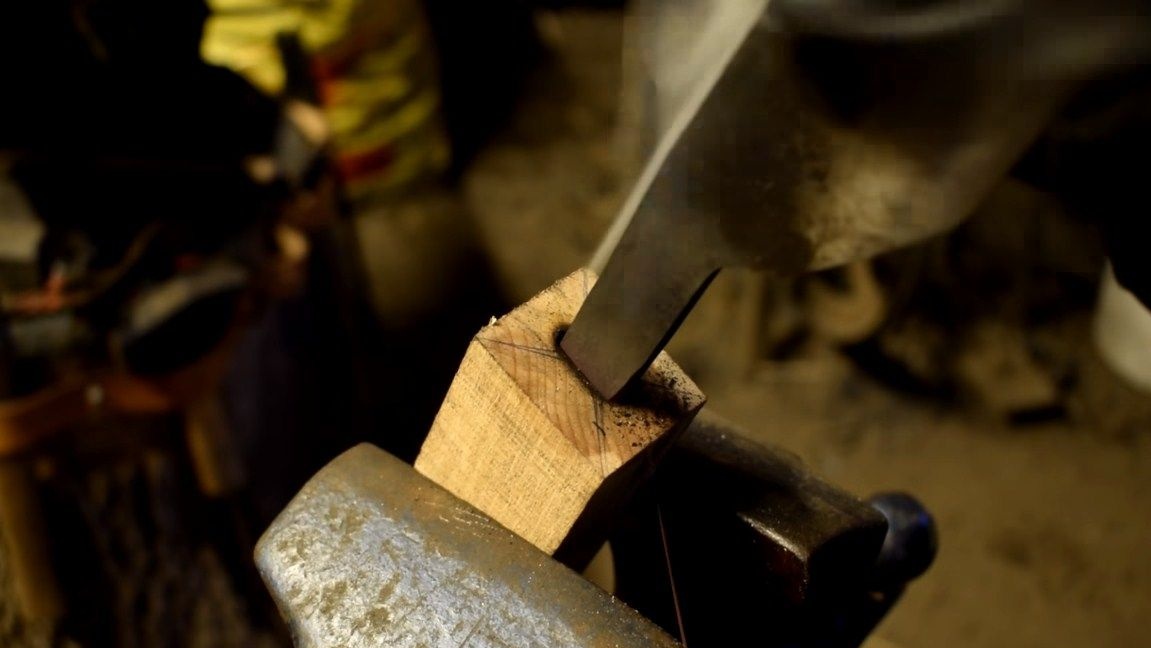
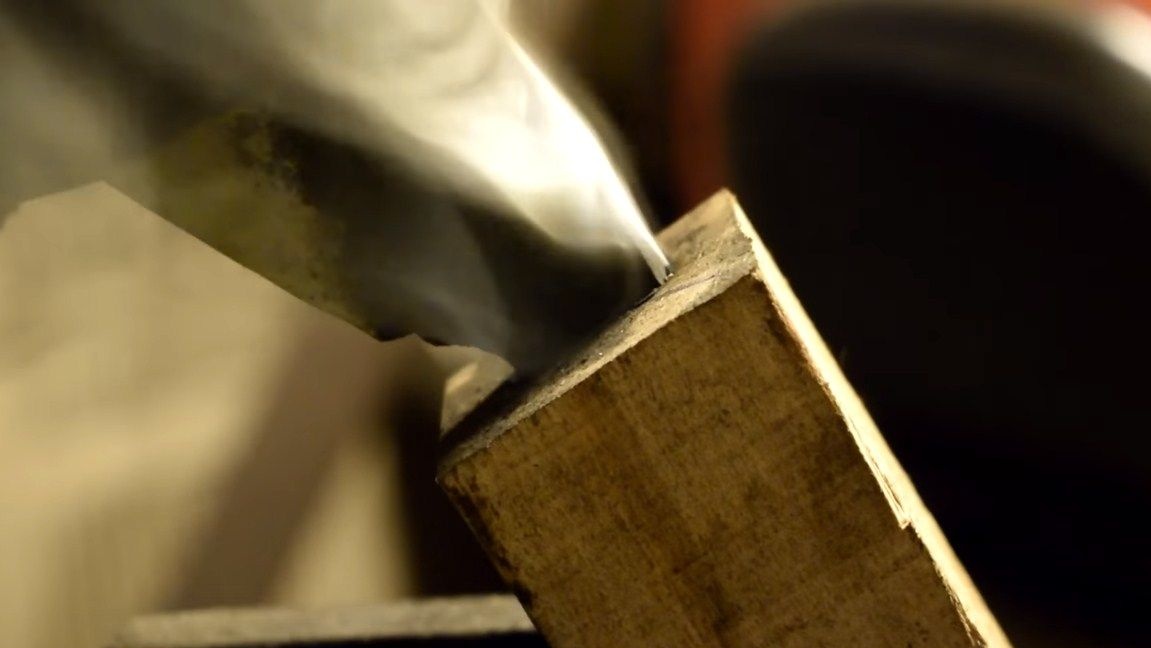
To make a pen, we need a block of wood. It is advisable to choose strong woods and beautiful ones by itself. We drill three holes in the part where the slotted hole for the shank will be located. Its author decided to burn. Drilled holes are needed so that air comes out through them and ashes fly out with it. We heat the shank to a red glow and easily burn through the hole. This method is good in that the hole is formed quickly, efficiently and clearly the right size. The shank may need to be heated several times.
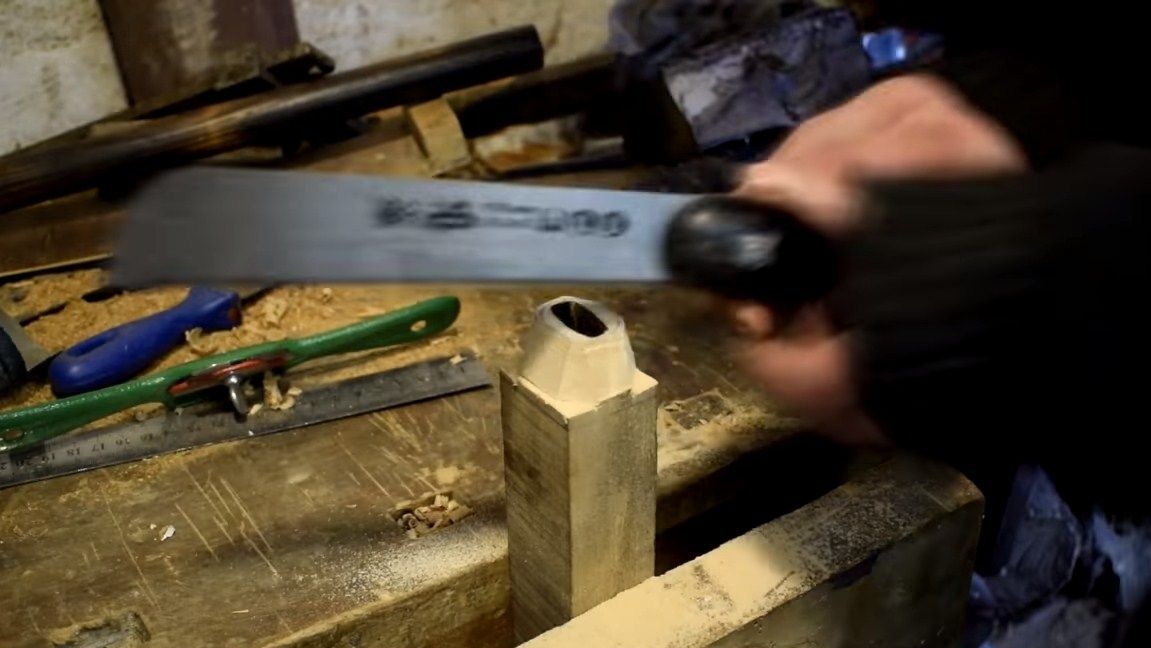
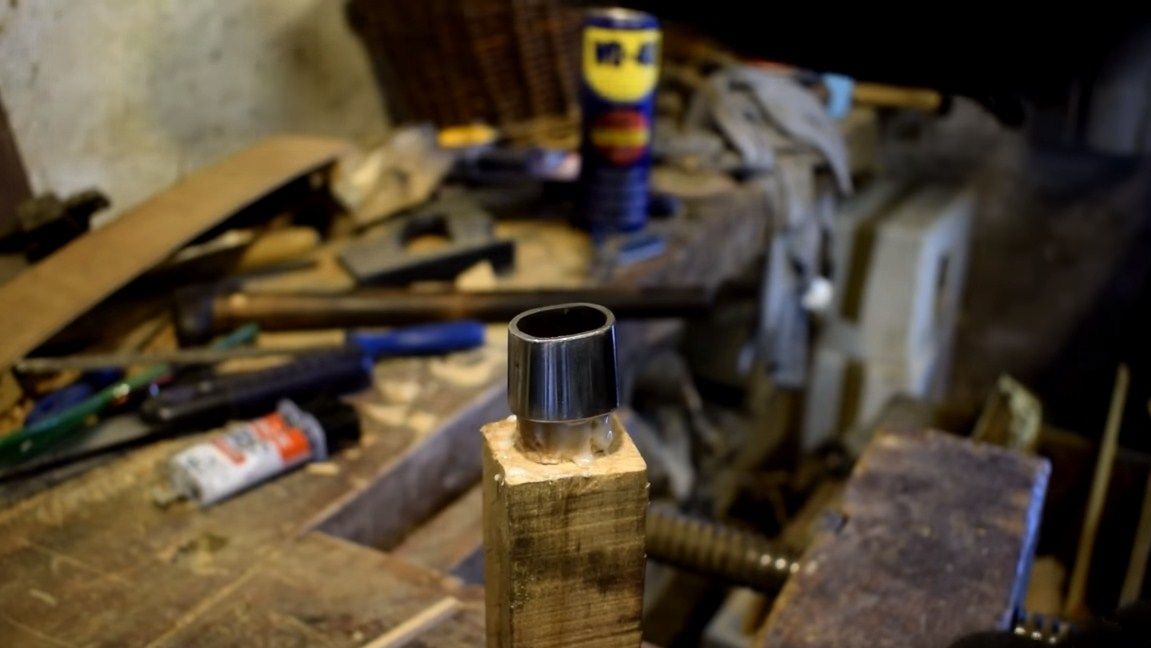
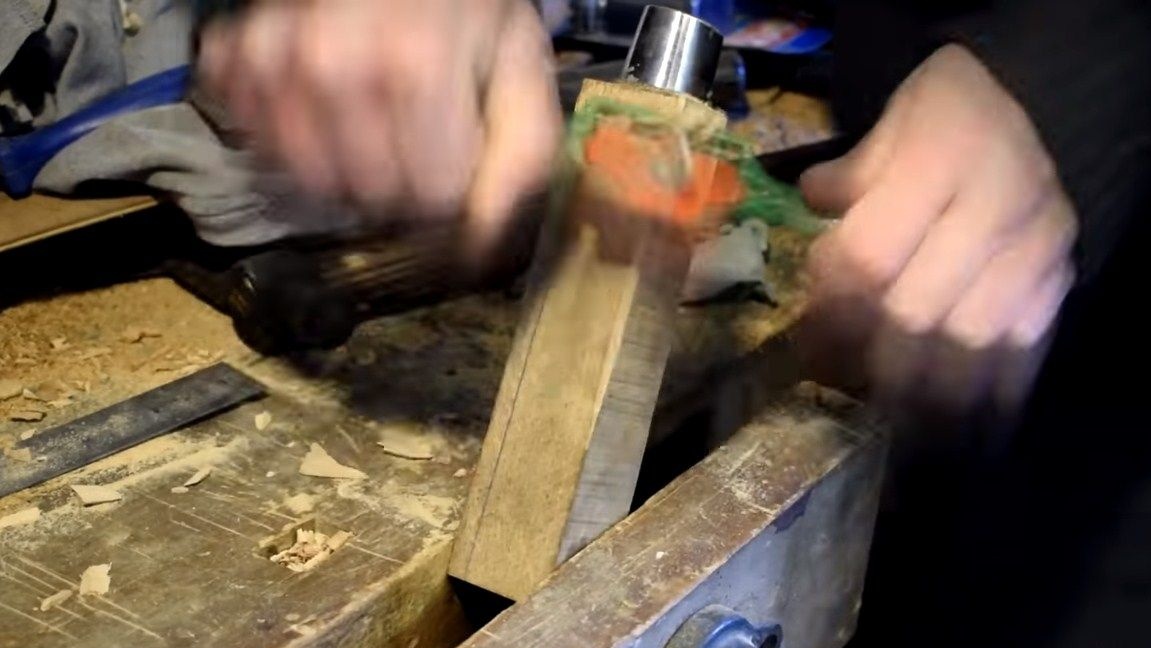
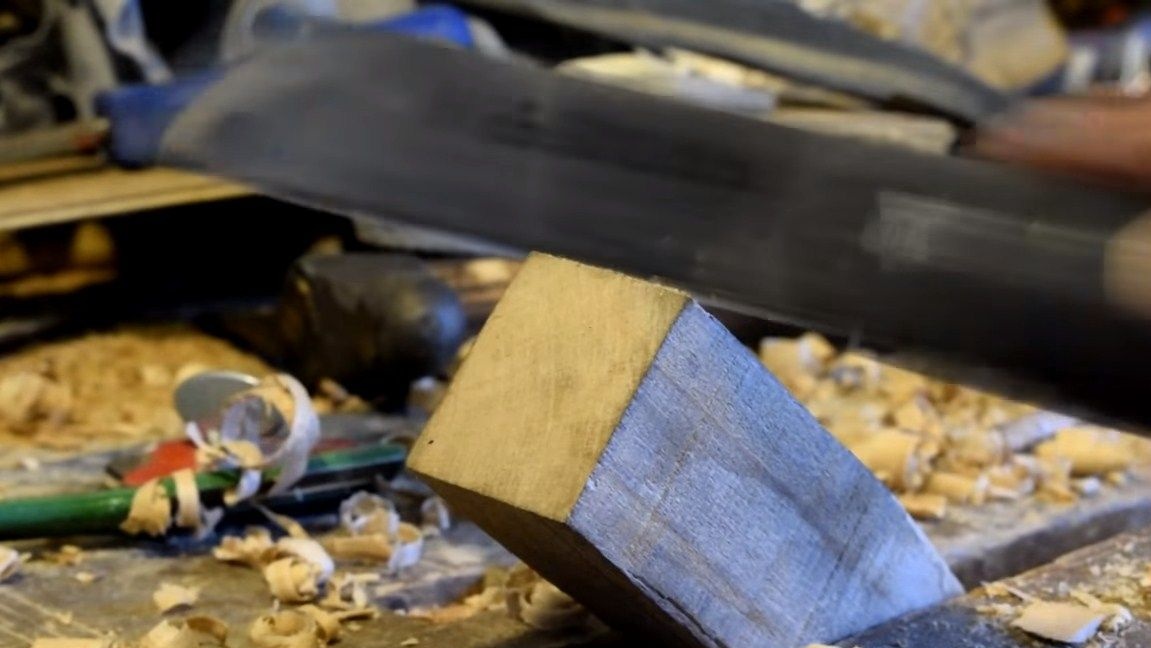
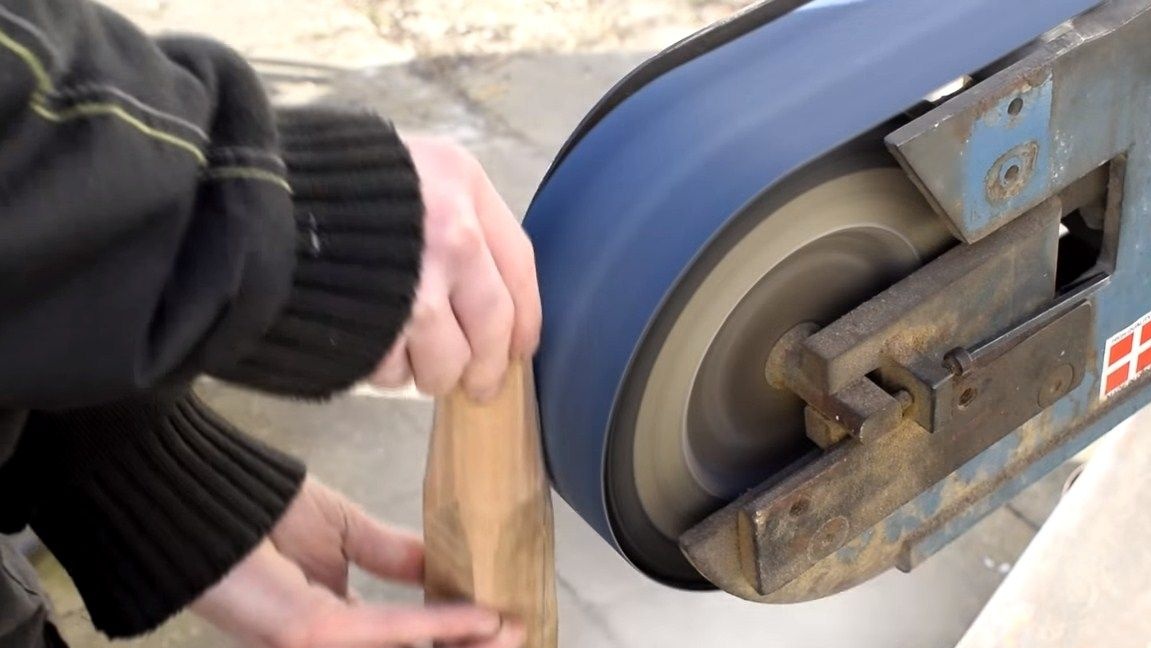
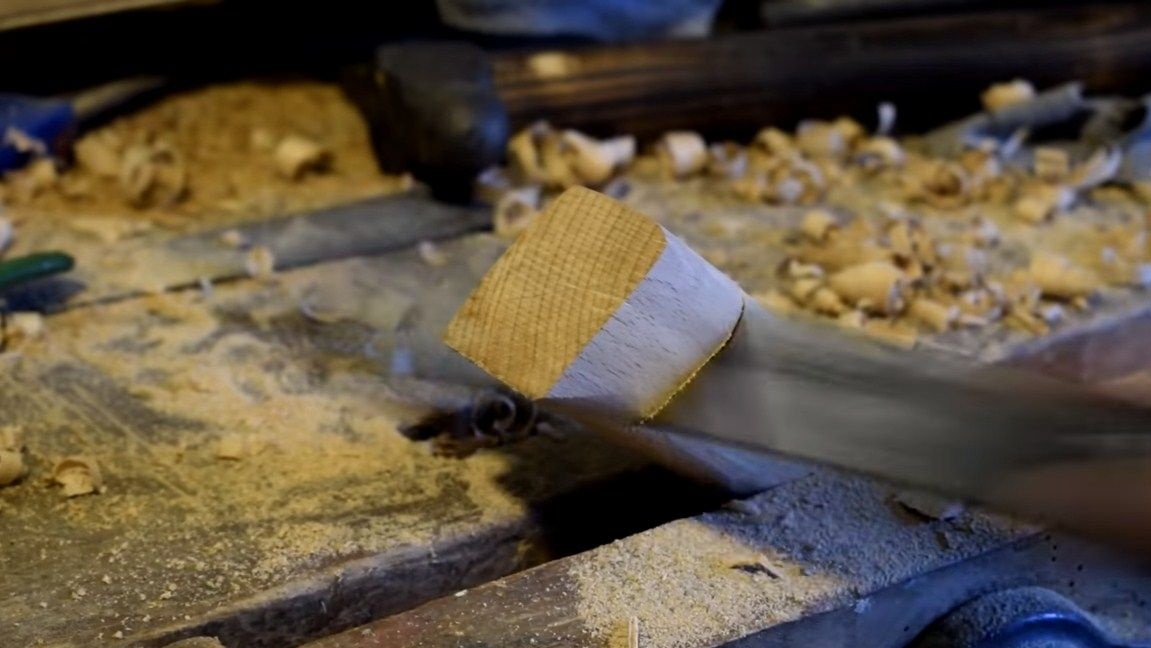
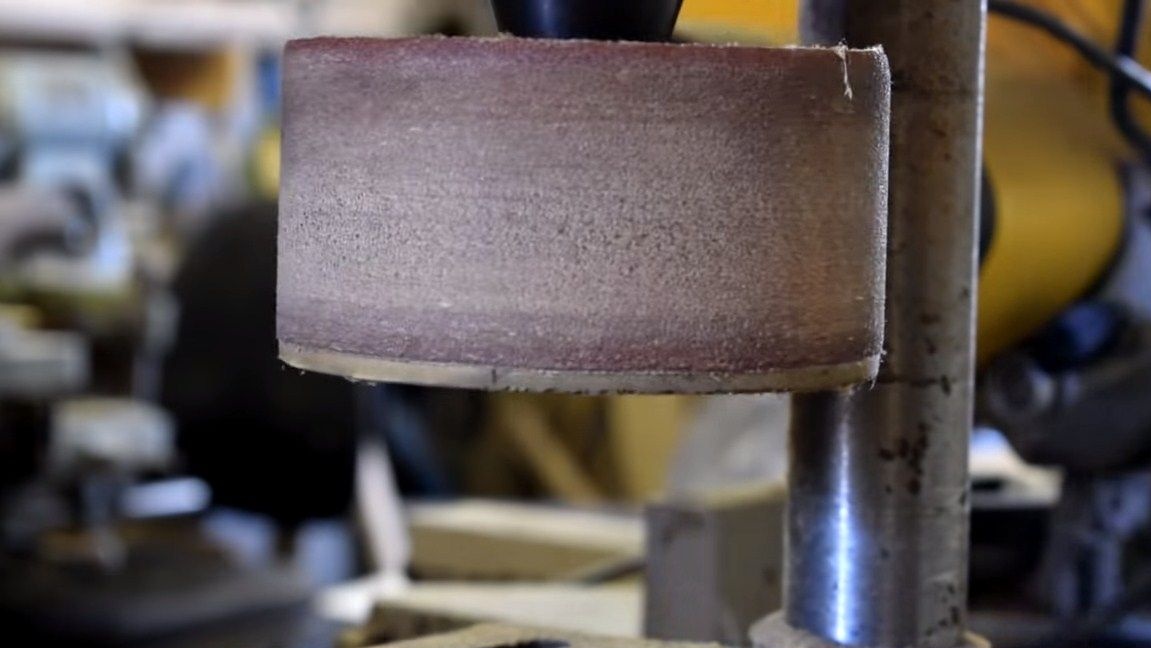
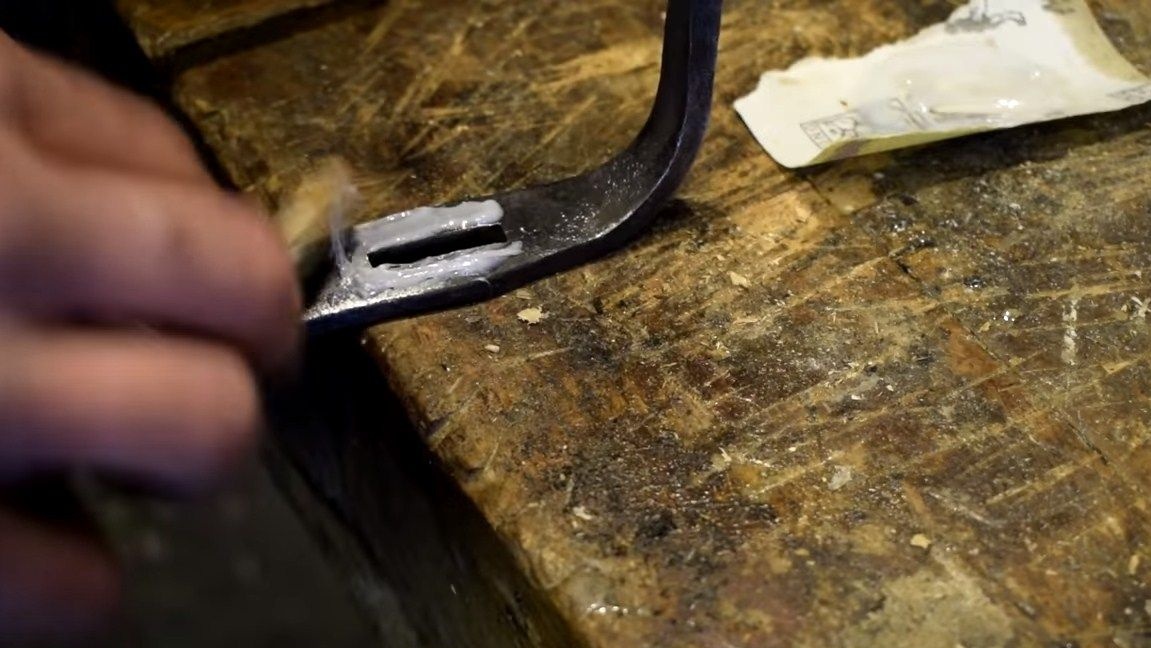
Next, we need to cut the front of the handle, here we will install the sleeve made earlier. This part can be immediately glued to epoxy glue. When the glue dries, you can begin to form a handle profile. We remove the main material with rough tools, here the author used a brace. Well, then we proceed to processing the product on a belt sander. The author immediately brings the pen to a finished state, nothing is polished on the knife.
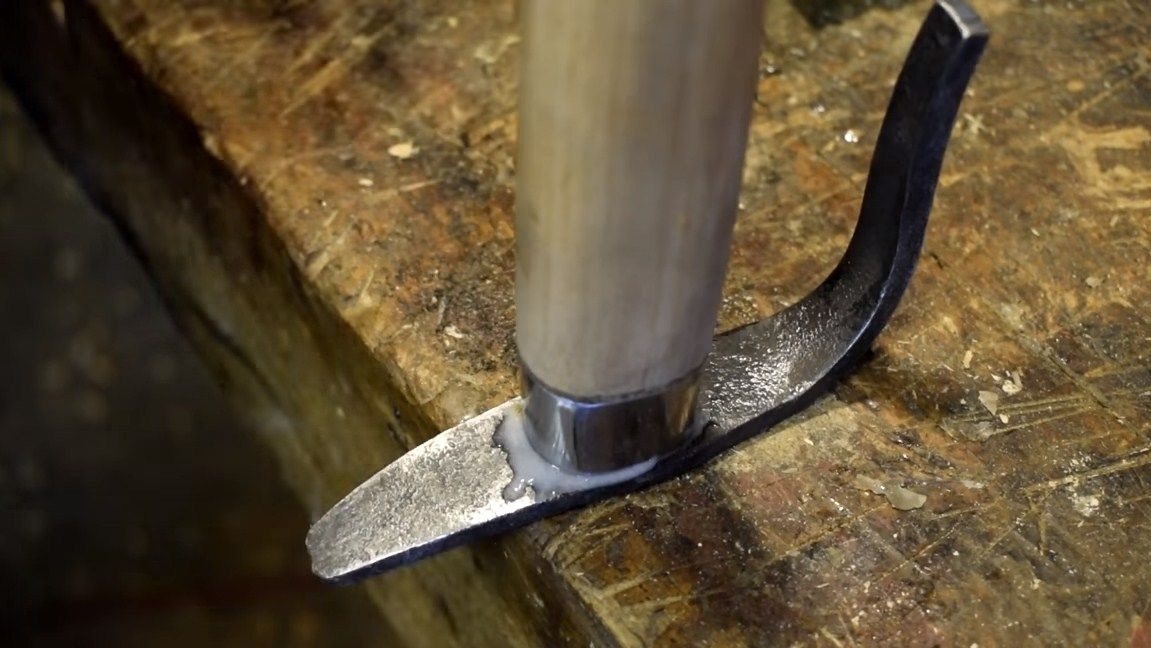
Step Eight. Collect the knife
Further, when the handle is ready, you can collect the knife. Glue the handle to the guard using epoxy glue. Immediately after that, you can install the blade. Pour glue into the handle and install the shank. It is better to wipe off excess glue immediately, then it is difficult to clean it off when it dries.

Step Nine. Final touches

In conclusion, when the glue dries, be sure to soak the handle with oil. This will protect the tree, preventing it from absorbing moisture and dirt along with it. Oil also well emphasizes the natural beauty of wood.
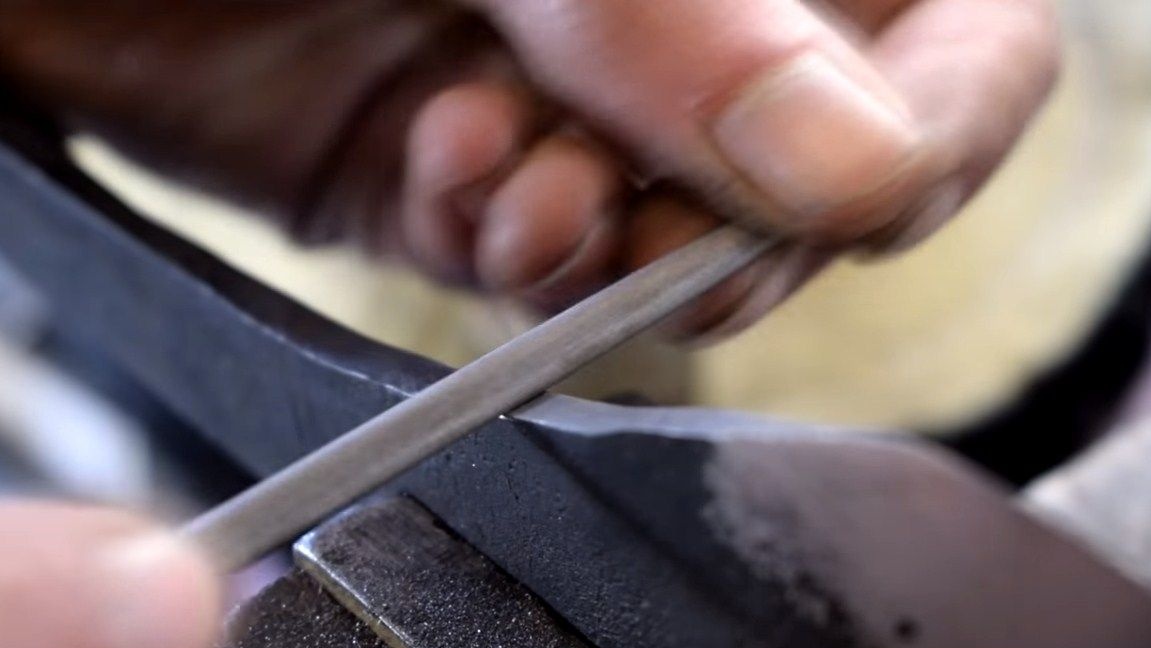
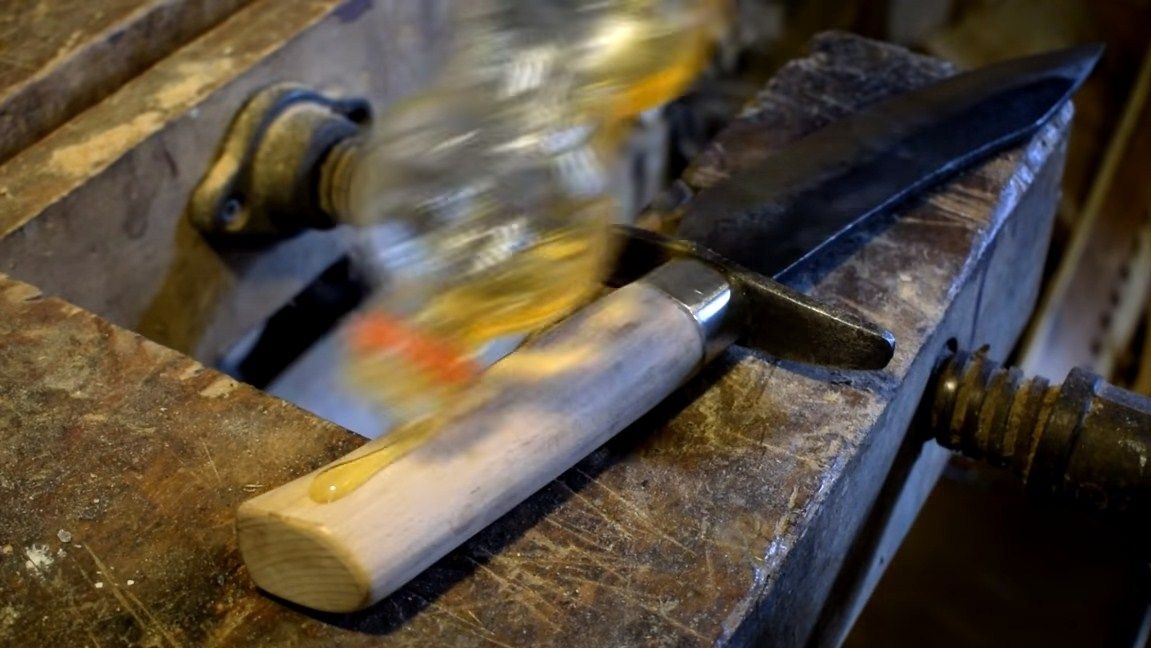
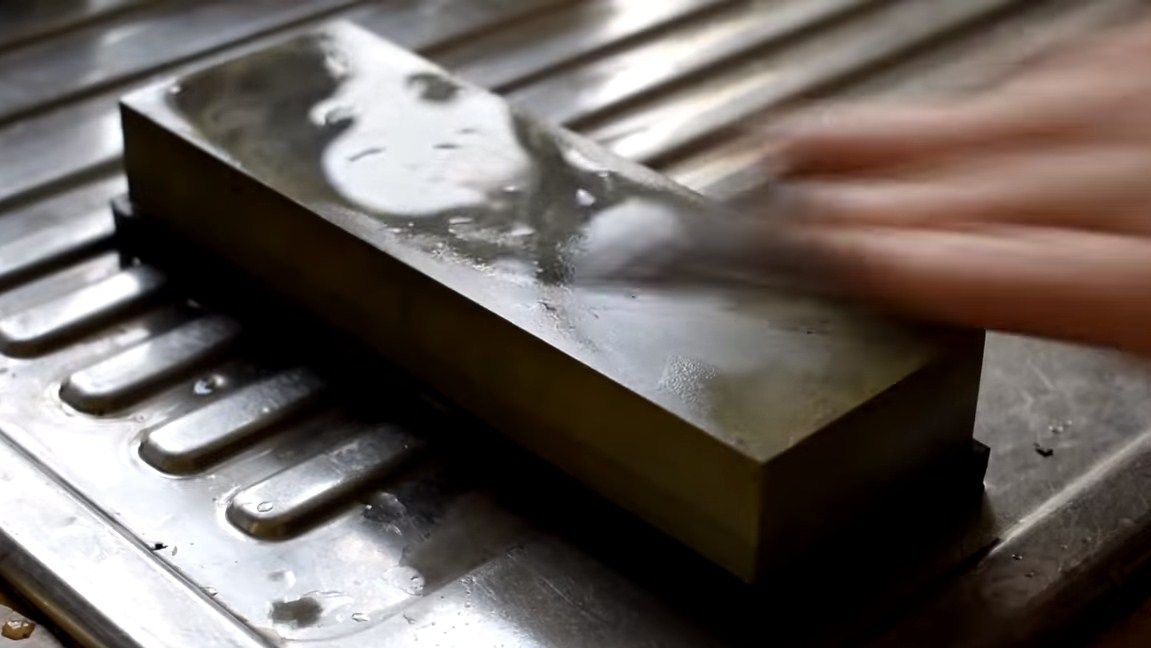
The knife is ready, it remains to sharpen the blade. Here the author used Japanese grinding stones. They need to be moistened with water, so they work better because they are cleaned. First we sharpen it with a coarser stone, and then with the smallest one. Despite all its massiveness, the author’s knife turned out to be so sharp that it cuts a thin newspaper canopy without difficulty. That's all, good luck and creative inspiration, if you decide to repeat it!